Received Heater Valve and Firewall Sealant

I received my heater valve from Plane Innovations.  It’s basically a stainless steel version of the aluminum valve that Van’s sells.  In case of a fire, the aluminum version would melt in a matter of seconds.  This would keep the fire contained for long enough that I could likely get on the ground.

I also received a half pint of firewall sealant from SealPak.  This is the same CS1900 sealant that Van’s sells, but not in a single use container.  Since the firewall will be sealed over several sessions, this will ultimately save me a fair amount of money.

Fabricated Replacement Side Skin Stiffener

I trimmed back the ends of the replacement skin stiffener (replacing the one that had a crack) and clamped it in place.  I then match drilled in to the skin and clip that attaches it to the firewall stiffener.

I temporarily reinstalled the rudder pedals so that I could mark the new stiffener for the holes that are used to attach the mounting blocks.

After priming the stiffener, I riveted it to the attach clip and riveted both clips to the firewall side stiffeners.

Since I mixed up an entire ounce of primer, I also shot the bottom of the forward seat pans so that I wouldn’t waste it.  These will be removed from time to time, so they’ll likely get a little scratched.  This should help protect them from corrosion.

Forward Fuselage Prep

I drilled two 3/4″ holes in the left side skin for the grommets that will pass the pitot and AOA tubes in from the wing.

The side support doubler is riveted onto the side skins using the holes adjacent to the spar cutout (with the exception of the bottom-most forward hole since this also joins the forward bottom skin.

I also drilled a couple of #19 holes to mount the quick disconnect fittings that are provided with the SafeAir pitot/static system.  As you can see, I’ve also installed the grommets for the pitot/AOA lines.

I also installed the grommet for the fuel line in the side skin forward of the spar cutout.

Finally, I installed the forward bottom skin.  I still need to finish the right side skin (seen in the upper left of this picture leaning against the back wall of the garage), but I’ll take care of that tomorrow.

Started Riveting Forward Fuselage

Jenn had to work today, so I got started today by finishing the right skin.  My buddy Andre then stopped by and we installed it and started riveting.  We made it through all of the bottom rivets on the left side aft of F-704 as well as all of the rivets on the side skins aft of F-704 (with the exception of the longeron rivets which I can squeeze).

Here you can see that the outboard seat ribs are riveted to the side skin using AN470 rivets since this is inside the wing root and won’t be visible when the wings are installed.  If you look carefully, you will notice that the forward two rows of rivets are AN426 instead of AN470.  This is because I inadvertently countersunk these holes in the side doublers, so I had to dimple the skins to match.  I spoke with Ken at Van’s, and he confirmed this was a non-issue.

Here you can see how the conical bend looks when riveted.  I’m really happy with how this turned out.  All of the joints are nice and tight, and the rivets turned out great.

We knocked out the double row of rivets attaching the center skins to the tailcone on the left side as well as the rivets holding the bottom skin to the center rib.

More Fuselage Riveting

I squeezed all of the rivets between F-902 and F-705 along the upper longerons on both sides.

Aft of F-705, there are a few places on each side where there are three rivets close together.  The middle rivets can be set now since they just keep the longerons in place.  The remaining holes are left open for the time being since they also attach the top skins.

A number of rivets along the aft end of the longerons (where the aft deck sits) can also be squeezed now since there are no other parts that attach here.

I also squeezed a number of the AN470 rivets just aft of F-704.  Near the lower right of the picture, you can see one boogered rivet.  There is a nutplate right behind here (on the seat rib flange) and I didn’t notice it when I squeezed the rivet.  It didn’t do any significant damage, just slight bends to a couple of pieces.

More Forward Fuselage Prep

The hole right below where the forward fuel tank attach bracket needs to be drilled and countersunk for a #10 screw.  I drilled this out to 3/16″ and then used the #10 countersink cutter to countersink through the sandwich of the side skin, bottom skin, and lower longeron.

Here you can see that the screw will sit perfectly flush after install.

I removed all of the forward clecos and pried the side and bottom skins away from the firewall in preparation for applying the sealant.  I also scuffed all of the mating surfaces.  The mixing ratio is too precise for me to use the scale I have (only accurate to 1g), so I’m going to need to track down a more accurate scale before I can mix the sealant.

I used a couple of these stubby #40 clecos to keep the side skins spaced away from the firewall.

I also installed the AN3-10A bolts through the rear spar and spacer blocks.  Getting these spacer blocks in was more of a pain than I would have expected.  It was also tough to get a torque wrench on the nuts on the other side.  I ended up having to use a crow-foot wrench on the end of my torque wrench to get them.

Sealed Firewall

I started to seal up the firewall last night, but after reading about the mixing ratio (40:1), I realized my digital scale wasn’t nearly accurate enough (it was only accurate to 1g).  Tonight after work, I swung by Fry’s and picked up this digital scale that is accurate to .1g.

The A part of this mixture is basically like tar.  You’re basically cutting chunks of it out of the can.  The B part is a liquid.  When mixed together, it forms a thick paste that will cure to a flexible state and withstand 400ºF sustained and handle flash temperatures to 2000ºF.

Initially, I started mixing this up in a paper cup, but as you can see, the B part immediately started soaking into the cup.  Rather than guess how much additional B part to add, I tossed this batch and mixed up another one in a plastic cup.  Since I bought a 1/2pt kit, I probably have enough to do two complete firewalls, so this is no big deal.  I’ll still have plenty left for the other parts of the firewall that will need sealing.

Here you can see where I’ve applied the sealant to the firewall flange.  Basically, you just butter on a thin, even coat and then cleco the parts together.

To ensure a good bond, I put a cleco in every hole around the firewall (including the double row along the bottom skin.  I also clecoed in the final two bottom skin stiffeners.  This thing is ready to rivet together.  Andre is planning on stopping by on Sunday.  With any luck, we can finish this up and flip the fuselage.

Flipped the Canoe!

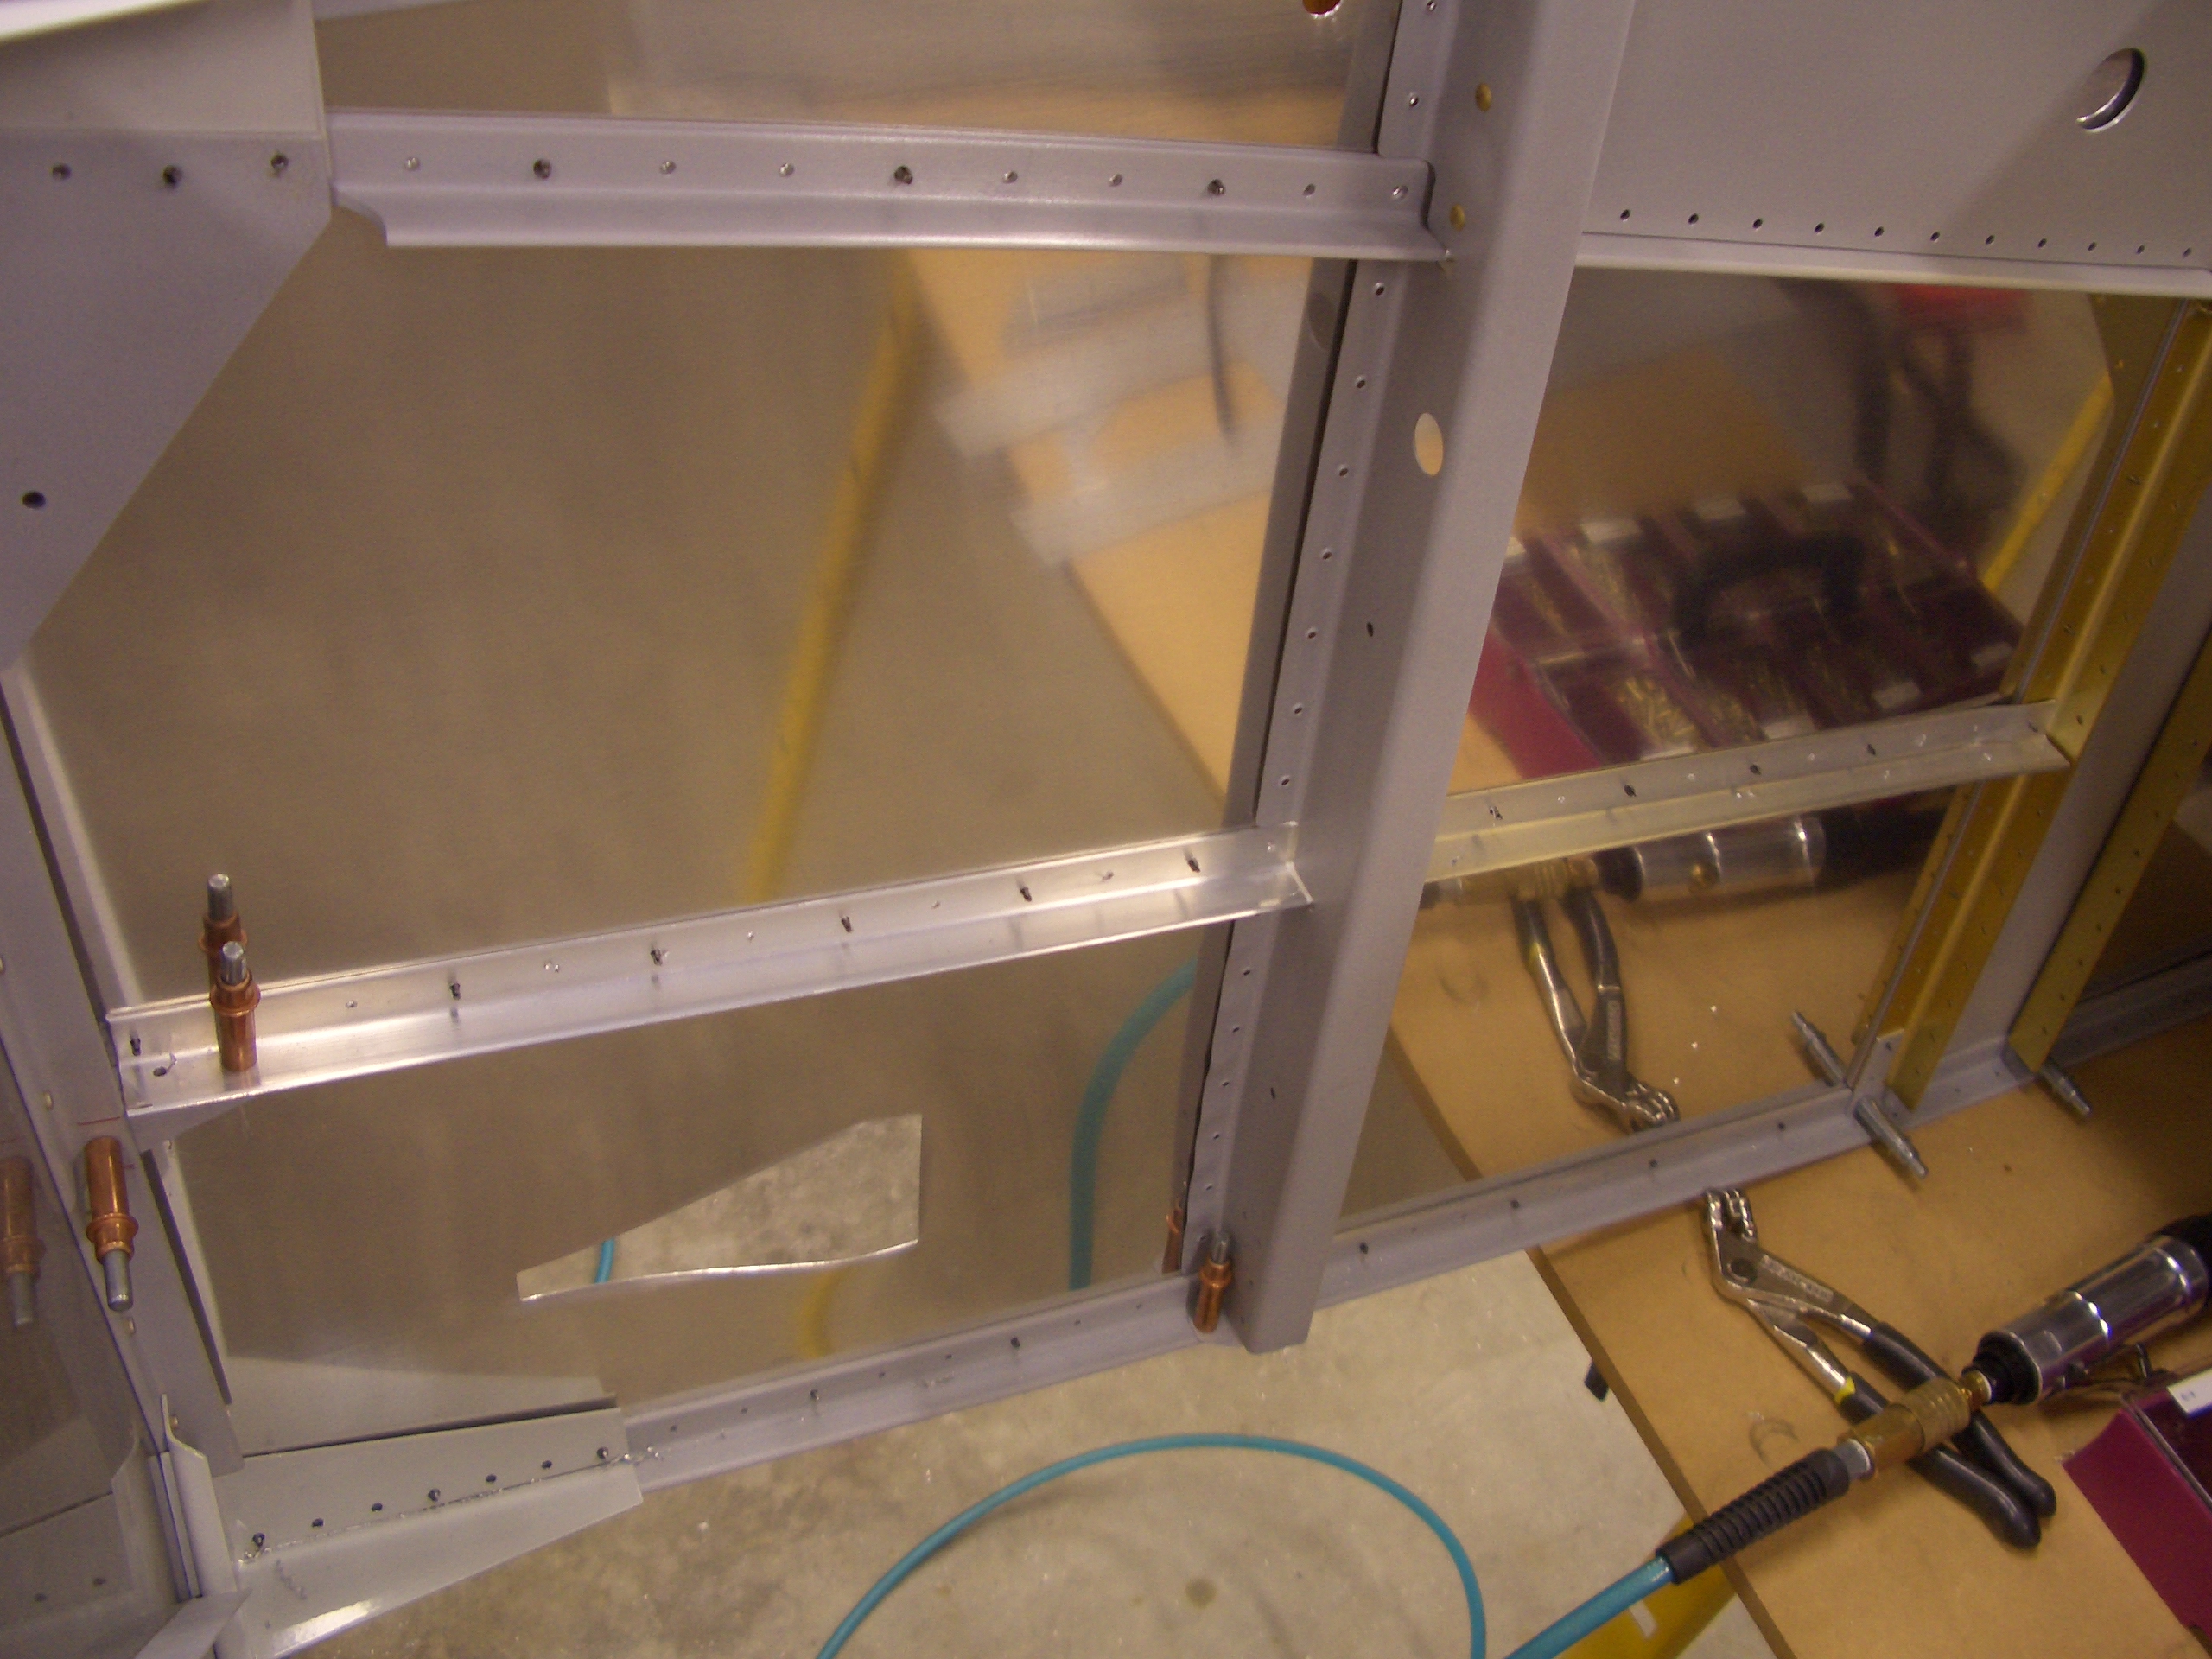
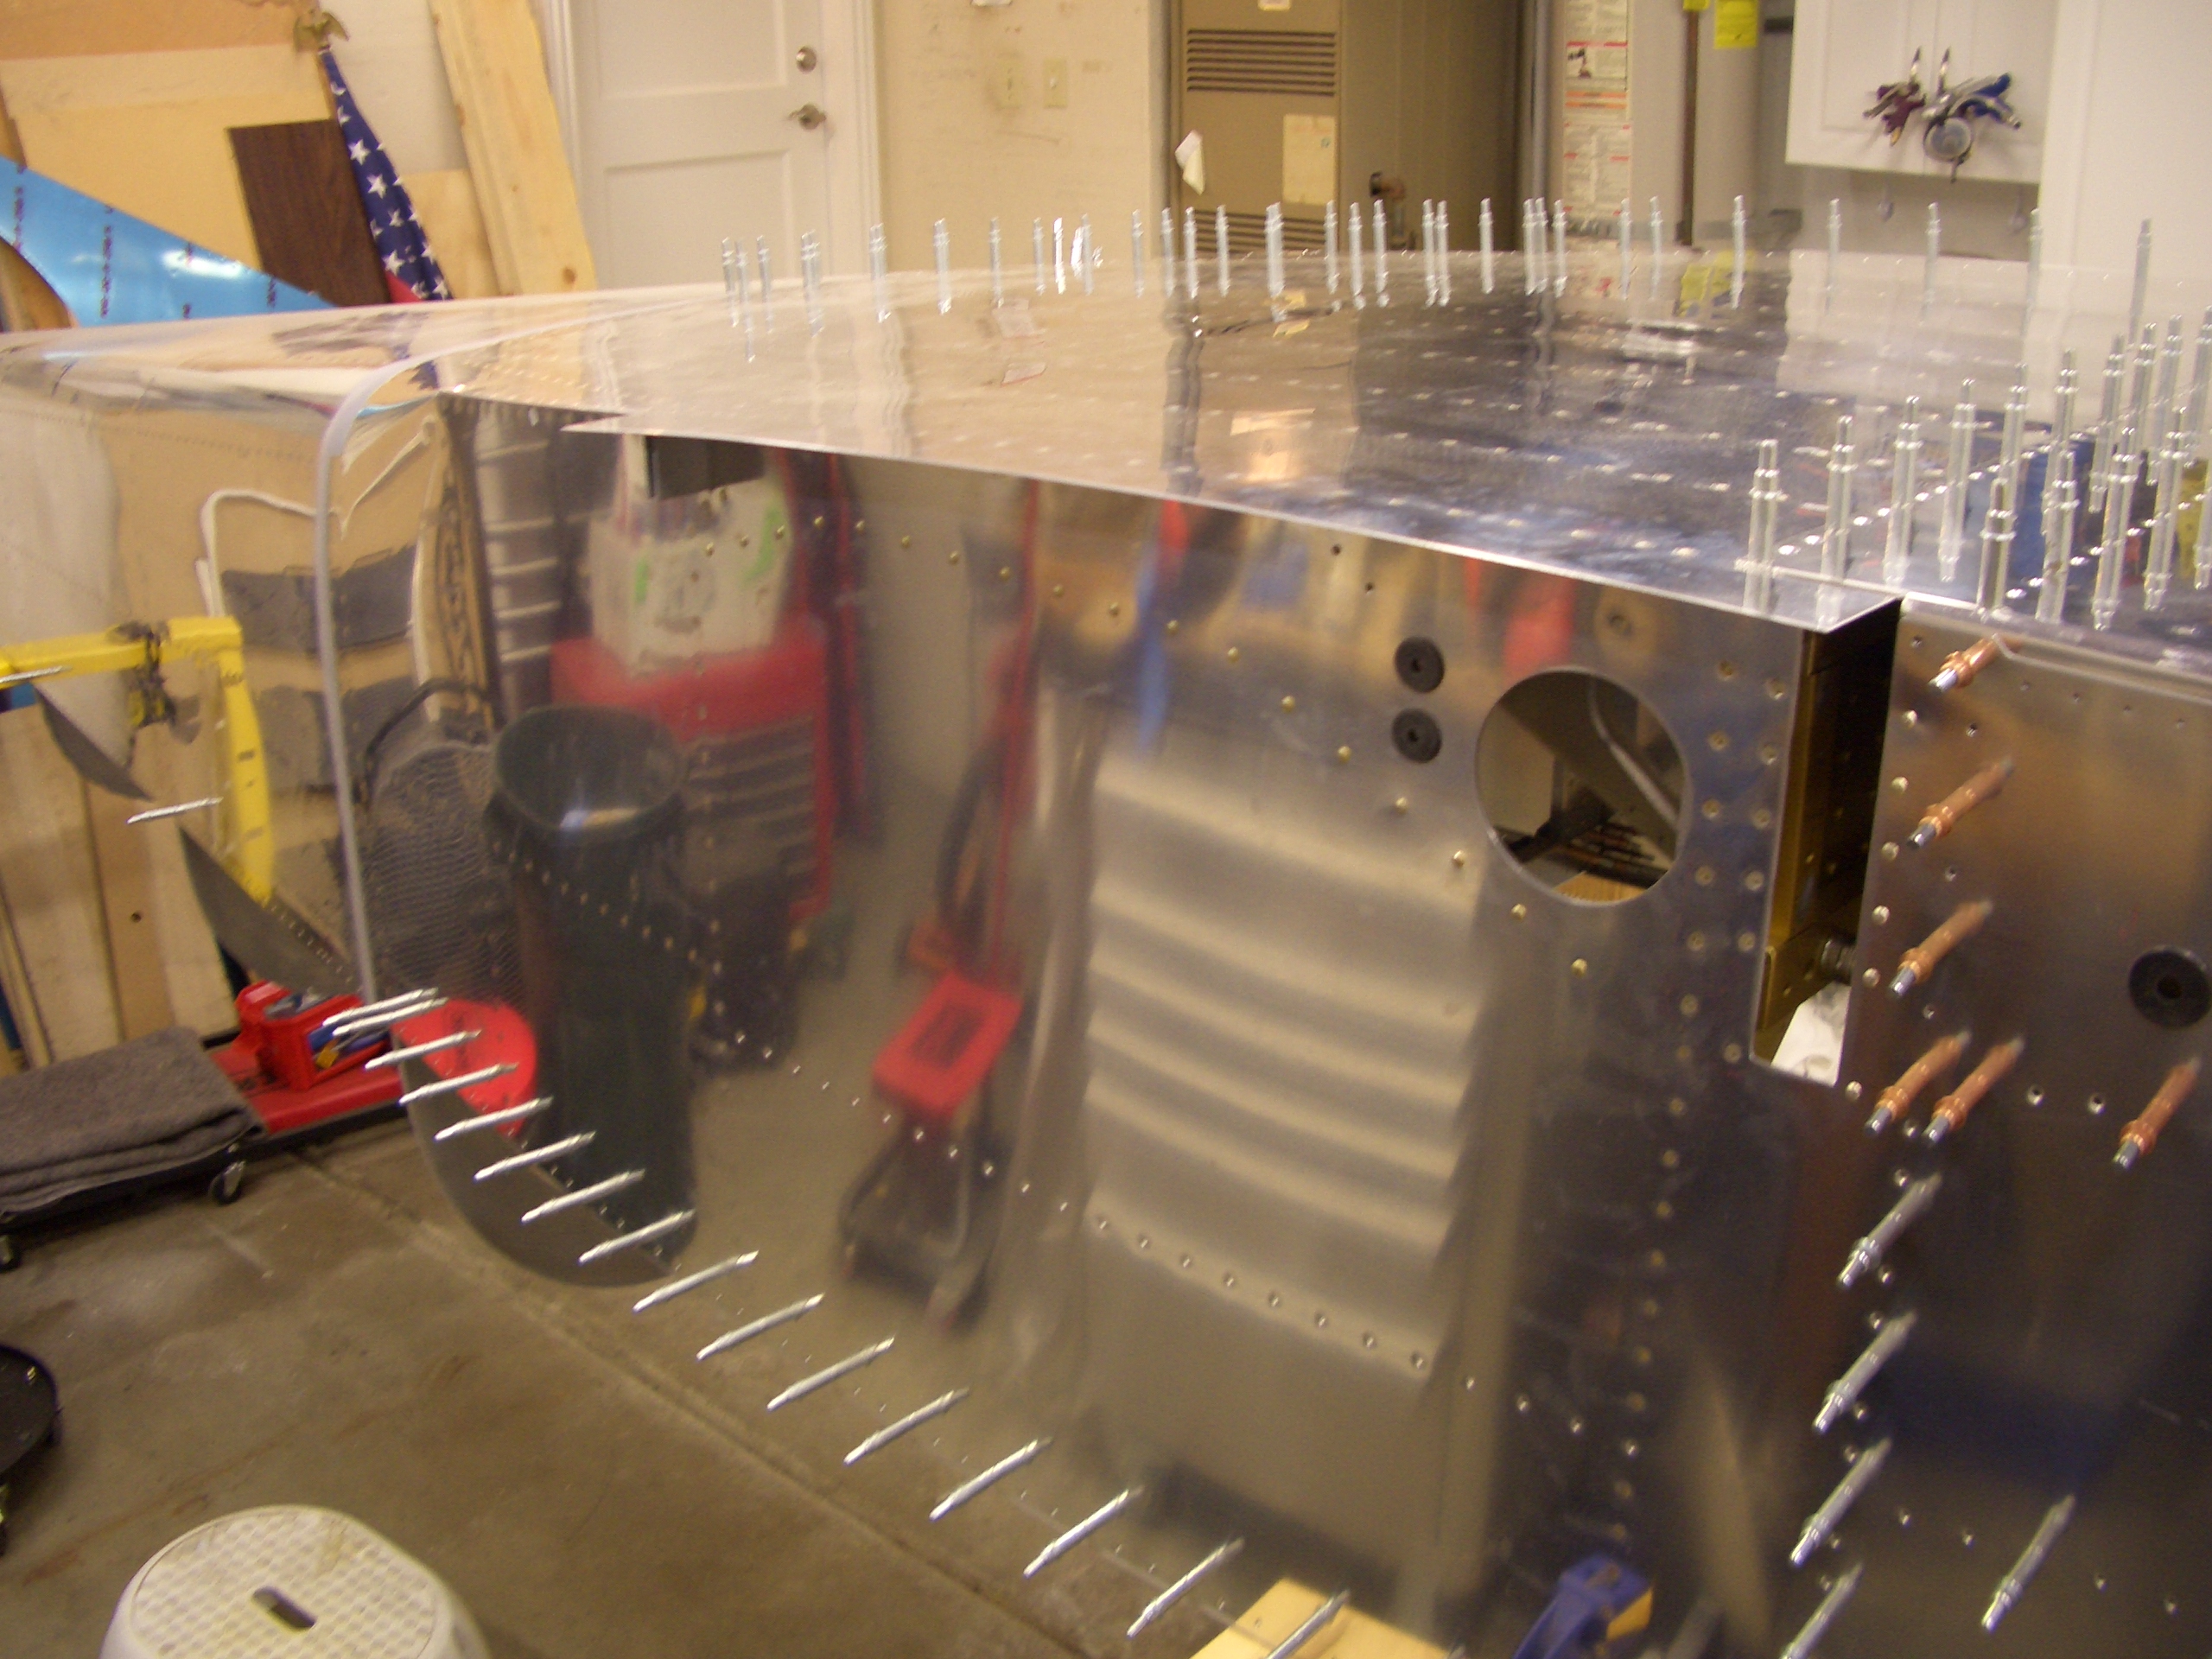
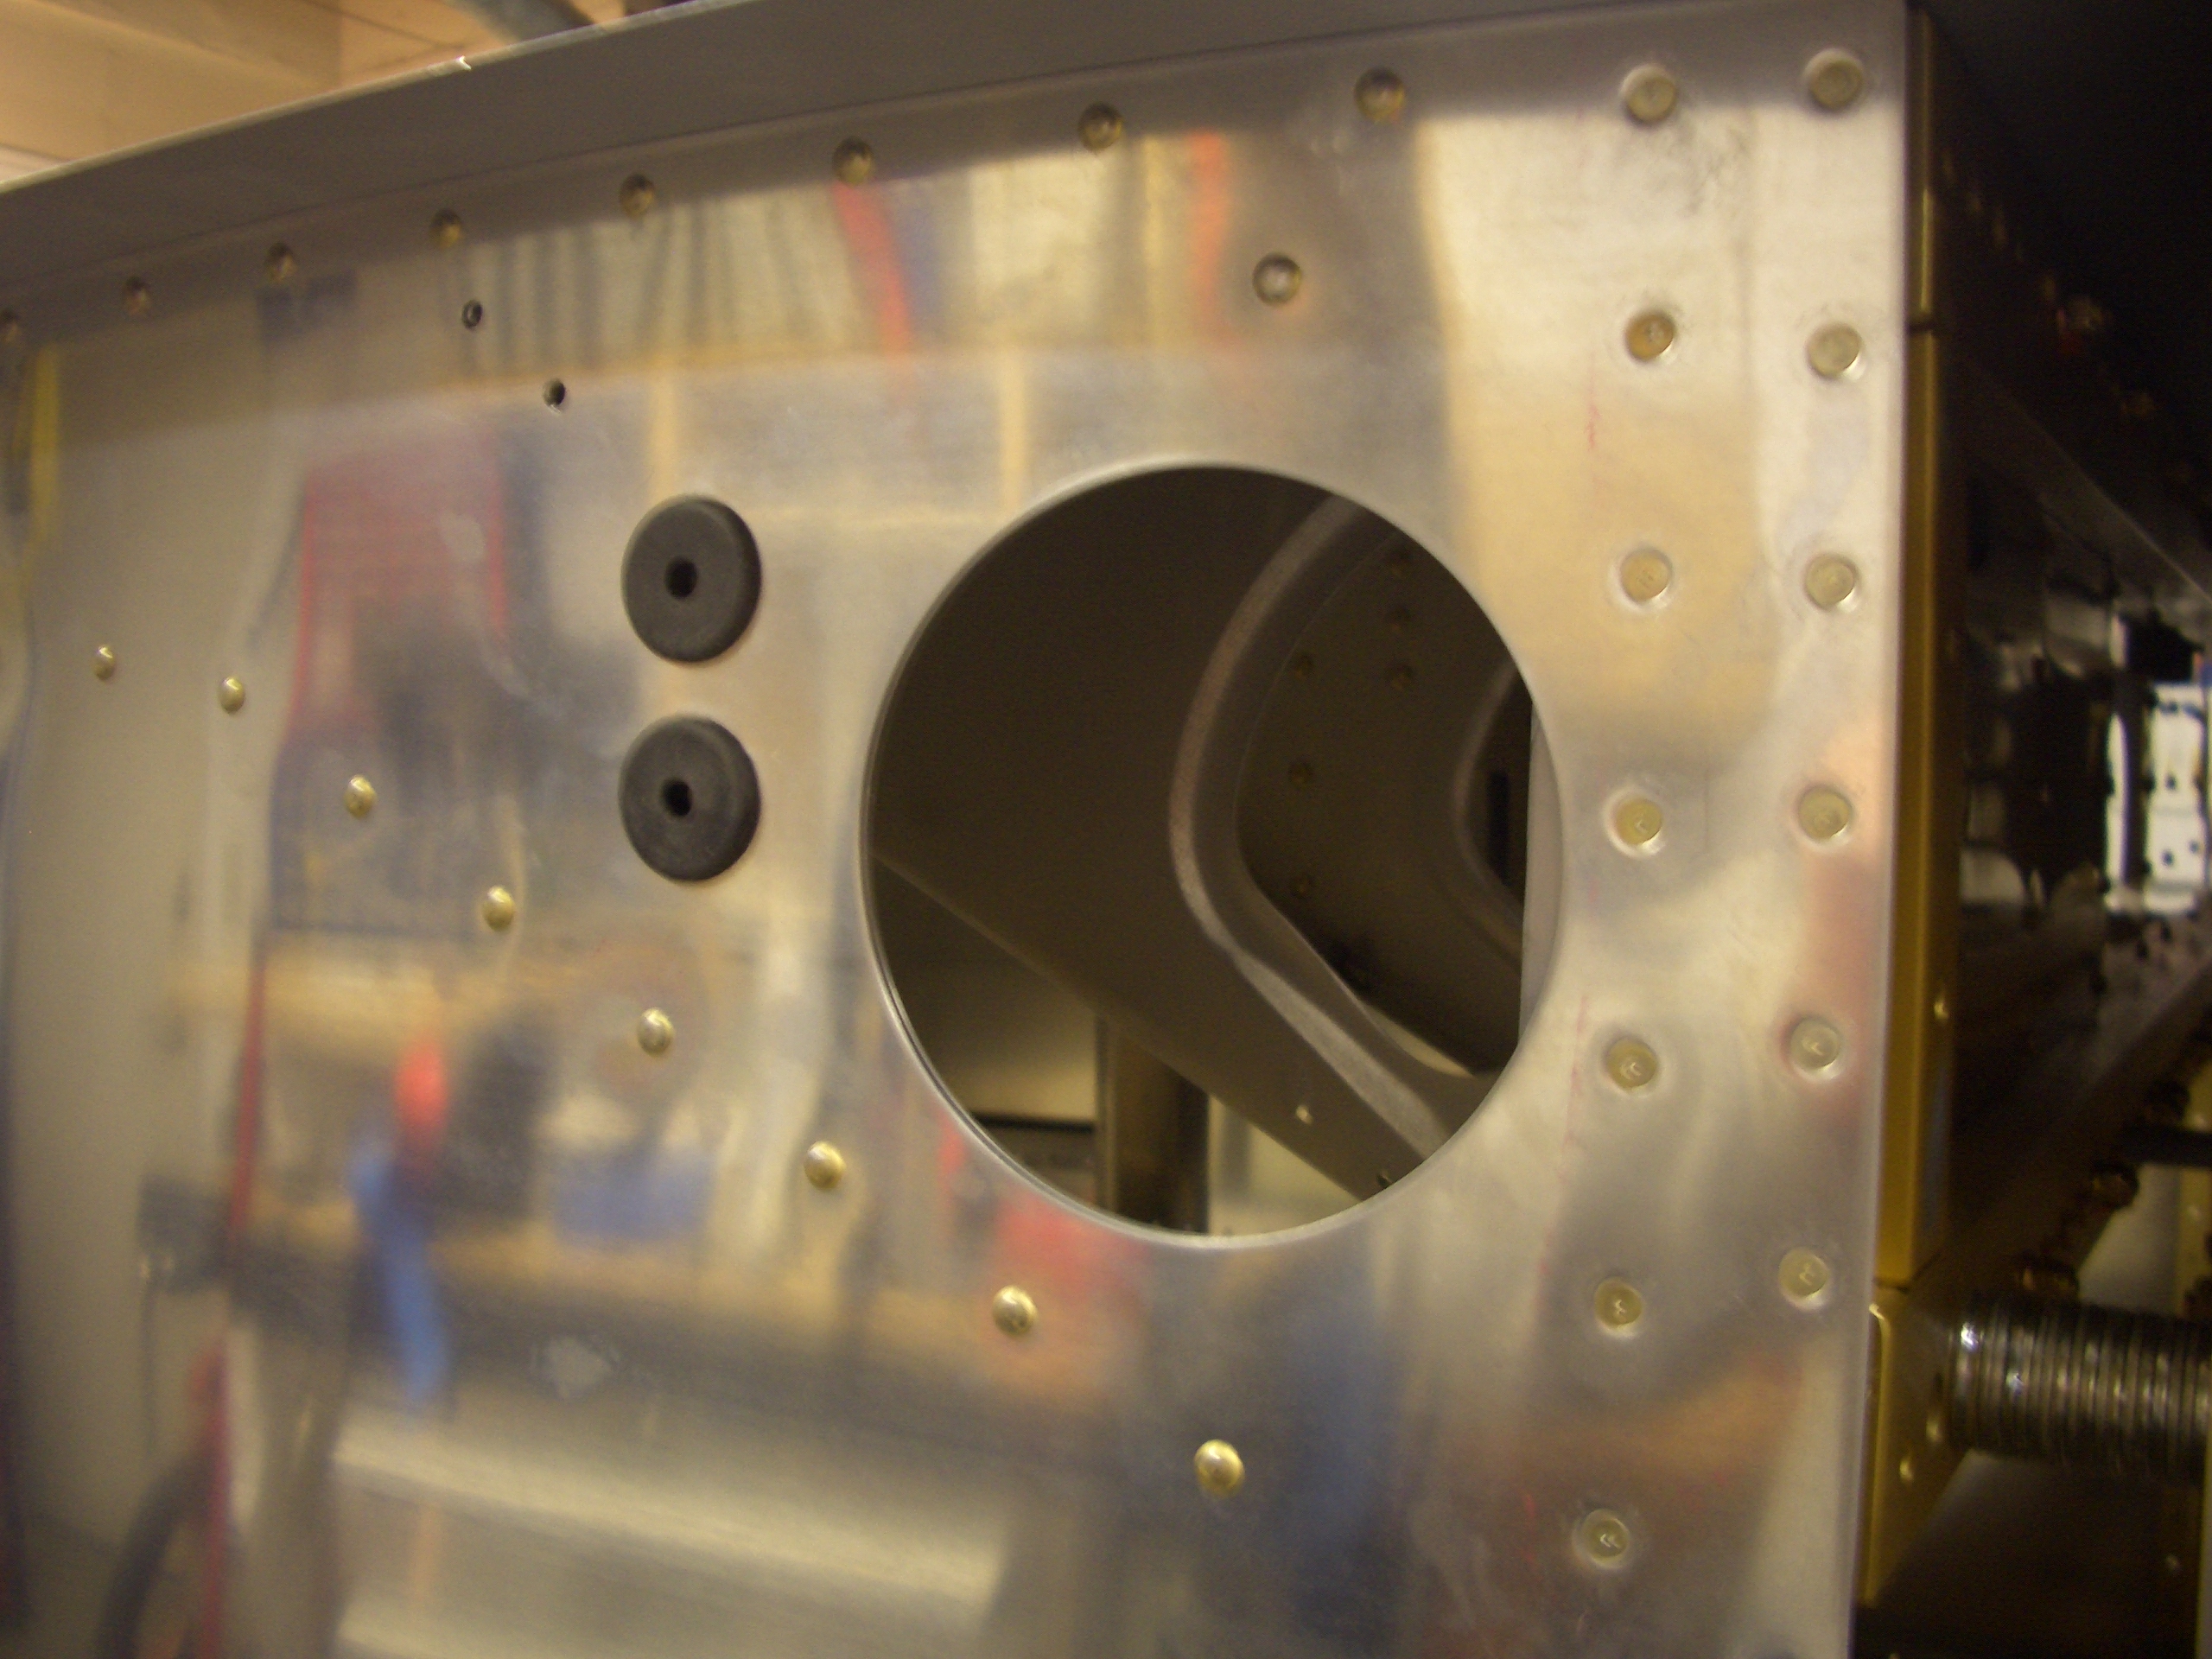
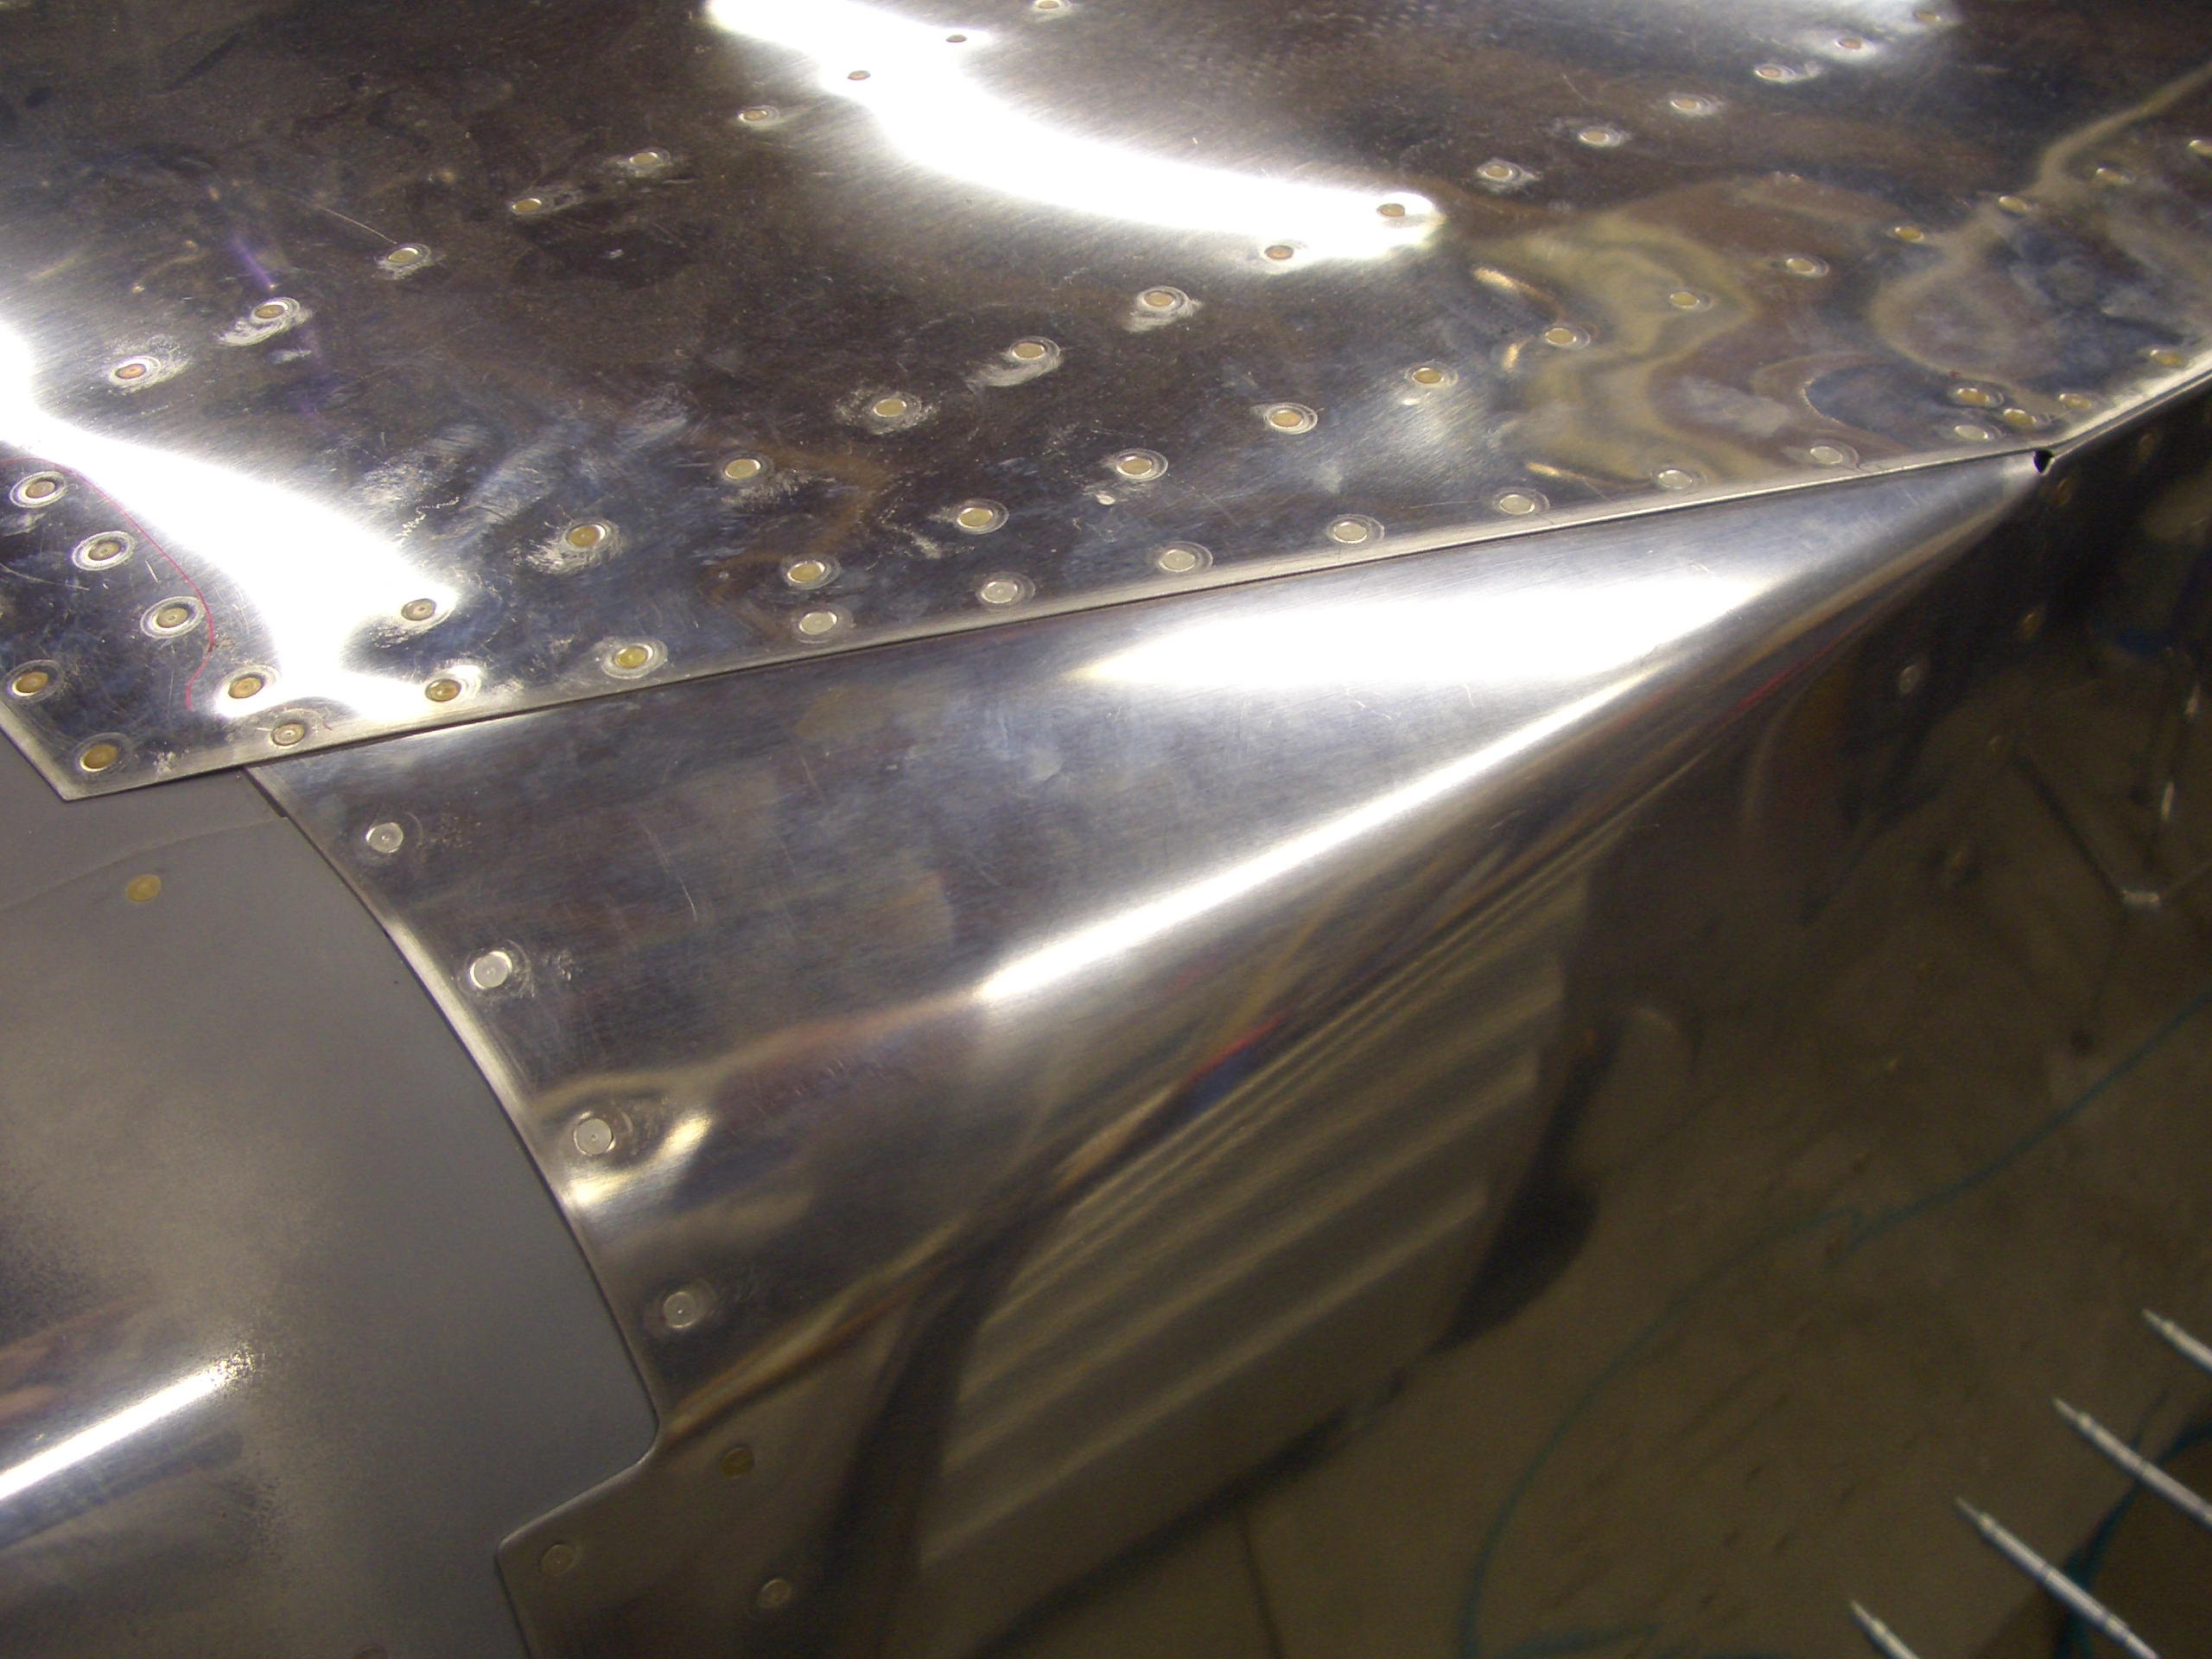
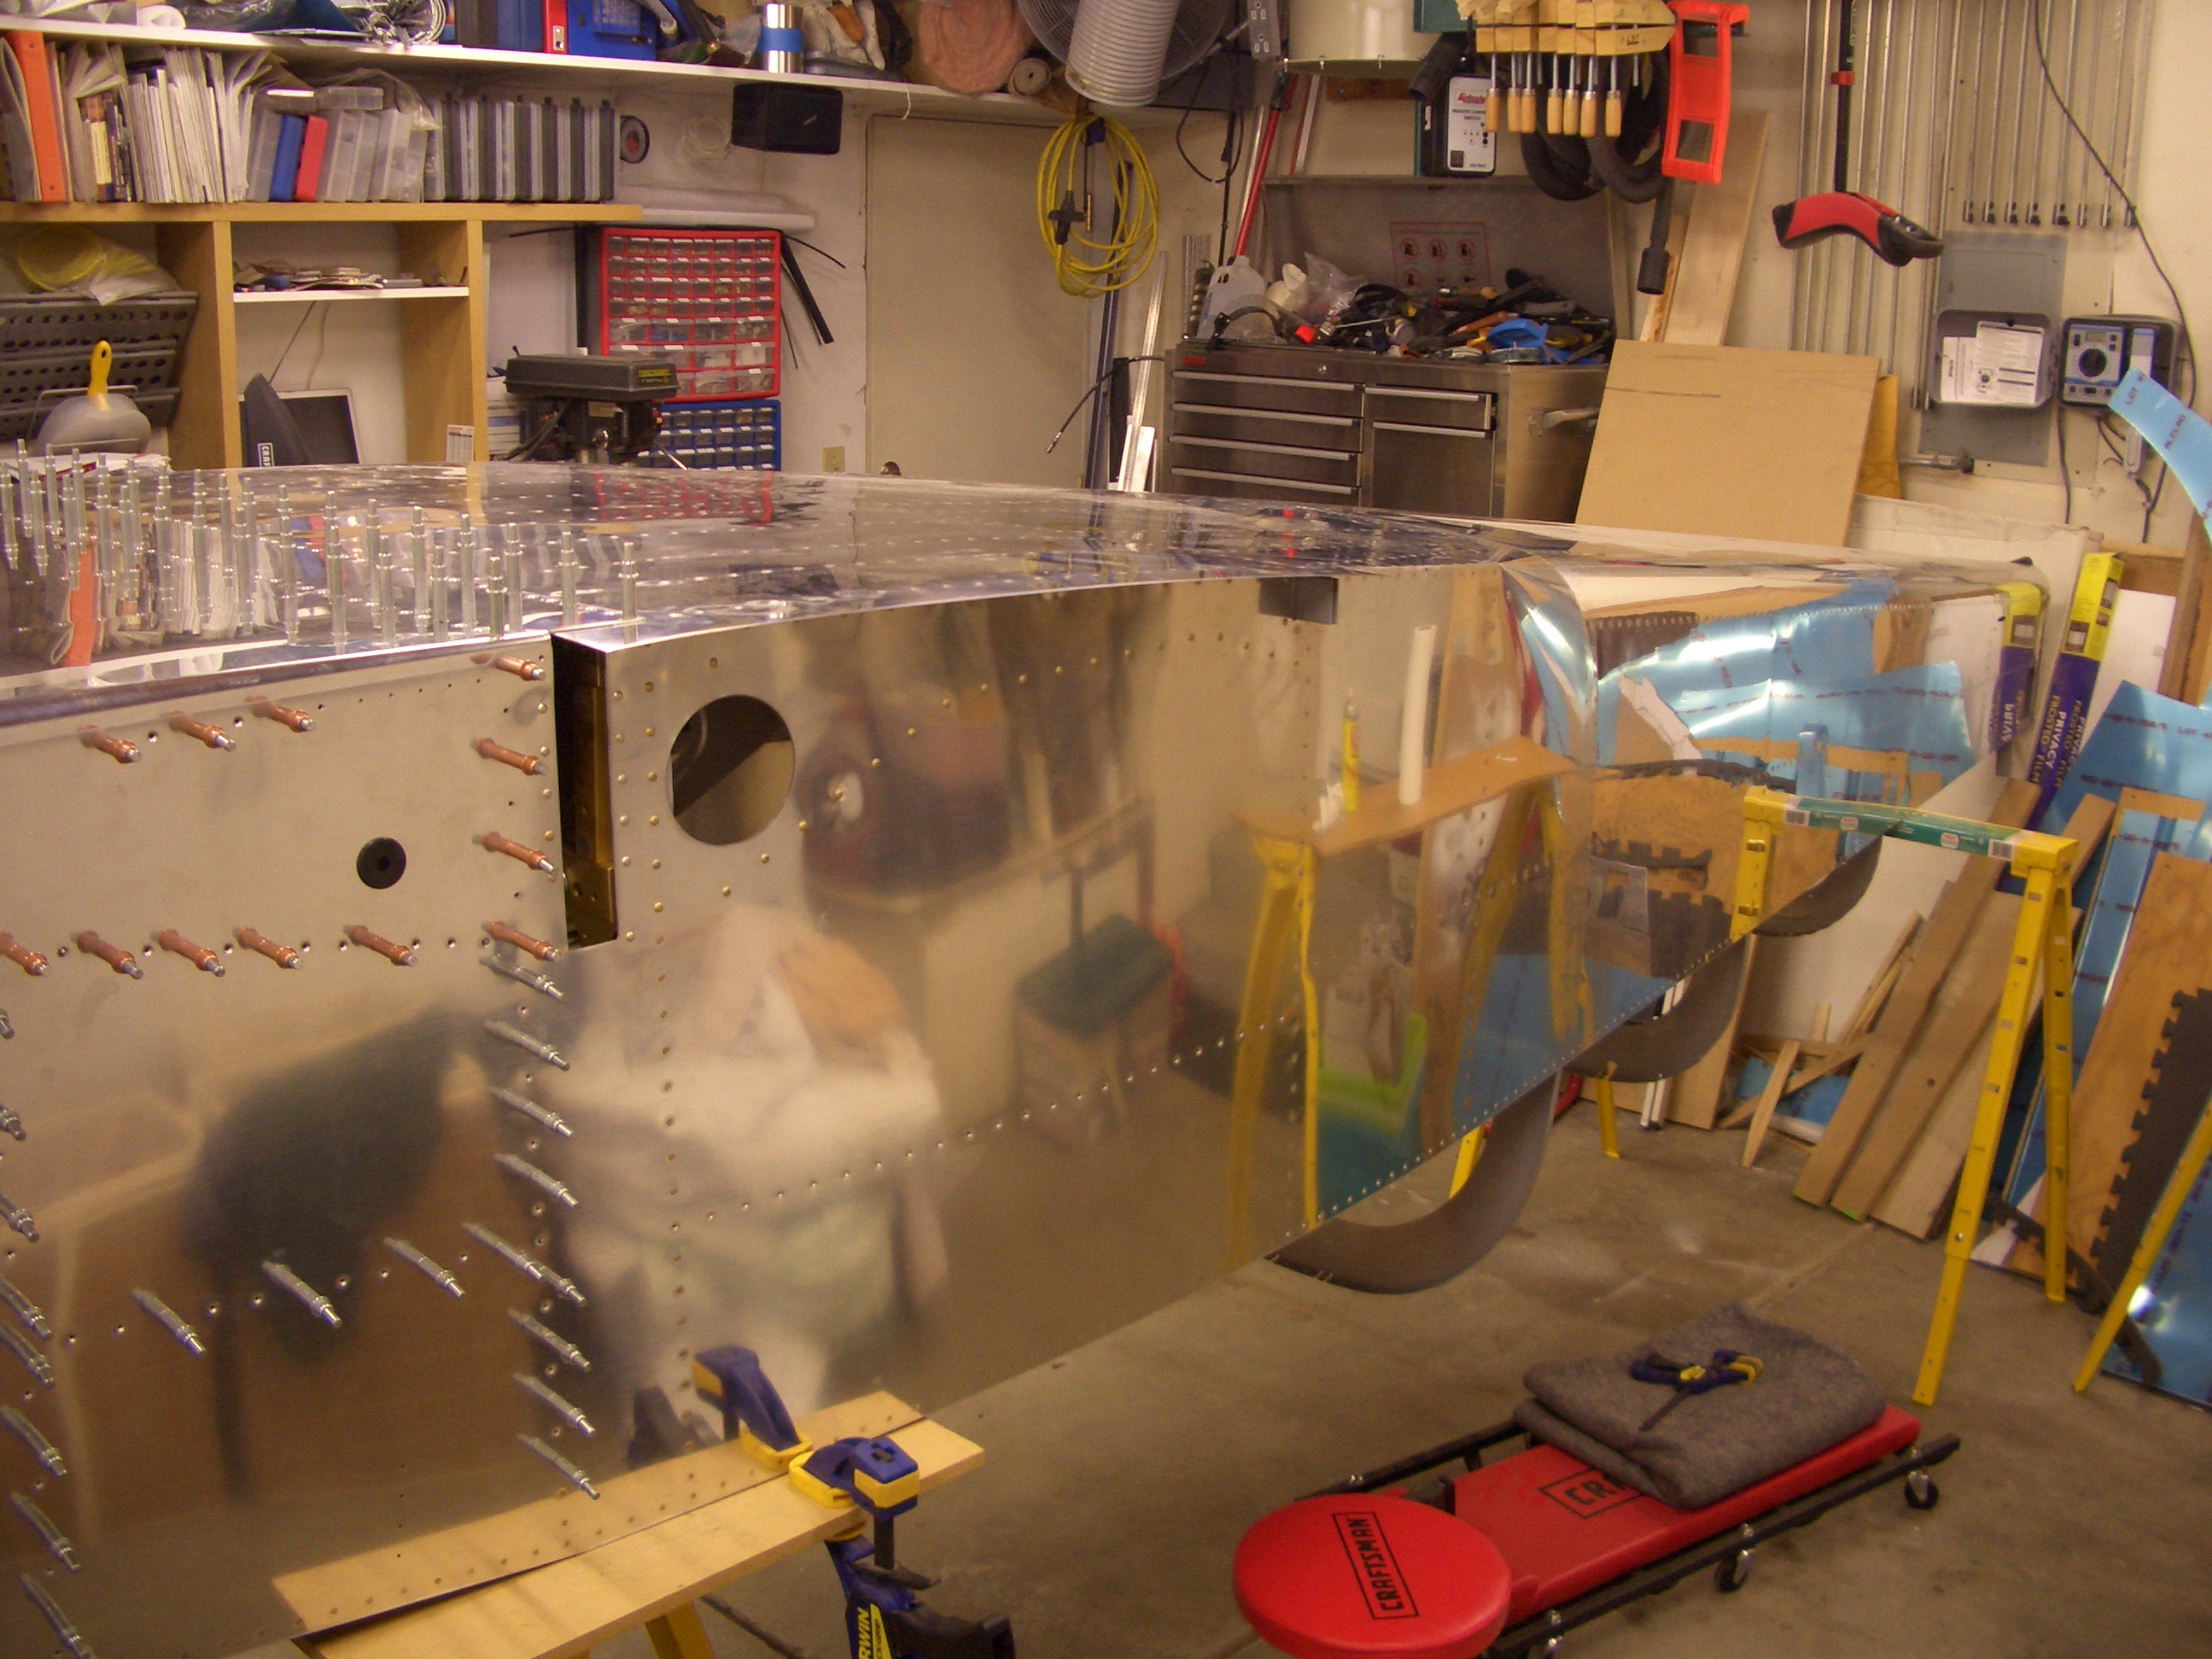
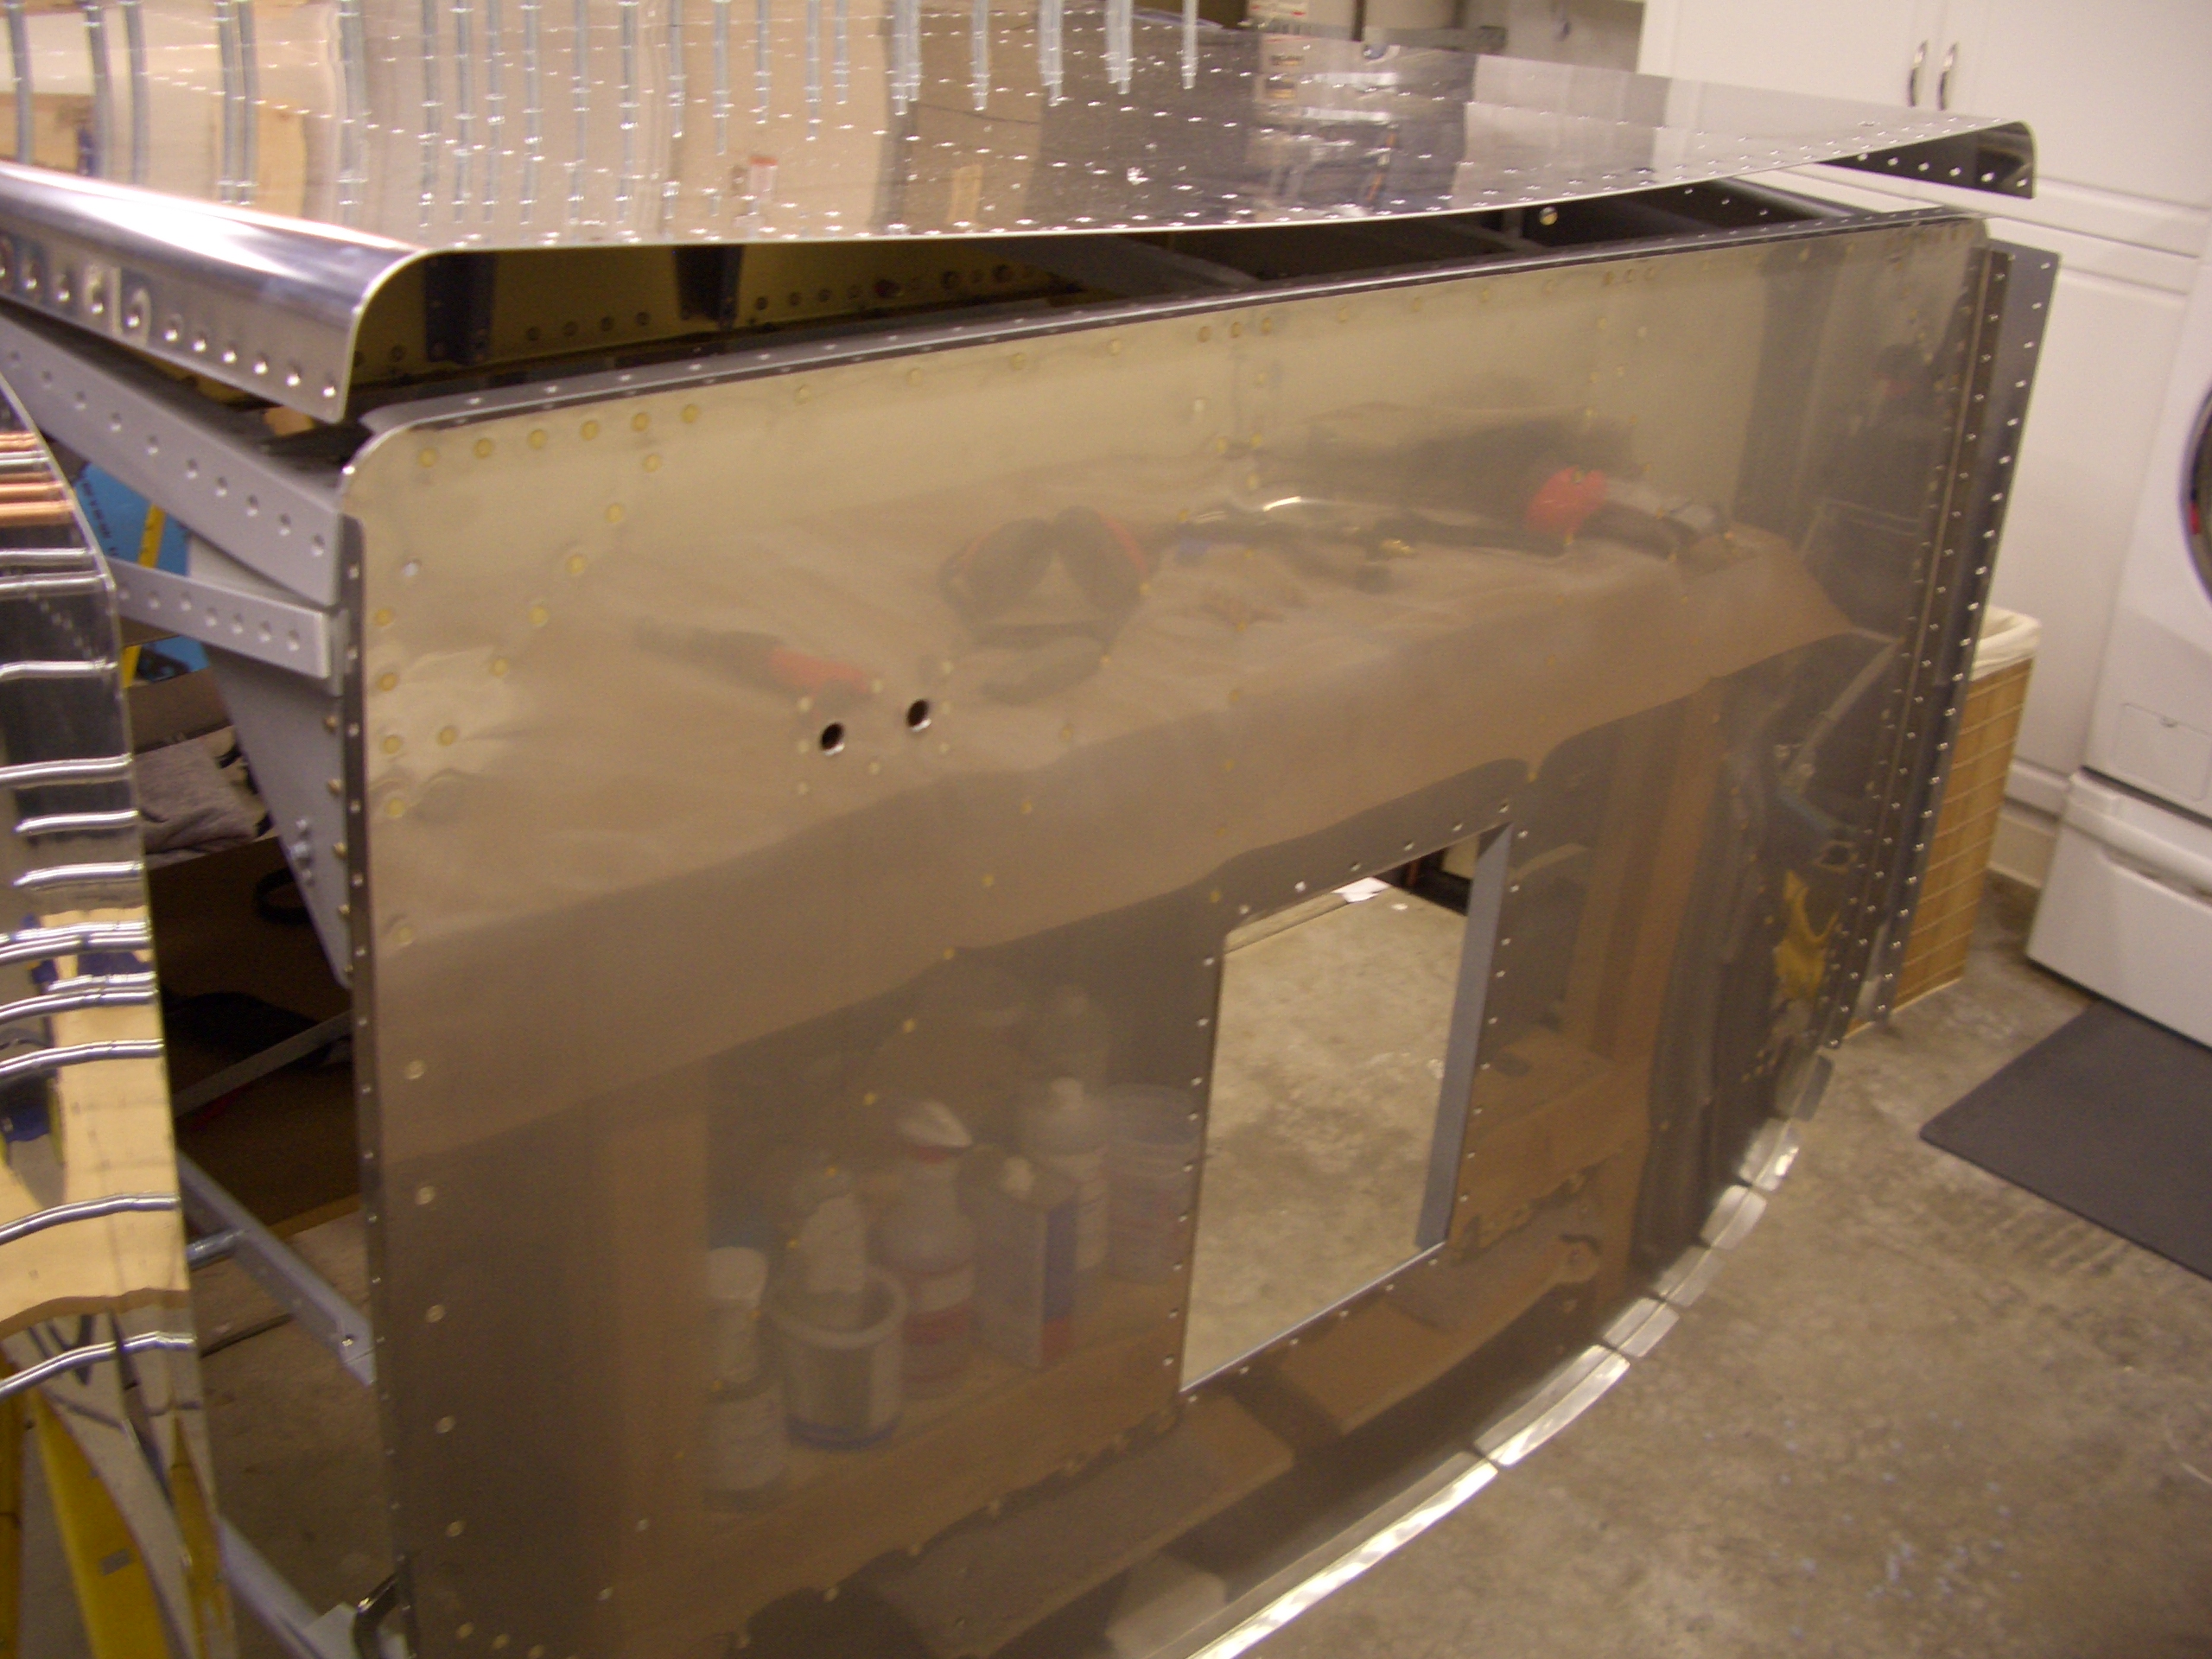
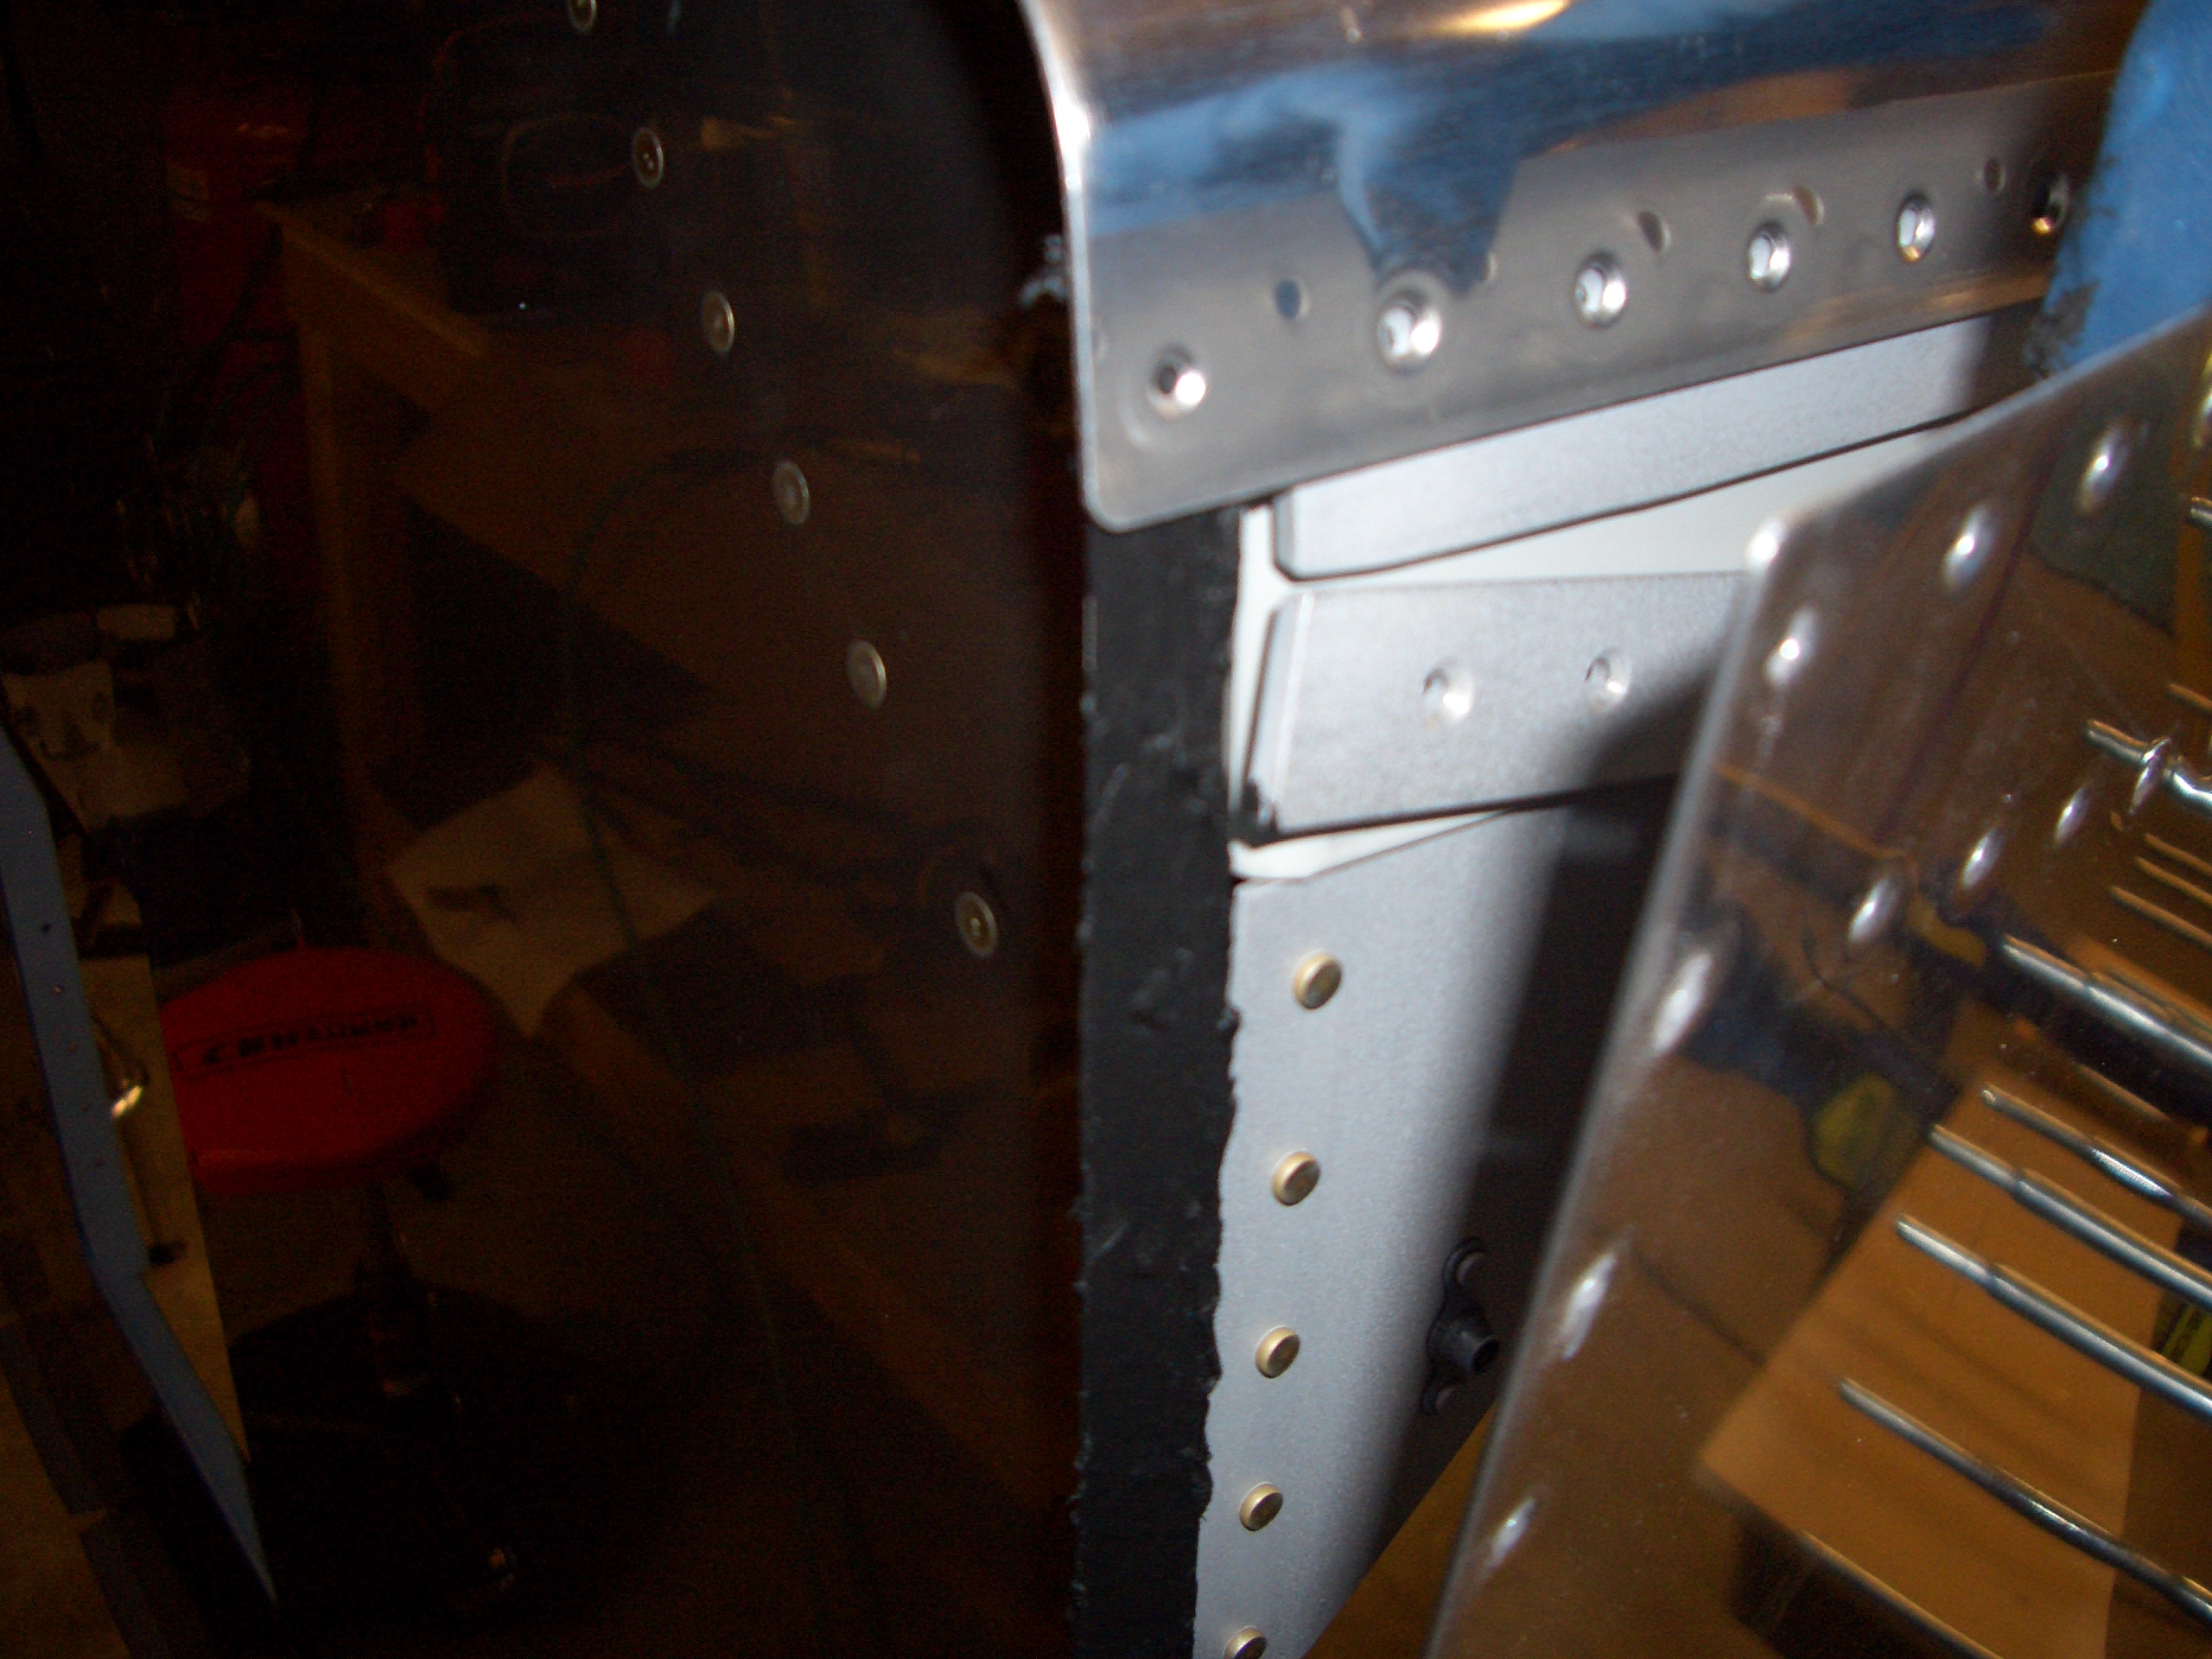
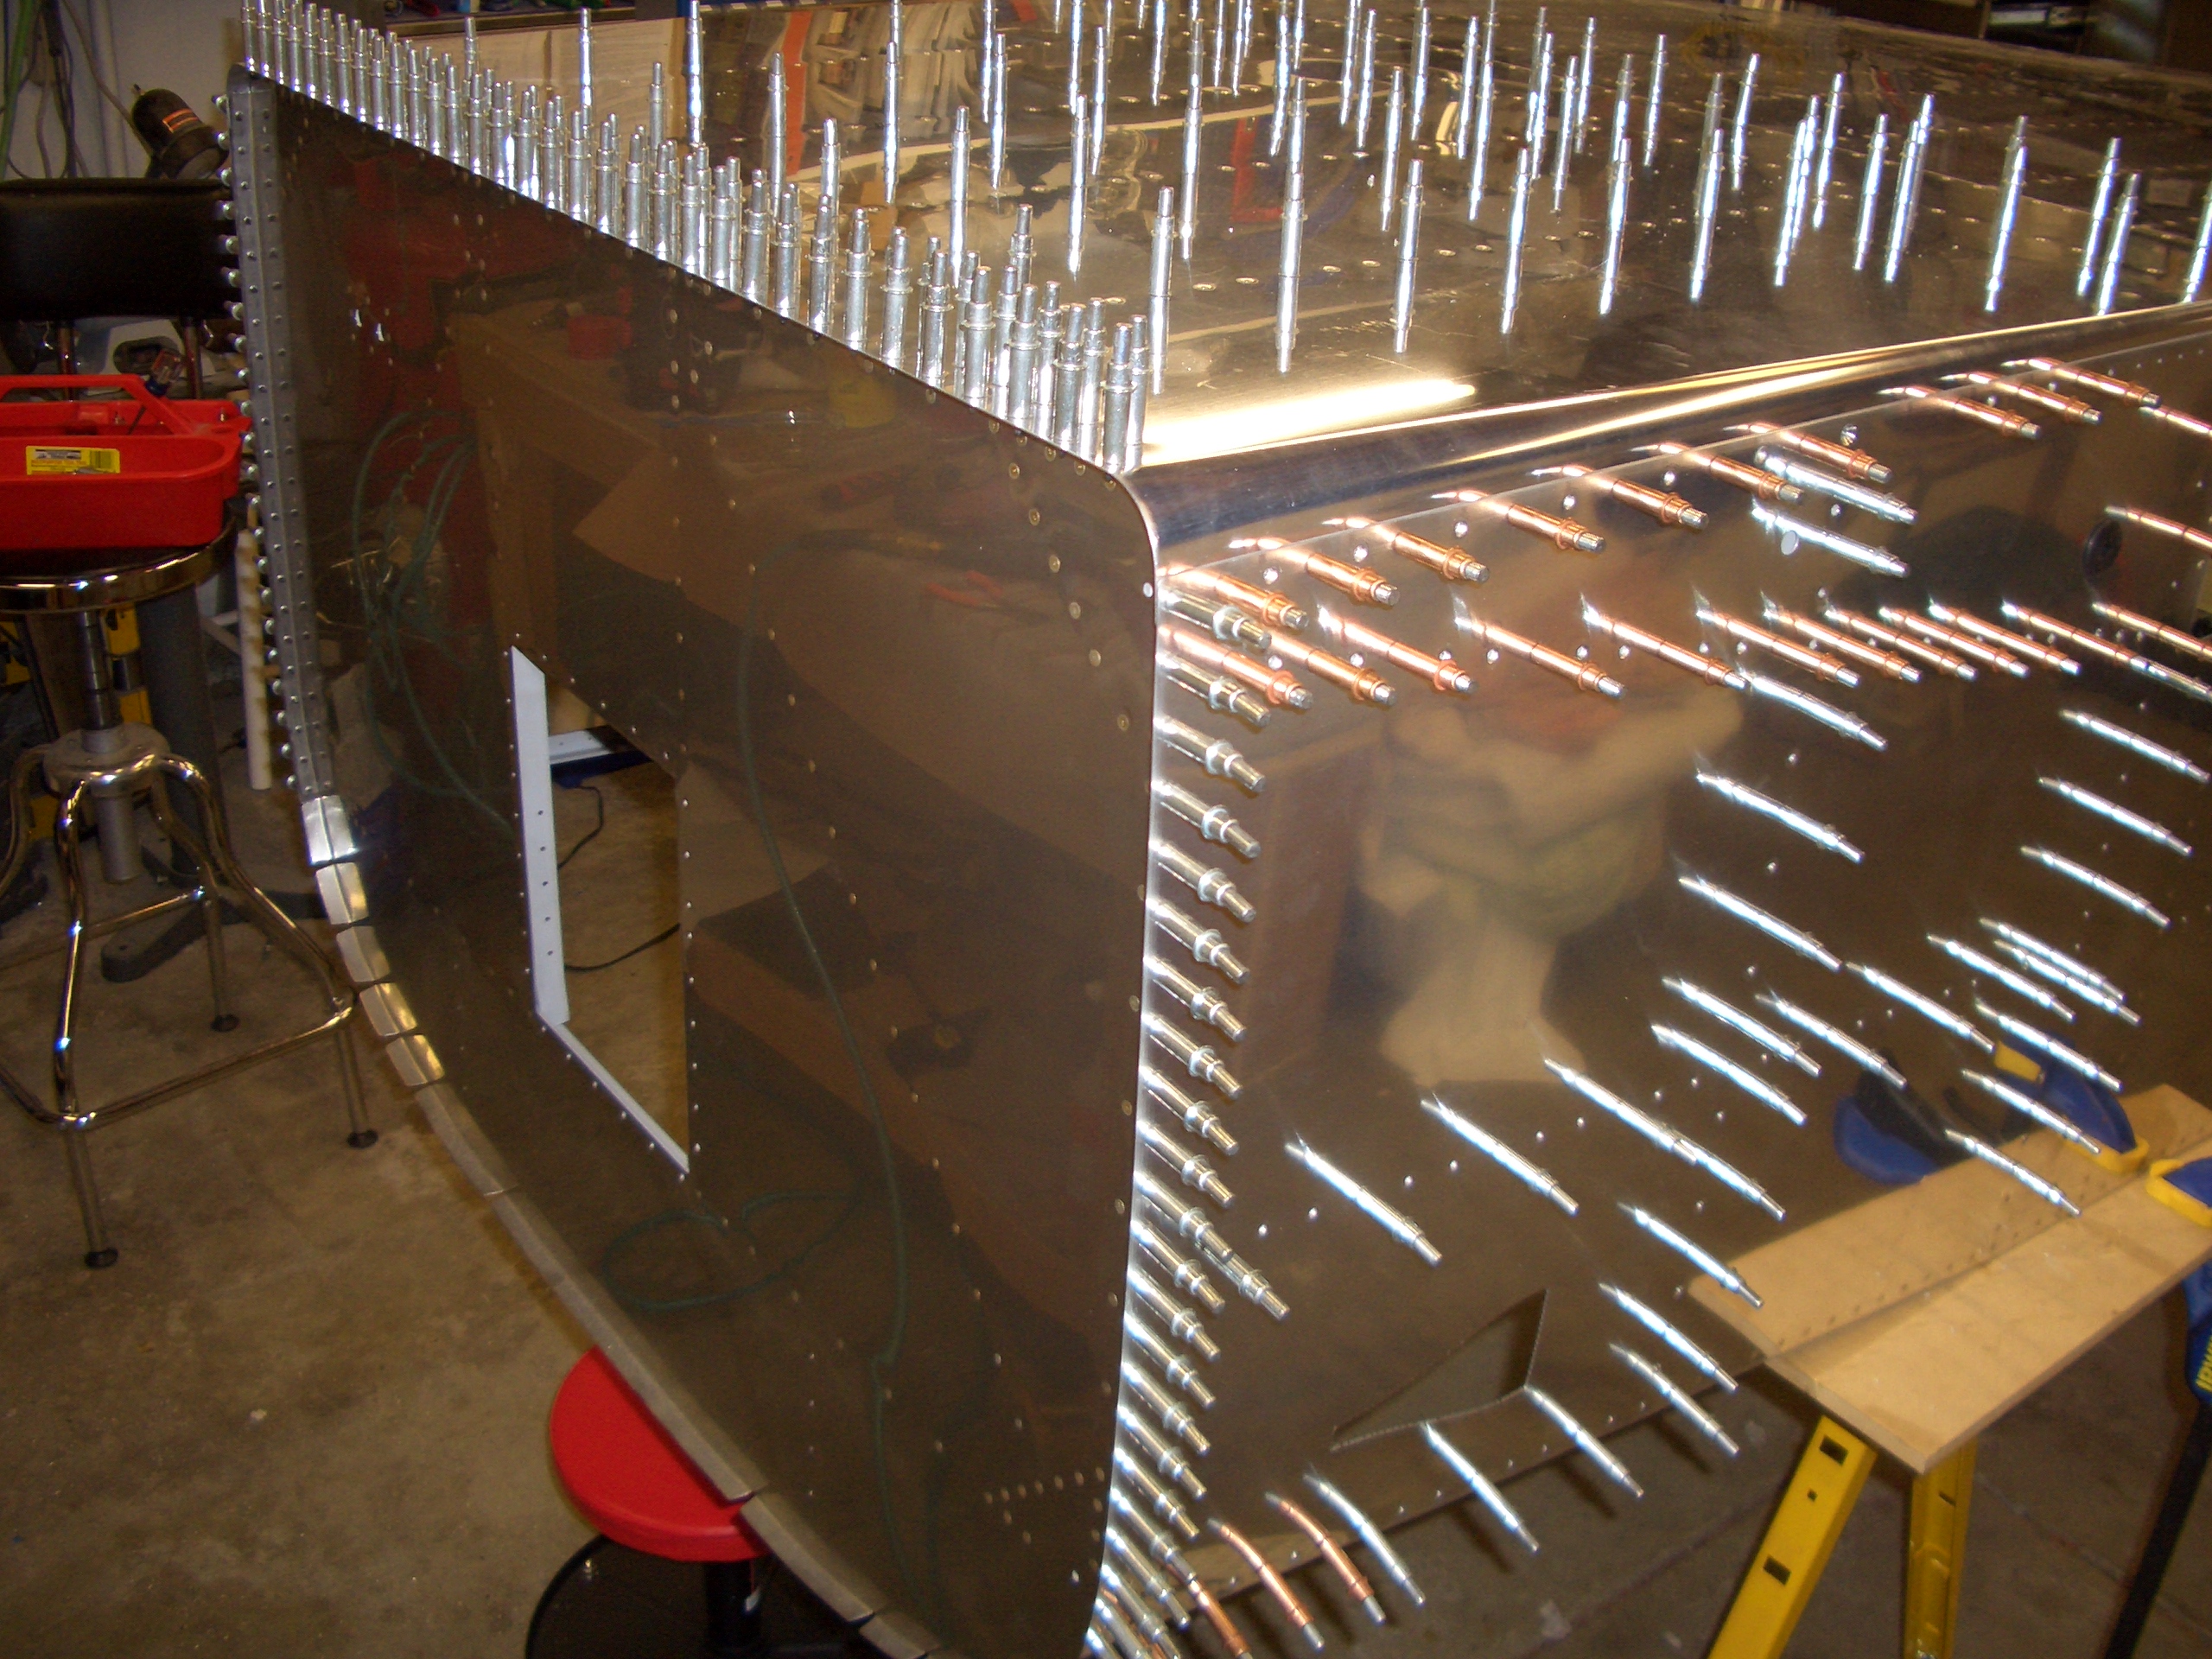
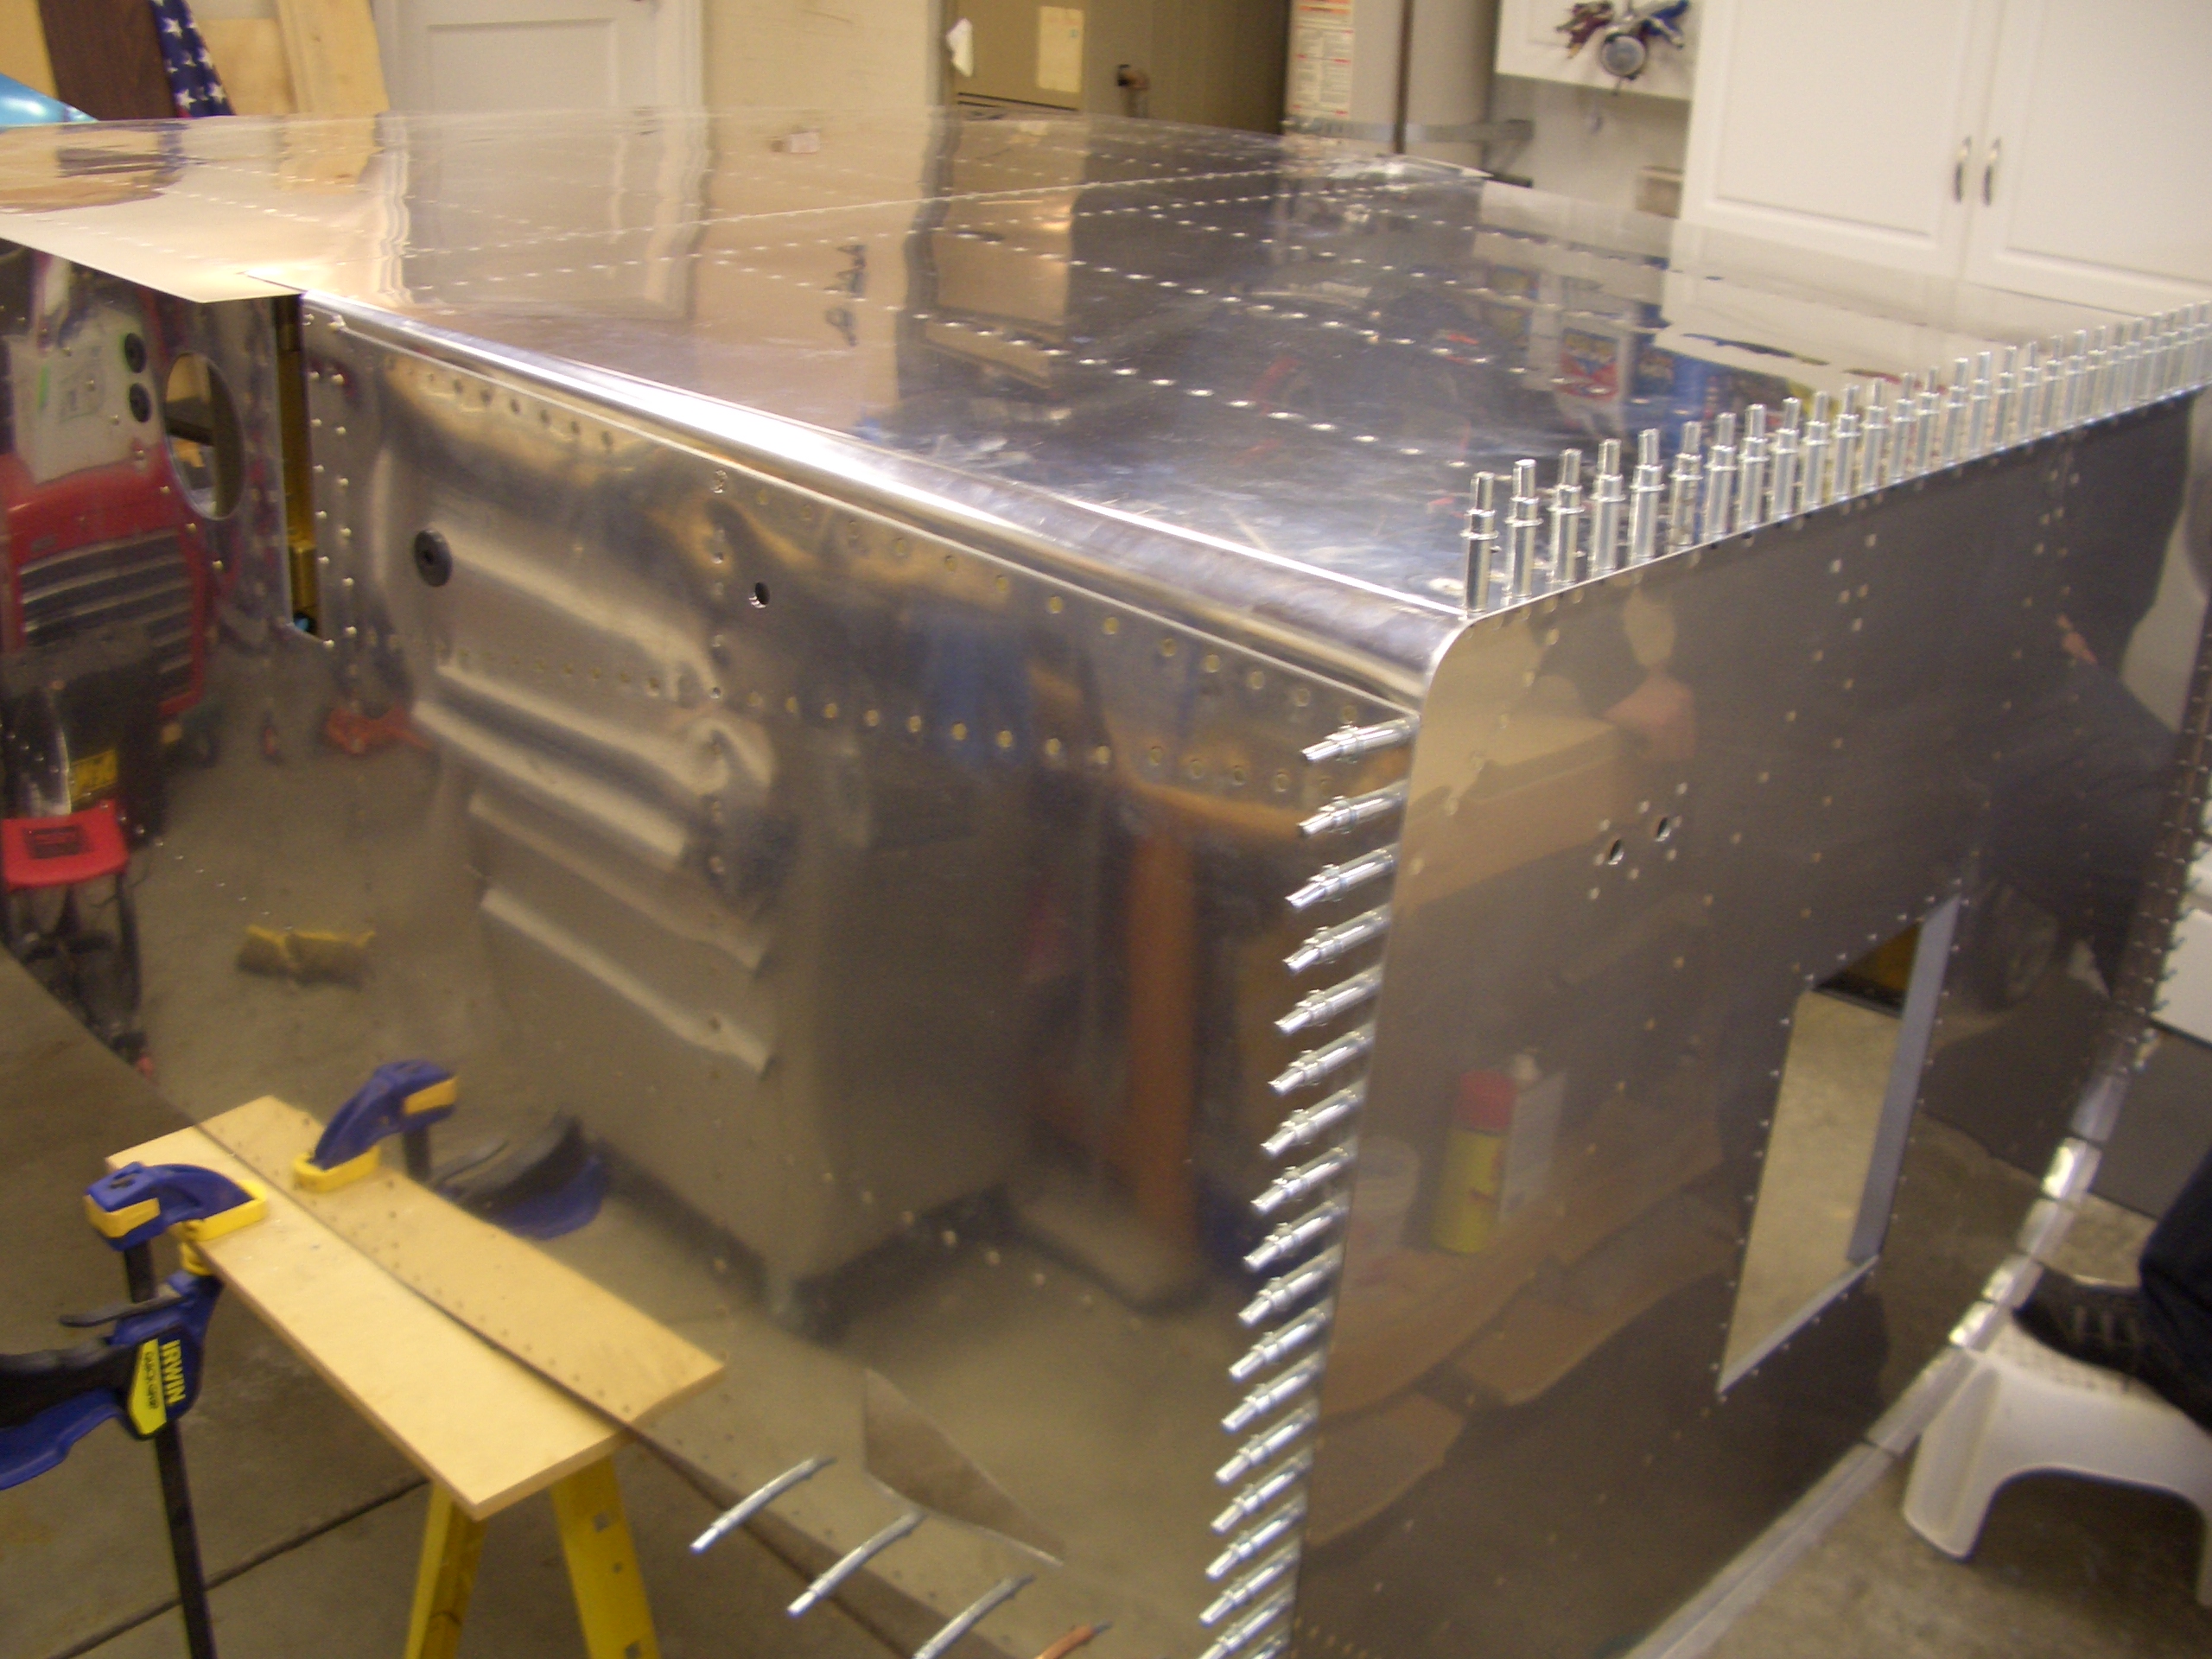
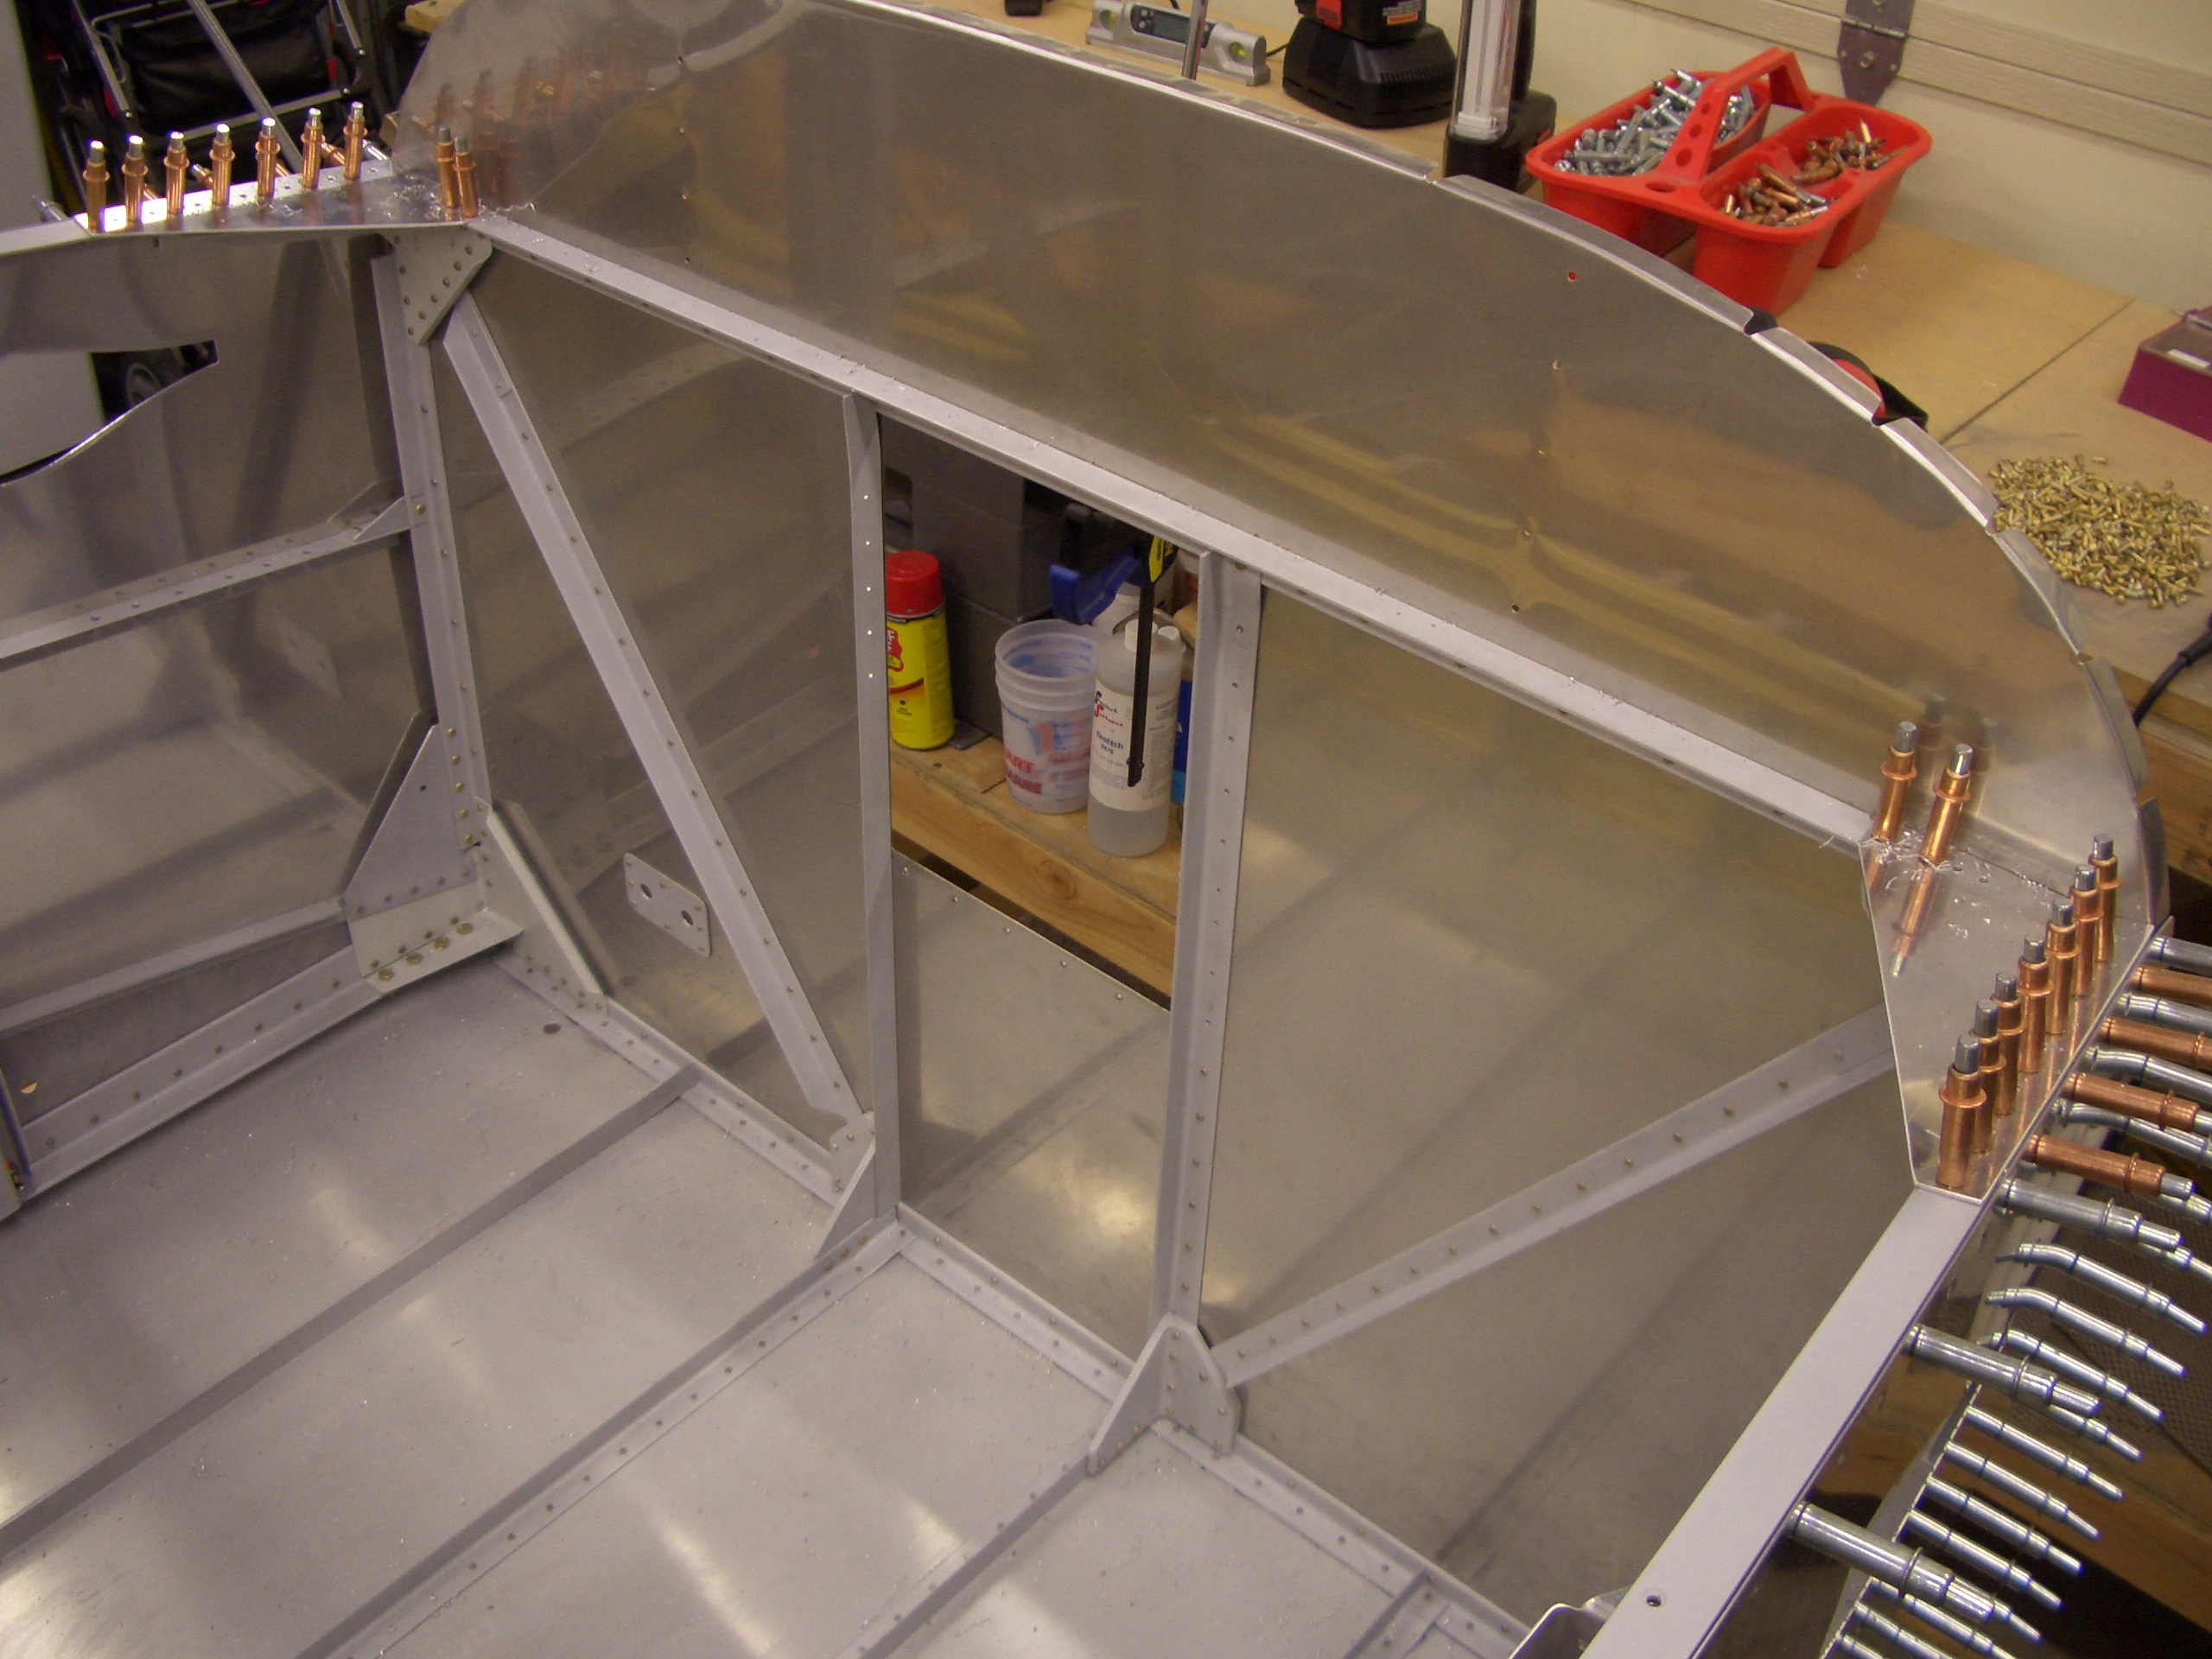
Andre stopped by today to help me finish up the riveting on the forward fuselage.  We didn’t get any pictures during the process, but here is the finished result.  The holes along the firewall will wait until they’re match drilled to the hinges that are used to attach the cowling.

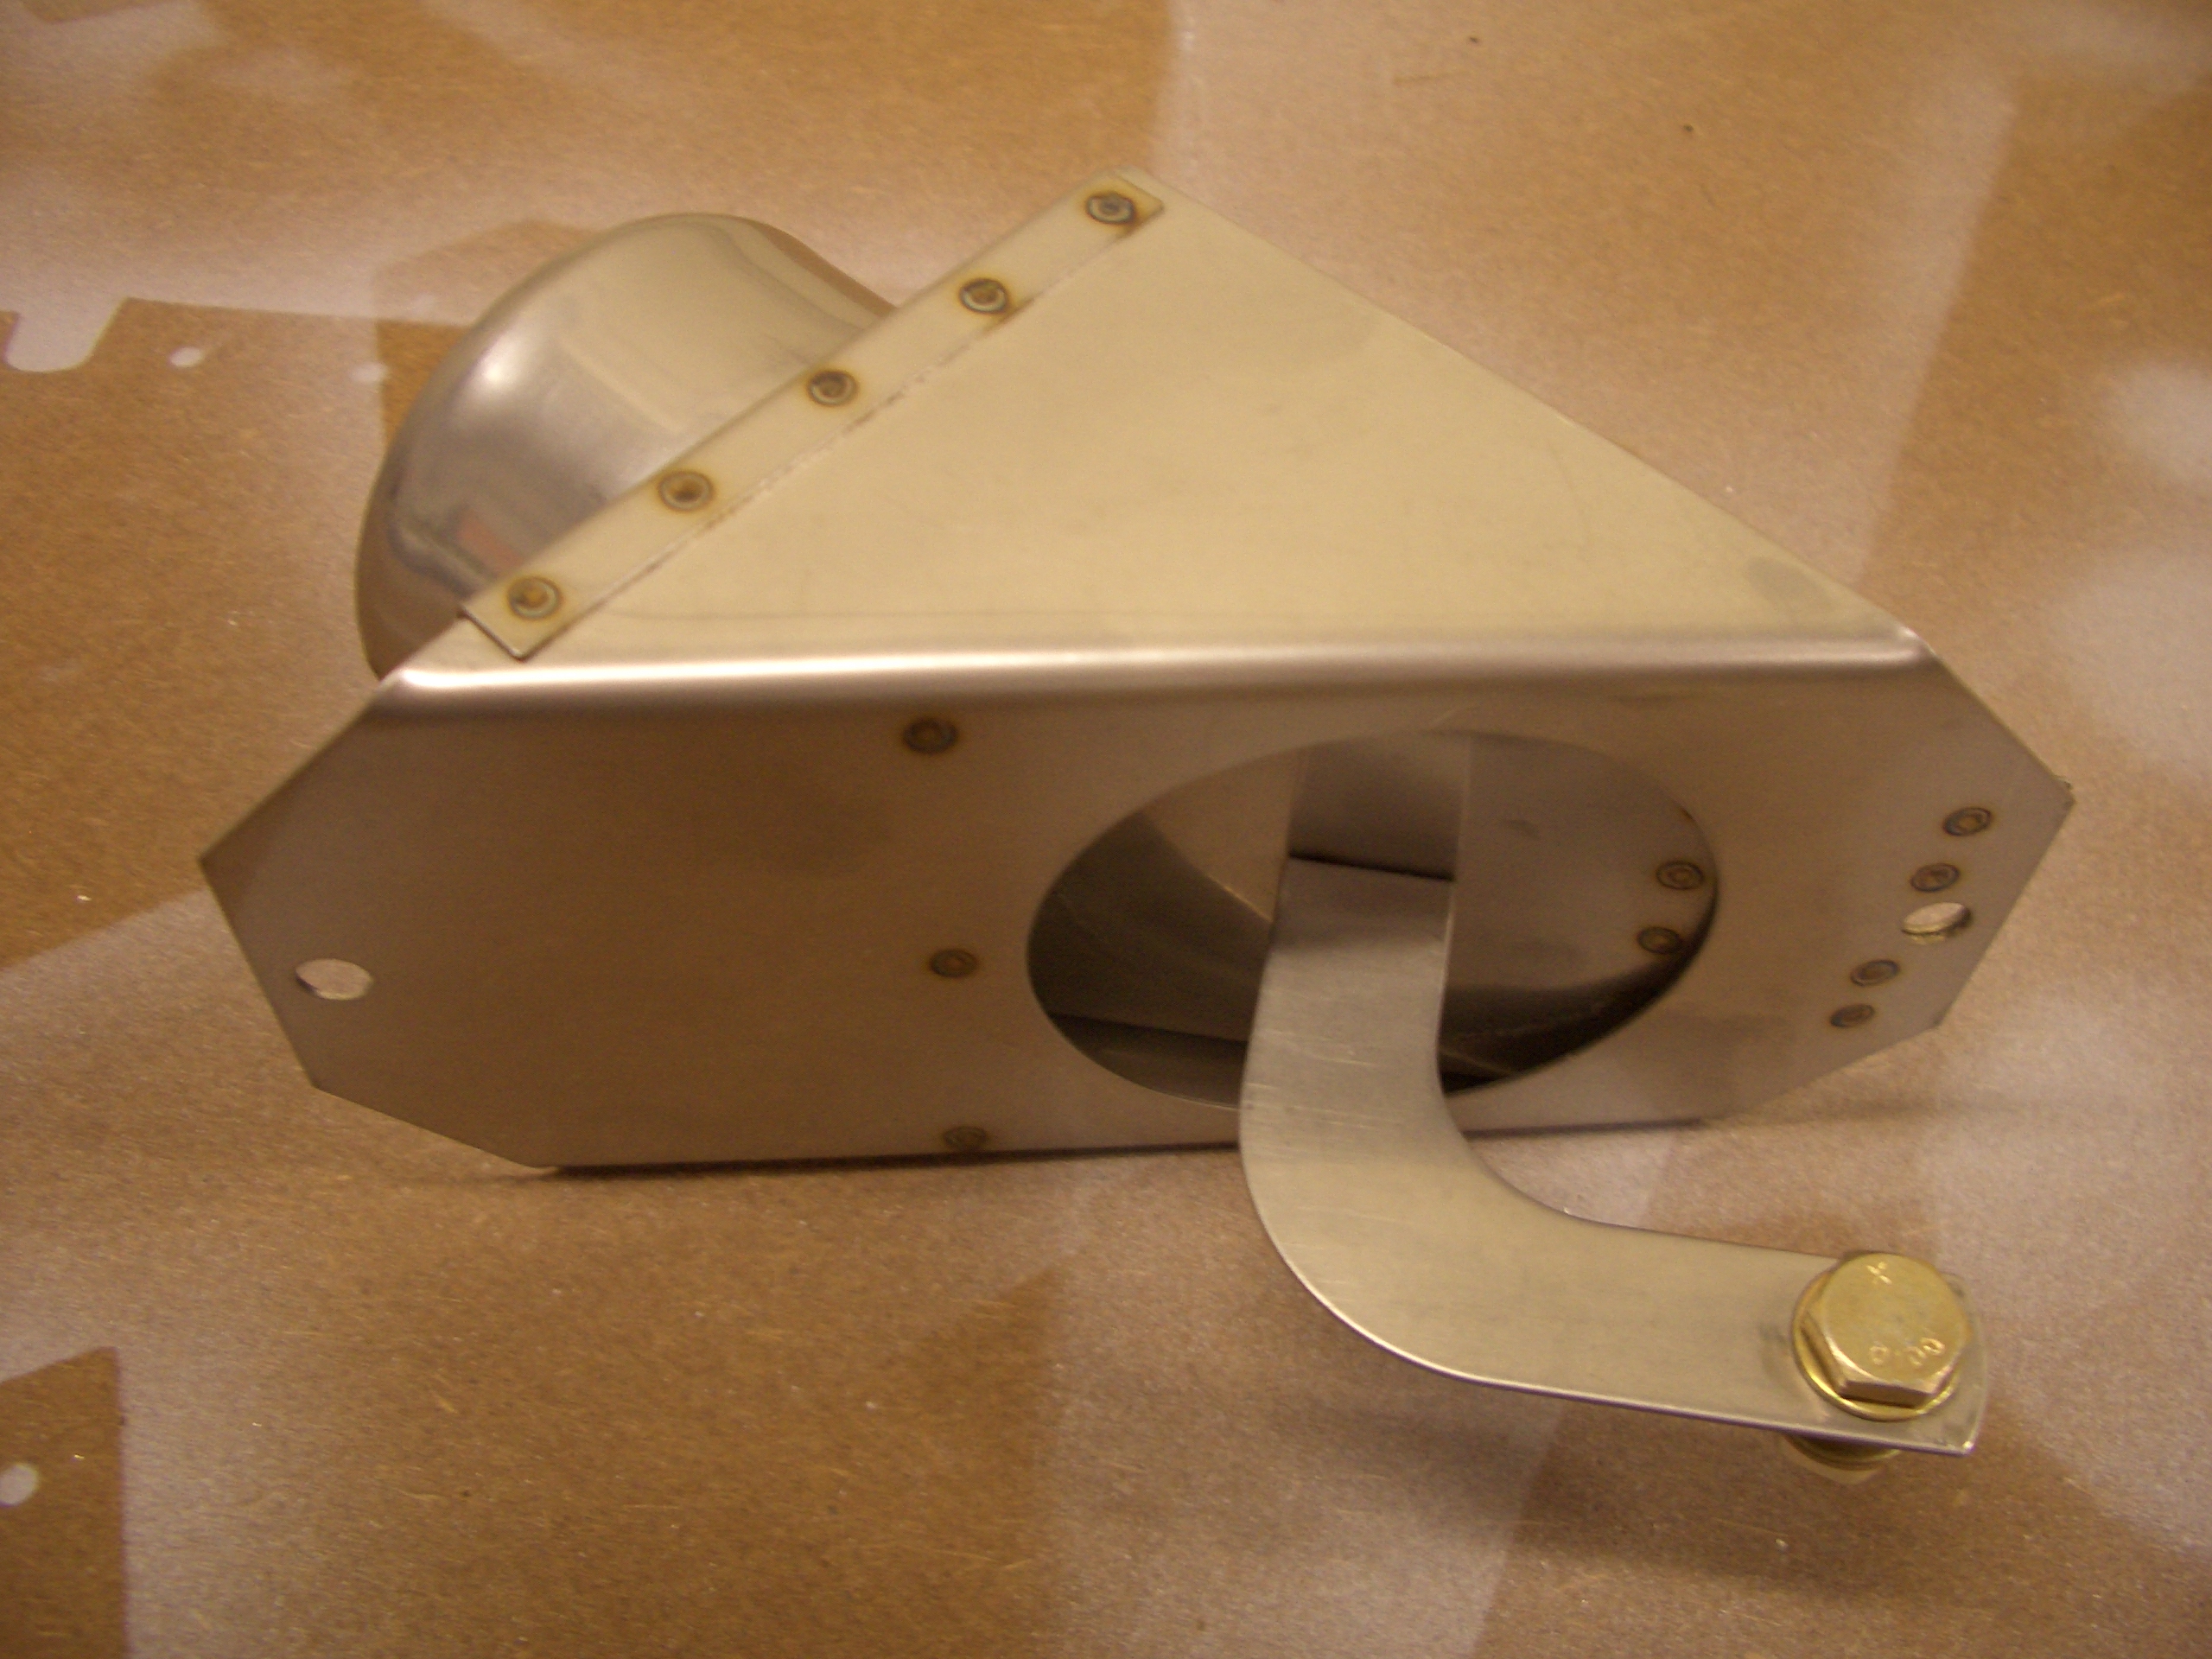
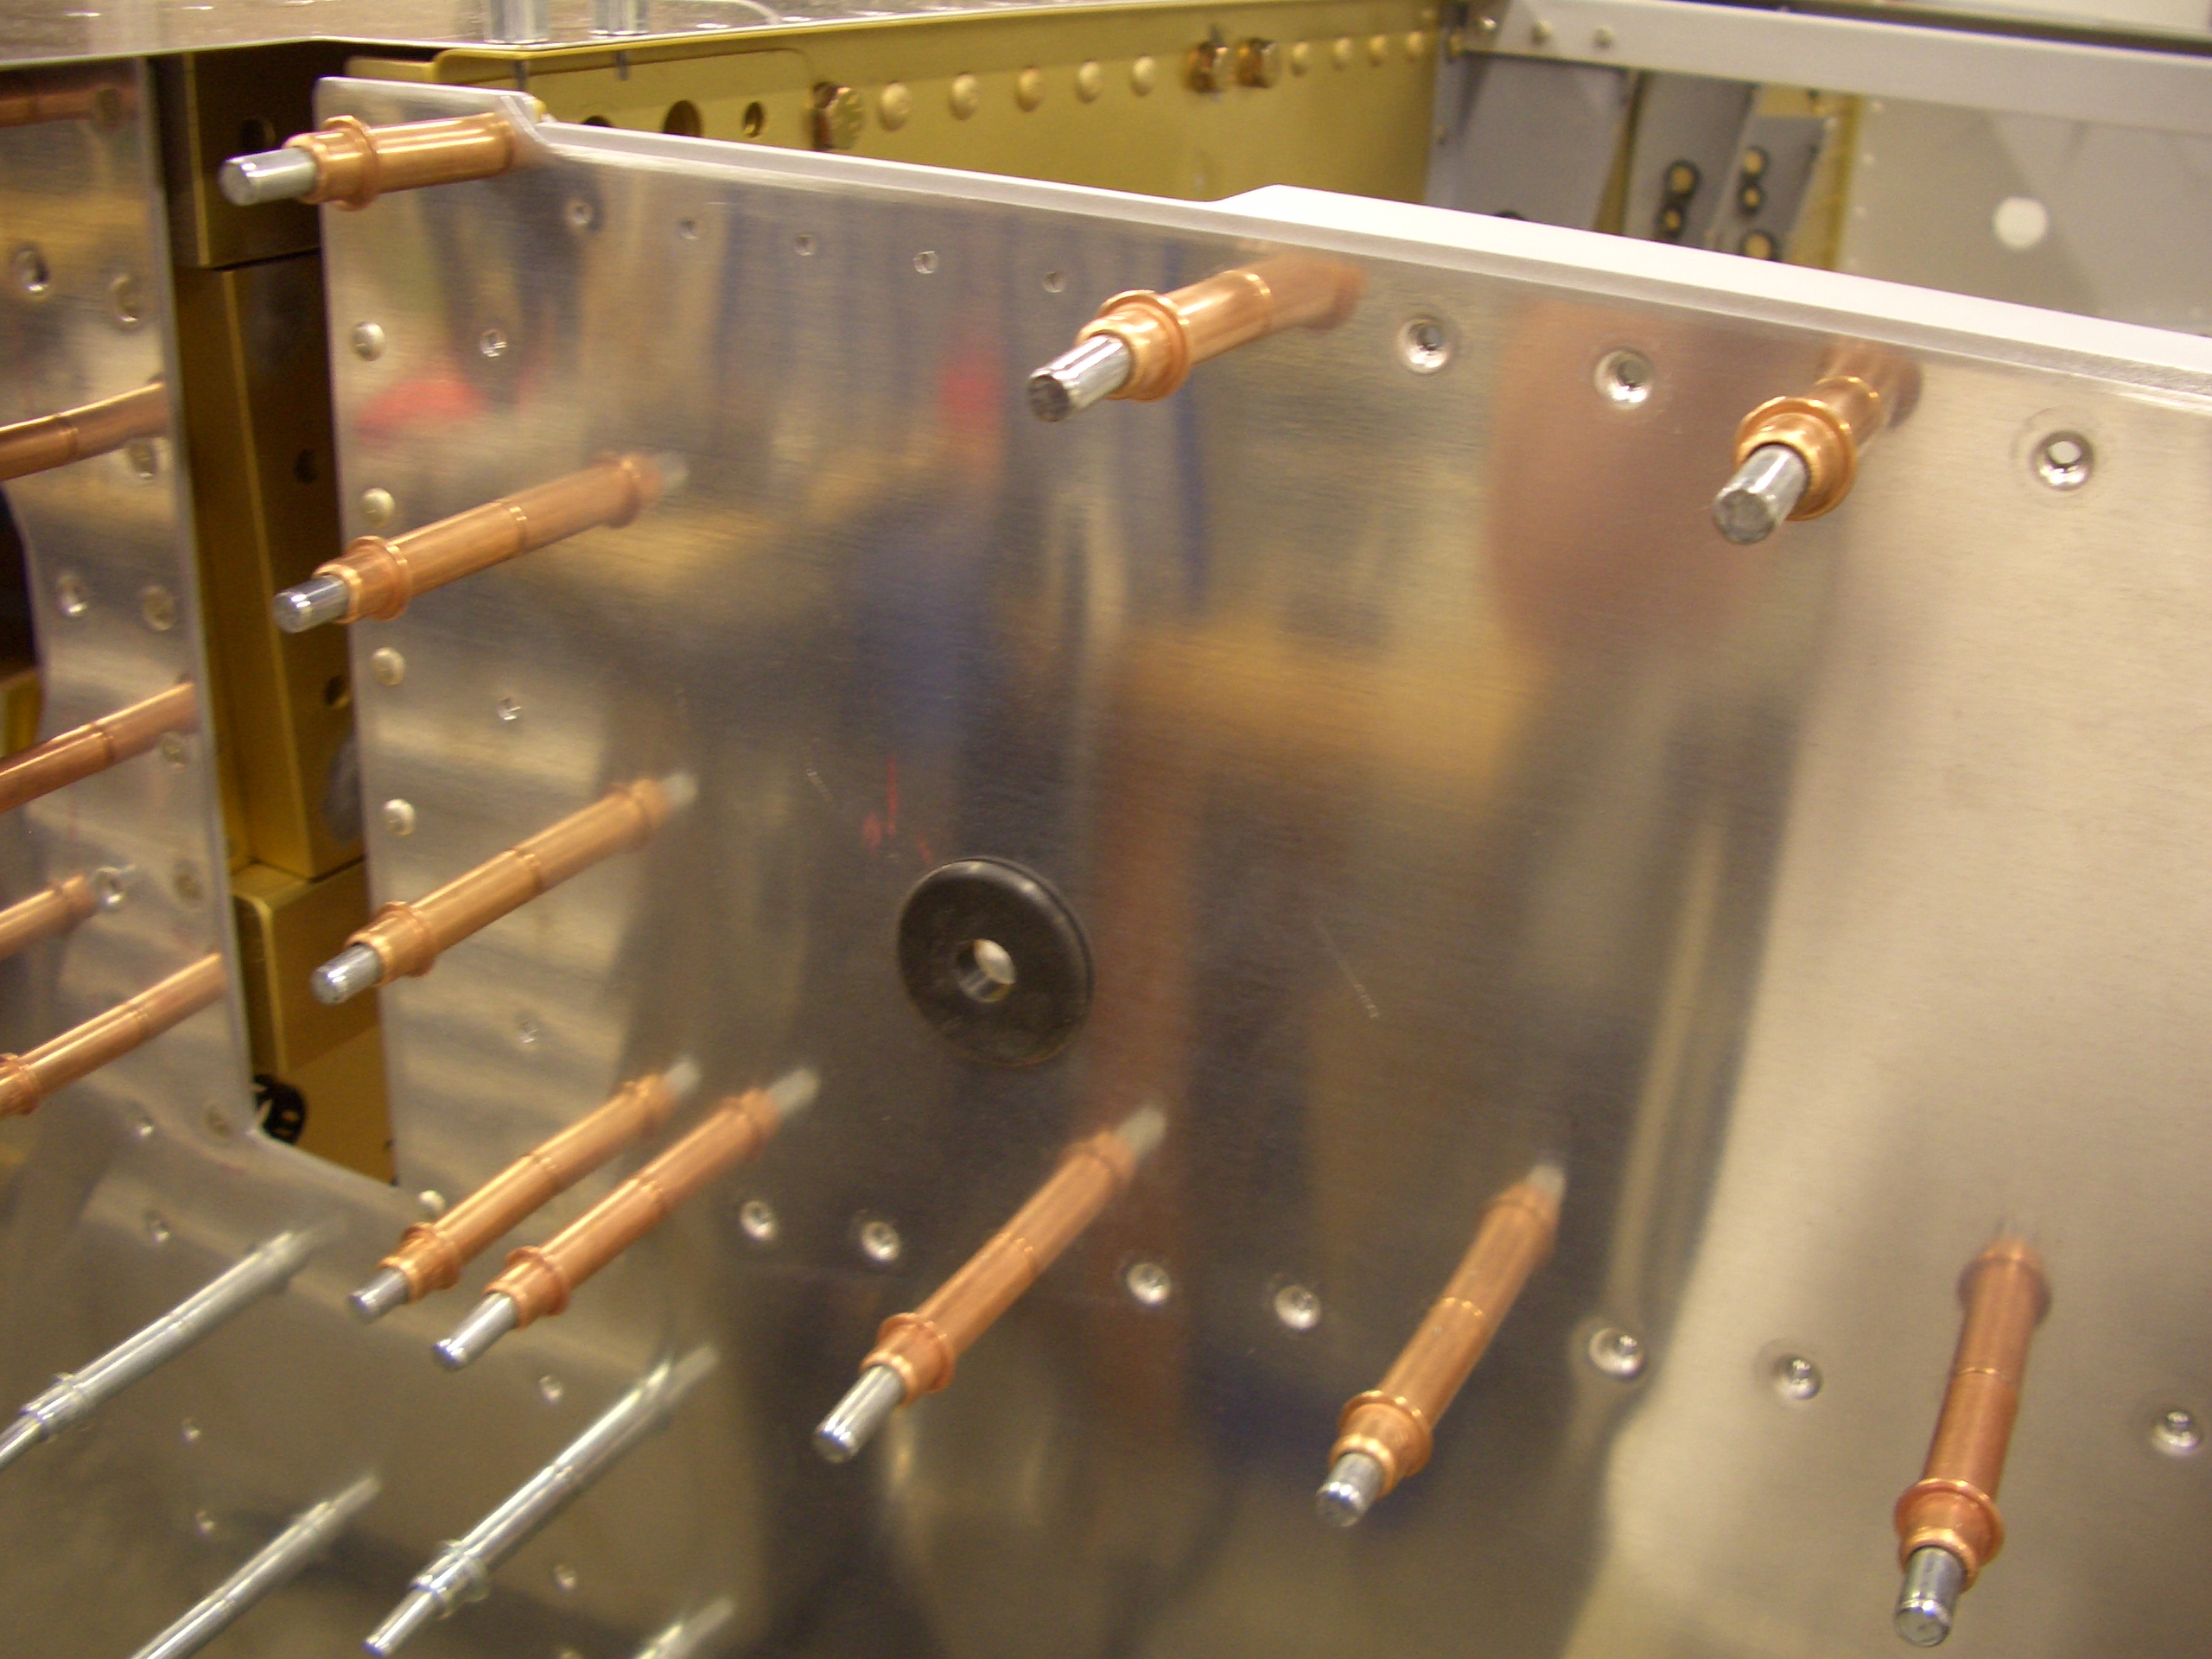
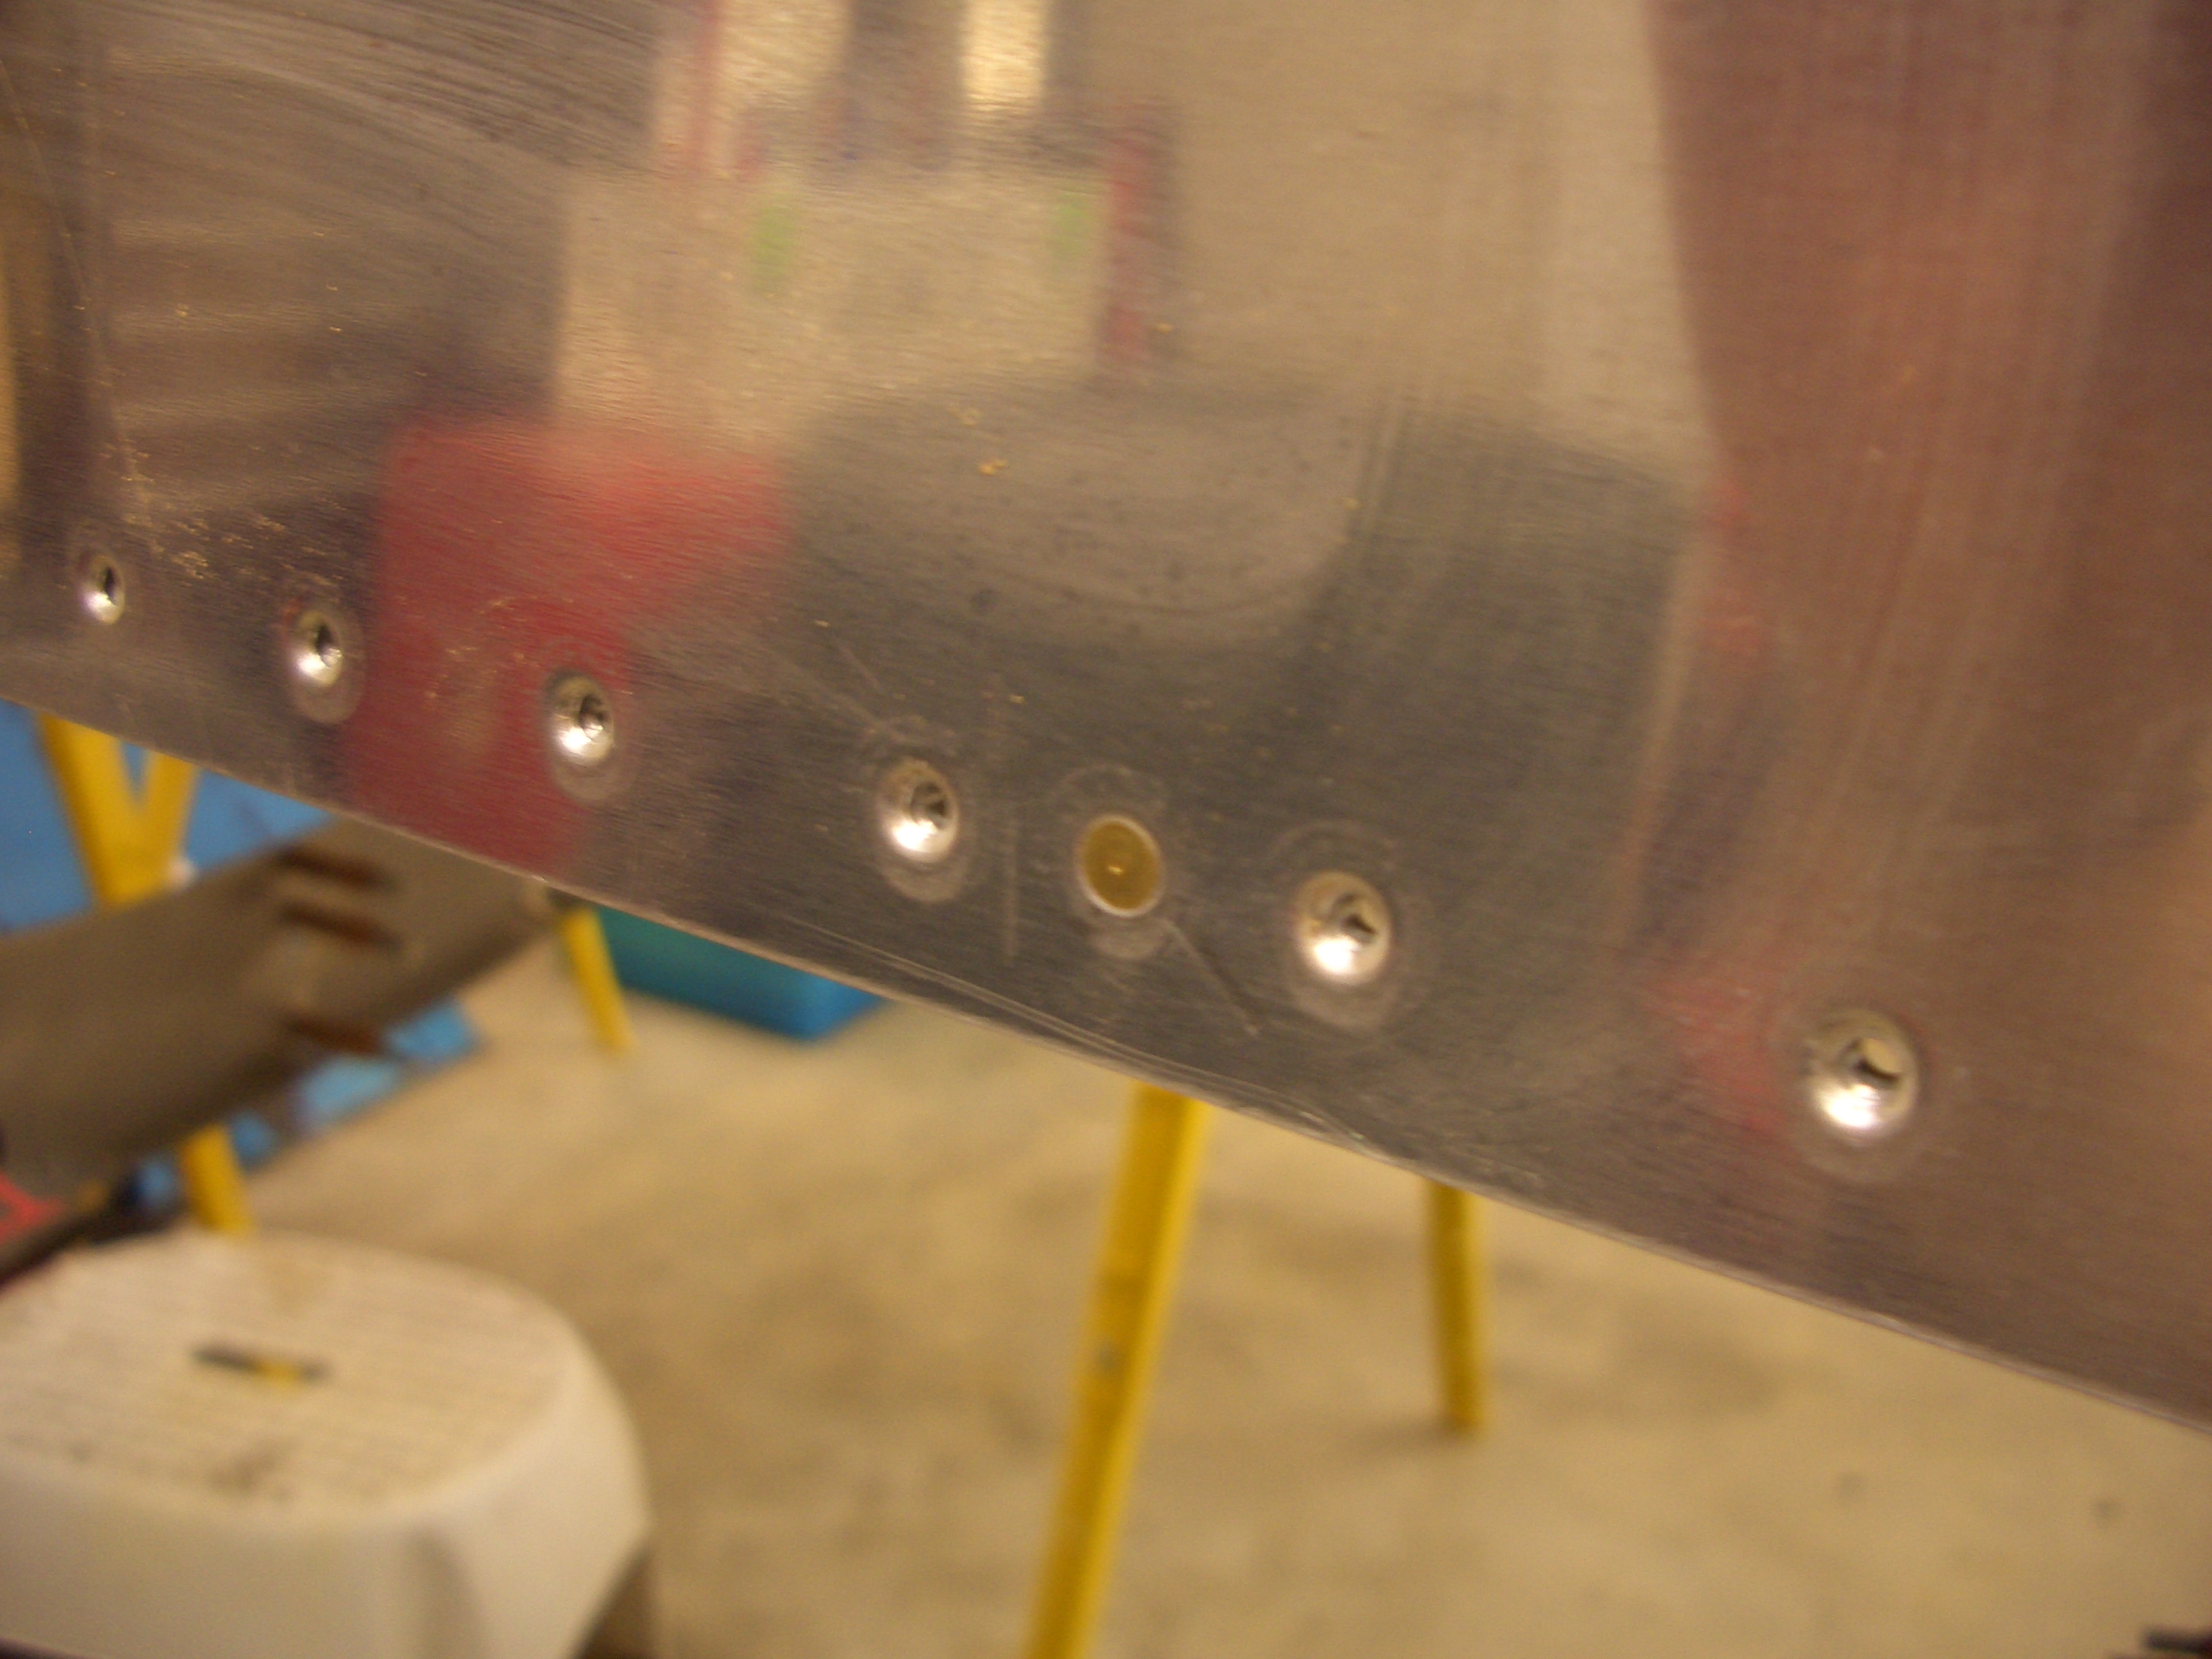
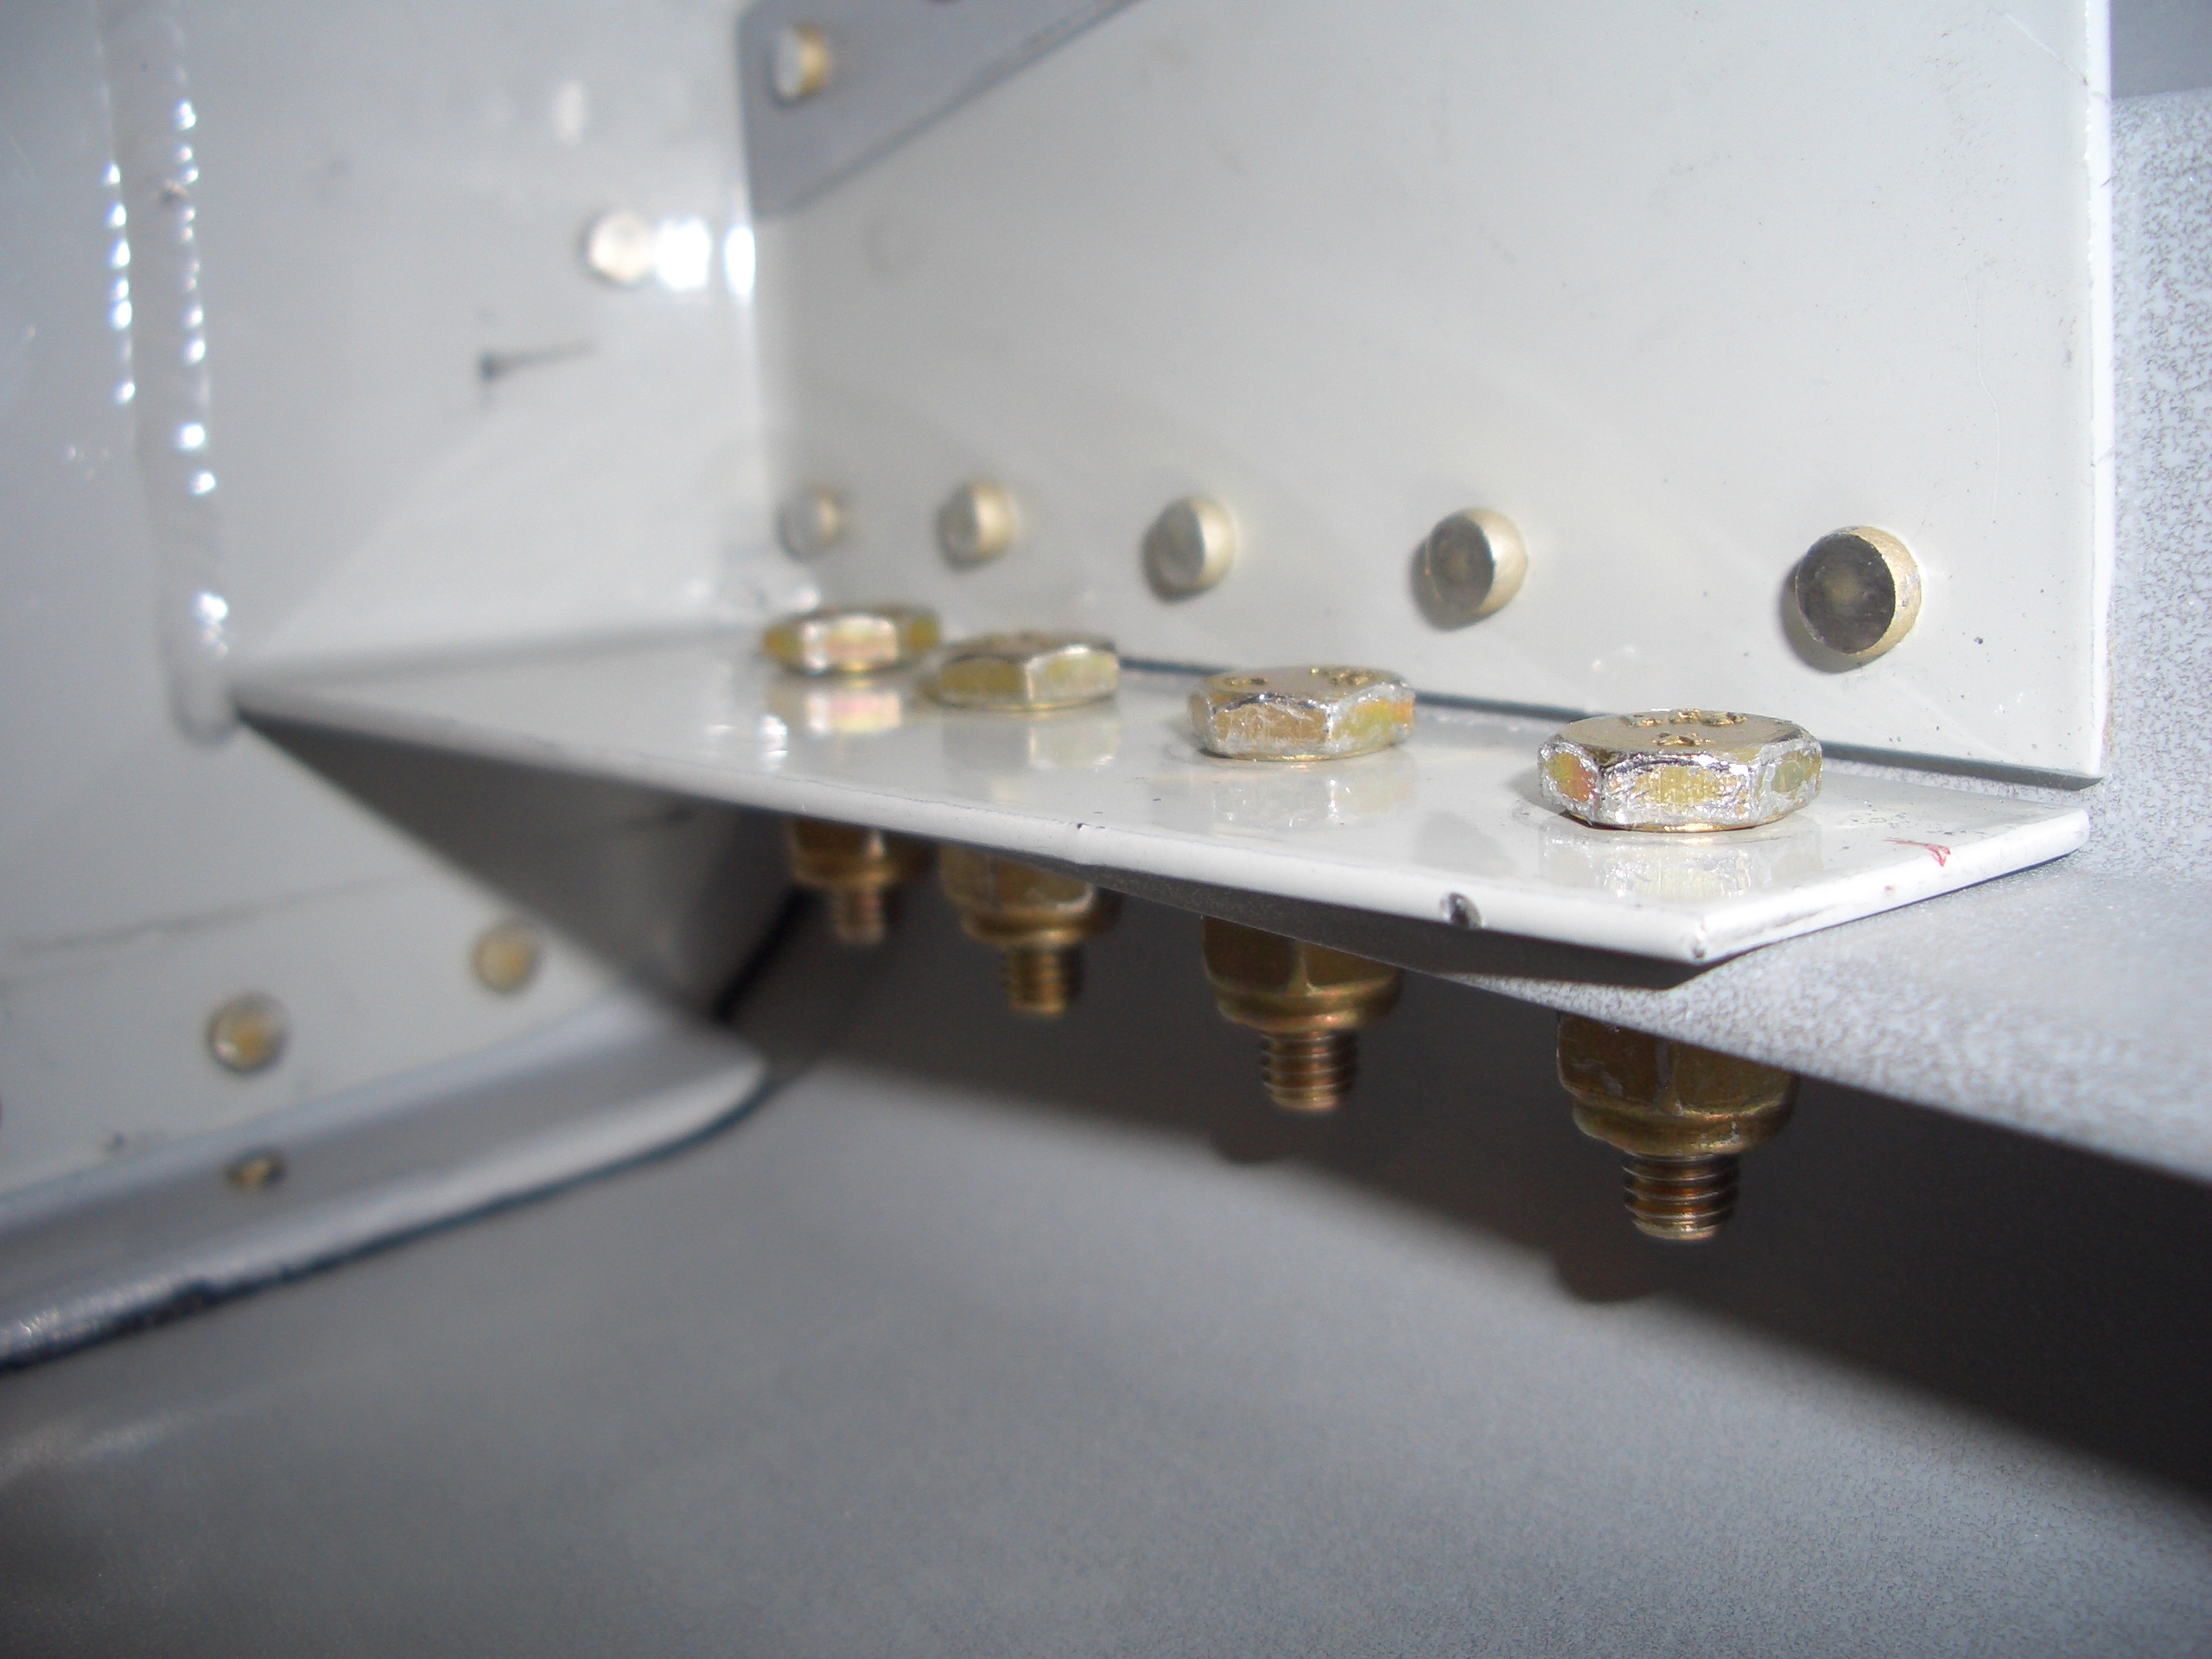
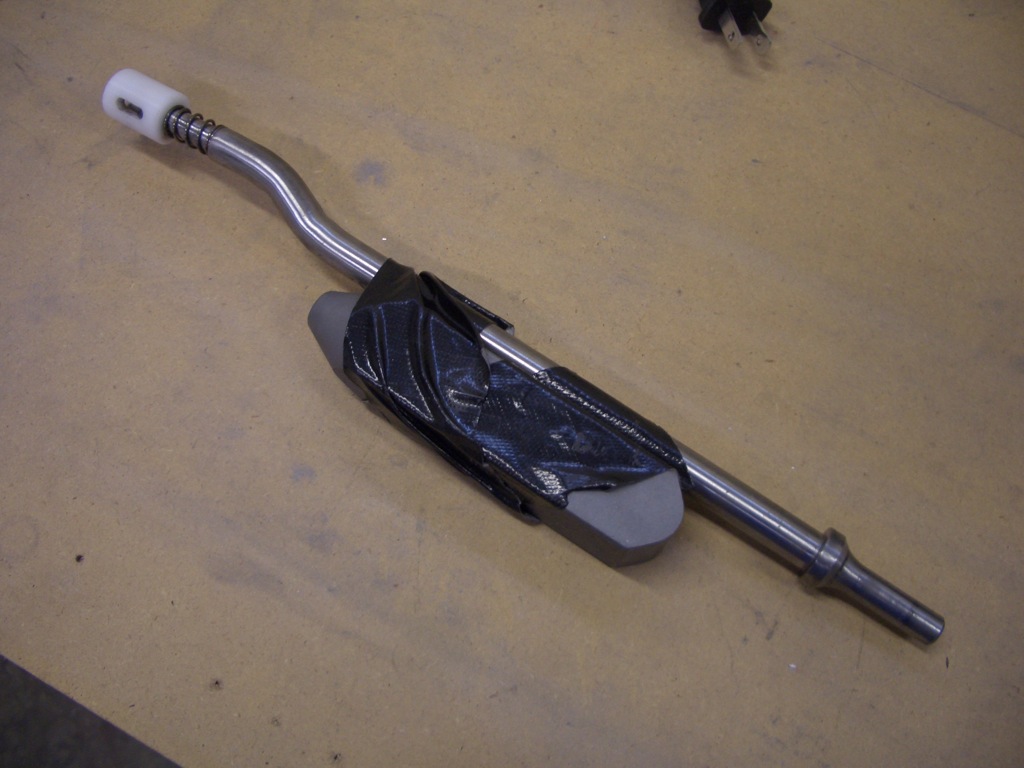
Some of the holes where the fuel tank brackets attach can’t be reached with any of my regular bucking bars, so I taped a hunk of steel to one of my long rivet sets and used the rightmost end to buck the rivets.

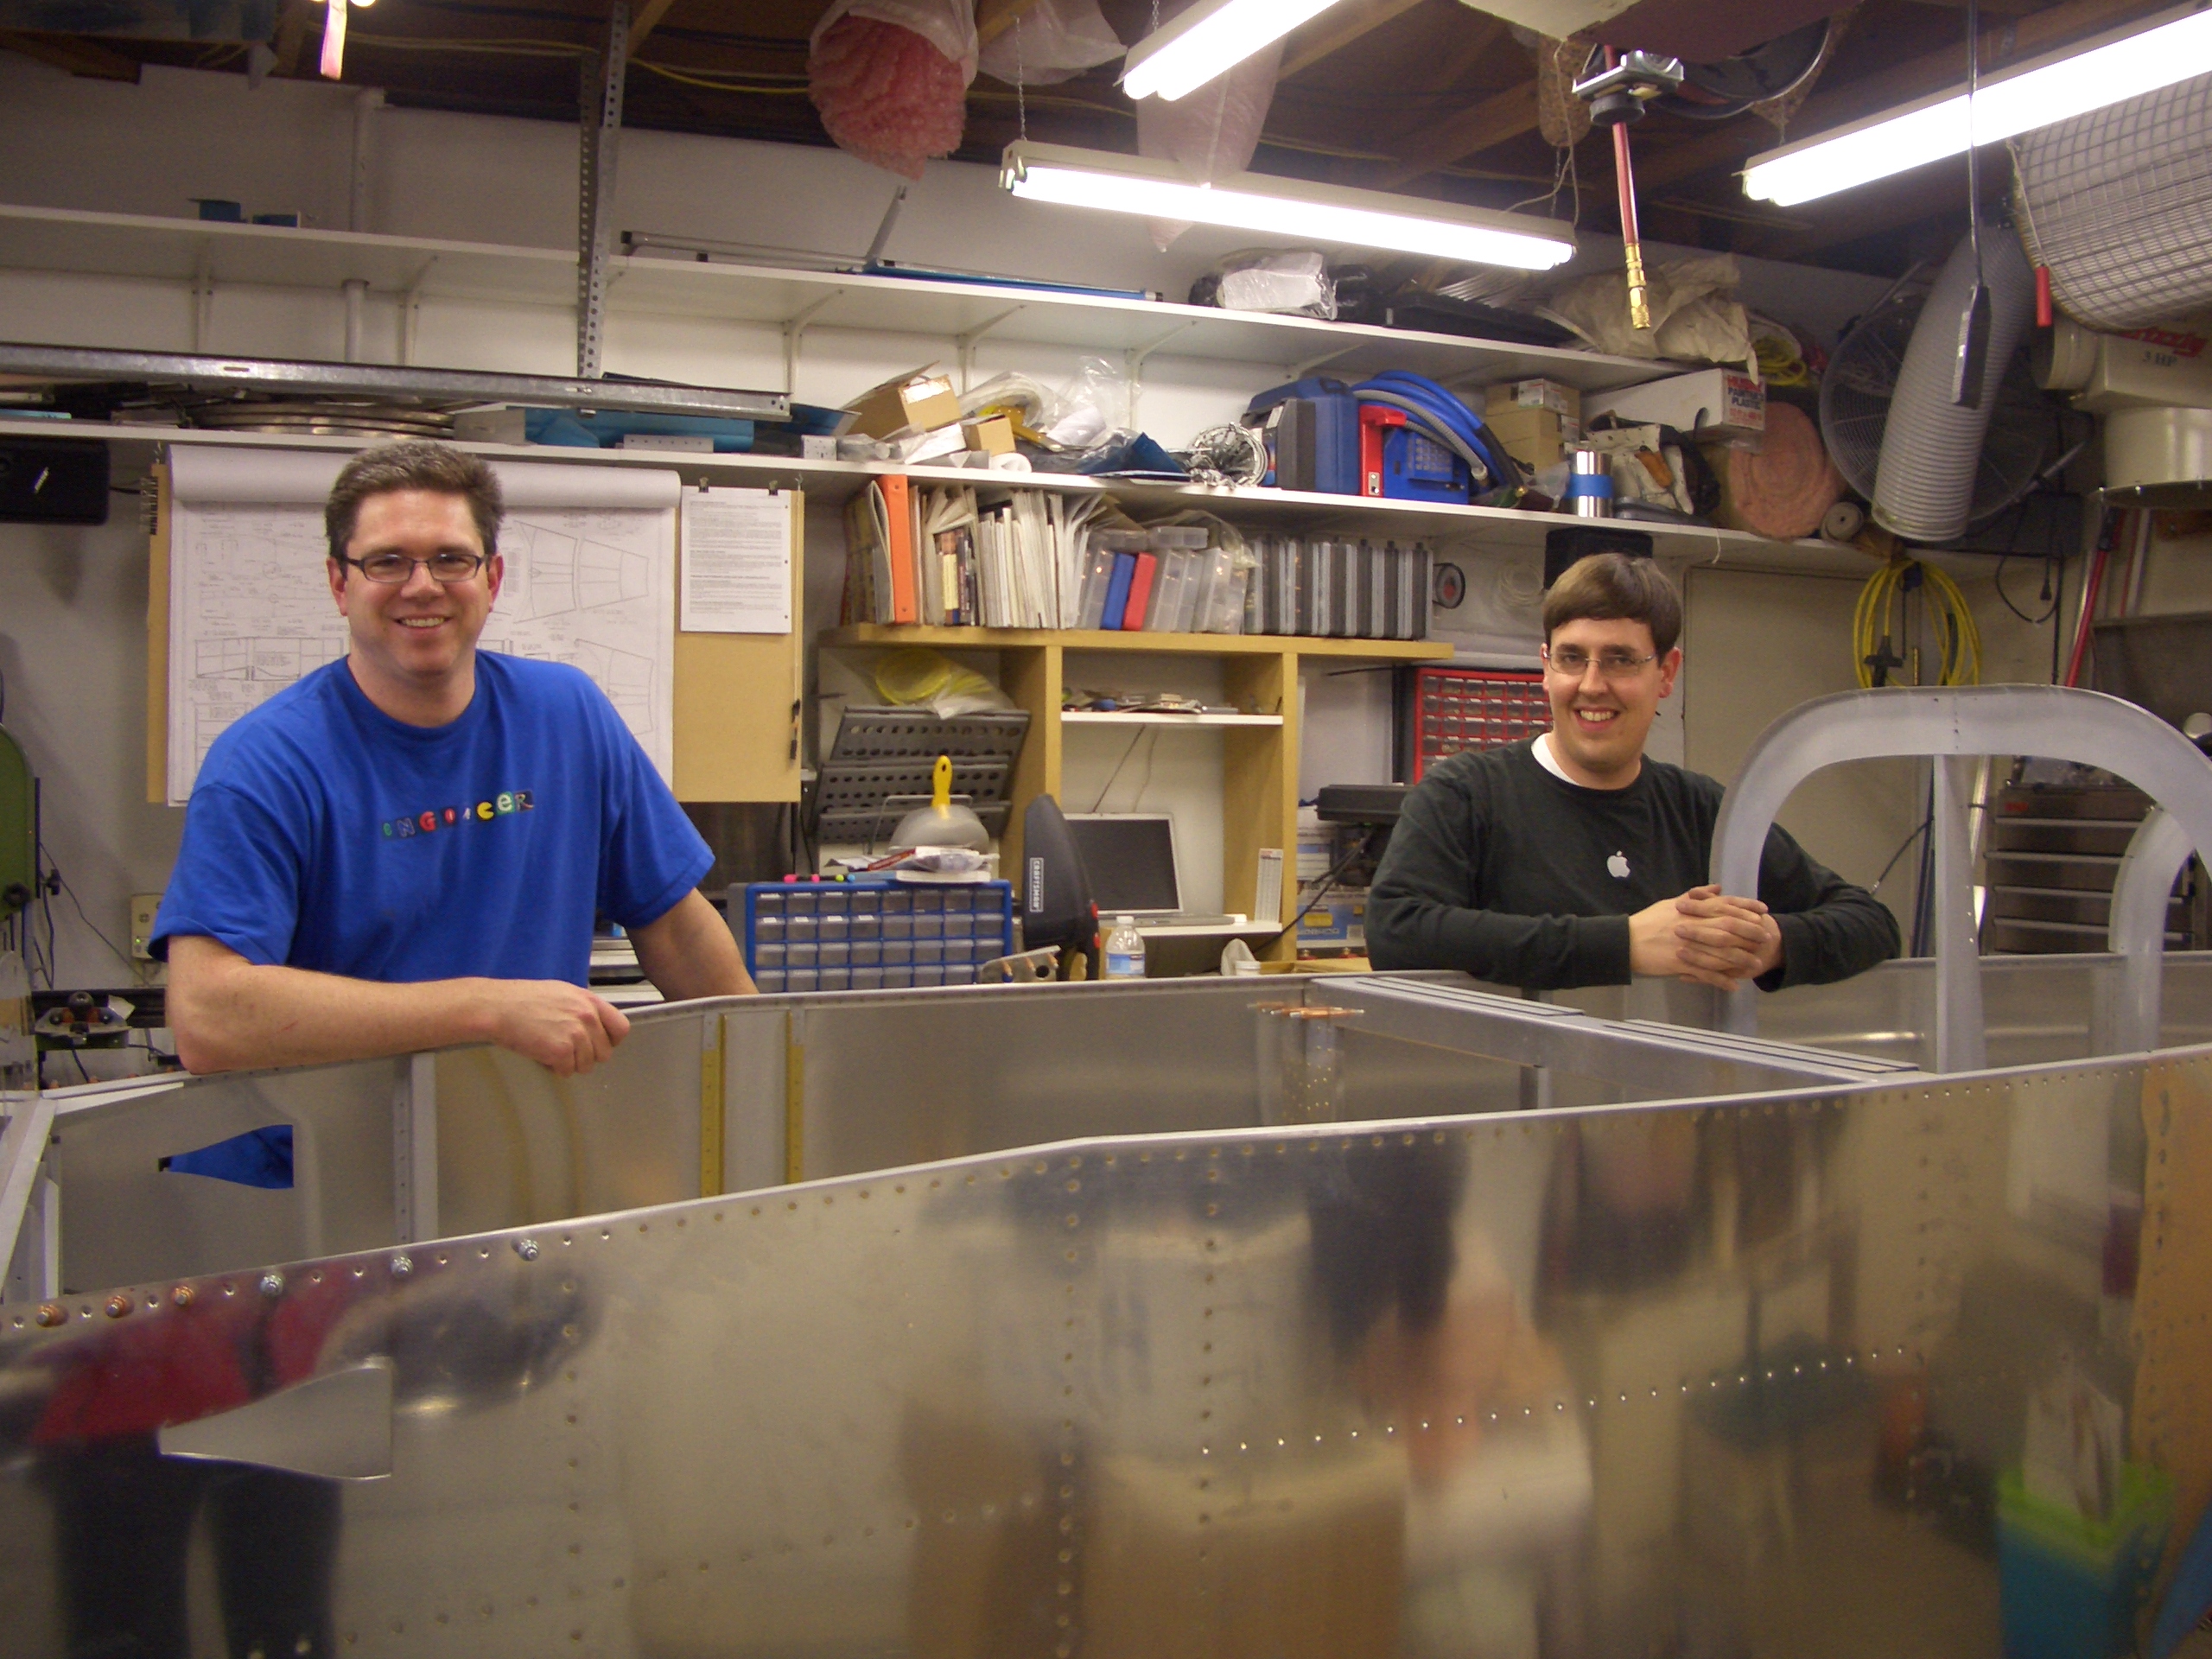
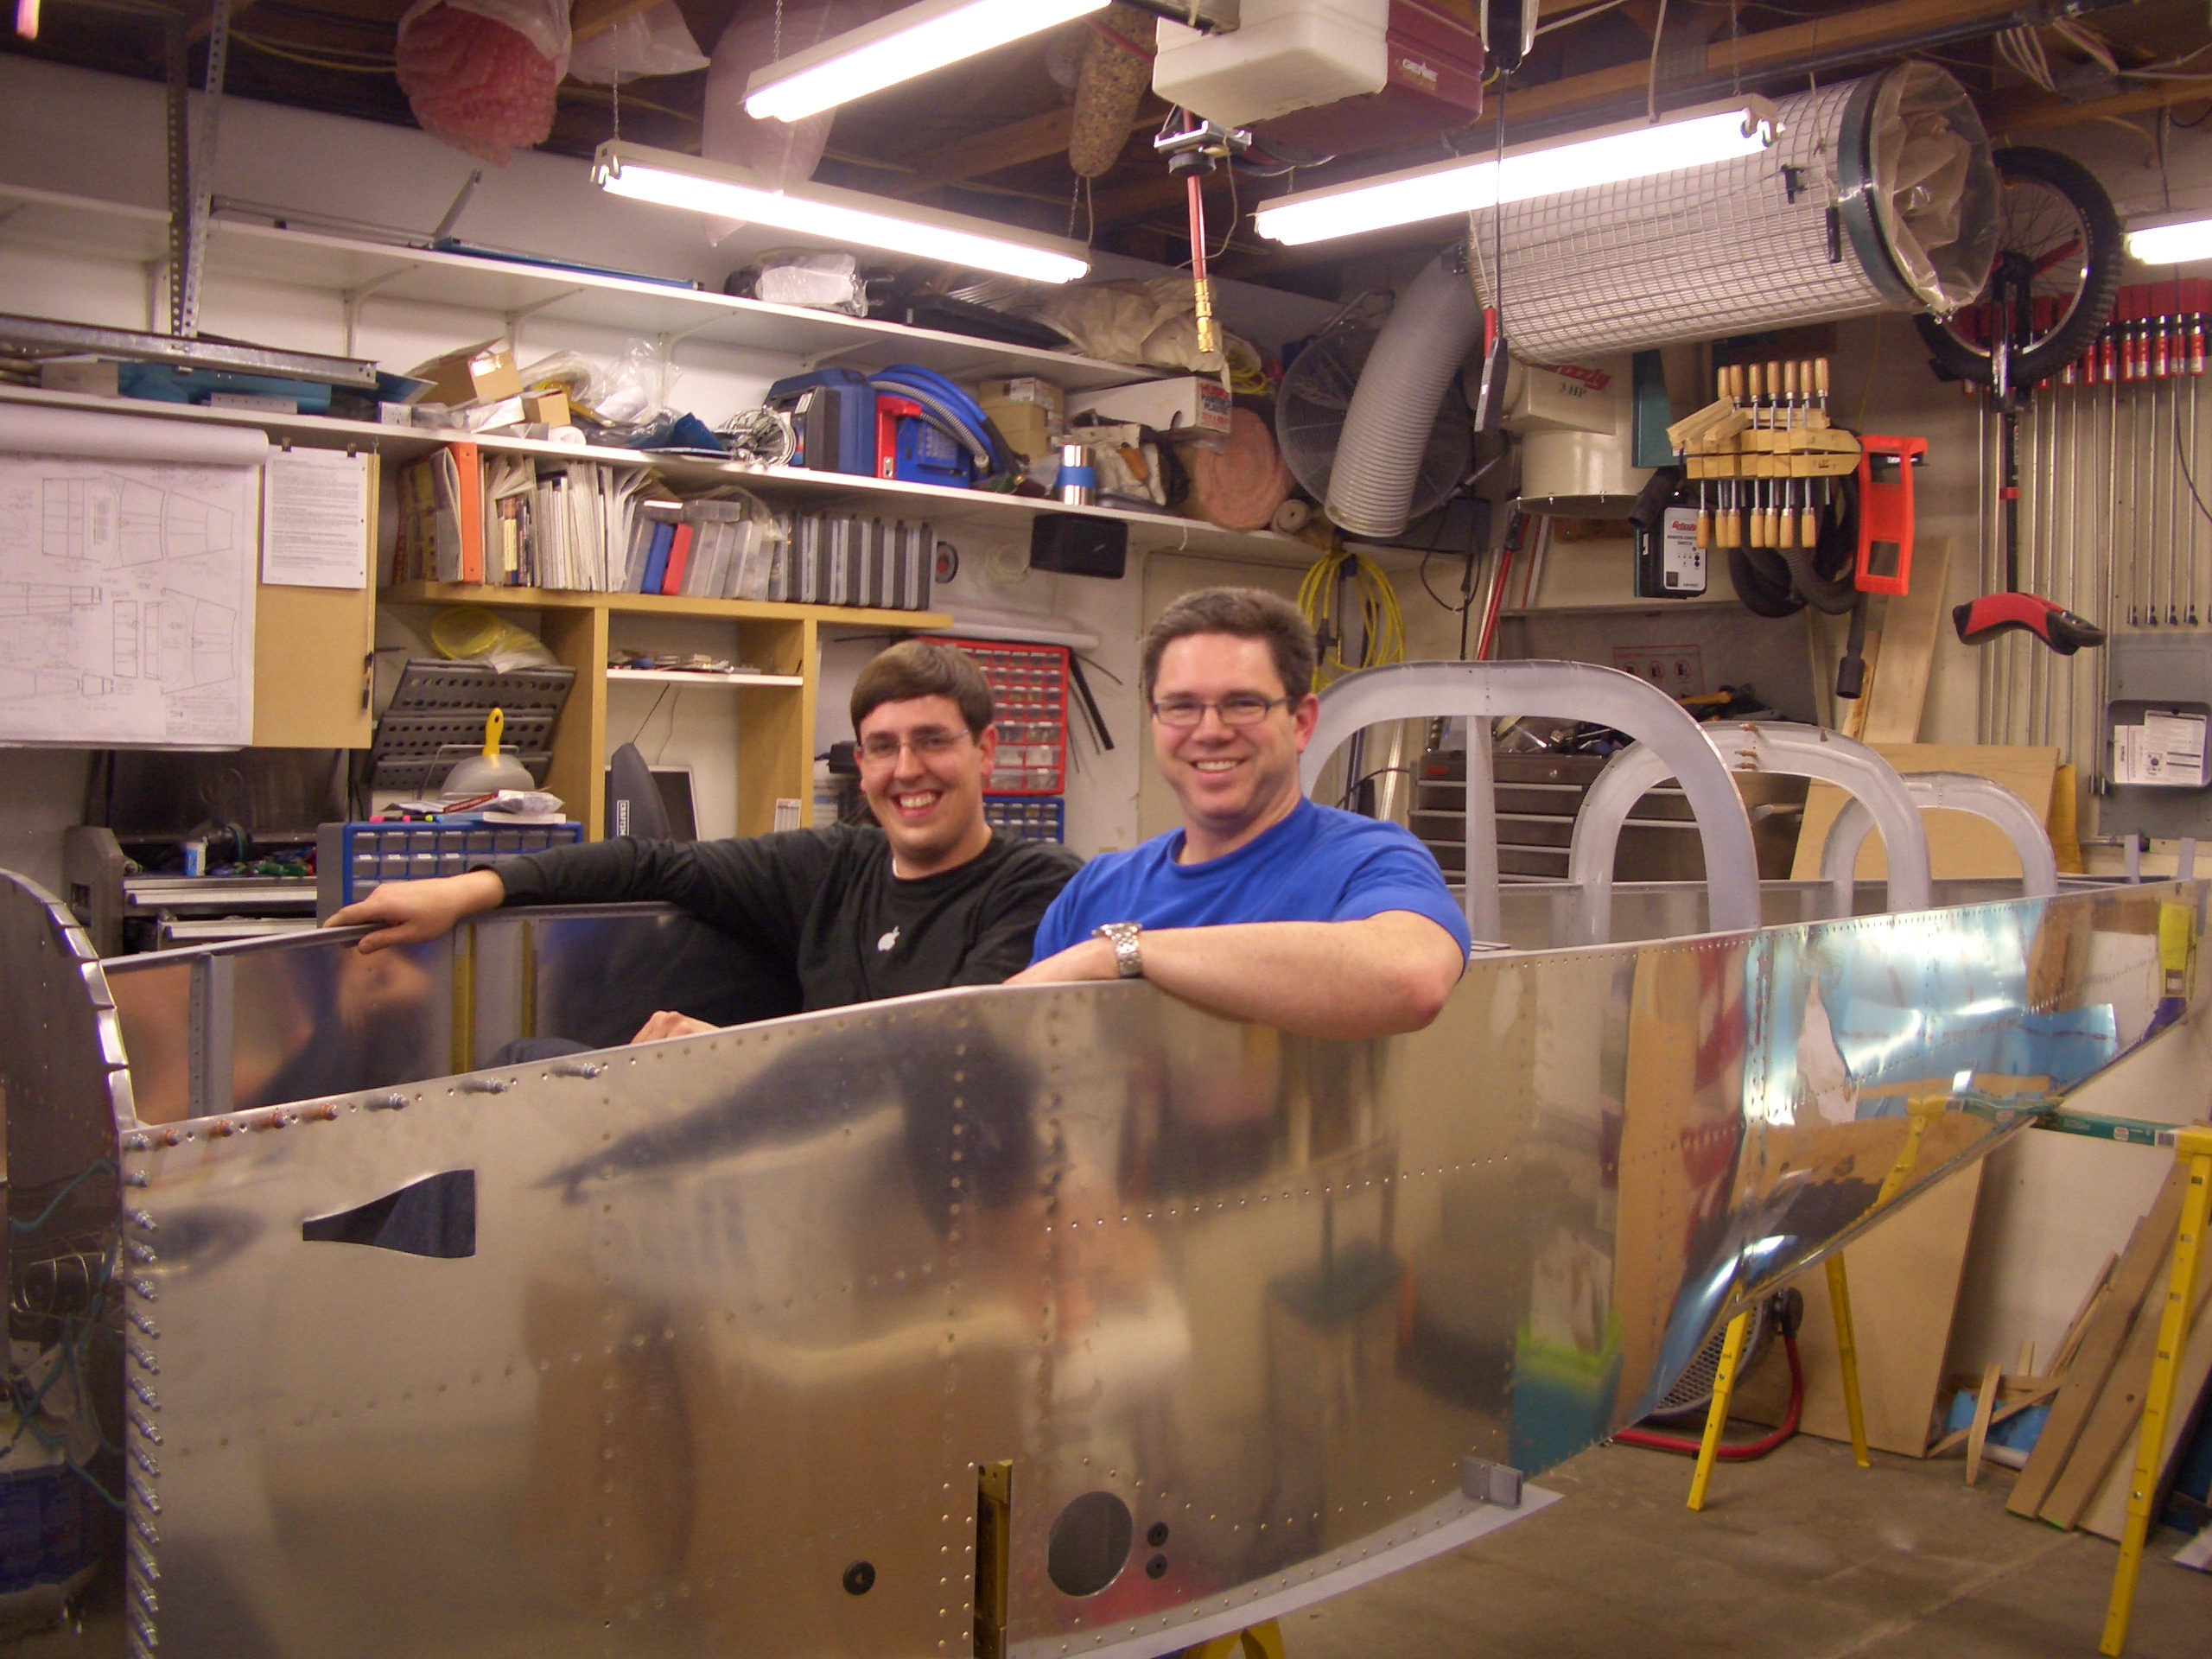
Jenn came out and helped Andre and I flip the fuselage.

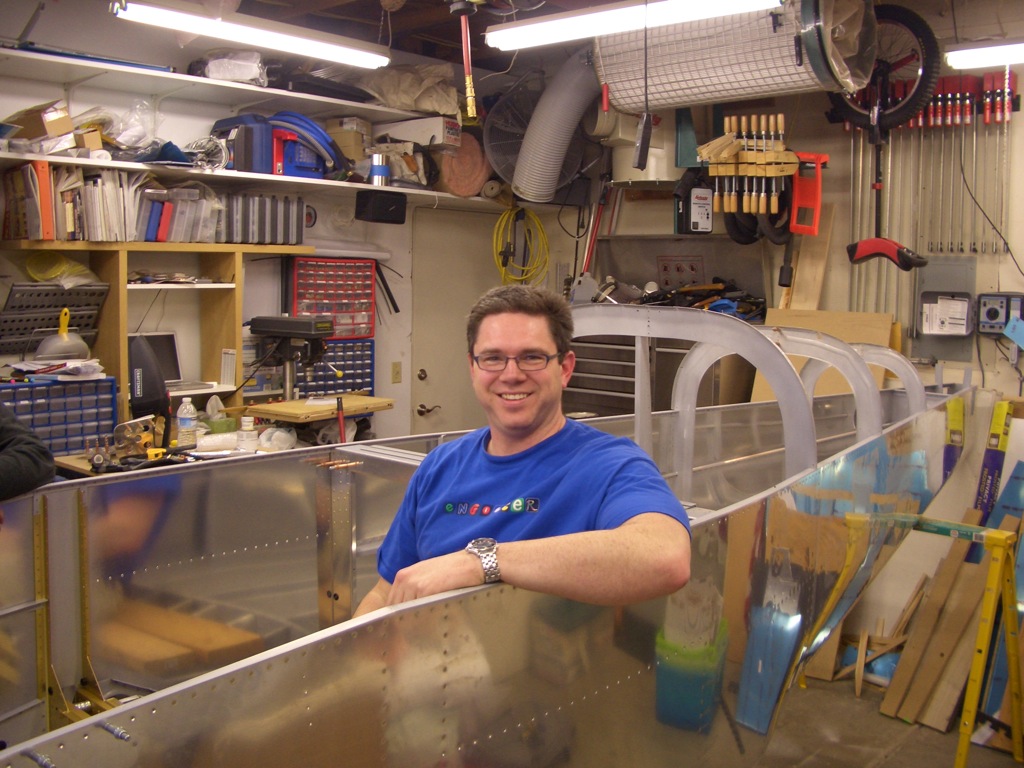
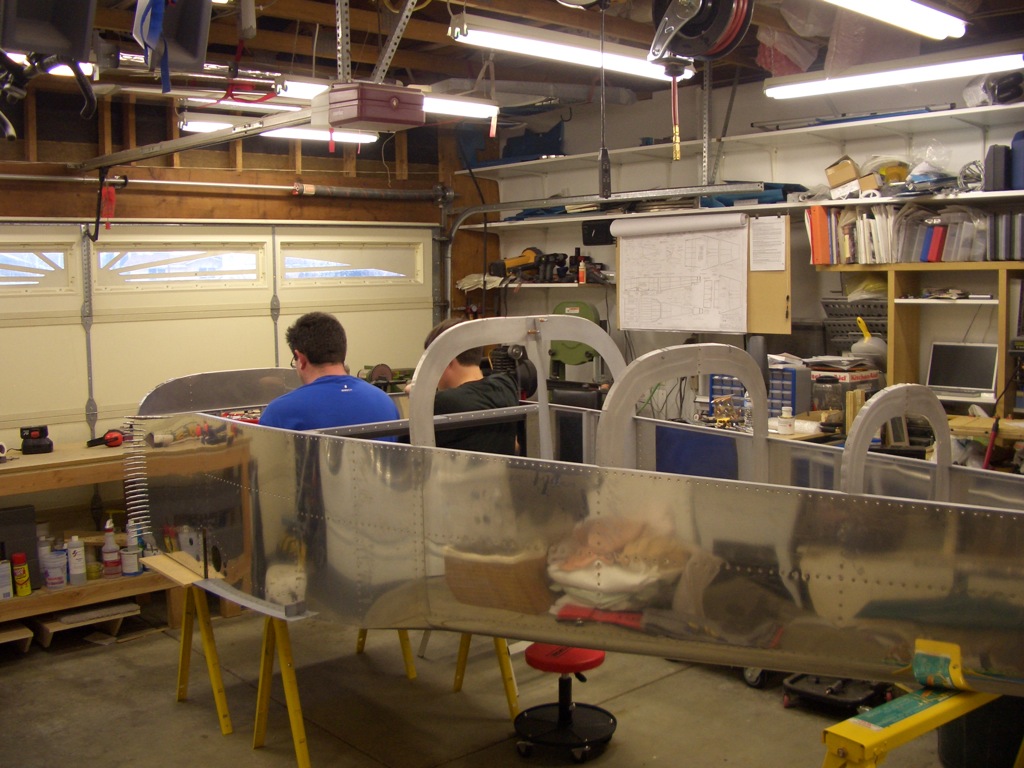
Jenn took a shot of me checking out the pilot’s seat.

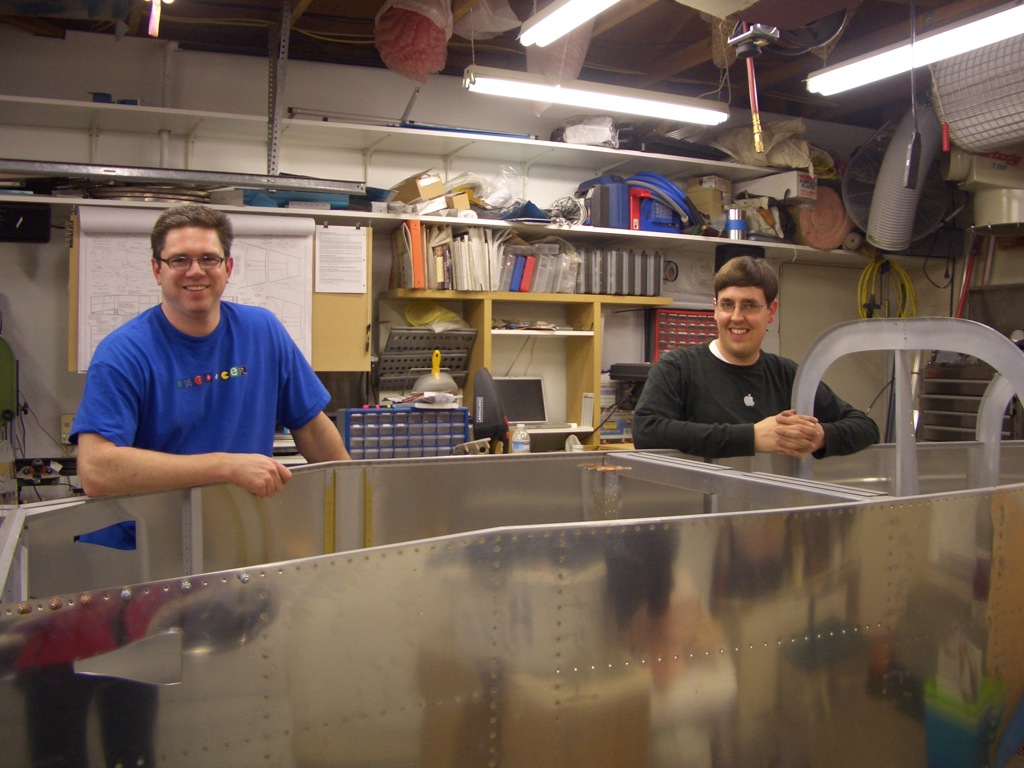
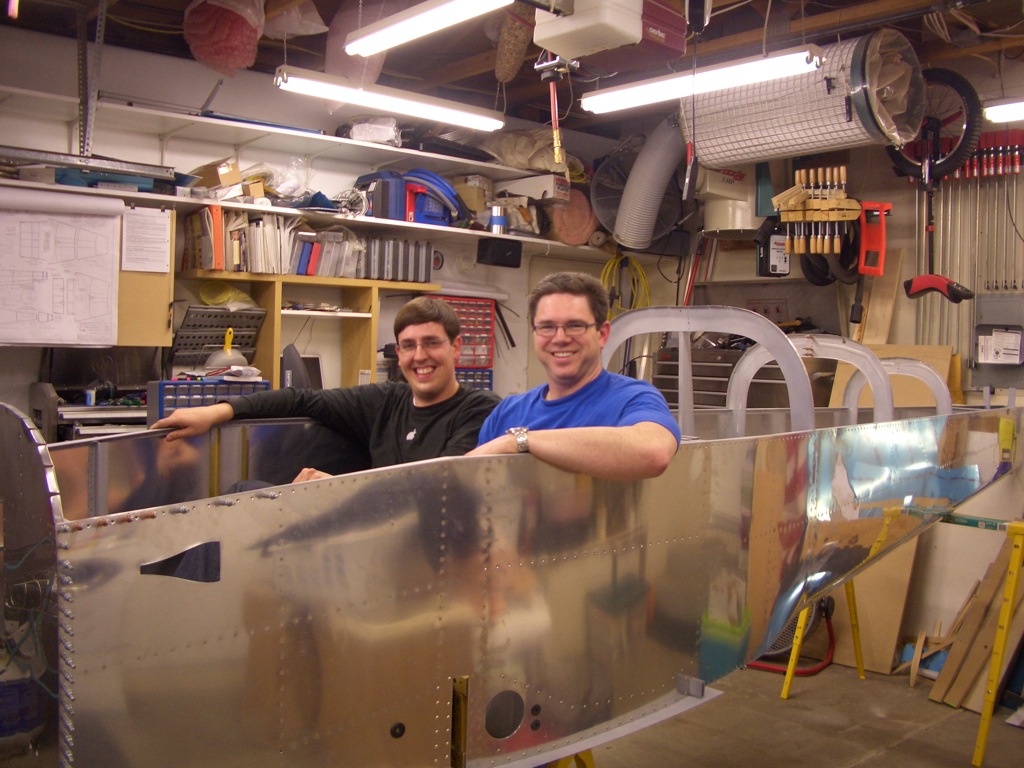
Andre and I checkout out how roomy the cockpit is.


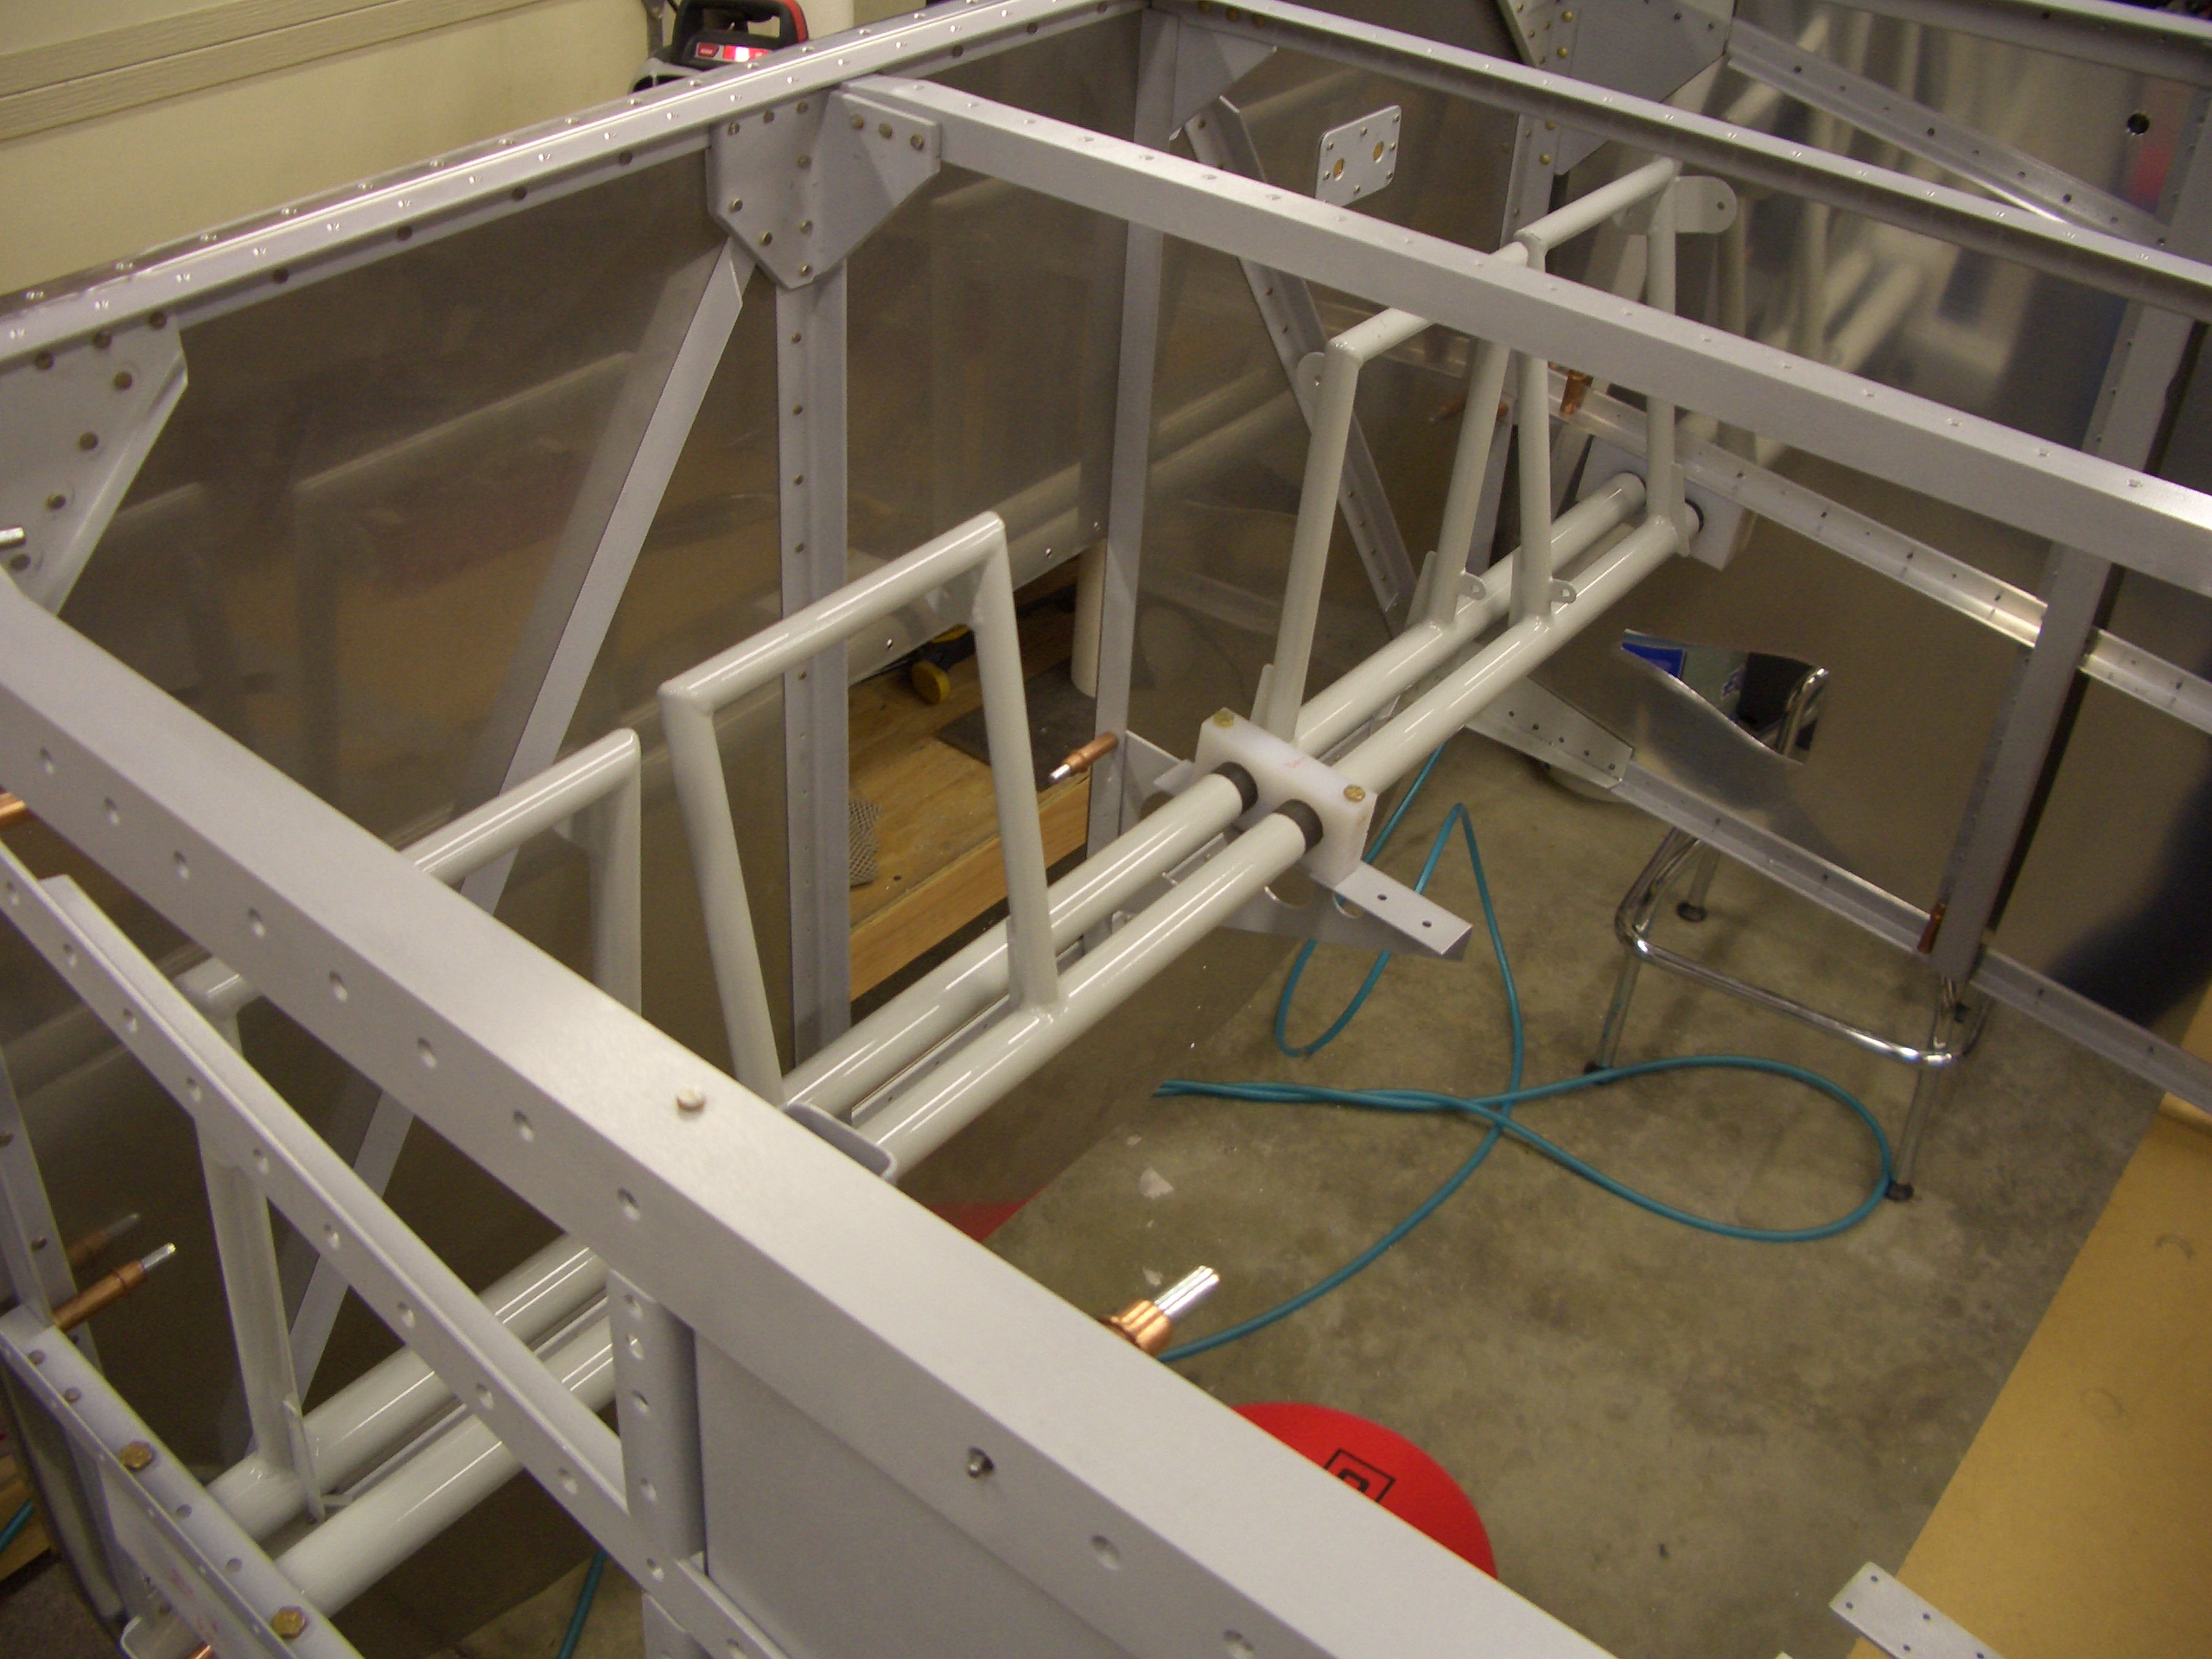
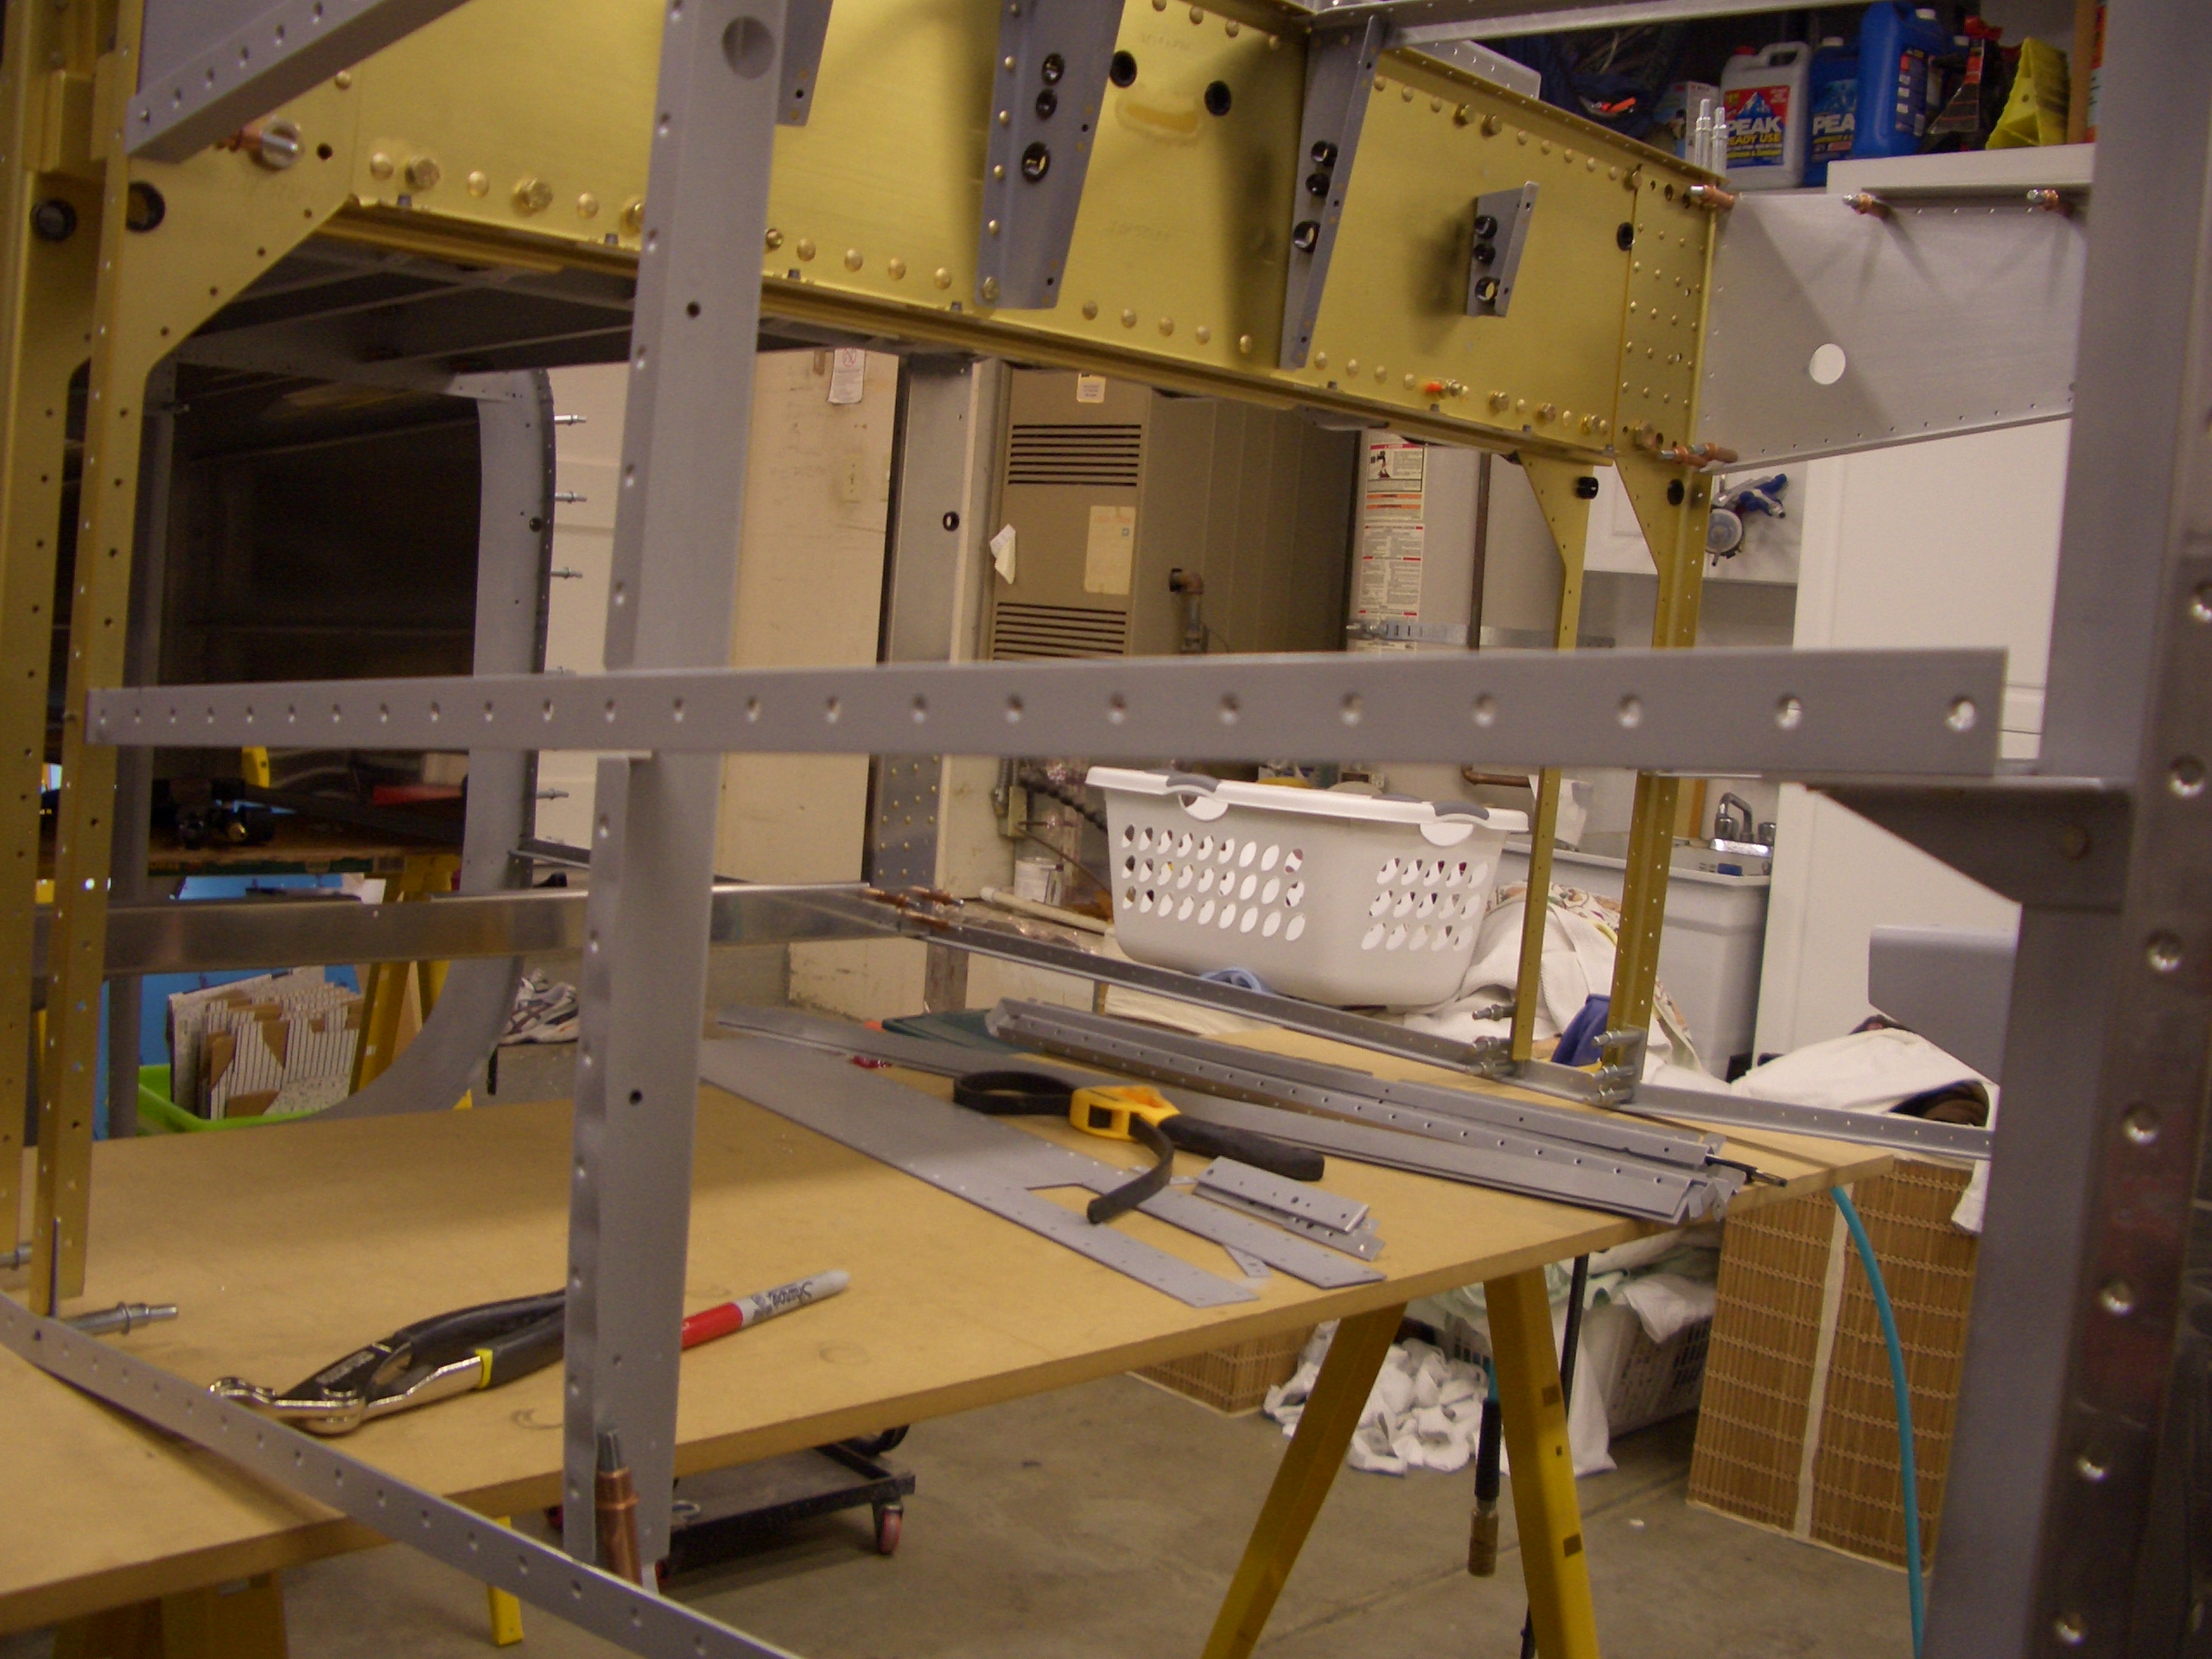
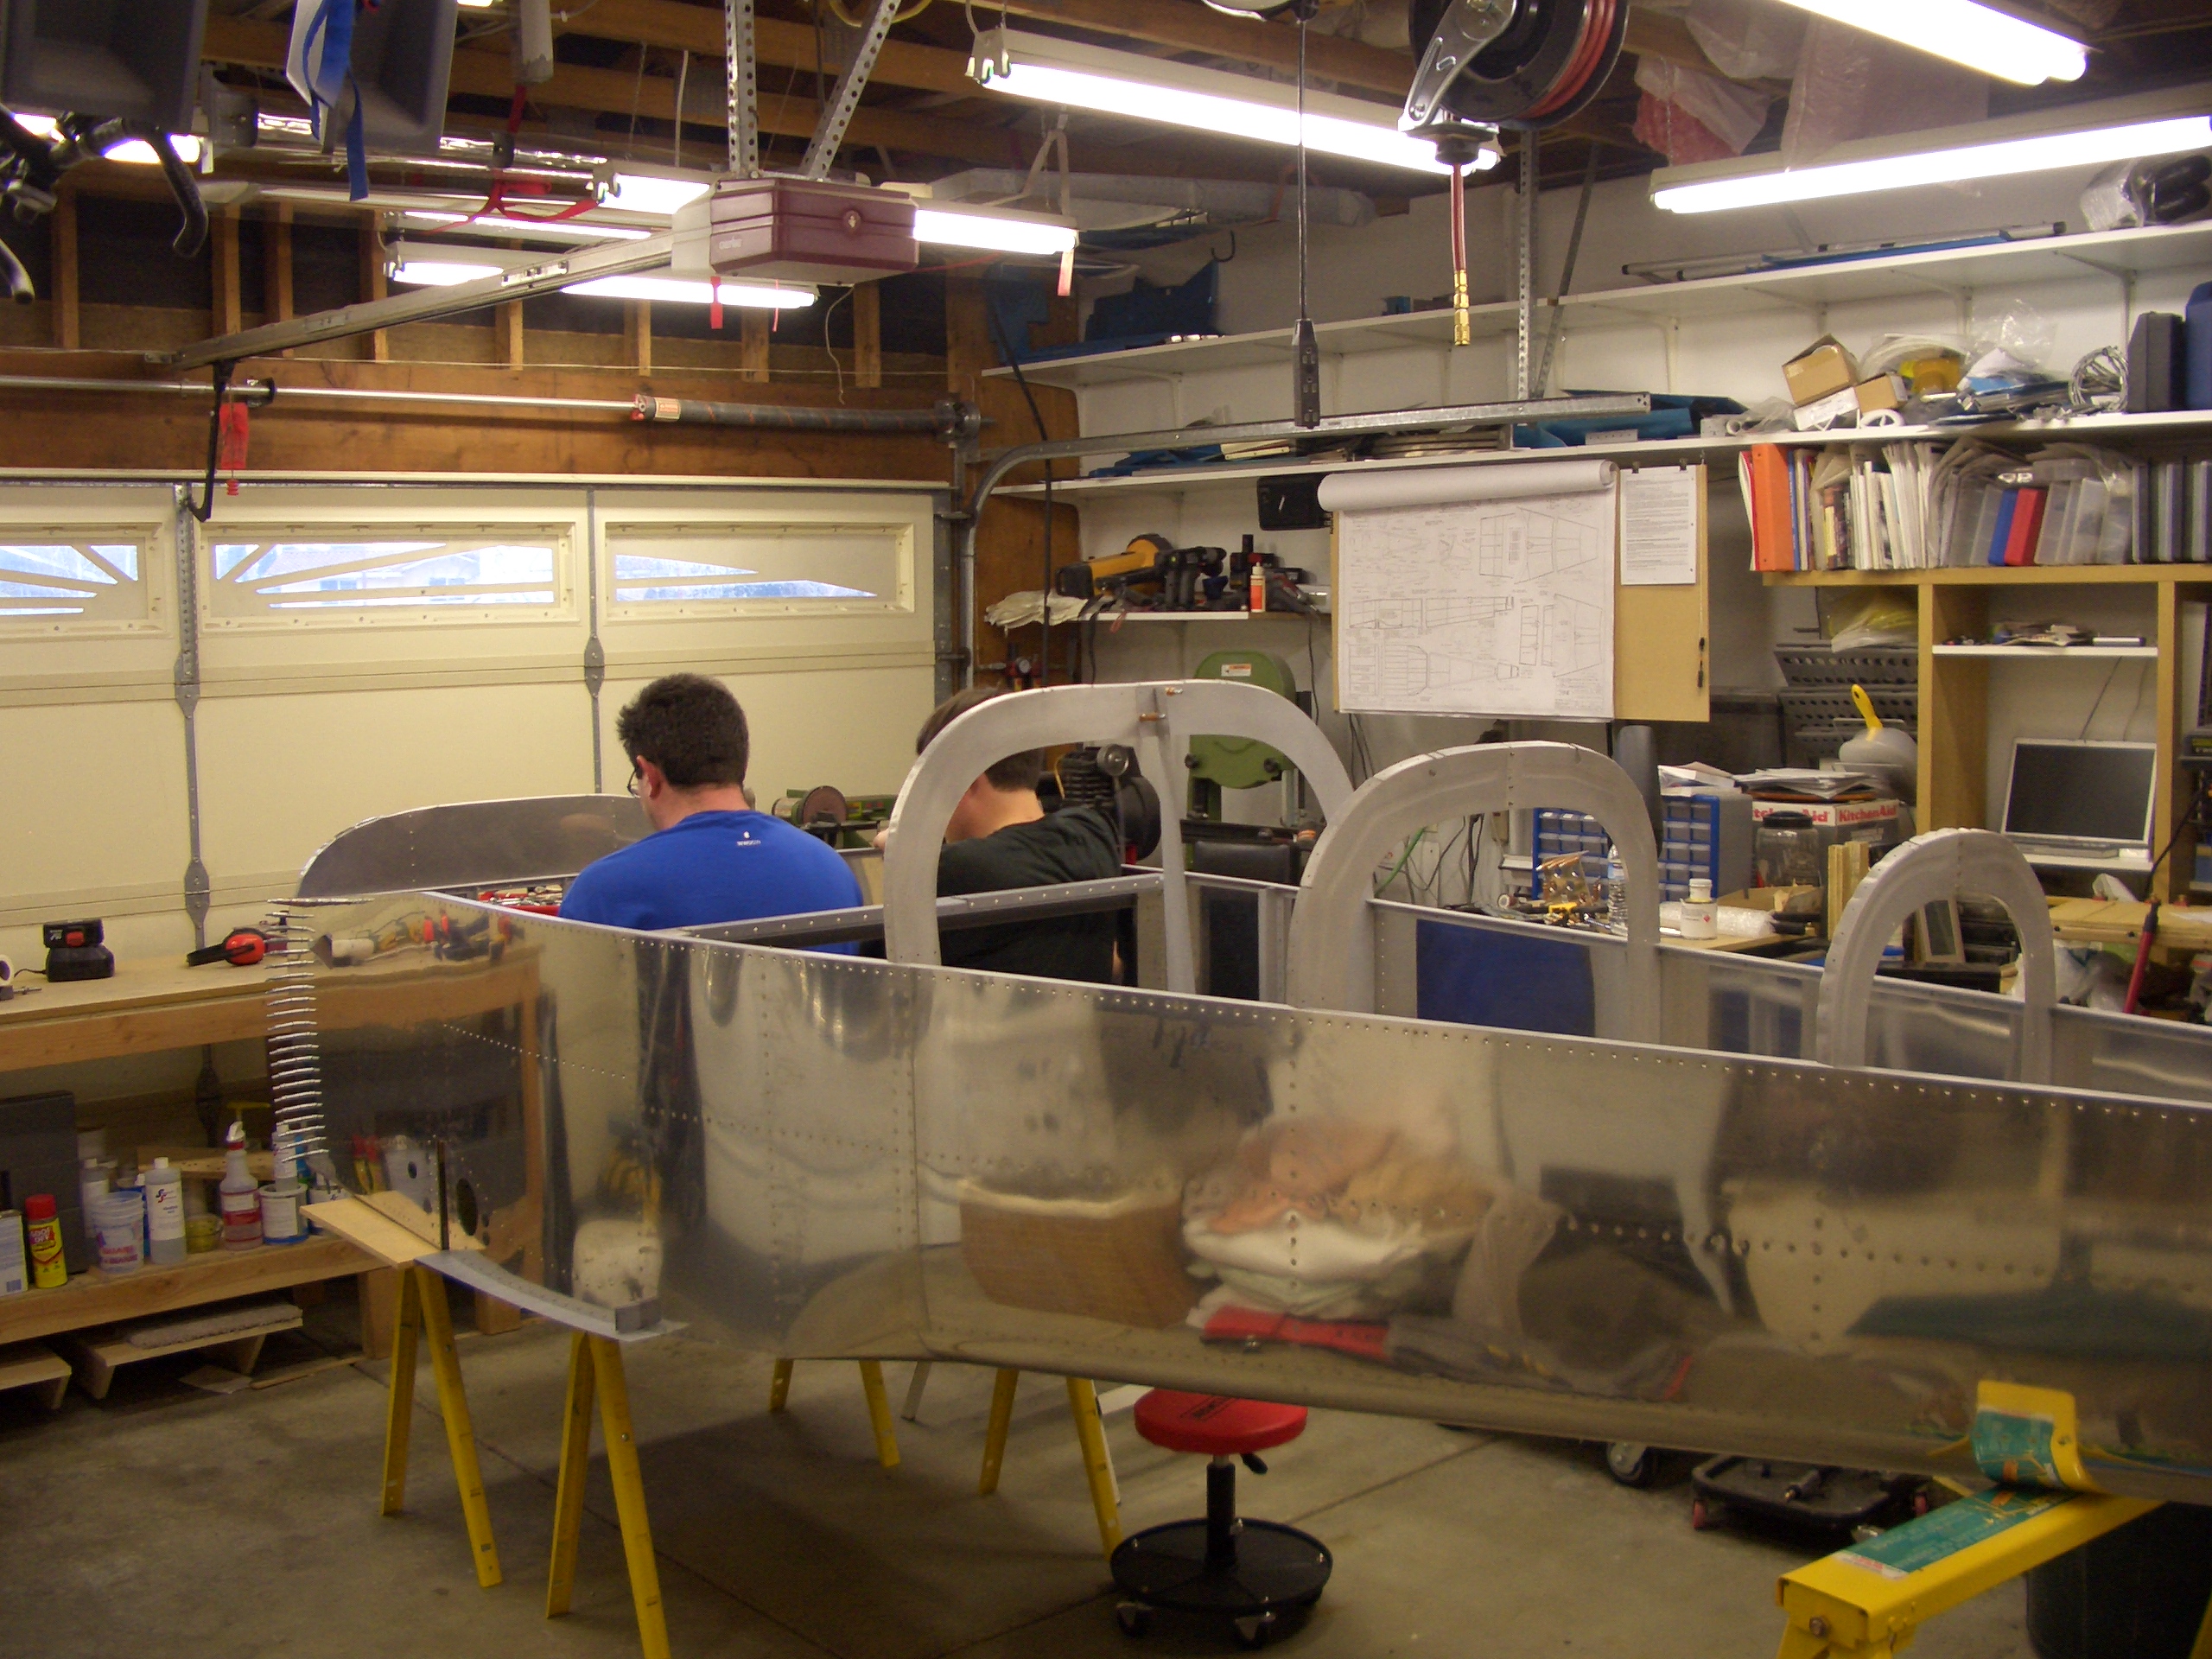
Here you can see that I’m using two low saw horses under the front part of the fuselage so that it is nice and stable when climbing in and out.

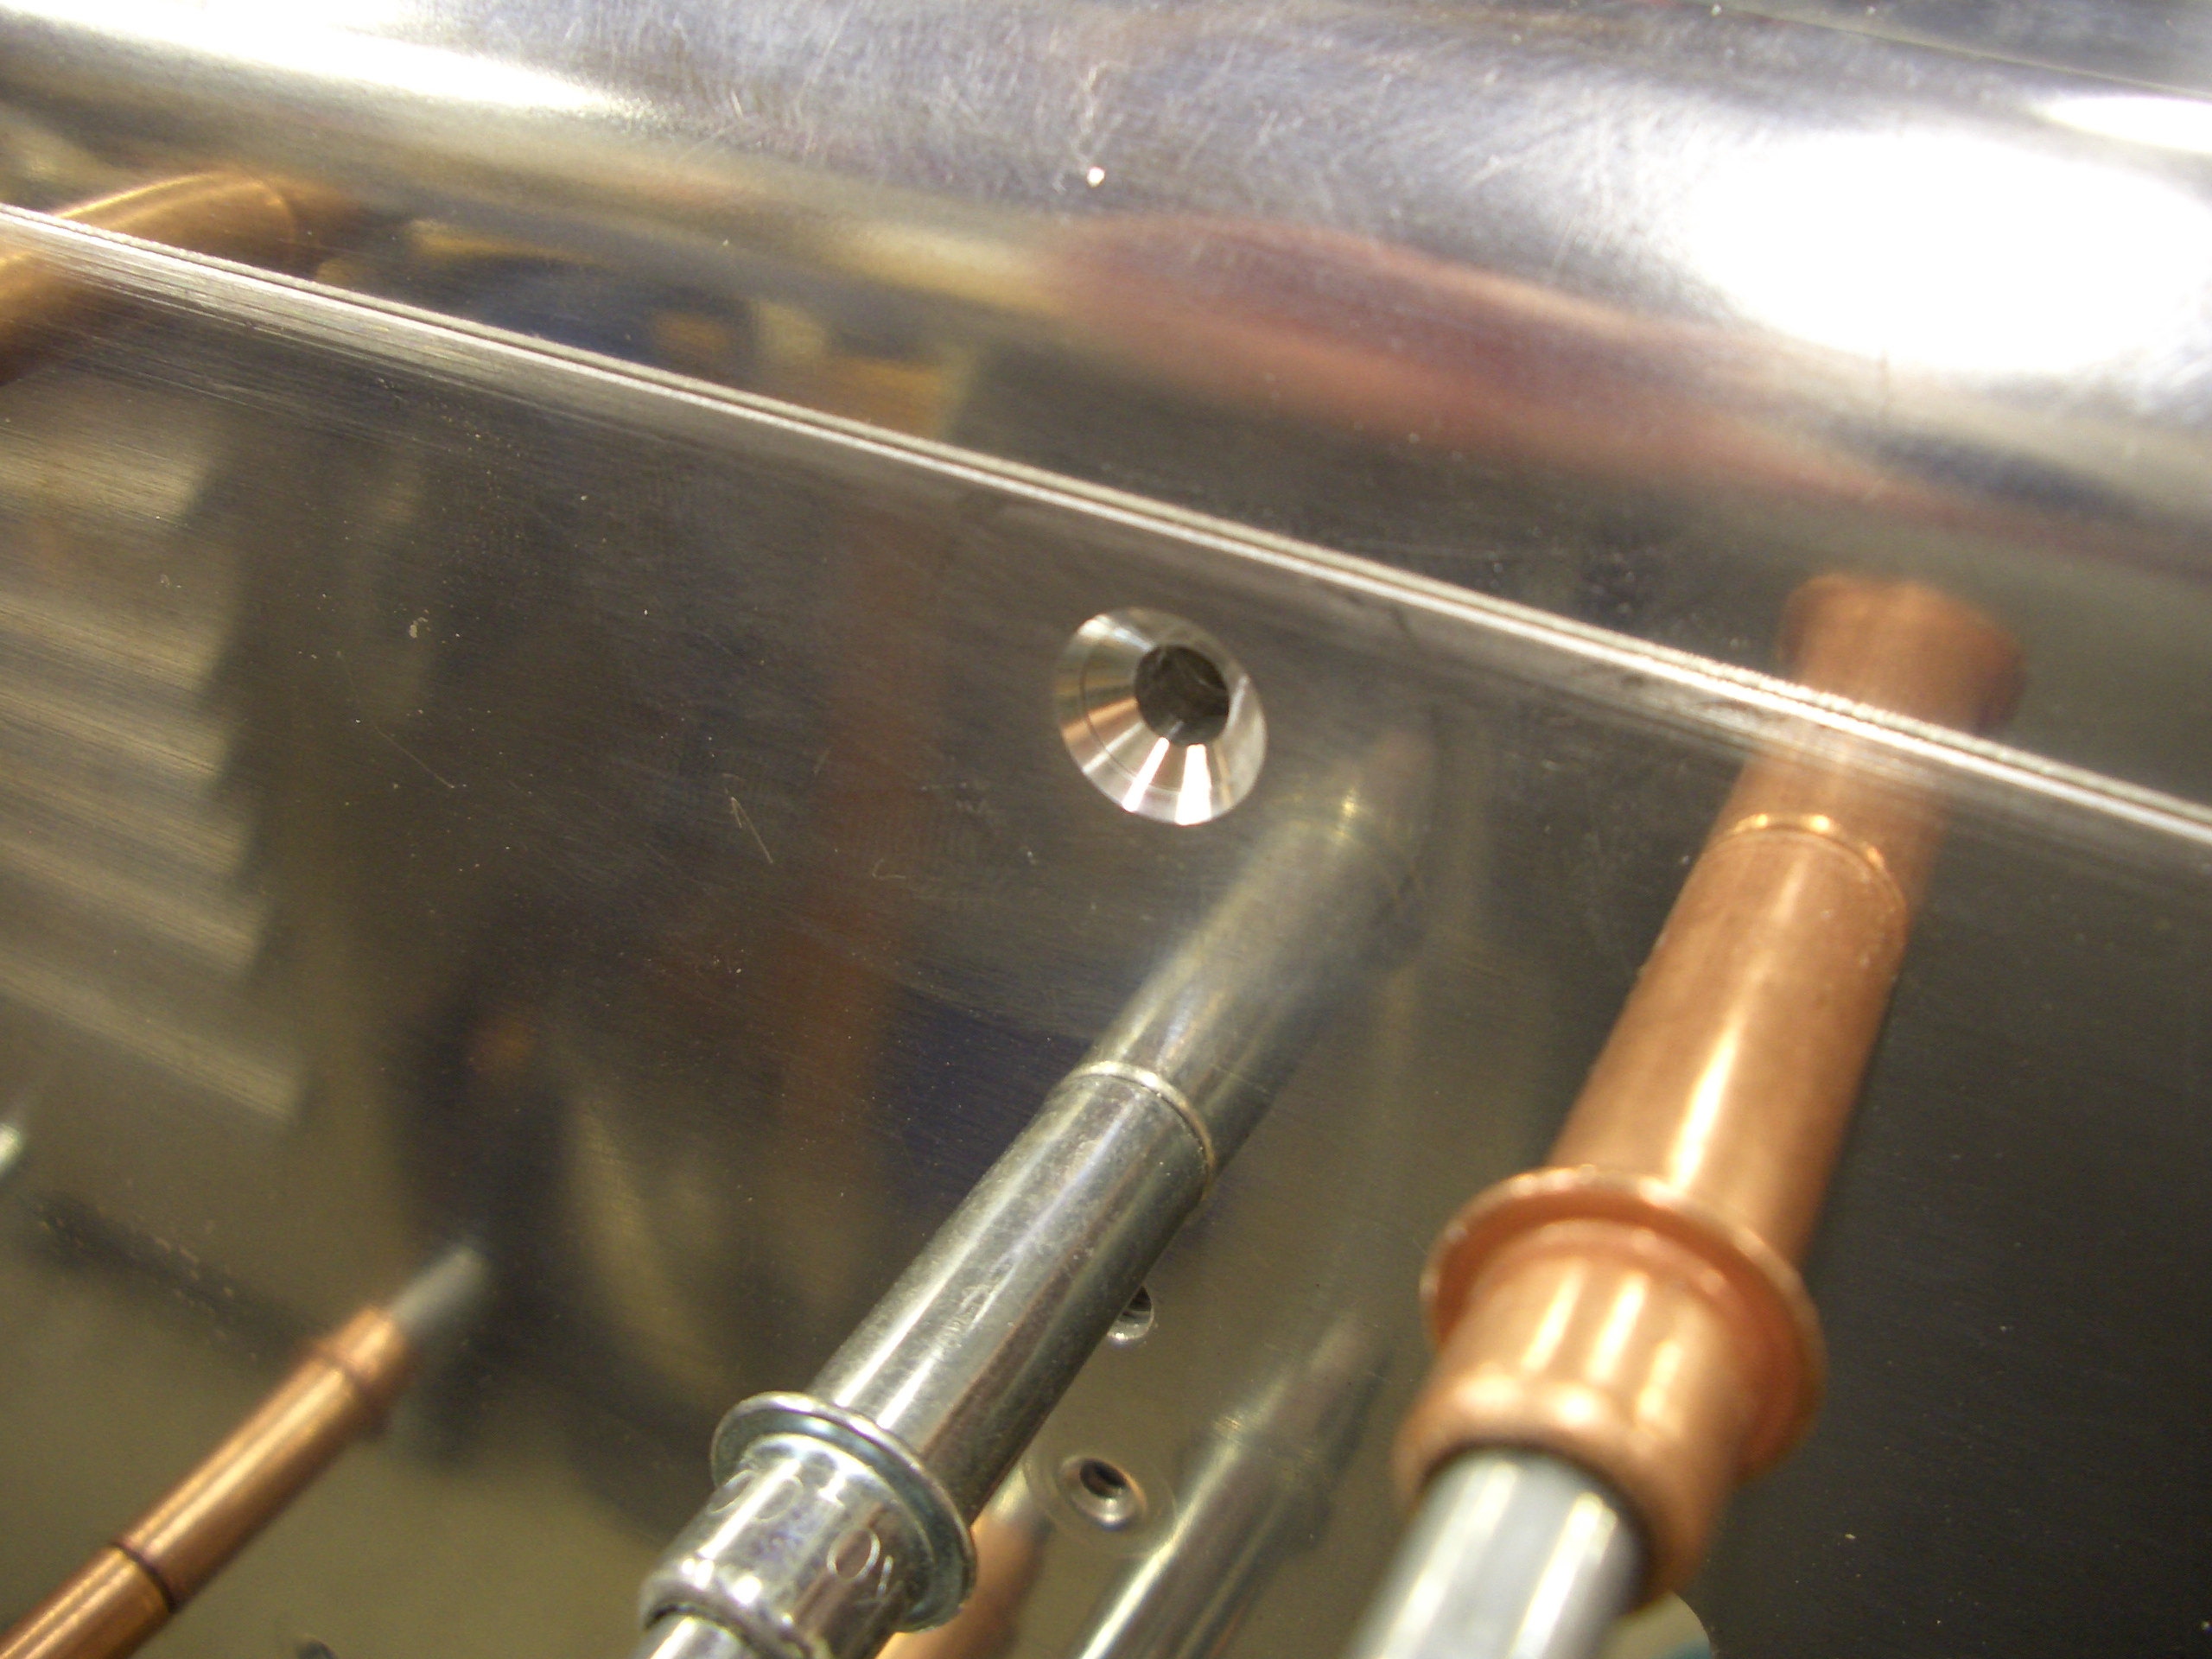
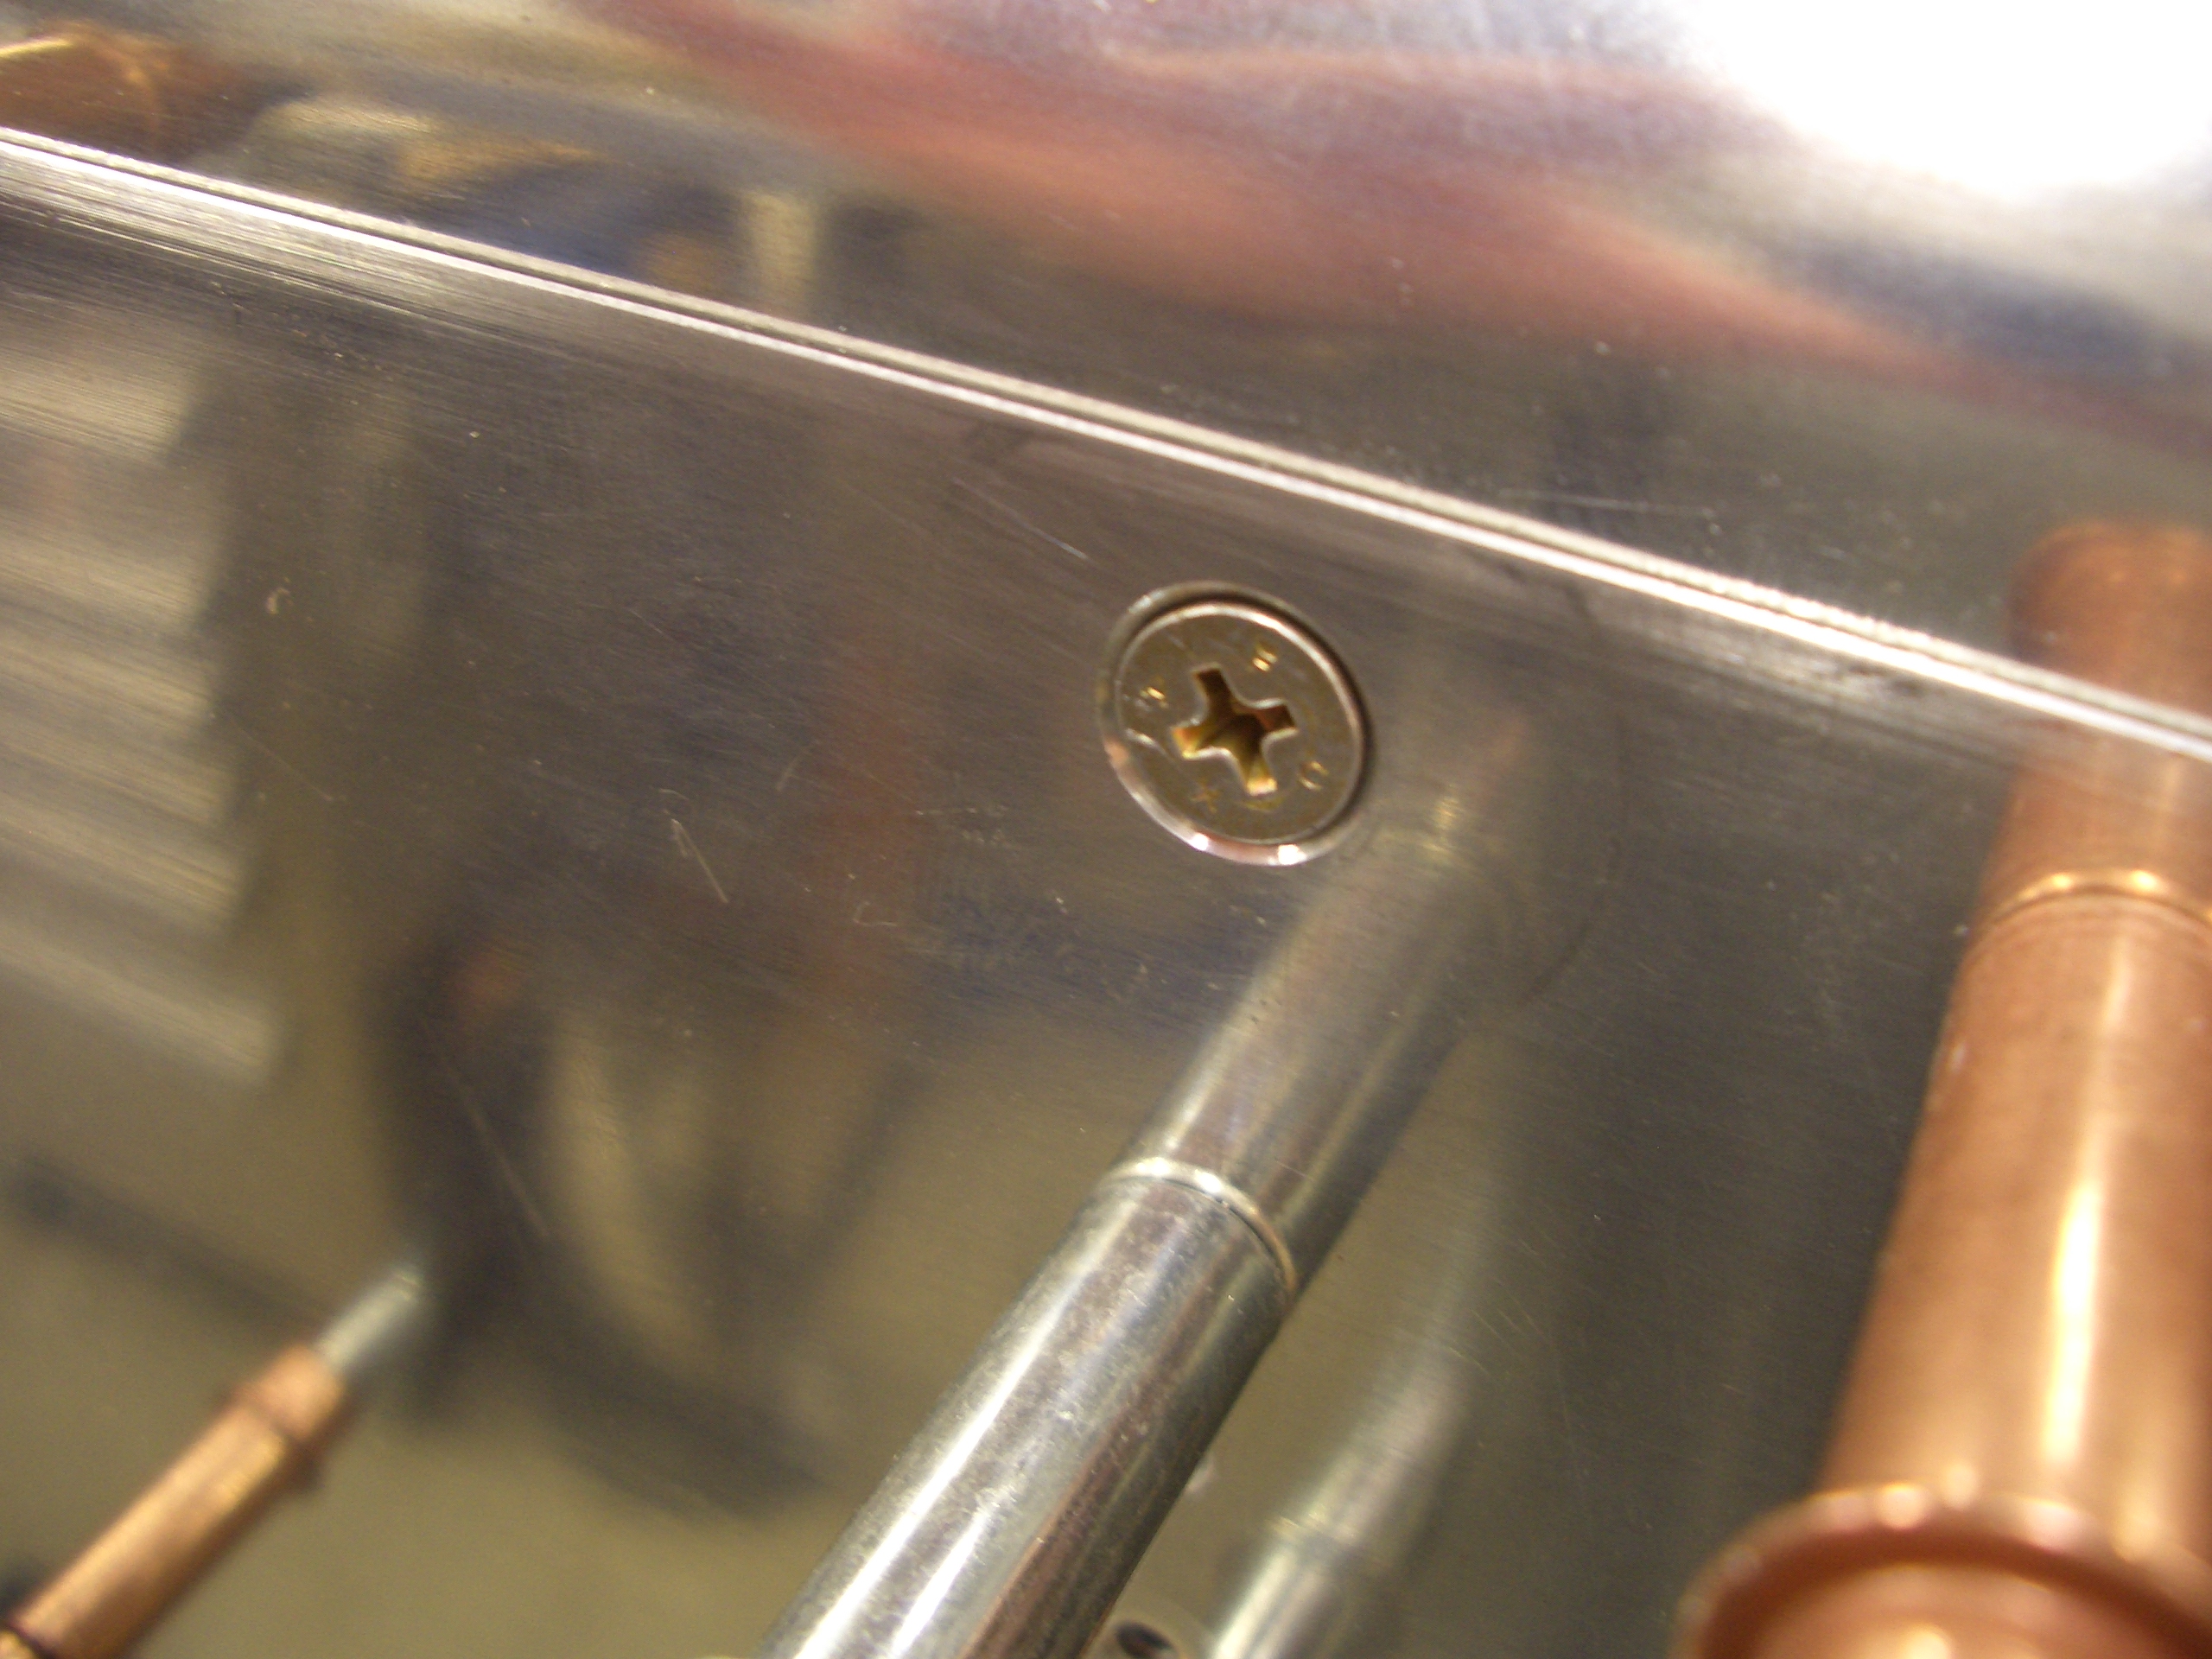
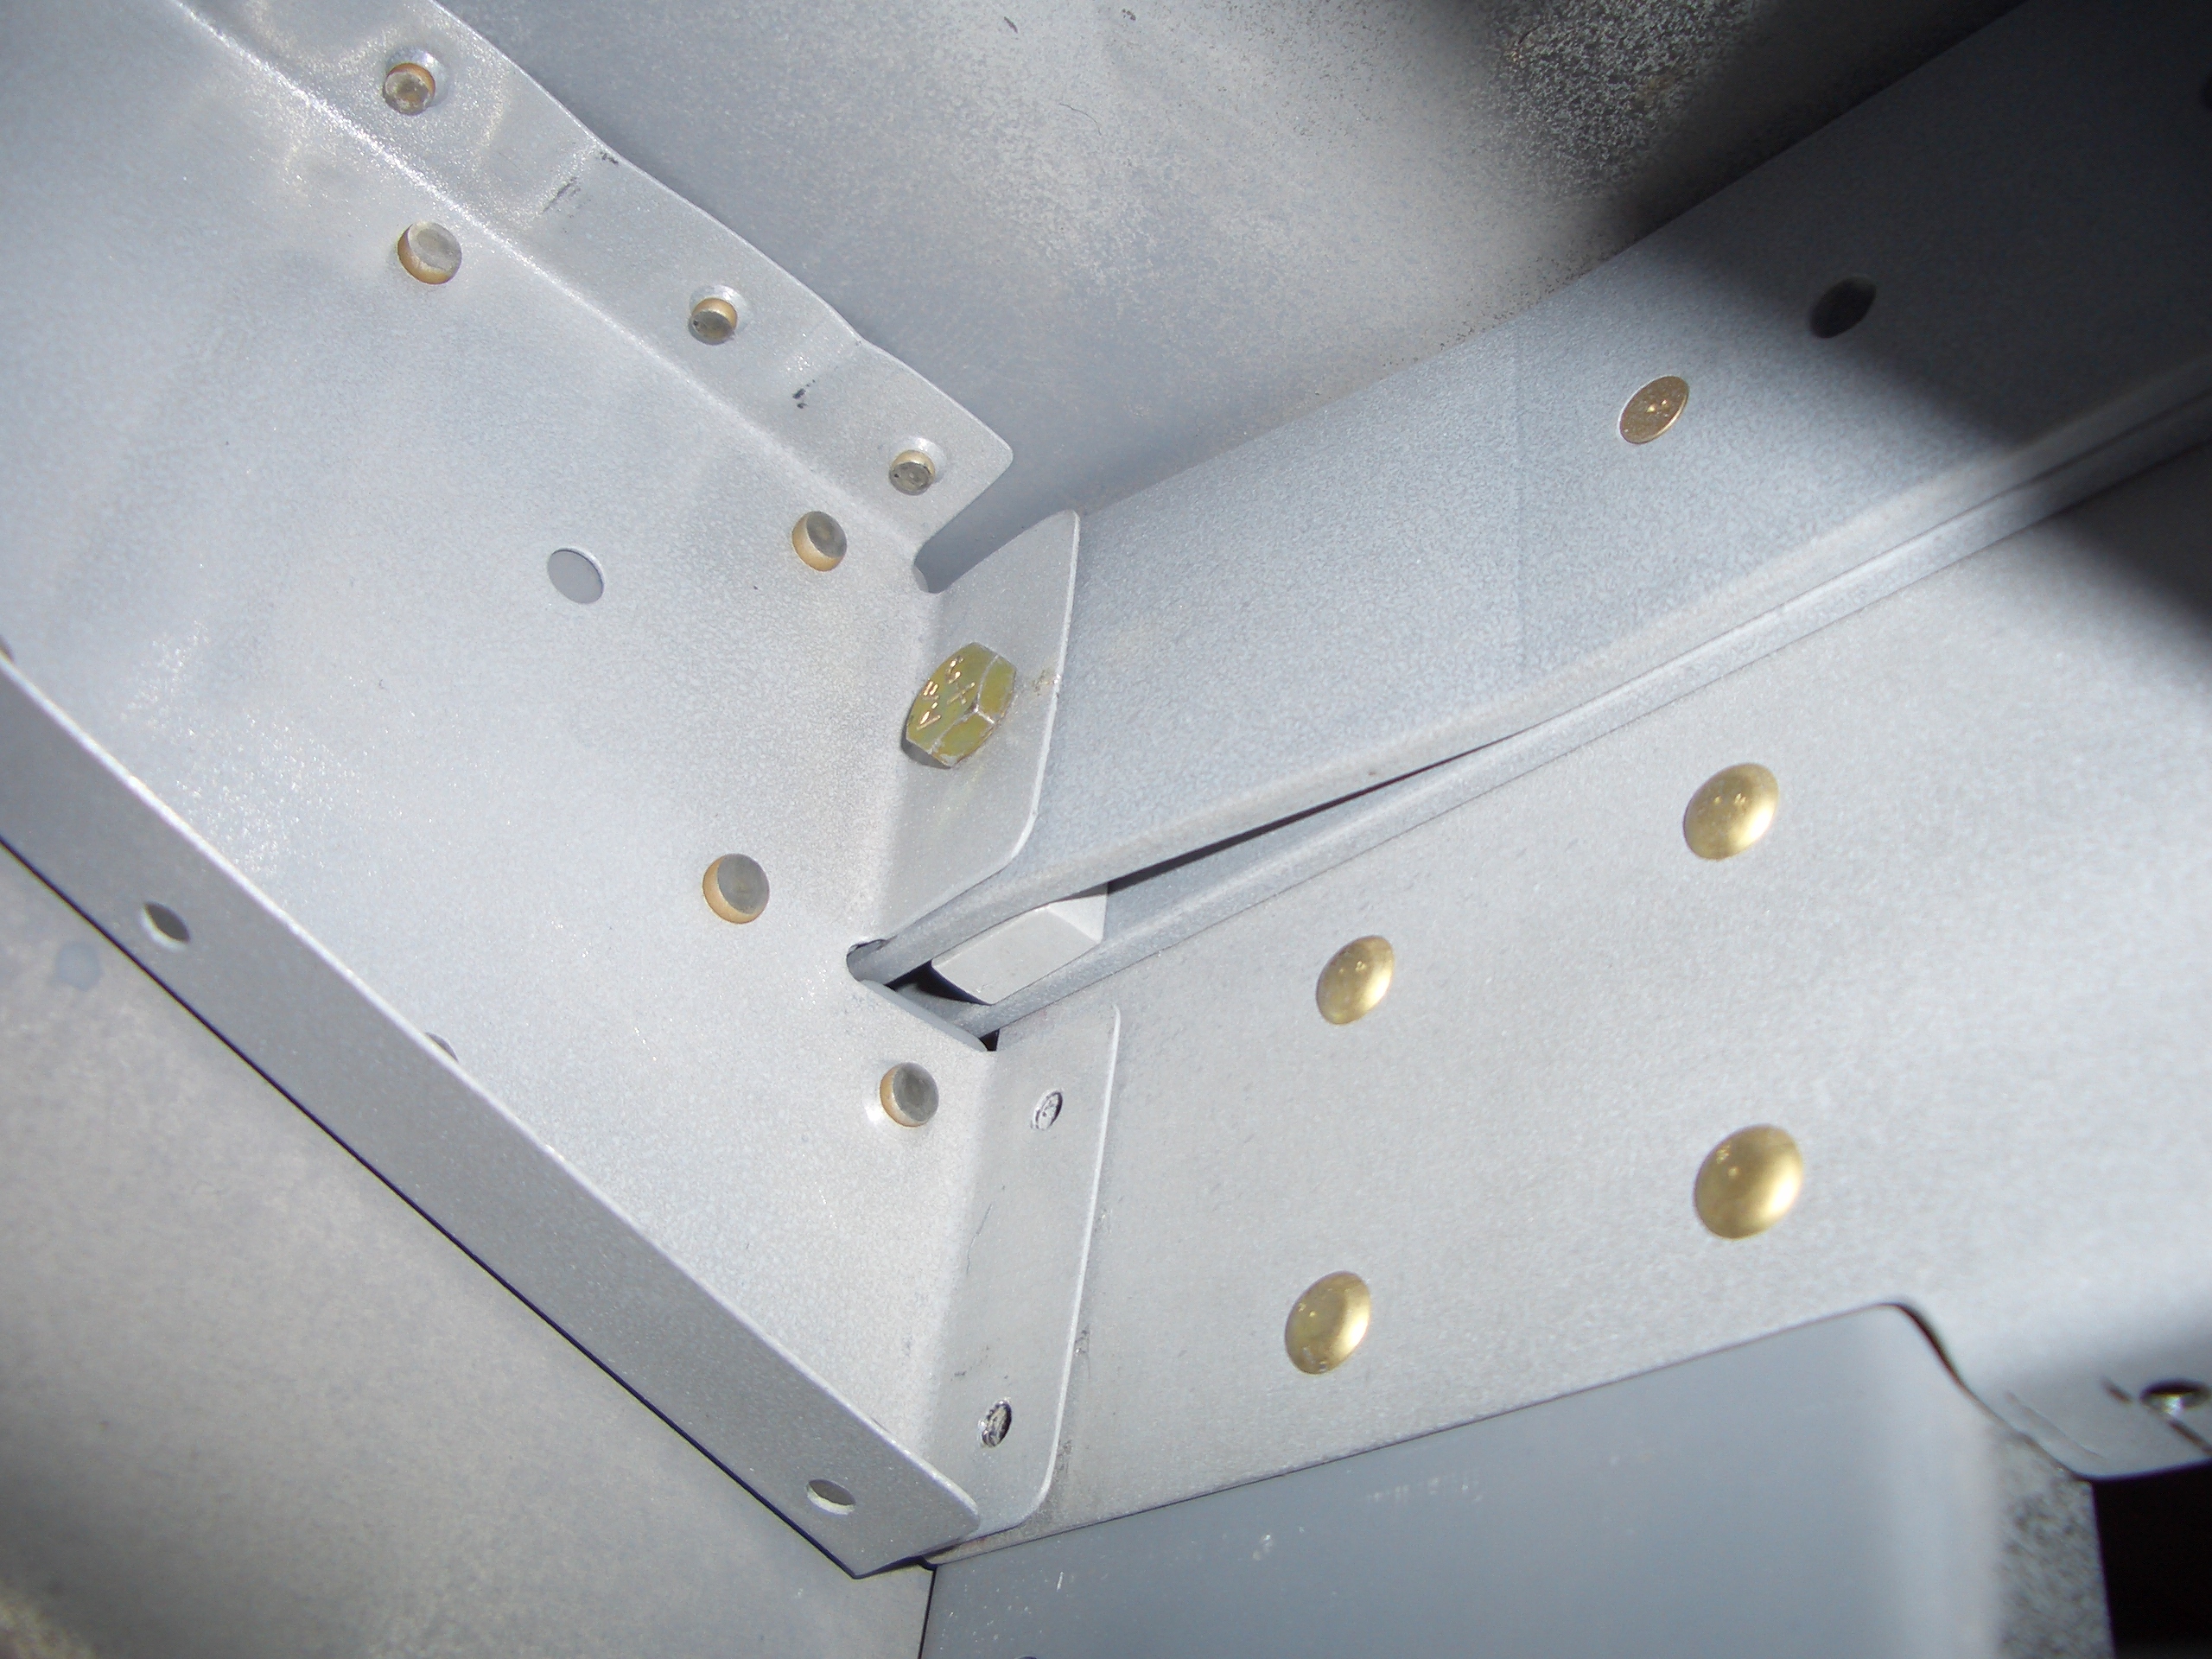
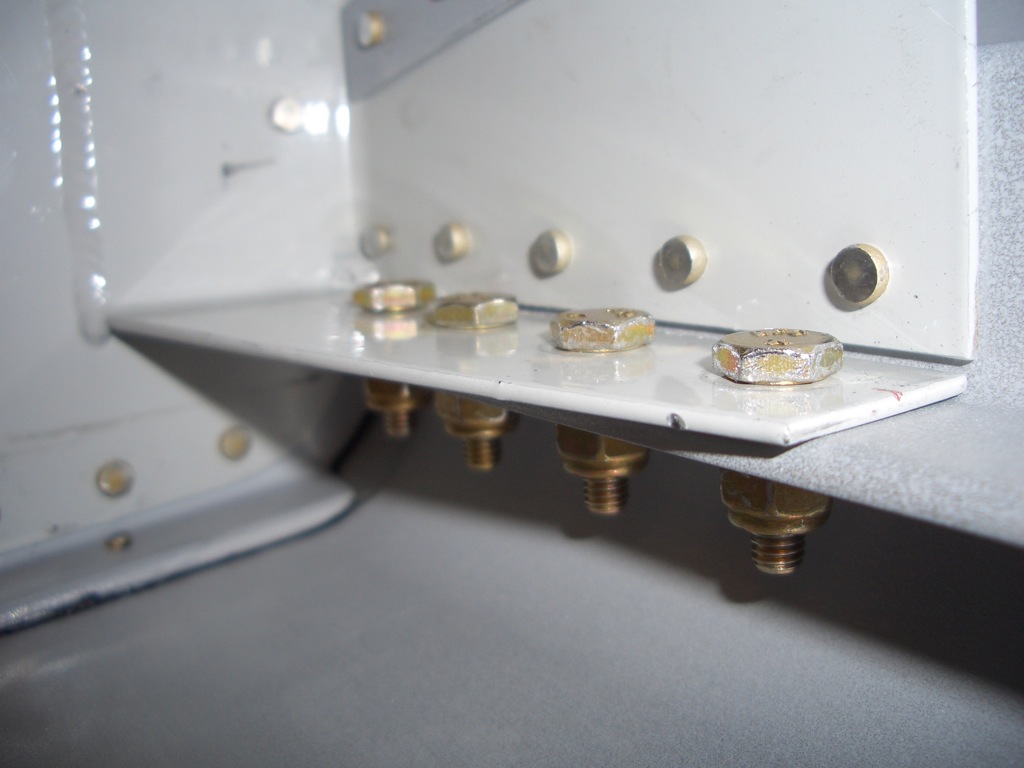
After Andre took off, I installed the AN3 bolts through the lower engine mounts and lower longerons.  I probably should have done this before riveting on the bottom skin since I couldn’t get a torque wrench on these.  I had to calibrate my hand and do these by feel.

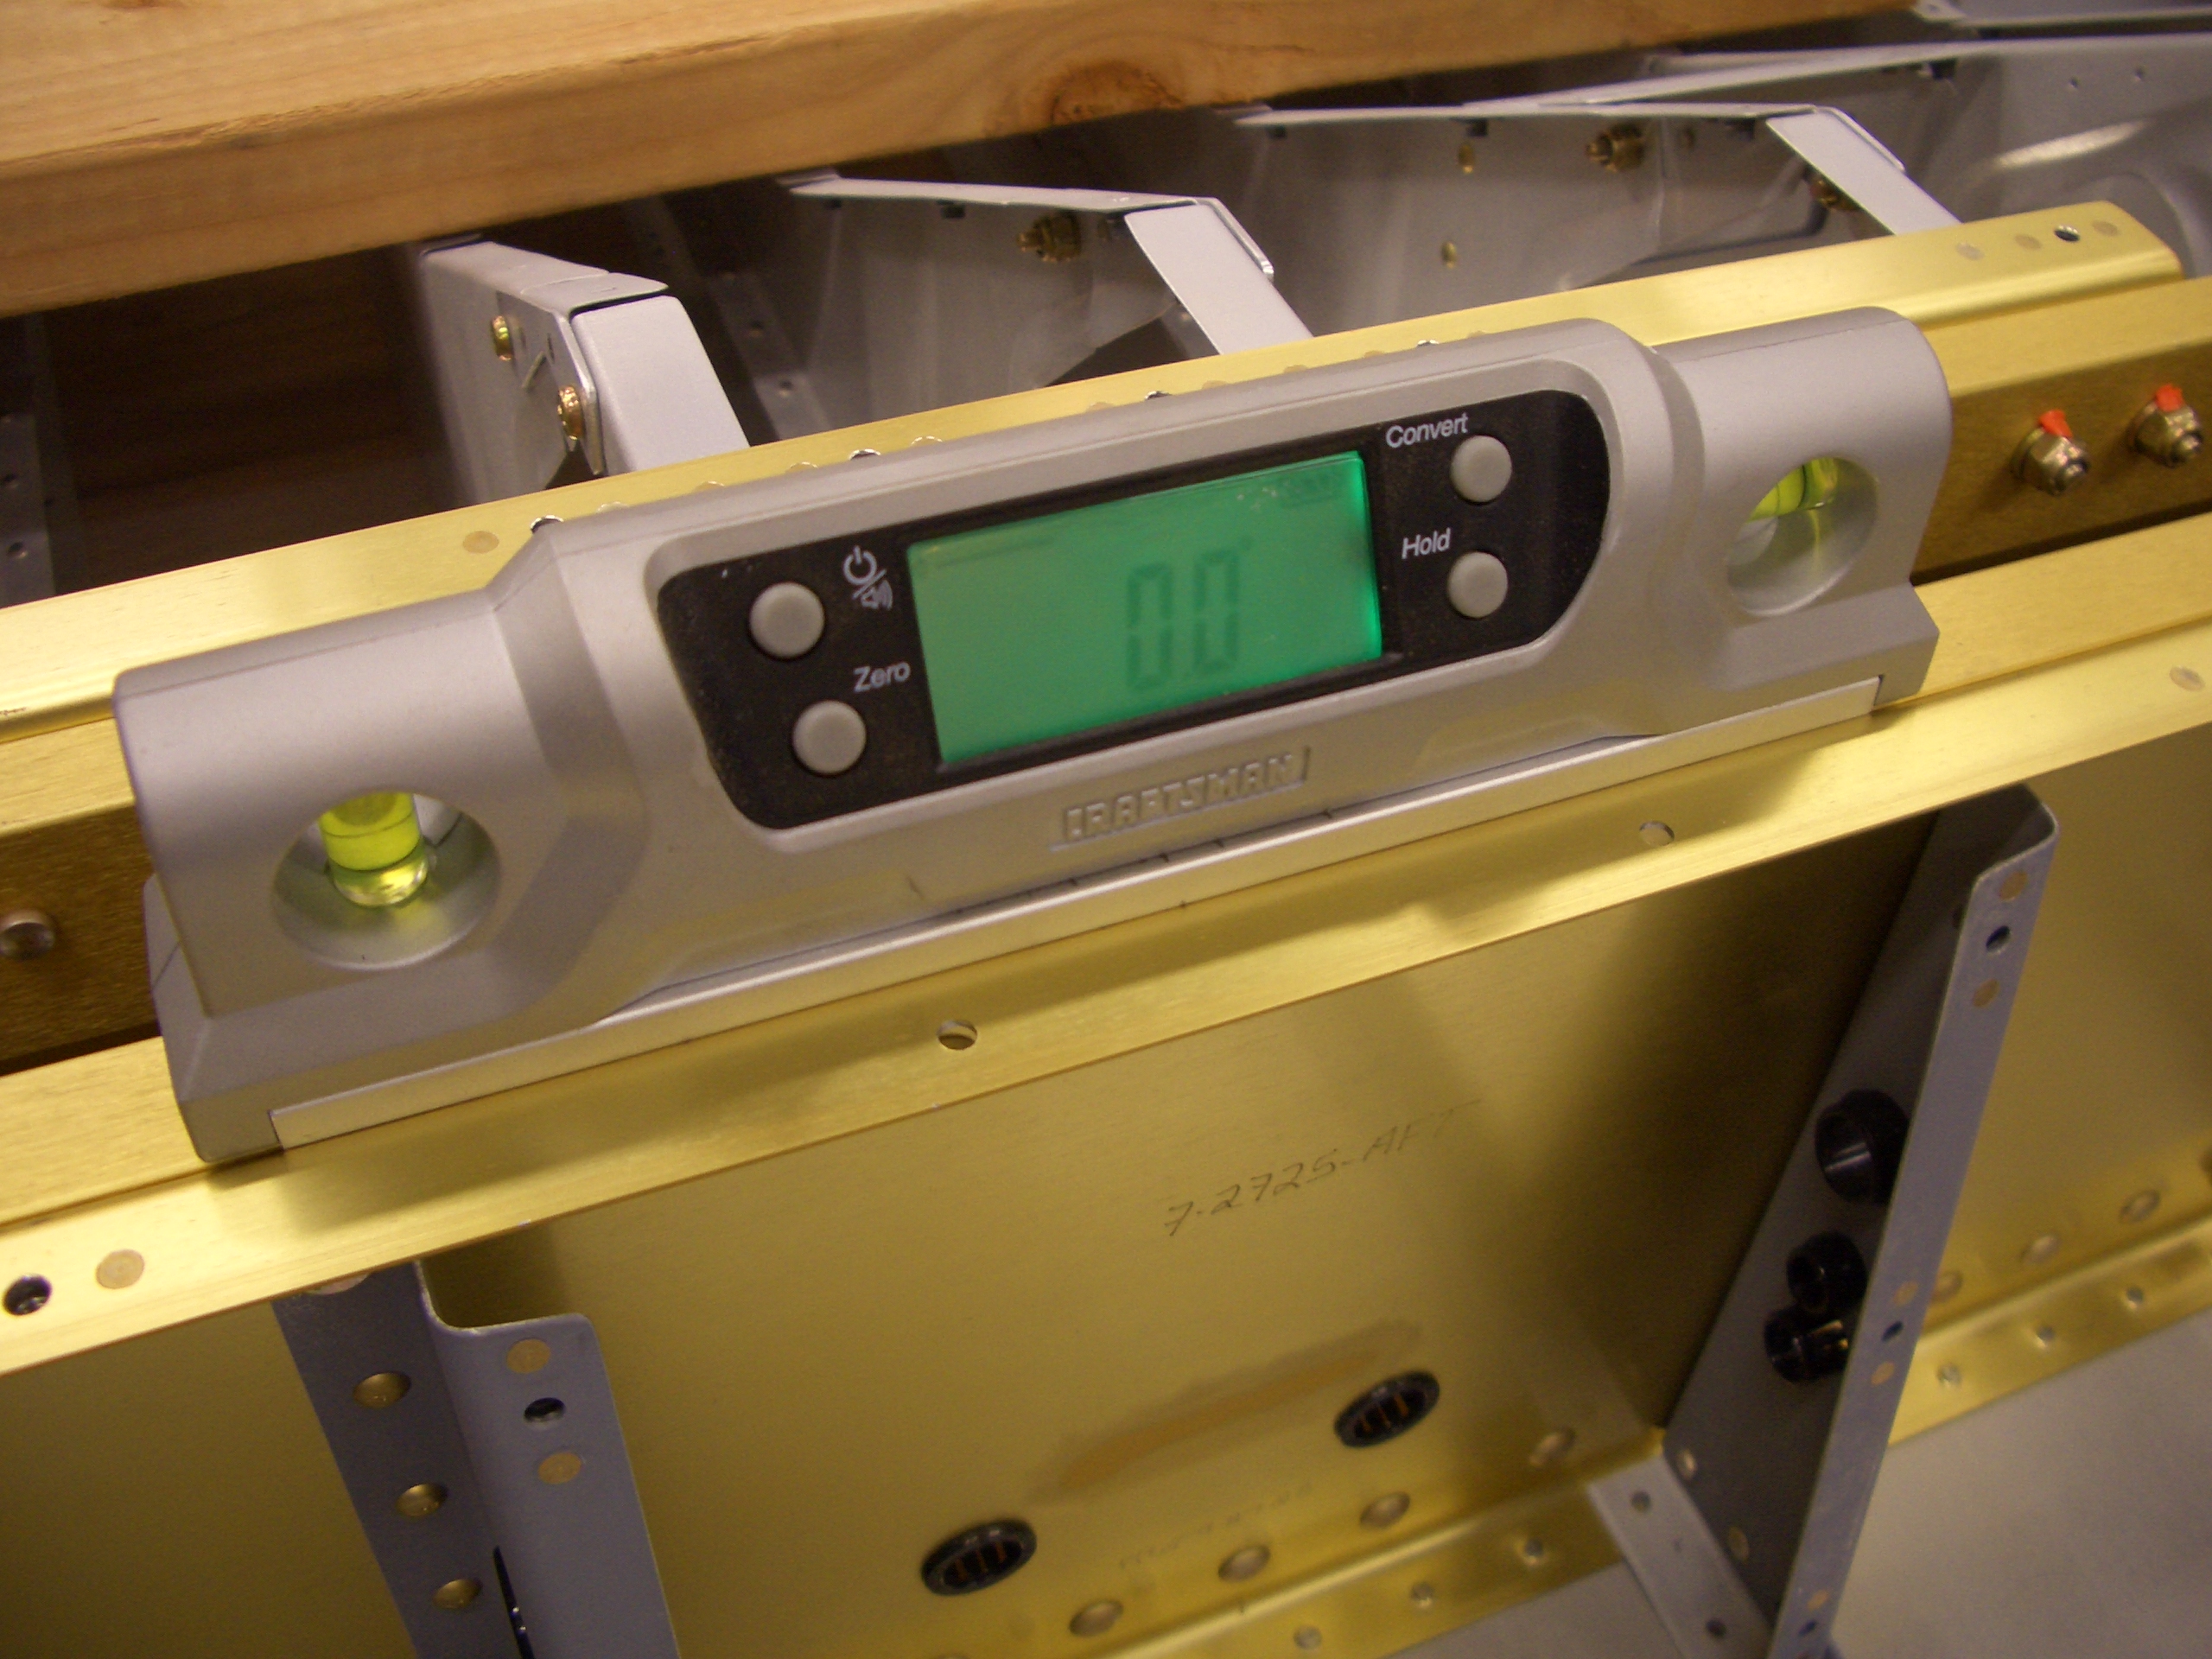
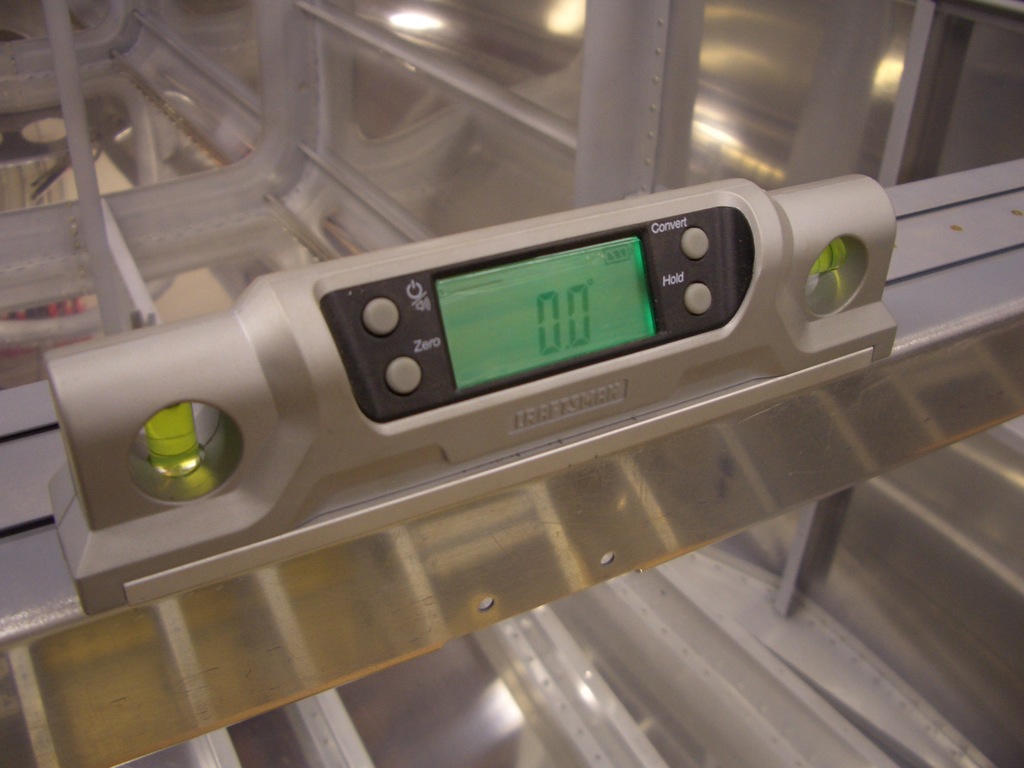
Afterward, I leveled the fuselage front to back.  Here is the reading along the longerons between F-704 and F-705.

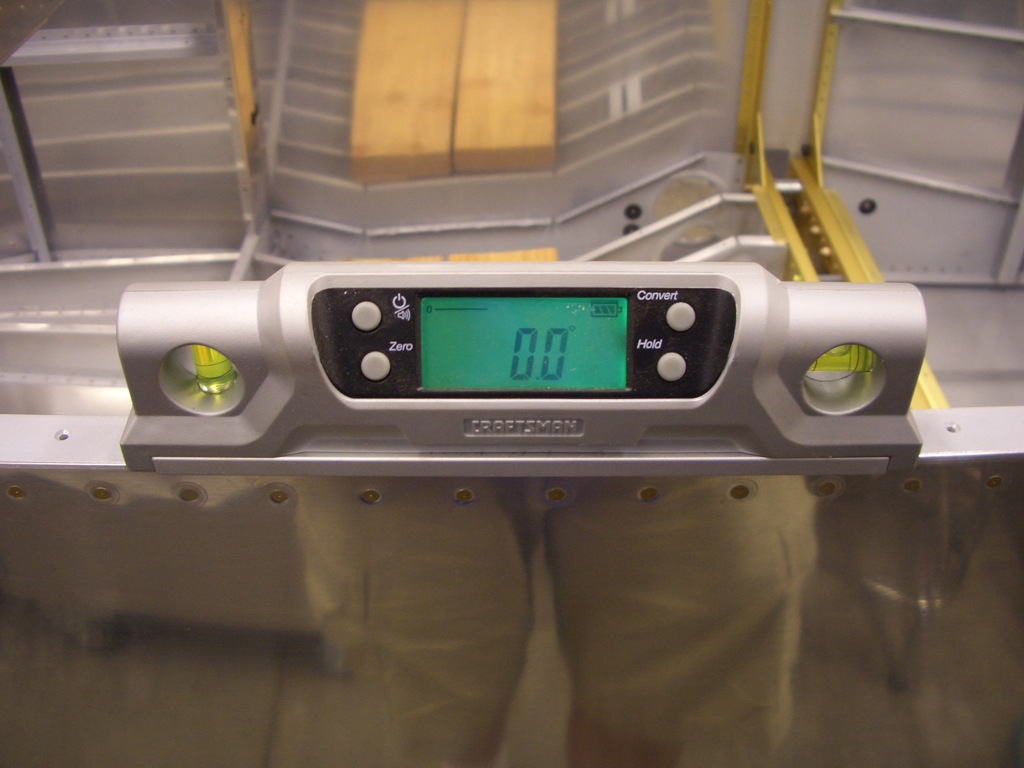
I also leveled the fuselage side to side at several points along the fuselage to ensure there was no twist.  Here is the reading at F-705.

And at F-704.

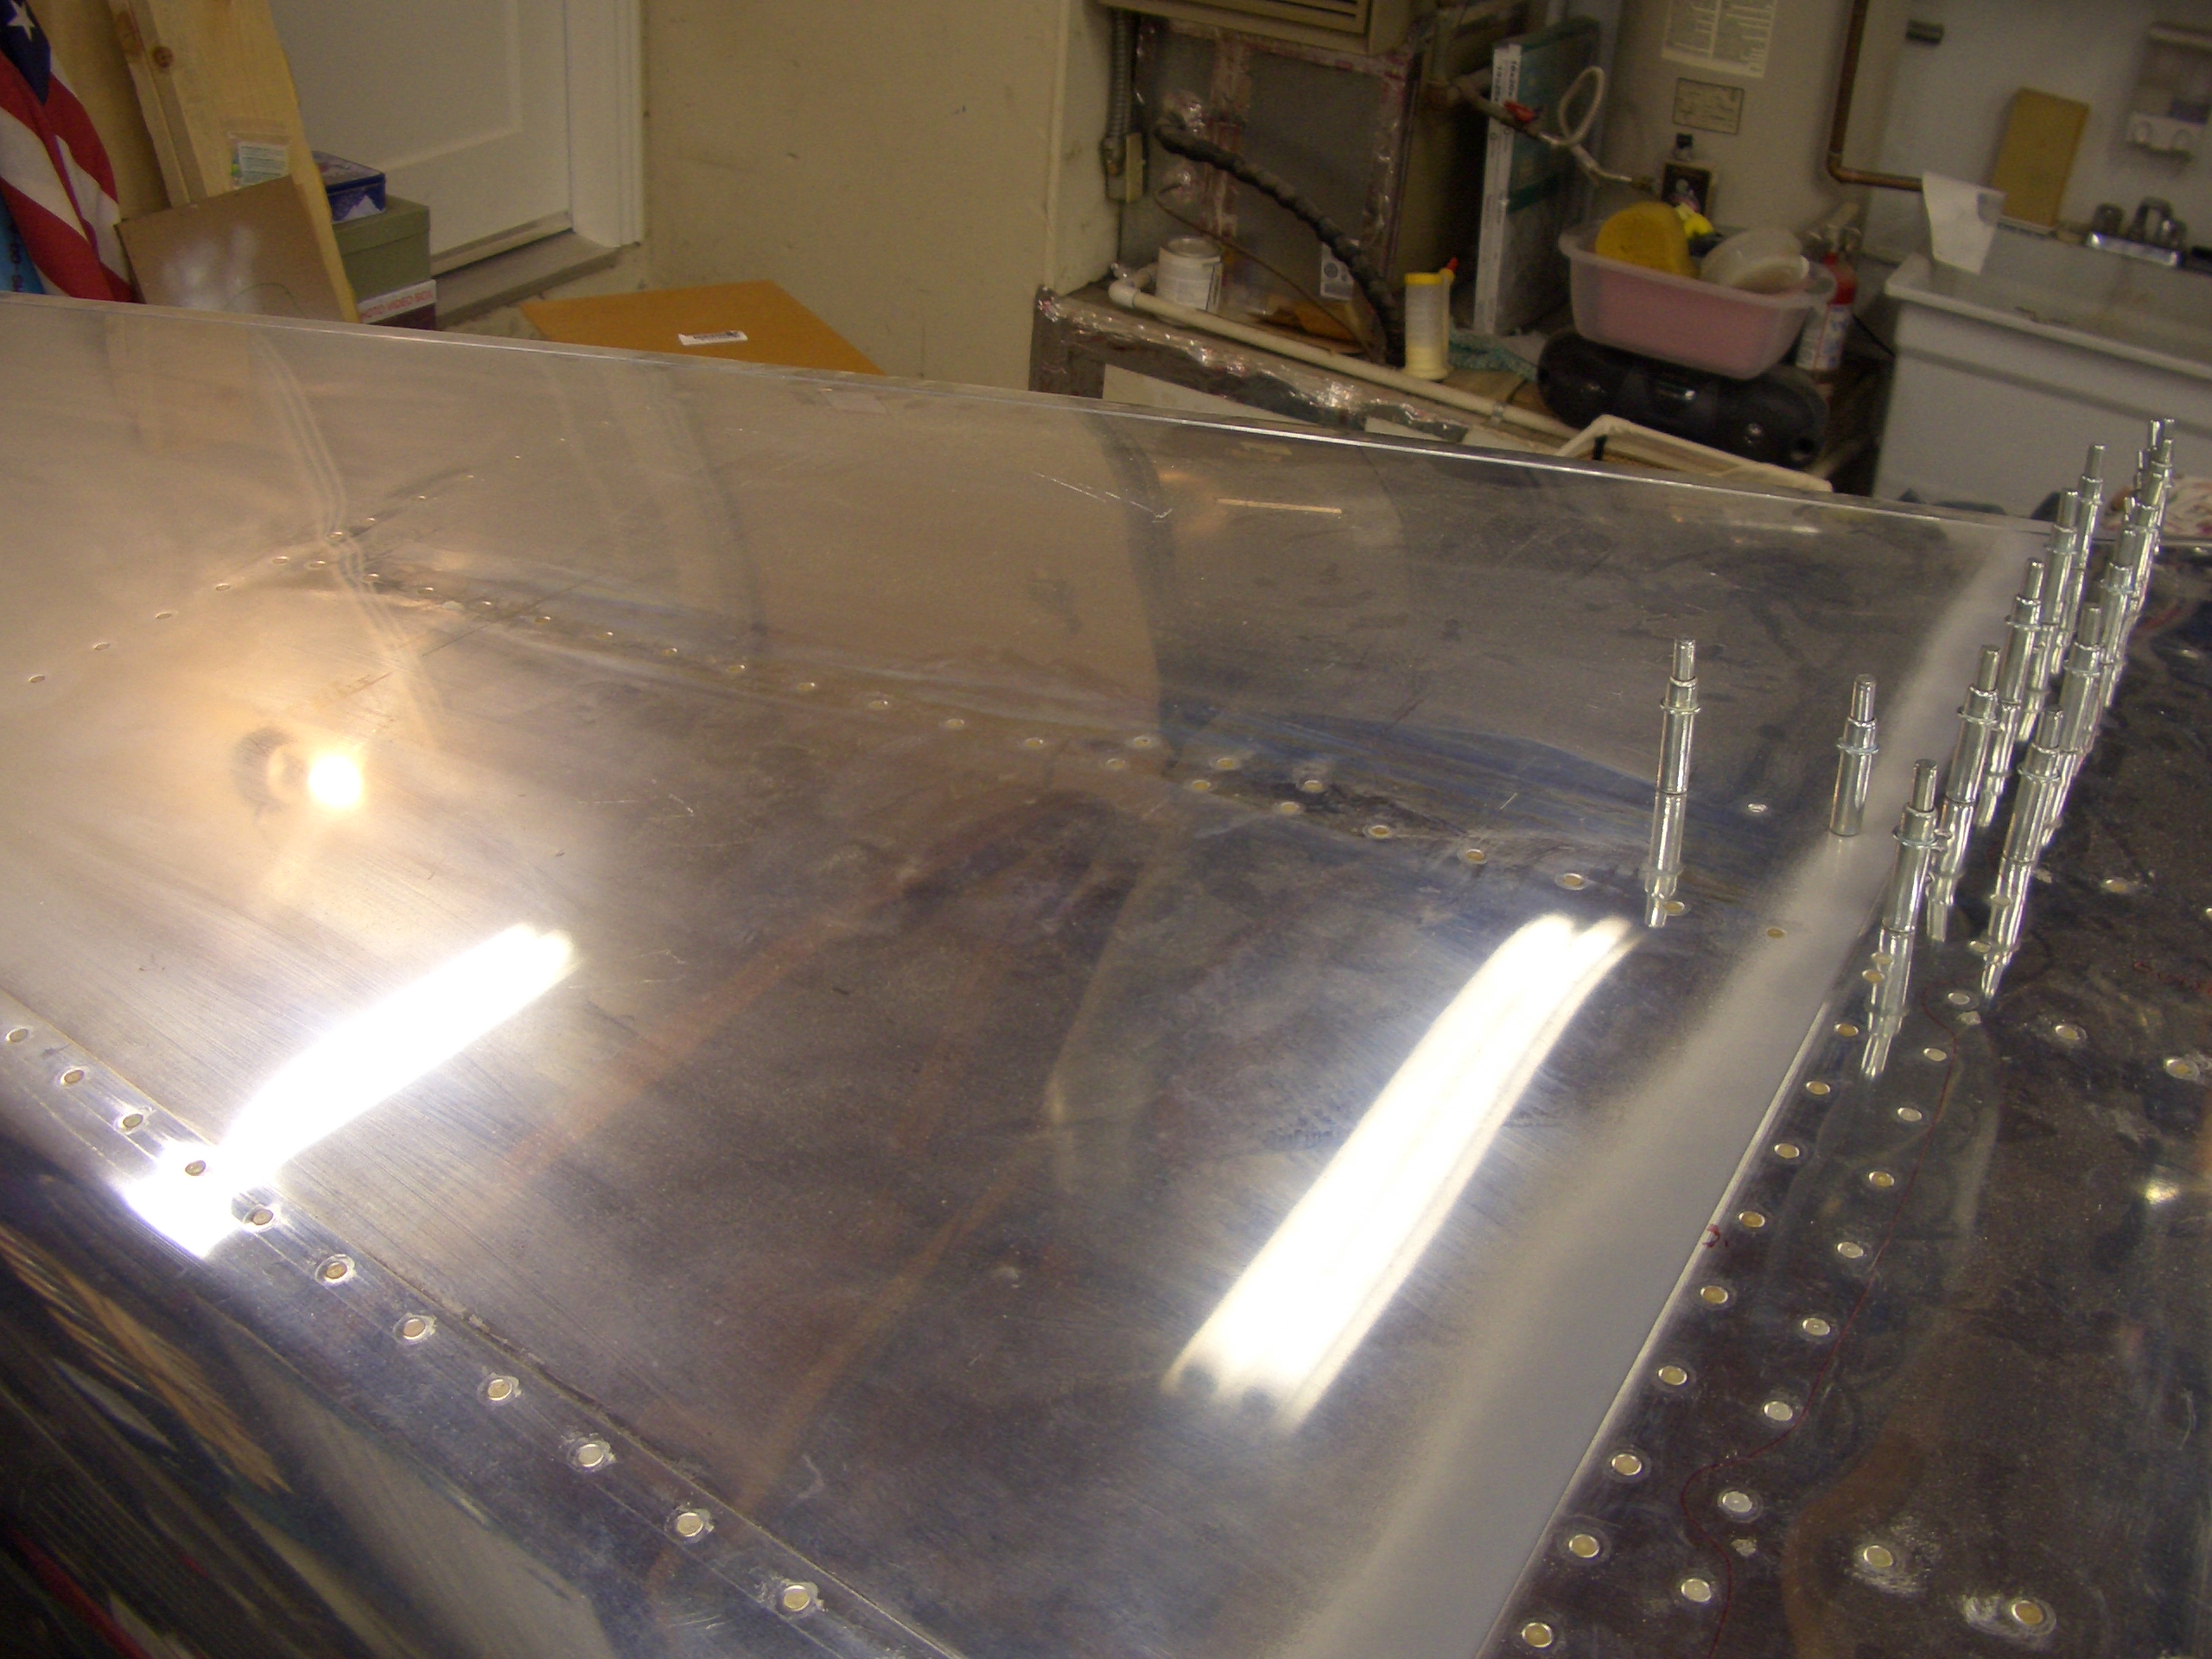
And at F-710.  I doubled checked all of the readings with a bubble level and them clamped the aft deck in place.

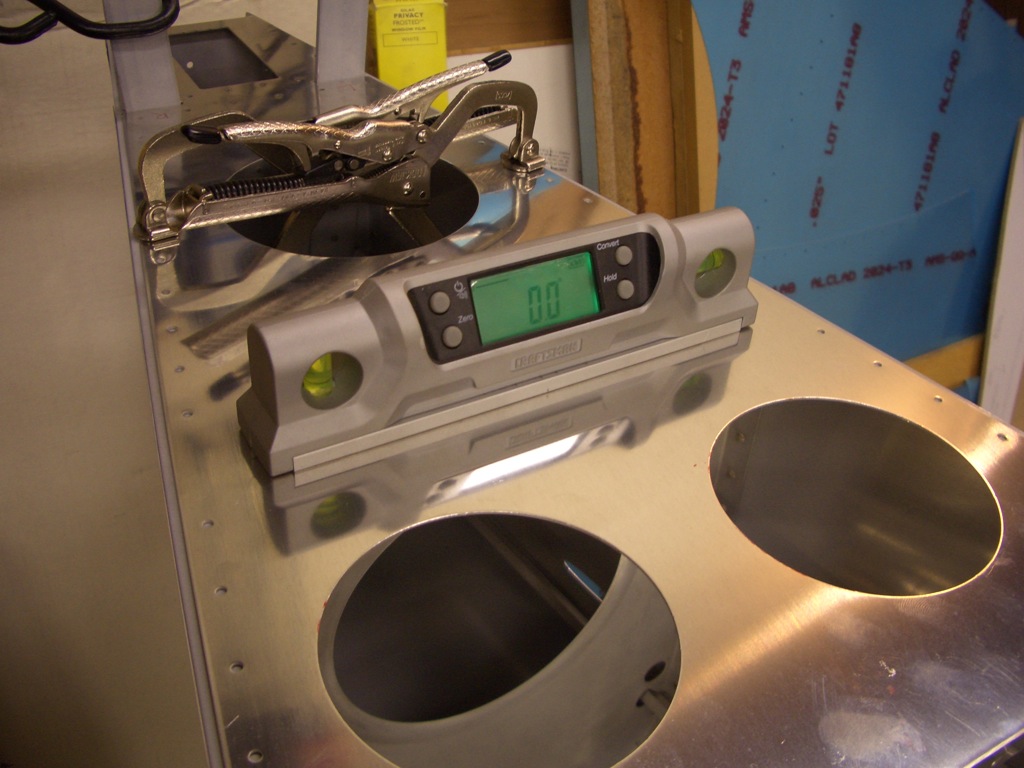
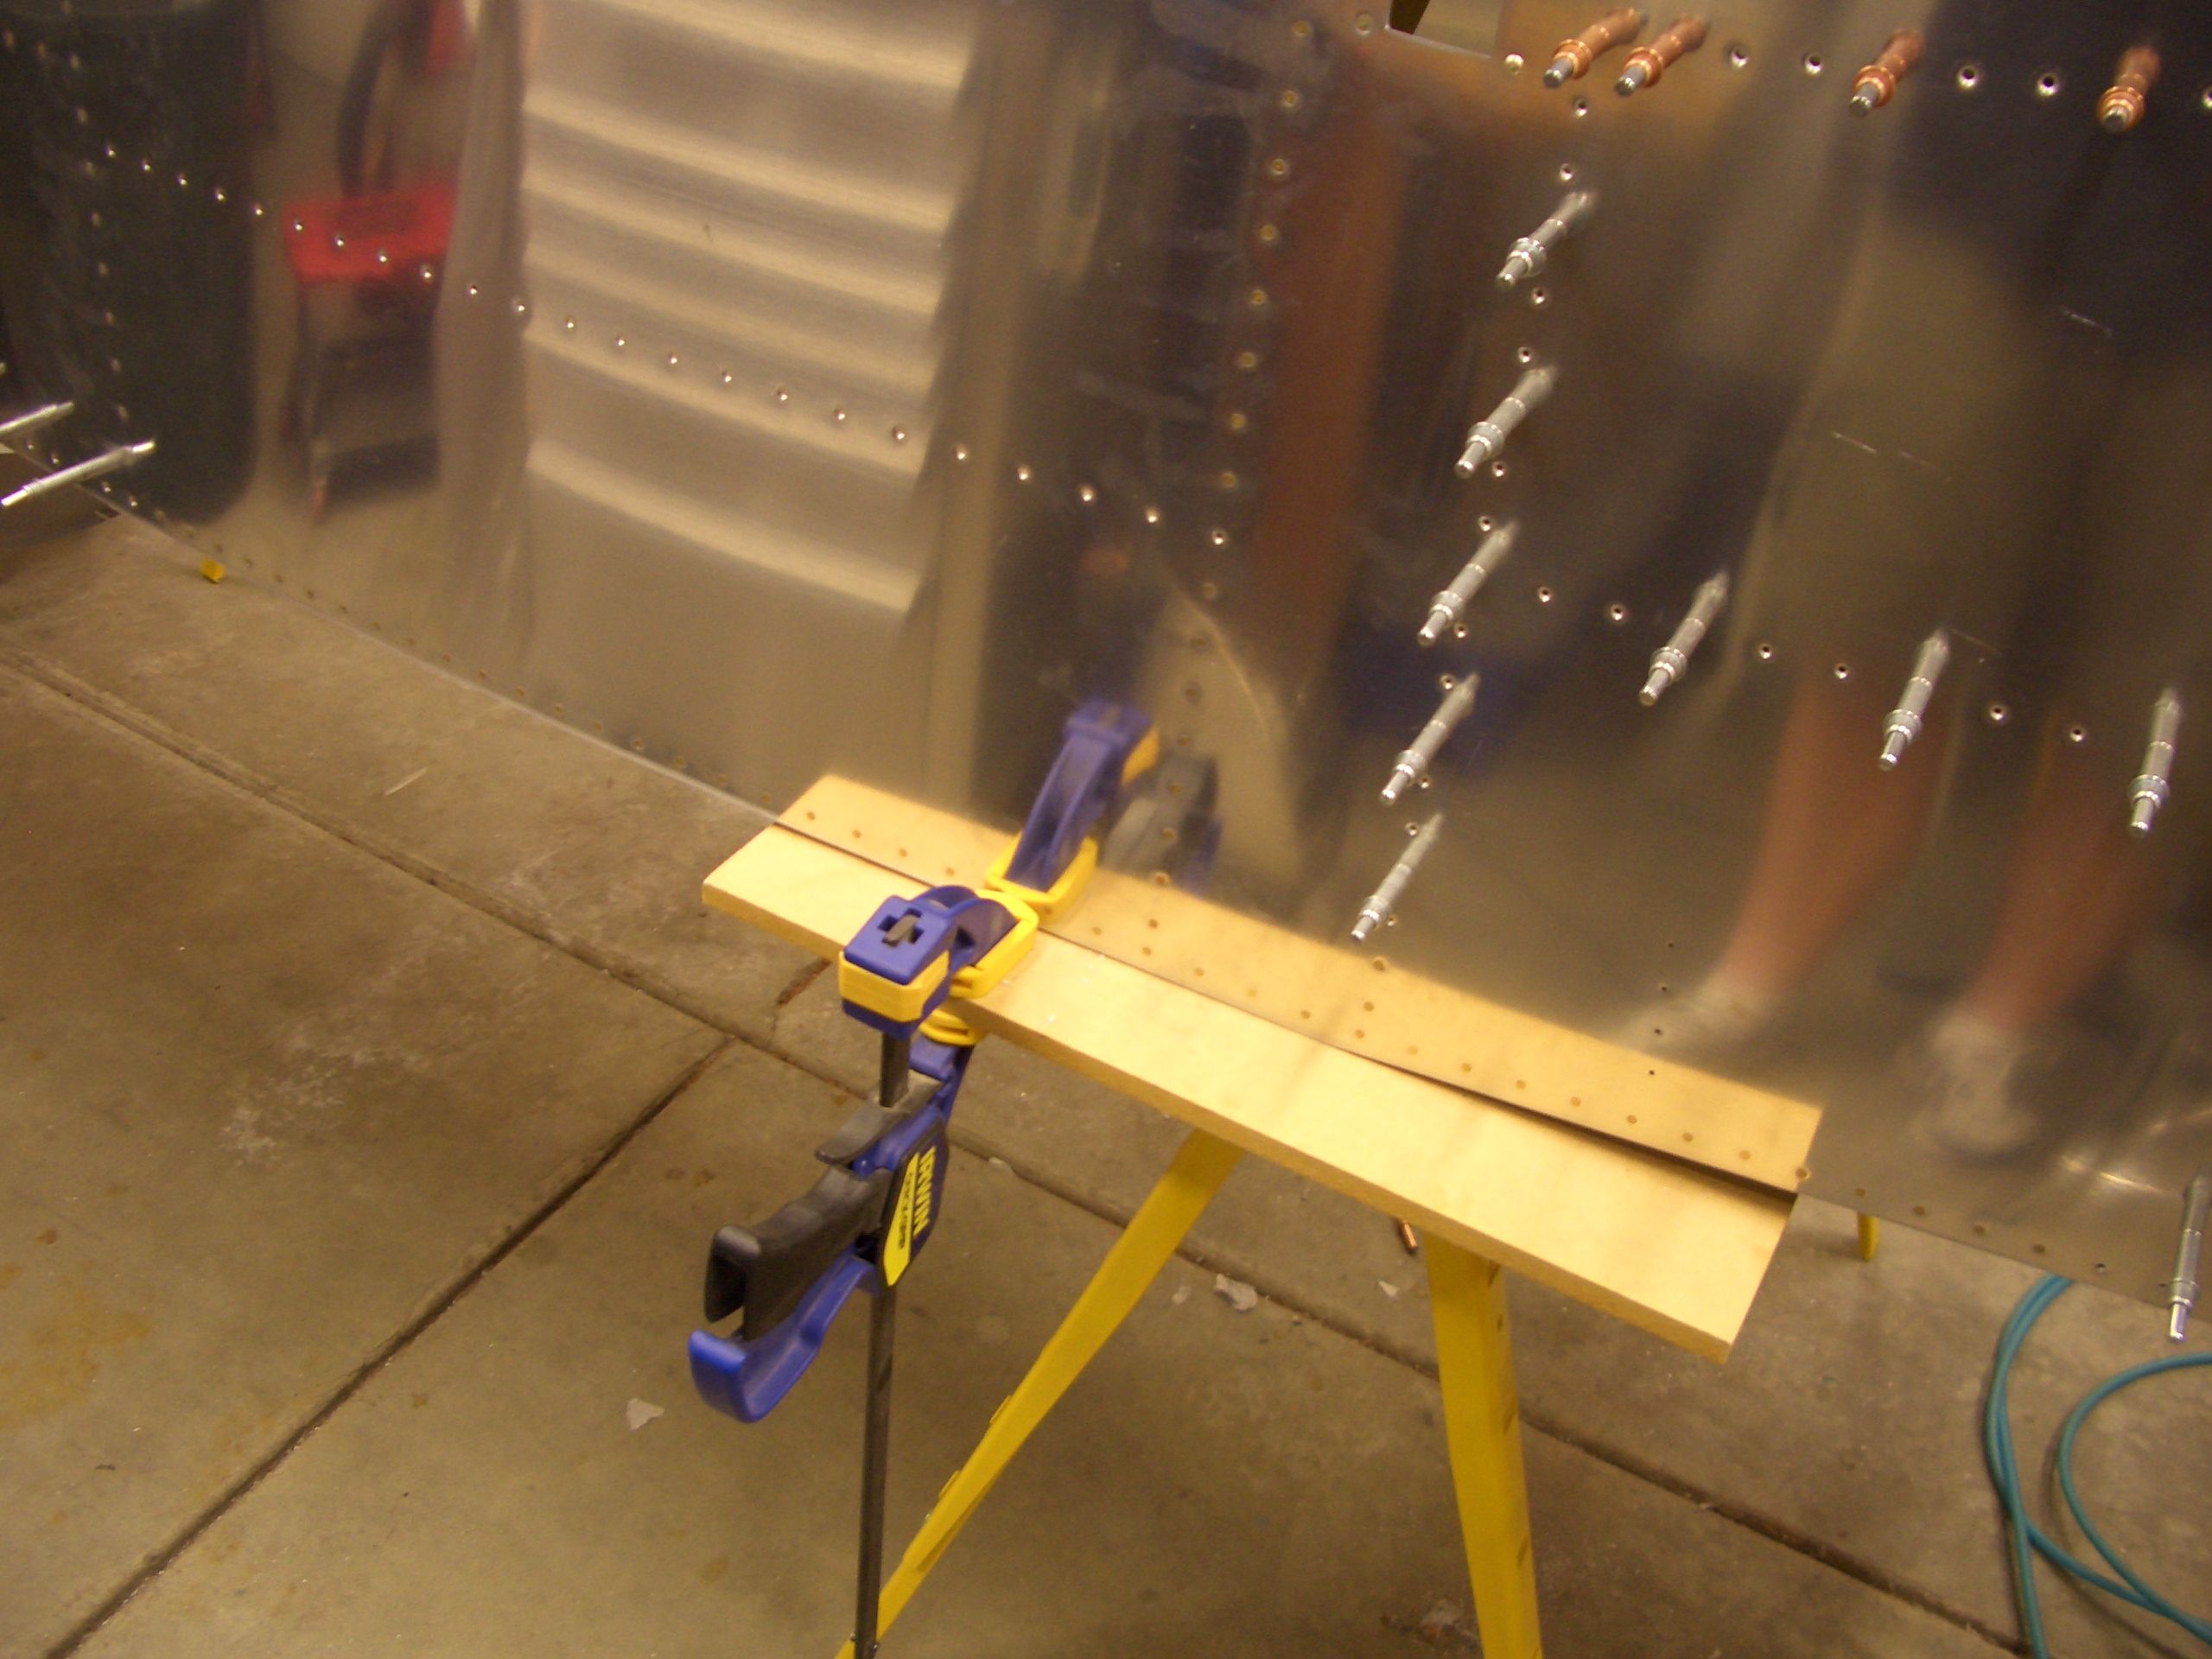
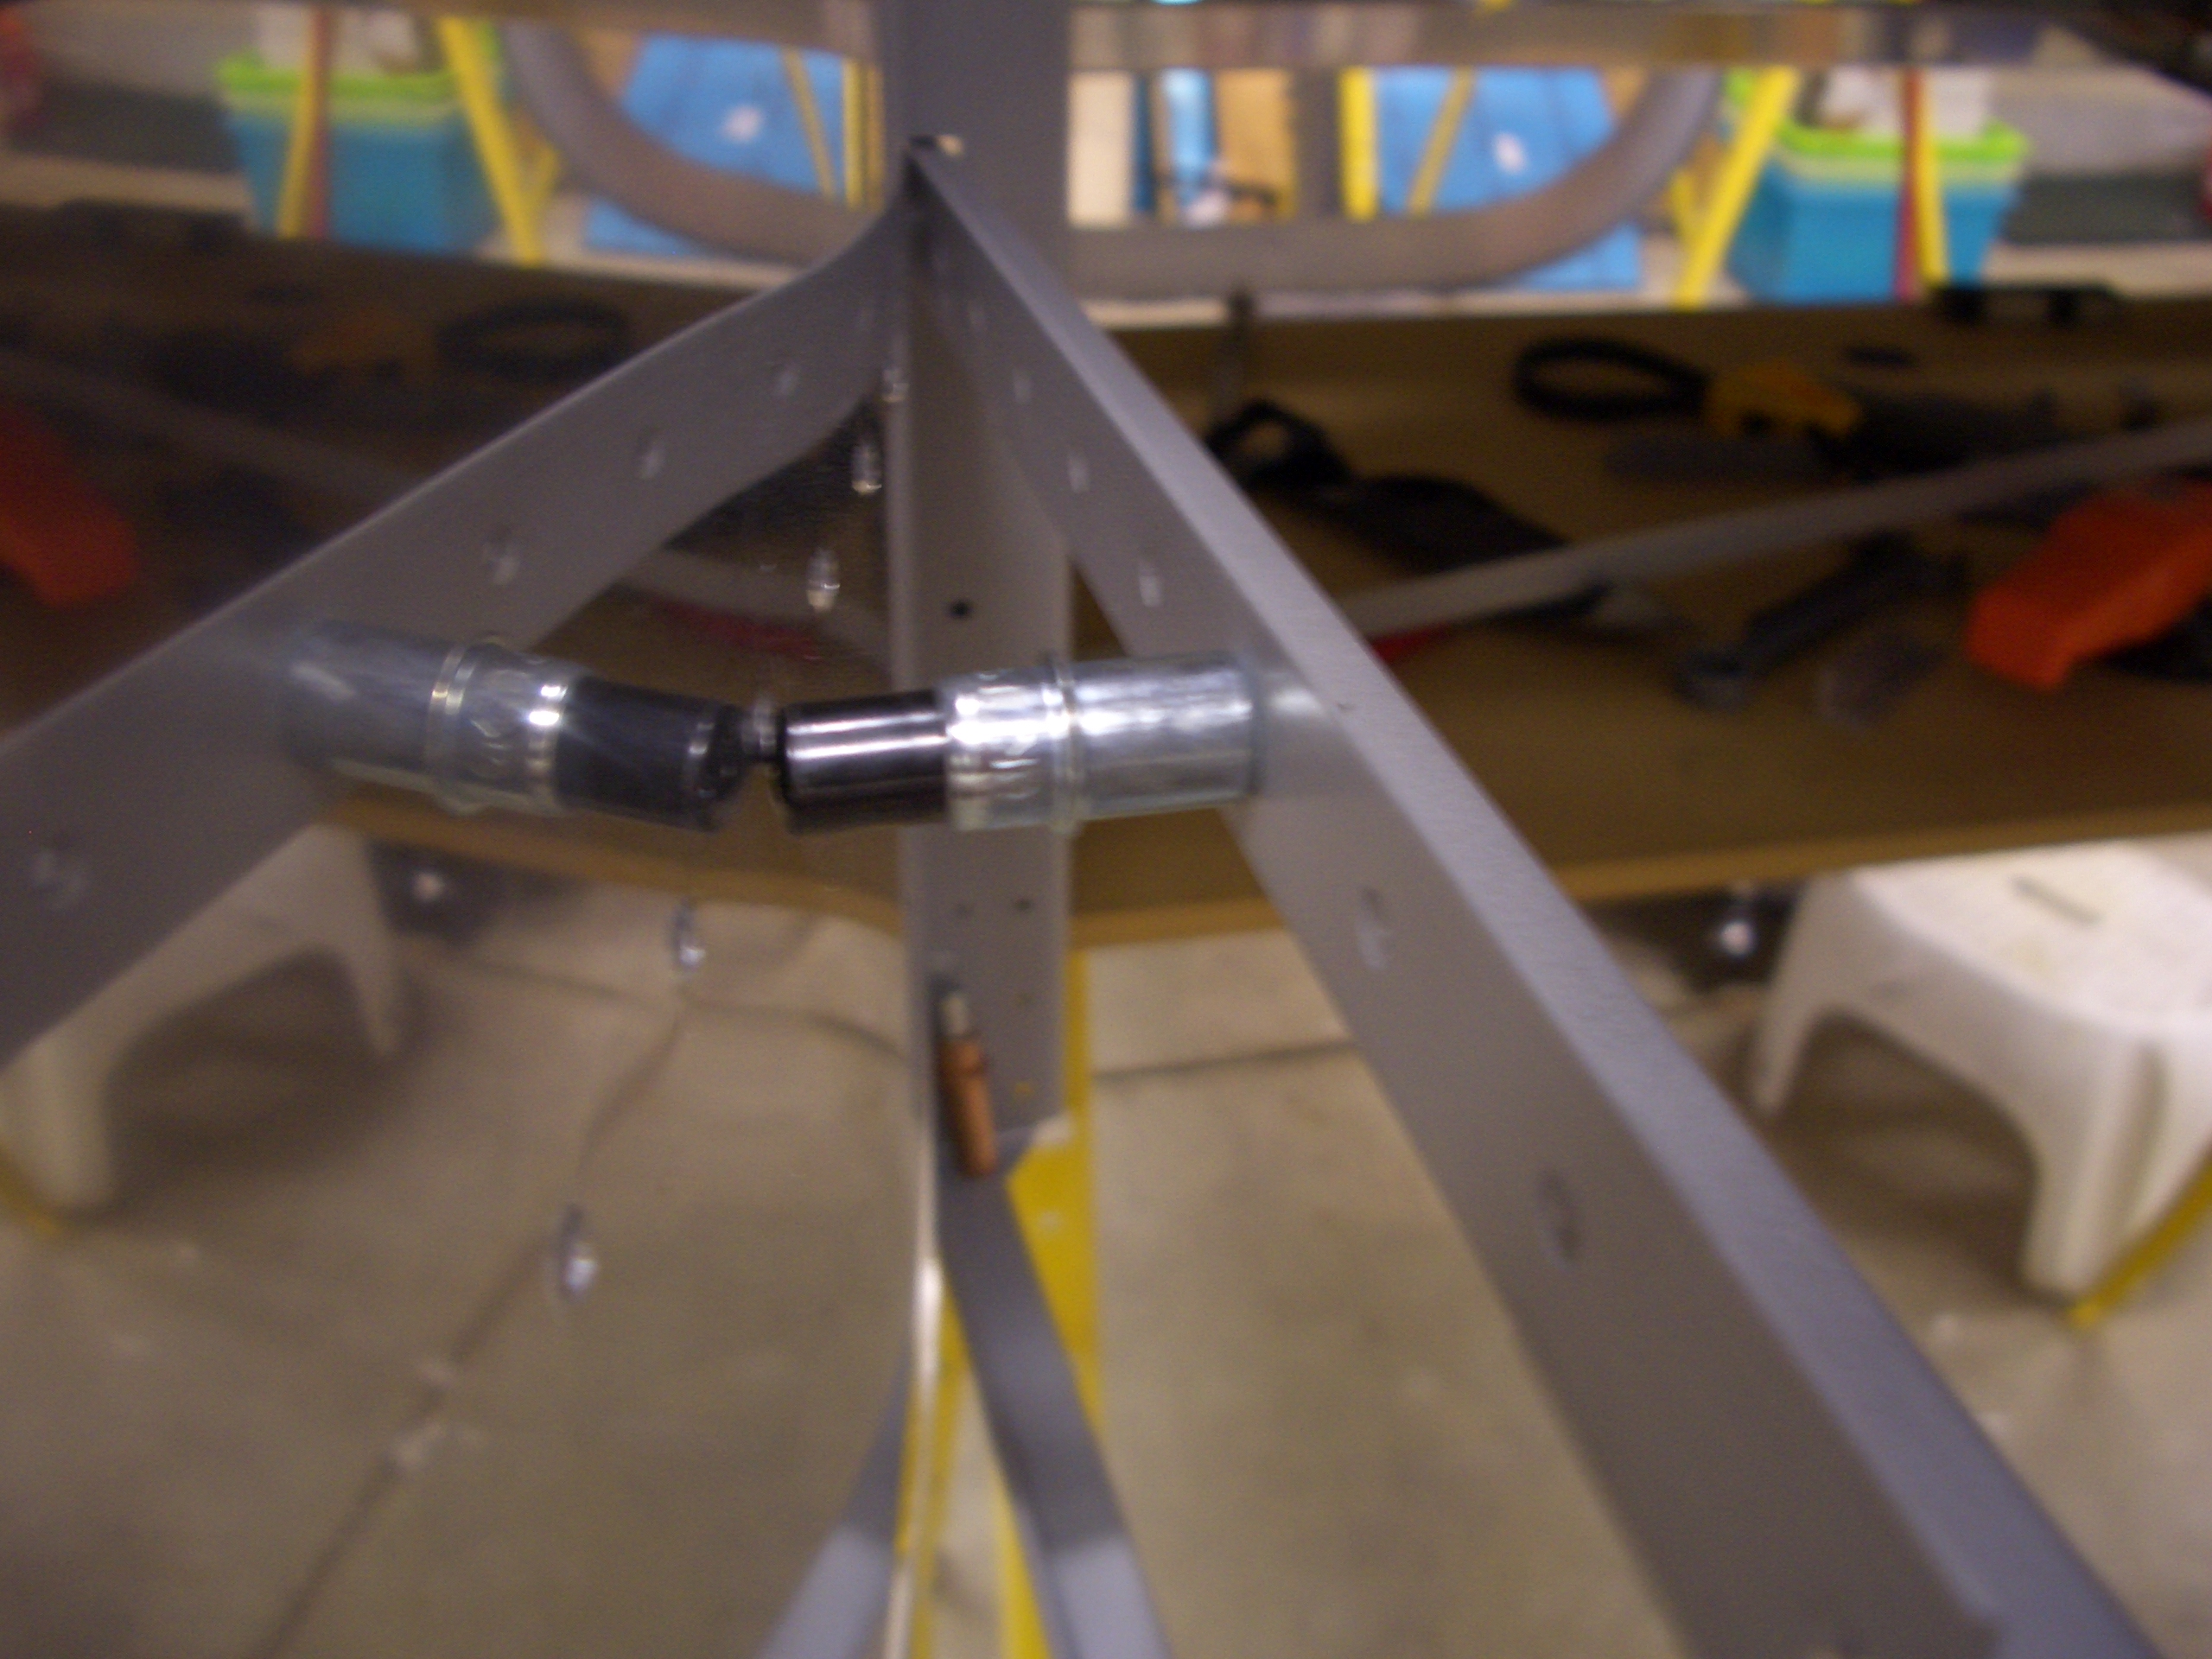
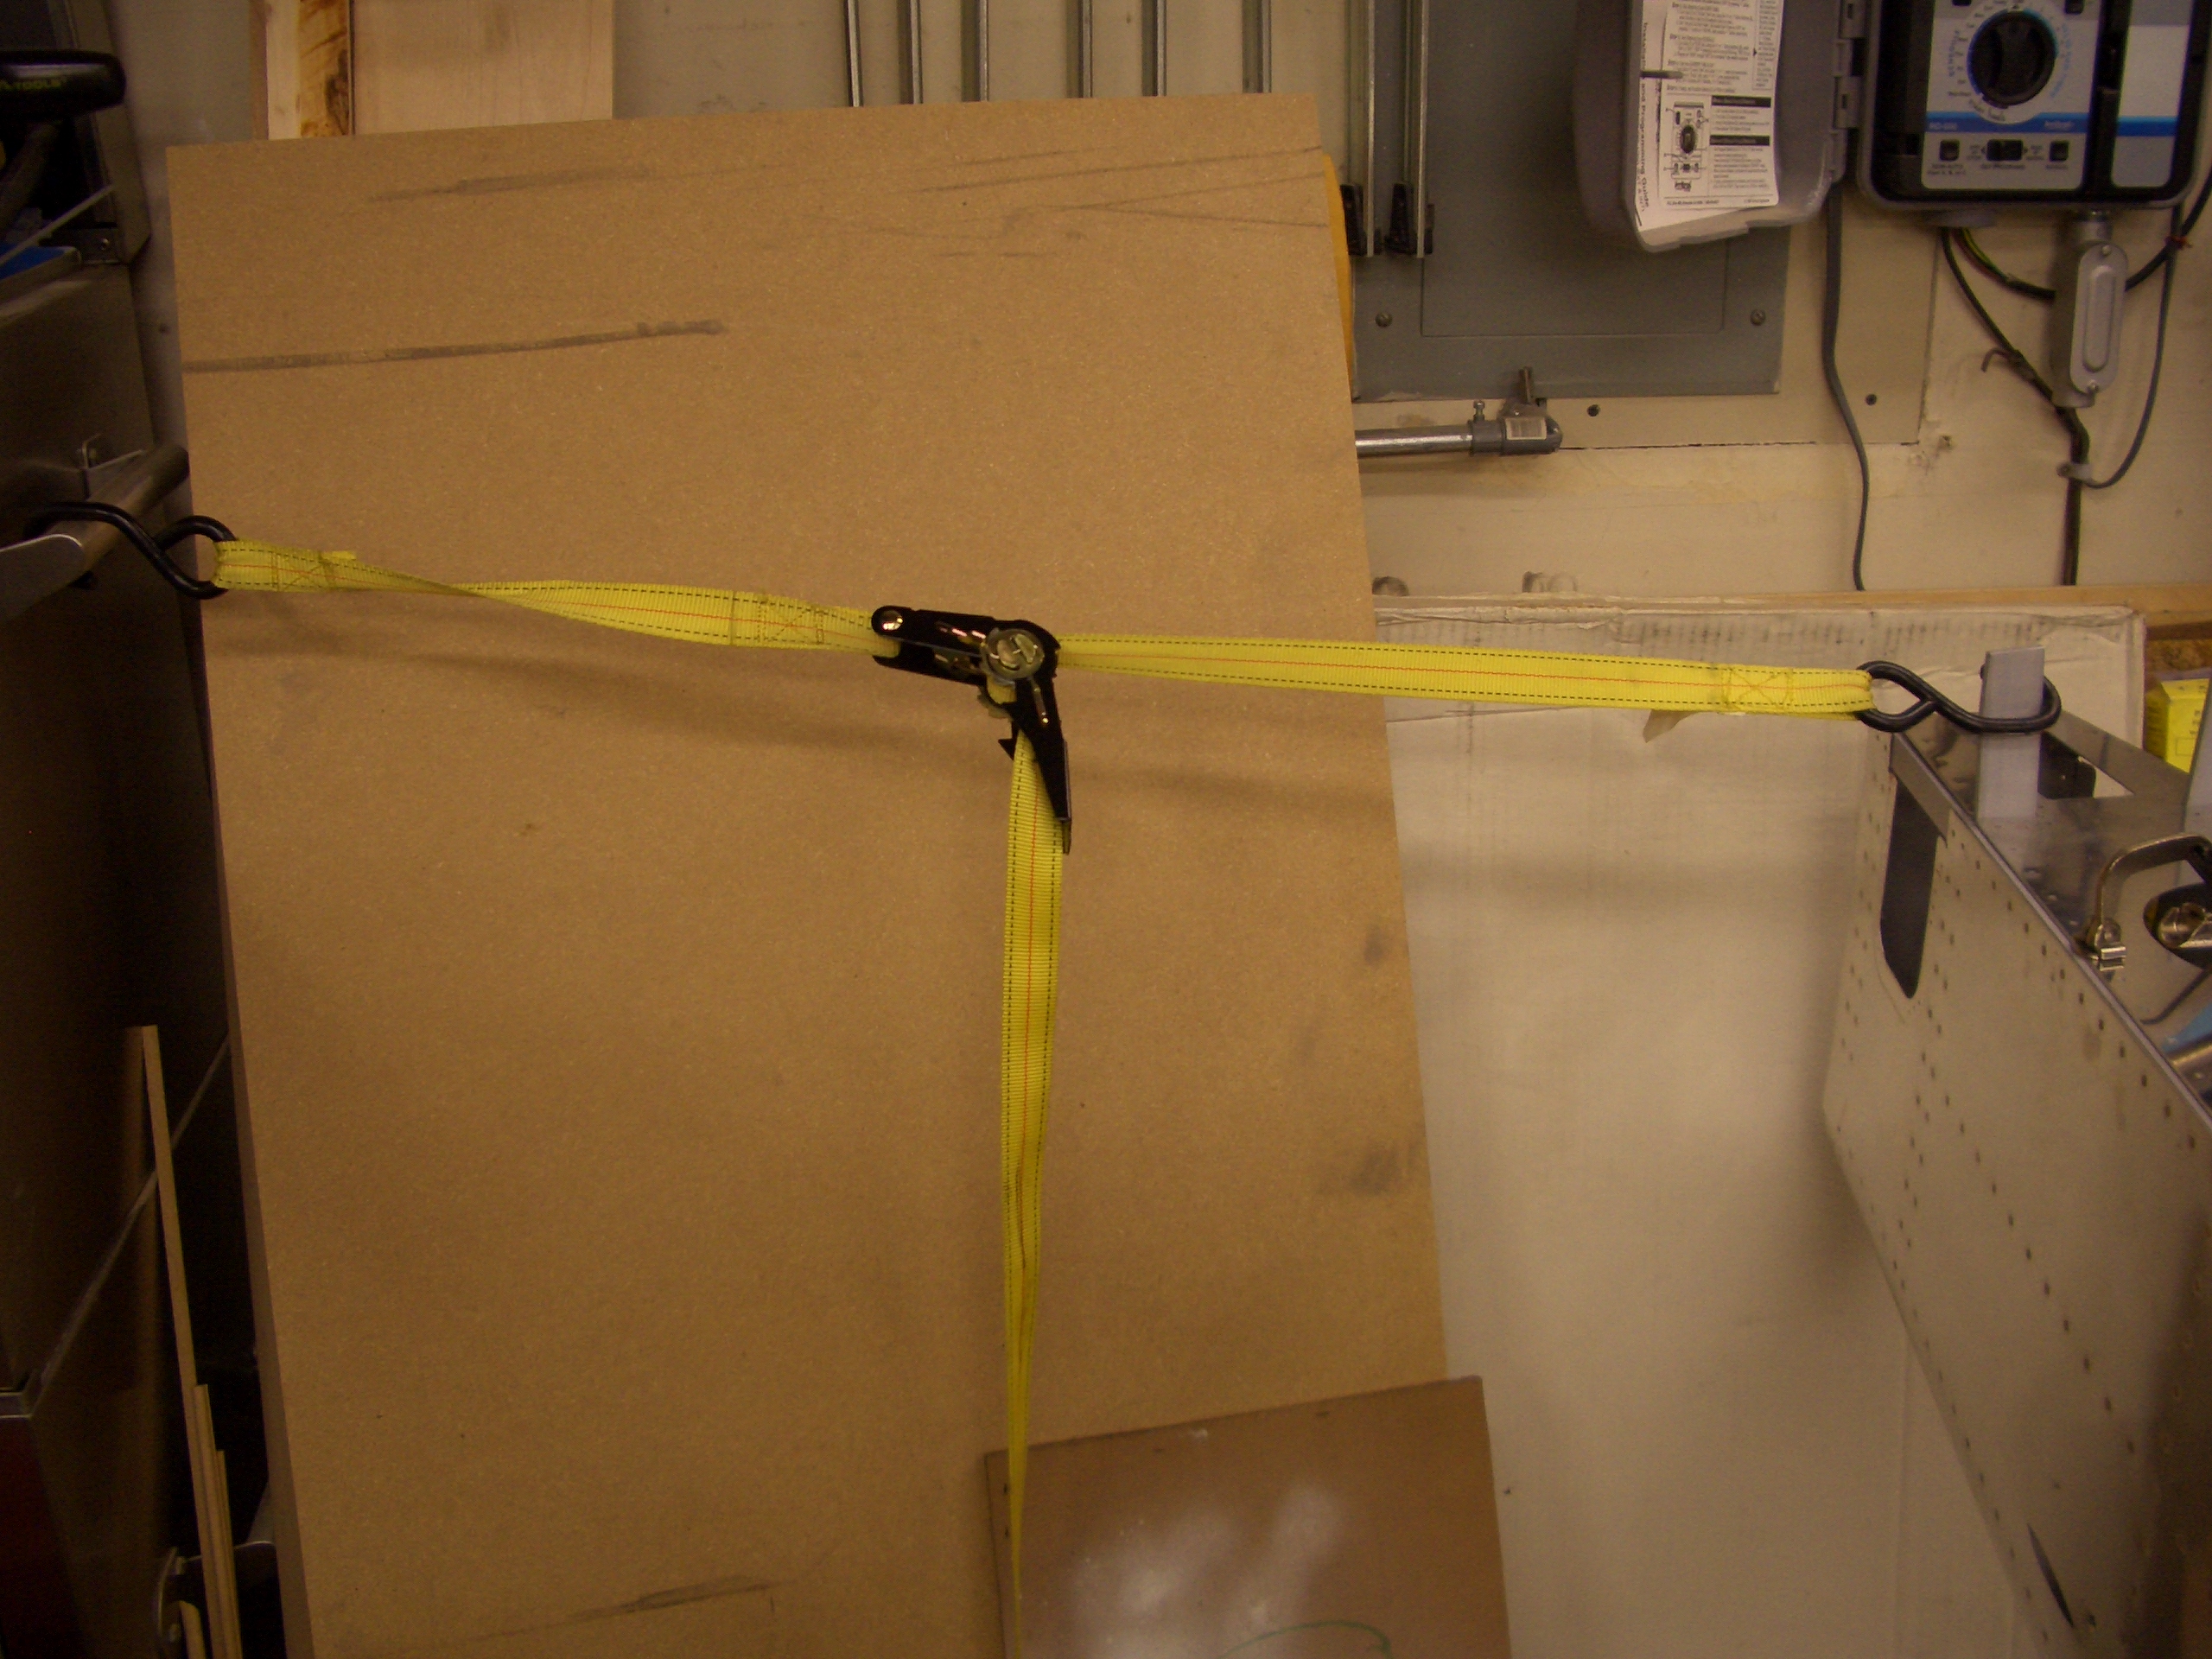
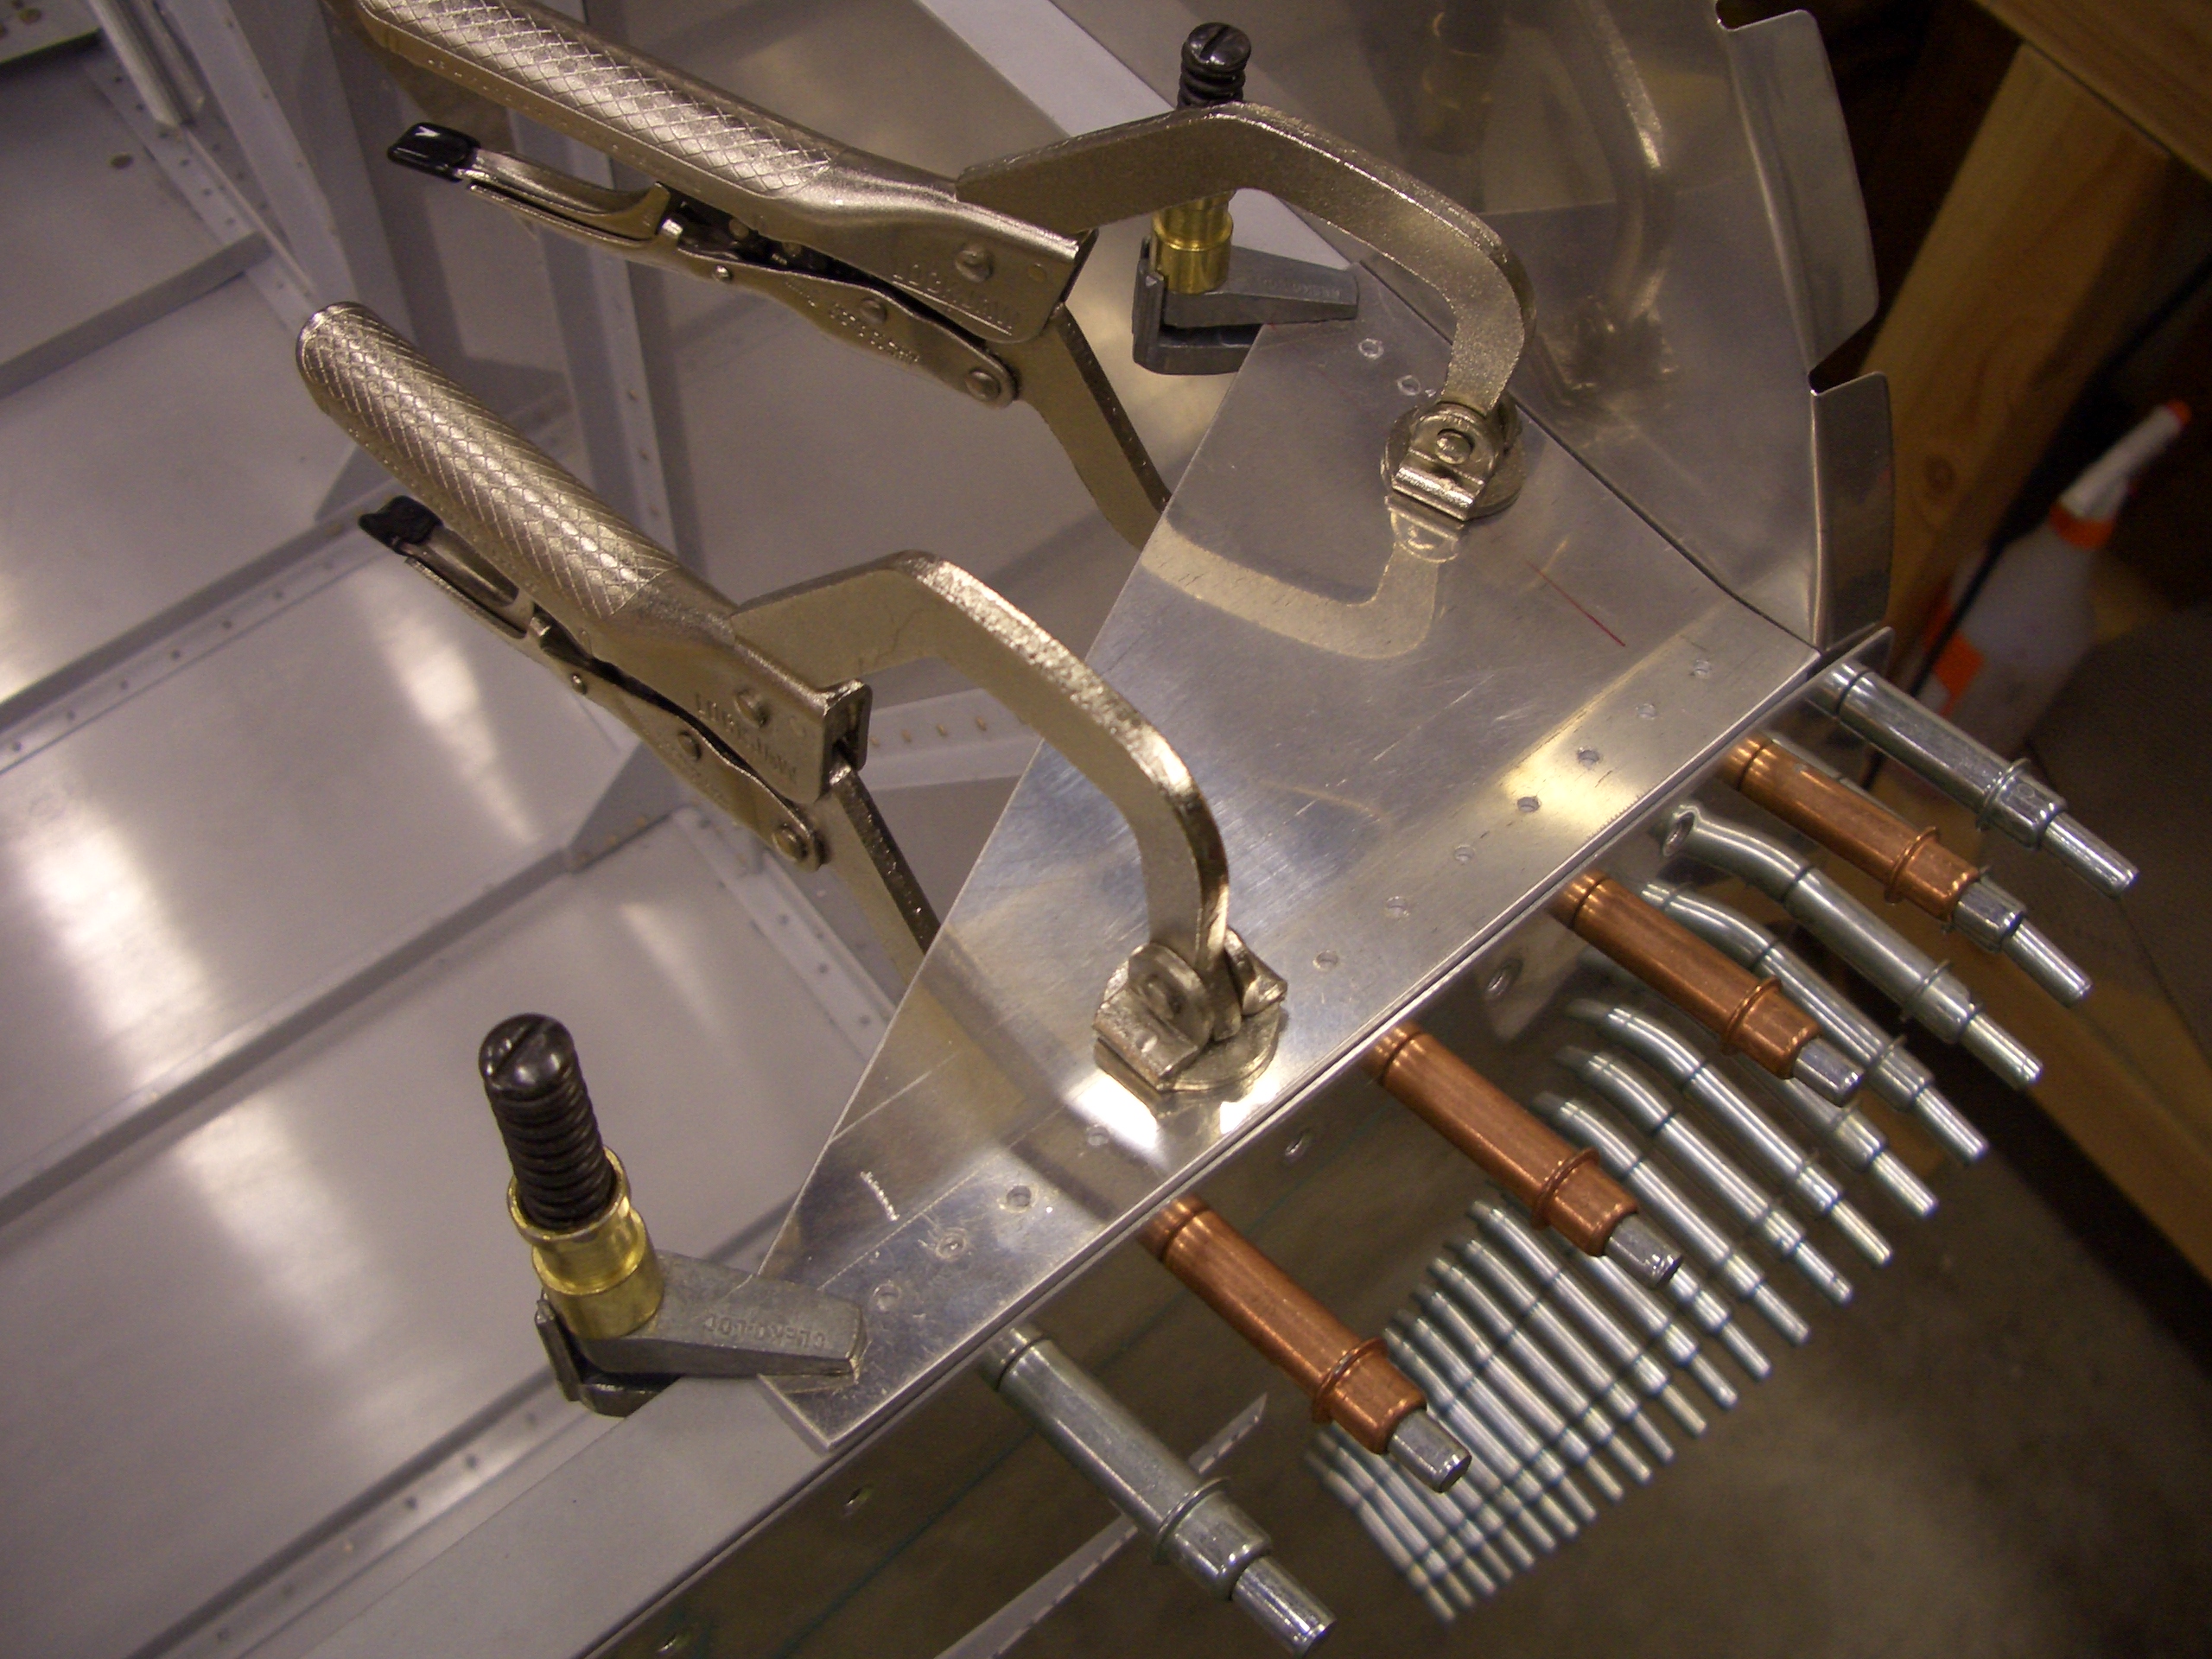
I needed a ratchet clamp to apply a little side load on the aft vertical bars to remove all of the twist.  After I tripled checked everything was straight, I drilled the aft deck to the longerons.

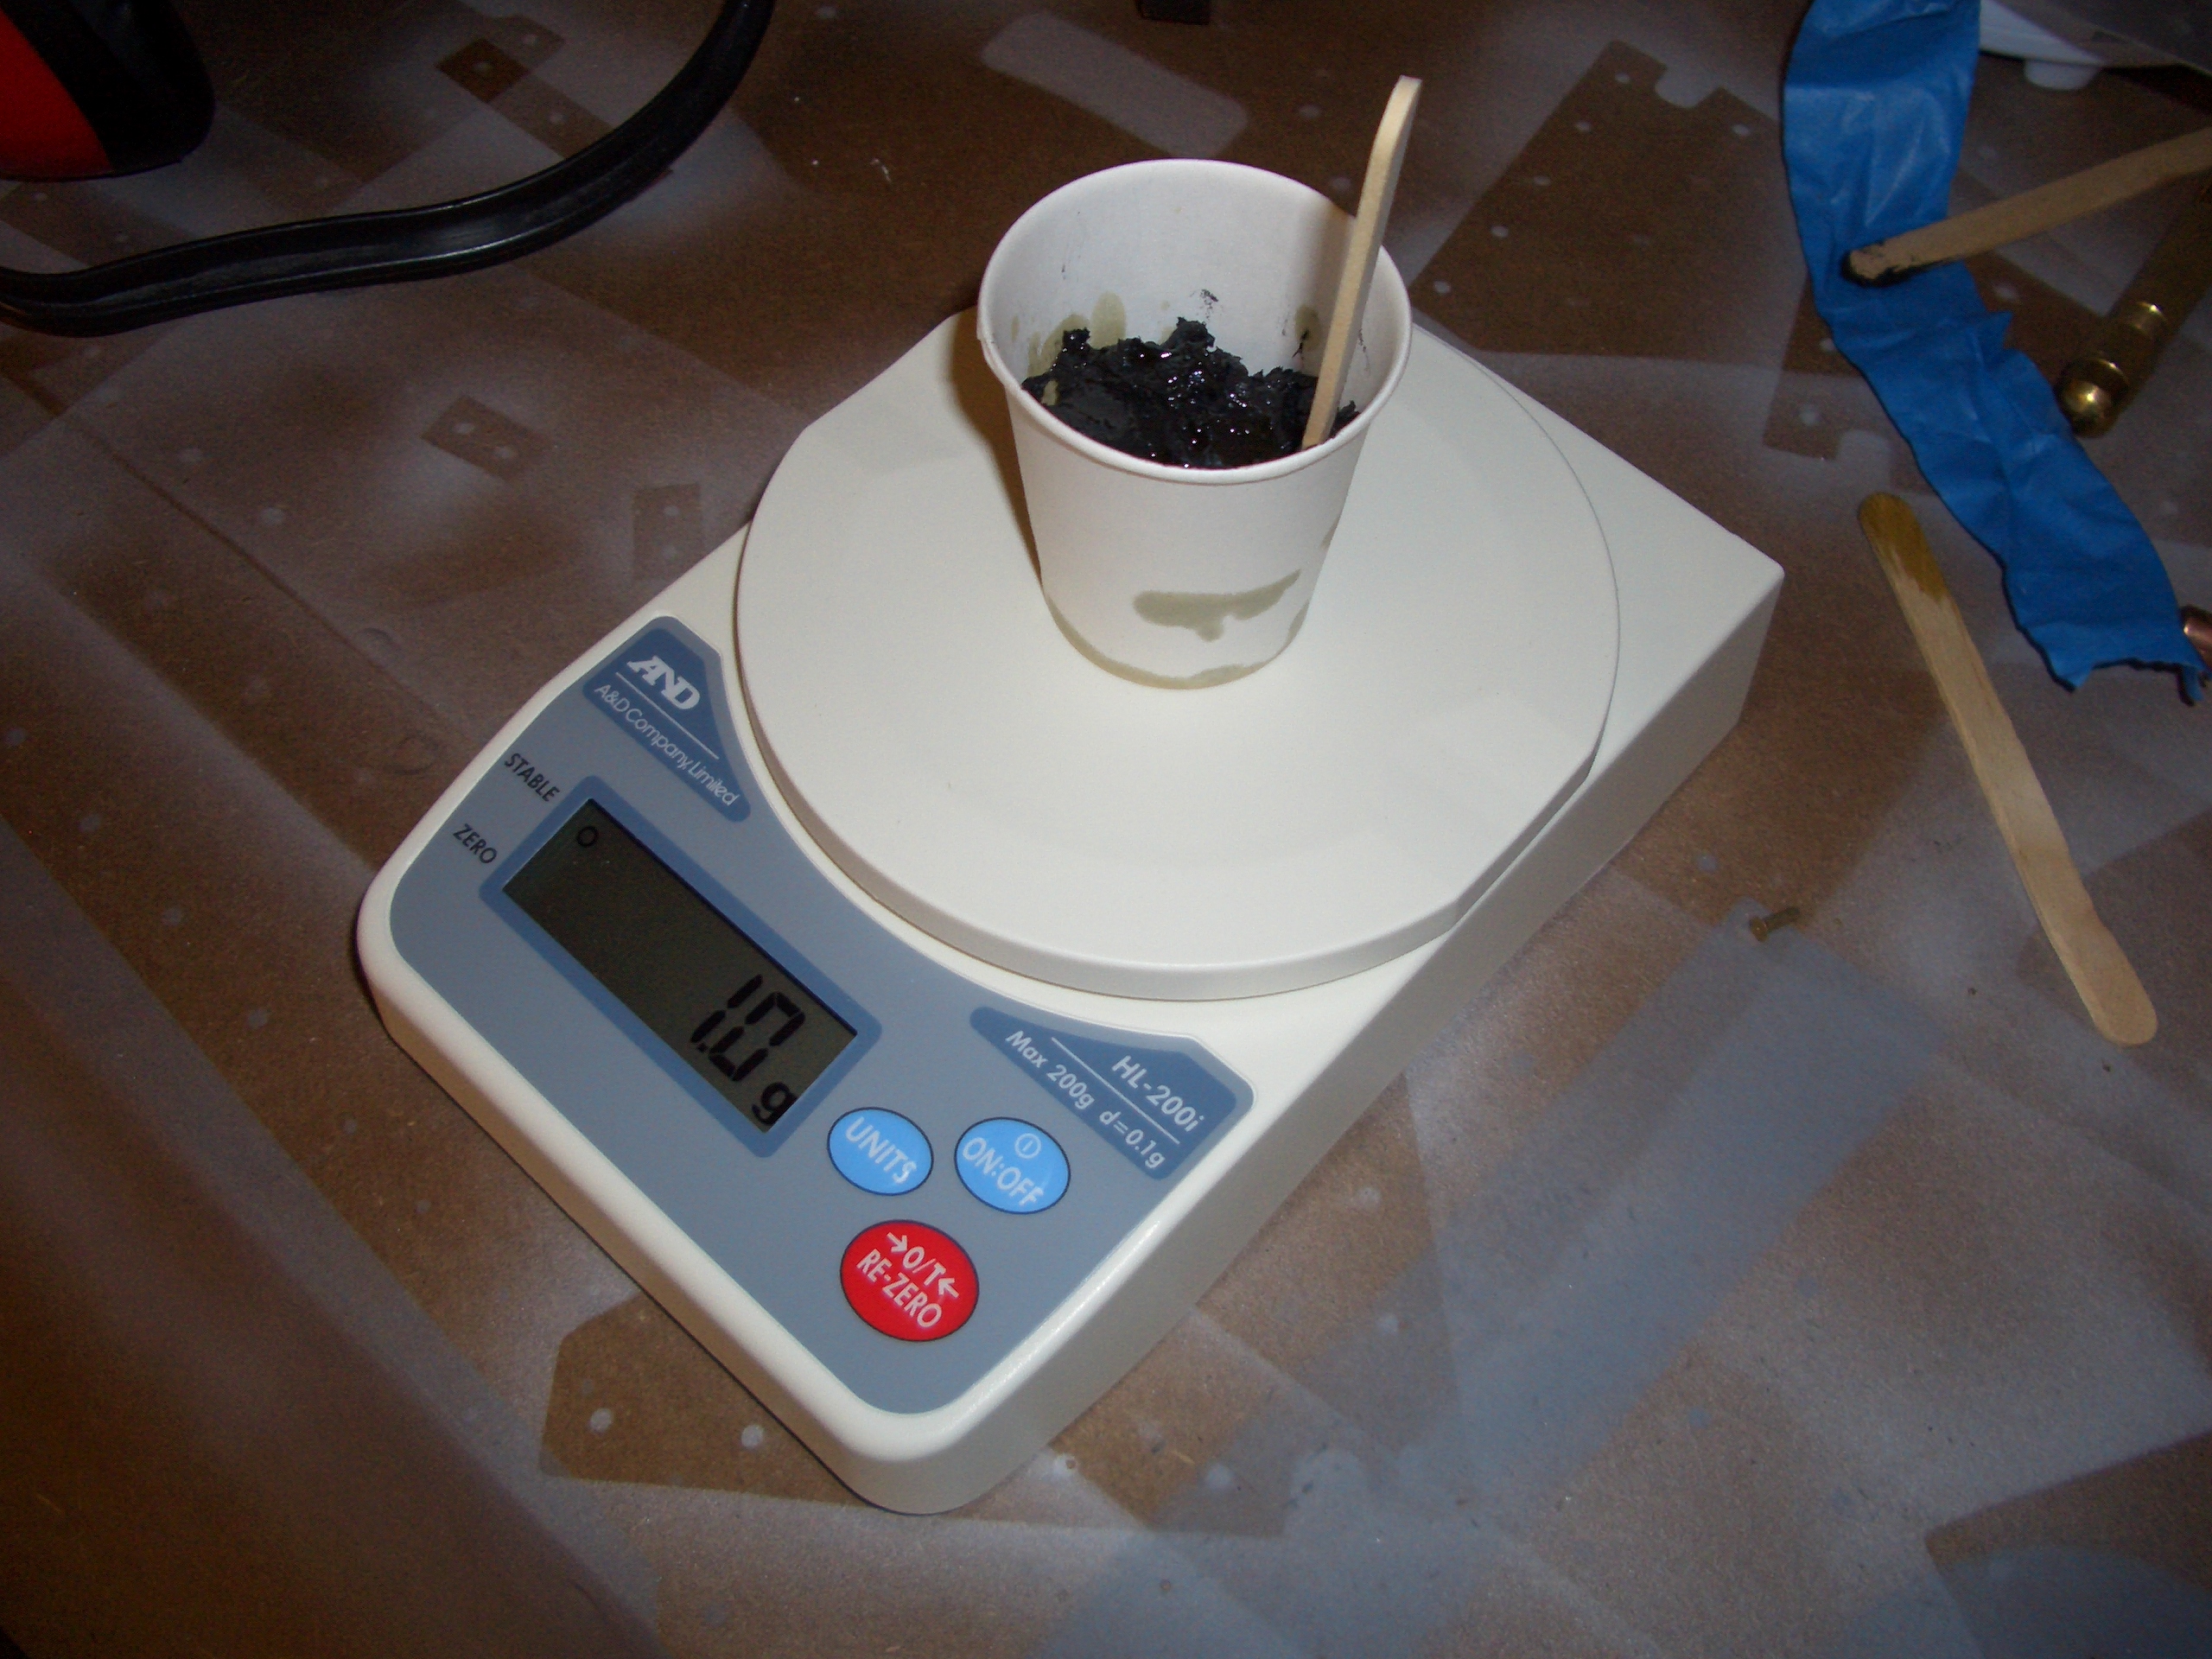
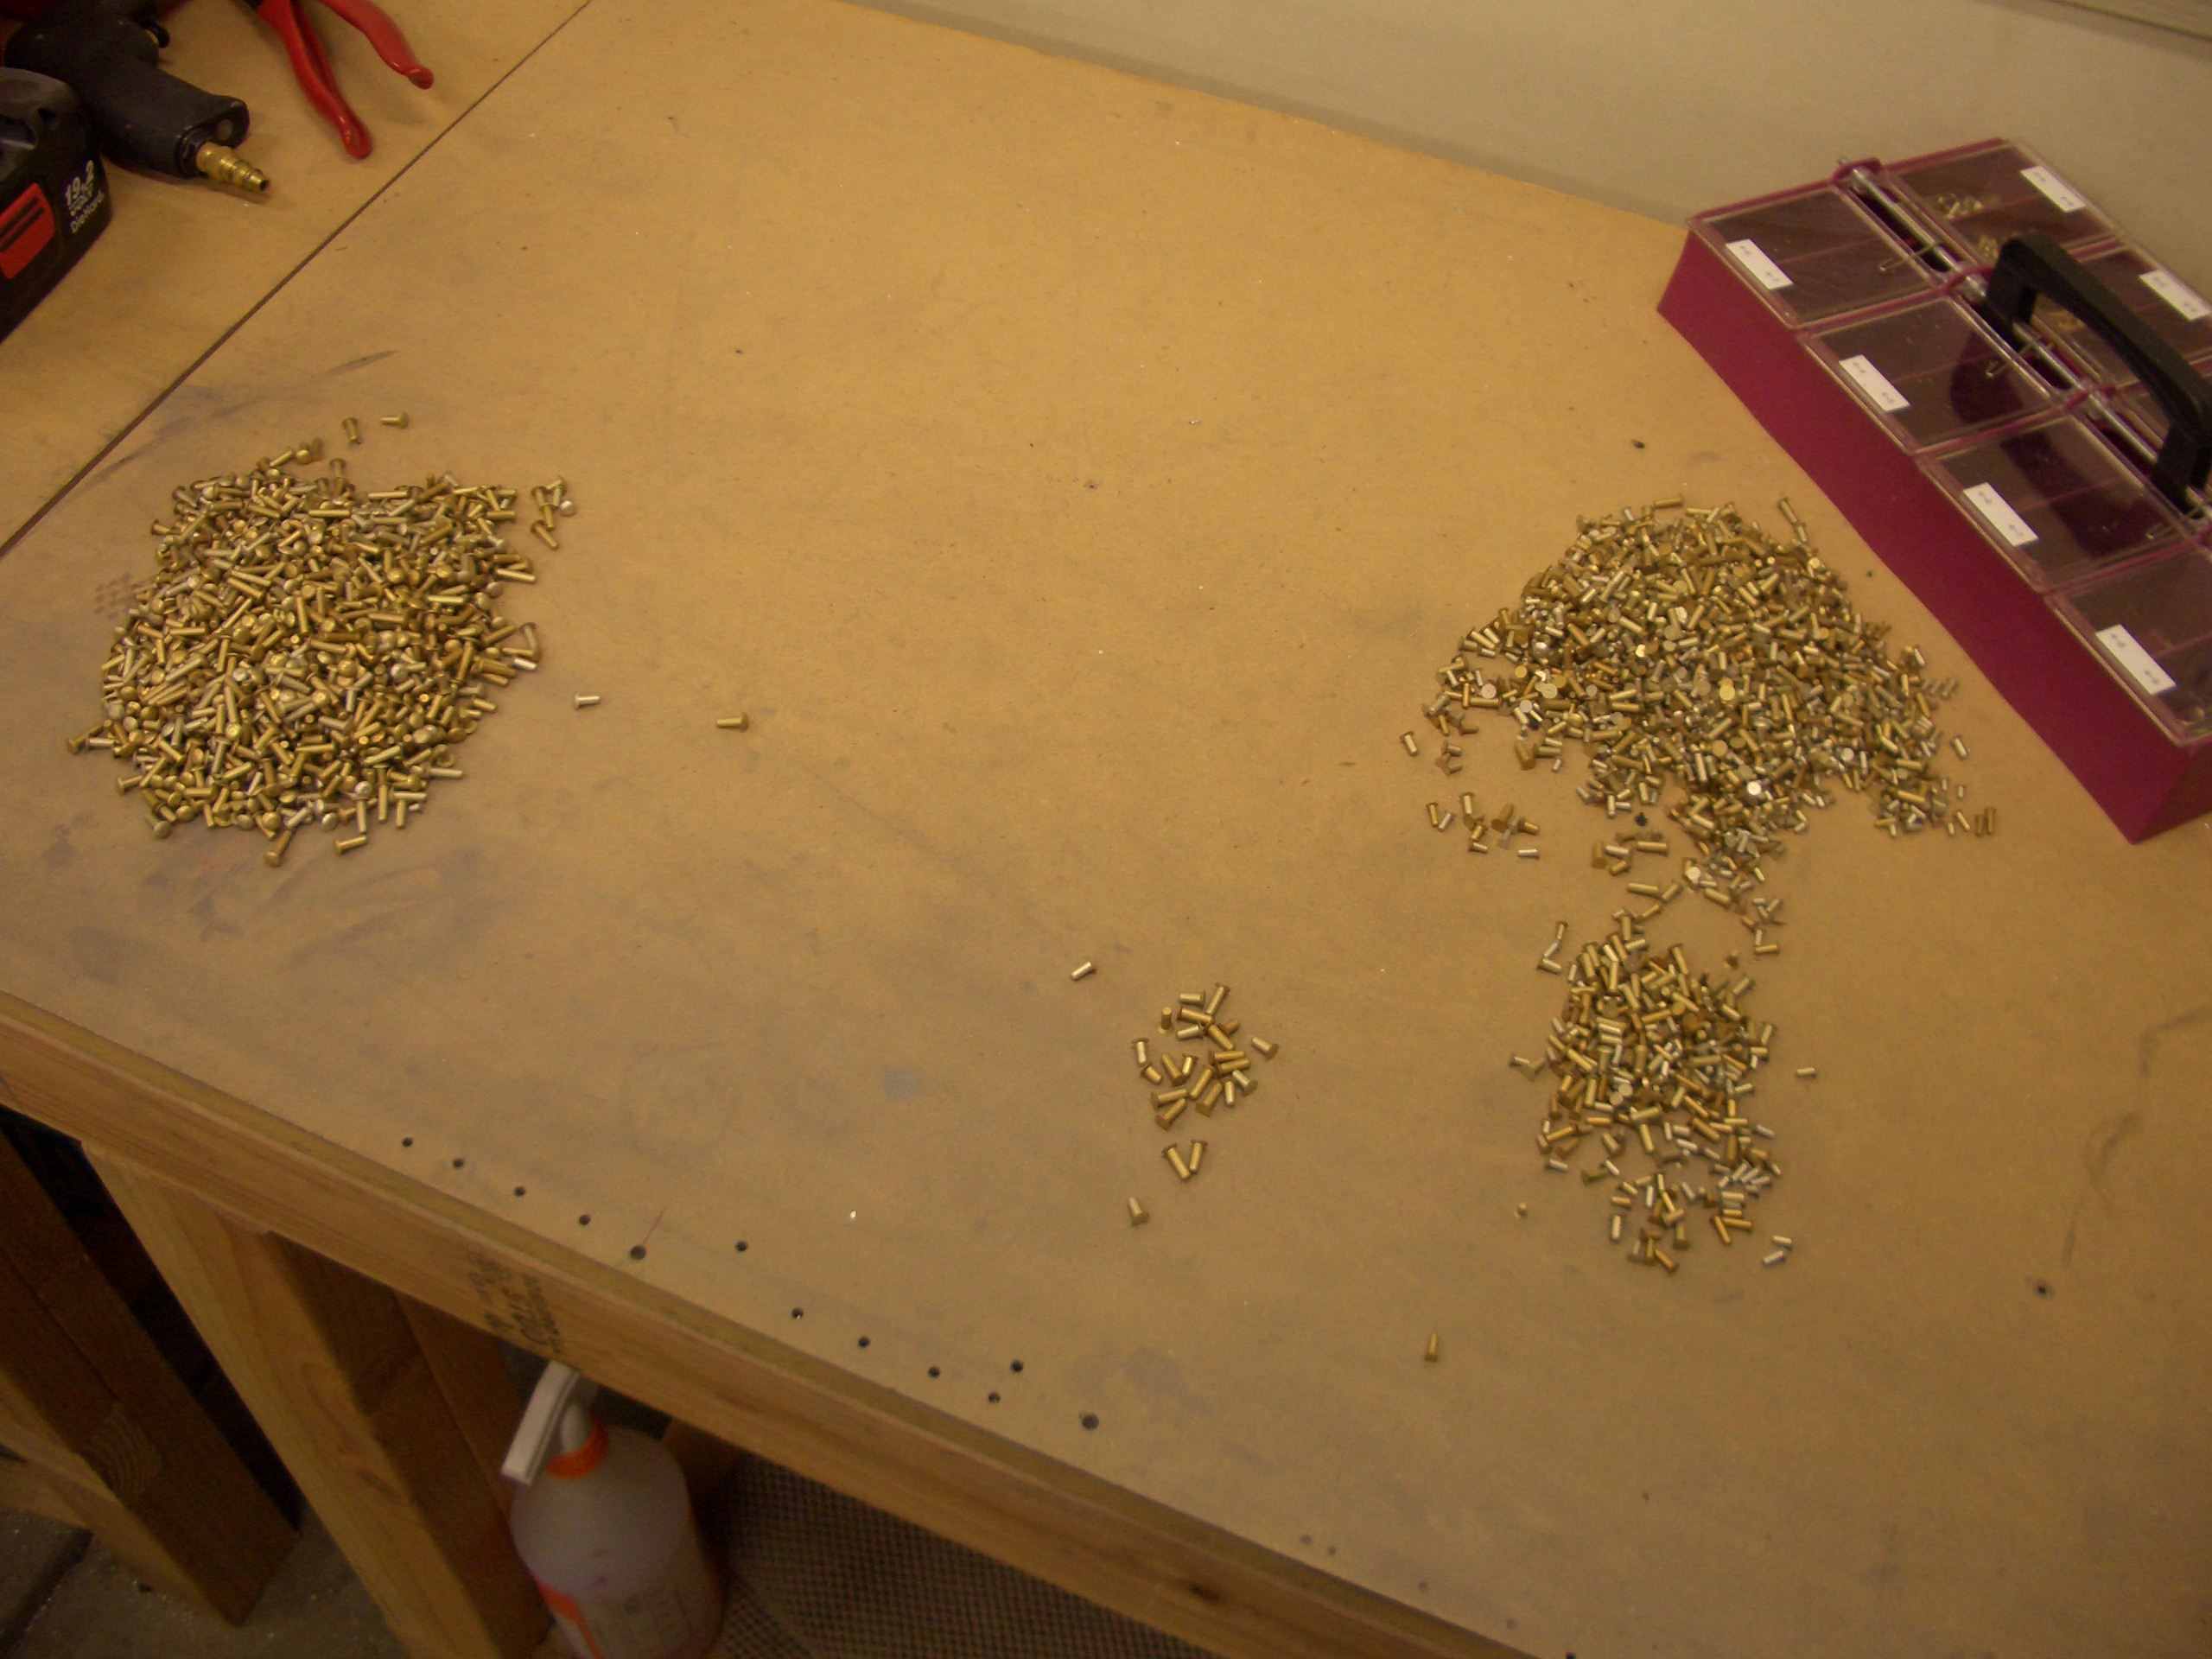
Goddamnit!  I got my foot caught up in the air hose, pulling my drill and box of rivets to the floor.  After swearing a blue streak for a few minutes, I started trying to sort them and then realized it was going to take several hours.  This is probably only about $10 worth of rivets, so it’s just not worth my time.

Misc Fuselage Tasks

I started tonight by laying out the hole in F-757 for the tip-up latch mechanism.

After drilling and filing for about 15 minutes, I had a nice square hole with radiused corners.  I fit it along with aft canopy deck and match drilled it to the F-705 channel.

After clamping it in place, I then match drilled it to the longeron and laid out and drilled three additional holes in the aft end.  I started working on the left side, but it was making too much noise and keeping our son awake.

I went ahead and torqued down the #10 screws in the tank attach brackets.

I also fit and match drilled the F-709 bulkhead.

Finally, I fit the F-695 gussets that tie the upper longerons and engine mount to the firewall stiffener.  The forward edge of these needs to be filed to be parallel with the firewall when the outside edge is flush with the apex of the longeron.  The forward edge also needs a little bend up to lay flat against the stiffener.

After determining where the aft end of the engine mount is, I laid out 10 holes forward of this point and four holes after.  This resulted in slightly different spacing than called for in the plans.  I had basically 1/2″ between the forward 10 holes, but only 13/32″ between the aft four.  This ensured adequate edge distance all around.  I also laid out for 5 holes along the front edge.  I then drilled these out to #40.

I then clamped the two gussets together and transferred the holes to the other one.

After clamping the gussets securely in place, I match drilled the longerons, engine mounts, and firewall stiffeners to #40 and then enlarged the holes to #30.

Here are the completed gussets.  I’m going to wait to prime and install these until I have a sufficiently large pile of parts to prime.