No pictures tonight since they wouldn’t look any different than yesterday. I deburred more of the pile of small parts and got the tailcone deburred. I’ll probably have at least a few more deburring sessions before I can start priming components.
More Fuselage Deburring
I made it through a few more parts today. This is by far the biggest pile of parts that I’ve ever had to debur at one time, so it’s taking me longer than normal to get through them all.
Even More Fuselage Deburring
After an acro lesson this morning in the Citabria, I managed to get a couple of hours in on the plane today. My buddy Andre stopped by and we finished off the pile of small parts and I got through a big chunk of the center section deburring. I still have the longerons and skins to do and then the priming can begin.
Will the Deburring Ever End
I finished deburring all of the small pieces for the forward fuselage and baggage area. These just need to be cleaned and primed. I still have to match drill the new side skin stiffener that replaced the piece with the crack, but I want to match drill it to the skin, so I’ll wait until I have the fuselage reassembled.
I deburred all of the aluminum bits of the firewall and countersunk the lower fuselage stiffener. I also deburred all of the engine mount brackets. I still need to debur and dimple the stainless steel firewall flange.
Deburred and Dimpled Firewall
I didn’t have much time to work on the plane today, but I did manage to debur and dimple the stainless steel firewall flanges.
Priming Fuselage Components
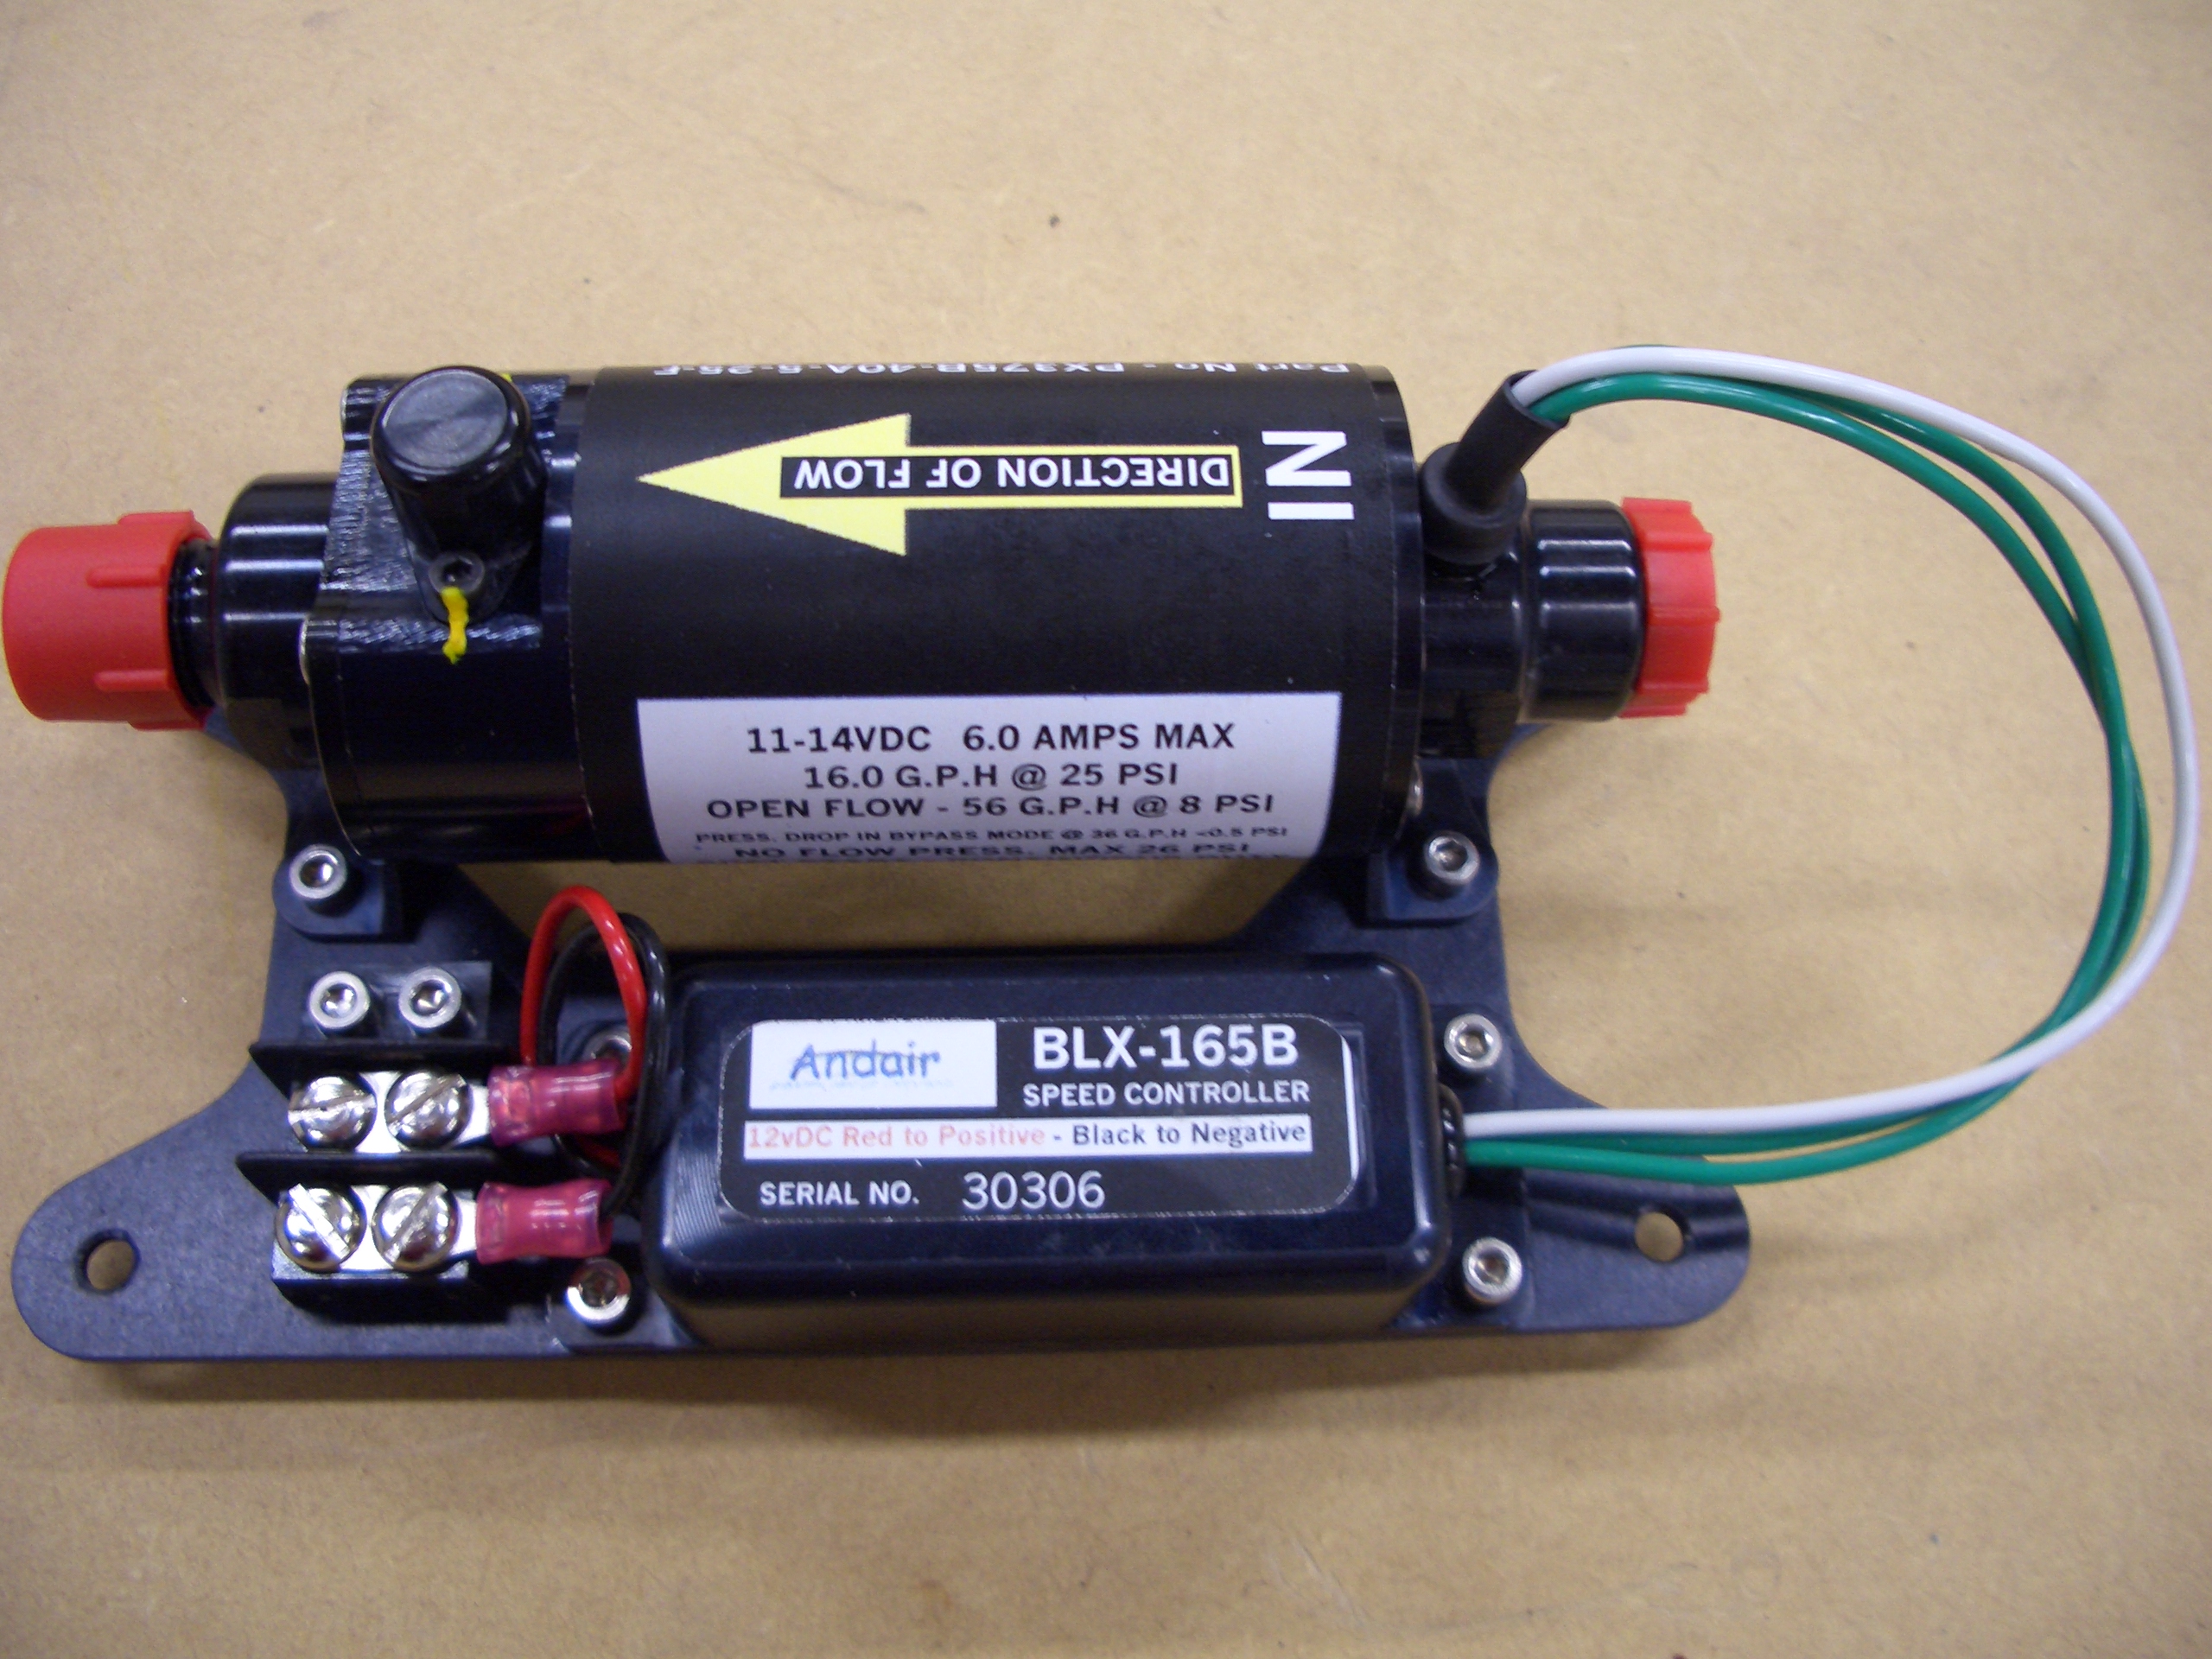
I got in on the group buy for the Andair fuel pump and filter. It took about 15 minutes or so to assemble the pump and speed controller to the mounting bracket. This will get mounted just in front of the spar carrythrough between the seats. The fuel filter is not pictured because Andair sent me the wrong one. They’ve been great until now though, so I’m sure they’ll take care of it in short order.
I used my self-etching primer to prime the overlap areas between the aft and center fuselage sections. Since overspray cleans up easily with solvent, I didn’t bother trying to mask off the area precisely.
I also finished deburring, dimpling, and priming the overlap areas on the center section.
Rejoined Center Section
After deburring and dimpling the remaining holes in the center bottom skin and F-705 bulkhead, I managed to join the center and aft fuselage sections by myself.
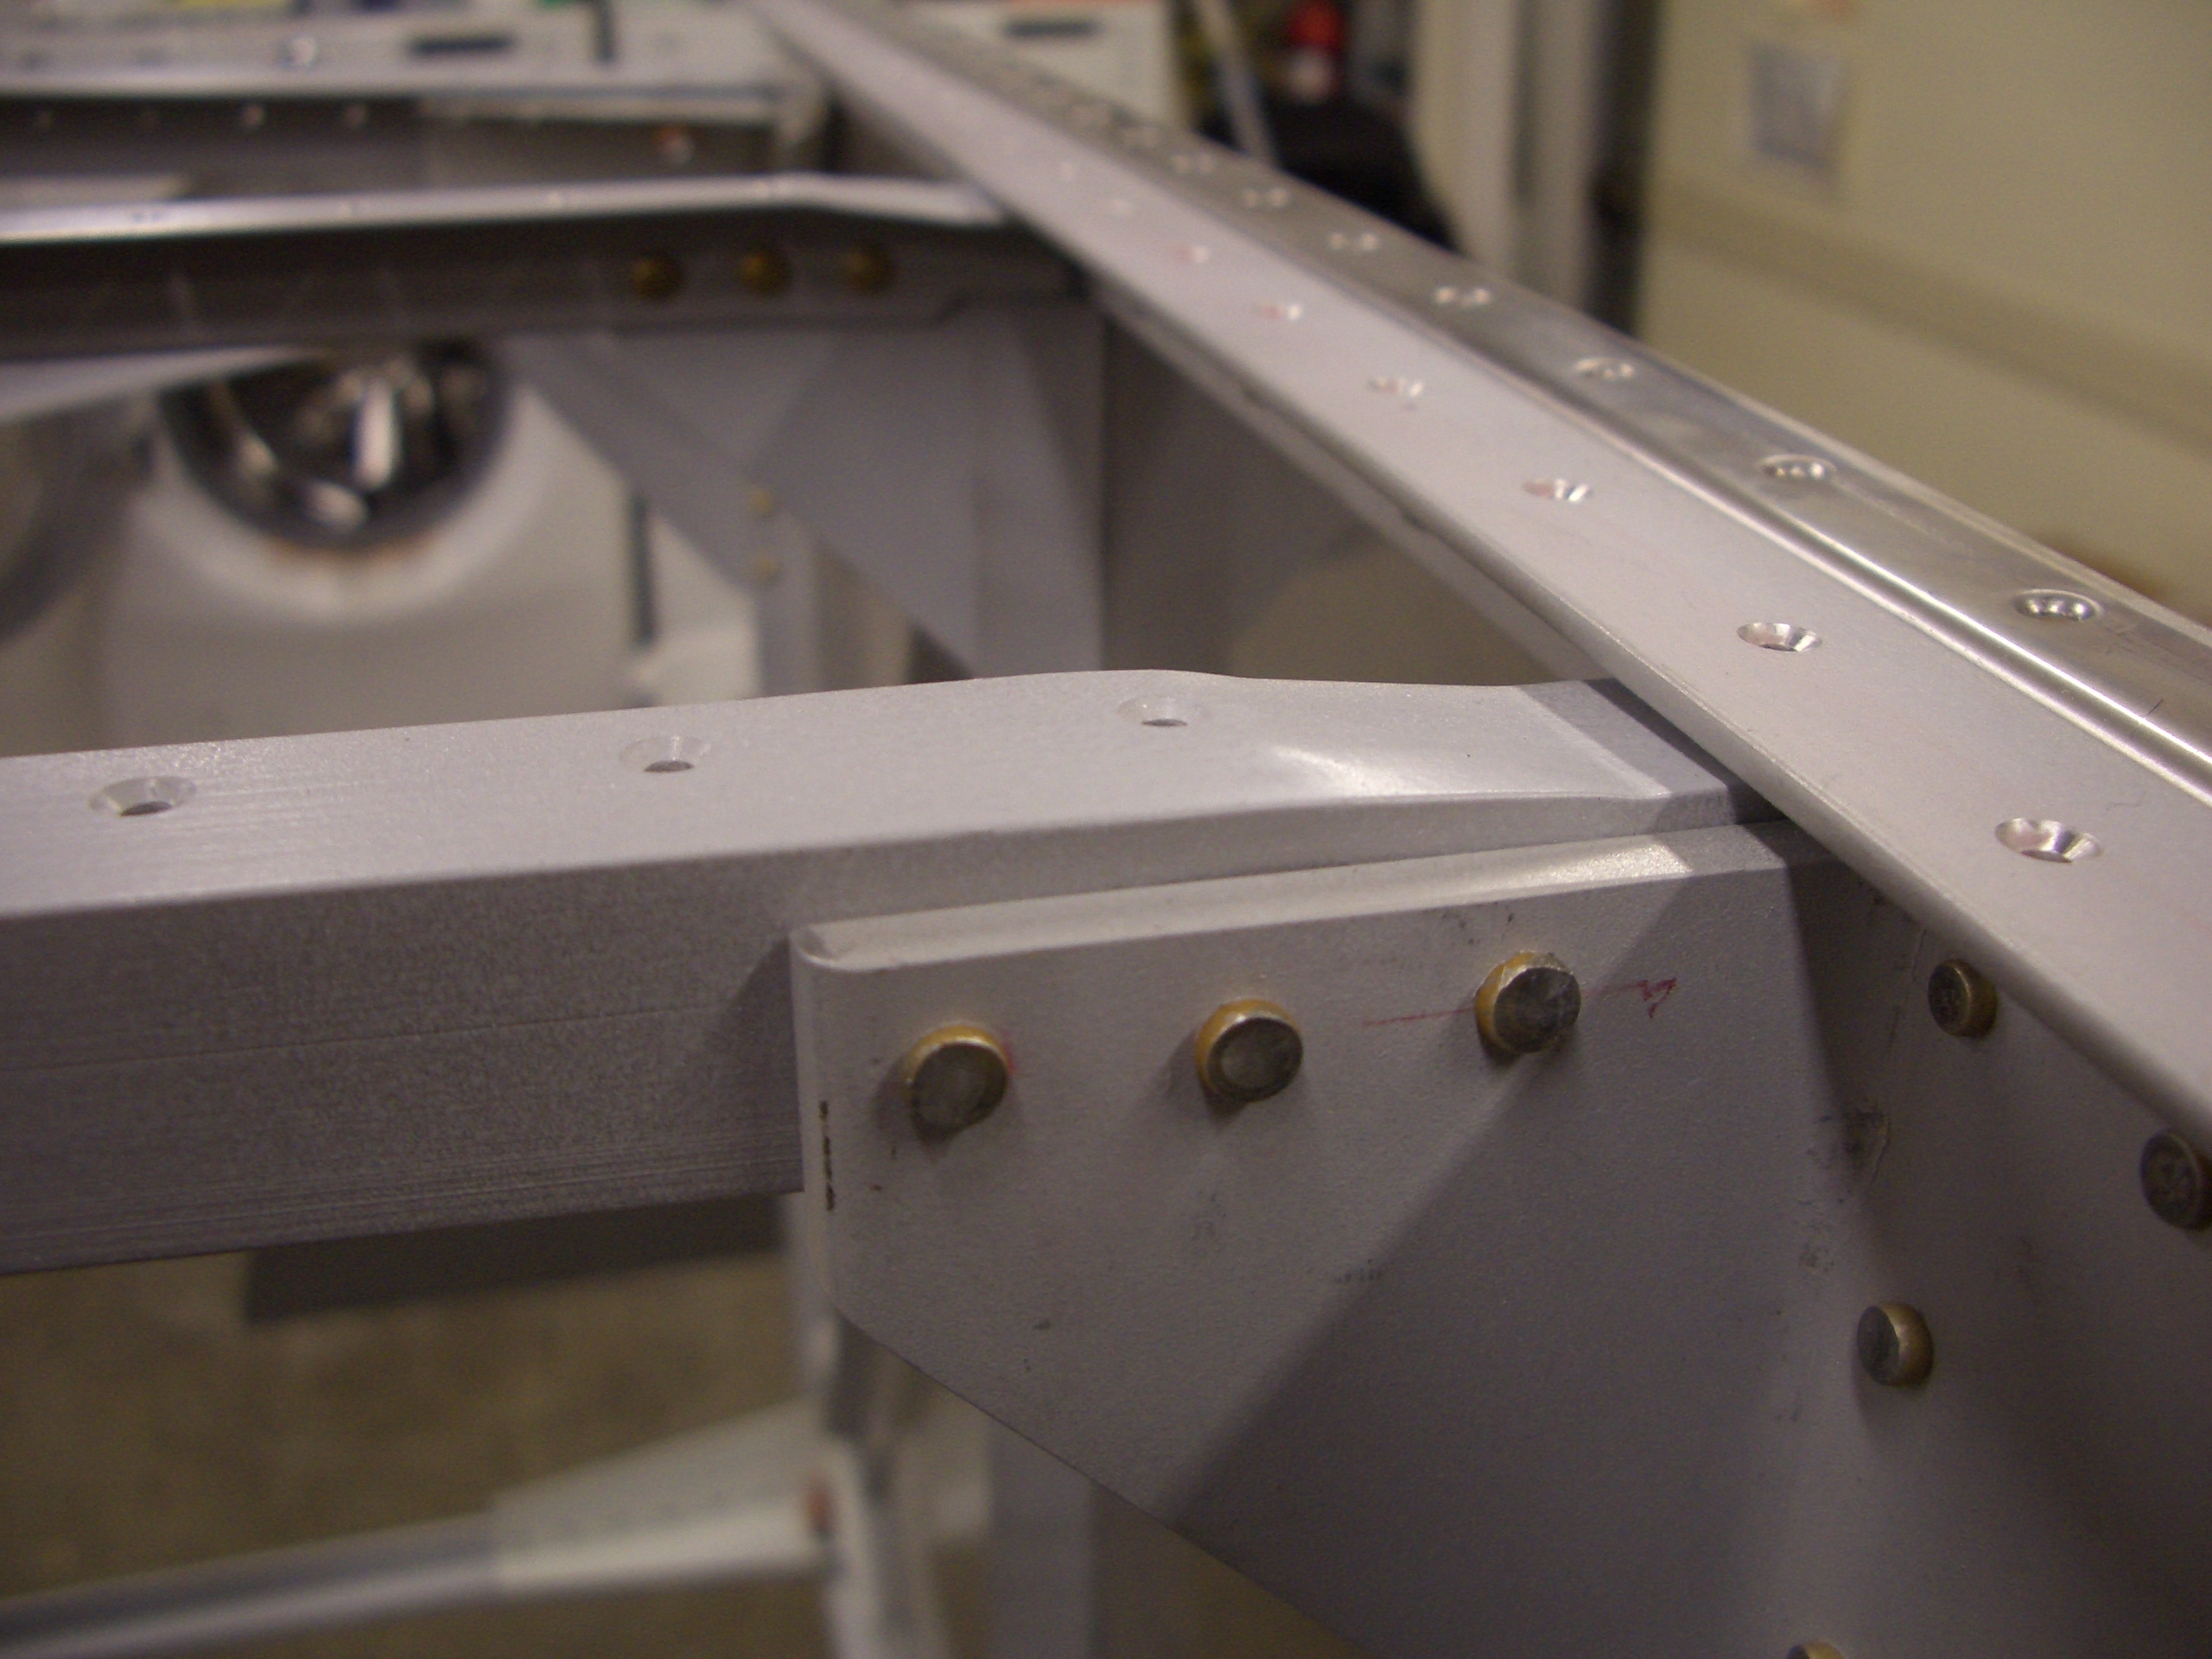
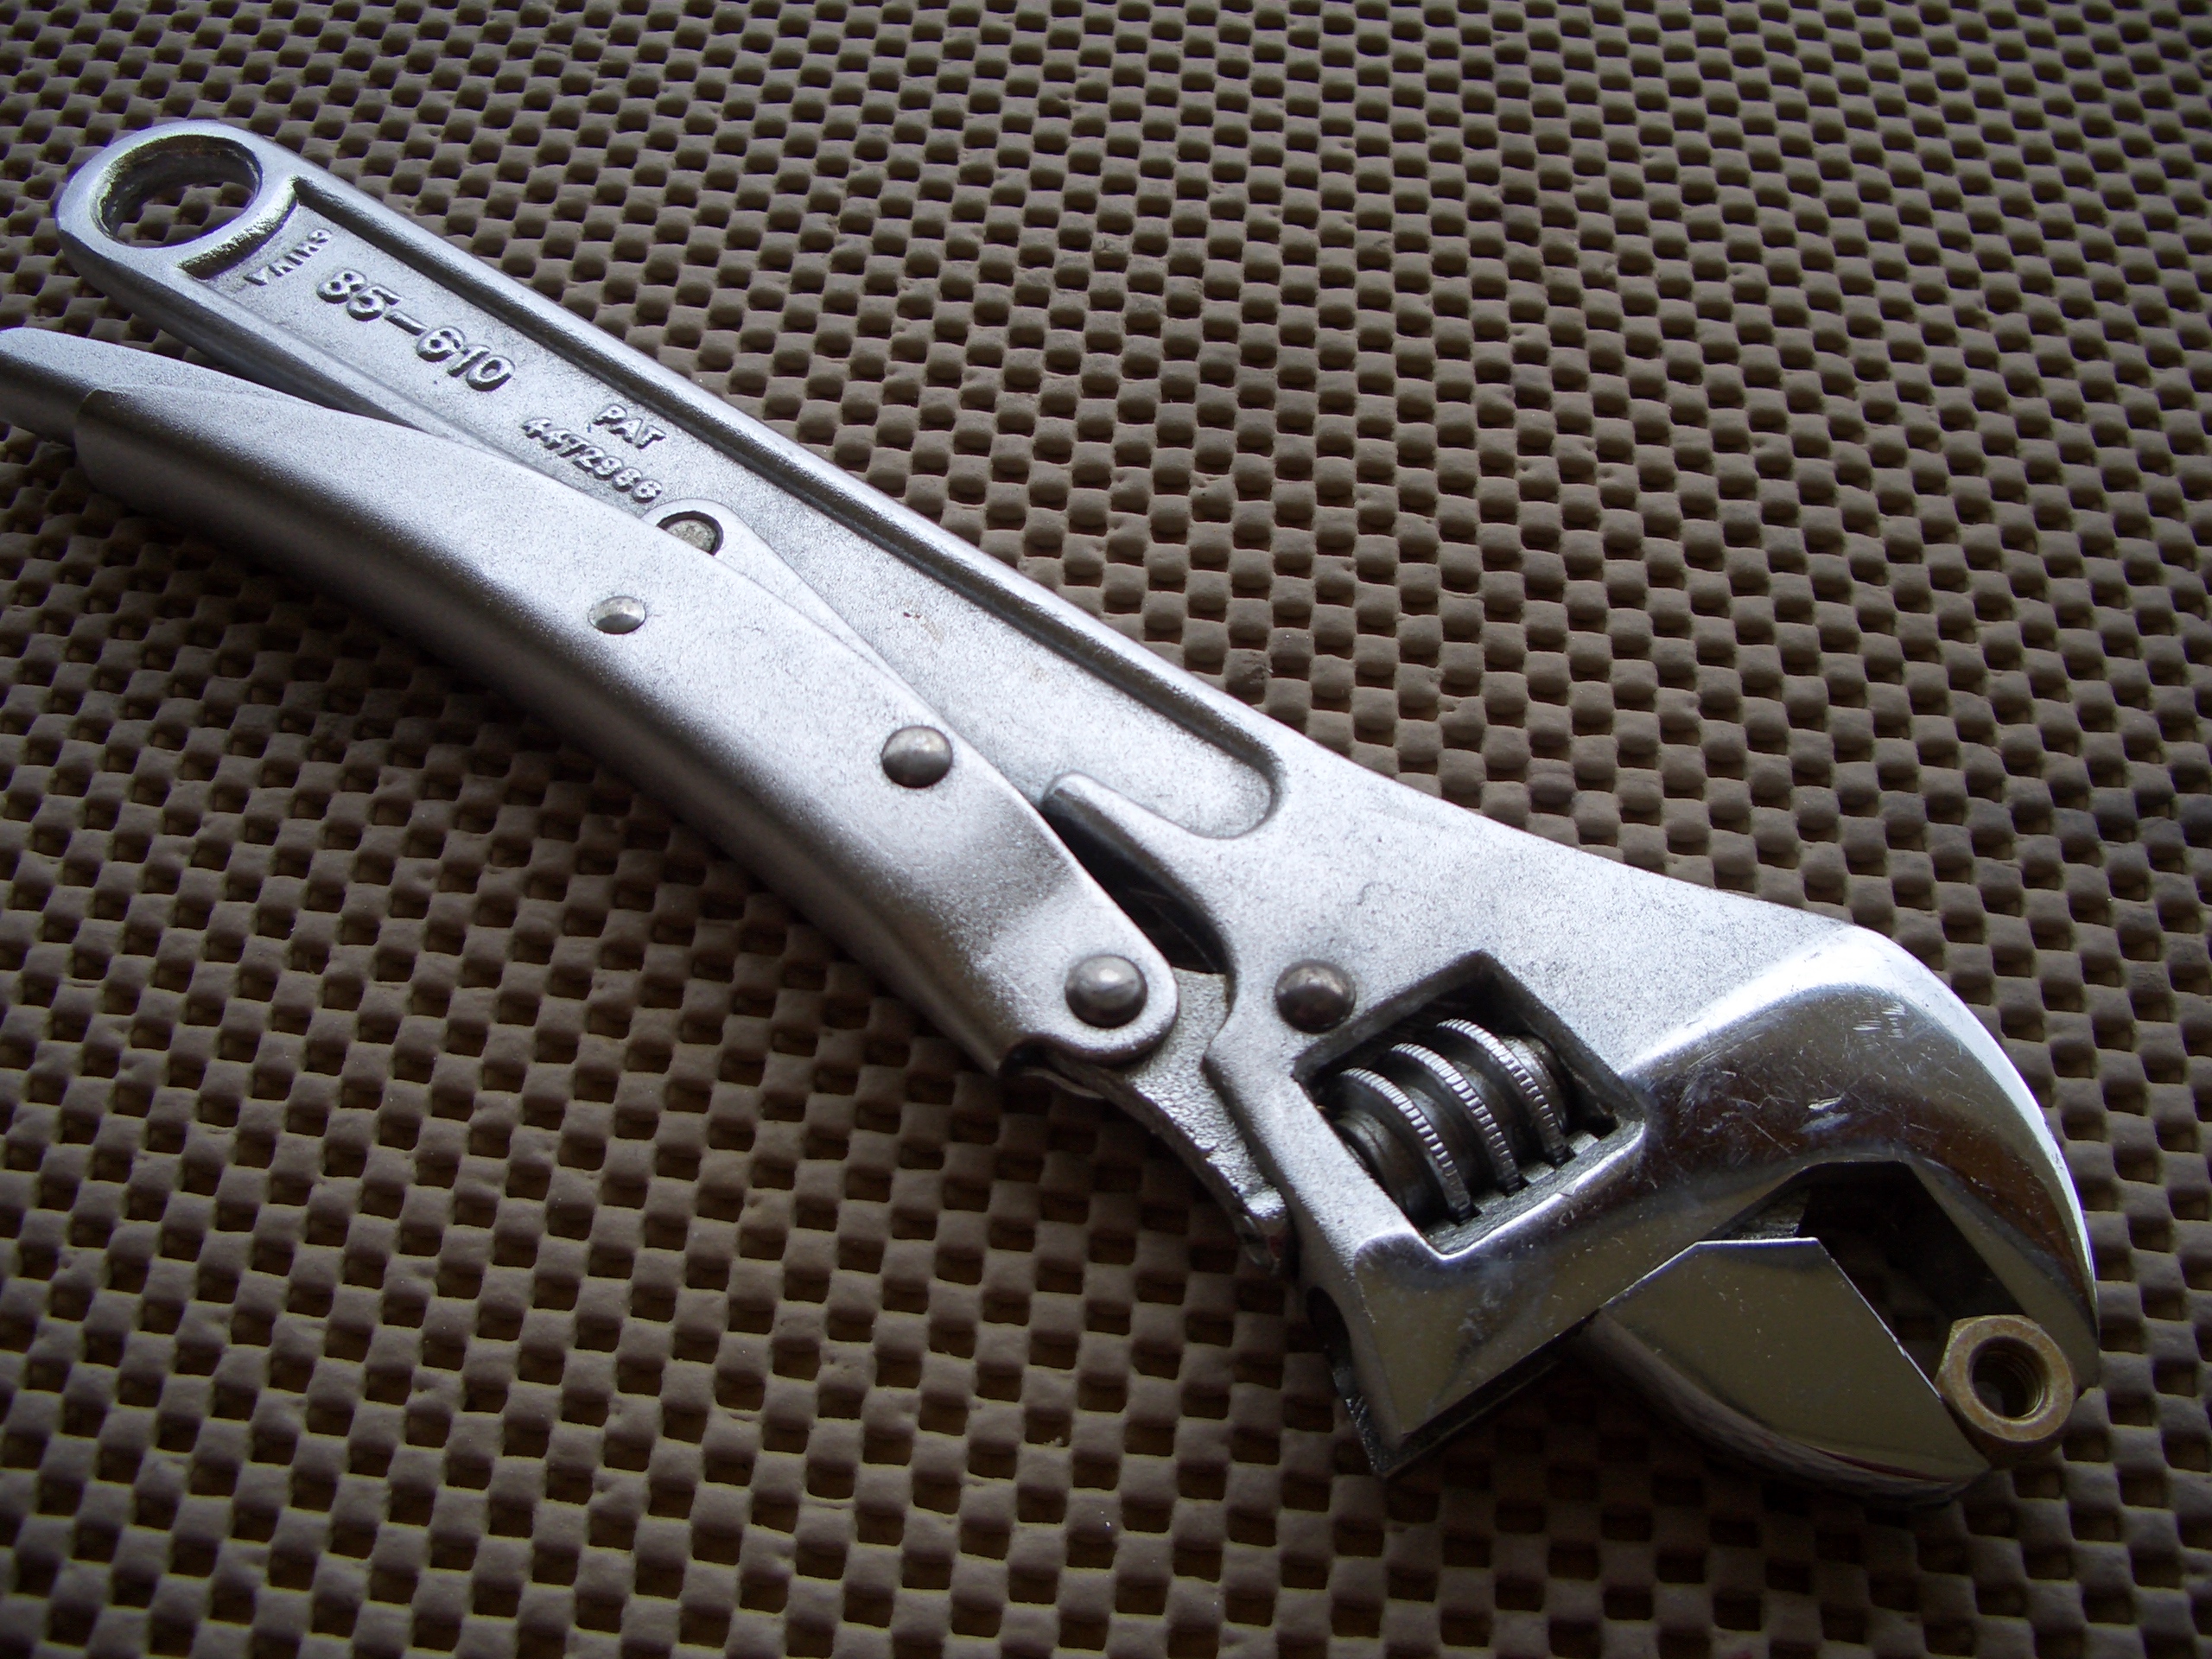
I neglected to install 12 bolts in the forward half of F-704, so I wanted to do that now before access got worse. After inserting the bolt in from the front (so there is still access to buck holes in bottom skin), I used a washer wrench to put the washer on the bolt. These washer wrenches were expensive ($30 for a set of four covering eight sizes), but when you need them, they’re worth every penny.
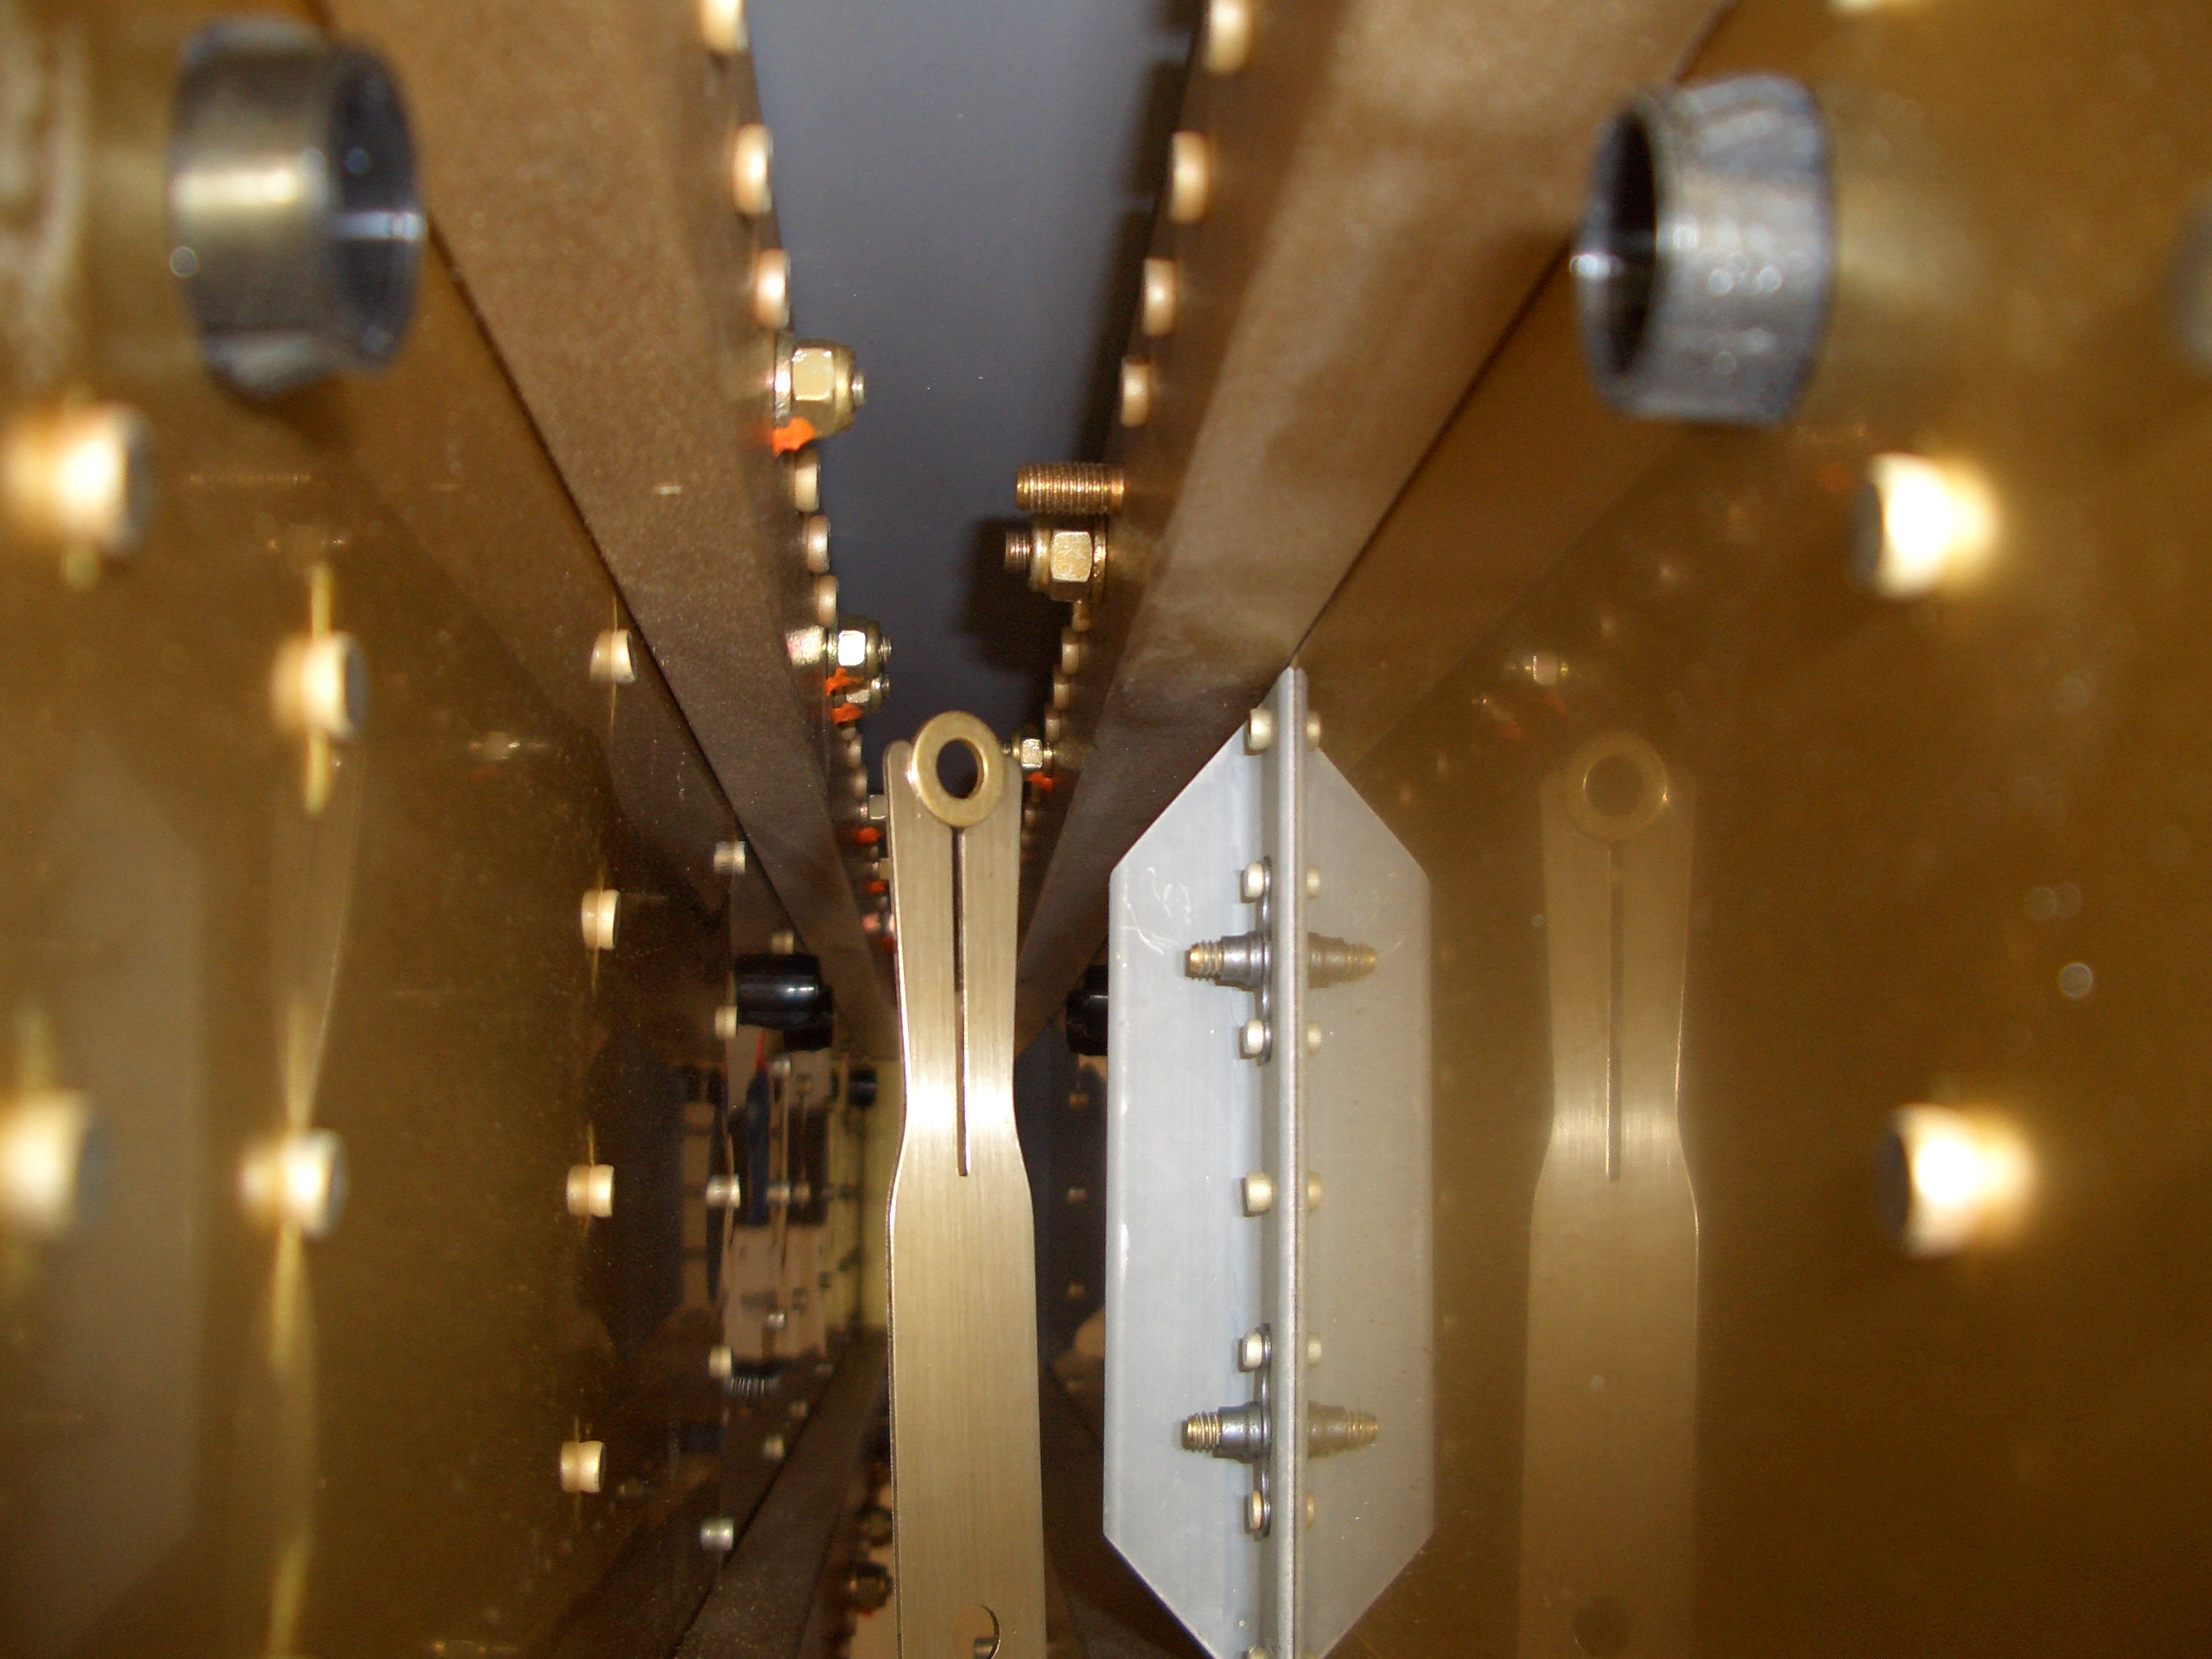
Getting the nuts on these bolts can be tricky. I’ve seen people construct contraptions of wrenches held by vise-grips with tape on the end to keep the nut in the wrench. This however proved to be the perfect tool. This is basically an adjustable wrench with a vise-grip type clamp attached. You can run the adjustment screw down snug against the nut and then clamp it shut and it squeezes the nut tight, allowing you to start threading the bolt and then torque it down.
My dad bought this for me years ago and it’s come in handy a number of times for stuff like this. I have no idea who makes this or where you can buy it though.
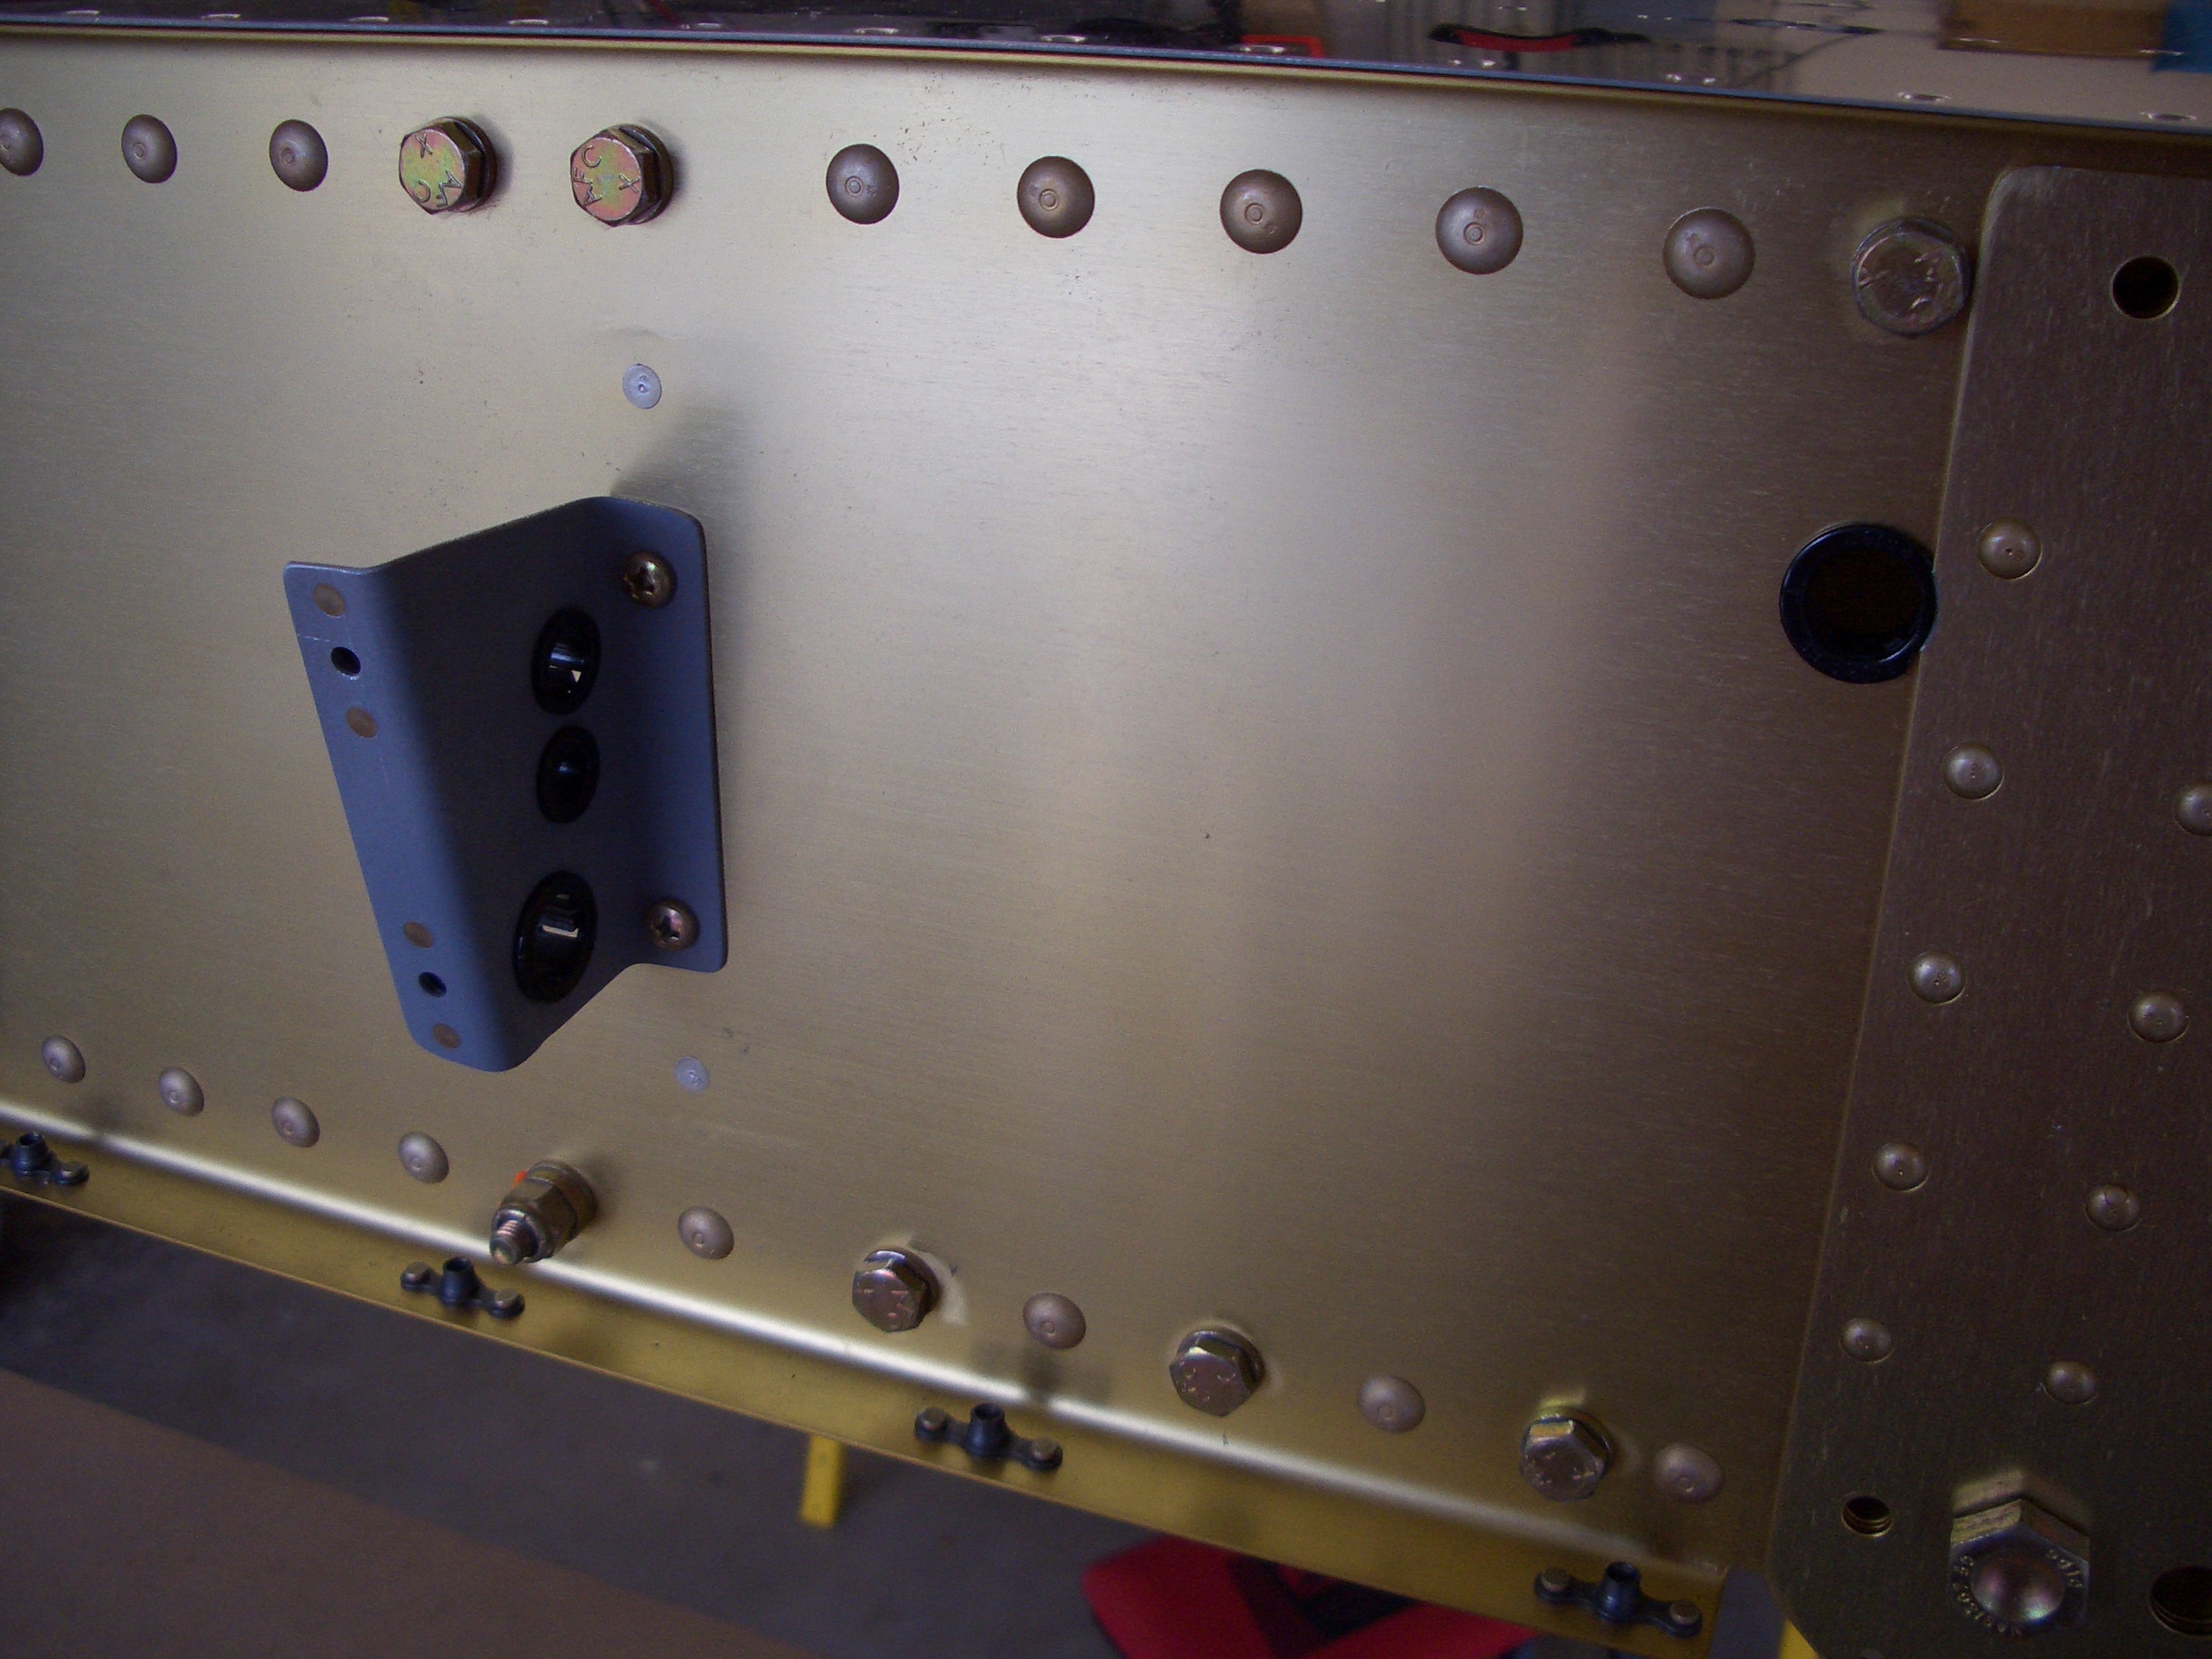
Here are some of the bolts installed (the ones where you can just see the heads, not the nuts). There are twelve bolts total (six each on the left and right).
Deburring and Countersinking Longerons
I made it through deburring and countersinking one of the longerons and part of the second. It’s a lot of holes to get through; probably 200 holes per longeron that need to be deburred on one side and coutersunk on the other.
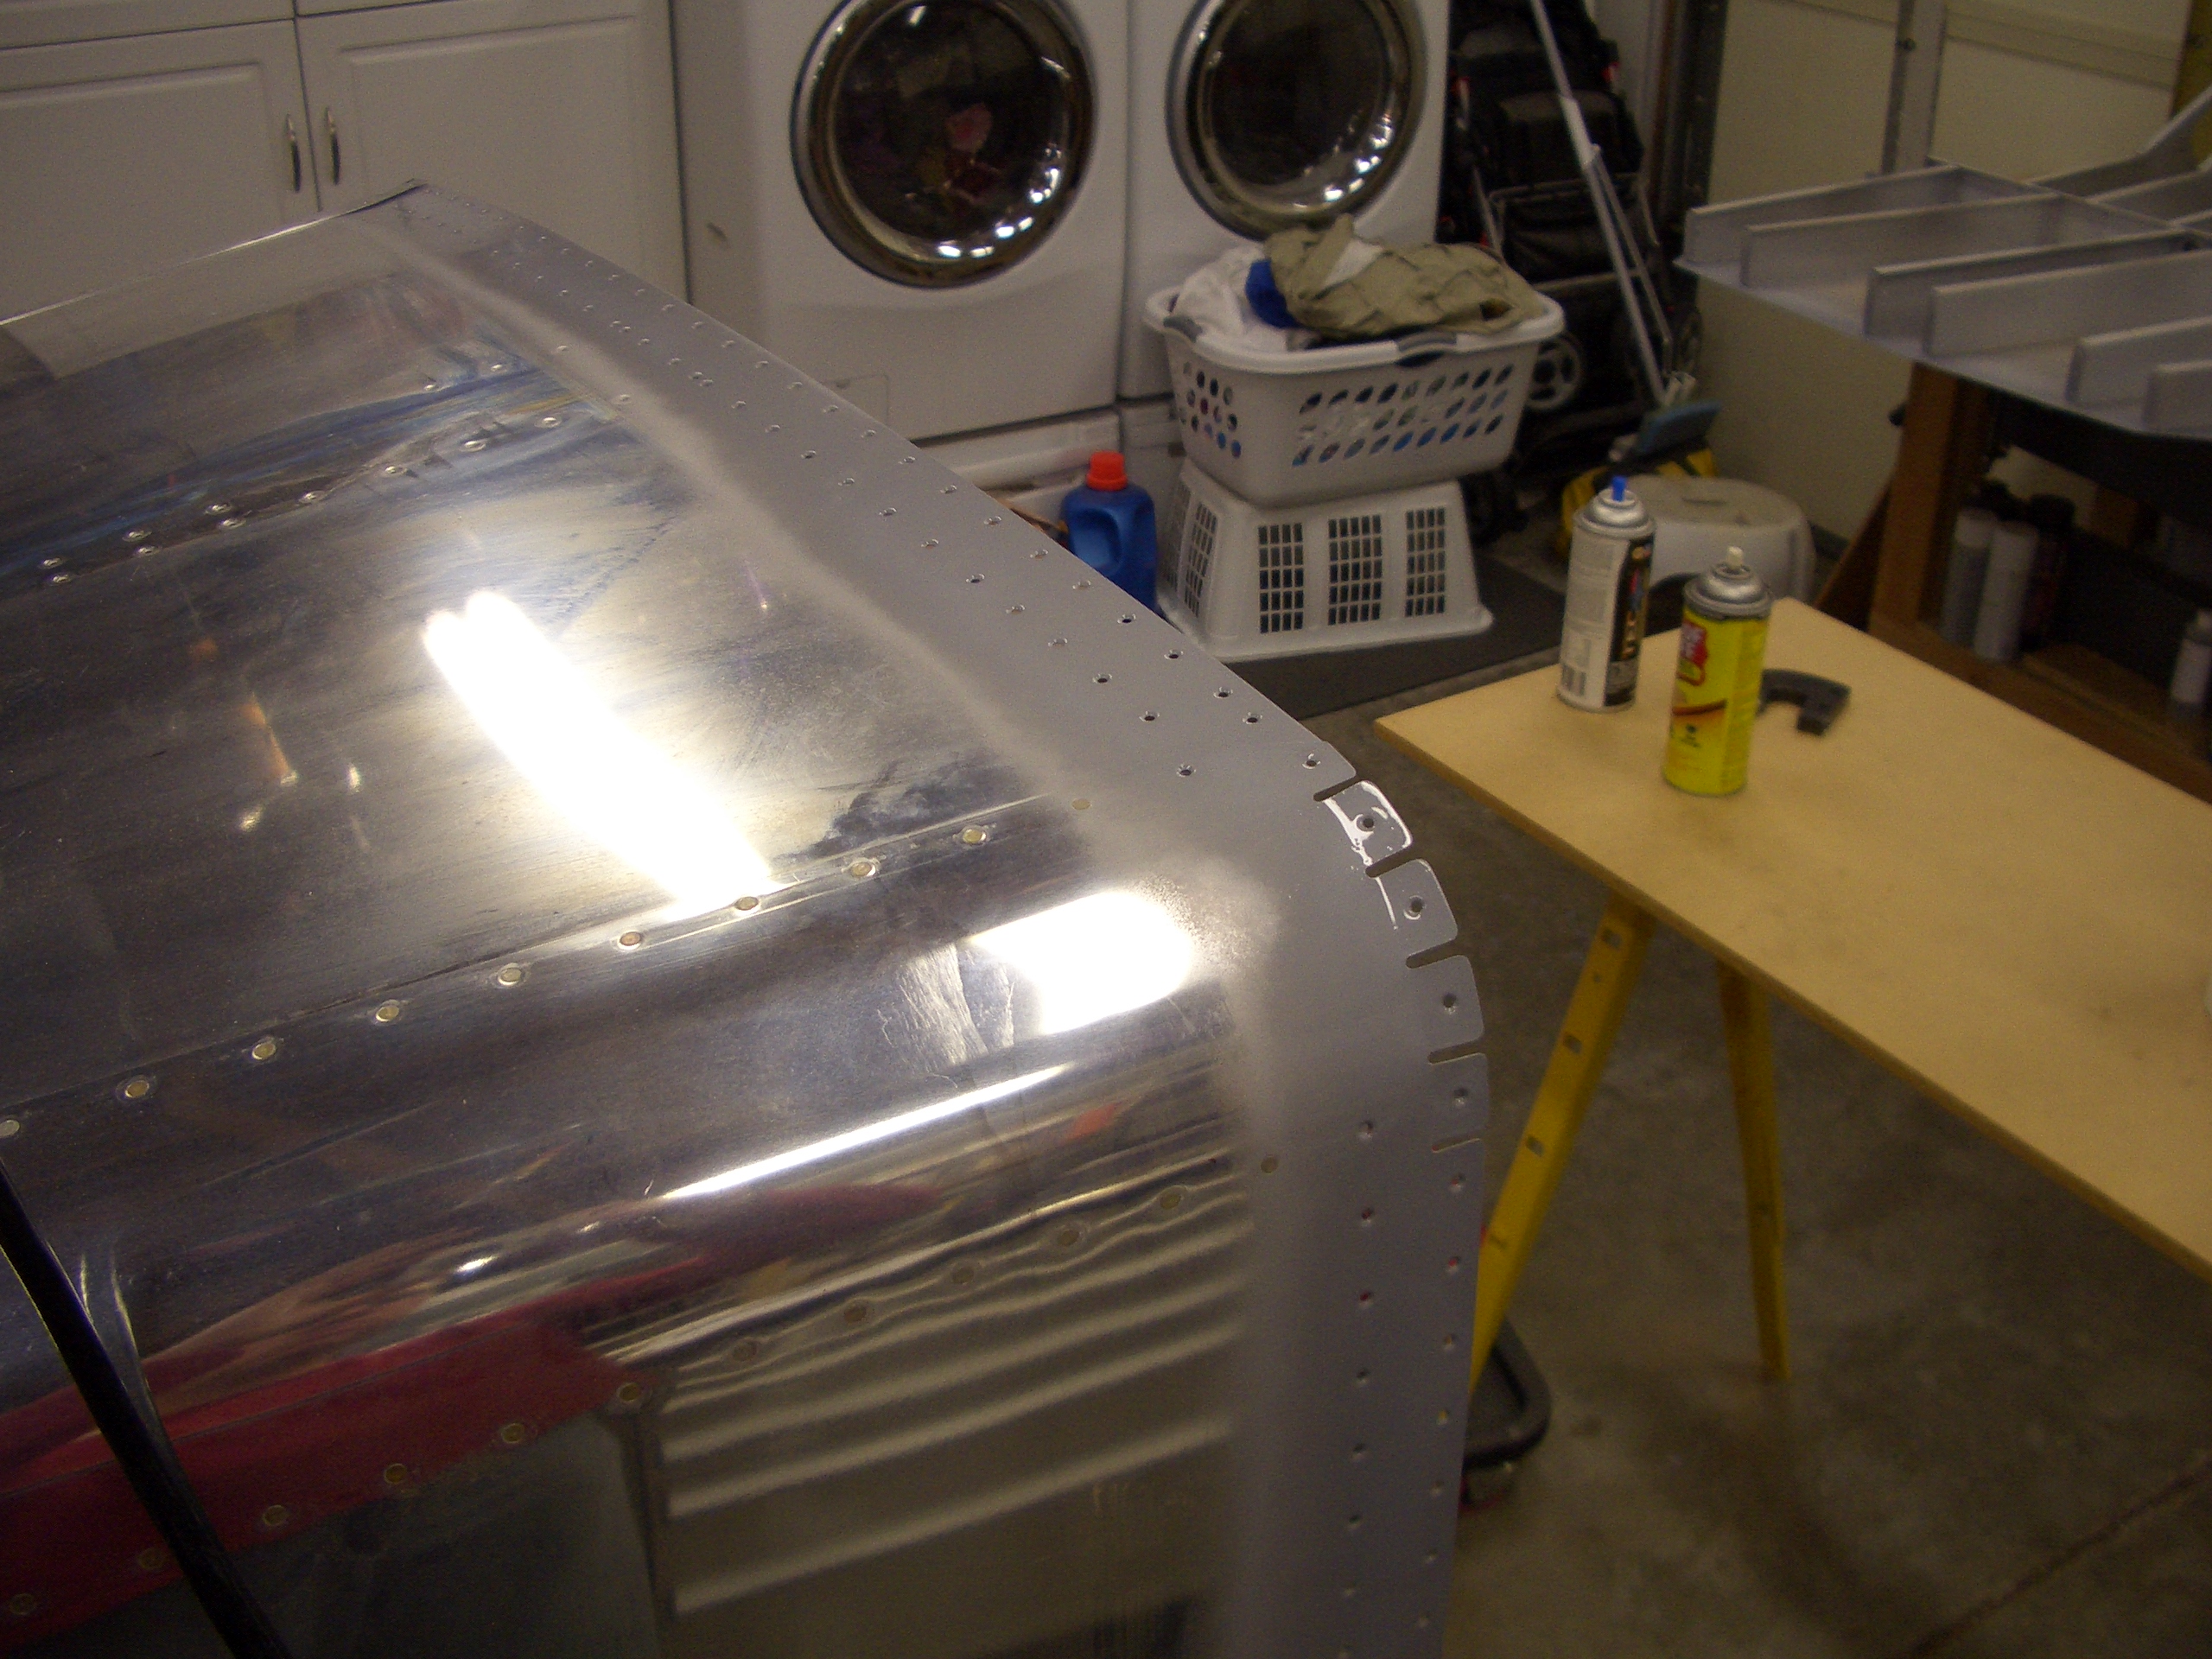
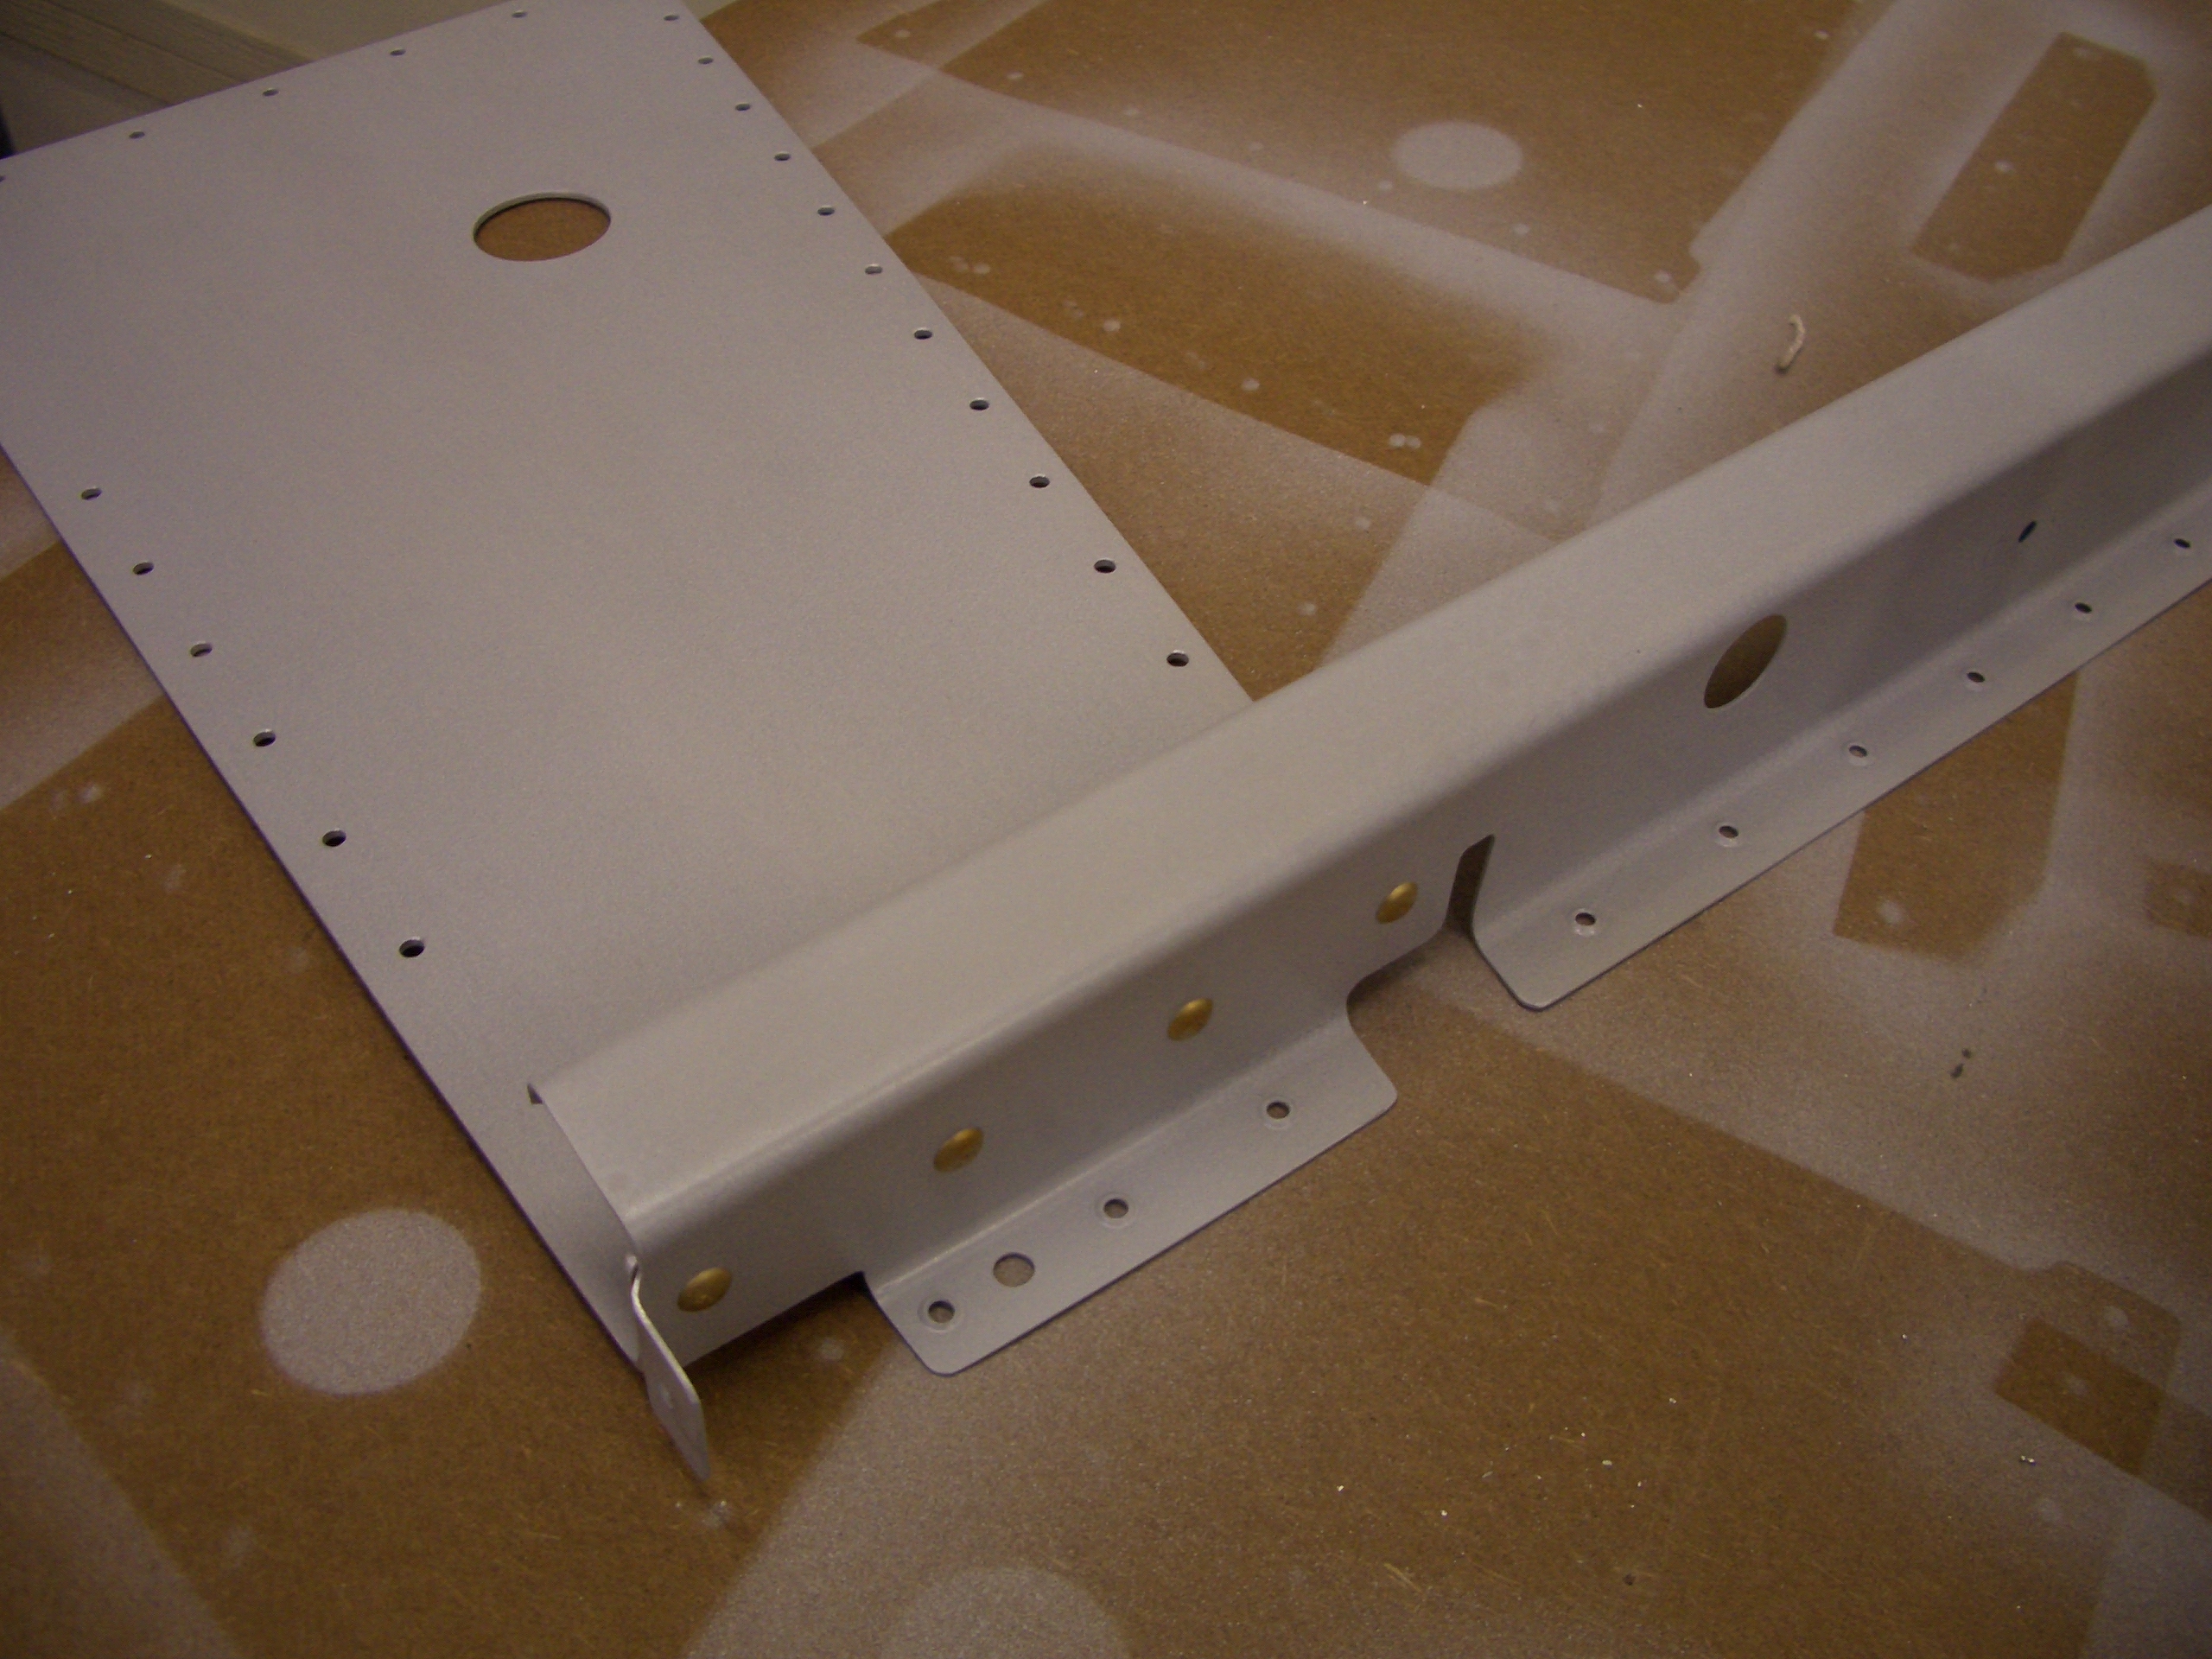
Primed Fuselage Components
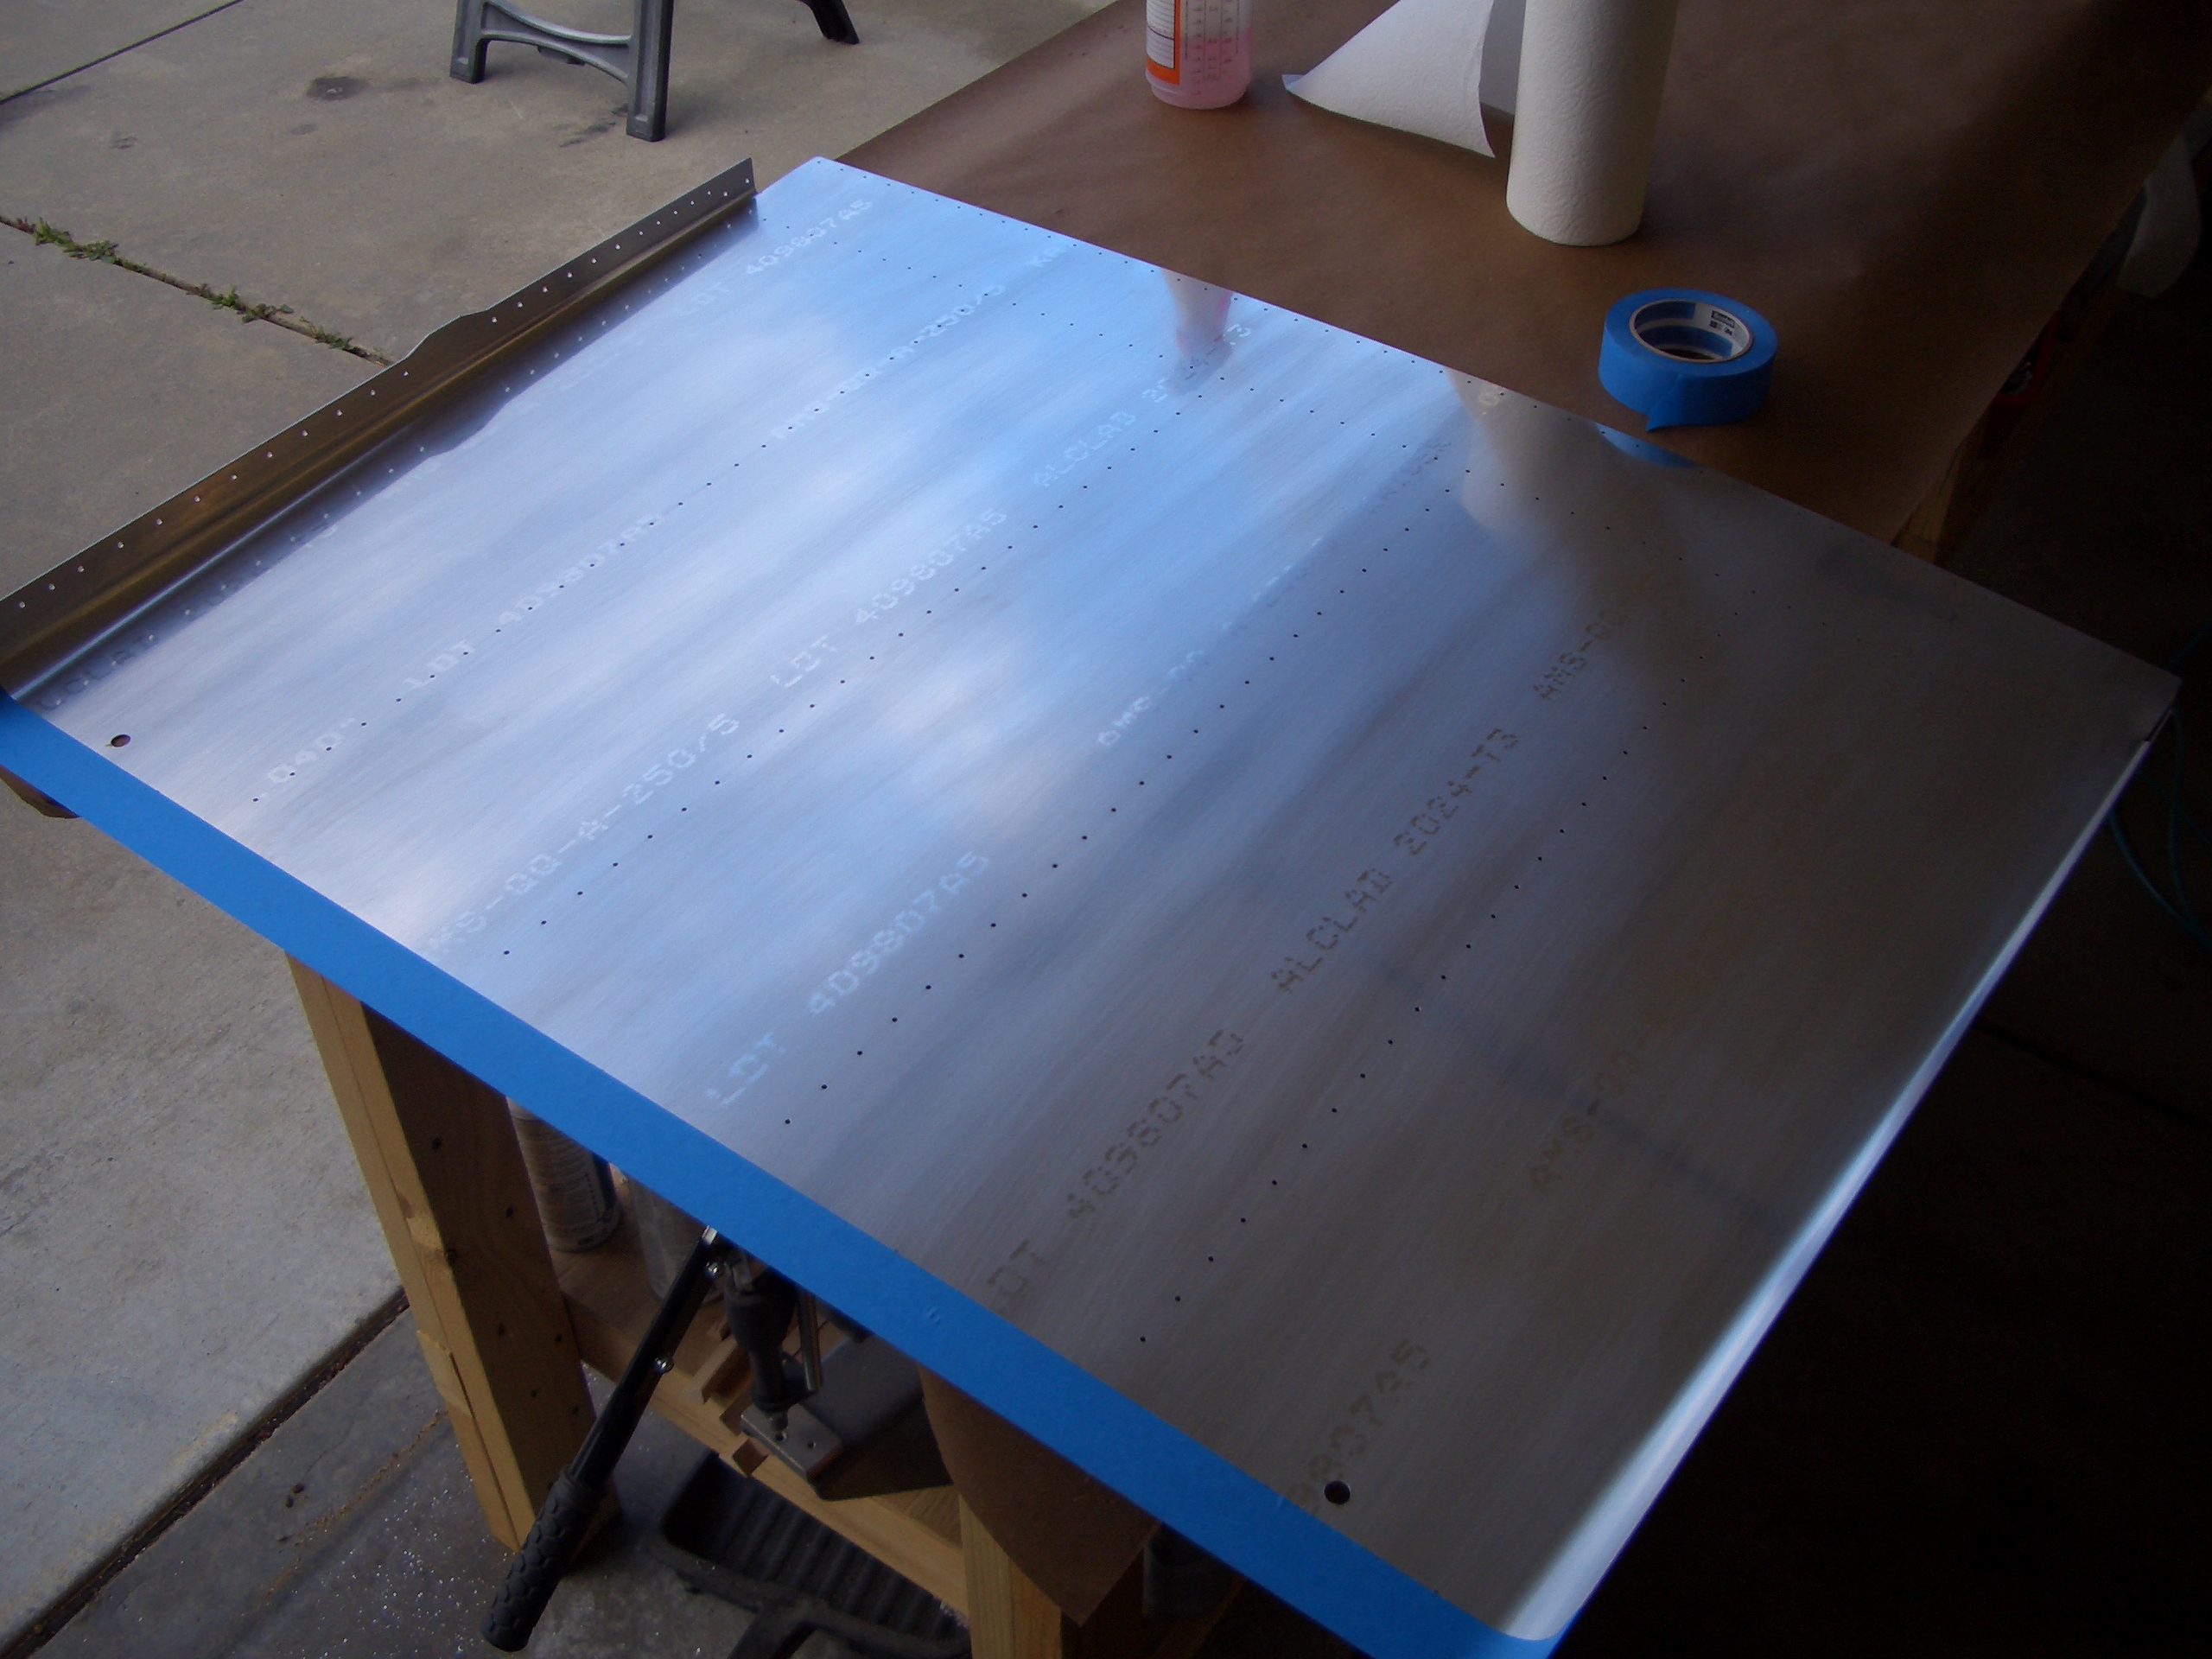
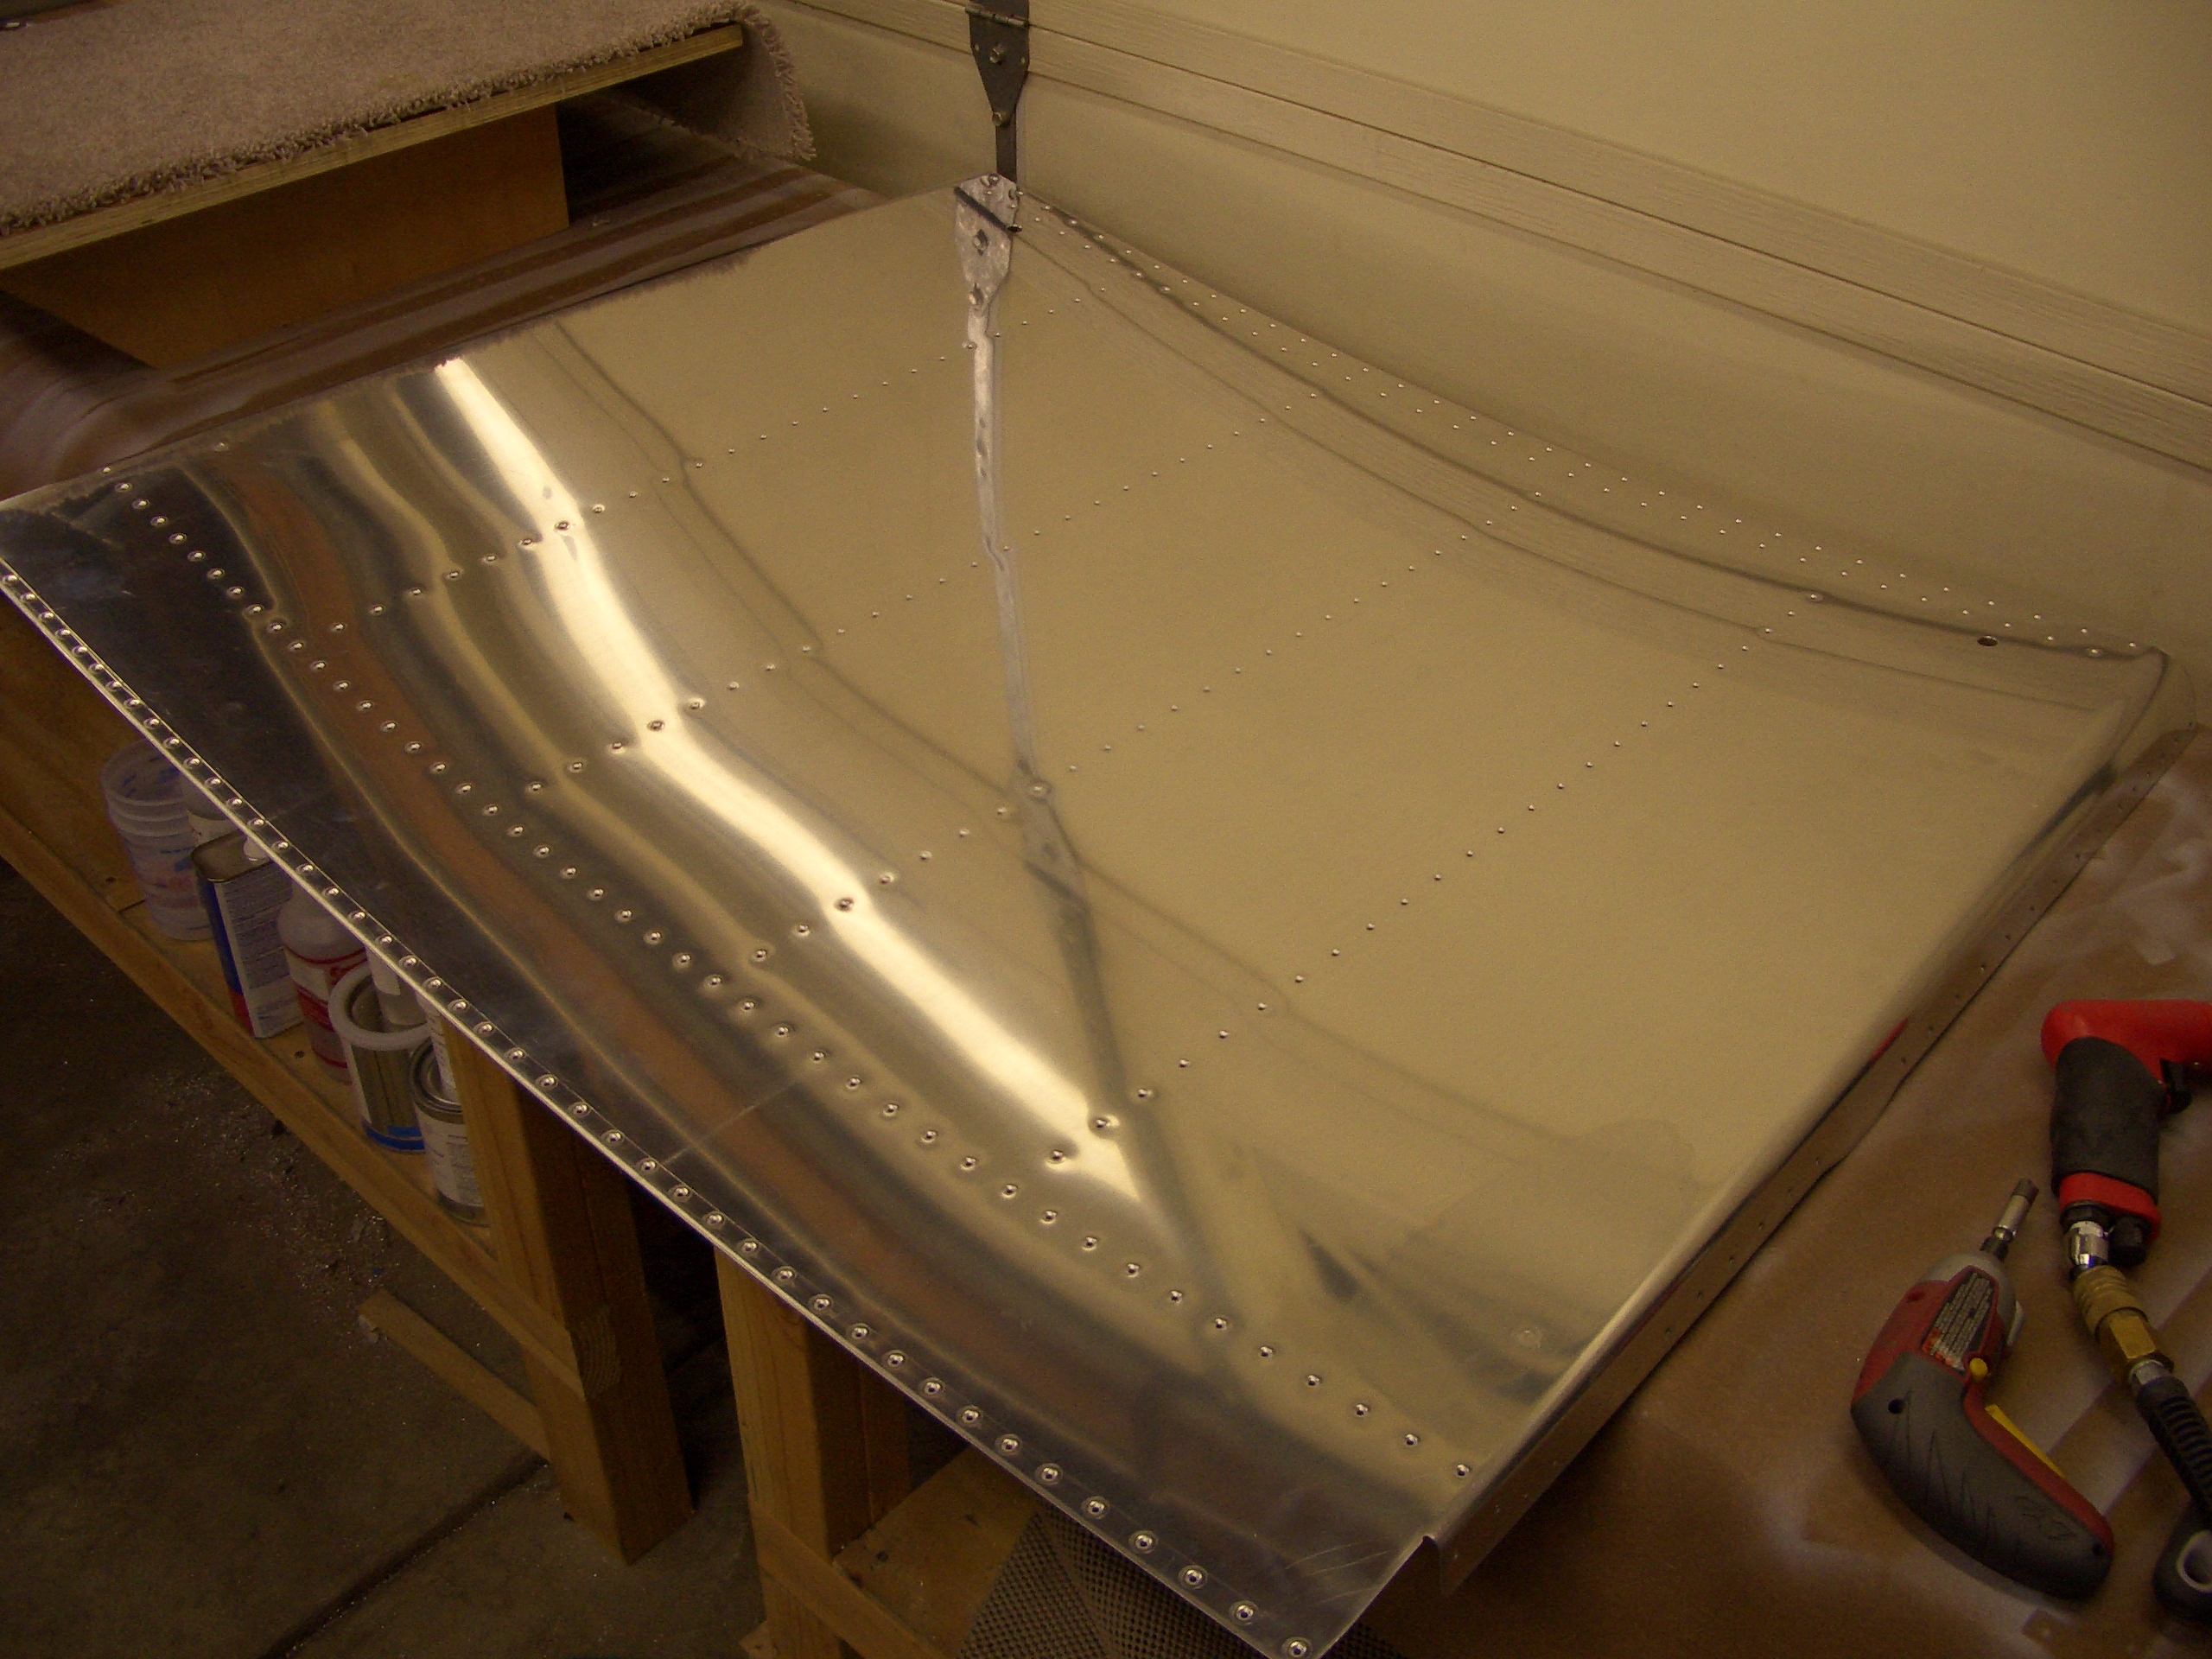
I put an extra thick coat of primer (still translucent thought) on the forward floor area since this may see extra moisture from people getting in with wet or snowy shoes. I masked off the area in the front so that the firewall sealant can stick to the bare aluminum.
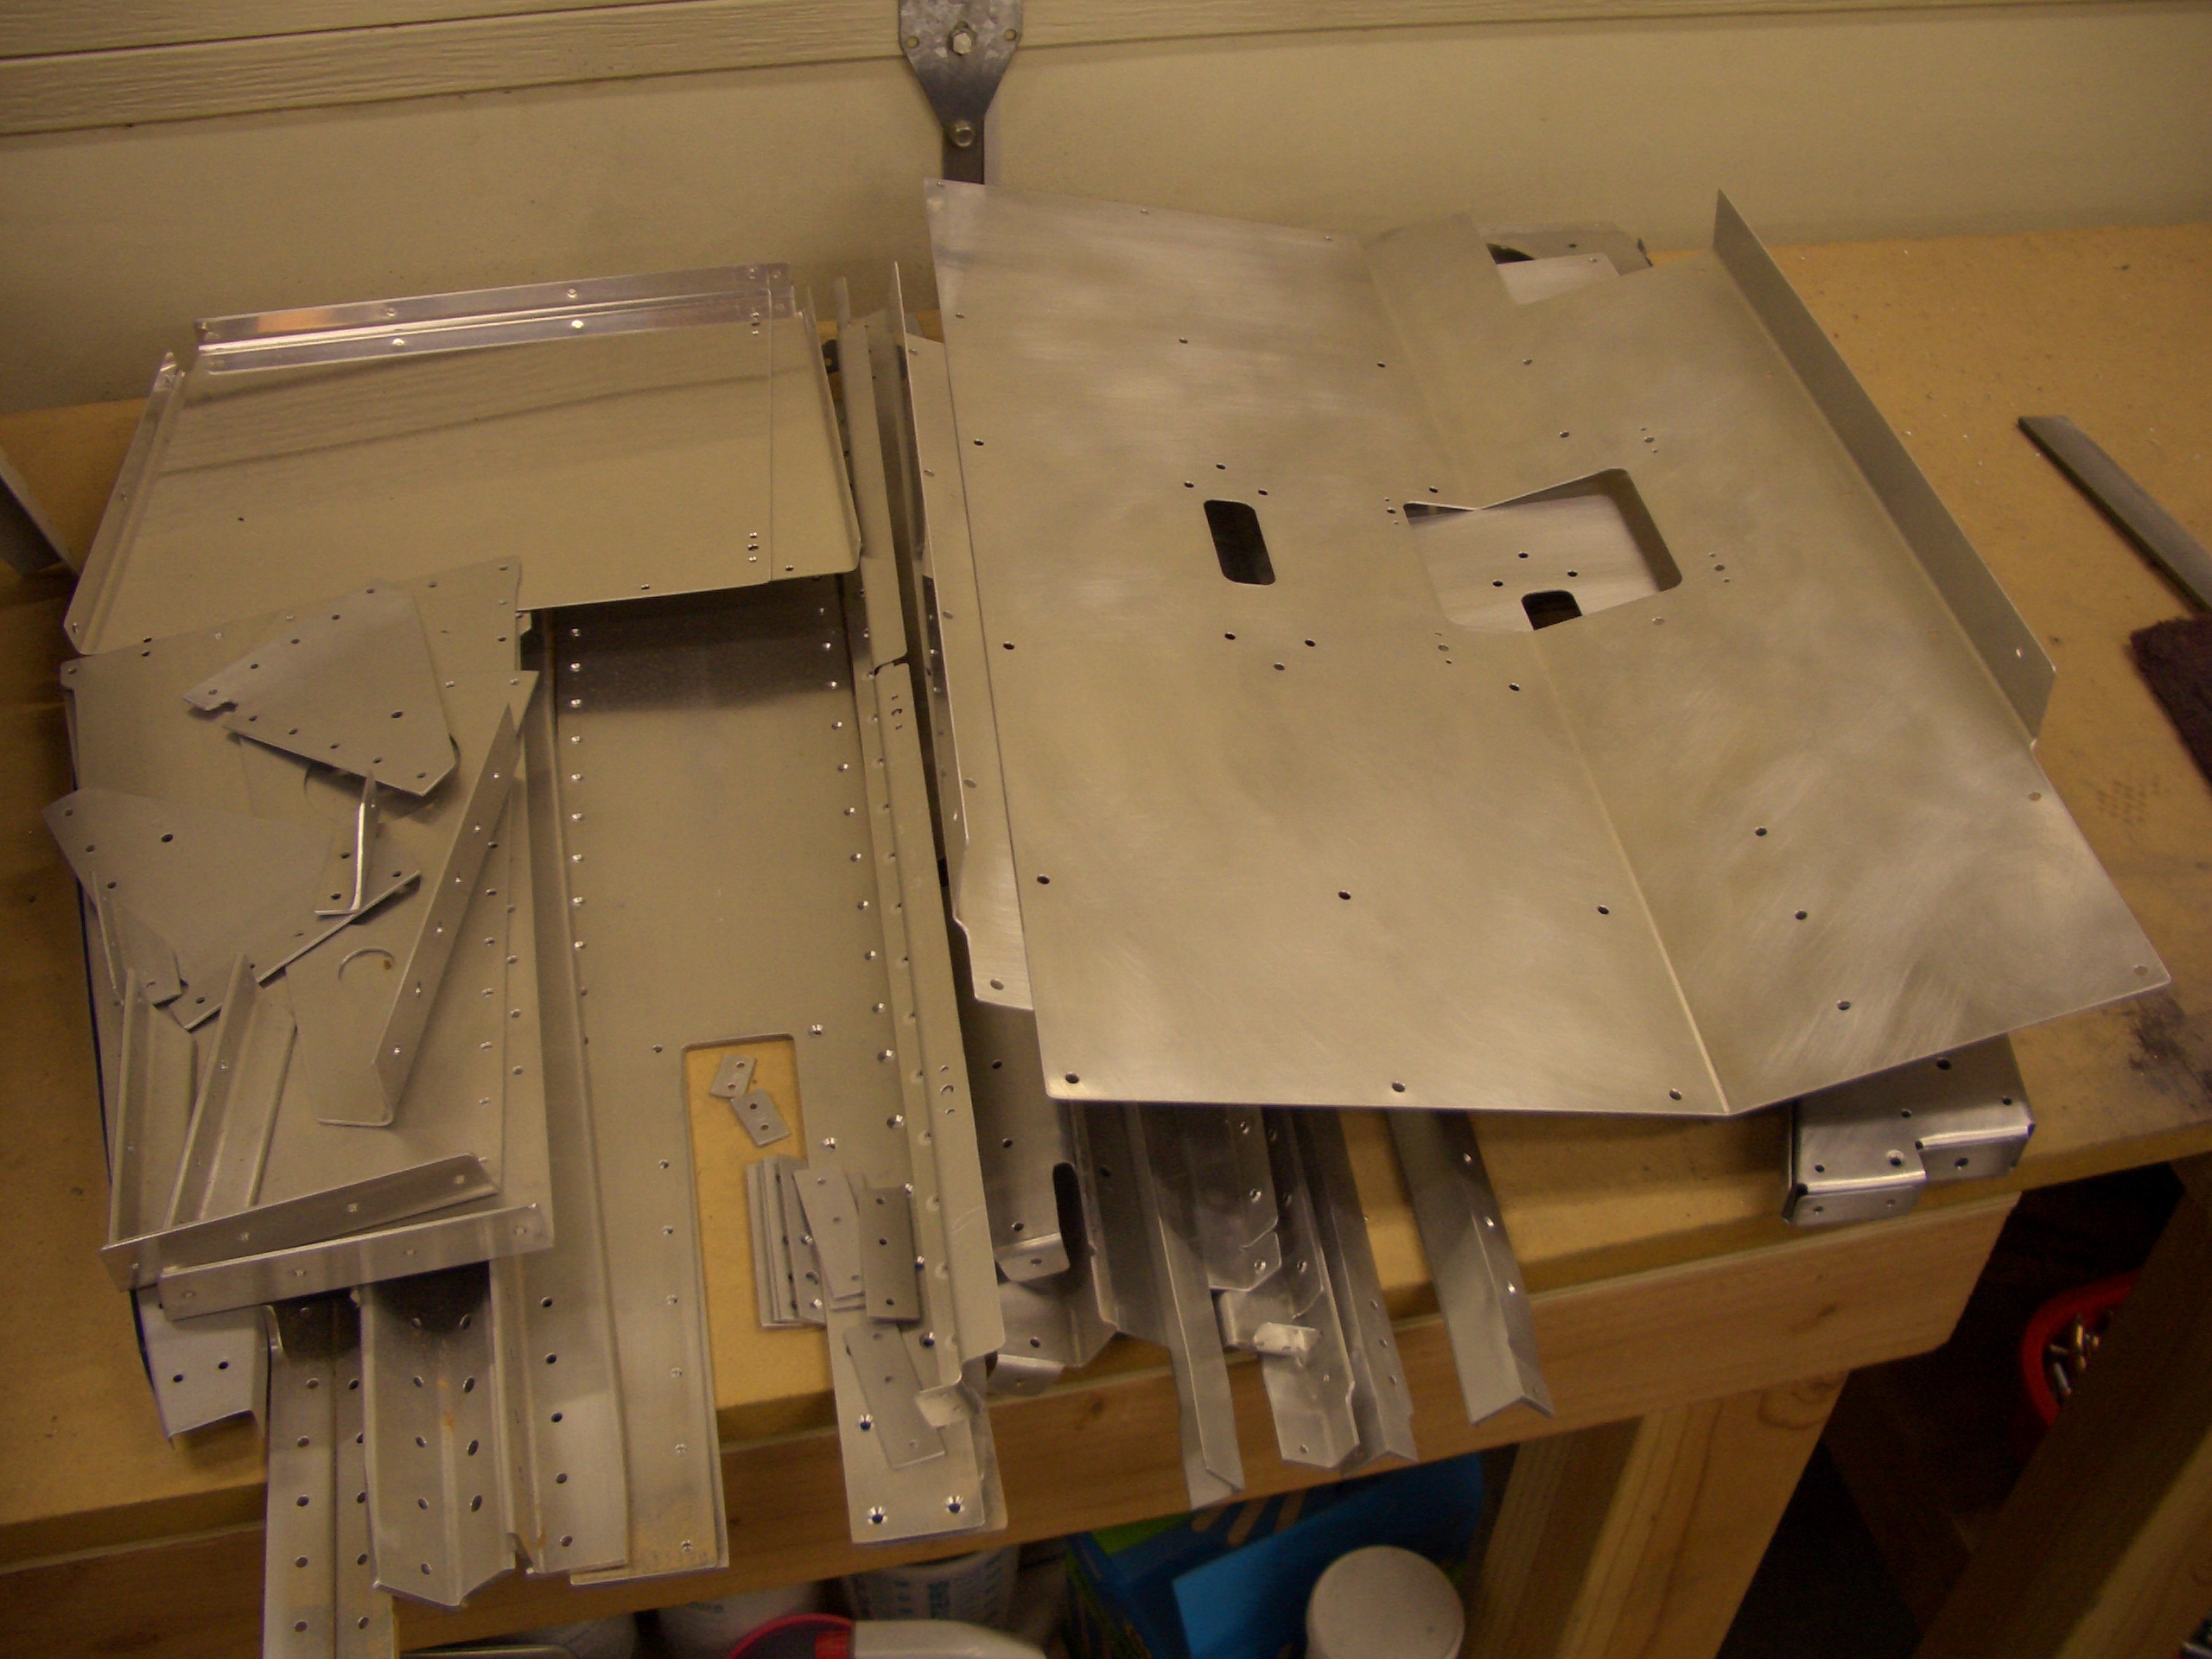
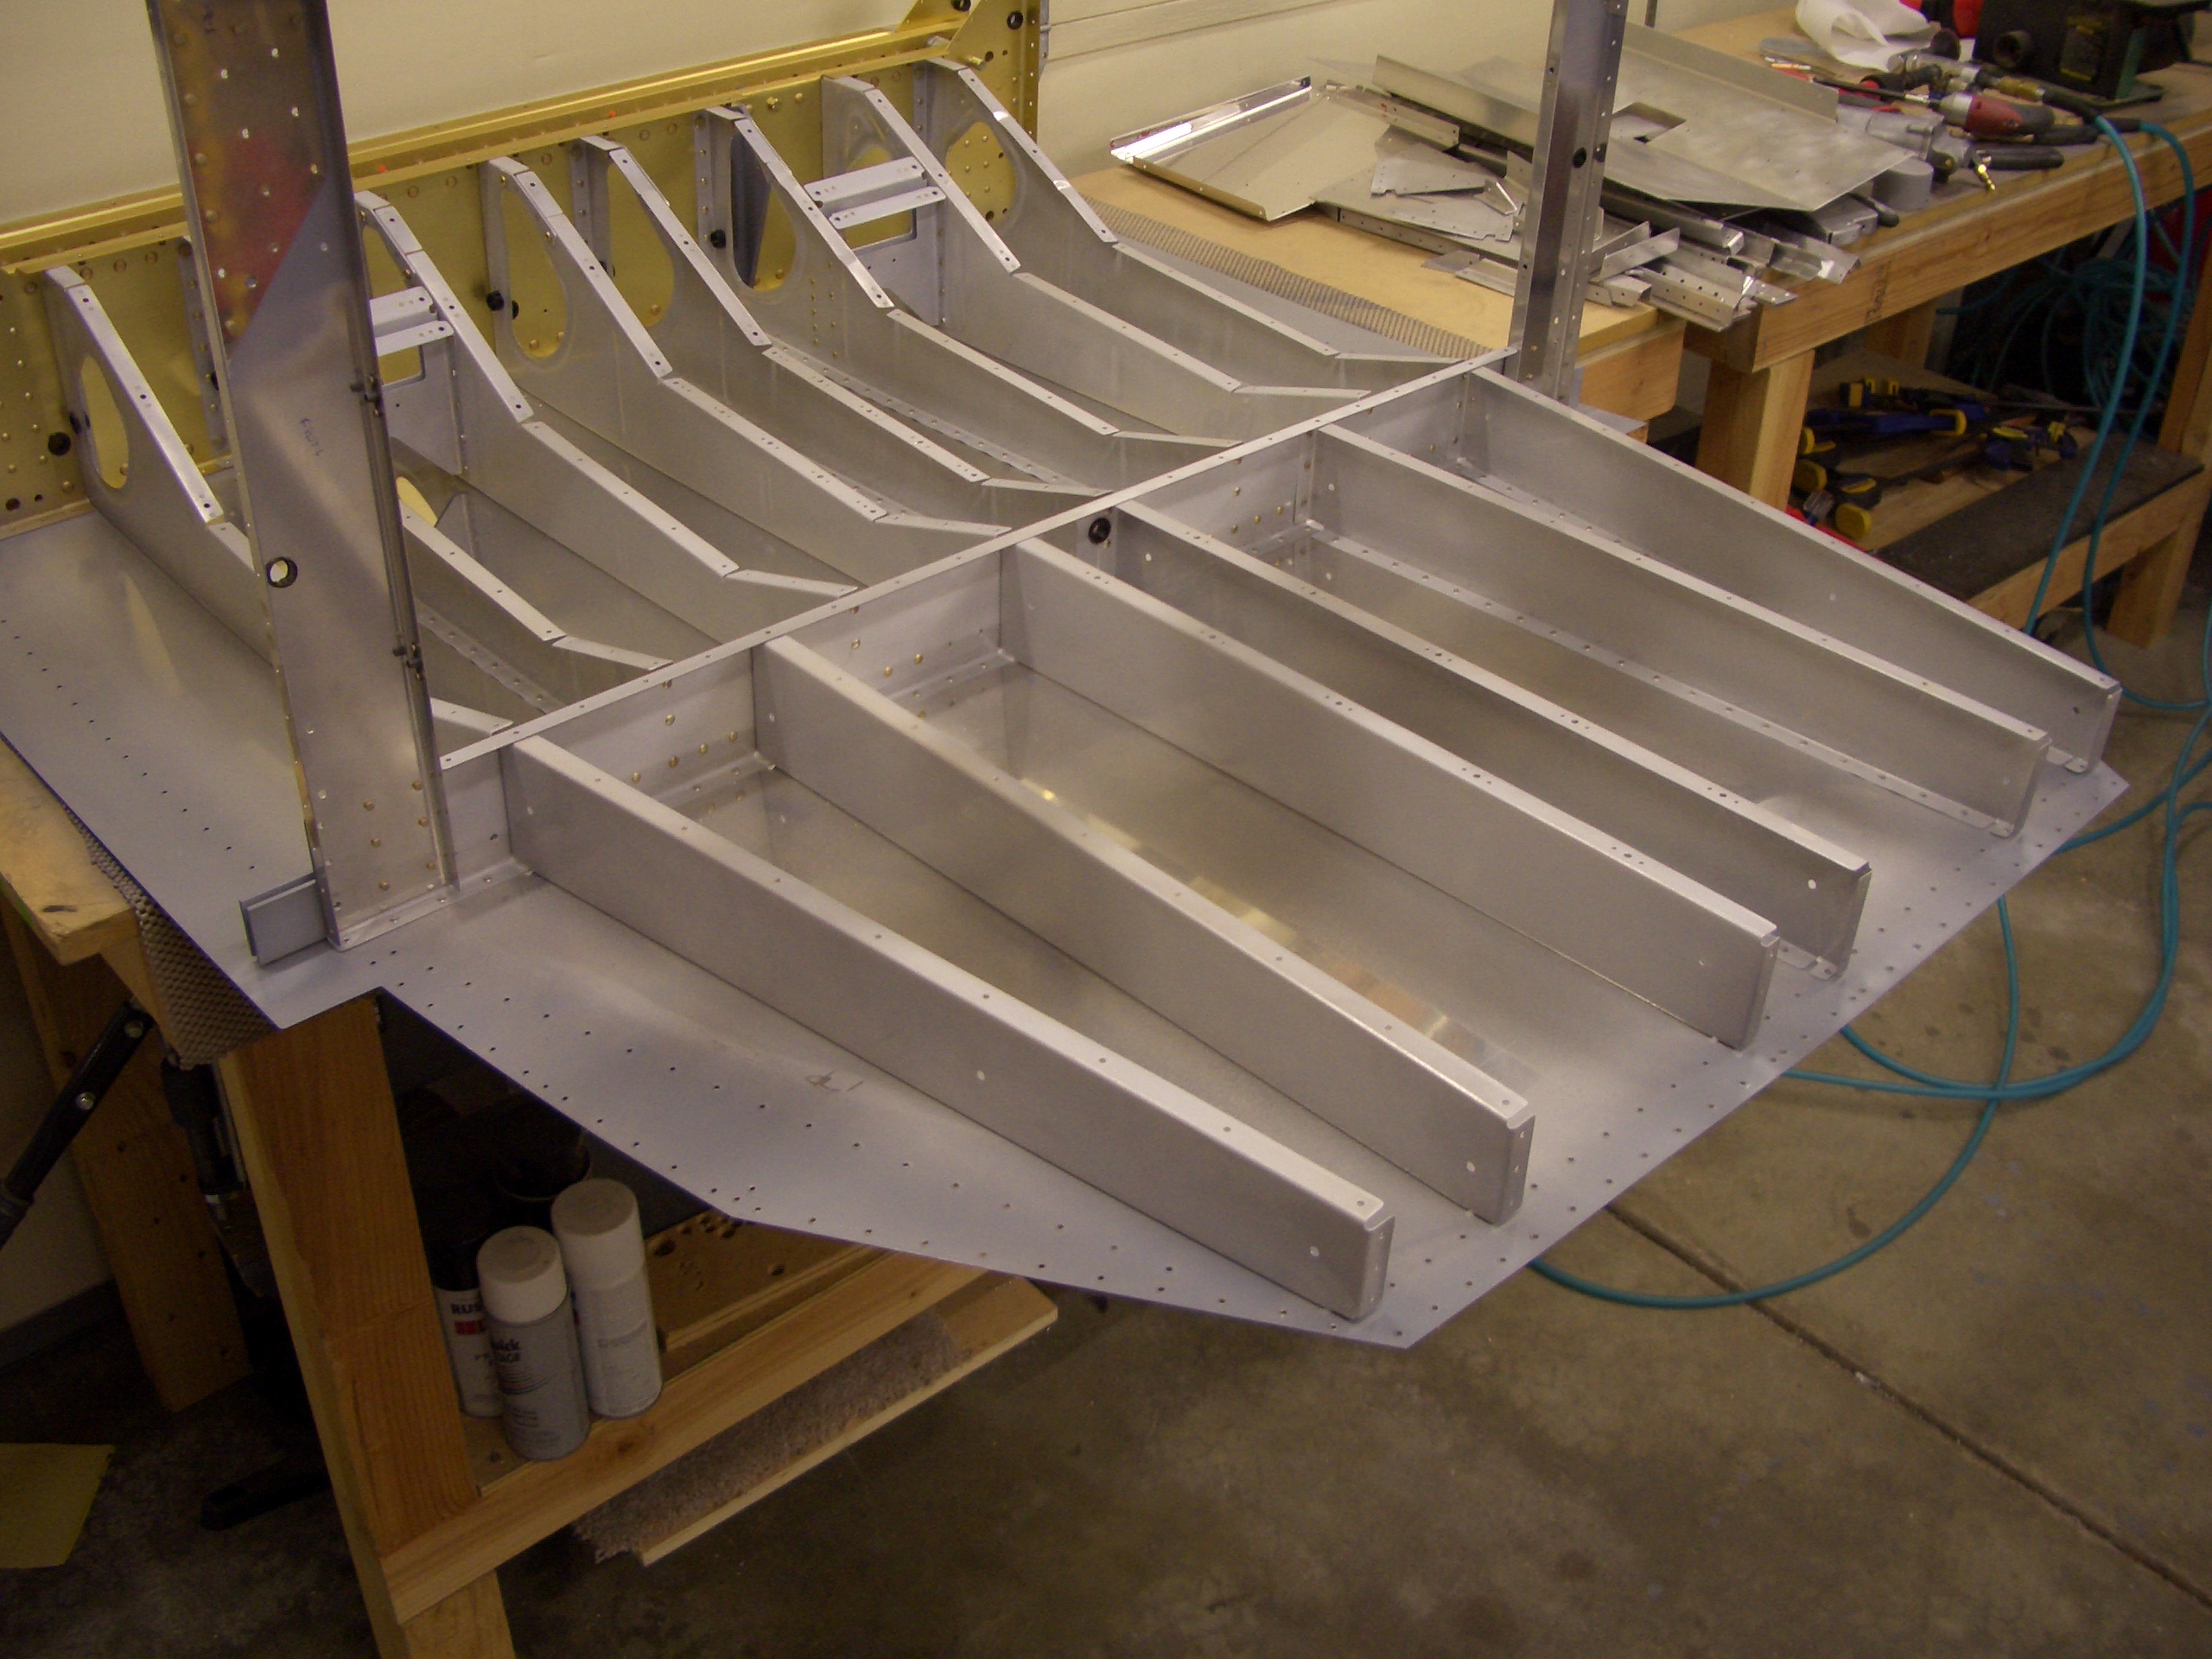
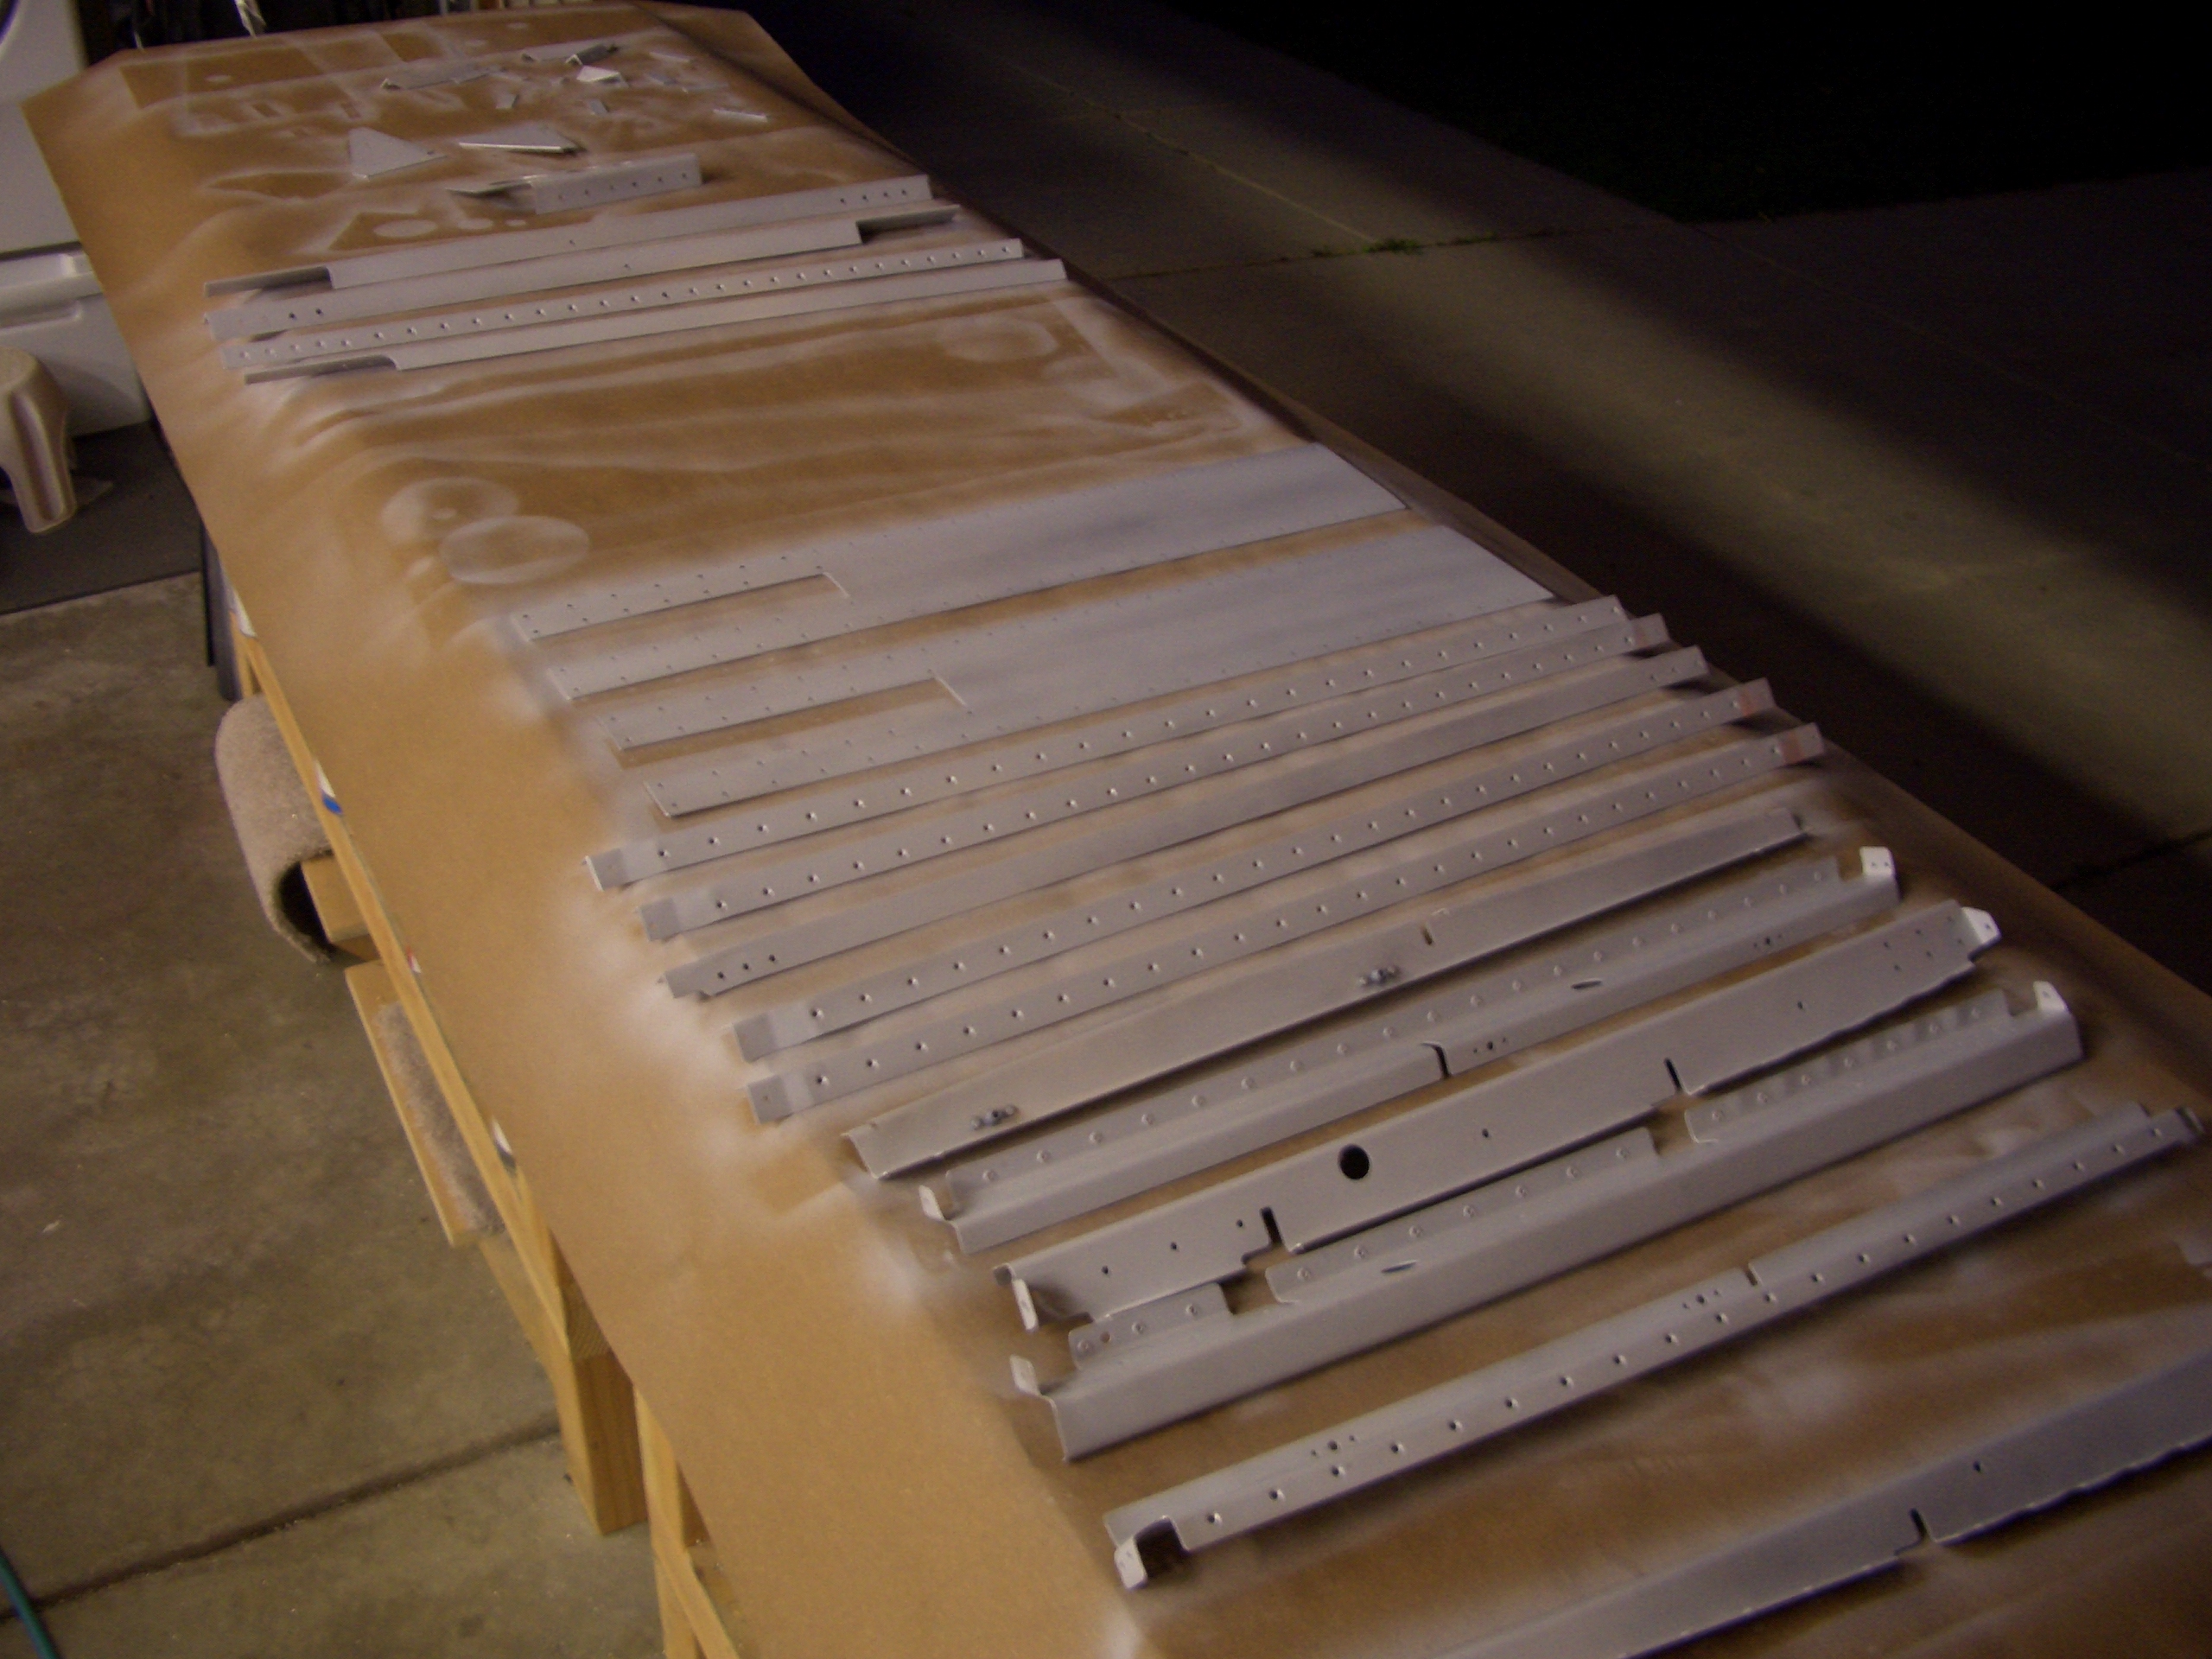
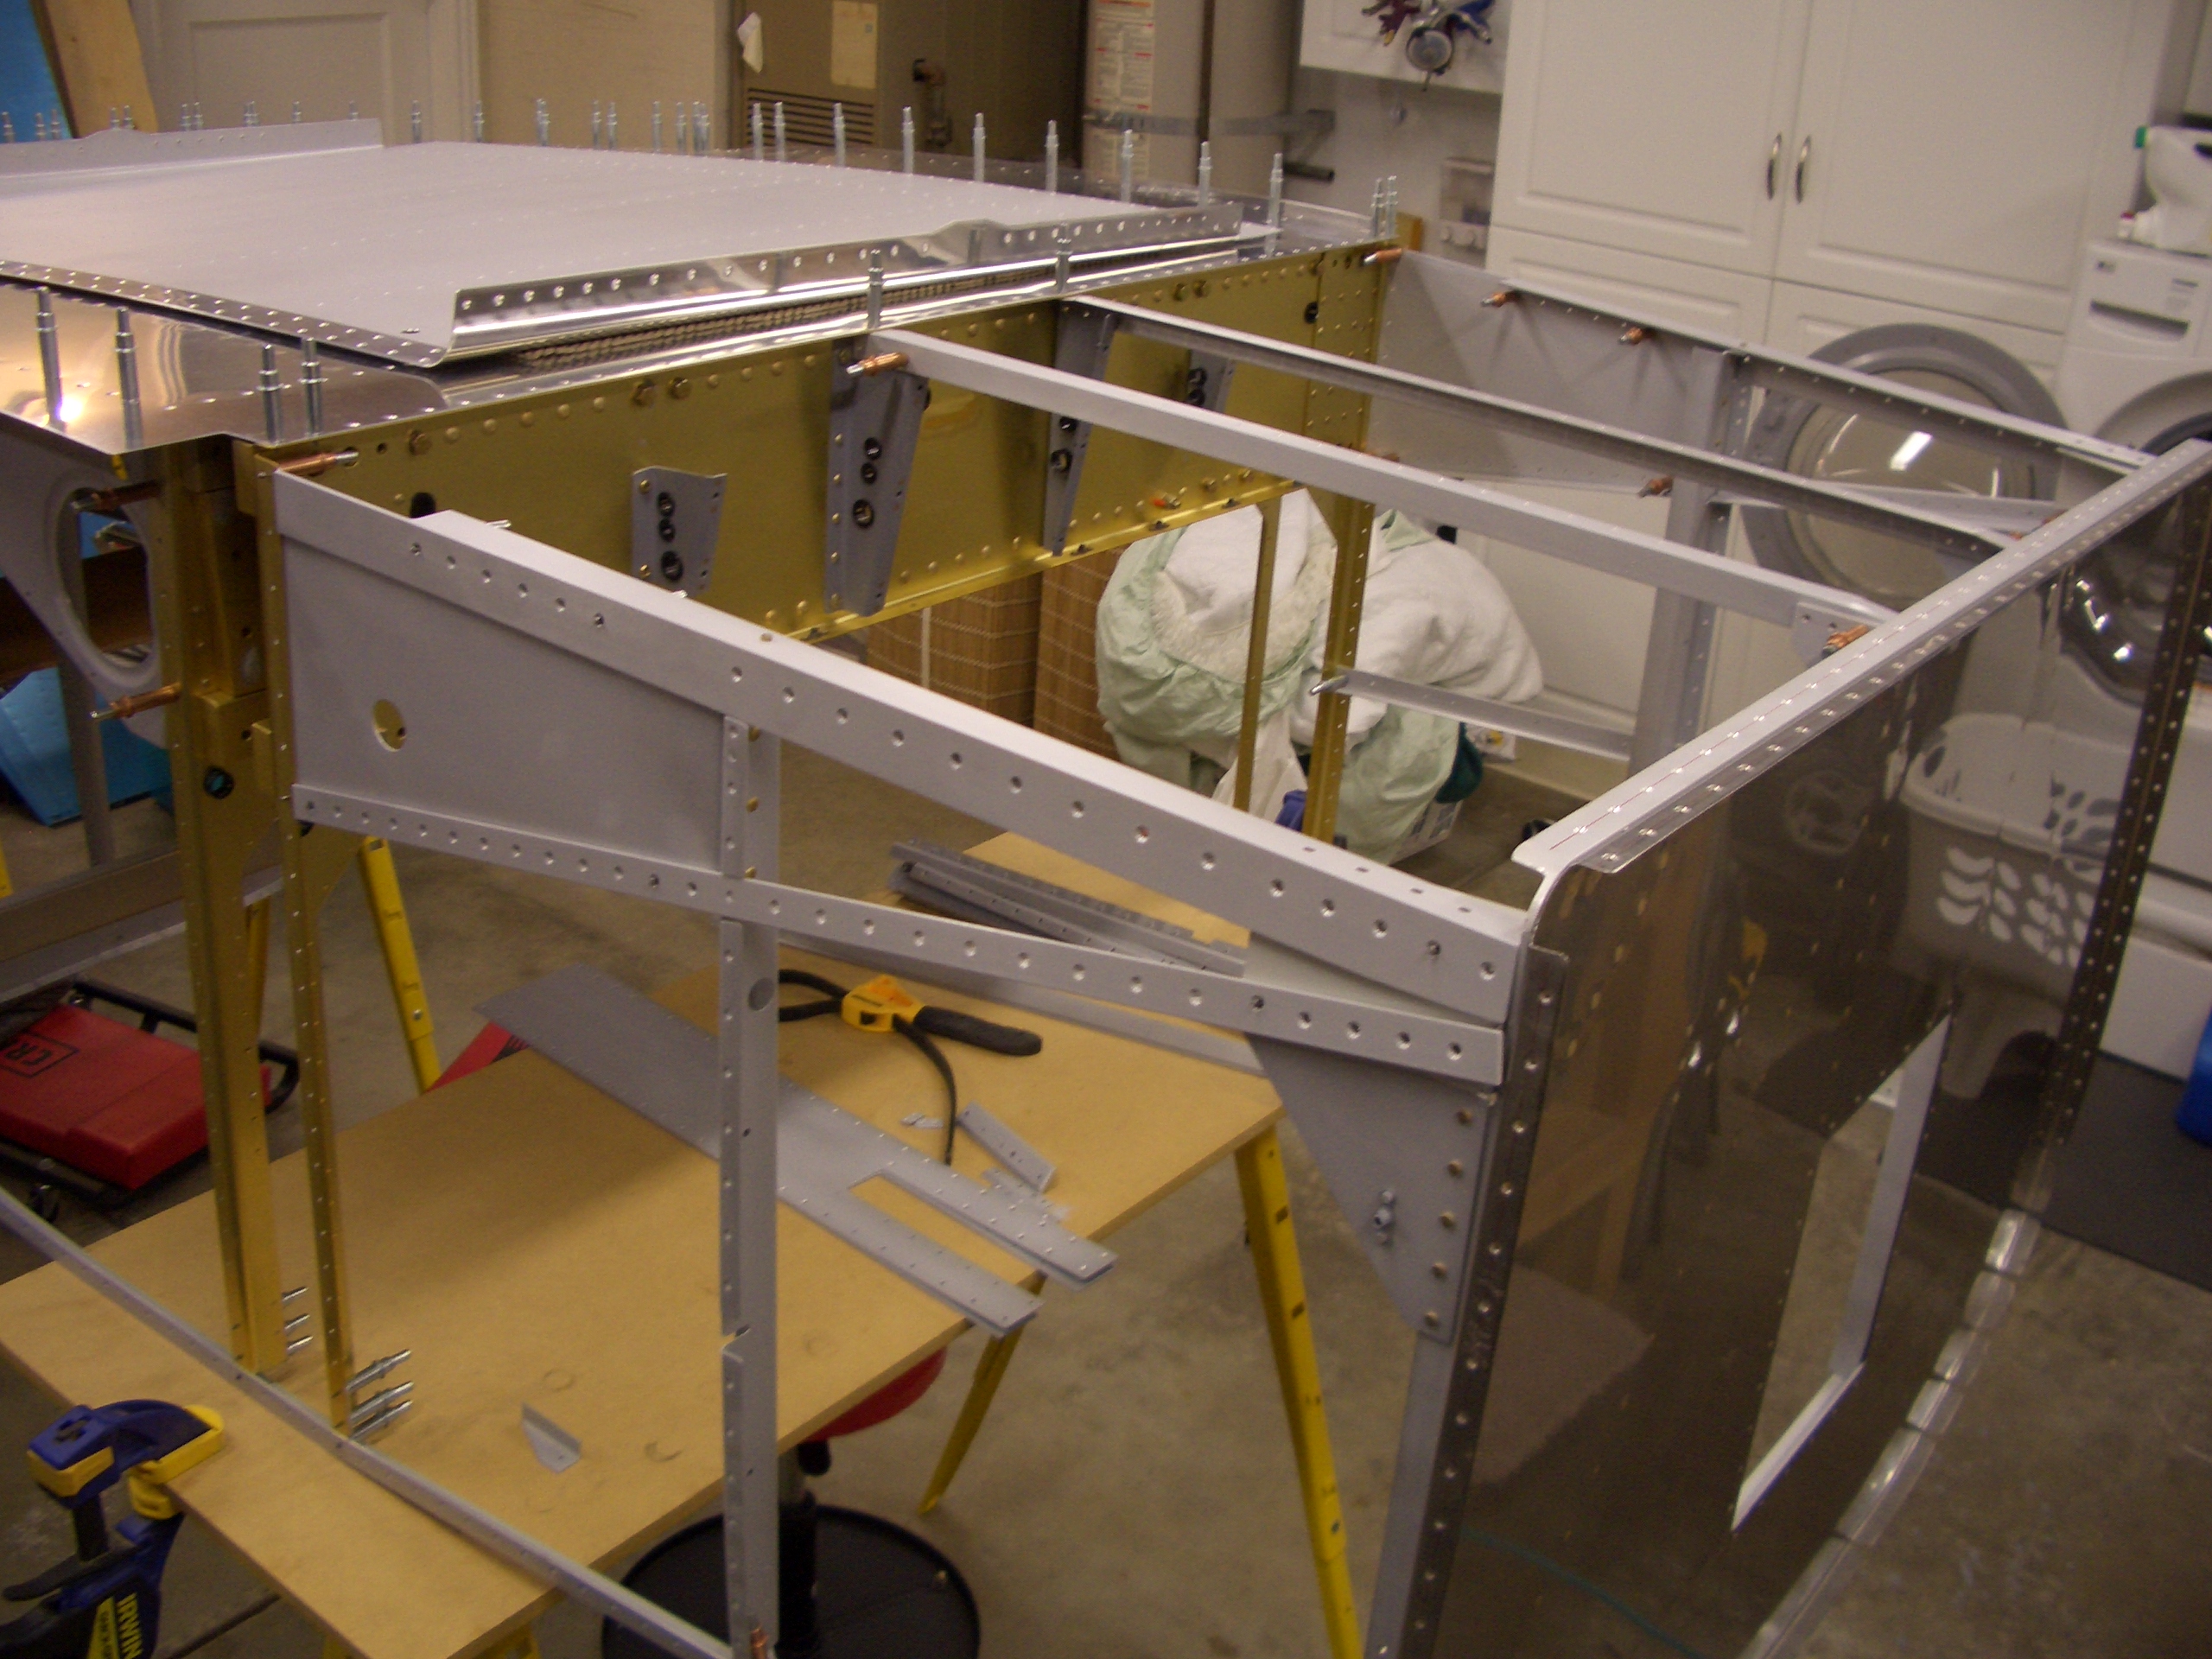
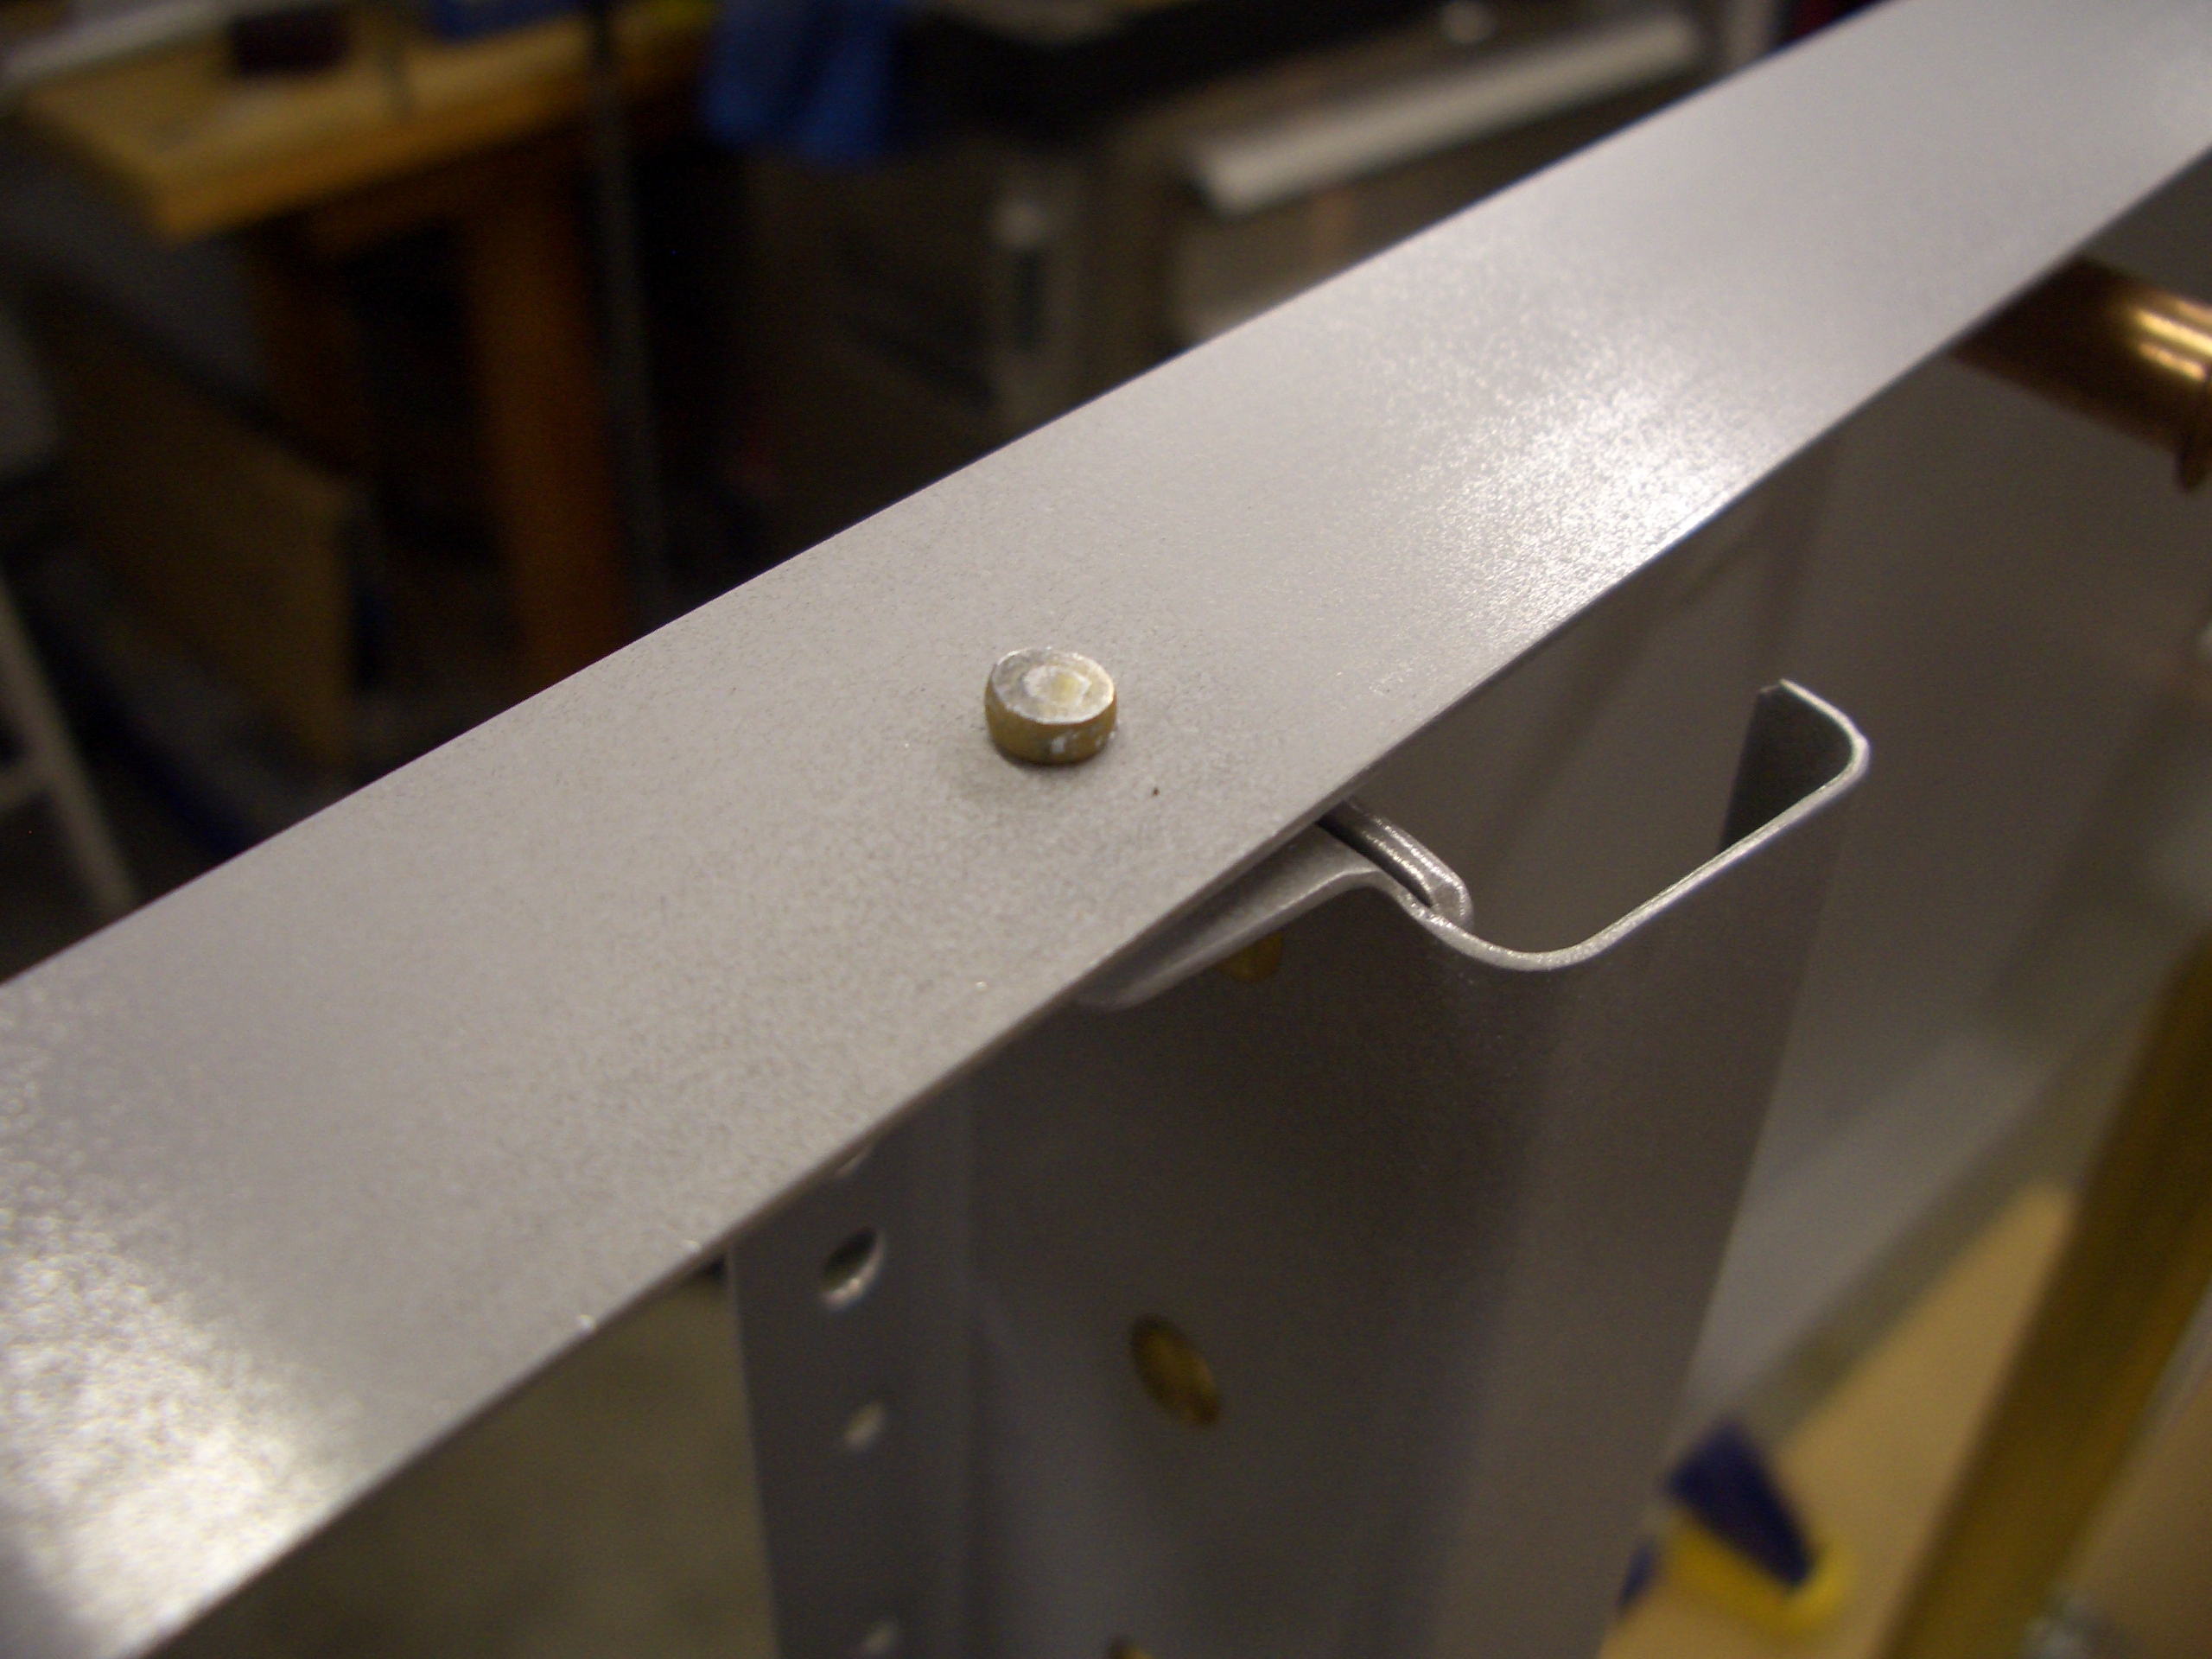
Here are most of the other components after being primed. I primed the longerons out in the driveway balanced across two sawhorses.
Here are the longerons and outboard seat ribs installed. I also got some of the deburring on the forward floor done.
Started Fuselage Reassembly
I finished deburring the forward bottom skin and dimpled all of the required holes. Be sure and skip the two #30 holes on the aft end of the sides since those are riveted with AN470 rivets.
Since I’m building a tail dragger, there are two holes that need to just be filled with AN426AD3-3 rivets. These are used as the pilot holes for the brake lines on the A models.
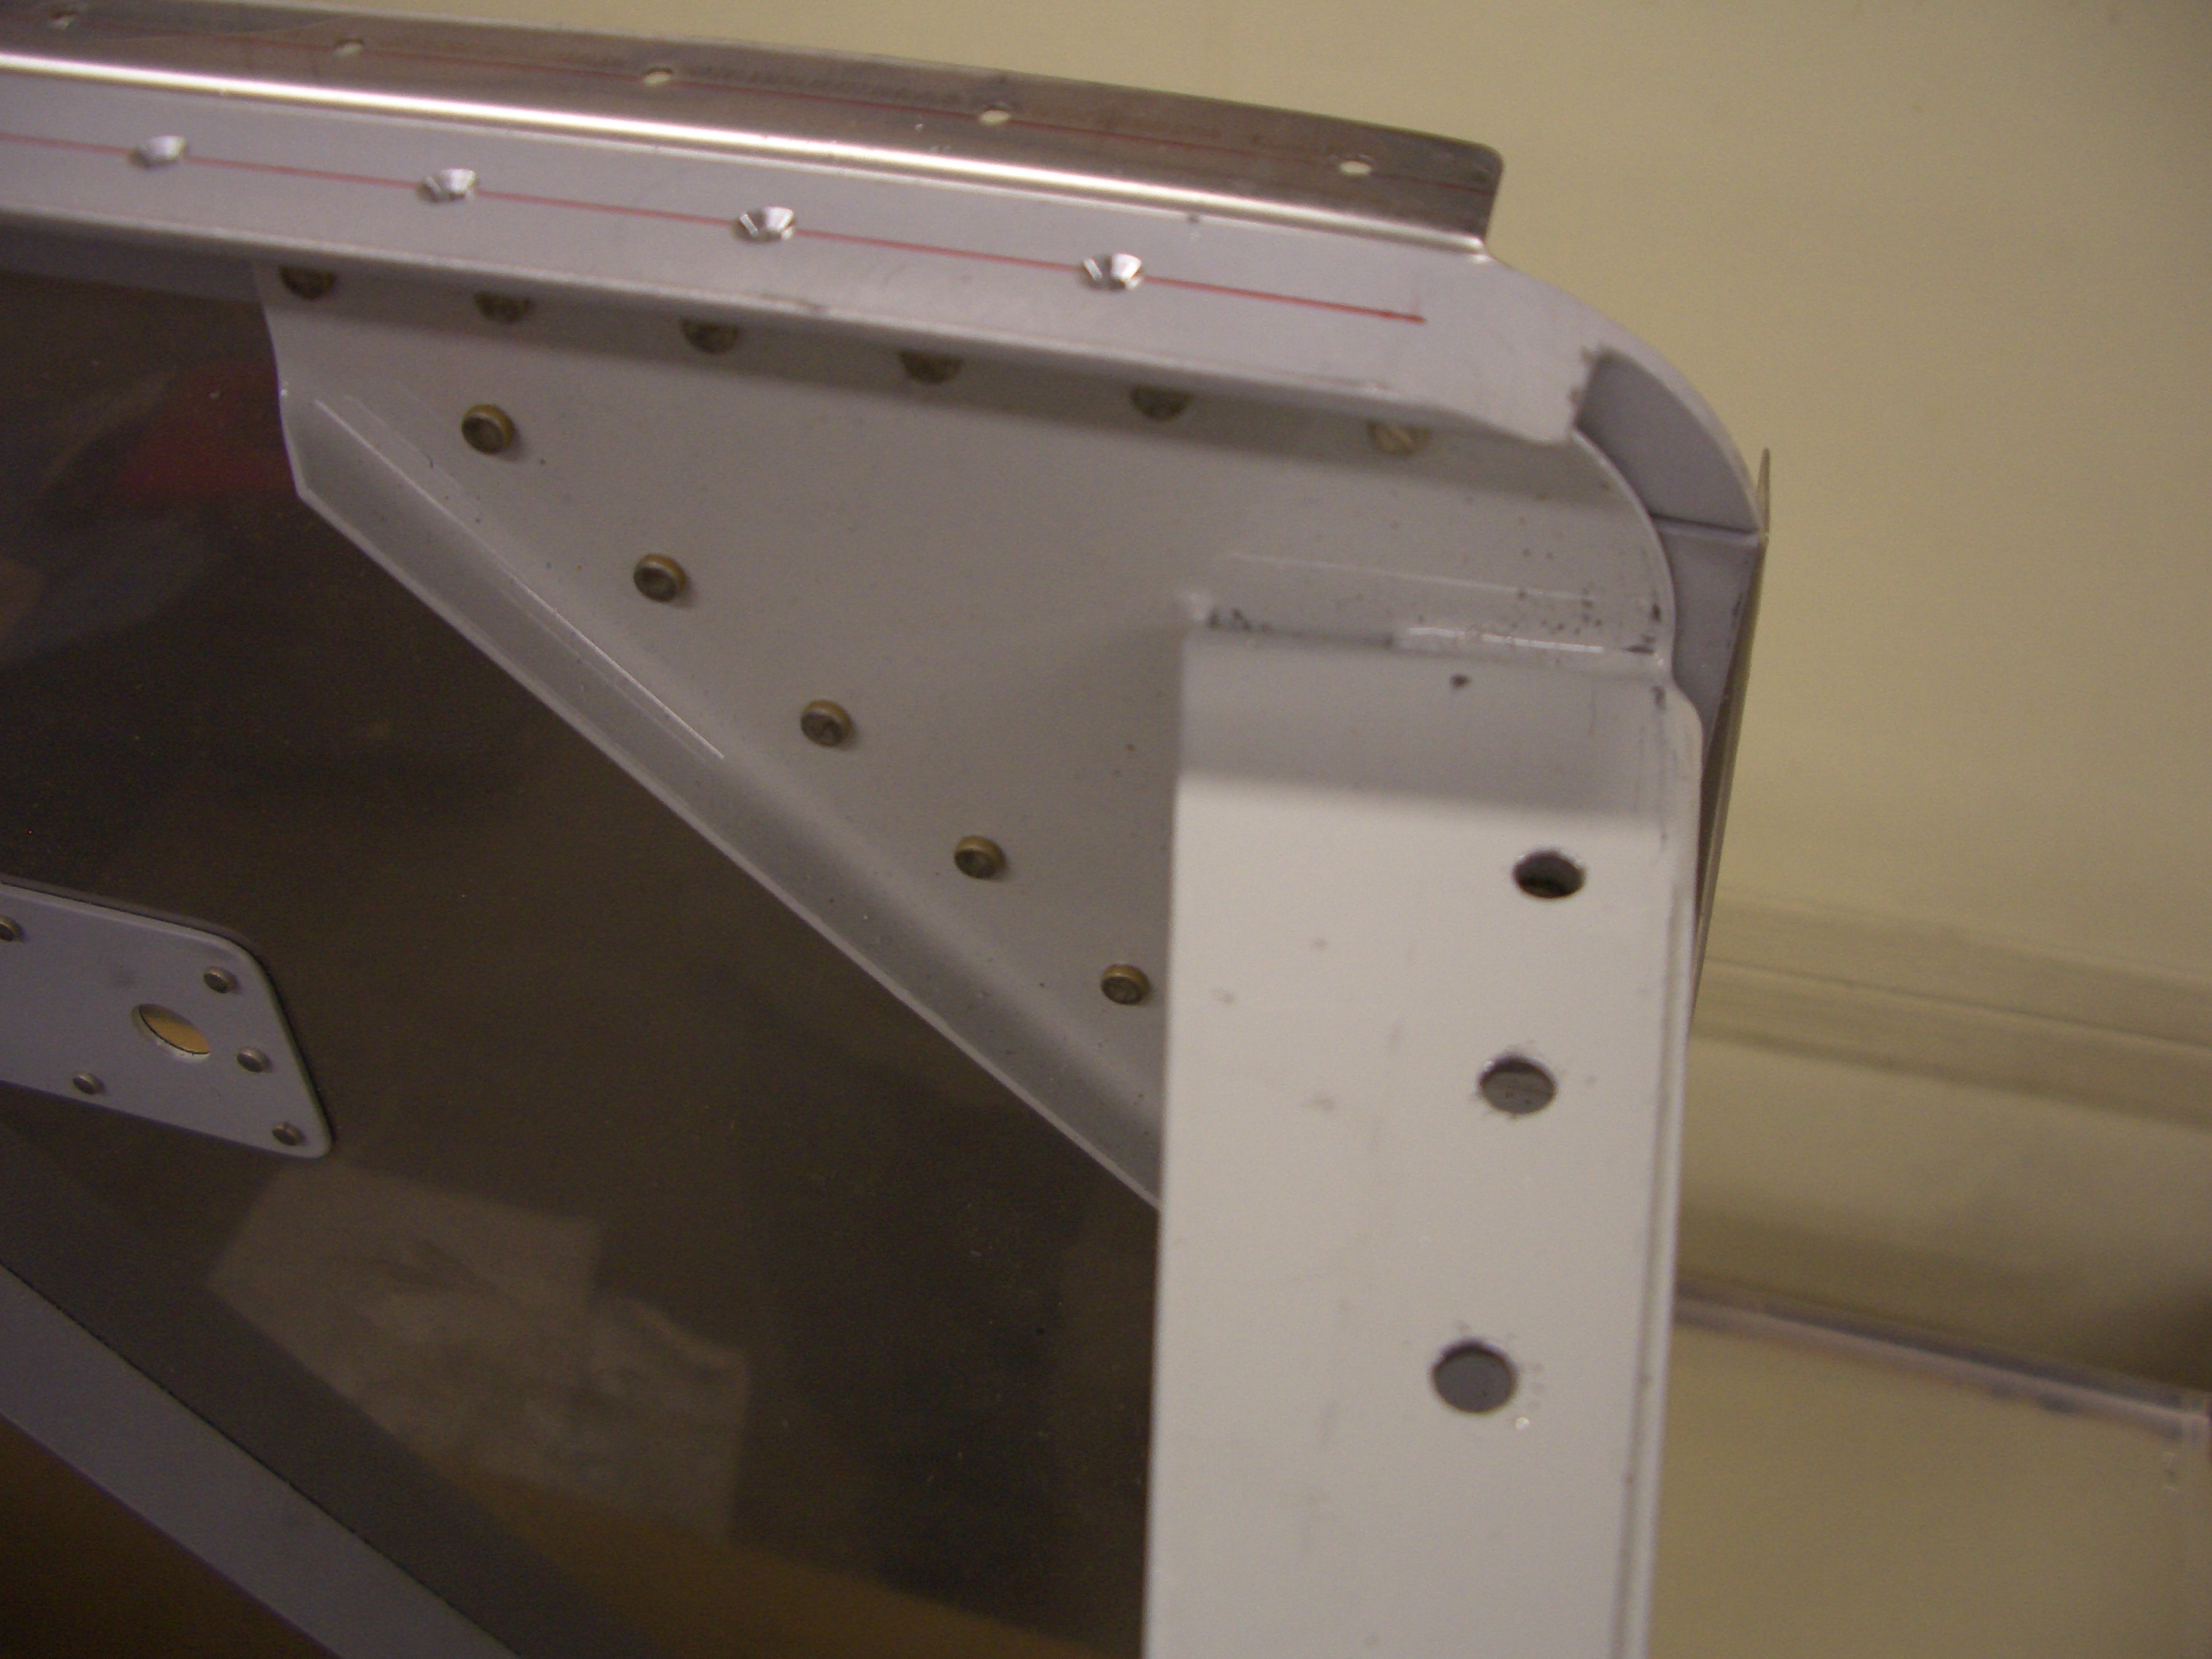
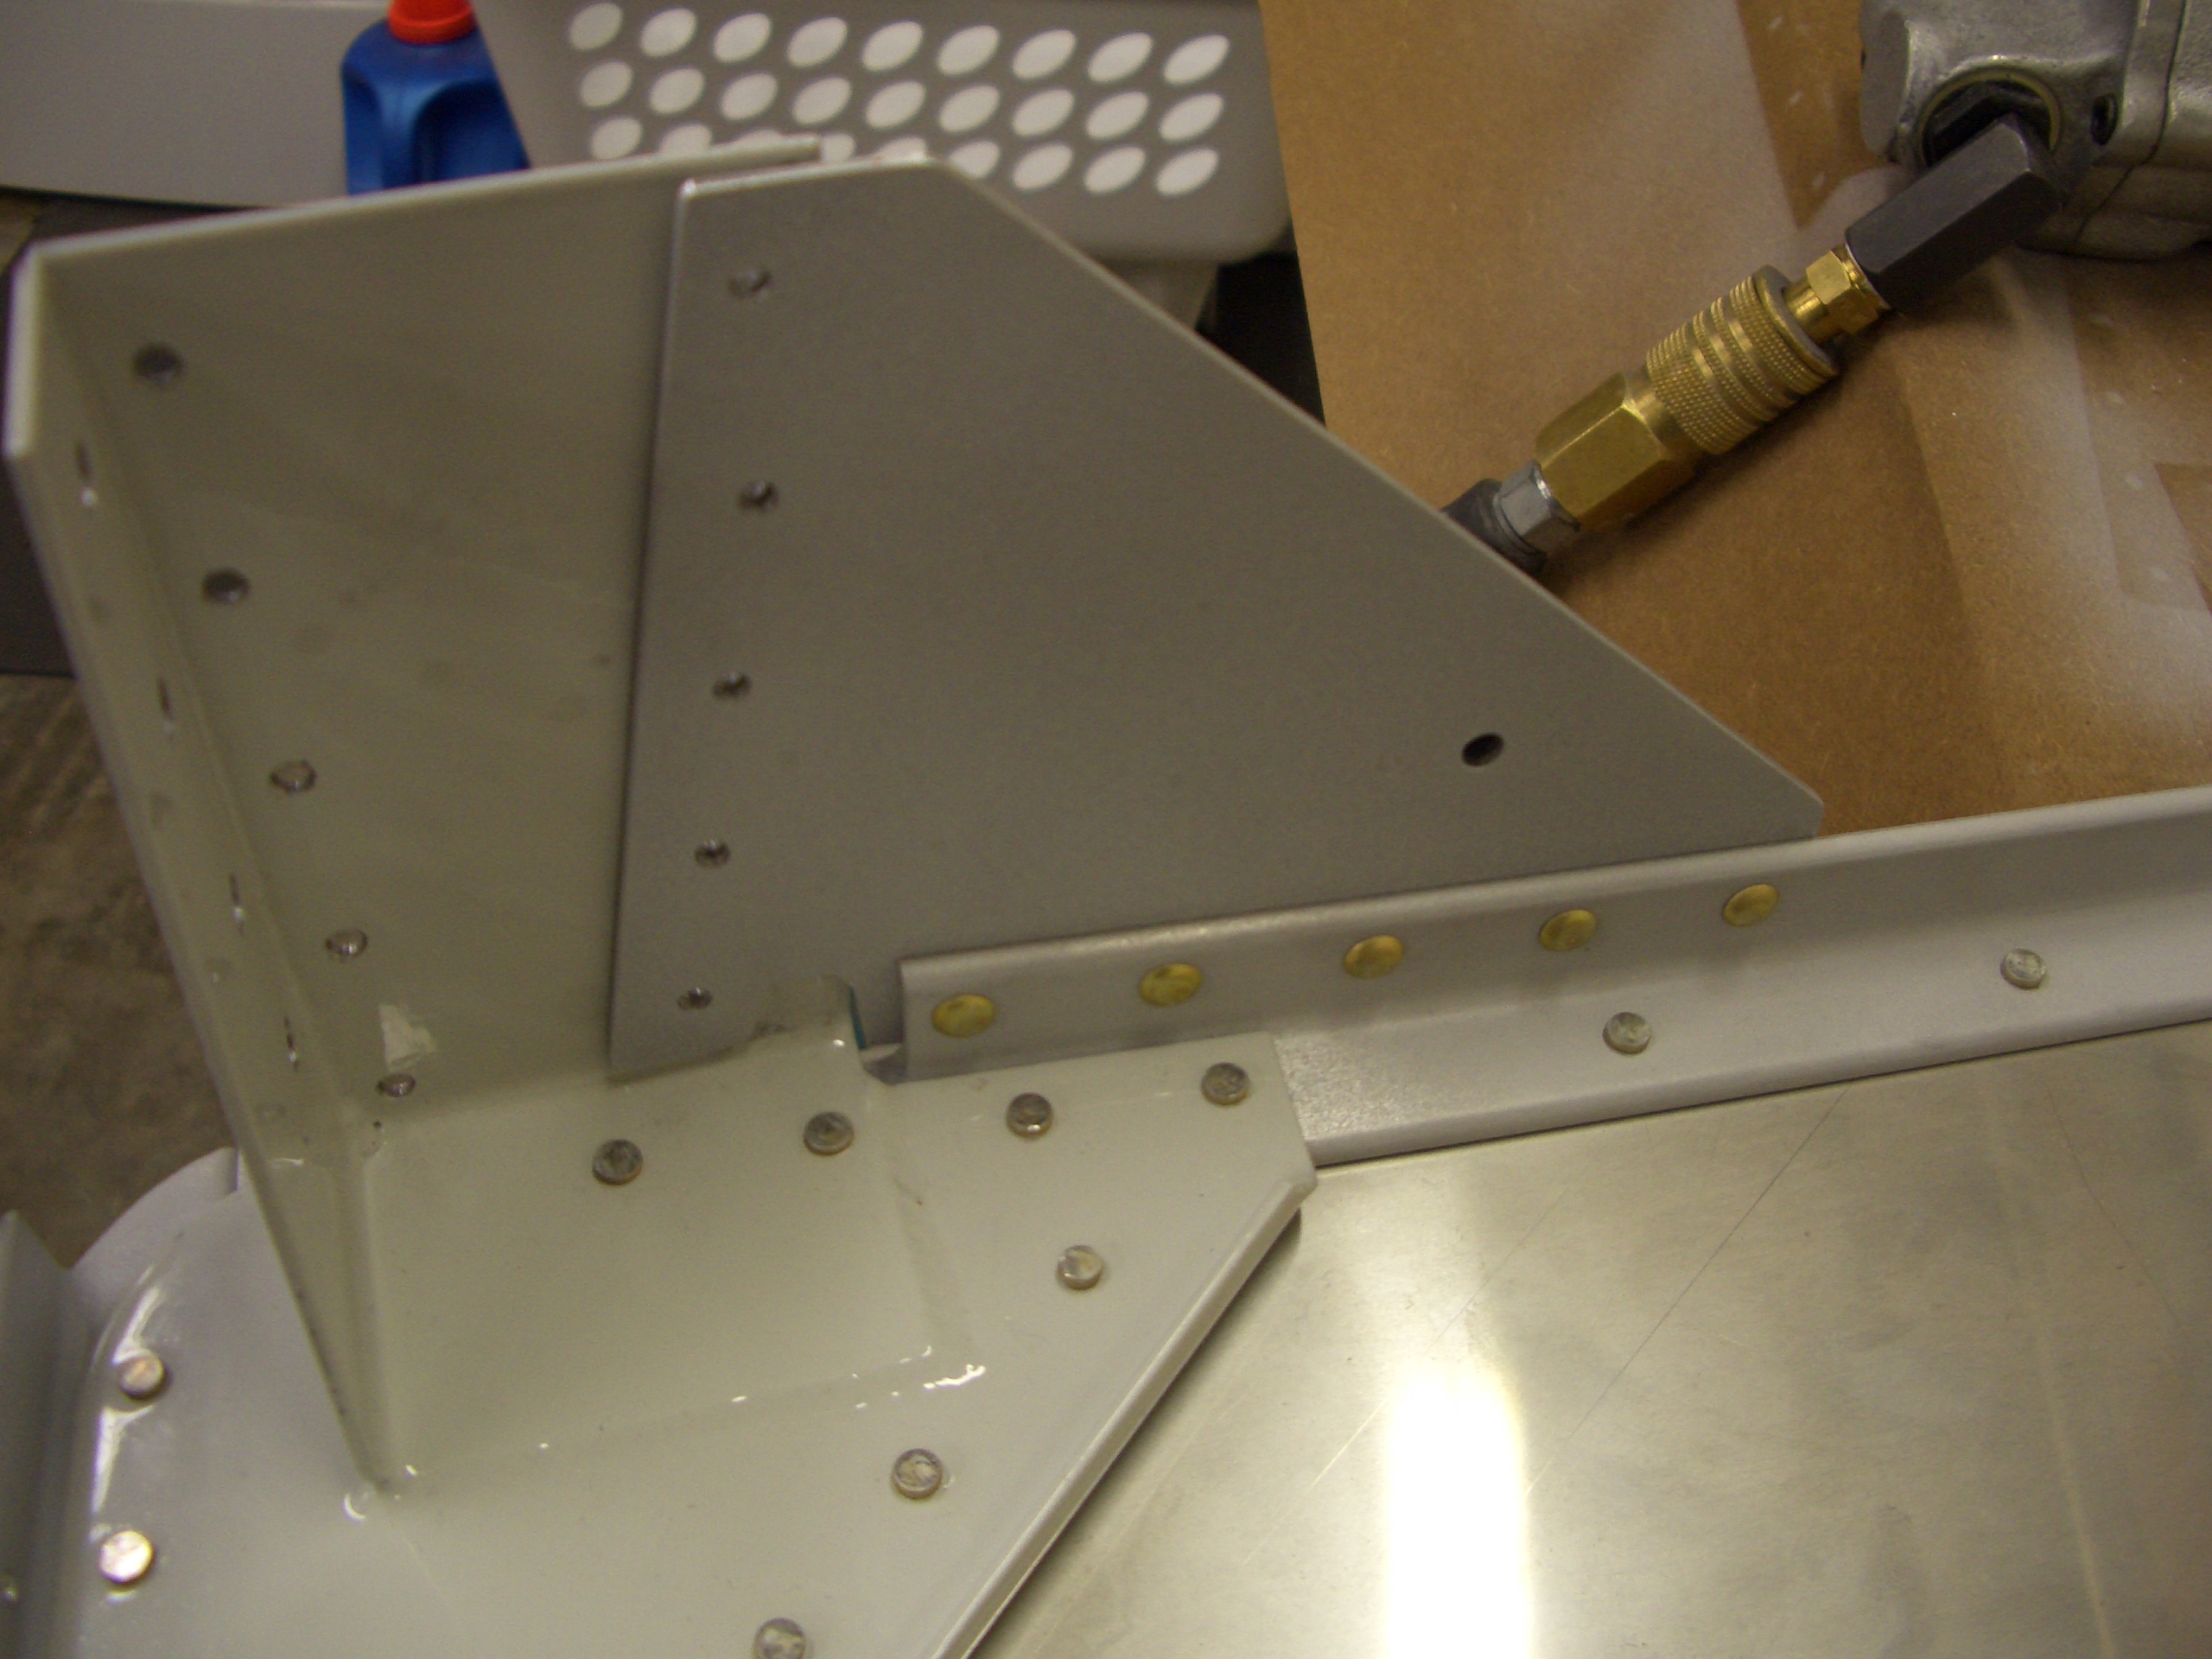
The F-684 gussets can be riveted to the side firewall stiffeners now. The remaining holes are also shared with the lower aux longeron and the side skin, so they’re left open for now. Where possible, I’m trying to put the manufactured heads where they will show in the cabin since I think it looks nicer.
The F-7101 gear webs can be riveted to the F-902 forward bulkheads since access would be difficult later.
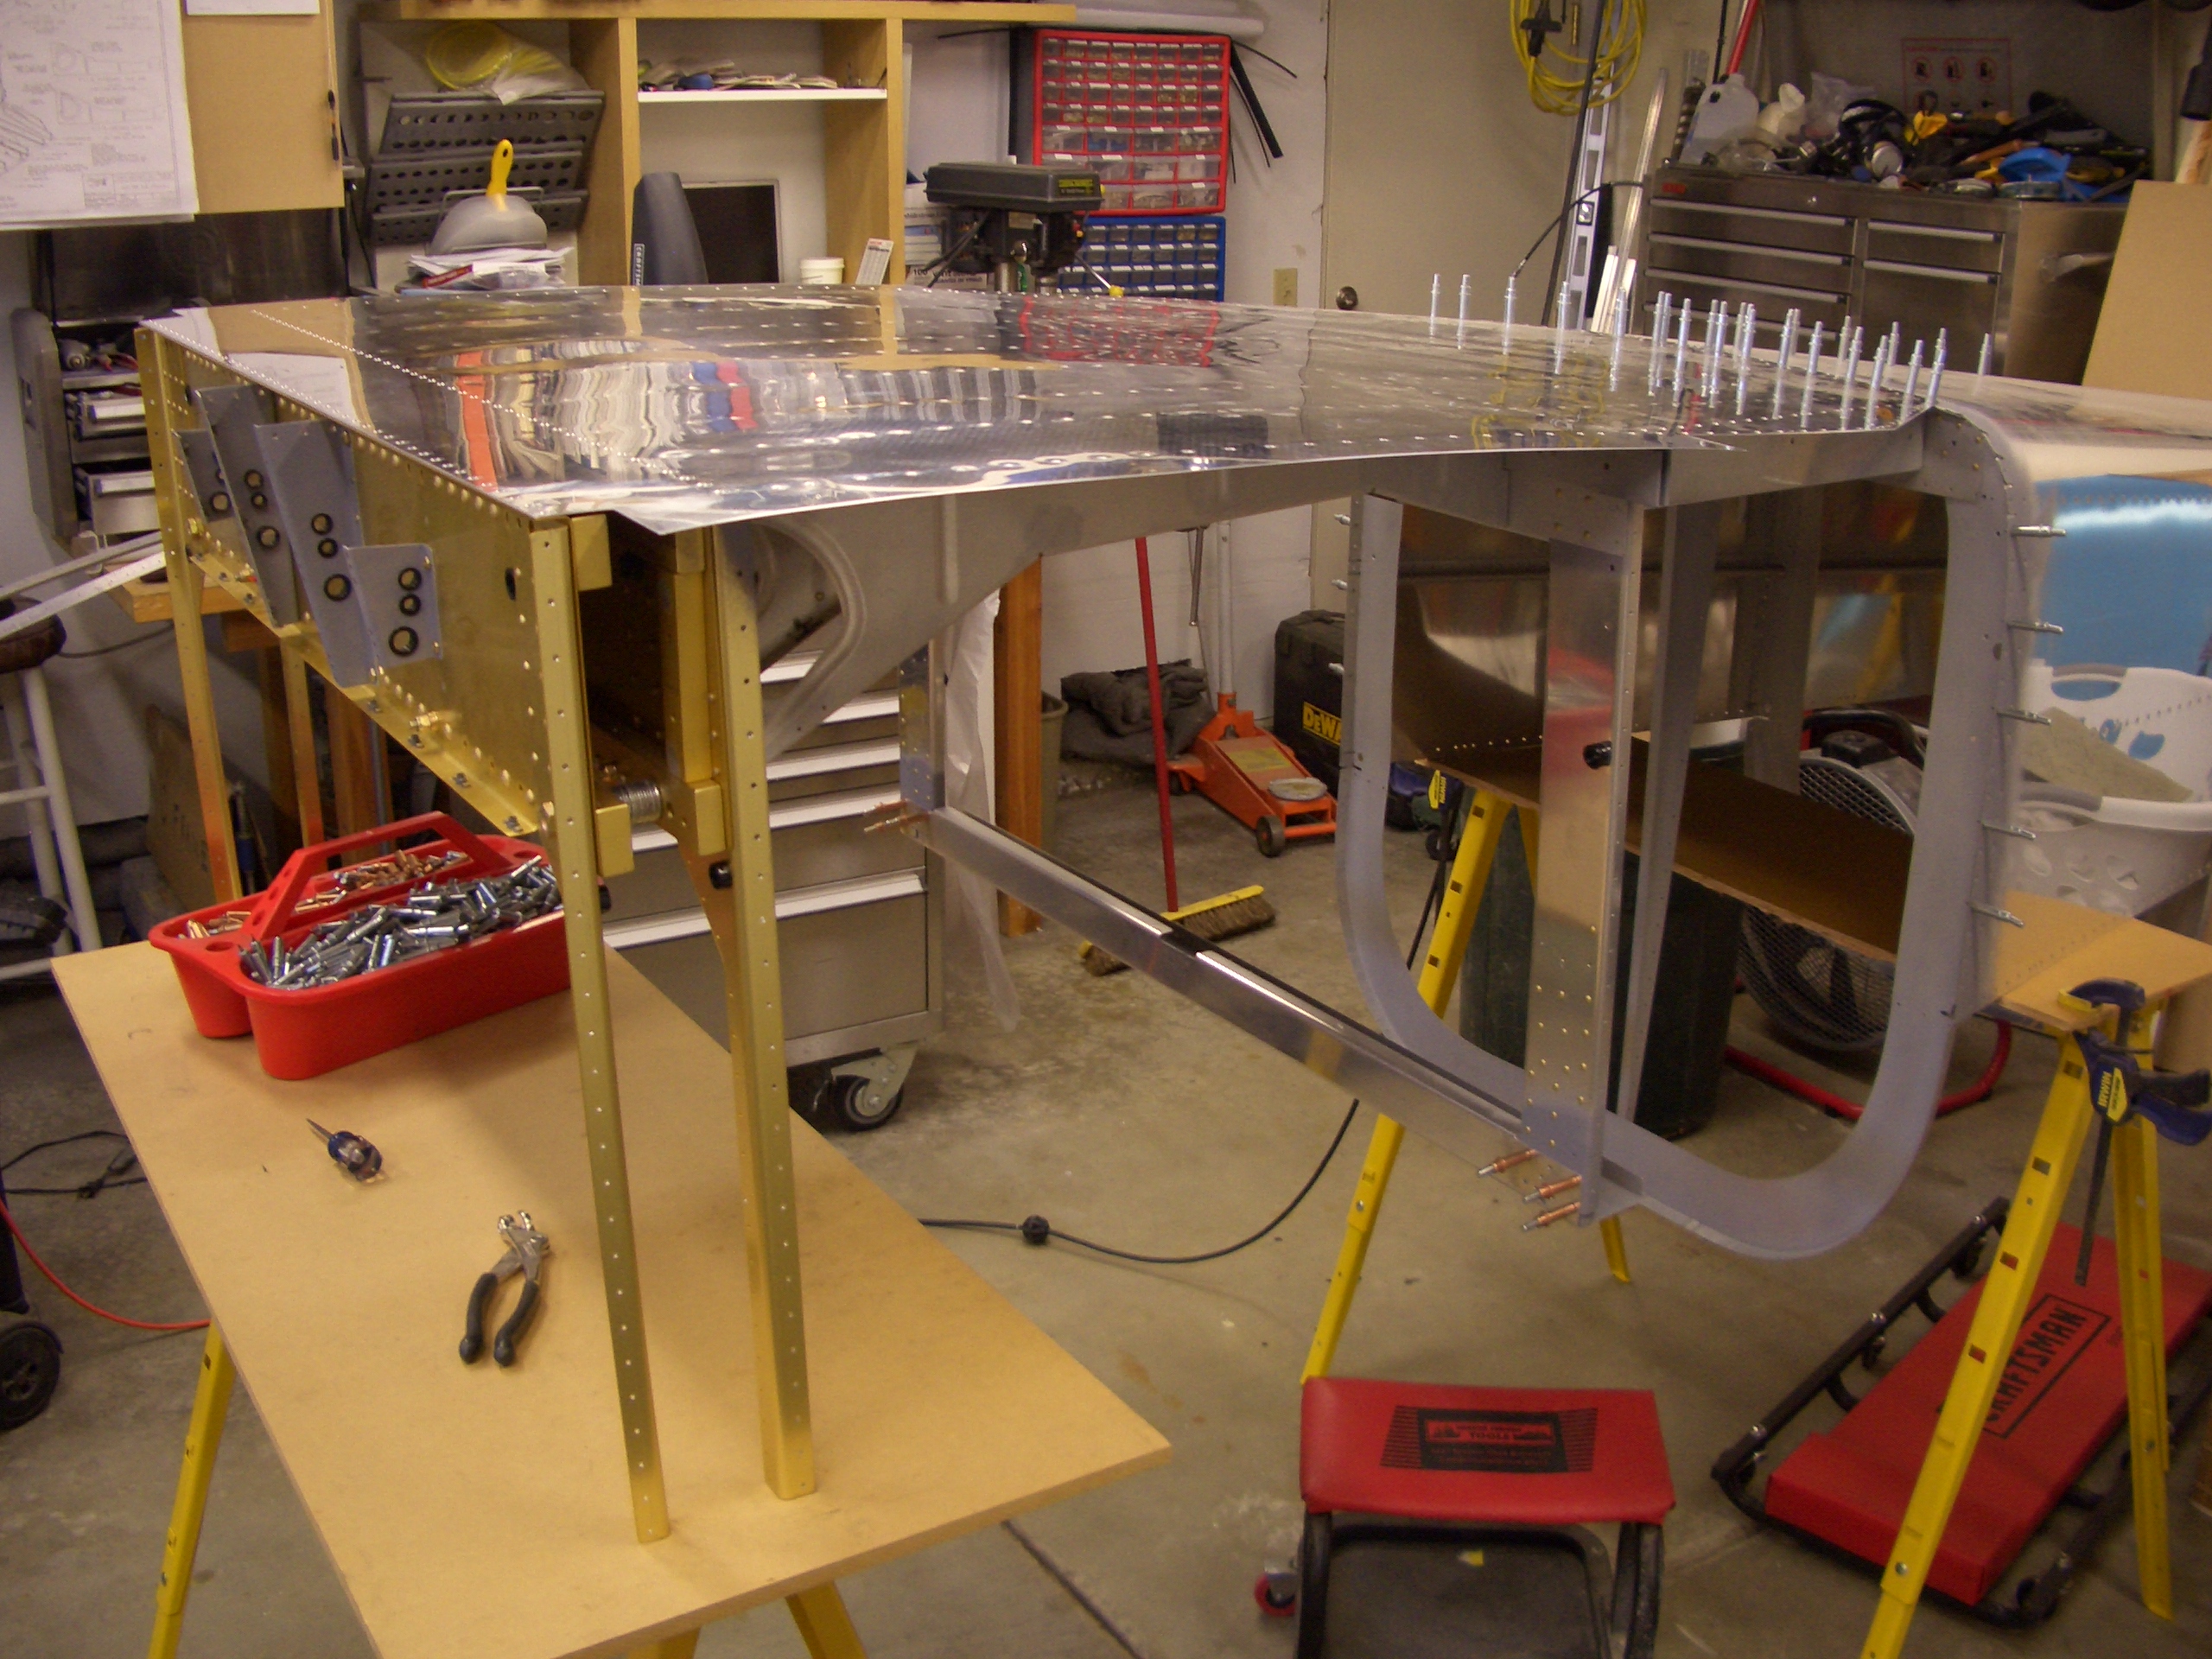
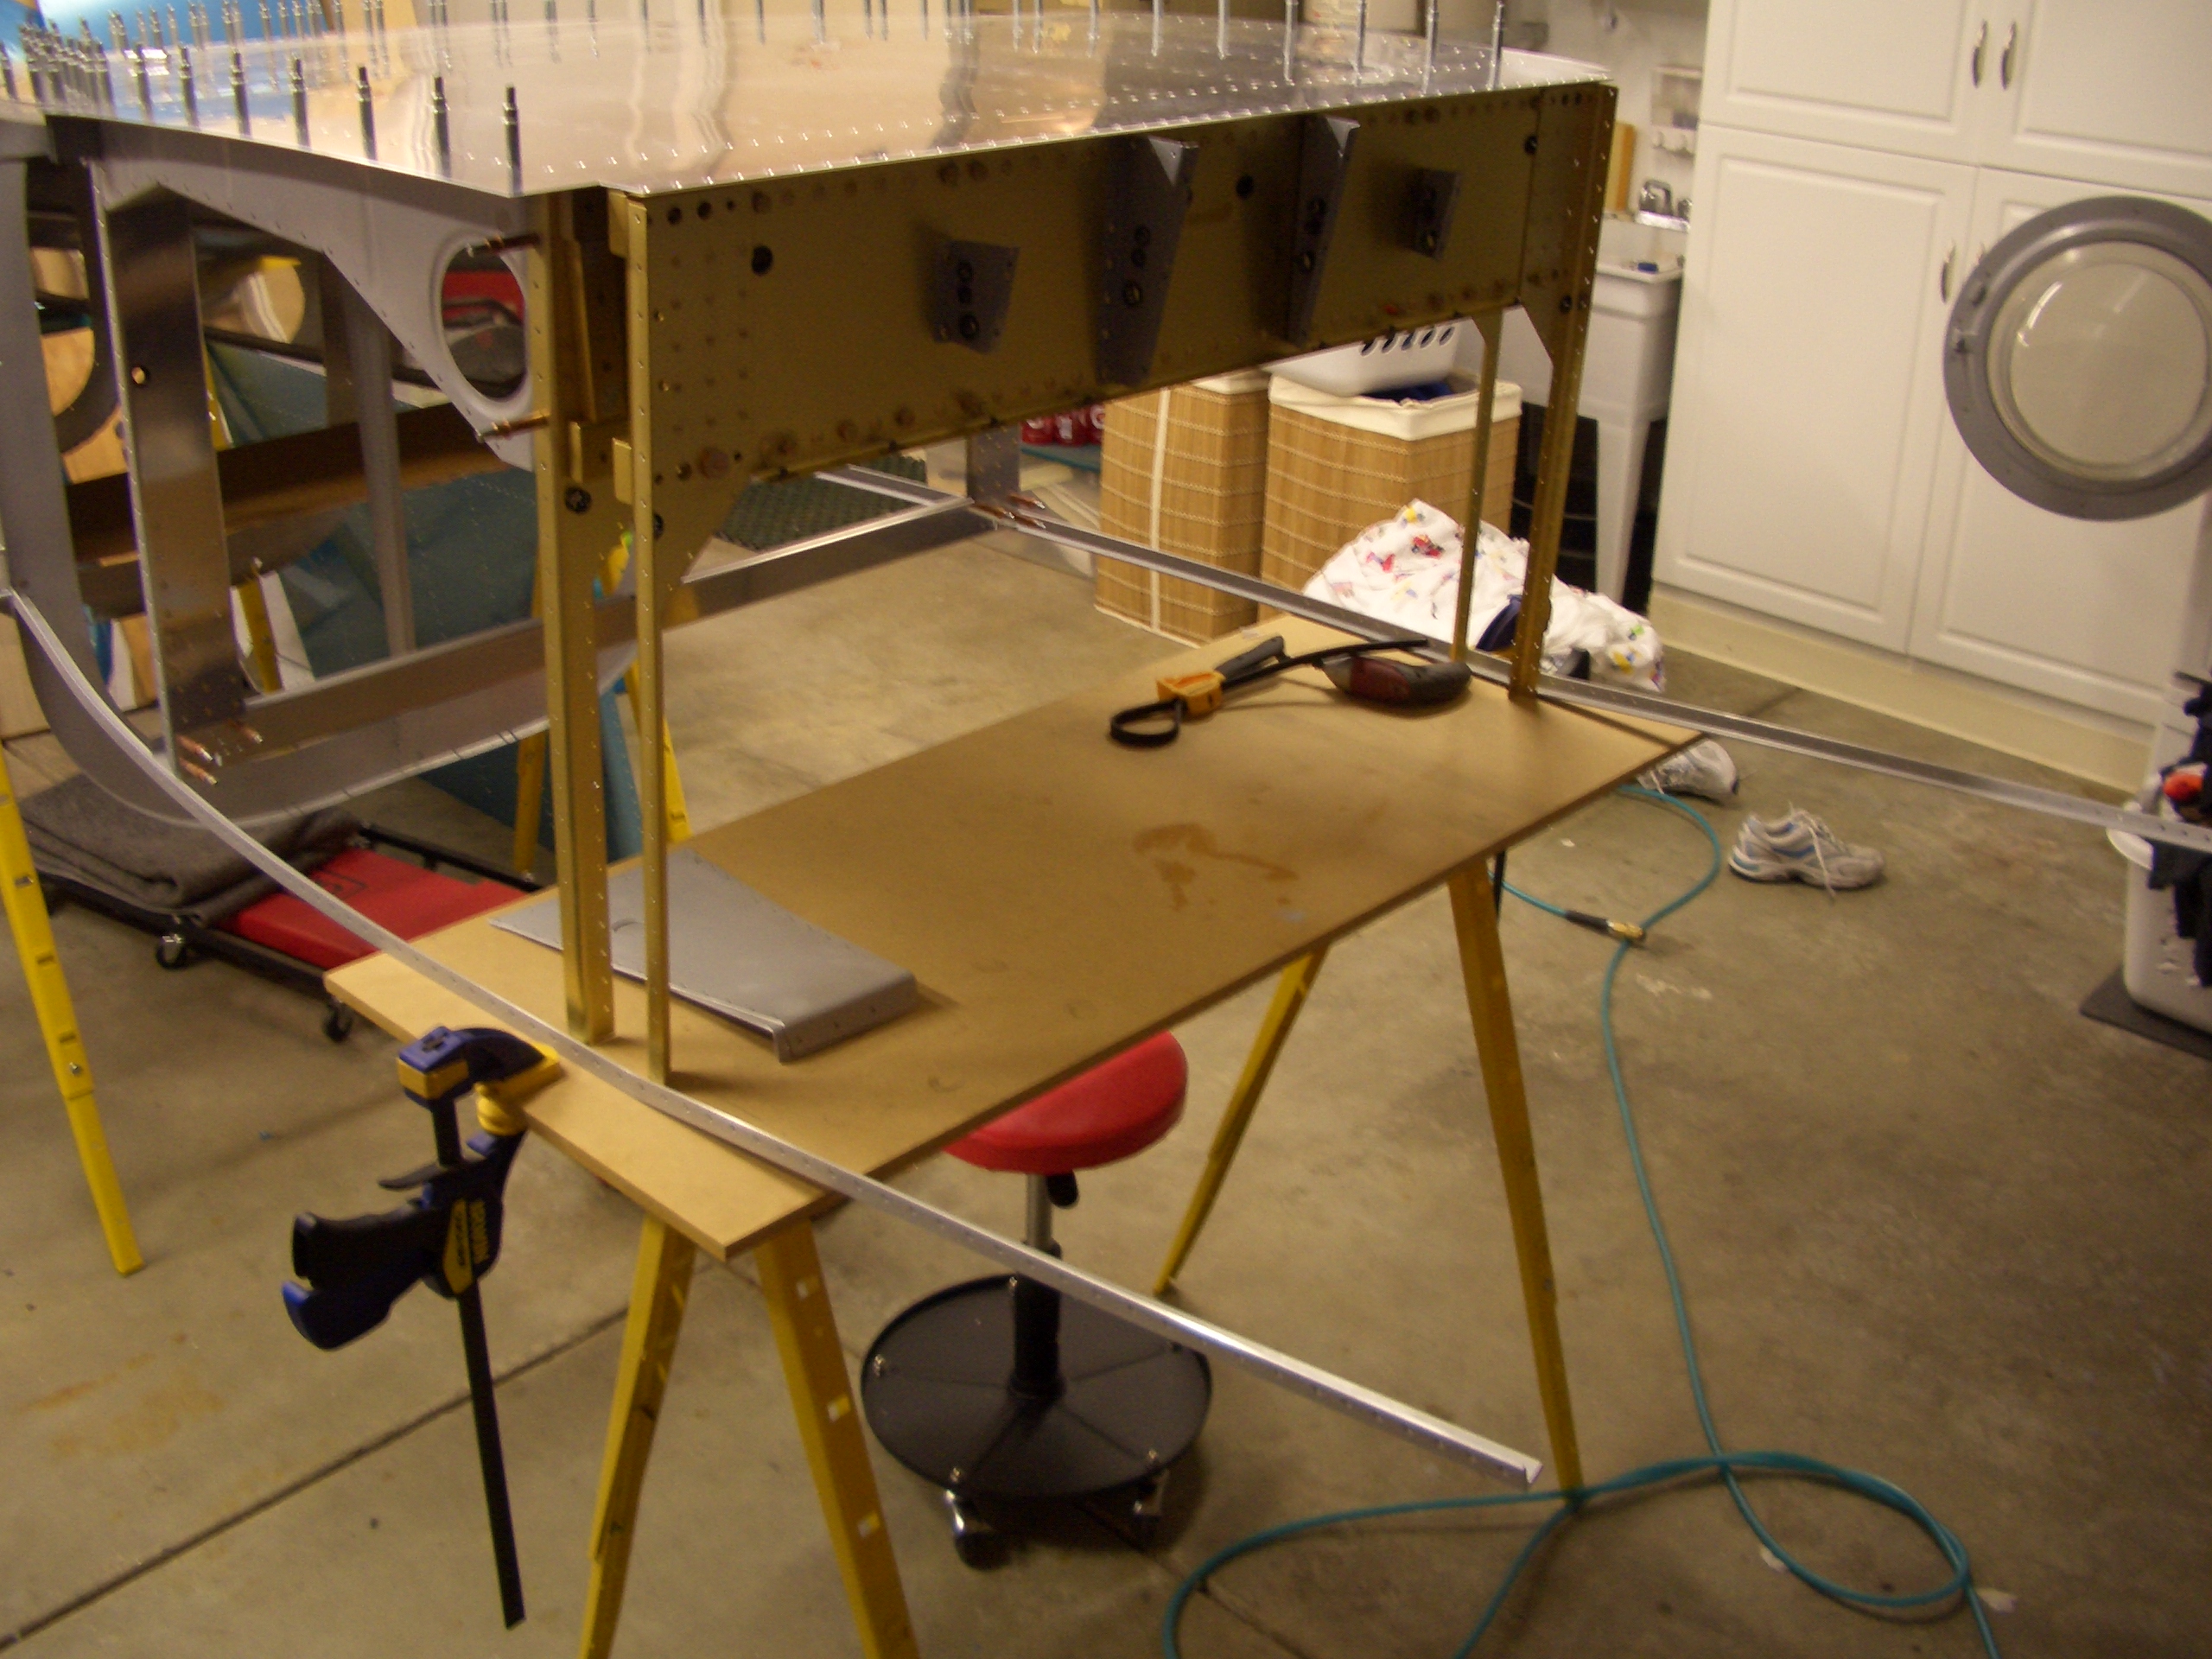
I still need to debur the side skins, but I wanted to start assembling the forward fuselage so that I didn’t have such a big pile of small parts stacked around and in my way. Here I’ve clecoed on the firewall and all aux longerons. Notice the missing longeron on the near side. This is the piece that had the crack from a couple of weeks back. I have the new piece, but I want to put the side skin back on in order to drill it.
I went ahead and riveted the F-902 bulkheads to the lower longerons. The corresponding holes tying the F-902 to the upper longerons need to be left open until the forward top structure is drilled.
The center floor stiffeners can be riveted to the cover support ribs. I couldn’t reach the aft holes with the squeezer, so I’ll have to shoot those. It’s too late to run the gun tonight though, so that will have to wait until later.

I also squeezed the rivets attaching the center floor stiffeners to the F-601-J angles.