Finished Riveting Tailcone and Fluted Center Section Ribs

My dad stopped by tonight and helped me knock out the rest of the riveting on the tailcone tonight.  It was his first time, but he picked it up really quickly and the rivets look great.

I also put the correct bolts into the tailwheel mount through F-711 and torqued and sealed them.

To save space, I stood the tailcone up on a blanket.  This freed up a significant amount of floor space that I’ll need while working on the center section.  I’ve got to get the wings out of here soon or I’ll run out of room.

I also fluted all of the seat ribs and squared the flanges.  I haven’t rejoined the seat ribs to the F-705 bulkhead yet though.

Two of the ribs need relief cuts to clear wiring holes in F-704.

The same thing goes to two of the ribs attached to F-705.

Drilled Seat and Baggage Ribs

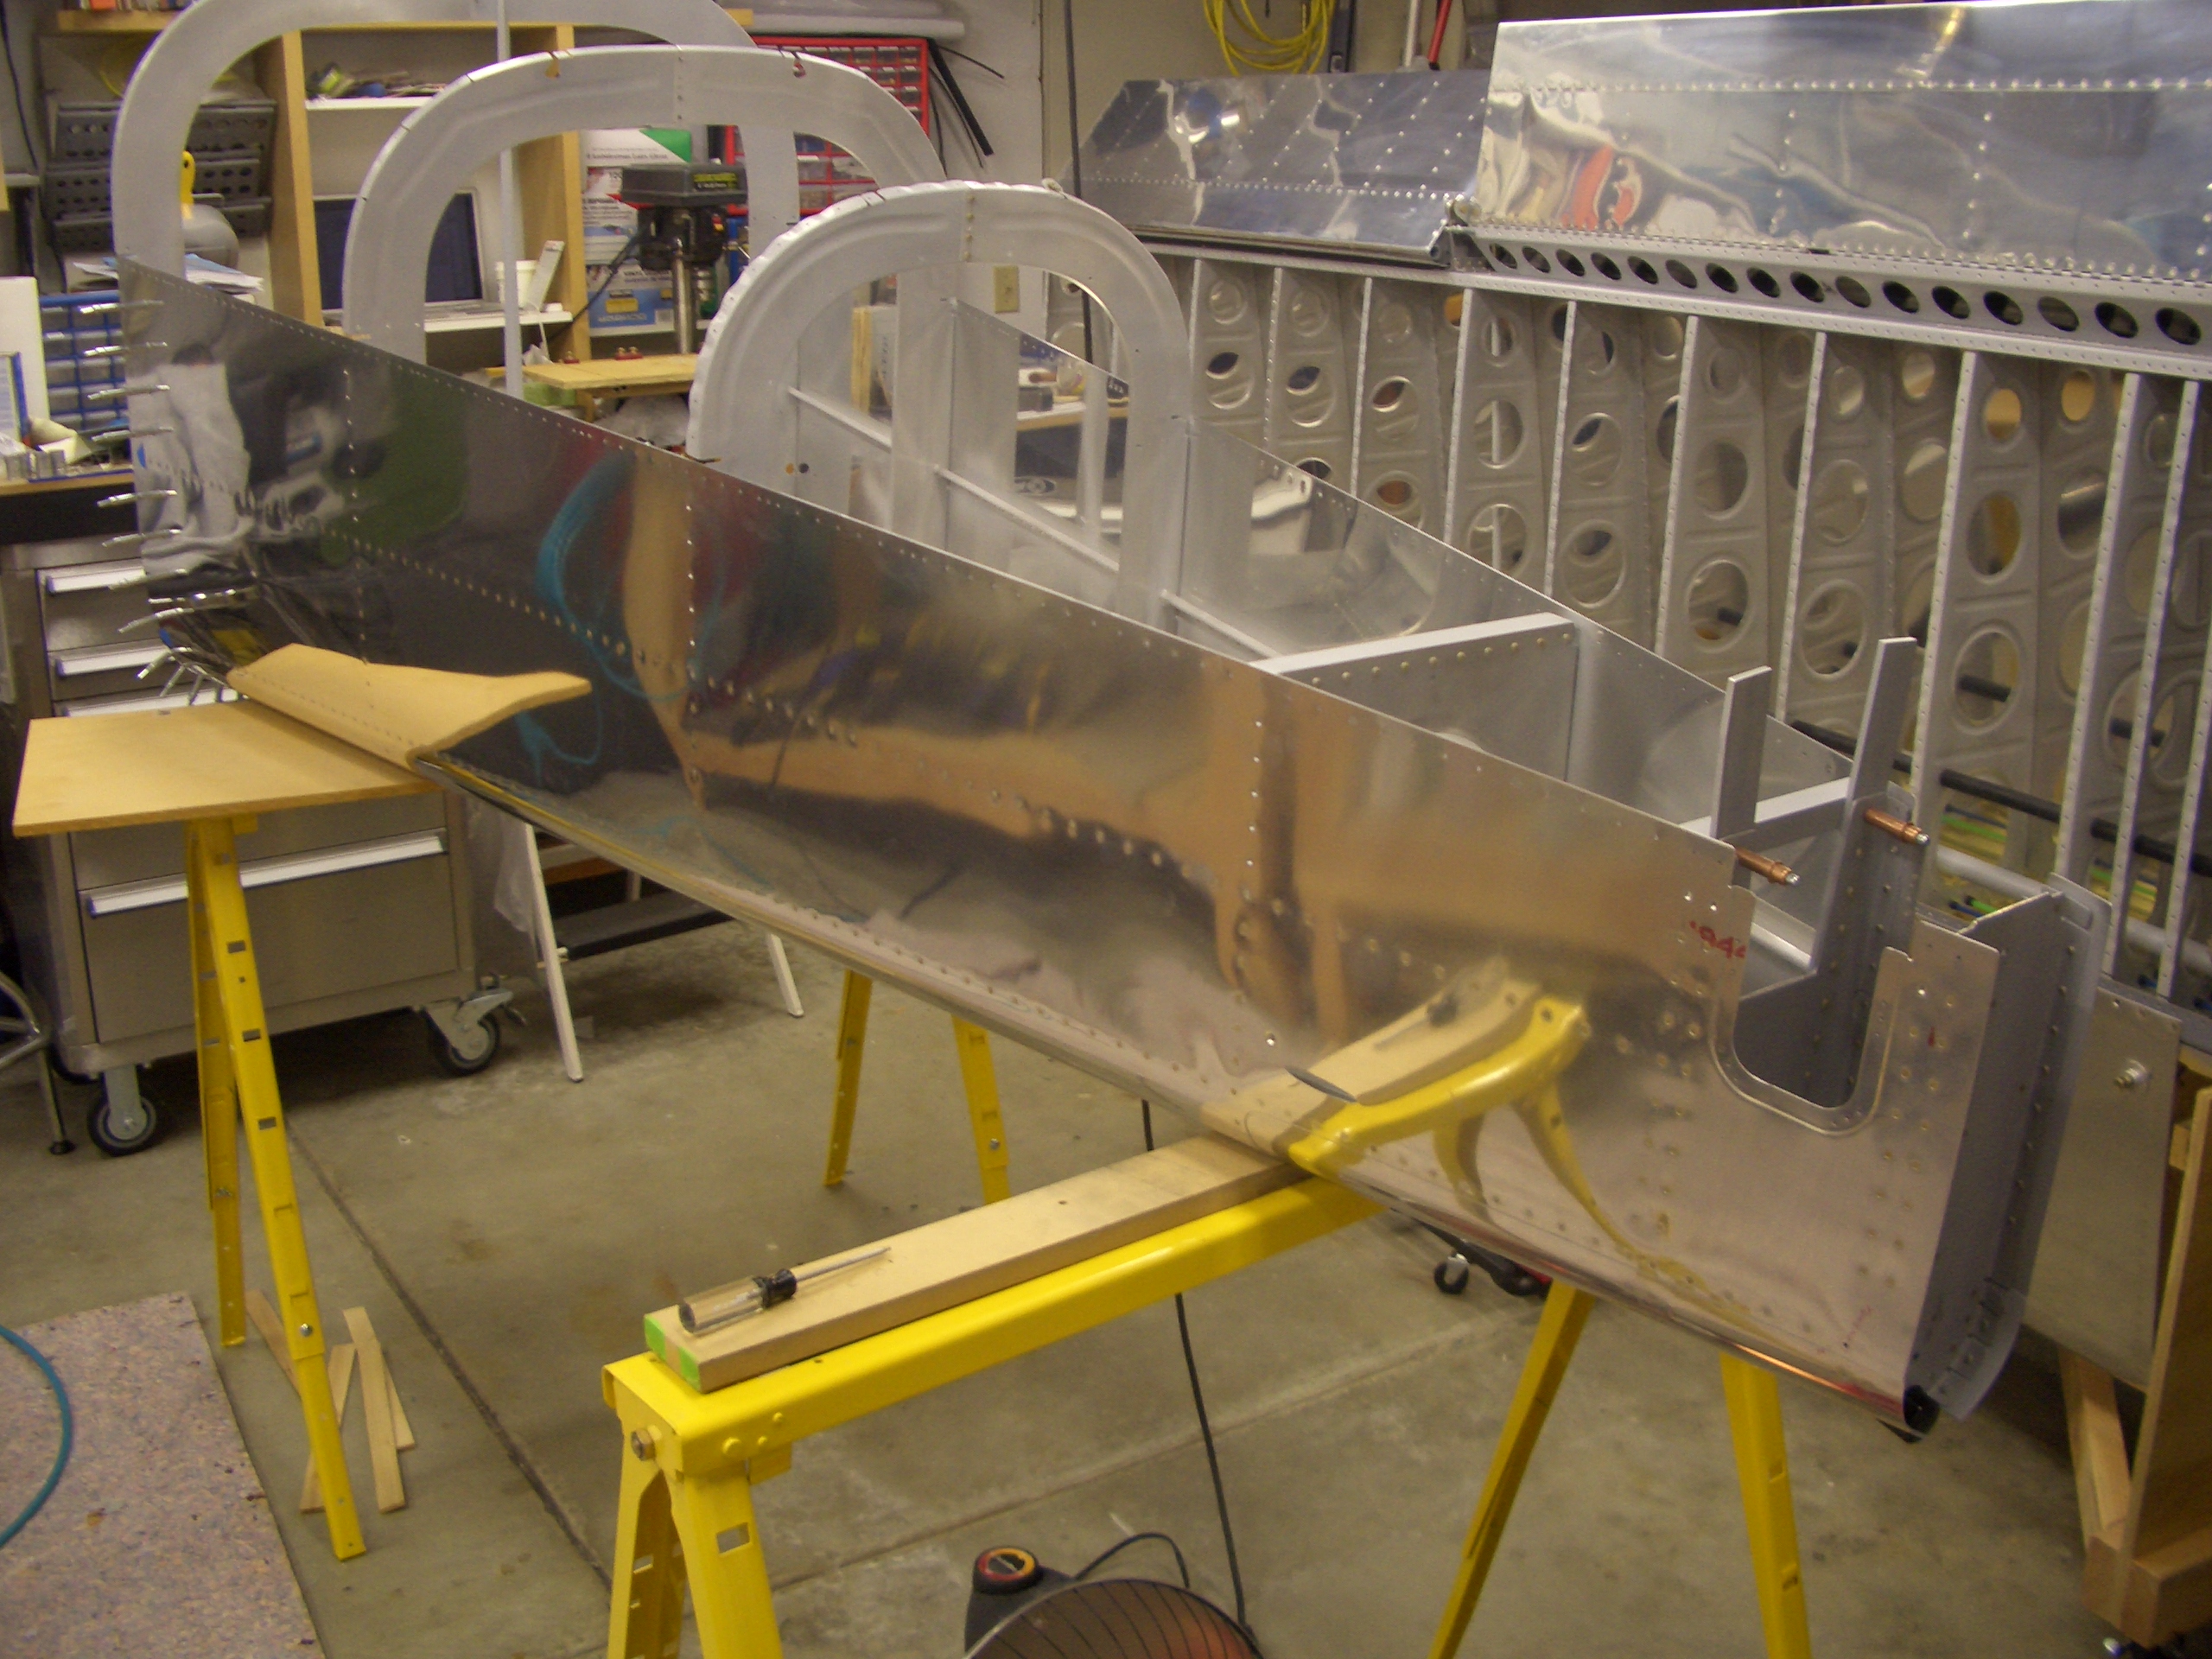
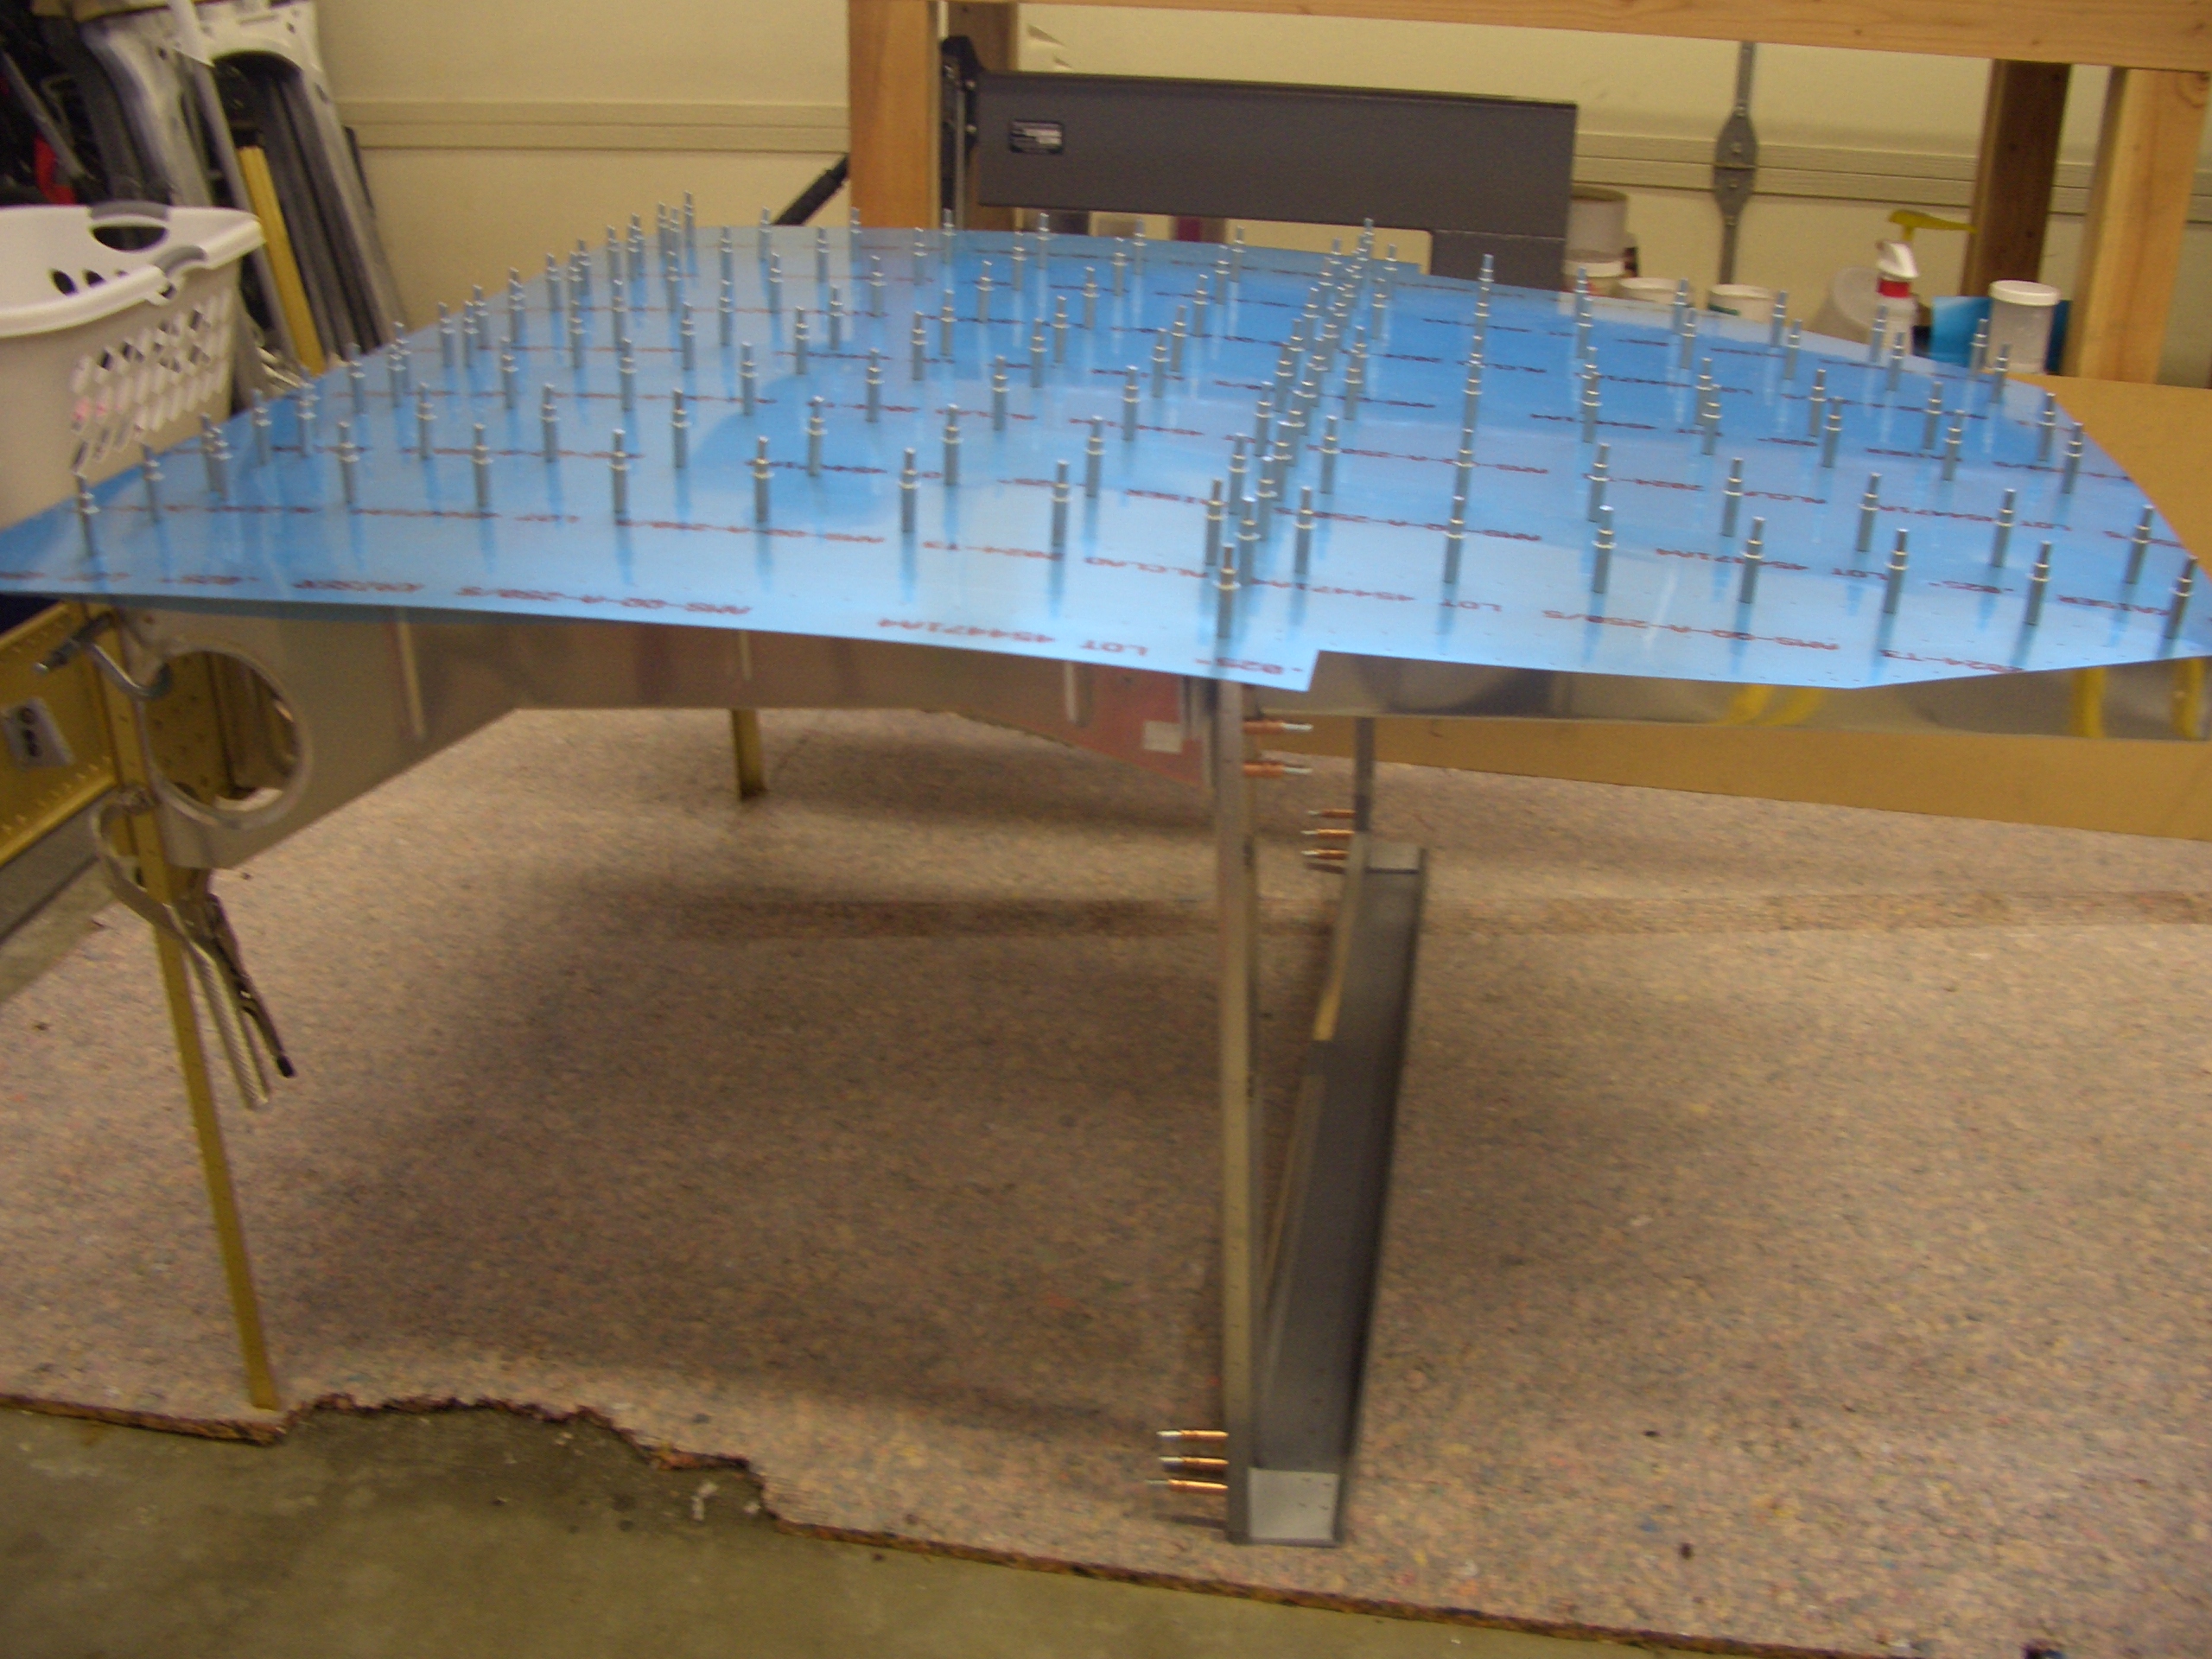
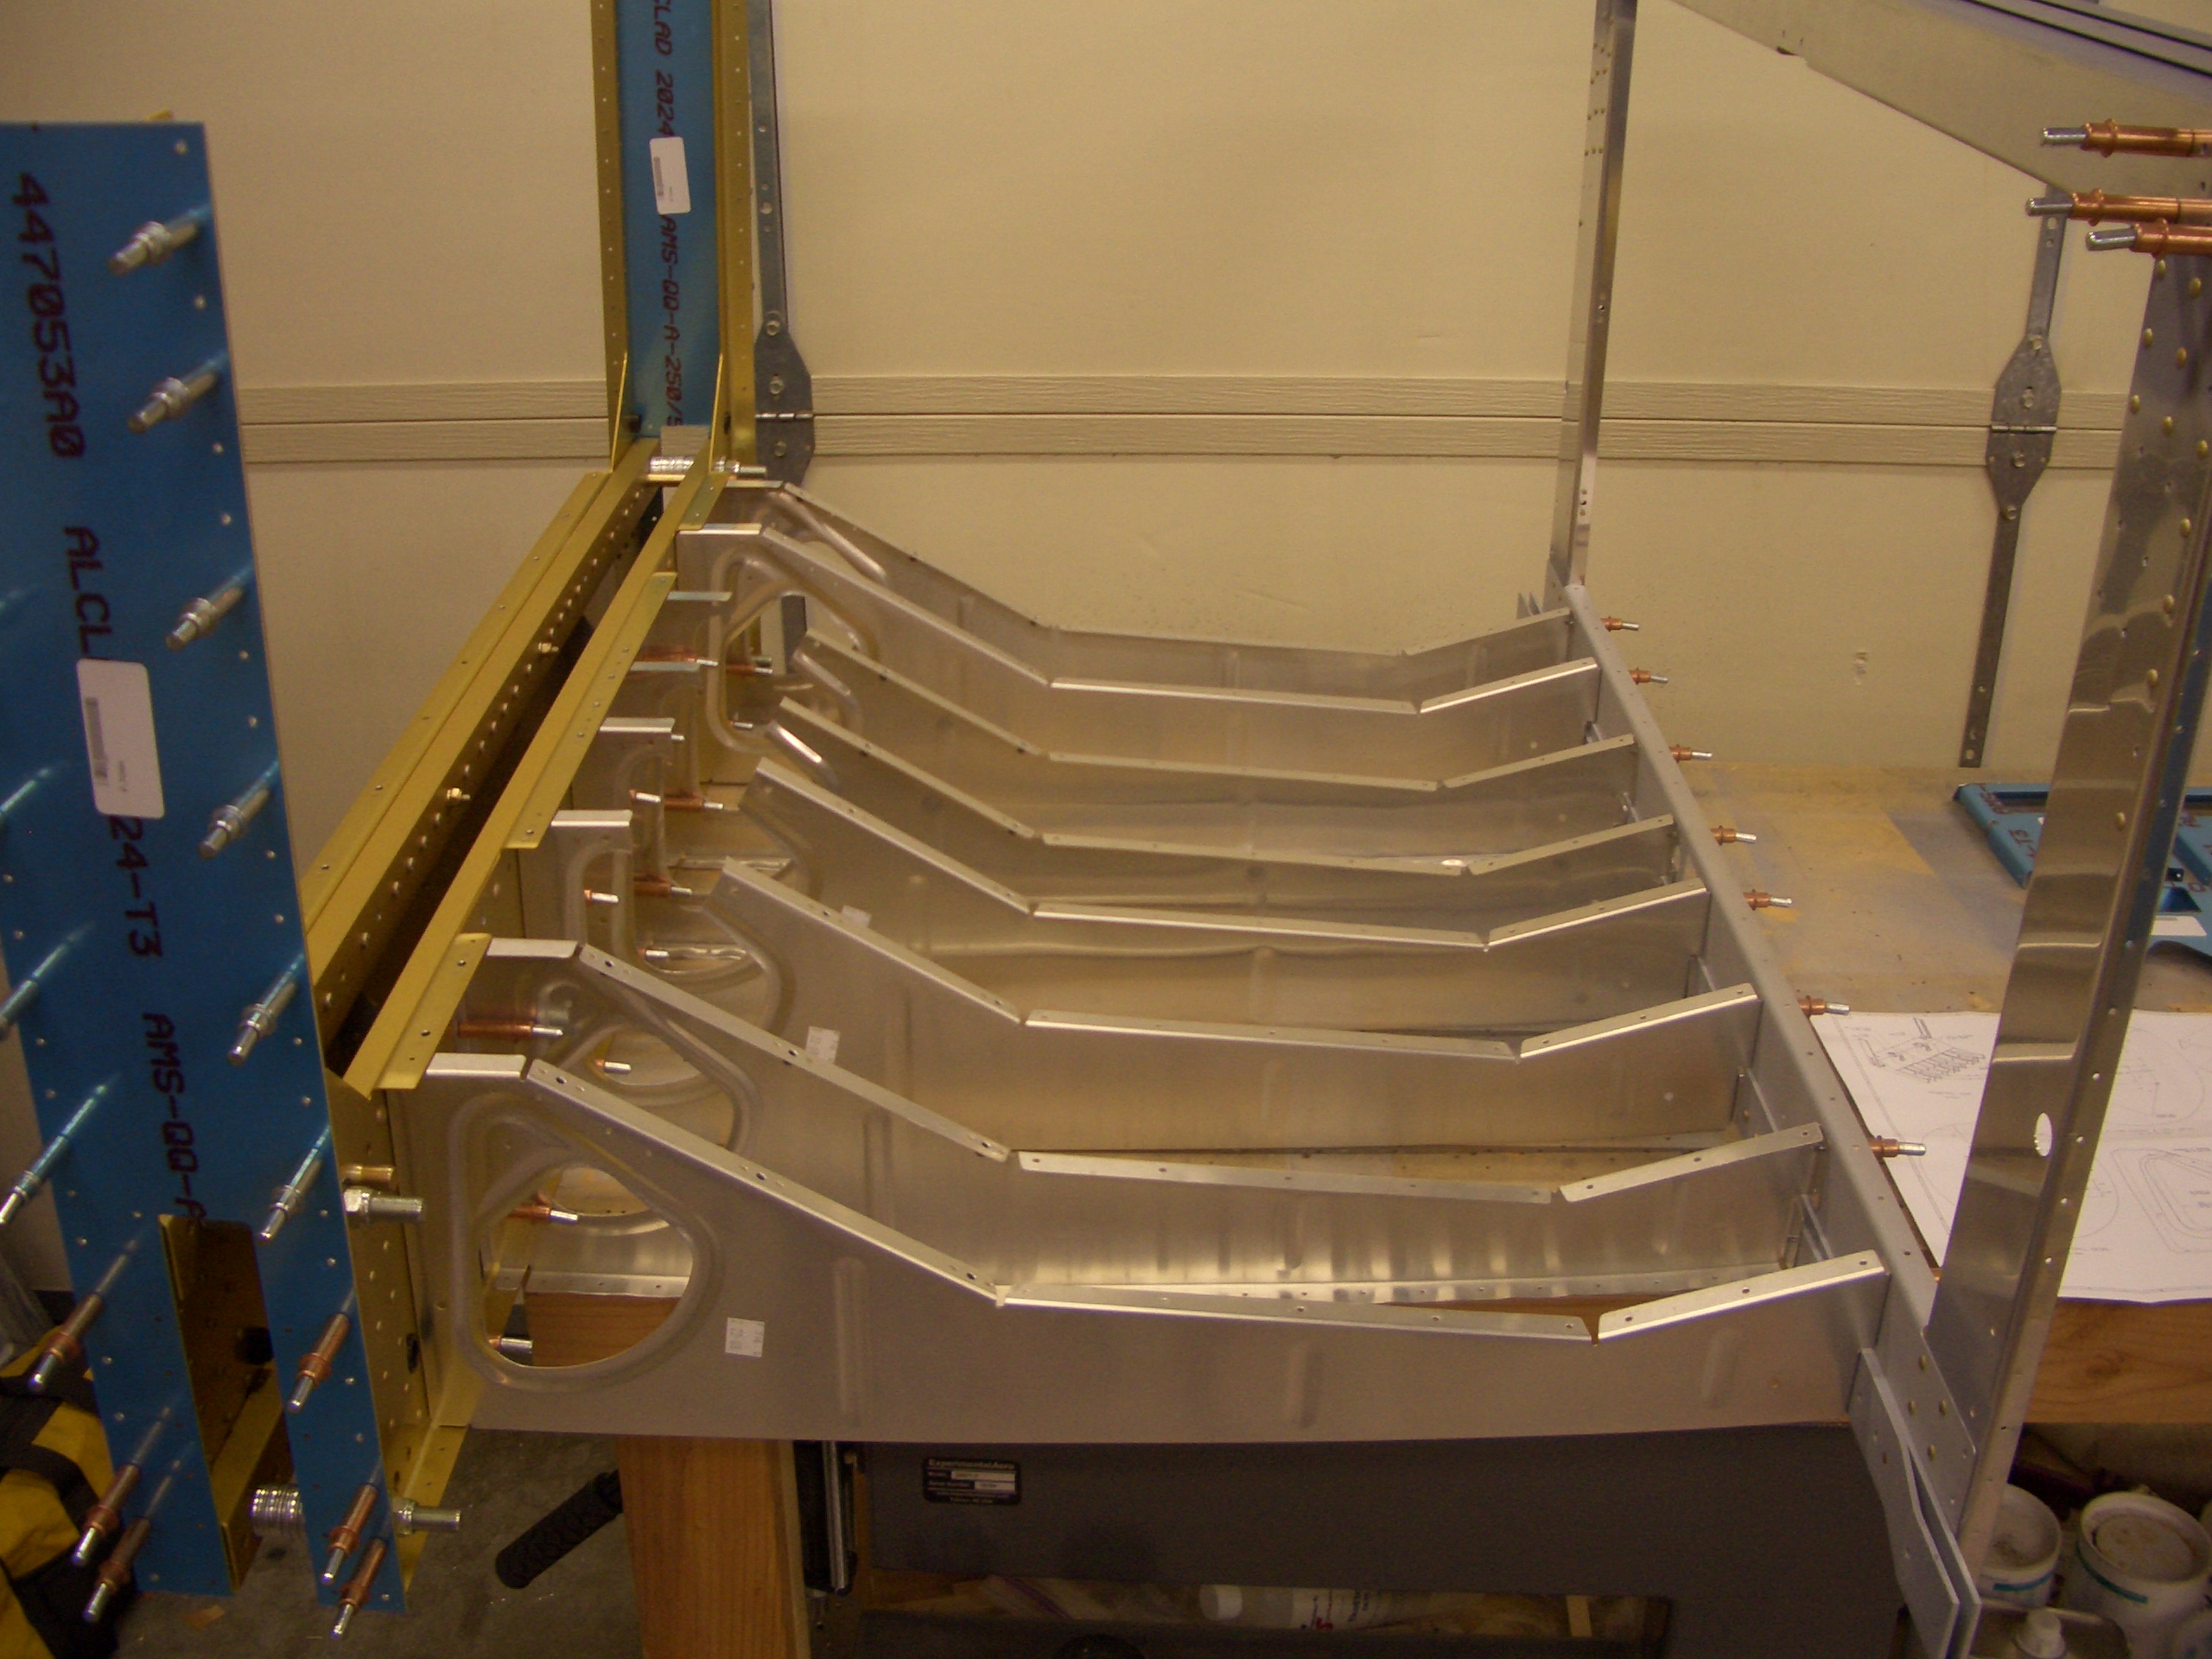
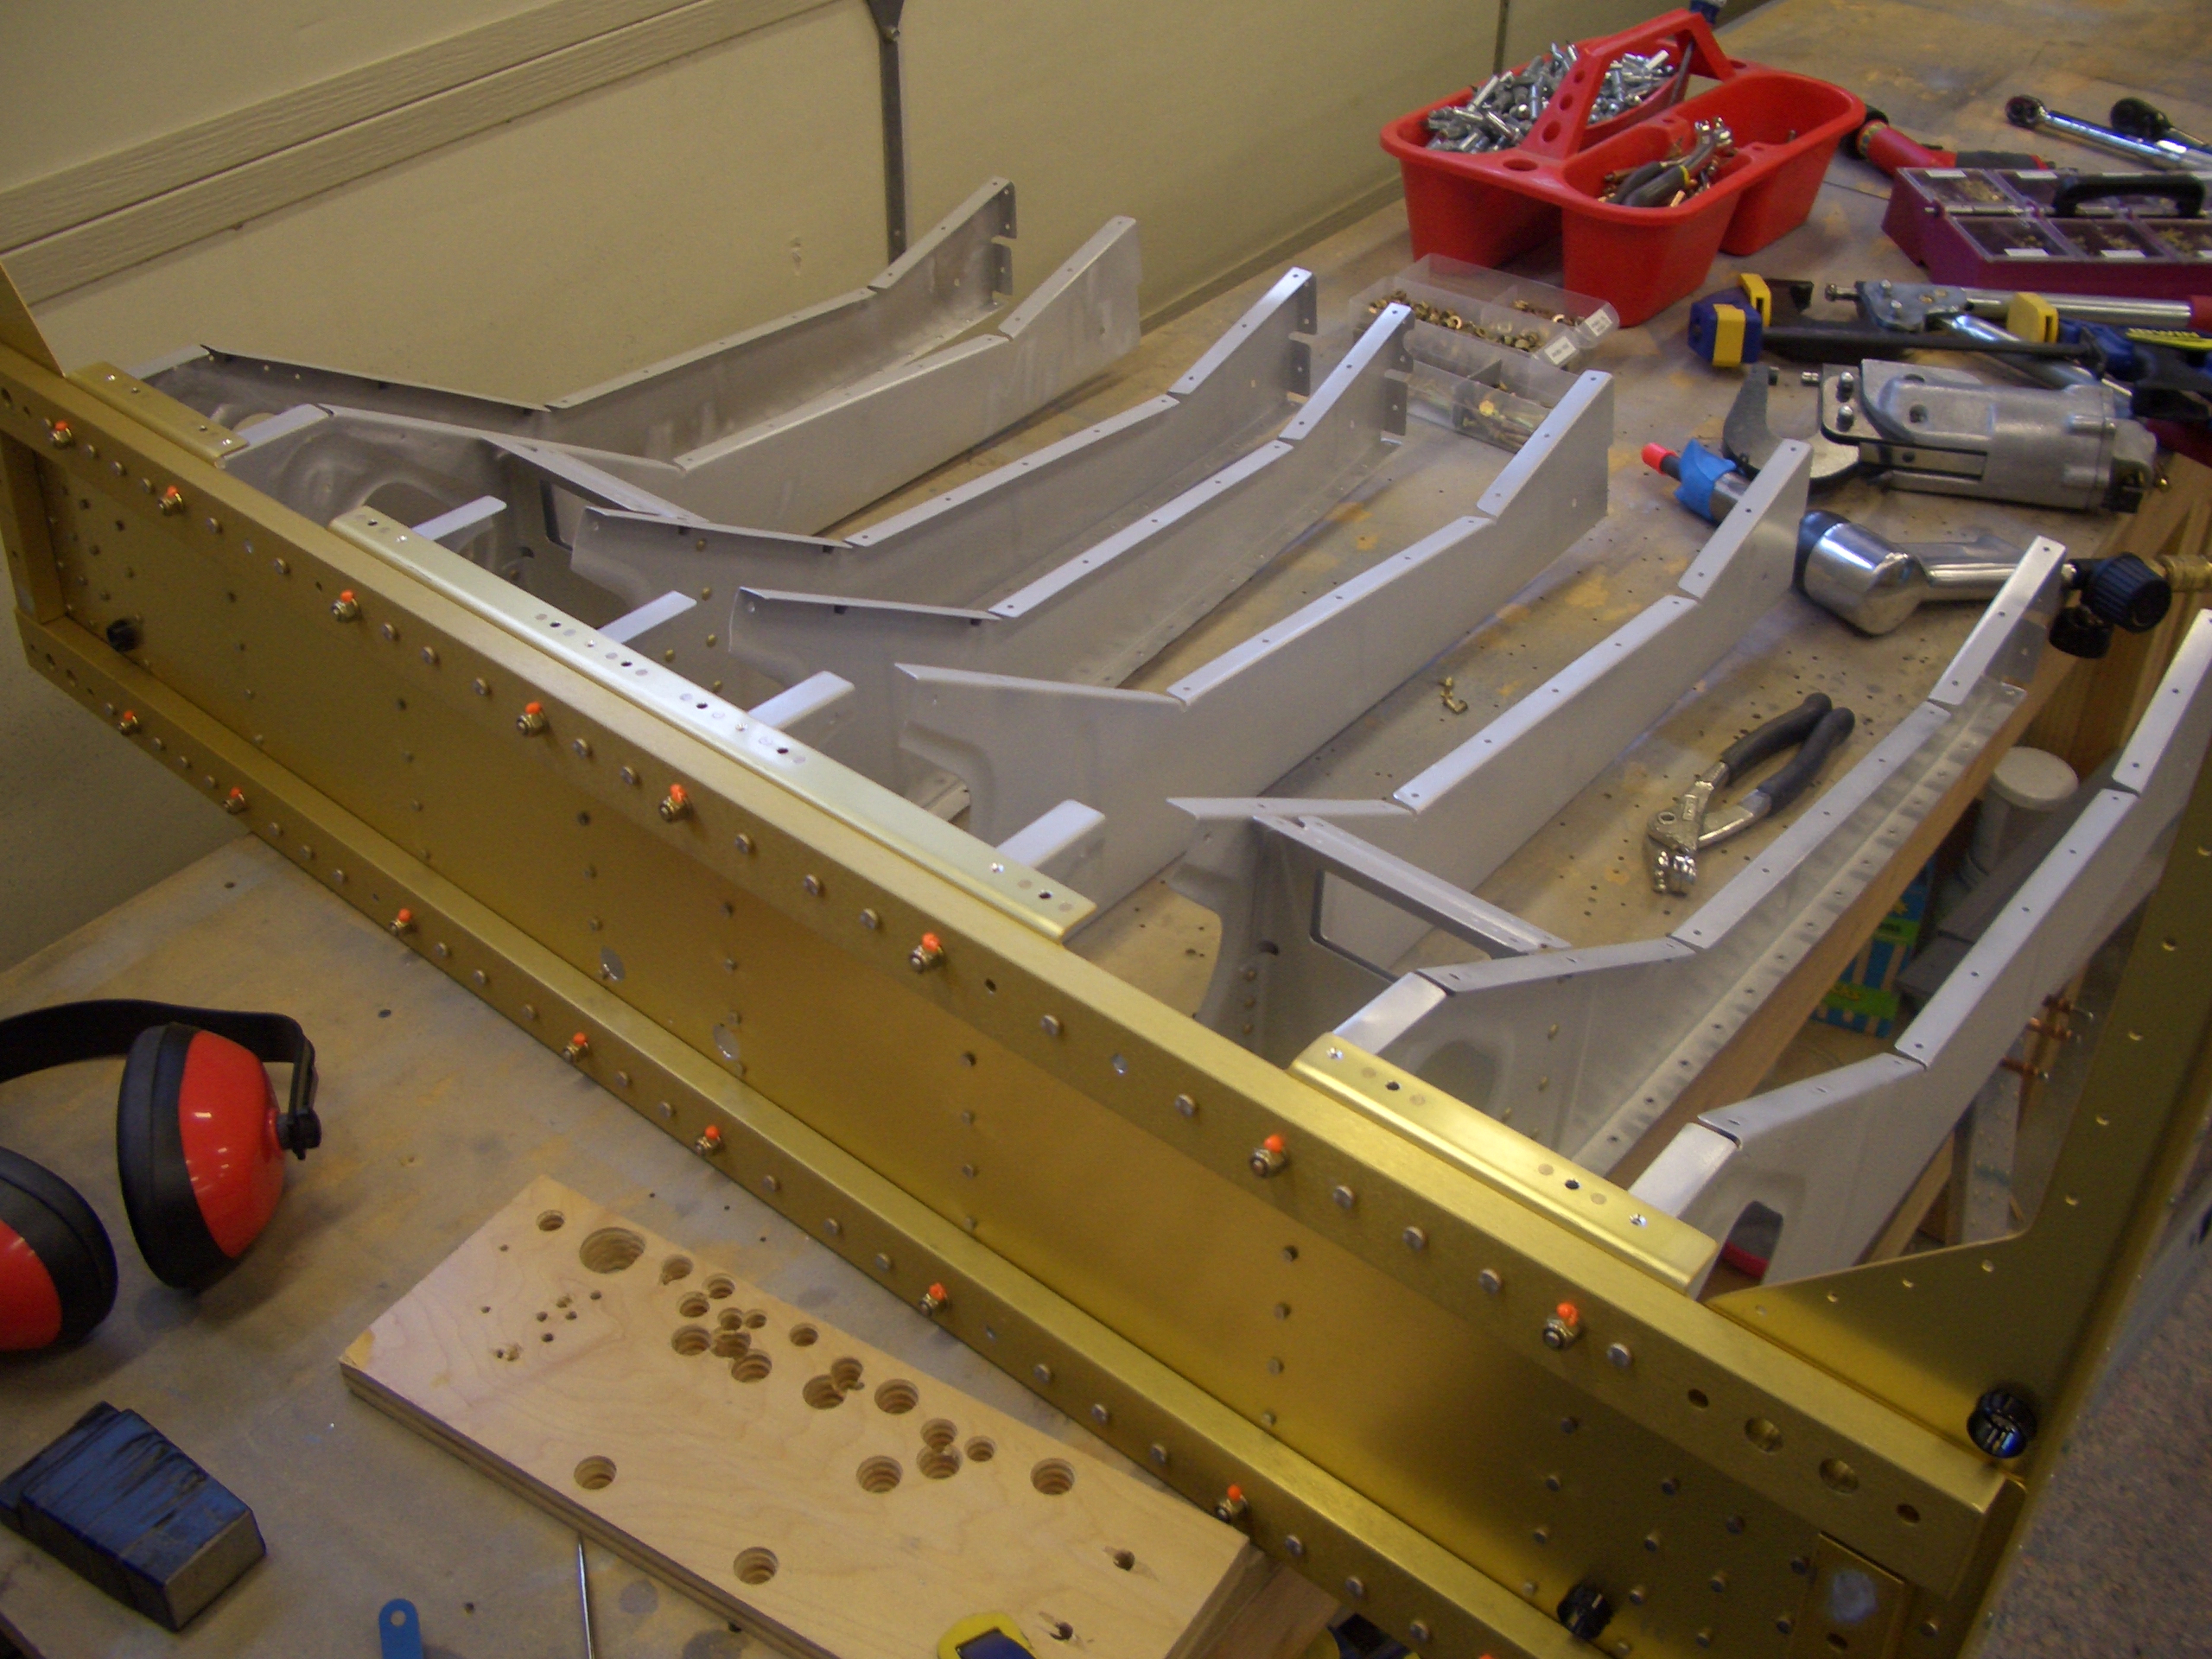
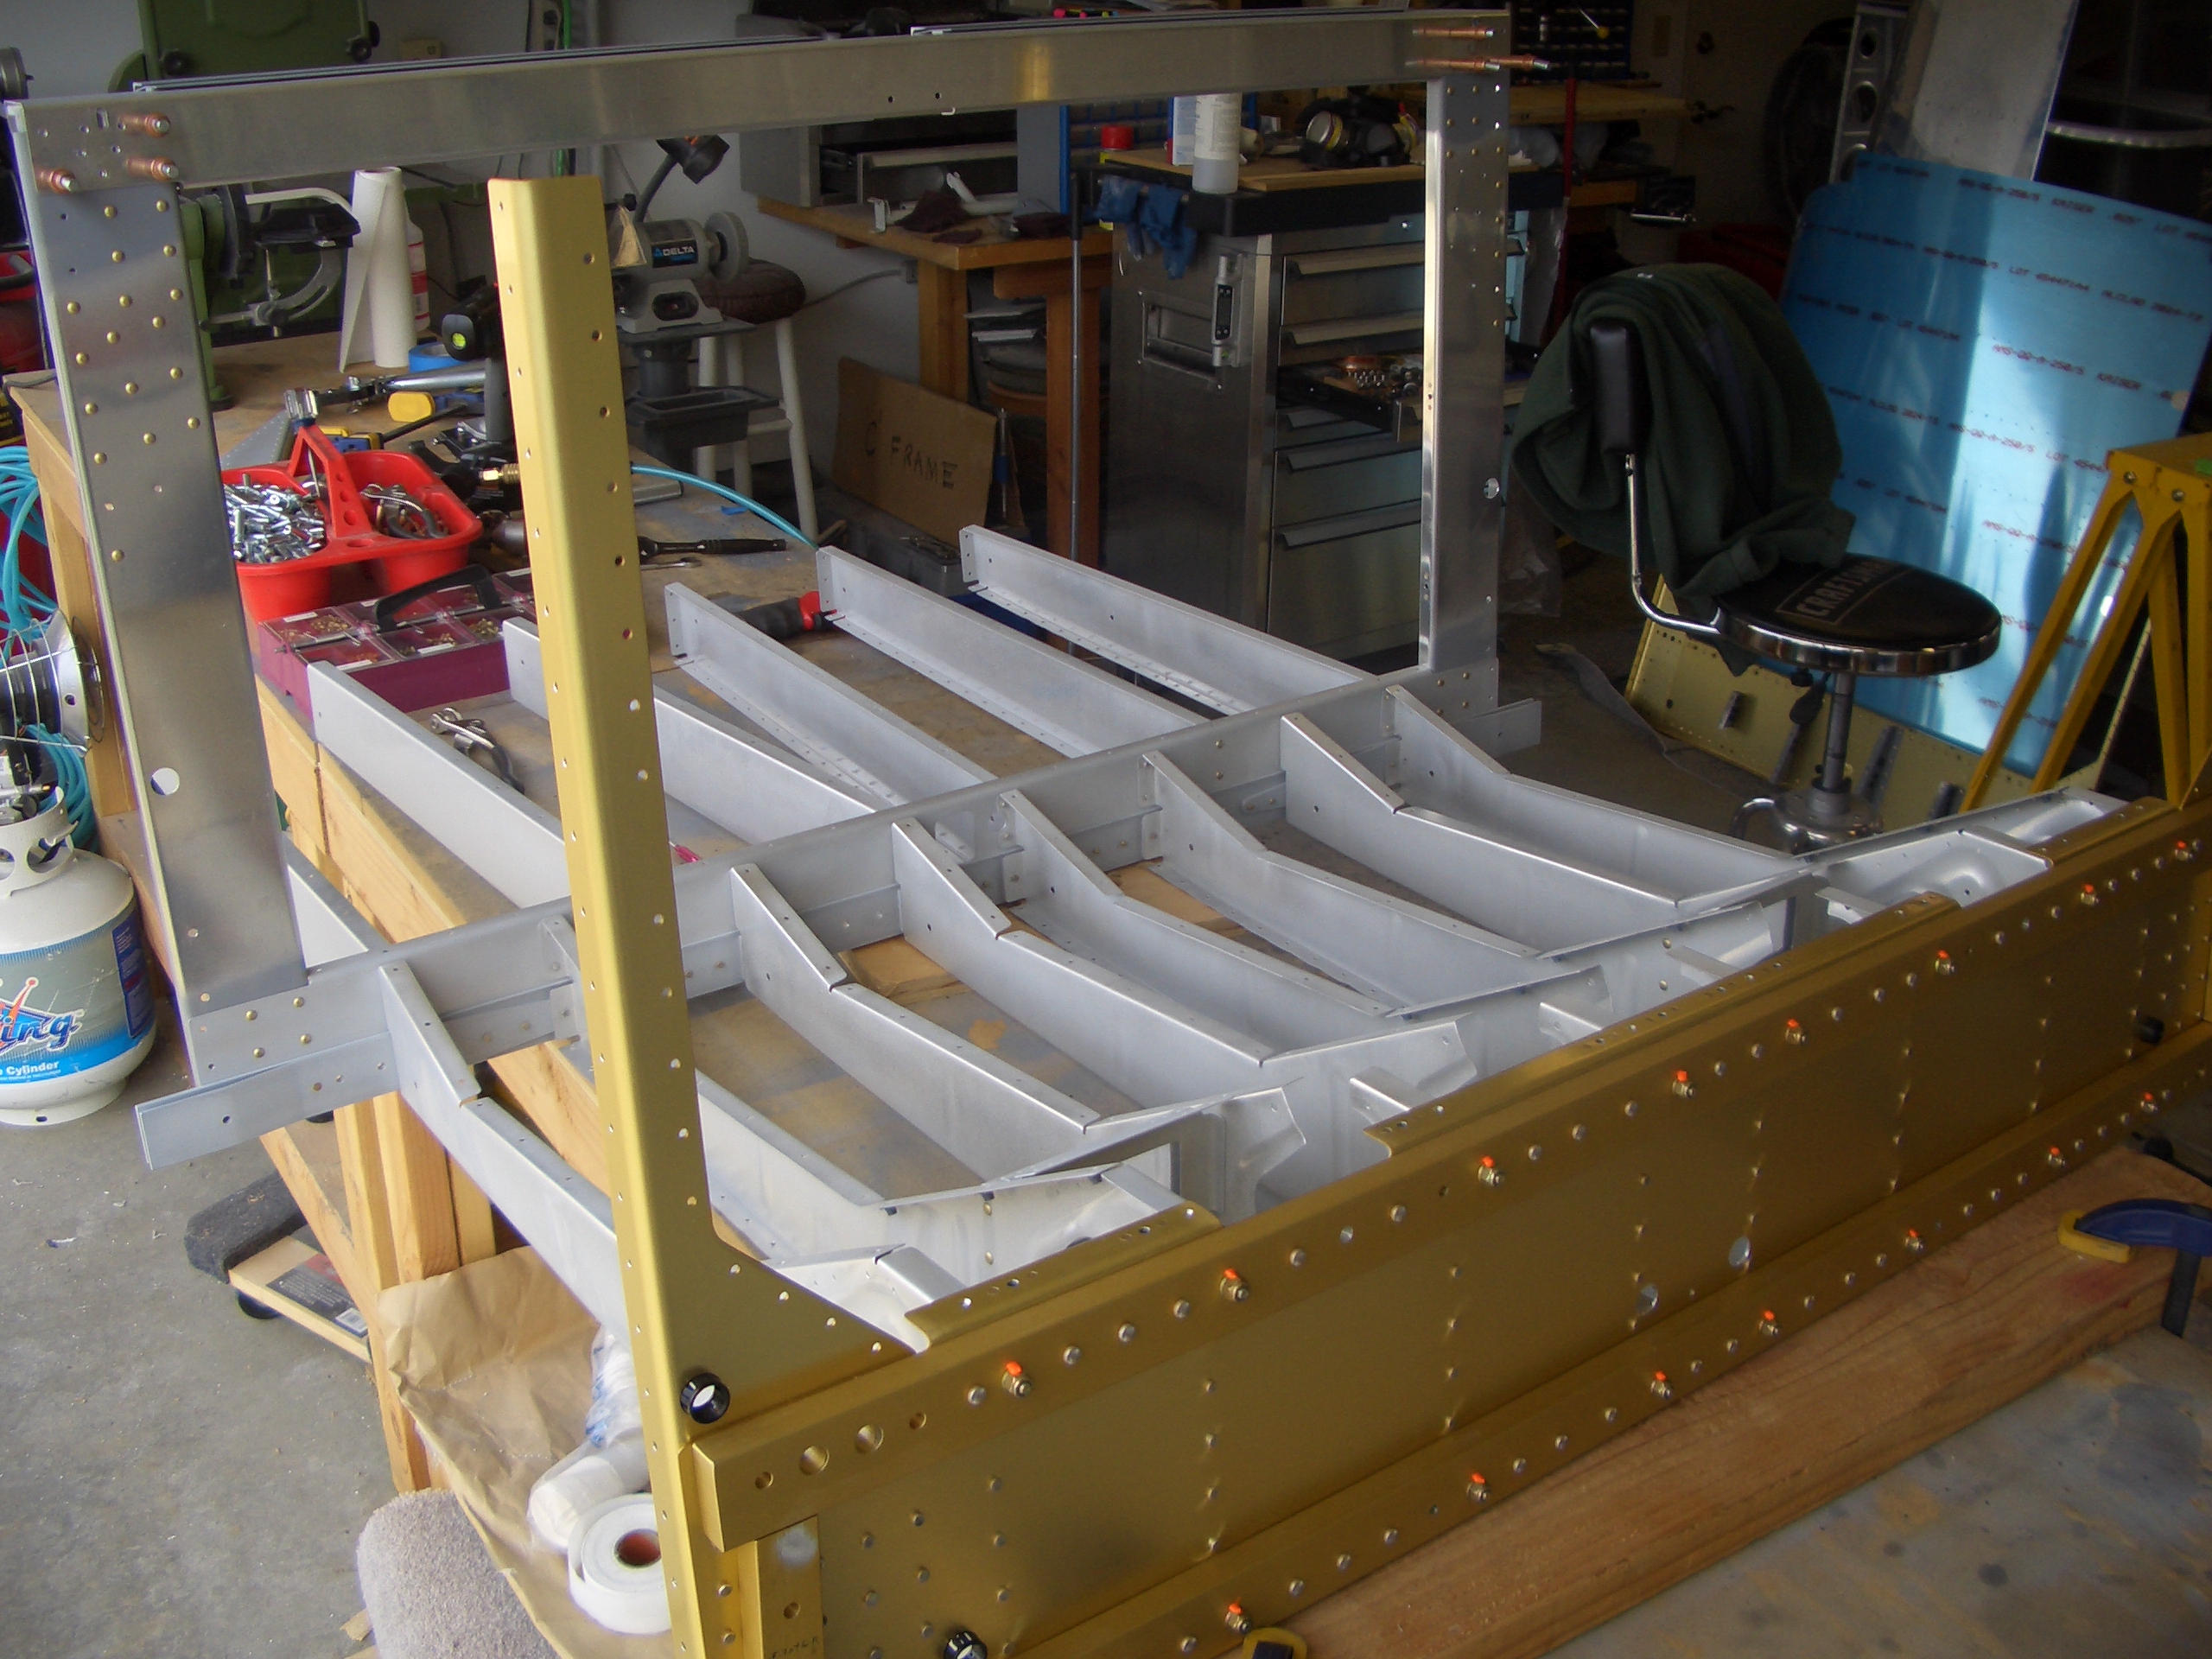
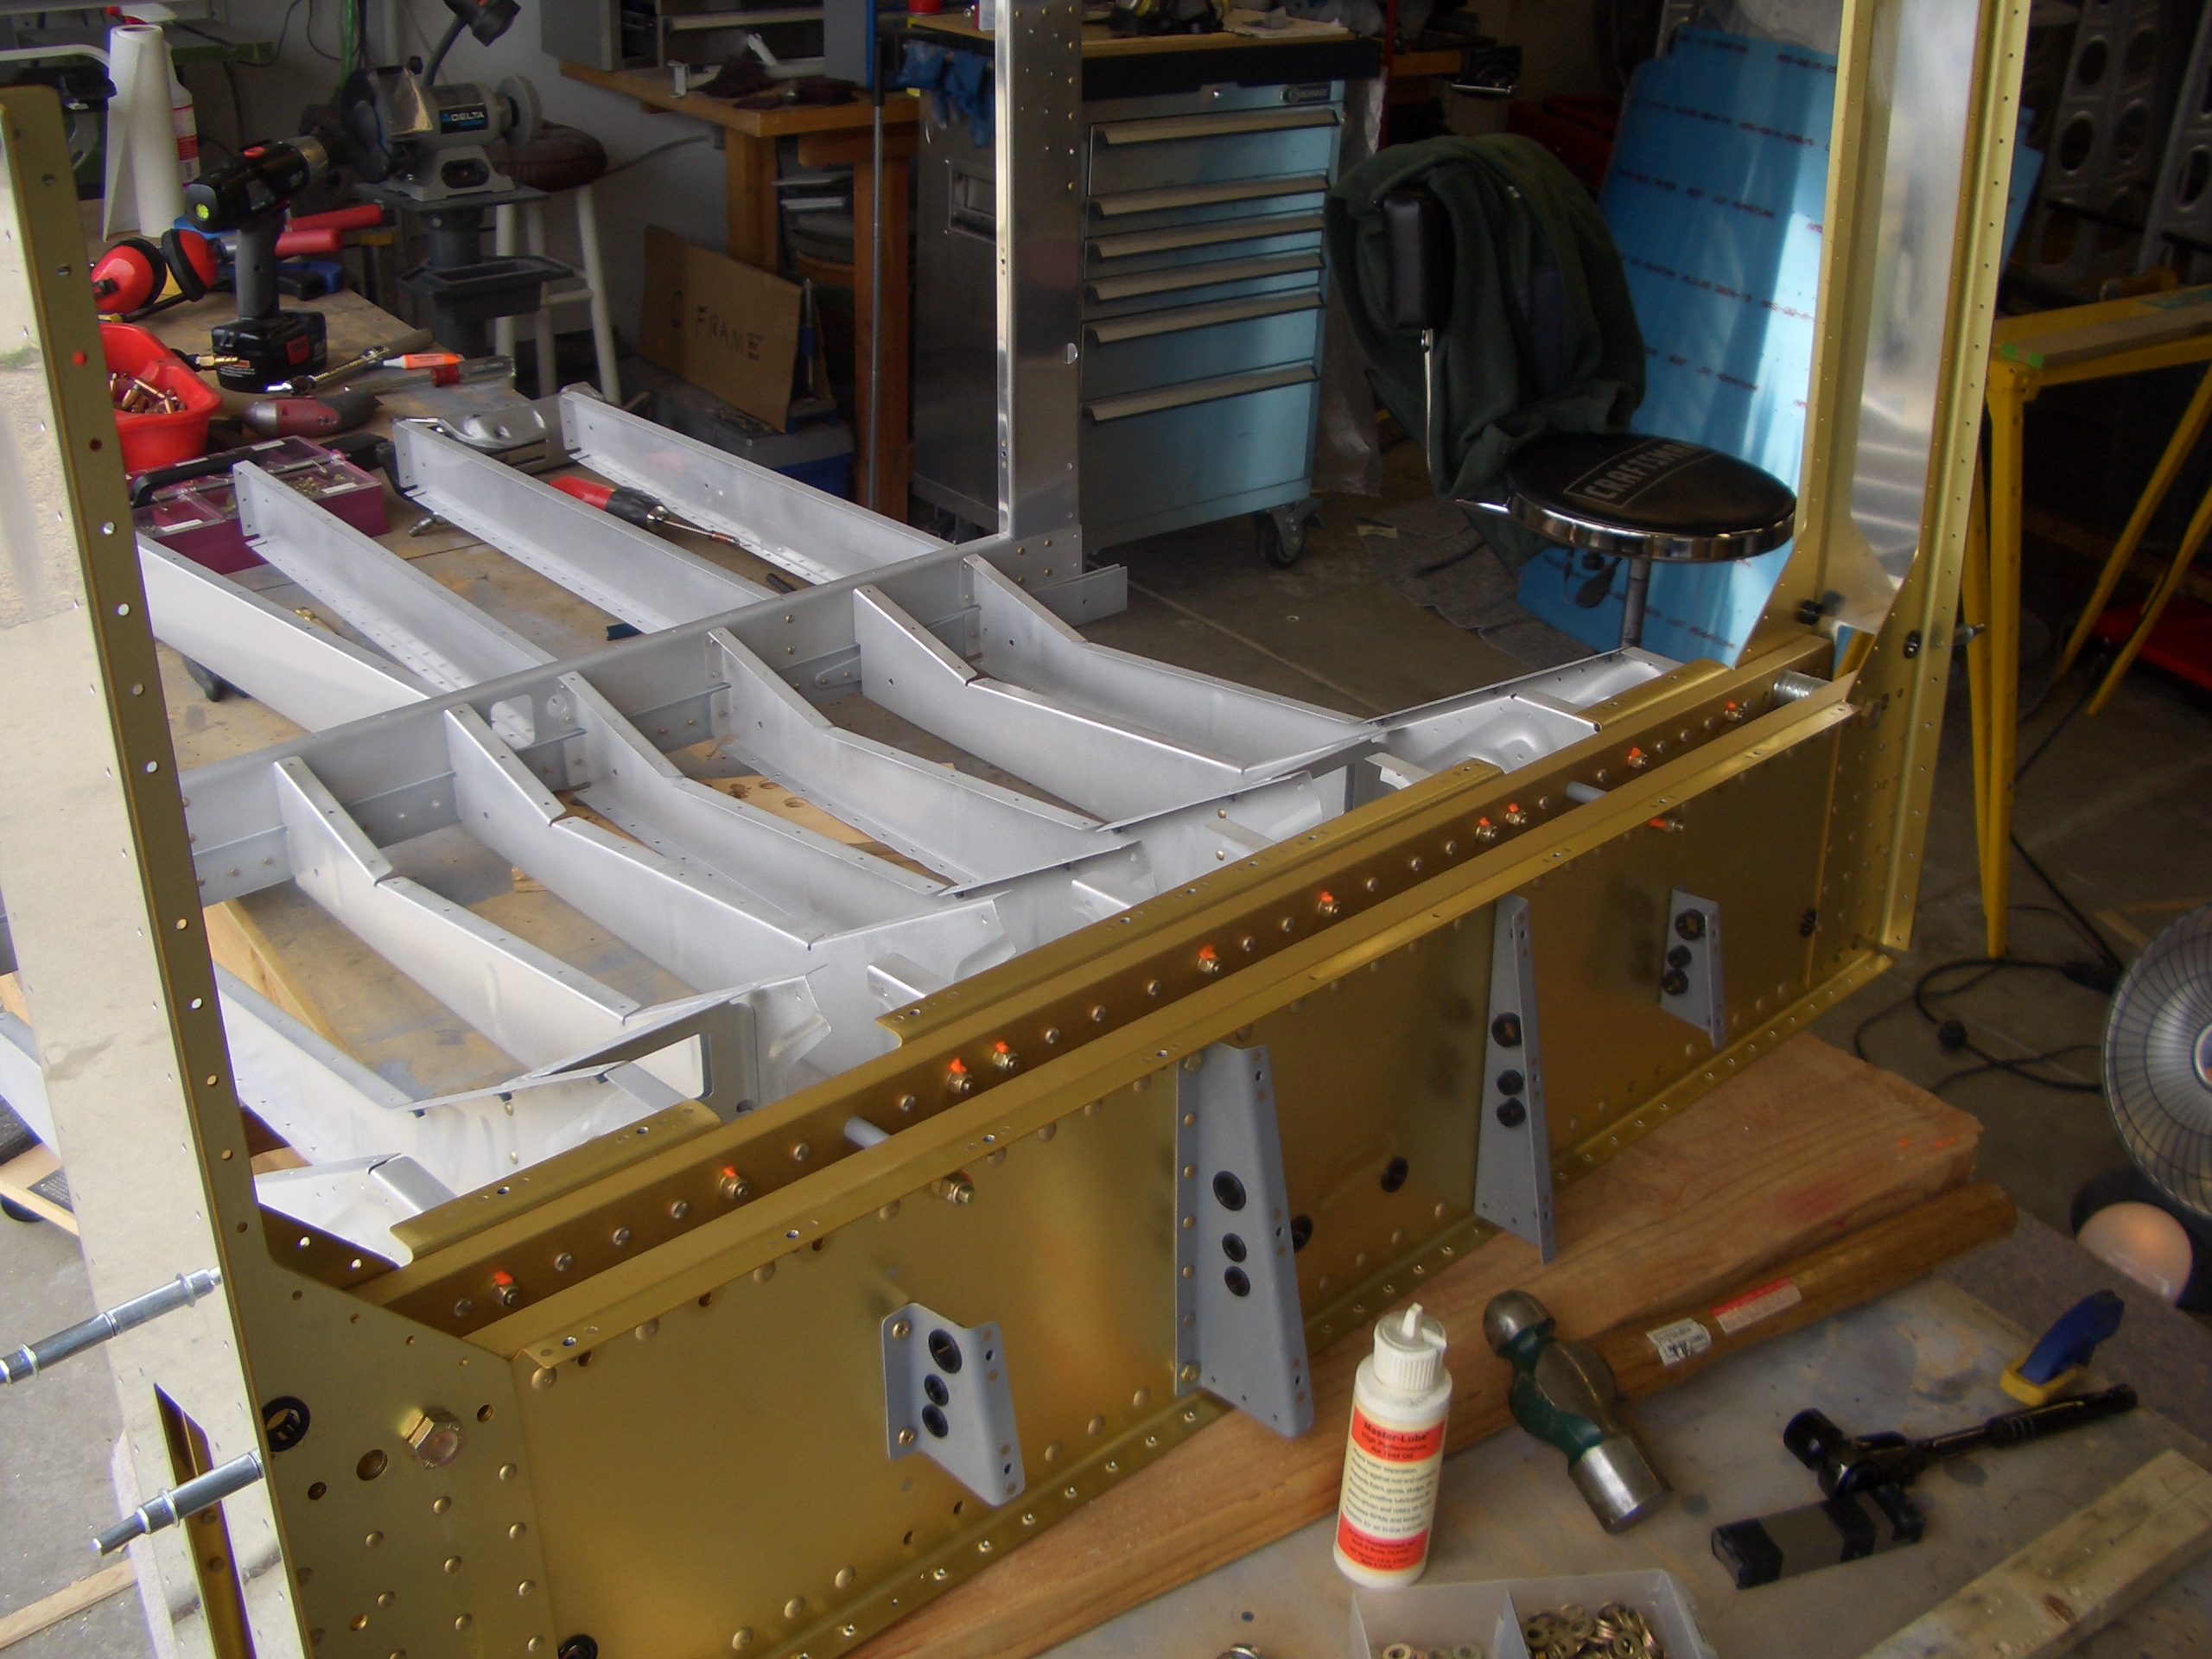
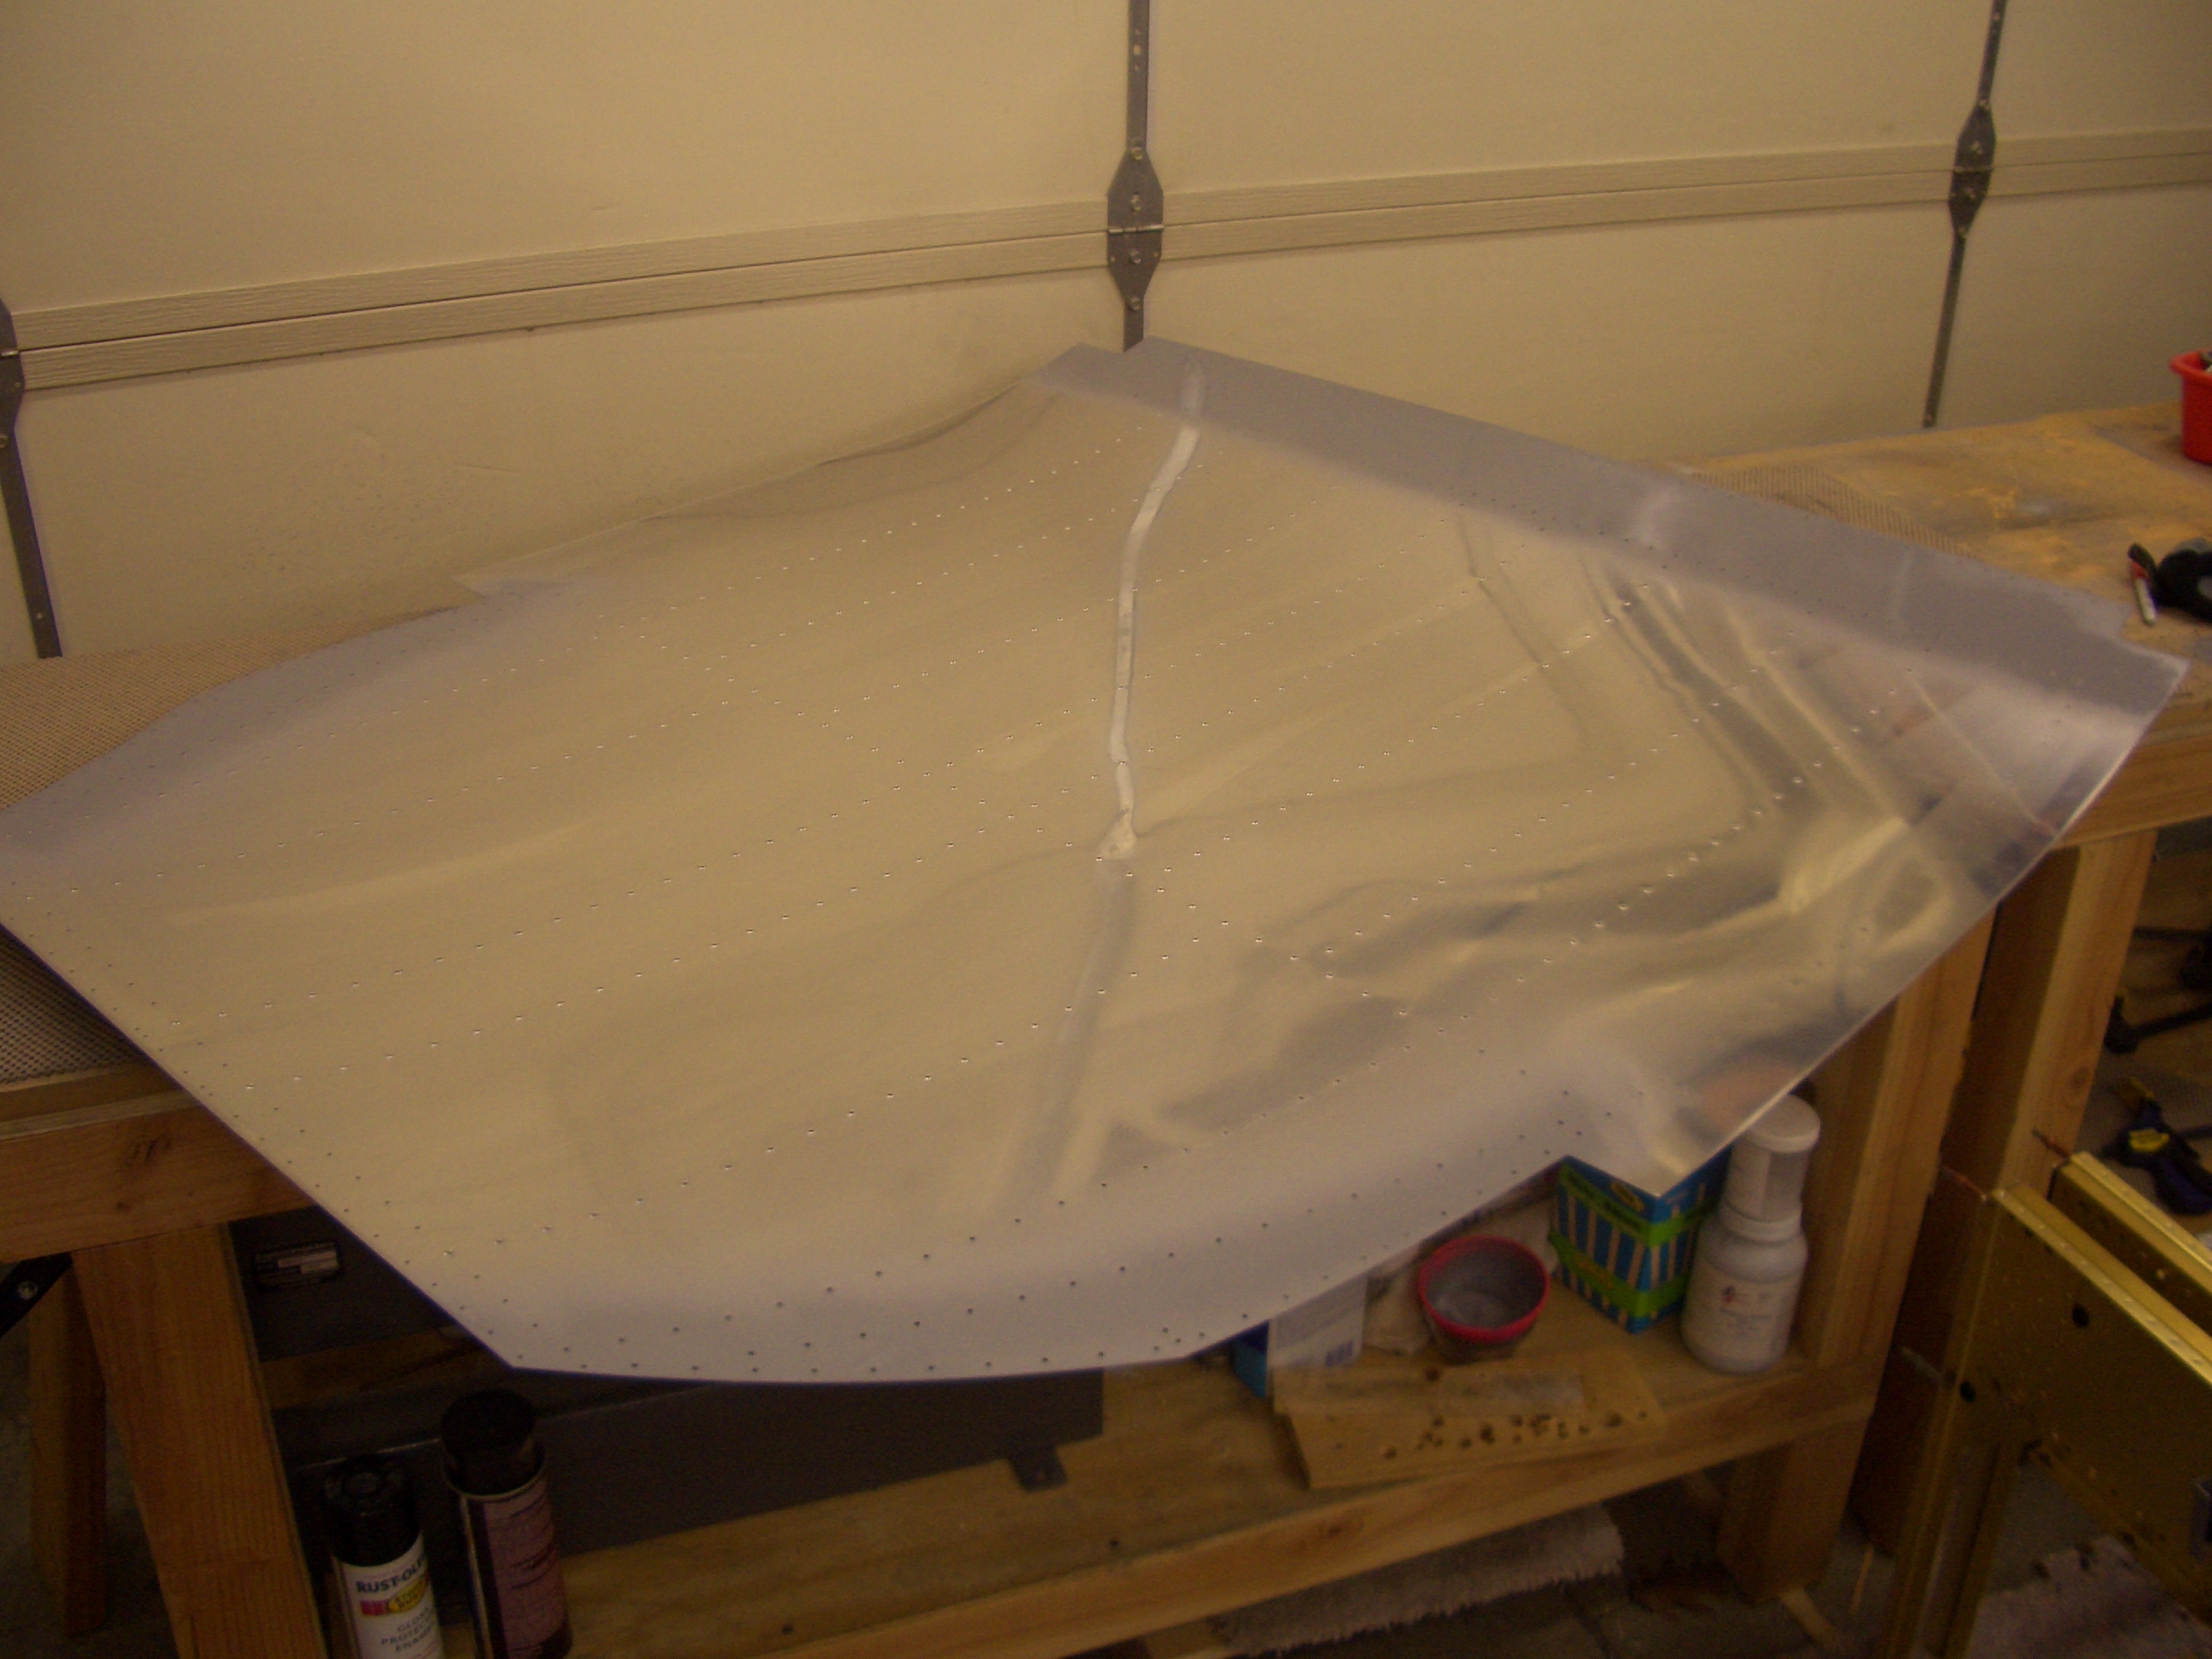
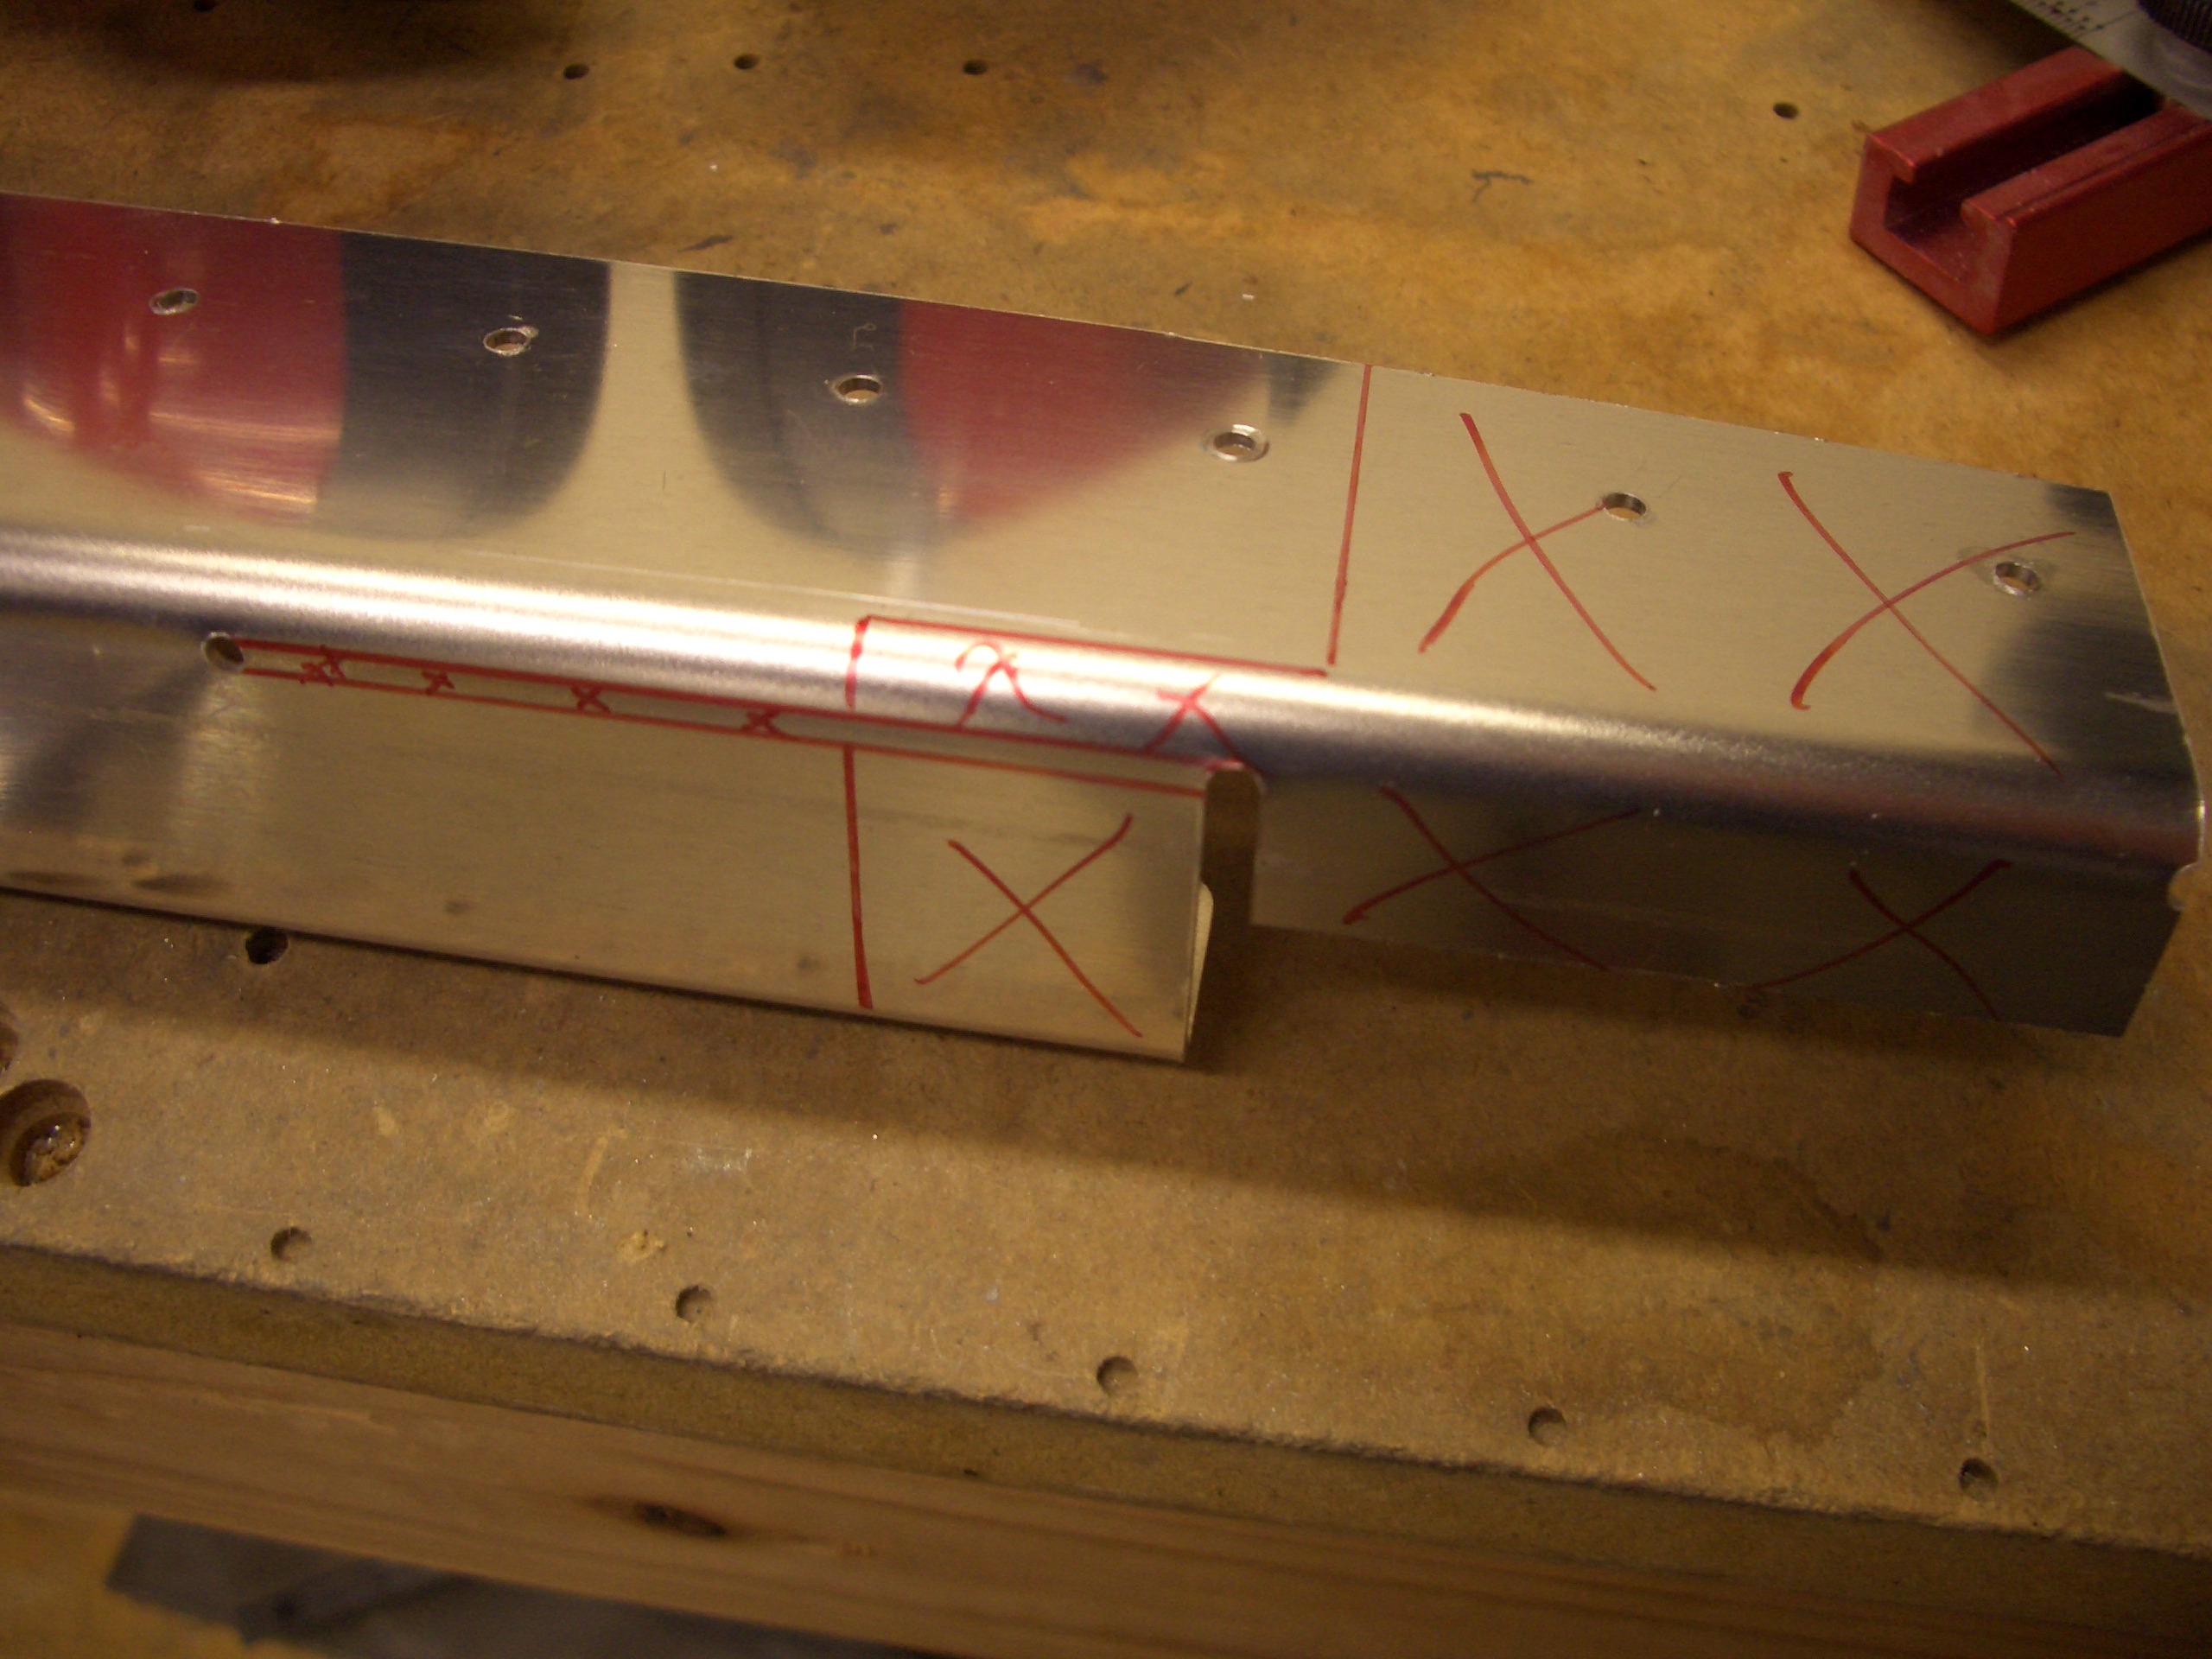
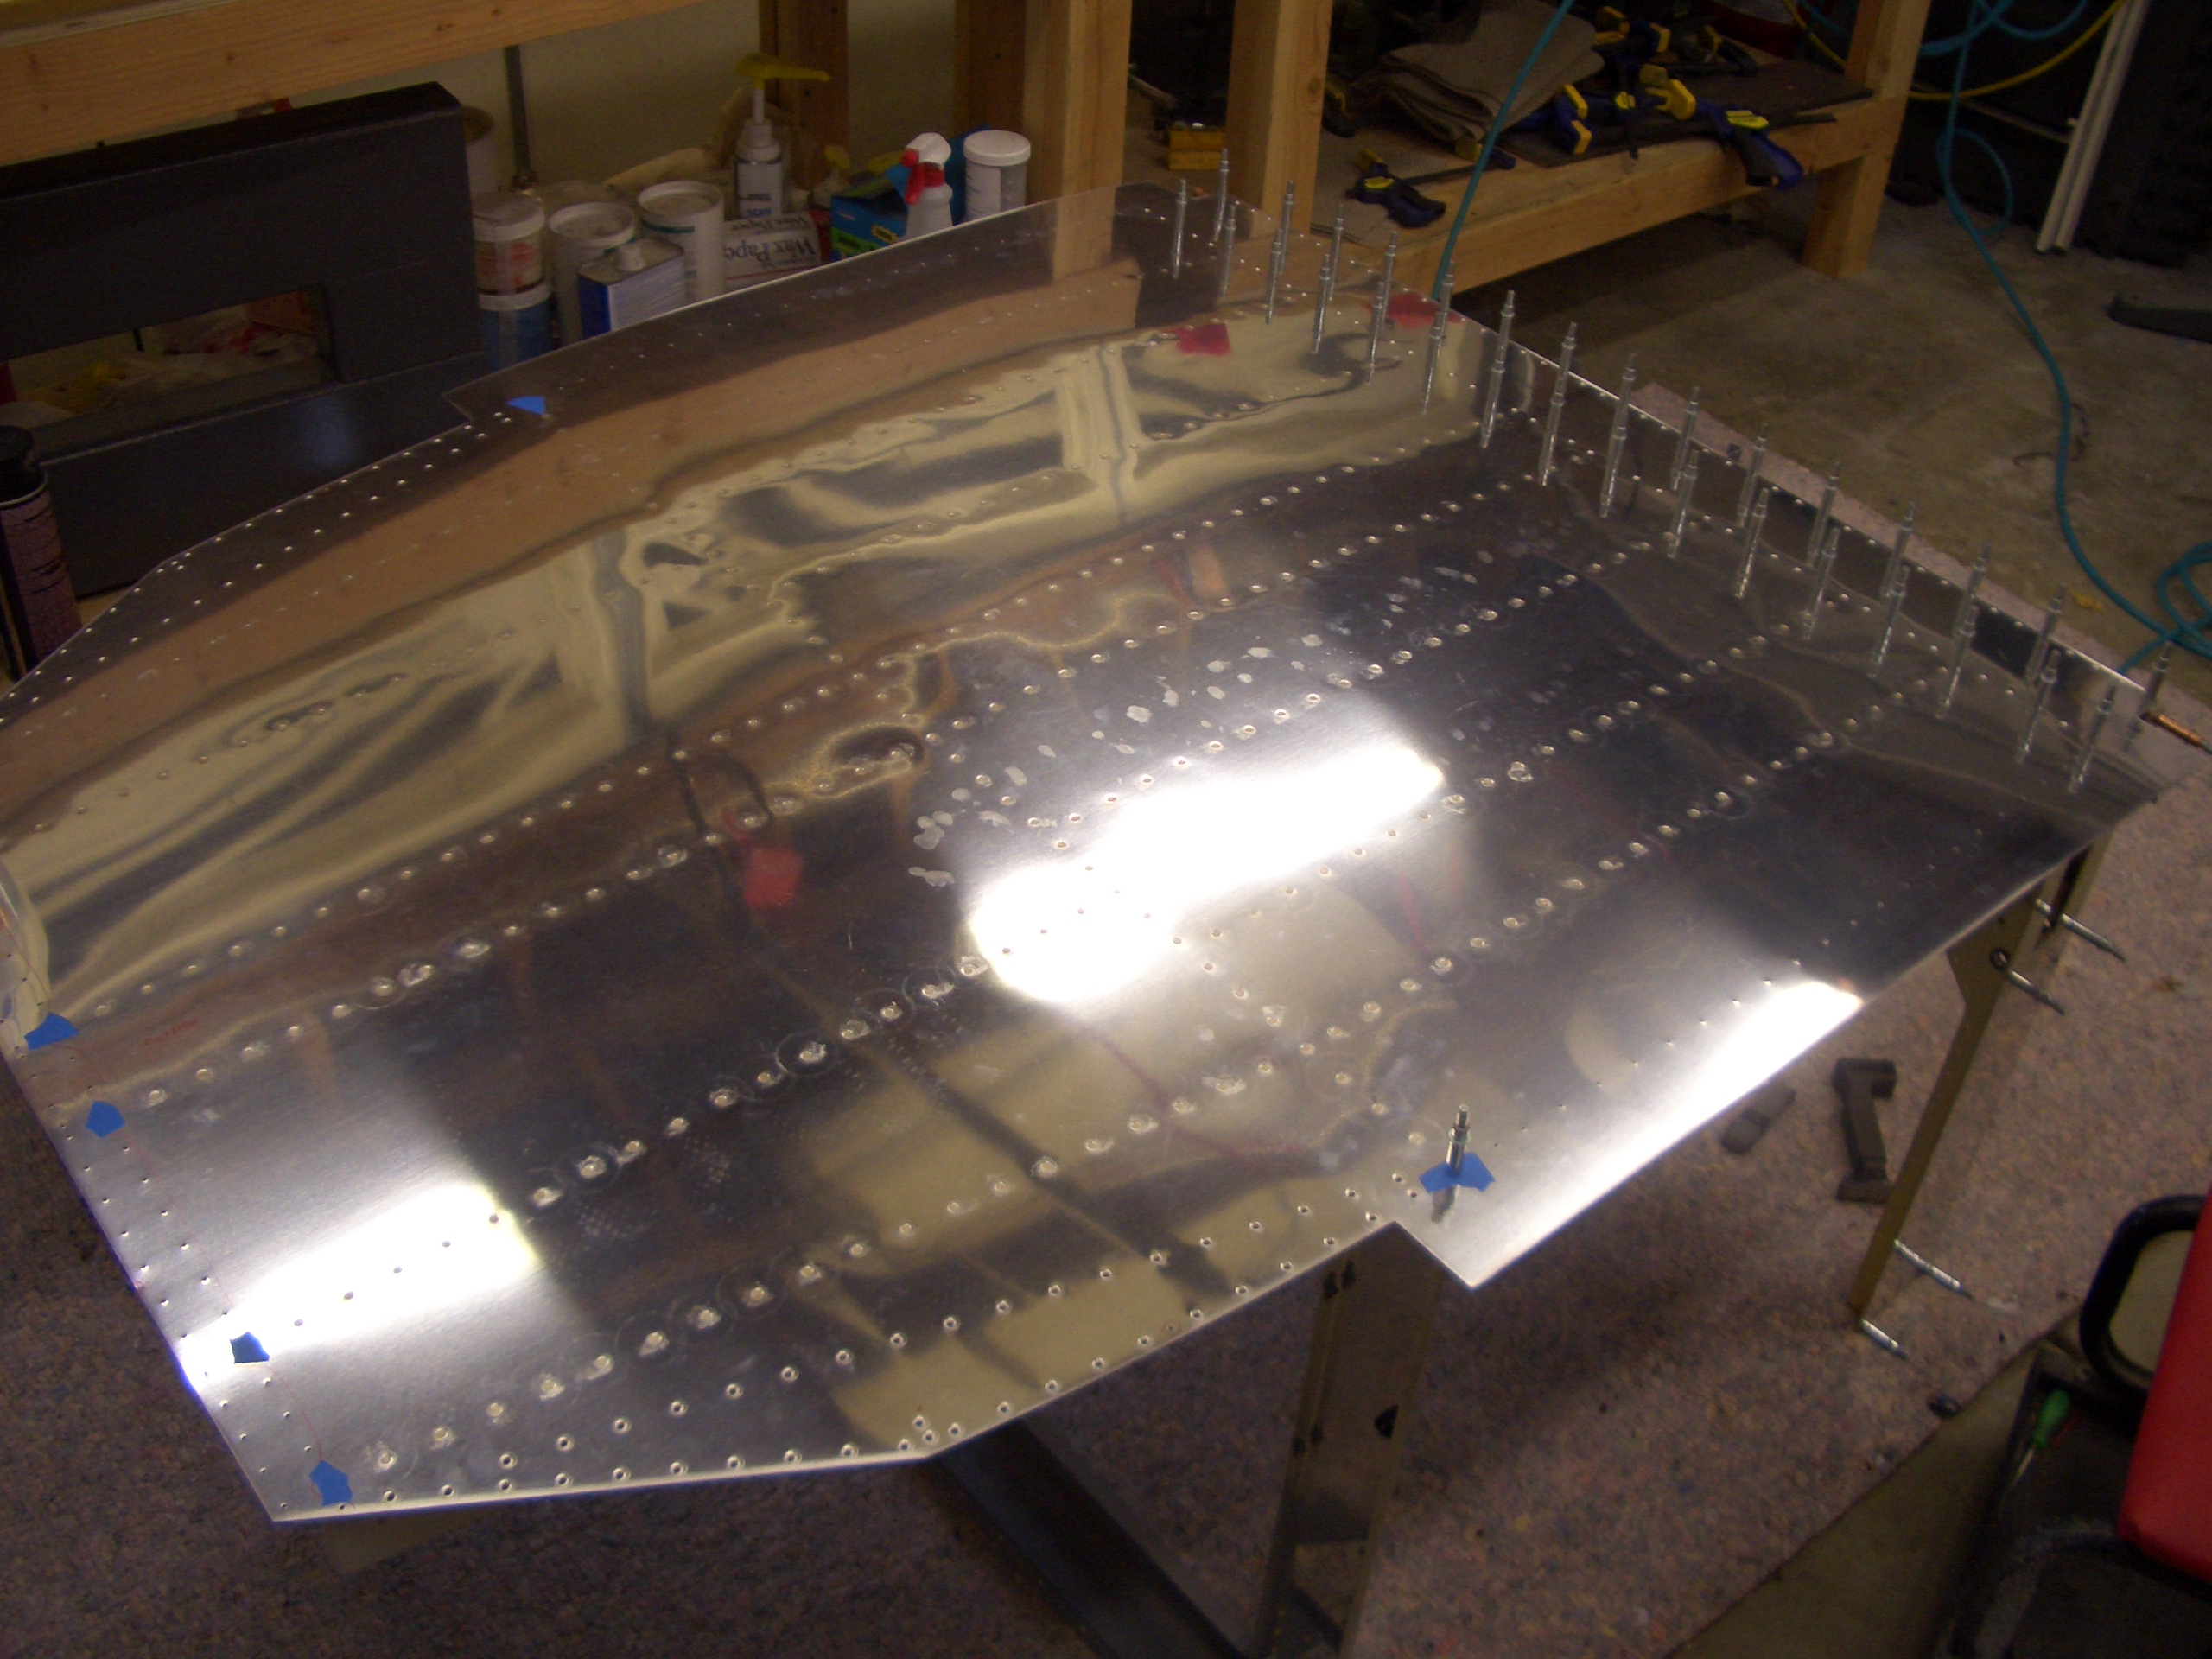
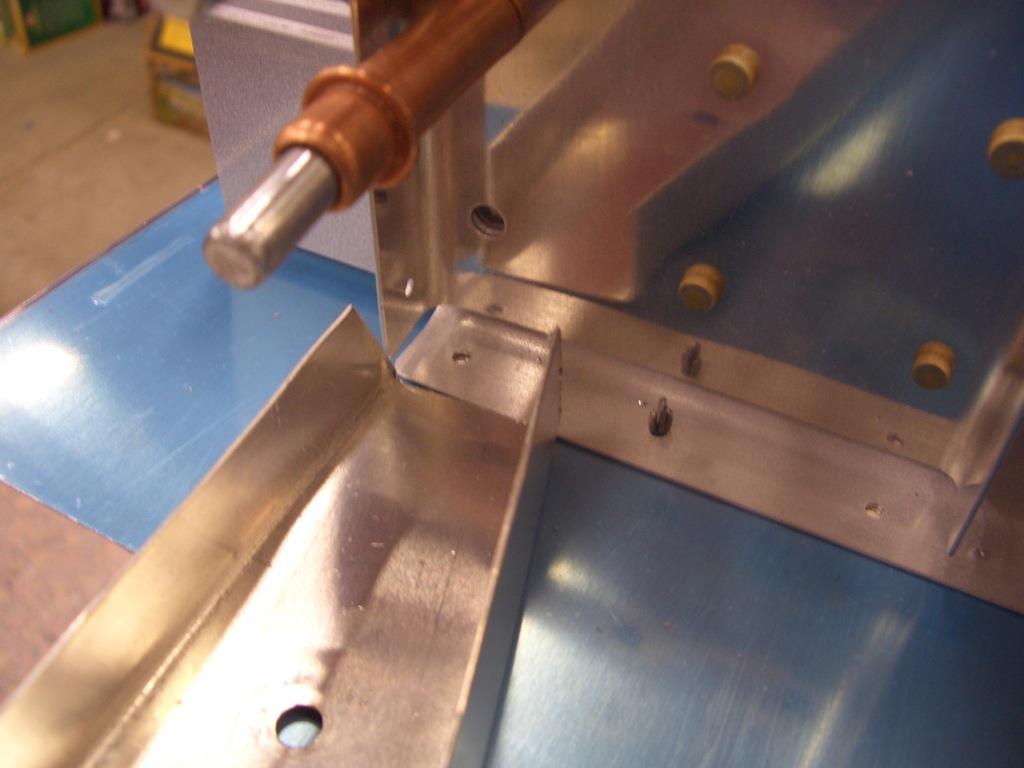
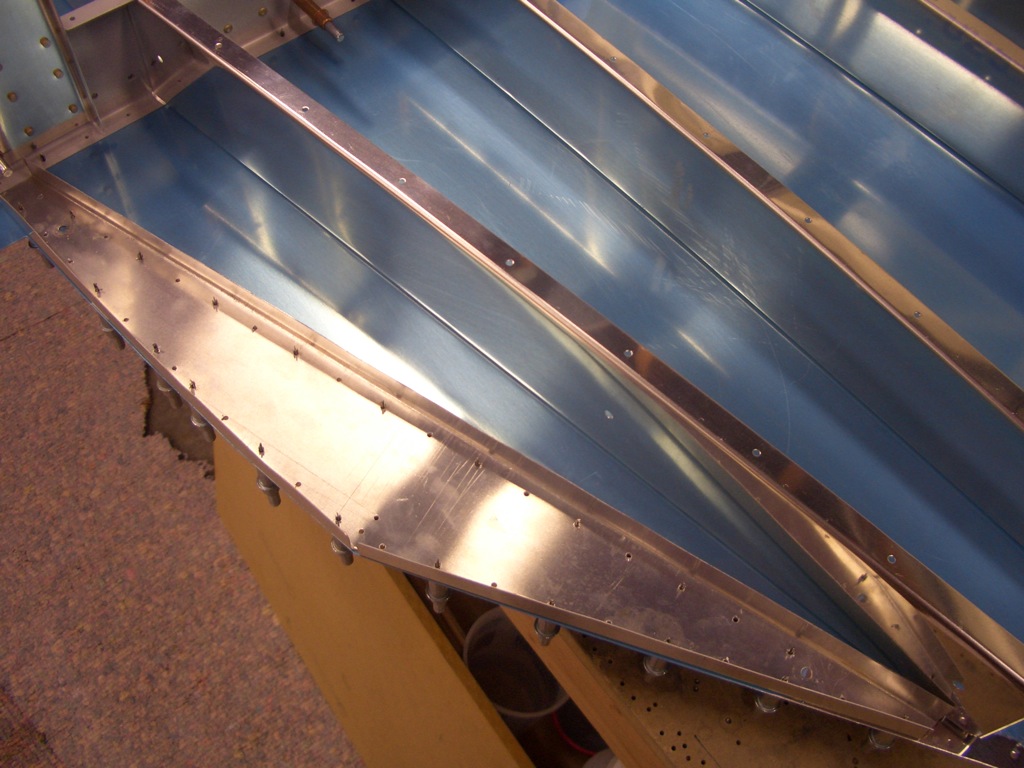
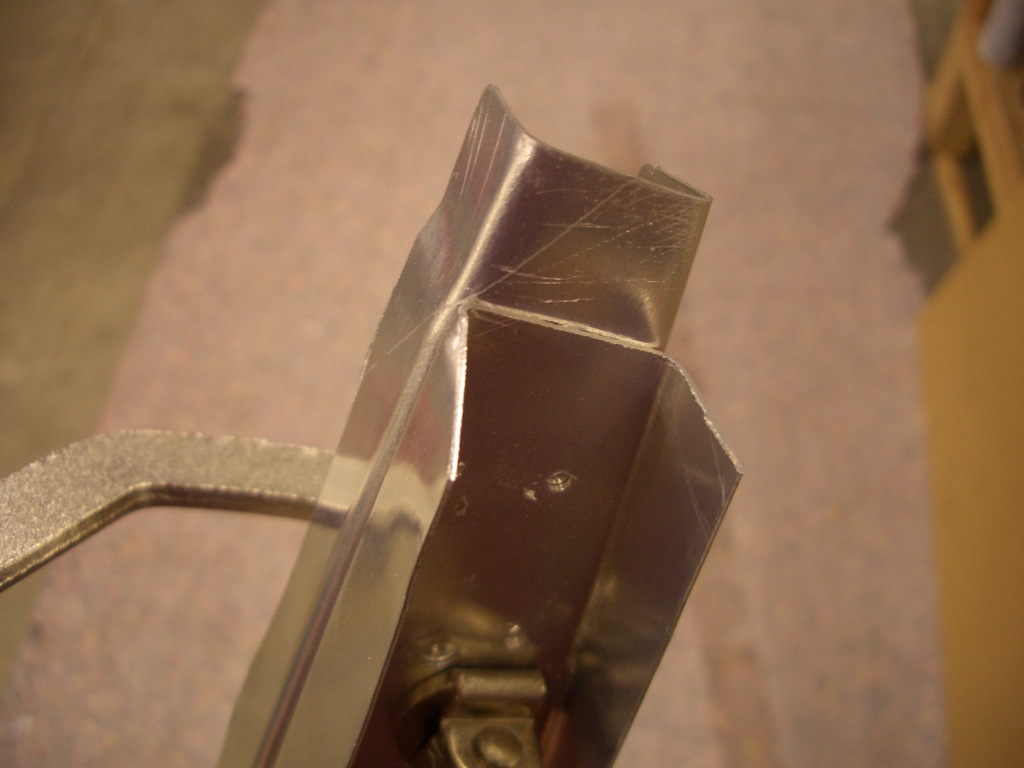
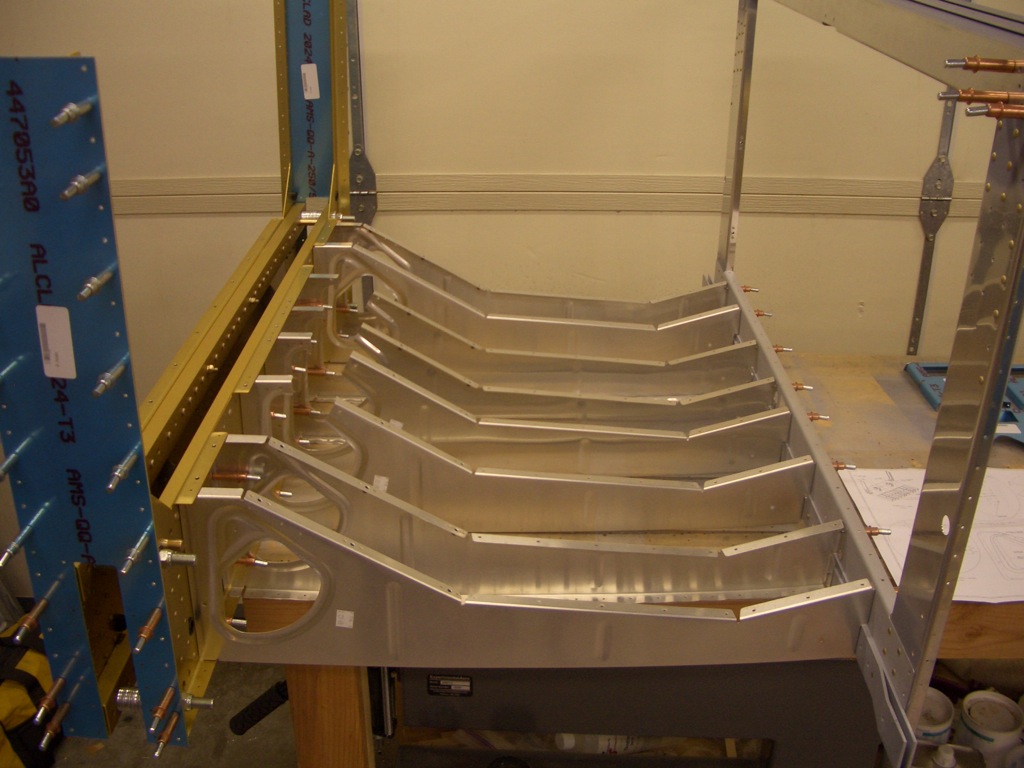
I started tonight by match drilling the bottom skin to the seat and baggage ribs as well as the F-704 and F-705 bulkheads.  Next I got started on the F-623 side ribs.  There is a joggle in these that makes it look like it could nest inside F-705, but this is apparently a holdover from the RV-6 and must be cut off.

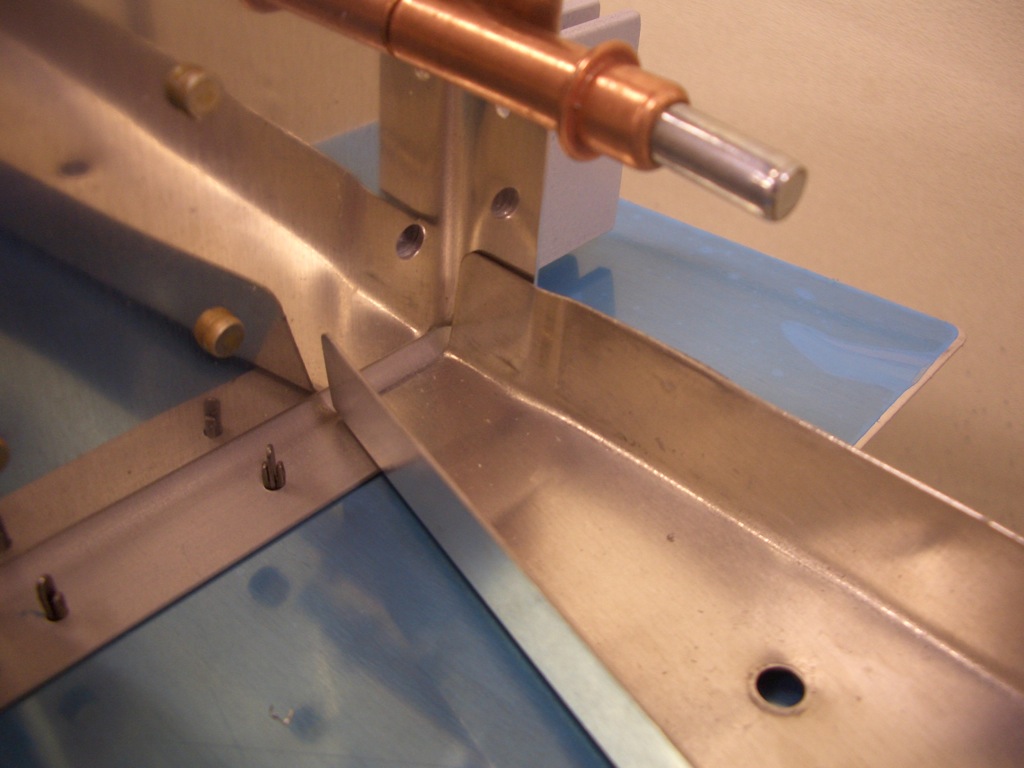
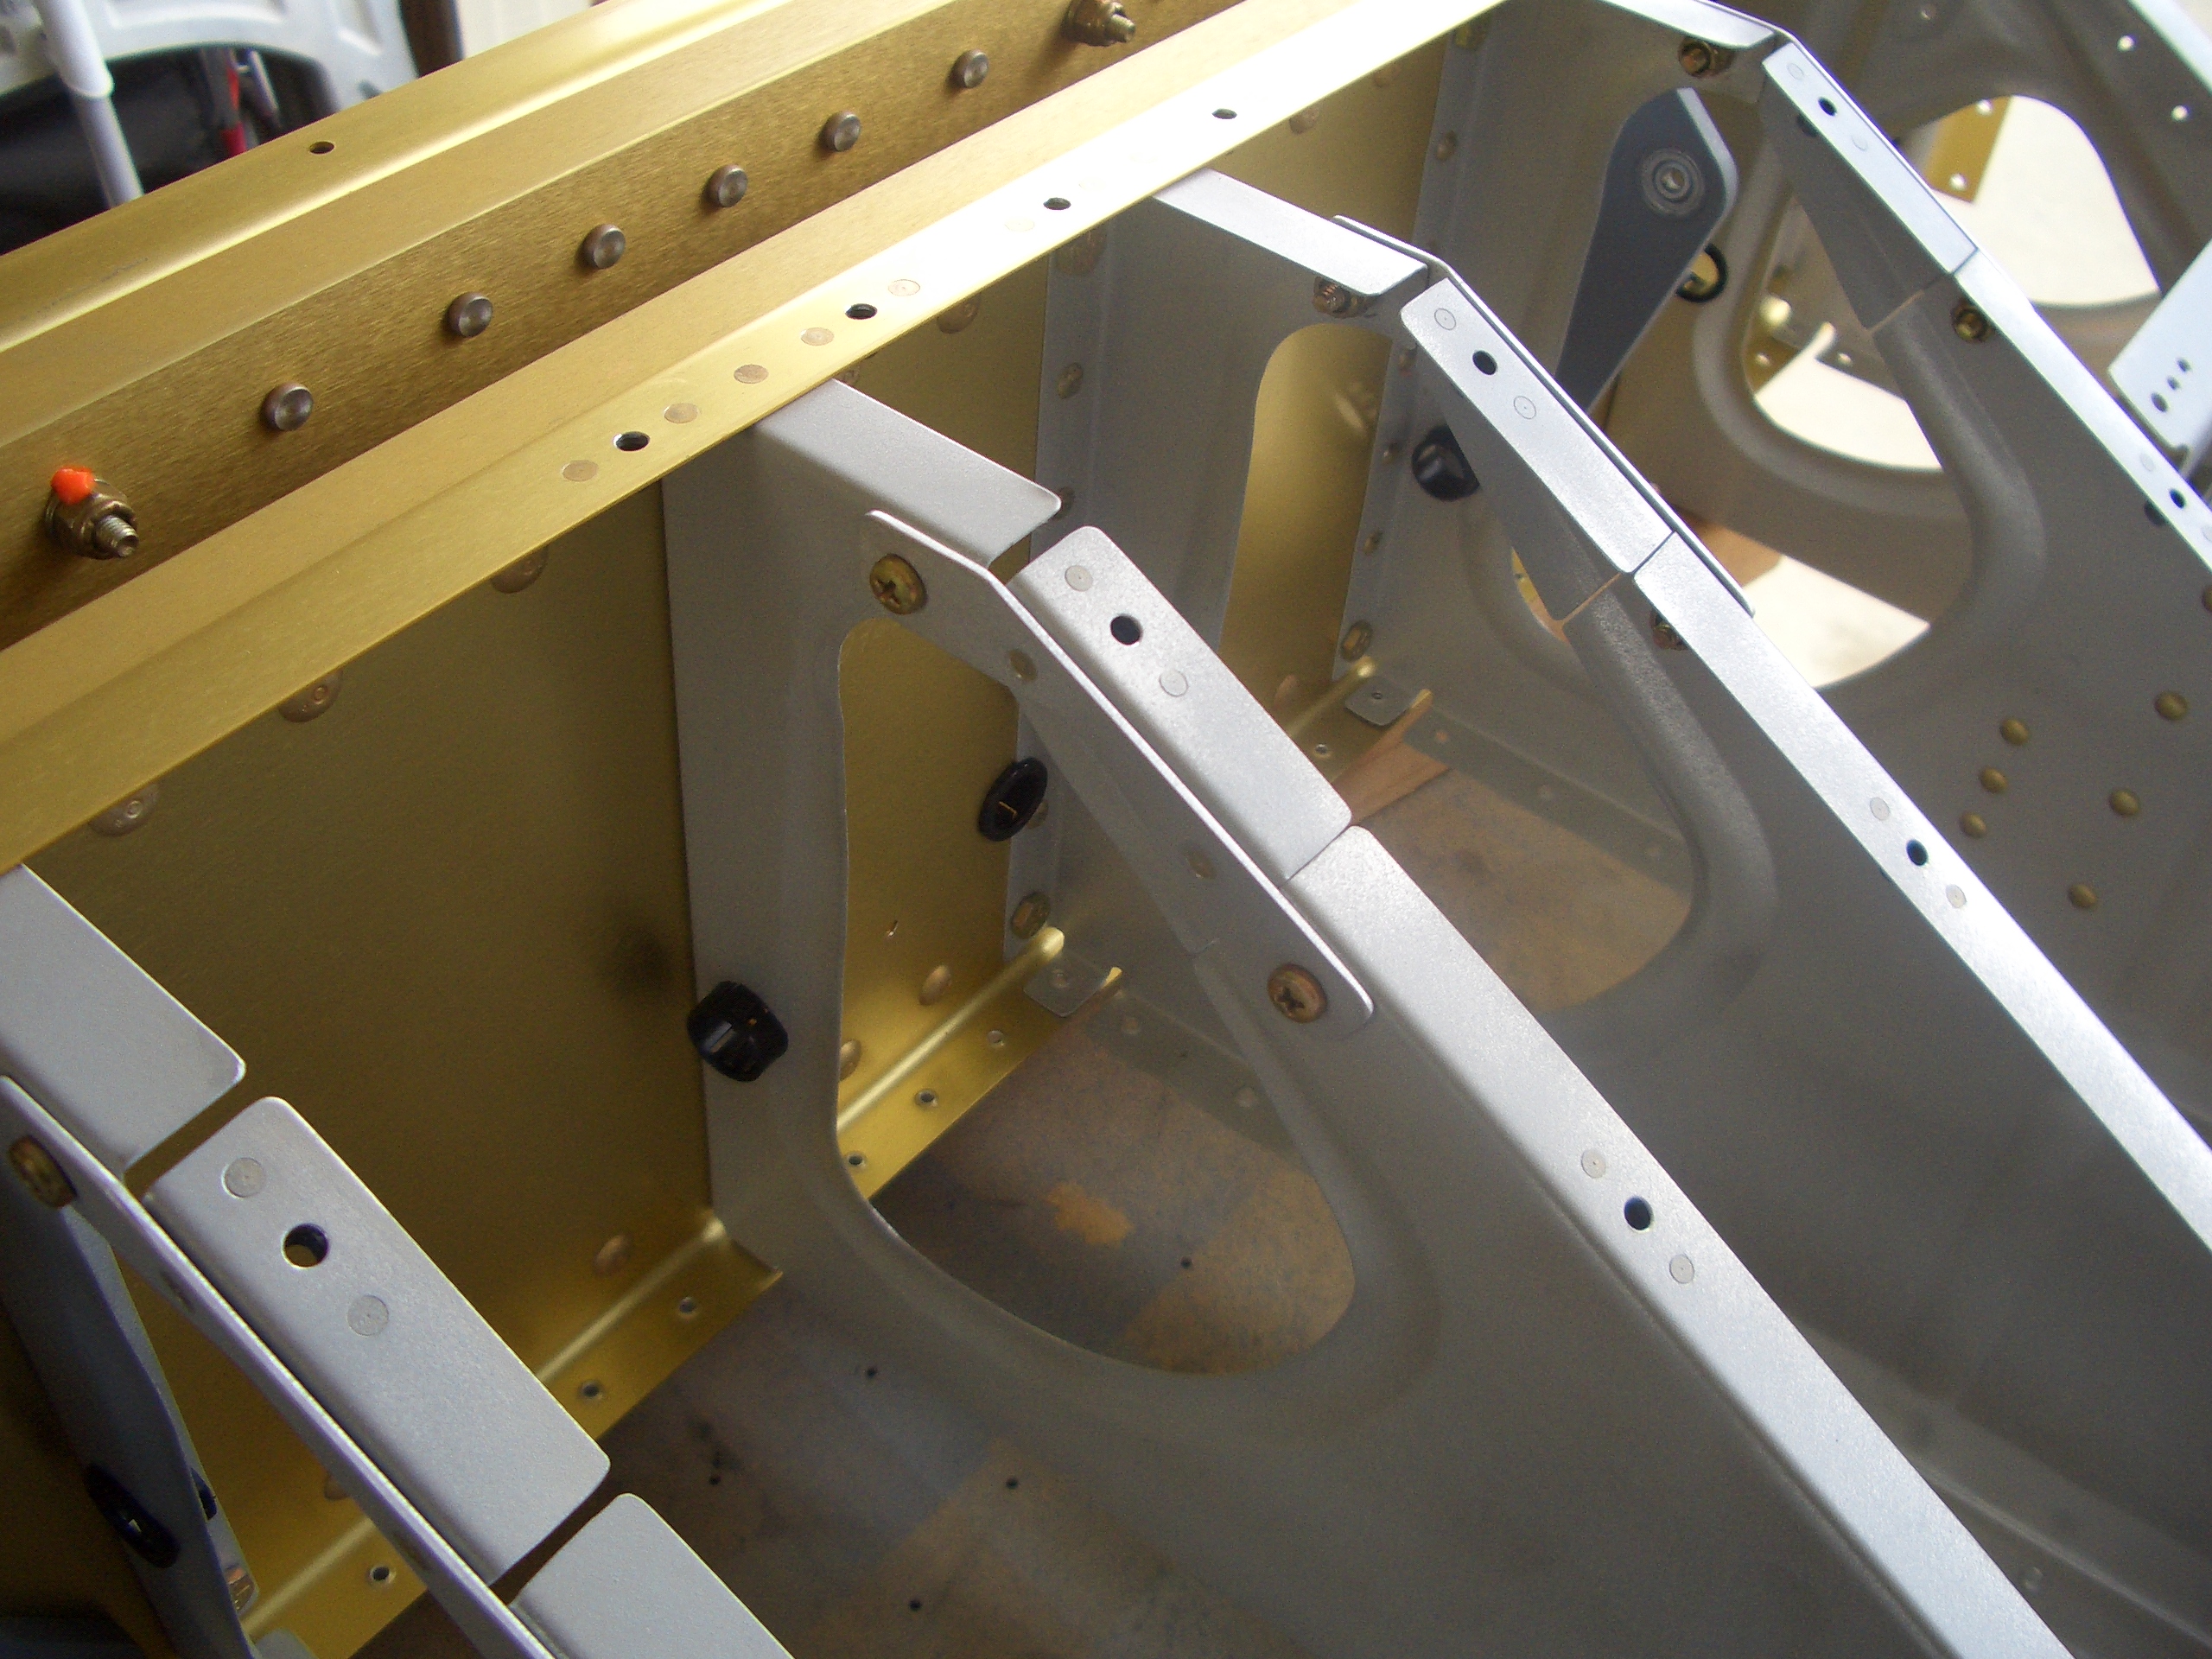
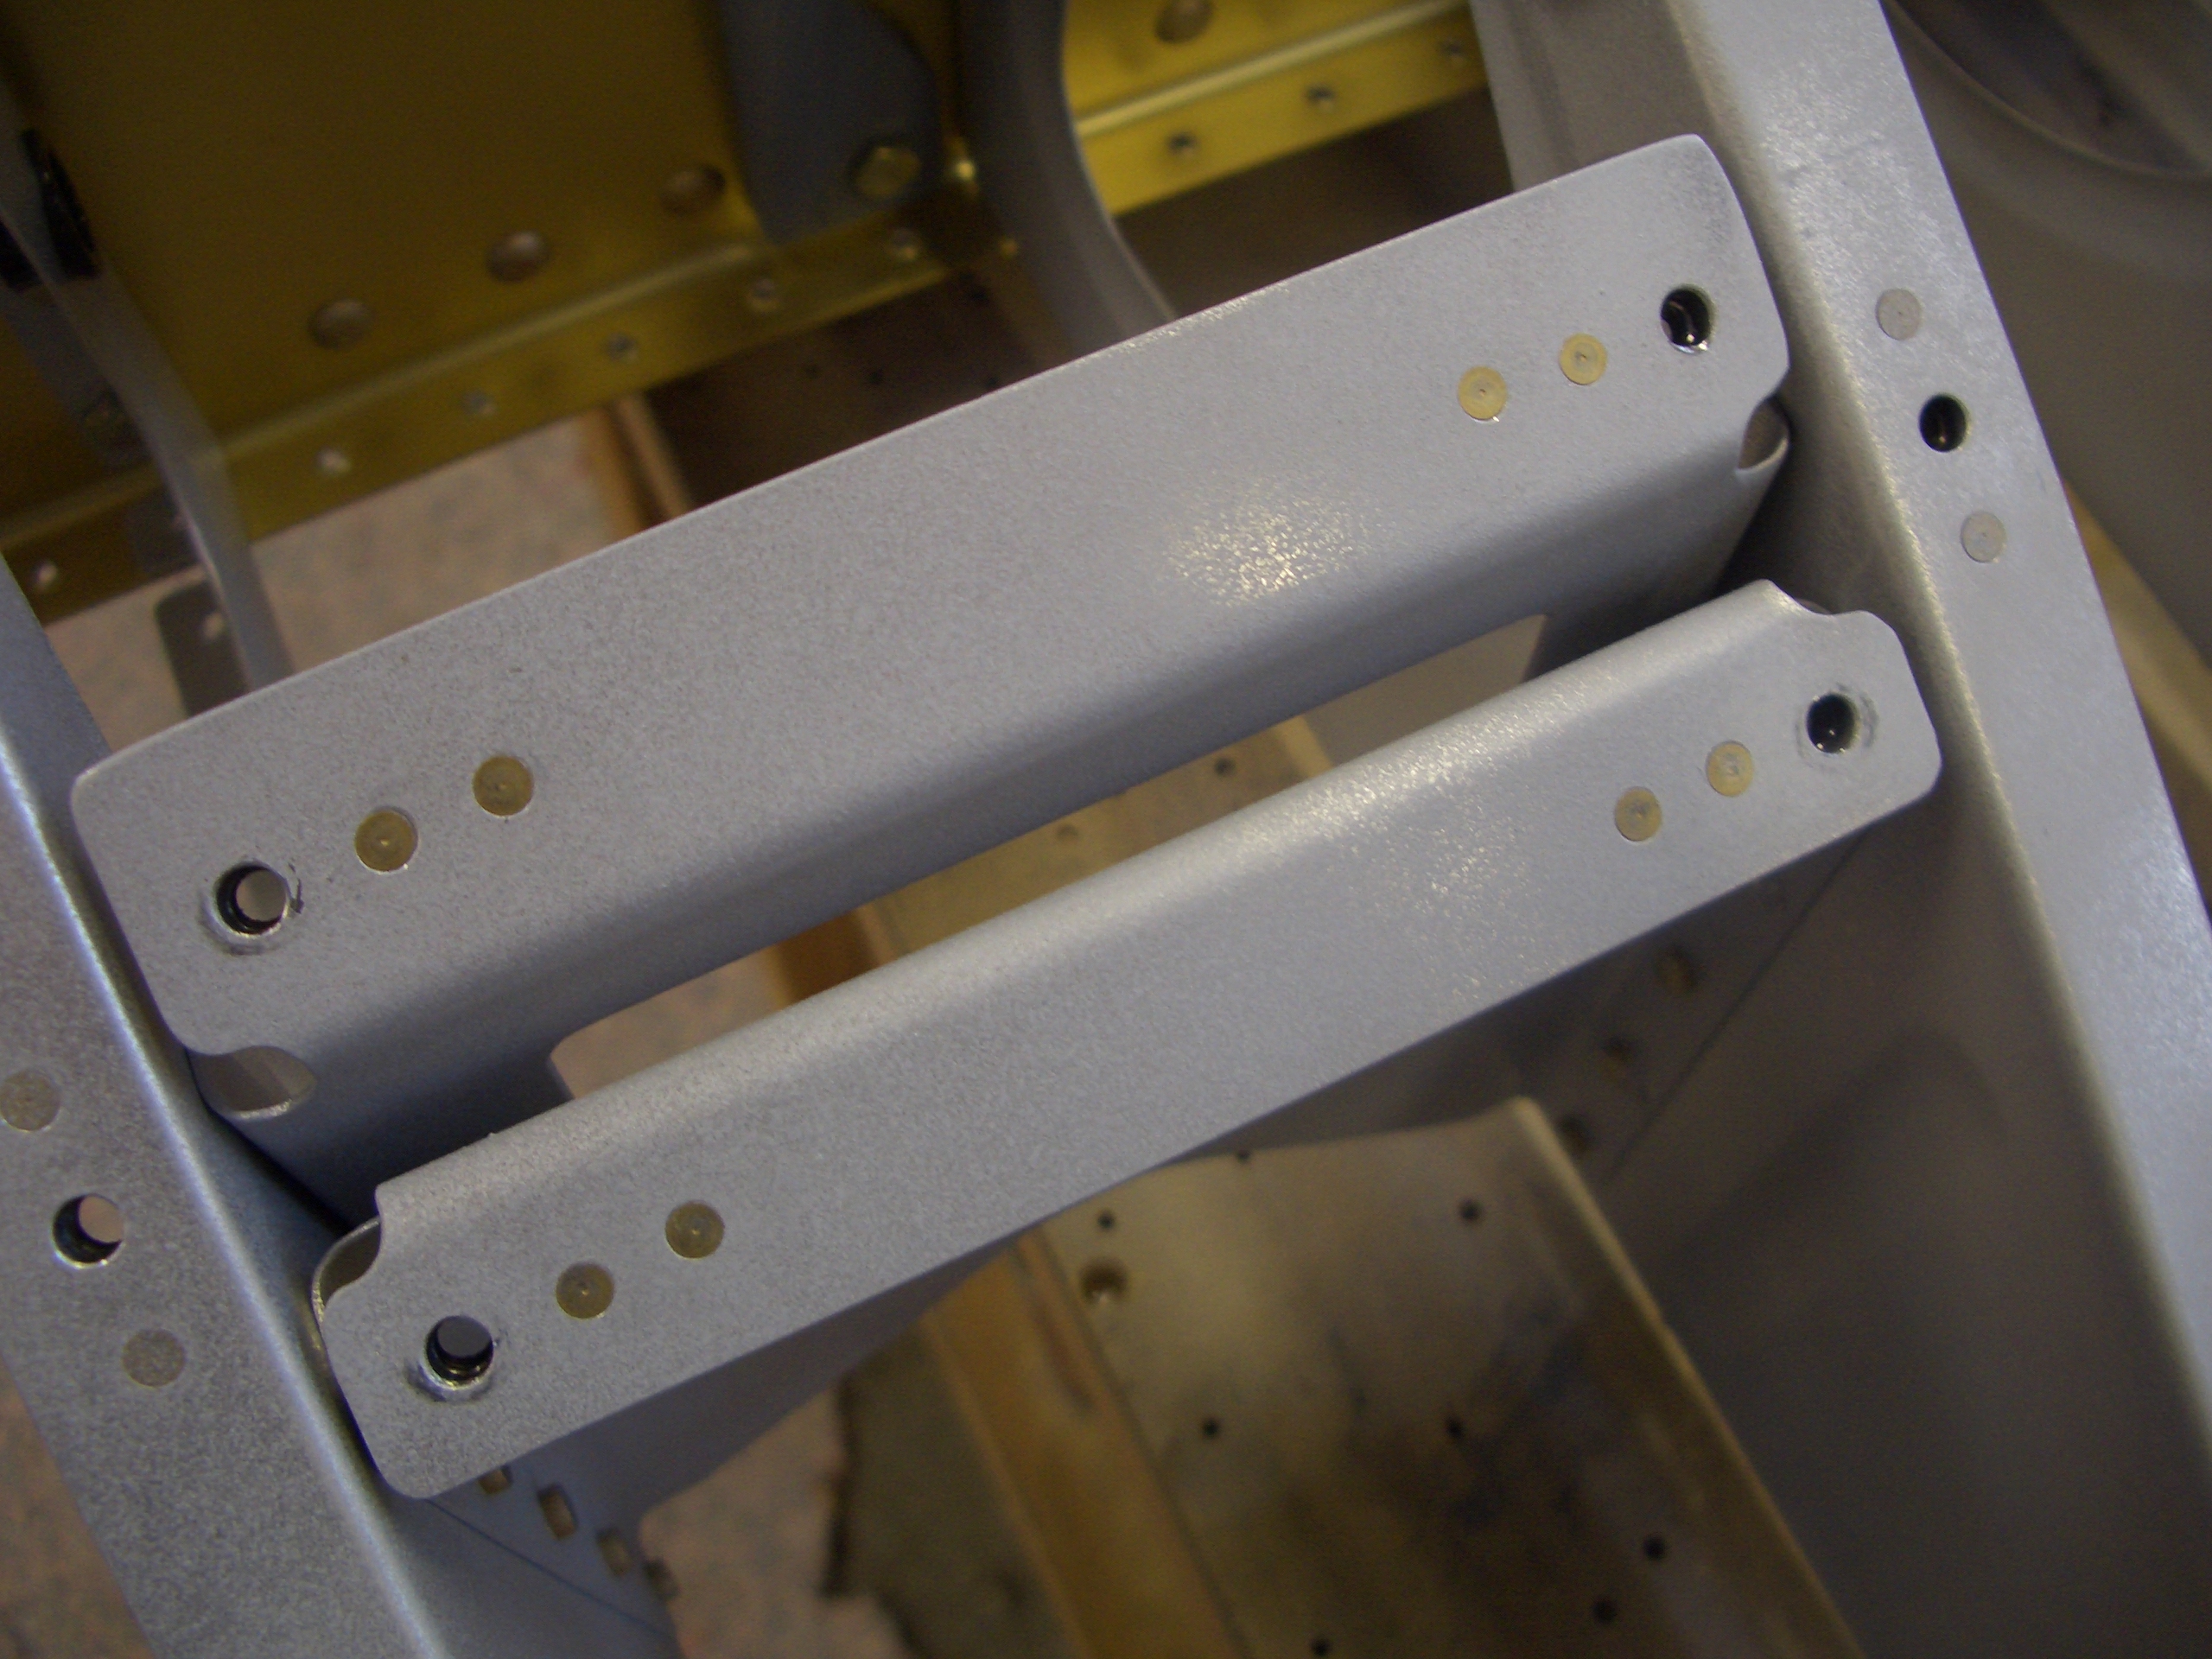
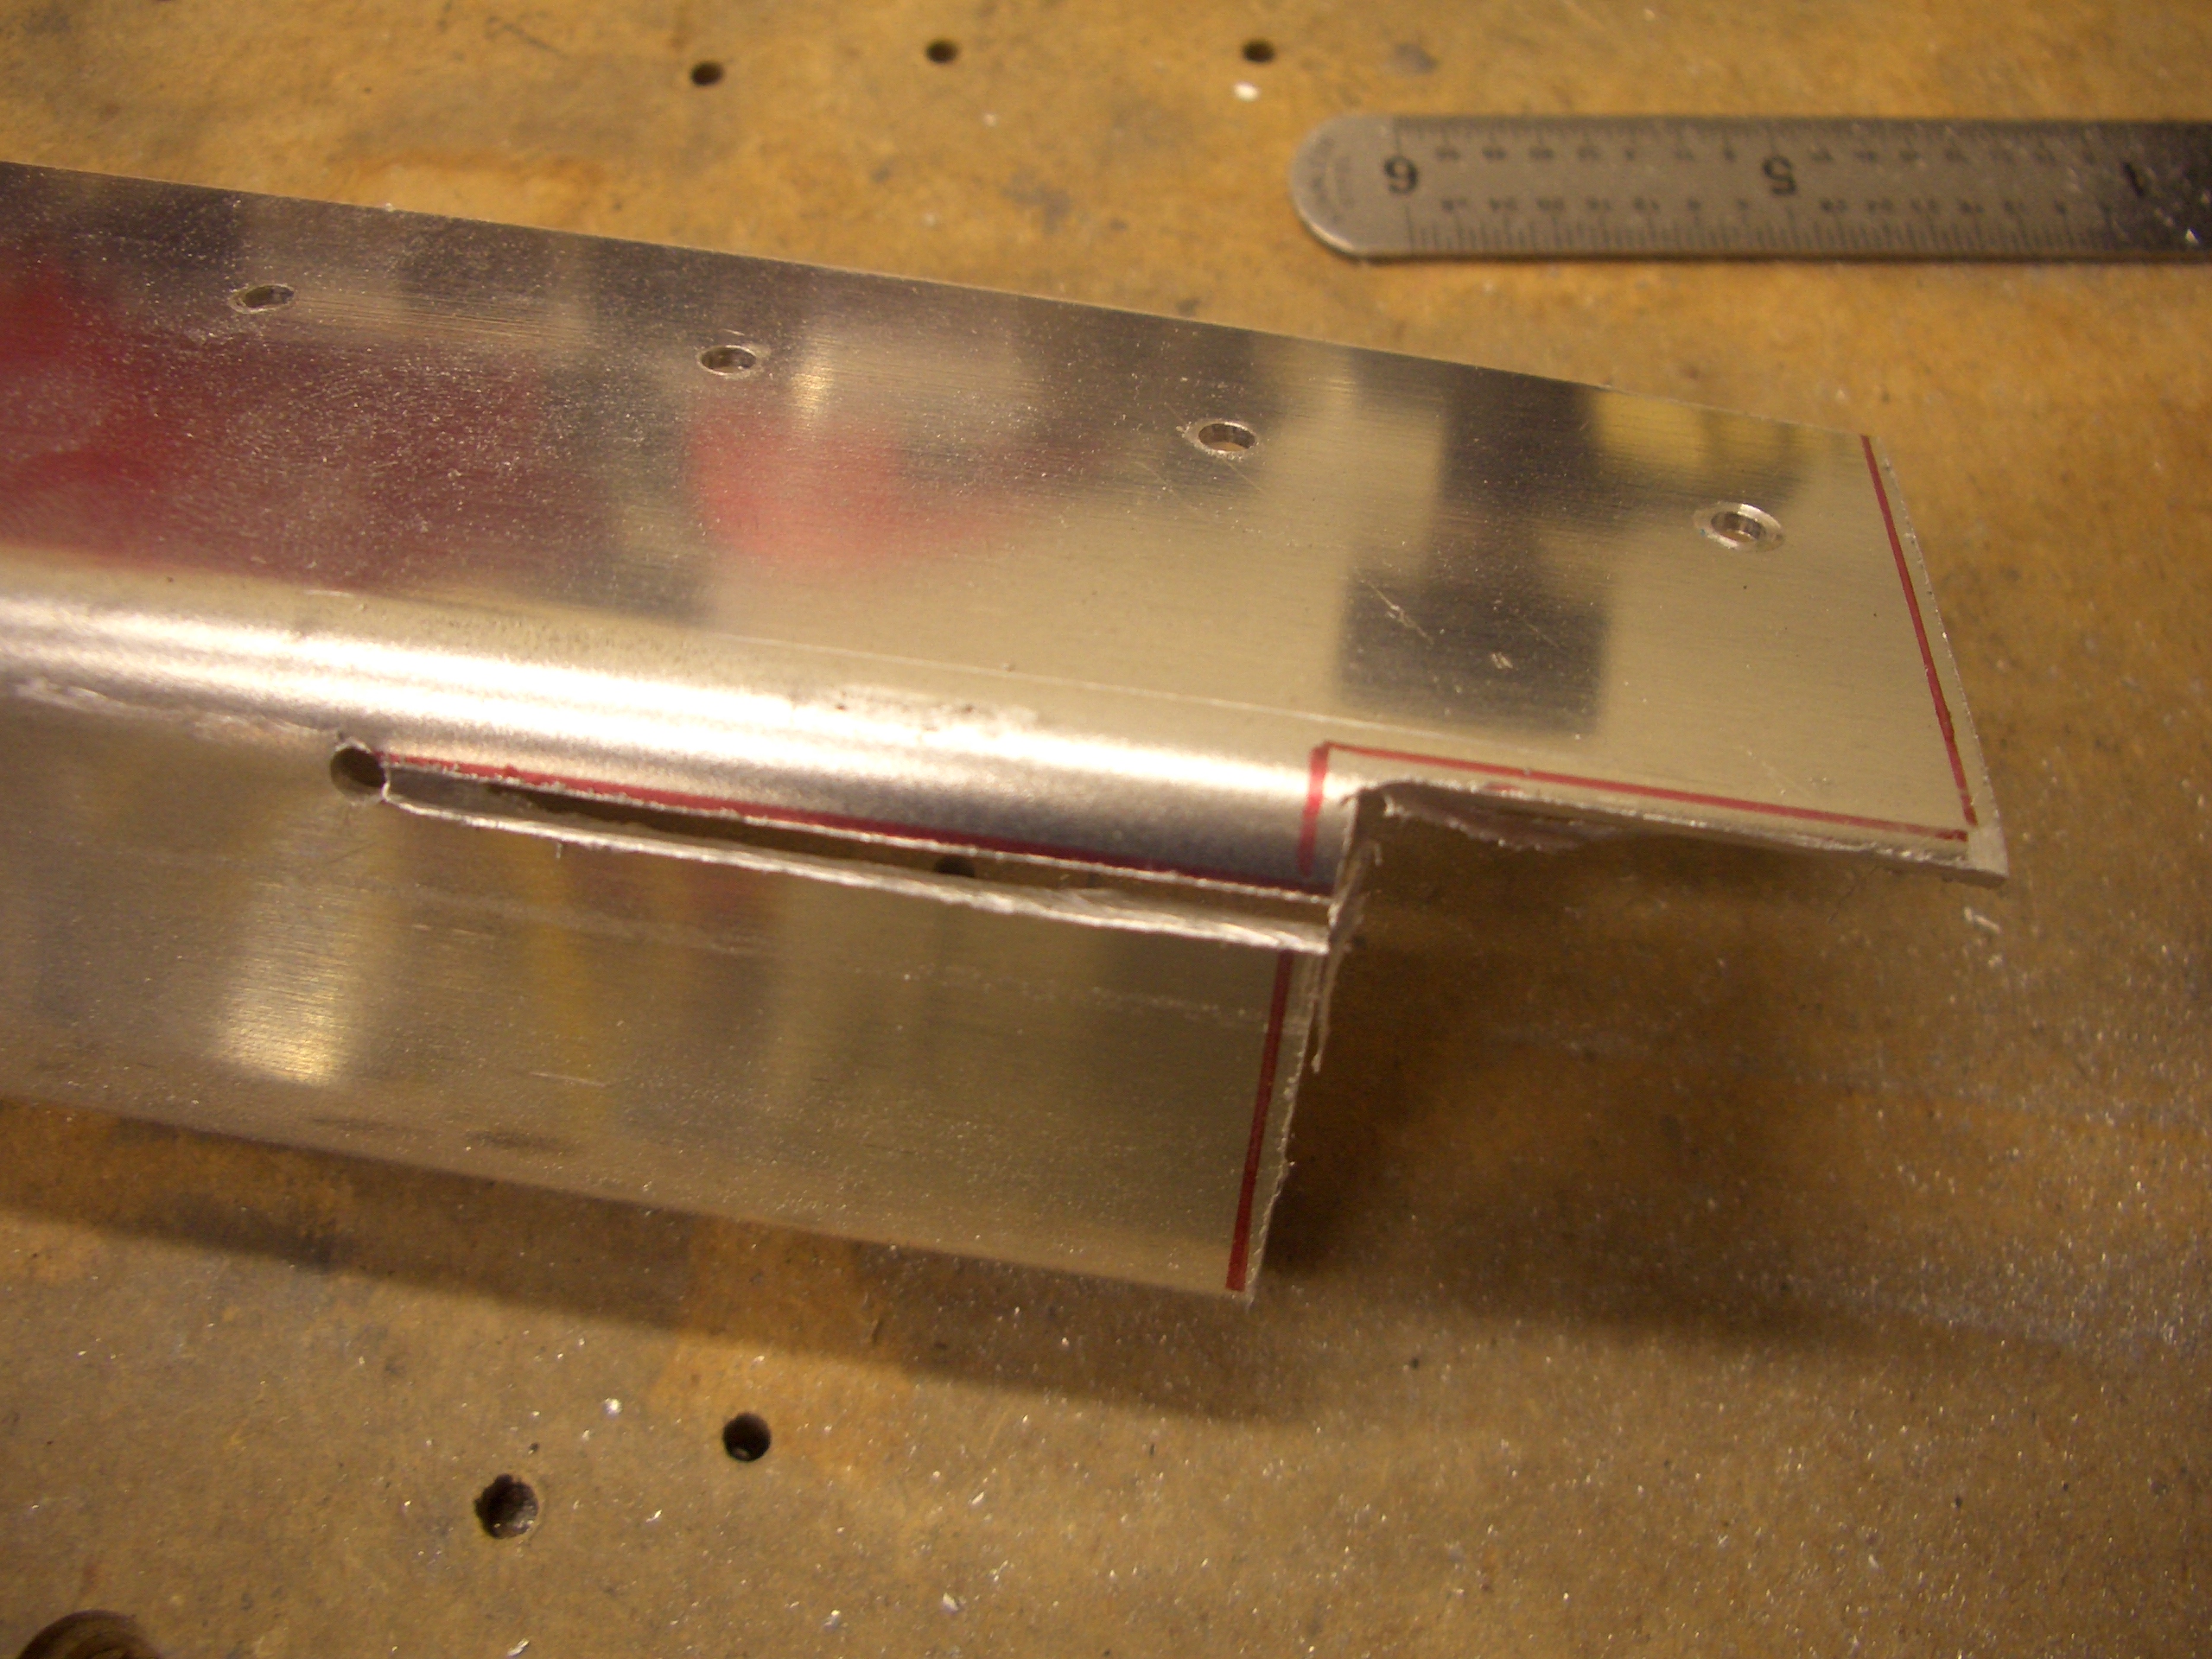
The side rib should sit behind F-705 like this.  They will be connected with a strap that has to be fabricated.

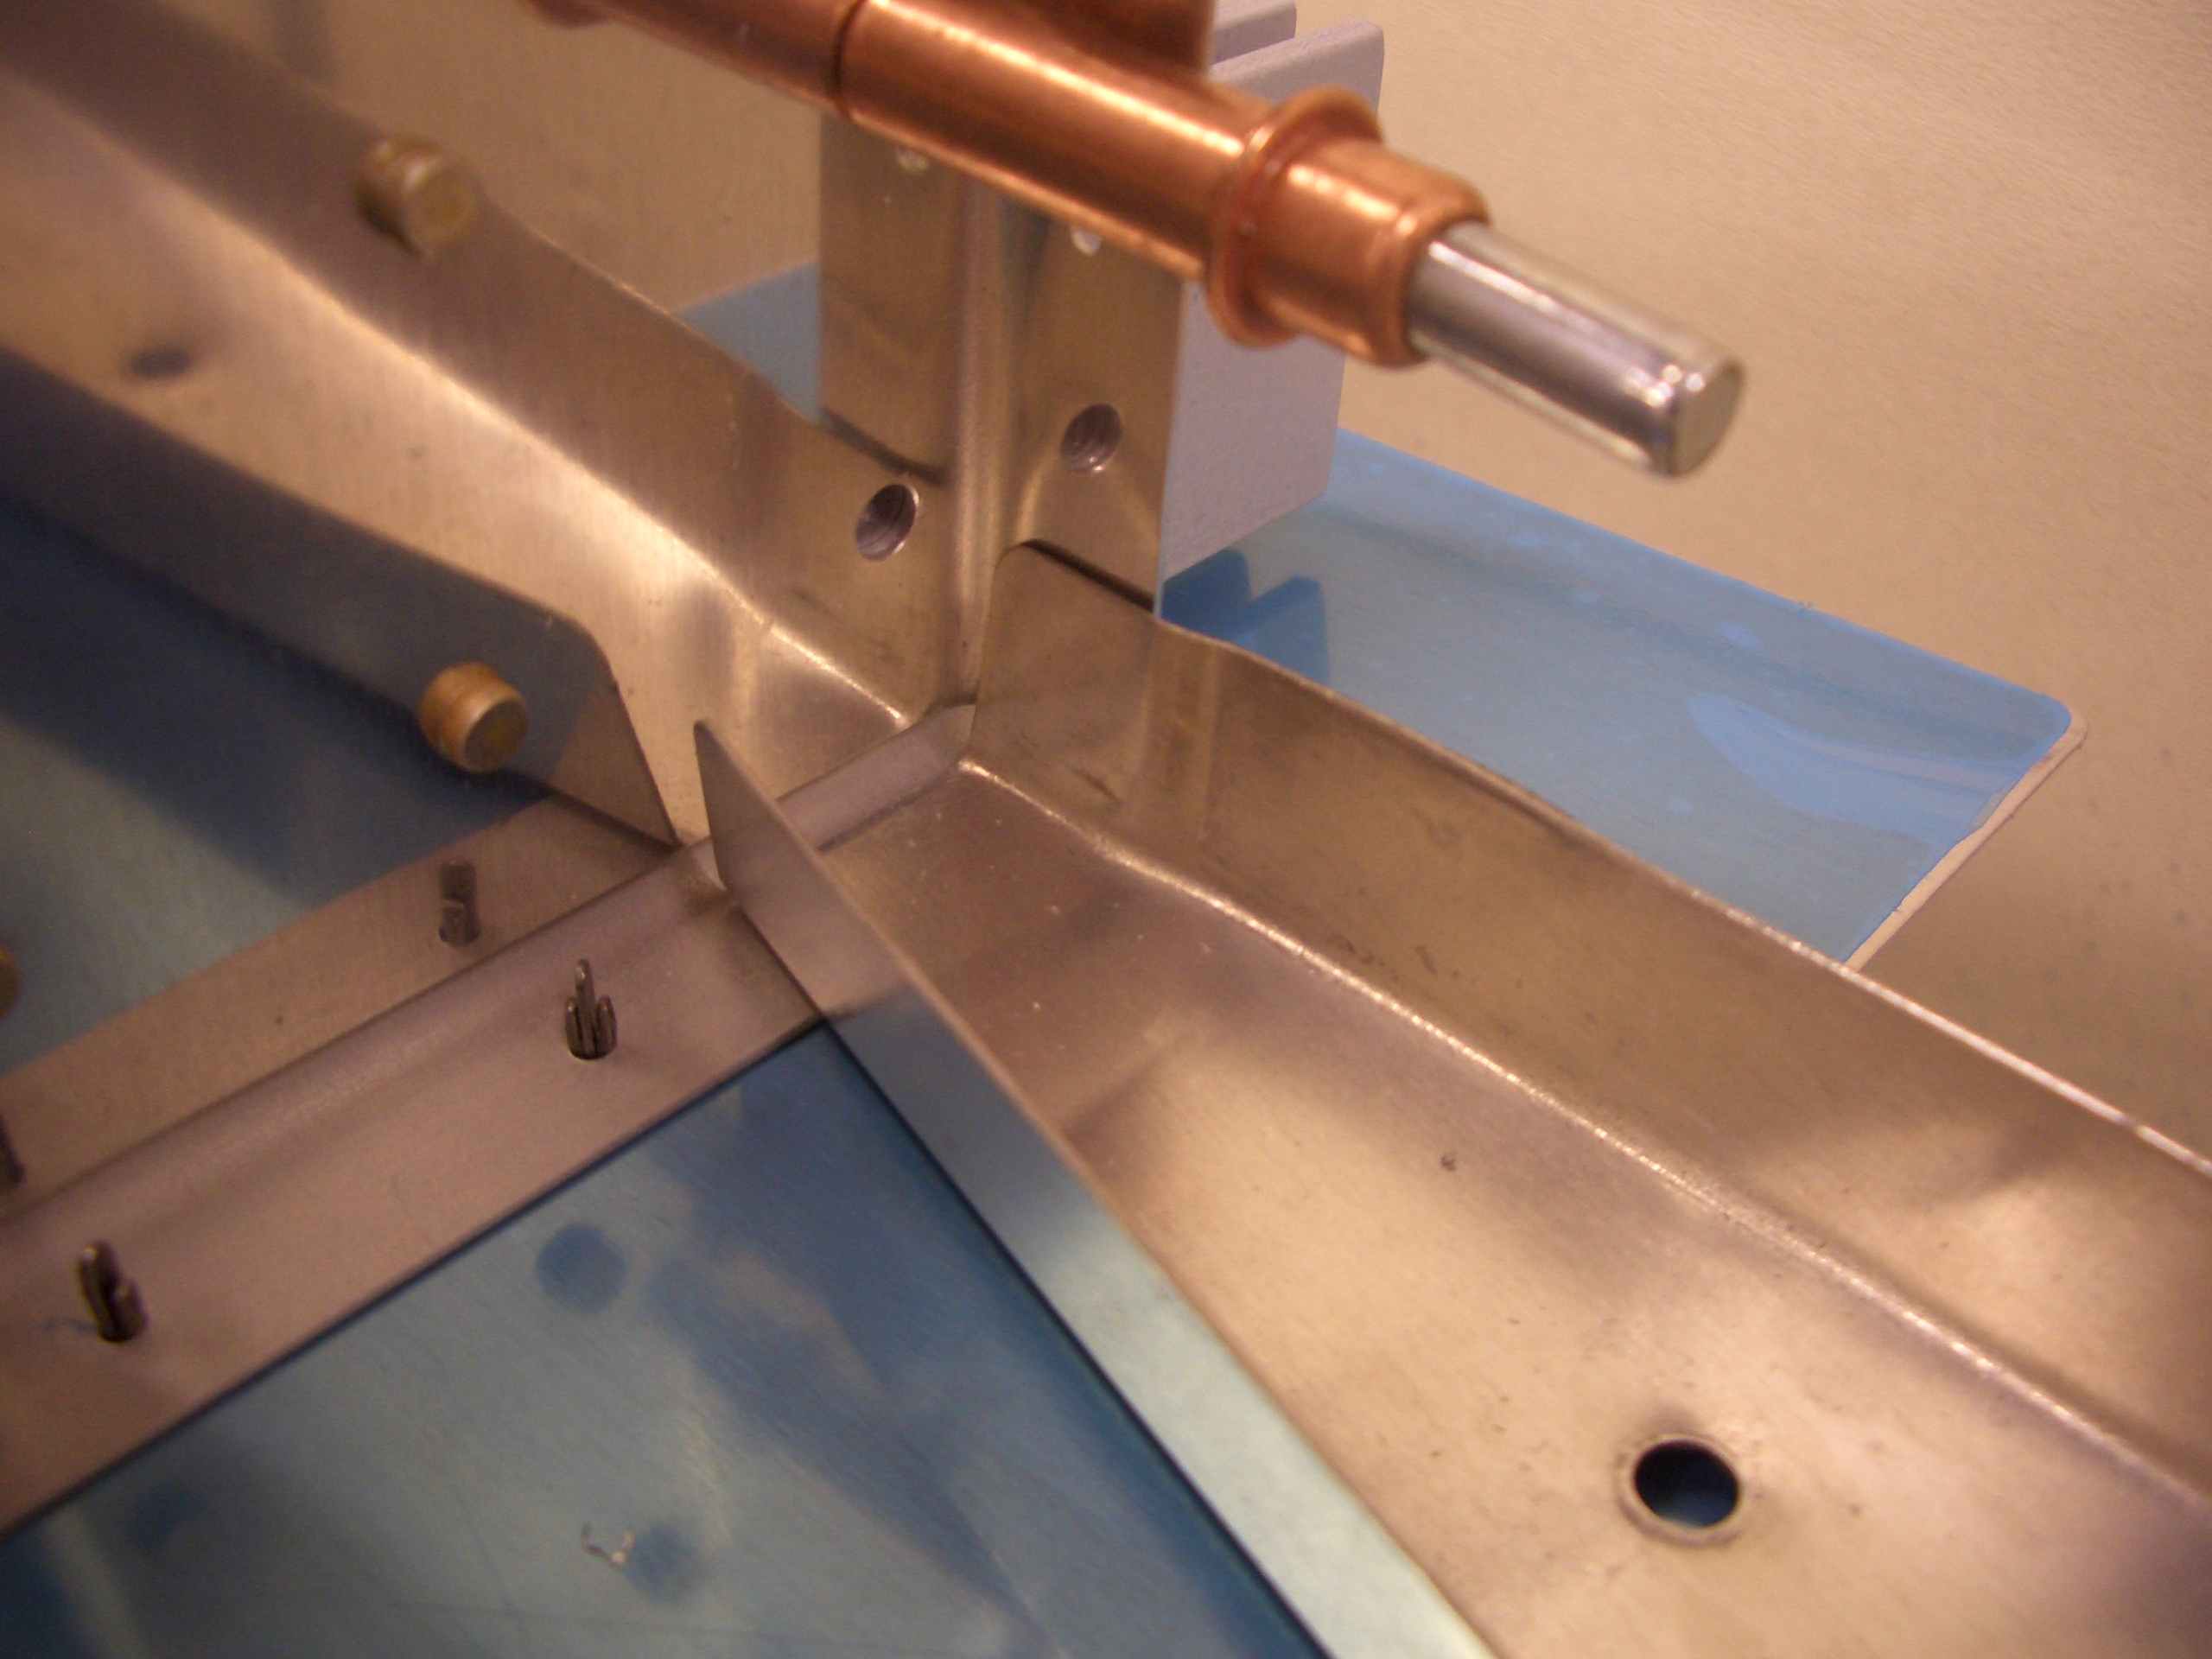
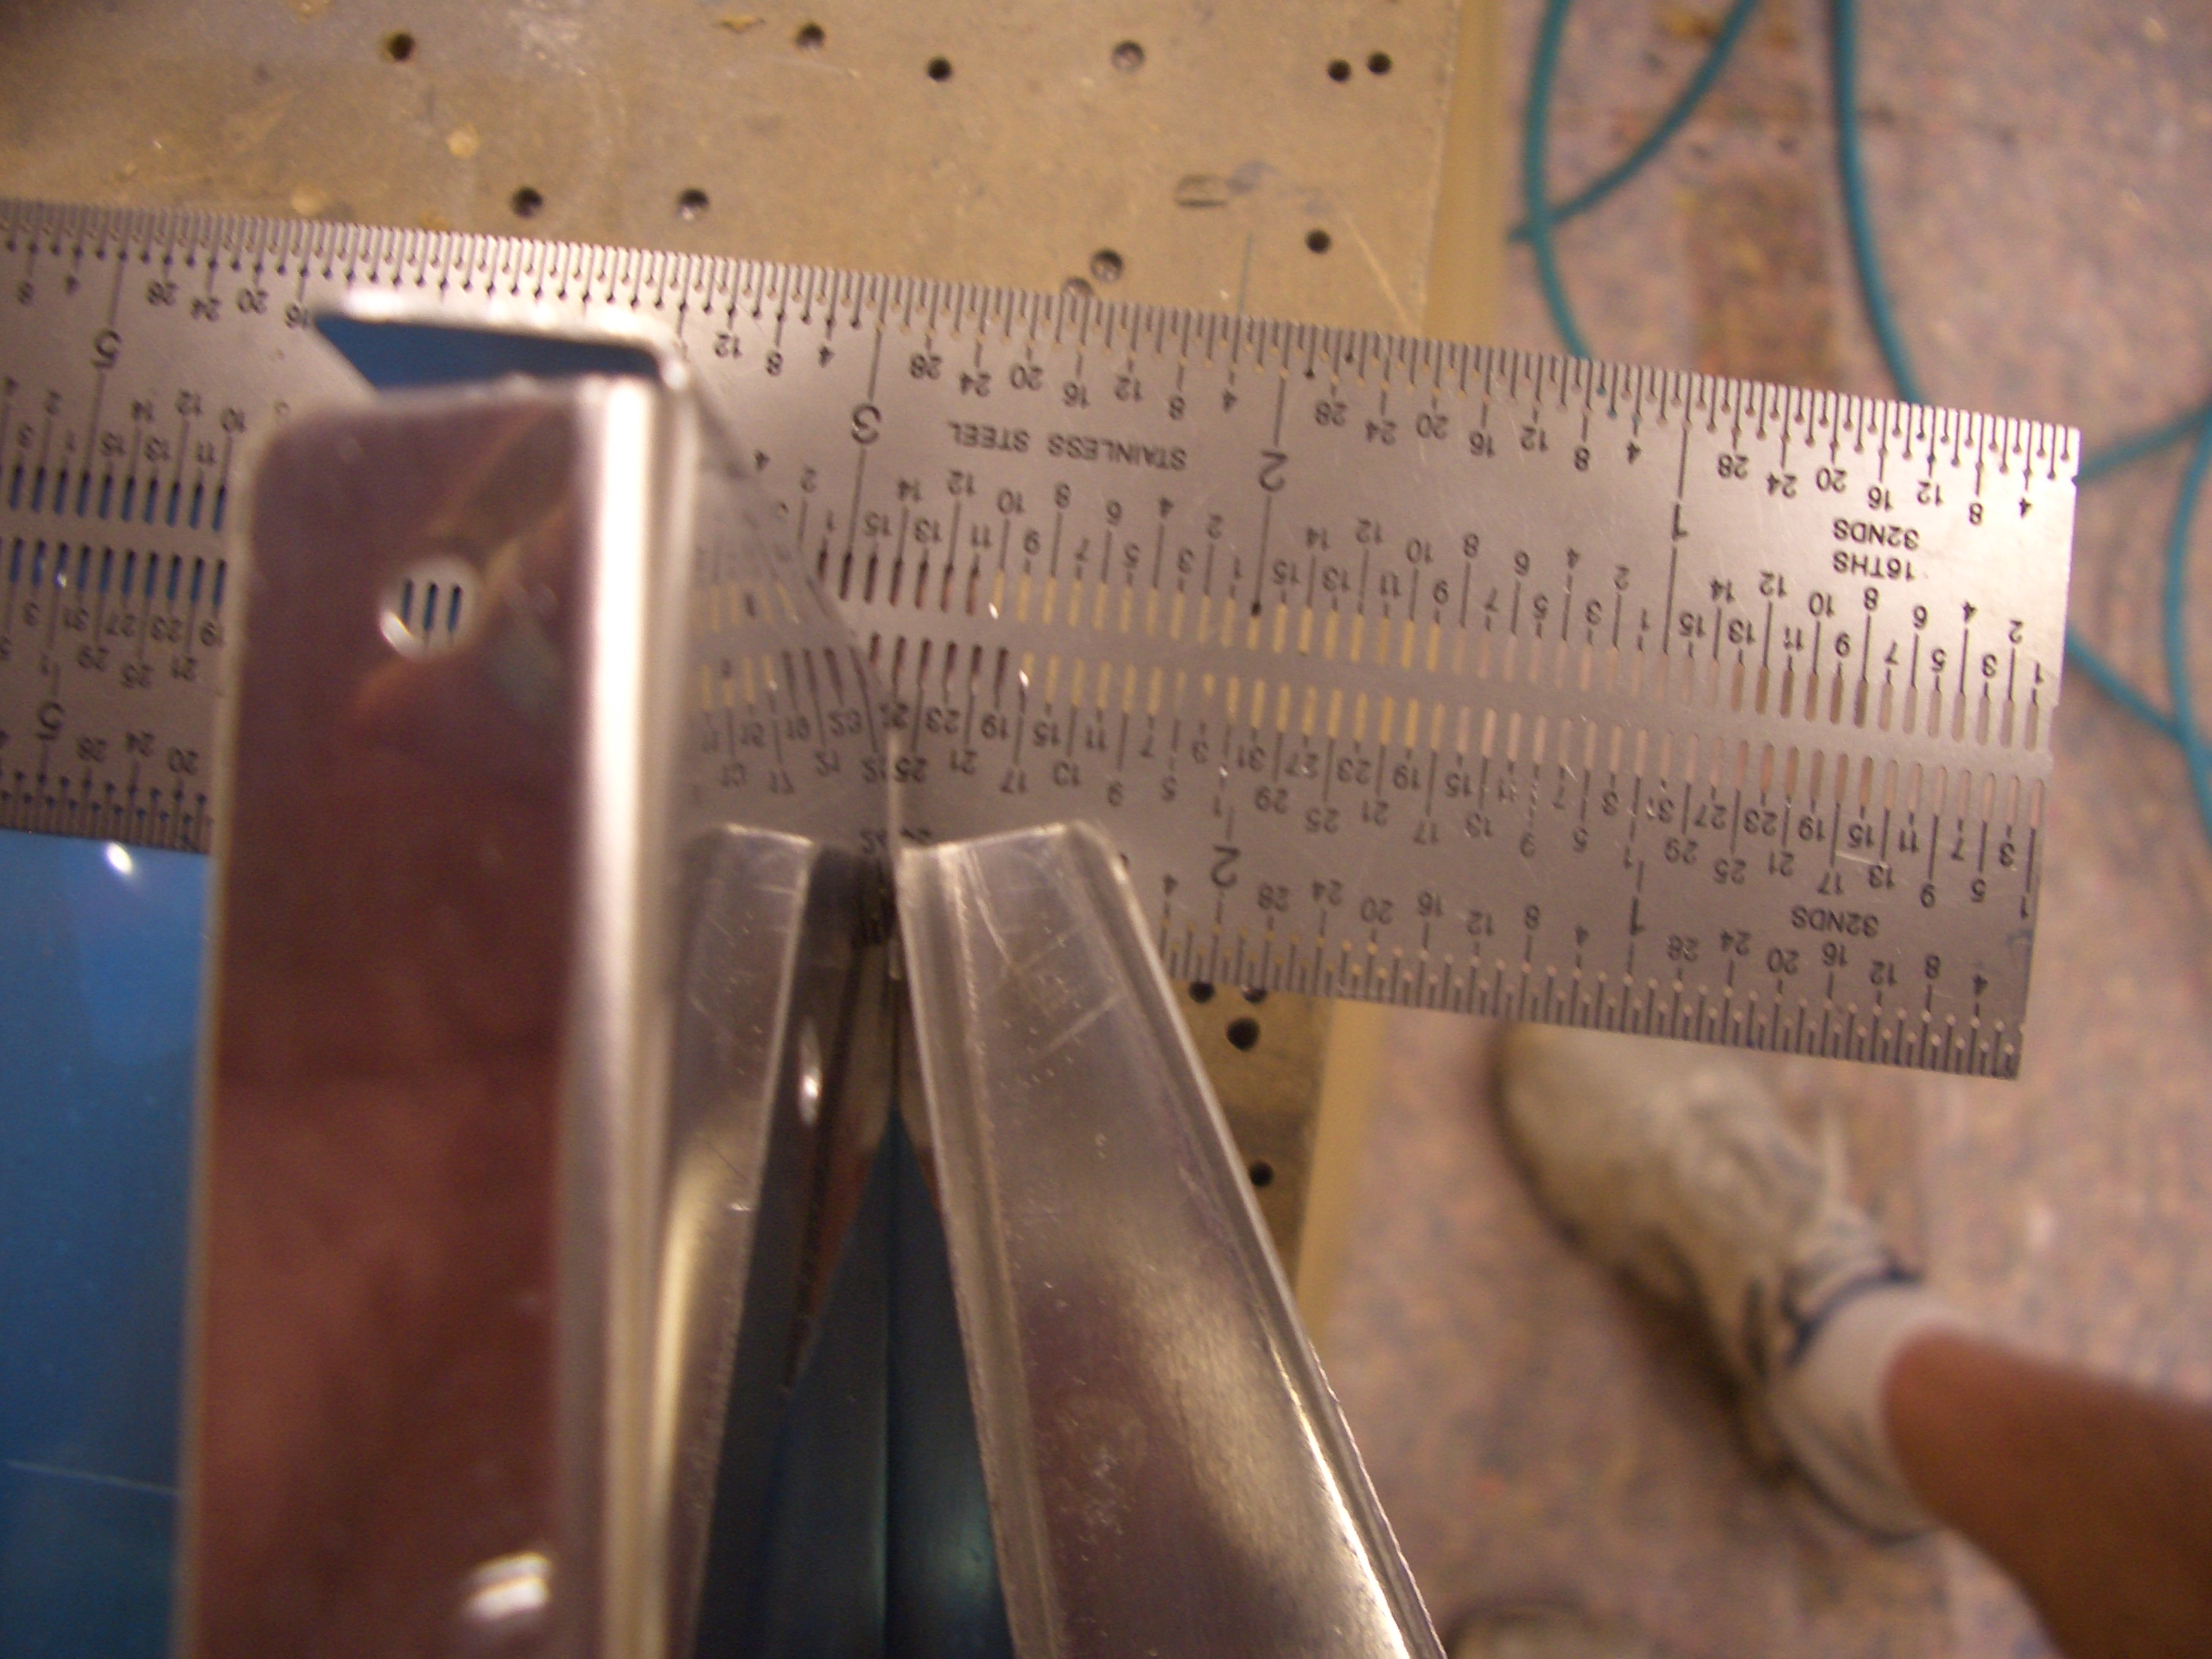
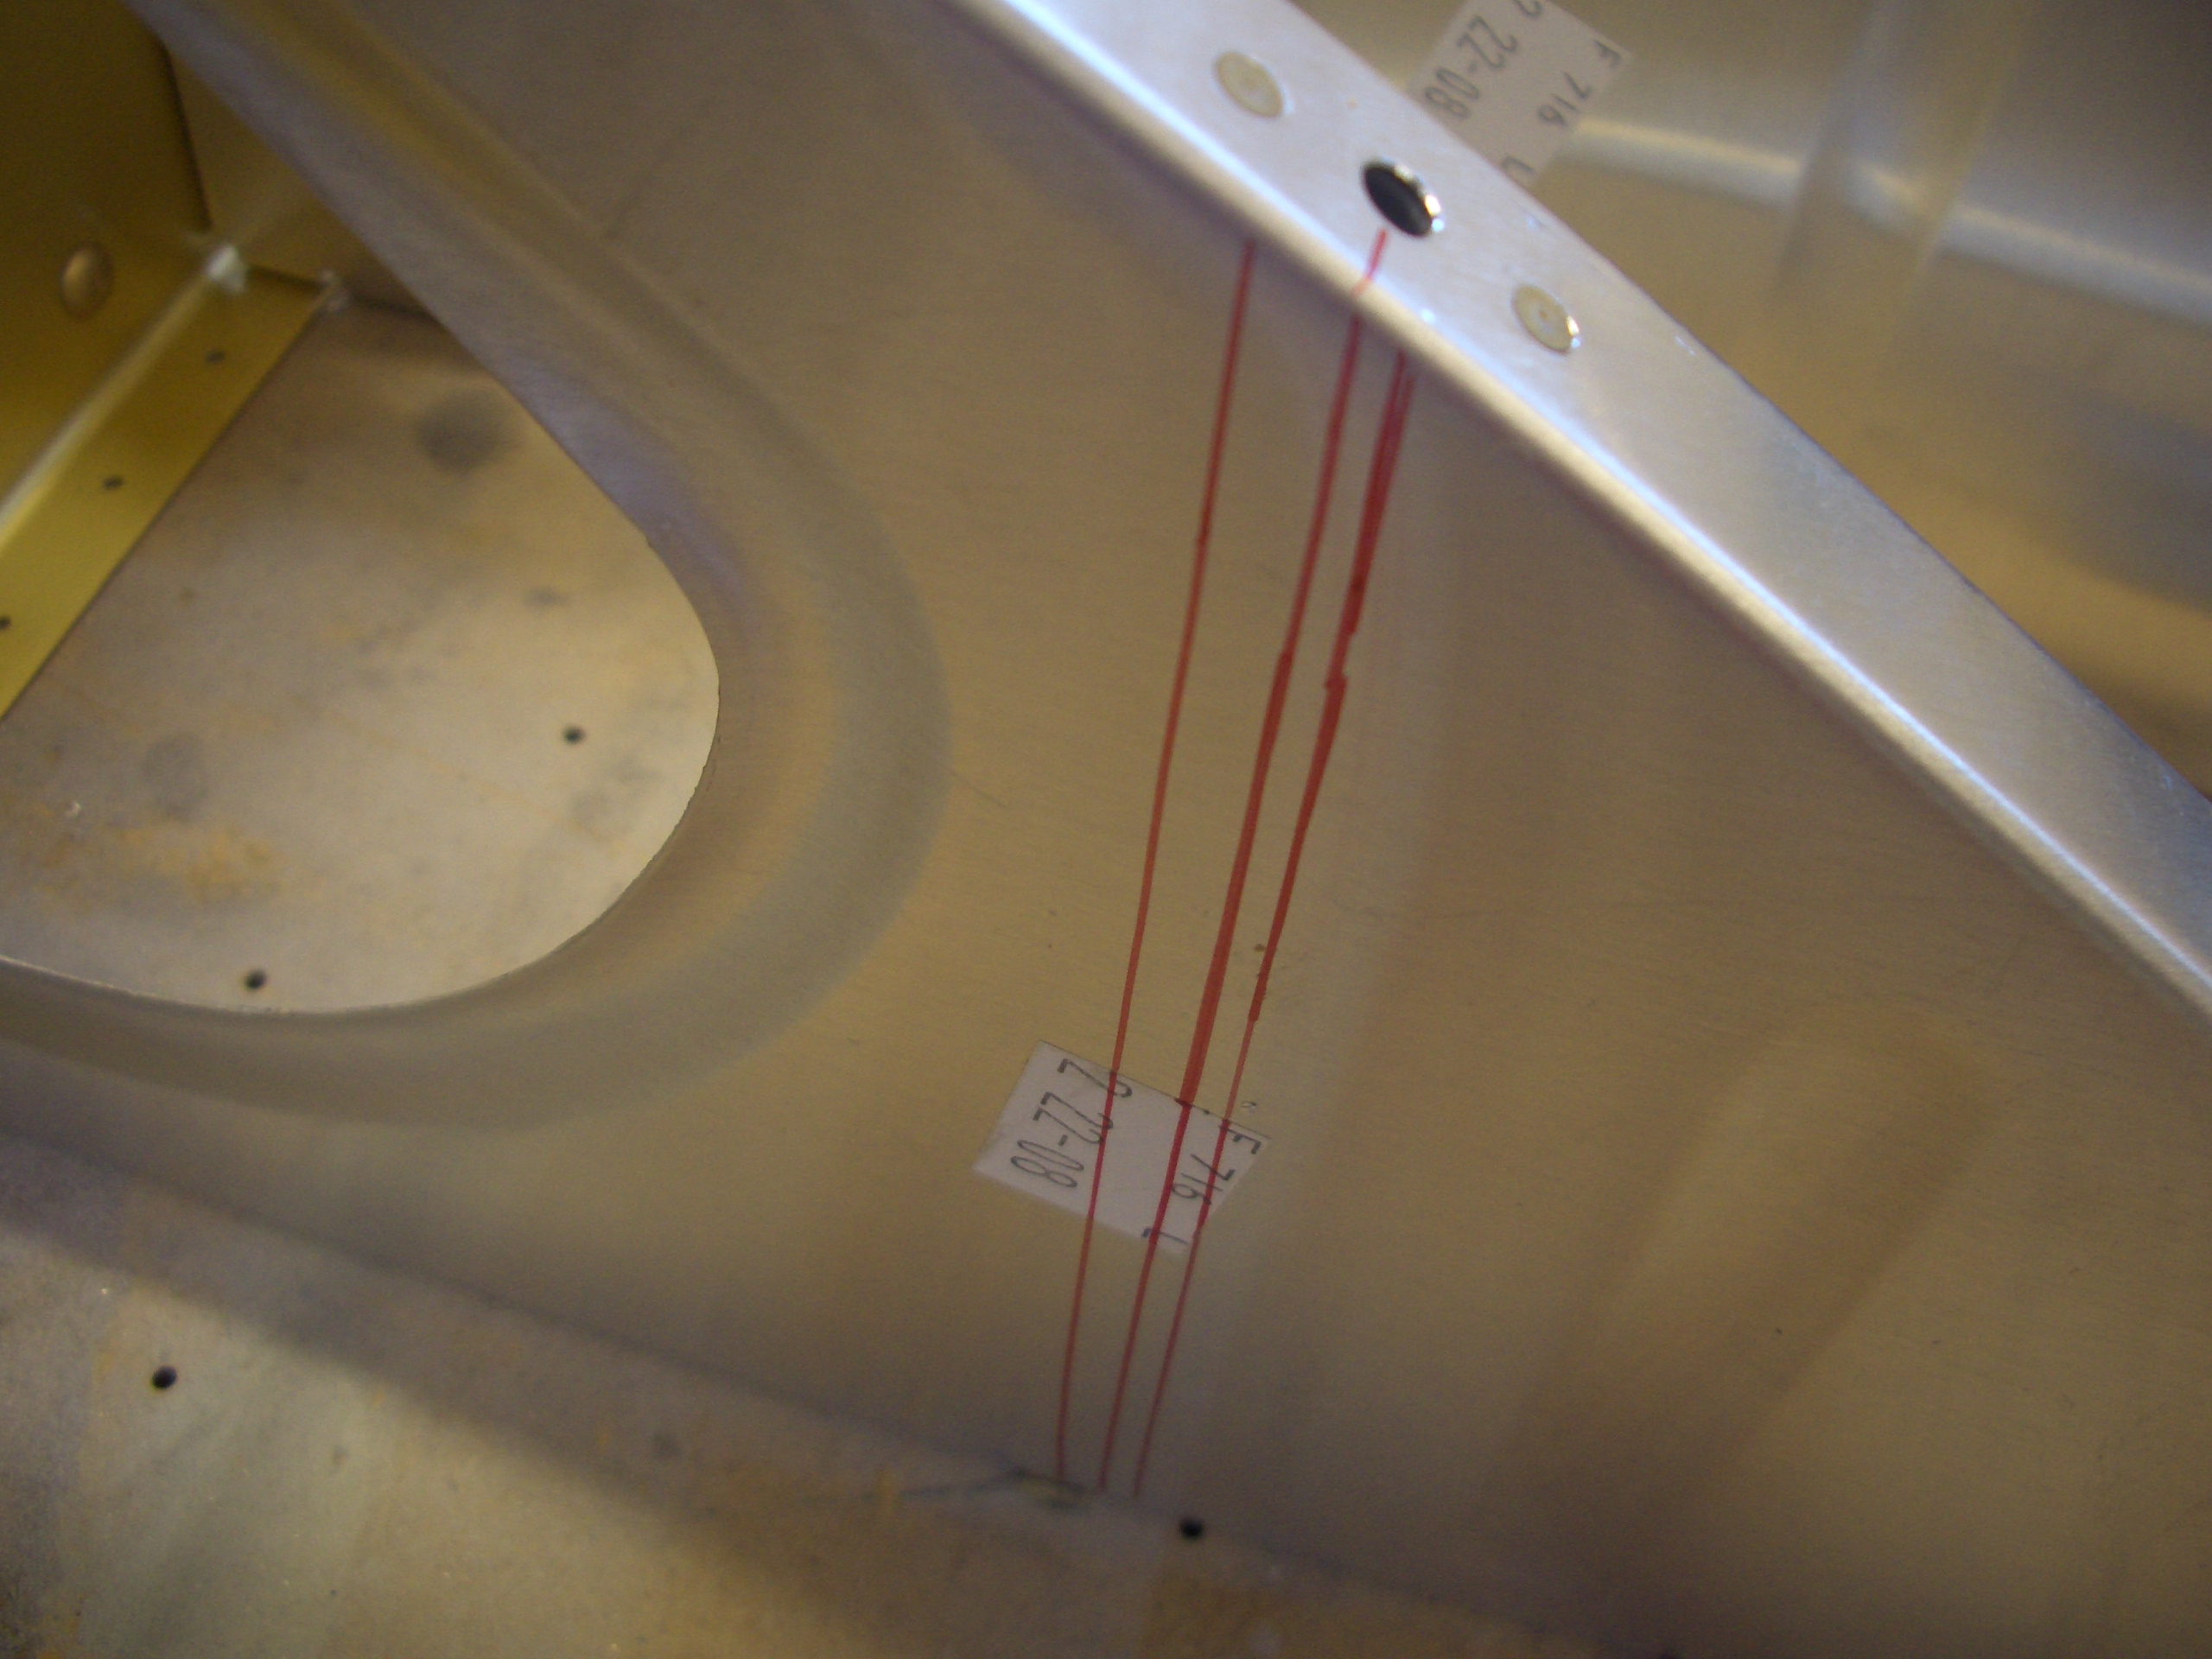
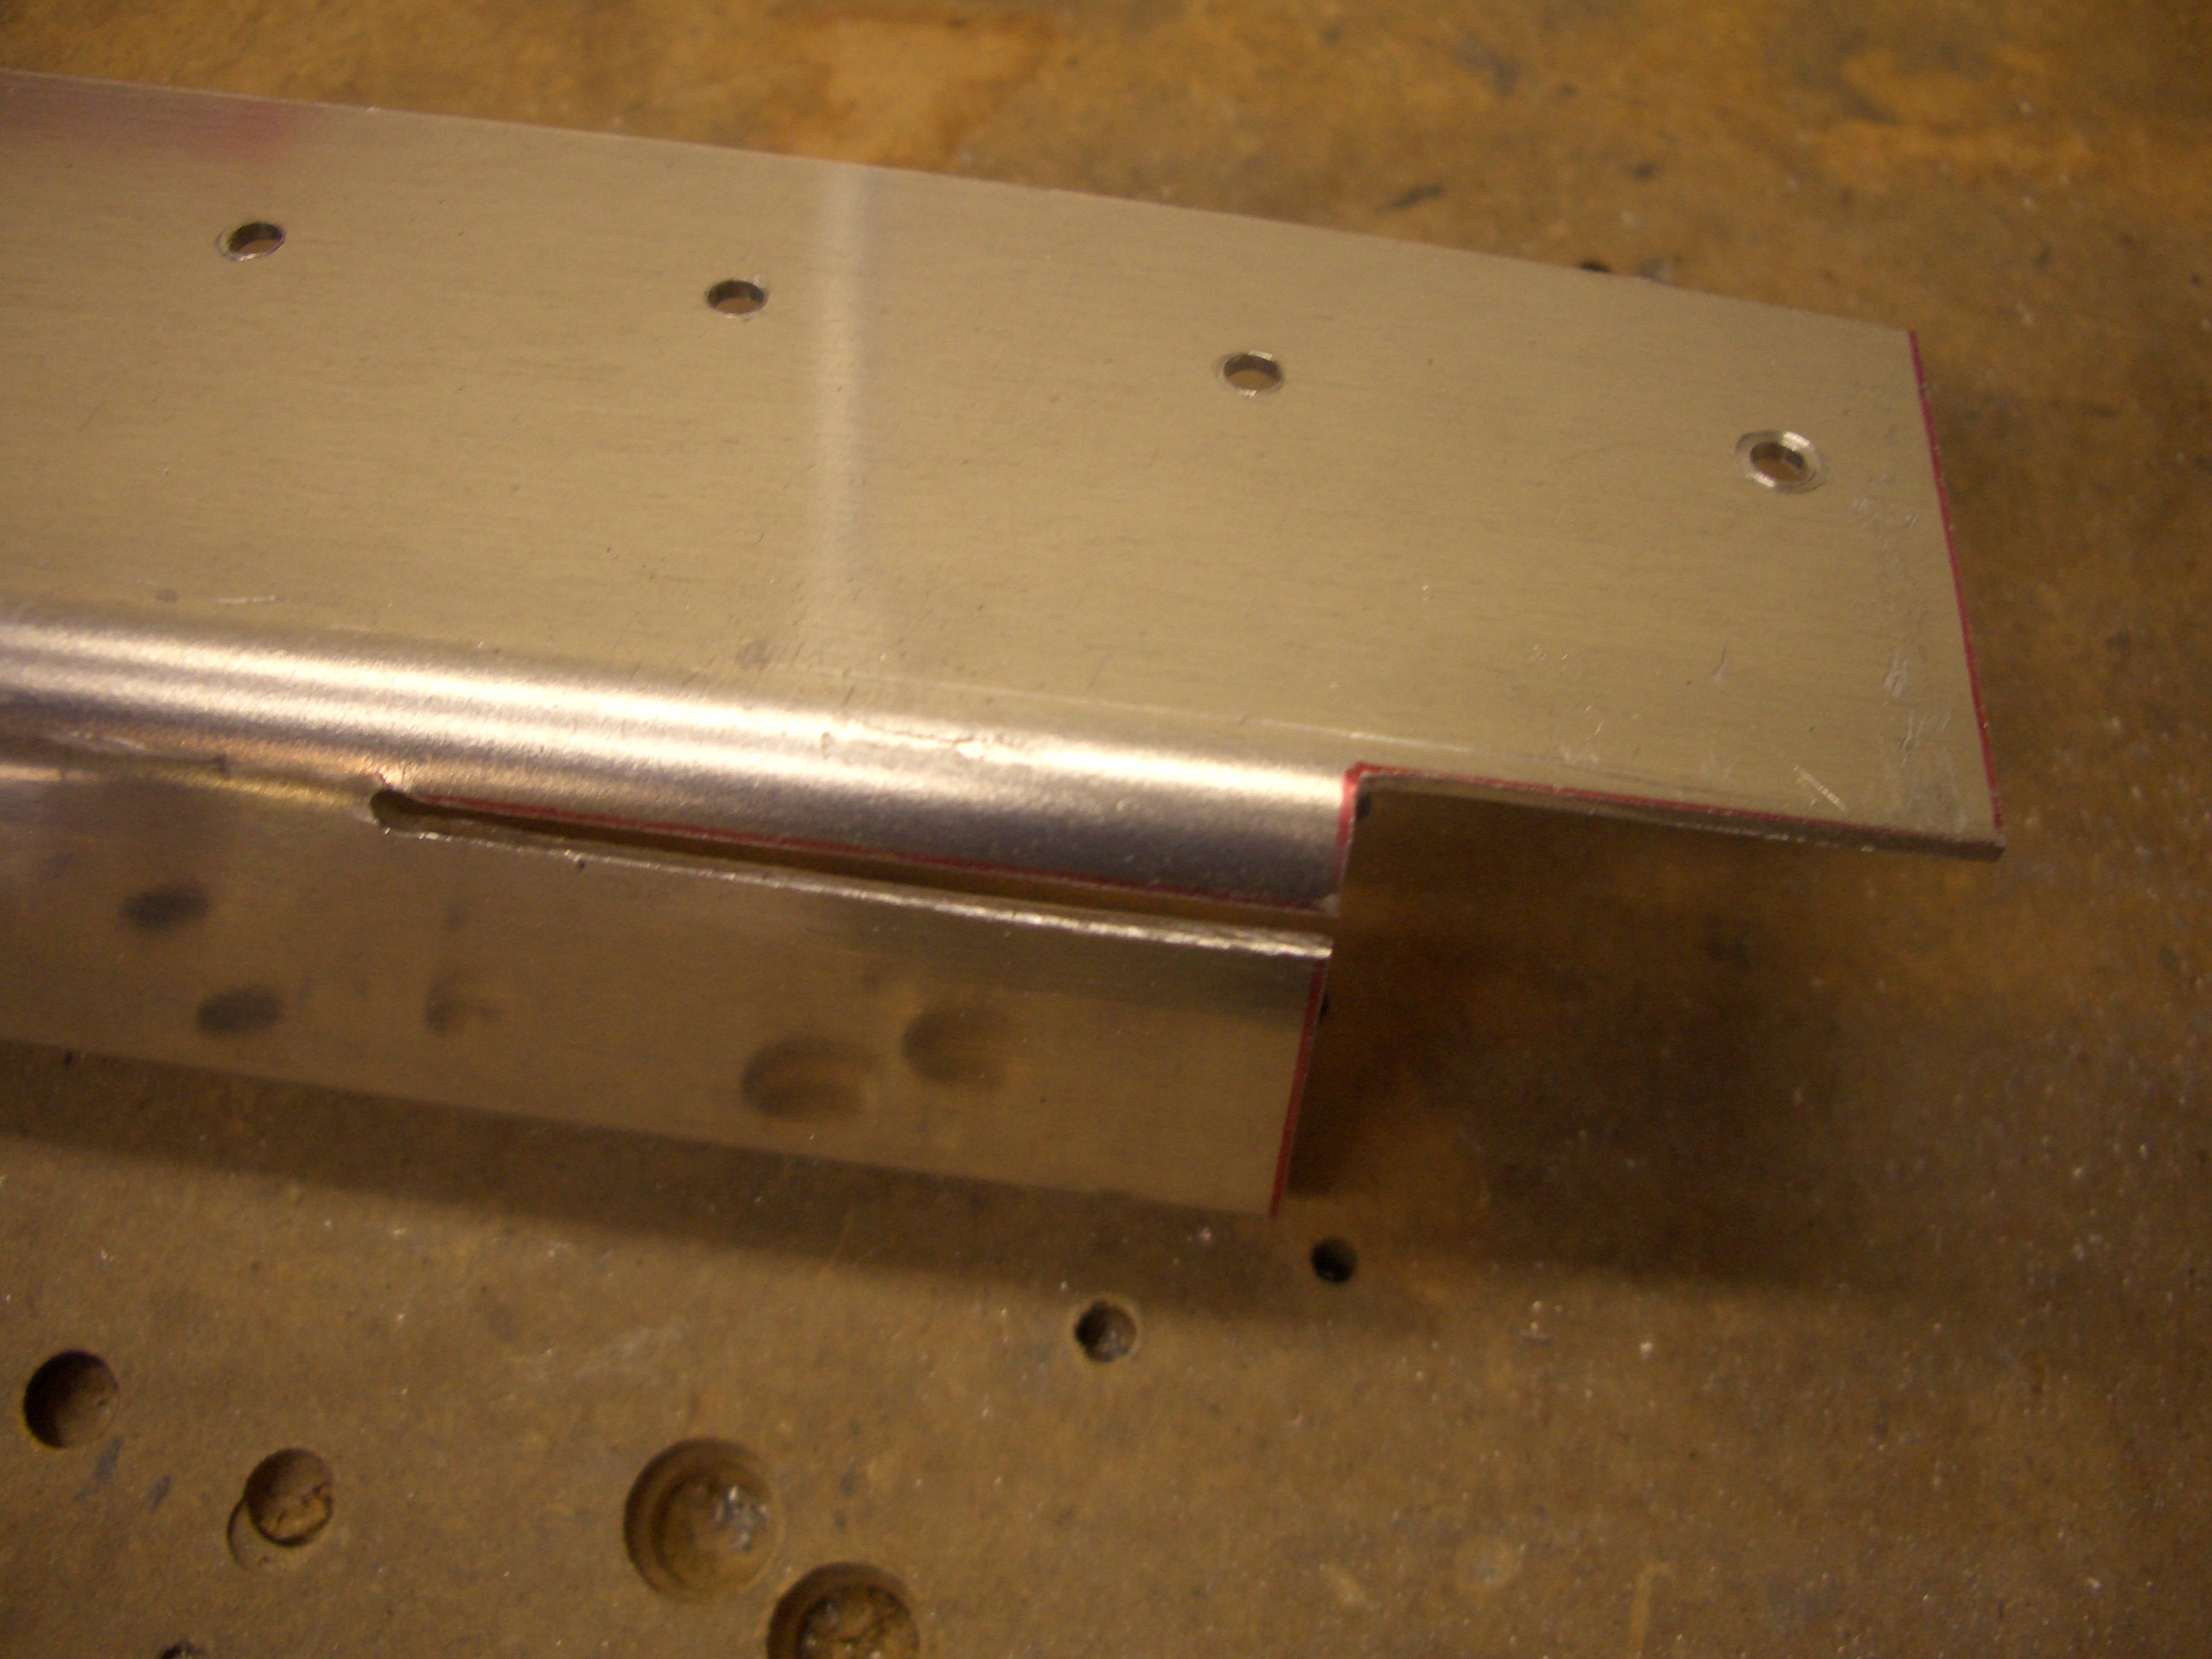
The aft end of the side rib must be cut off as well. I positioned a ruler where the front edge of the F-706 bulkhead will sit and marked the rib.

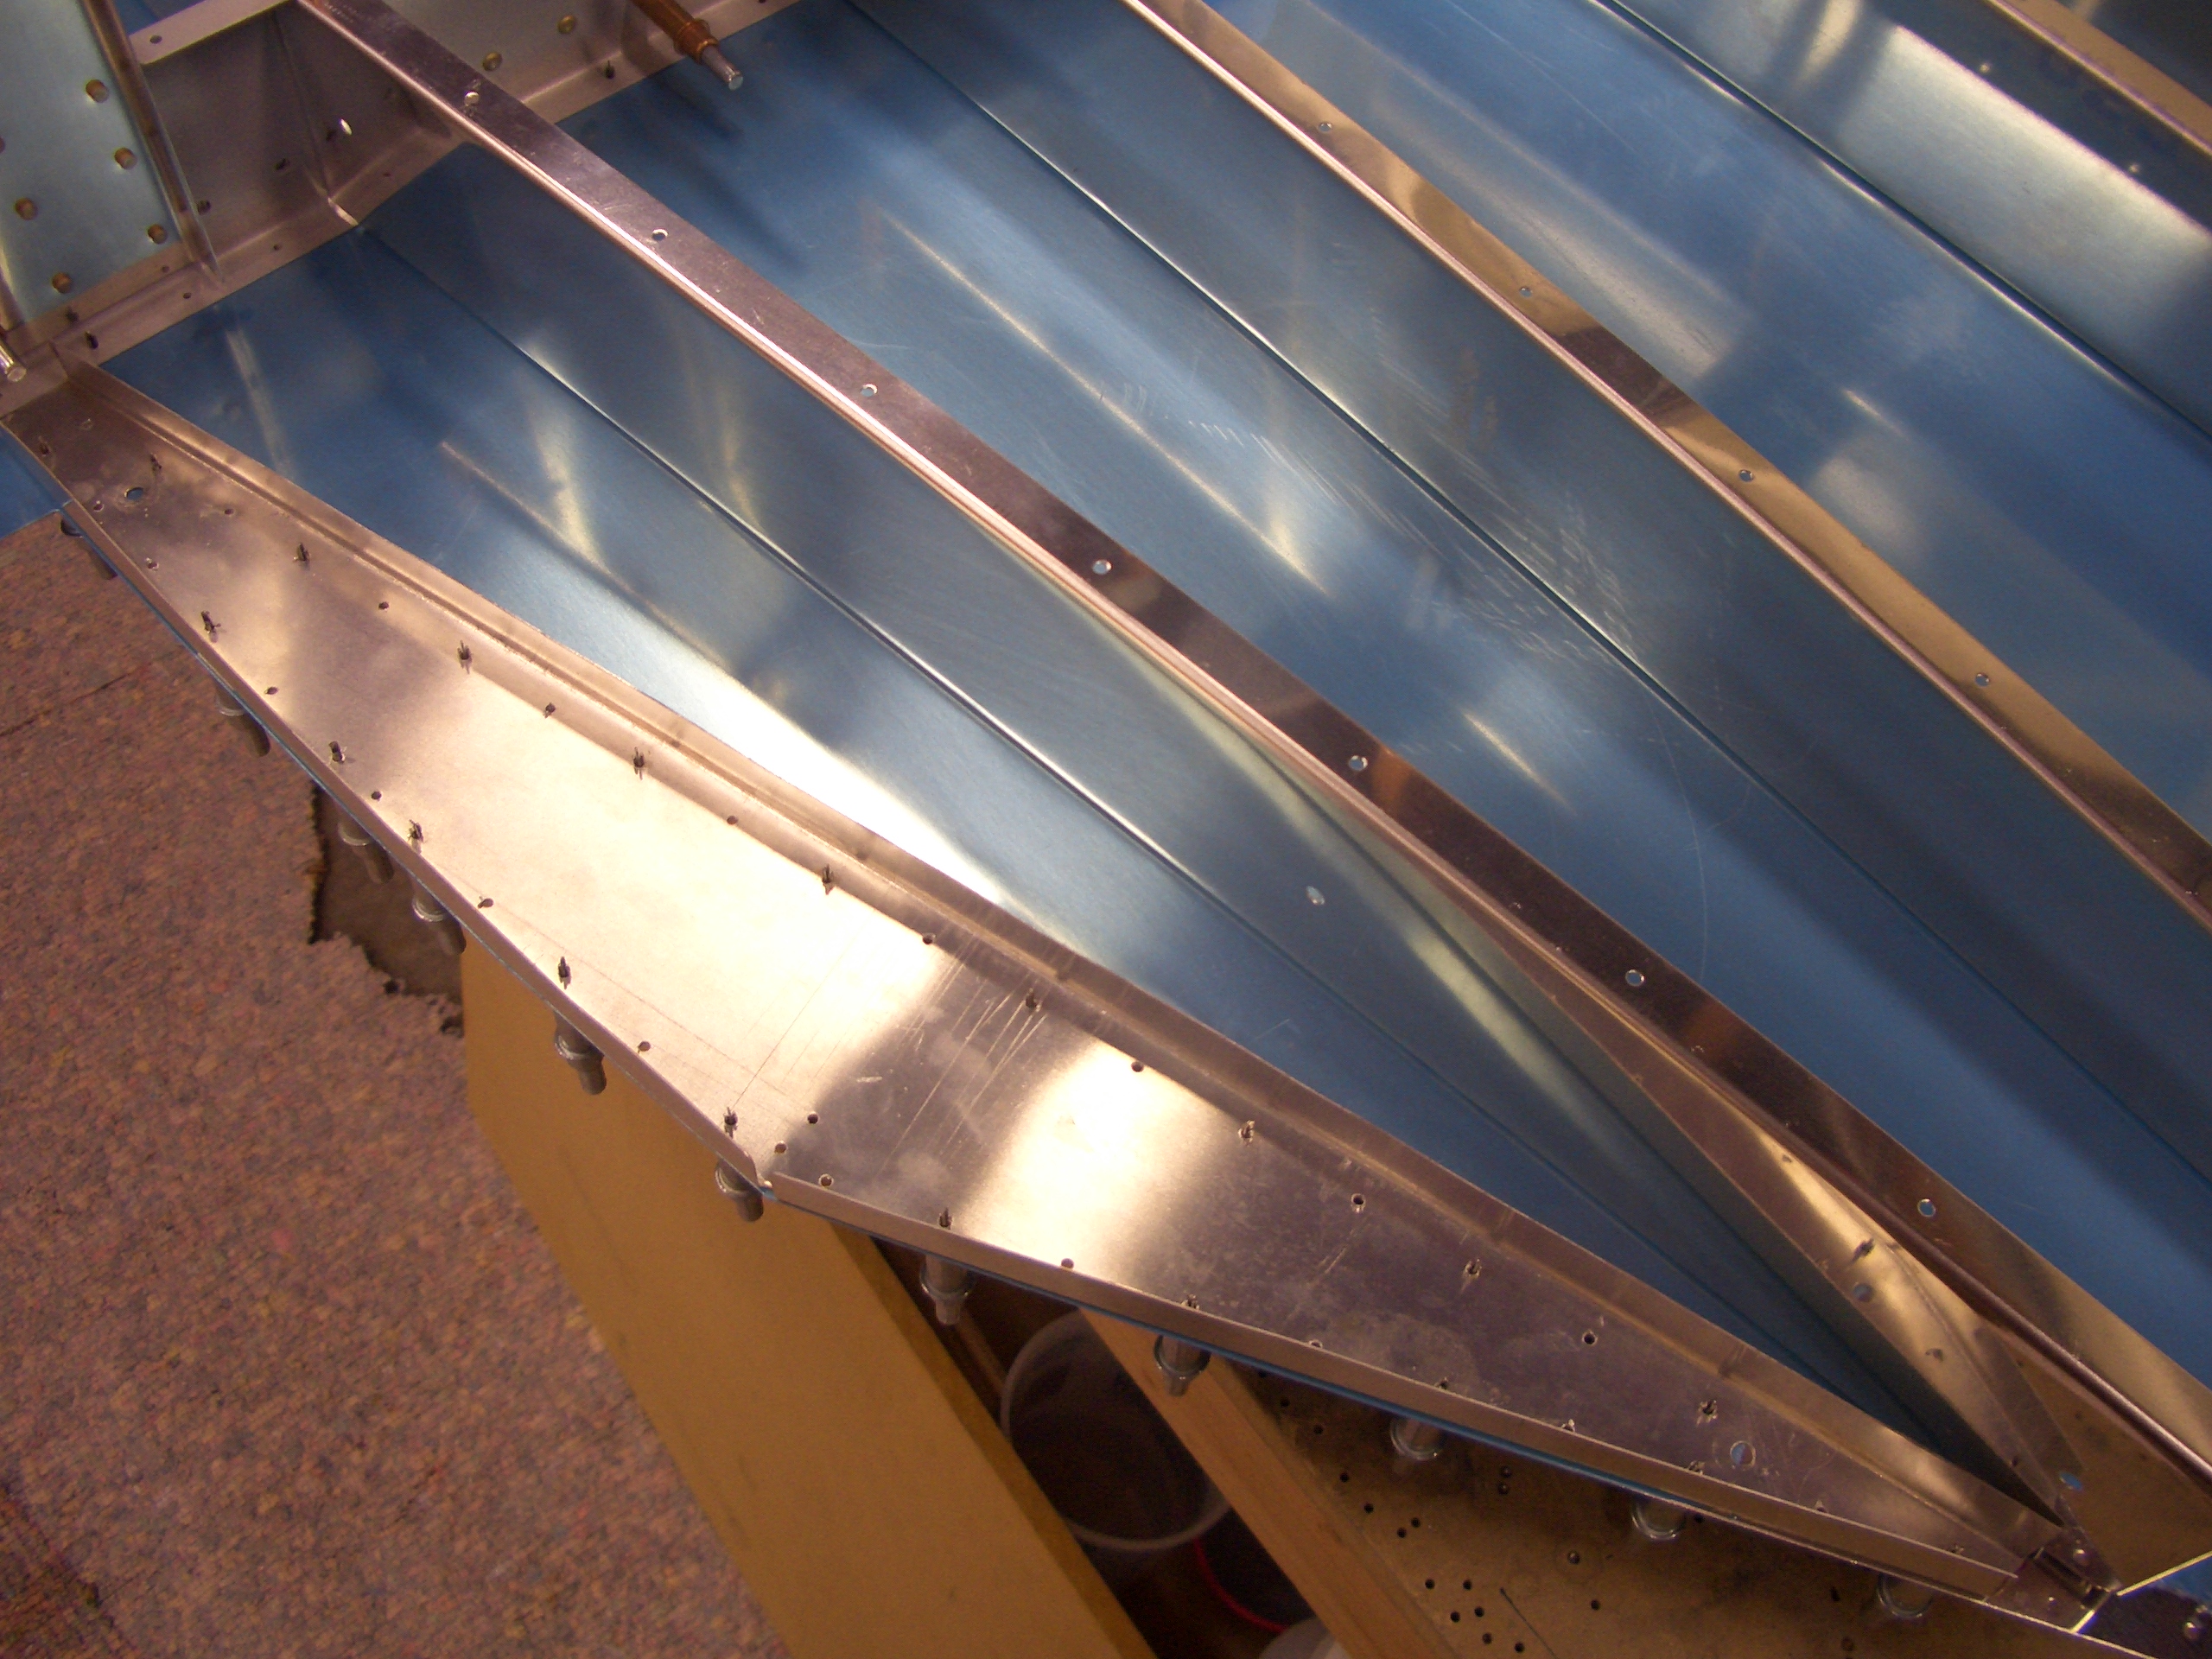
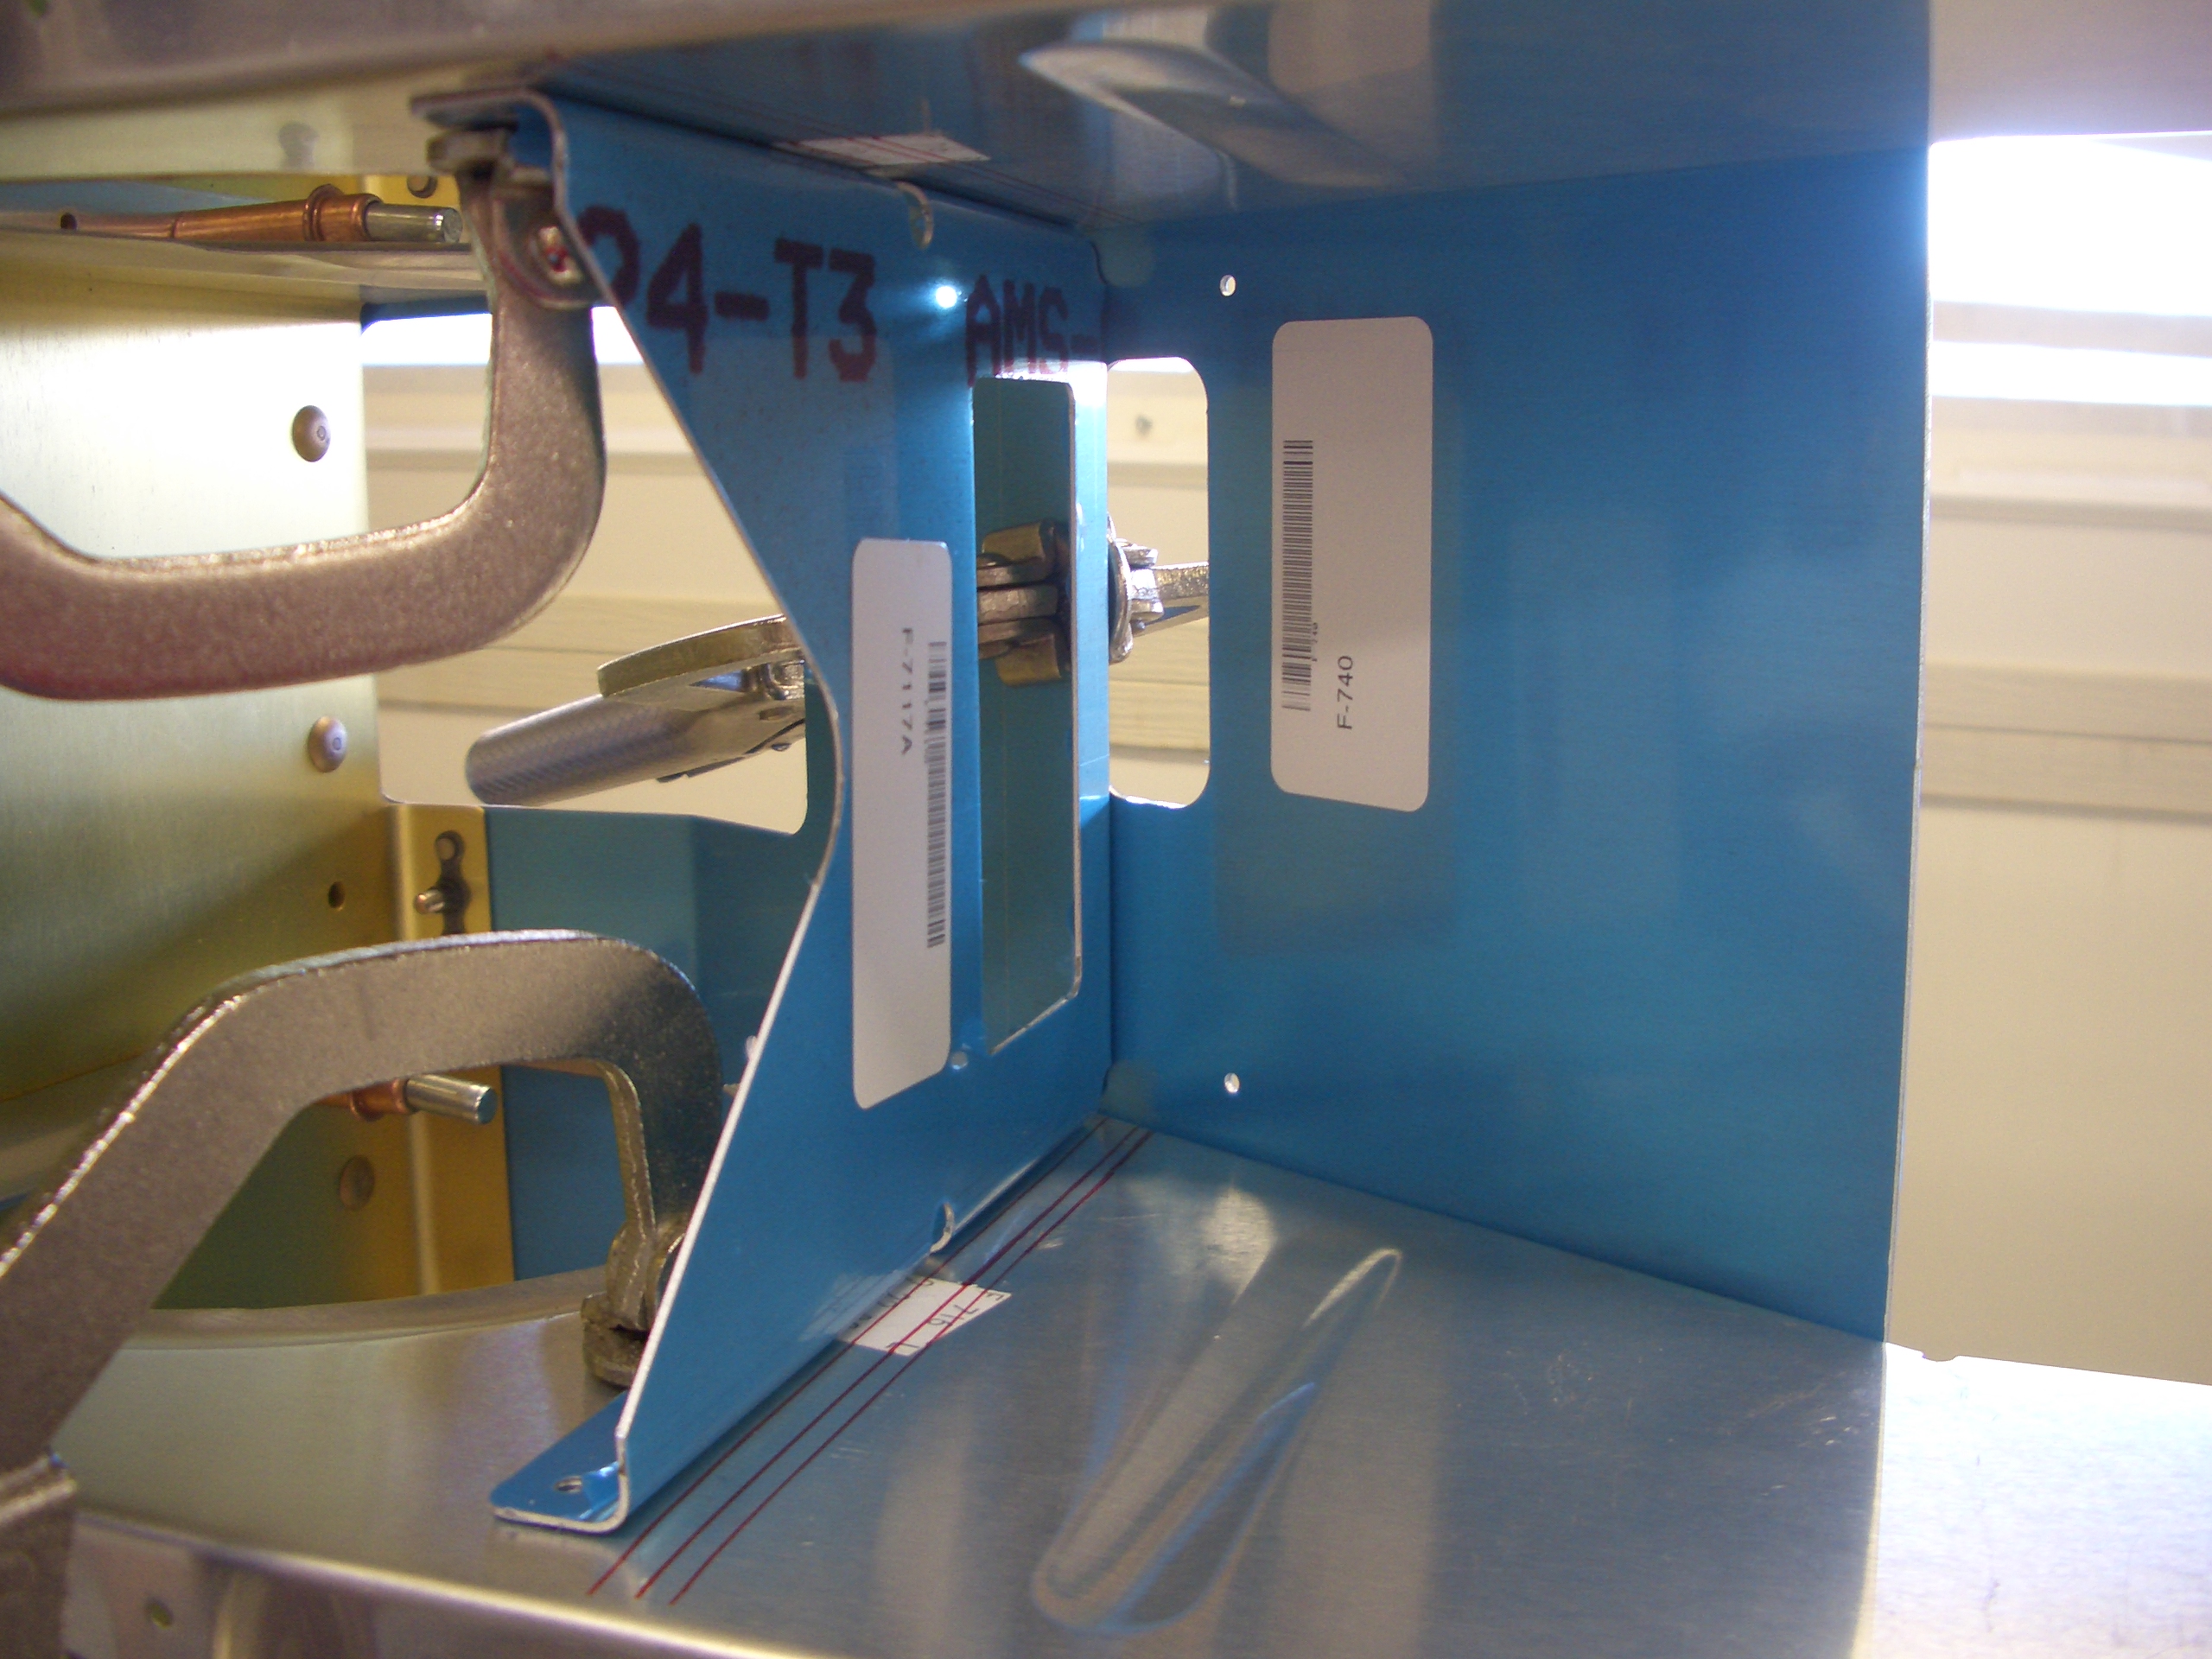
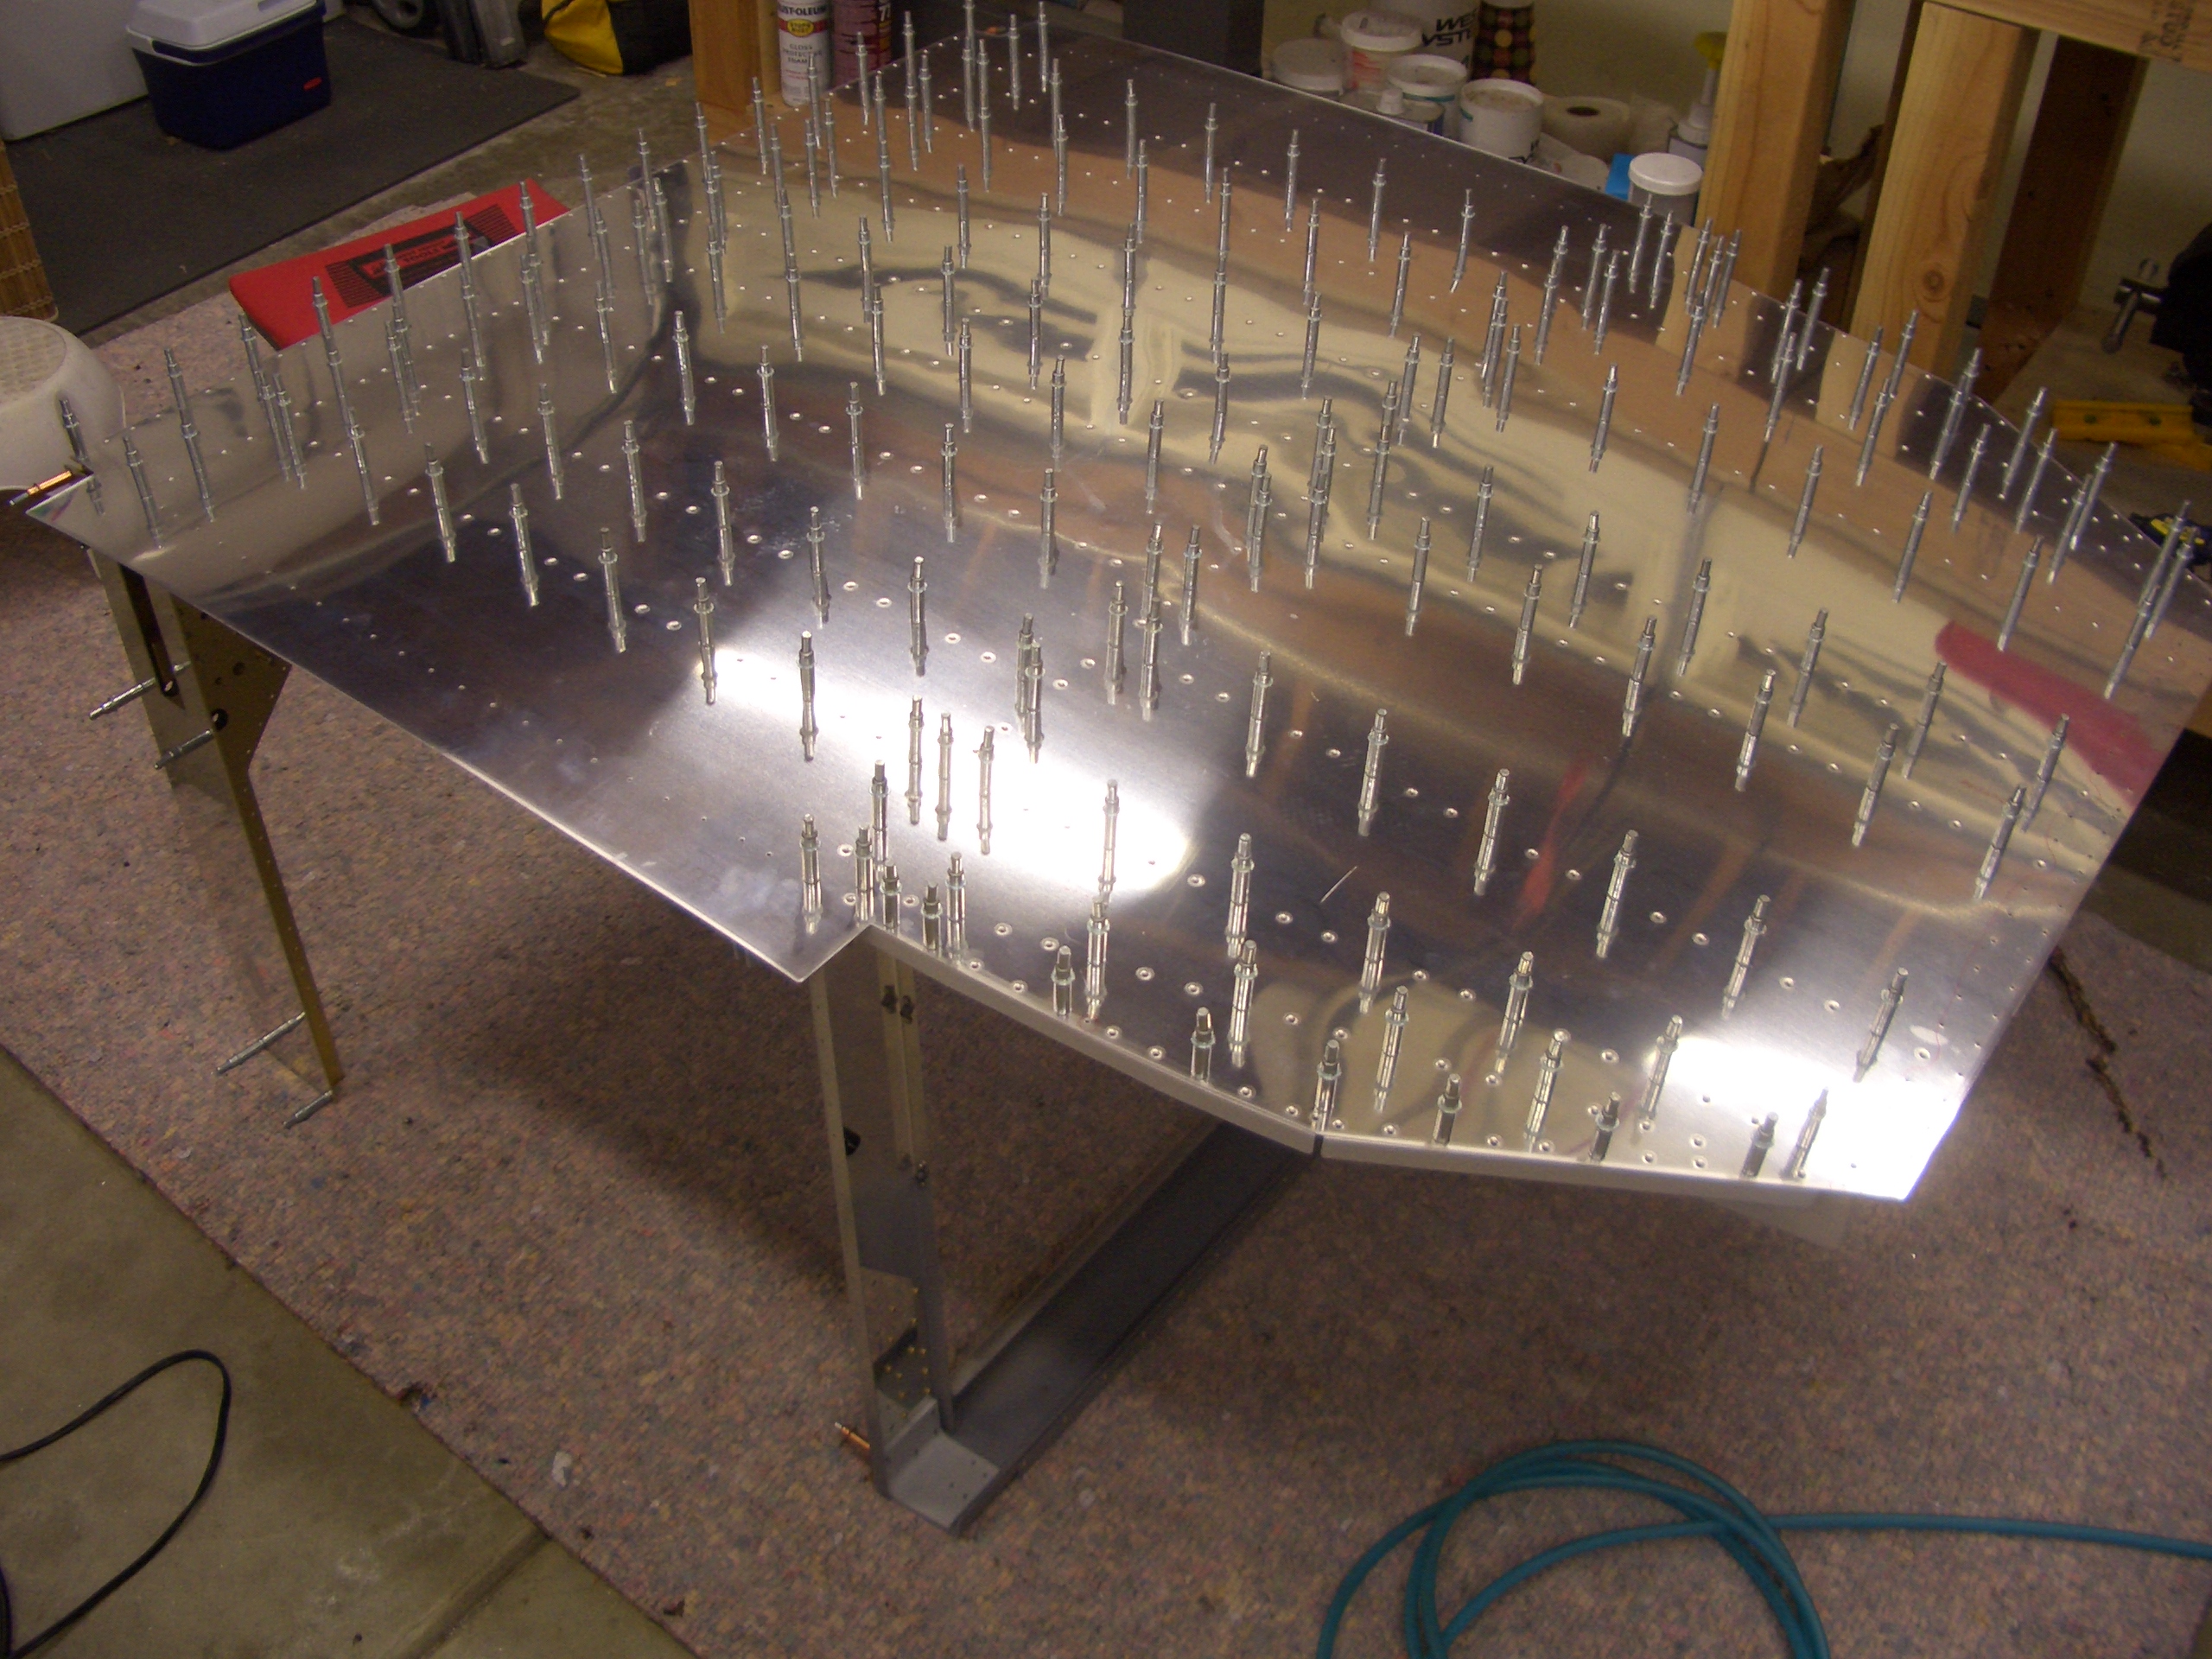
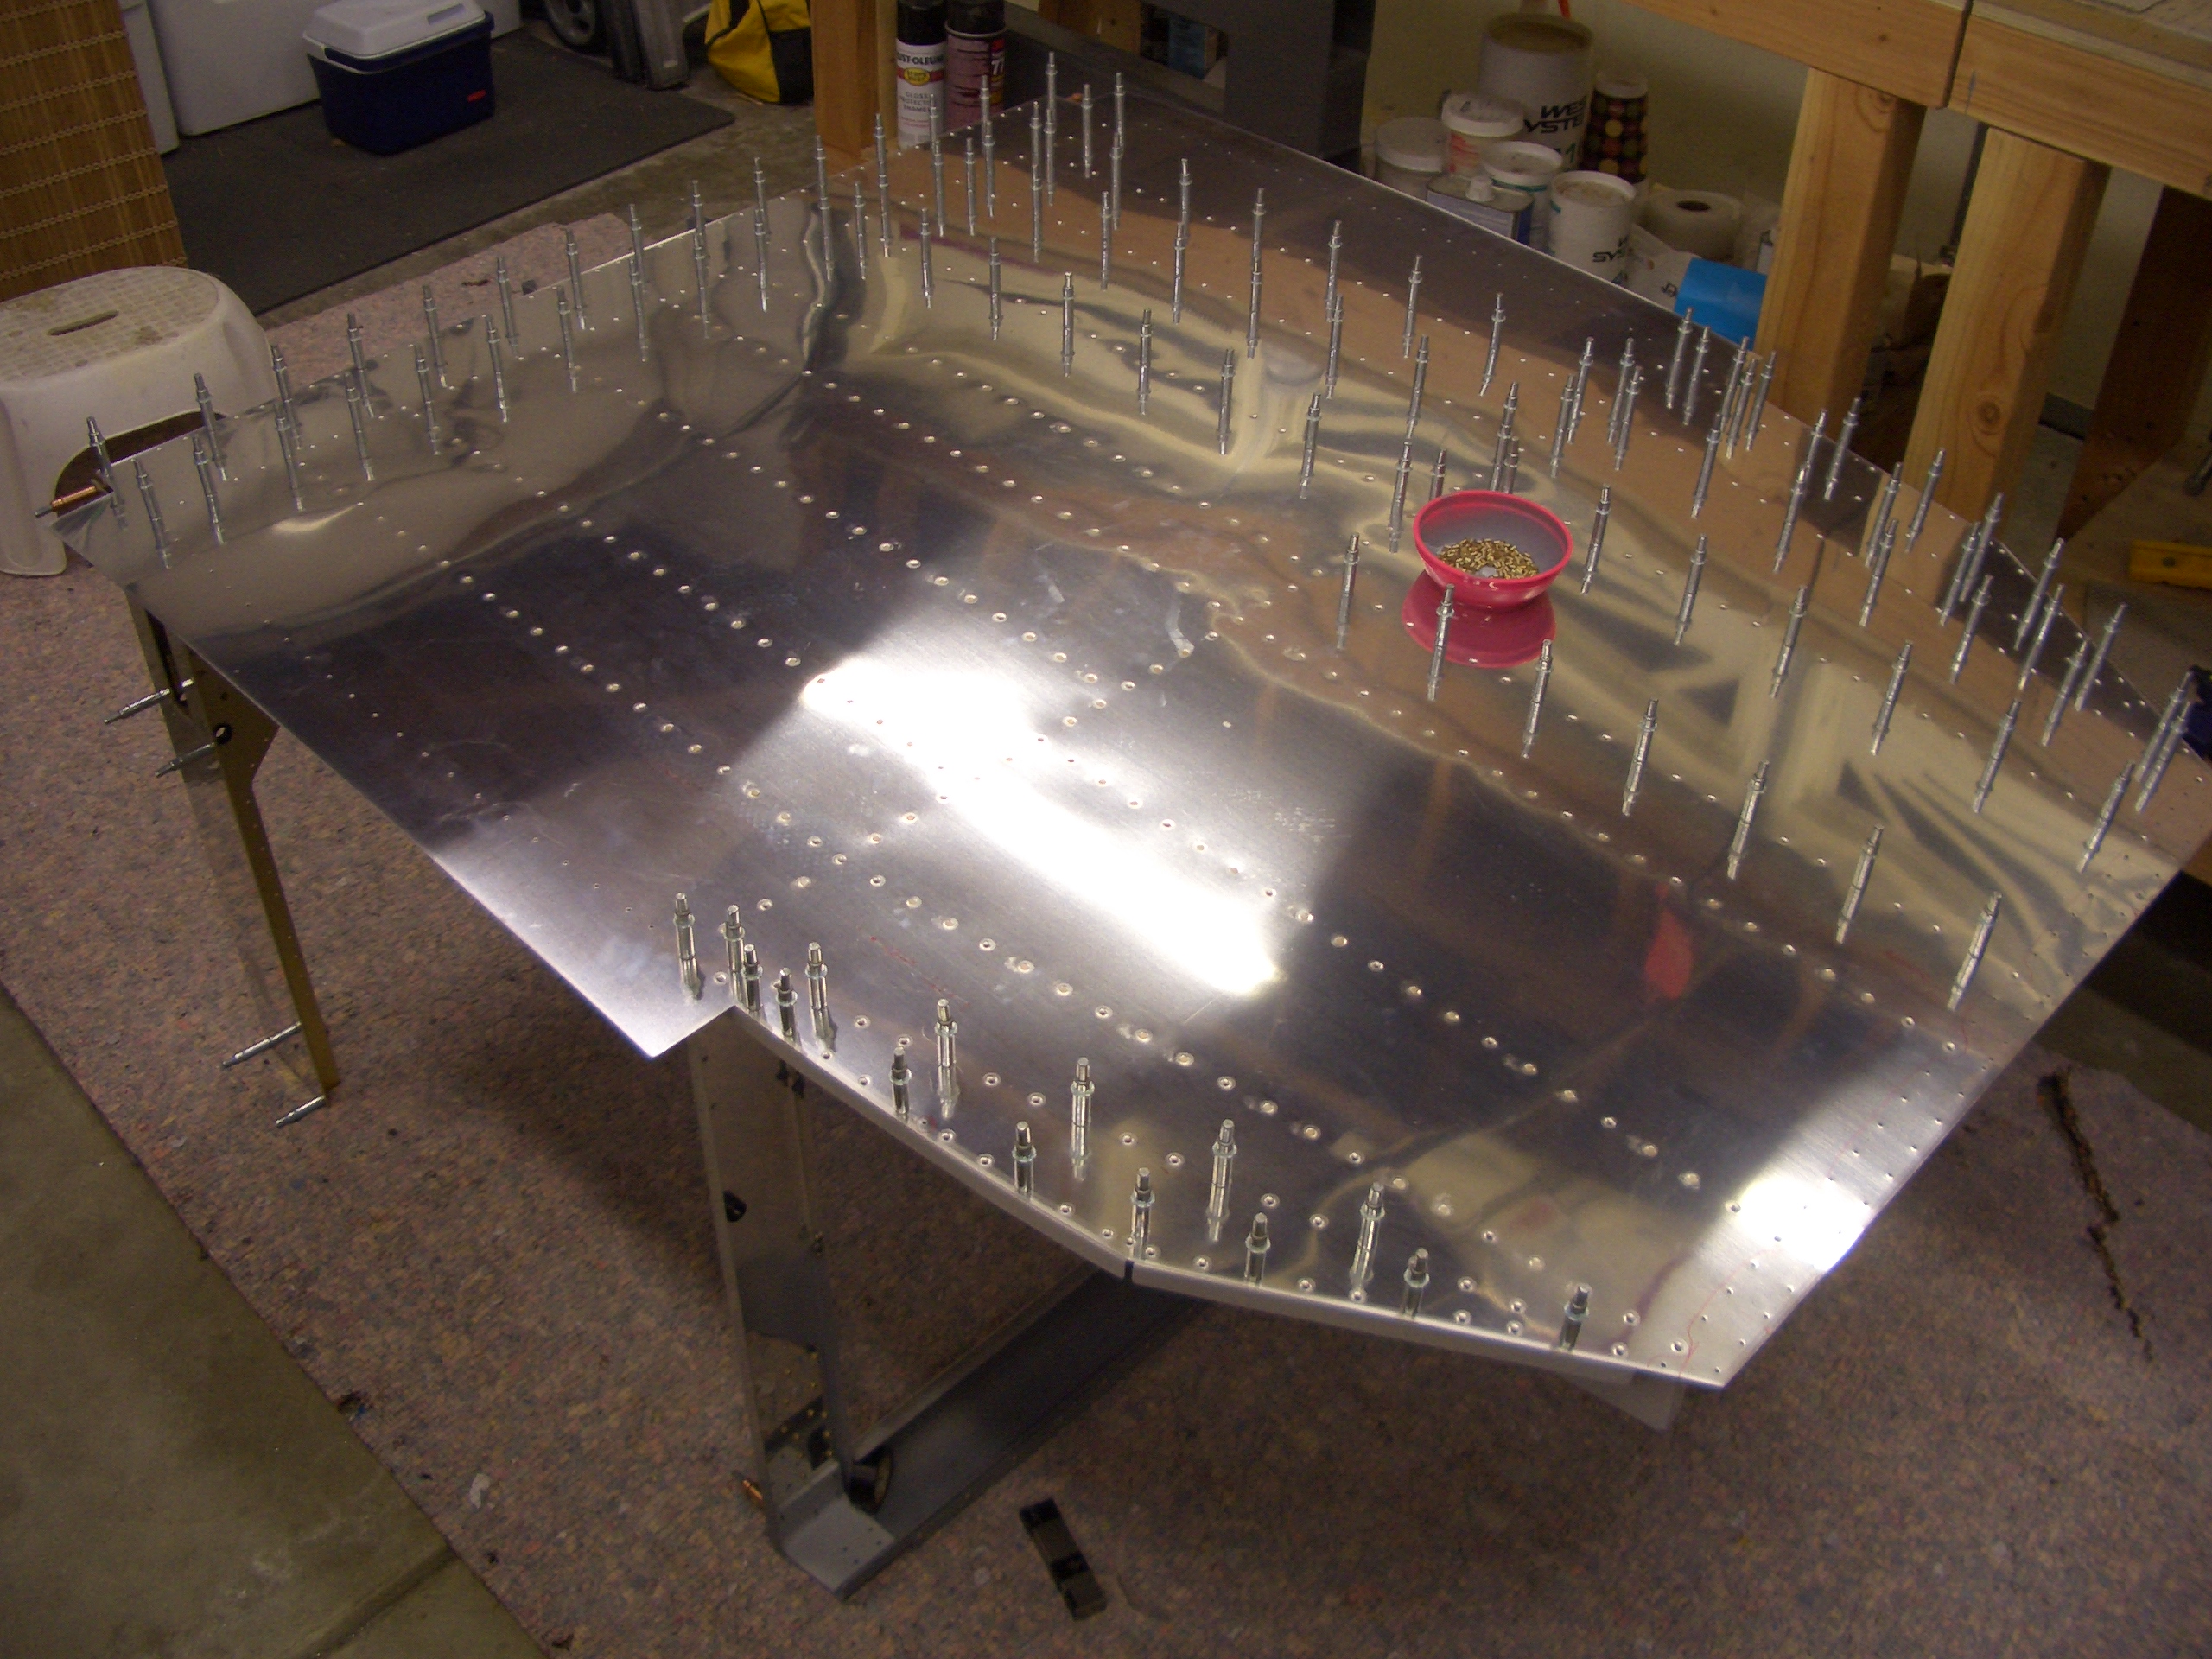
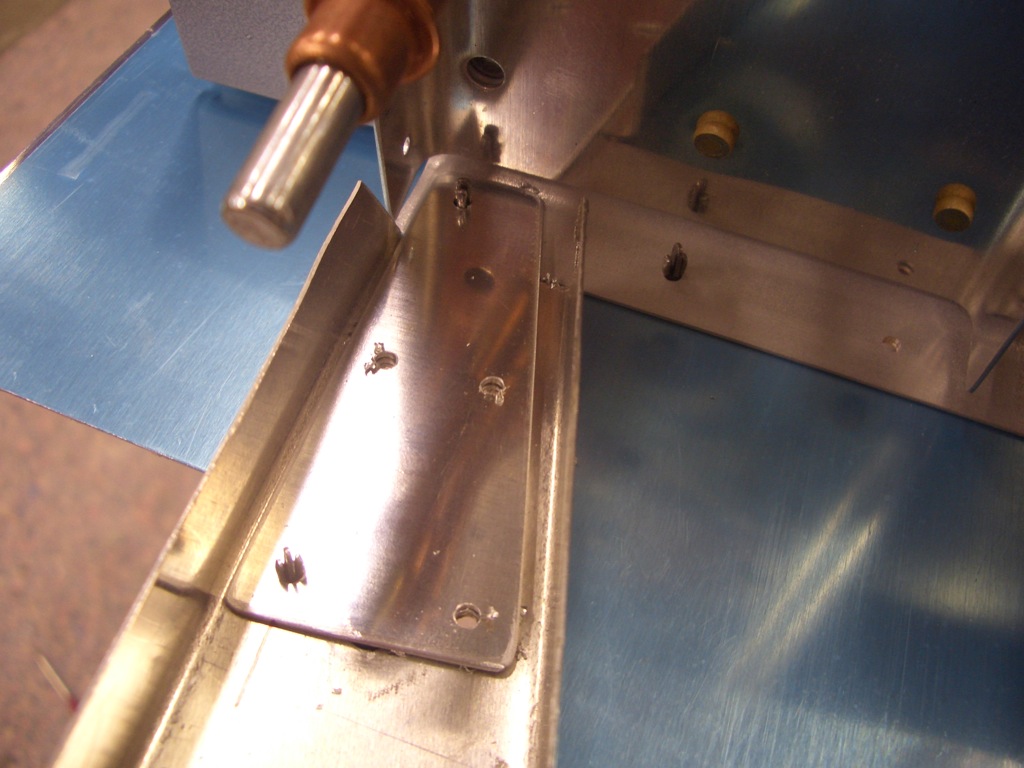
After cutting of the ends, I clamped the rib in place and match drilled it to the bottom skin.

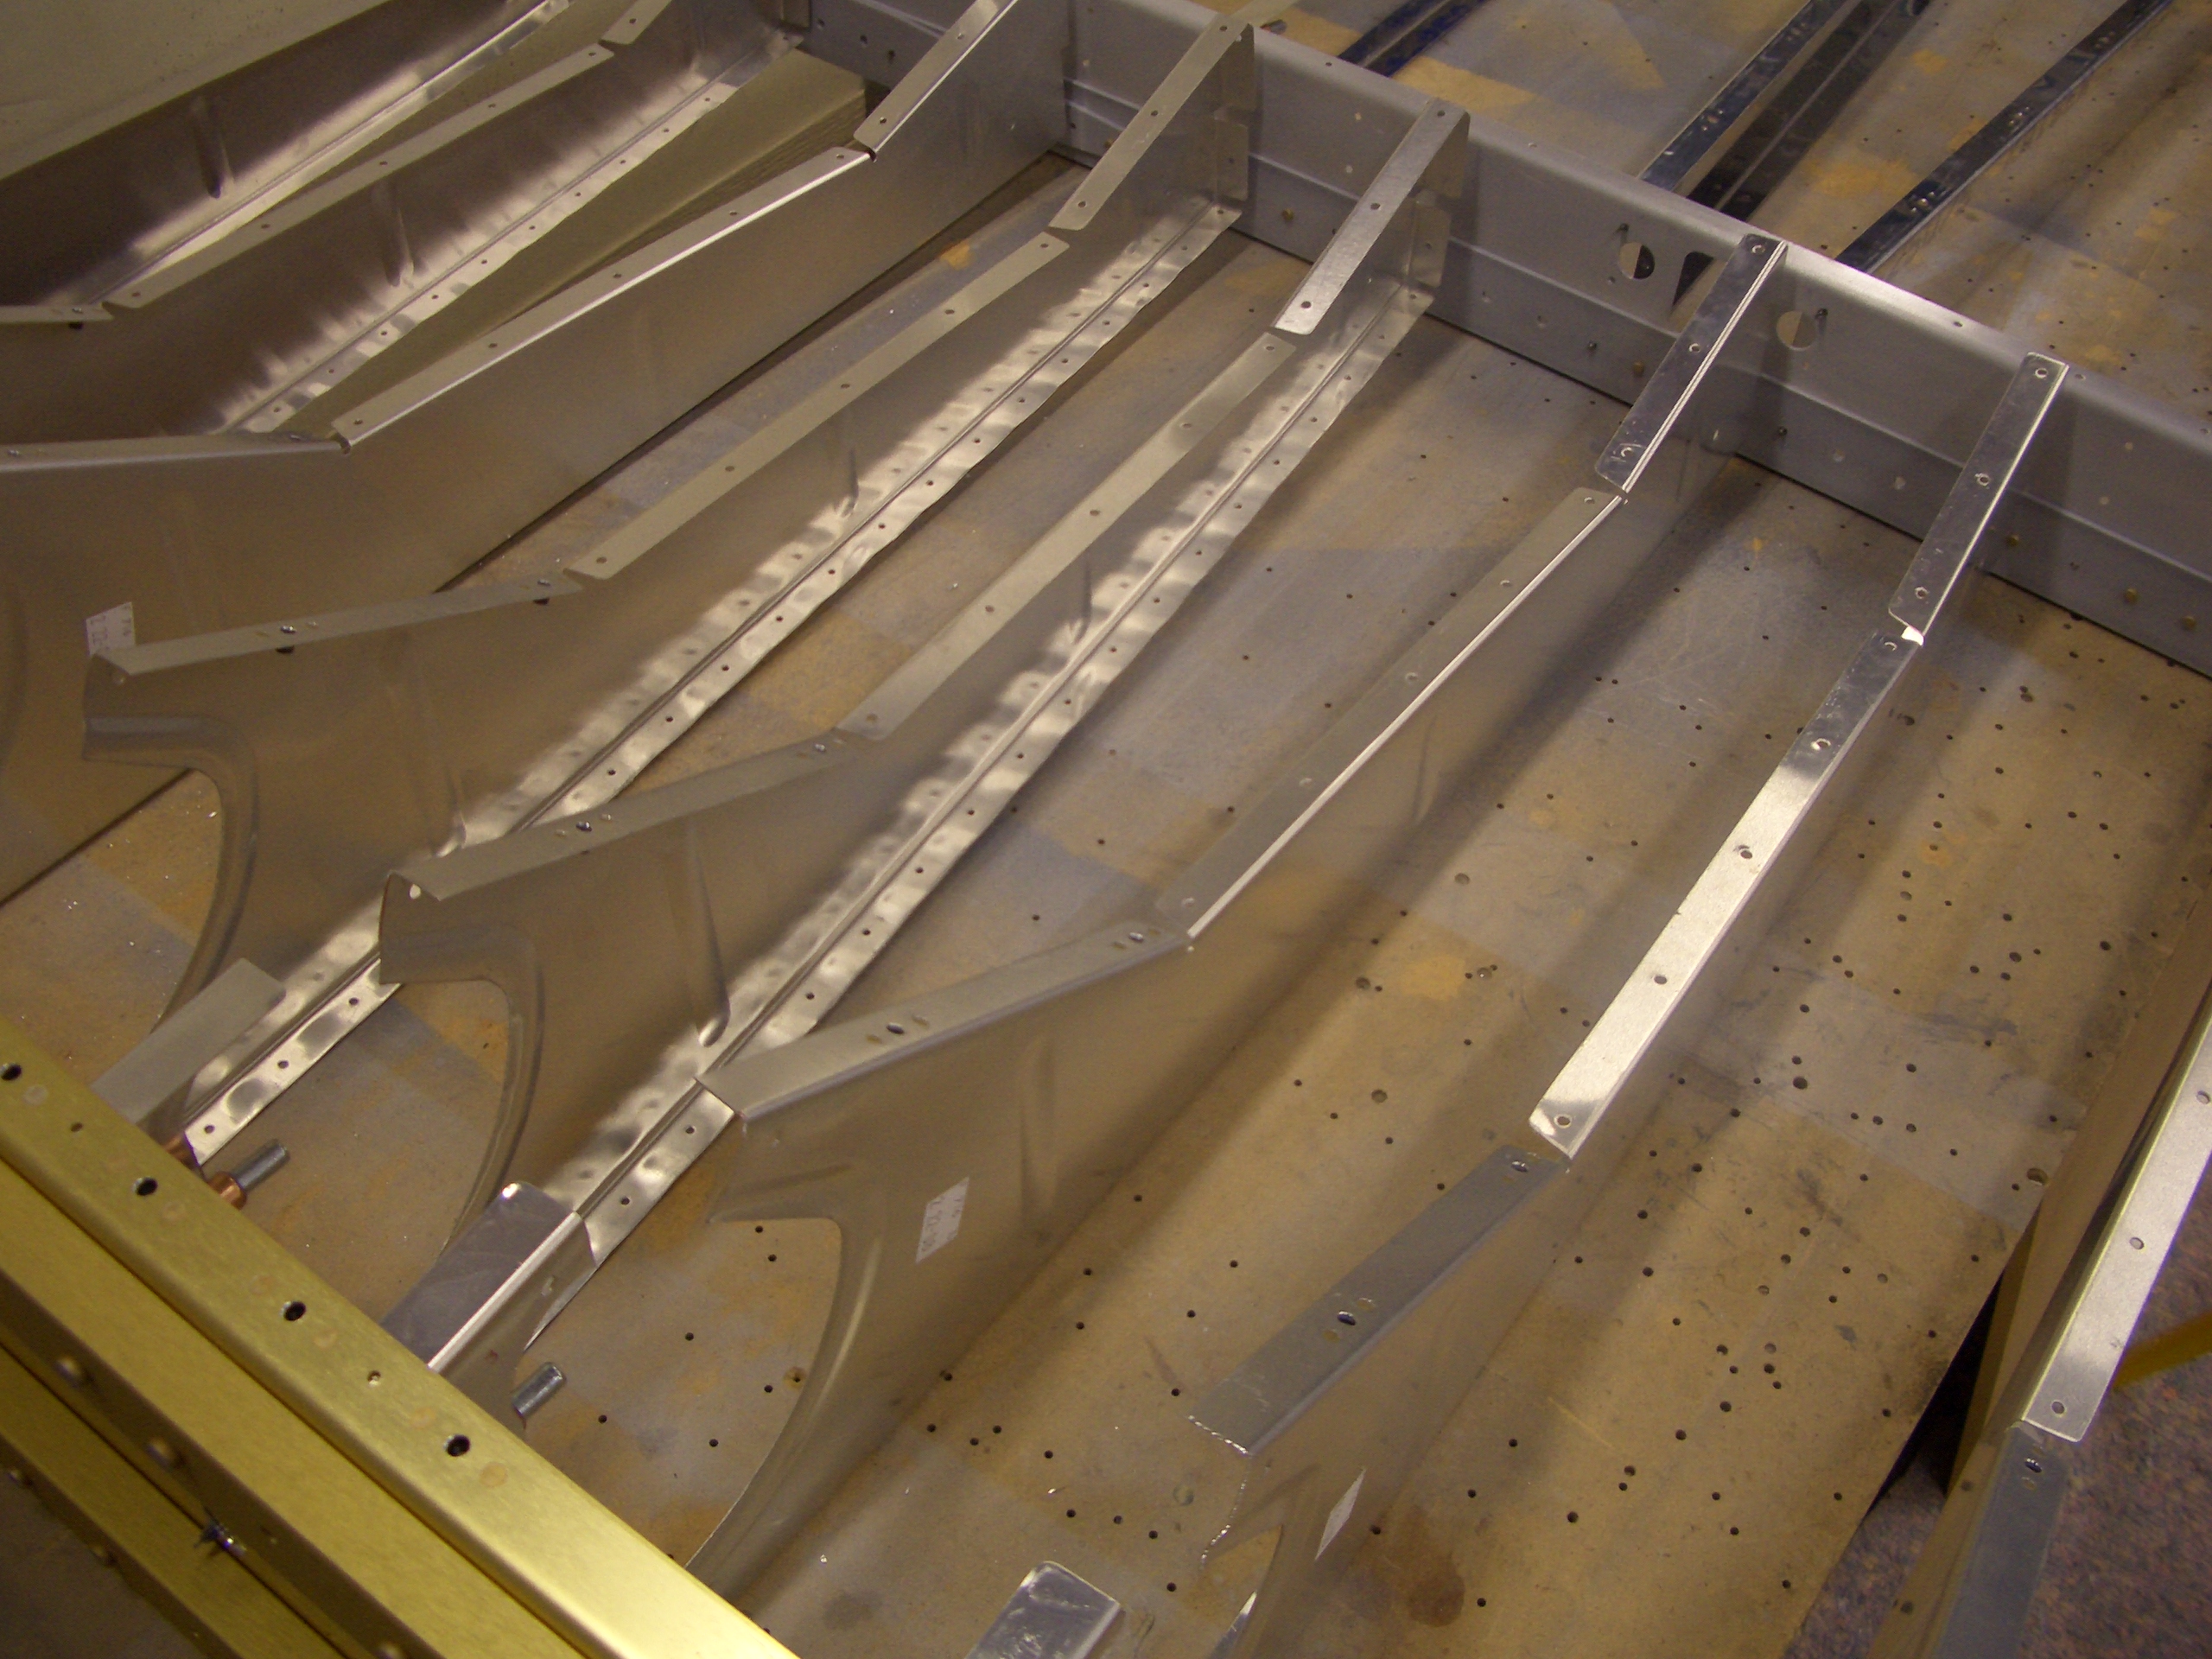
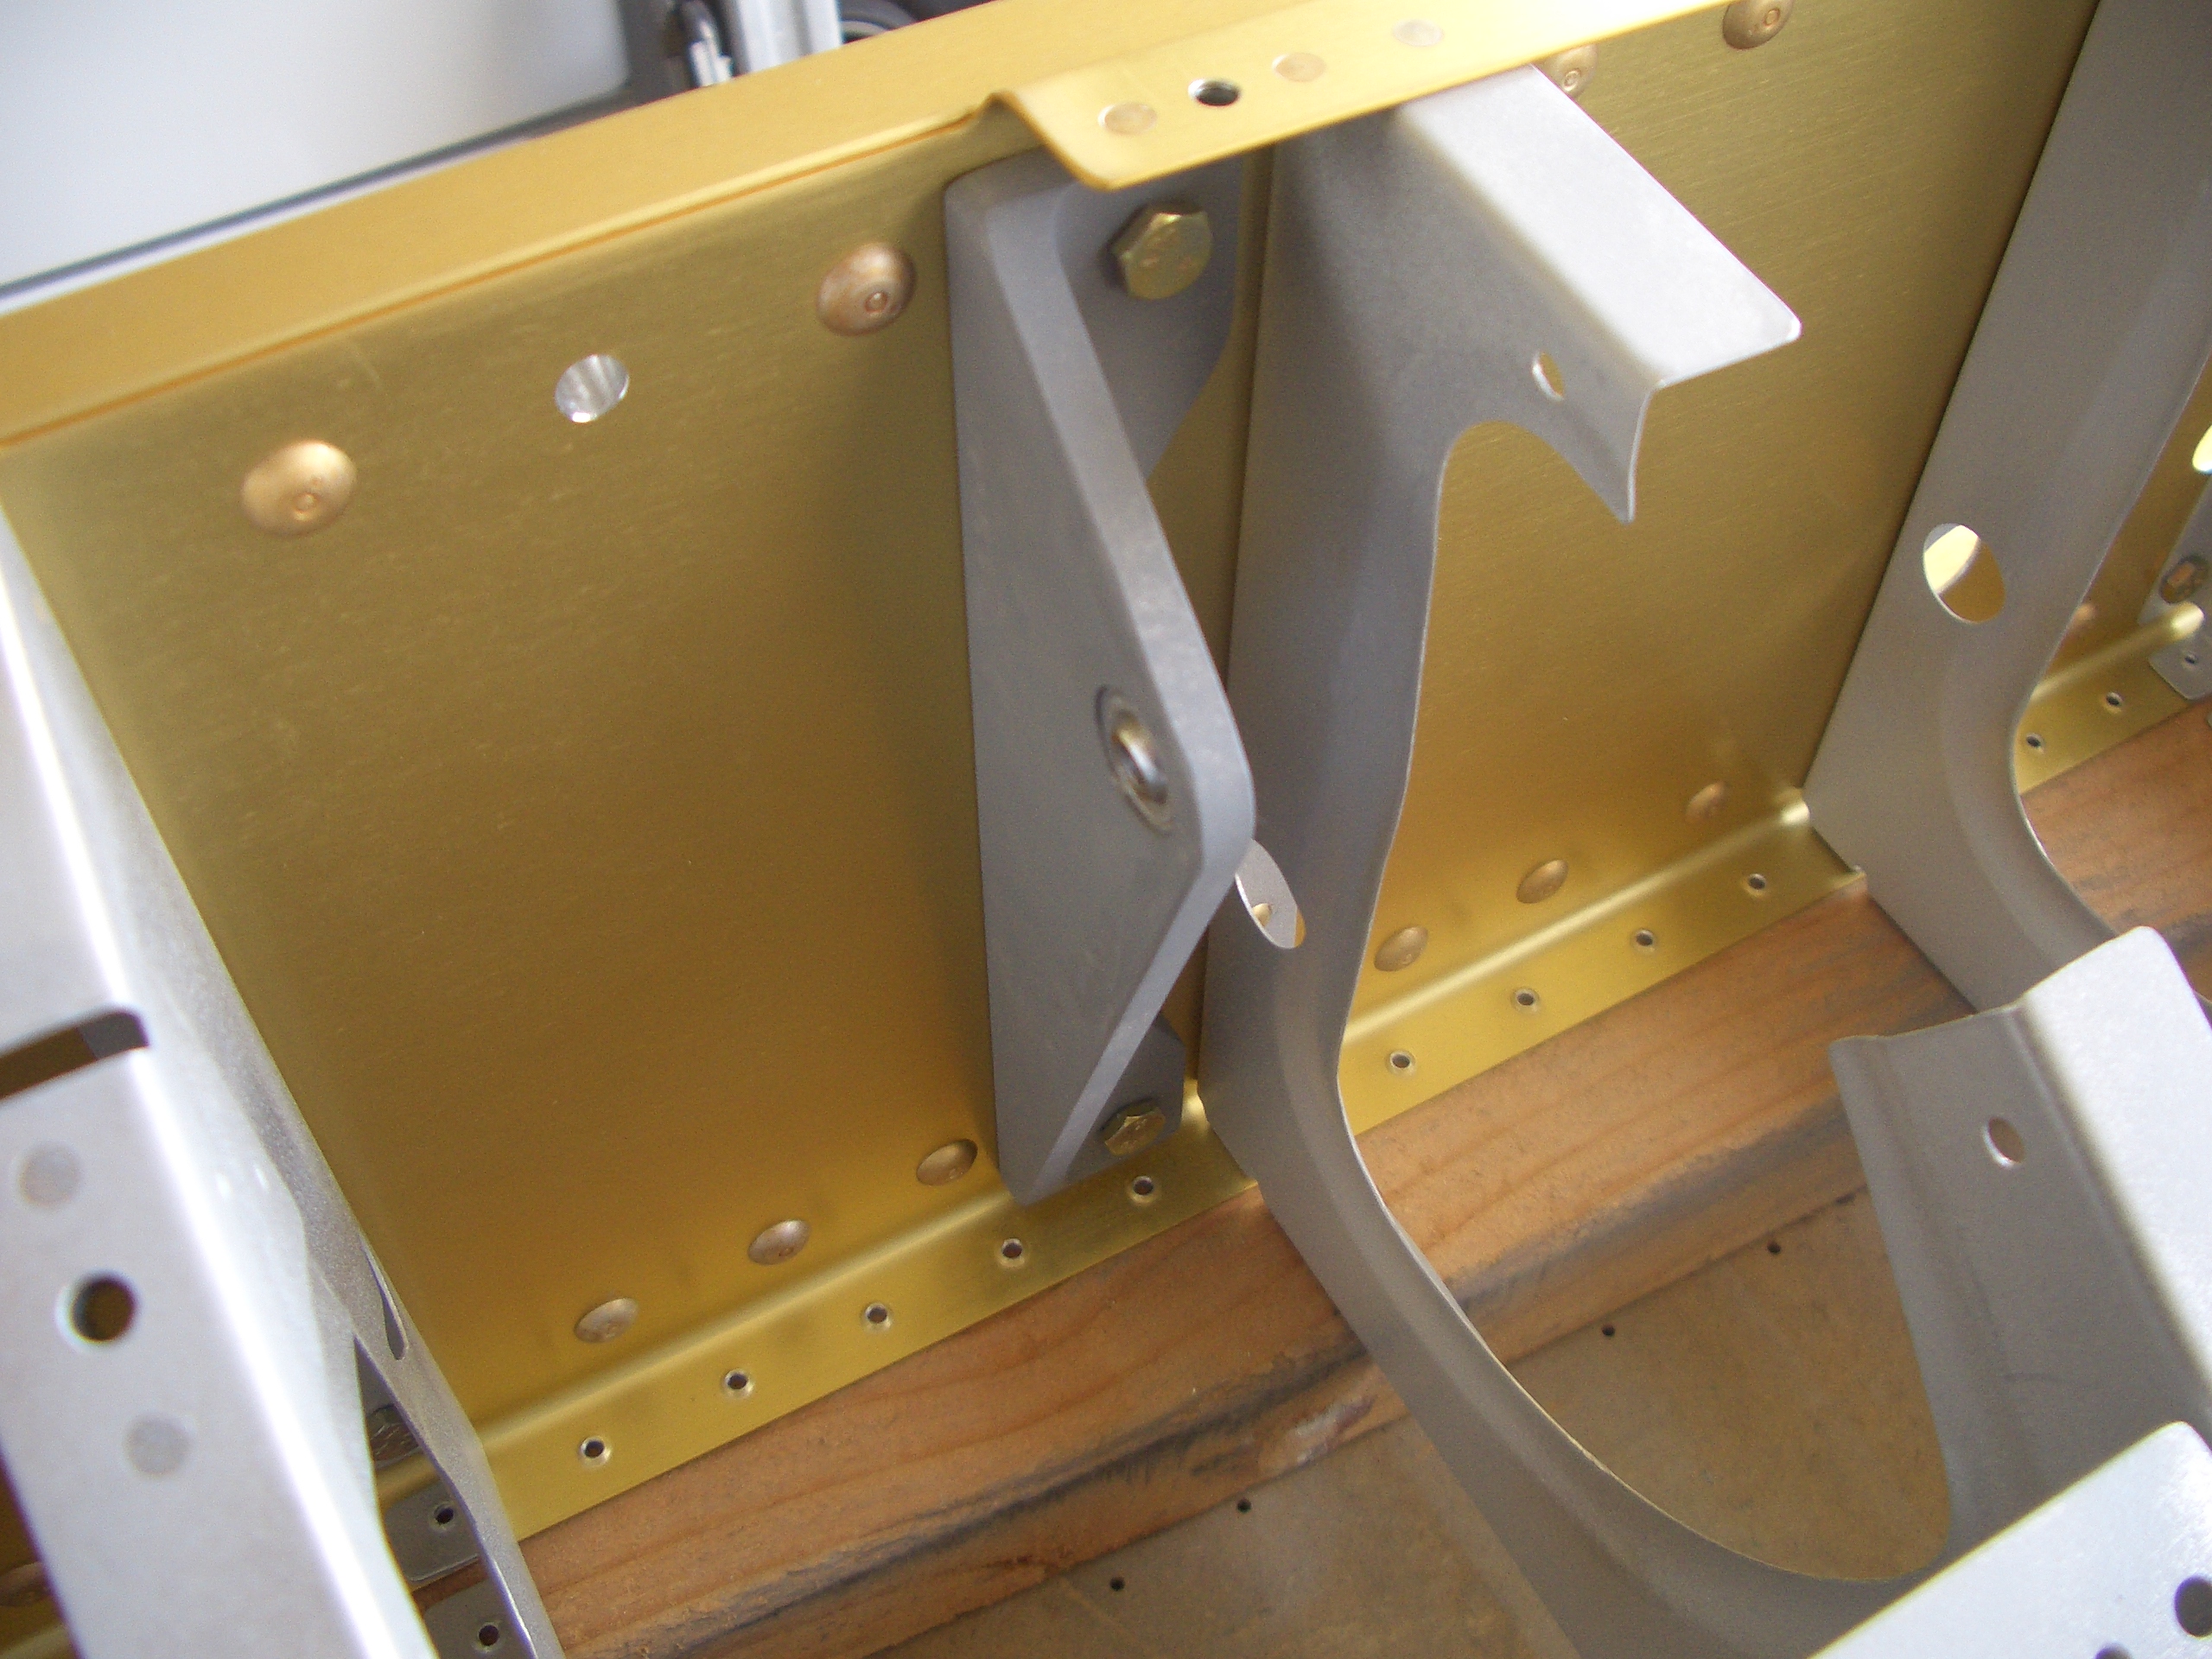
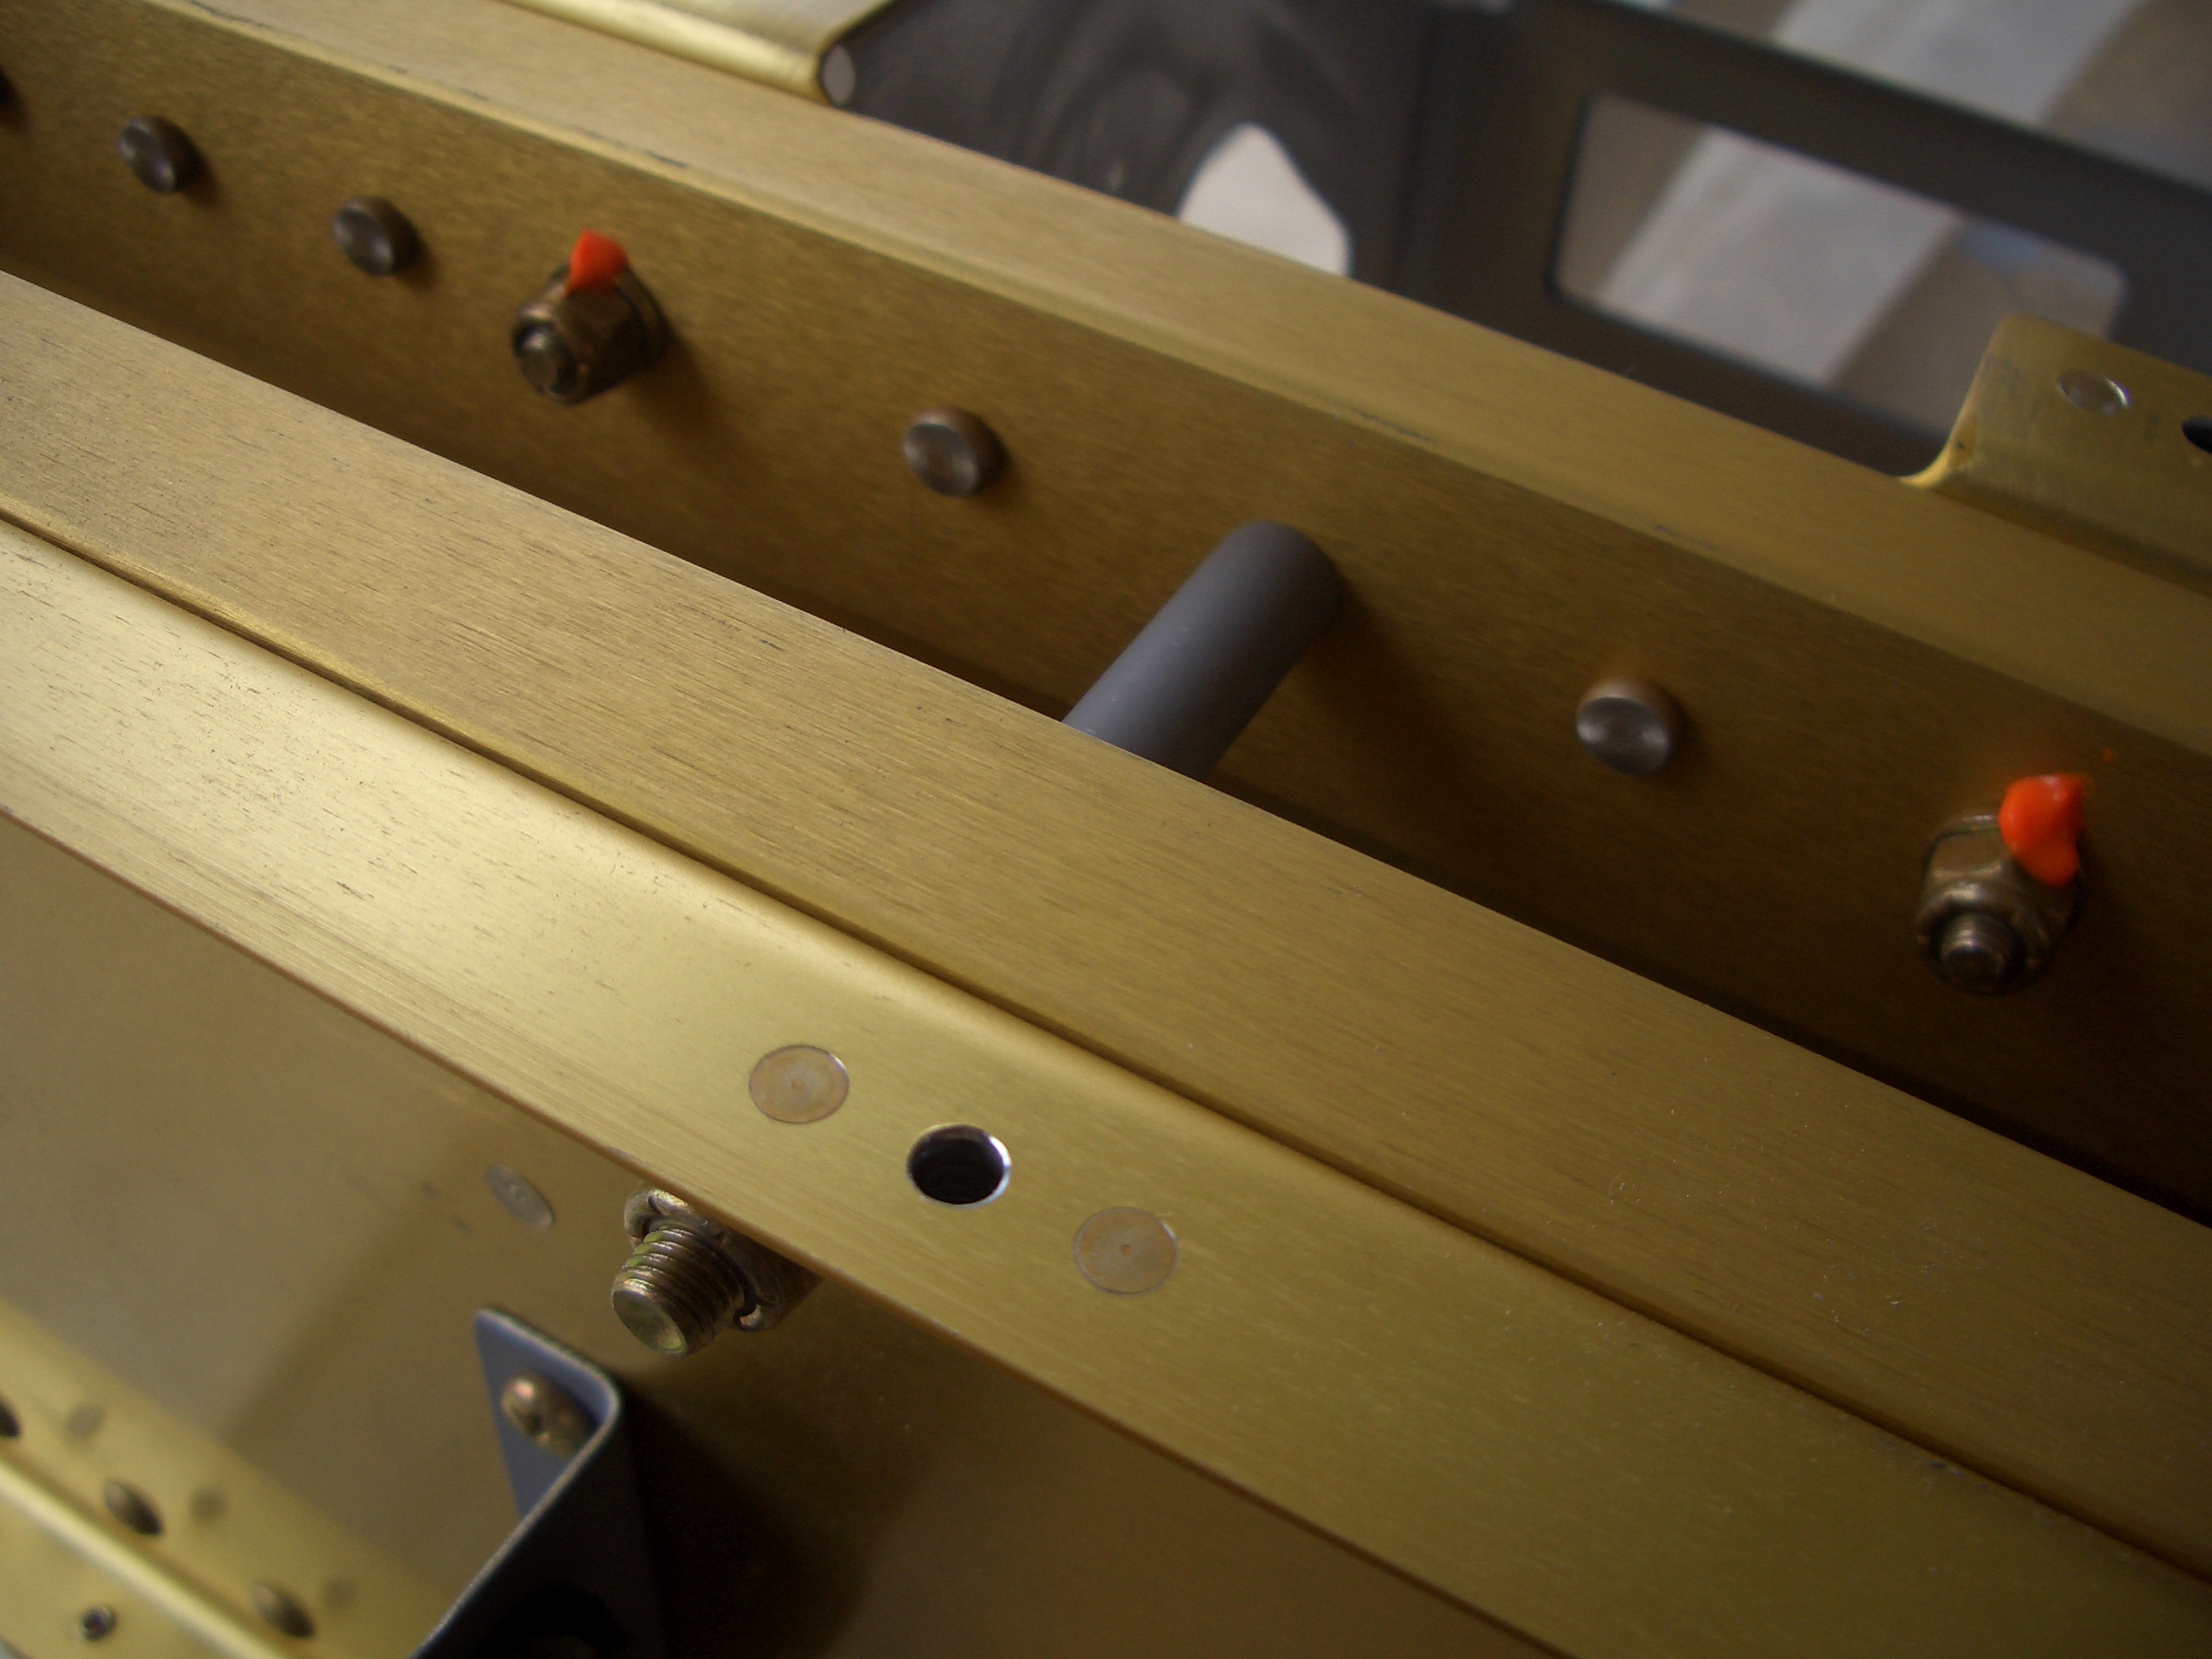
The plans specify attachment straps that connect F-623 to F-705 that are 3/4″ wide.  This is too wide to hit just one row of rivets here, but not wide enough to catch both rows.  Most builders just narrow the strip to 1/2″ and catch just the outer row of rivets, but I decided to make the strip a little wider and catch both rows of rivets.

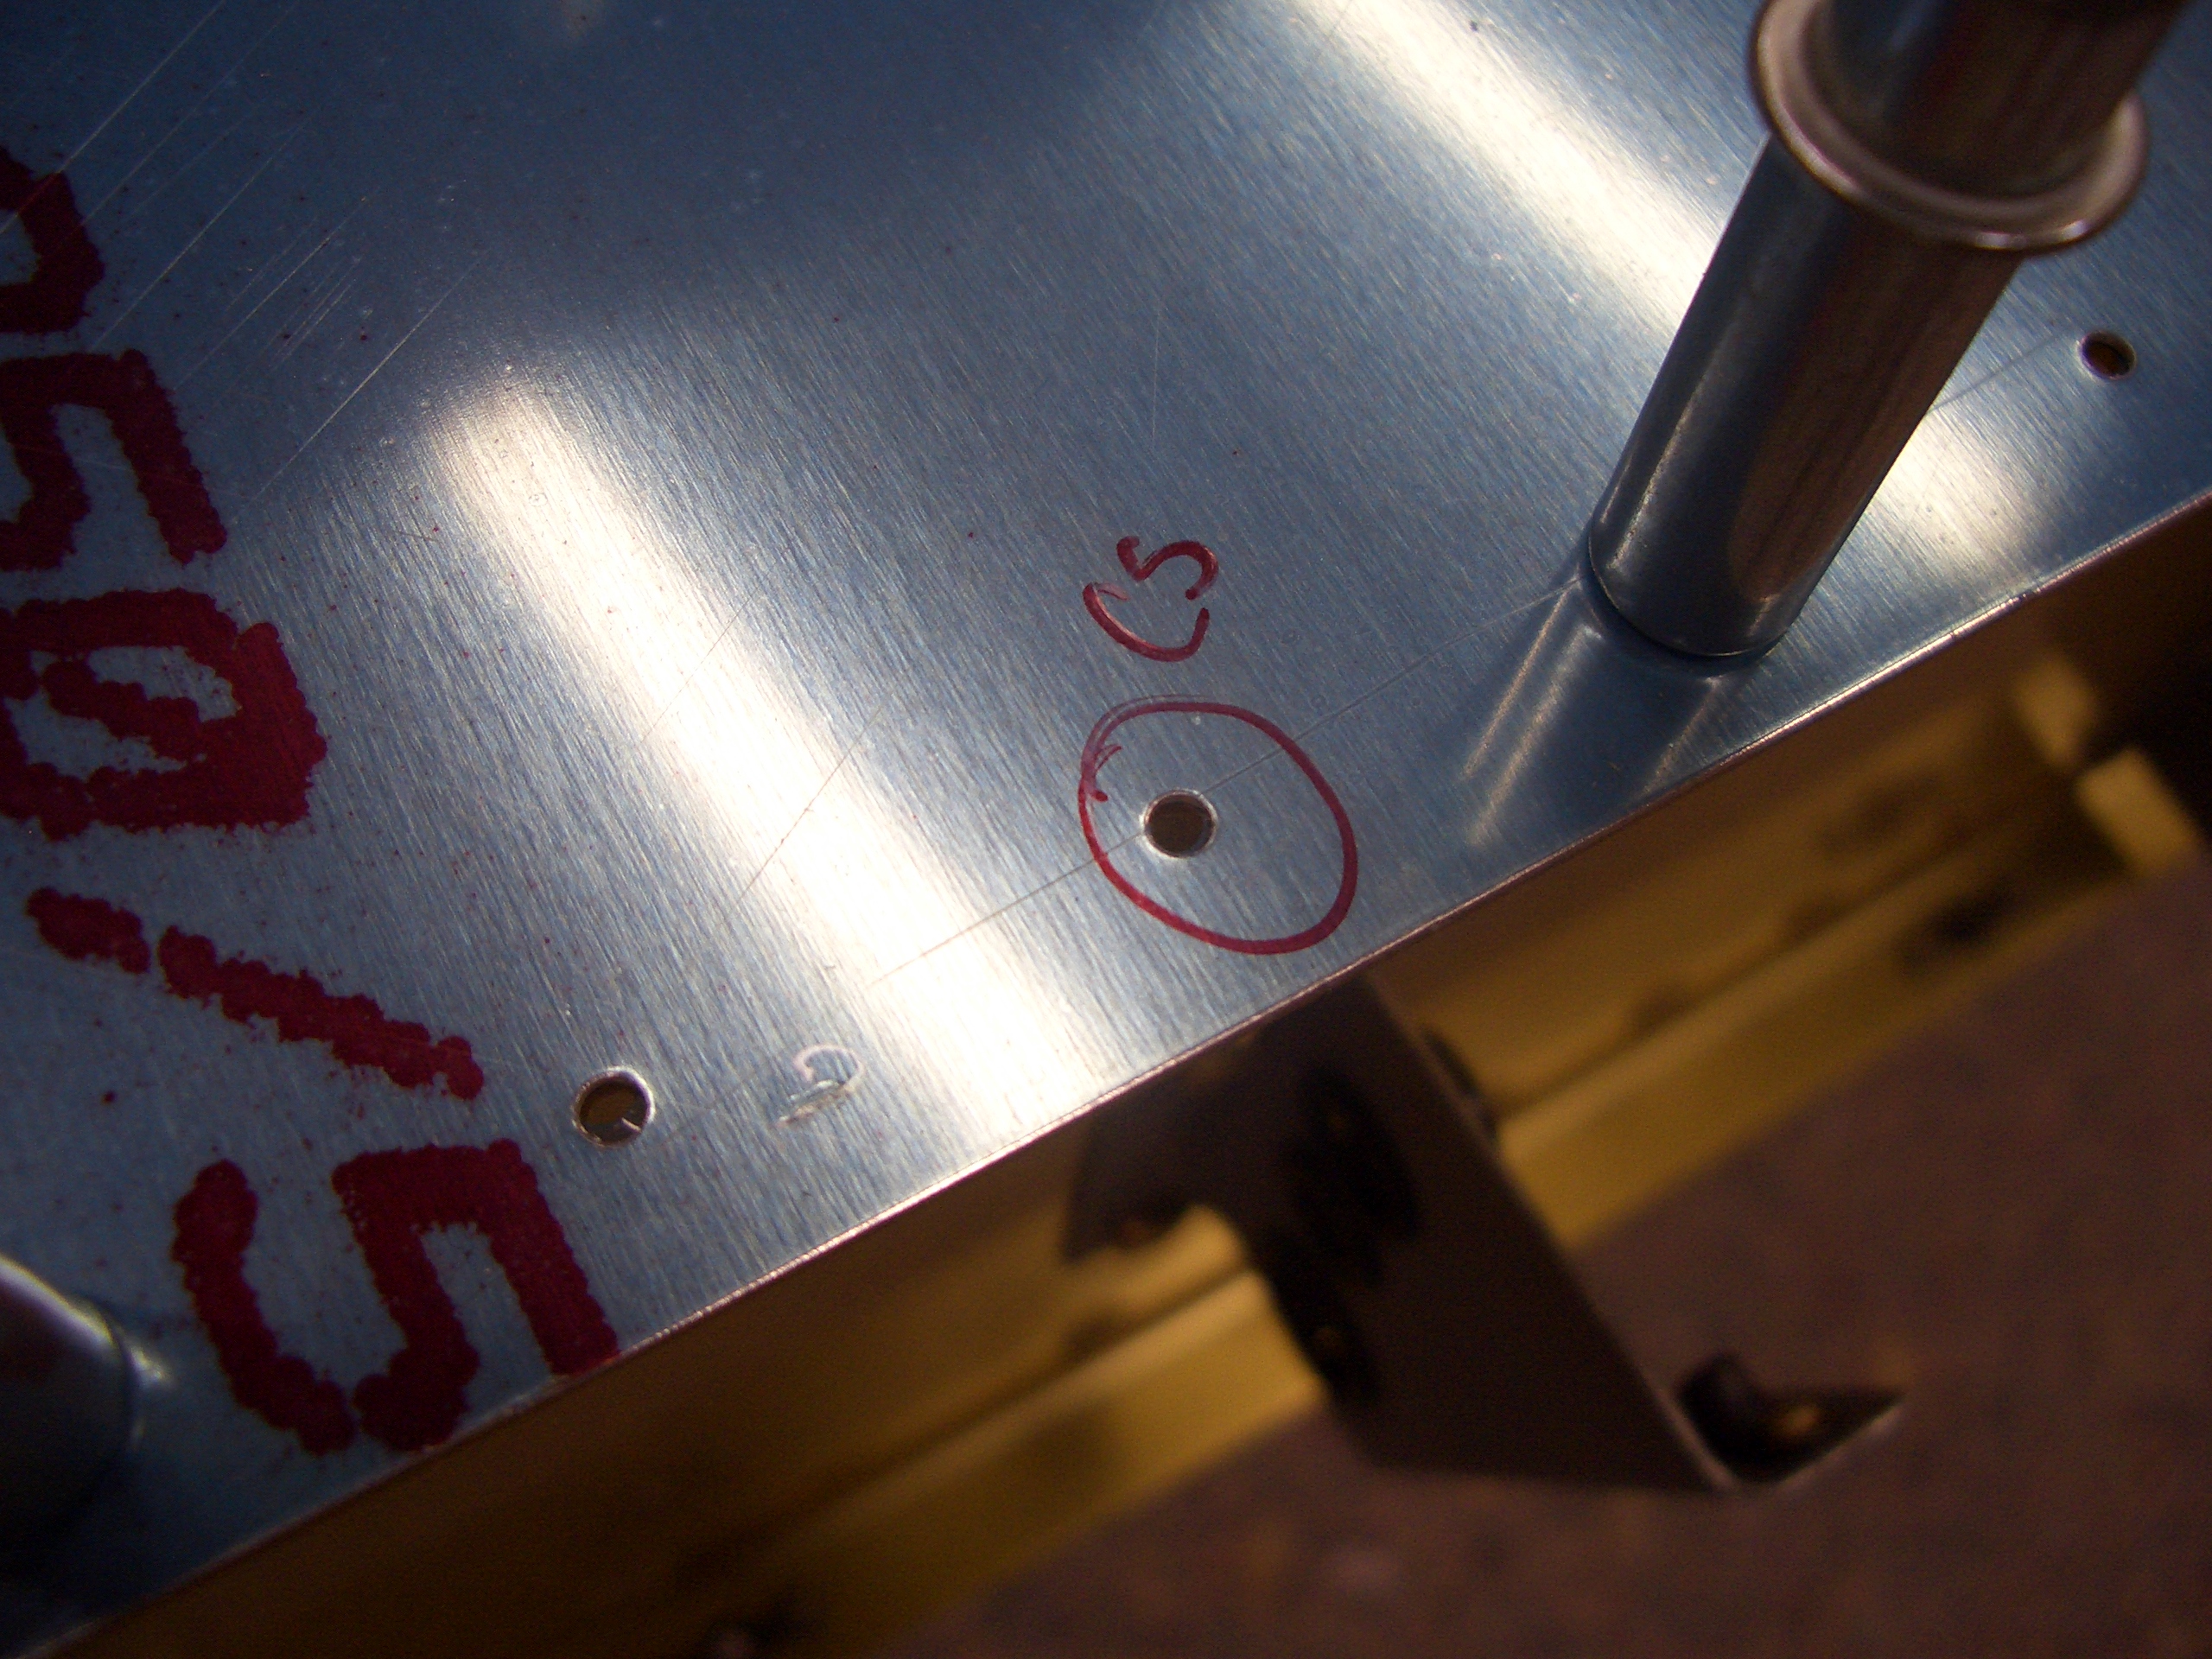
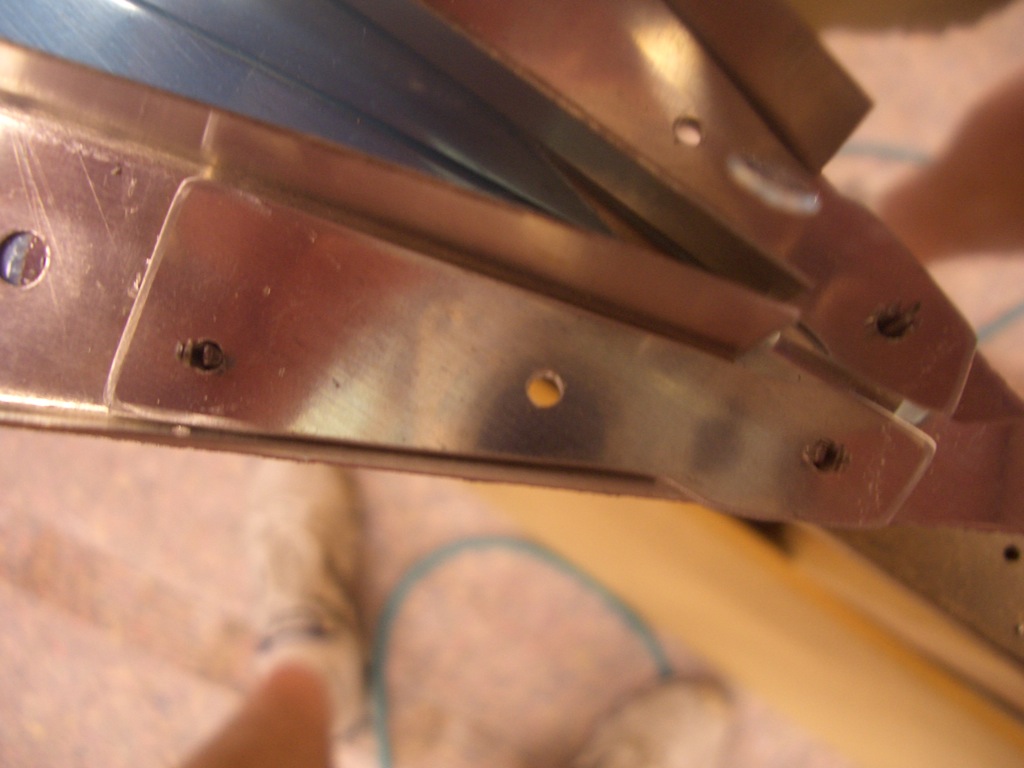
The aft attachment straps will have edge distance problems if fabricated according to plans.  Instead, I made the strap widen somewhat as it exits F-623 so that the aft rivet (on the right in the picture below) will have sufficient edge distance on all sides.

I clamped the two side ribs together to transfer the cut marks from one to the other.

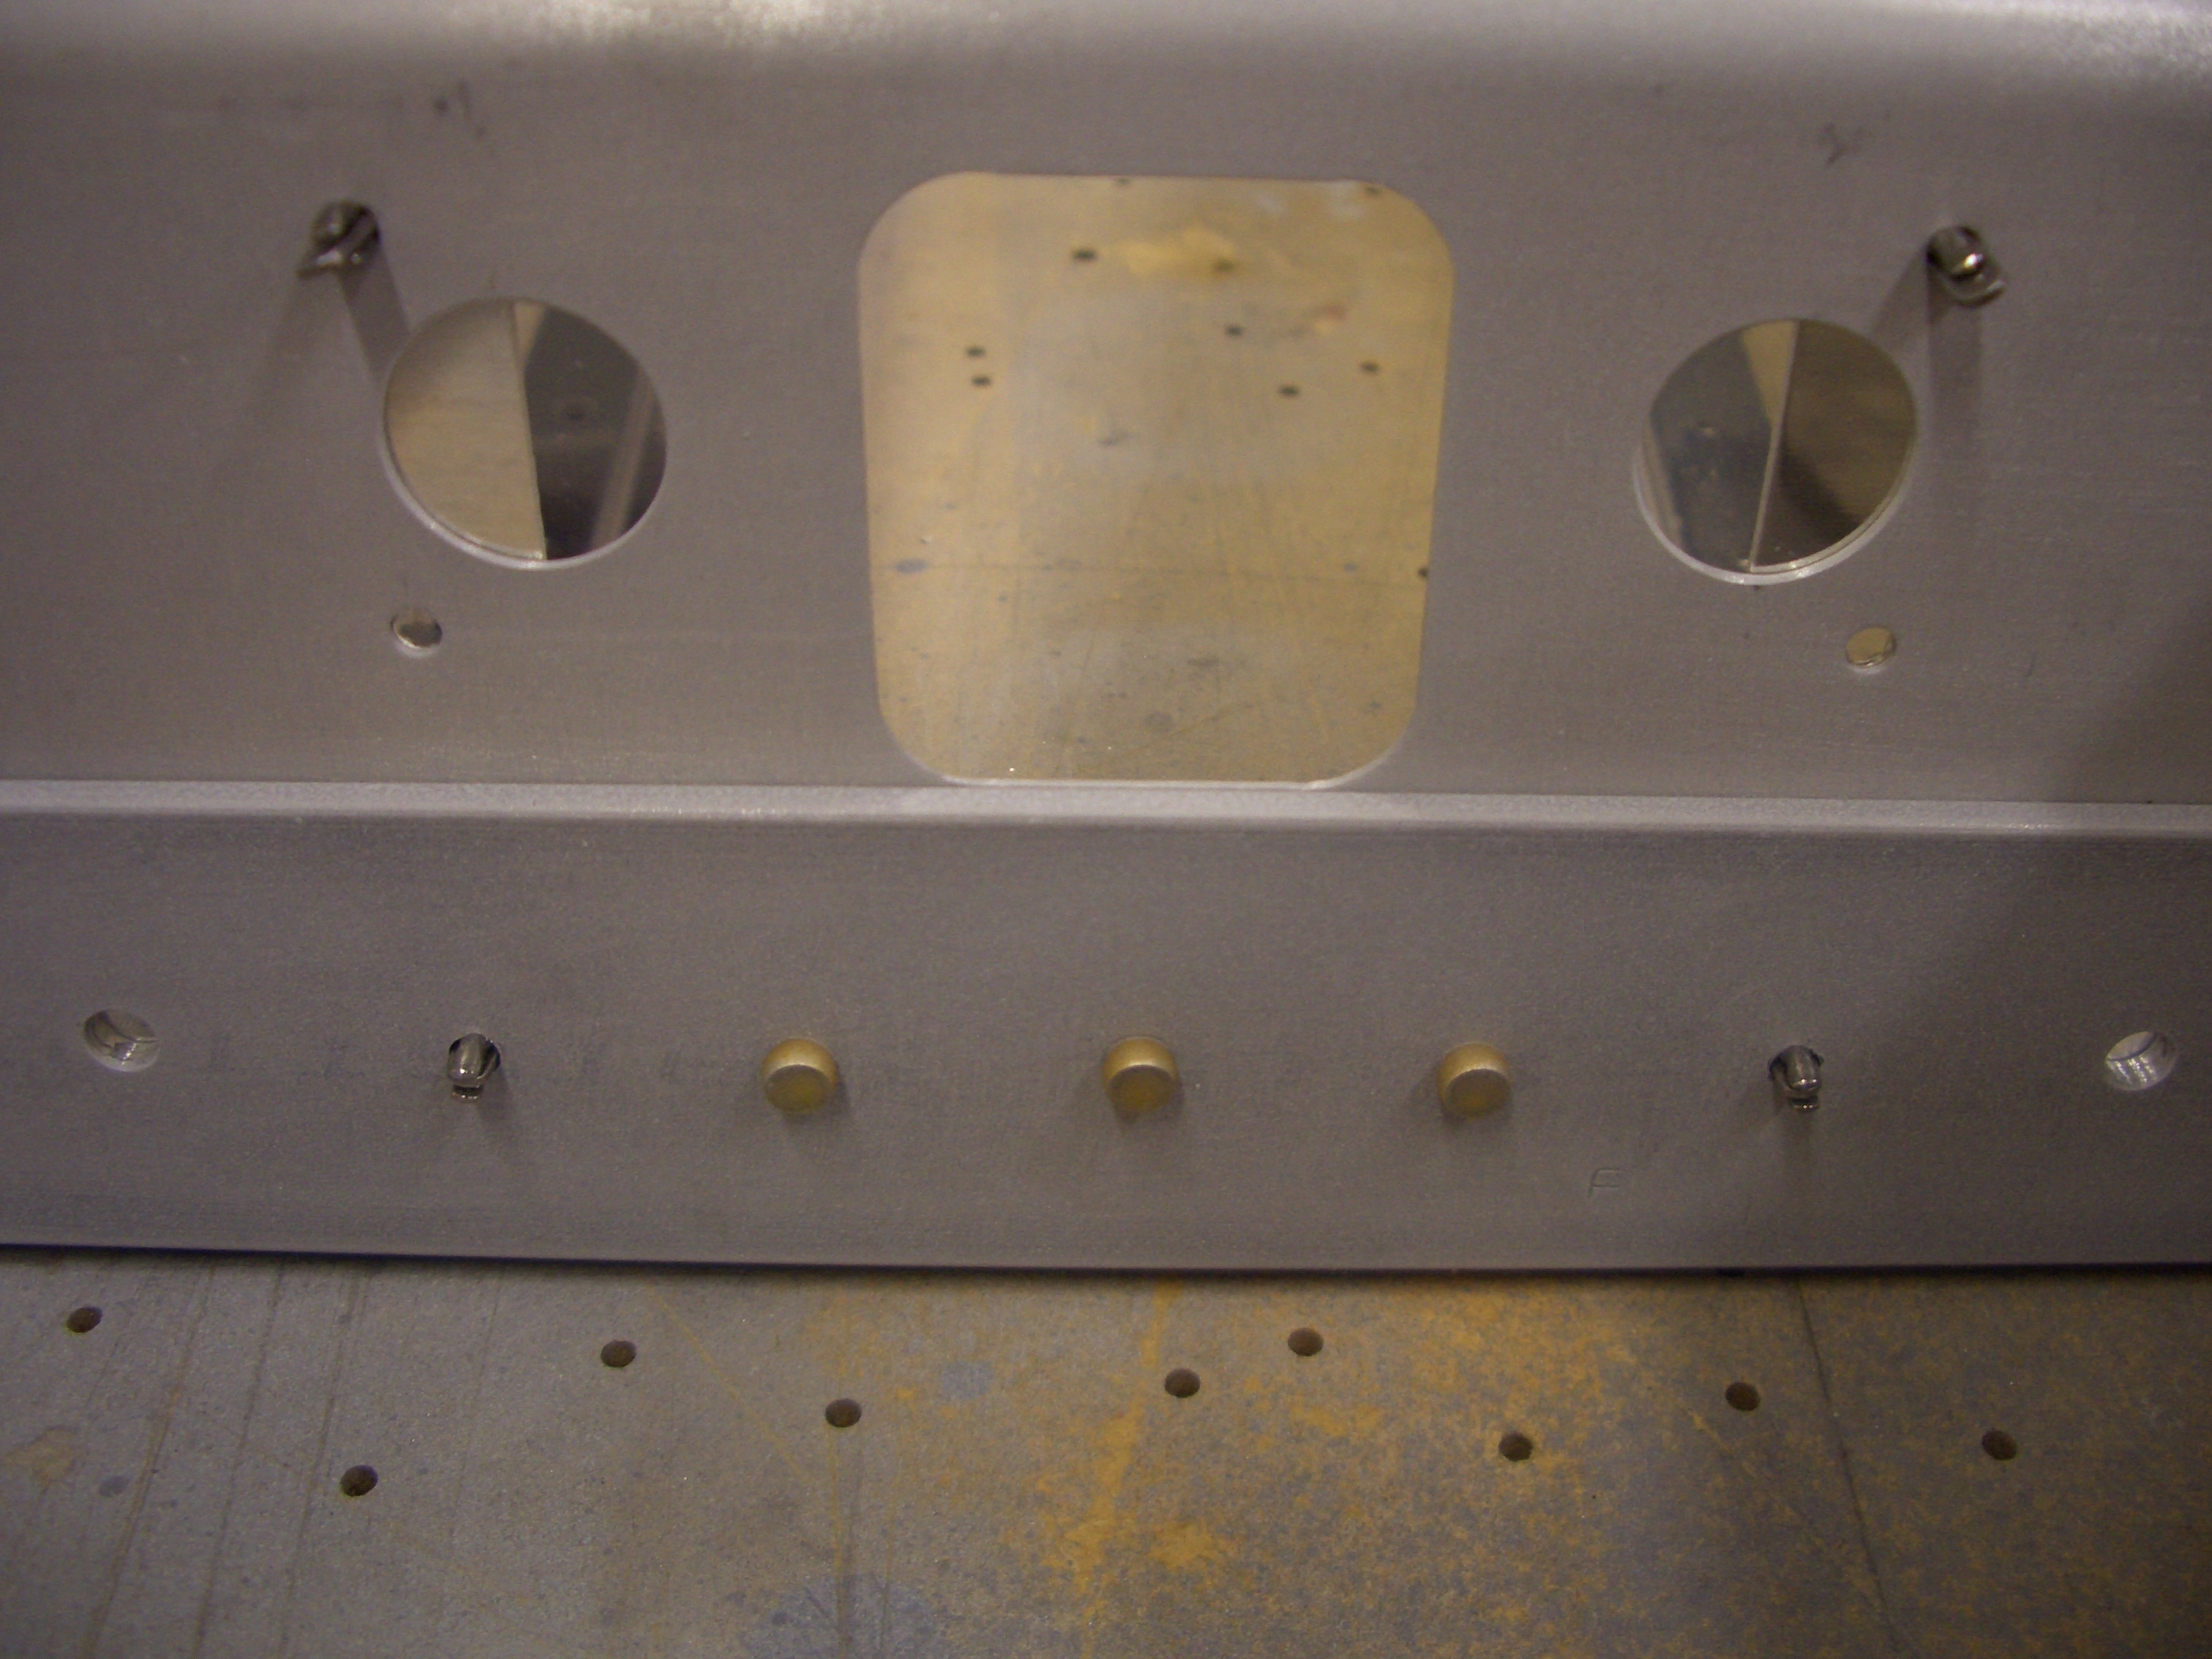
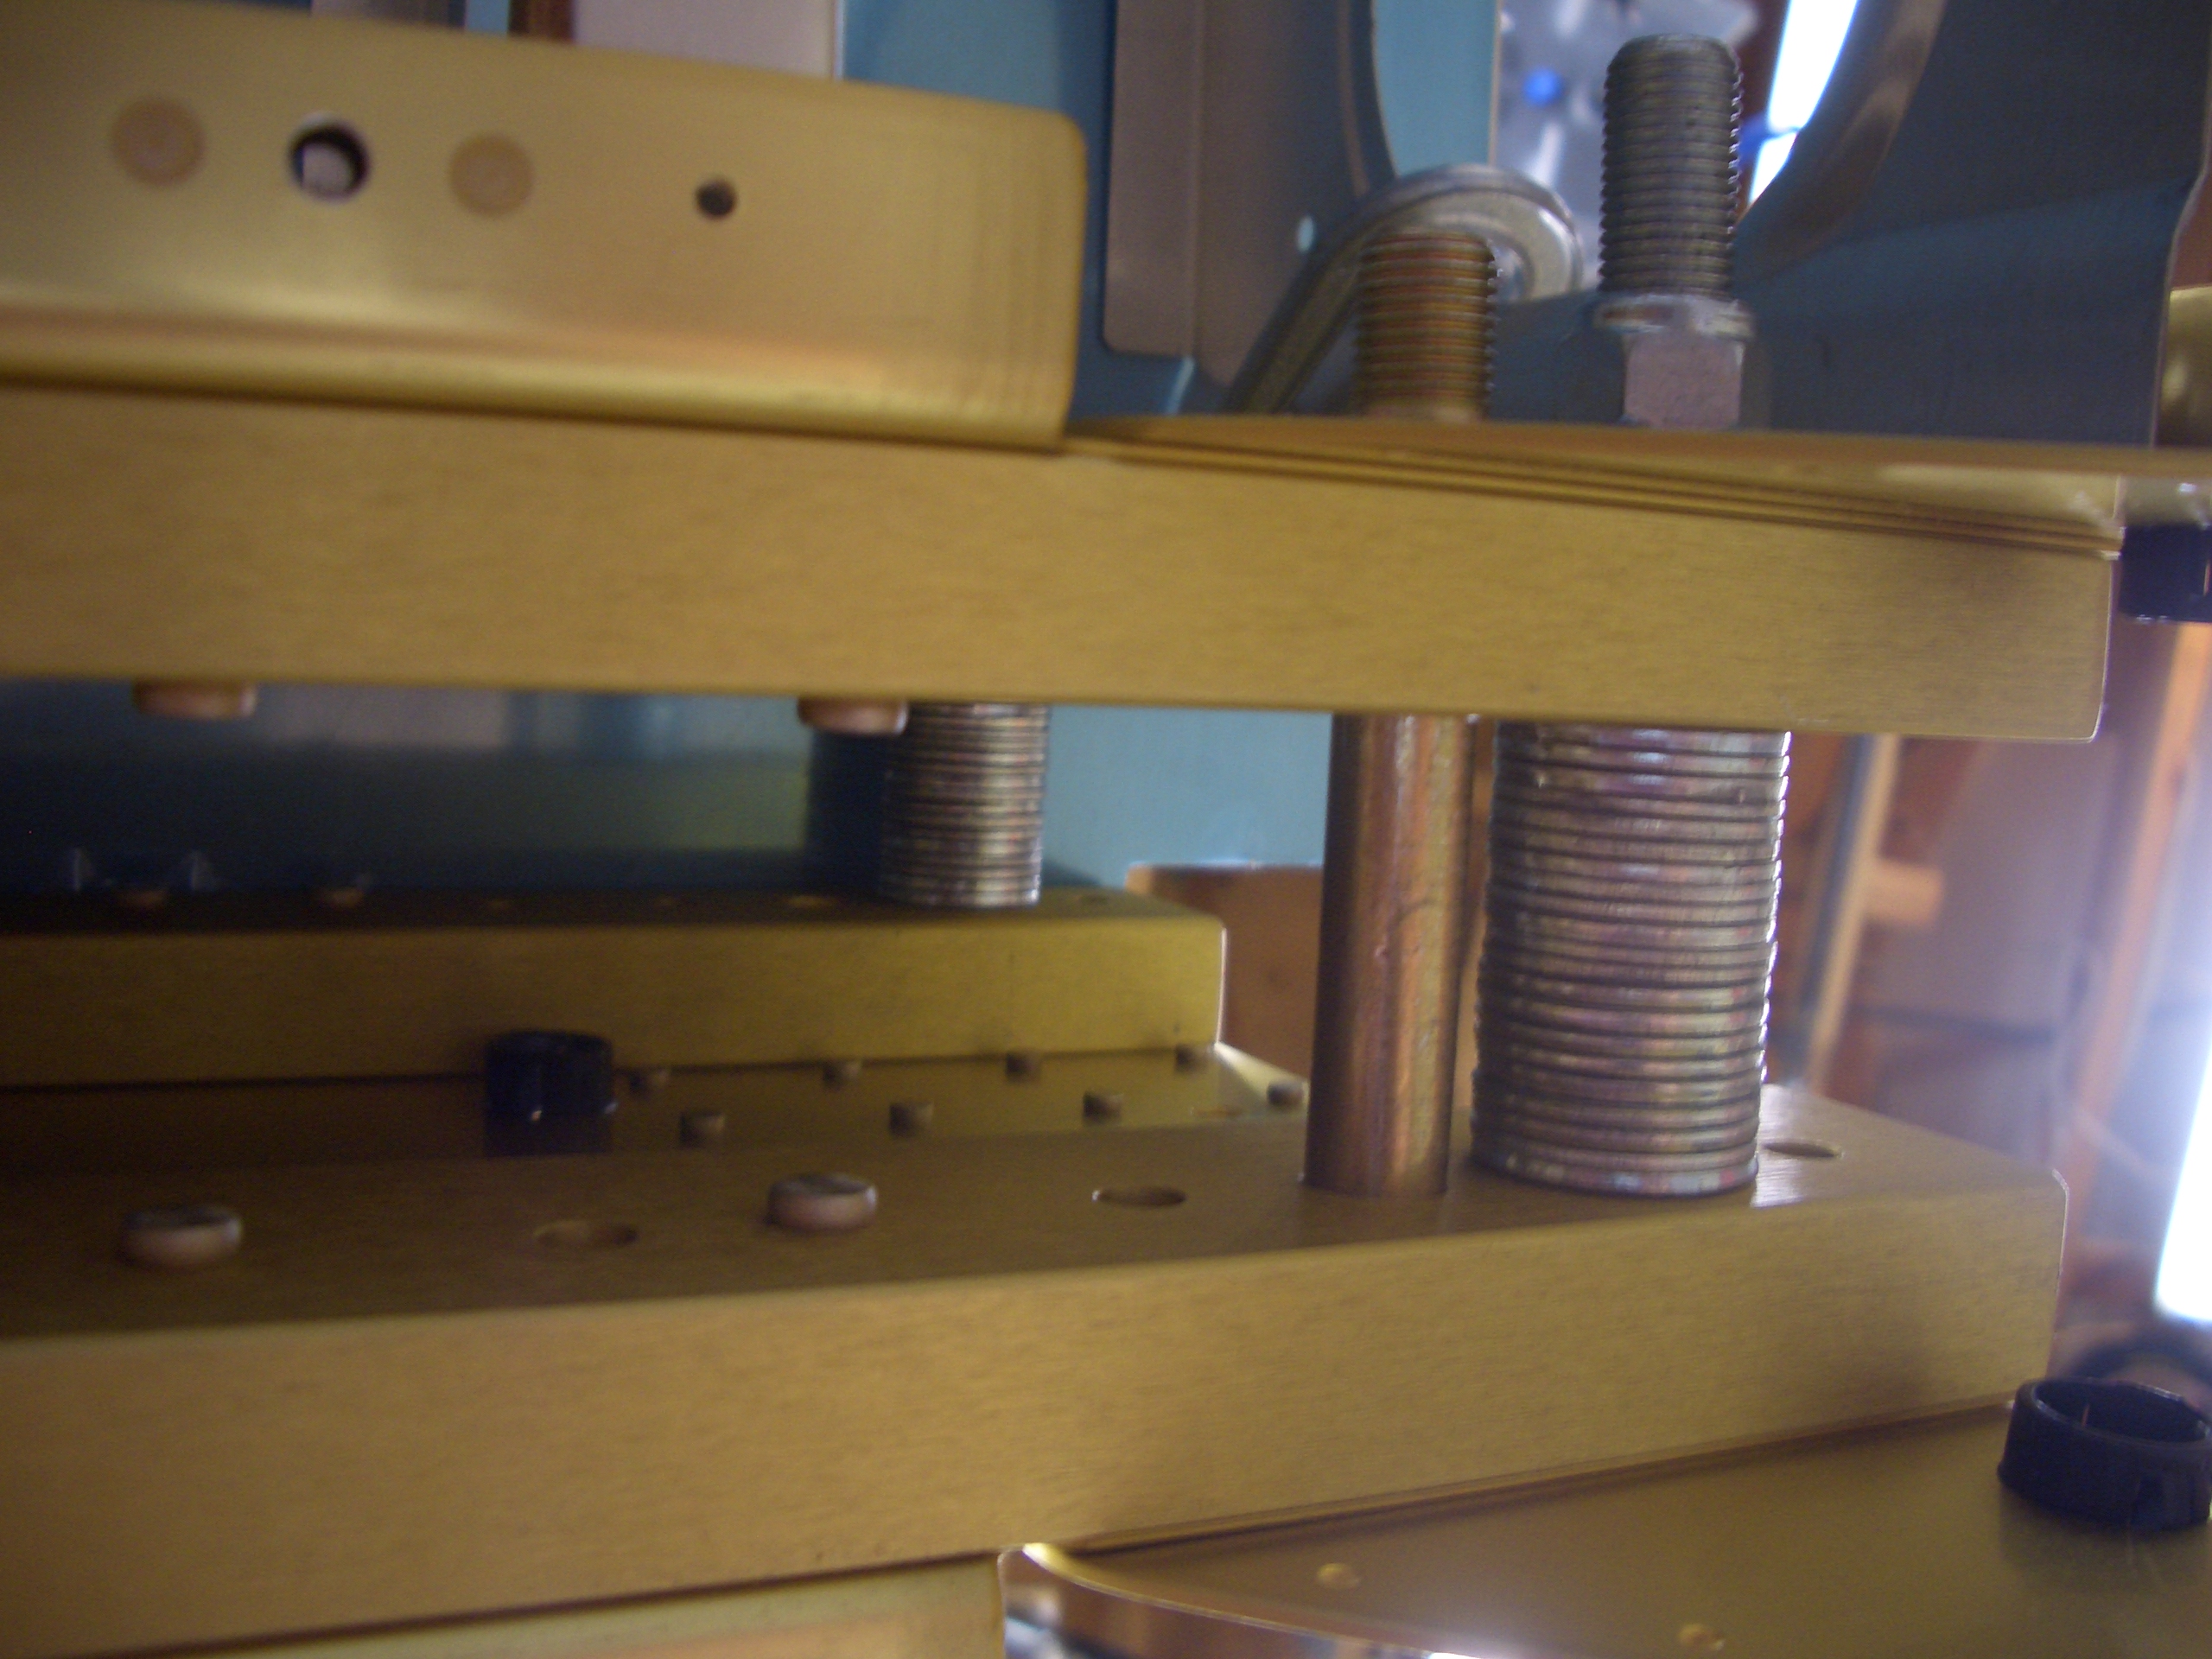
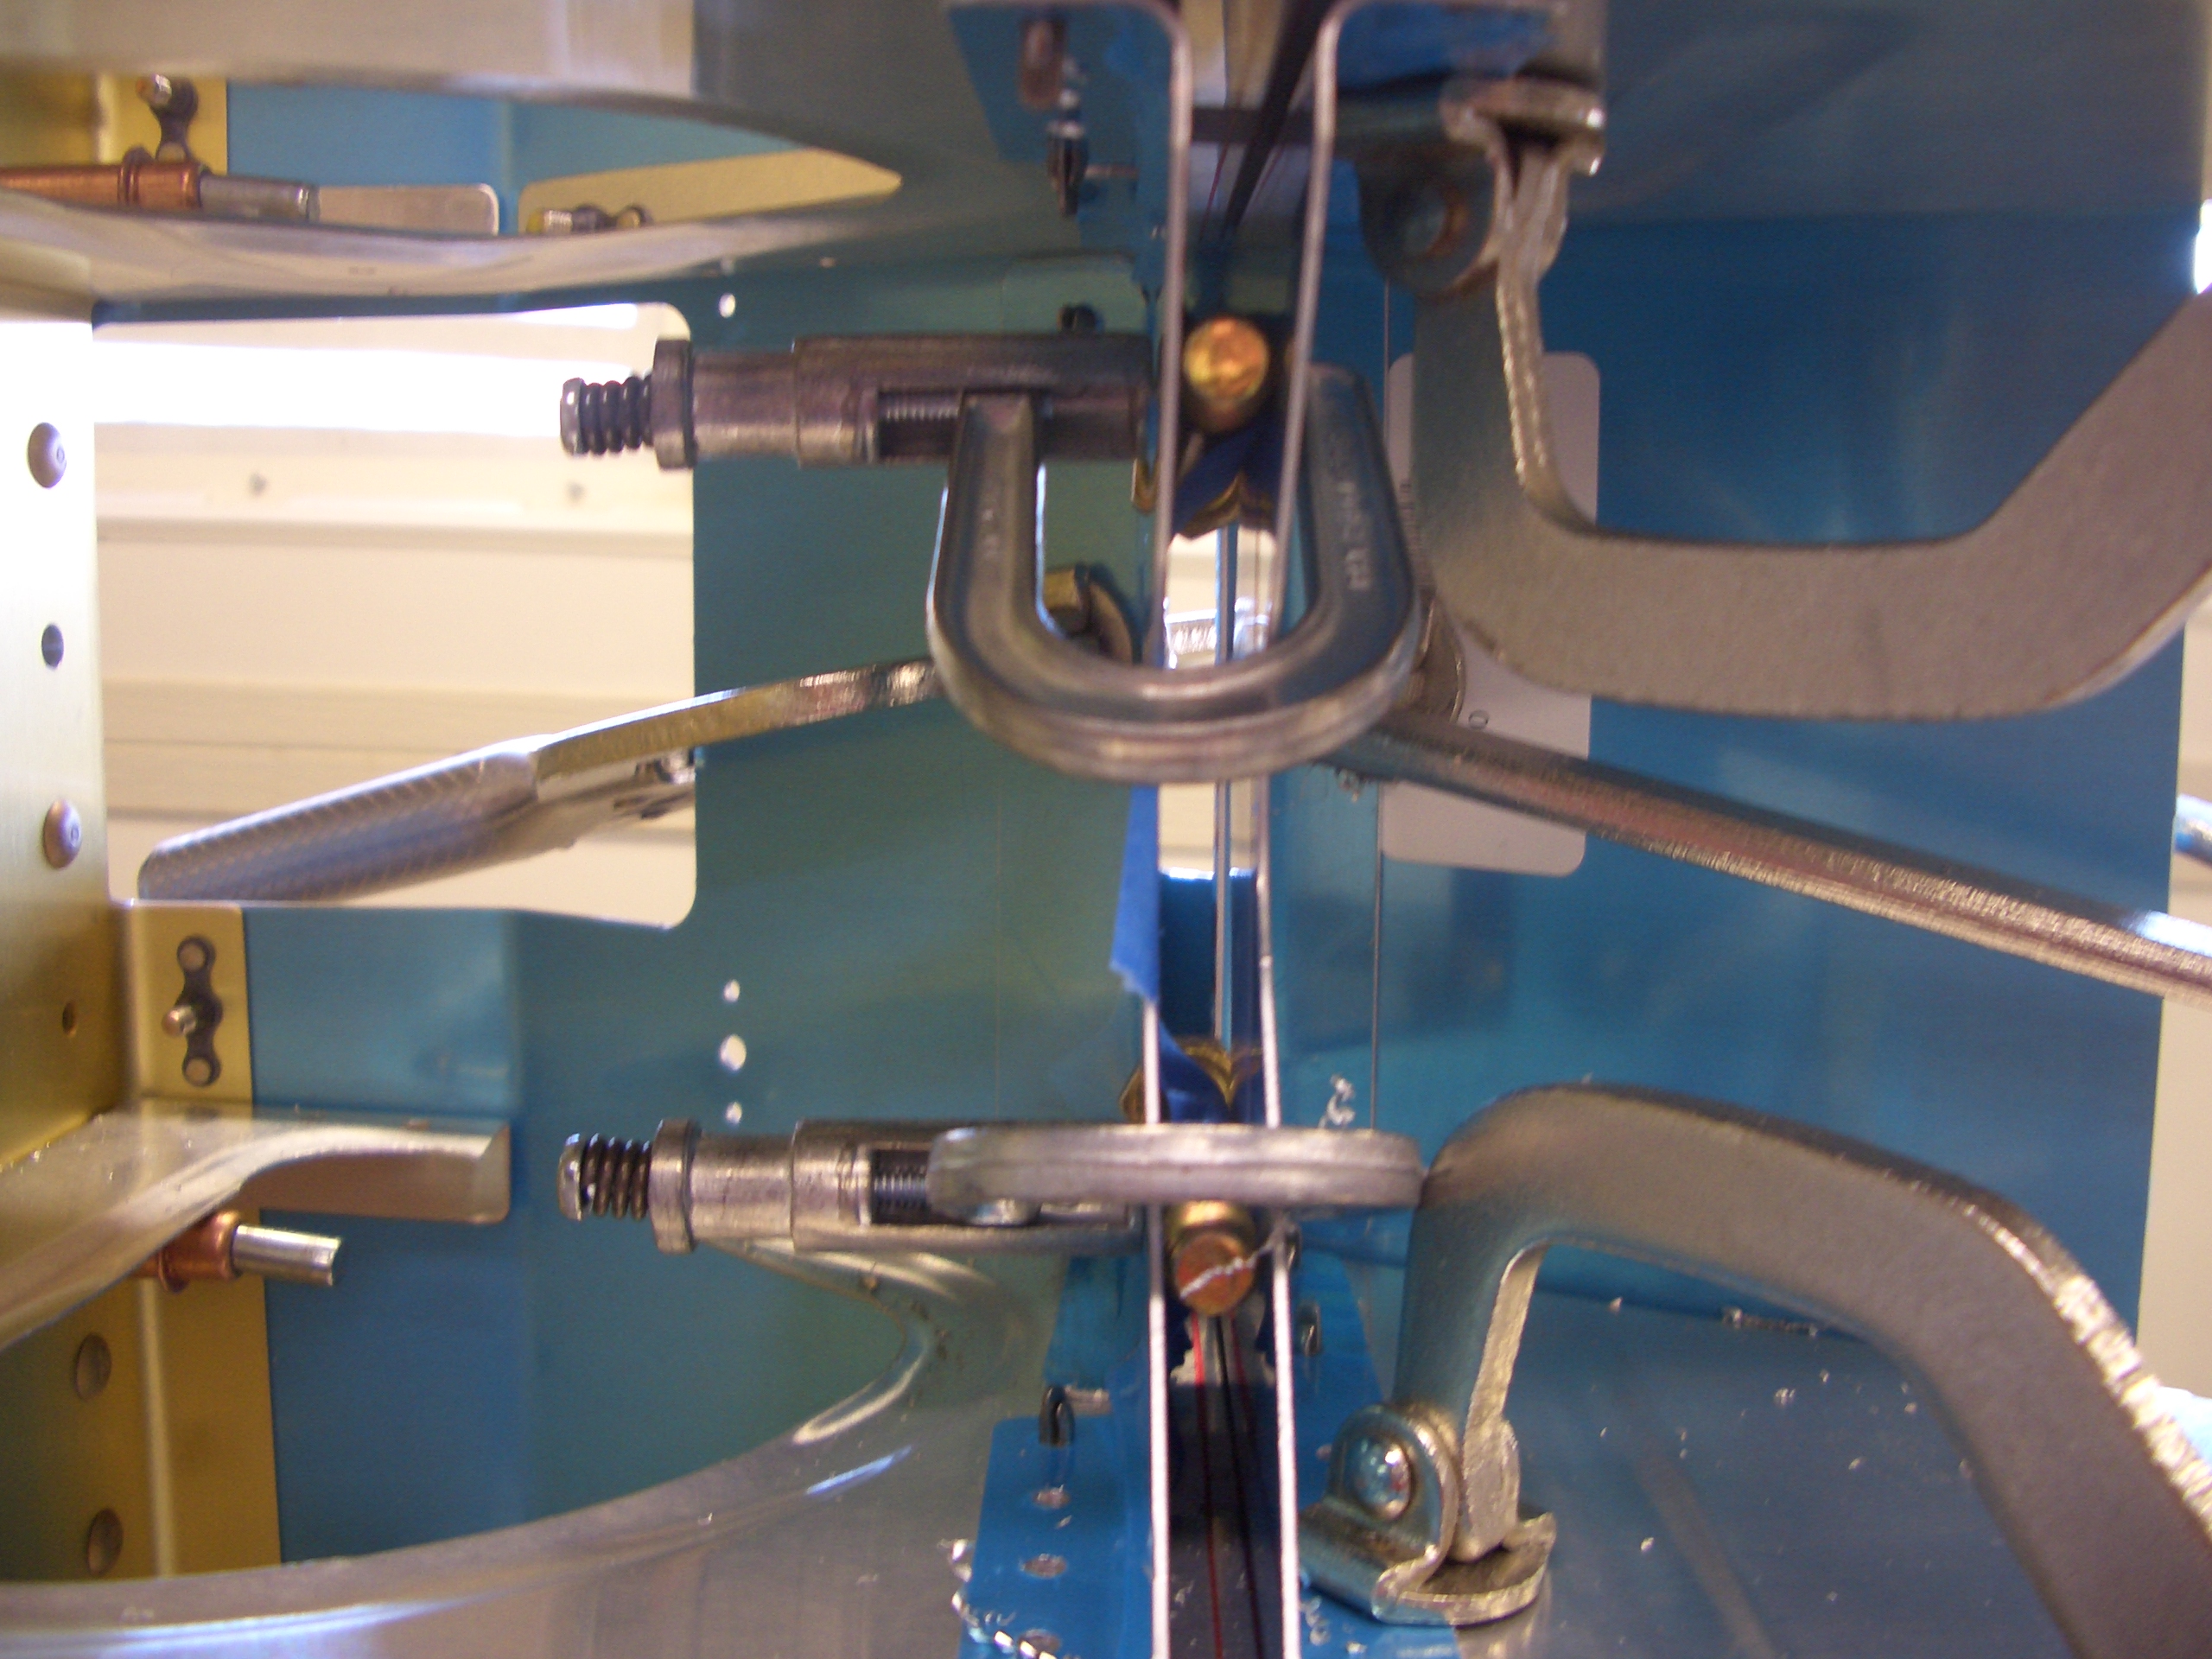
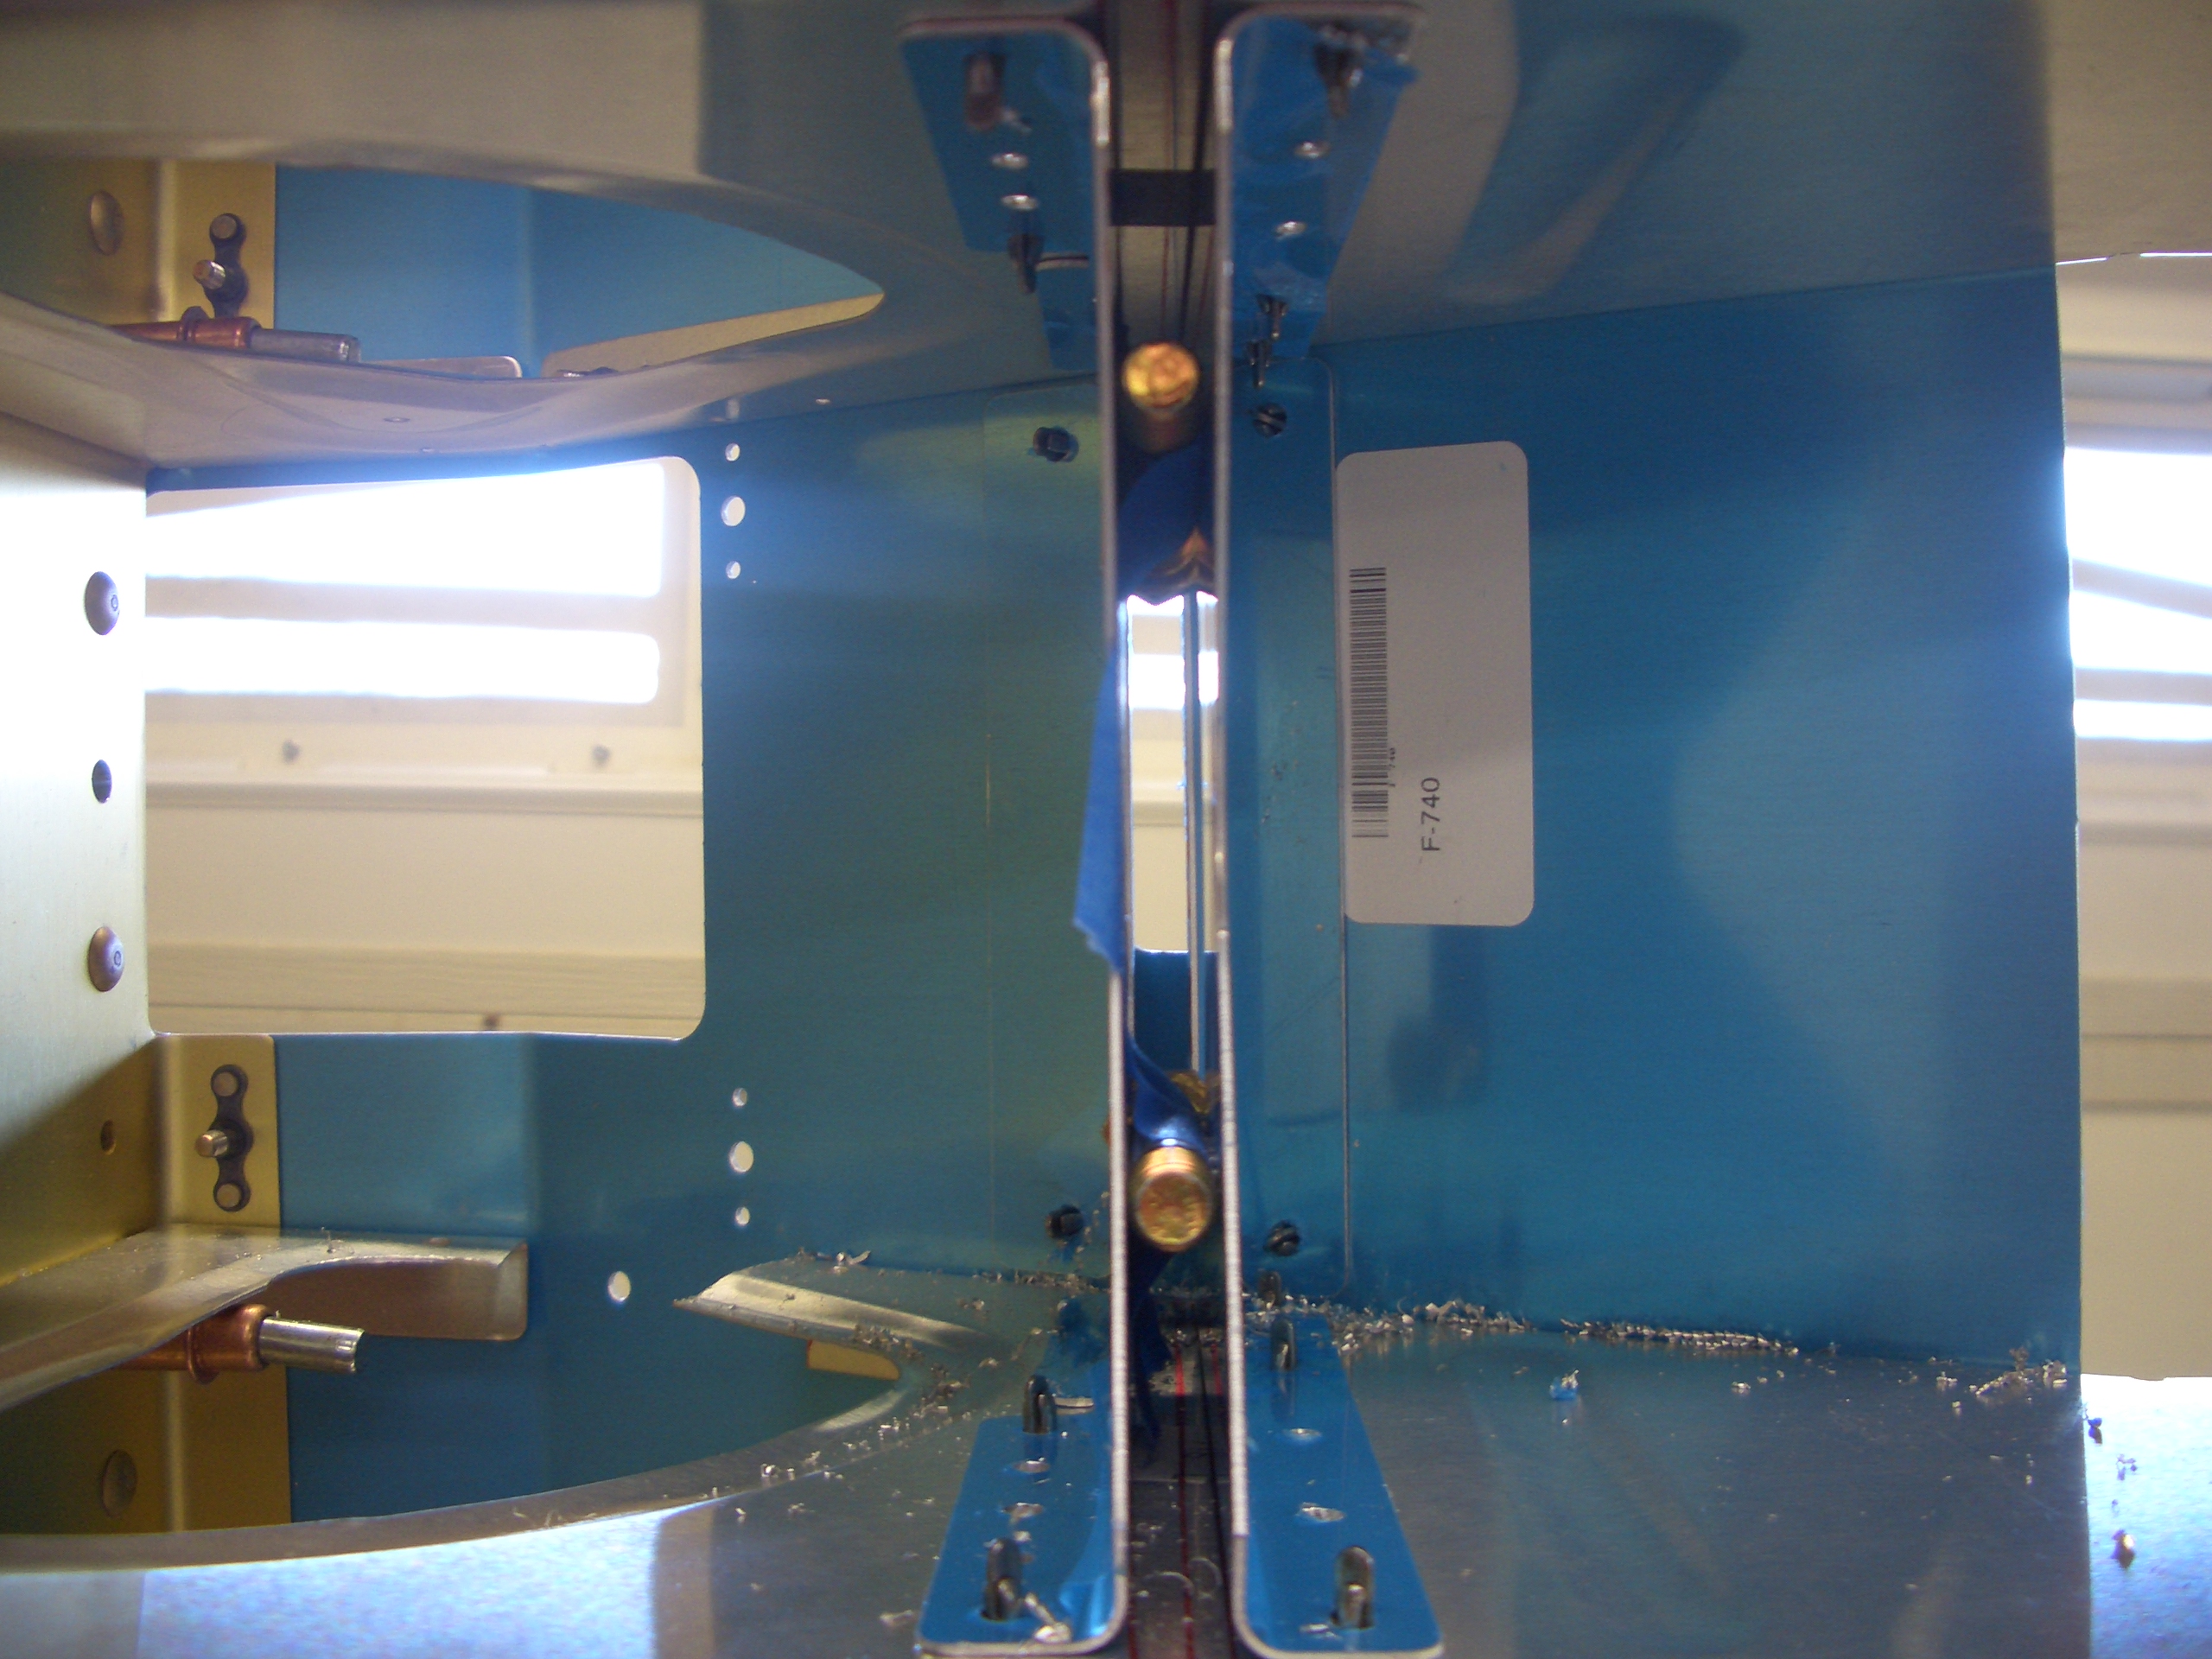
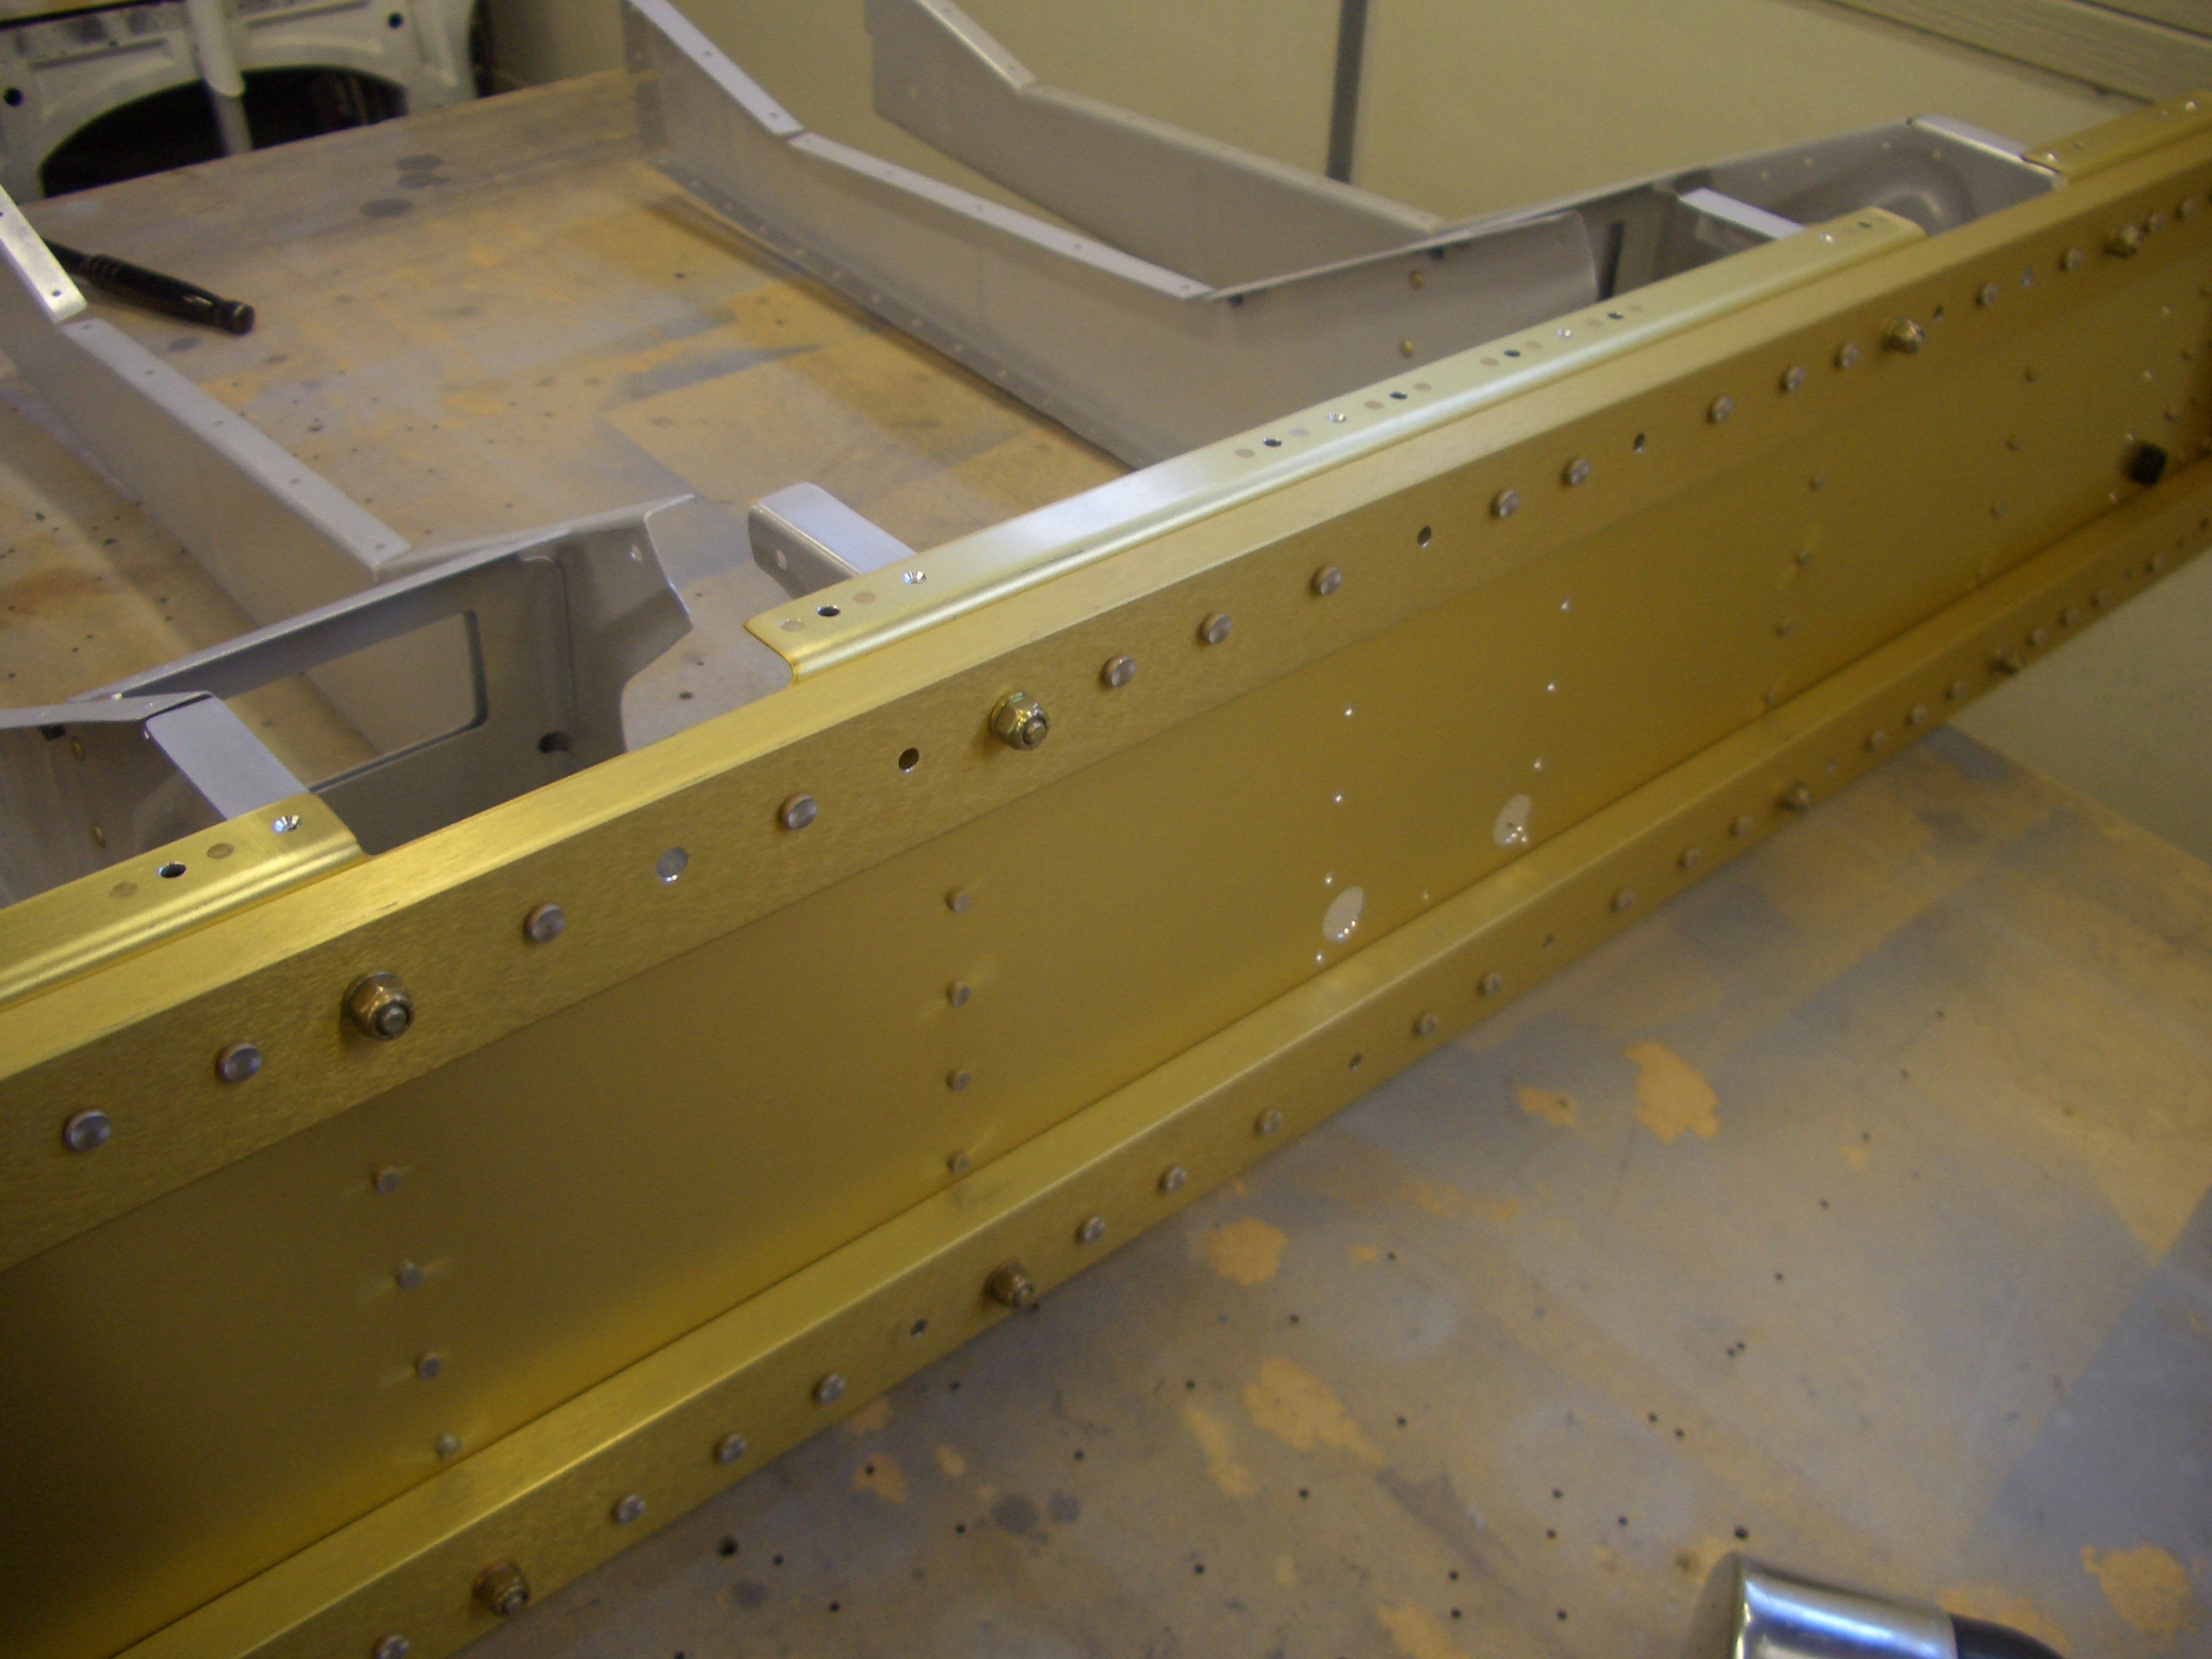
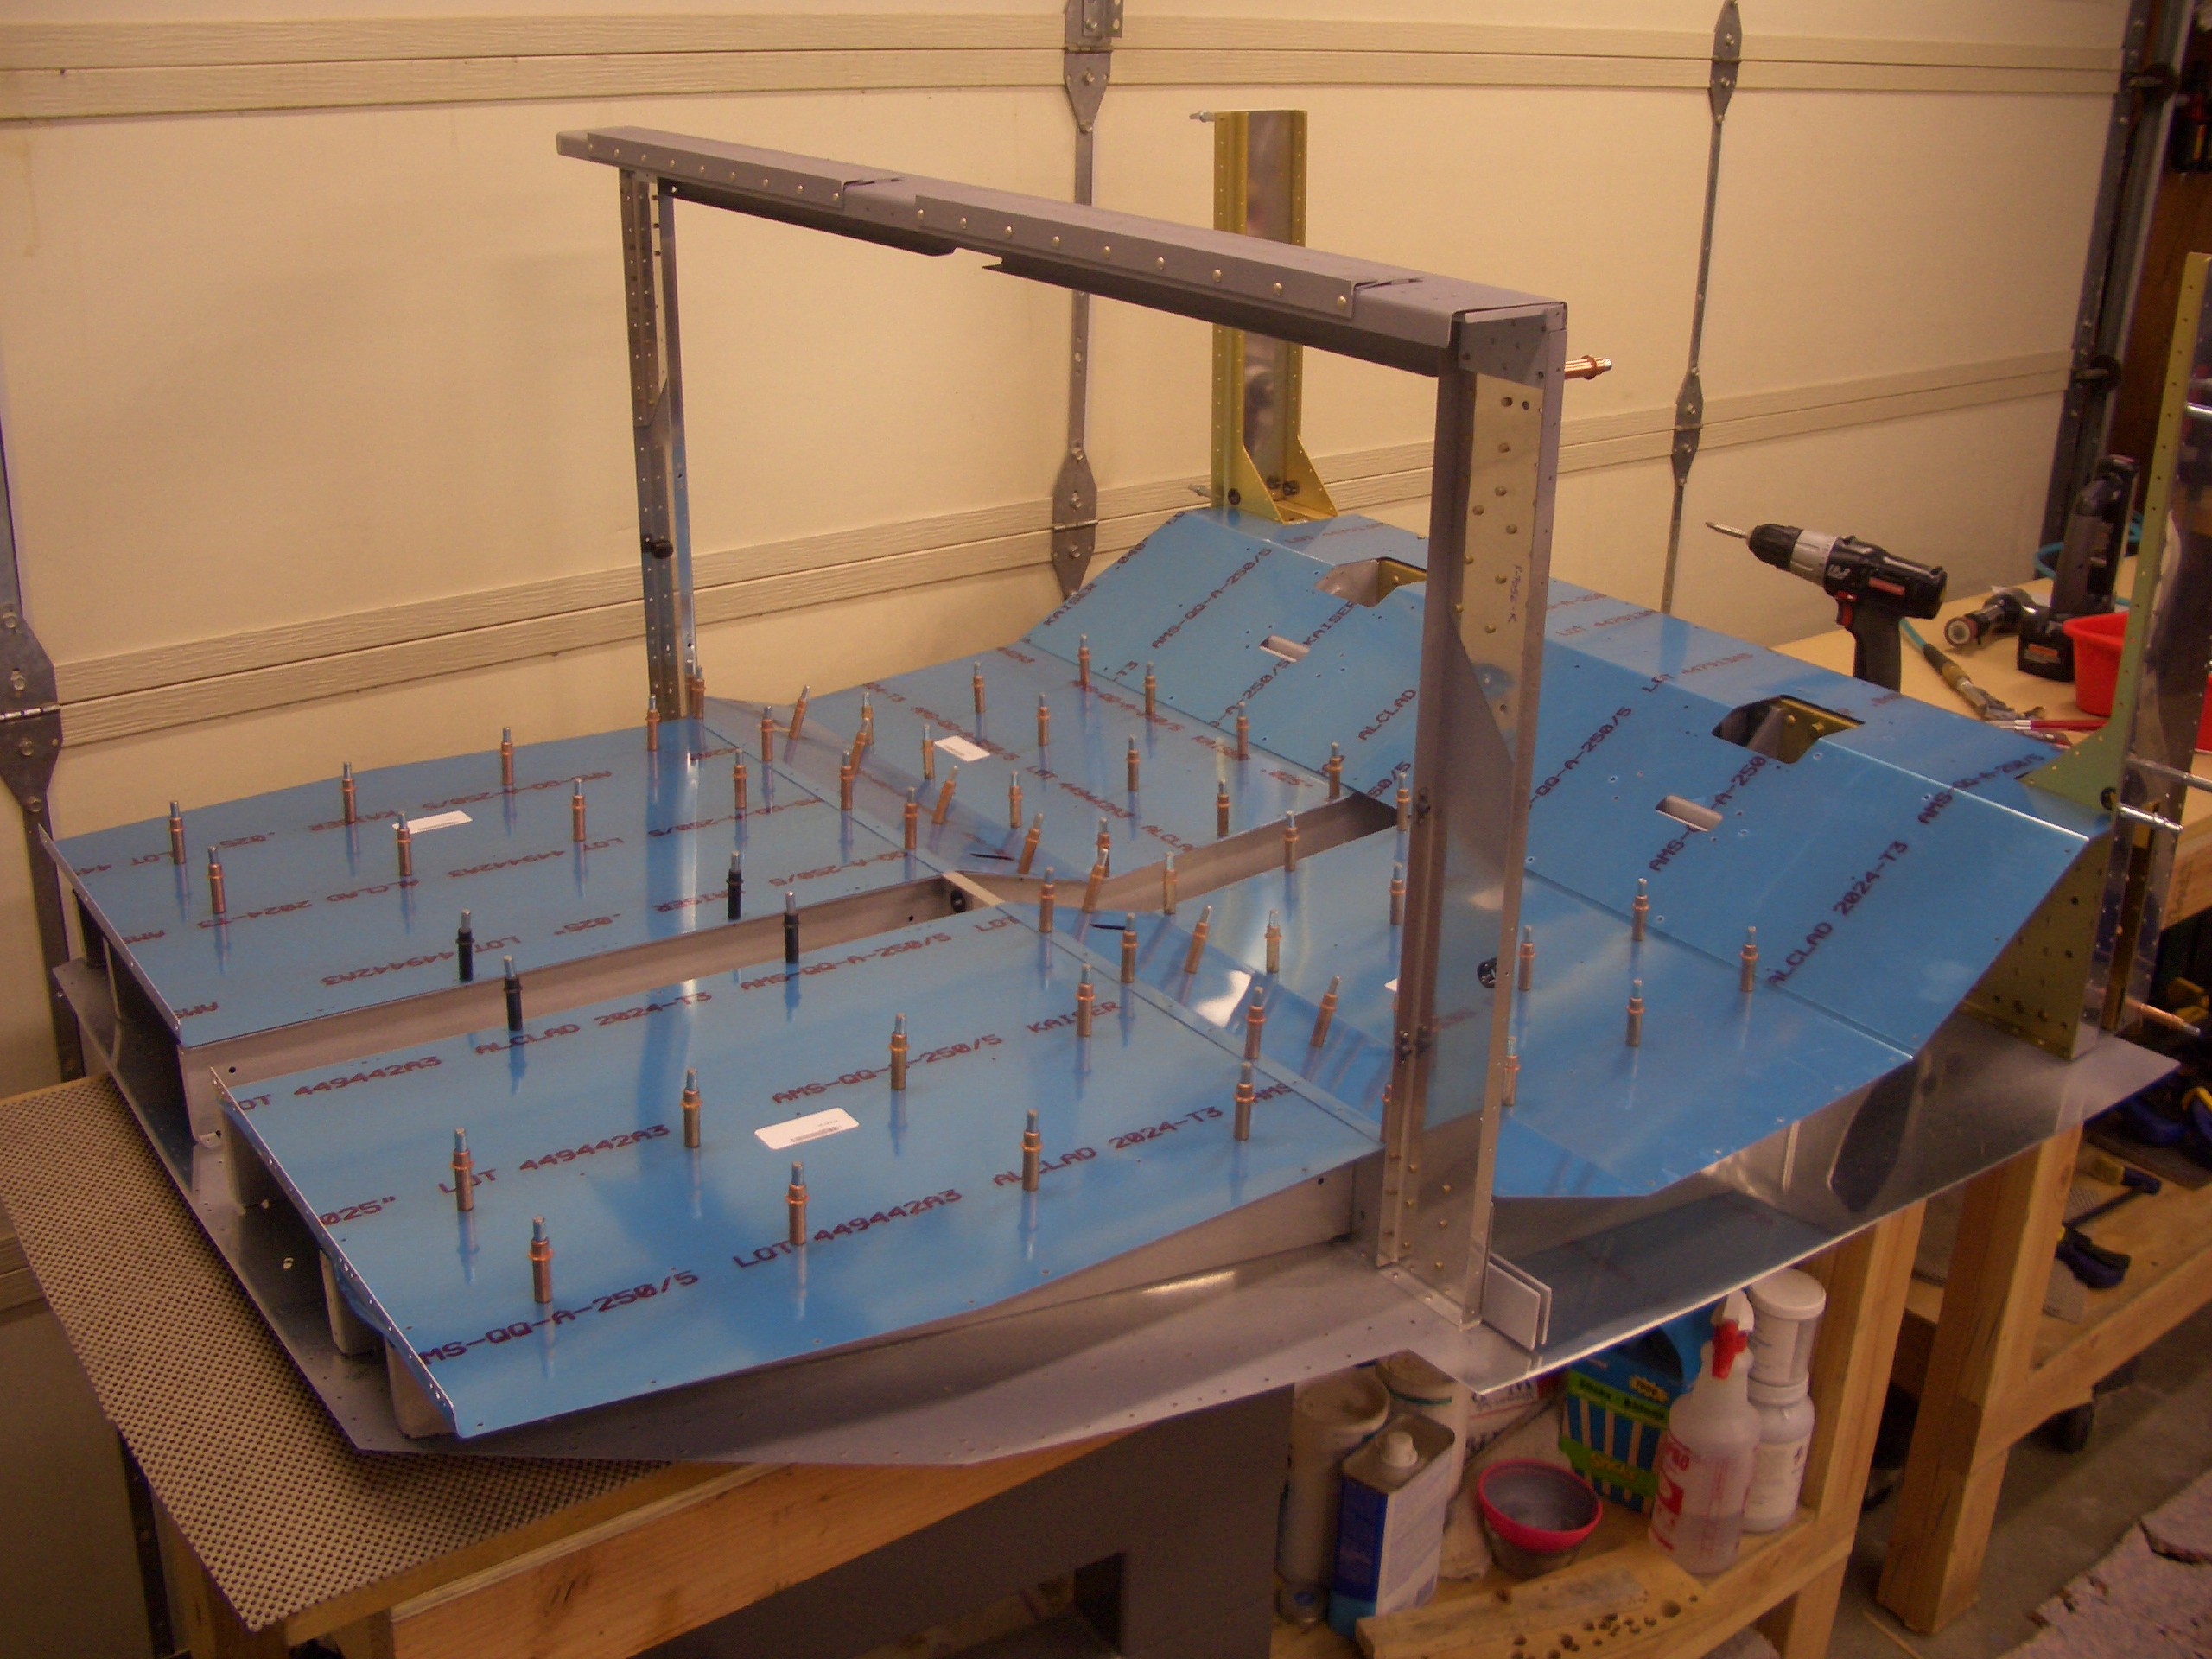
I clamped the two halves of F-704 together using the spacers I made and some hardware store 7/16″ bolts.  I put two of the close tolerance bolts in place (one in each end) to ensure the bulkhead halves were perfectly aligned since the hardware store bolts allowed a little slop.

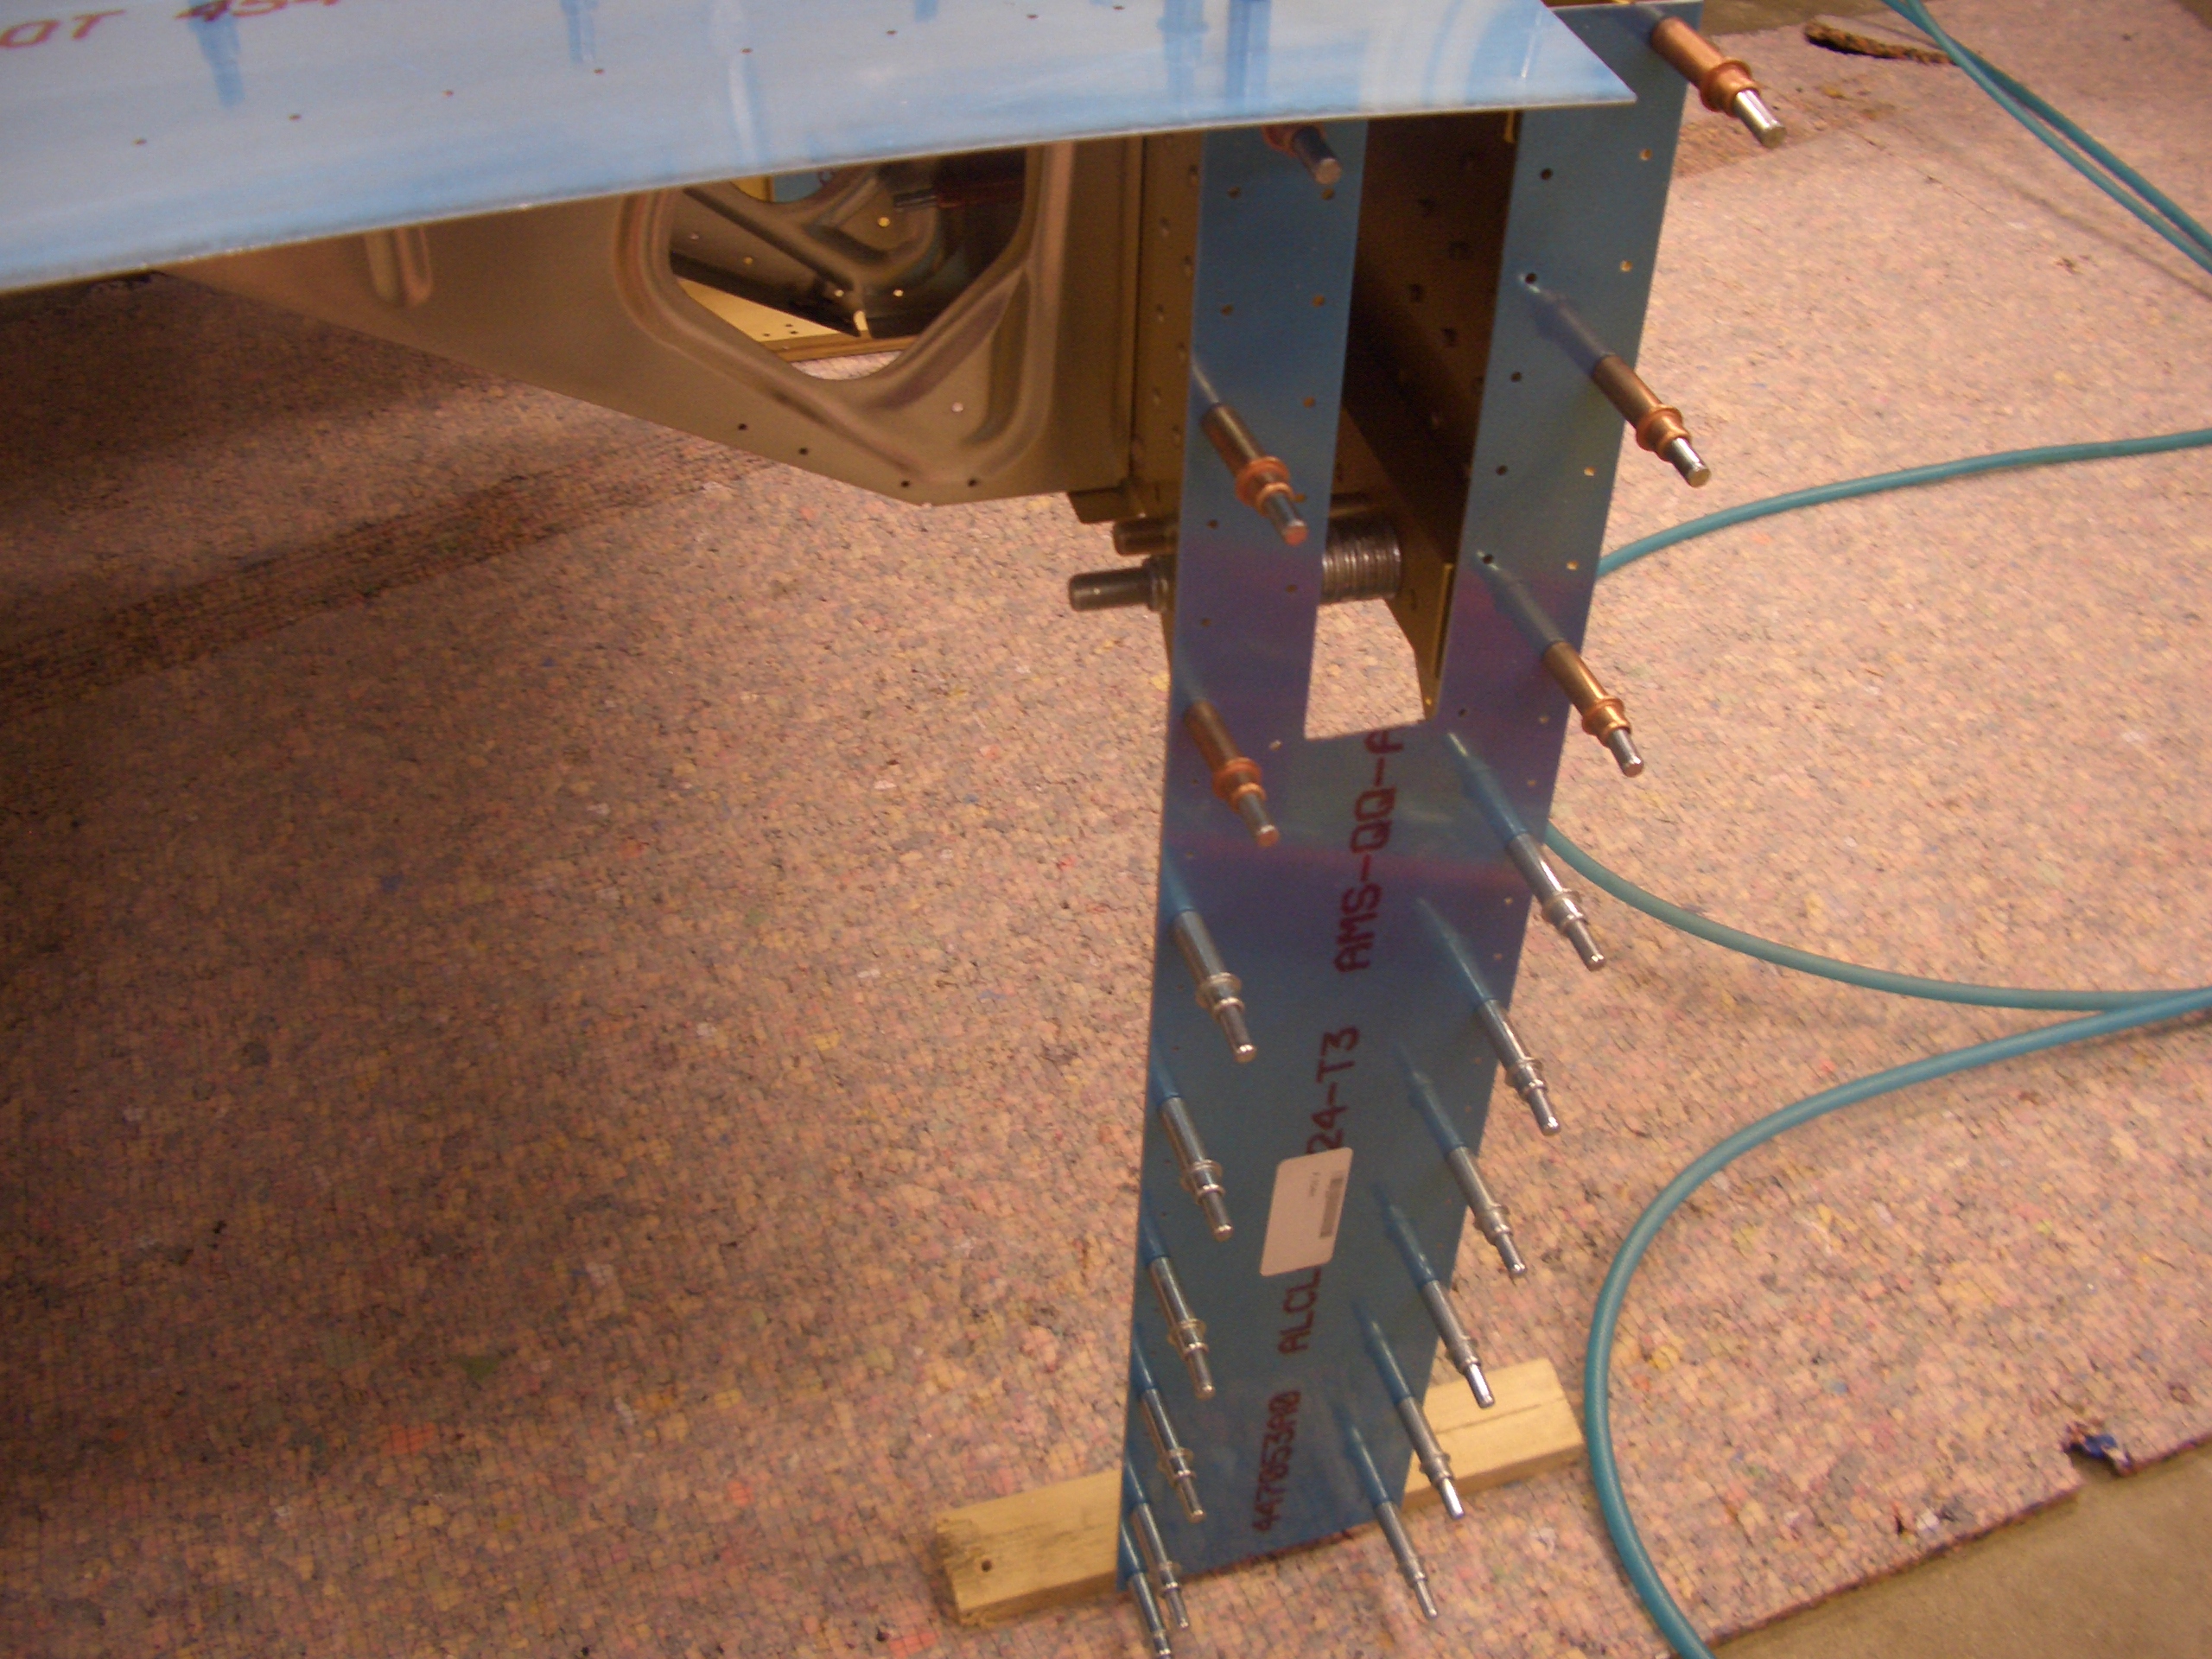
I then clecoed the side skin doublers in place and match drilled them to the F-704 side pieces.

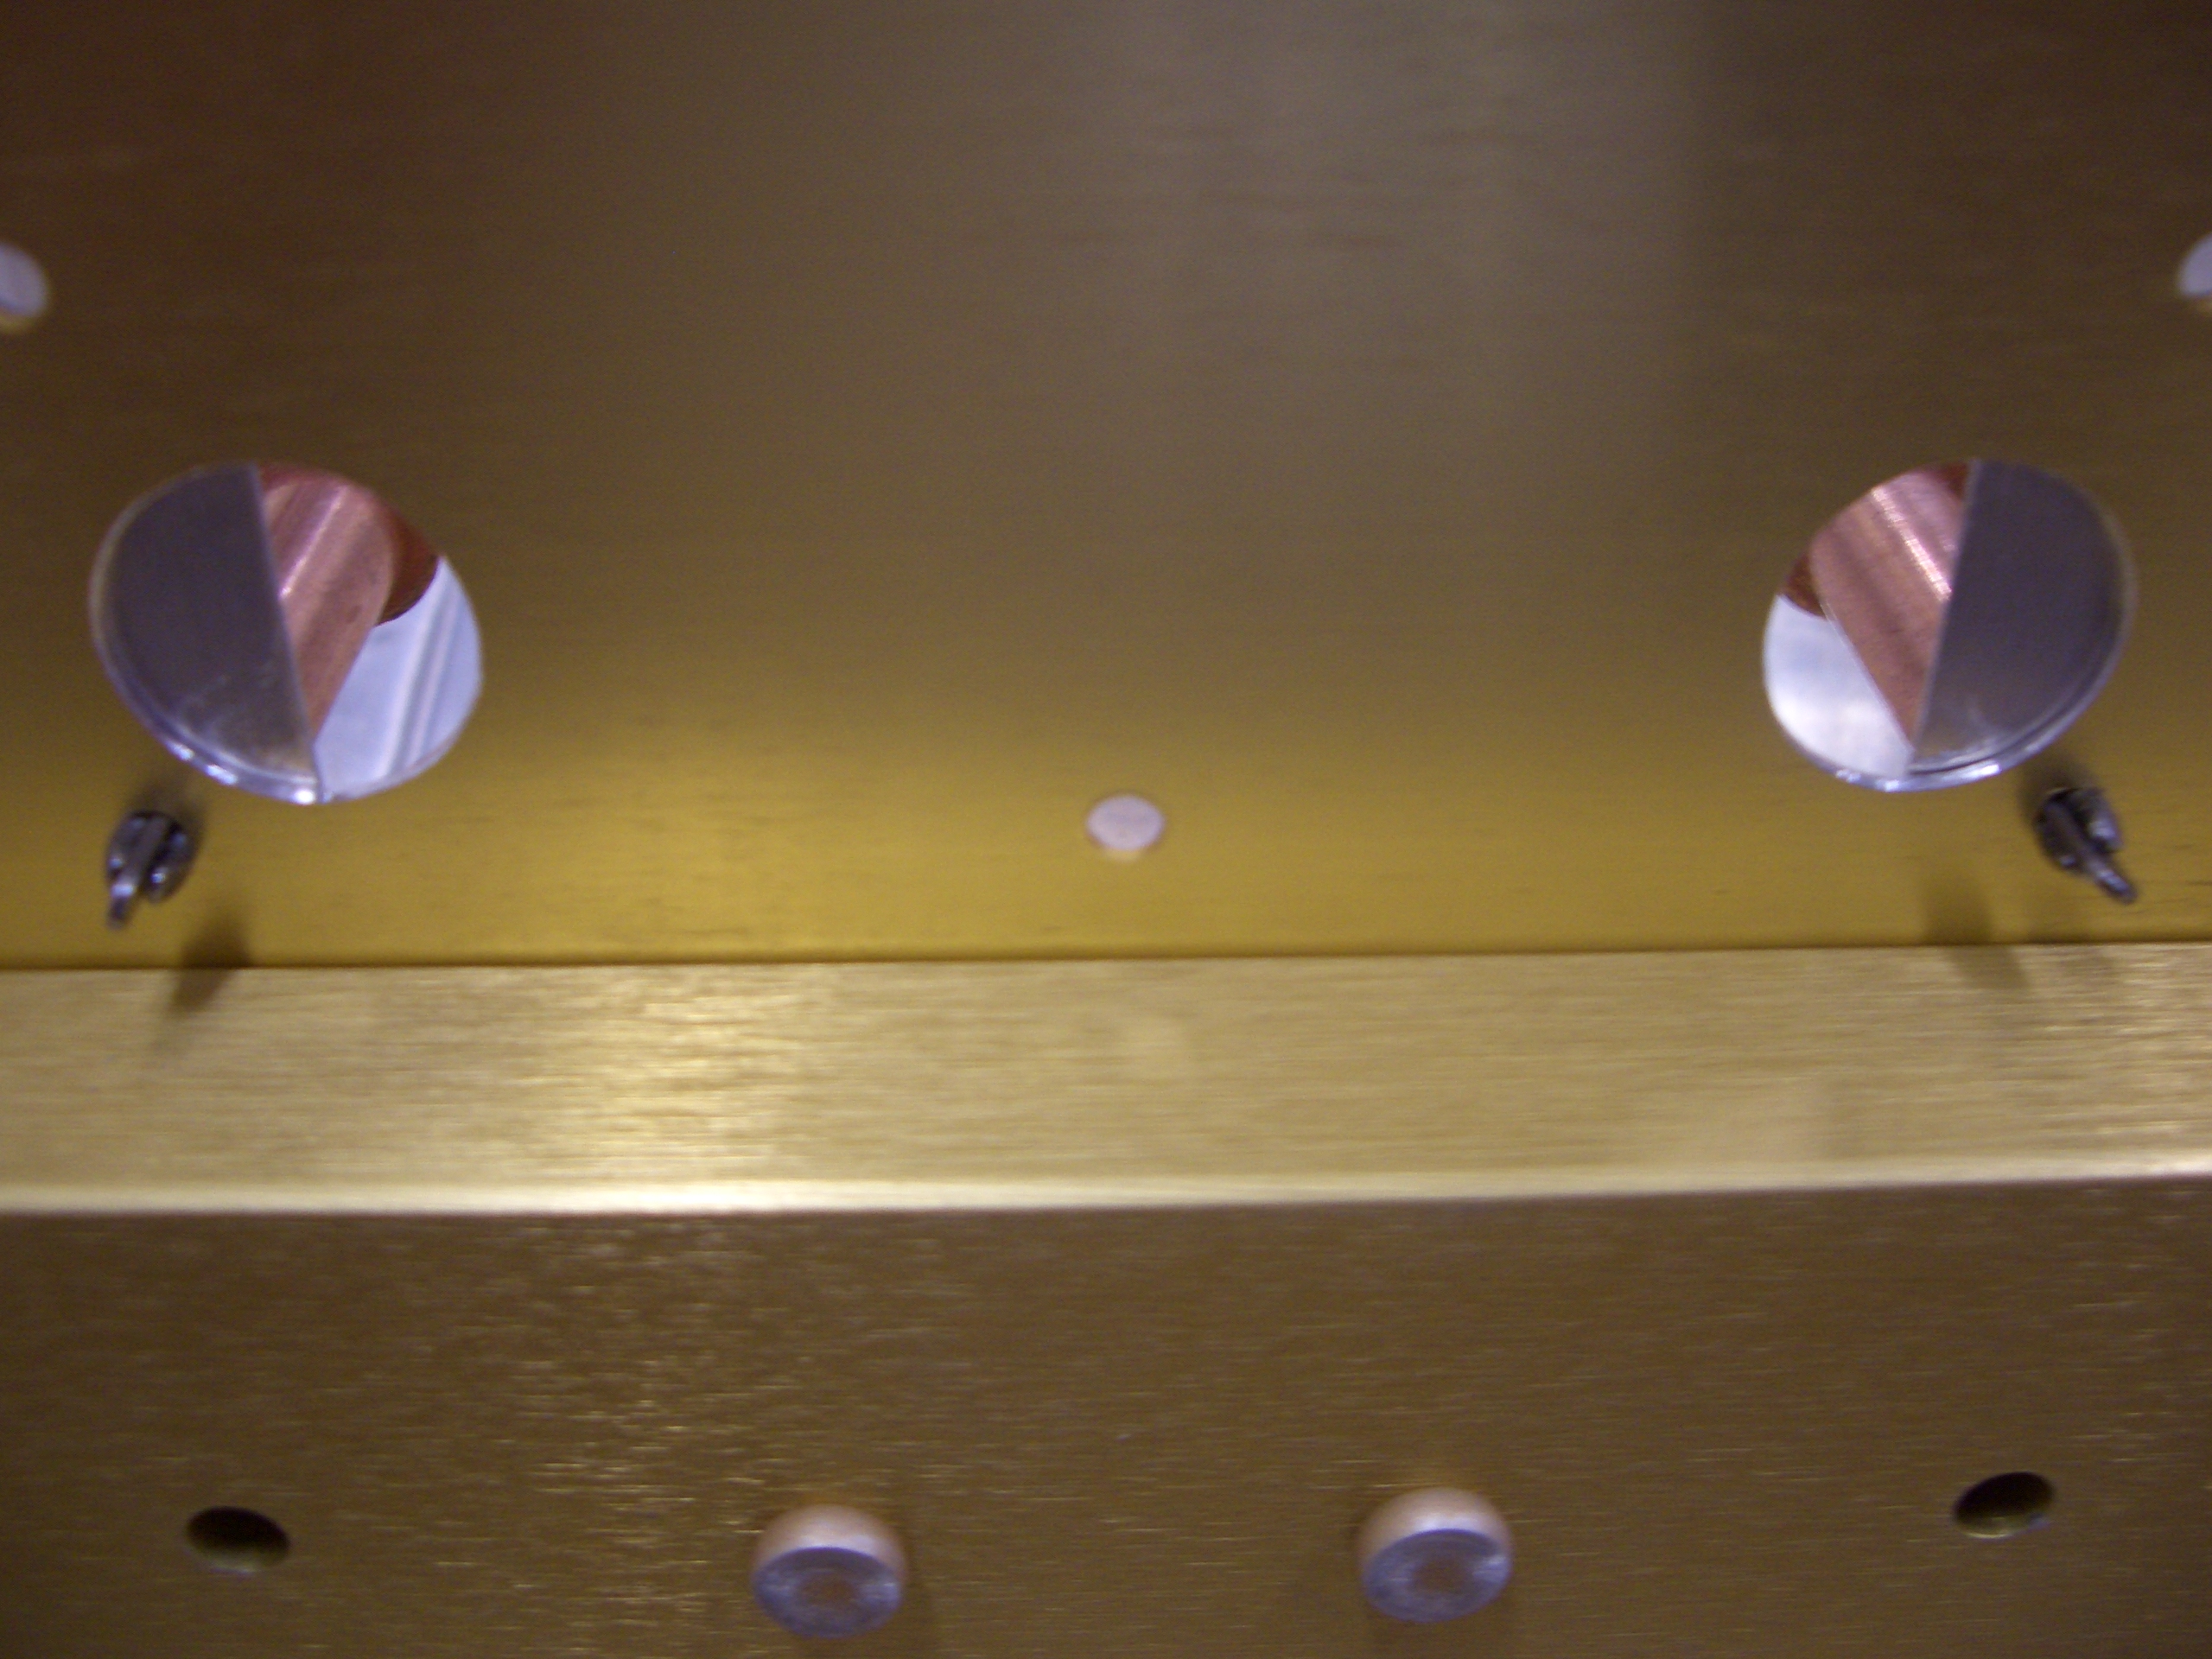
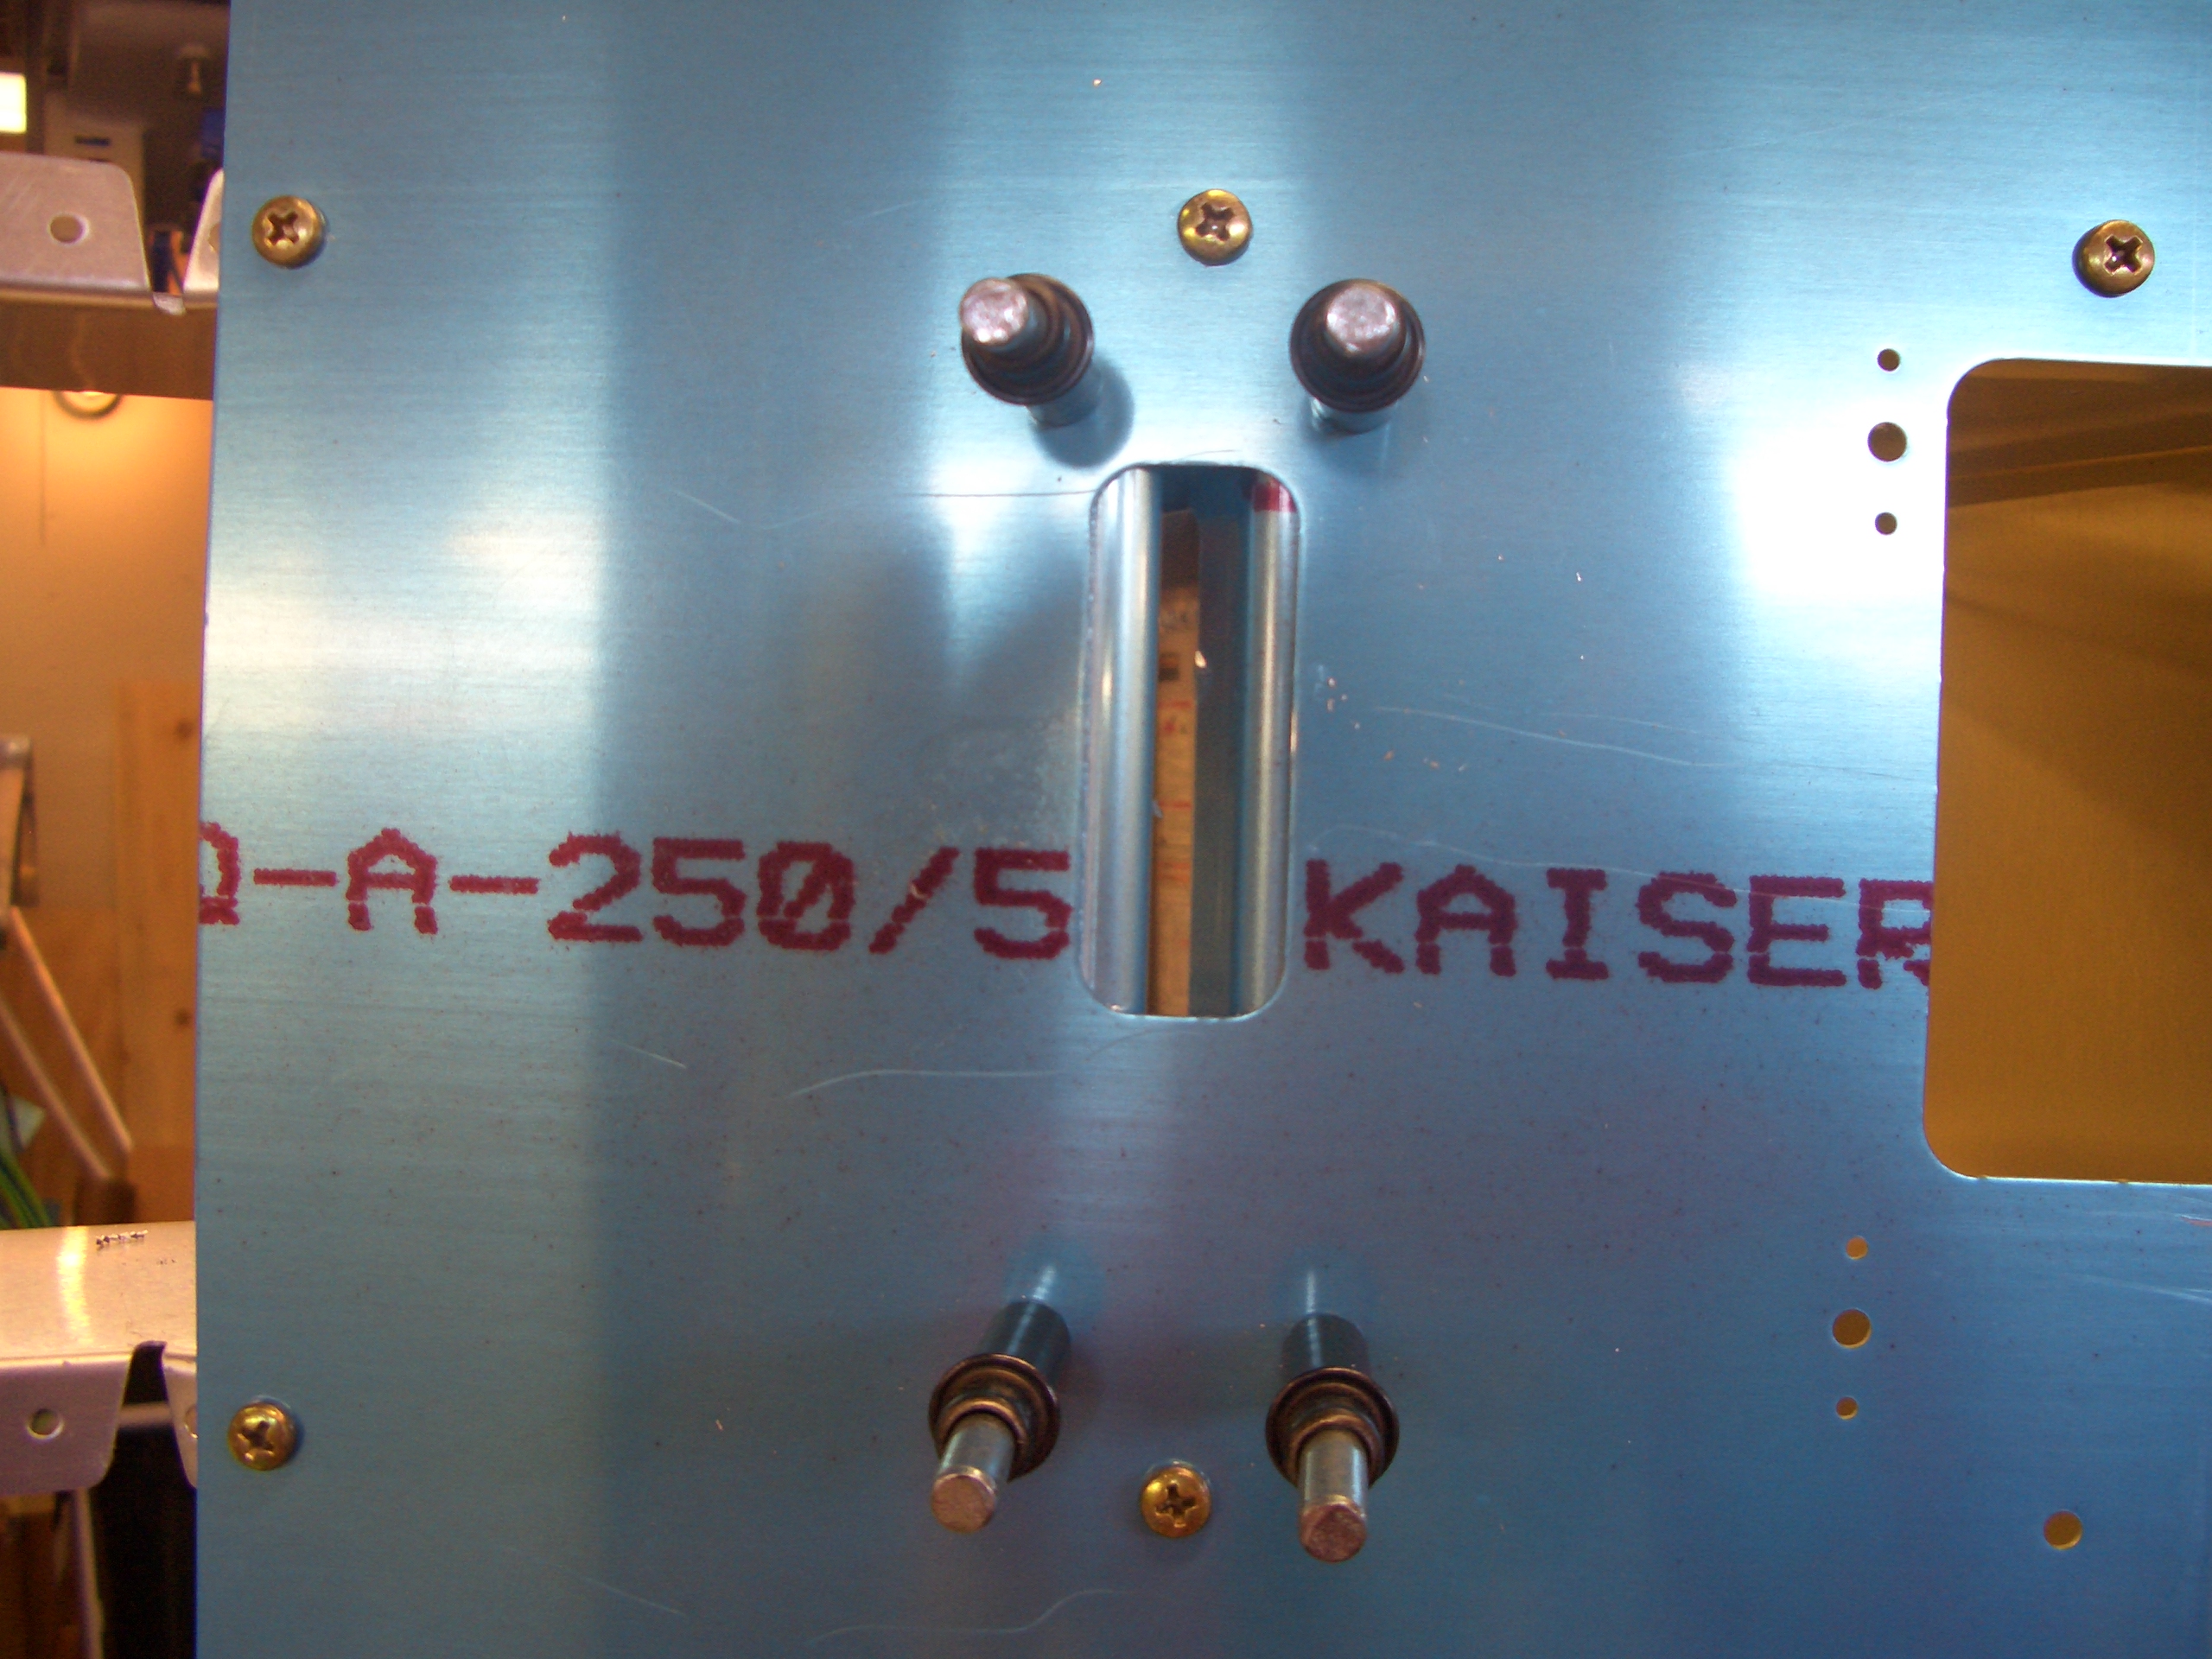
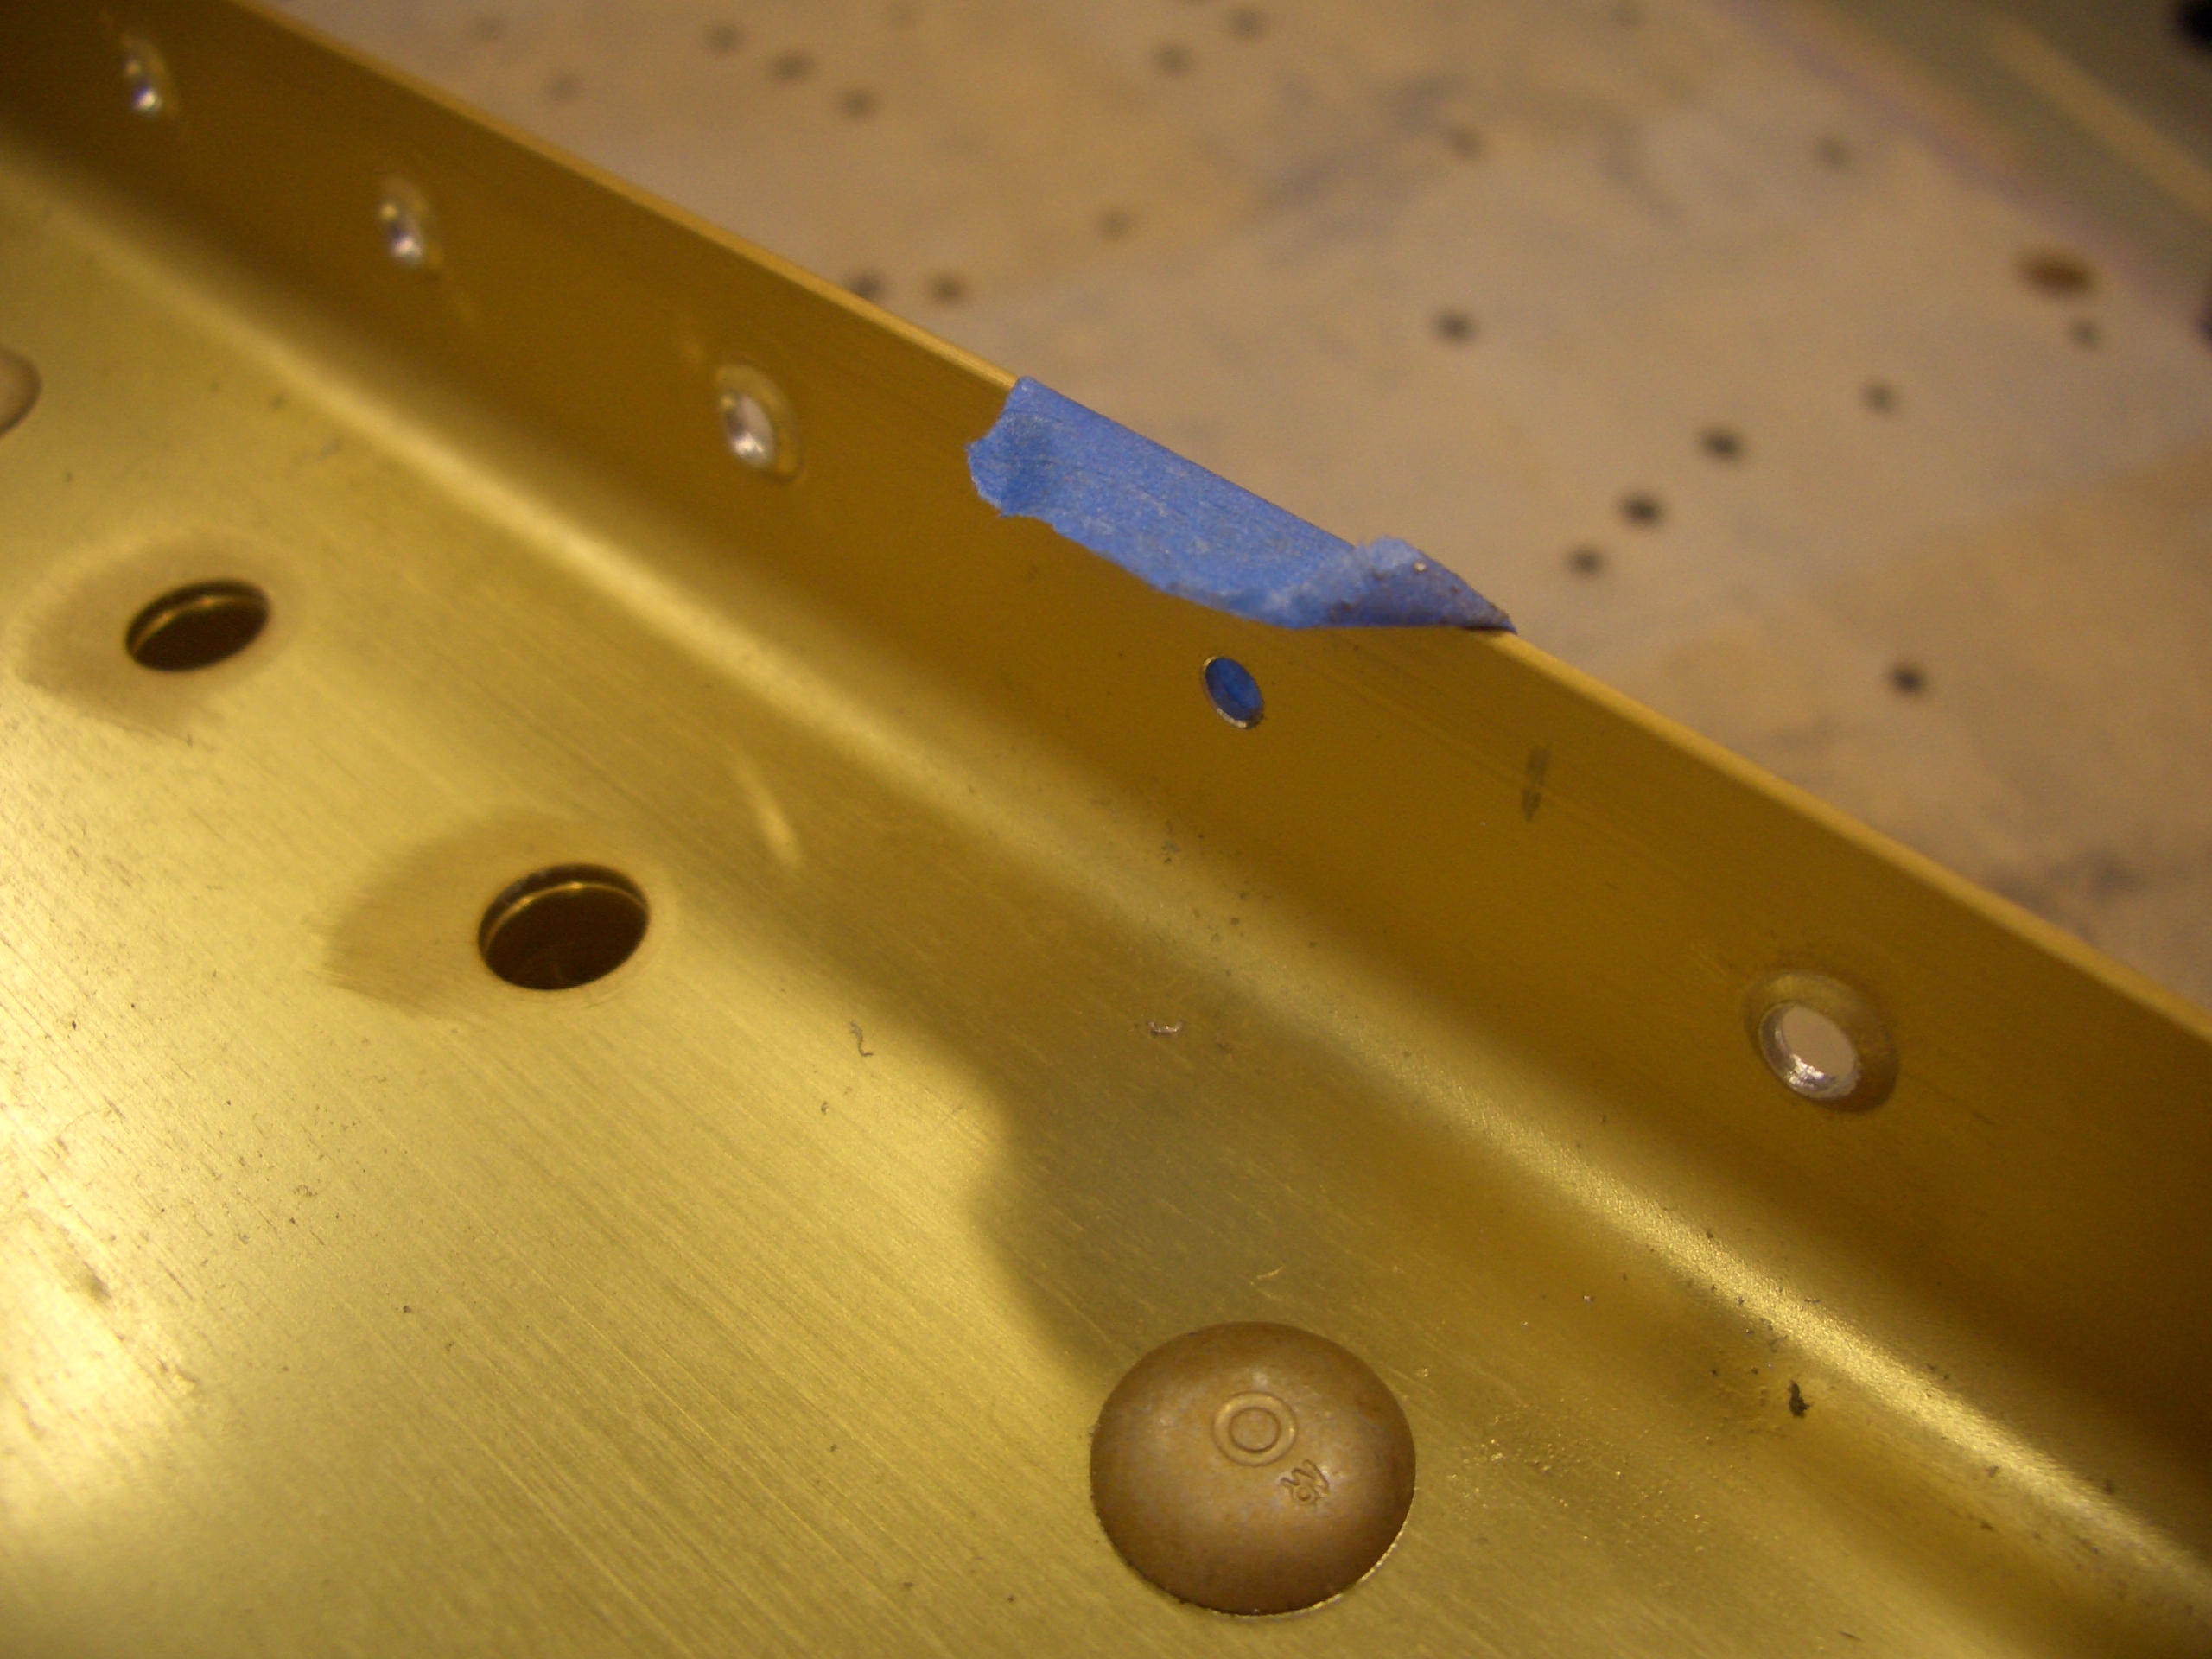
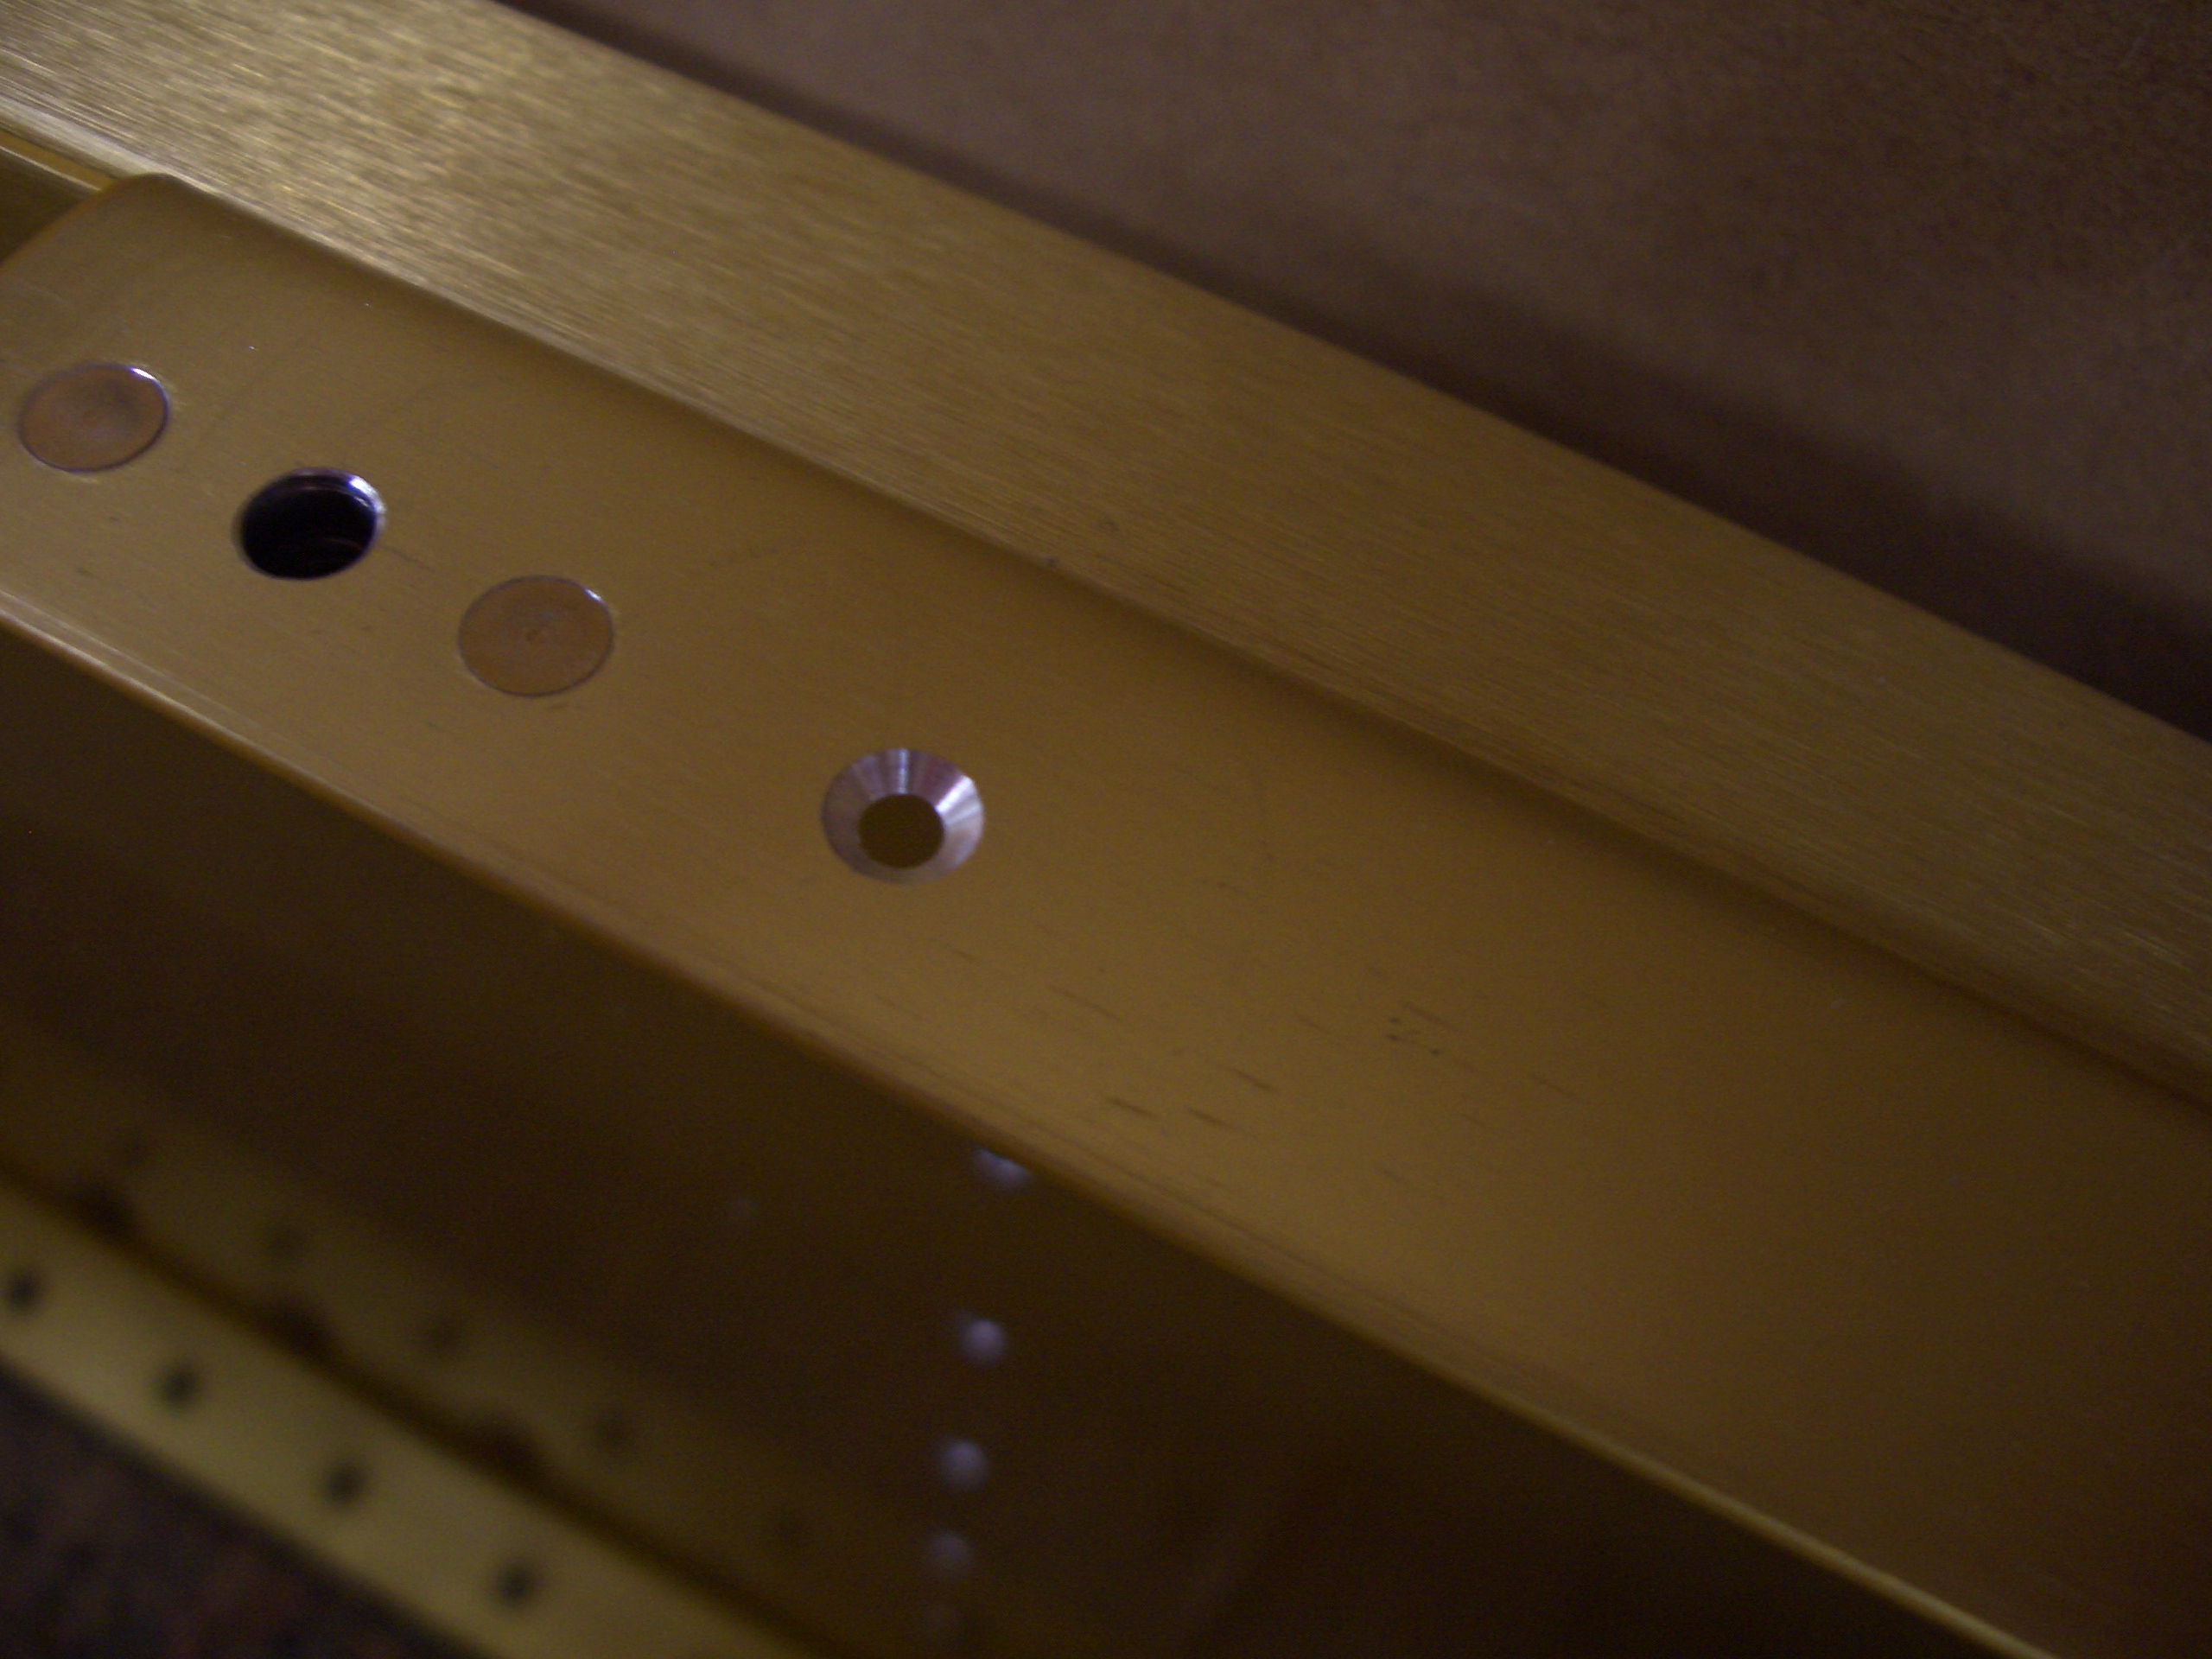
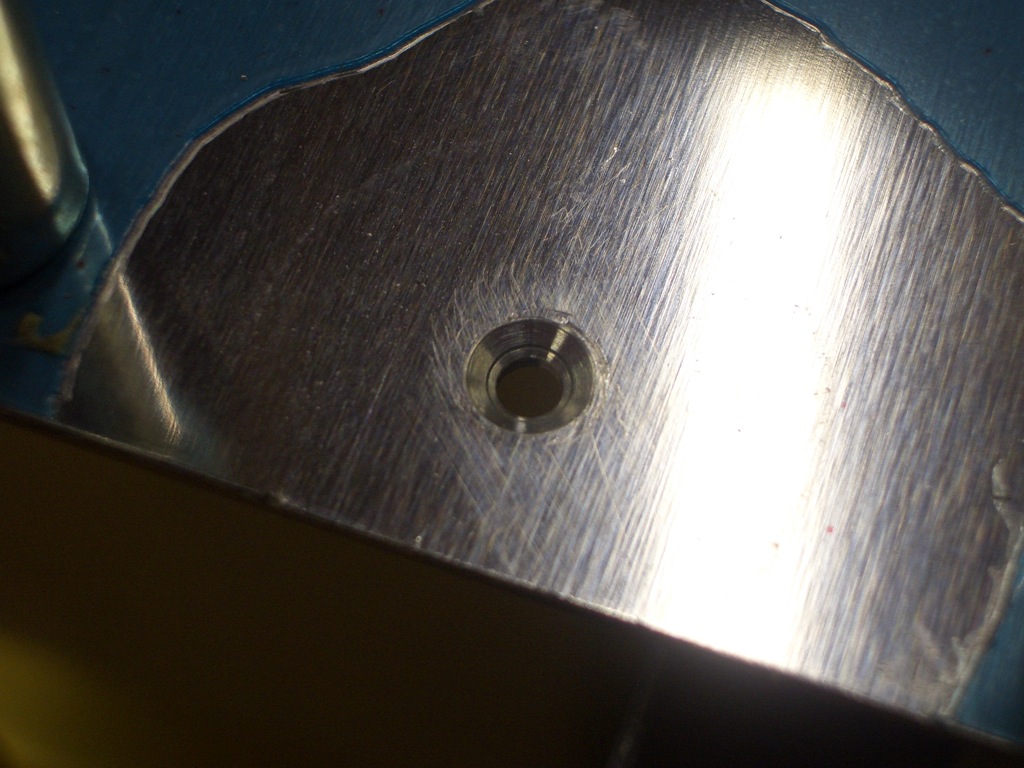
Four of the rivets along the front edge of F-704 must be countersunk so that the F-704 flange isn’t dimpled.  This is to allow the floor stiffeners to nest against this flange.

The bottom skins is only 0.025″ thick, which is not thick enough to take a countersink for a 3/32″ rivet.  This causes the countersink to penetrate slightly into the F-704 flange.  This is ok in this particular case.

Afterward, I removed the bottom skin and baggage ribs.

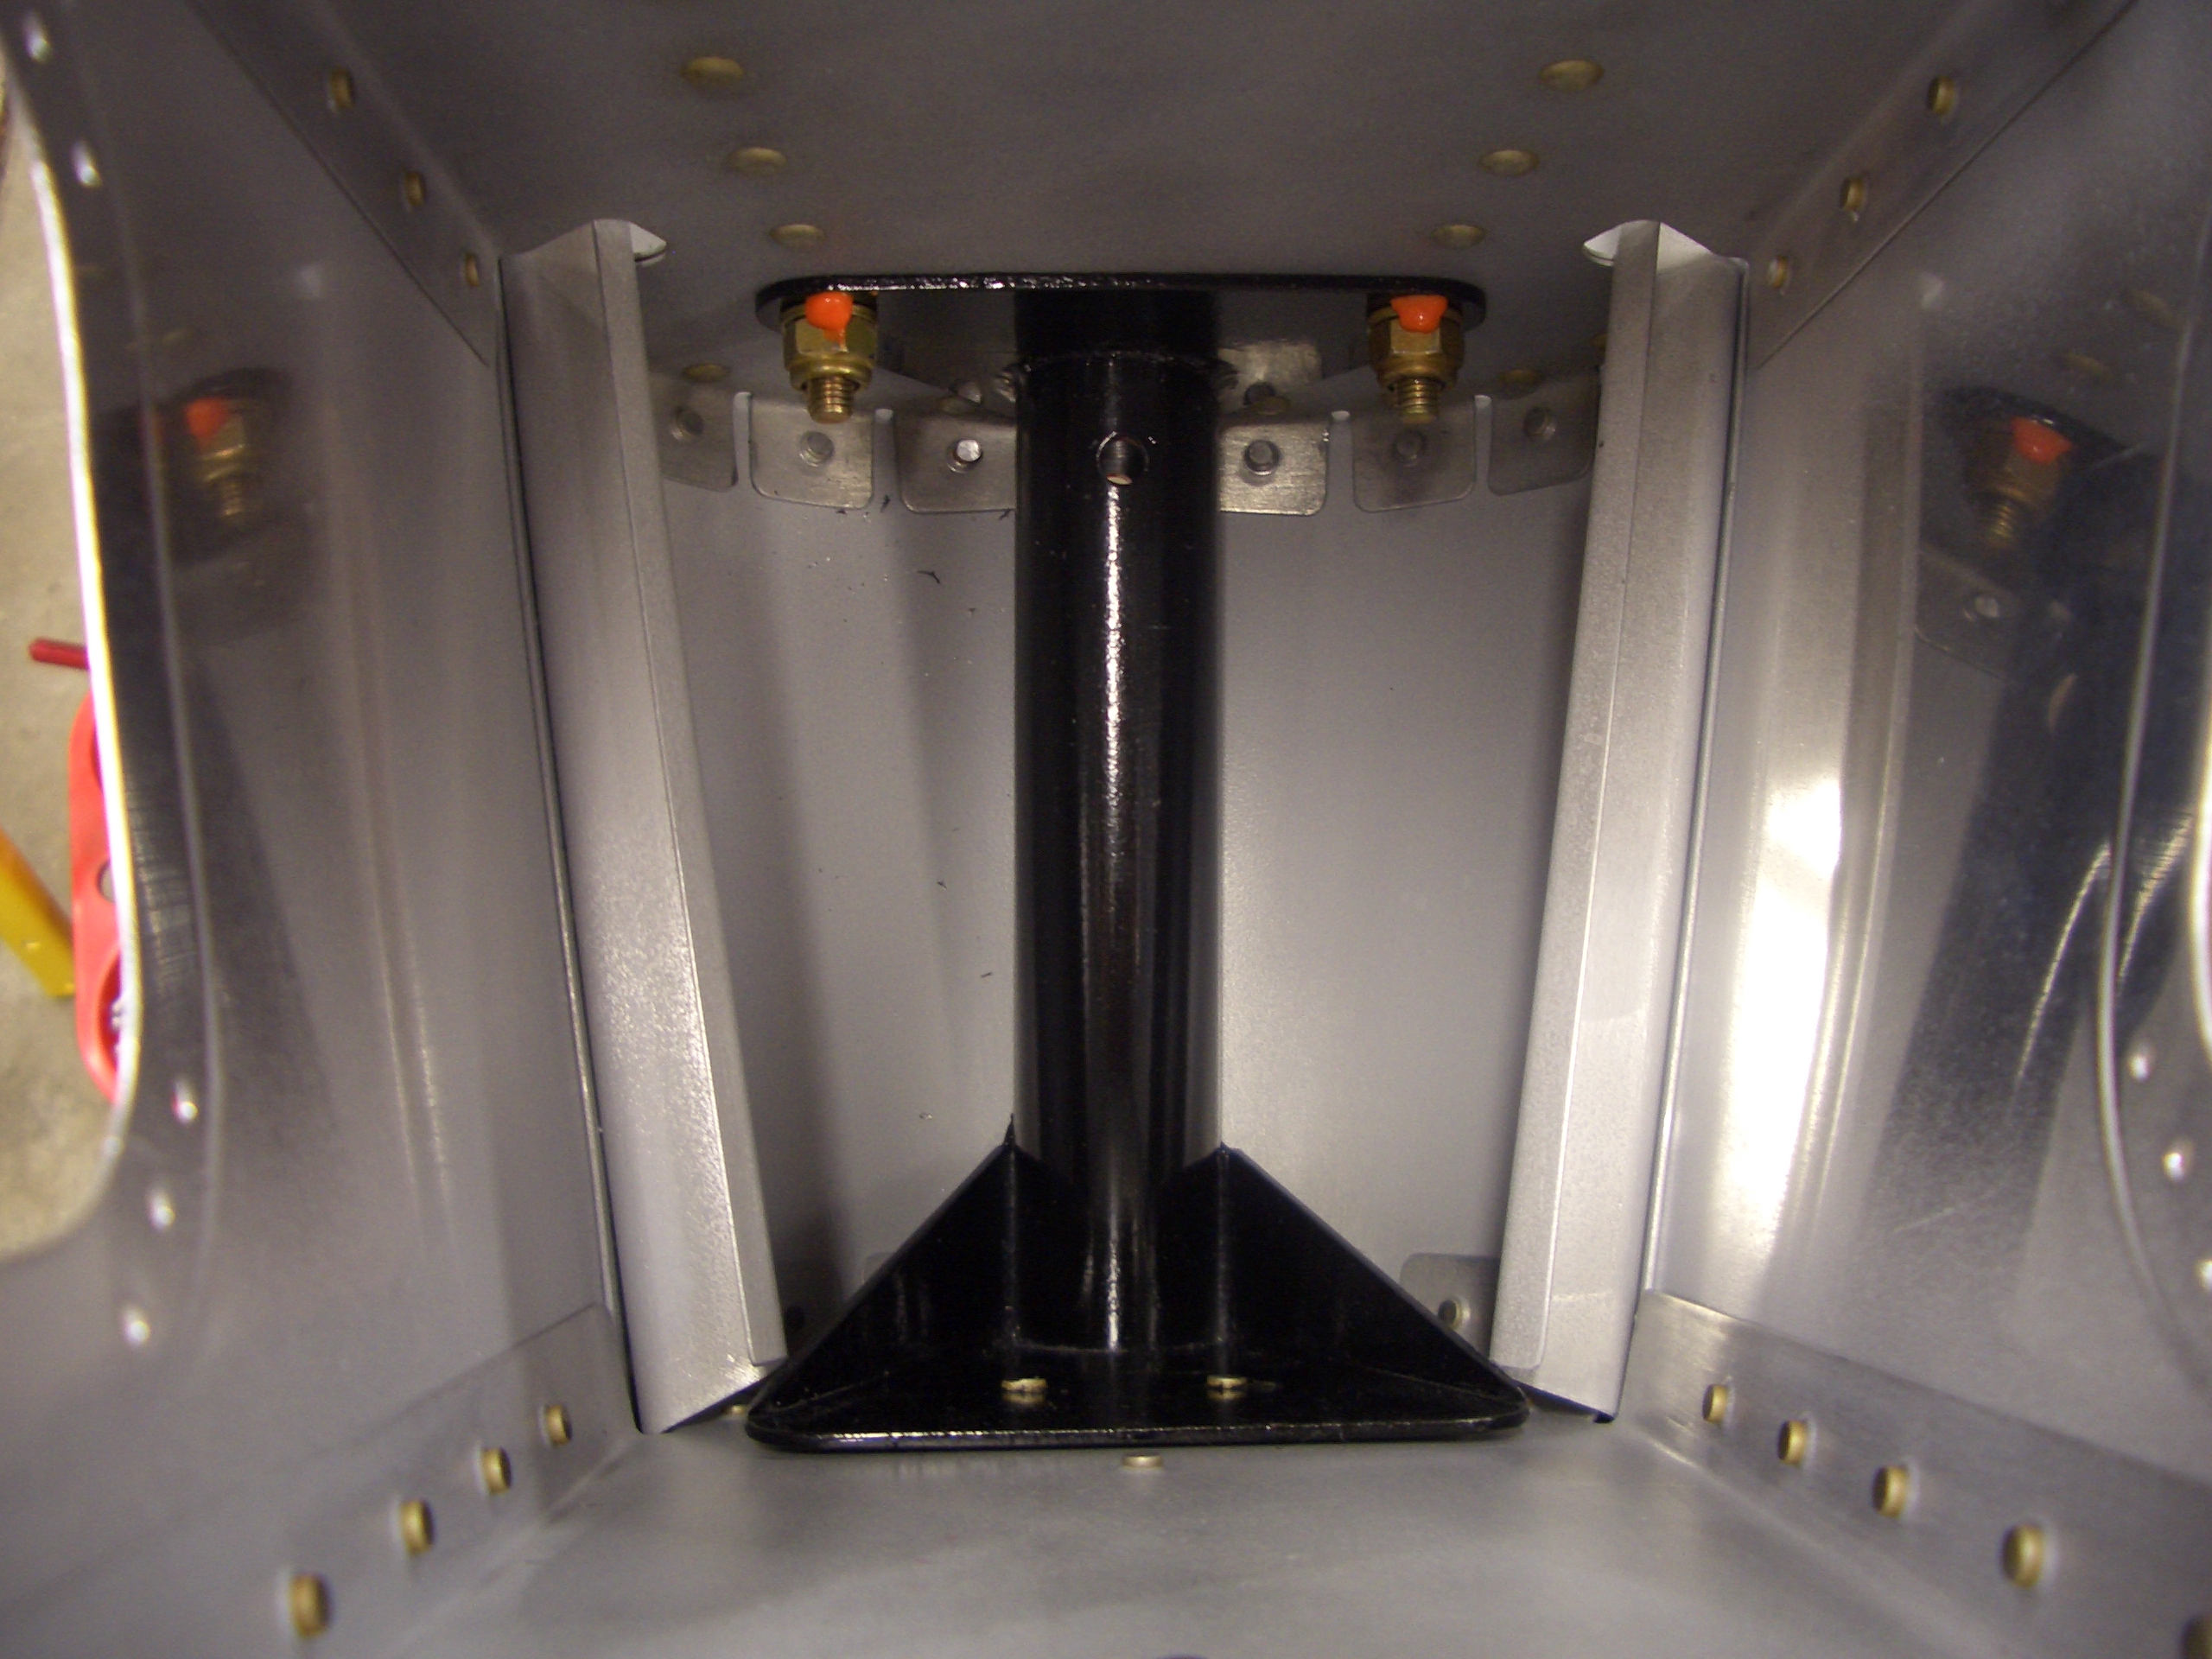
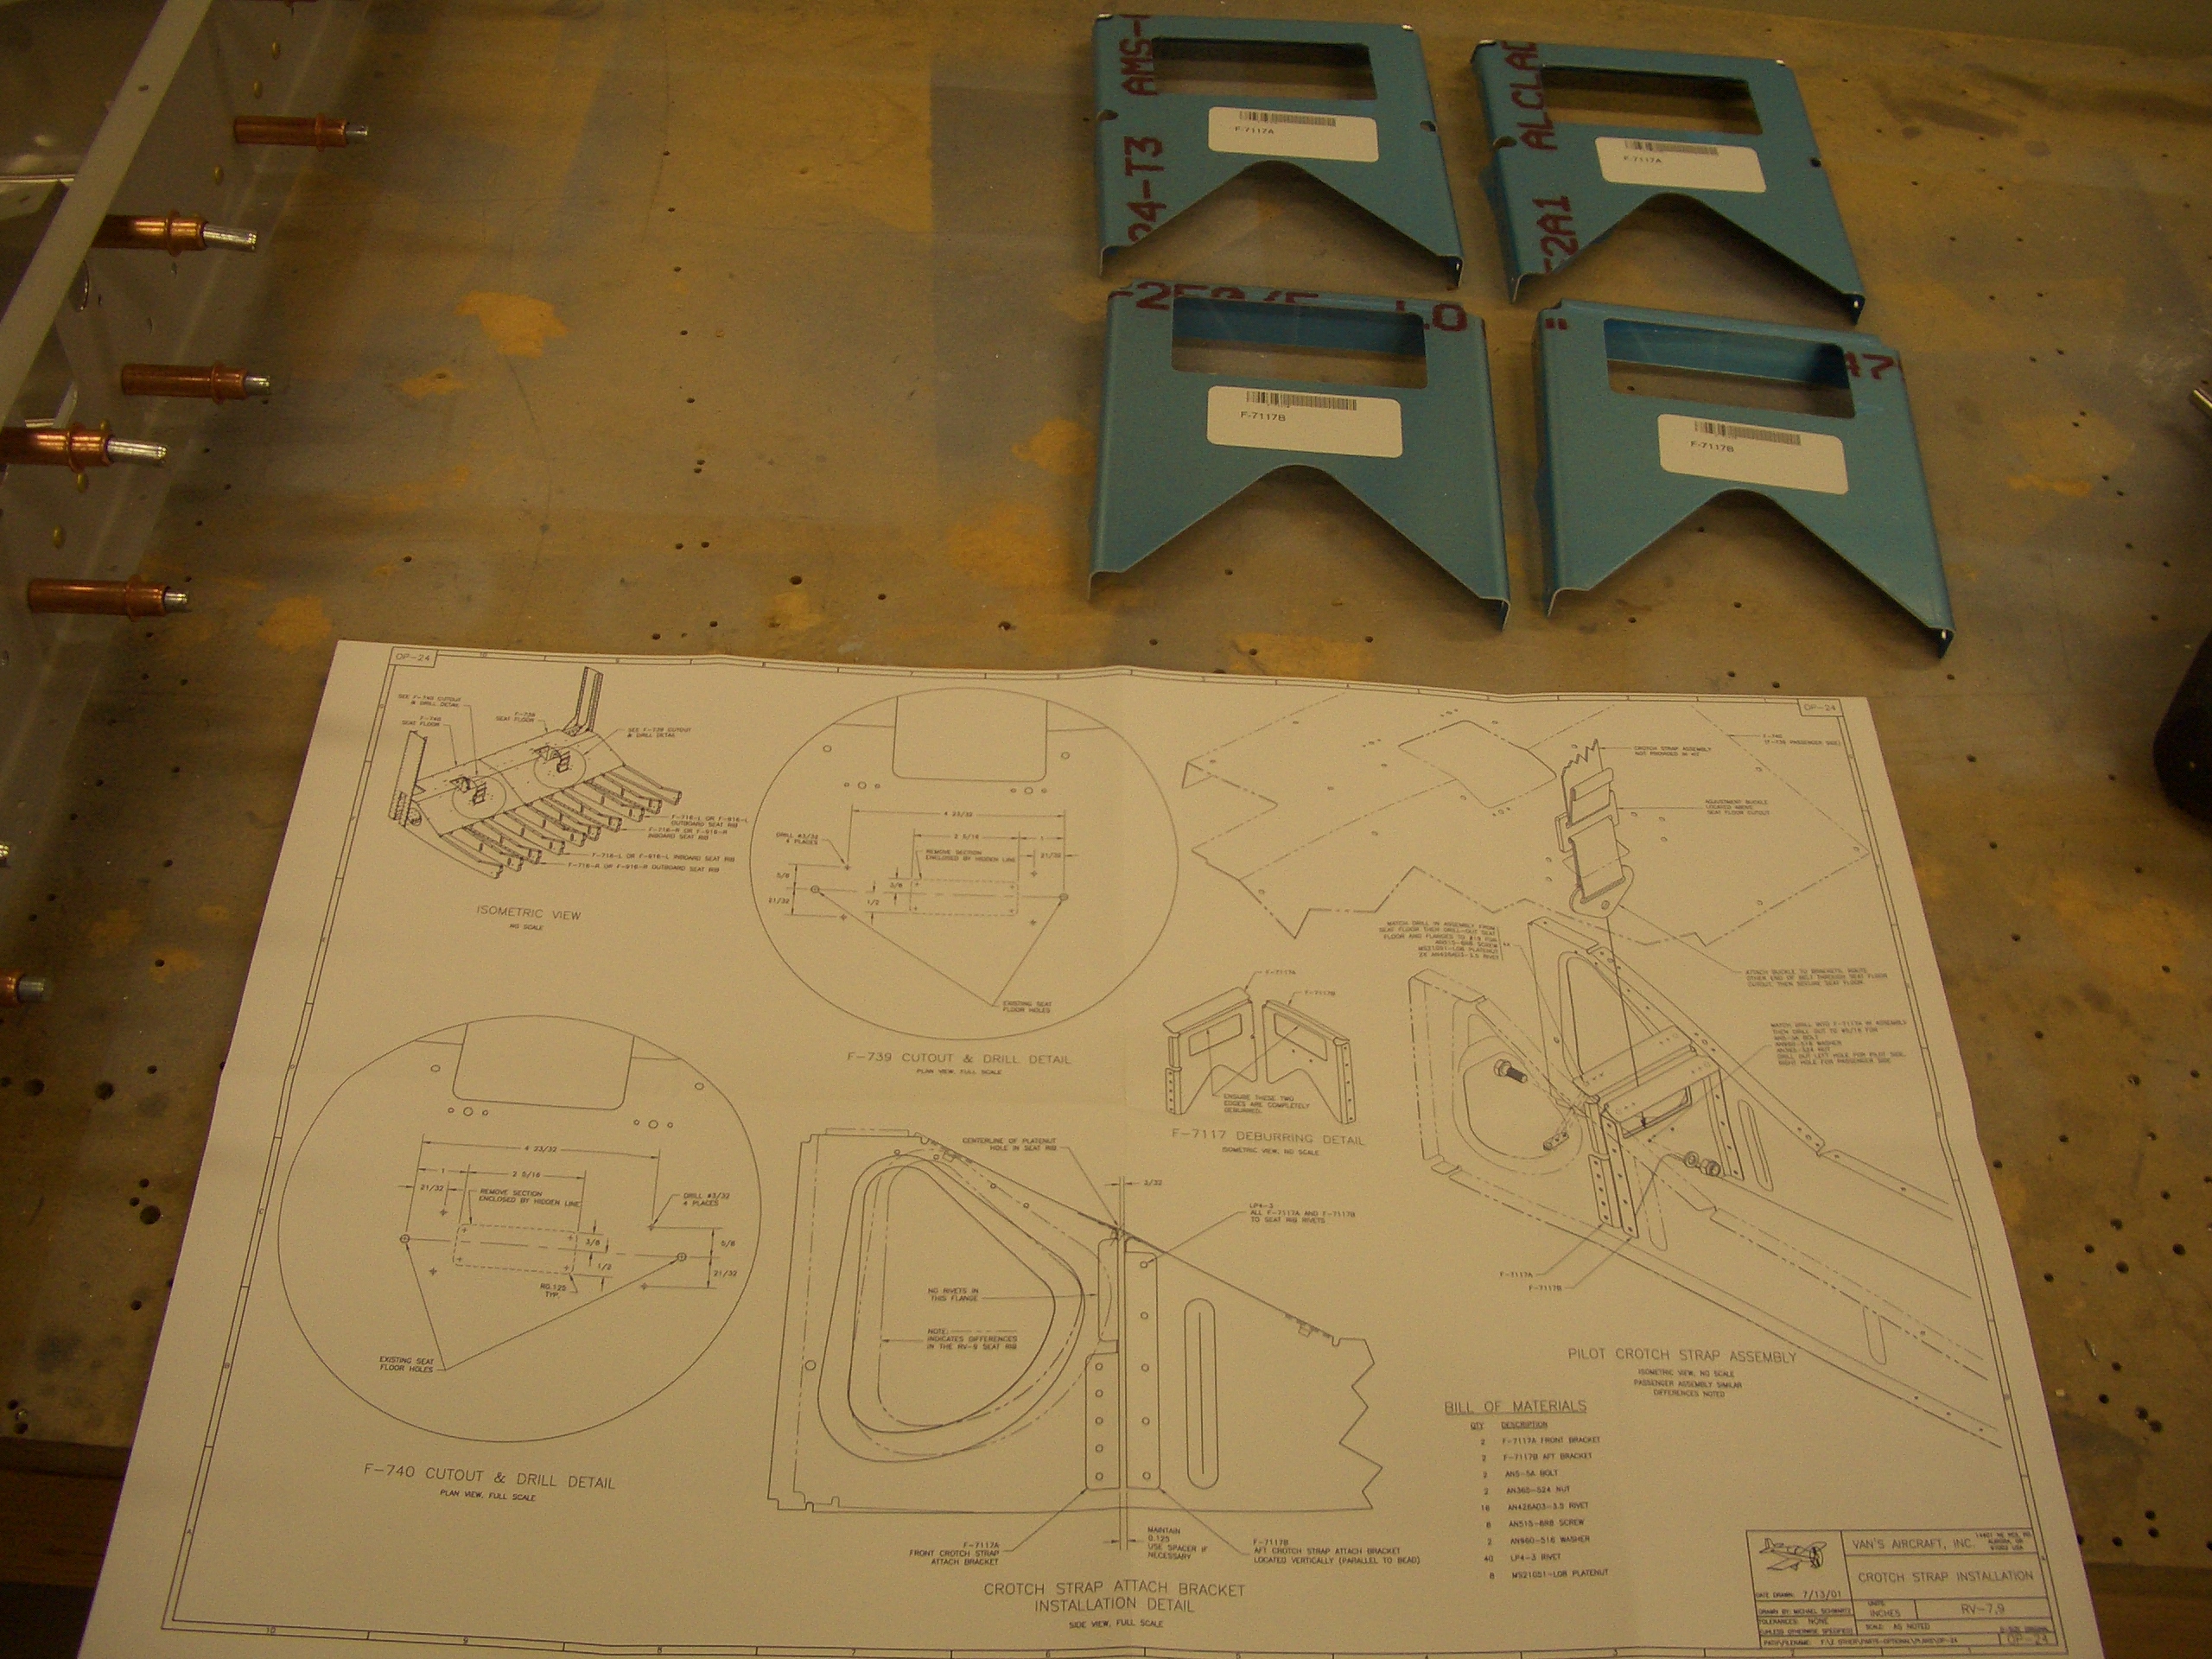
I pulled out the crotch strap install kit, but I need to get up really early tomorrow, so I’m going to call it a night.

Finished Prepping Center Section

I started today by installing the crotch strap brackets.  I’m either going with Hooker or Crow harnesses, but either way, the spacing between the brackets has to be increased to 5/16″ (instead of the stock 1/8″ spacing).  Mike Bullock already determined the best way to accomplish this and documented it here, so I’m just going to copy his method (thanks Mike).  I put a center line that is aligned with middle nutplate, then measured 7/32″ forward and 3/32″ aft of this line and put additional marks.

The front side of the bracket is positioned with the web flush with the forward line and drilled to the adjacent ribs.

Instead of cutting a 5/16″ spacer, I just used a couple of AN5 bolts which are 5/16″ in diameter.  I taped them in place and clamped the aft side of the bracket against the bolts and against the seat pan, then drilled the bracket to the adjacent ribs.

The prepunched holes in the seat pan need to be drilled to #19 for #8 screws.

Here is the backside, showing good edge distance on the #19 holes.

After repeating the process for the right bracket, I finished up a few remaining tasks such as drilling the seat ribs to the aft side of F-704, match drilling all ribs to bulkheads, and drilling out the forward tooling holes to 5/8″ for wiring runs.  I then disassembled the center section and started prepping the individual components.

First up is to debur and dimple the holes in the bottom flanges of F-704.  Remember that the holes we countersunk in the bottom skin have to be skipped when dimpling so that the floor stiffeners can lay flush against this flange.

Neither the instructions nor the plans make any mention of these holes in the top flange of the aft side of F-704, but the seat pan that sits above this is removable, so this must just attach the top of the seat ribs to the F-704 flange.  Since the seat pan needs to sit flush against this flange, I countersunk this for an AN426AD3 rivet.

Finally, I started deburring all of the components.  I made it through the F-704 and F-705 bulkheads and six of the eight seat ribs before running out of steam.  I should be able to finish deburring the rest of the center section components tomorrow.

Started Center Section Final Assembly

I started final assembly of the center section this morning.  First up is to rivet the crotch strap brackets to the appropriate ribs.  I used solid rivets here instead of the blind rivets called for in the plans.  These can all be reached with the squeezer when the ribs are out in the open like this.

These pairs of ribs can then be riveted and bolted to the aft side of F-704 (bolts go through the top and bottom ends of the forward flanges of these ribs and through the thick spar carry through bars).

Now the rest of the ribs can be riveted on.  I also final torqued all of the rib to F-704 bolts and lacquer sealed them.

F-705 and the baggage ribs can then be riveted on.  Because of the rear spar carry through, spacers, etc., the lengths of the rivets varies pretty significantly through here, so pay close attention to the rivet callouts.

While access is good, I bolted on the control mounts and lacquer sealed them.

Since everything is now bolted to the aft end of F-704, there is no reason not to bolt the two halves together.  I reinserted a couple of close tolerance bolts to ensure perfect alignment, then installed the two AN4 bolts and spacers.

Here is a closeup of one of the spacers and the installed bolt.  I had to use three washers under the nut (the maximum allowed) to cover the grip (this bolt is a little long like this because it also holds part of the gear weldment on nosedraggers).

I riveted together the connecting straps for the modified seat ribs and temporarily installed them so the ribs are more rigid during the next few steps.

I also installed the one leg nutplates in the top of the crotch strap brackets.  This would have been easier to do before riveting these to everything else.

I deburred and dimpled the bottom skin and shot a little self-etching primer on the parts that will be covered by the corner ribs and F-704.

Finally, I clecoed the bottom skin to the center section skeleton.  This is ready to rivet; I need to see if I can find a riveting partner sometime in the next couple of days.

Started Riveting Center Section

Jenn graciously offered to help me rivet part of the center section (after midnight no less).  We made it through a fair amount before Jenn’s wrist hurt too much from operating the gun.  Hopefully we can finish this up tomorrow so that I can start working on joining the center and aft fuselage segments.

Modified Canopy Rails

The canopy rails need to be modified.  The plans specify slightly different modifications for the tip-up vs. the sliding canopy.

I’ve measured out and marked the areas to be removed.

The cutoff wheel makes quick work of making distortion free cuts in the rail, but it can get away from you, so I kept it back from the line 1/16″ or so.

After a few minutes of filing, here is the finished result.  The top edge of the slot will be seen in the cabin, so I made sure it is perfectly straight.  The other side will be under part of the canopy latch, so it doesn’t matter as much if it is absolutely perfect.

Finished Riveting Center Section

I spent a little time cleaning up the garage today.  I also decided to flip the tops of my workbenches over.  As you can see, I routinely drill through parts directly into my bench (and frequently cleco parts to the bench).  I also sometimes prime small parts by just laying them on a paper towel and shooting the primer, so the tops also had quite a bit of overspray on them.  Here, you can see that the underside is pristine.

Some builders try to keep the tops of their benches pristine, but I consider these expendable surfaces.  It’s only a few bucks in MDF to restore the top to new condition.

My wife came out and helped me finish up the remaining riveting on the center section. She’s really picked riveting up pretty quickly and hits almost every rivet perfectly the first time now.


Attached Seat Pans and Baggage Floors

I didn’t have much time to work on the plane today, but I wanted to get the center section flipped over and put the seat pans and baggage floors in place.  The baggage floors and rear seat pans lined up easily, but the forward seat pans (the ones with the large holes near the front spar for the control sticks) are having issue.  I started fluting the seat ribs near the front end which seems to be helping significantly.  I still have some tweaking to do before these fit nicely, but it’s late and I’m beat.