Finished Seat Backs

I primed and riveted together the seat backs today.  I’ll probably shoot this with the lighter of the two interior colors I’m using, but I only plan on using these when I have on chutes, so I’m not sure.  For the regular interior, I’ll be going with the Classic Aero Designs Aviator Seat Package which has an integrated seat back.

I also primed and riveted the center tunnel cover.  This will be covered by carpet, so I’ll just leave this primed.

Fuel Vent, Brake Pedals, Brake Fluid Reservoir

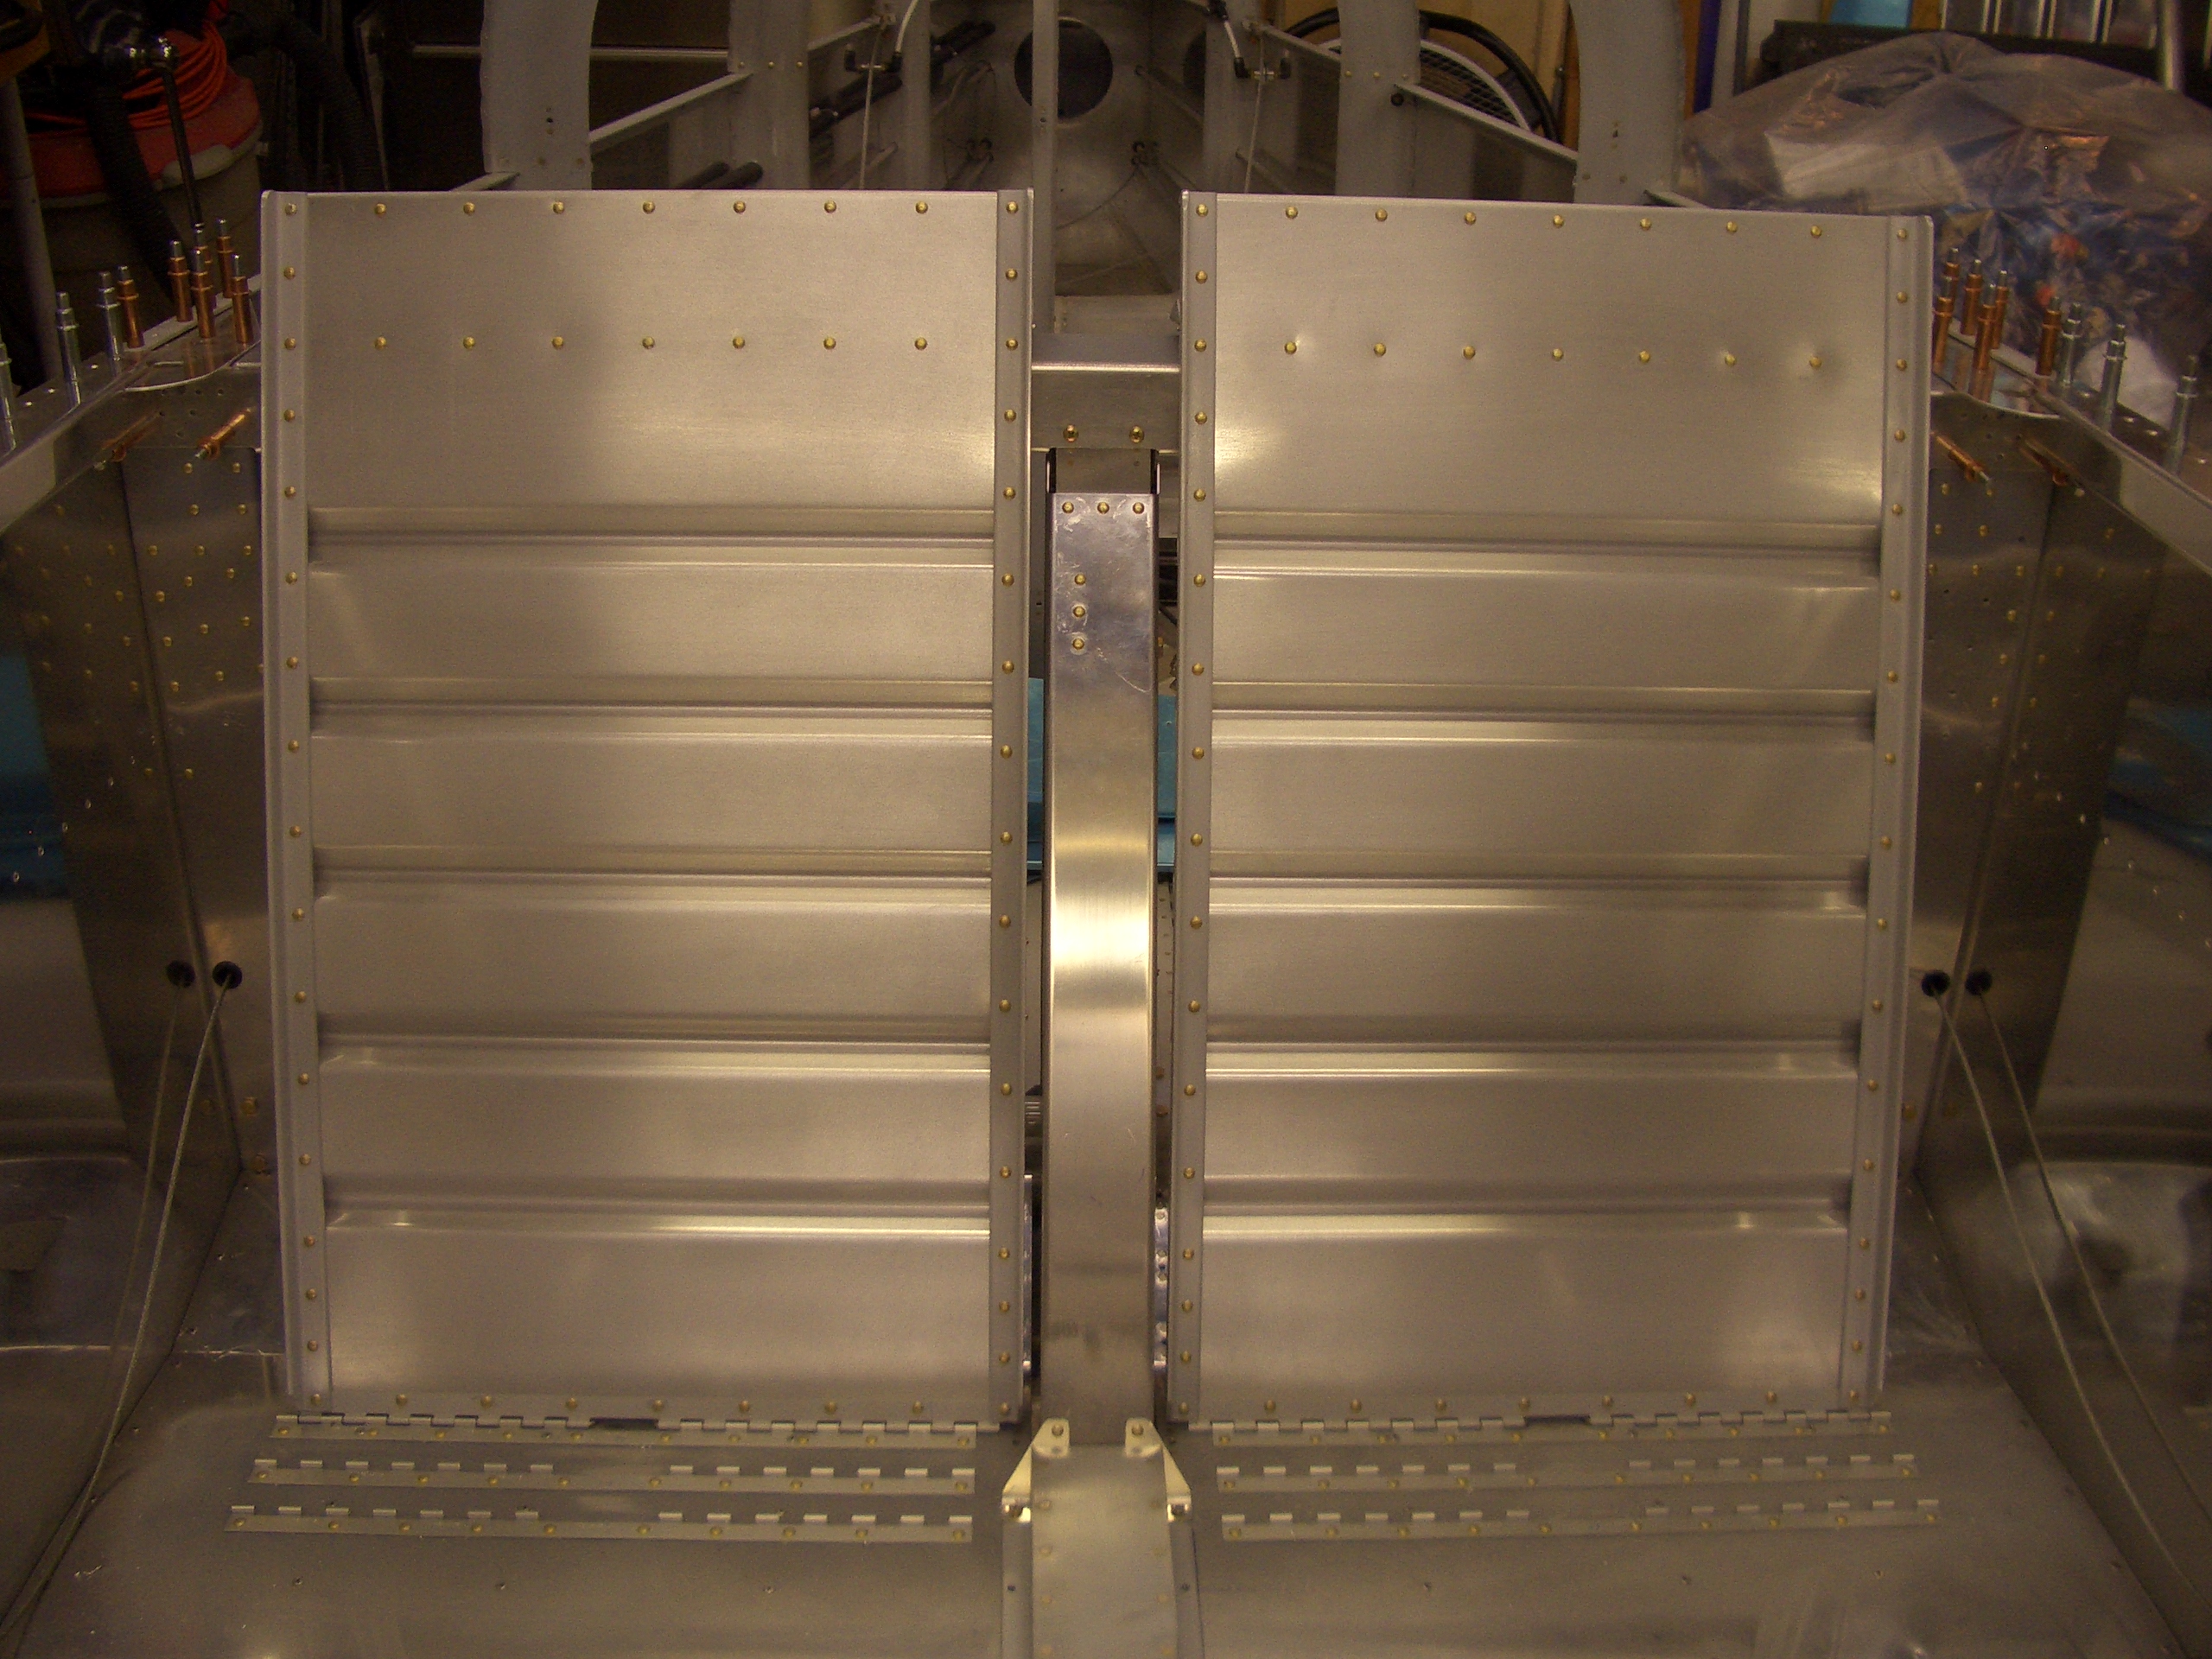
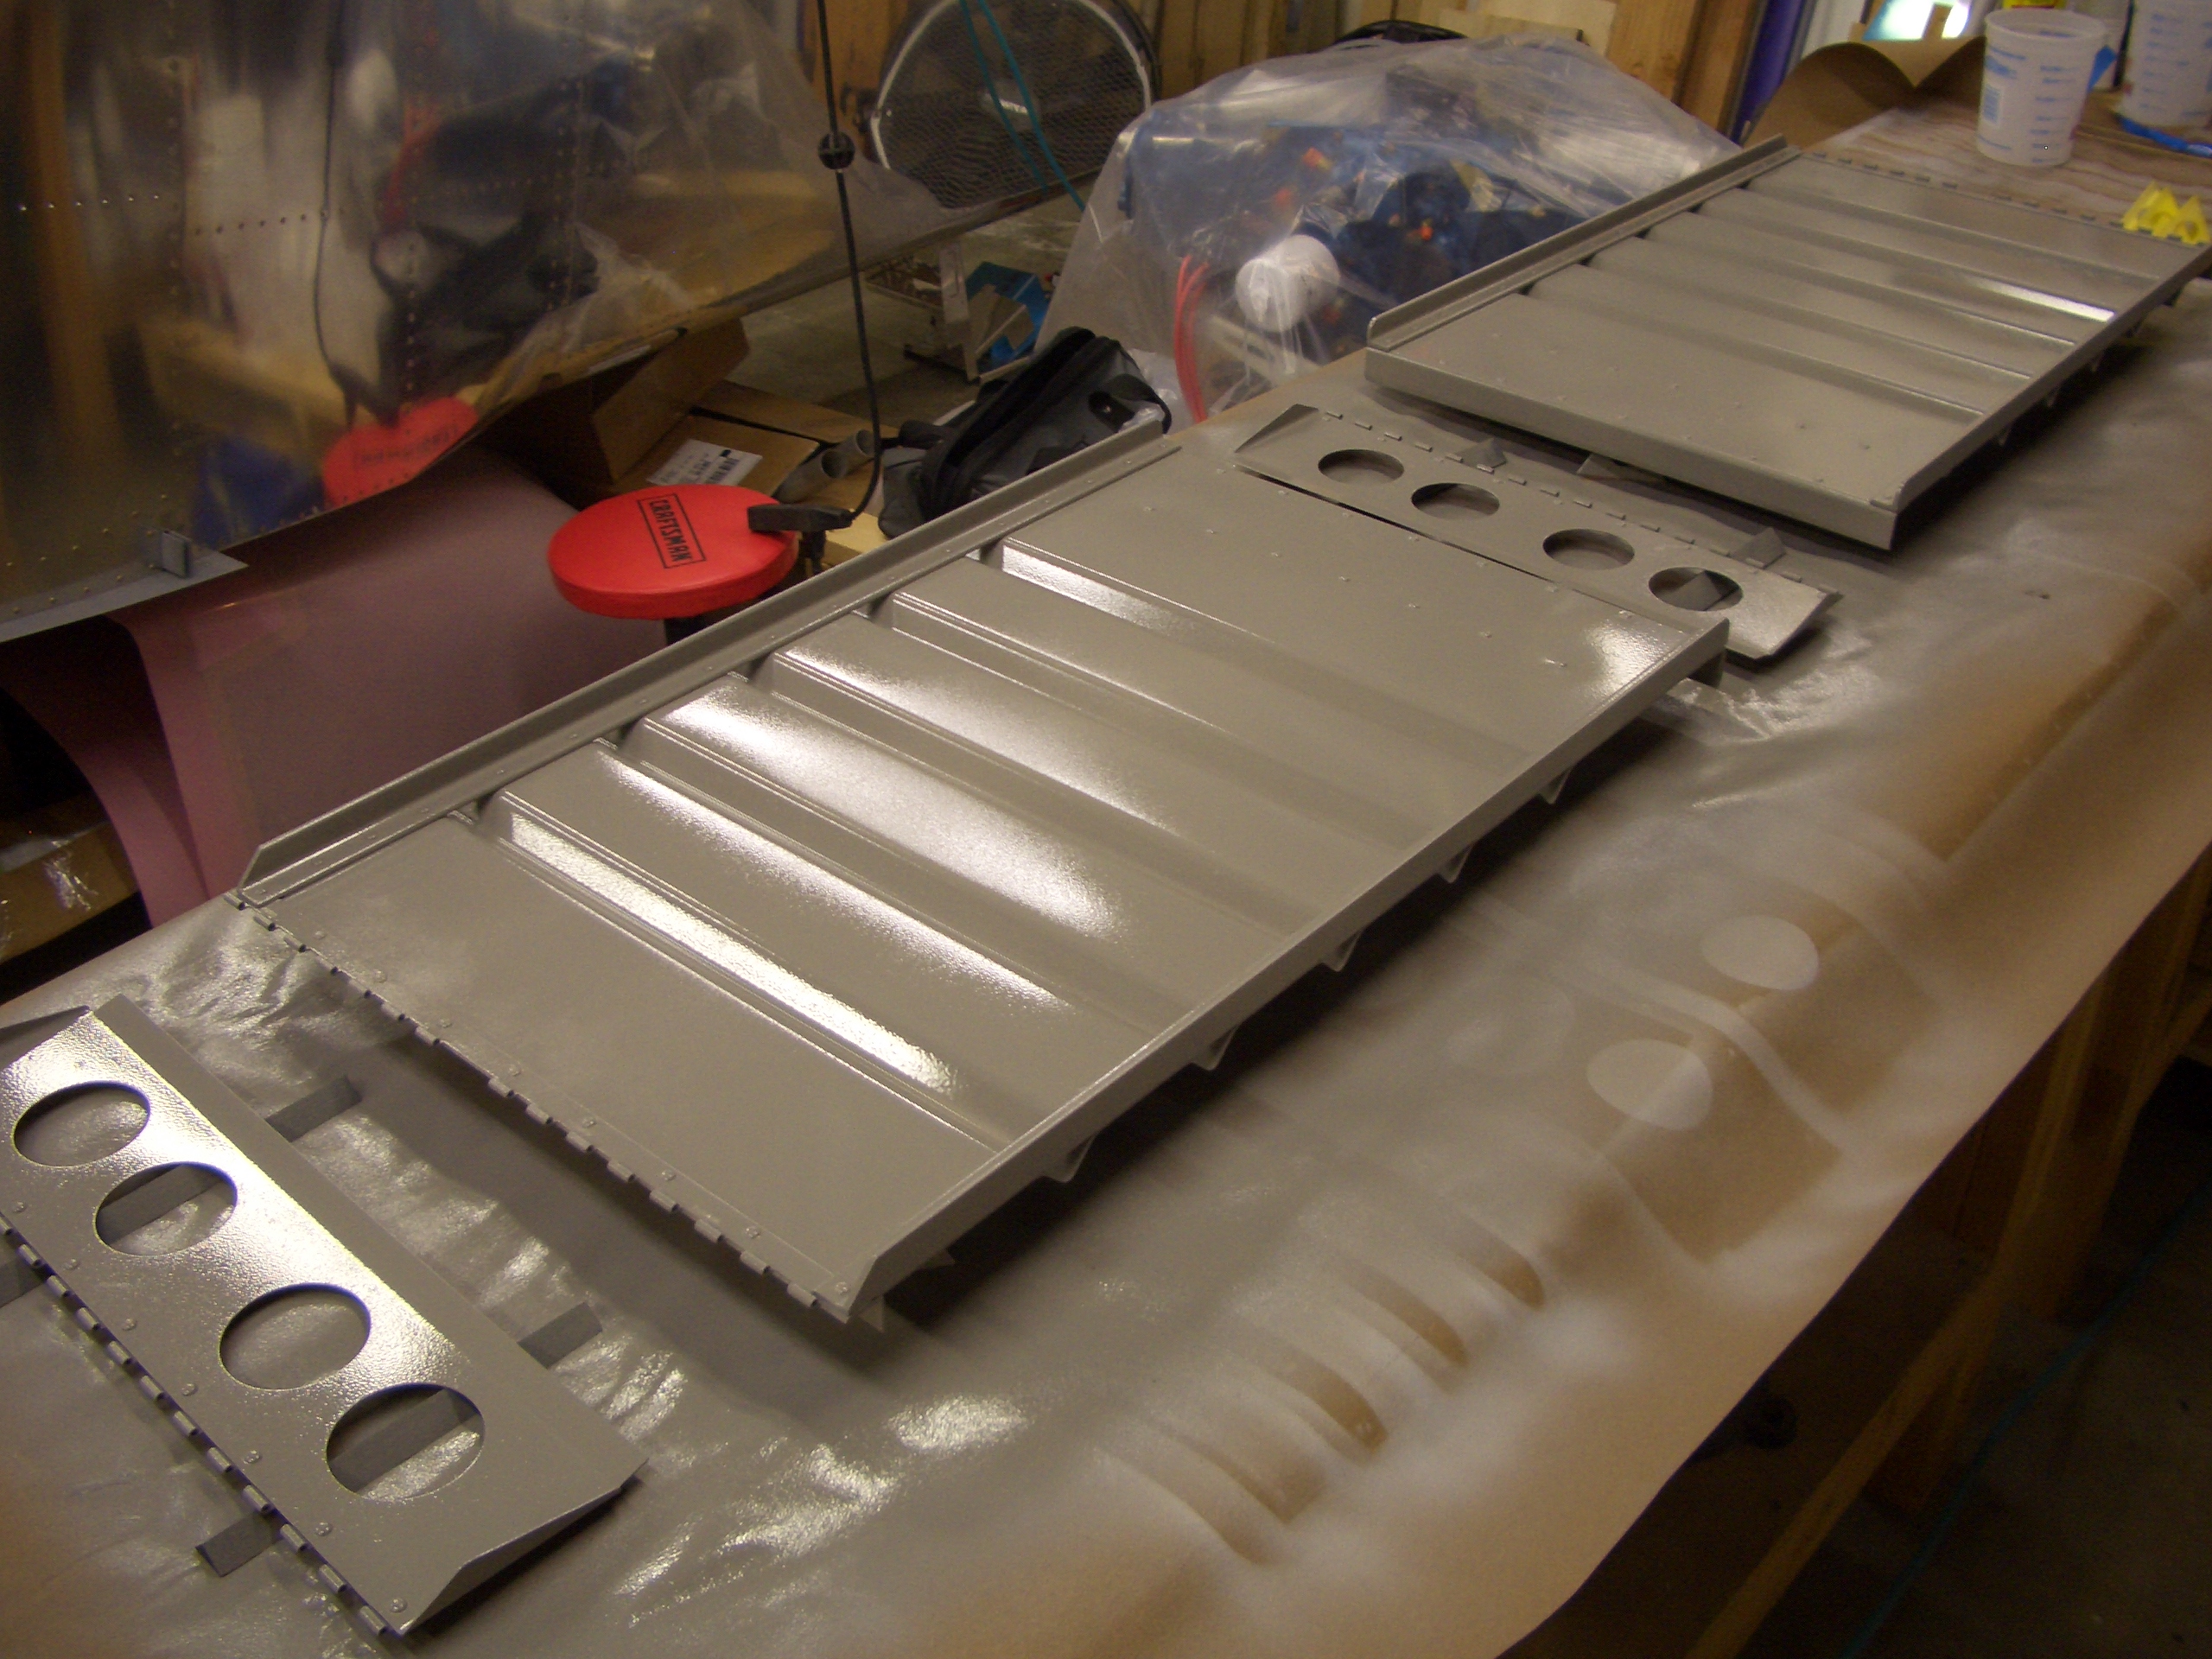
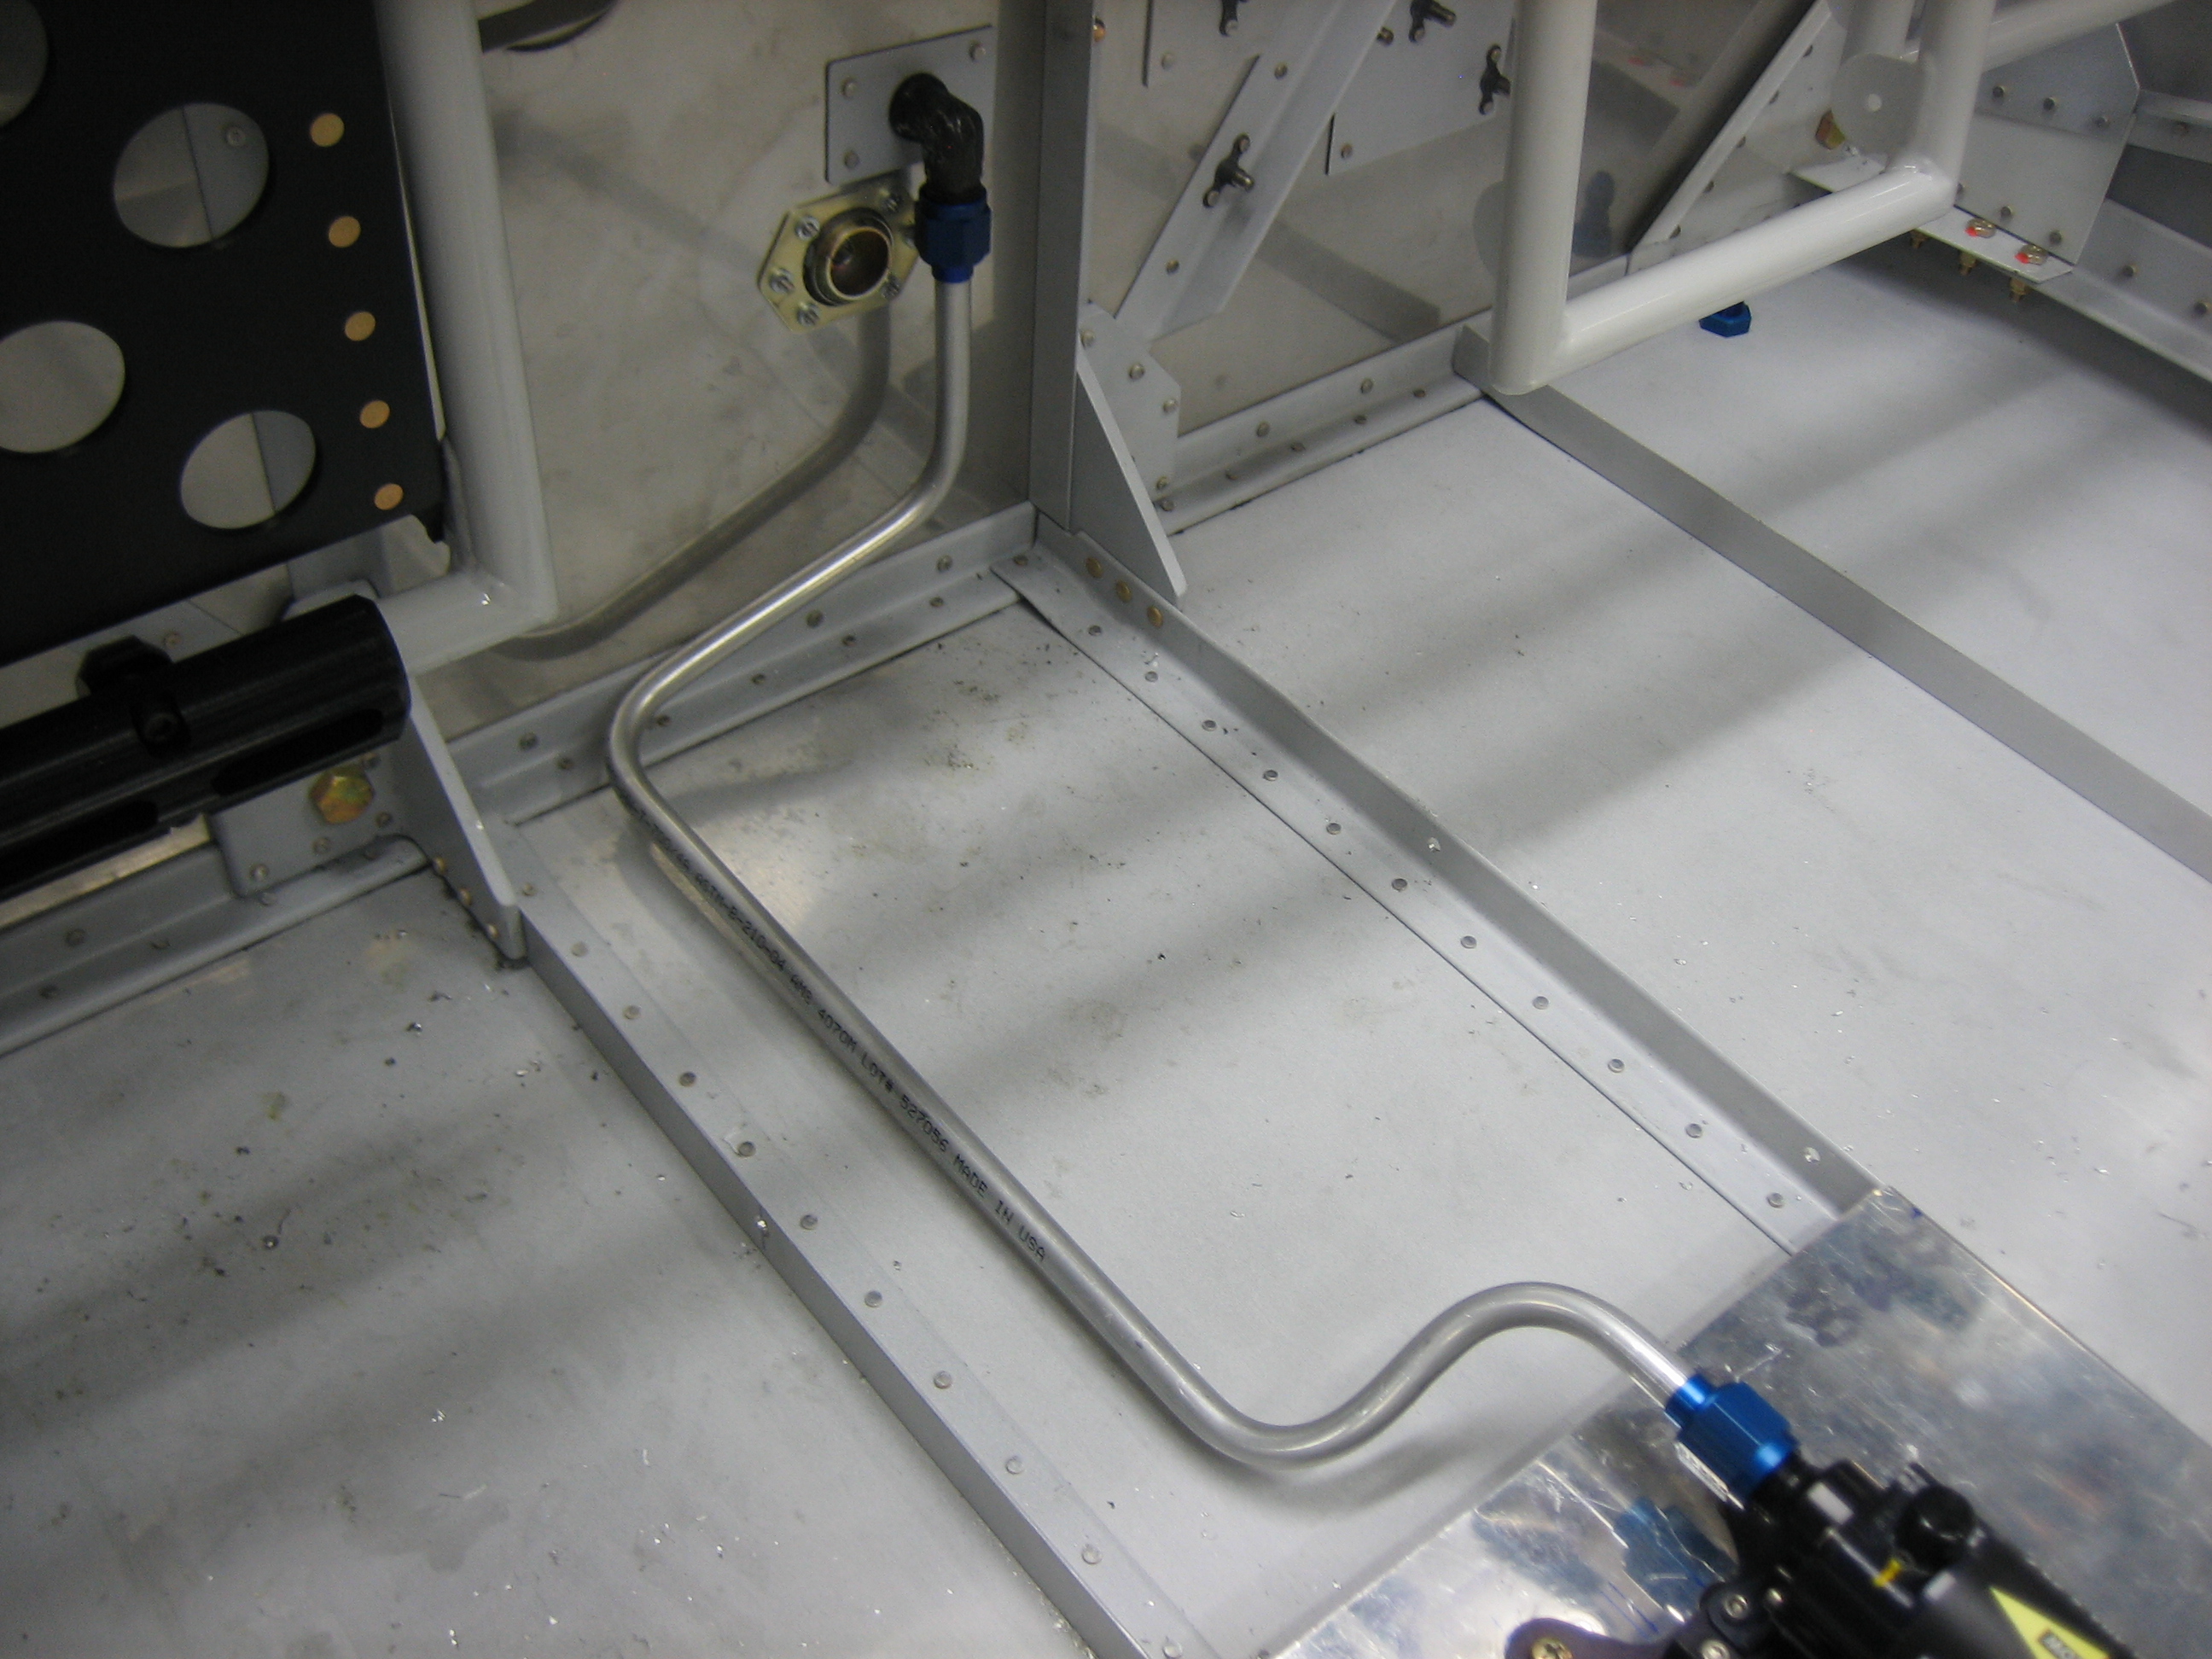
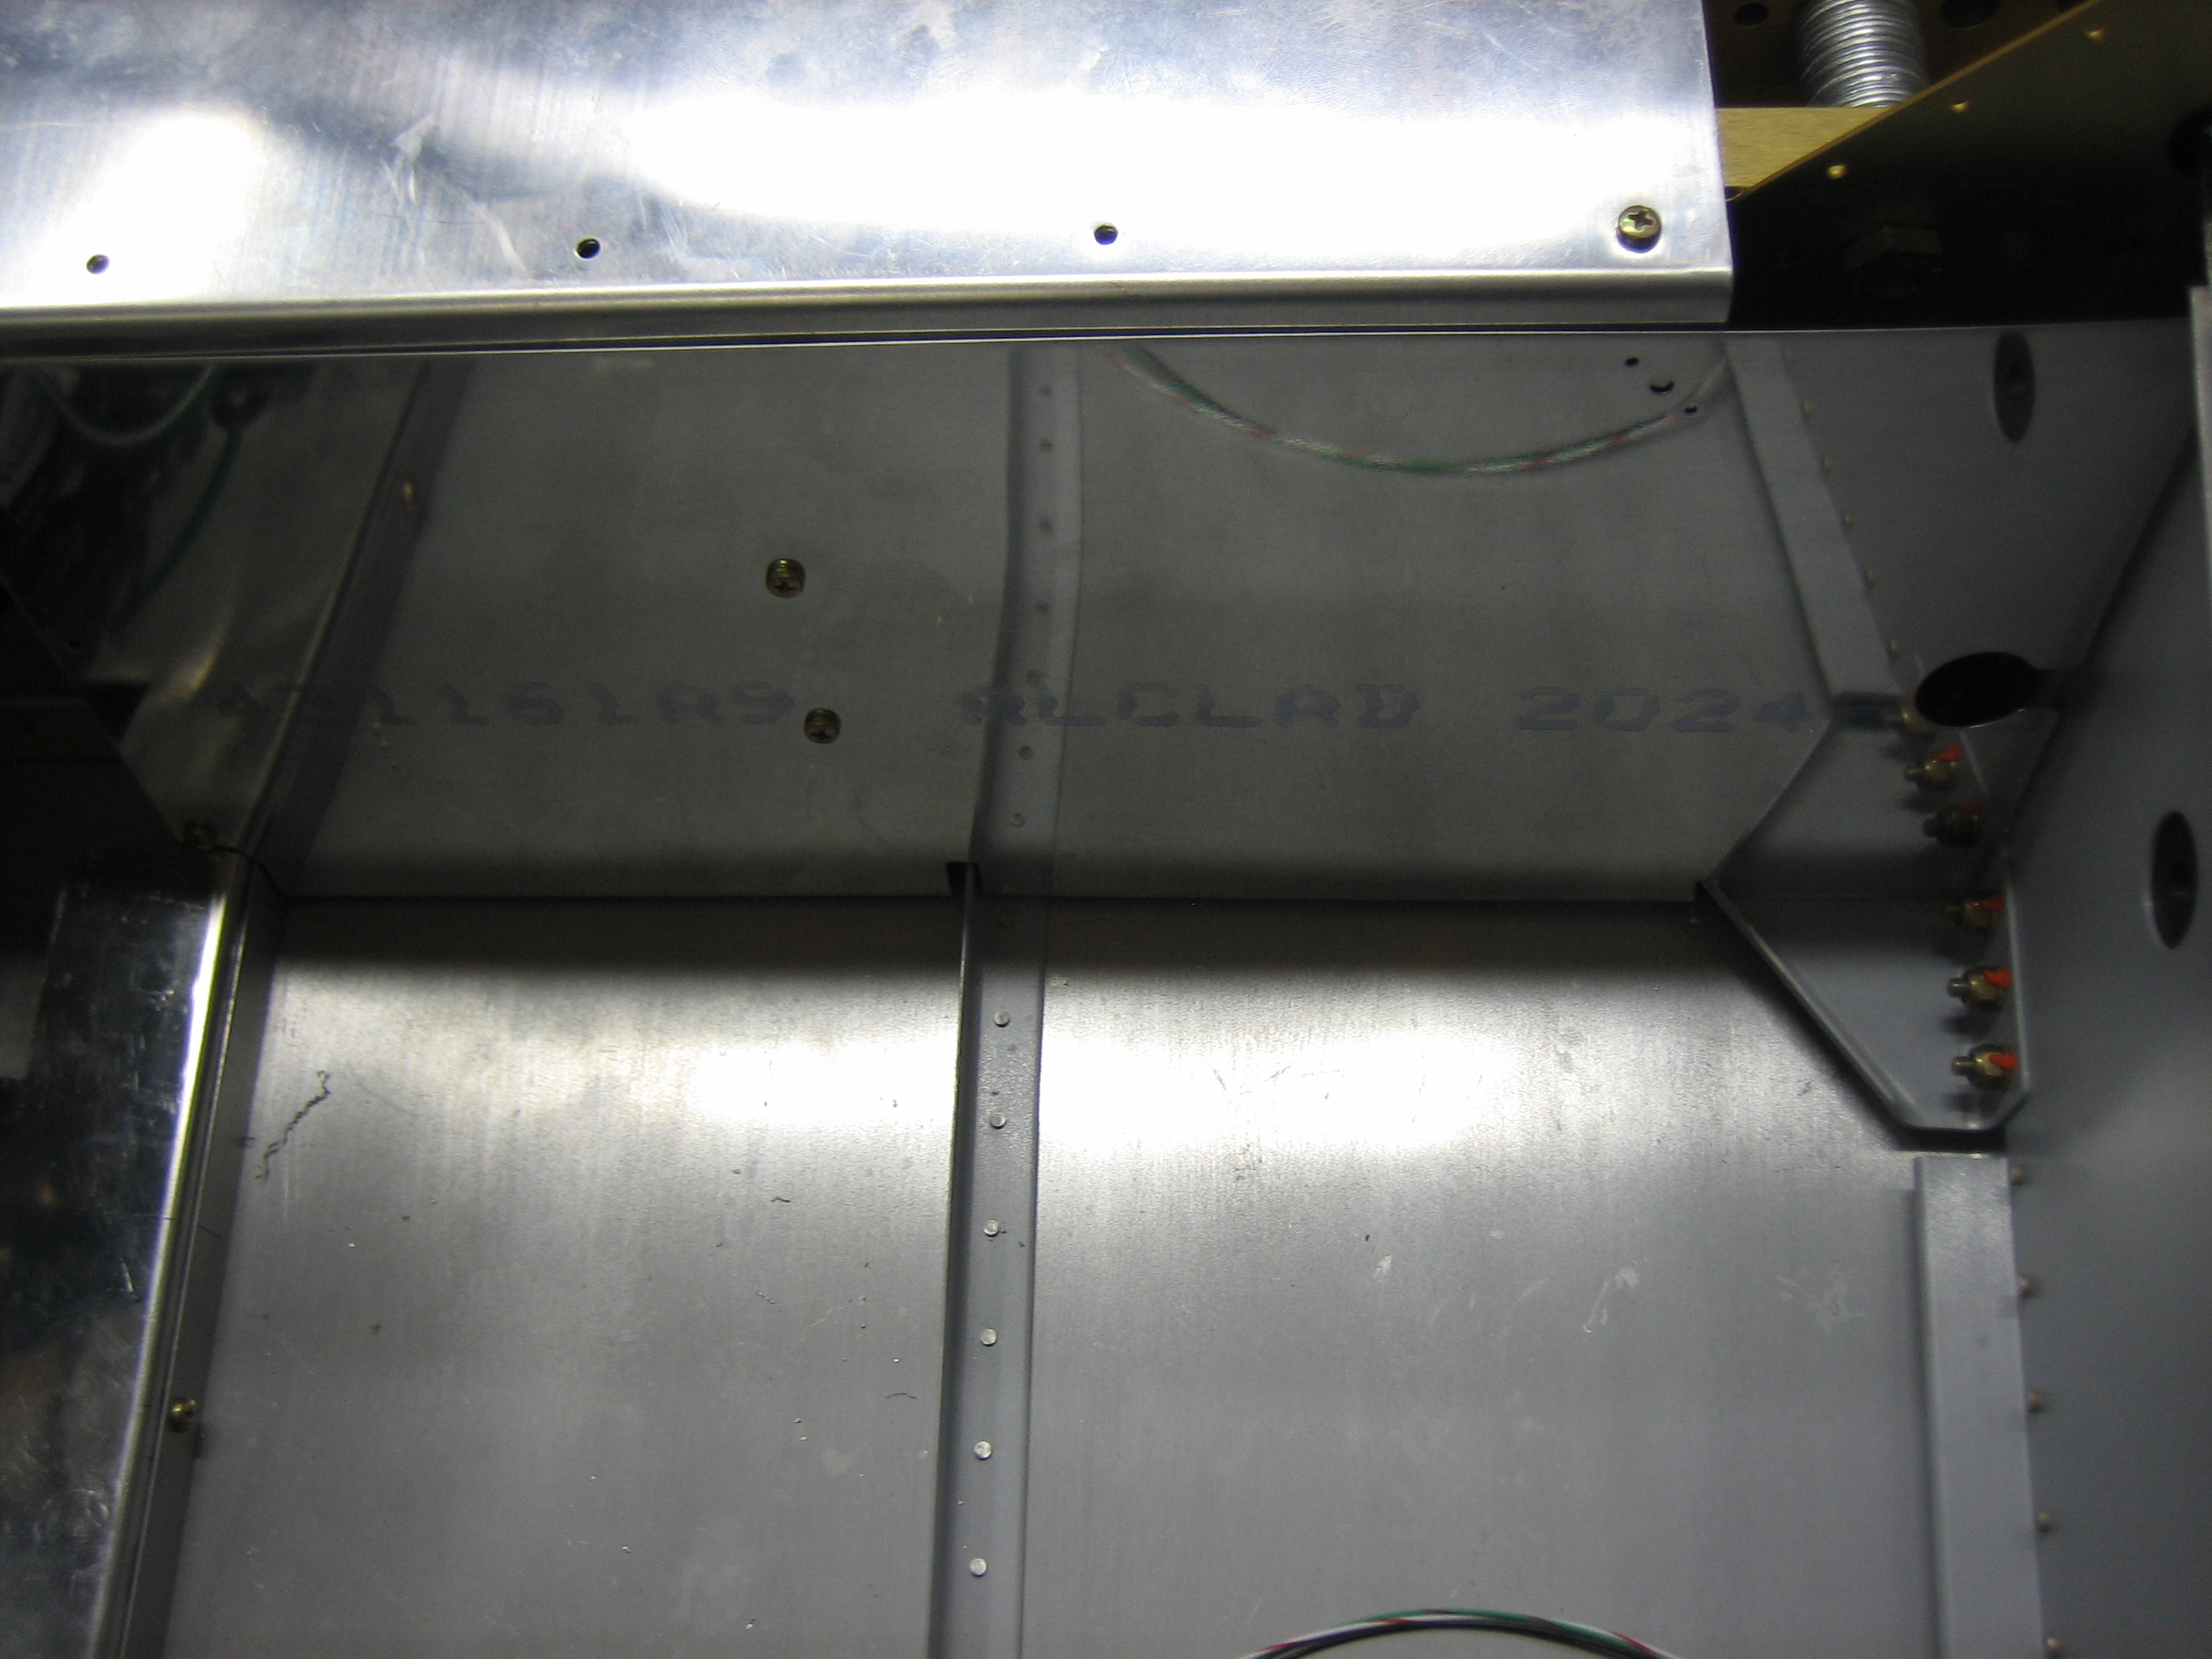
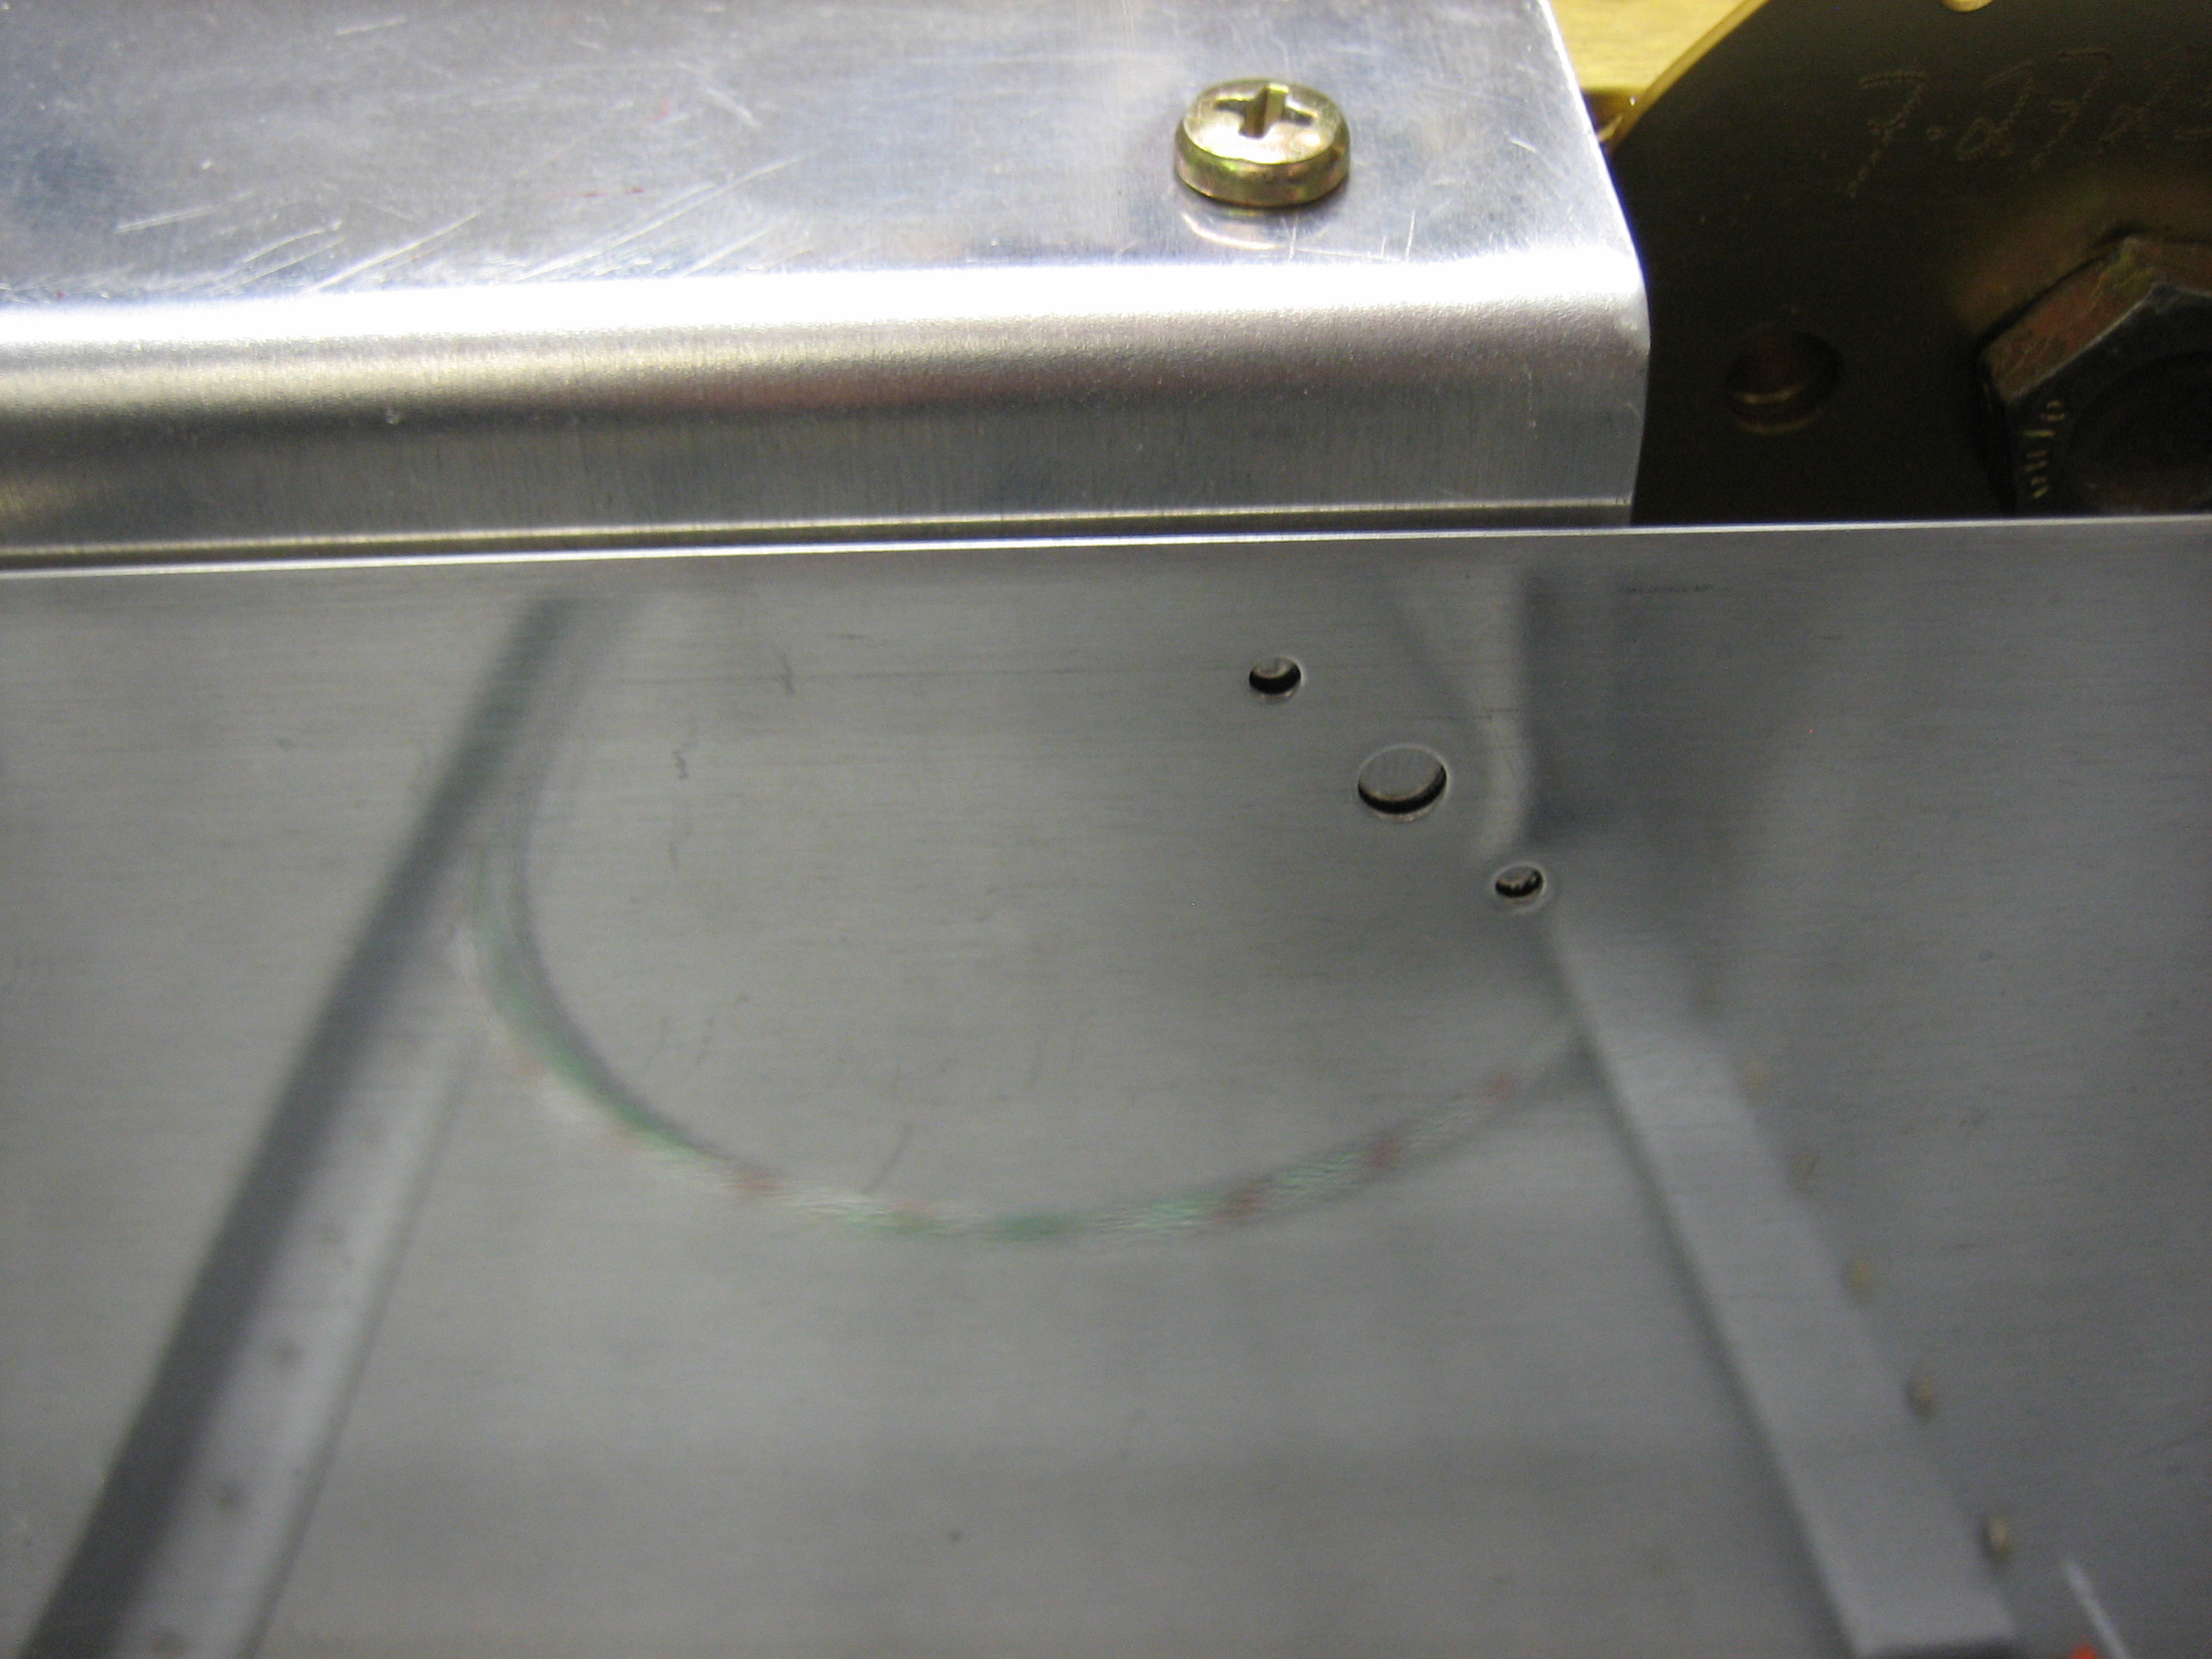
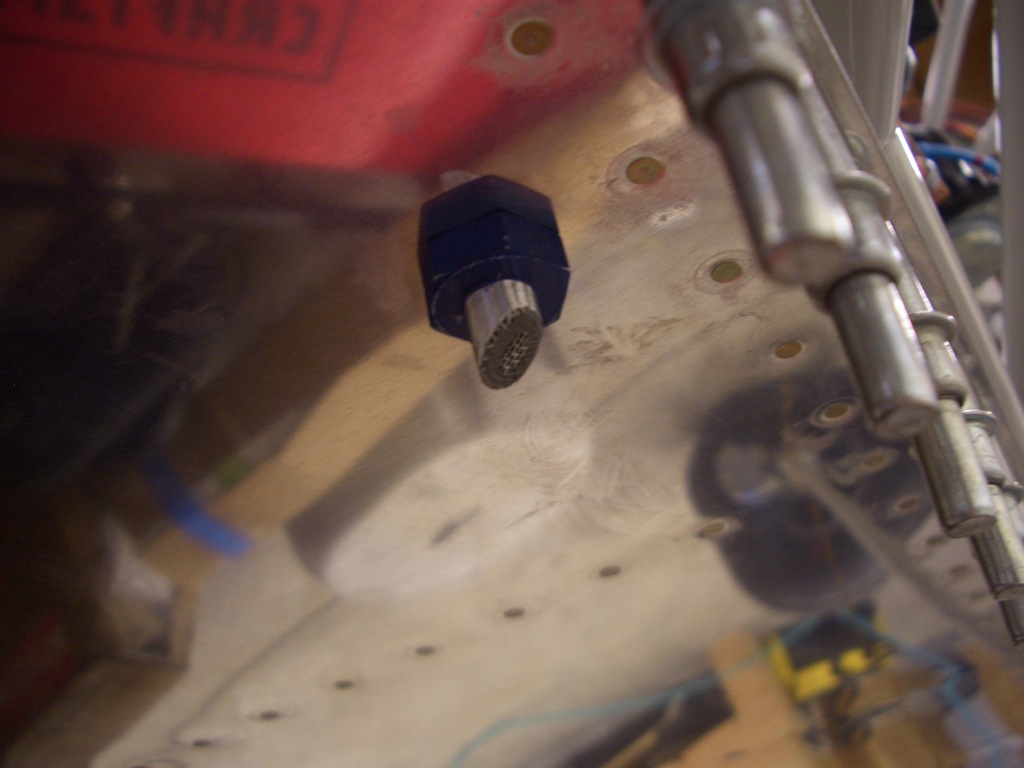
Now that the proseal has cured, I trimmed the excess screen and mounted the fuel vents through the floor just behind the firewall.

I got some parts back from the metal finisher where I had them black anodized.  The primary components were the parts for the brake pedals.  I quickly riveted them together.  The brake pedals will get a lot of wear over the years, and this should keep them looking like new.

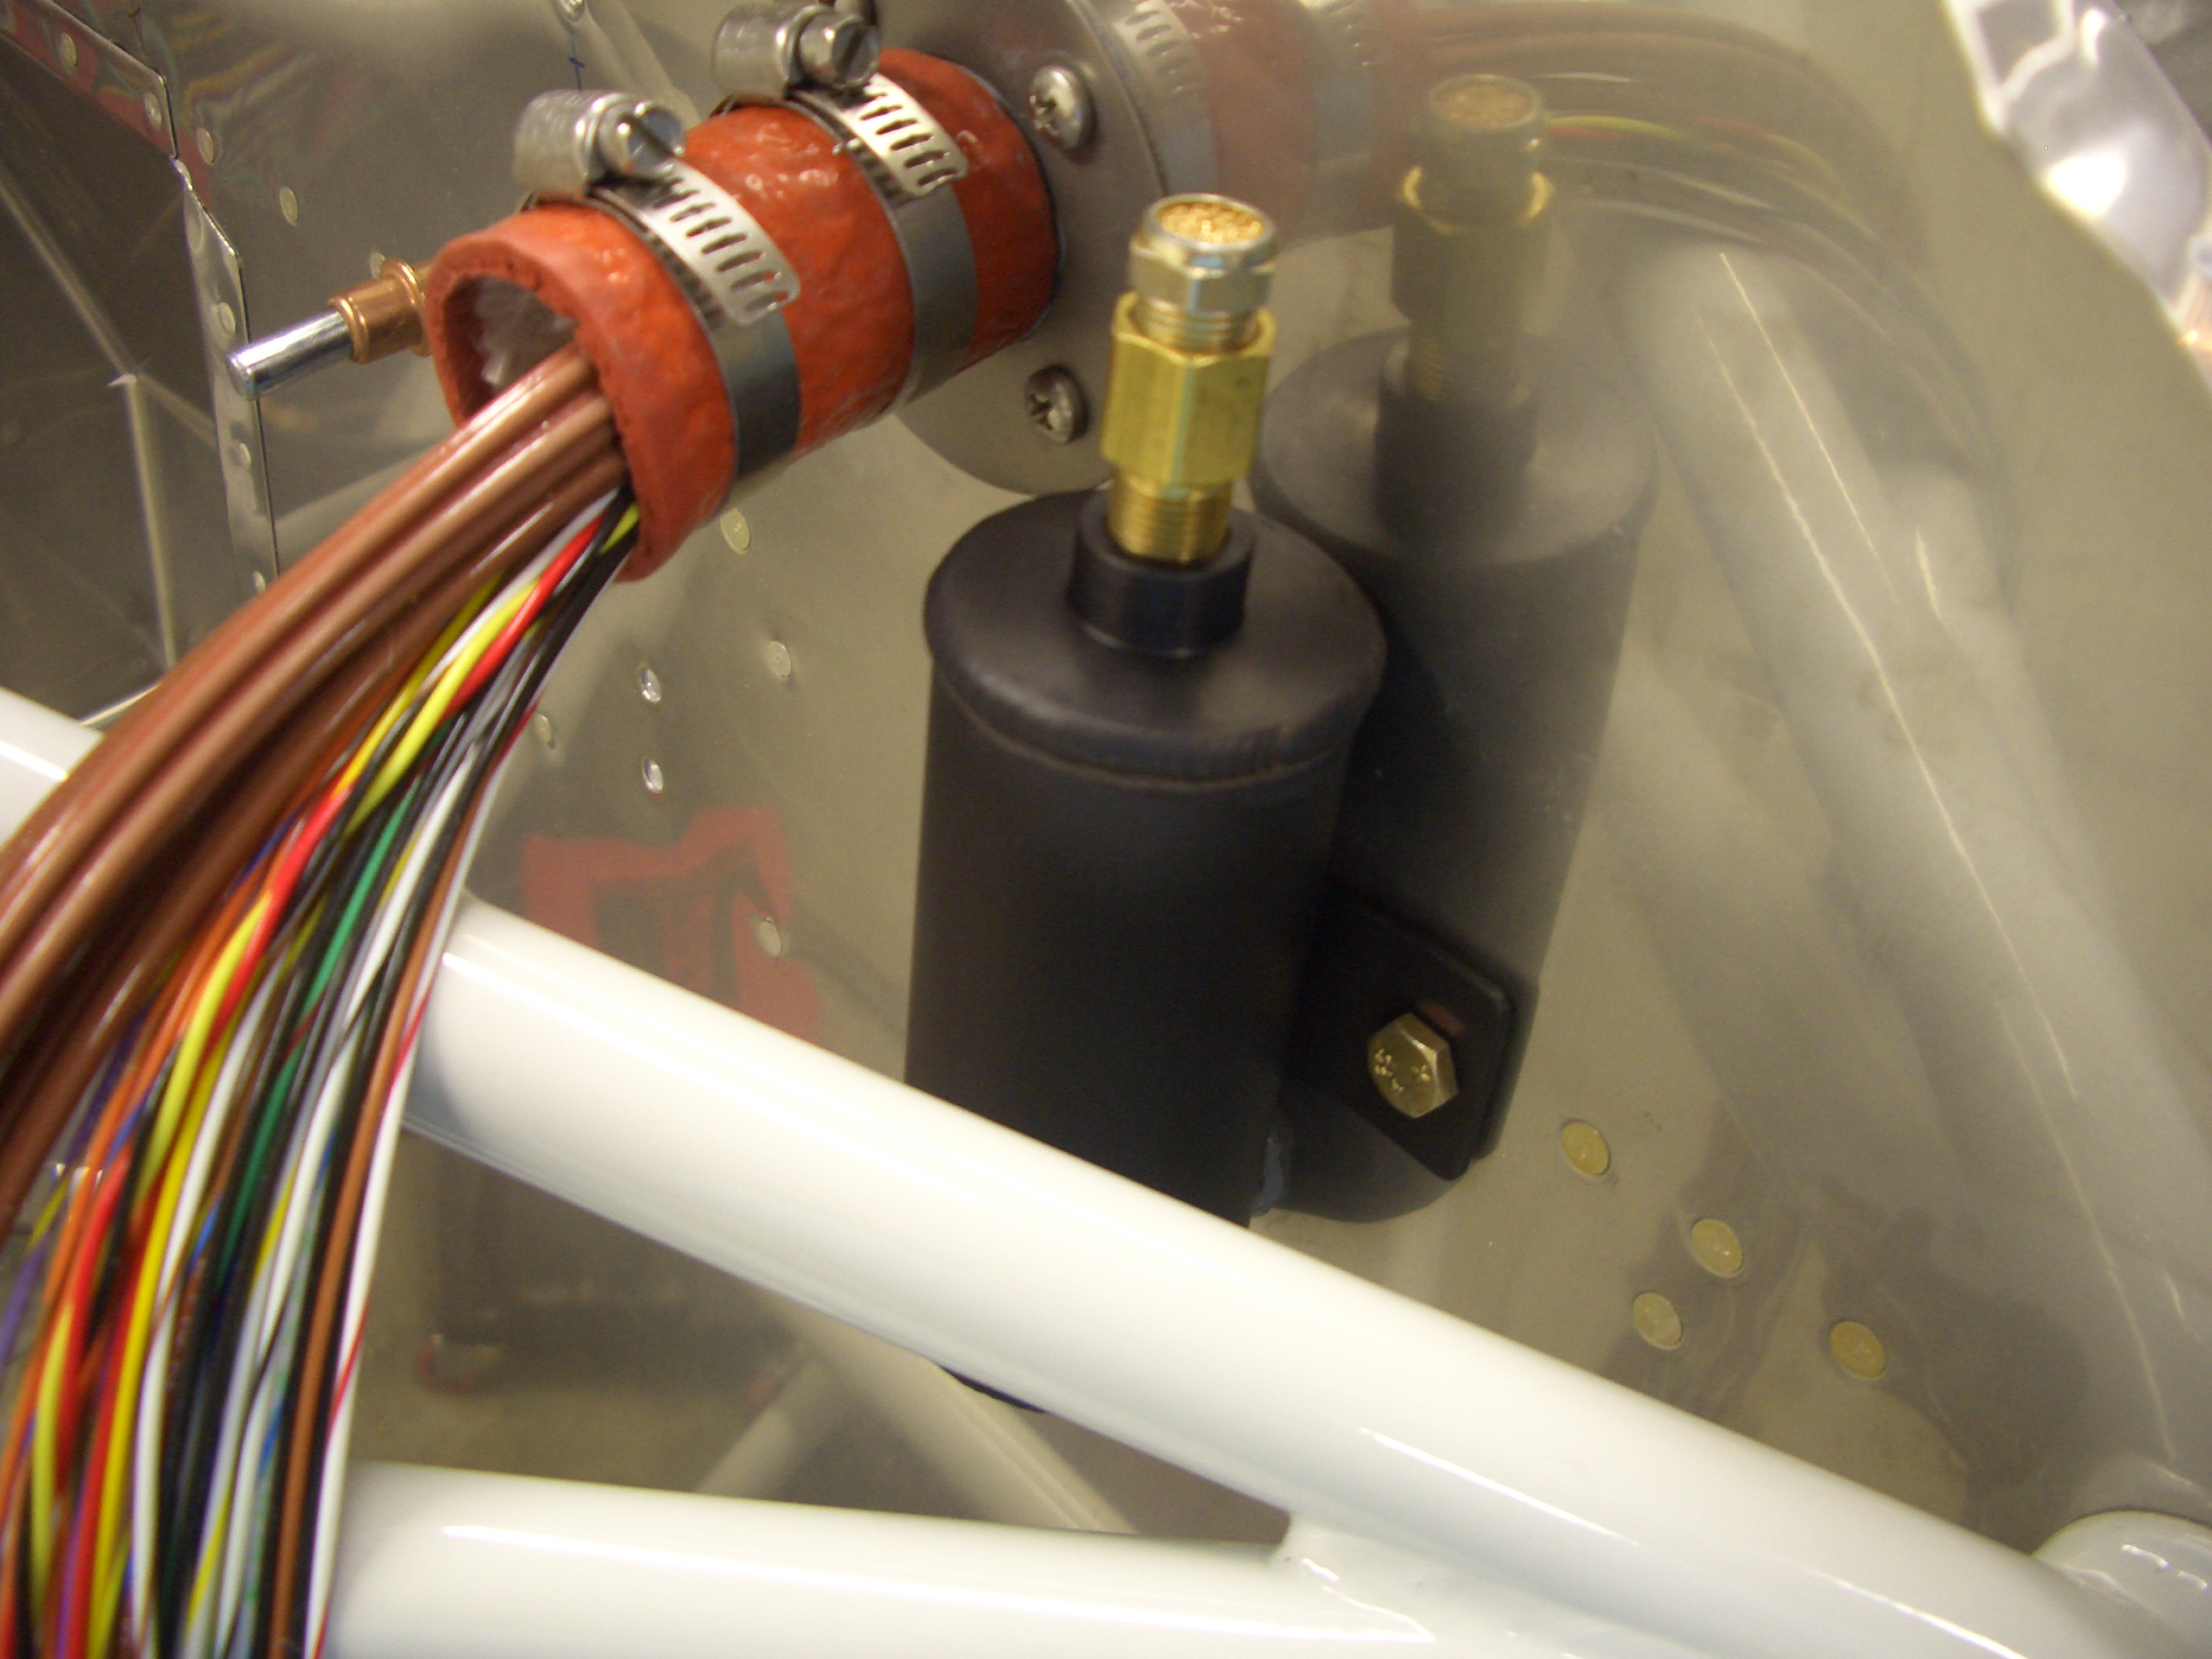
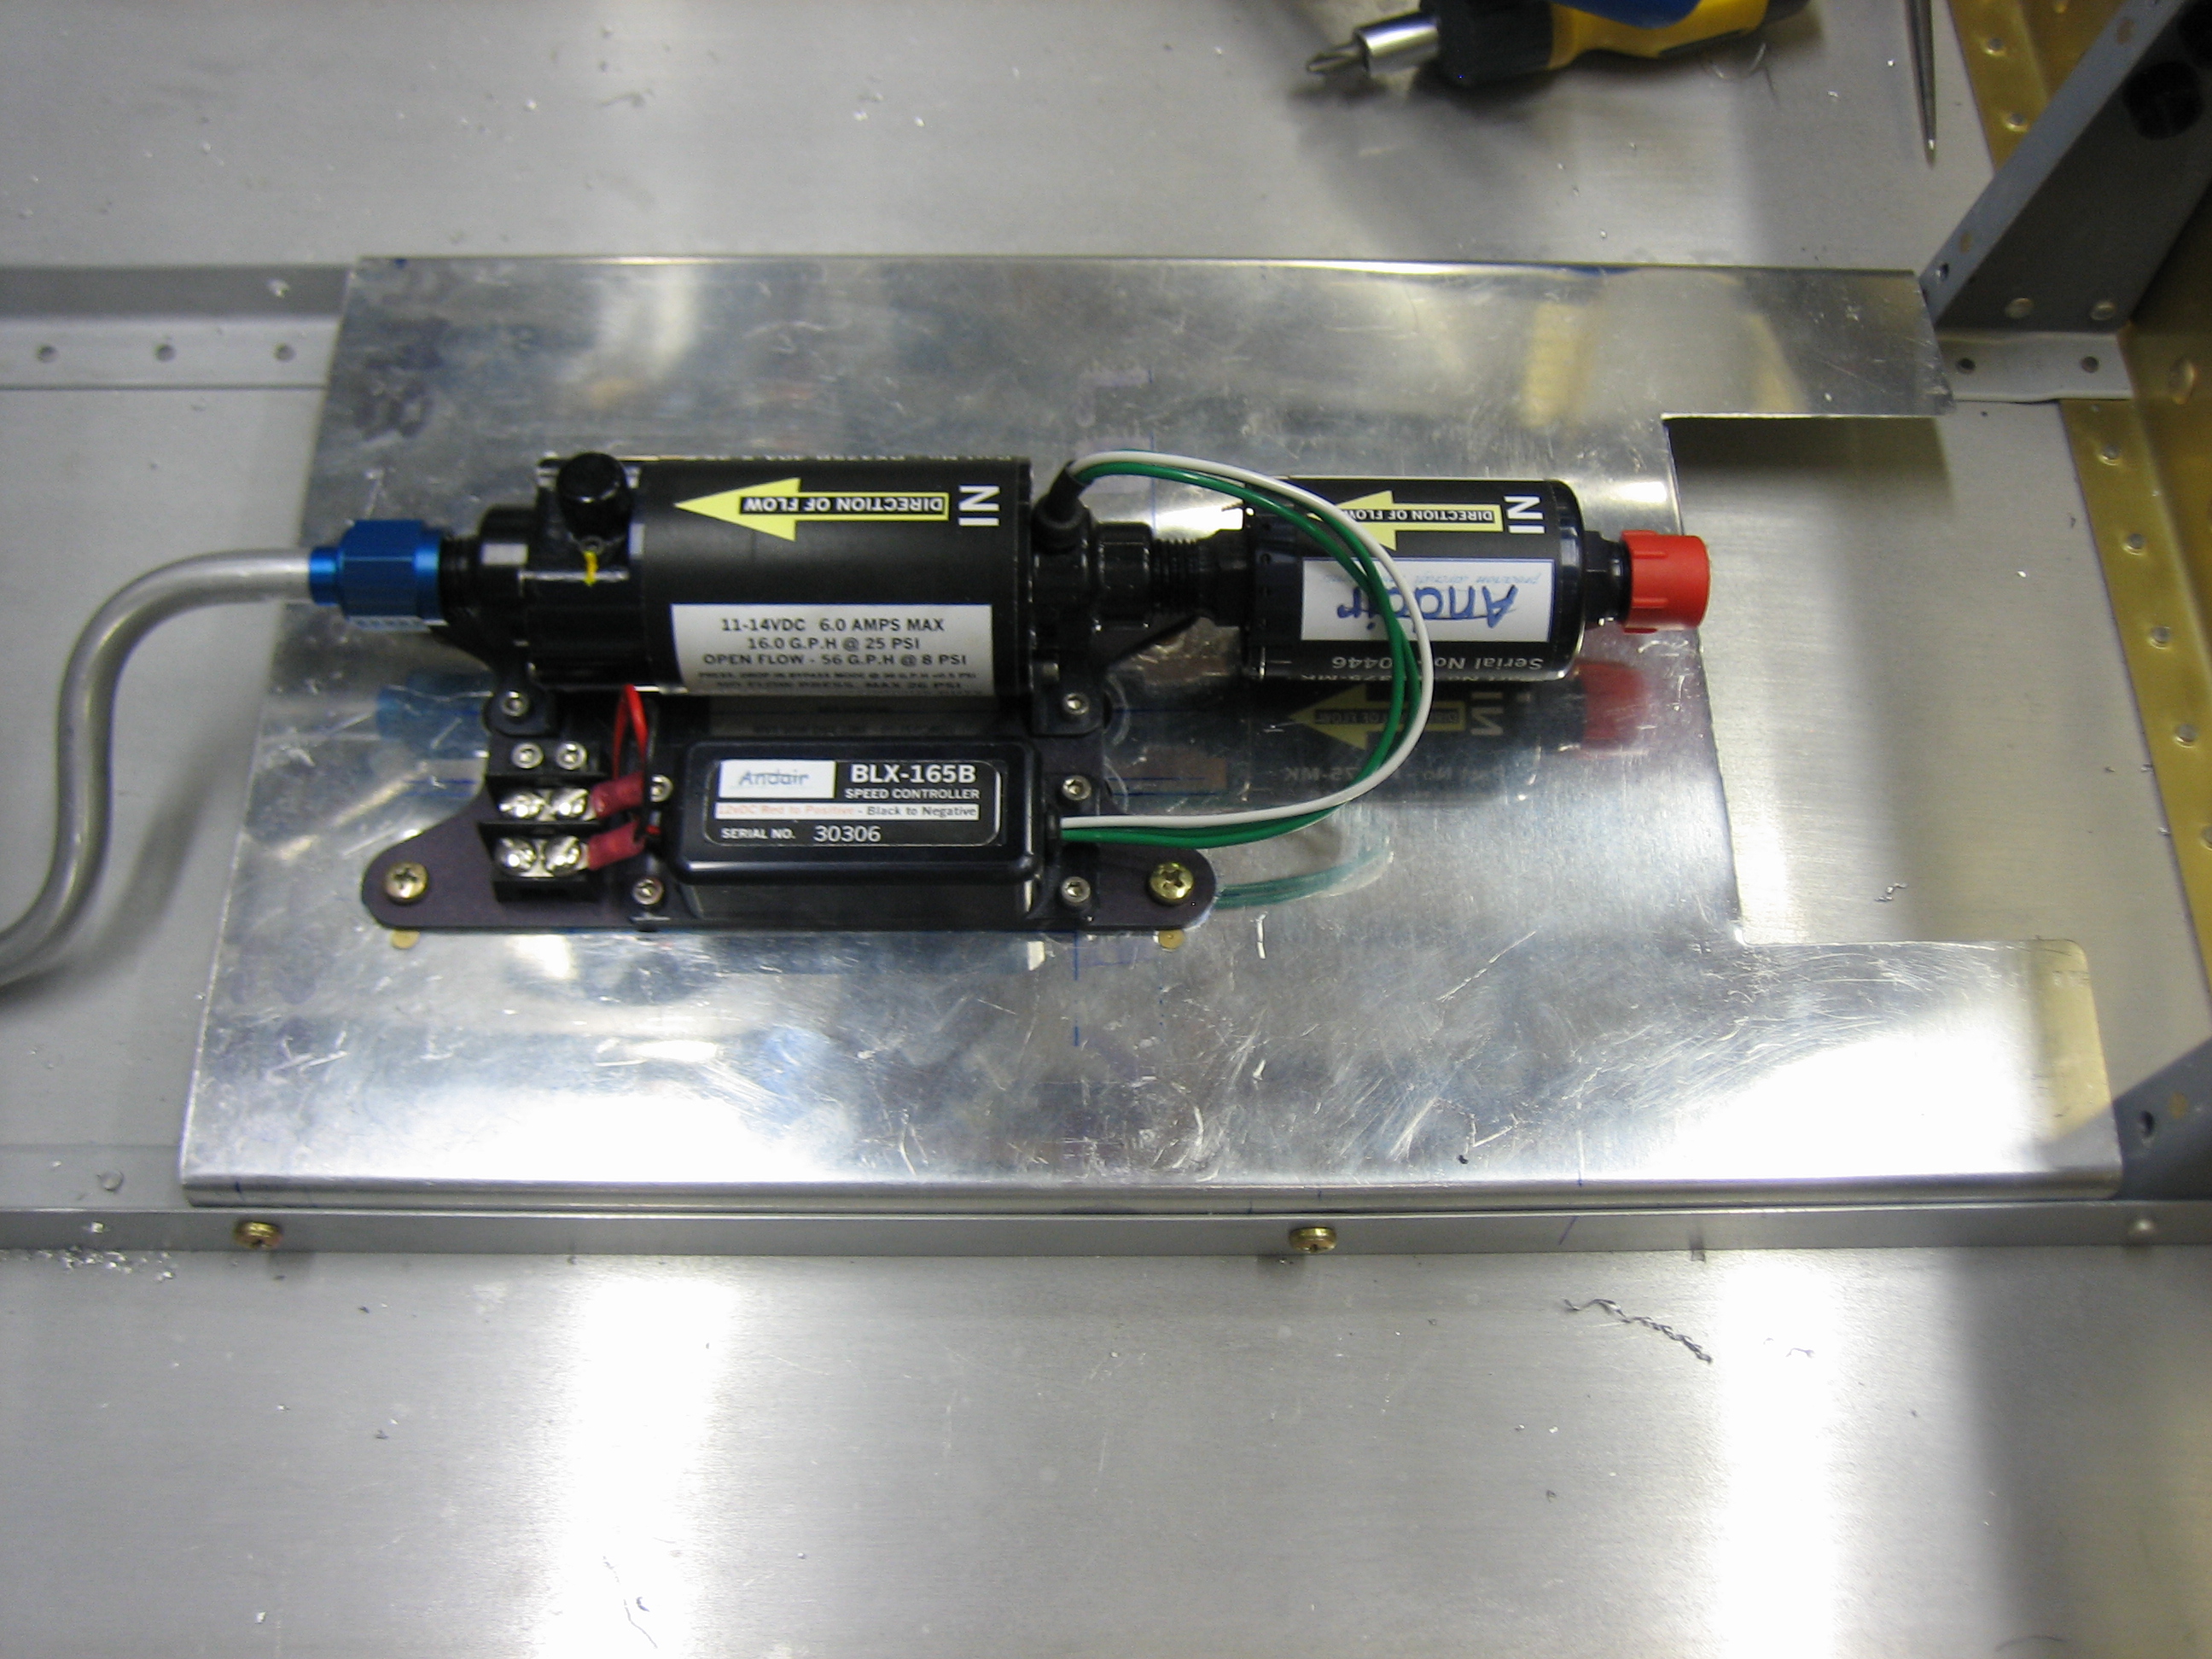
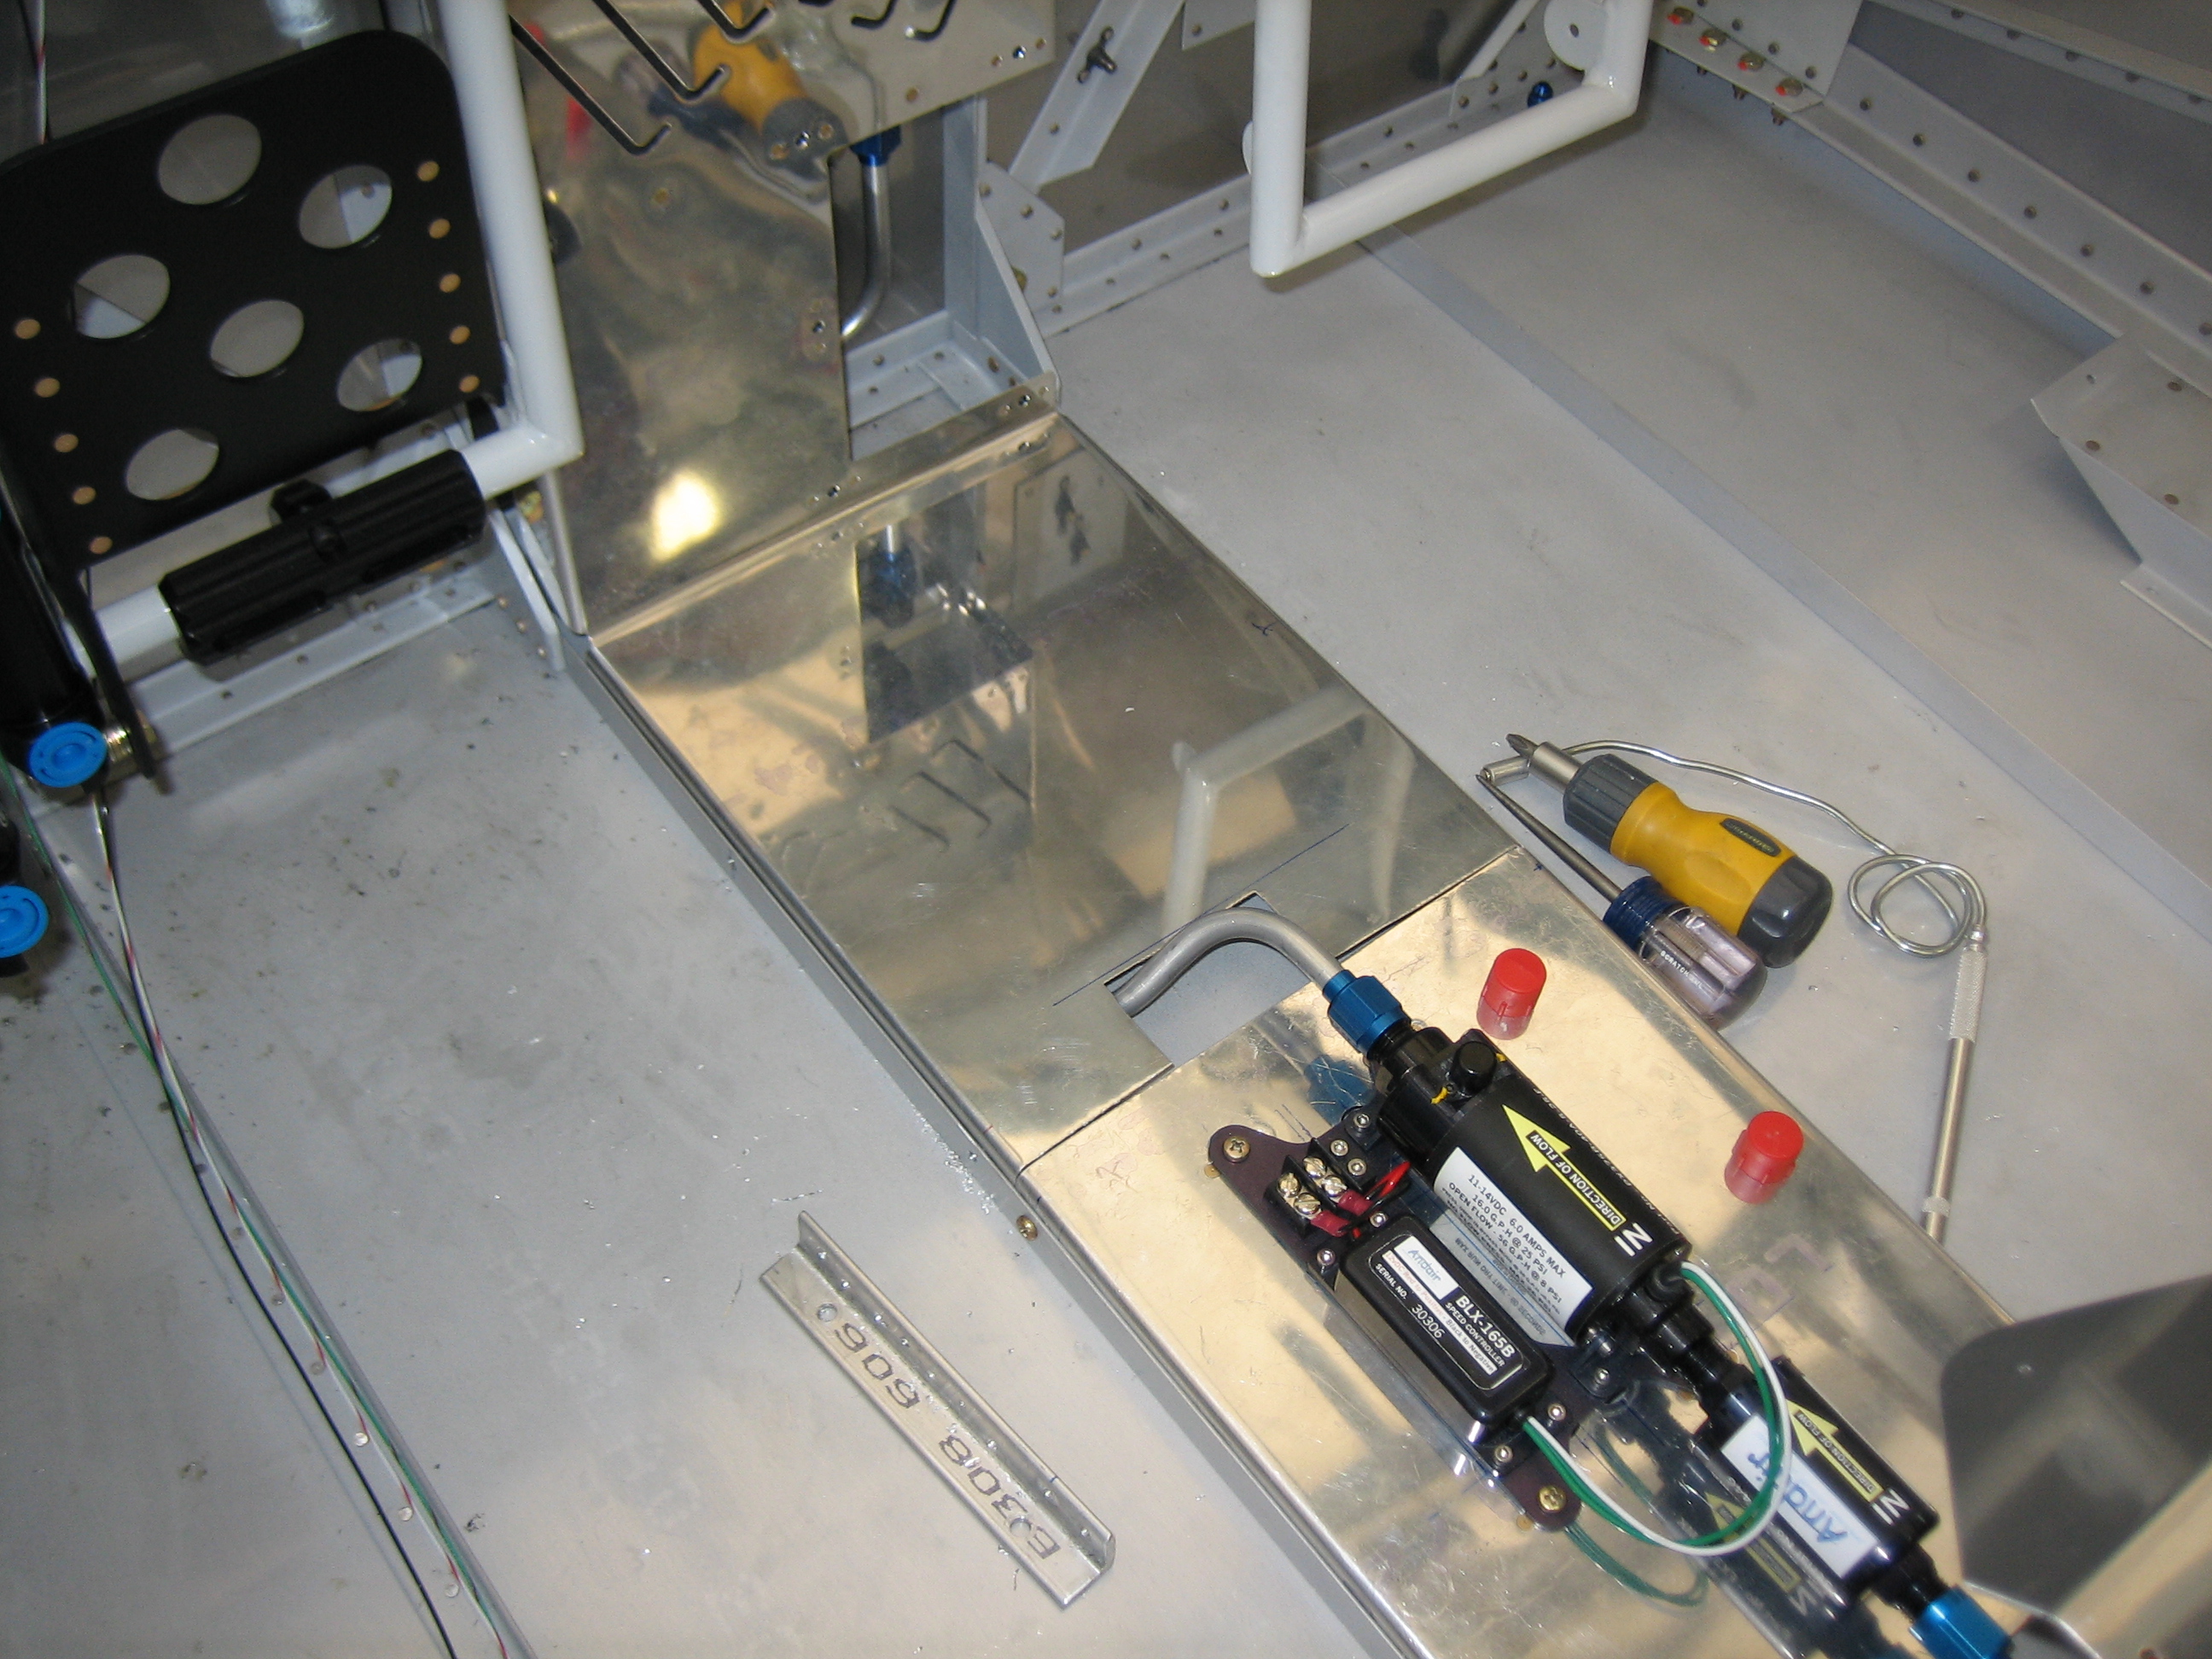
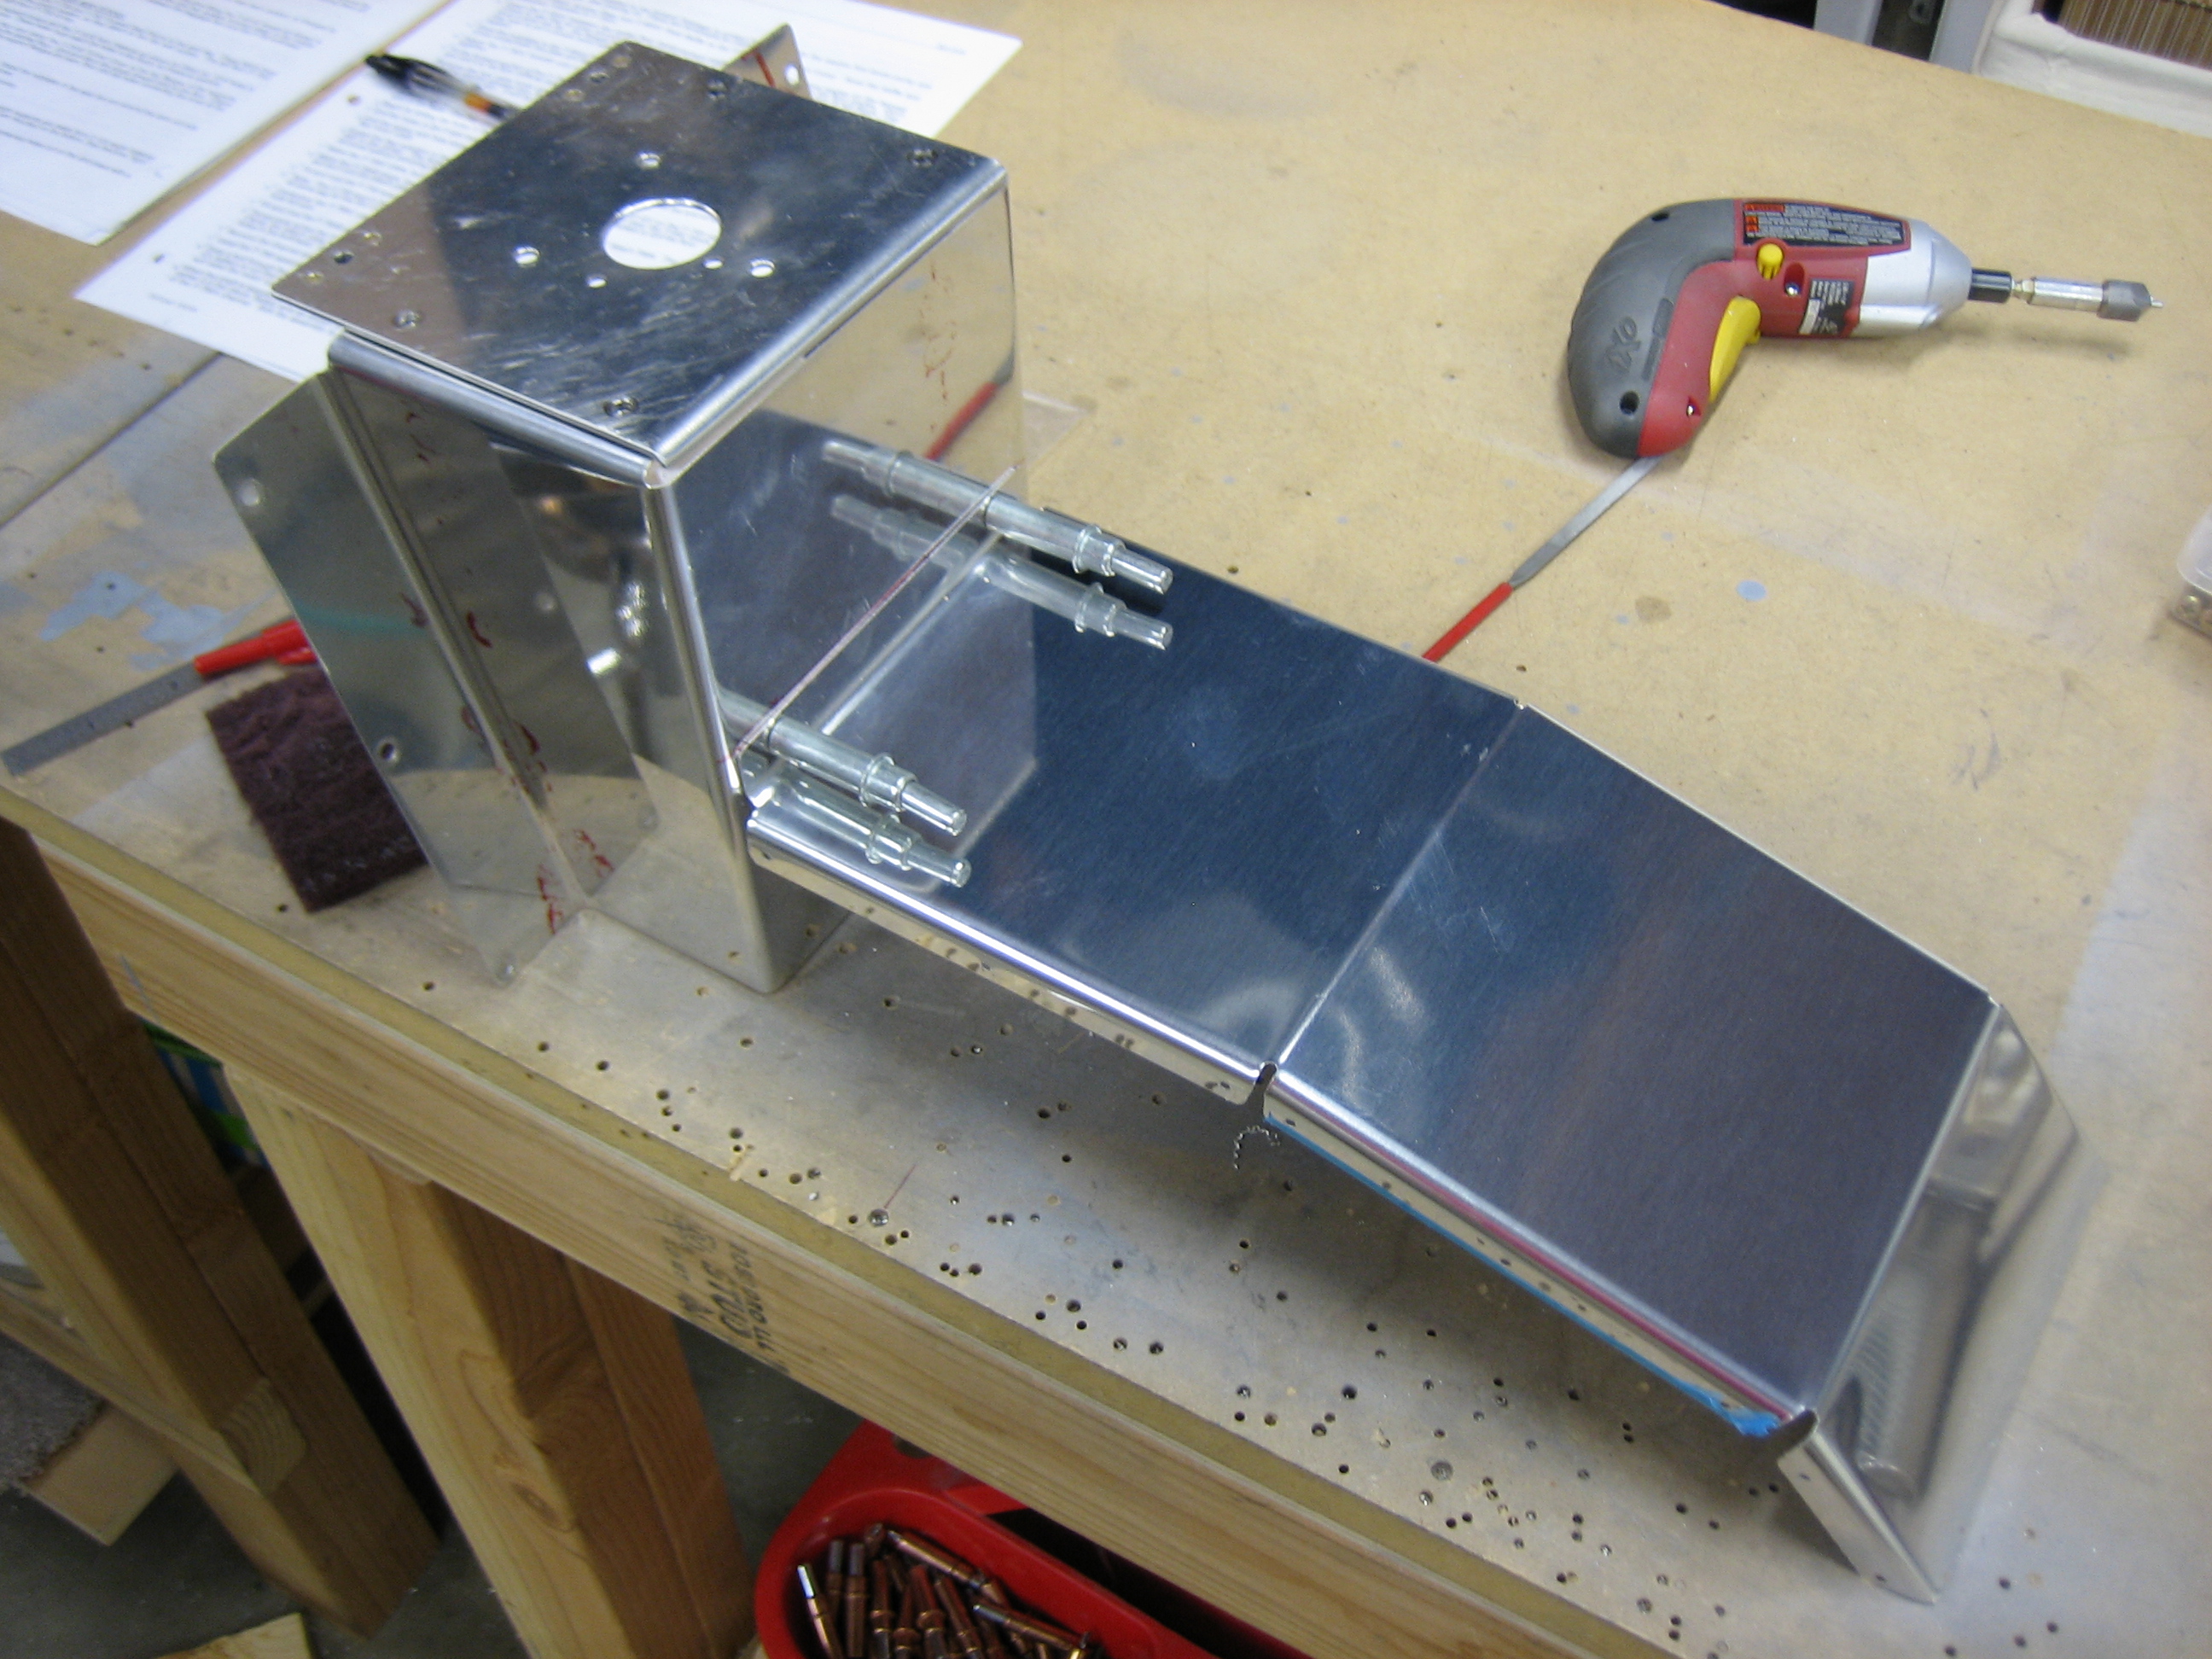
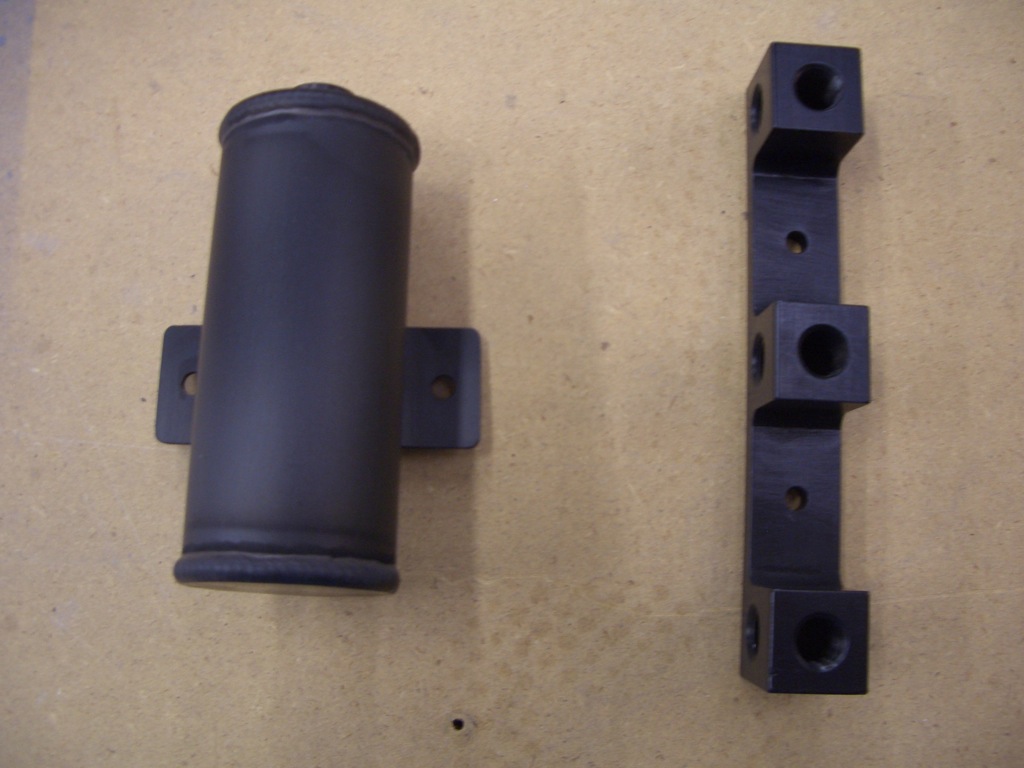
Since I was already paying the minimum shop fee, I threw in a couple of other components.  This is the brake fluid reservoir and transducer manifold.

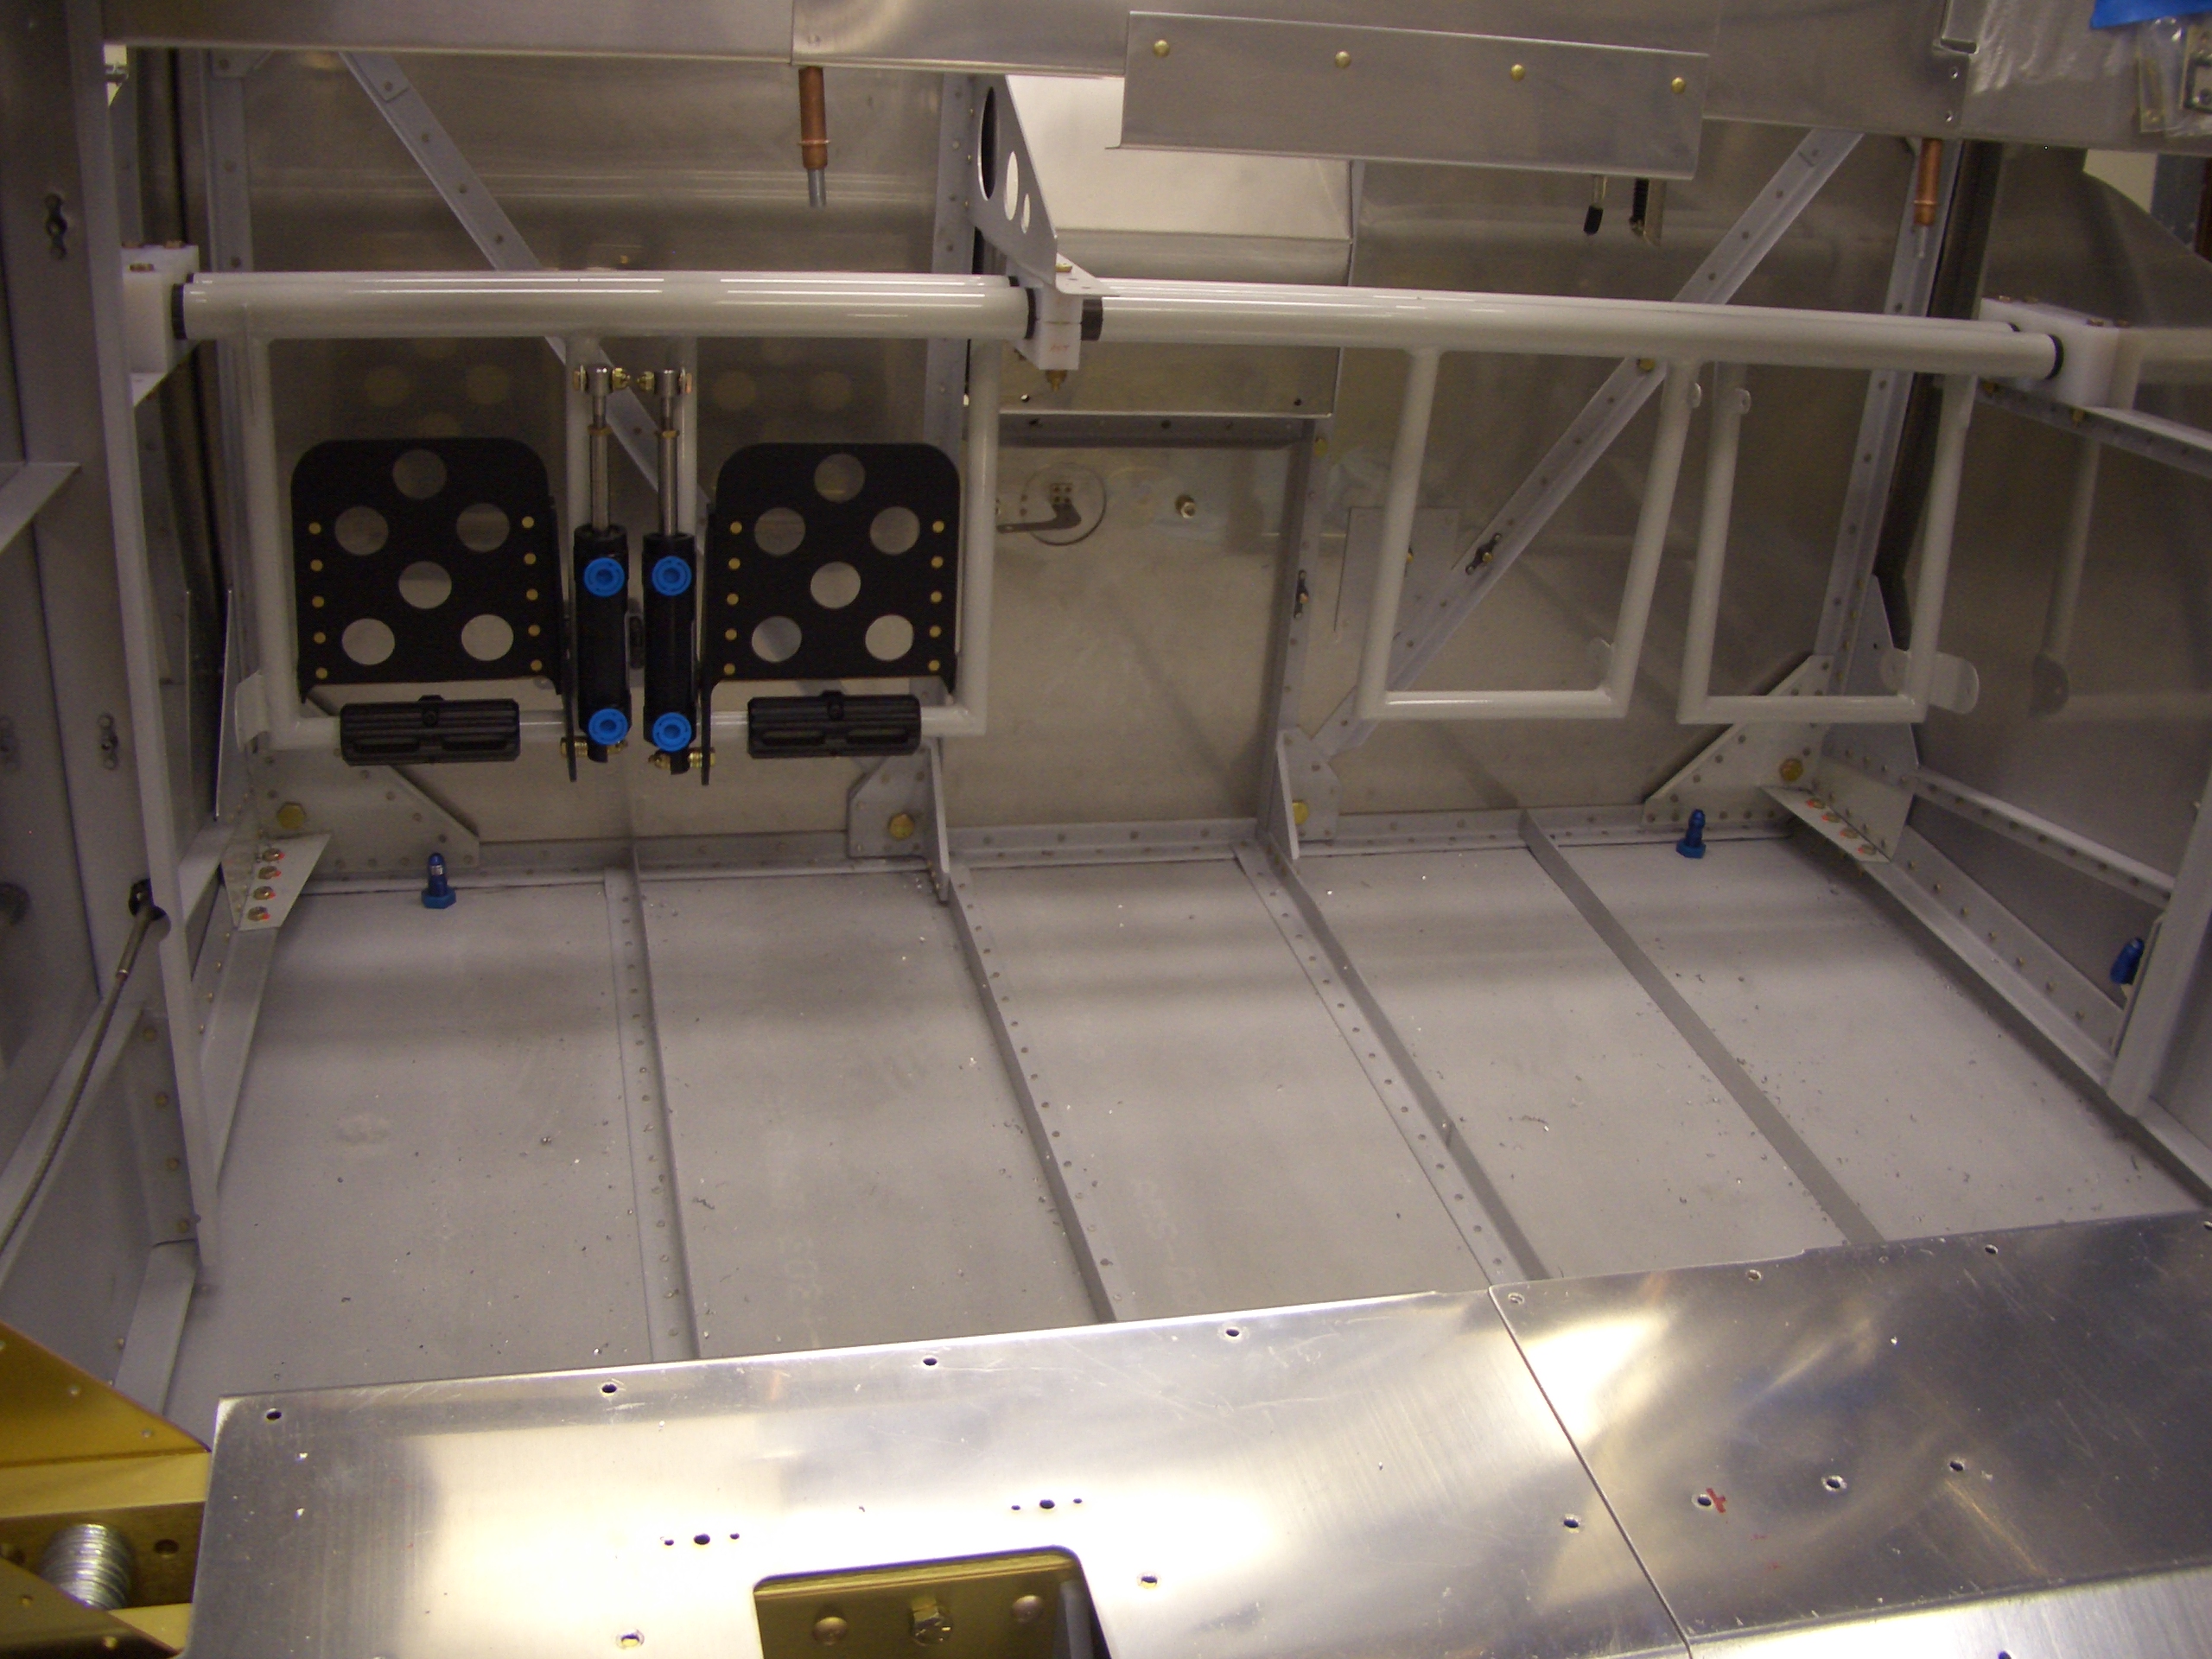
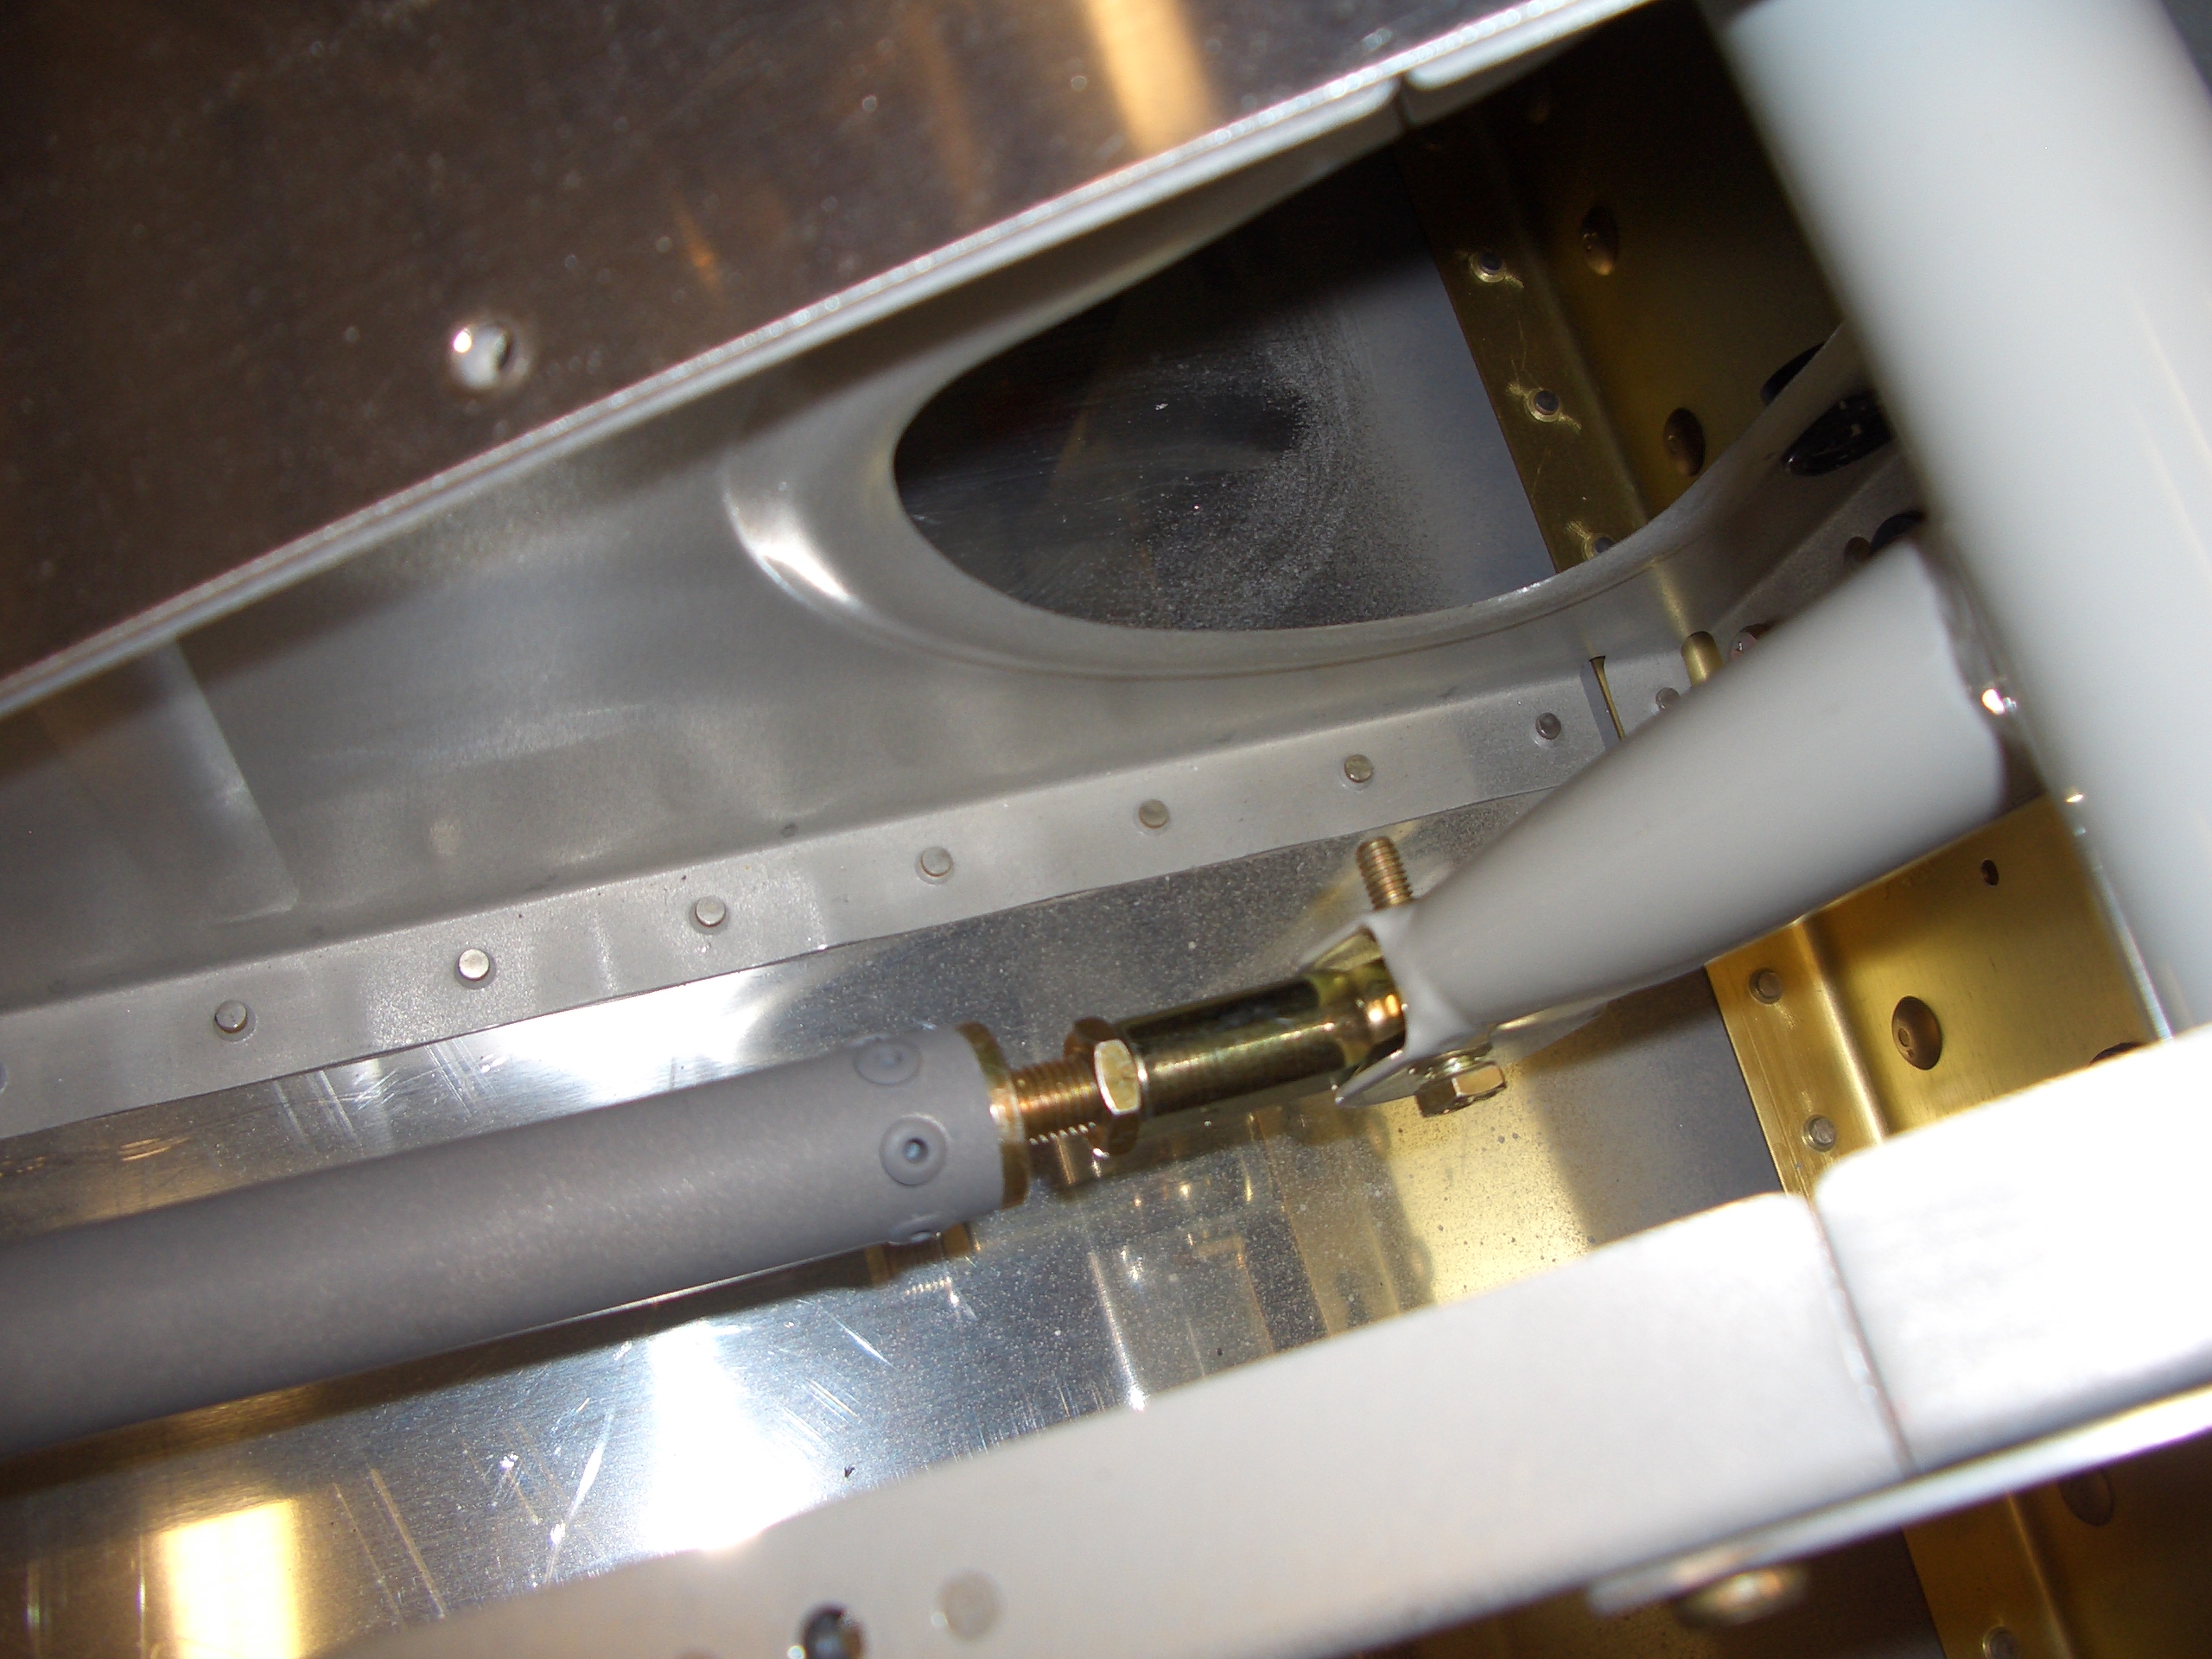
I mounted the brake pedals as well as the master cylinders and some rudder pedal extensions from JD Air Parts.  These parts are all black anodized, so they look great together.

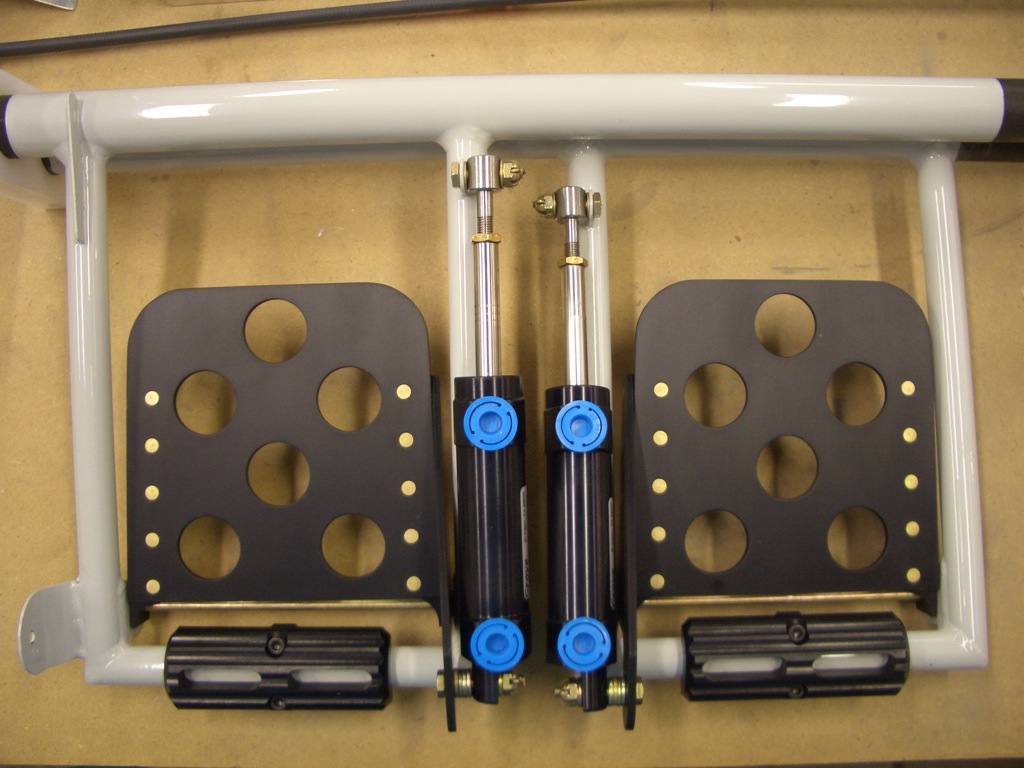
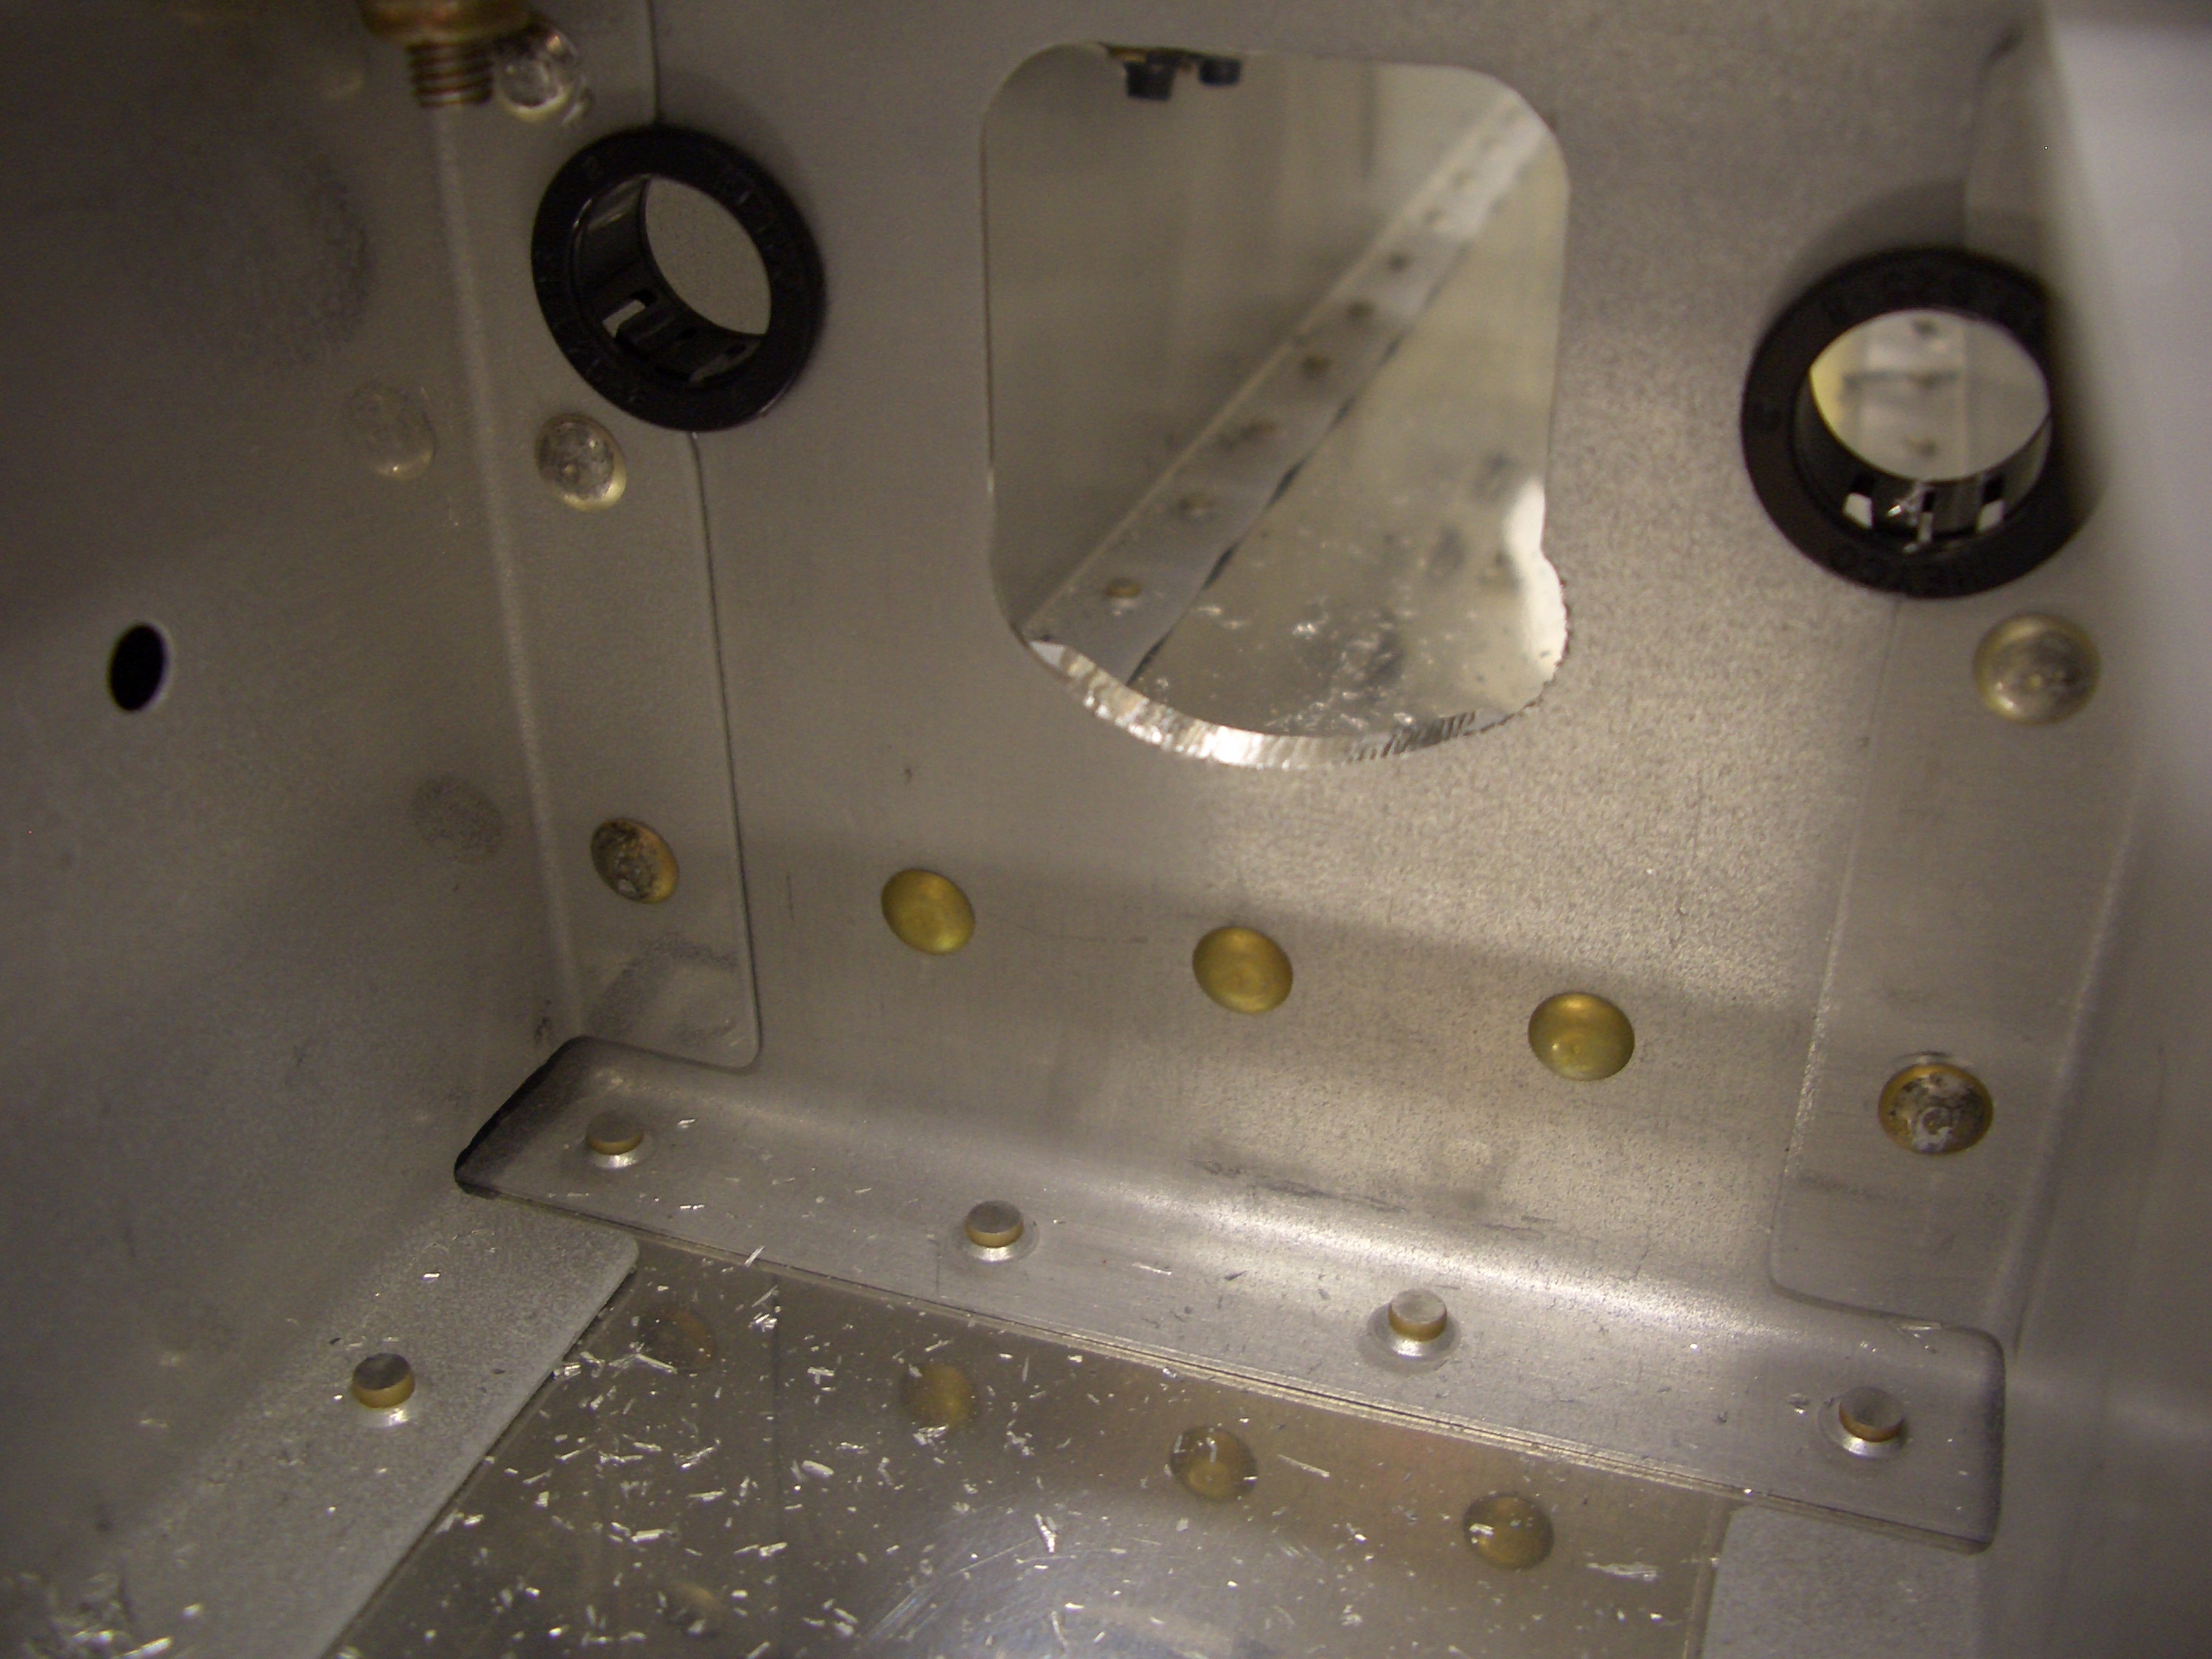
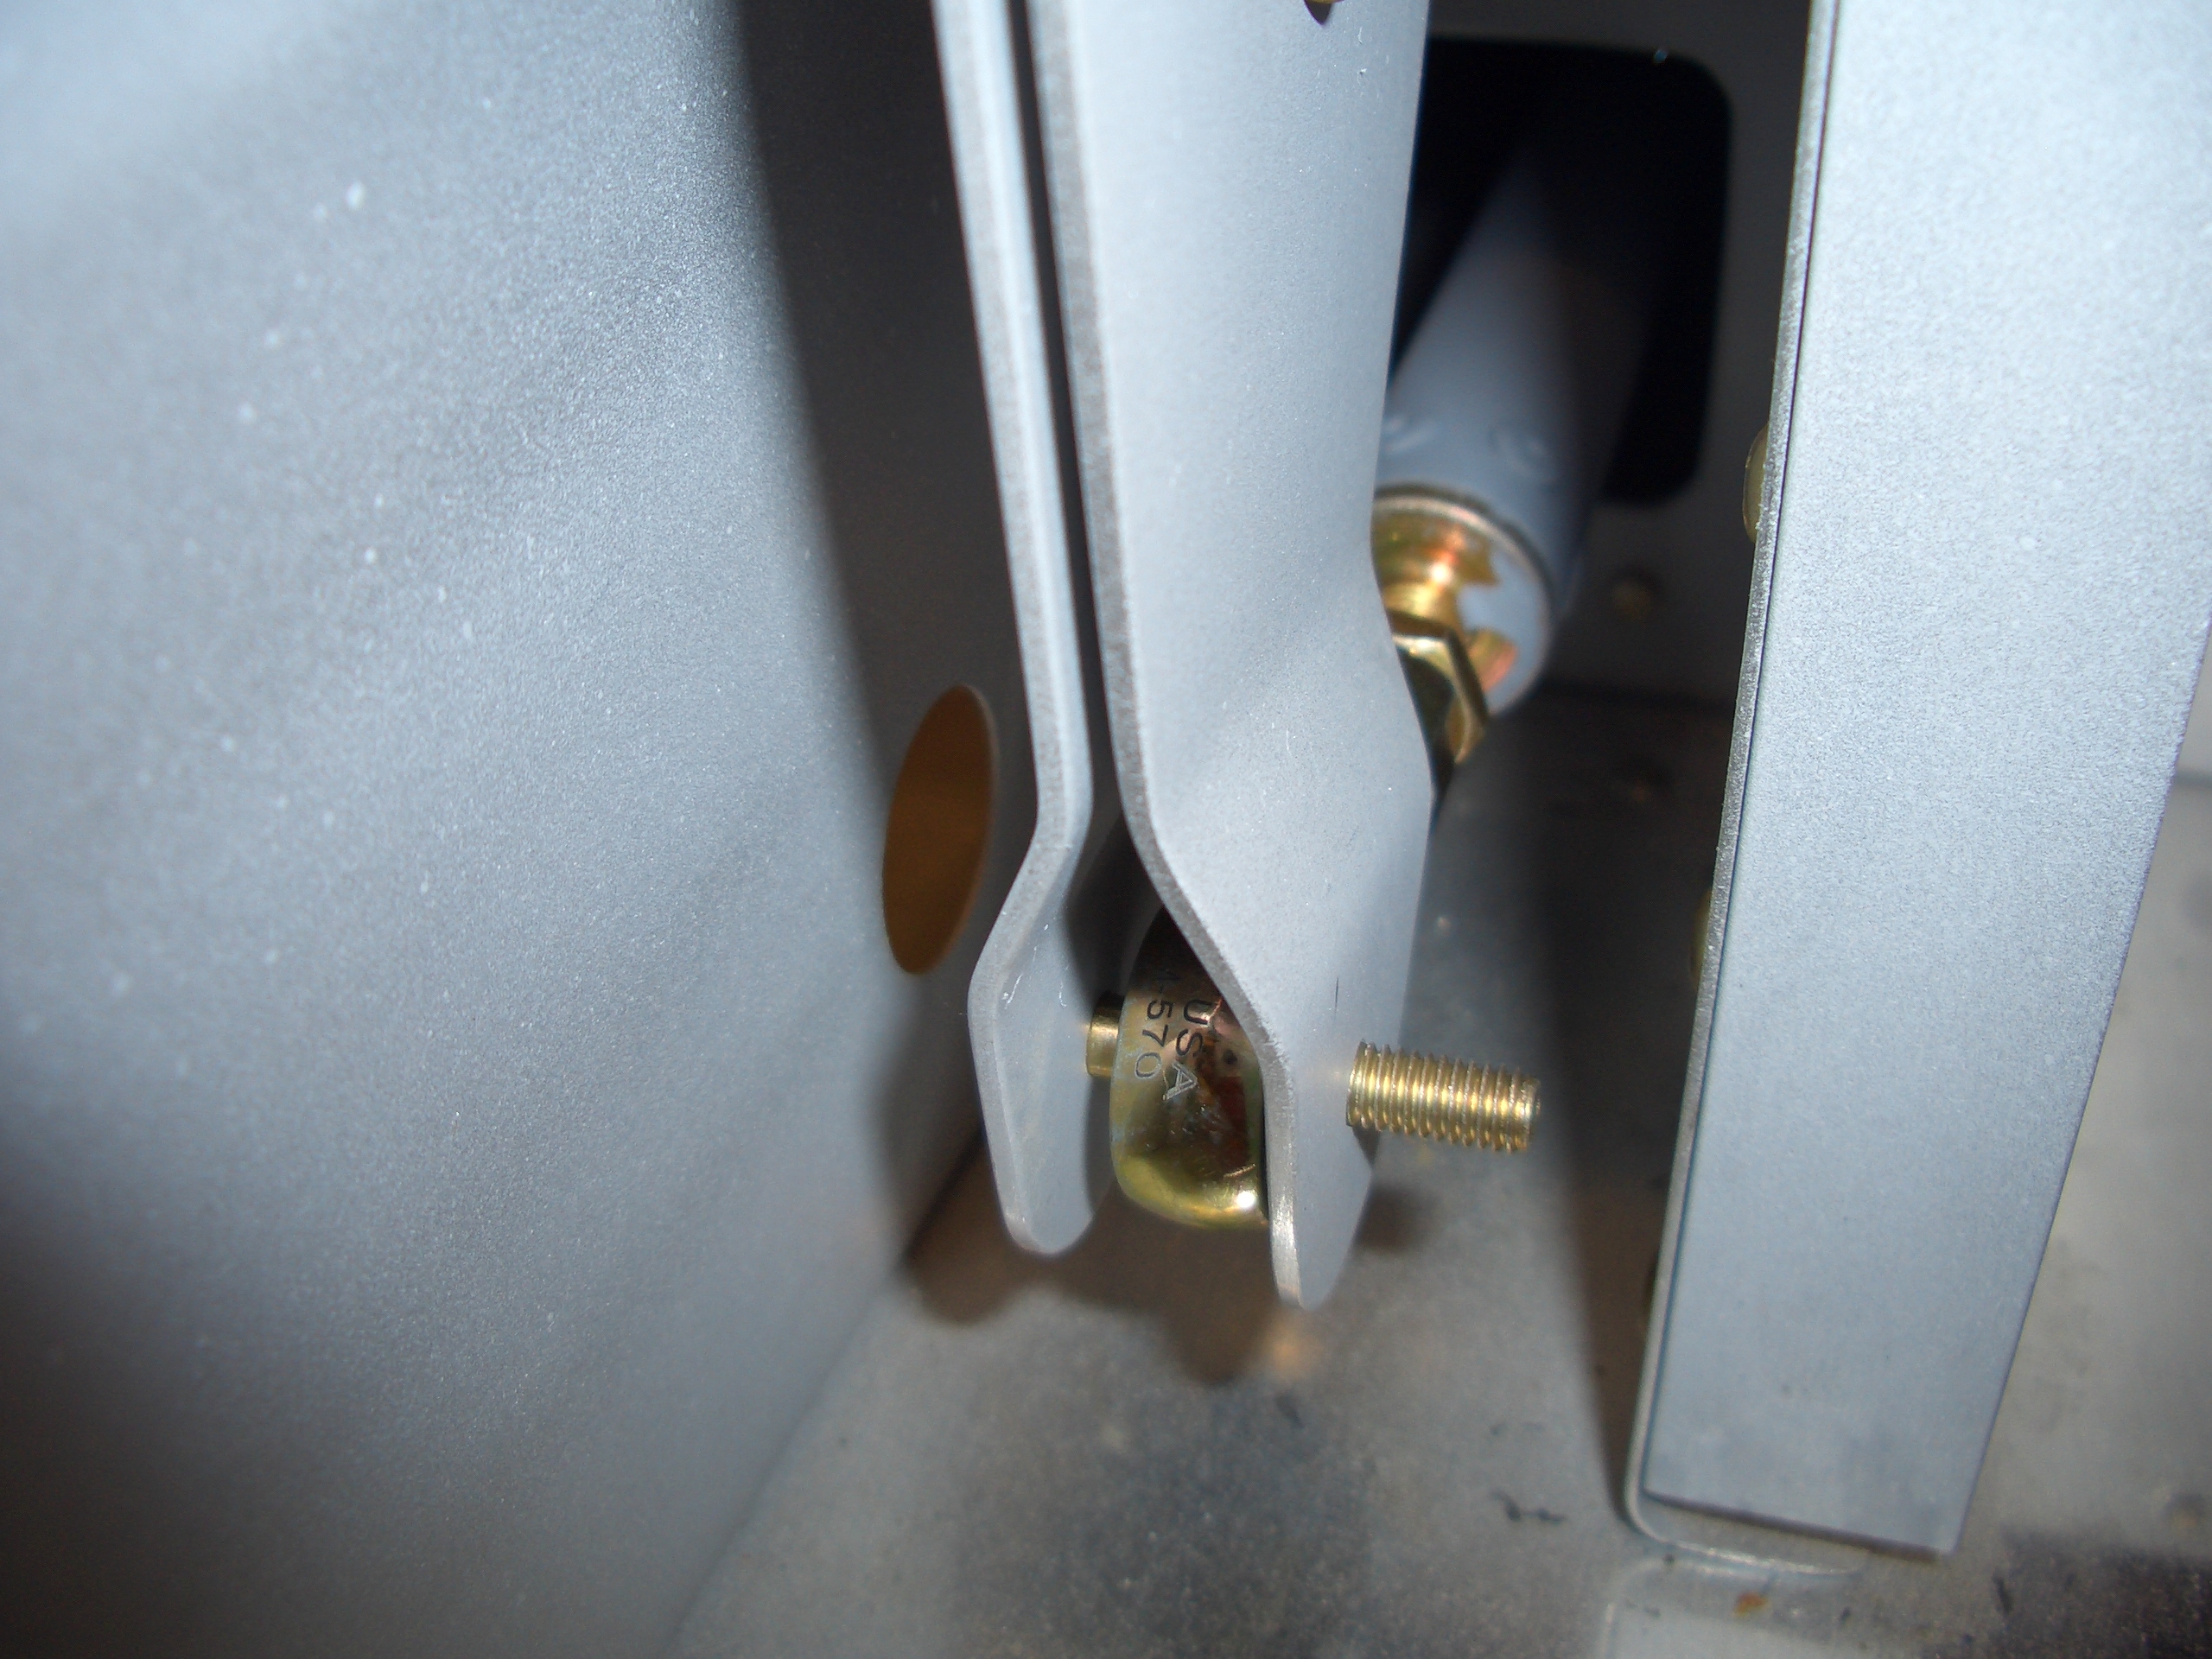
Finally, I mounted the rudder pedals in the plane and torqued all of the bolts.

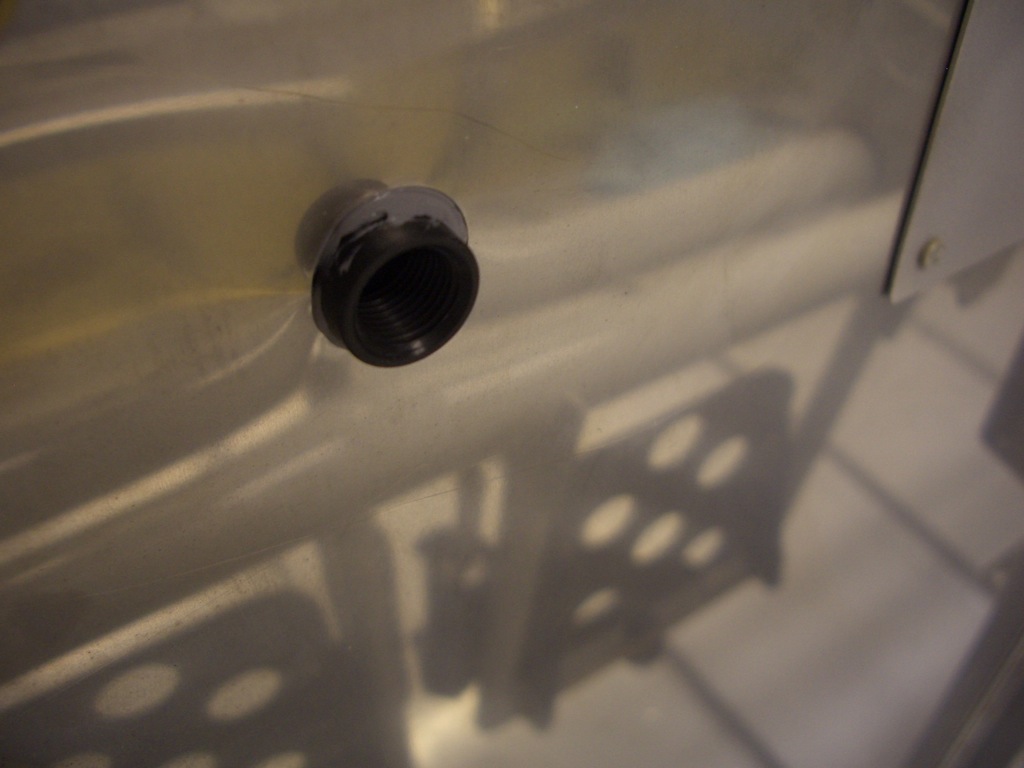
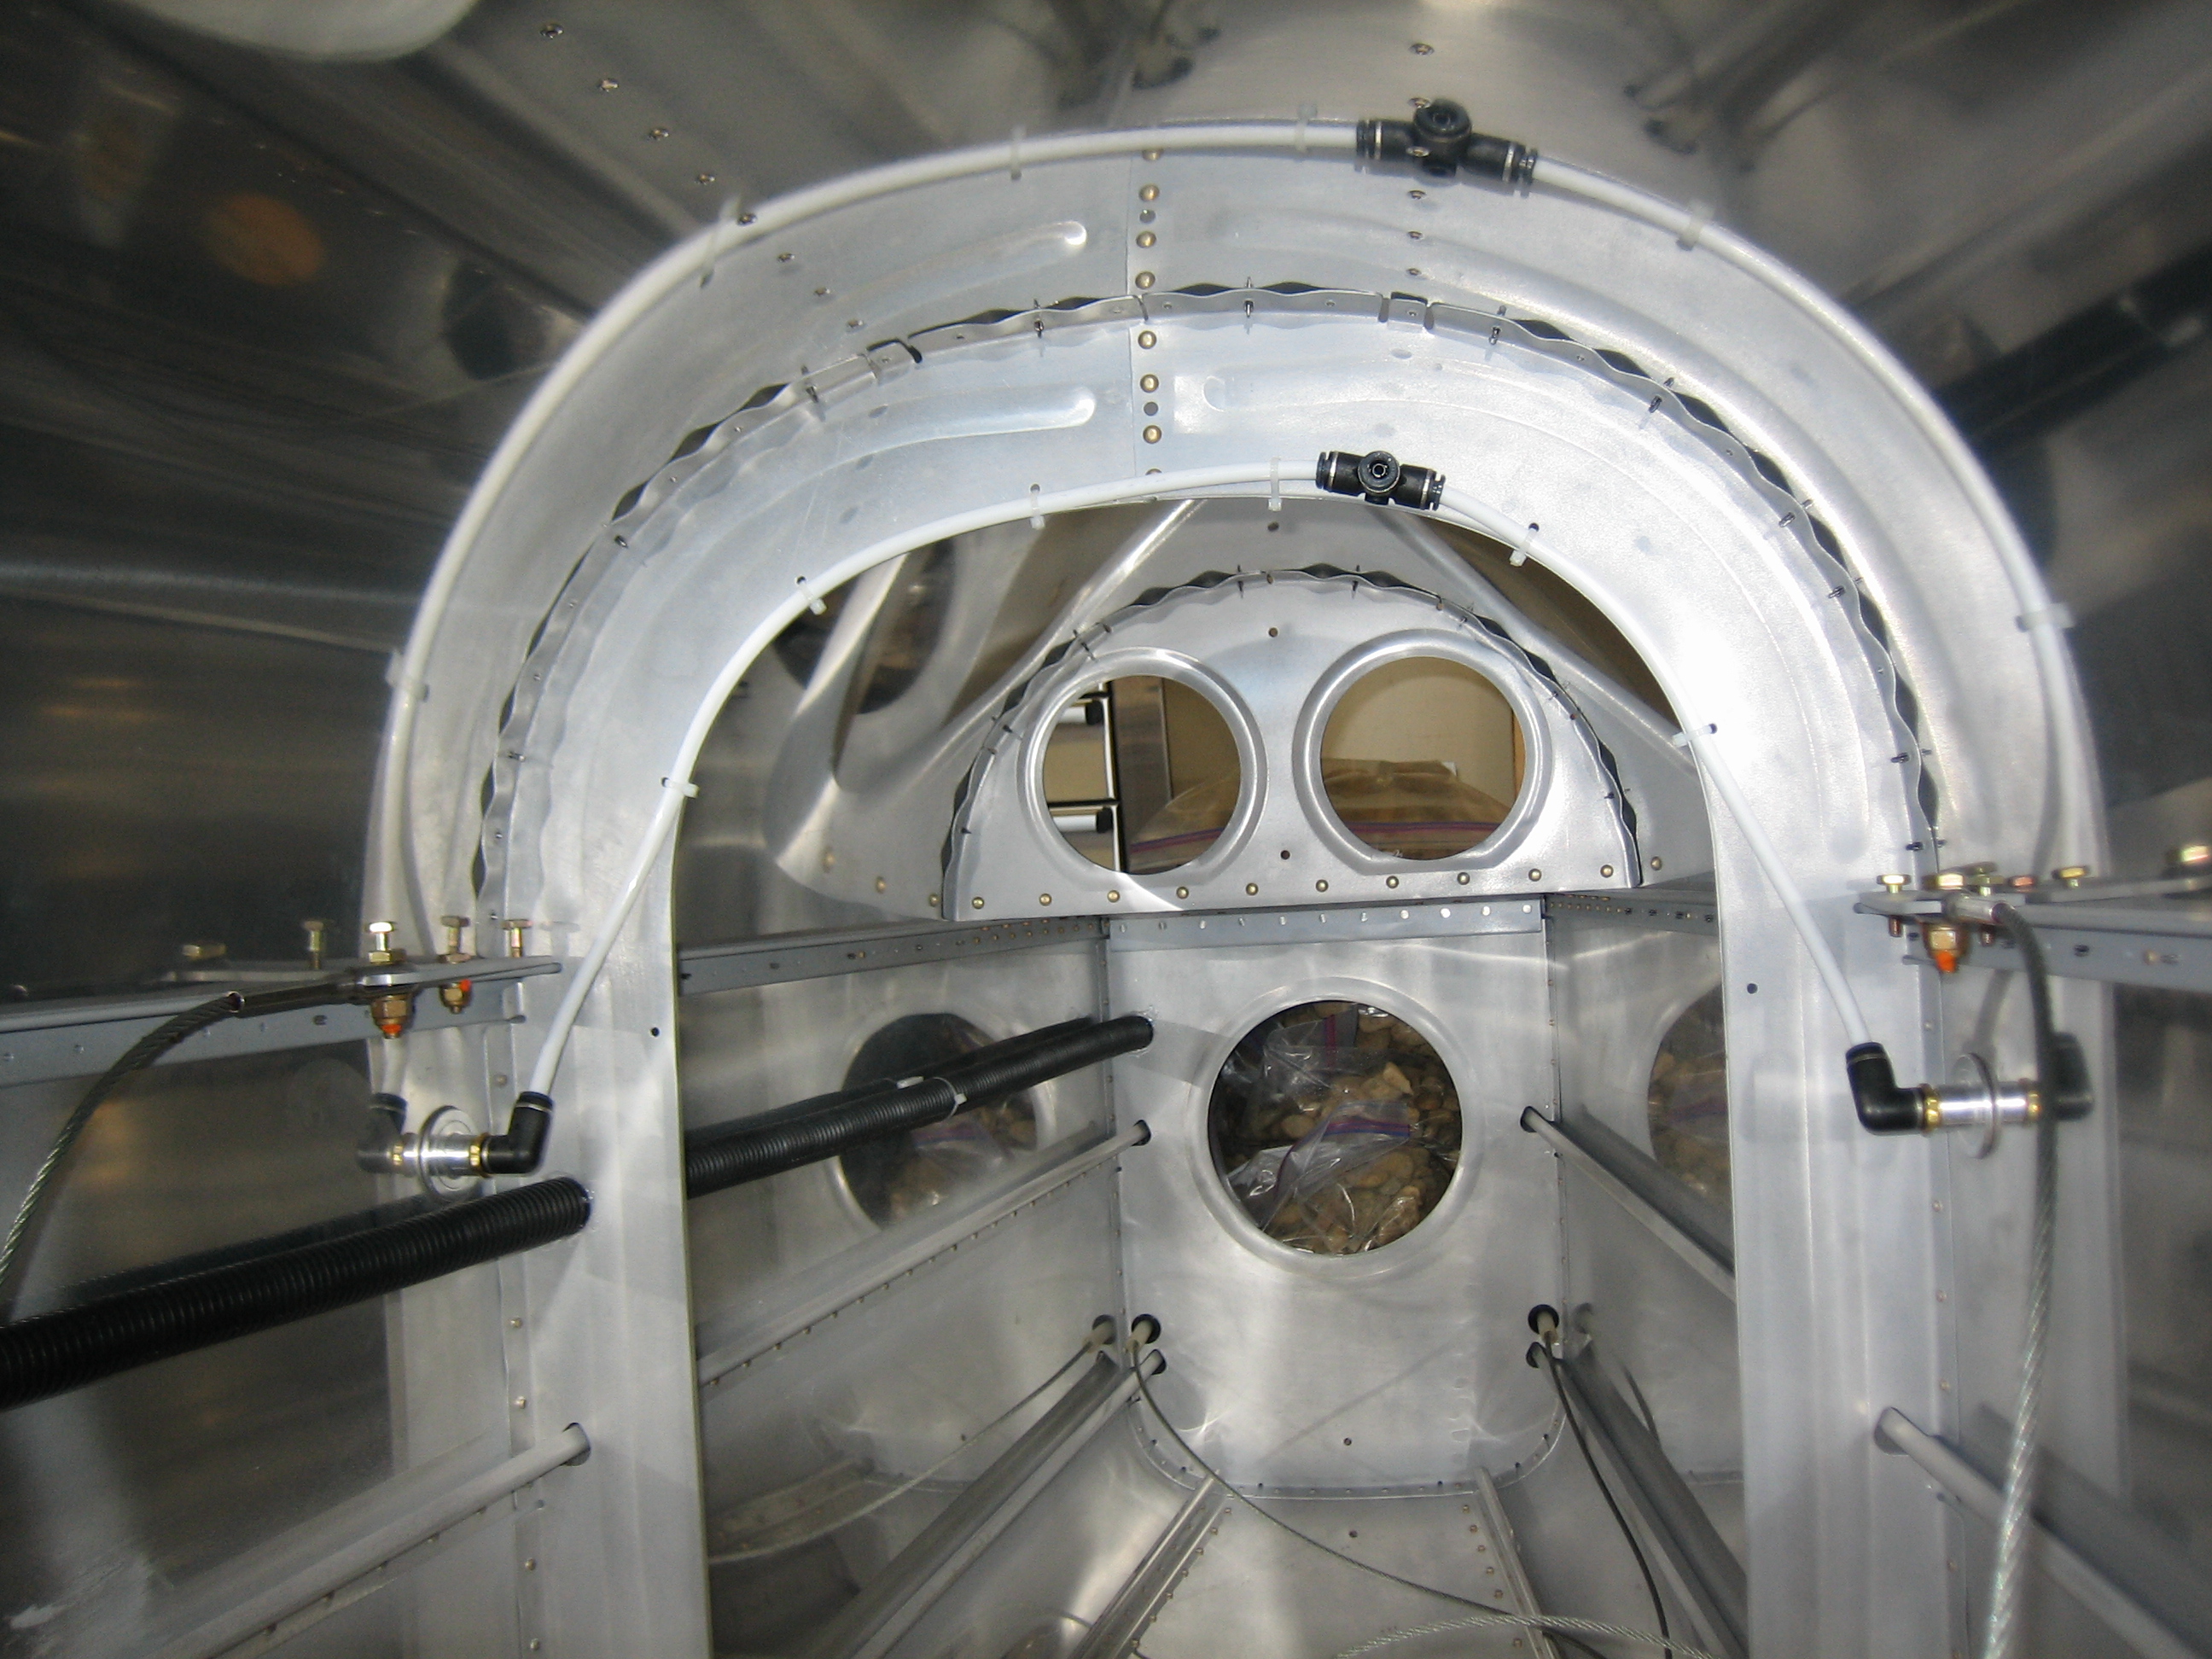
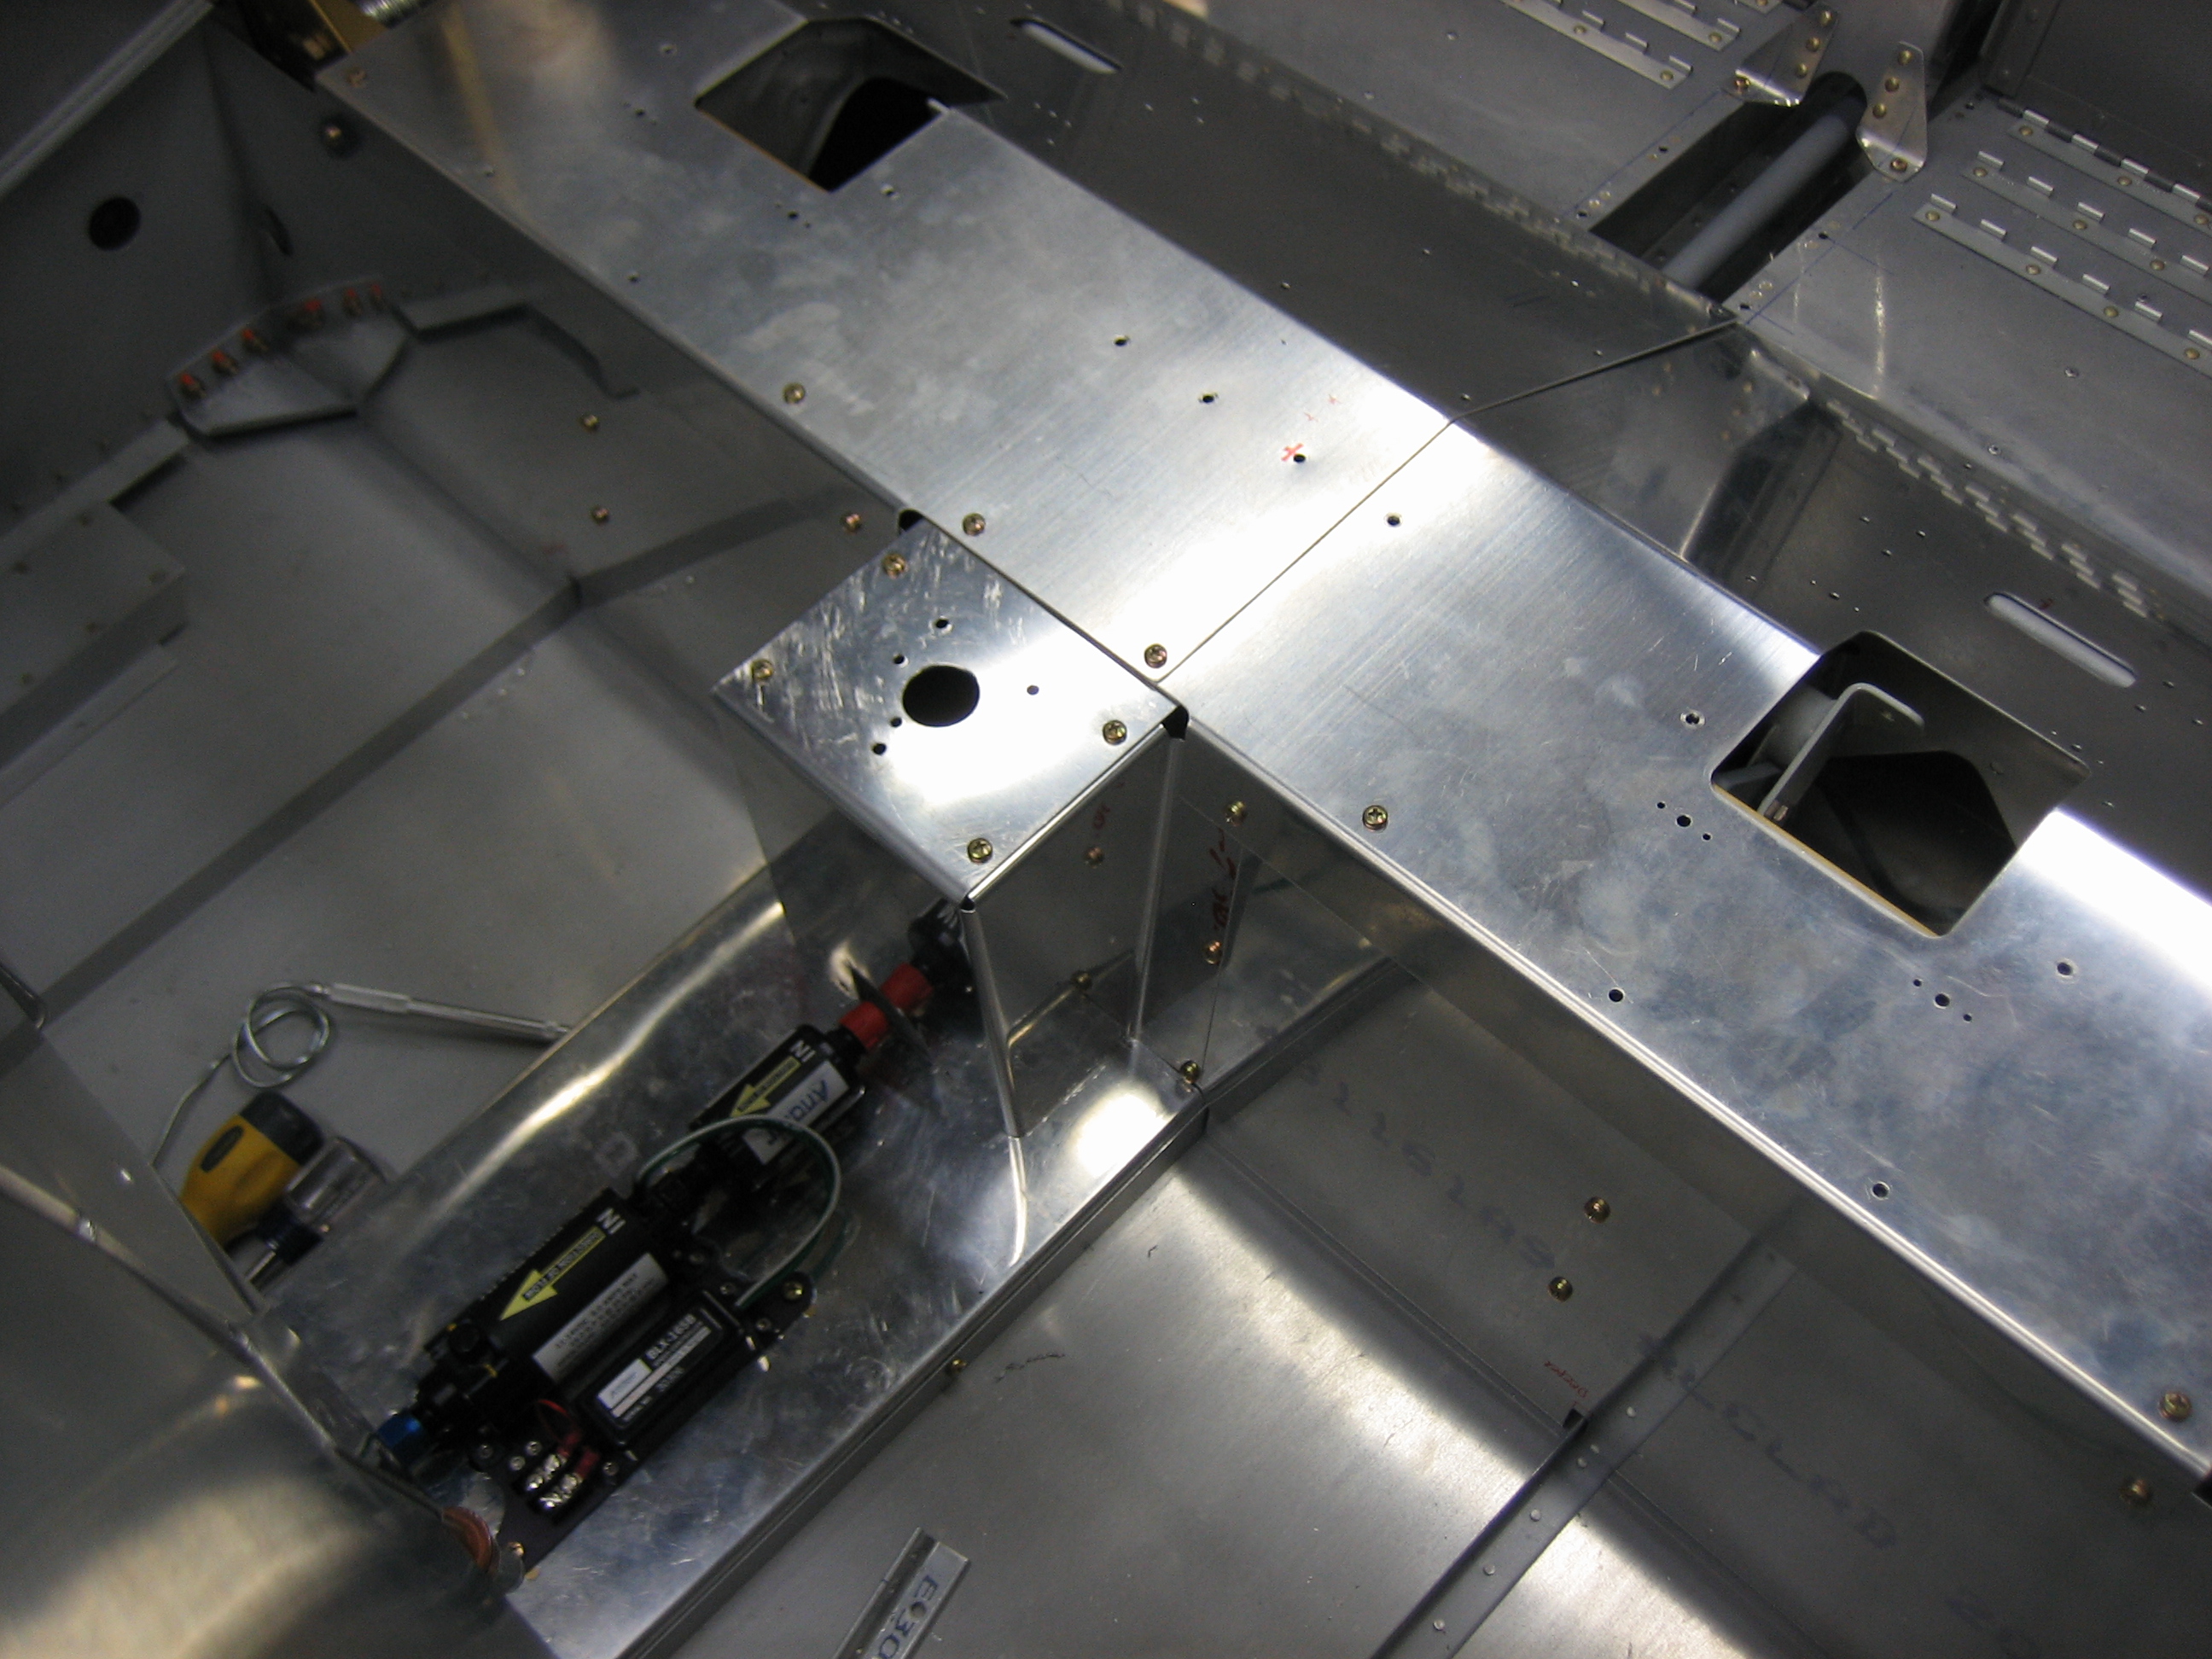
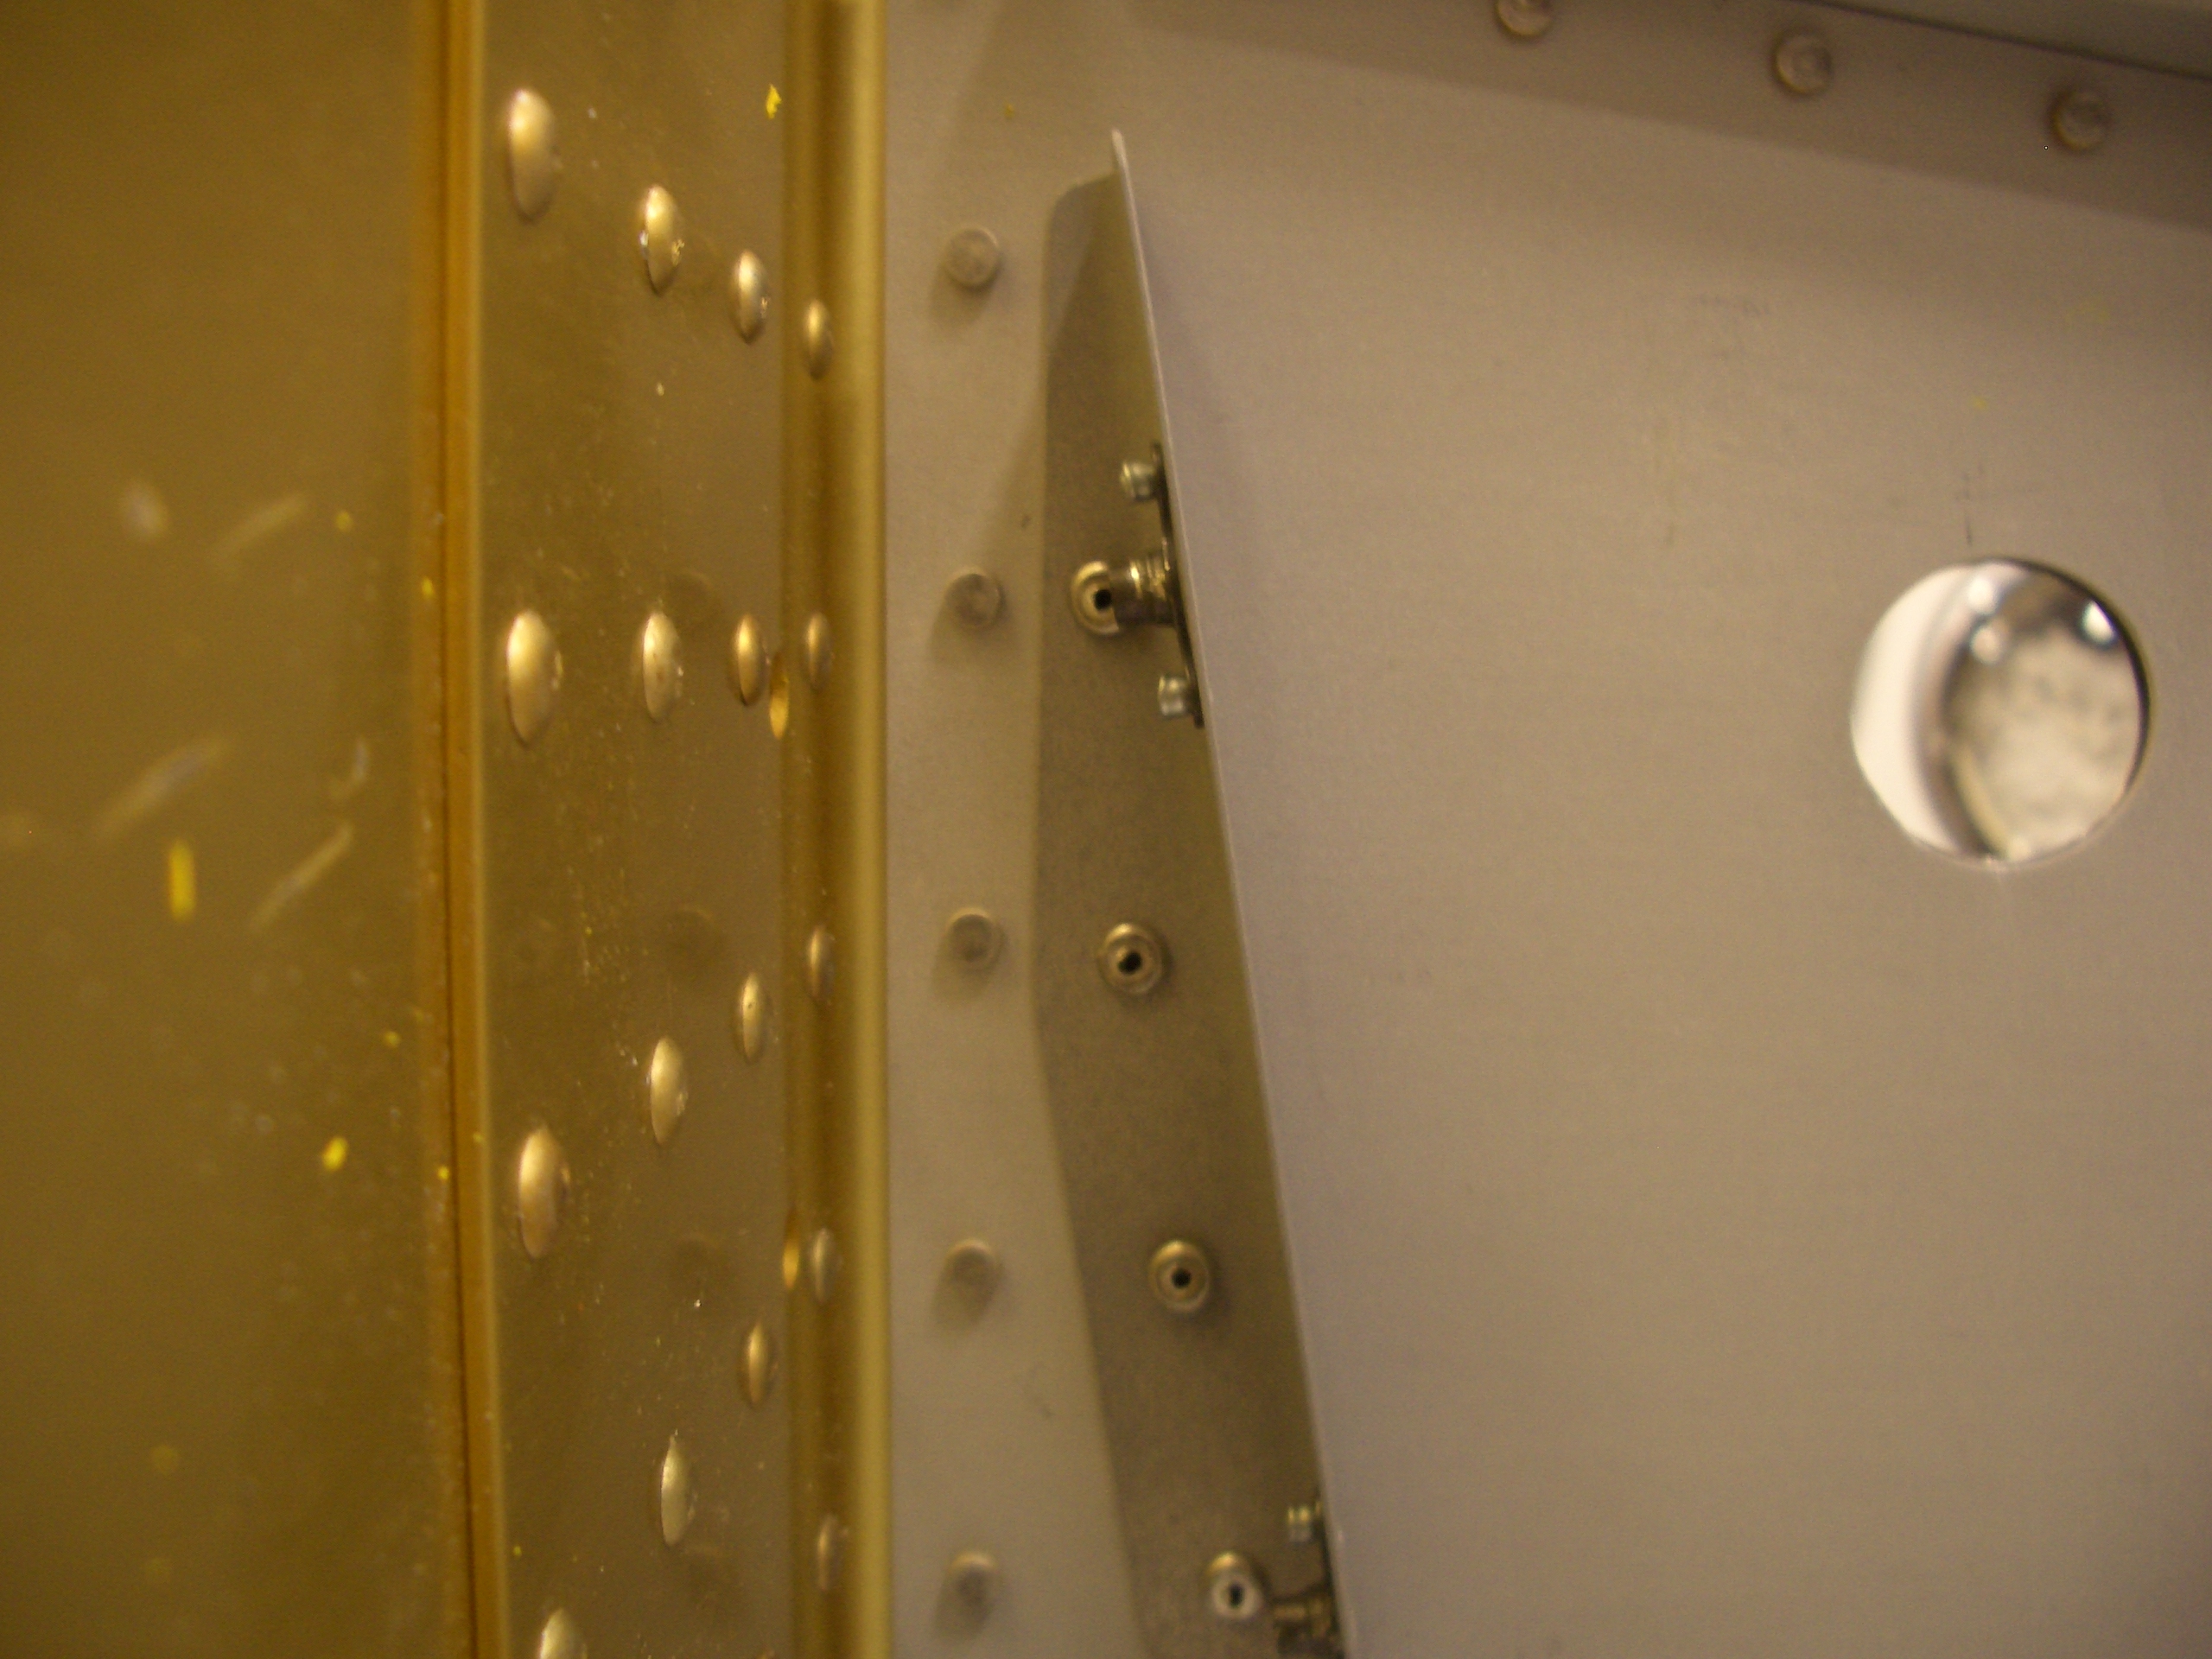
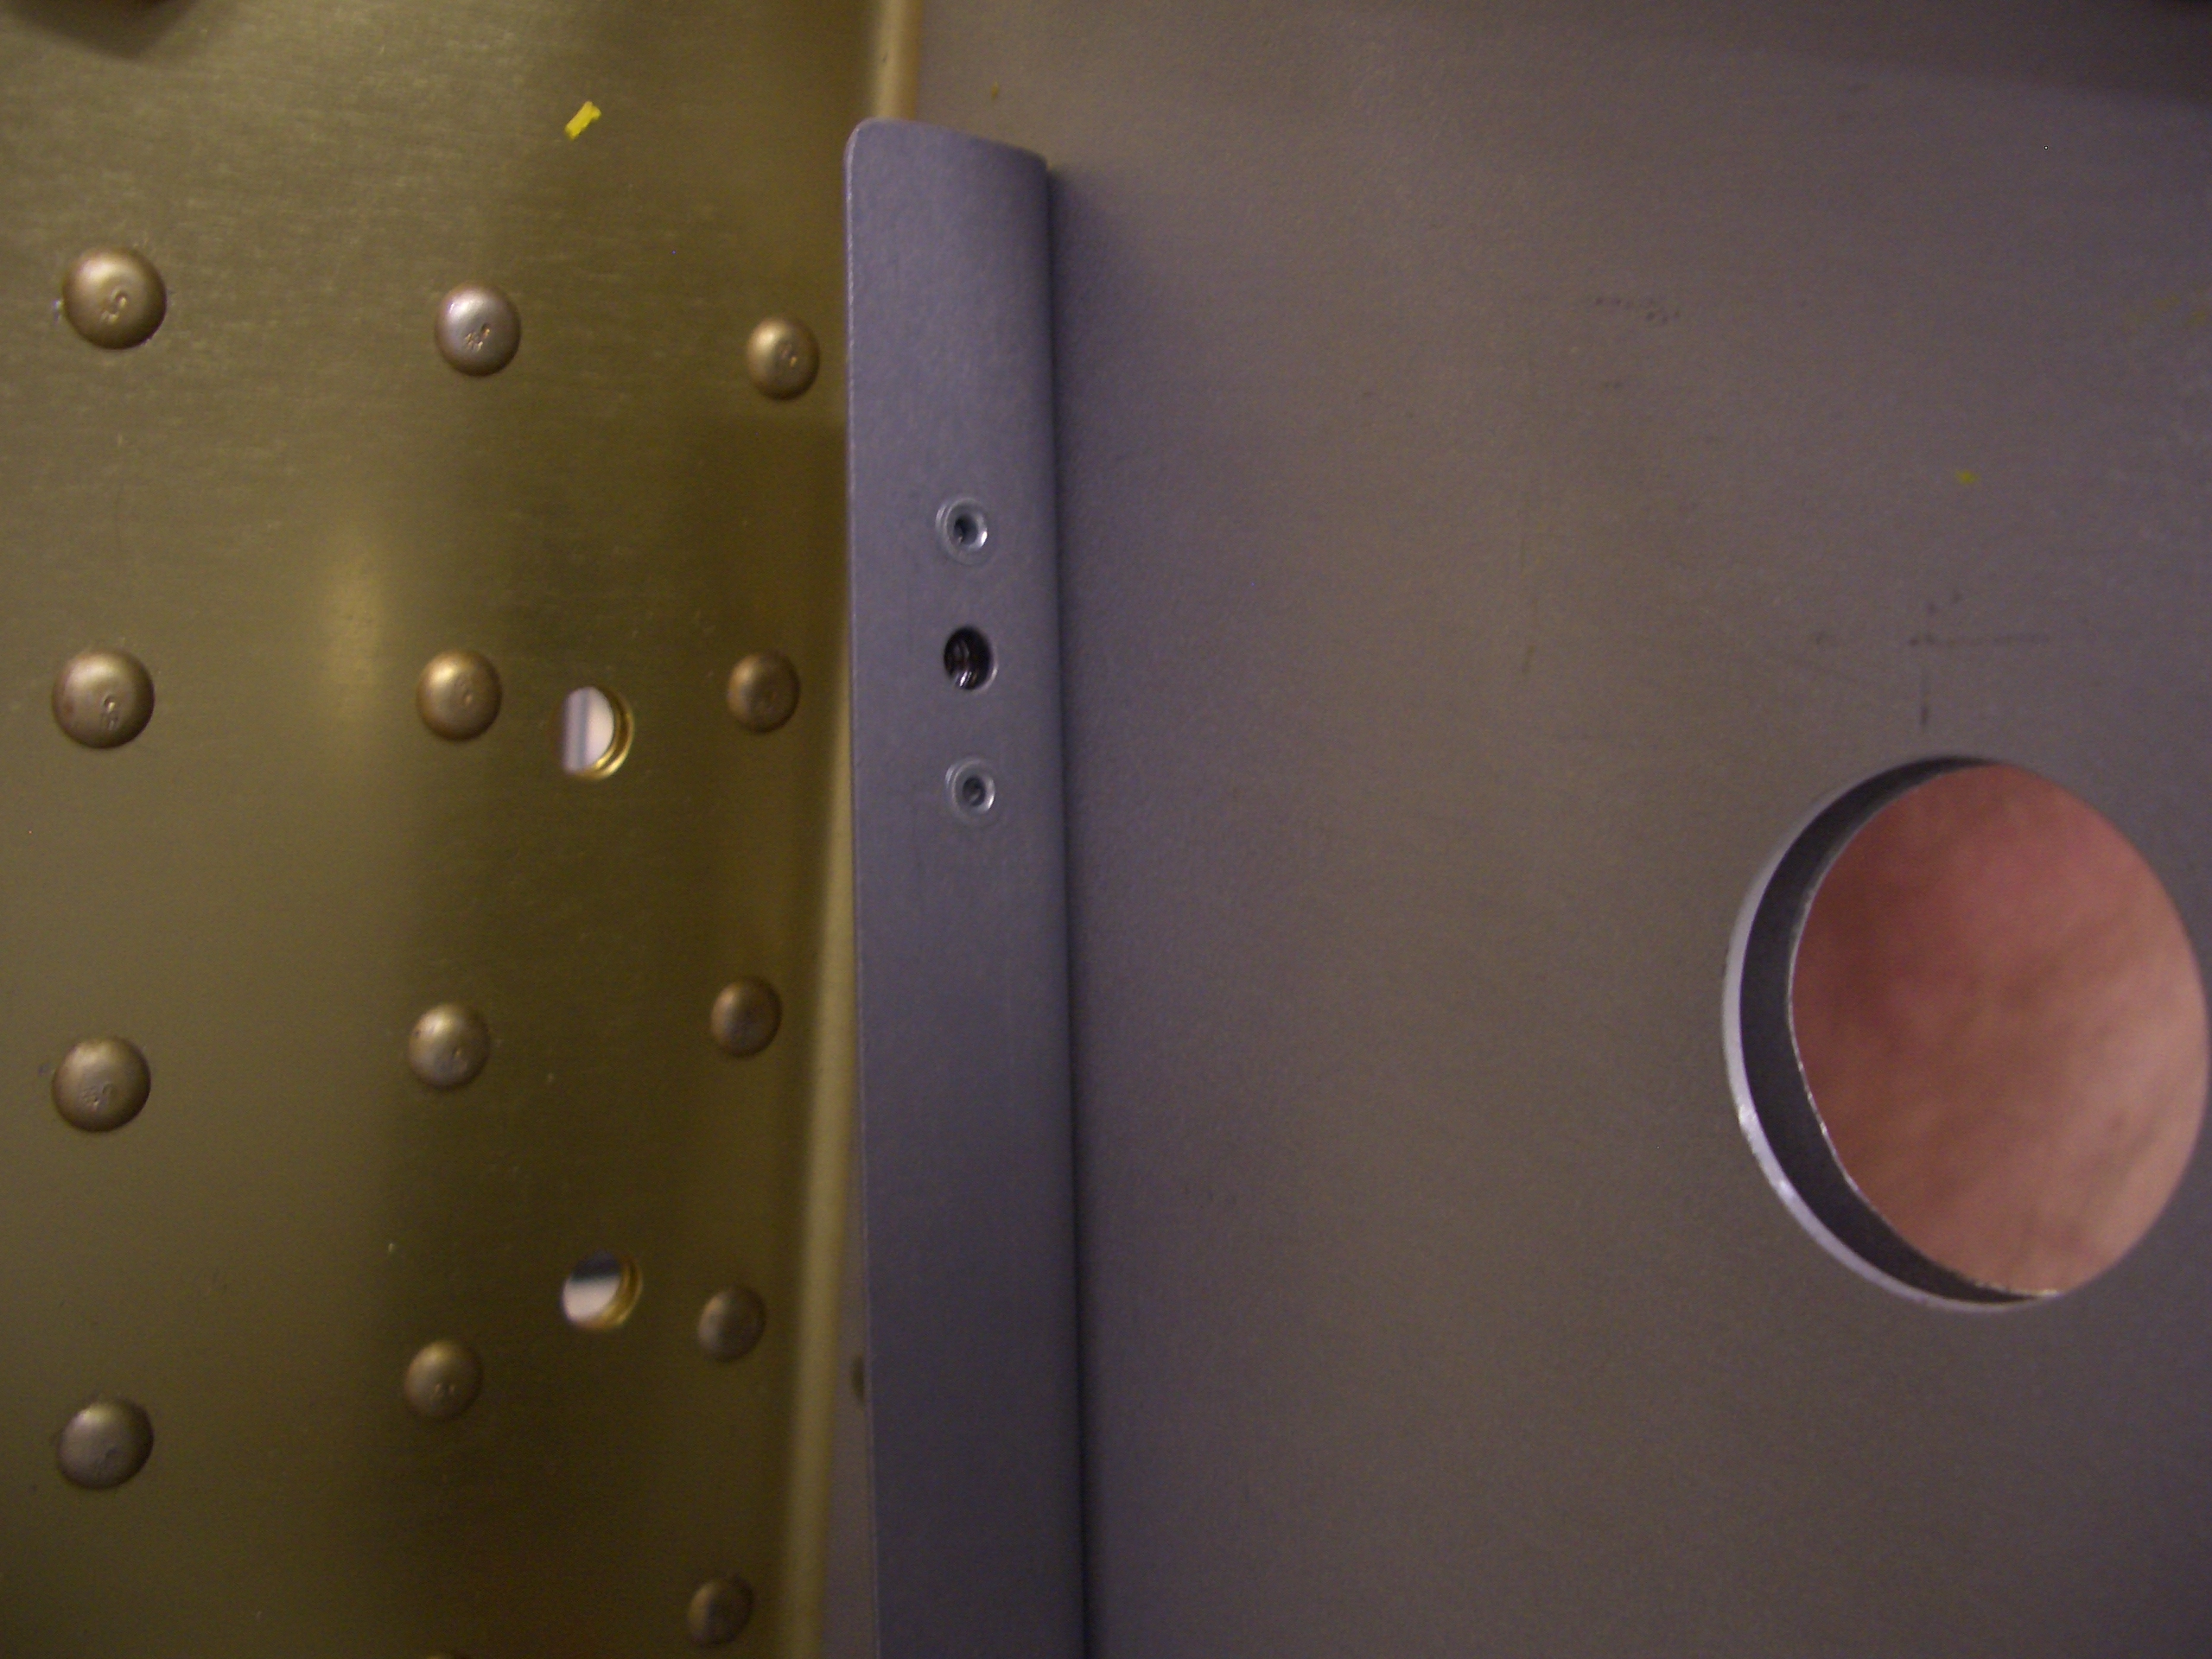
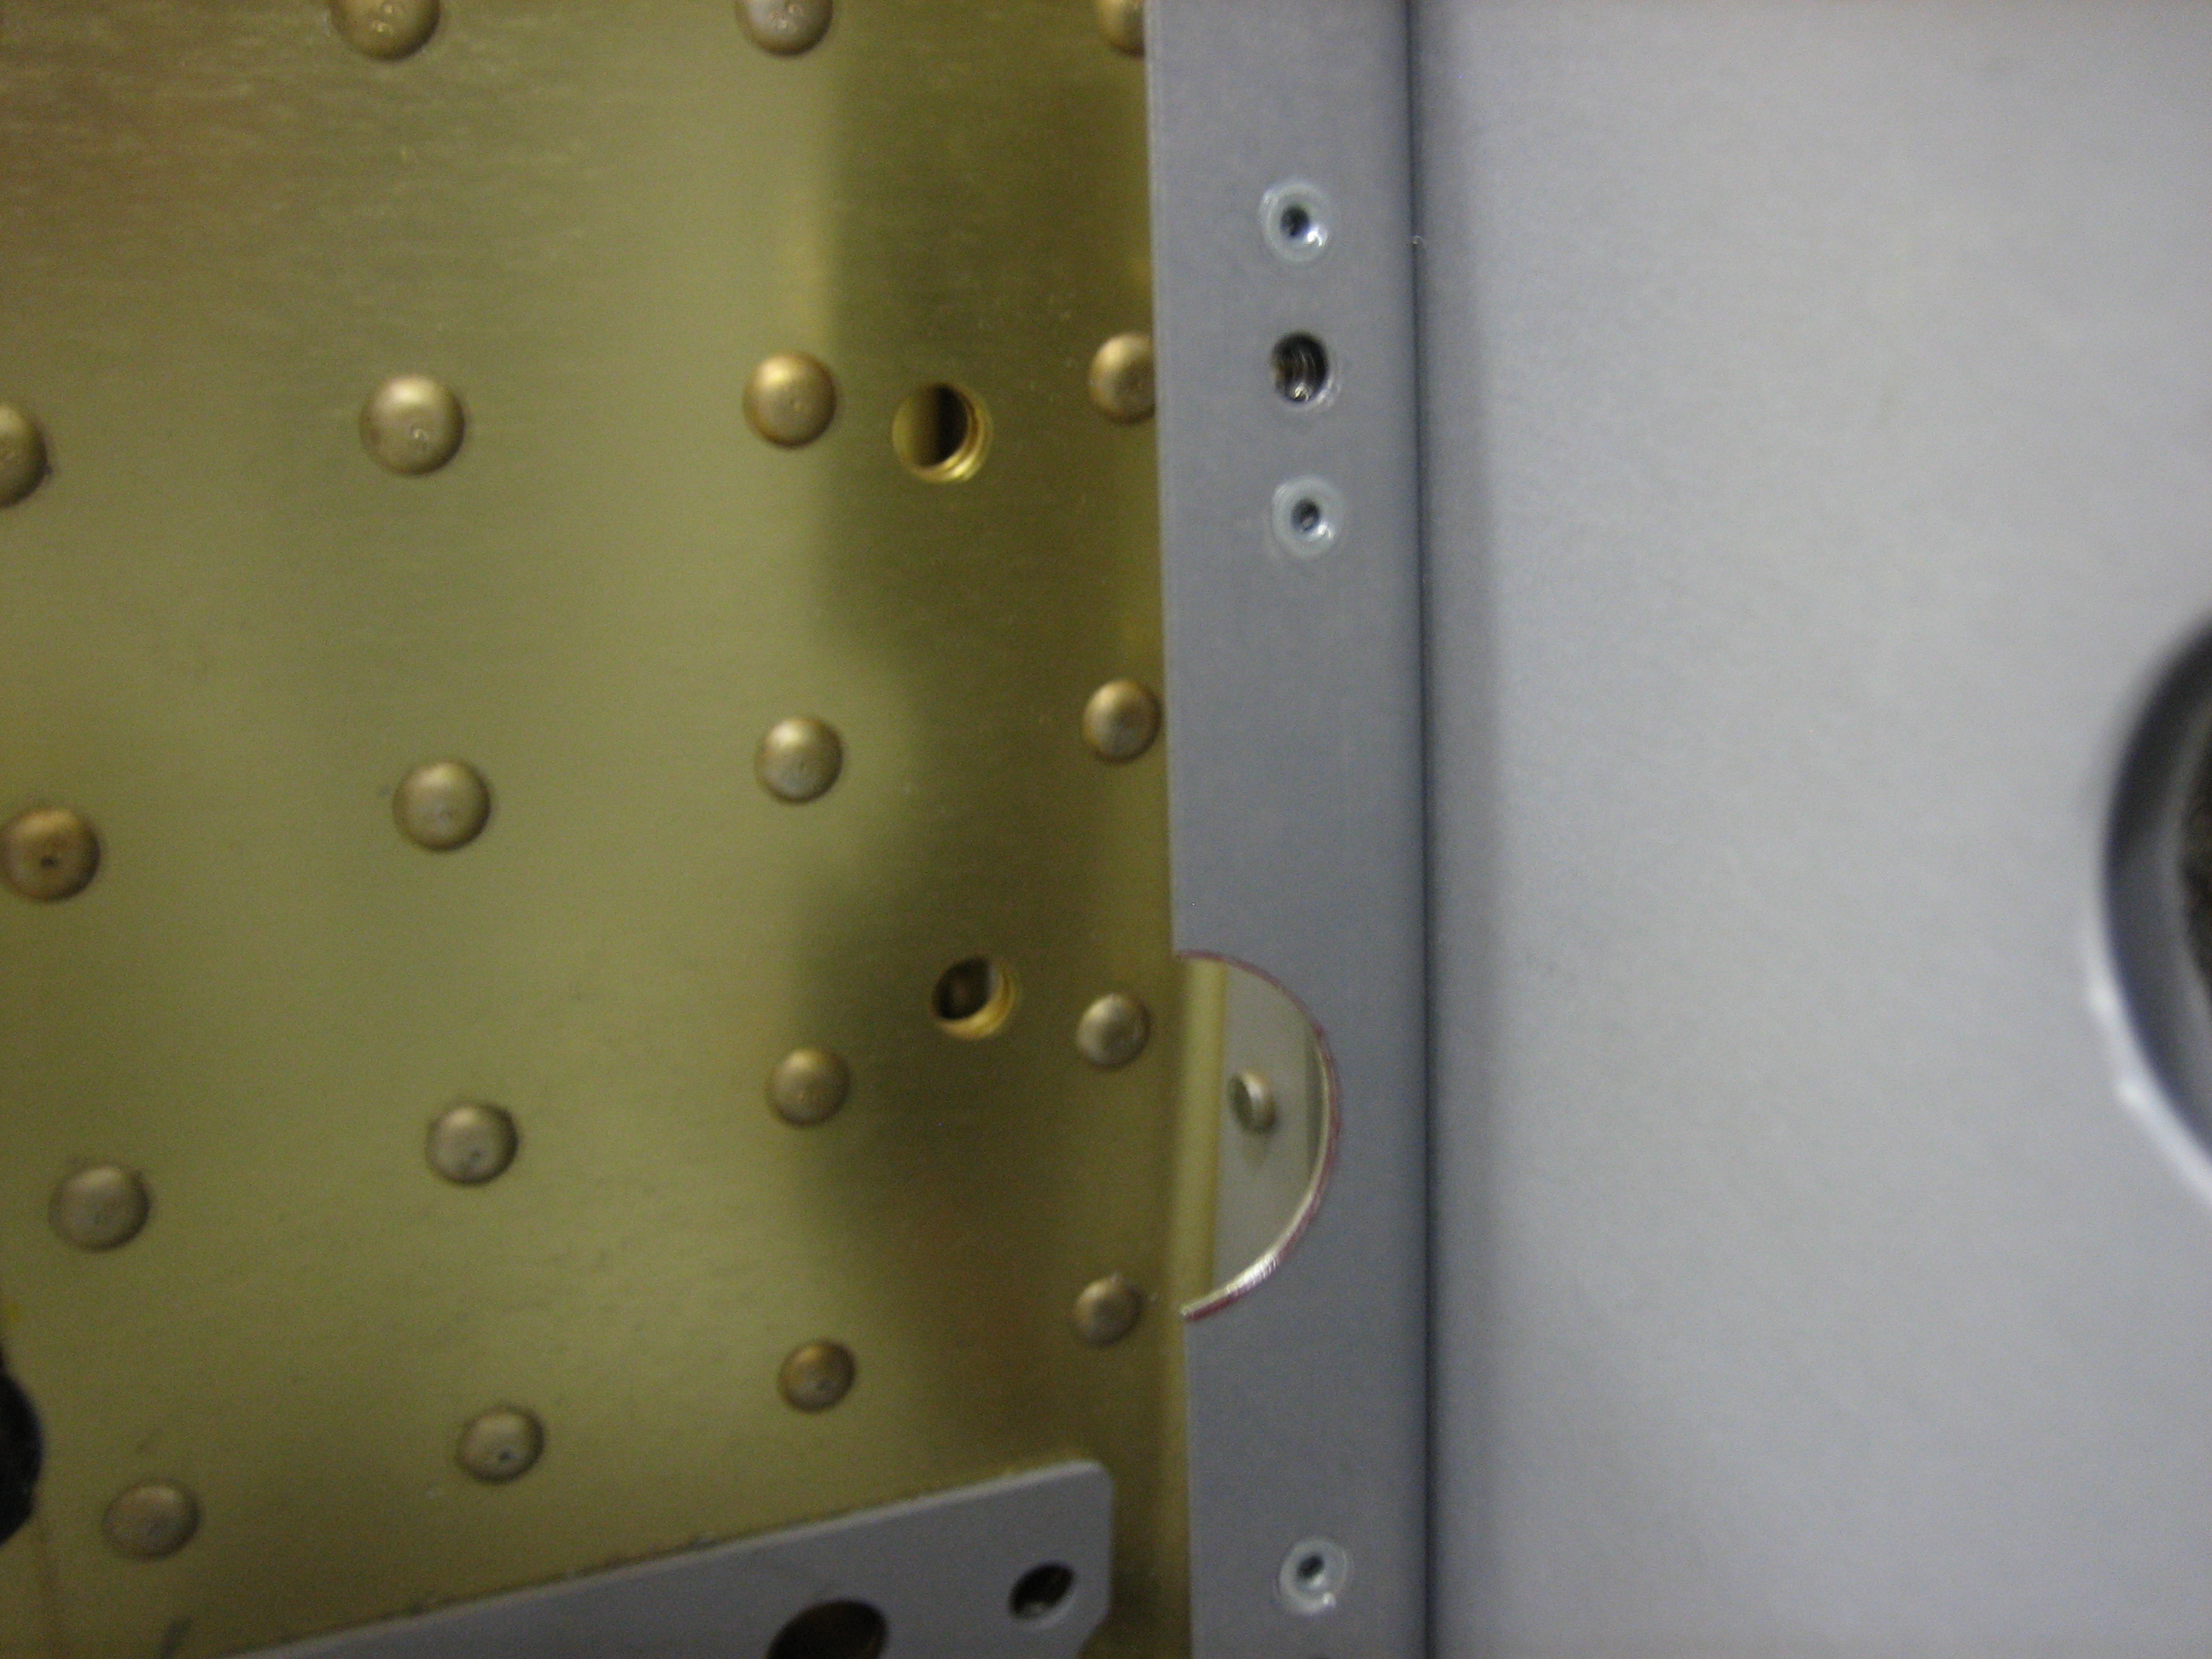
The last thing I did for the night was to install the brake fluid reservoir on the firewall.

You can see on the inside that I used some firewall sealant around the hole through the firewall.

Installed Spark Plug Wire Clamps and Forward Elevator Pushrod

I ordered some one and two wire spark plug wire adel clamps from Sacramento Sky Ranch.  The order came in today, so I installed some of them on the cylinders.  These are stainless steel with silicone cushions that are good to 400ºF.

The forward cylinders get one wire clamps.

The aft cylinders get two wire clamps.  These are sweet because they’re formed to clamp two wires instead of something cylindrical like typical adel clamps.  I picked up a few more of the two wire clamps to anchor the spark plug wires the rest of the way to the magneto.

I also cut down the rear spar a little bit where the forward elevator pushrod passes through.  The cutter got away from me a little bit and widened the hole as well on the right side.  I put a little self-etching primer on the cut edges.

I then temporarily installed bolts in each end to check the fit.  There is almost 1/4″ of clearance where the pushrod passes through the rear spar cutout.  Even under high g loads, the pushrod shouldn’t be able to flex enough to contact the spar.  This is the rear end where the forward pushrod attaches to the elevator bellcrank.

This is where the forward end attaches to the center control column.

Worked on Fuel Pump and Cabin Fuel Line

Our developer conference is finally over.  It’s great fun, but a lot of work and incredibly exhausting.  We launched the revolutionary new iPhone 4 which I worked on and I can’t wait to see how well it does in the market.

Anyway, I spent most of the day just taking it easy and hanging out with the family after not seeing much of them for the last week, but I did sneak out into the garage for a bit after everyone headed to bed.  First, I cut the forward cover in two so that the forward part could be easily removed without having to touch the fuel pump or fuel lines.  The aft part is still removable, but I hope that is almost never necessary.  I’ll run conduit under here so that I can run additional wires without having to remove this.

I also fabricated the fuel line from the pump to the firewall fitting.  I held off on this for a long time because I was trying to decide whether to put the fuel flow sensor here or after the fuel servo.  Most people seem to install it here, but claim that the fuel flow is incorrect when the electric fuel pump is on.  Some have also claimed that there is a small risk that this location could result in vapor lock since the mechanical pump is pulling fuel through the sensor.  The fuel flow sensor manufacturer recommends installing the sensor downstream of all pumps, and even downstream of the fuel servo for the most accurate readings.  Because of this, I’ve decided to install the sensor just after the fuel servo, probably just under cylinder 1.  With this decision made, I could go ahead and fabricate this fuel line.  One additional benefit I hadn’t really thought of is that this reduces the number of fuel fittings in the cockpit which theoretically reduces the risk of an in-cockpit fuel leak.

I ran the line on the left side of the bay since a large bundle of wires from the panel will enter this area just to the right of the firewall fitting and snake down under the forward cover and then under the aft cover.  Keeping the line to the left gives me a little more room to run these wires.

Aft Top Skin

My buddy Andre stopped by today and prepped the aft top skin for riveting.  We didn’t have time to get it riveted, but it’s clecoed on and ready to go for next time.

While he was working on that, I moved the tee in the static system up near the top of the bulkhead, right next to where one of the stringers will be installed.  Since I decided to mount my ADAHRS from the top rib between F-706 and F-707, I decided it would be simpler to run the static tubing along that top stringer and directly into the back of the ADAHRS.  This has the advantage that the static ports are the lowest portion of this part of the static system, so in theory it should allow water to drain out of the system and not make its way into any of the instruments.

I also worked on the forward half of the center cover.  I’ve enlarged the hole at the back half for the fuel line to drop through.  I’ll still need to enlarge it a little more to ensure it can never come in contact with the fuel line and abrade it.

More Work on Forward Covers and Fuel Selector

I put the forward spar covers in place.  These are supposed to fit under the front edge of the seat pan, but I put it on top initially so that I could match drill the seat pan to one hole in the forward spar cover.

Here’s a closeup of the hole that needs to be drilled.  A nutplate will mount on the spar cover and a screw will go through the seat pan and into this nutplate.  If I put the spar cover behind the seat pan, I’d be drilling this hole blind.

After match drilling those holes (one per side), I installed the nutplates and reinstalled the covers.  Next, I cut the flange off of the fuel selector mounting plate flush with the forward face of the fuel valve cover and cut a notch in the bottom of the fuel valve cover so that it could temporarily sit over the fuel pump.  I then took the fuel pump top cover that Van’s sells for the Airflow Performance fuel pump kit and figured out how low I could mount it.  Since the Andair pump kit is significantly smaller than the Airflow Performance pump kit, I had previously decided to lower the cover as much as possible.  This will require fabricating custom side pieces, but that’s pretty easy.

After determining the mounting point, I drilled the fuel pump cover to the fuel selector cover.

After enlarging the opening in the bottom of the fuel selector cover, I fit the flange from the fuel pump cover inside the fuel selector cover.  These holes will get dimpled and these pieces will be riveted together along with the side covers I need to fabricate.

Riveted Spar Cover Attach Angles

I blind riveted the attach angles to the gear webs using LP4-3 rivets.  I had to grind down the tips of the rivets and pull them in small steps (pounding the rivets further in each time).

I also installed the nutplates using MK-319-BS rivets since there wasn’t enough room to get a normal rivet squeezer in here after riveting these to the gear webs (and the nutplates couldn’t be installed first since they would have interfered with squeezing the LP4-3 rivets).  I just realized that I forgot to cut the notch in these for the fuel line grommet.  I’ll have to do that in place.

Trimmed Forward Spar Cover Attach Angles

Happy Father’s Day everybody!

I spent most of the day with family and some friends, but had a little chance to get out into the garage late tonight.  First up, I marked and cutout the notches in the outboard forward spar cover attach angles.

Next, I decided to try and bend the fuel lines that come in from the sides of the fuselage and connect to the fuel selector.  I knew I shouldn’t have started something like this at 11:30 at night.  I got the first piece mostly bent, then realized that I put one of the lines on the wrong mark on the bender and left one leg too long.  Attempting to fix it only fucked up the tube enough that I couldn’t get a sleeve to slide over it anymore.  I then took the only remaining piece of tubing I had and tried again.  After carefully measuring the bends, I proceeded to put one of the lines on the wrong god dammed mark on the bender again and left a different leg too long.  Holy fucking christ!  I was pretty pissed off by now.  I’m out of tubing and it’s expensive as shit to ship these 6′ long pieces from Aircraft Spruce.  I don’t want to order just one piece either, because what’s the chance that I’ll bend the next two perfectly.  So this was probably a $50 fuck up tonight just because I was not thinking clearly.  I’m going to bed…