Started Fitting Classic Aero Designs Aviator Side Panels

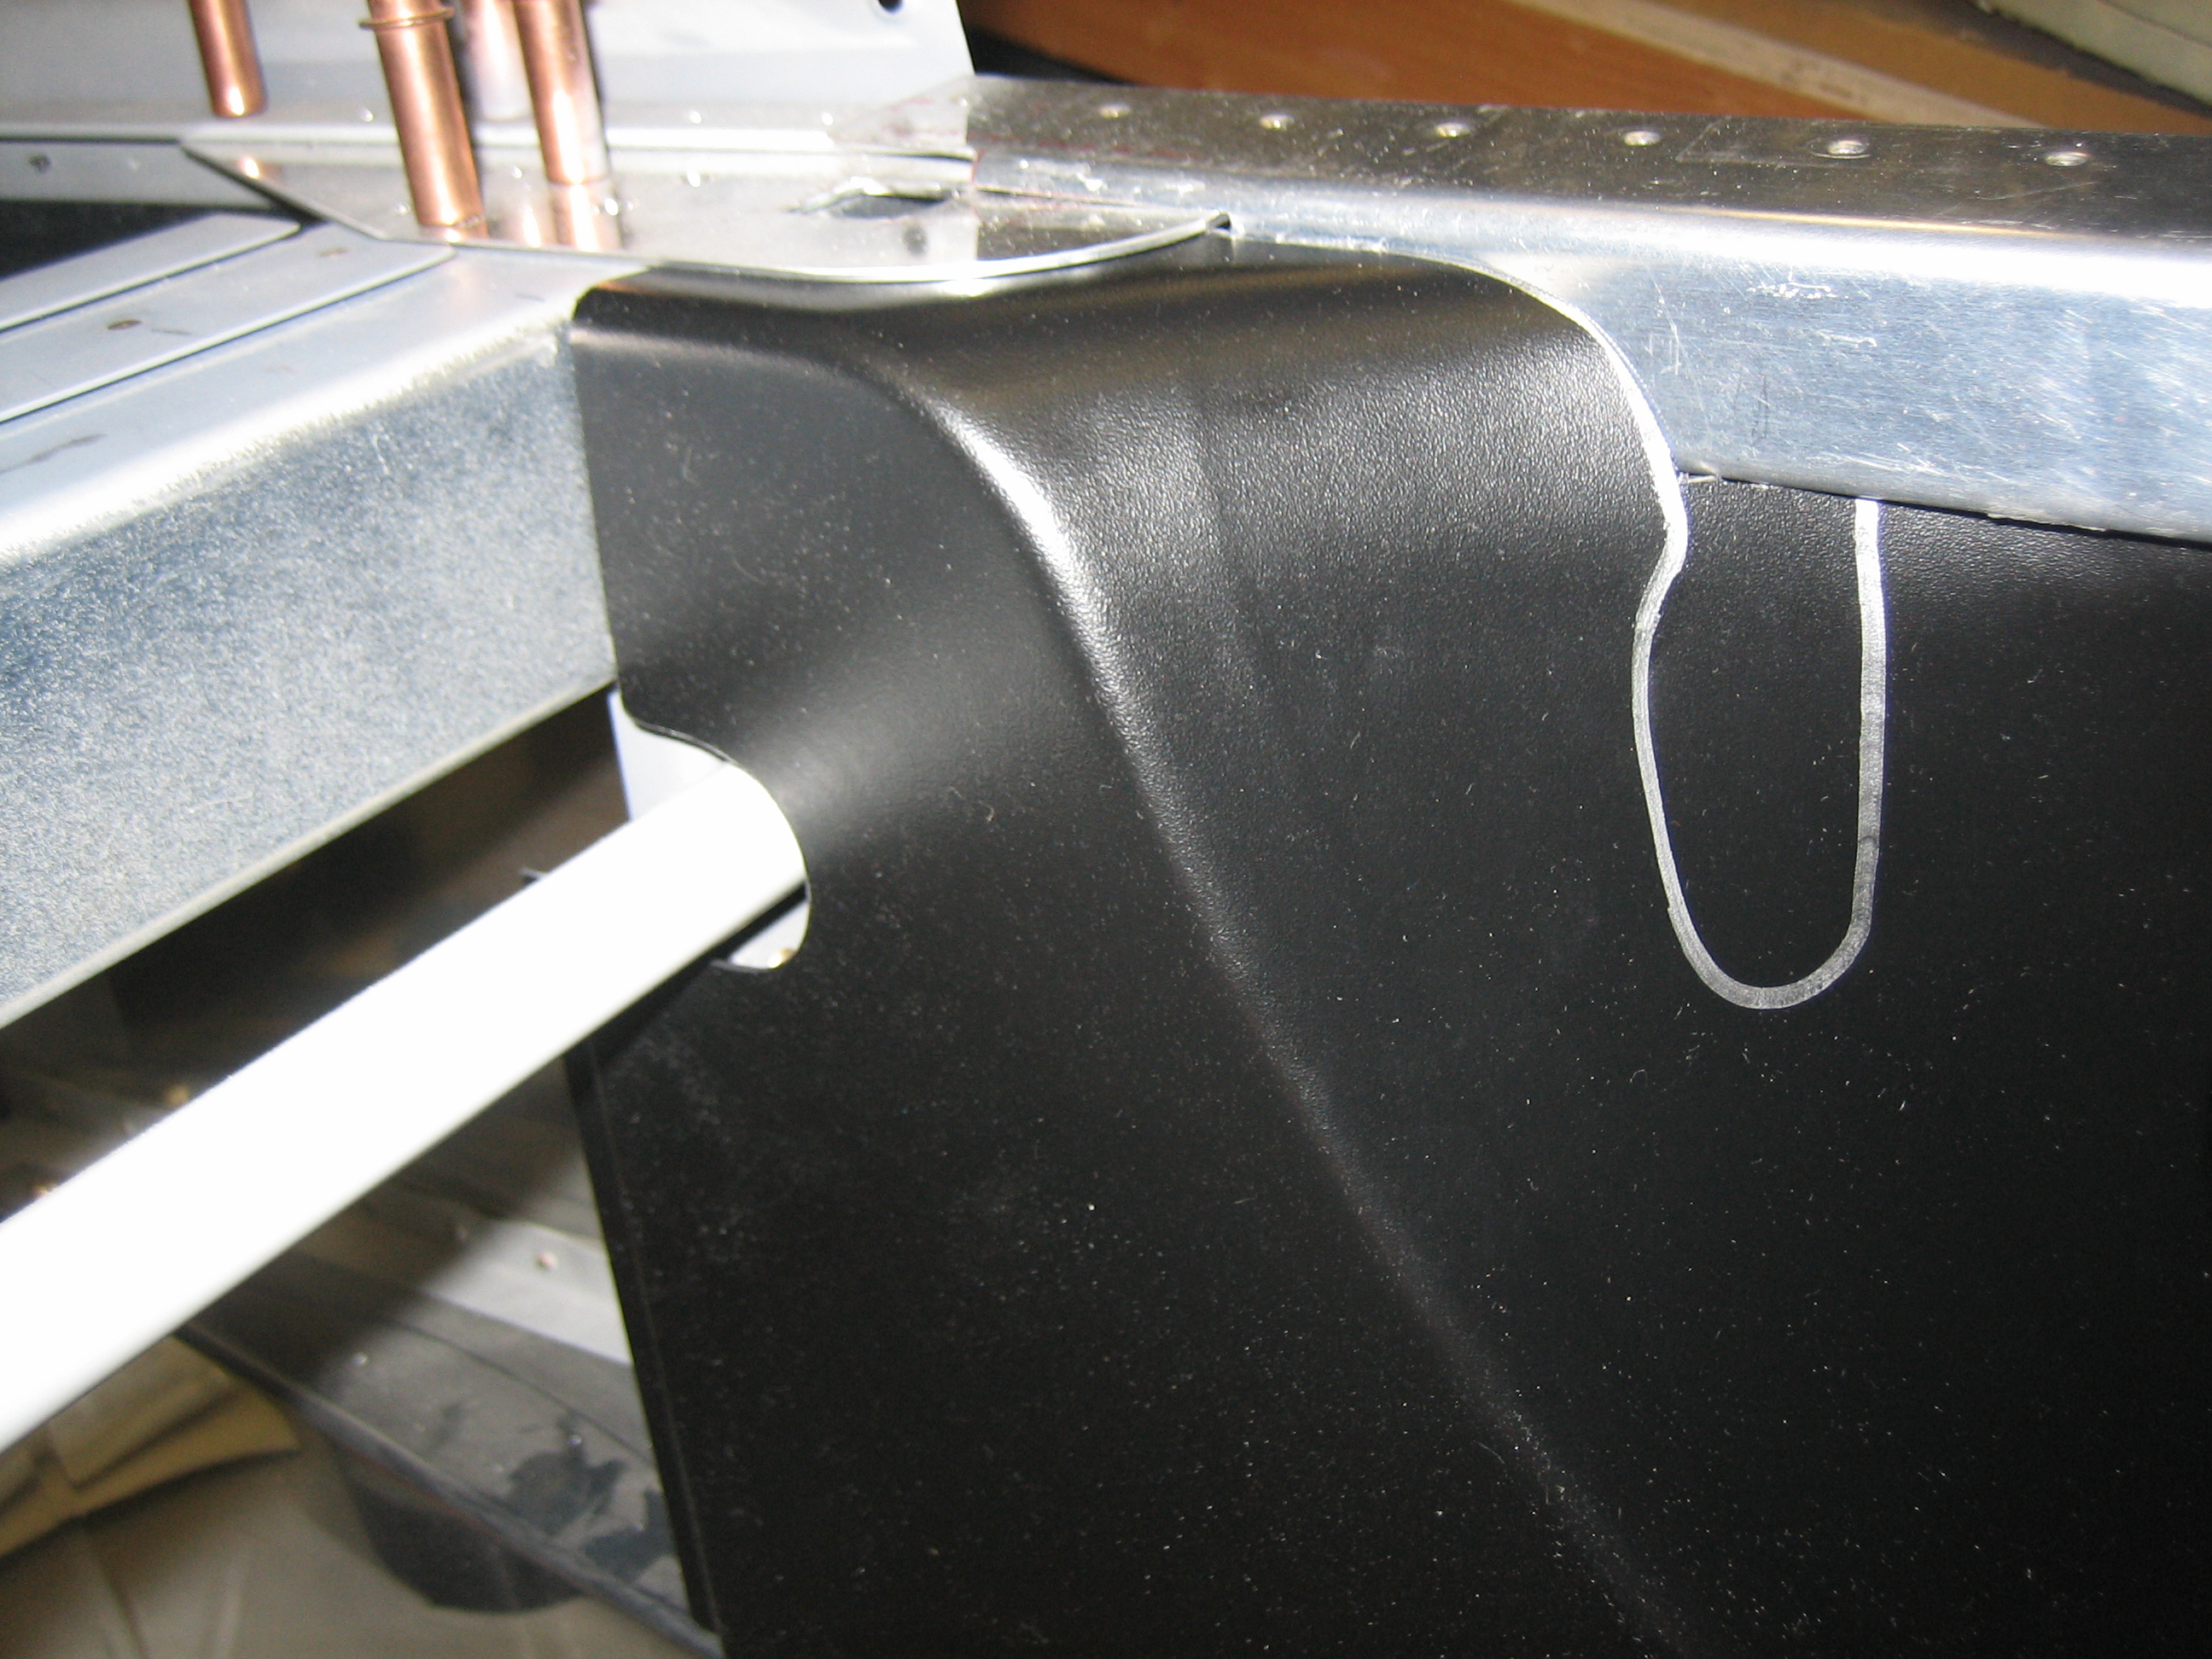
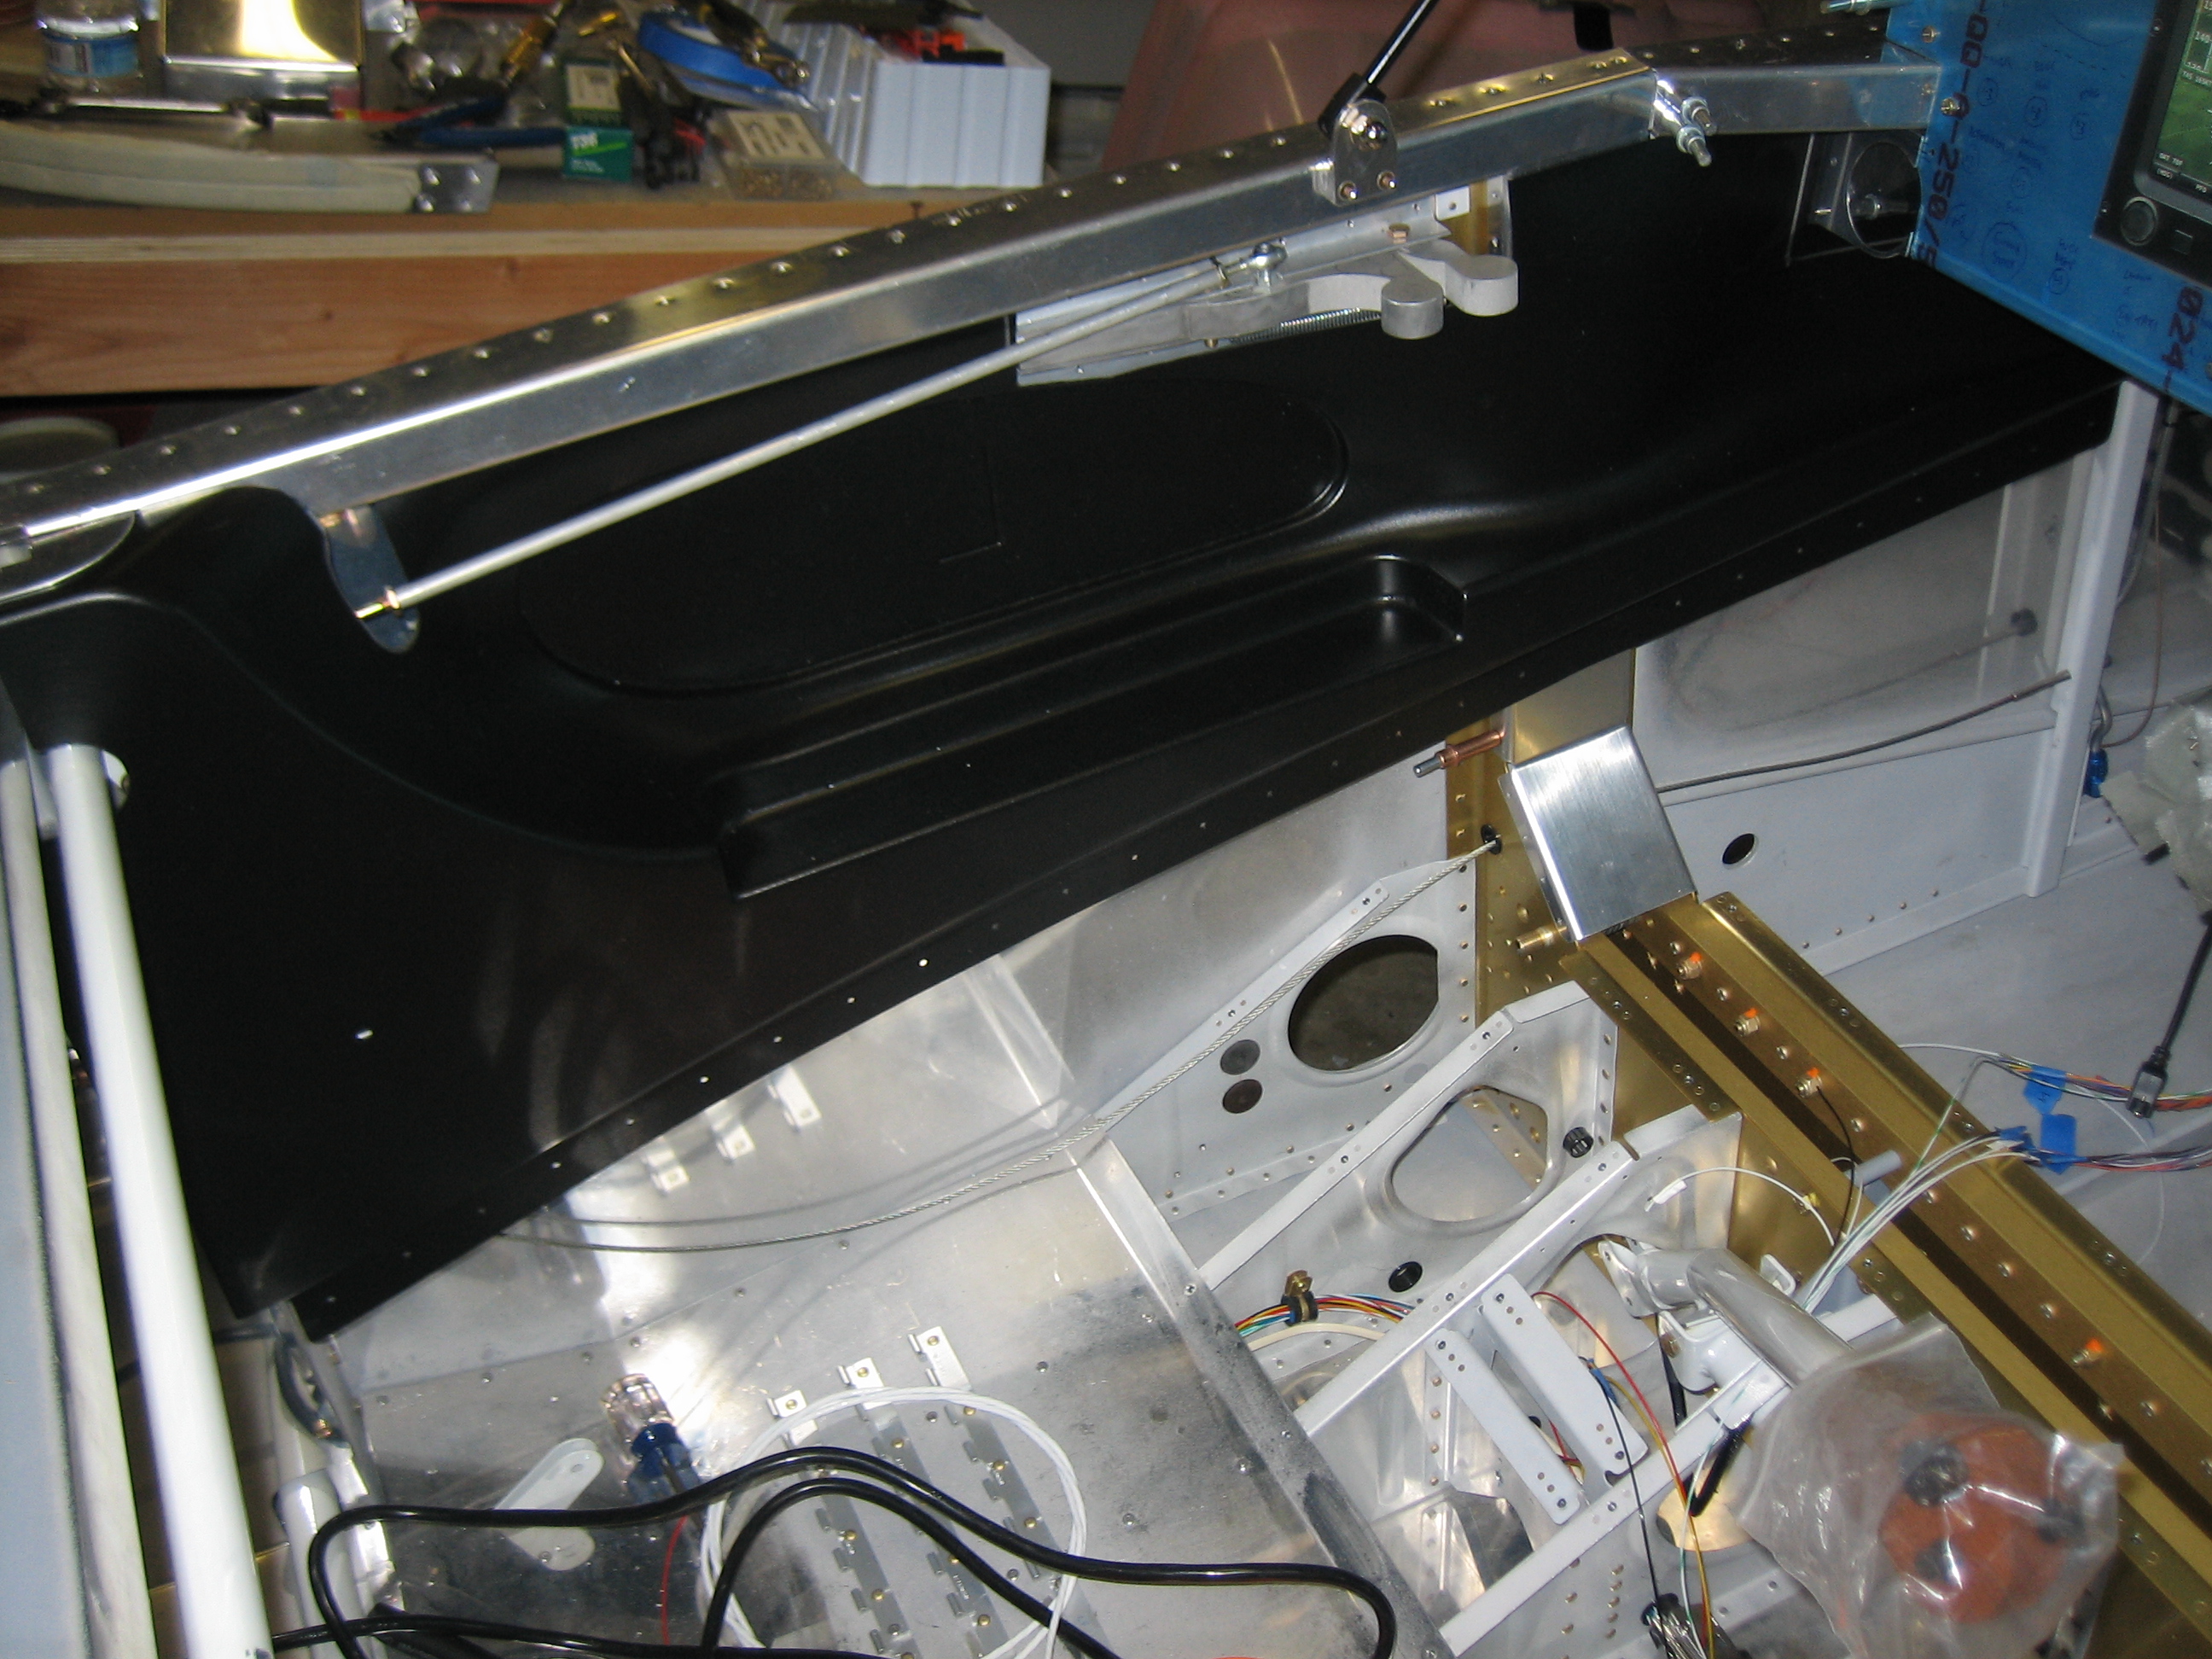
Luke at Classic Aero Designs recently sent me the unfinished Aviator side panels so that I could custom fit them to my plane.  Since I’m using shorter air vent brackets and an after market canopy latch, I asked him to leave them uncut so I could trim them to exactly fit my air vent brackets and canopy latch handle.  They marked the planned cut lines in silver ink.  I cut around the air vent, and you can see they would have removed way too much material.

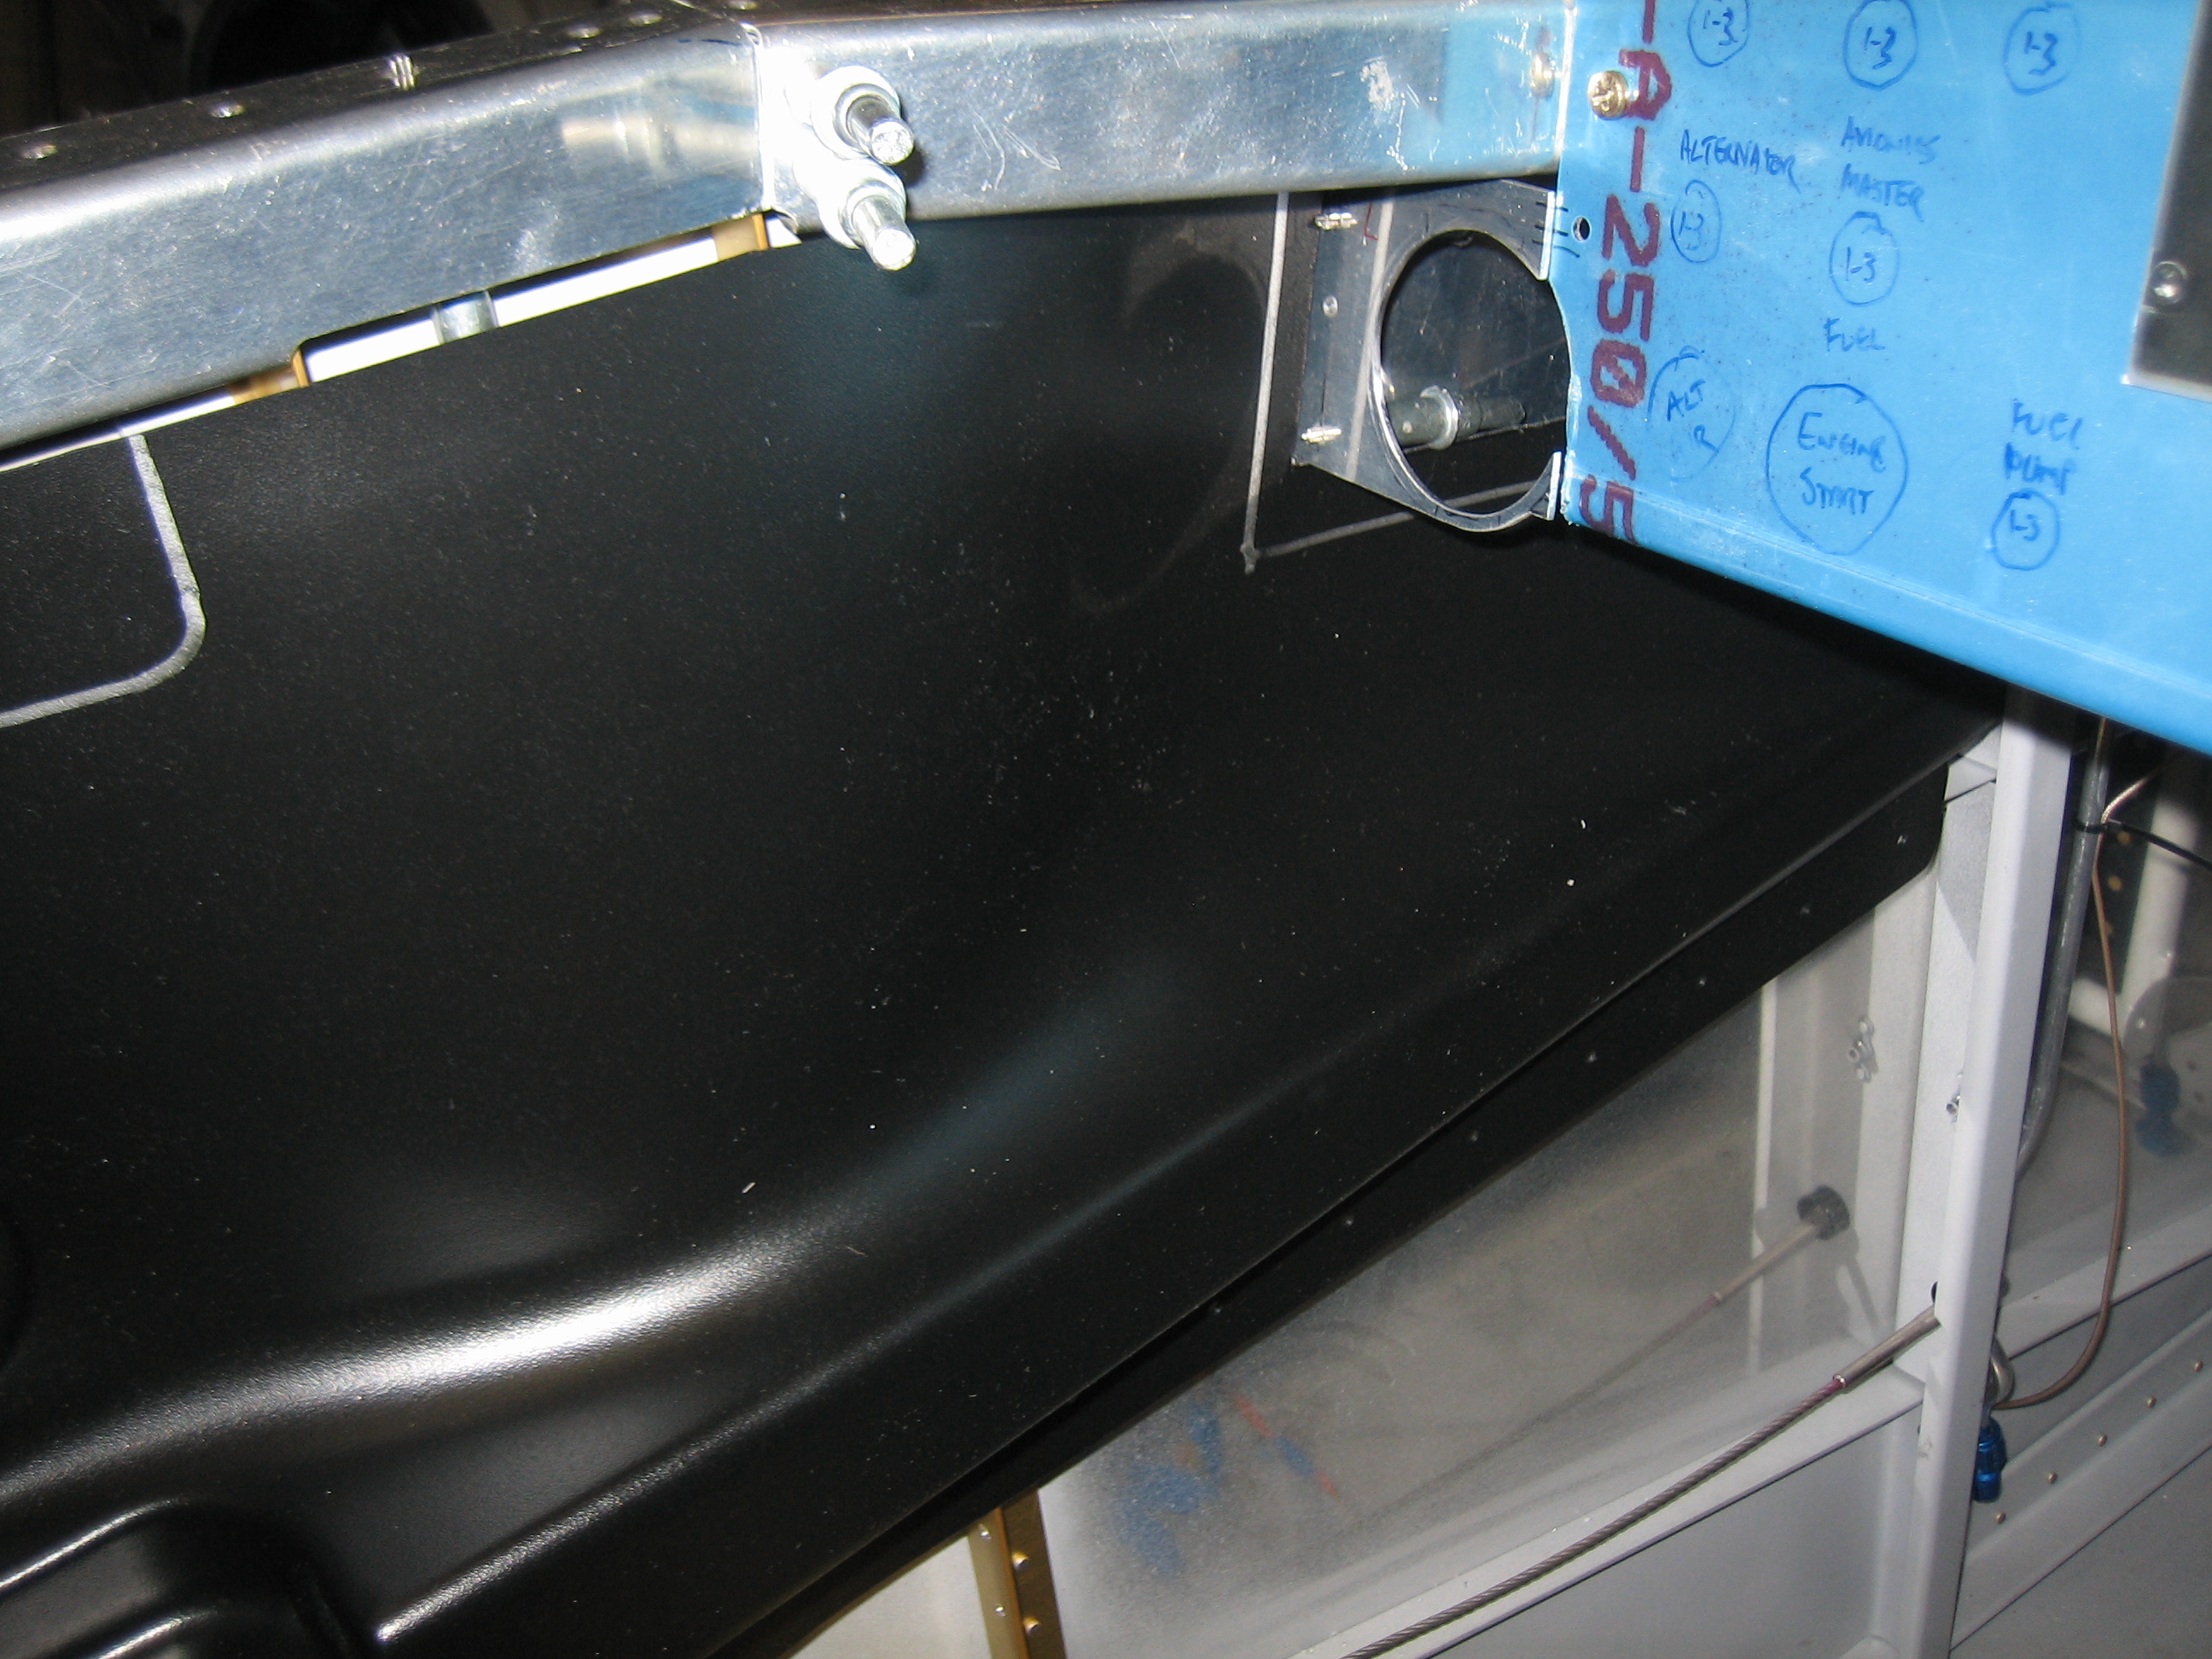
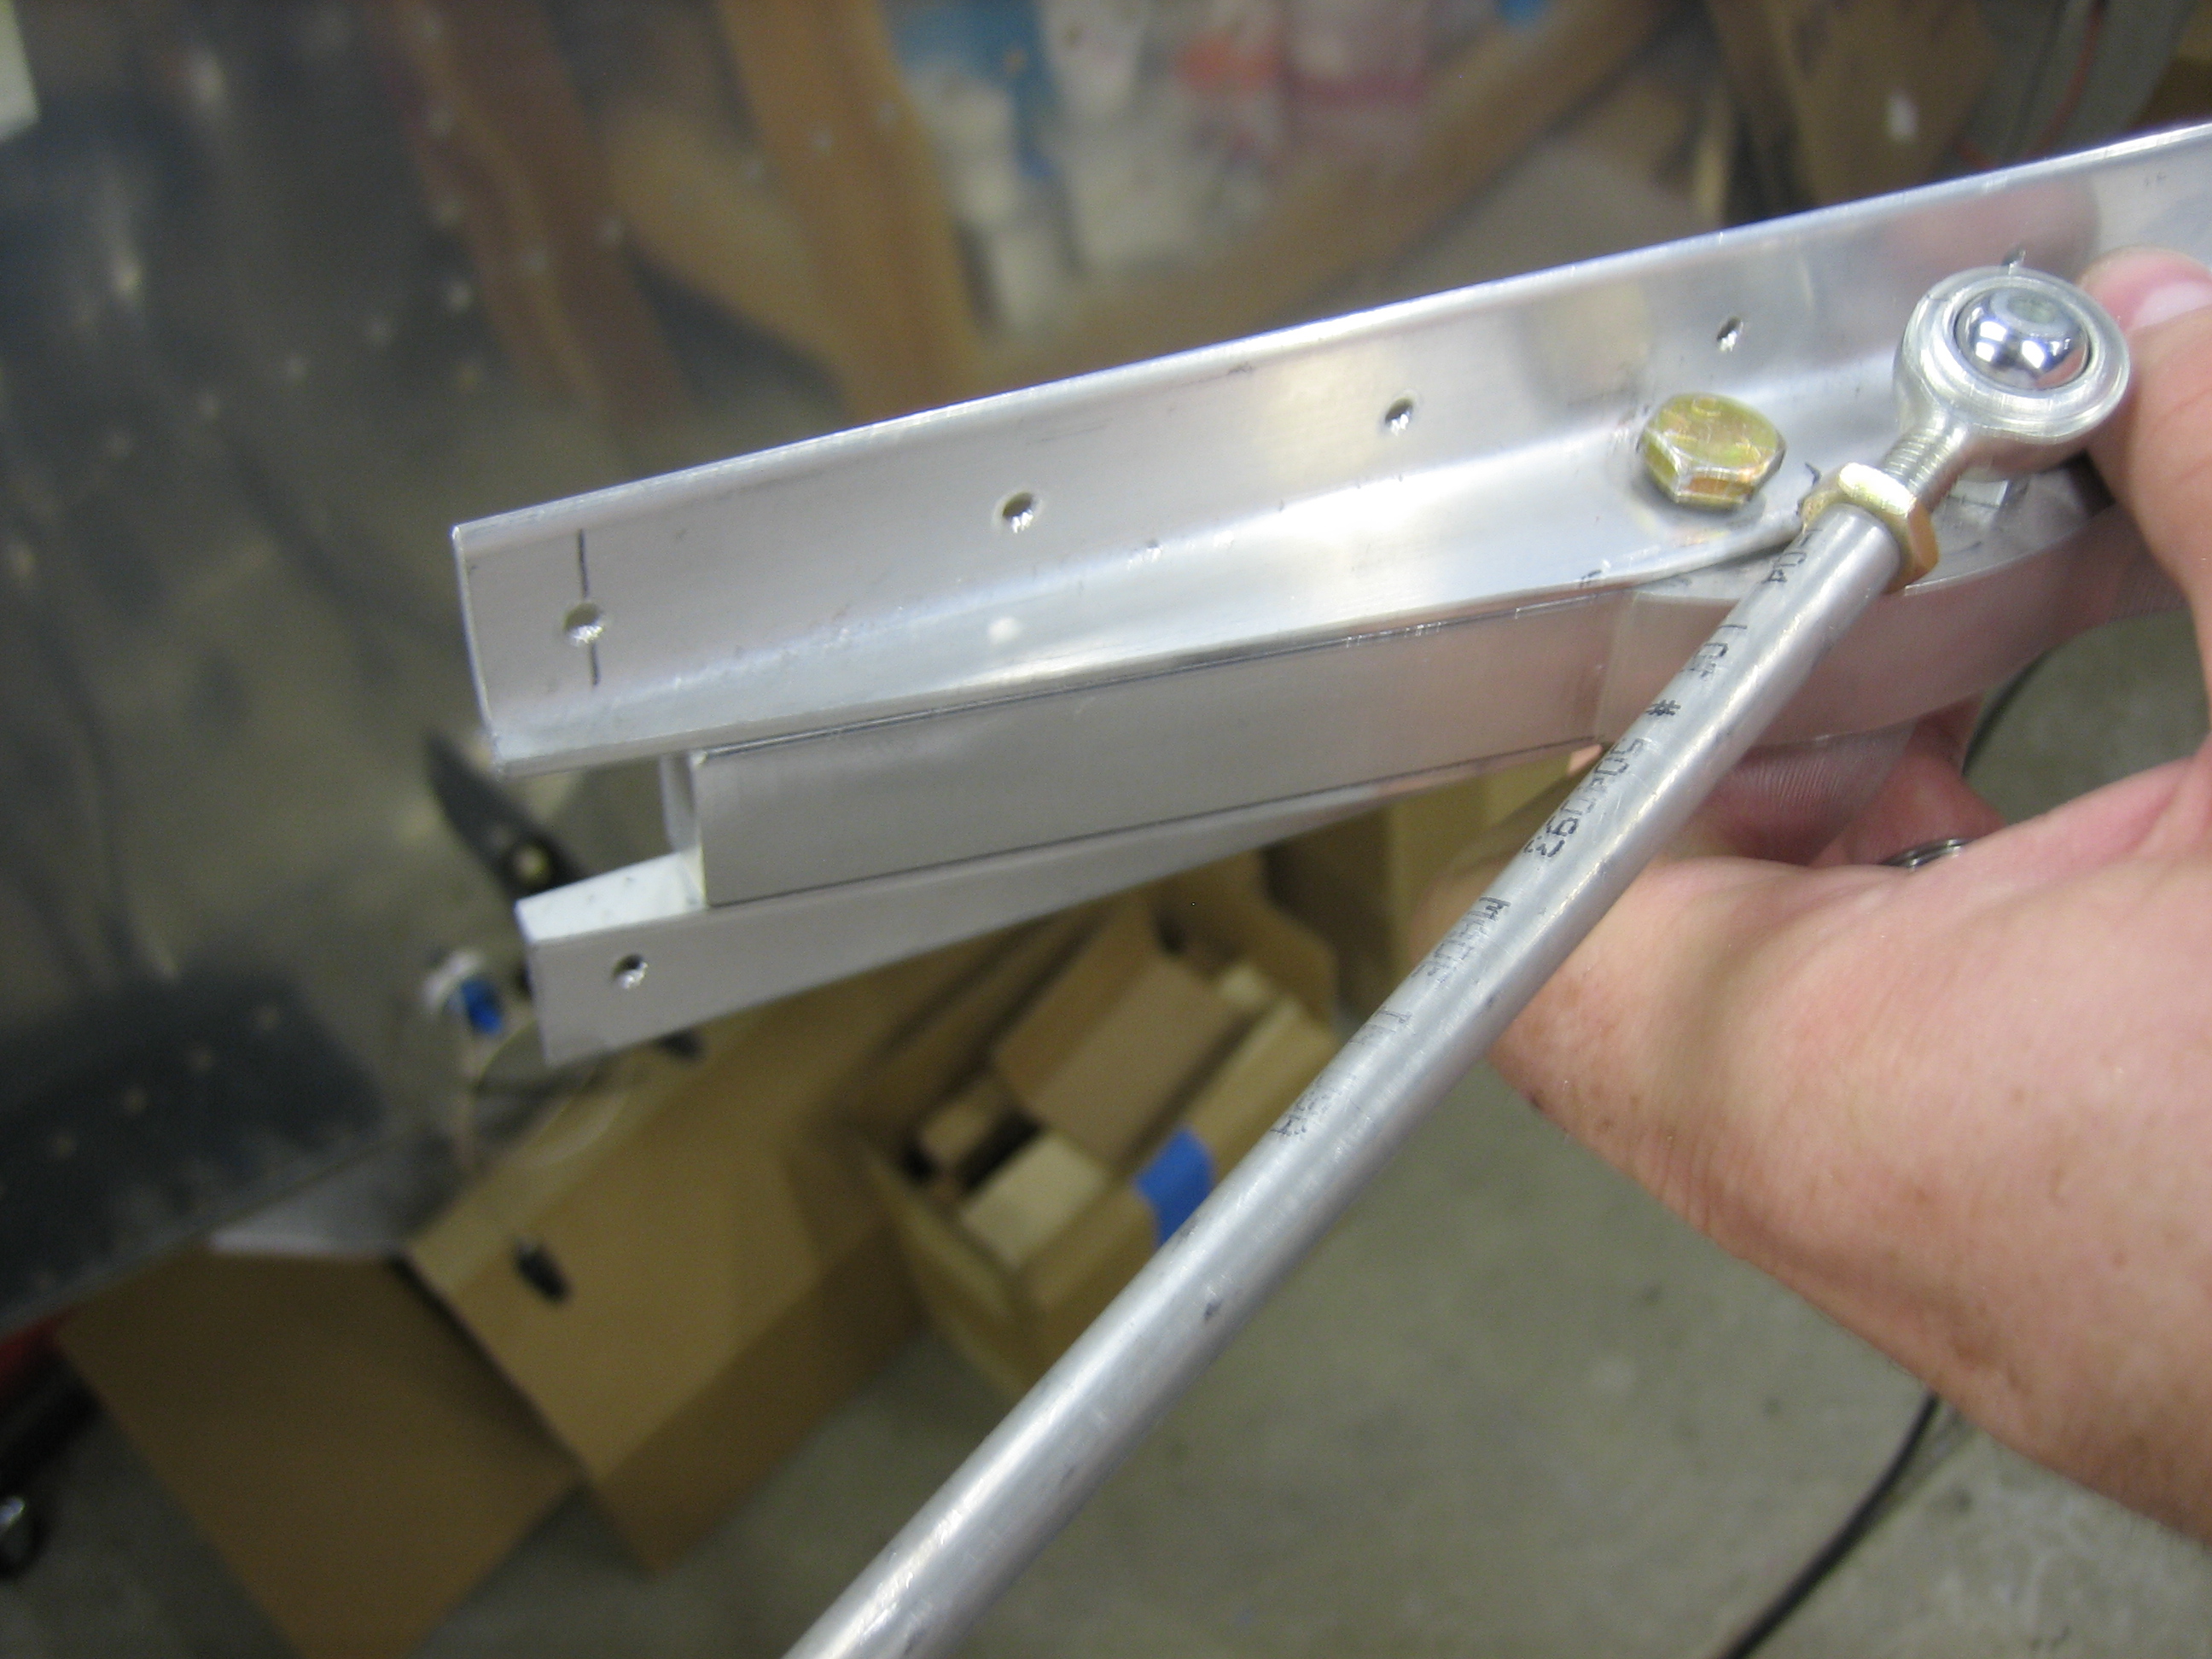
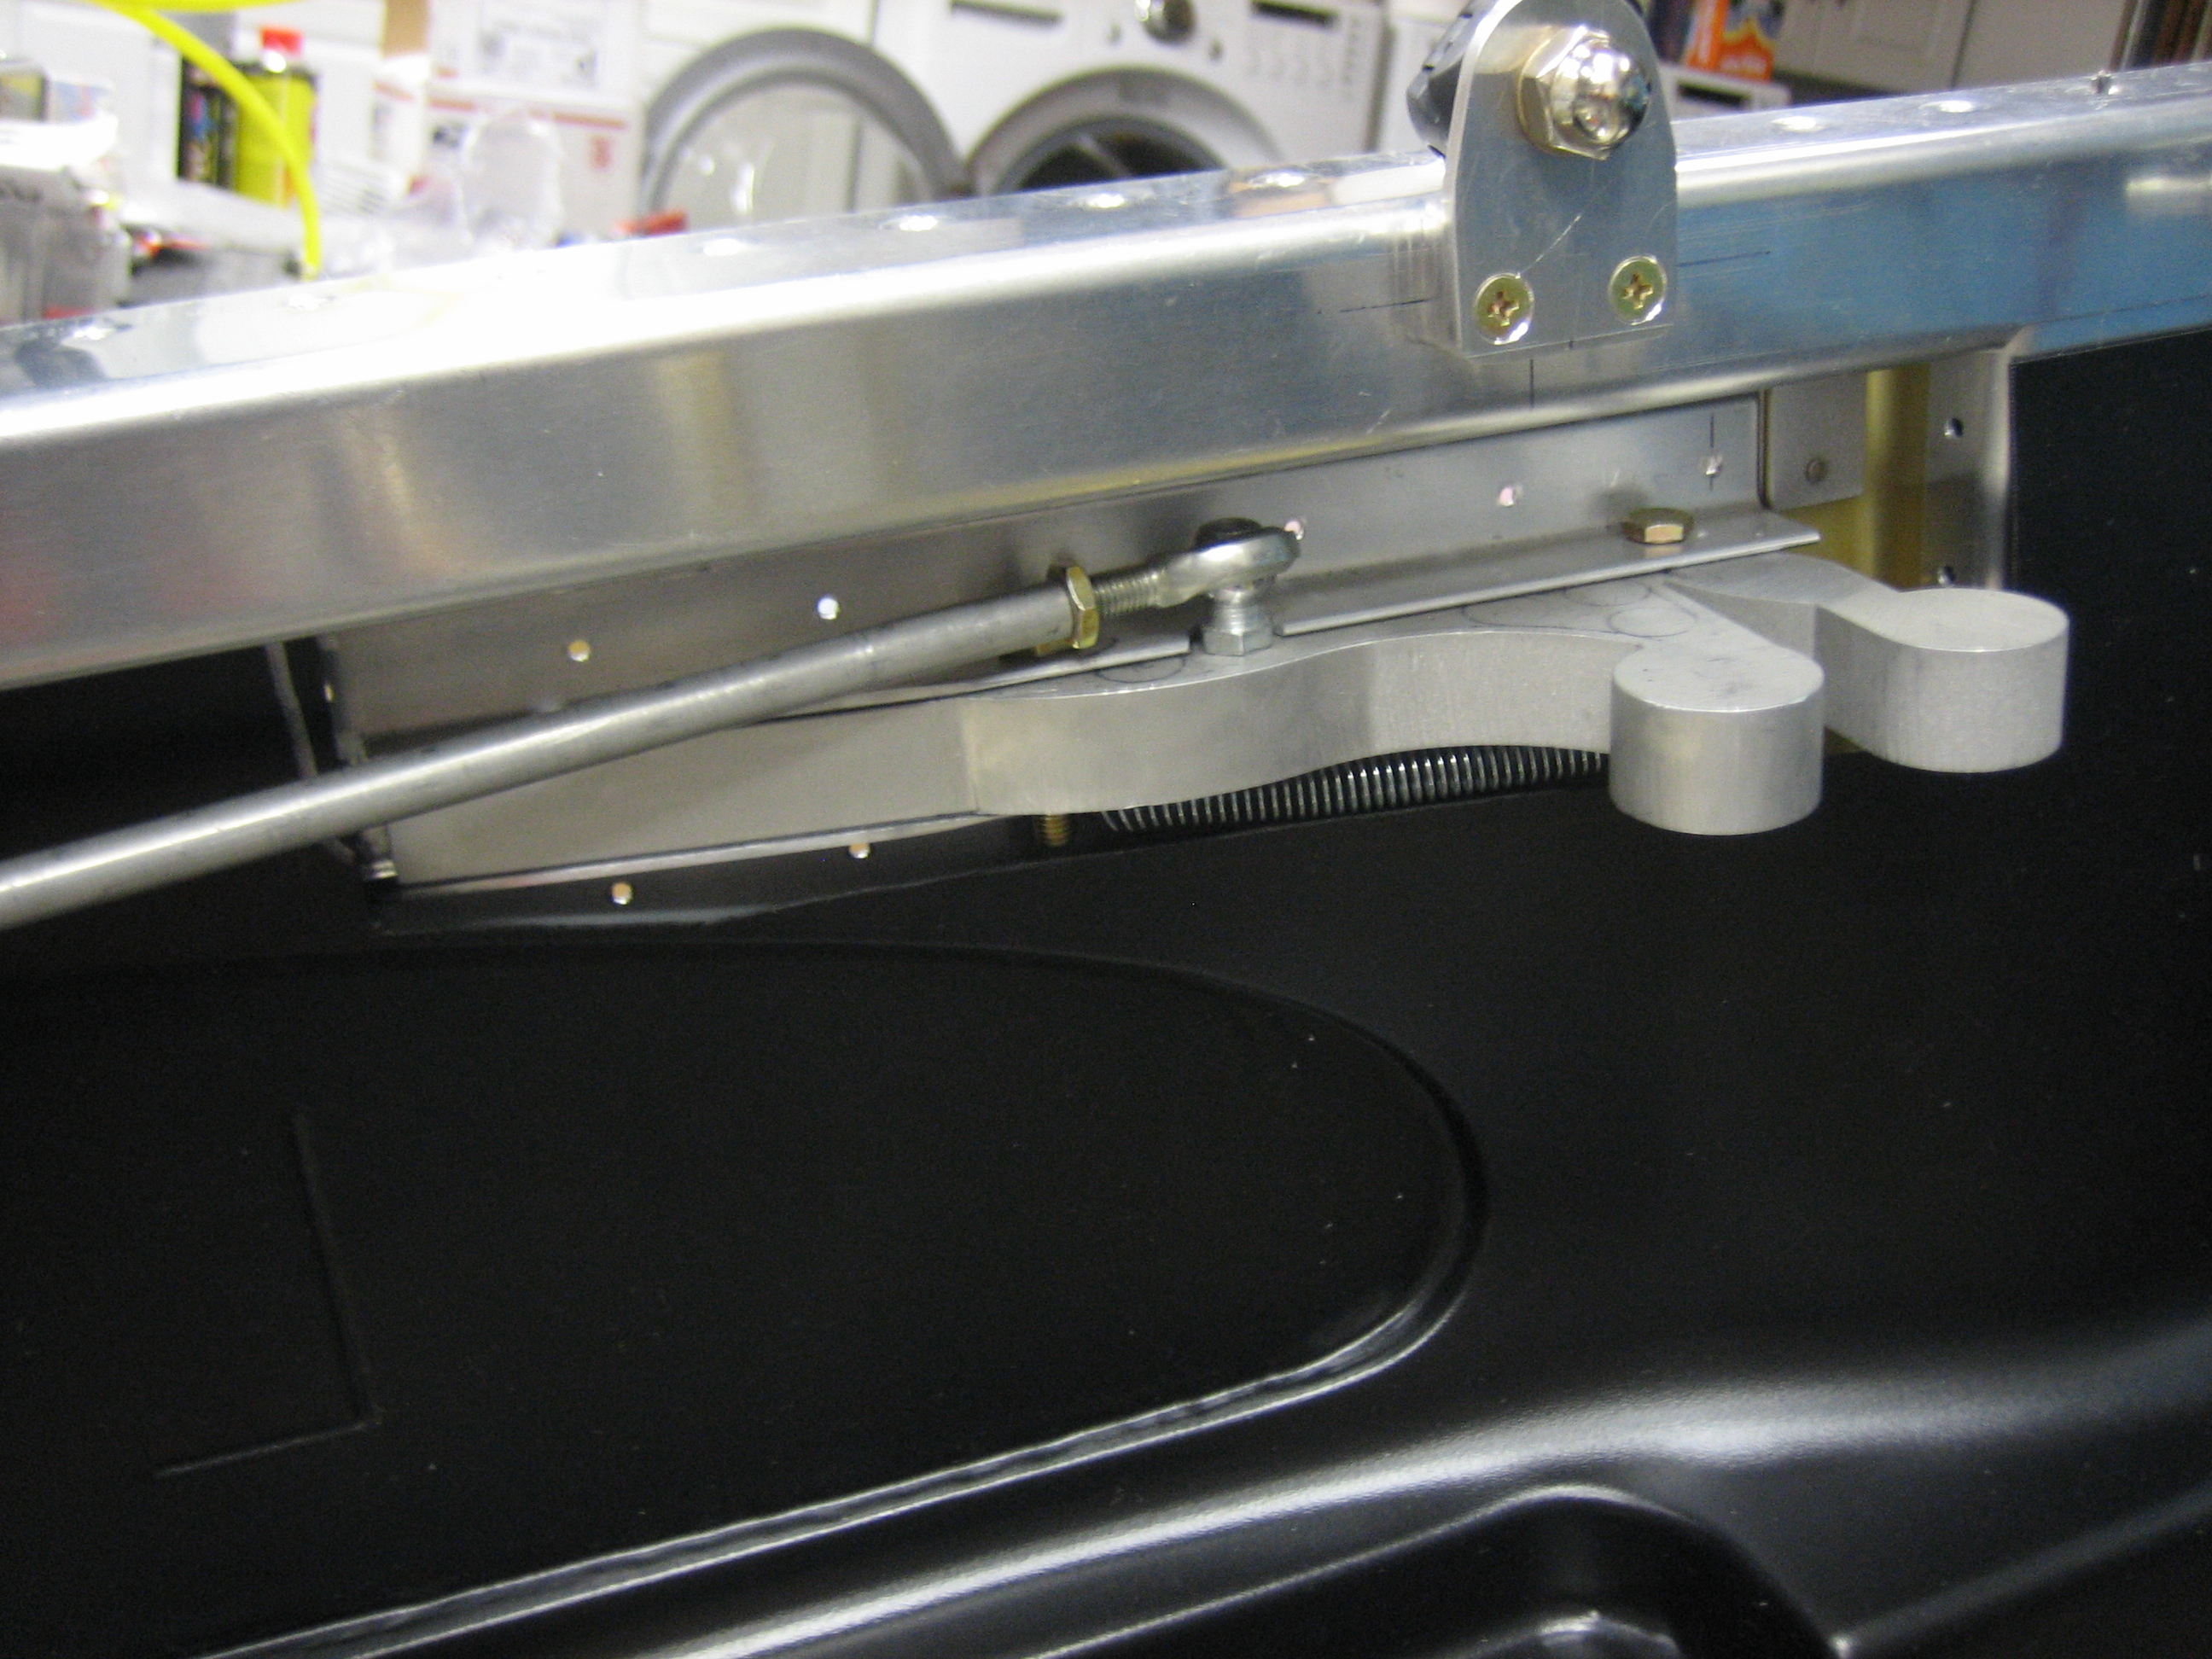
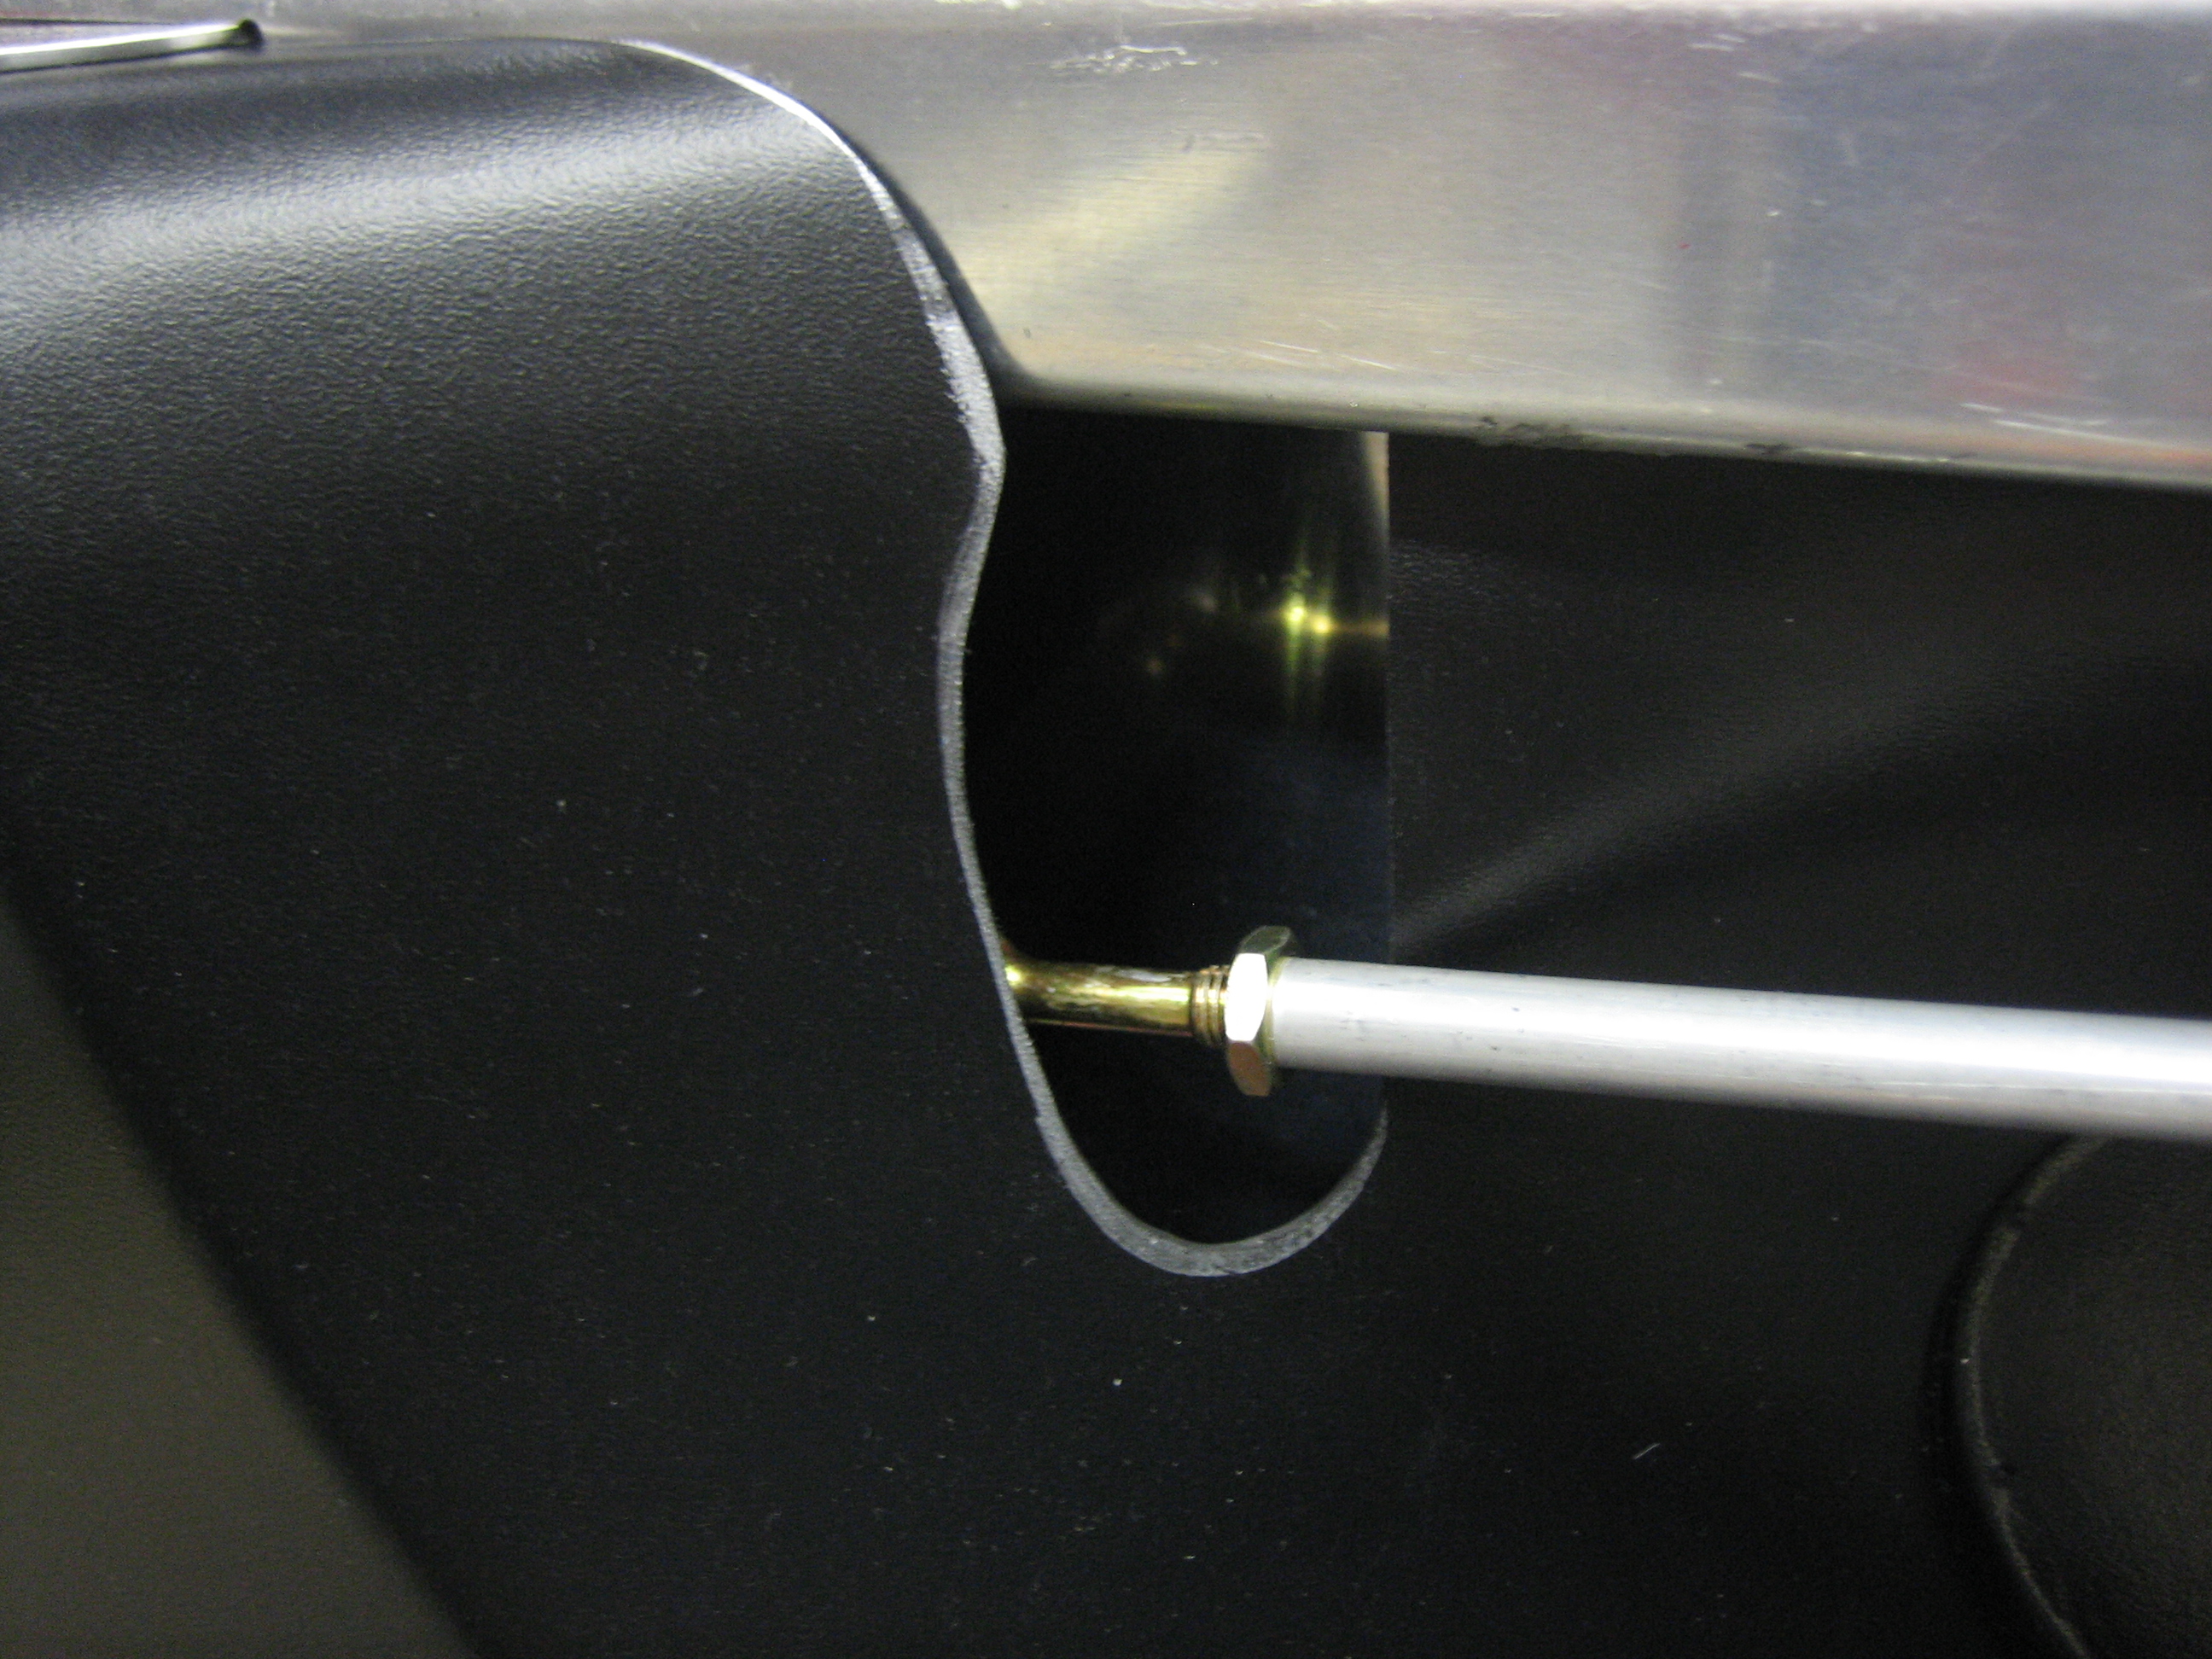
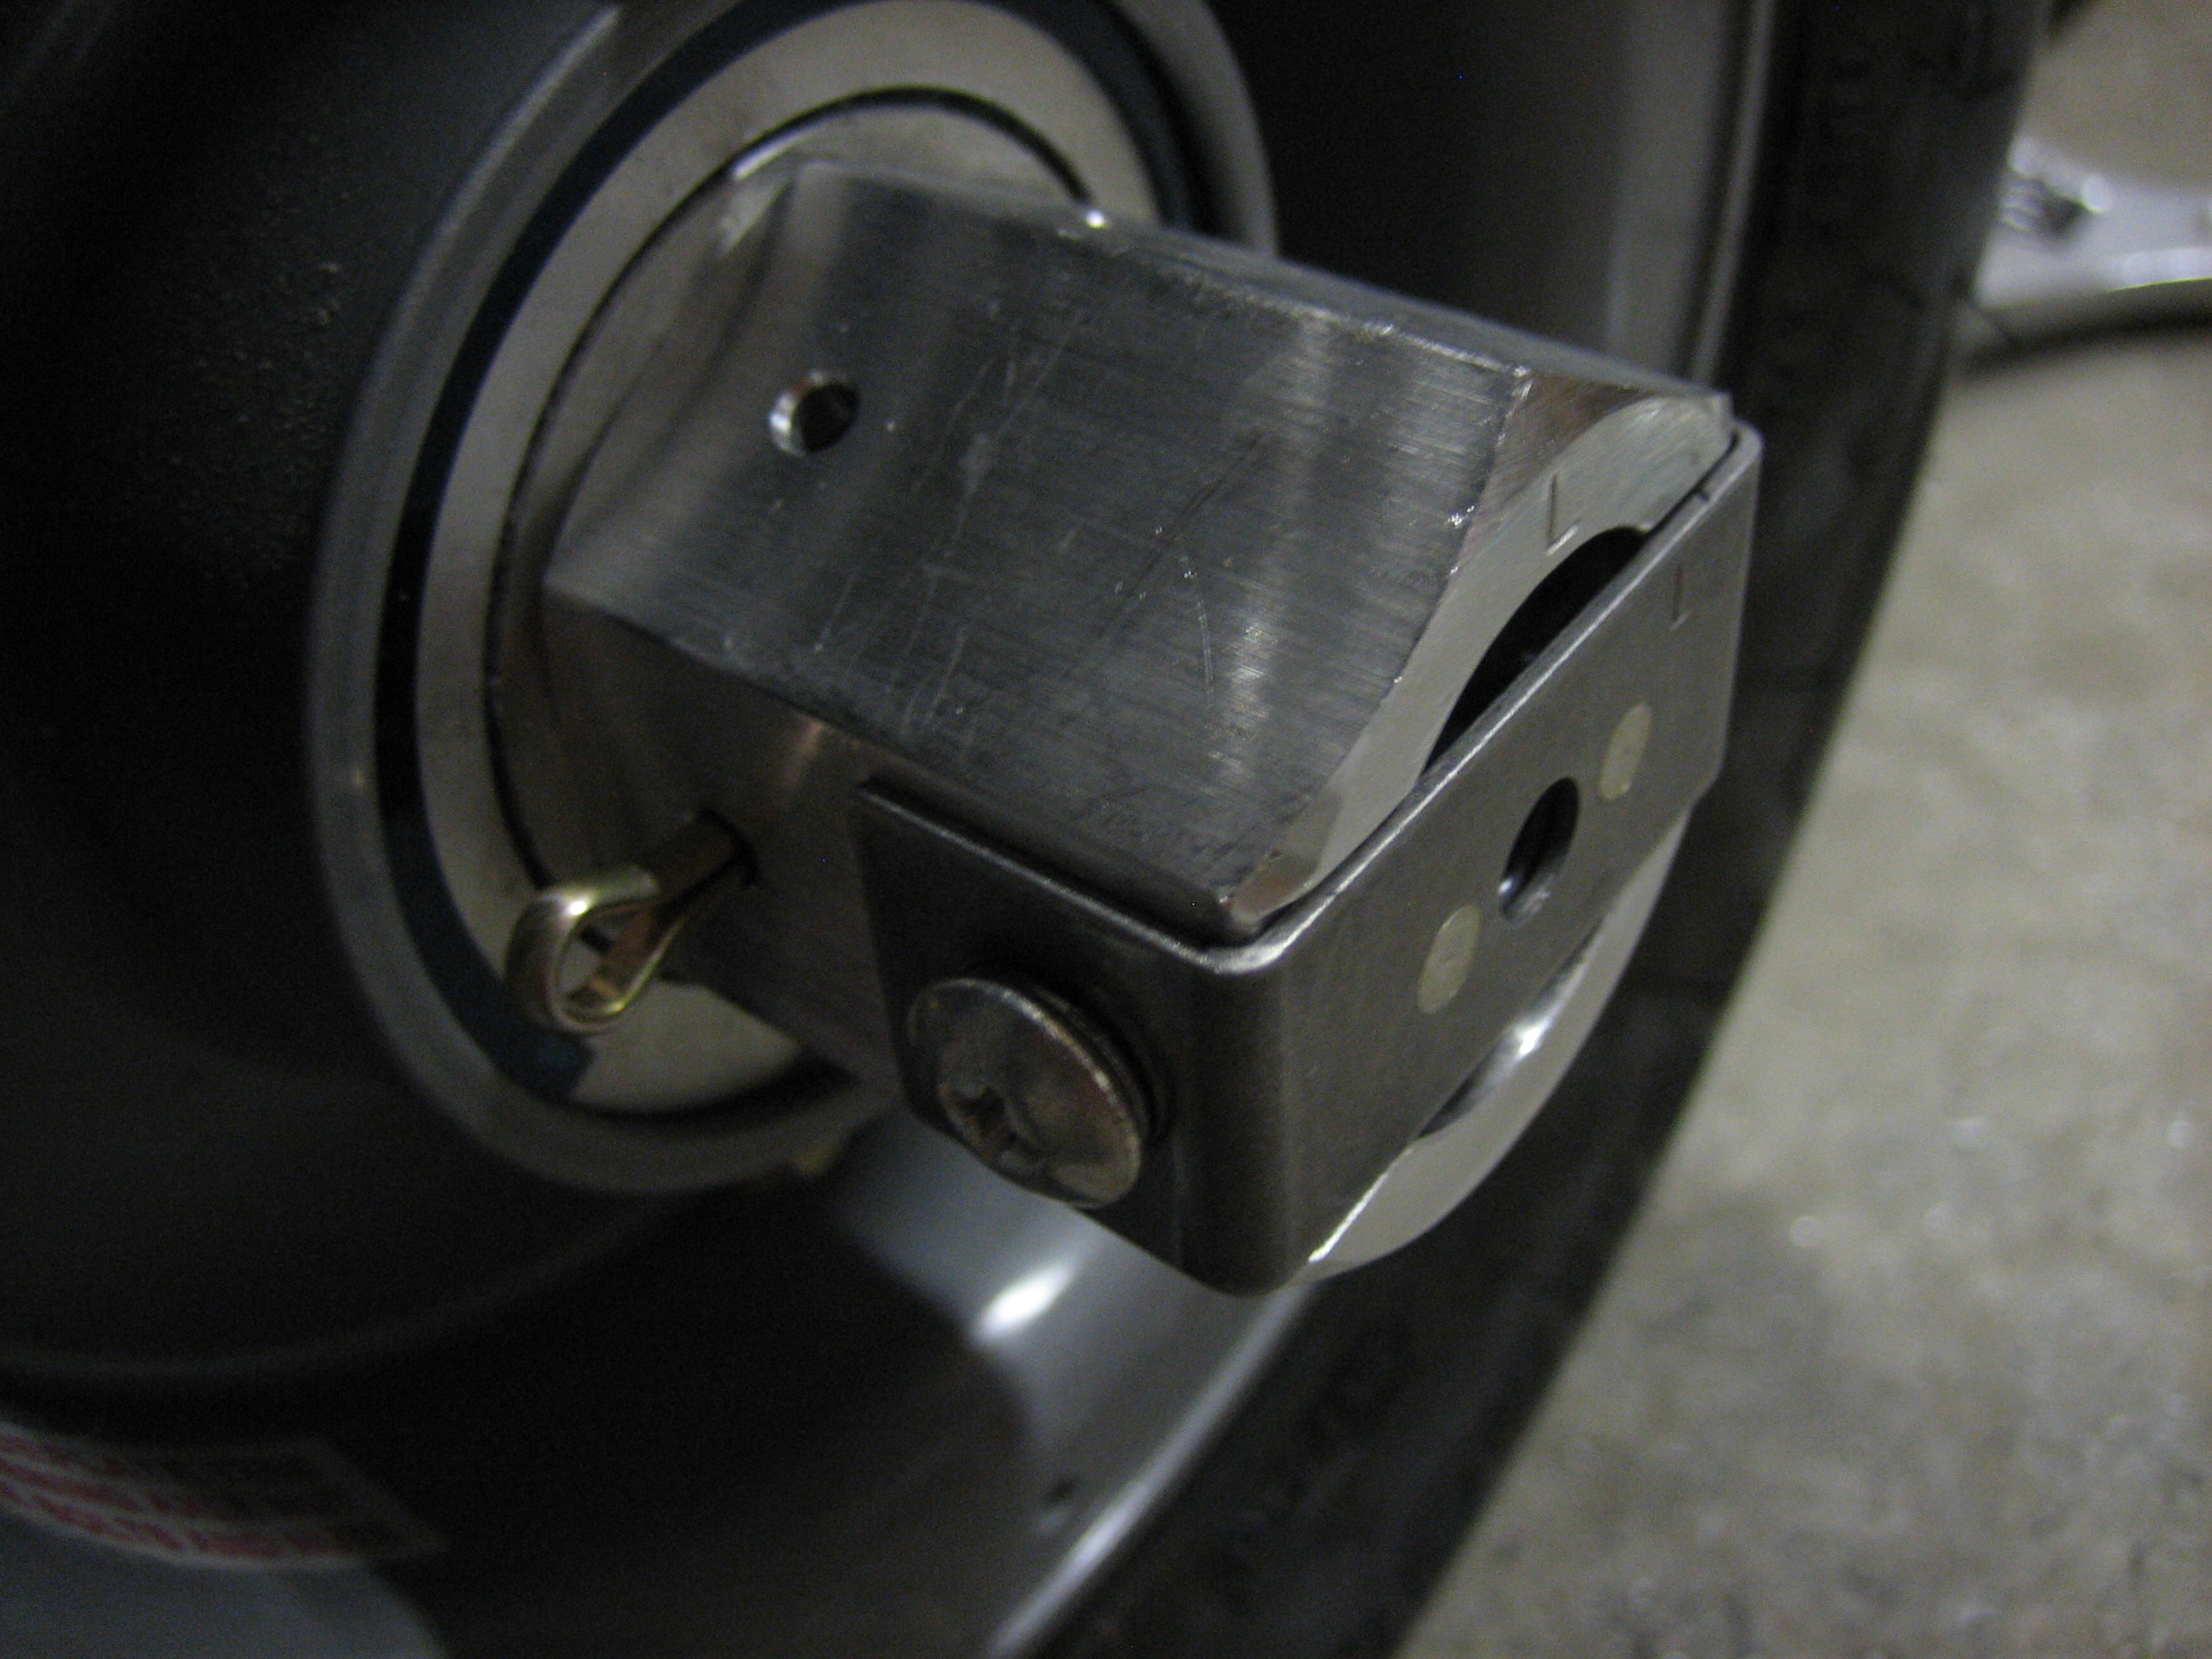
I also trimmed the aft end to tick under the canopy latch plate and to fit around the canopy latch torque tube.  The marked cutout to the right is for the rod that connects the canopy latch handle to the idler arm.

Finished Trimming Side Panels

I did a little further trimming on the canopy latch handle brackets and then trimmed the side panel to fit around it and the push/pull tube.

Here’s a closeup of the cutout around the canopy latch.  The fit is snug across the bottom and aft end and follows the side caps along the front edge.

Here’s a closeup of the cutout for the push/pull tube.  I’ll need to paint the area behind here and around the latch handle since the side panels won’t completely cover these areas.

Packed up Interior Panels and Cowl

After much back and forth with Van’s, it looks like my cowl was trimmed too much at the factory.  I spoke with Mike and Gary at M&W Composites (who manufacture the cowl for Van’s), and they agreed it seems wrong and asked me to ship it back to them so they can lay up some more glass along the sides.  I packaged up the cowl and plastic side panels so that I can ship them out tomorrow.

Sealed Firewall Recess and Started Modifying Axle Nuts

I used some 3M FireBarrier 2000+ to seal the openings around the firewall recess so that I can finish off attaching things to the firewall.

While waiting for that to dry, I started modifying the axle nuts for the Avery Tools jack stand brackets.  I drilled the nutplate out from the end of the nuts and then drilled a 1″ hole in the end of each nut using a 1″ hole saw.

The bracket will get installed over the end of the nut and the nutplate will be reinstalled on the bracket.  A groove will need to be filed in each nut so that this bracket will be flush with the end, but this will wait until I’ve drilled the axles to the nuts so that I can install these brackets parallel with the ground.  This will make it easier to reach the screws on each side so that I can take the bracket off when jacking up the axle.

Back From Vacation

The family and I spent the week in SoCal hitting the amusement parks, and we just got back a couple of days ago.  Although it’s July 4th, I did manage to get a little time in on the project after the kids went to sleep. I didn’t get any pictures, but I did attach the nutplates to the brackets and fiddled around a bit with the axle nut torque.

Drilled Left Axle

I jacked up the plane and tightened the left axle nut fairly snug while turning the wheel to make sure the wheel bearings are nicely seated.  I then loosened the nut until the wheel could turn fairly freely but there was just a little preload on the bearings so that there is no side to side plan.  I basically followed the instructions at the Grove Aircraft site.  Afterward, I drilled the axle through the front and back holes and test fit a cotter pin.  I then took the nut off and deburred everything.

While the nut was on the axle, I marked where the bracket will sit so that it will be level with the ground when installed.  That way, the screws that attach the bracket will be easier to reach.

Modified Left Axle Nut

I cut the recess in the left axle nut so that the bracket will sit flush with the outside end of the nut, then drilled and tapped the sides for the 10-32 screws.

Afterward, I cleaned the AeroShell 33MS grease out of my bearing packer so that I could replace it with AeroShell 22 since I decided to switch my wheel bearings to that after doing some more research.  I’m still going to use AeroShell 33MS everywhere else on the plane.  Cleaning a bearing packer is a real pain in the ass.  It would probably have been easier to just buy a new bearing packer.

Repacked Left Wheel Bearing and Started Right Axle

I removed the bearings from the left wheel and completely cleaned the old AeroShell 33MS grease out and then repacked them with AeroShell 22.  I then reassembled everything and reinstalled the wheel and axle nut.  I installed the cotter pin, but haven’t bent it over yet.  I’ll leave it straight until I know for sure that I don’t need to remove the wheel before the first flight.

With the left wheel done, I jacked up the right side of the plane and drilled the right gear leg.  I then modified the right axle nut for the wheel pant bracket.

Here’s a closeup of the notch that you have to file into the axle nut.  You can see that you have to radius the edge because of the bend in the bracket.  This took about 15 minutes of filing to get to this point.