I wrapped up the interior installation by adding a few more velcro disks and gluing down some vinyl over the angled spar caps.
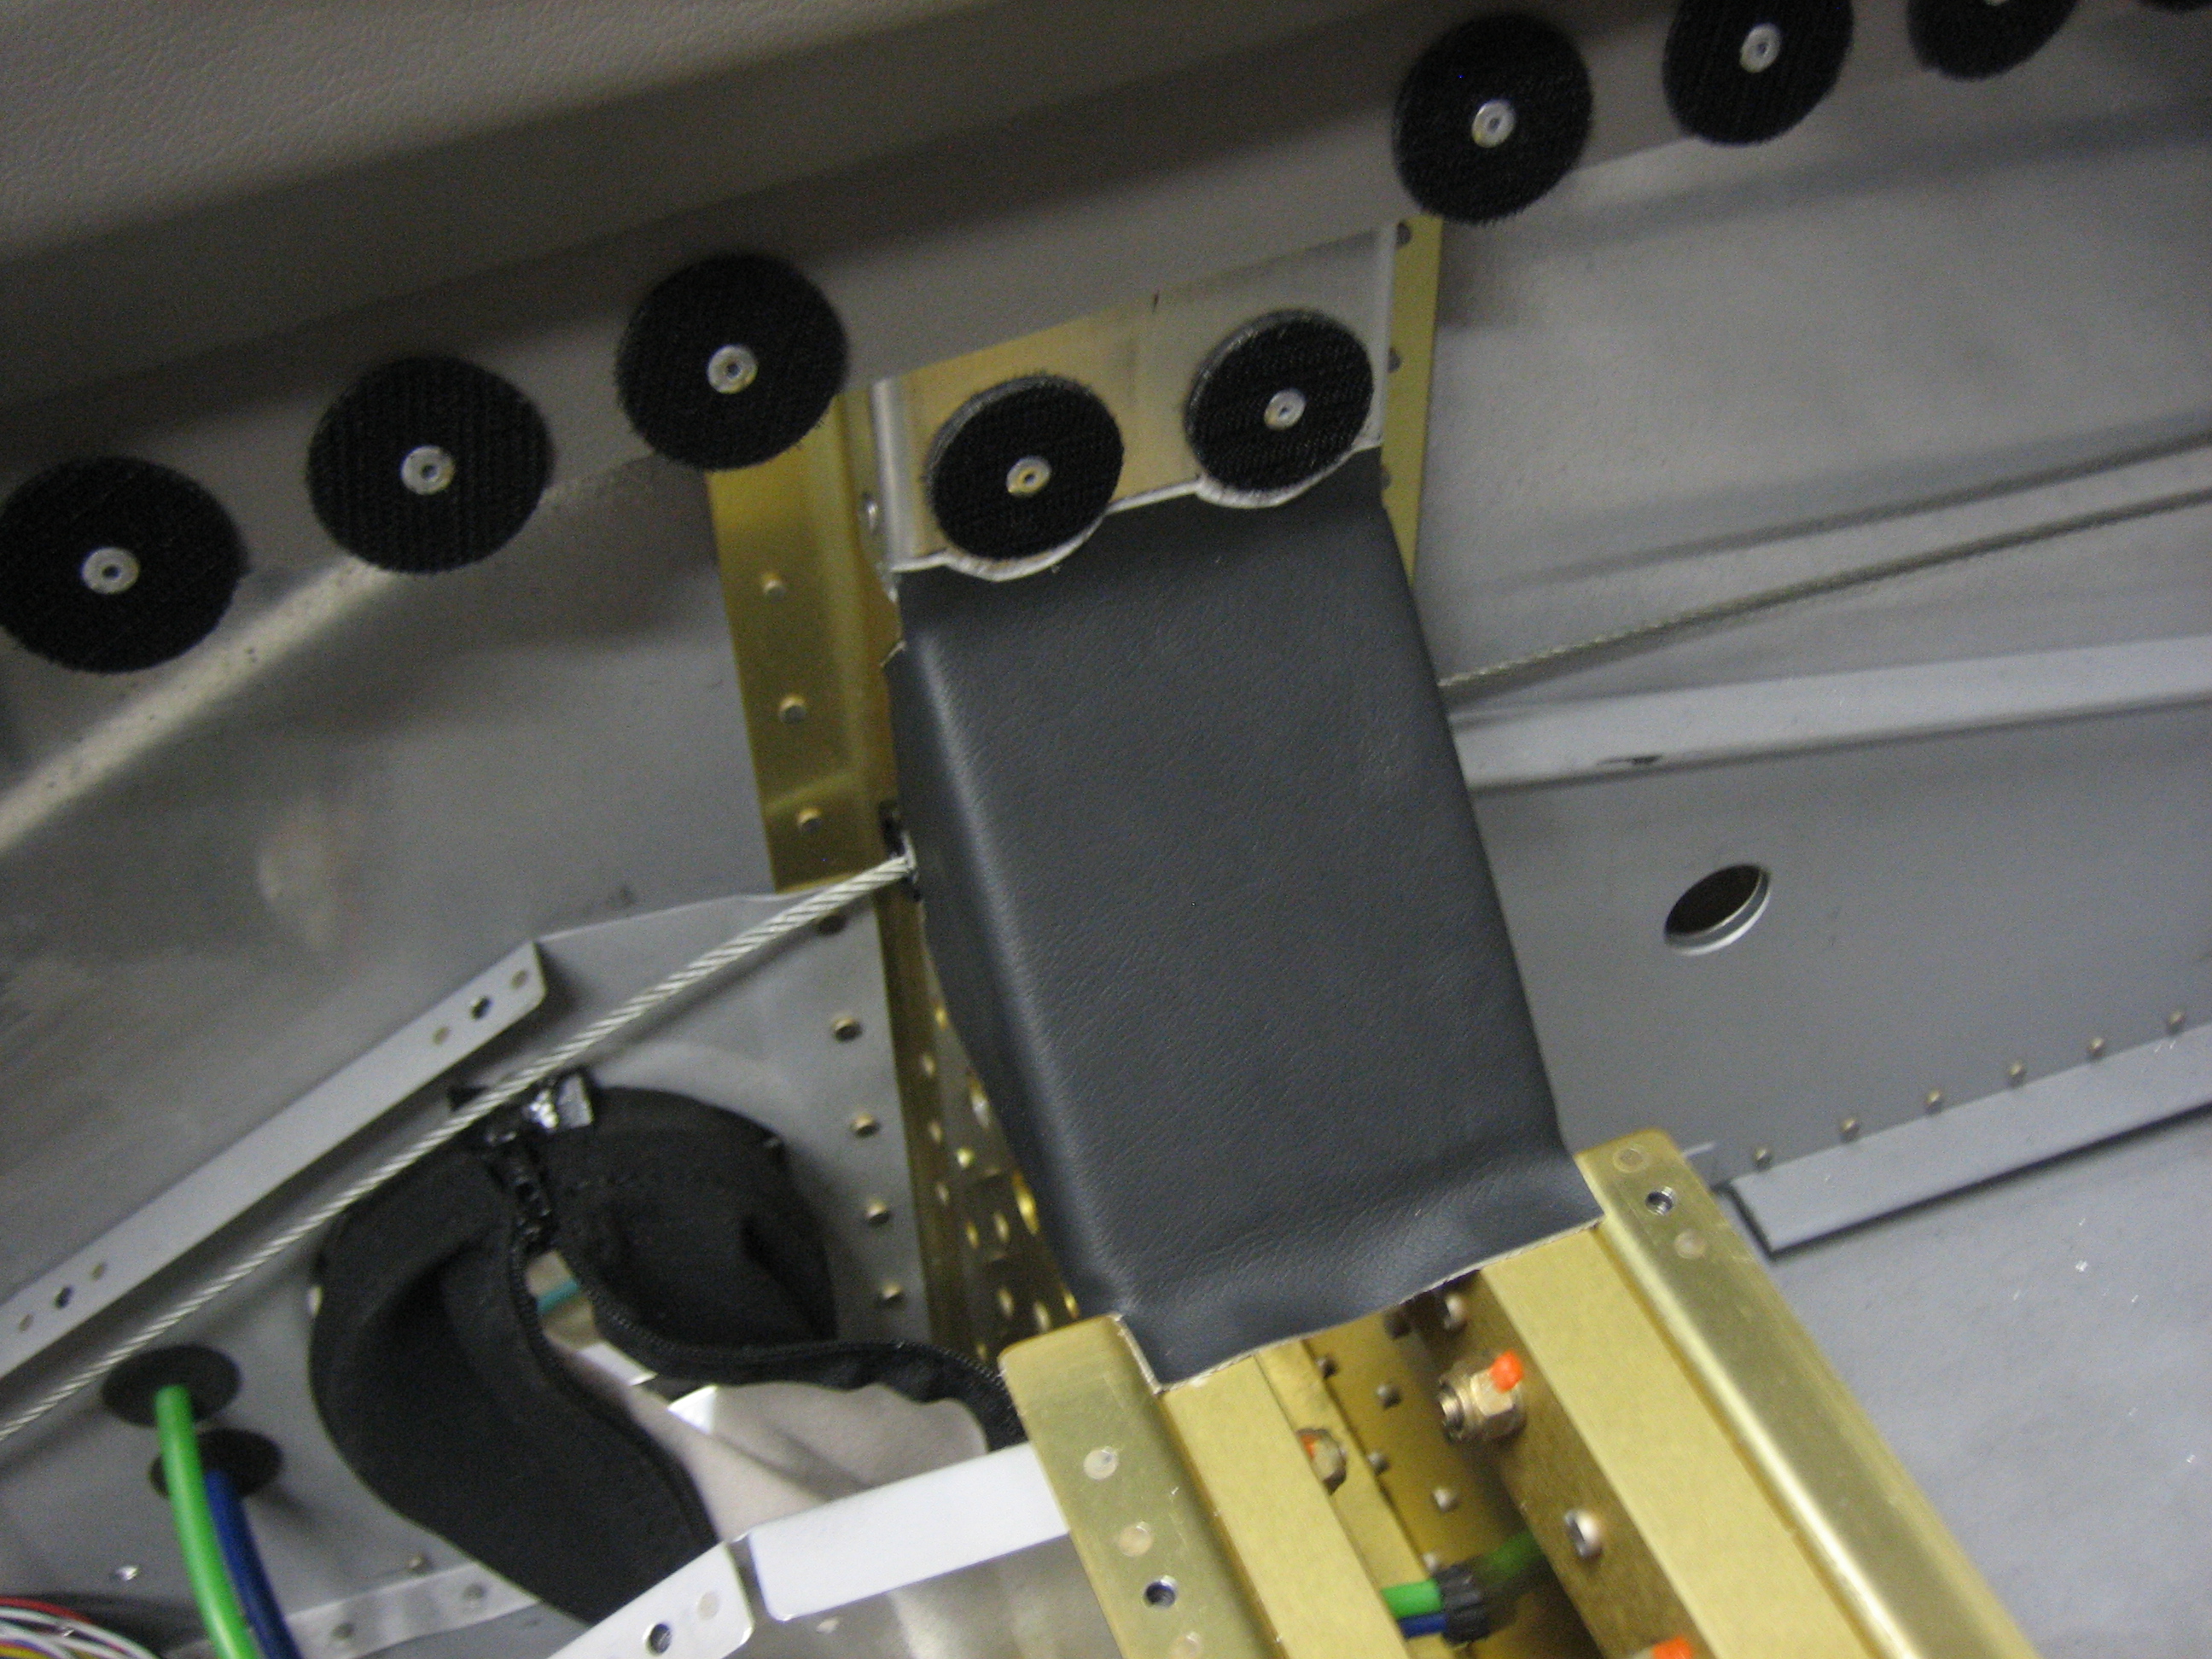


I wrapped up the interior installation by adding a few more velcro disks and gluing down some vinyl over the angled spar caps.
I’m working seven days a week now, but I took a break in the evening to work on the plane a bit.
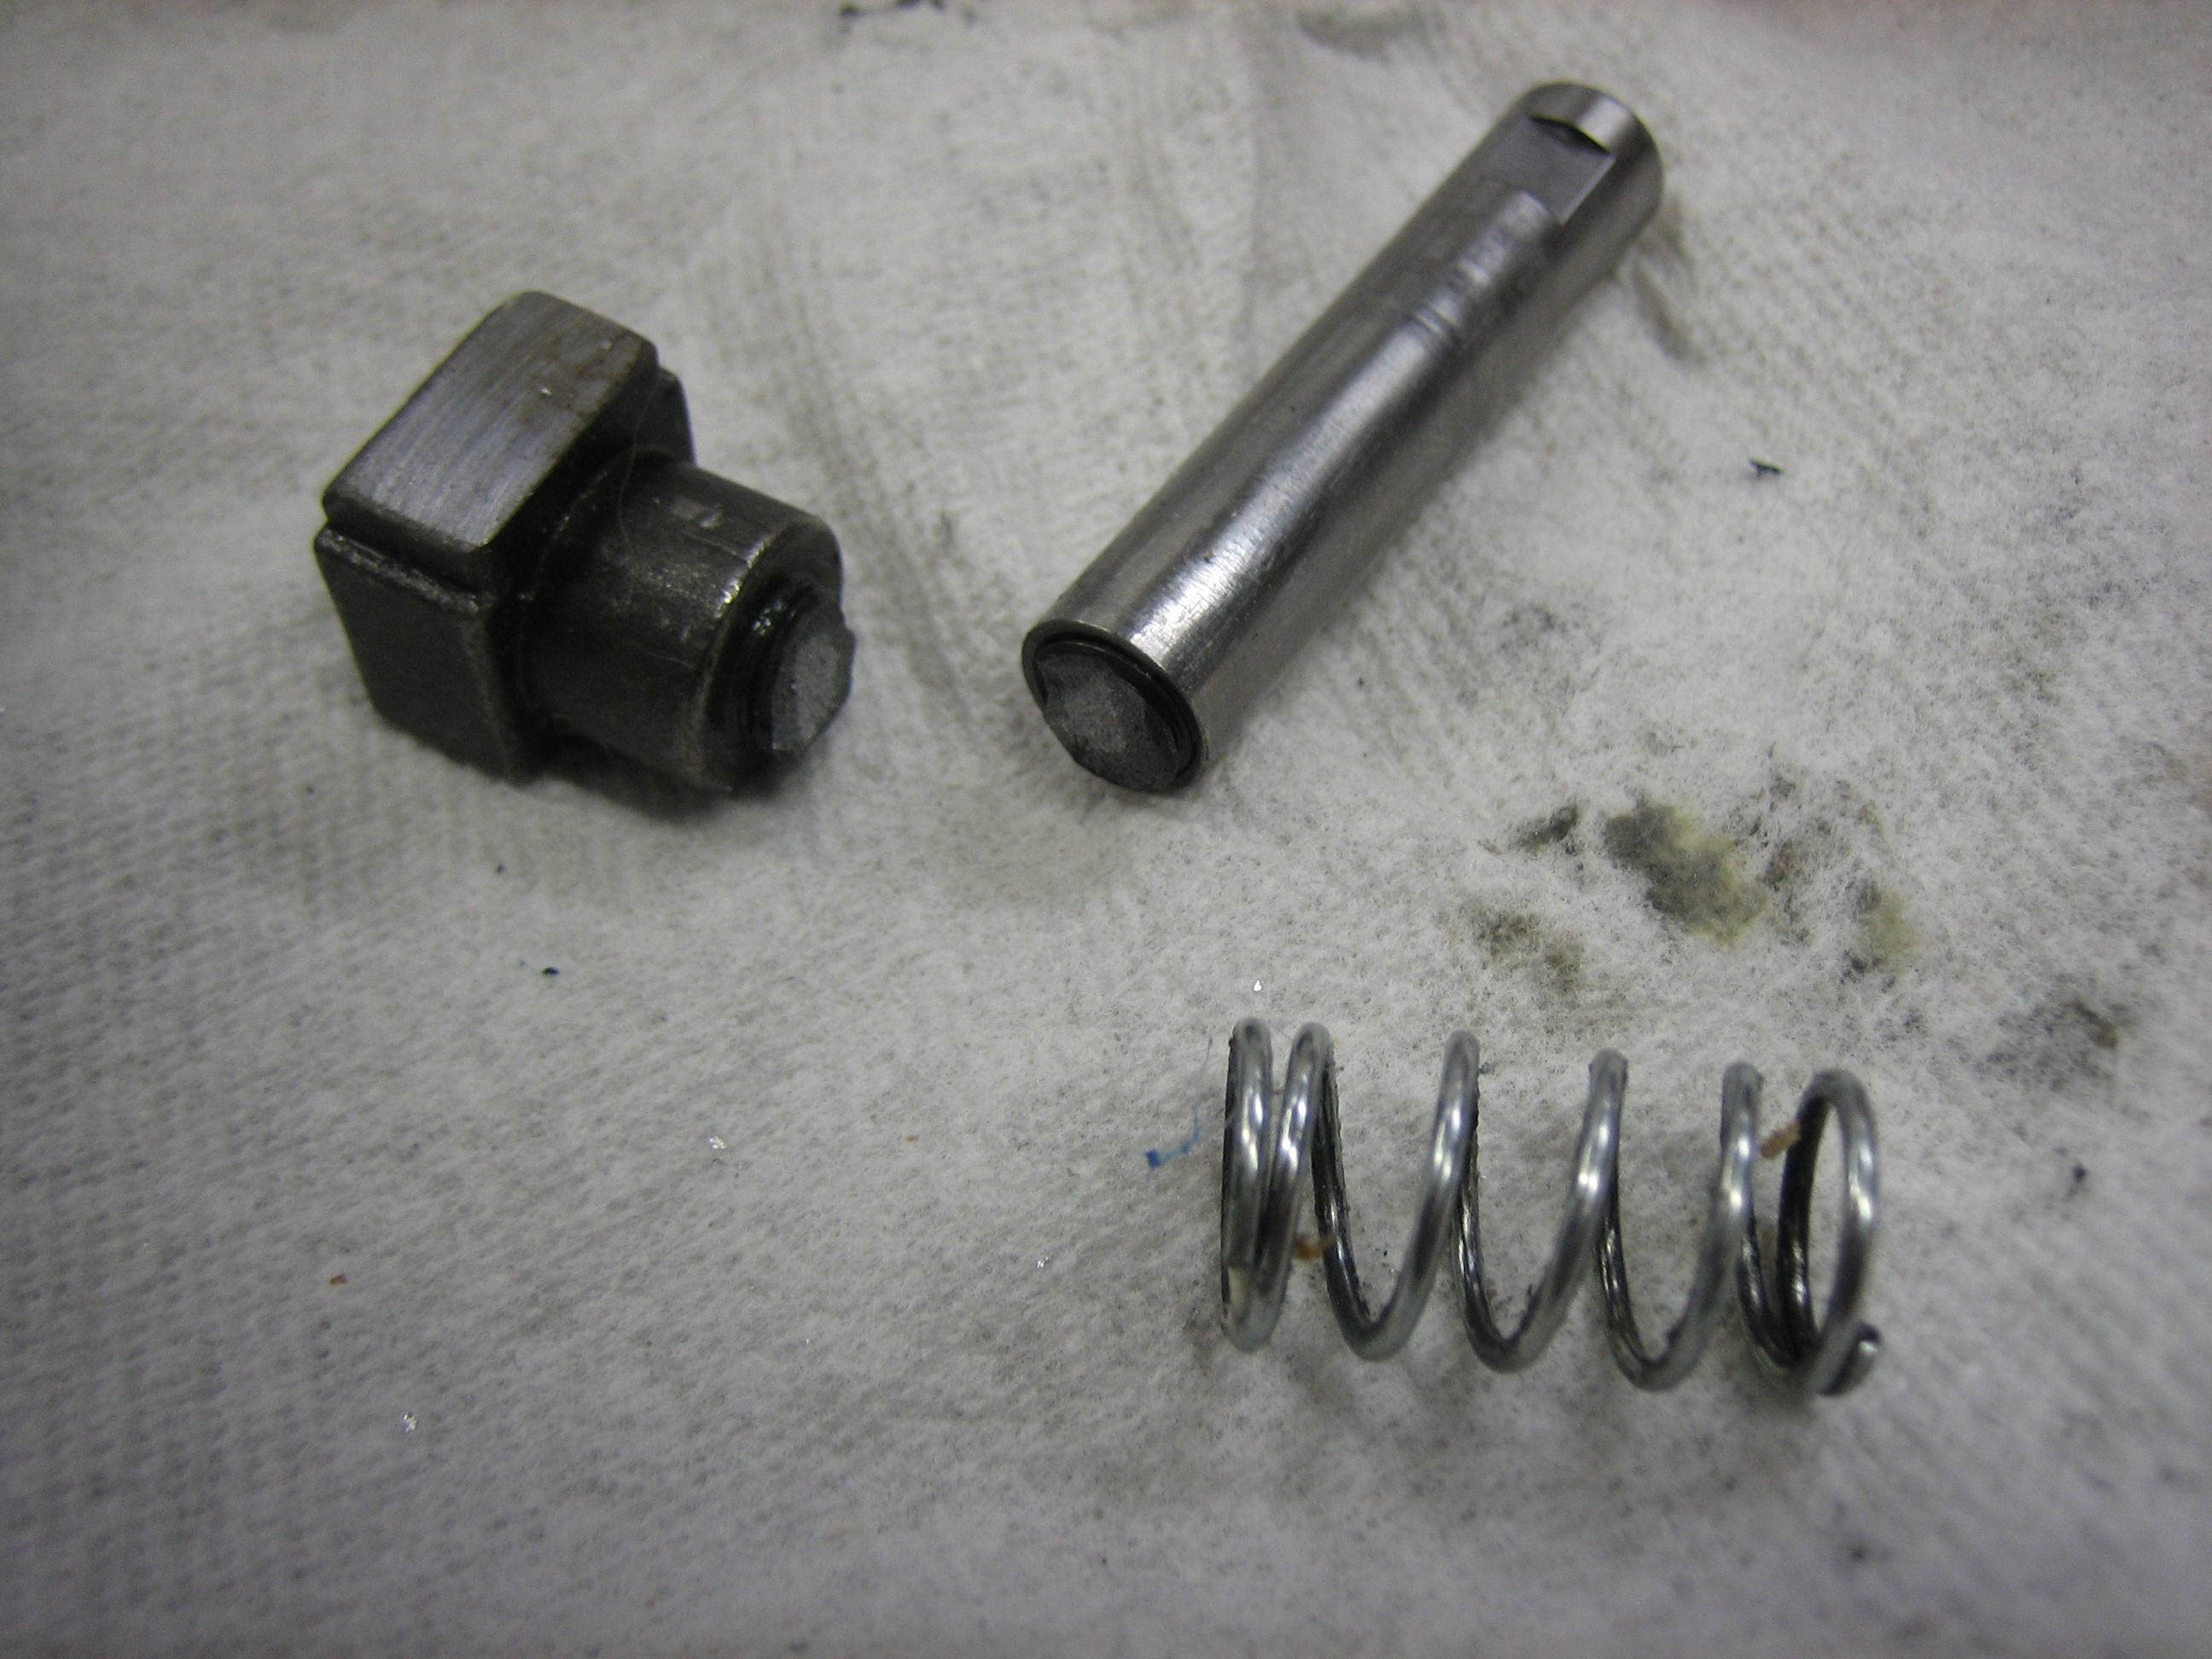
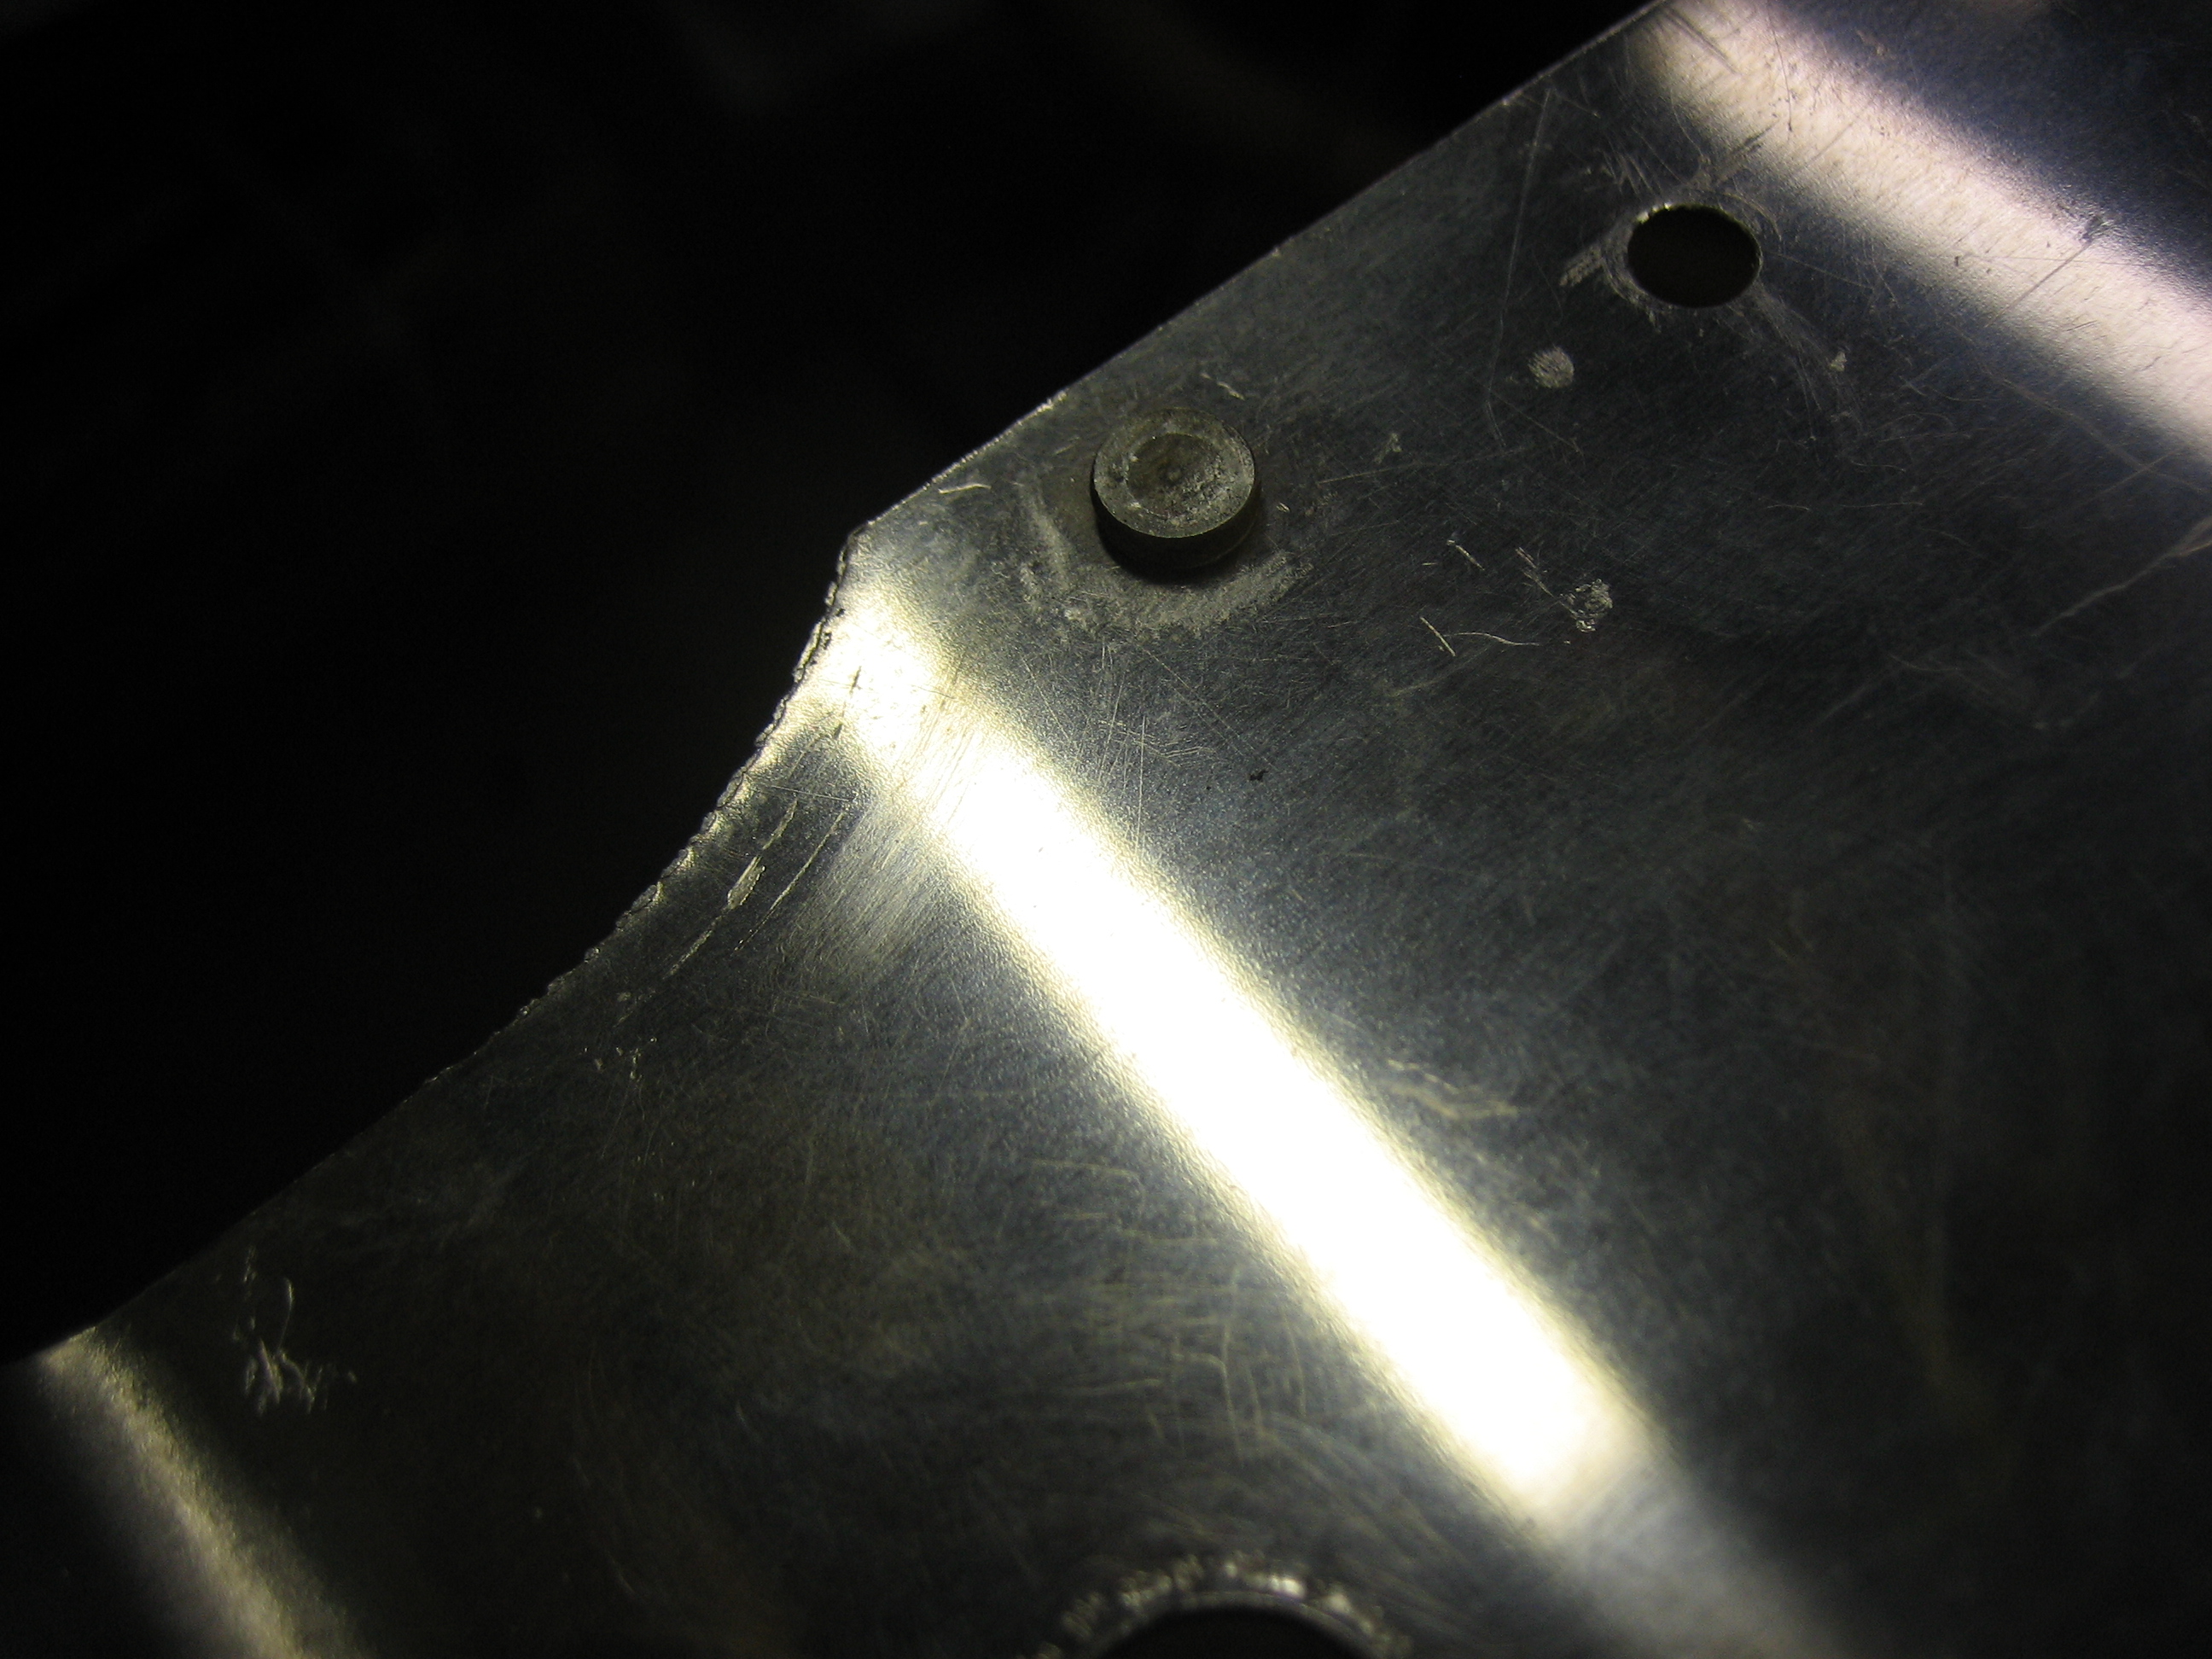
My pneumatic squeezer’s adjustable set holder snapped at the base of the threaded section. I’m going to call Isham and see if I can get this replaced as this shouldn’t have happened.
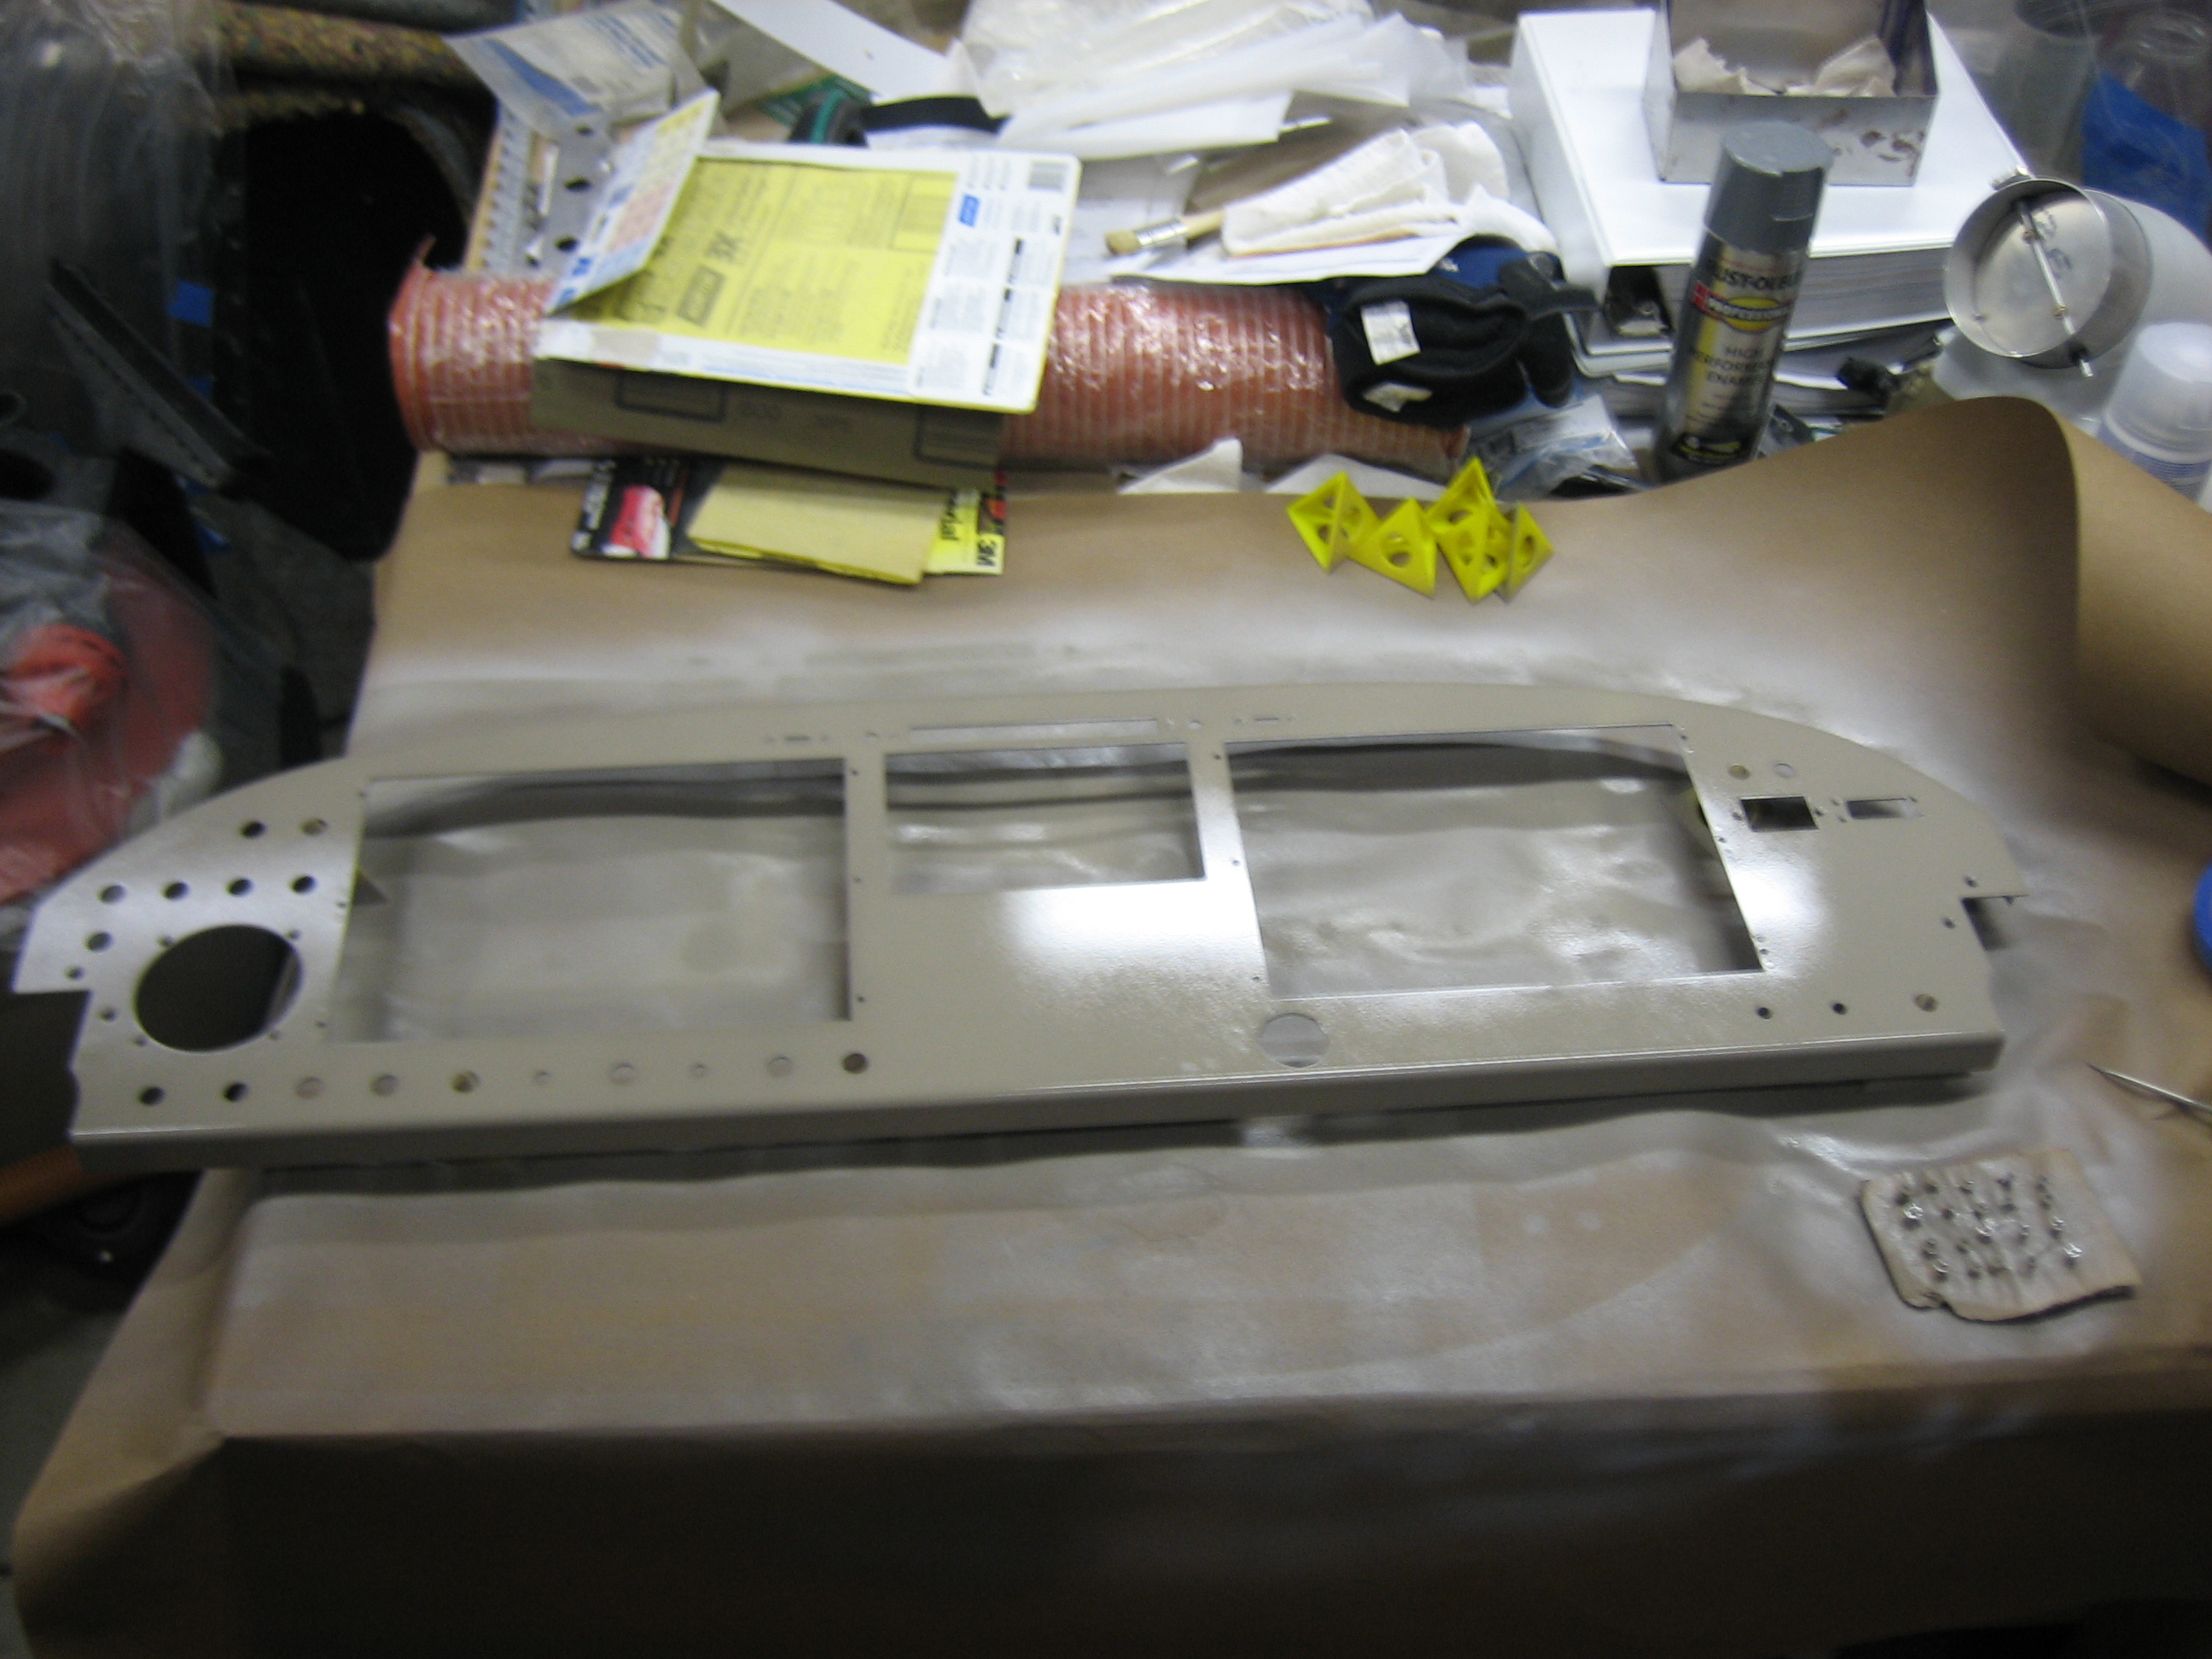
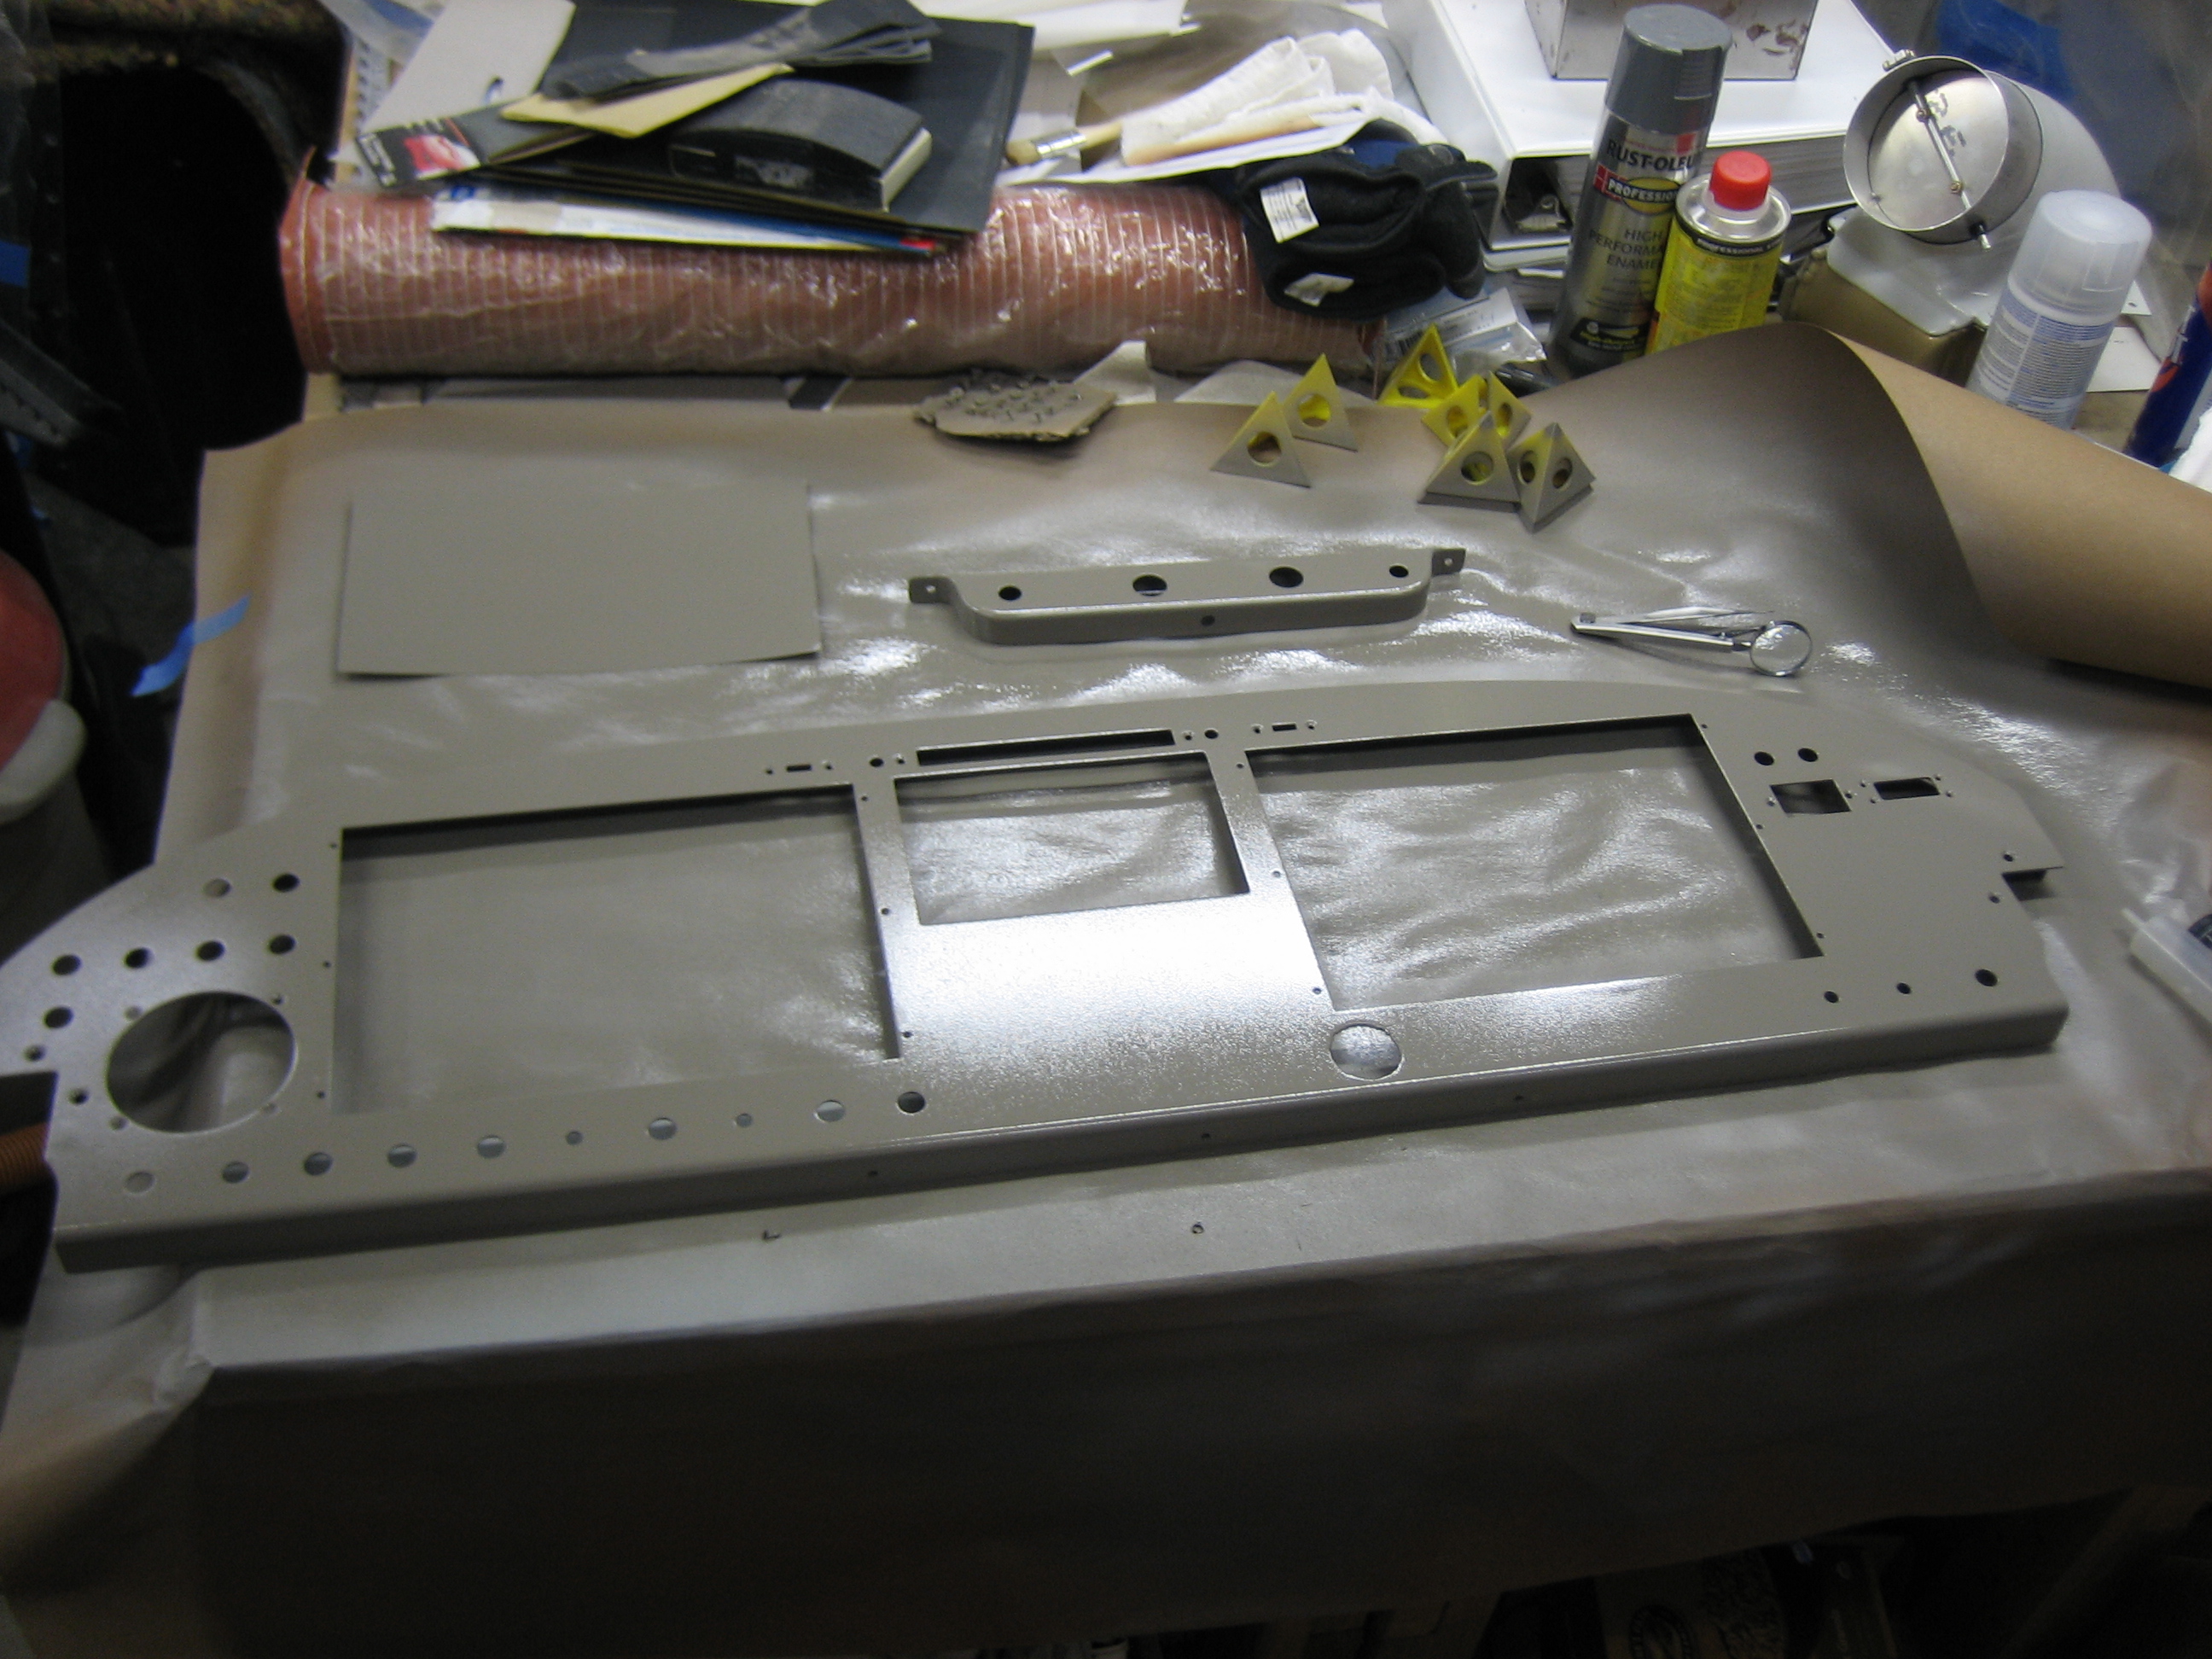
Sorry for the blurry picture, but I primed the instrument panel tonight. I applied a little filler last night and first had to sand it smooth.
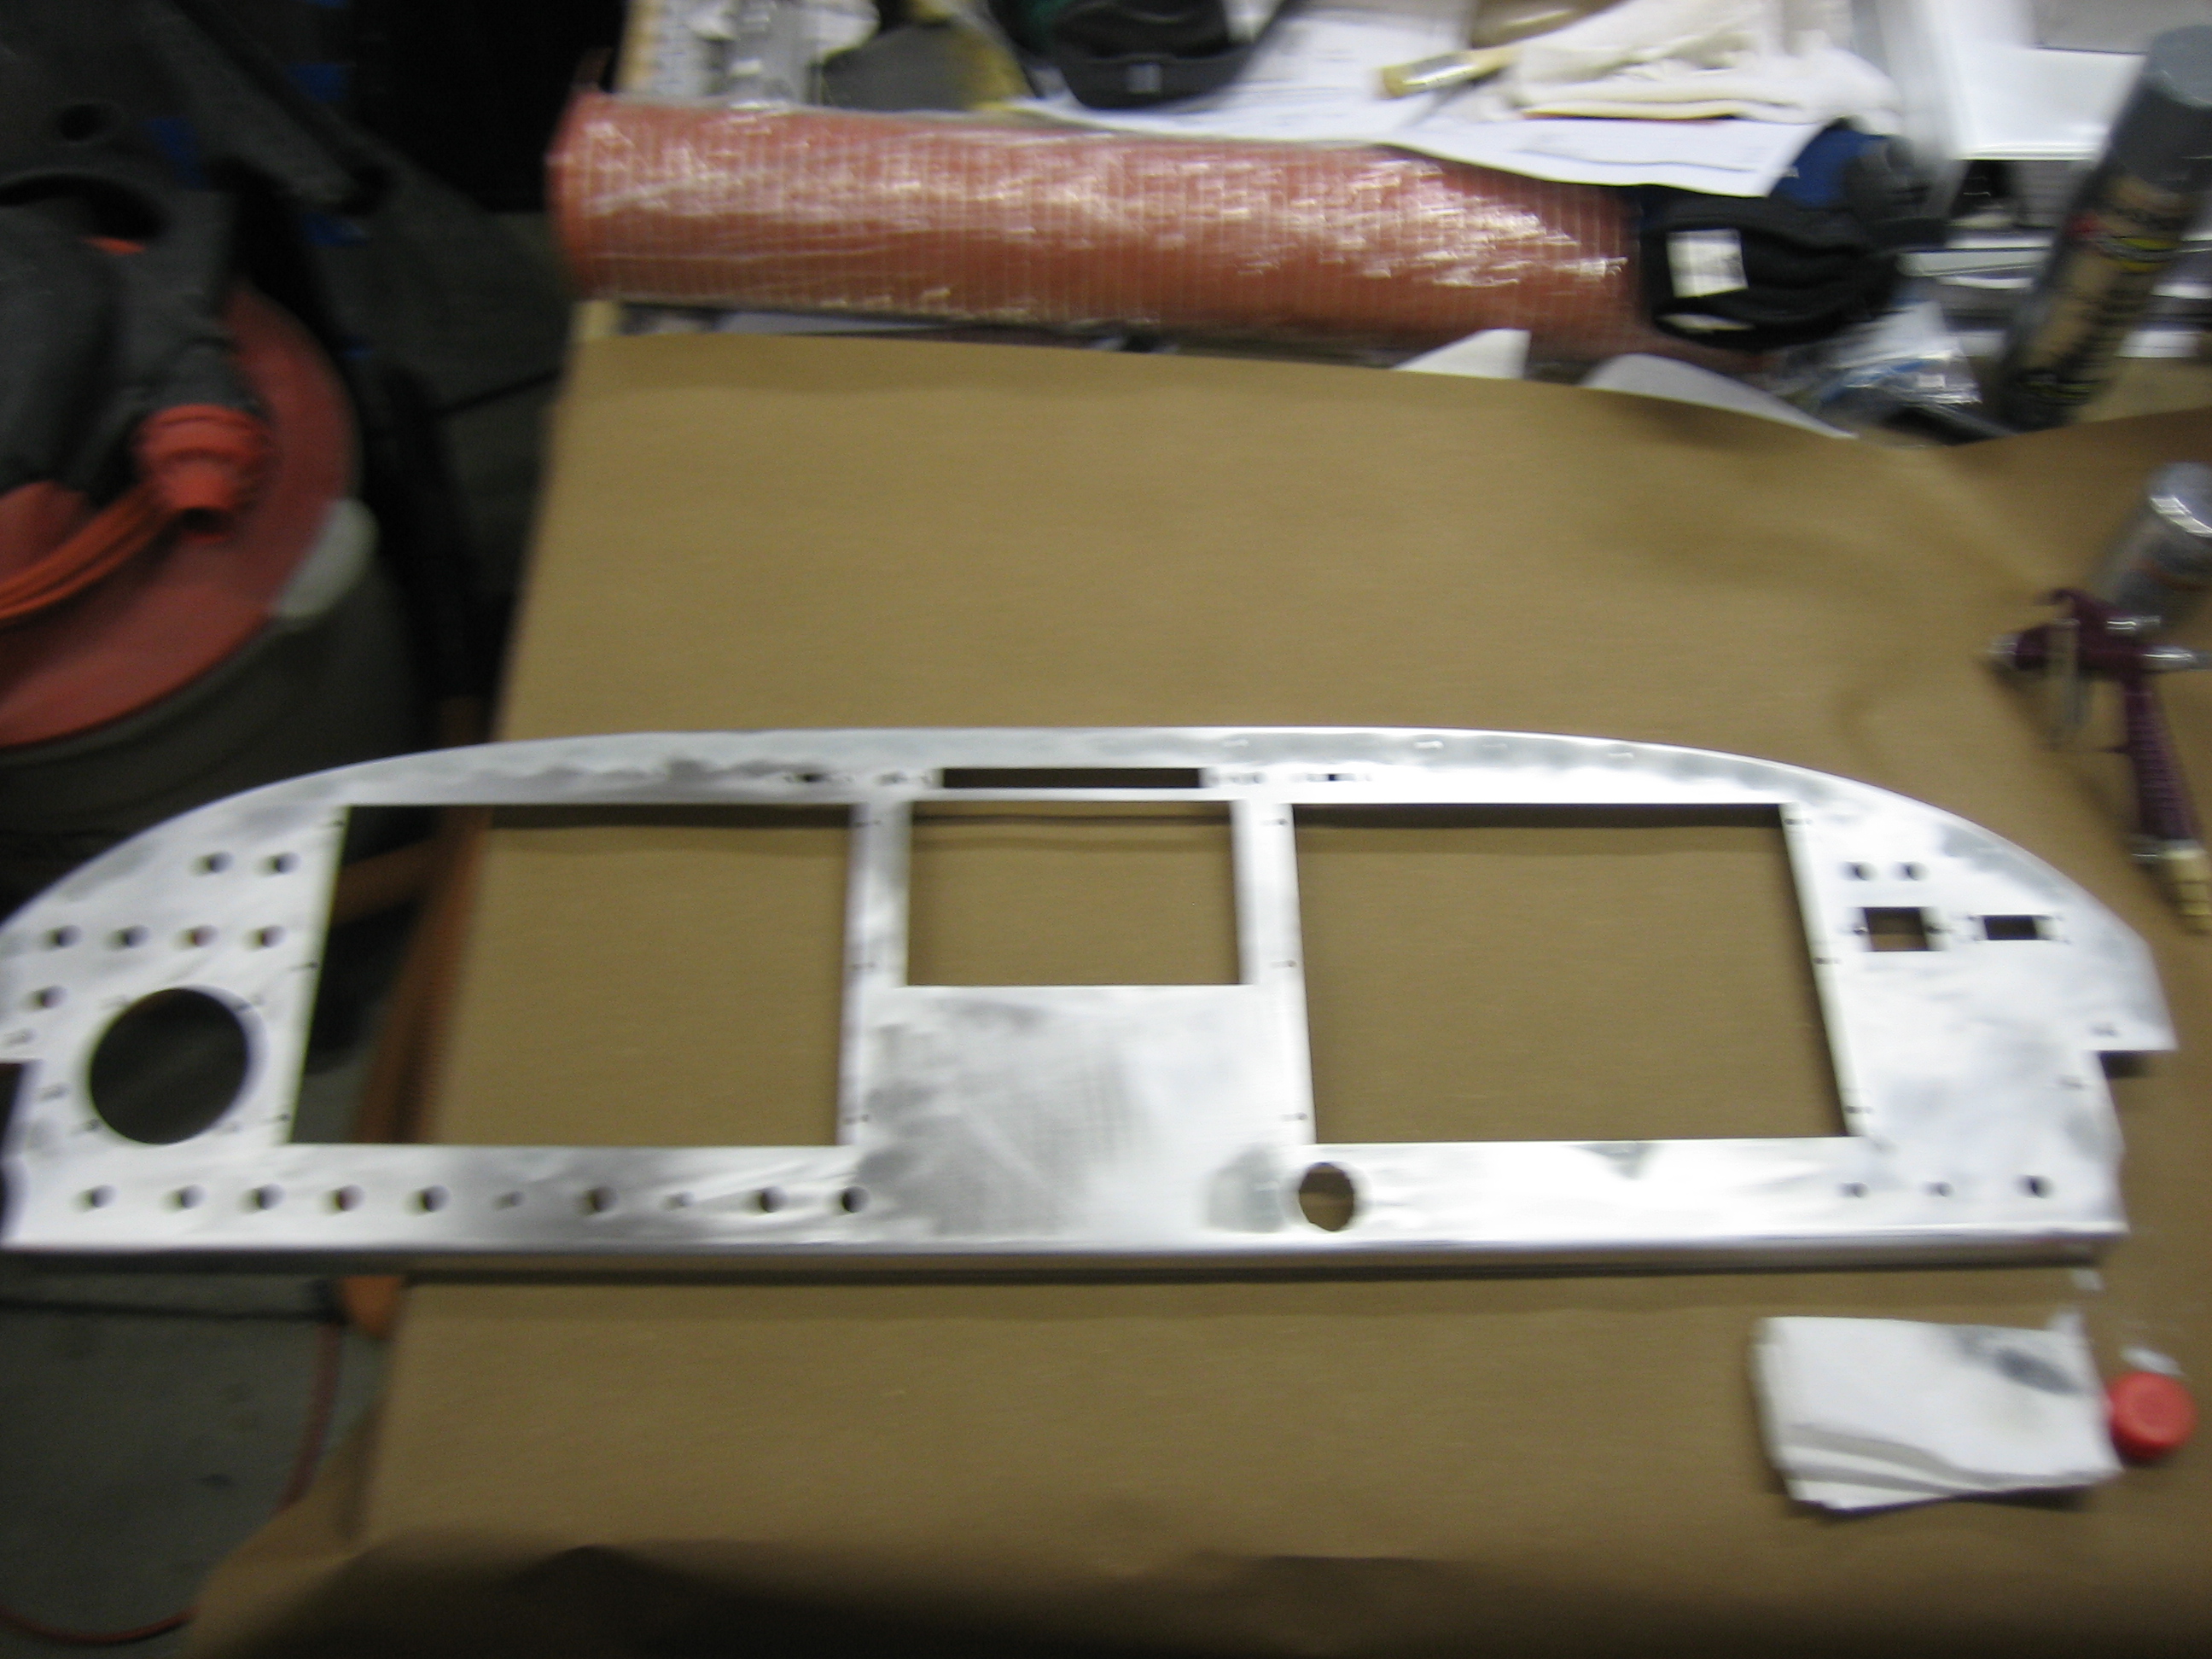
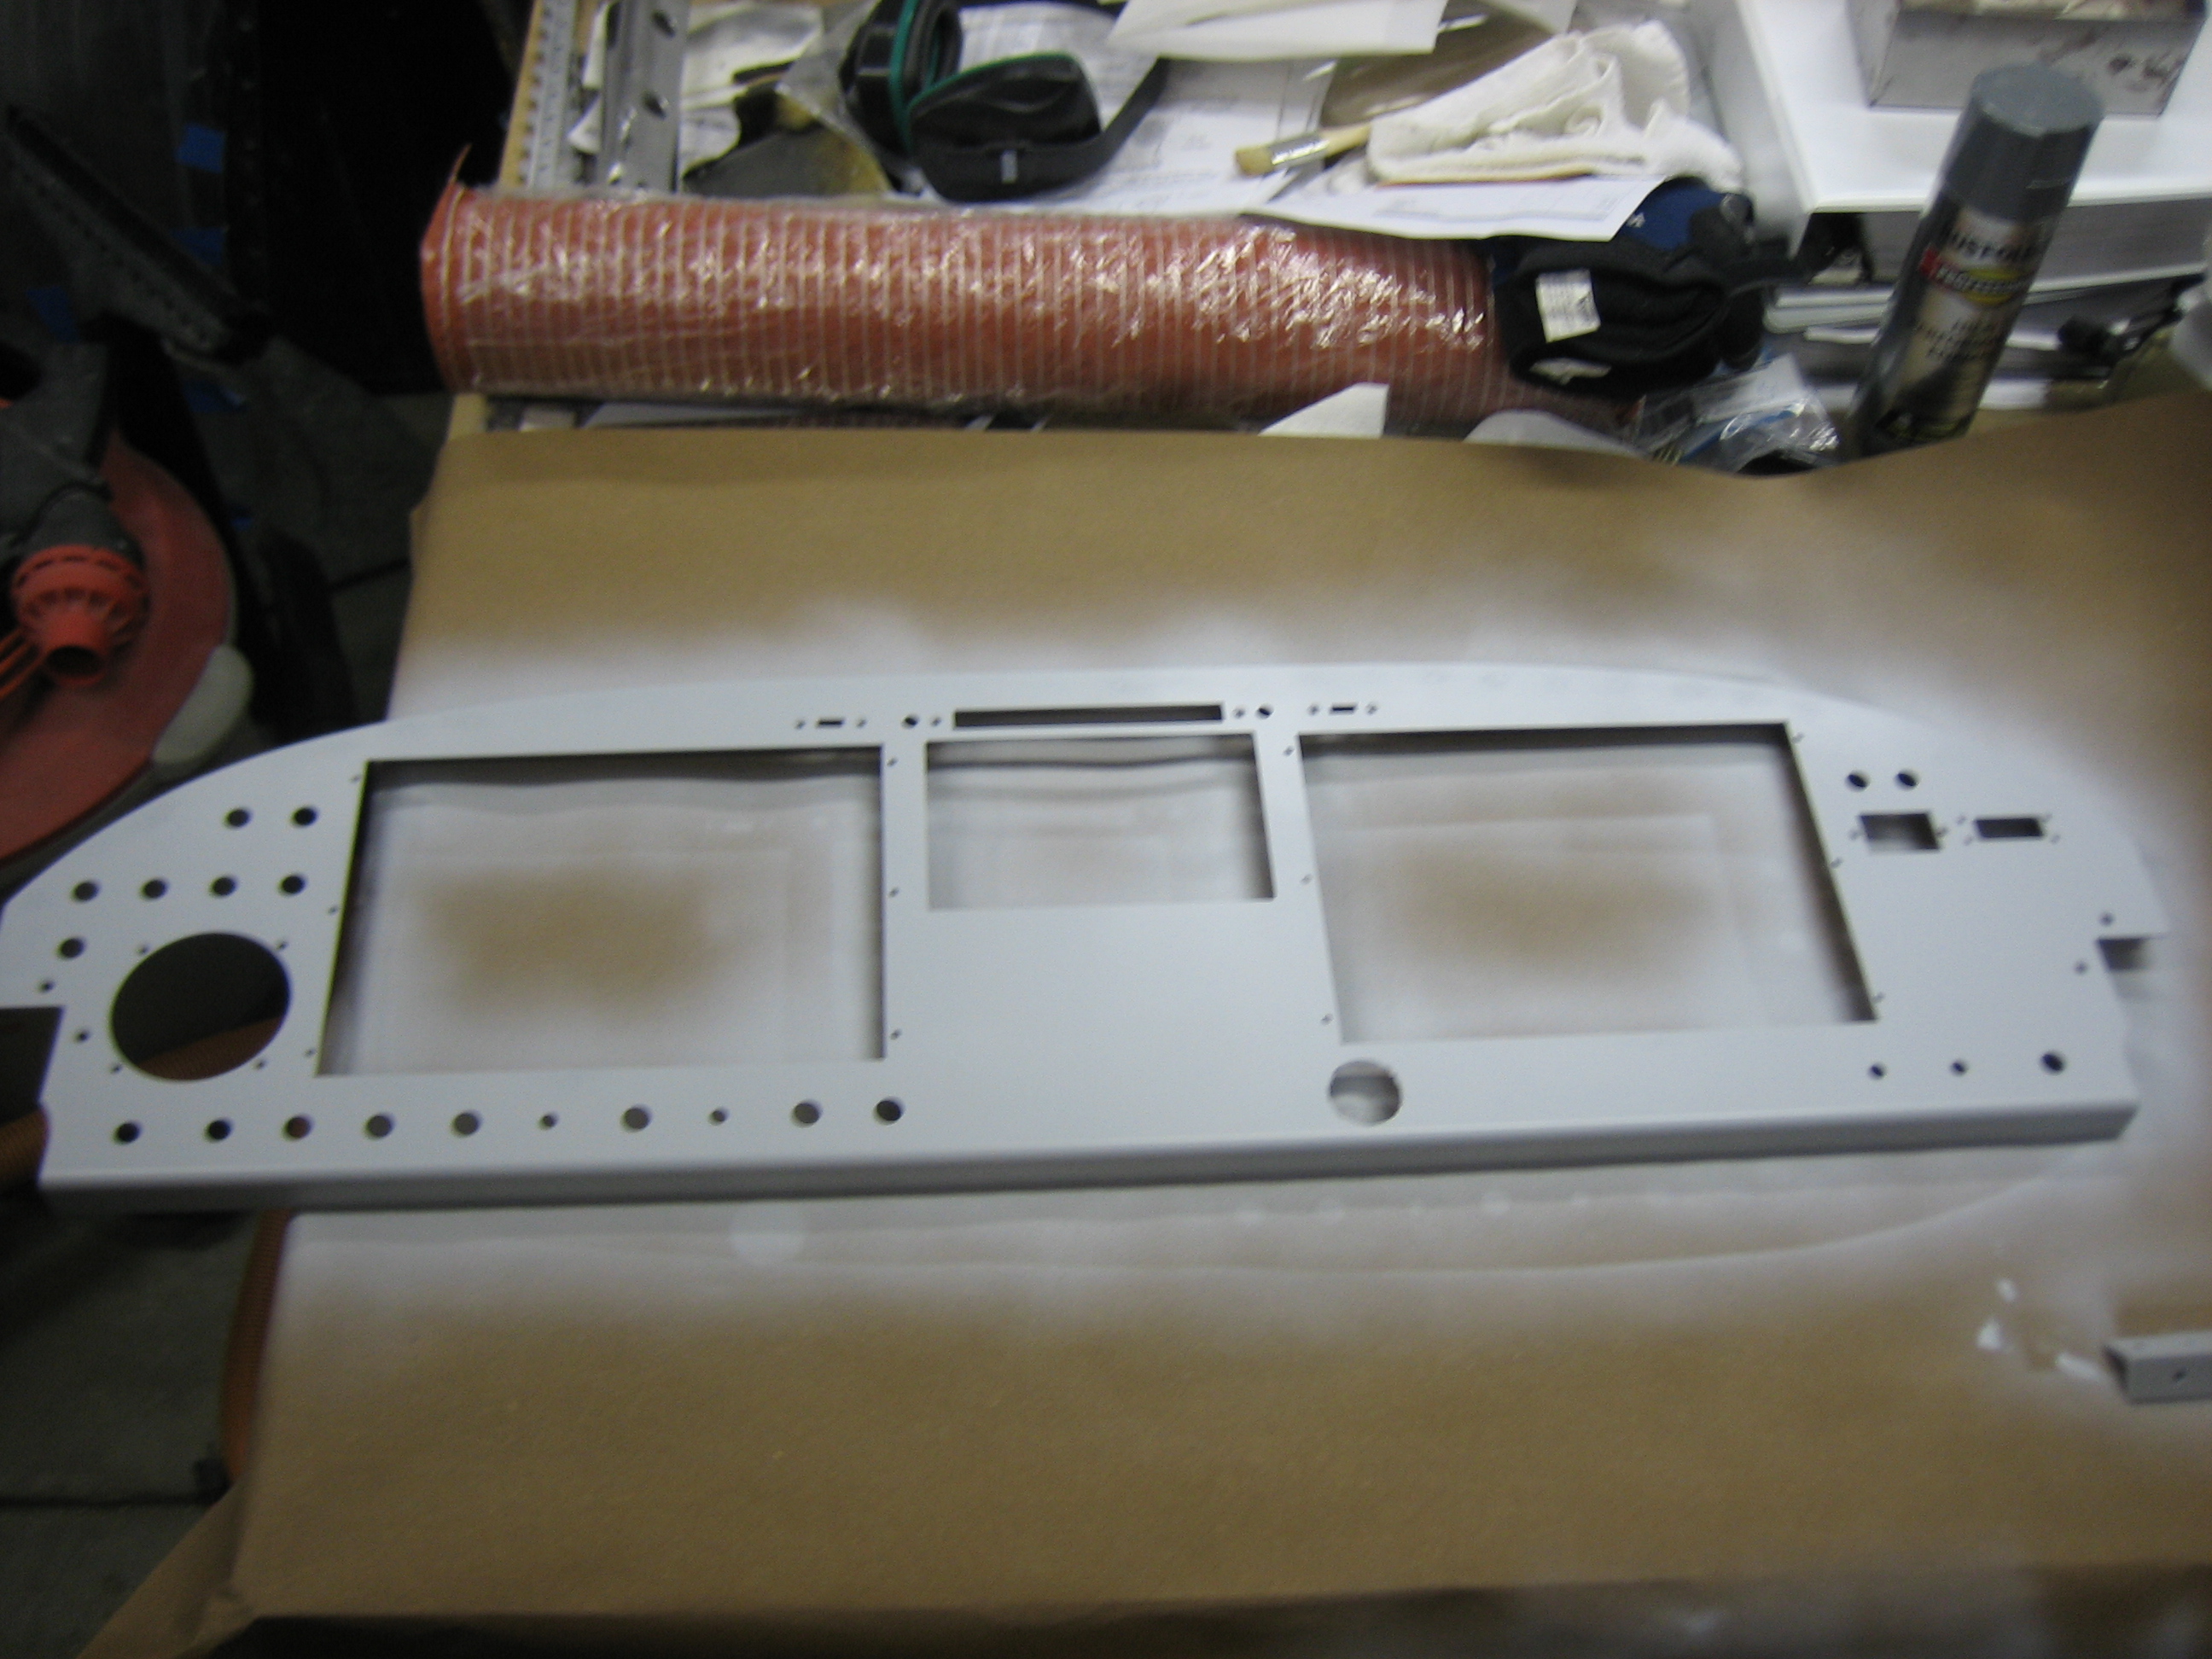
After sanding the instrument panel with 400 grit sandpaper to smooth out a few rough spots, I shot it with the same paint that matches my leather. I *think* I’m going to have to sand this a bit and shoot another top coat, but we’ll see tomorrow. You can see in the lower right of the picture that I also painted all of the screws that will be visible on the panel.
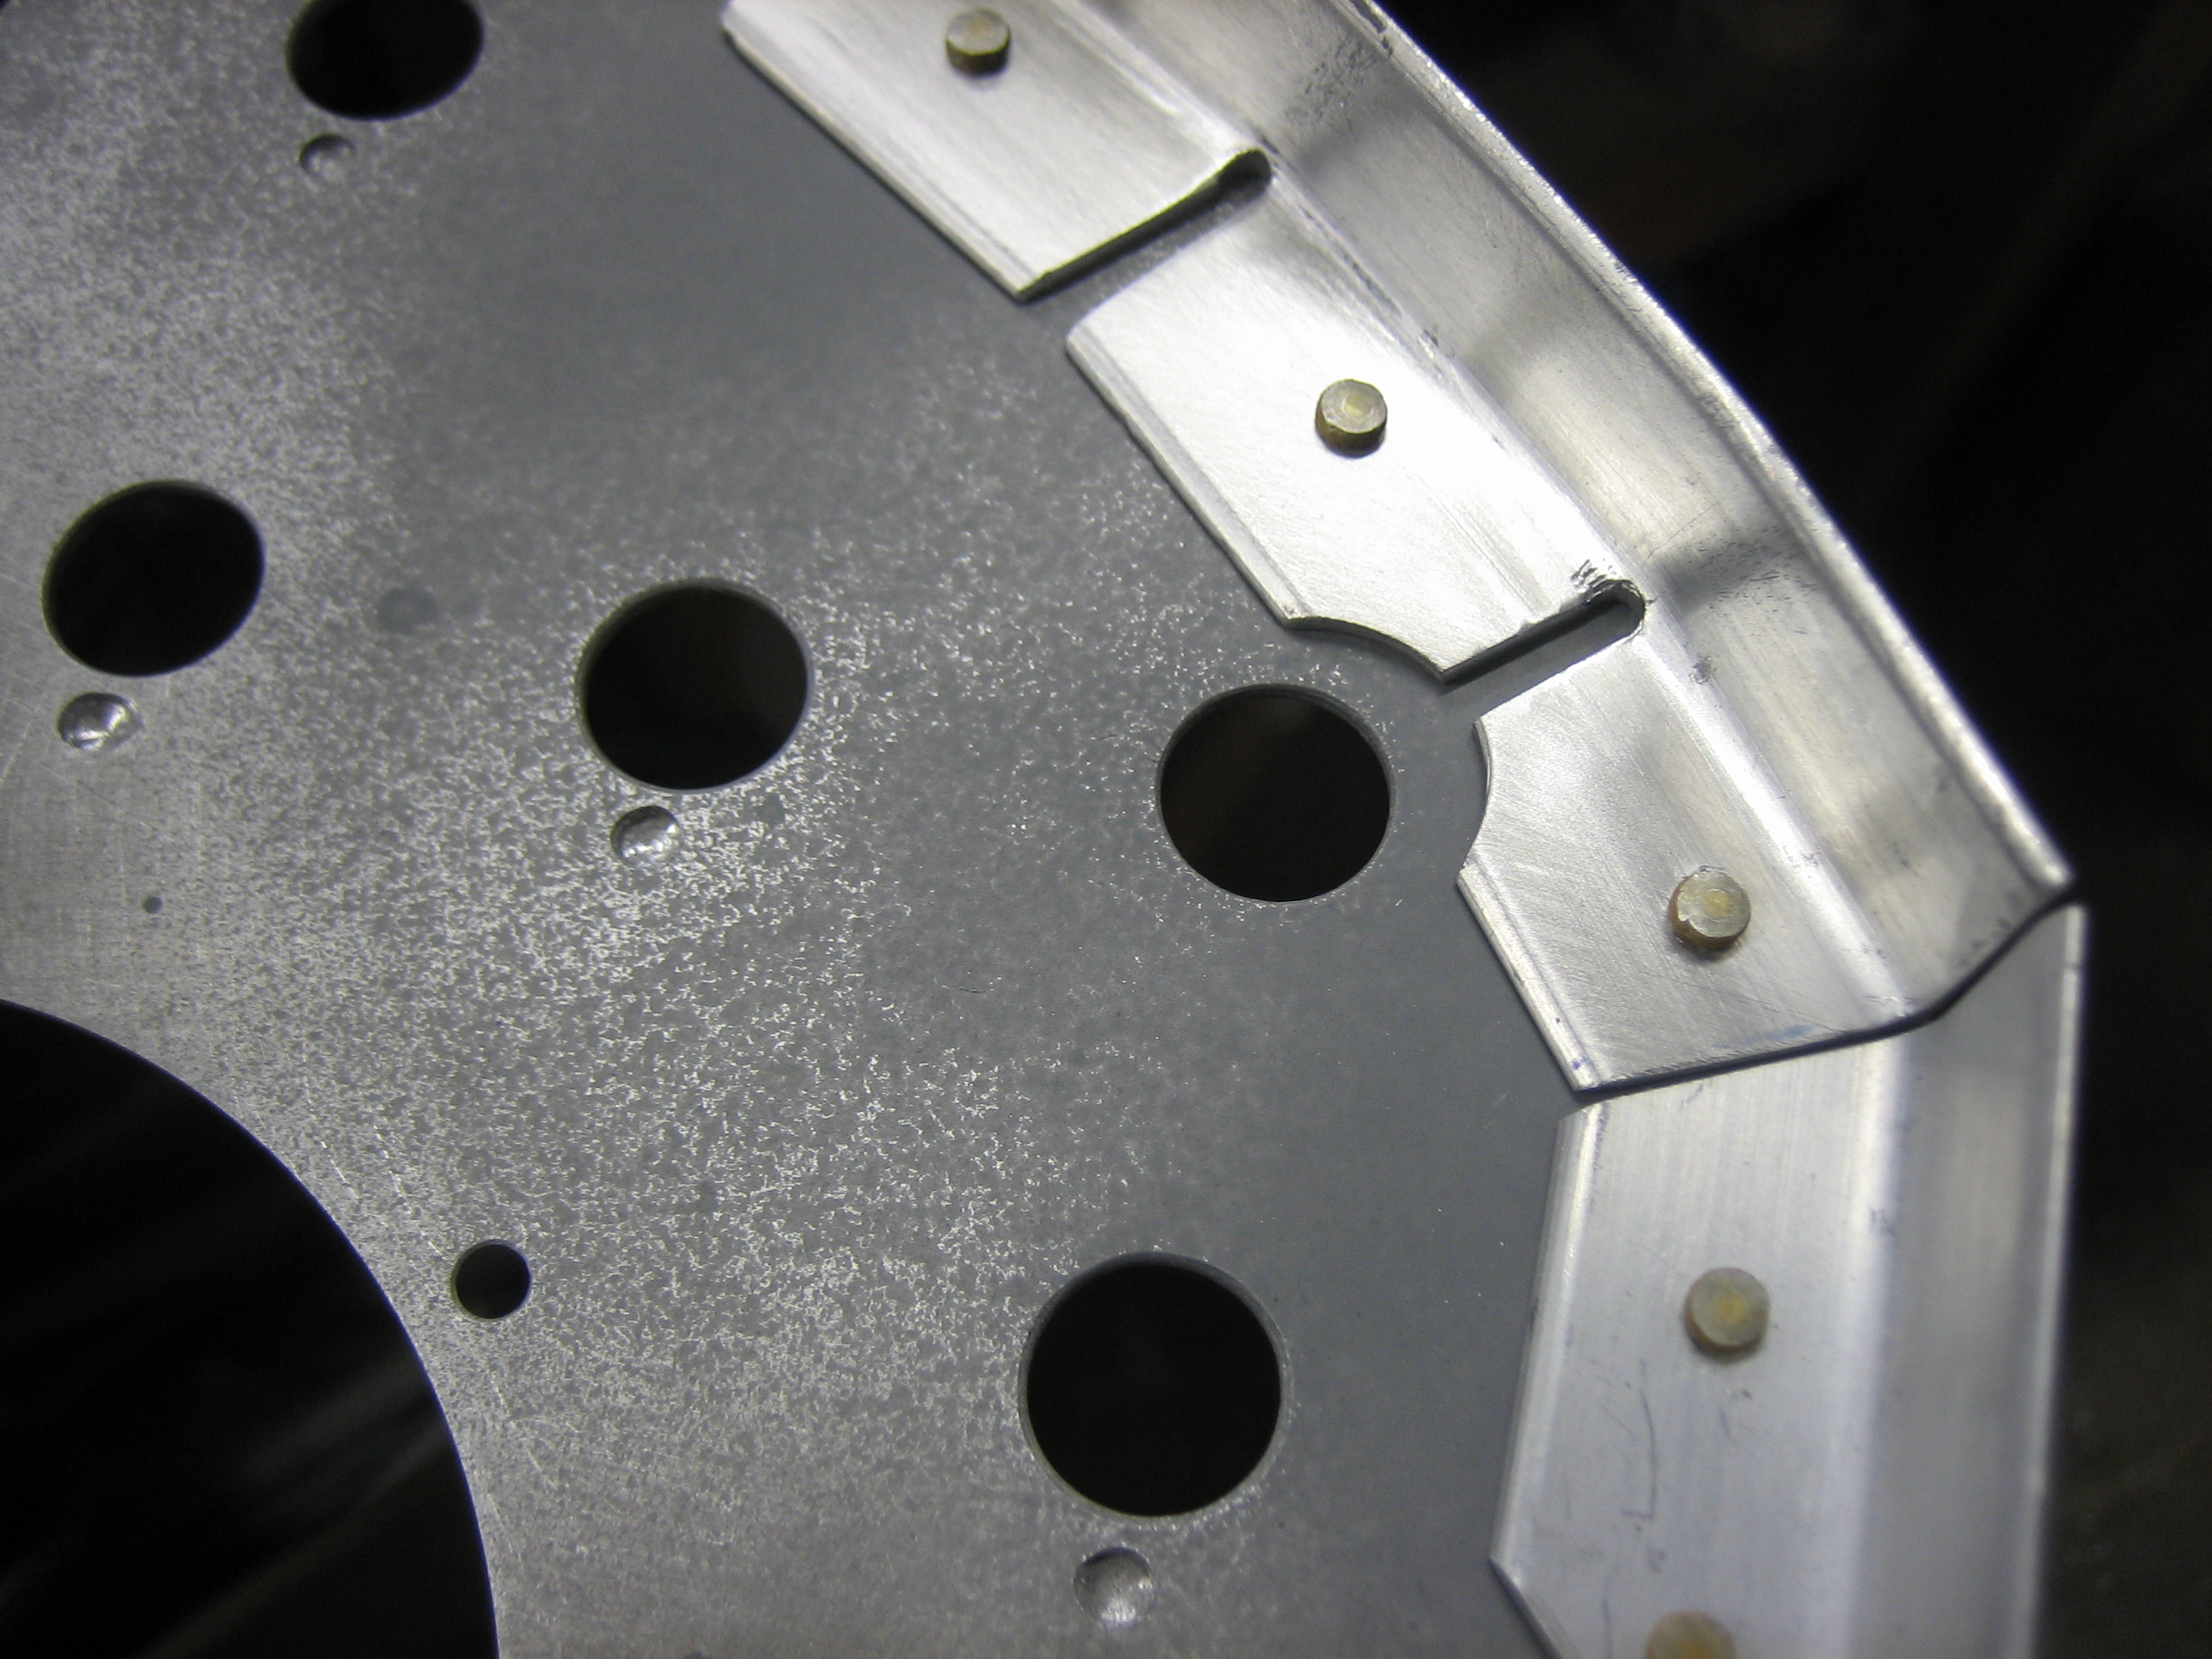
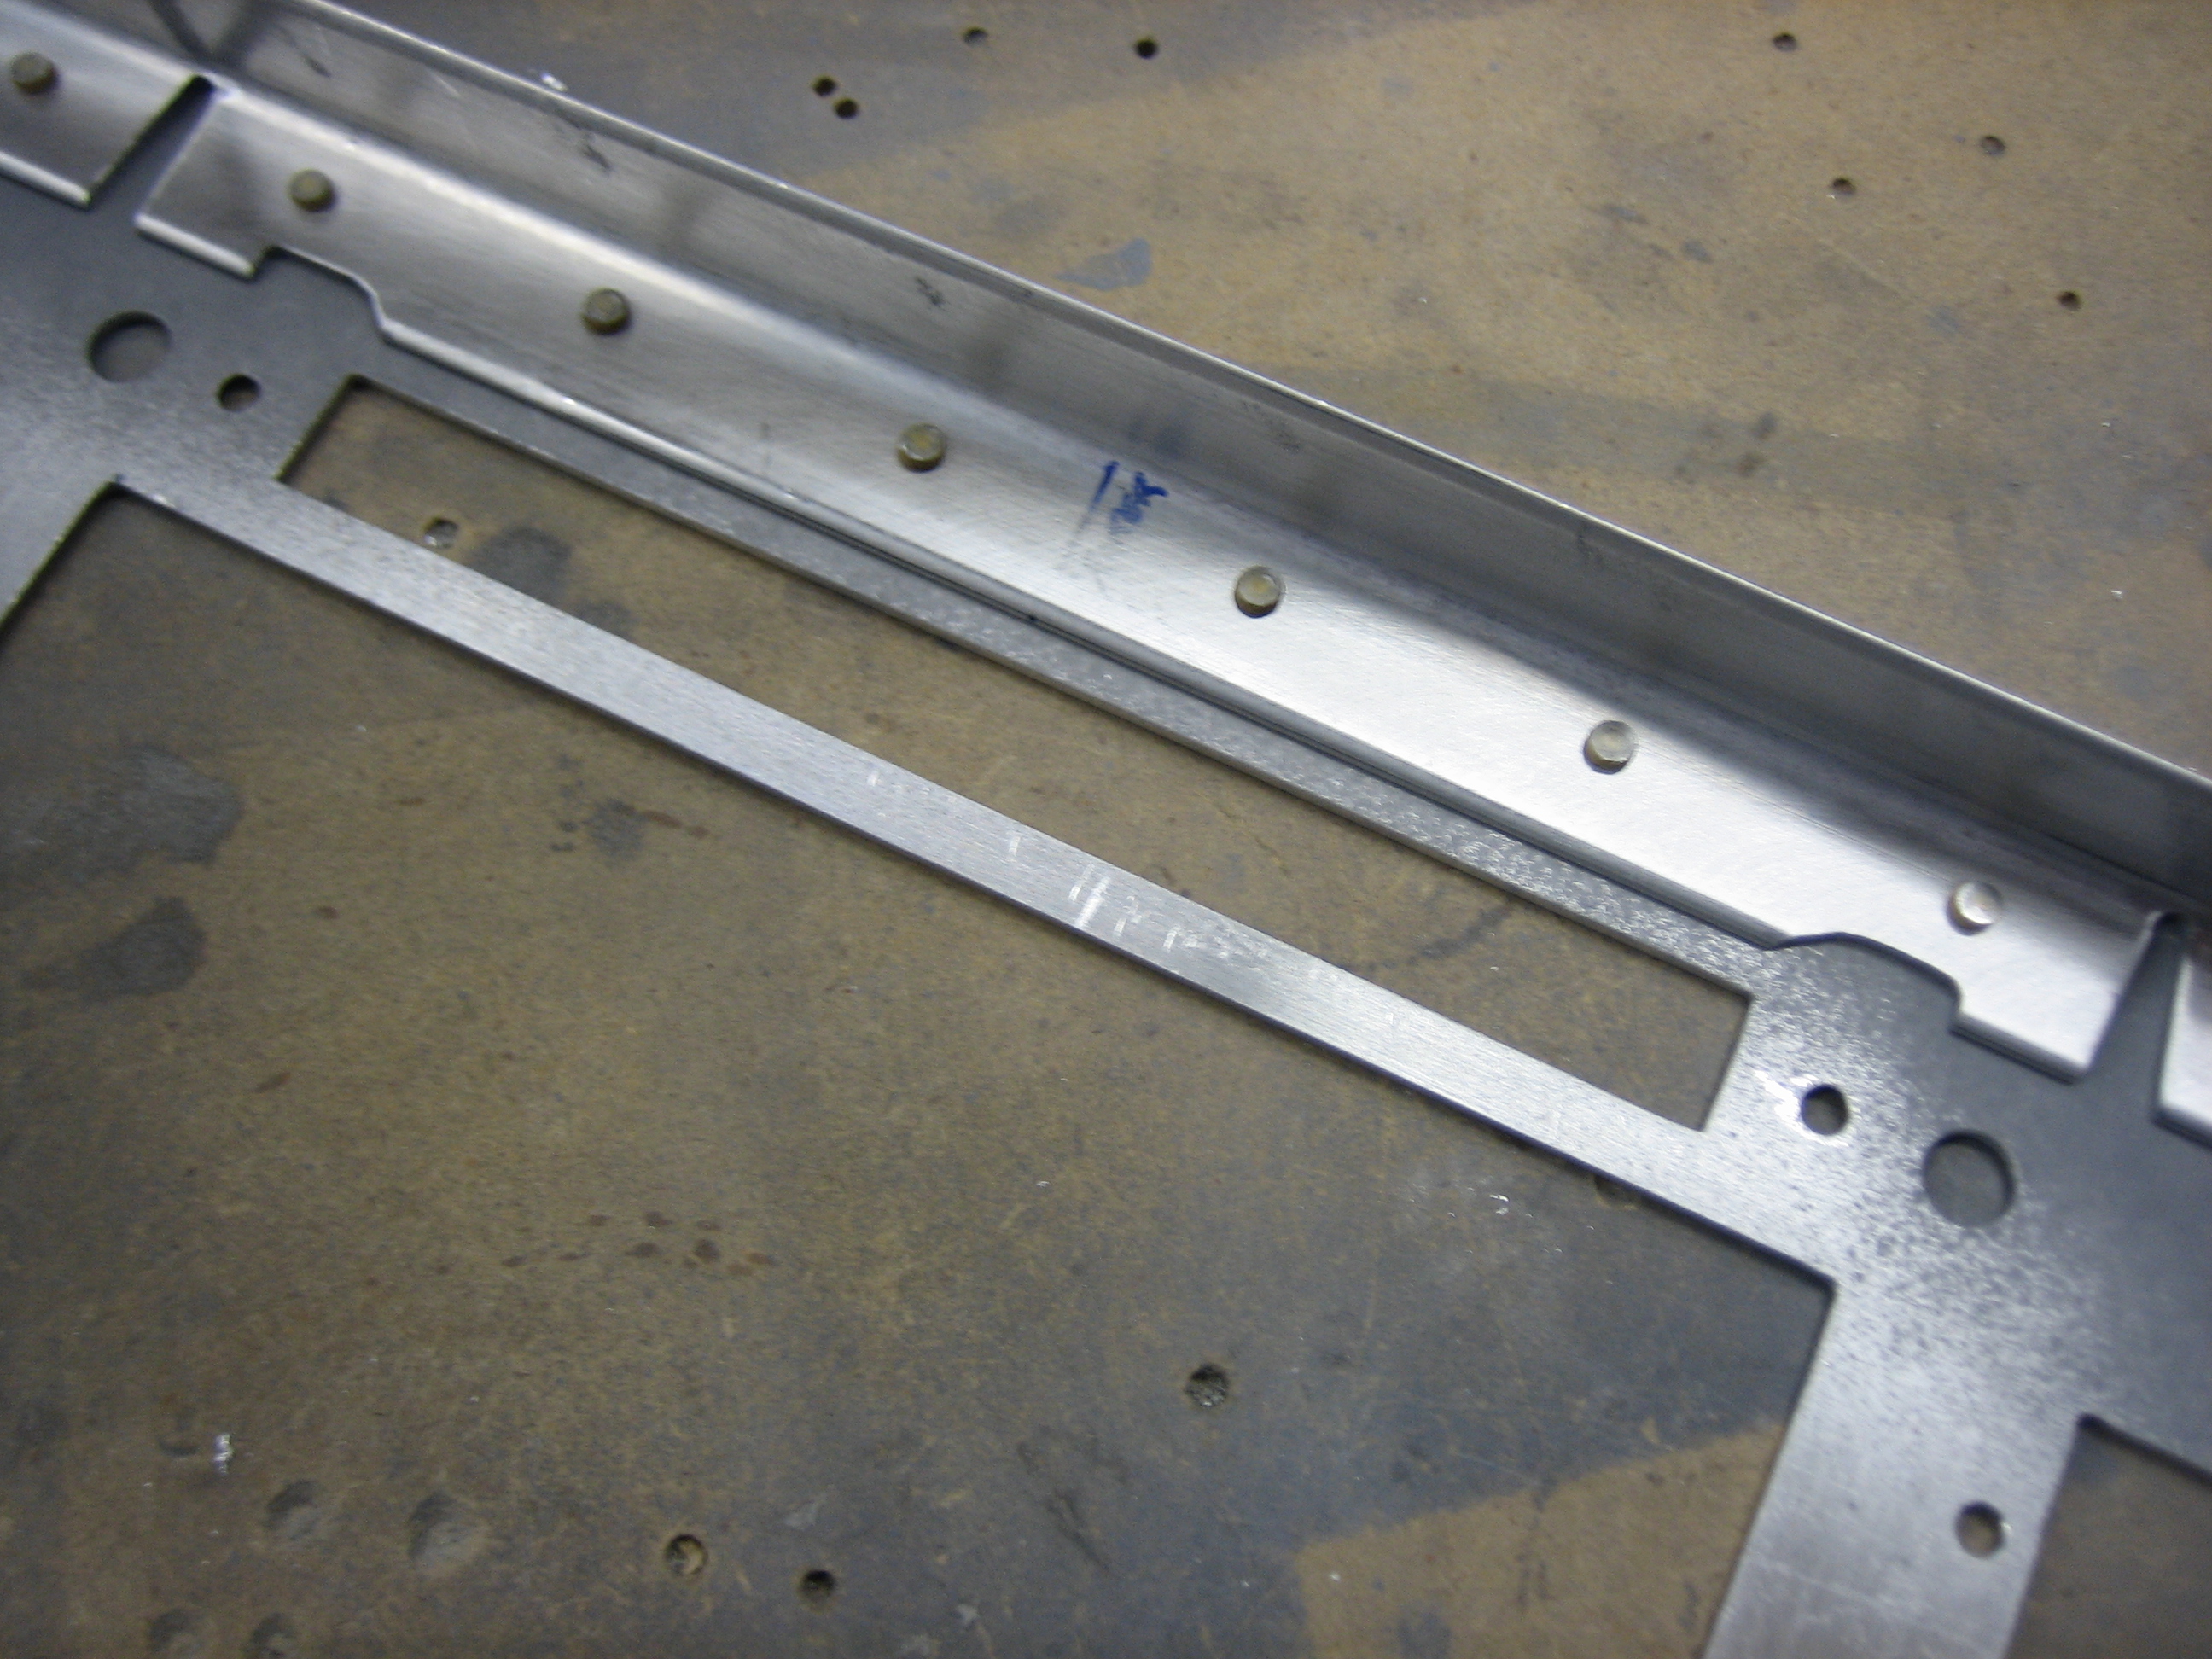
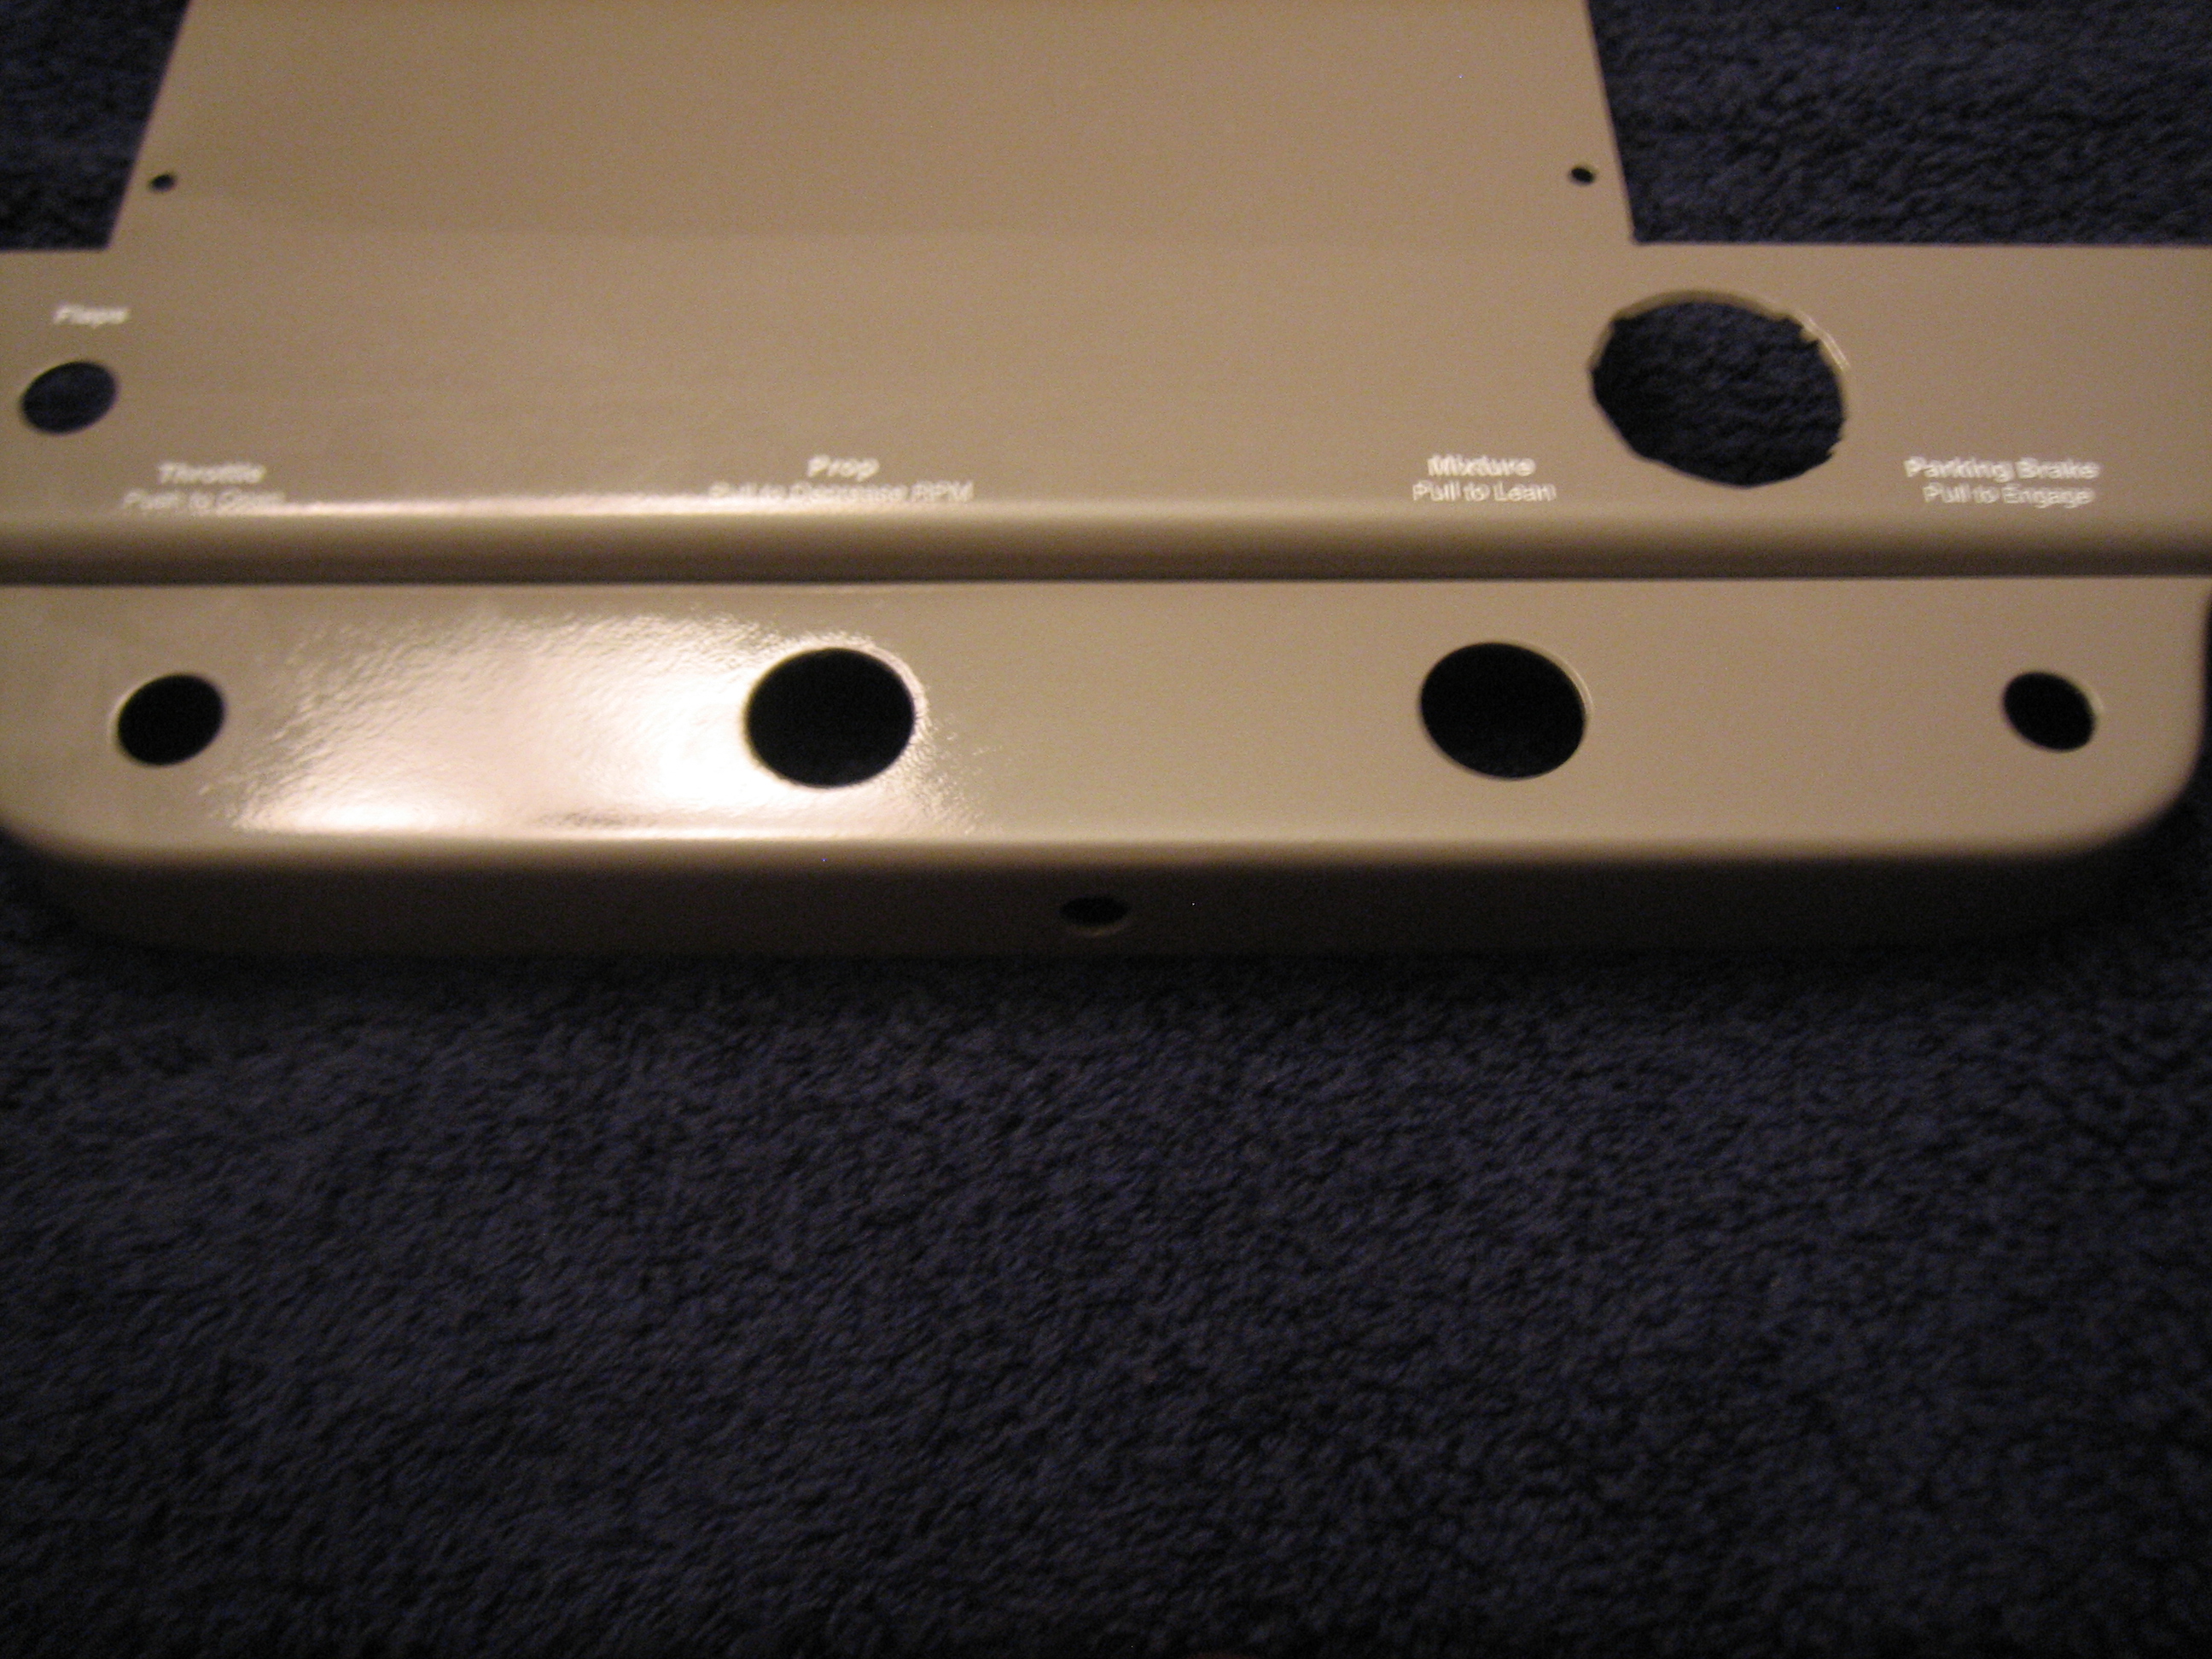
I got back the engine control bracket from the welder. I’m using the bracket from Experimental Air, but I took about 1/2″ off the top to give myself a little more knee room. This required having a welder attach a new top plate so that it could be screwed to the bottom of the panel.
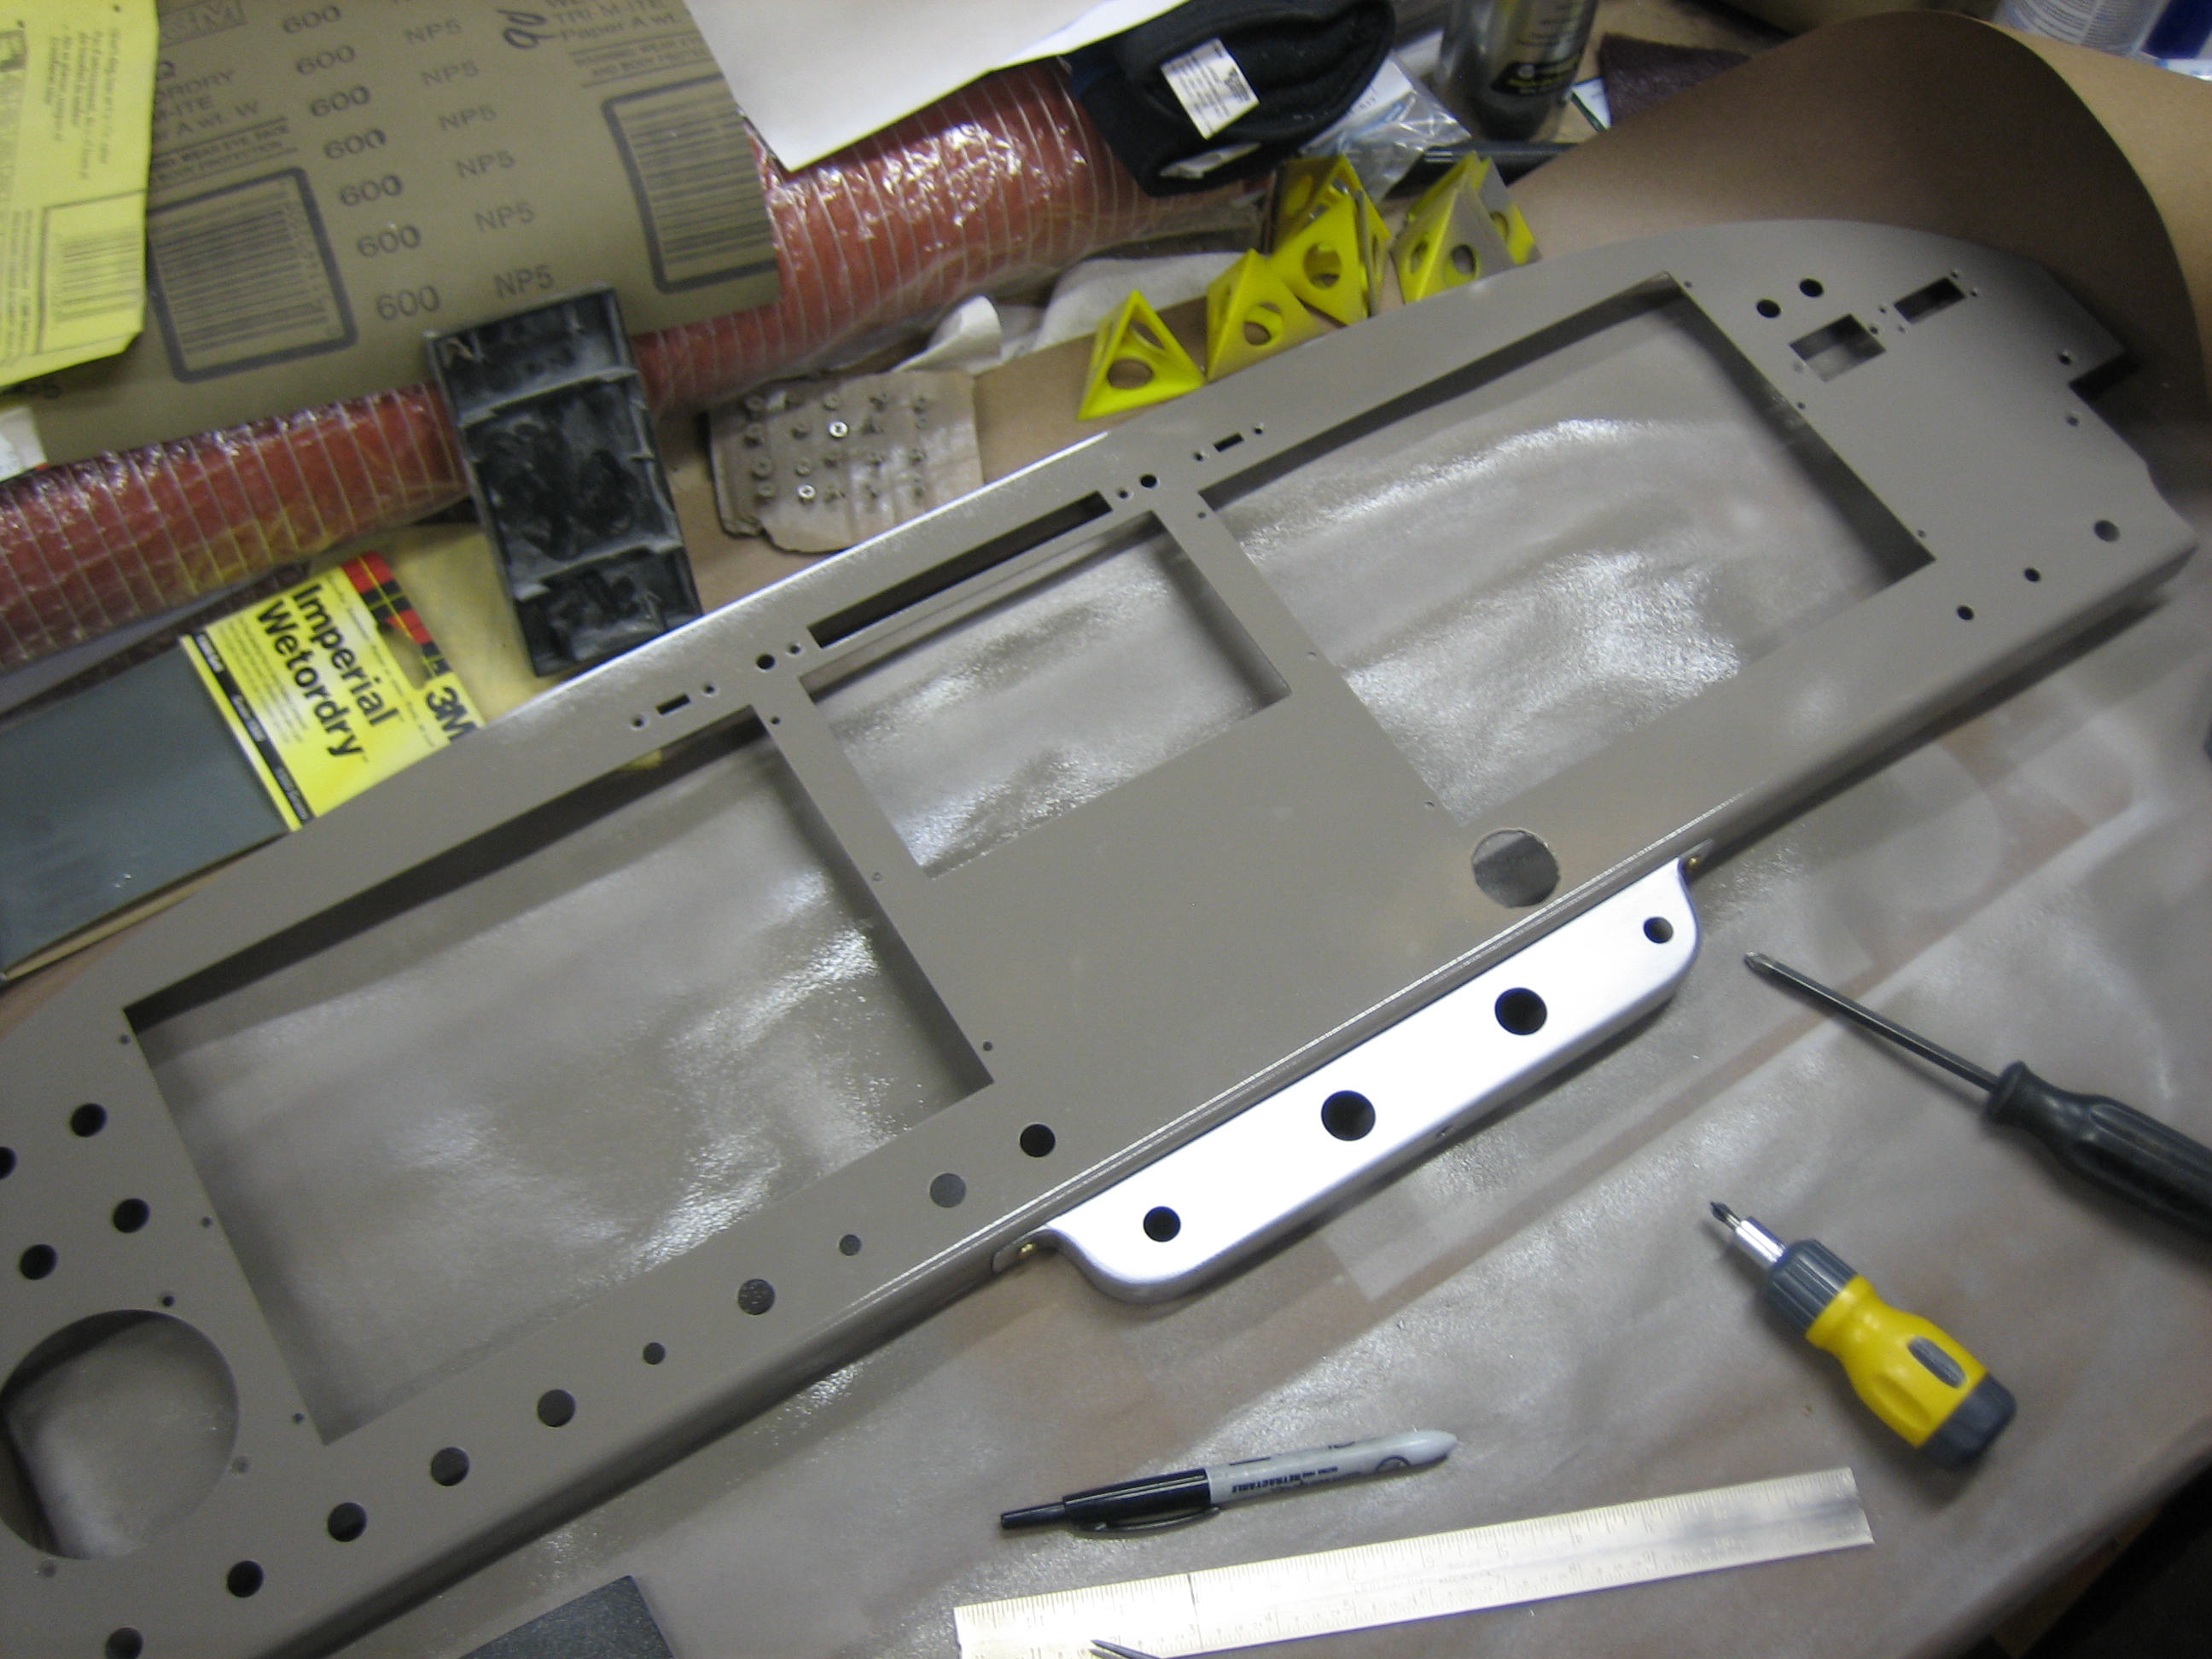
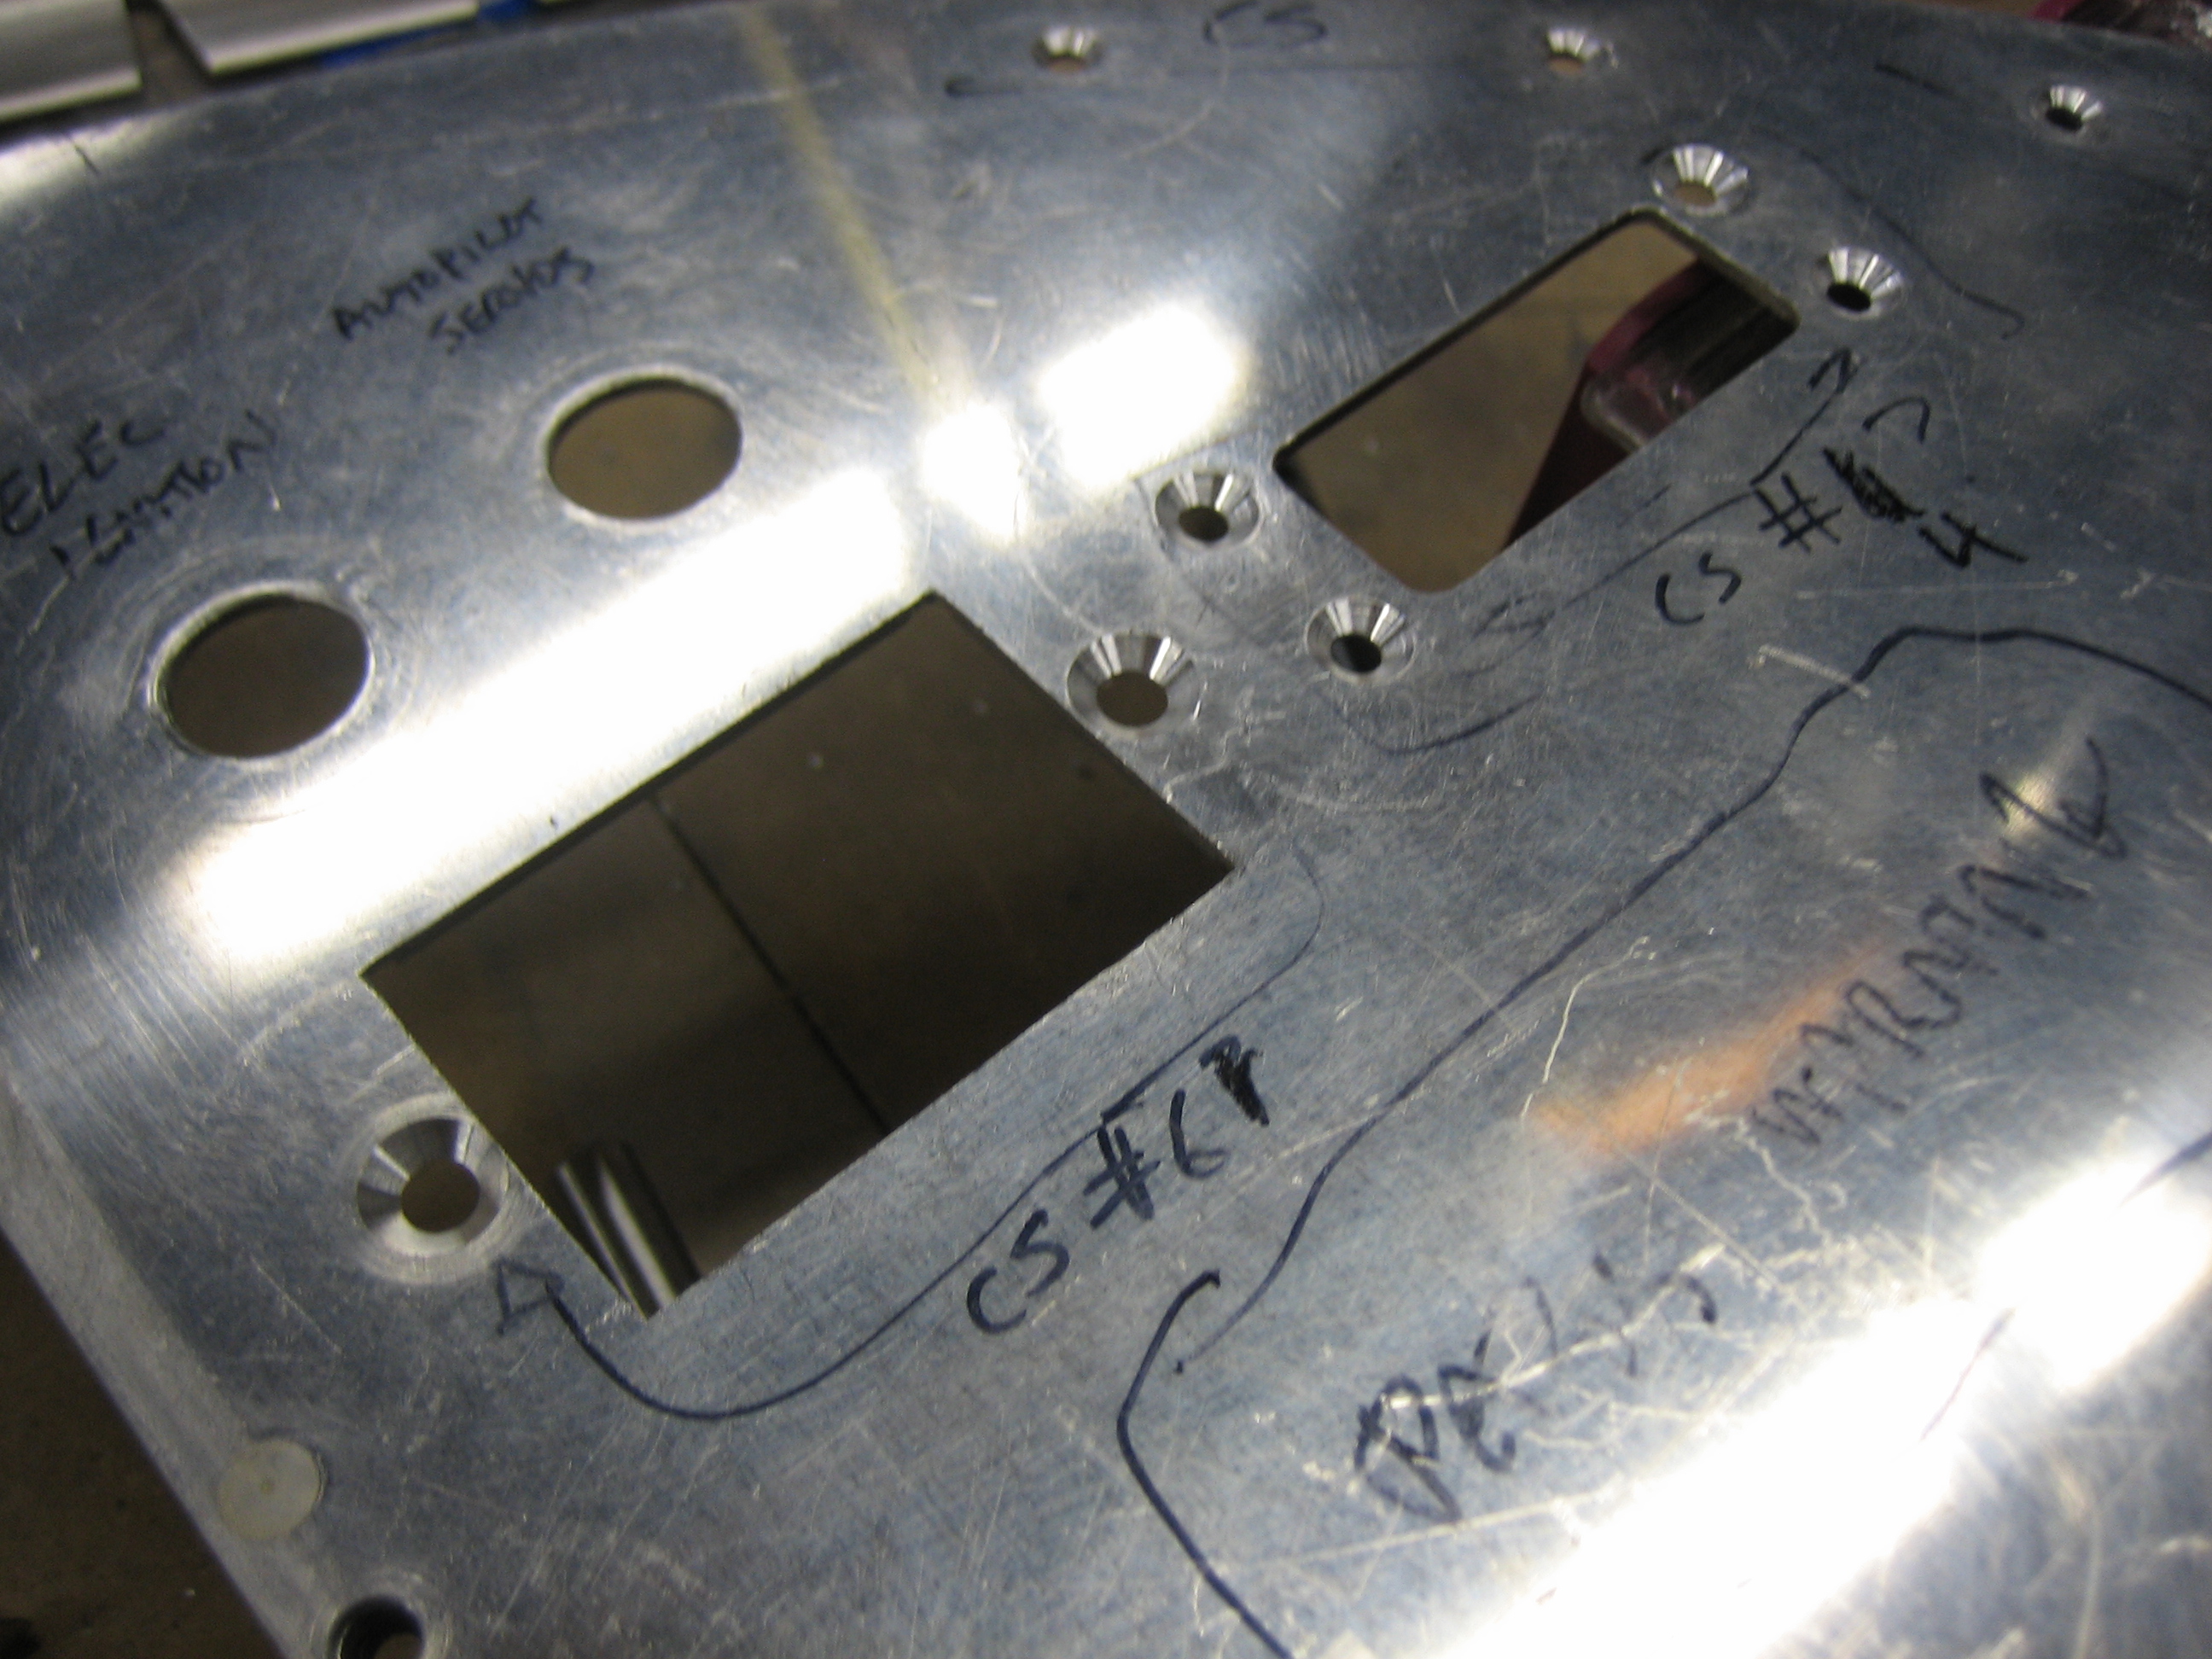
I used three screws to attach the bracket. The one in the middle required a hole in the bottom flange to allow me to use a straight screwdriver to access this screw.
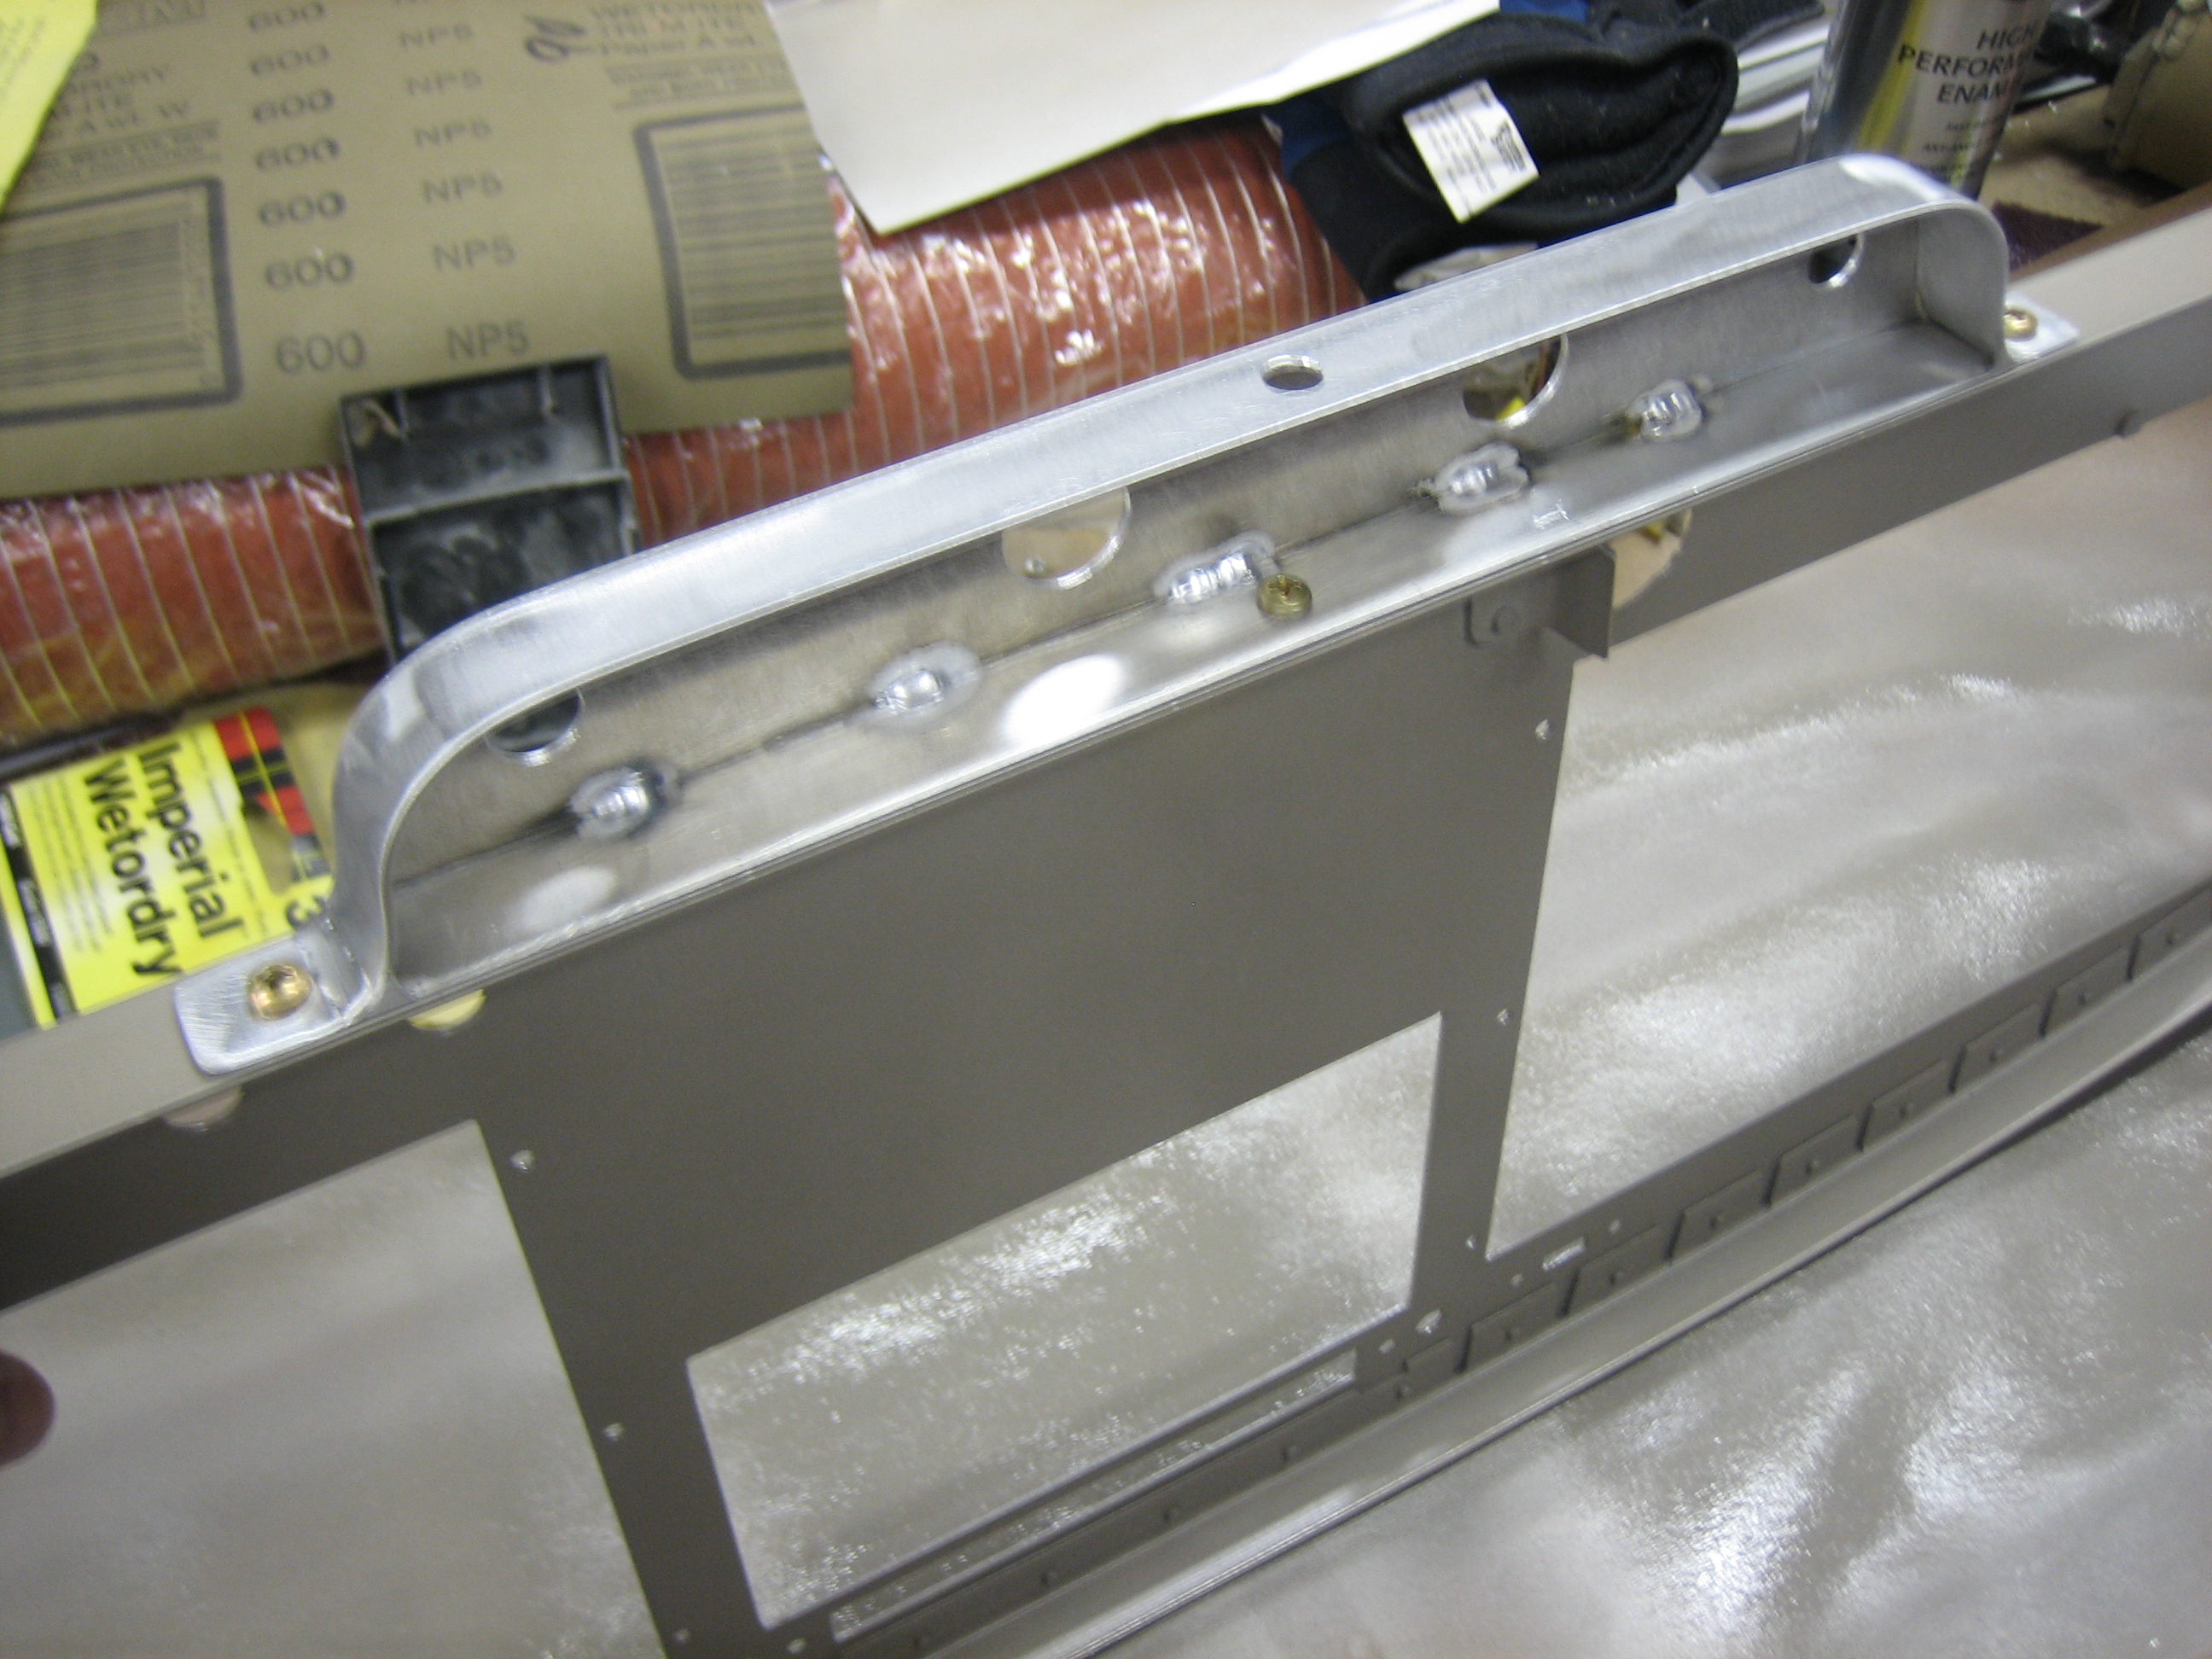
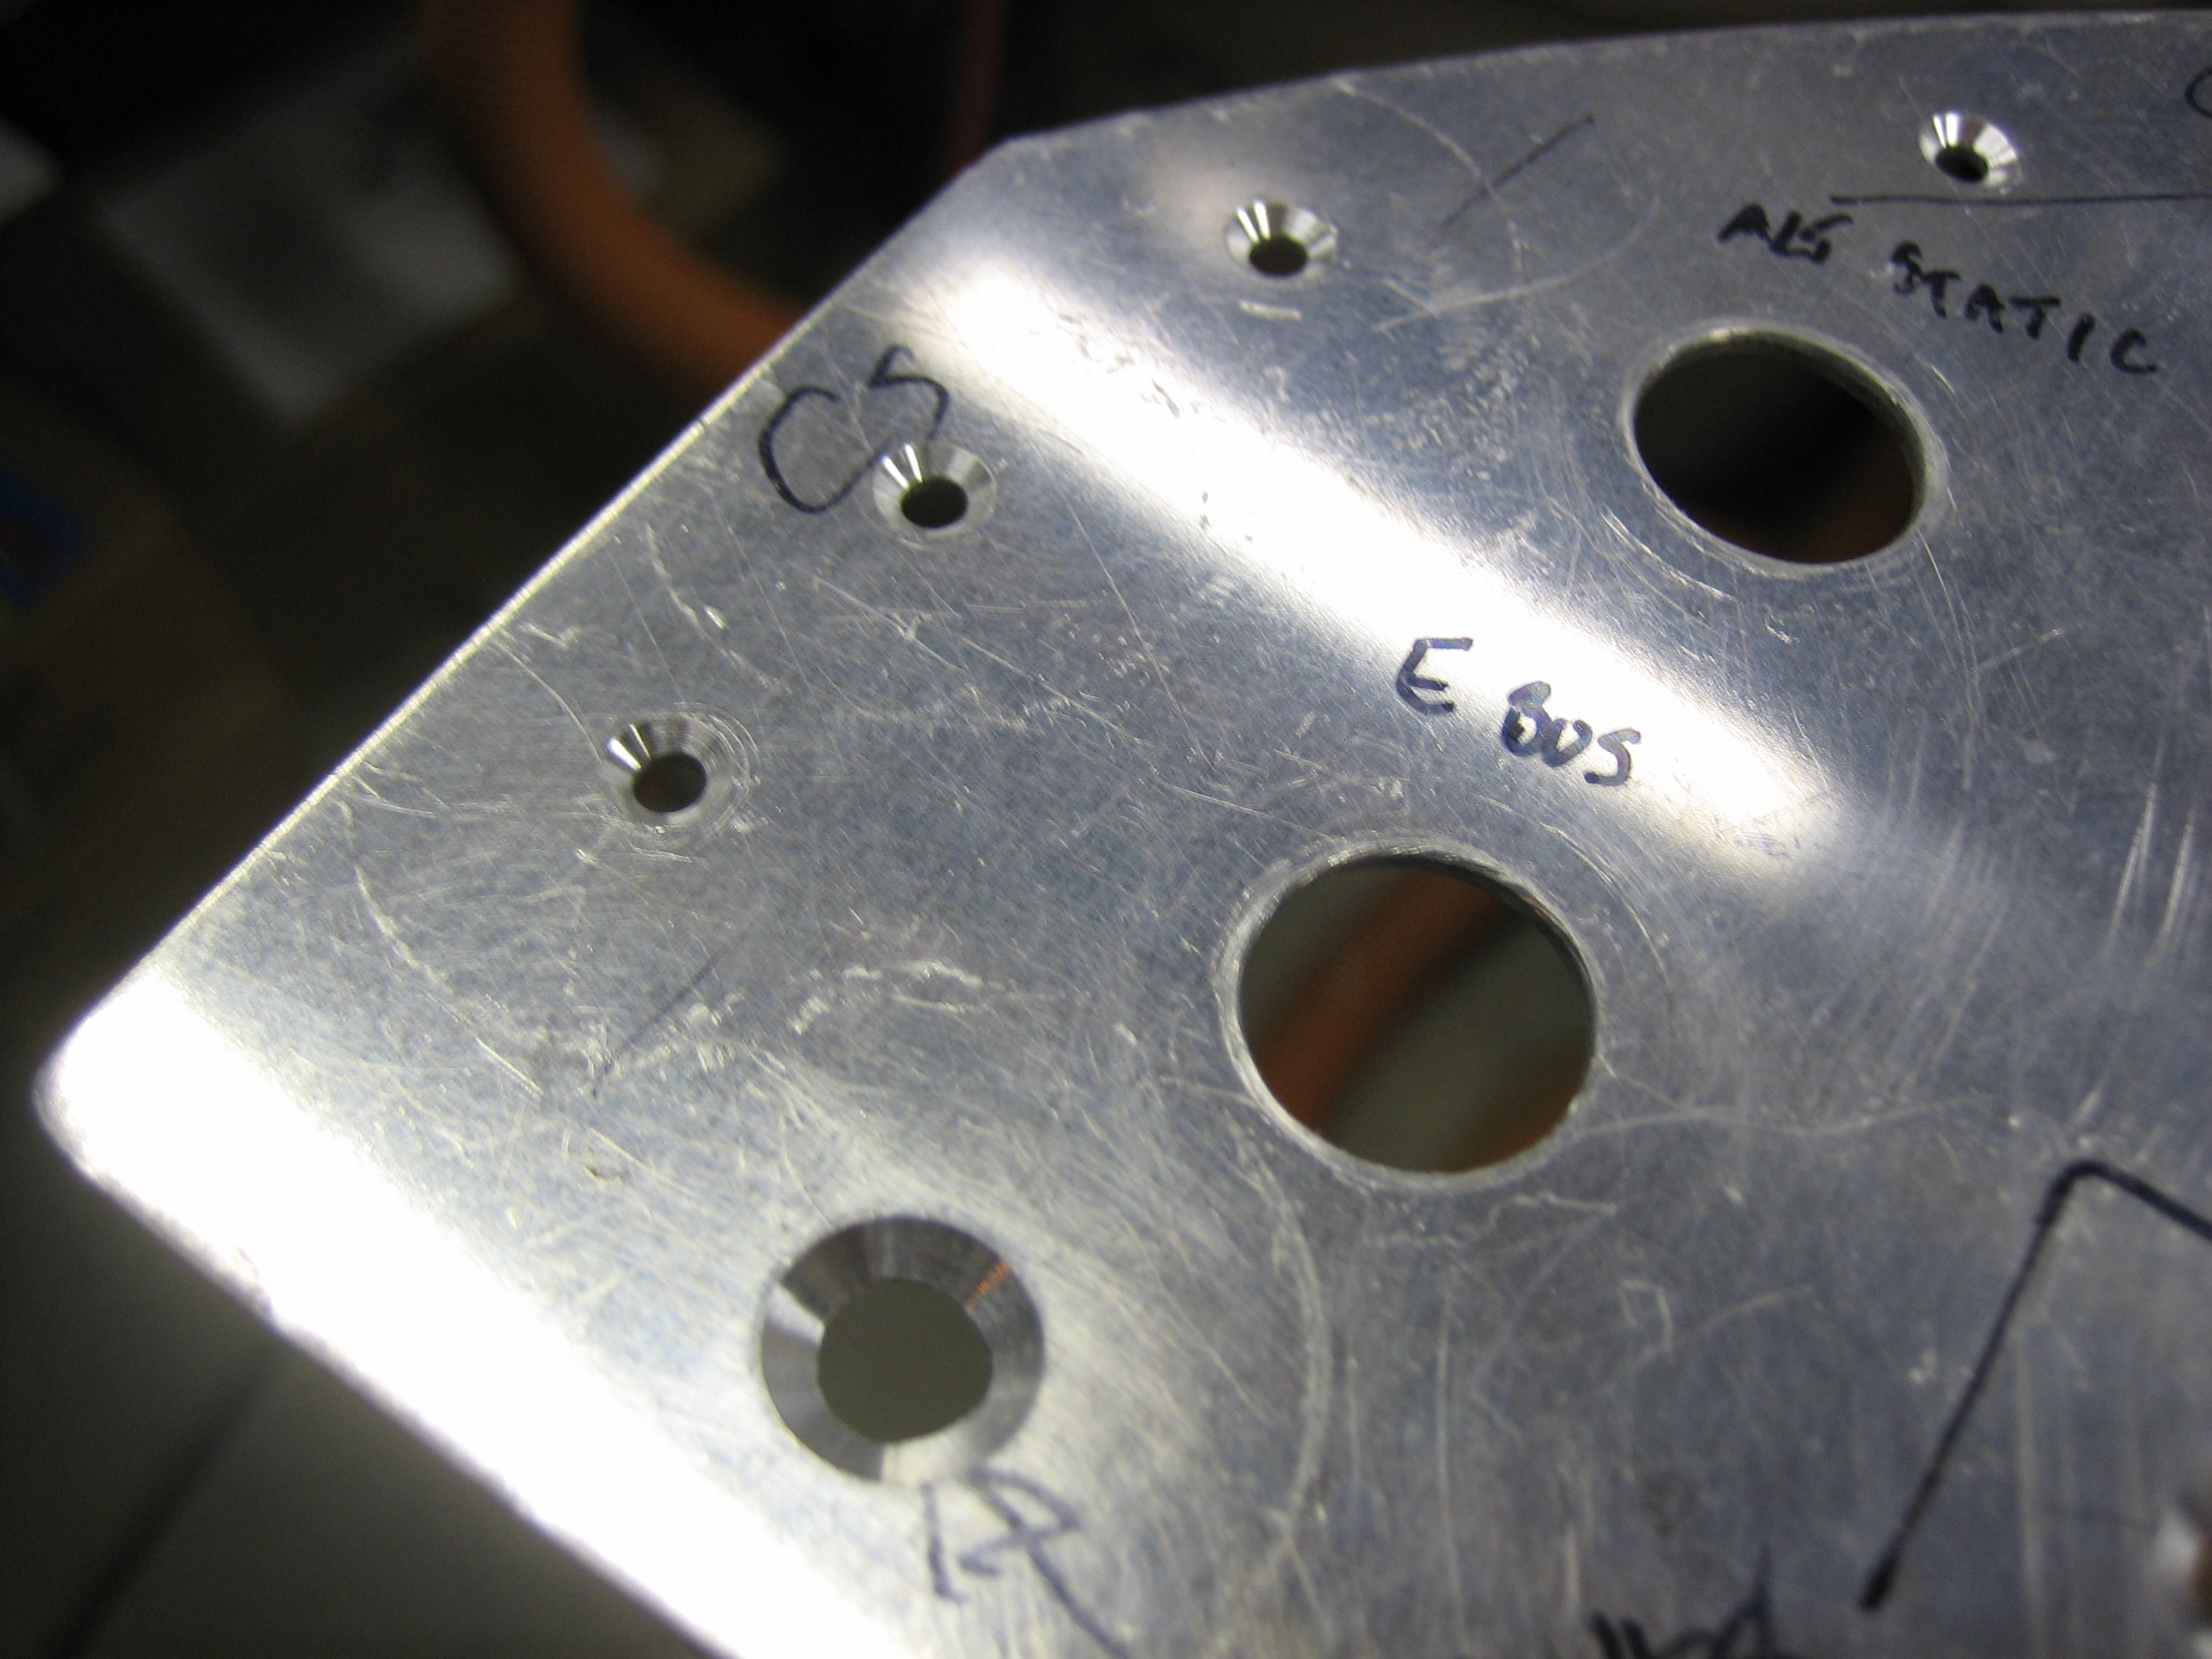
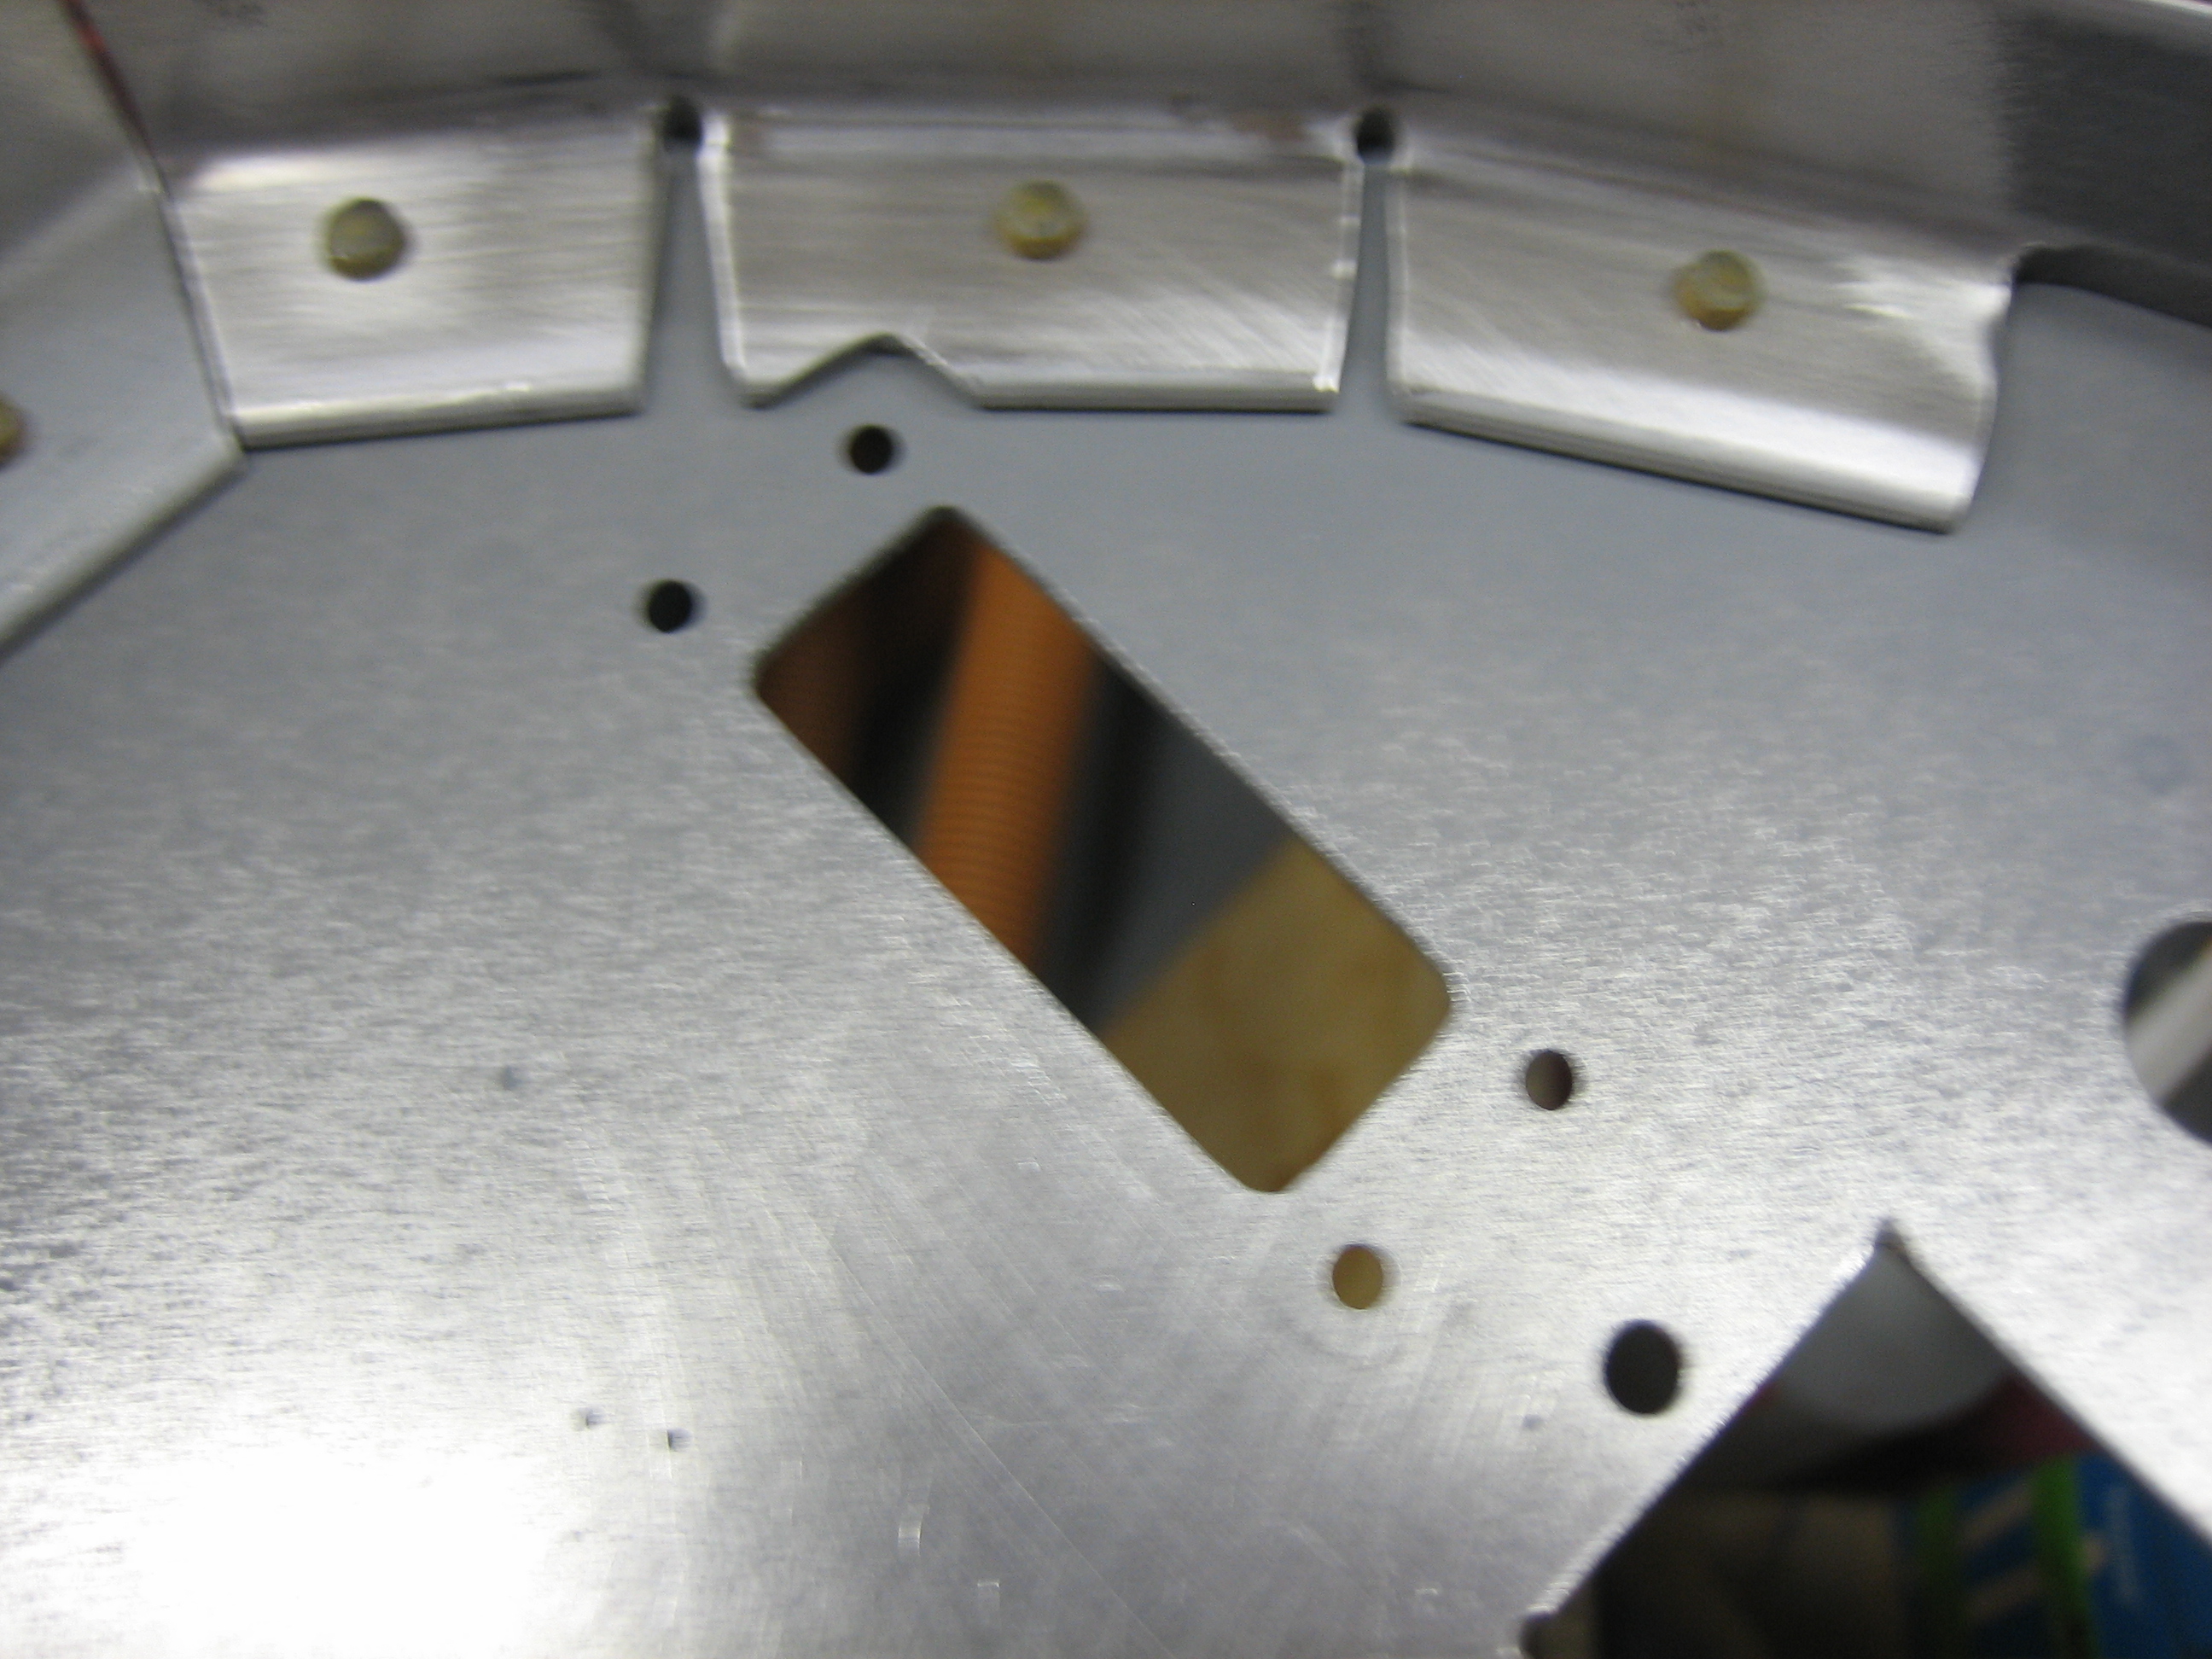
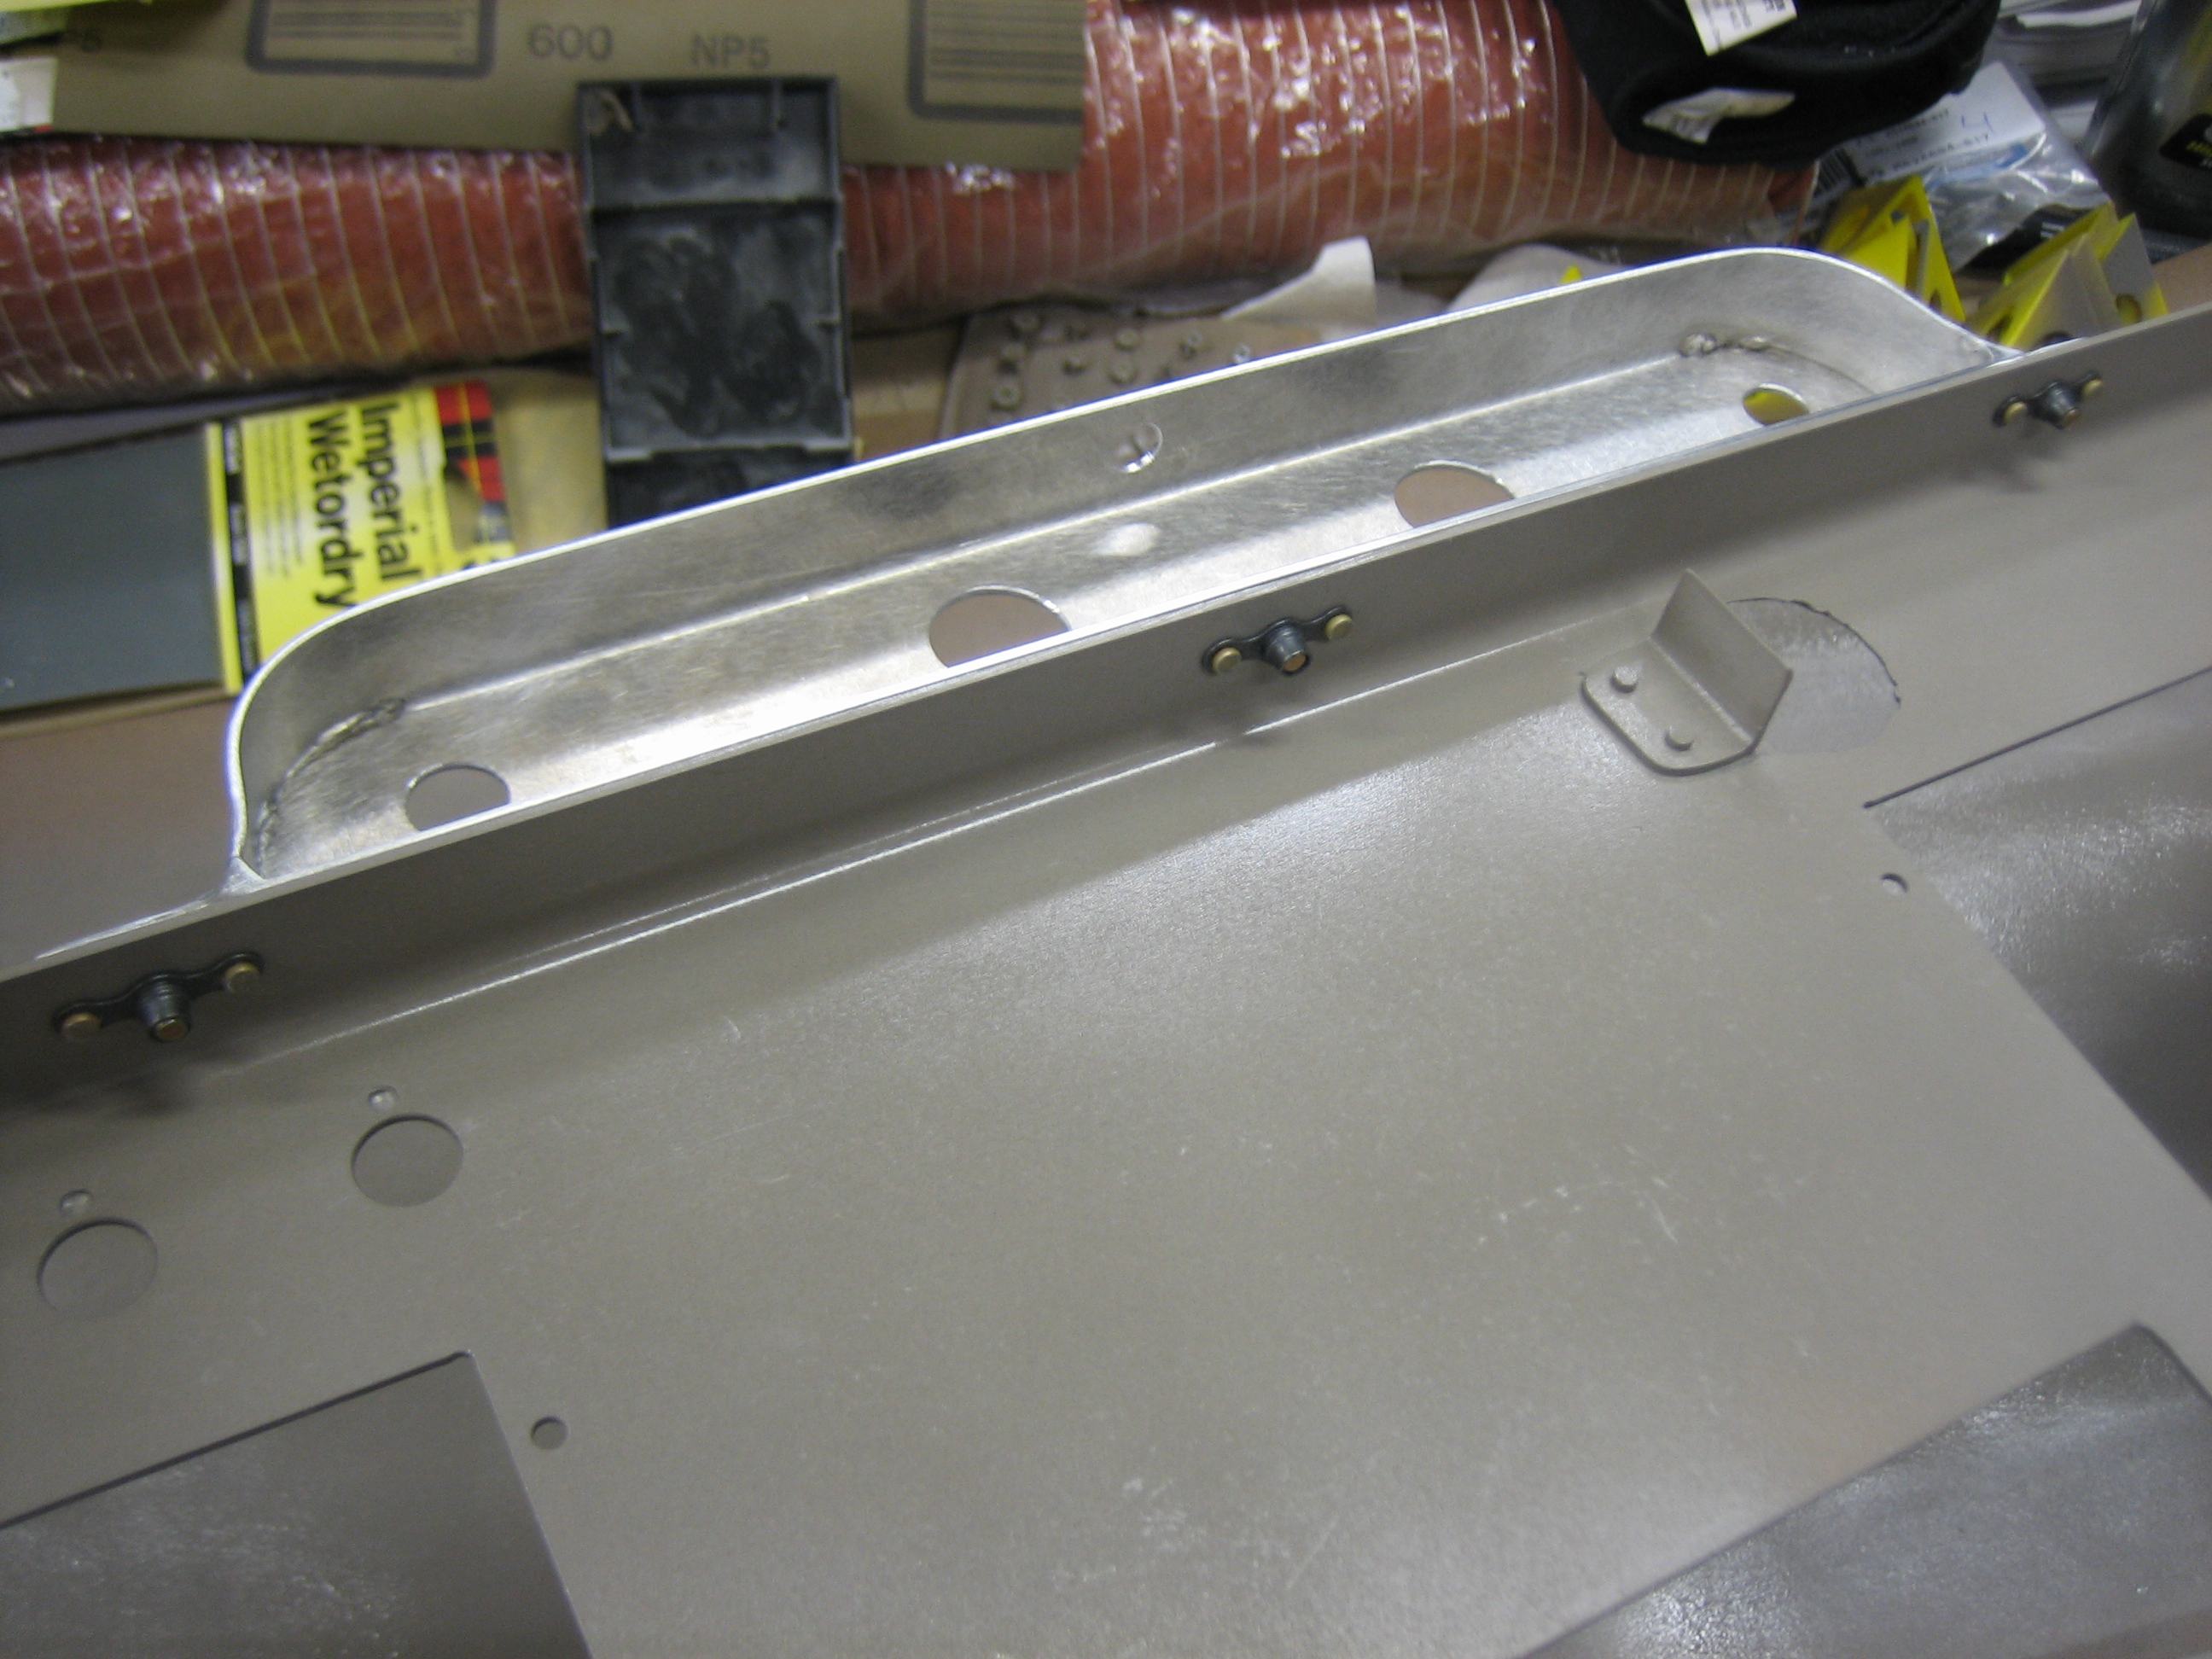
I installed nutplates on the bottom flange of the instrument panel. I was a little concerned that the one on the left would interfere with the switches, but there’s over 1/4″ of clearance.
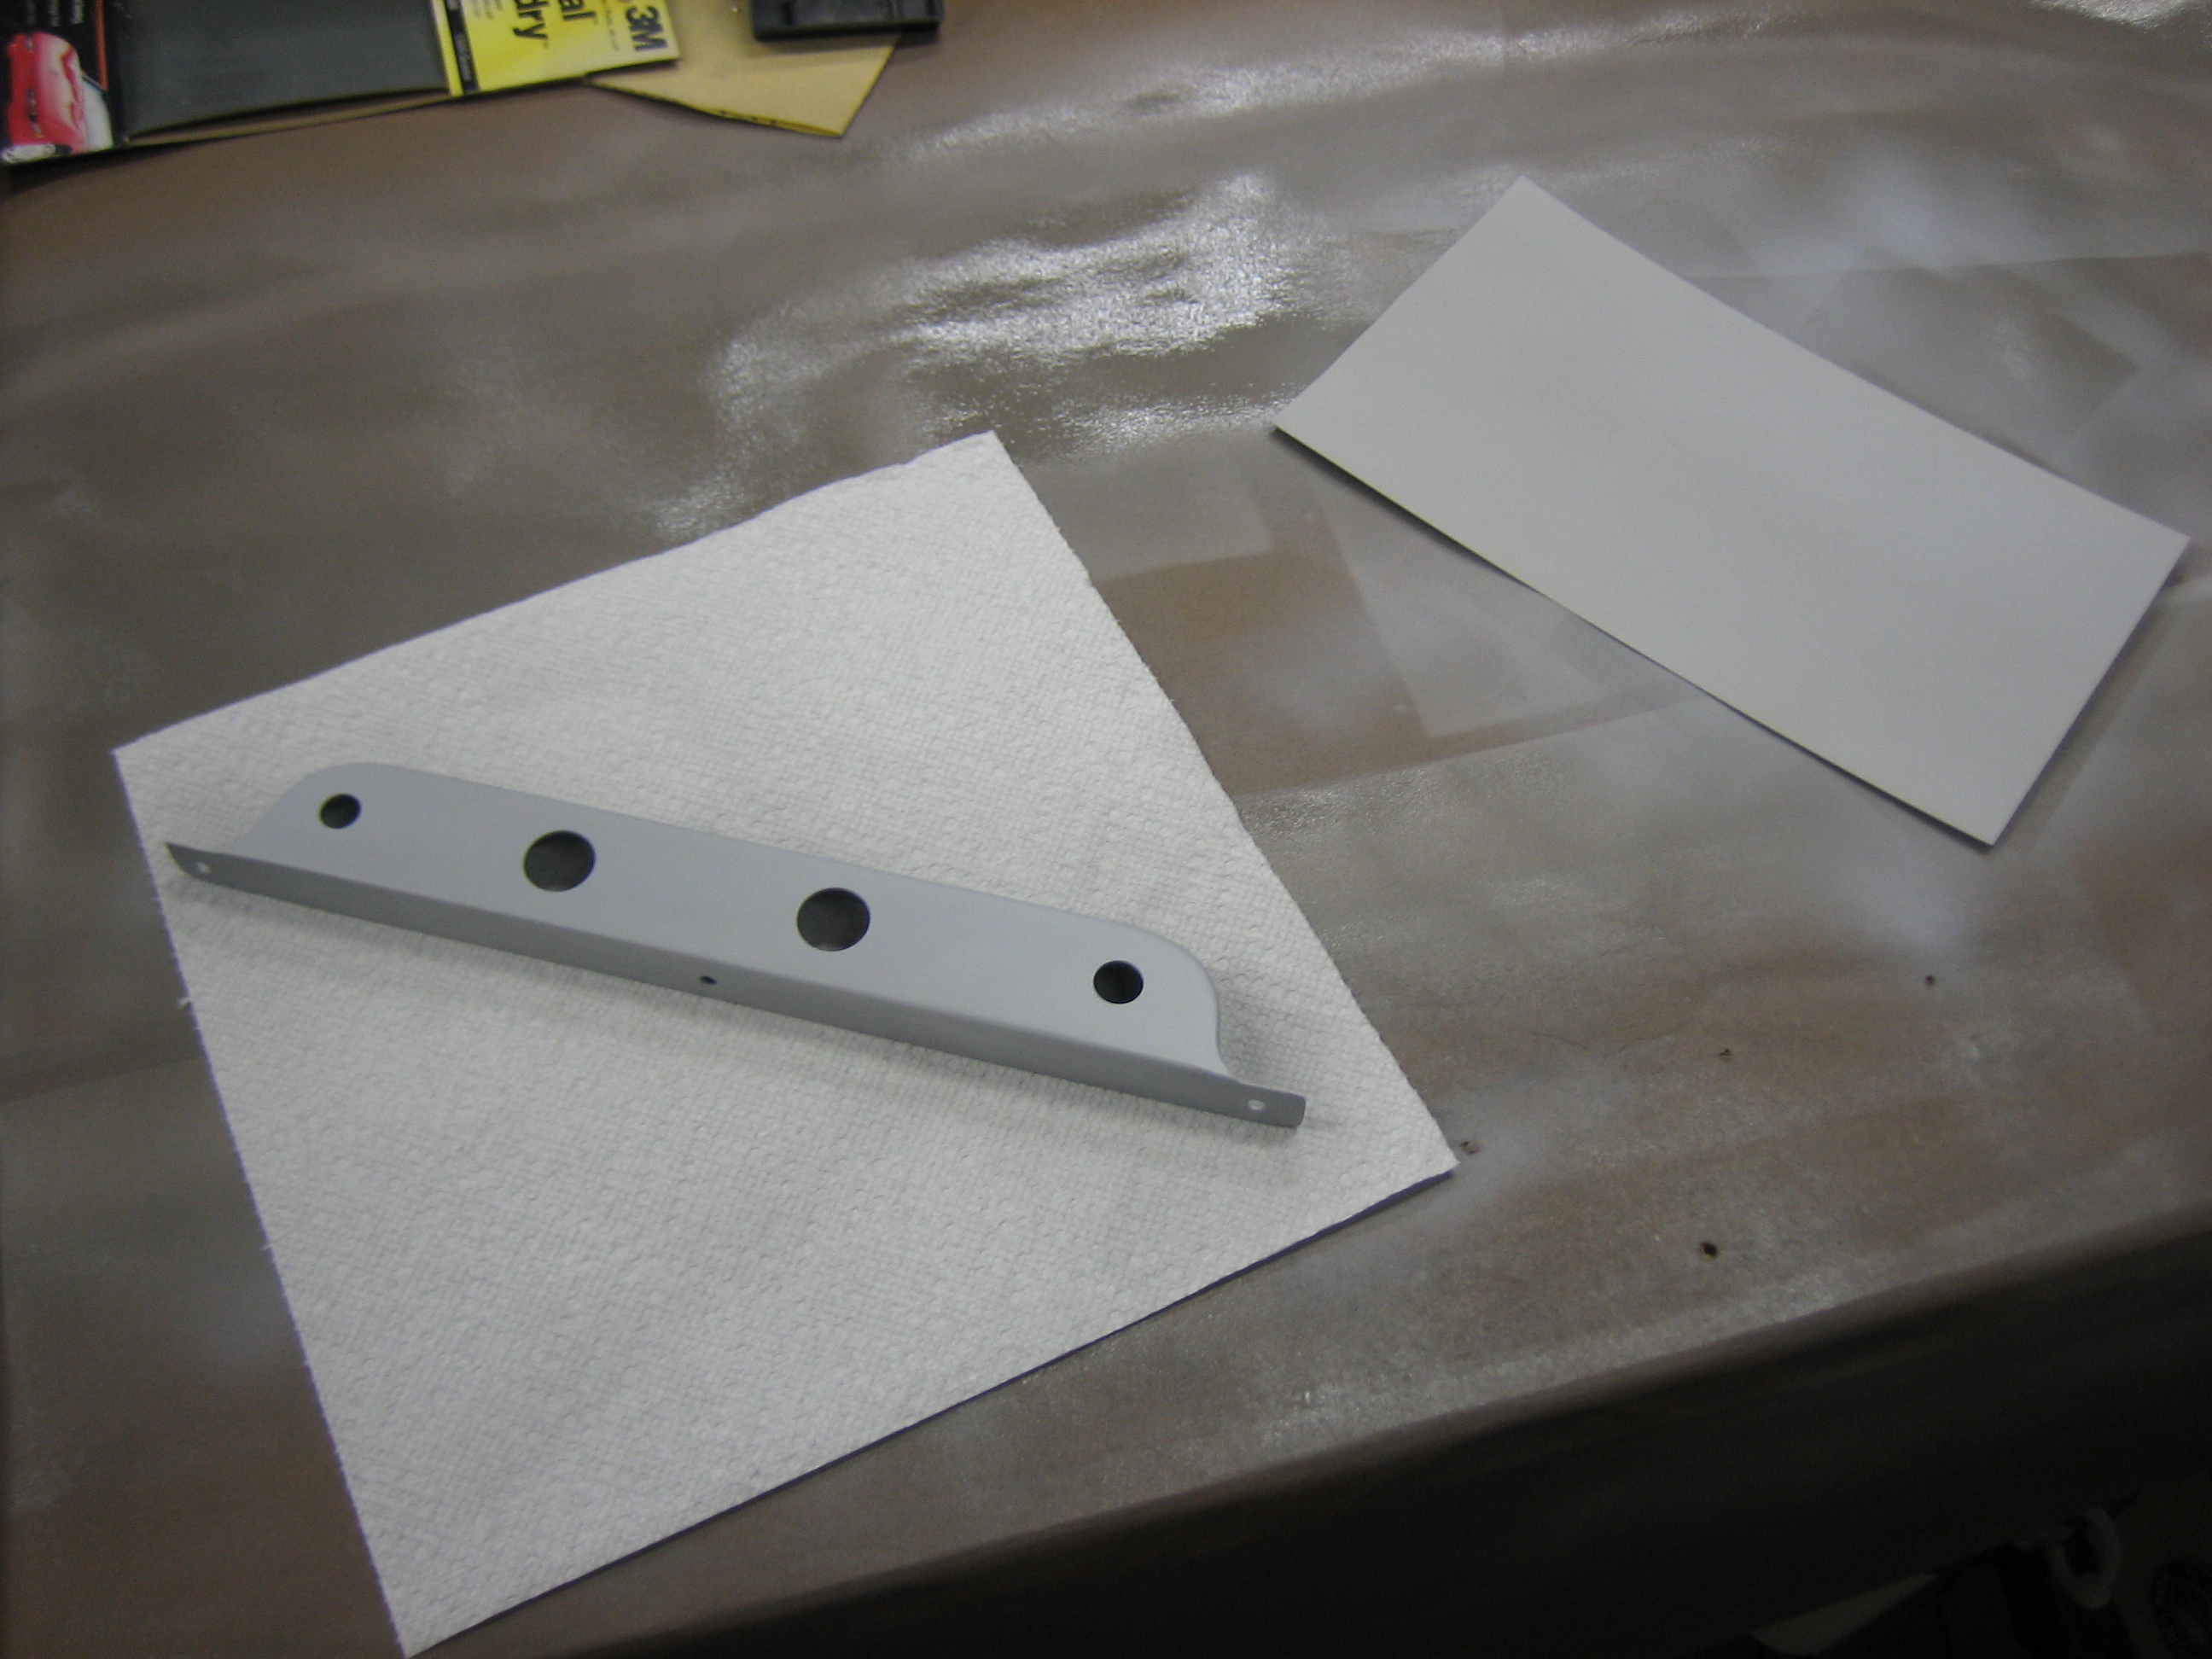
Our developer conference is over. It was an exhausting week with sessions and labs all week and eating and drinking until the wee hours each night. I’m exhausted, but I’d like to try and get the panel installed this weekend. In order to finish up the paint tomorrow, I needed to get the engine control bracket primed tonight. I also primed a piece of scrap aluminum flashing that I’m going to paint and use as a test for installing some labels.
Since the headset jack brackets have now been painted, I installed the headset jacks for good.

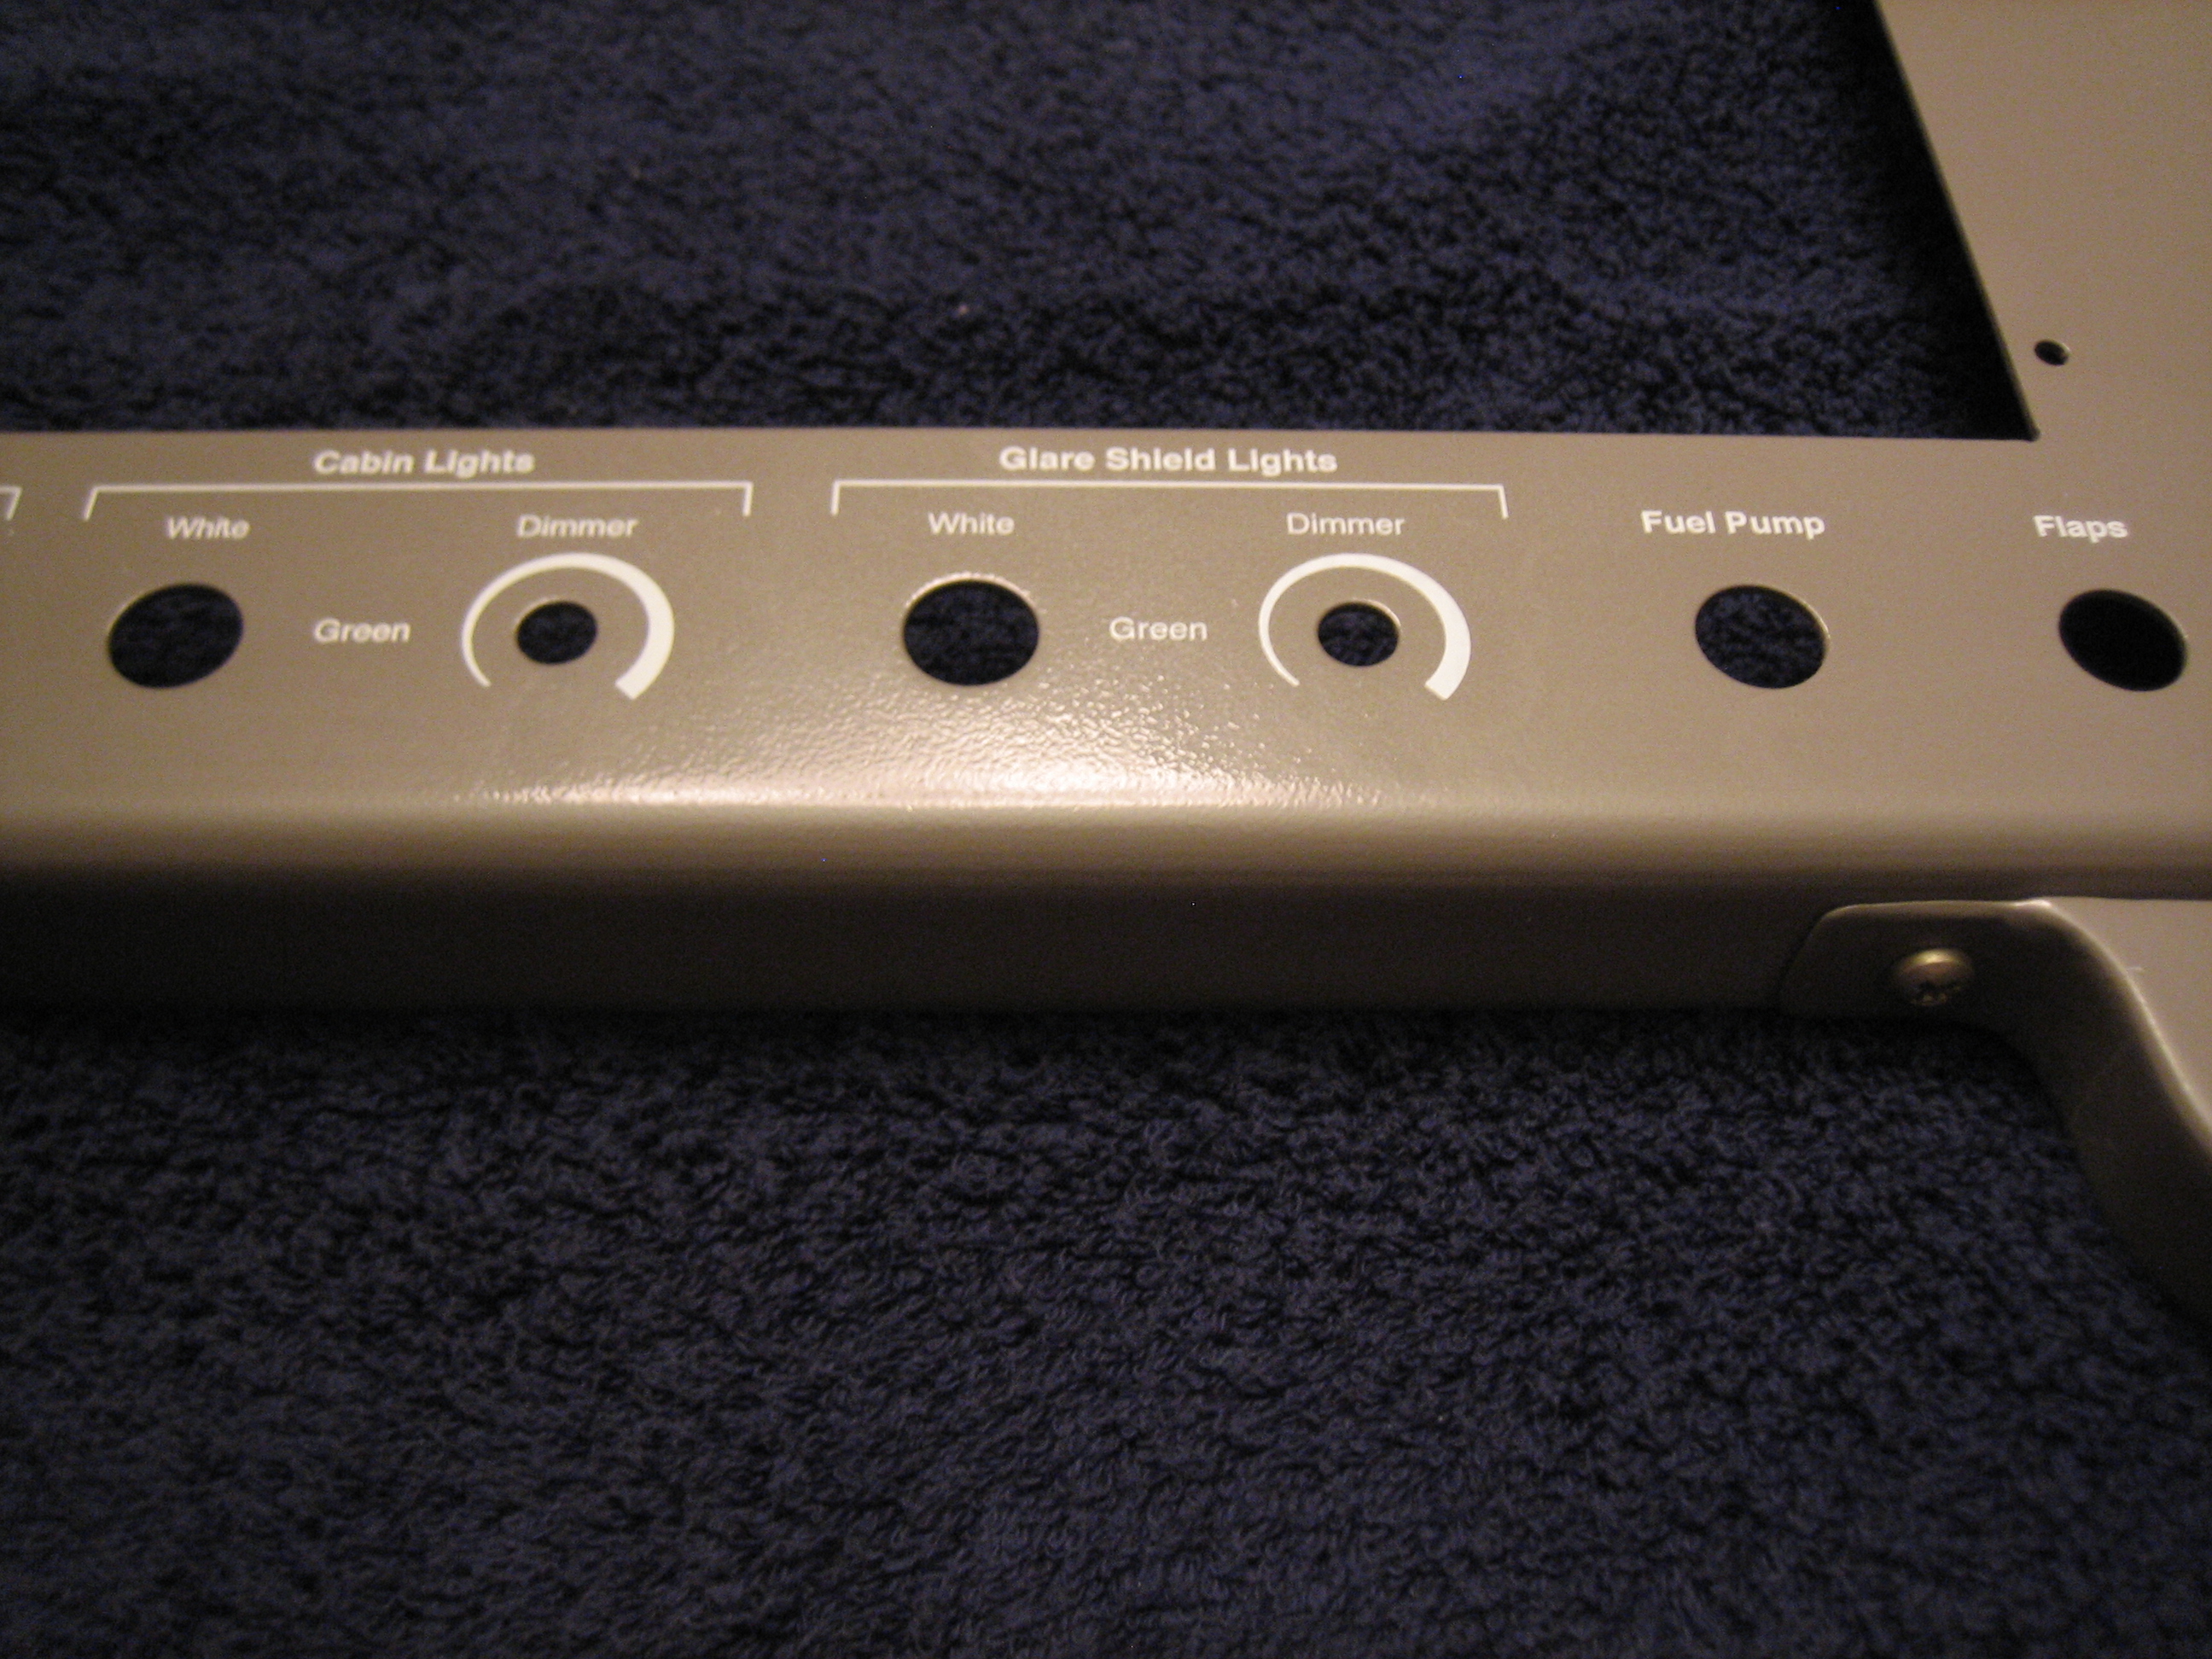
I finally finished painting the instrument panel. I kept having problems with orange peel in the paint as well as dust and debris since I don’t have a paint booth. I mostly fixed the orange peel problem by switching from my cheap Harbor Freight spray gun to my nice Fuji HVLP spray gun. It’s not perfect, but it looks great. After it cures, I can label it and spray a clear coat over it to protect the labels. The scrap piece in the upper left is so that I can try different label colors to see which is easiest to read.
Work has been really busy lately, so I’ve had almost no time to work on the plane. We’re off tomorrow for the 4th of July, so I decided to take tonight and get started labeling the panel. I’ve been practicing with the DecalPro system for a little while, but I was really having a hard time getting the white labels to turn out nice. I called Frank at Pulsar and he gave me a couple of suggestions that solved my issues, and now almost every label turns out perfect on the first try. Basically, my process is:
There are a lot of steps, but it goes pretty fast once you get the hang of it. I also tend to overlap the process somewhat by getting started on the next label while the previous one is in the water.
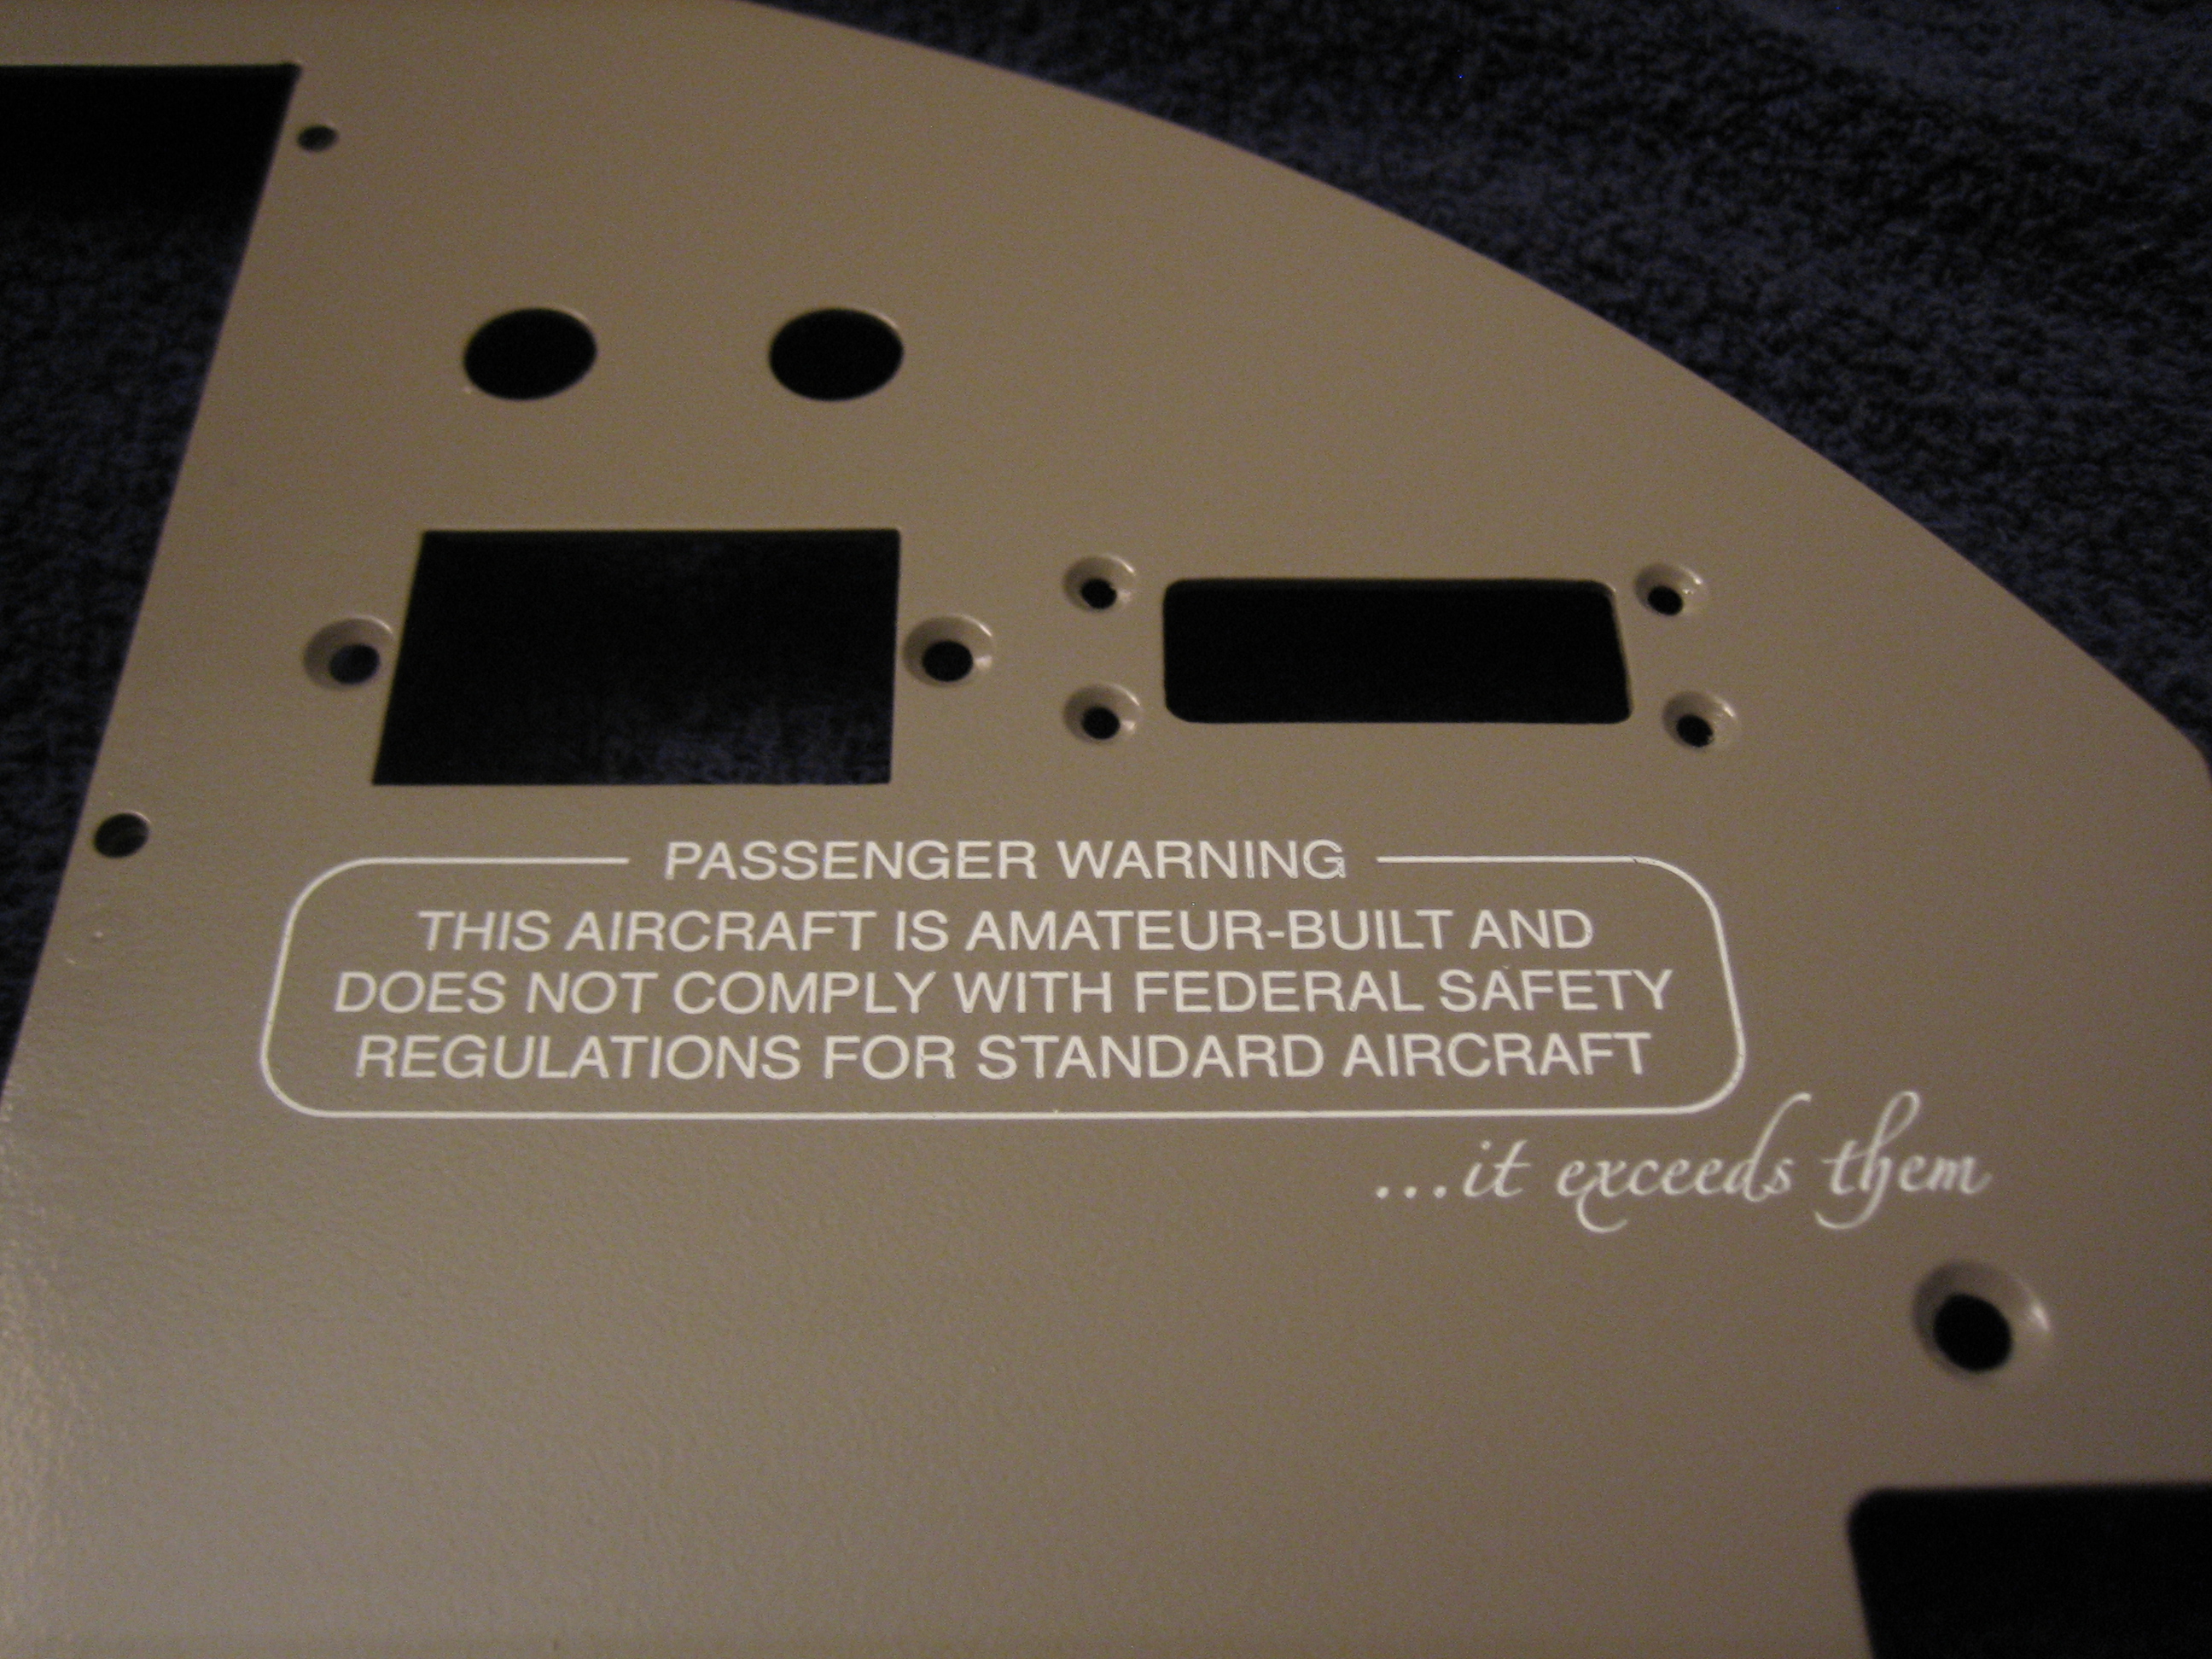
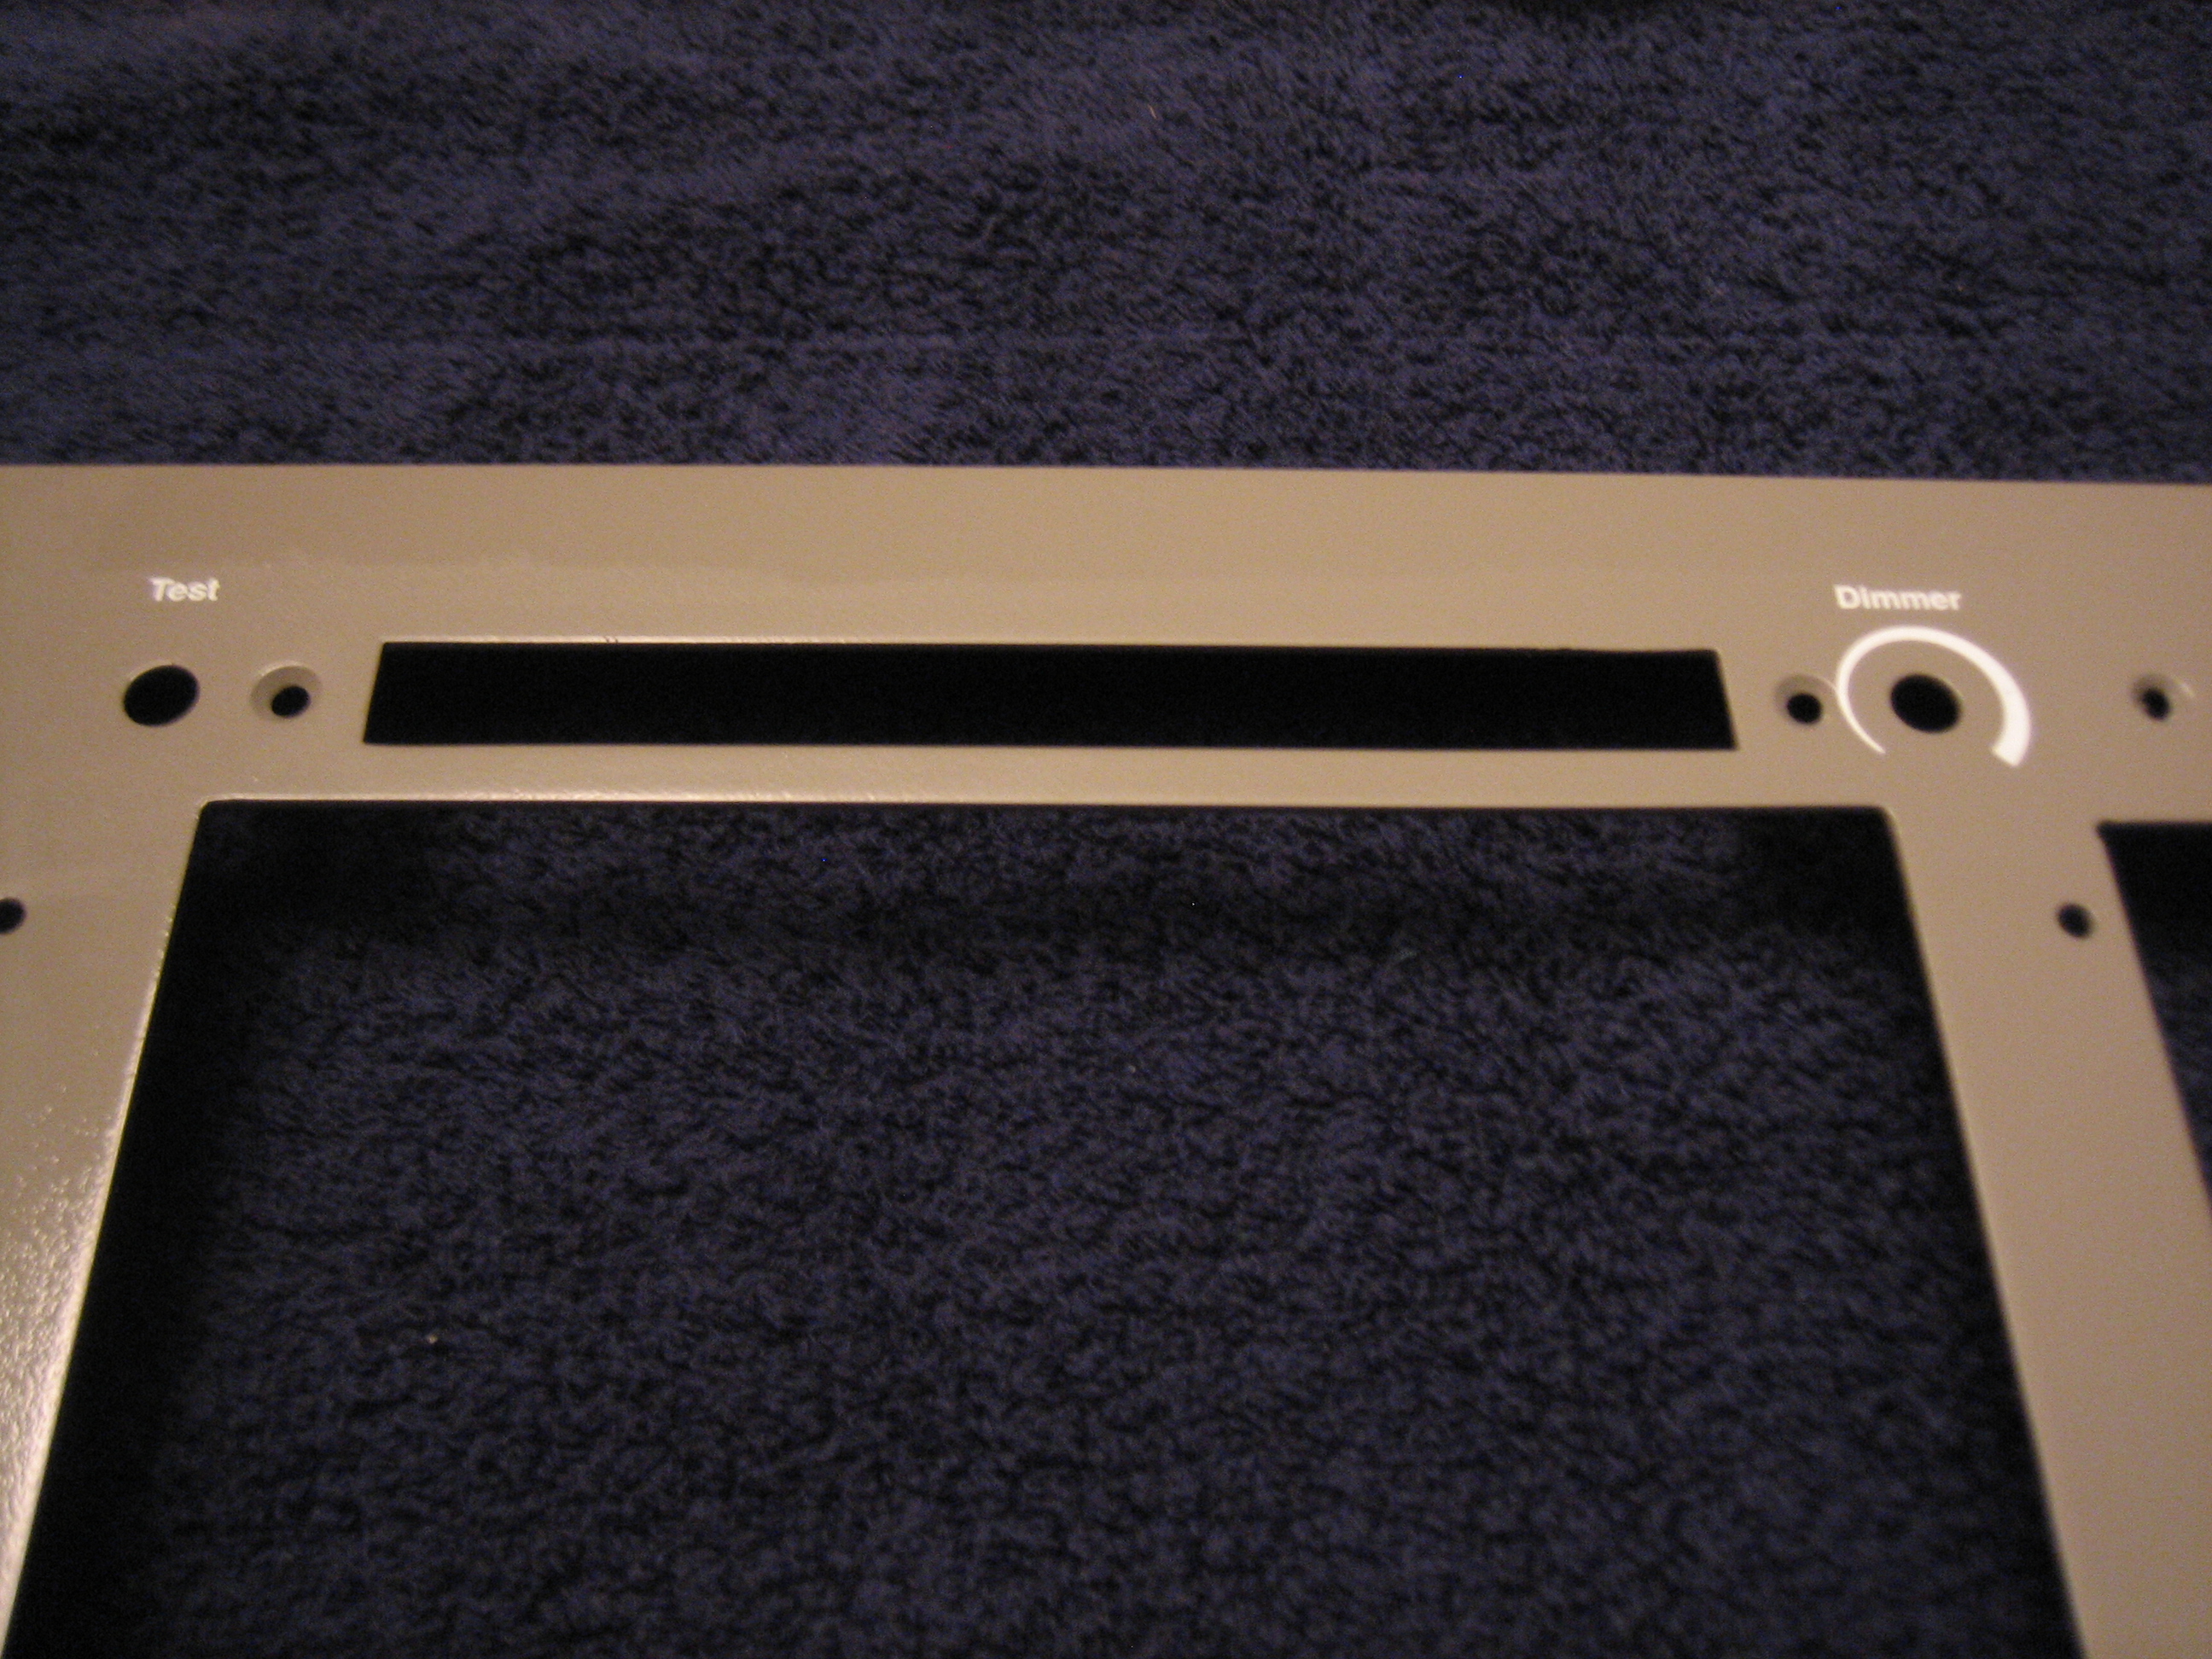
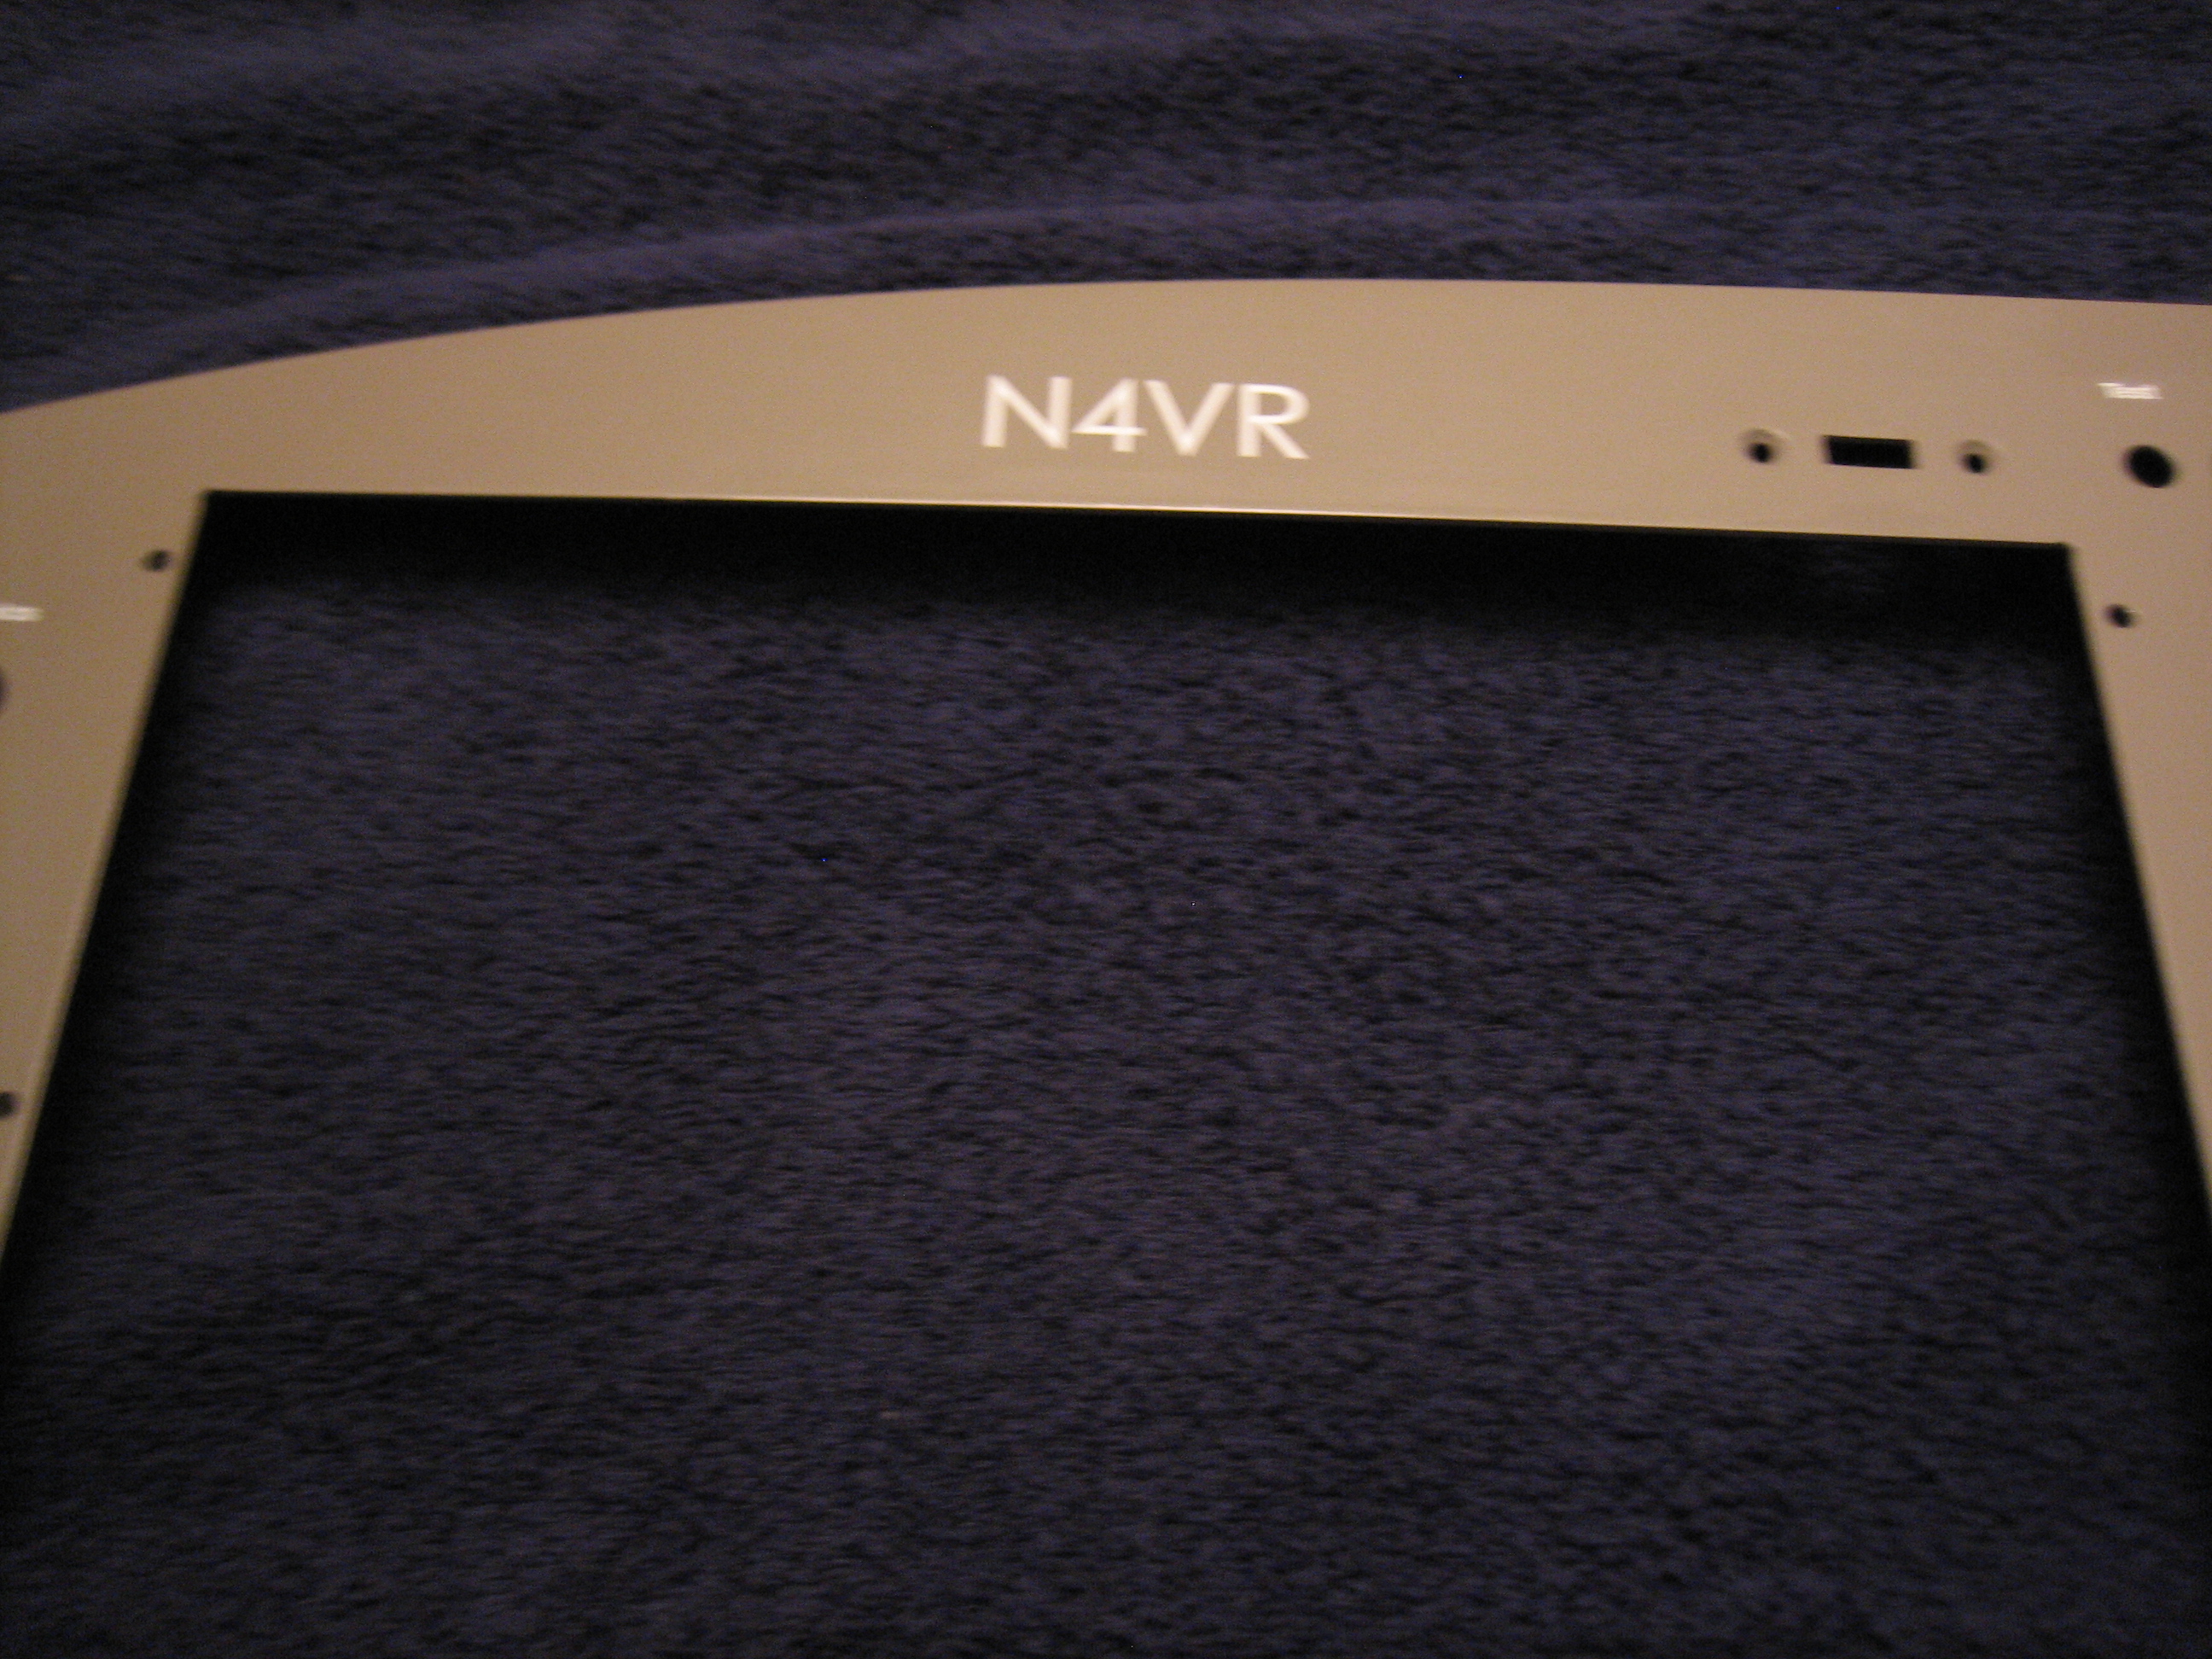
Anyway, I actually started with the largest and most complex label, and it came out essentially perfect.
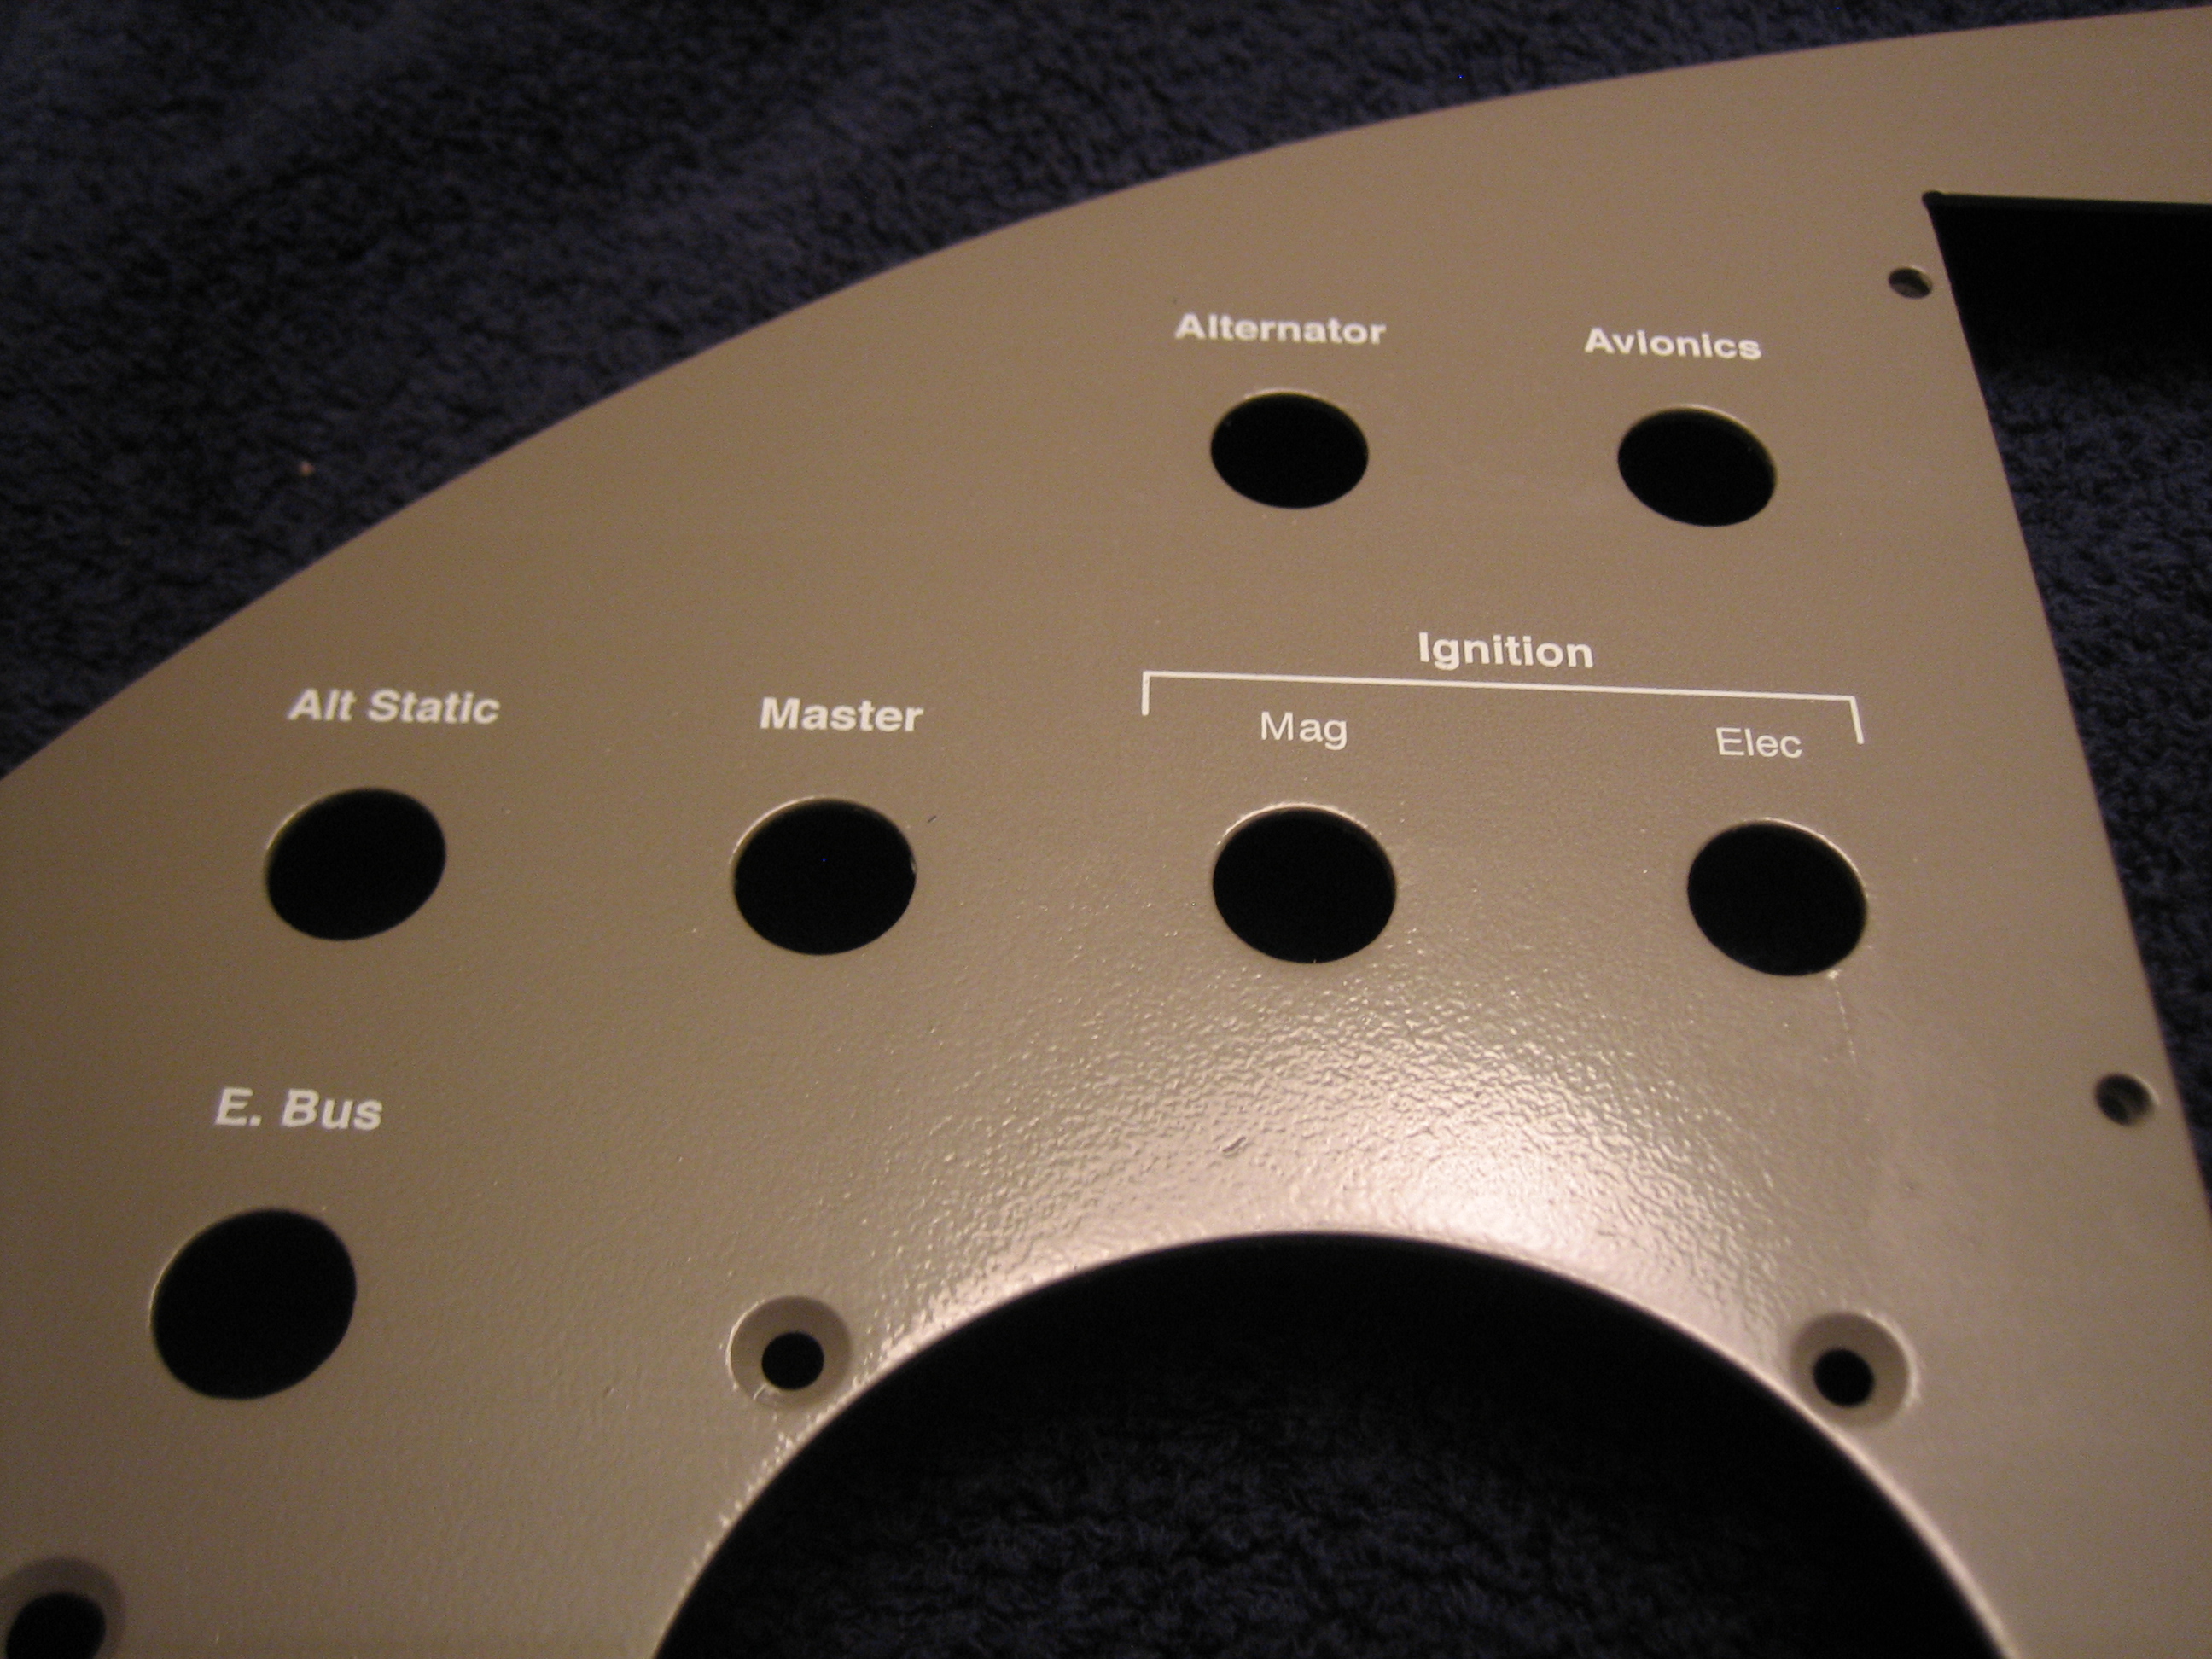
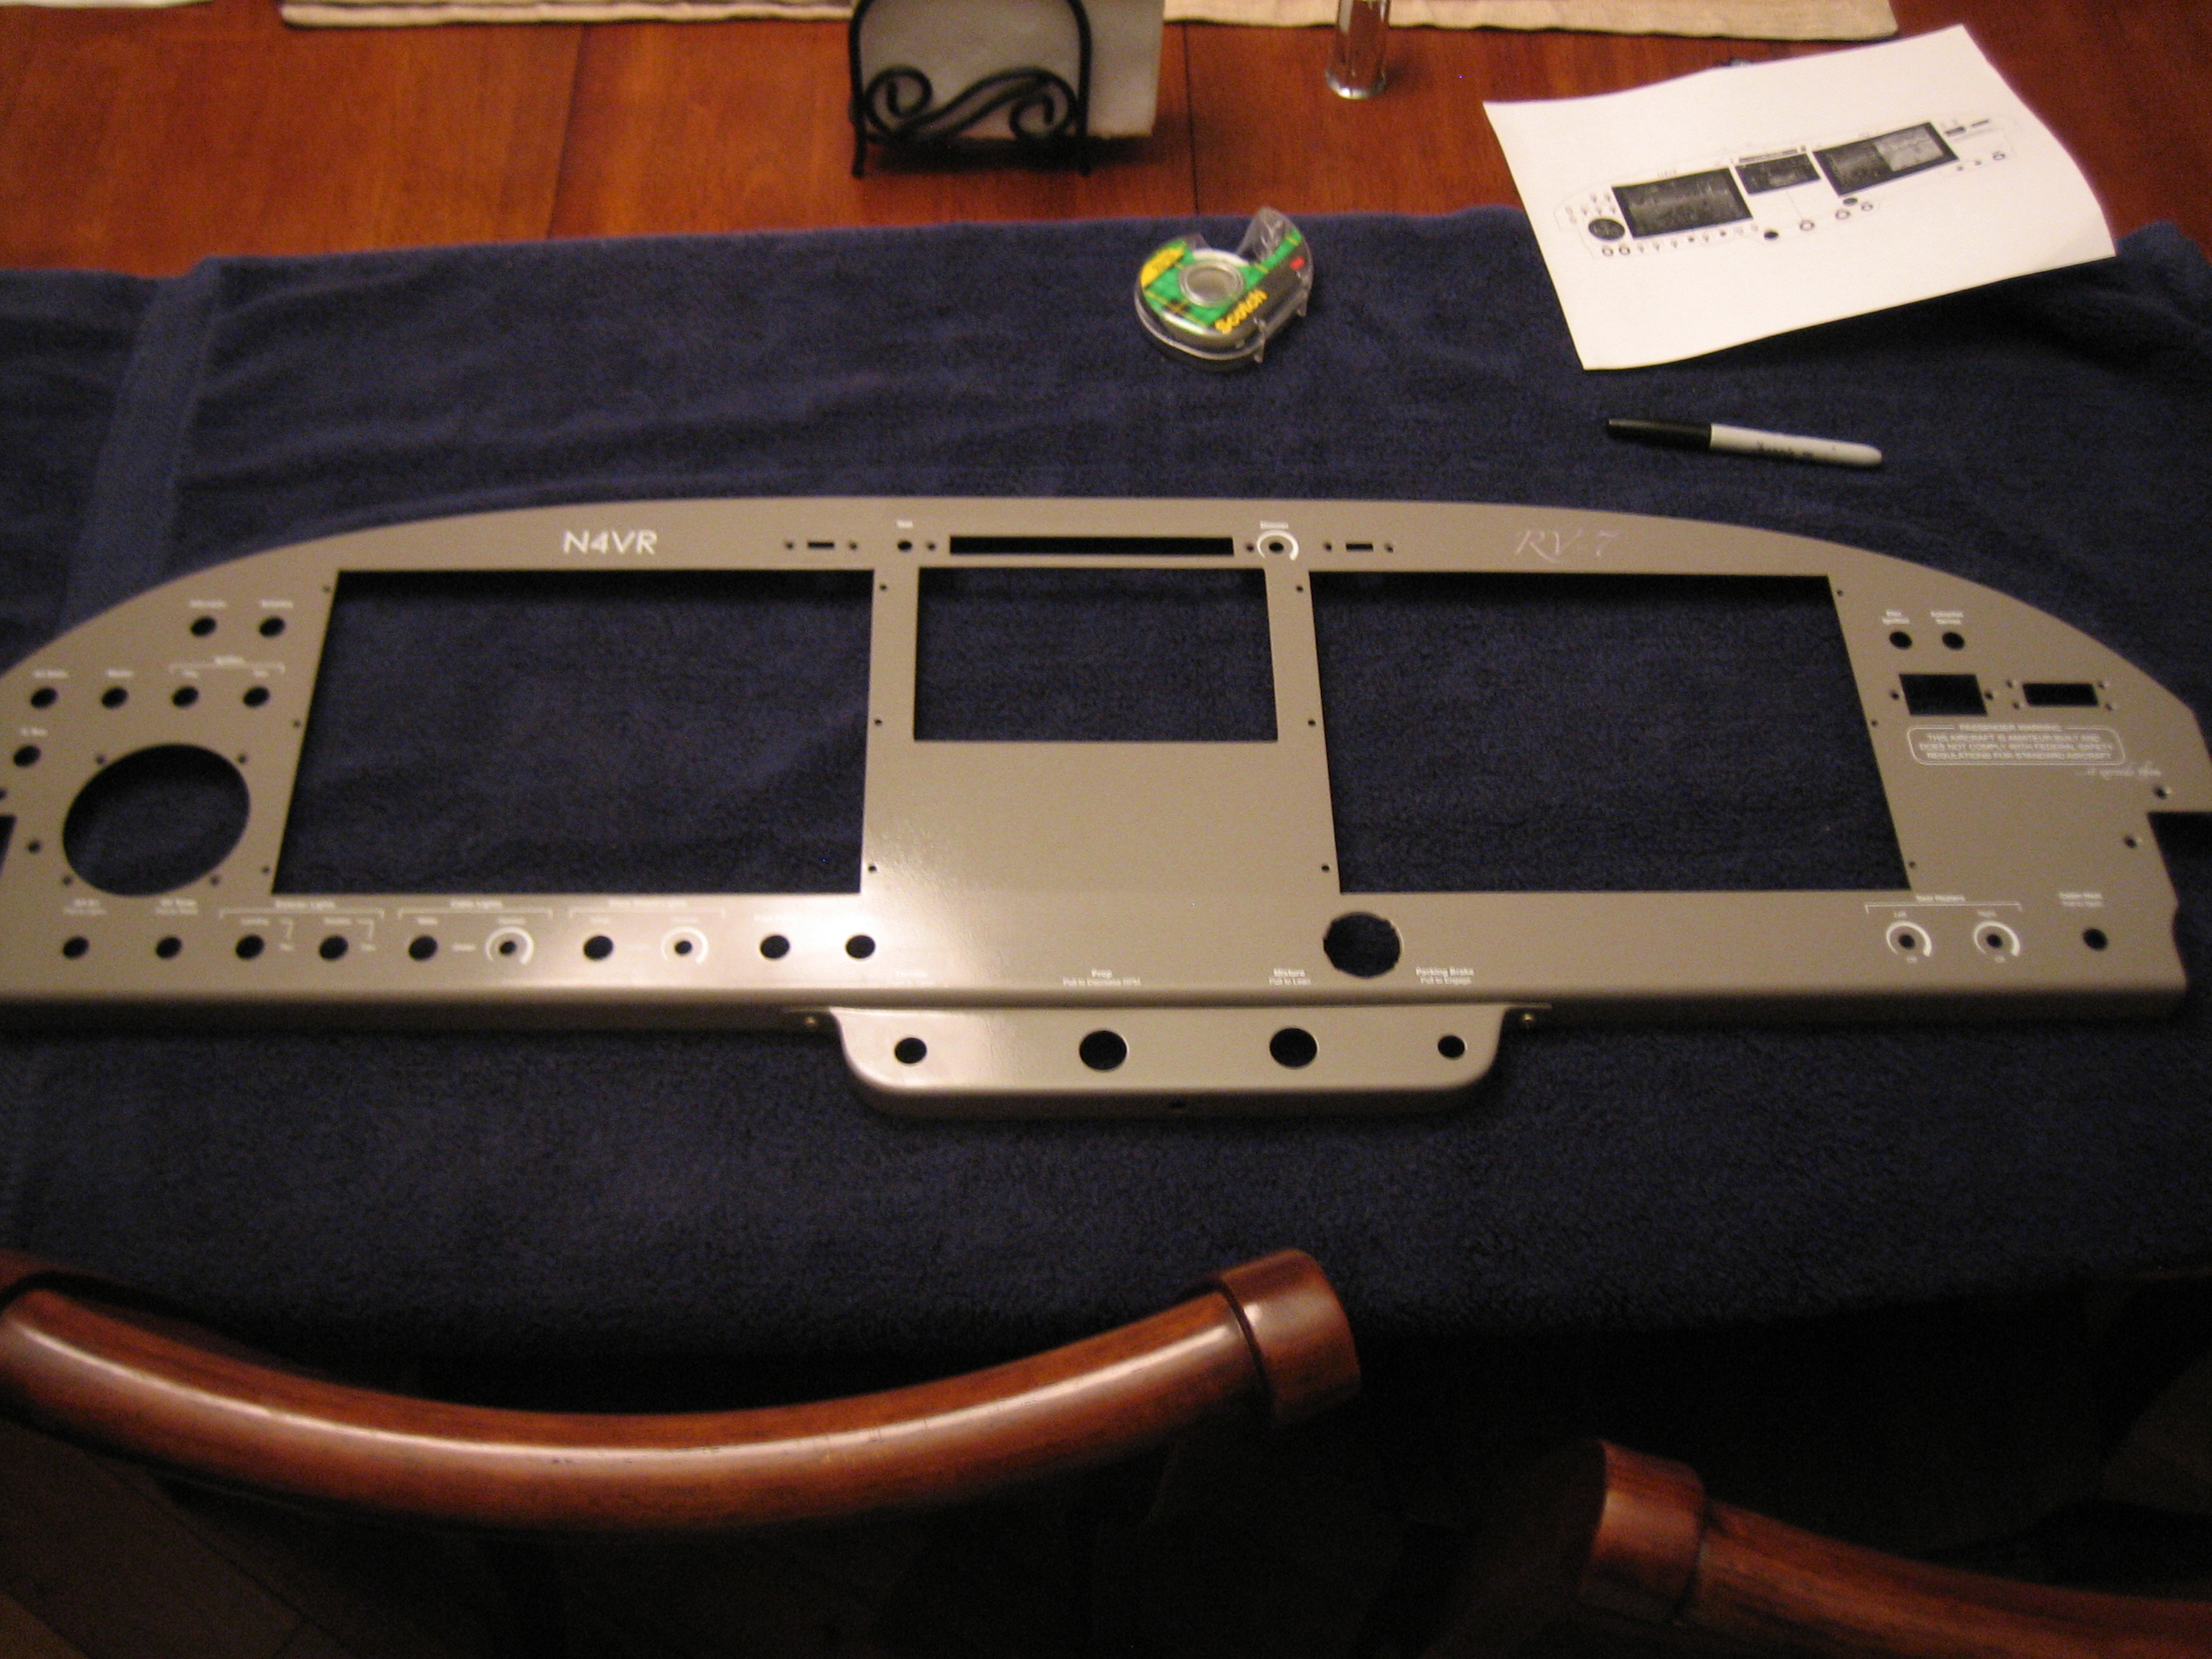
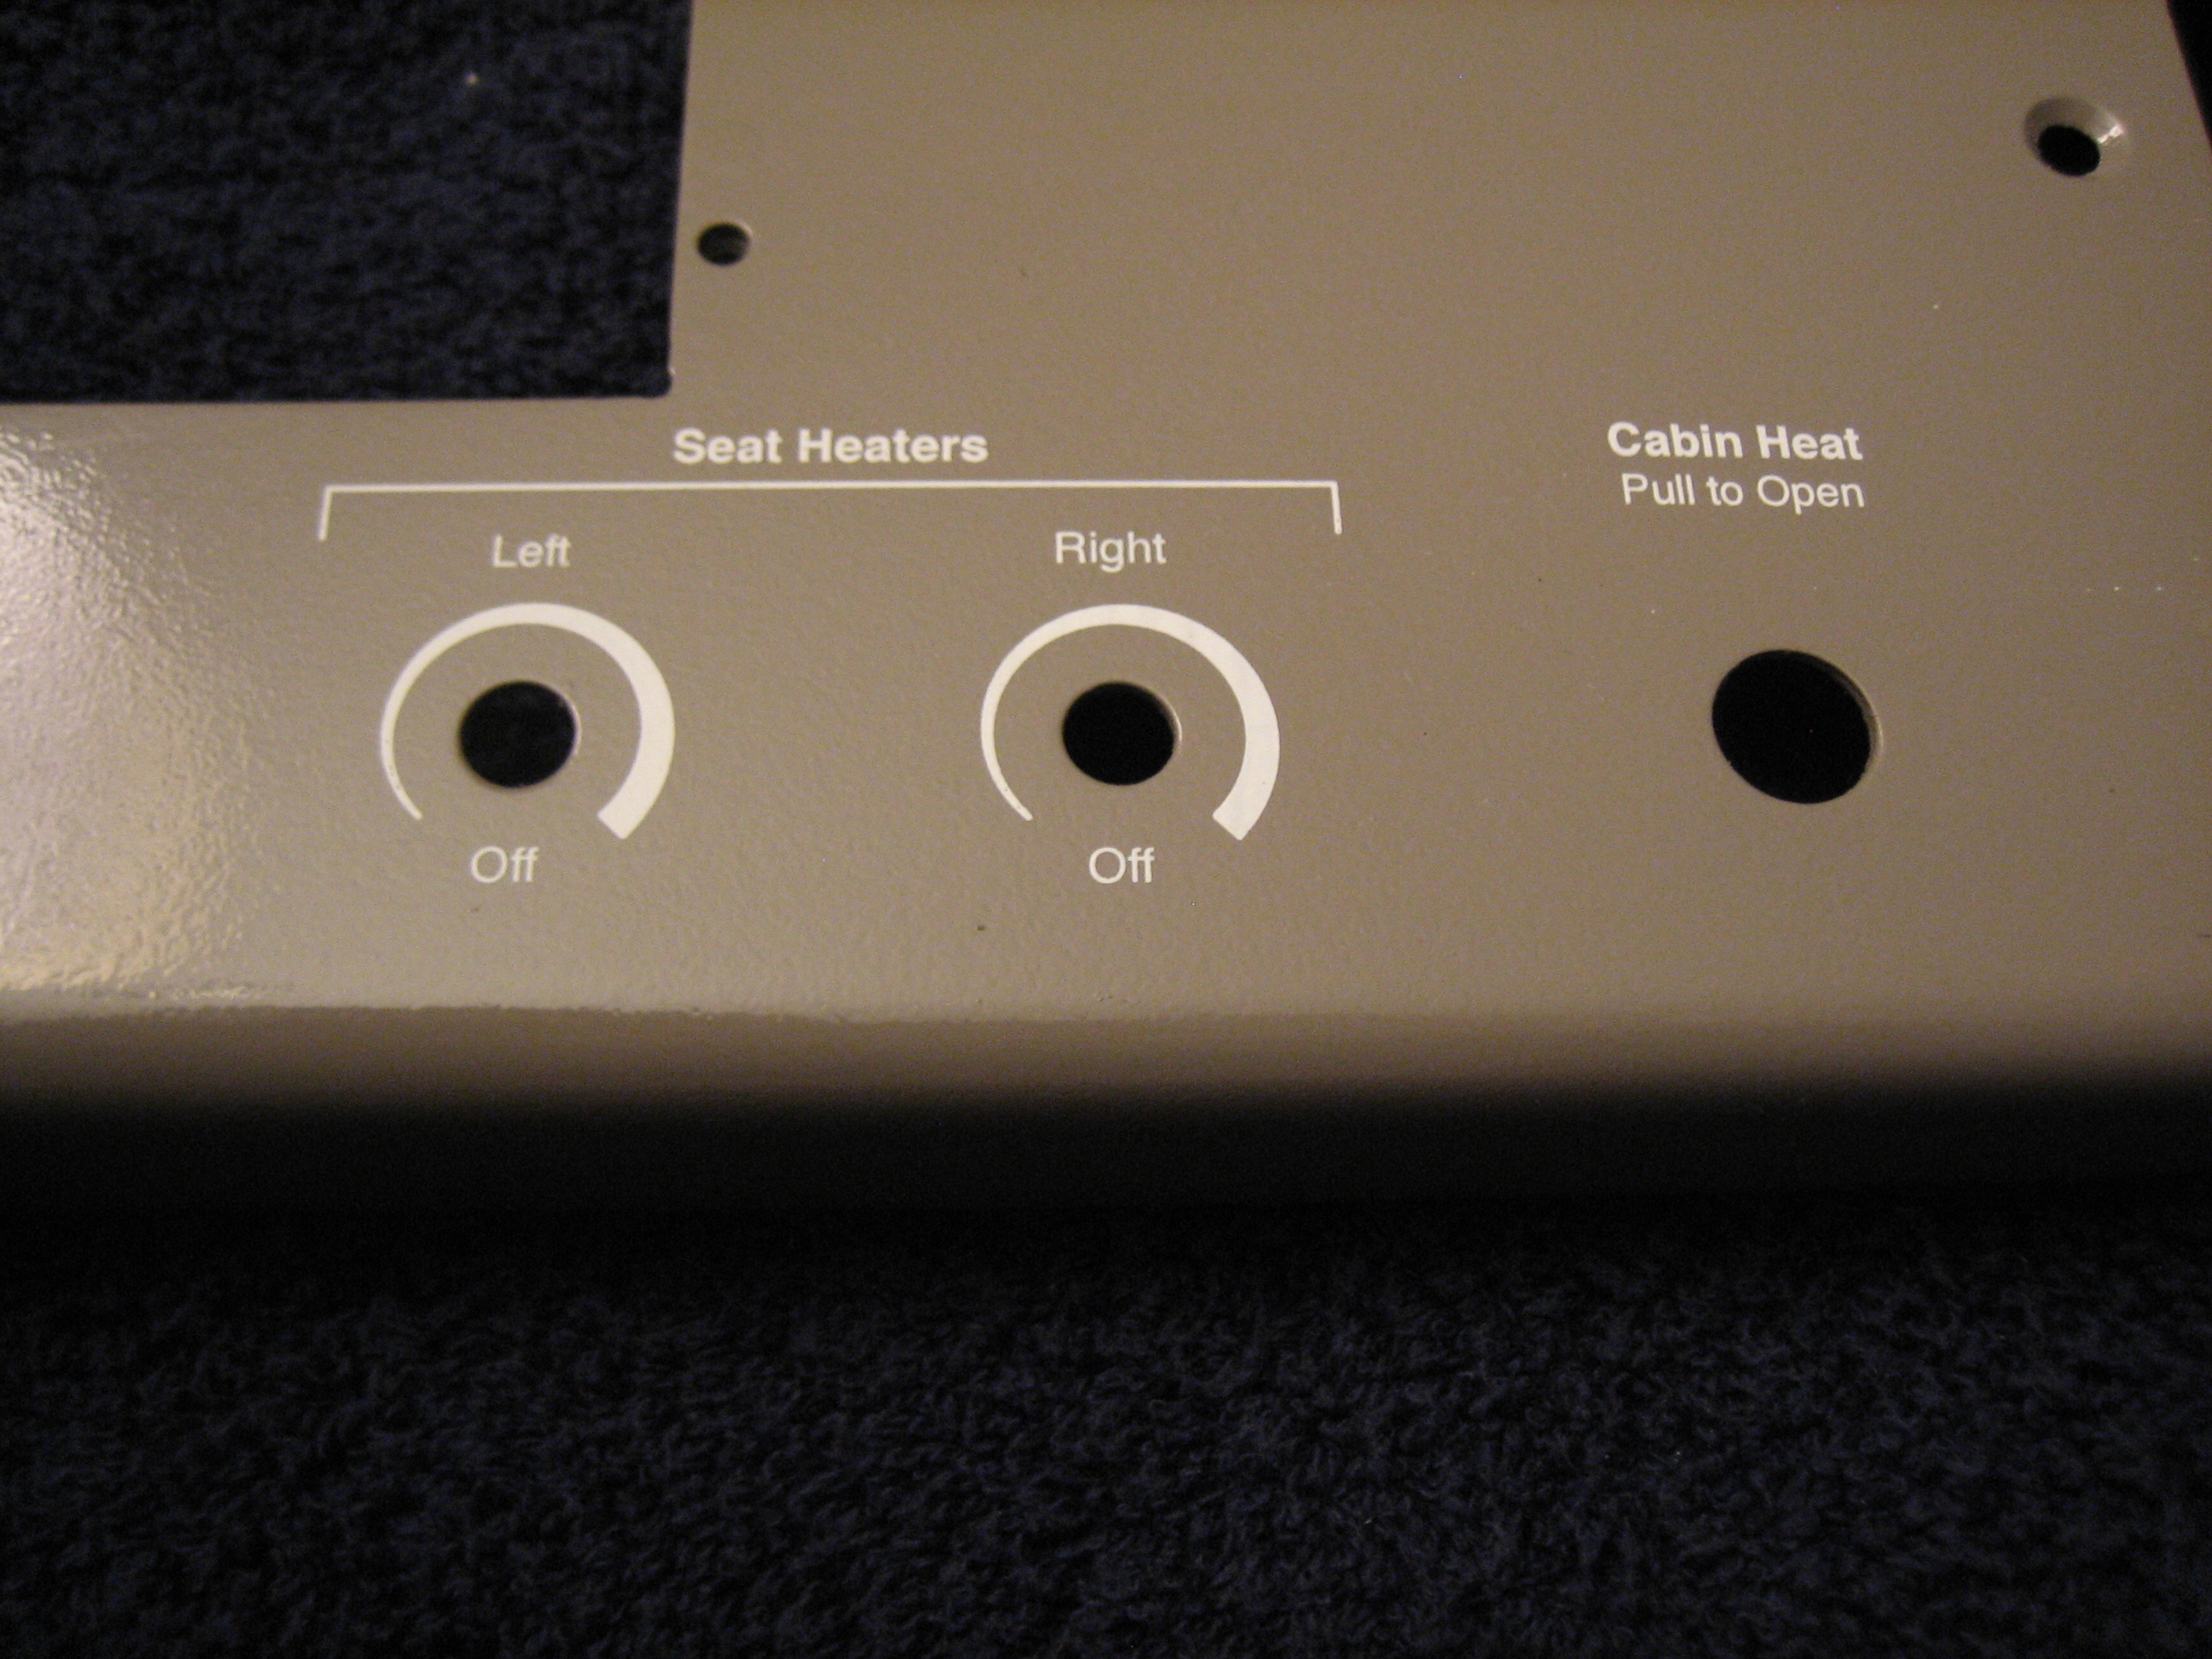
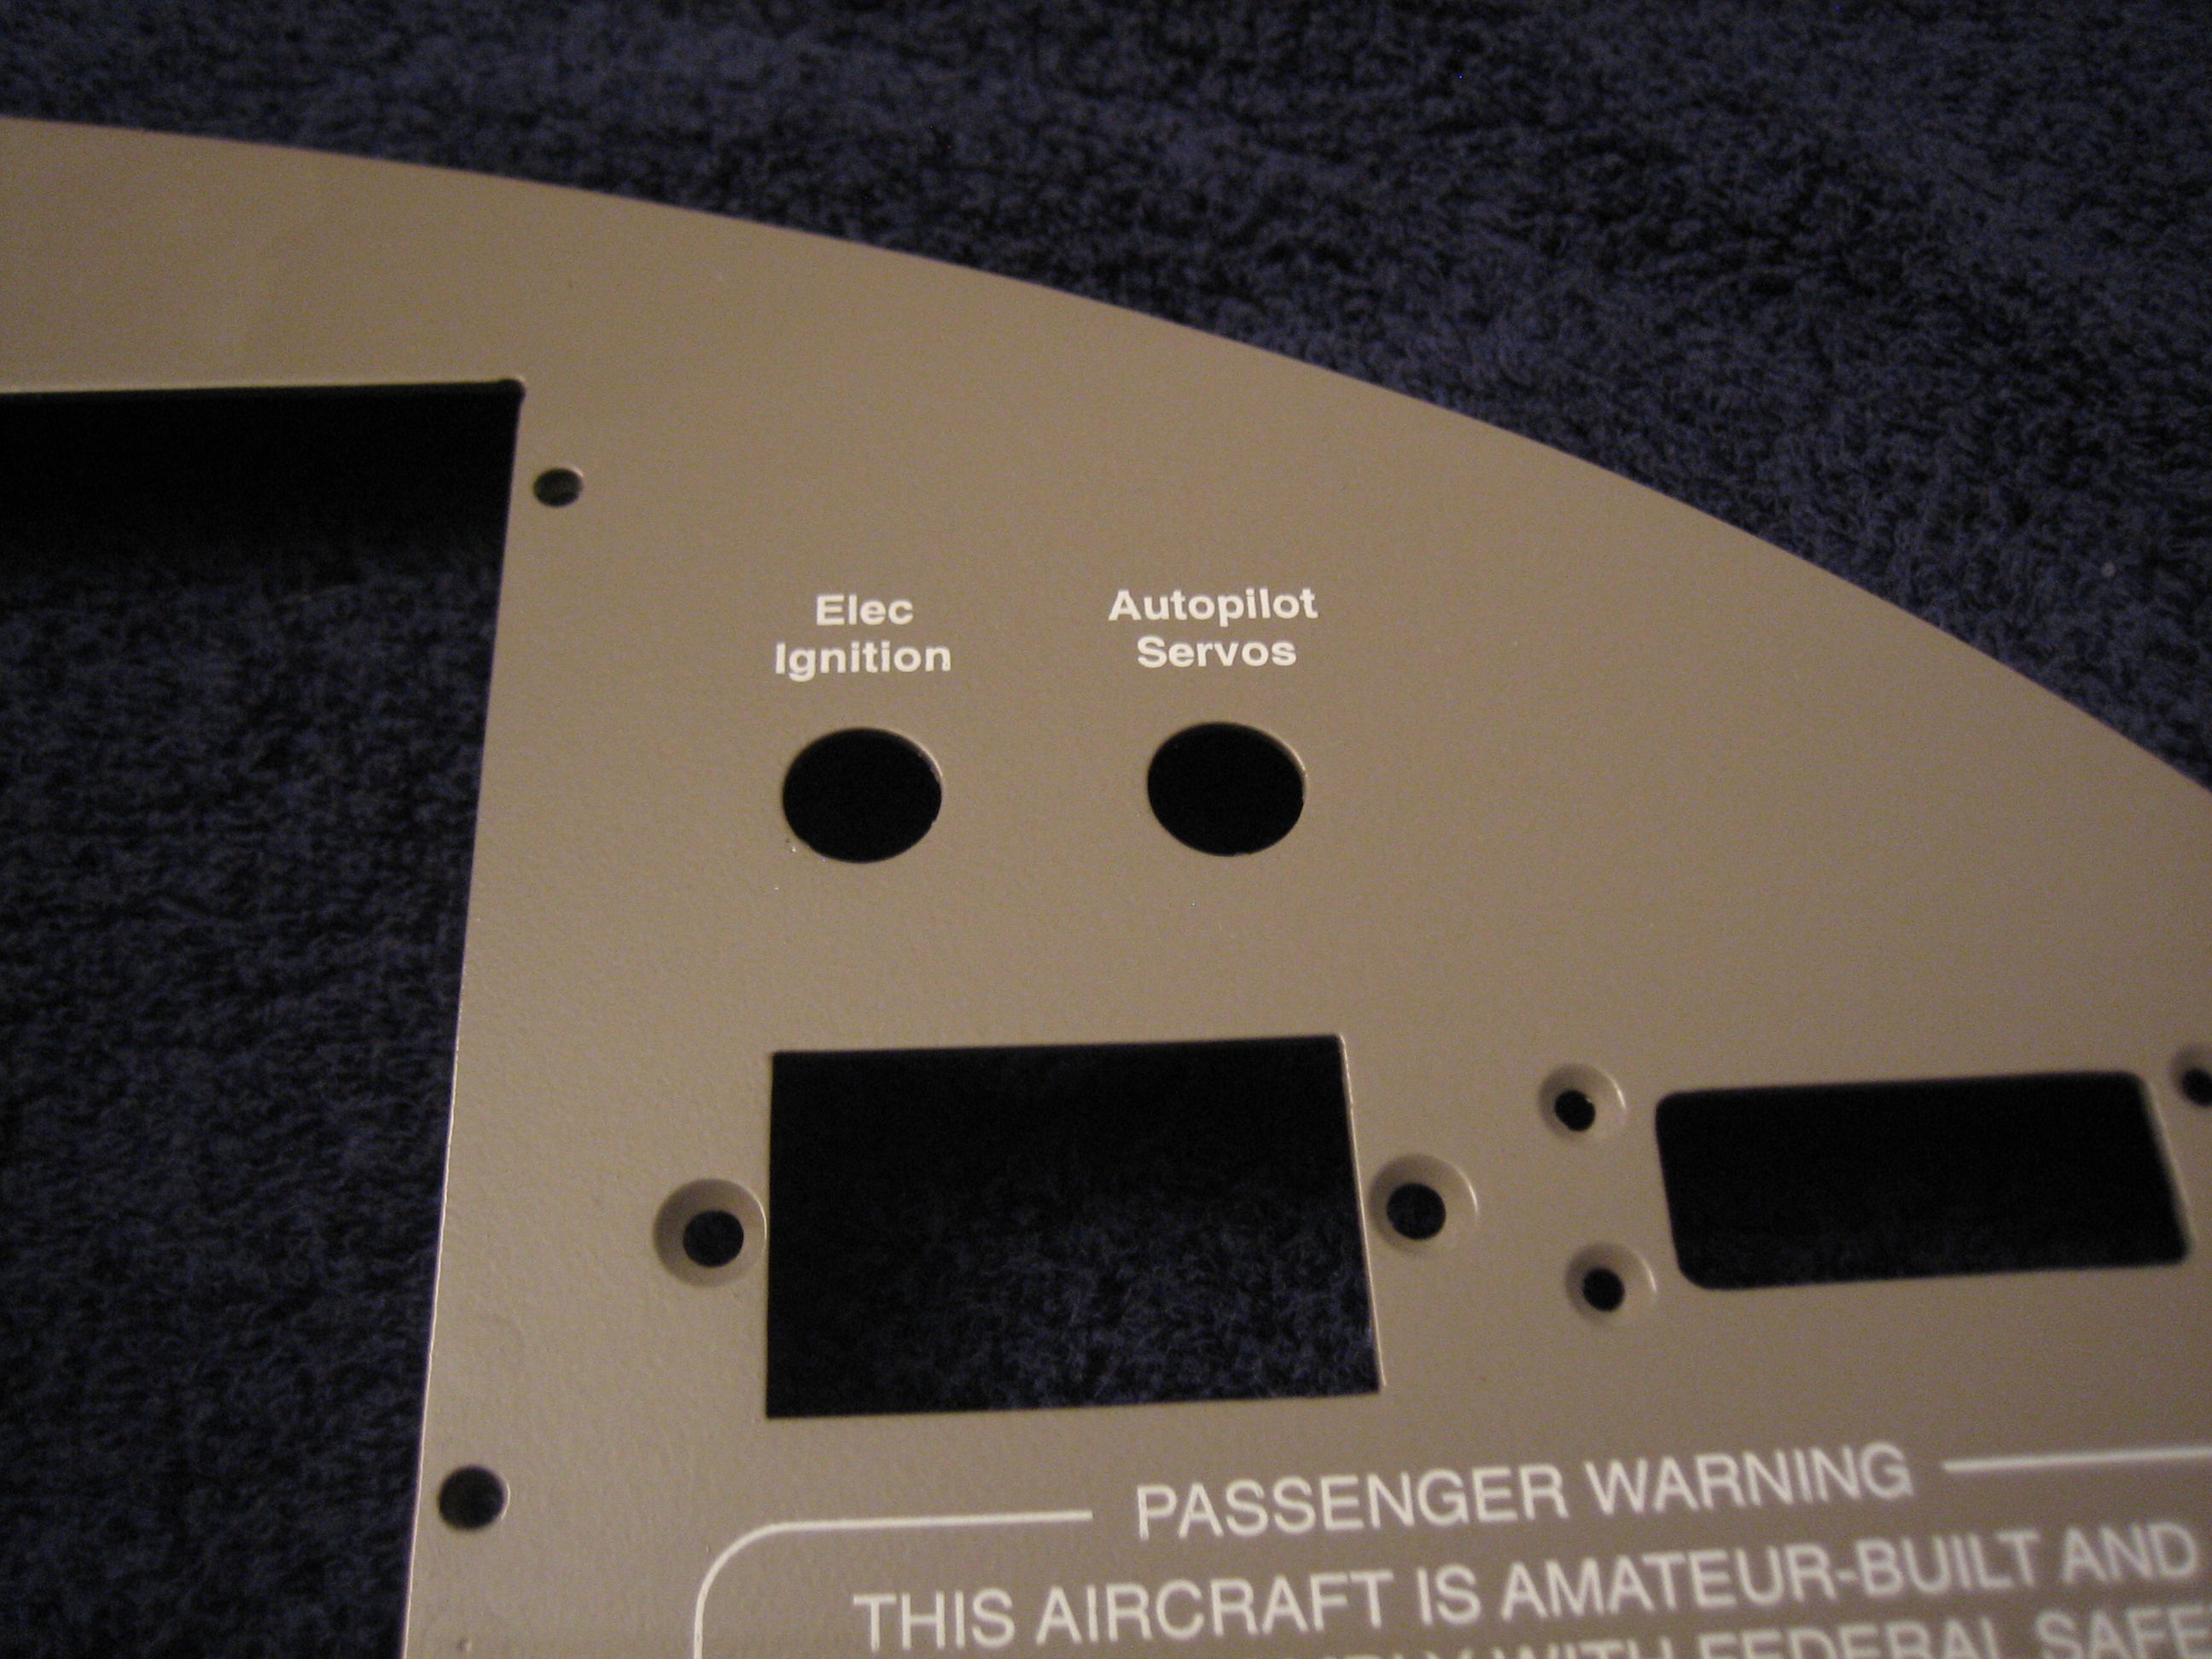
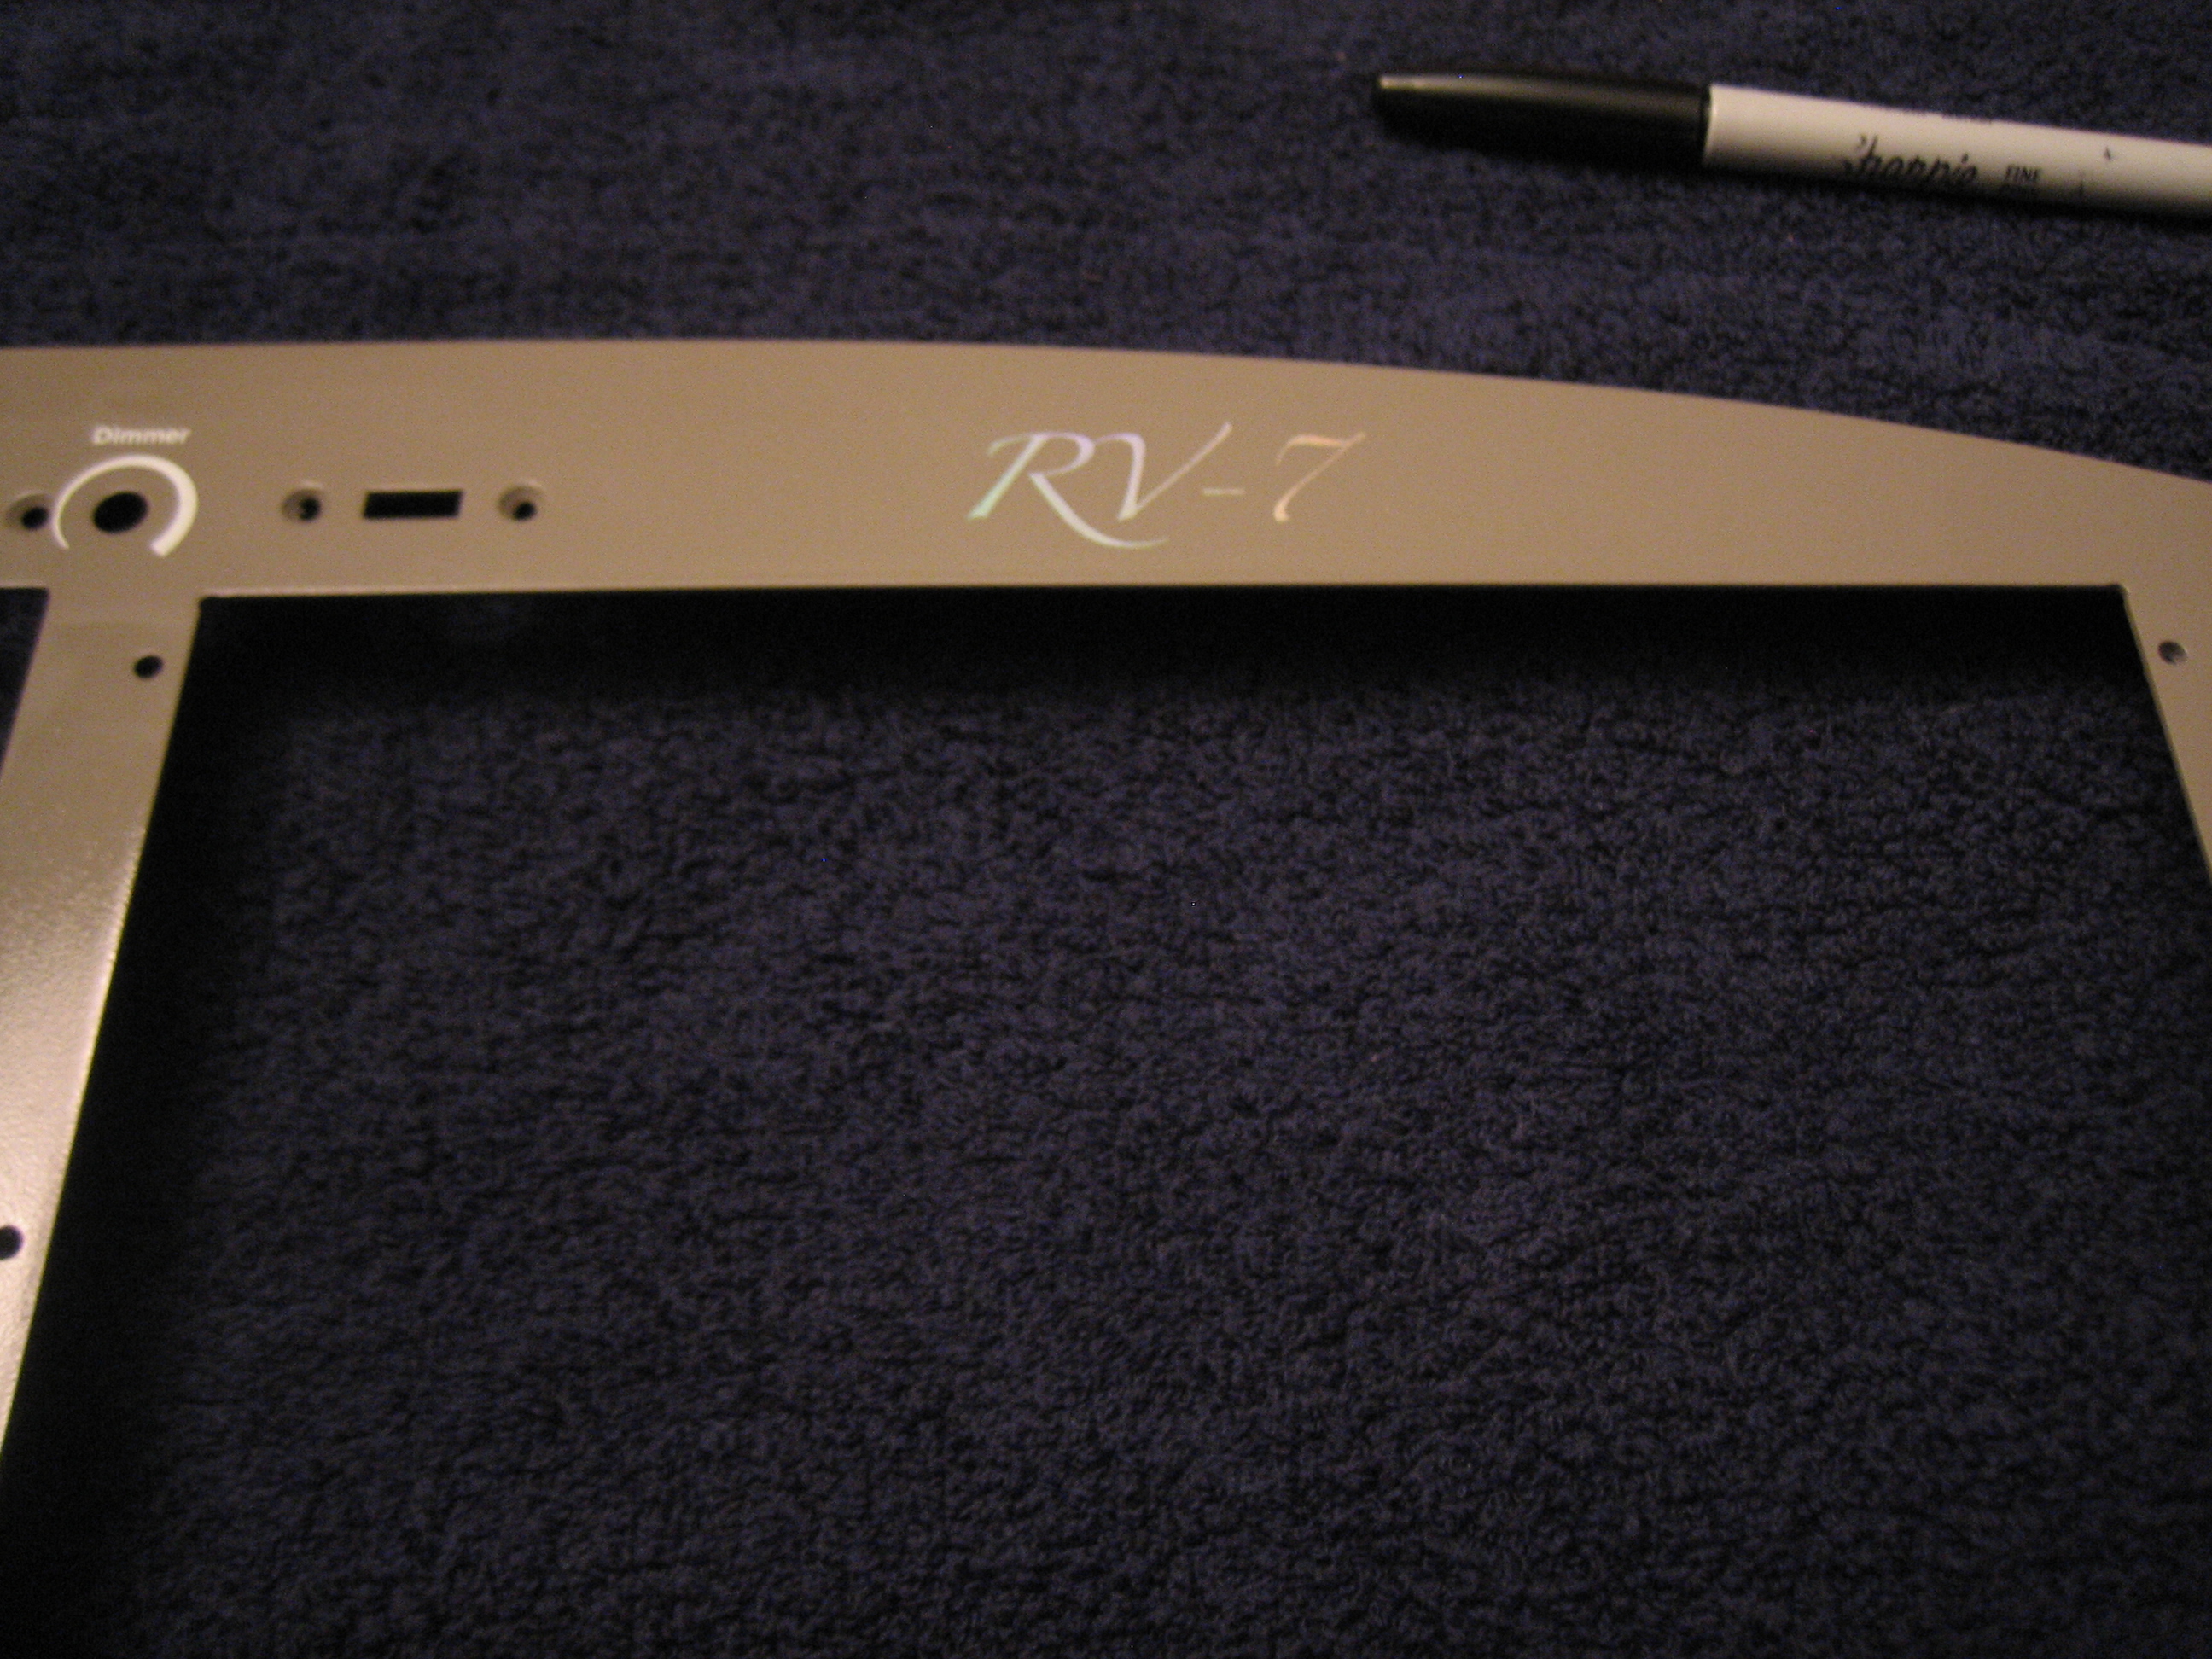
I finished labeling the panel today since we were off work for the 4th and my wife had to work all day. Here’s an overall shot.

I shot some matte clear over the panel and let it cure for a couple of hours. I then installed the panel and started installing components. I got everything but the SkyView displays and radio stack installed for good.
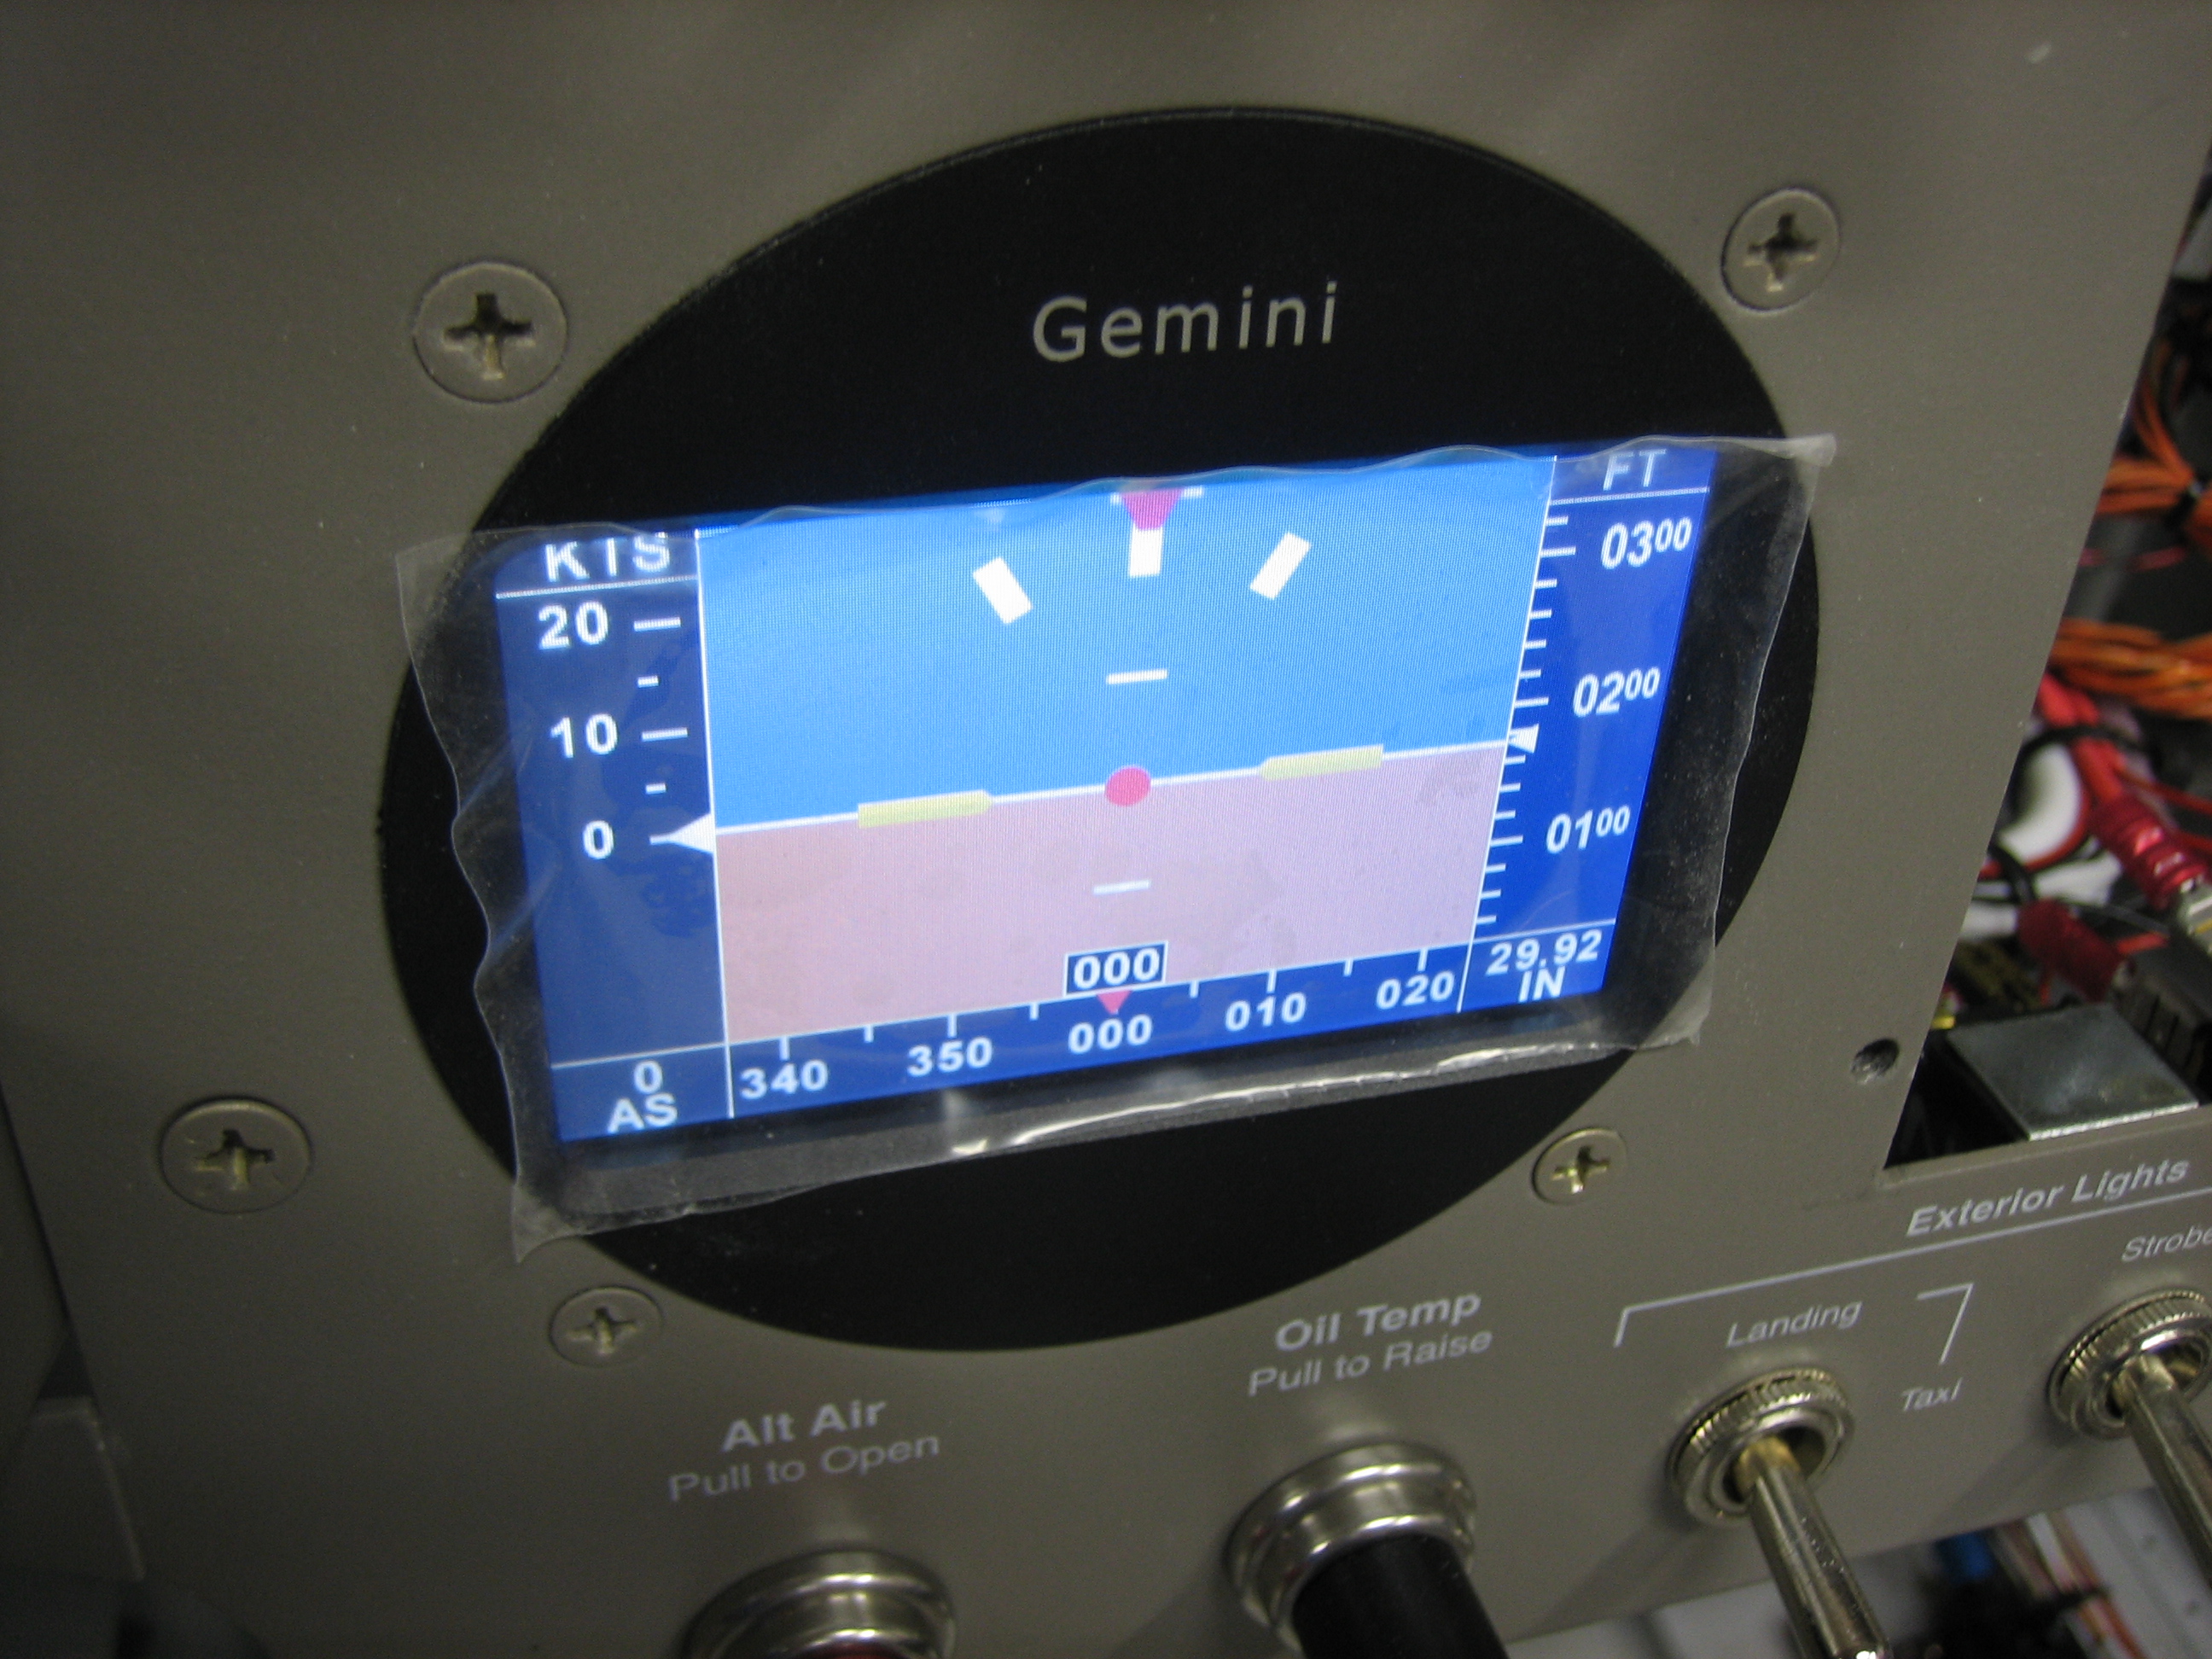
I already ran all the wires for the TruTrak Gemini PFD, so I quickly wired it up and hooked up the pitot and static tubes. I then reconnected the battery and turned on the avionics to check it out. I still need to figure out the screen dimming, but that shouldn’t take too long.