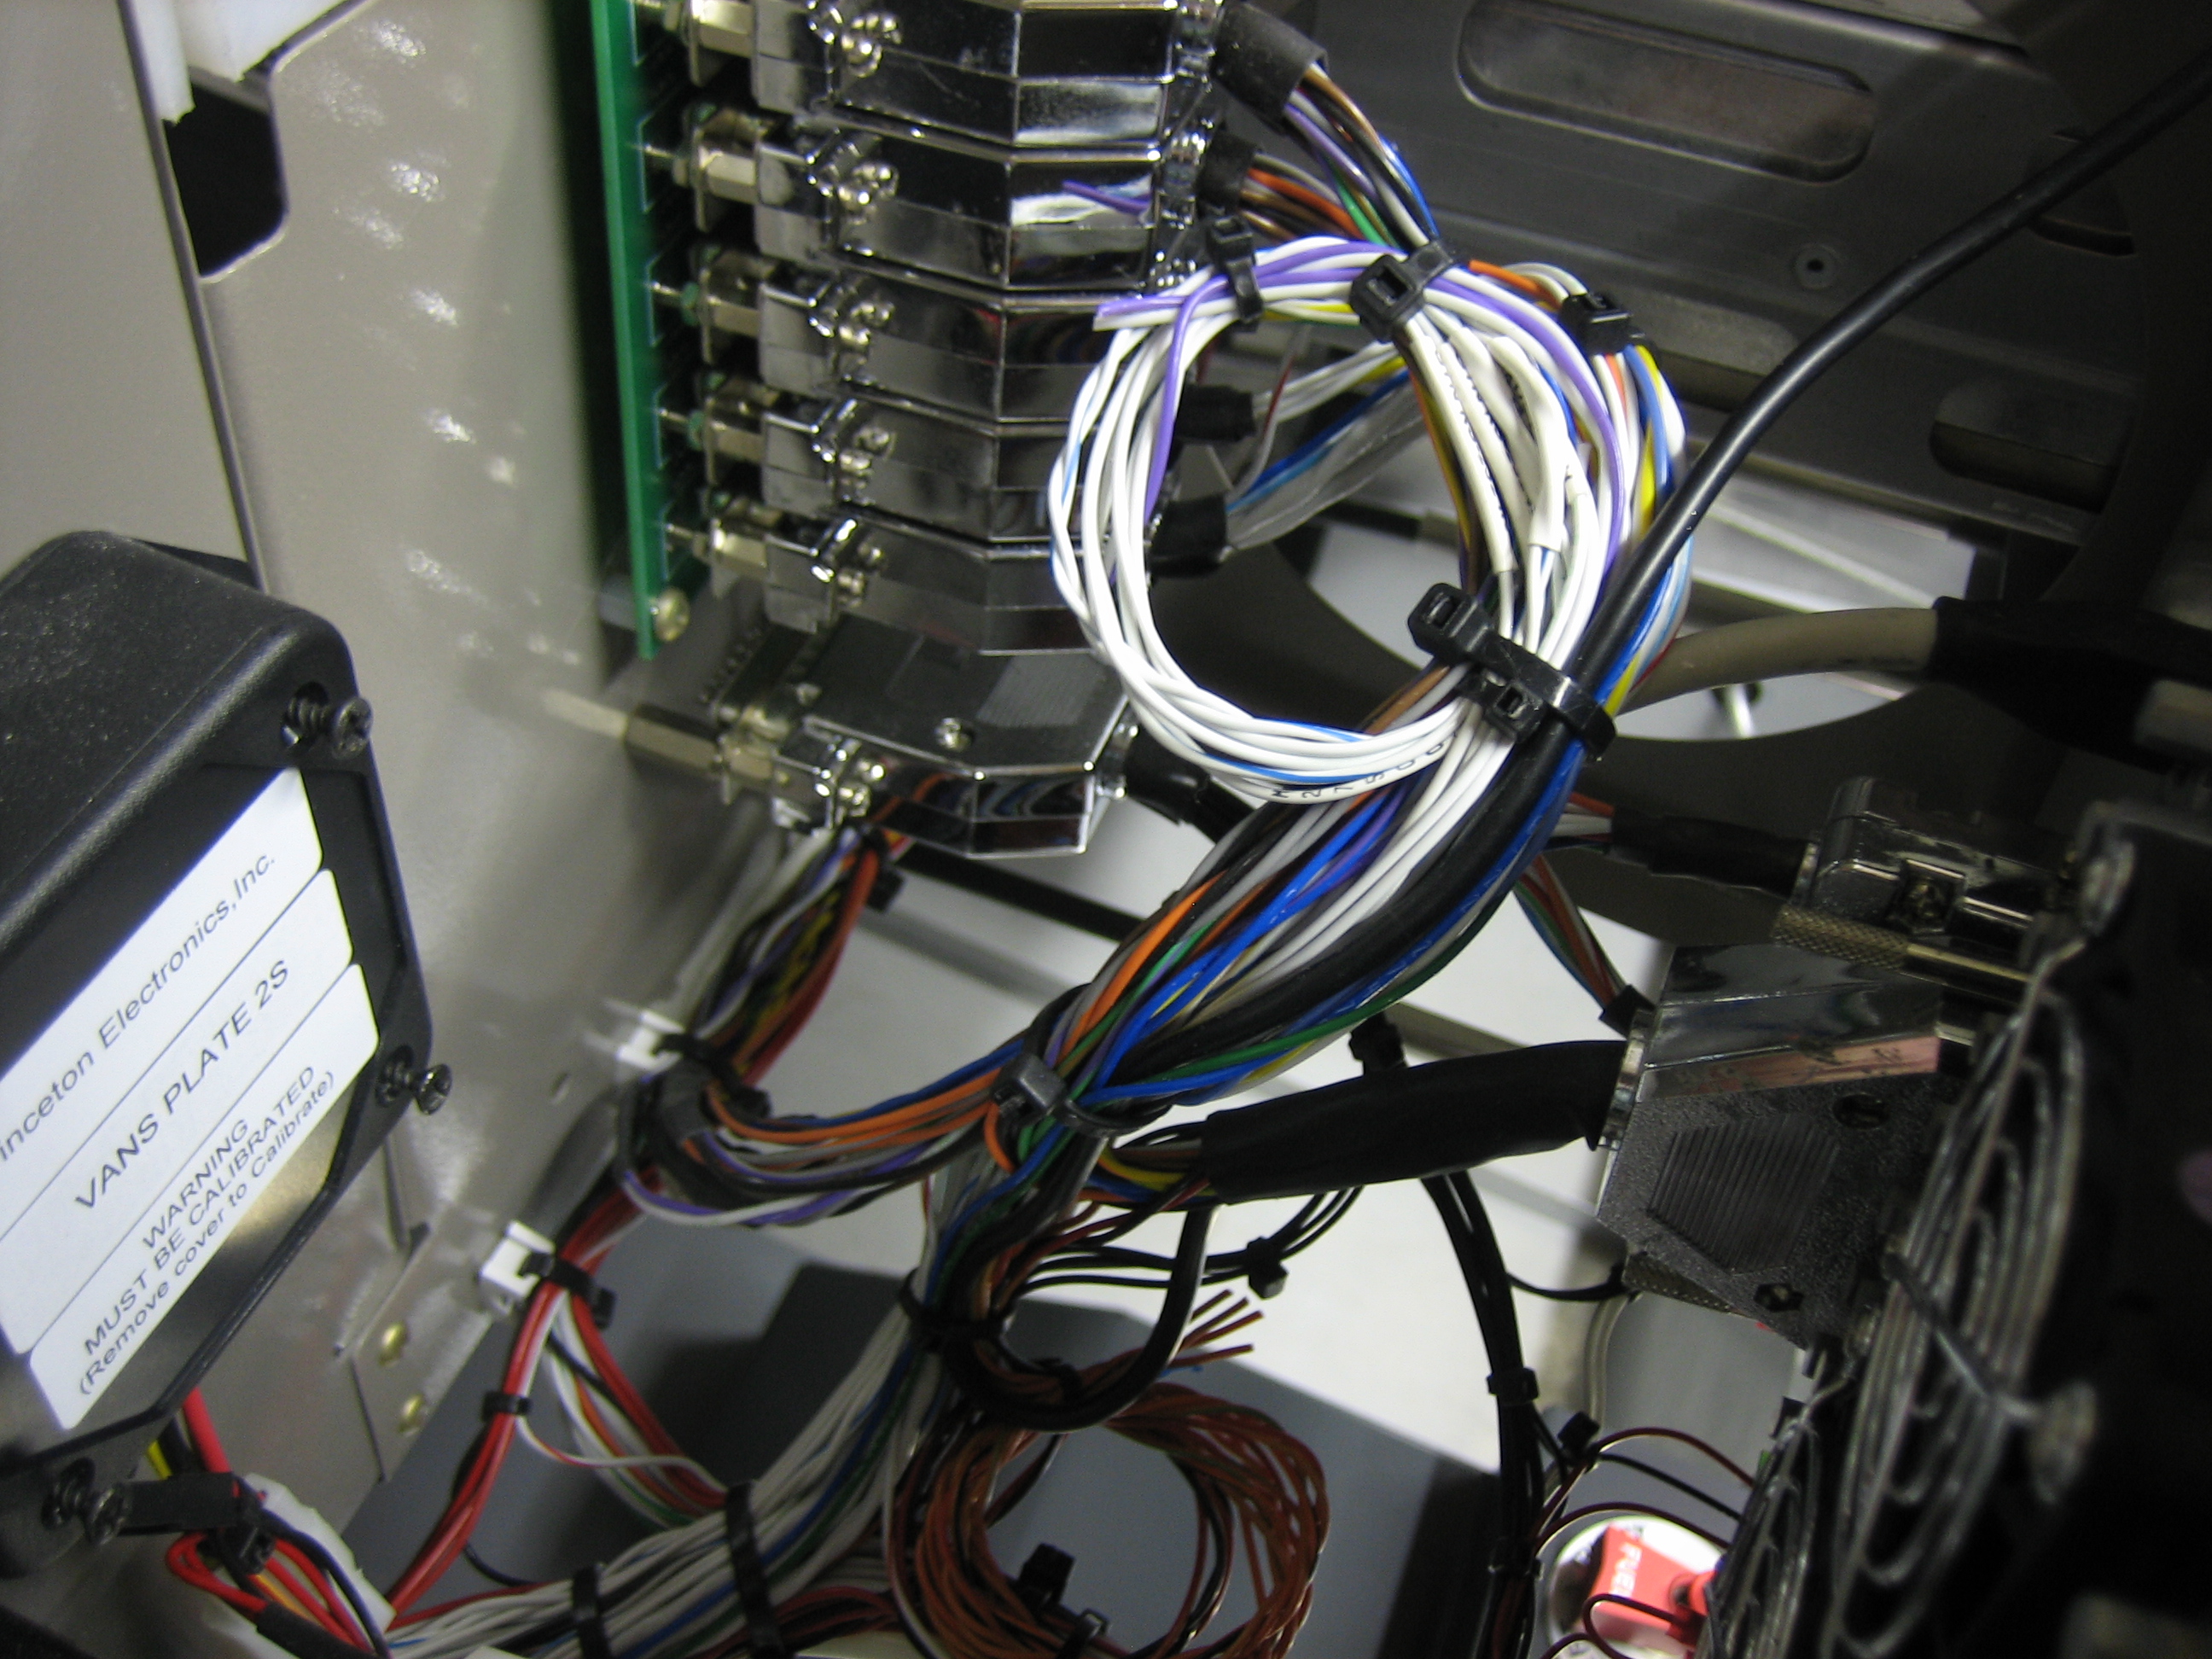
Since upgrading to SkyView 4.0, the SkyView system can’t see my pitch servo. 4.0 added support for the secondary bus, and a number of people have seen errors after upgrading due to wiring errors. Although I wasn’t seeing any alerts about wiring errors, members of the Dynon forums suggested I double check the wiring anyway. I spent a couple of hours tonight checking continuity between all the wires and verifying the servos had a good power and ground connection. All my wiring looks good, so I’m not sure what the problem is yet.
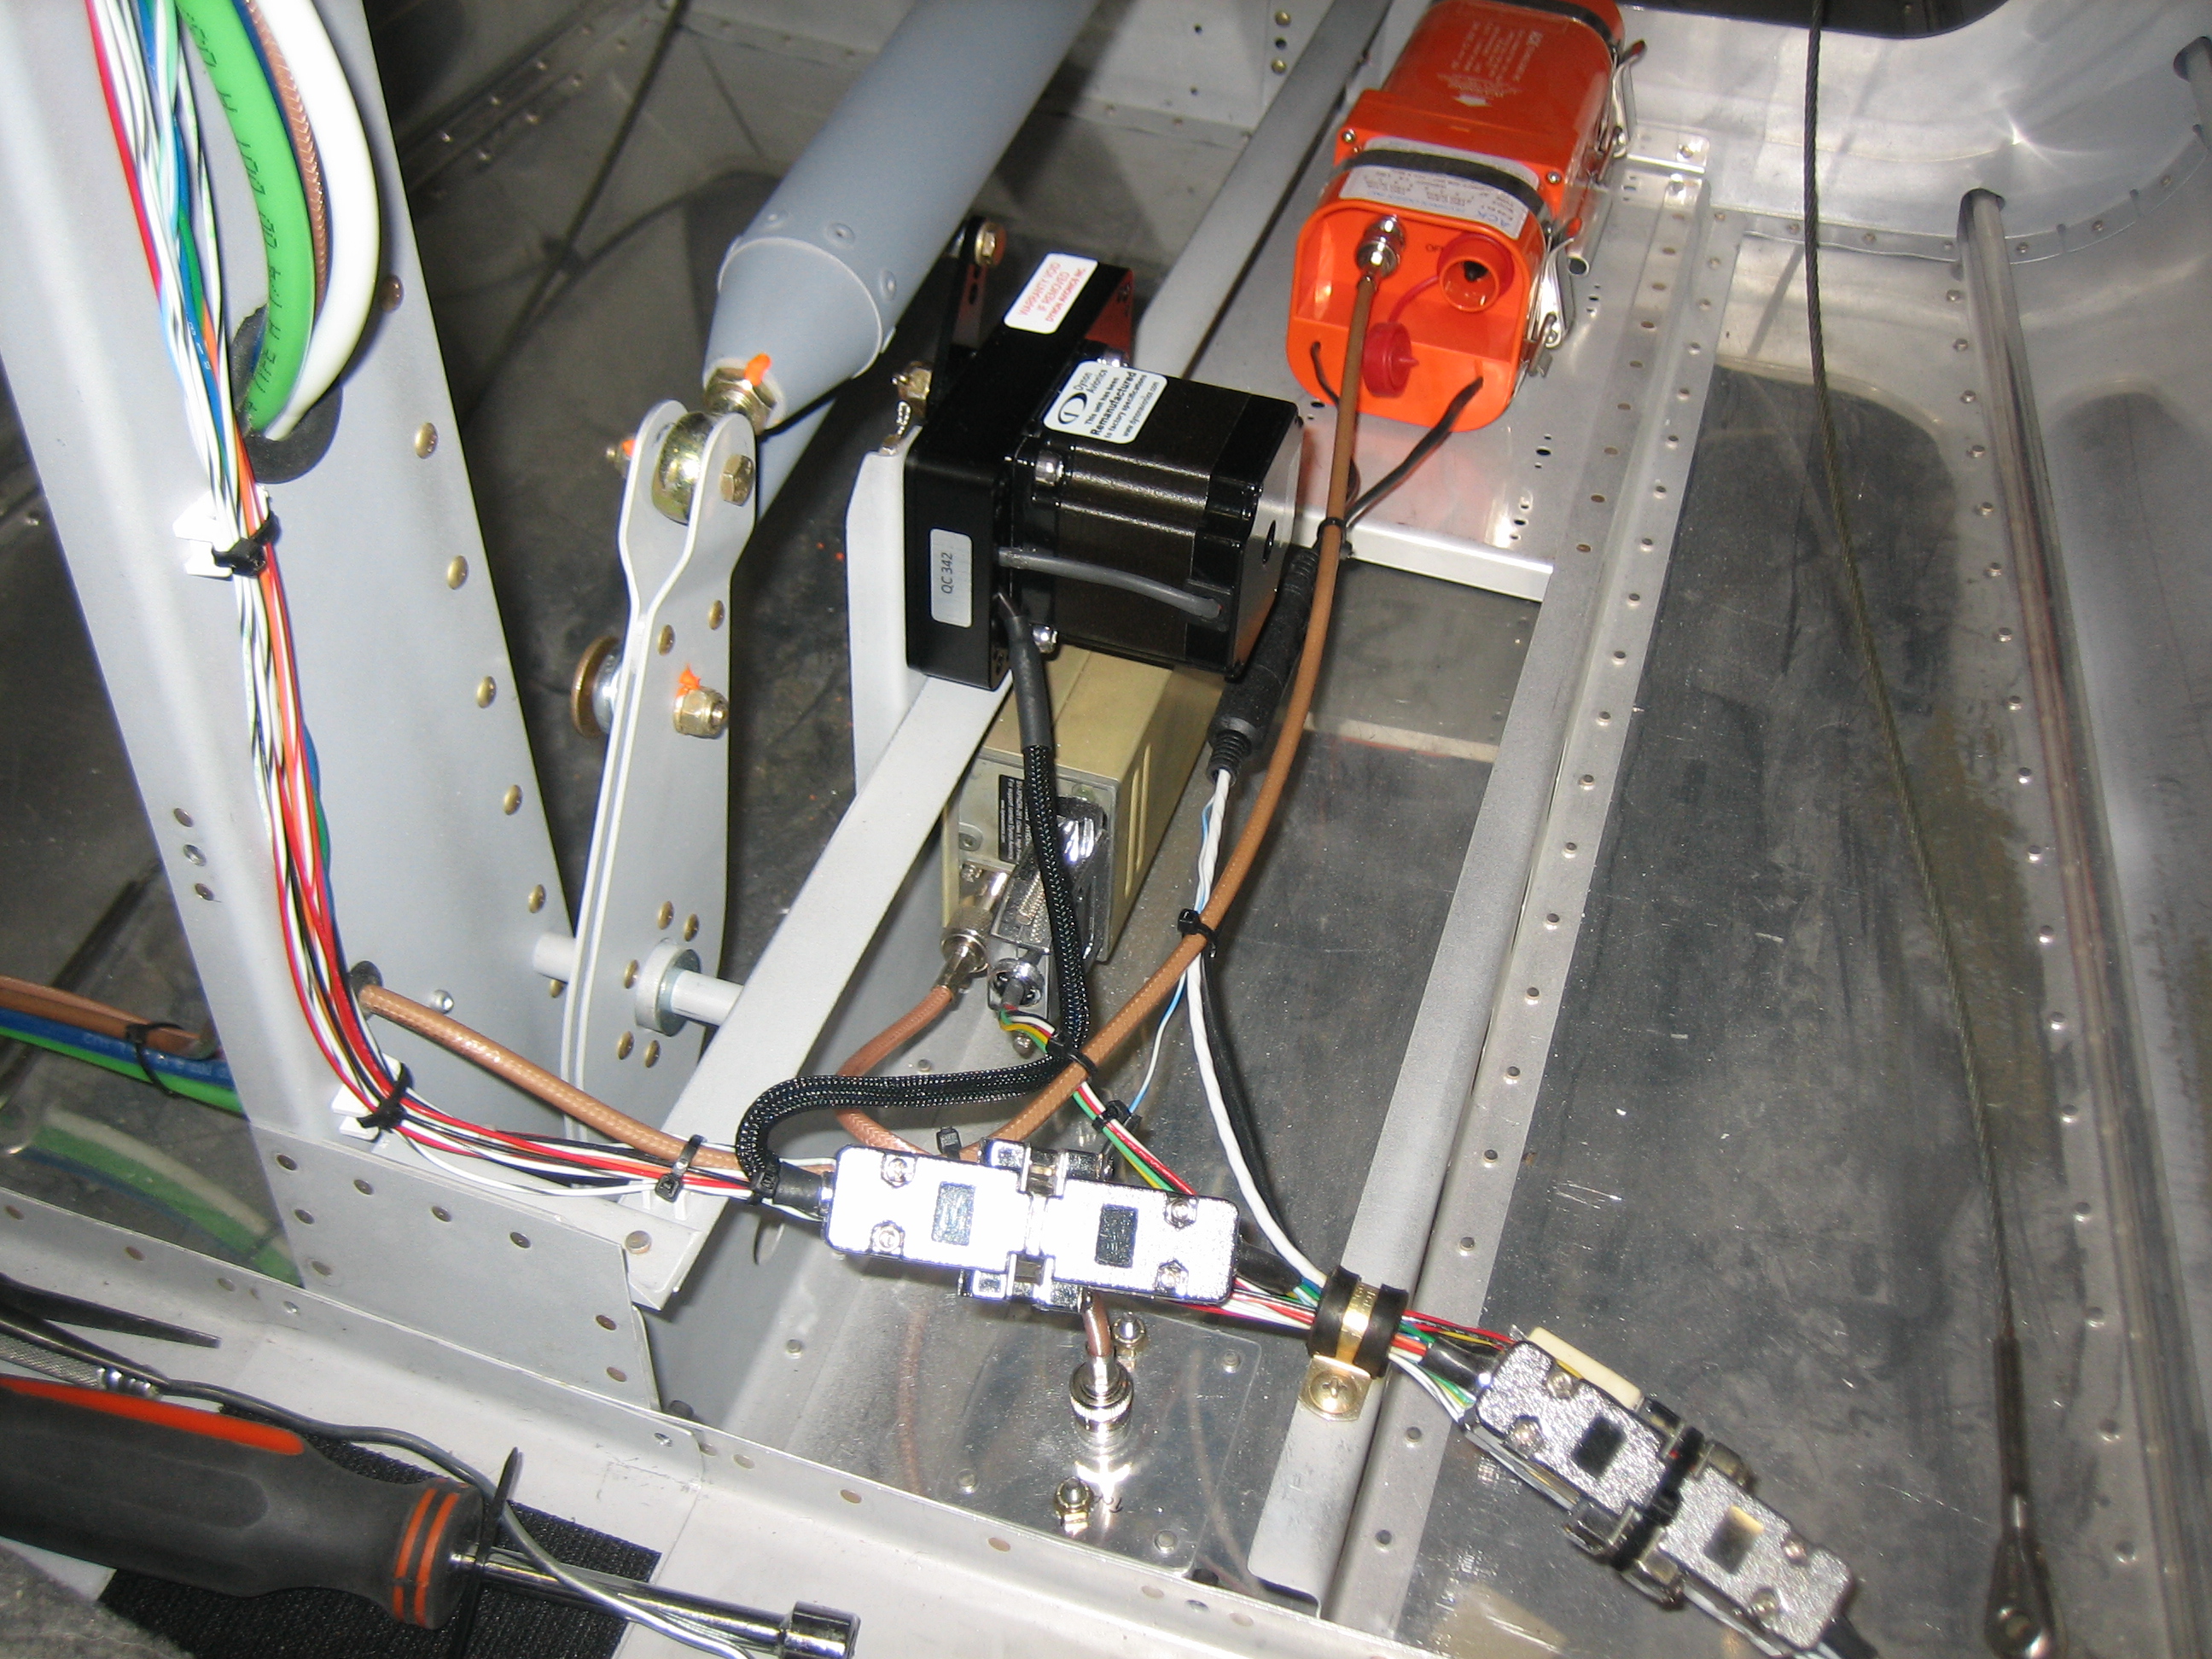
Replaced Pitch Servo
Way back in September, I mentioned that since upgrading to SkyView 4.0, the SkyView system wasn’t finding my pitch servo. After double checking the wiring at the request of Dynon, I couldn’t find any problems. Dynon ended up sending me a new servo which completely fixed the problem.
I then spent a couple more hours working on the plenum mounting angles. I have them pretty much ready to drill to the baffles. I’m sure I’ll have to tweak the angles a bit to get the plenum to sit flat on them.
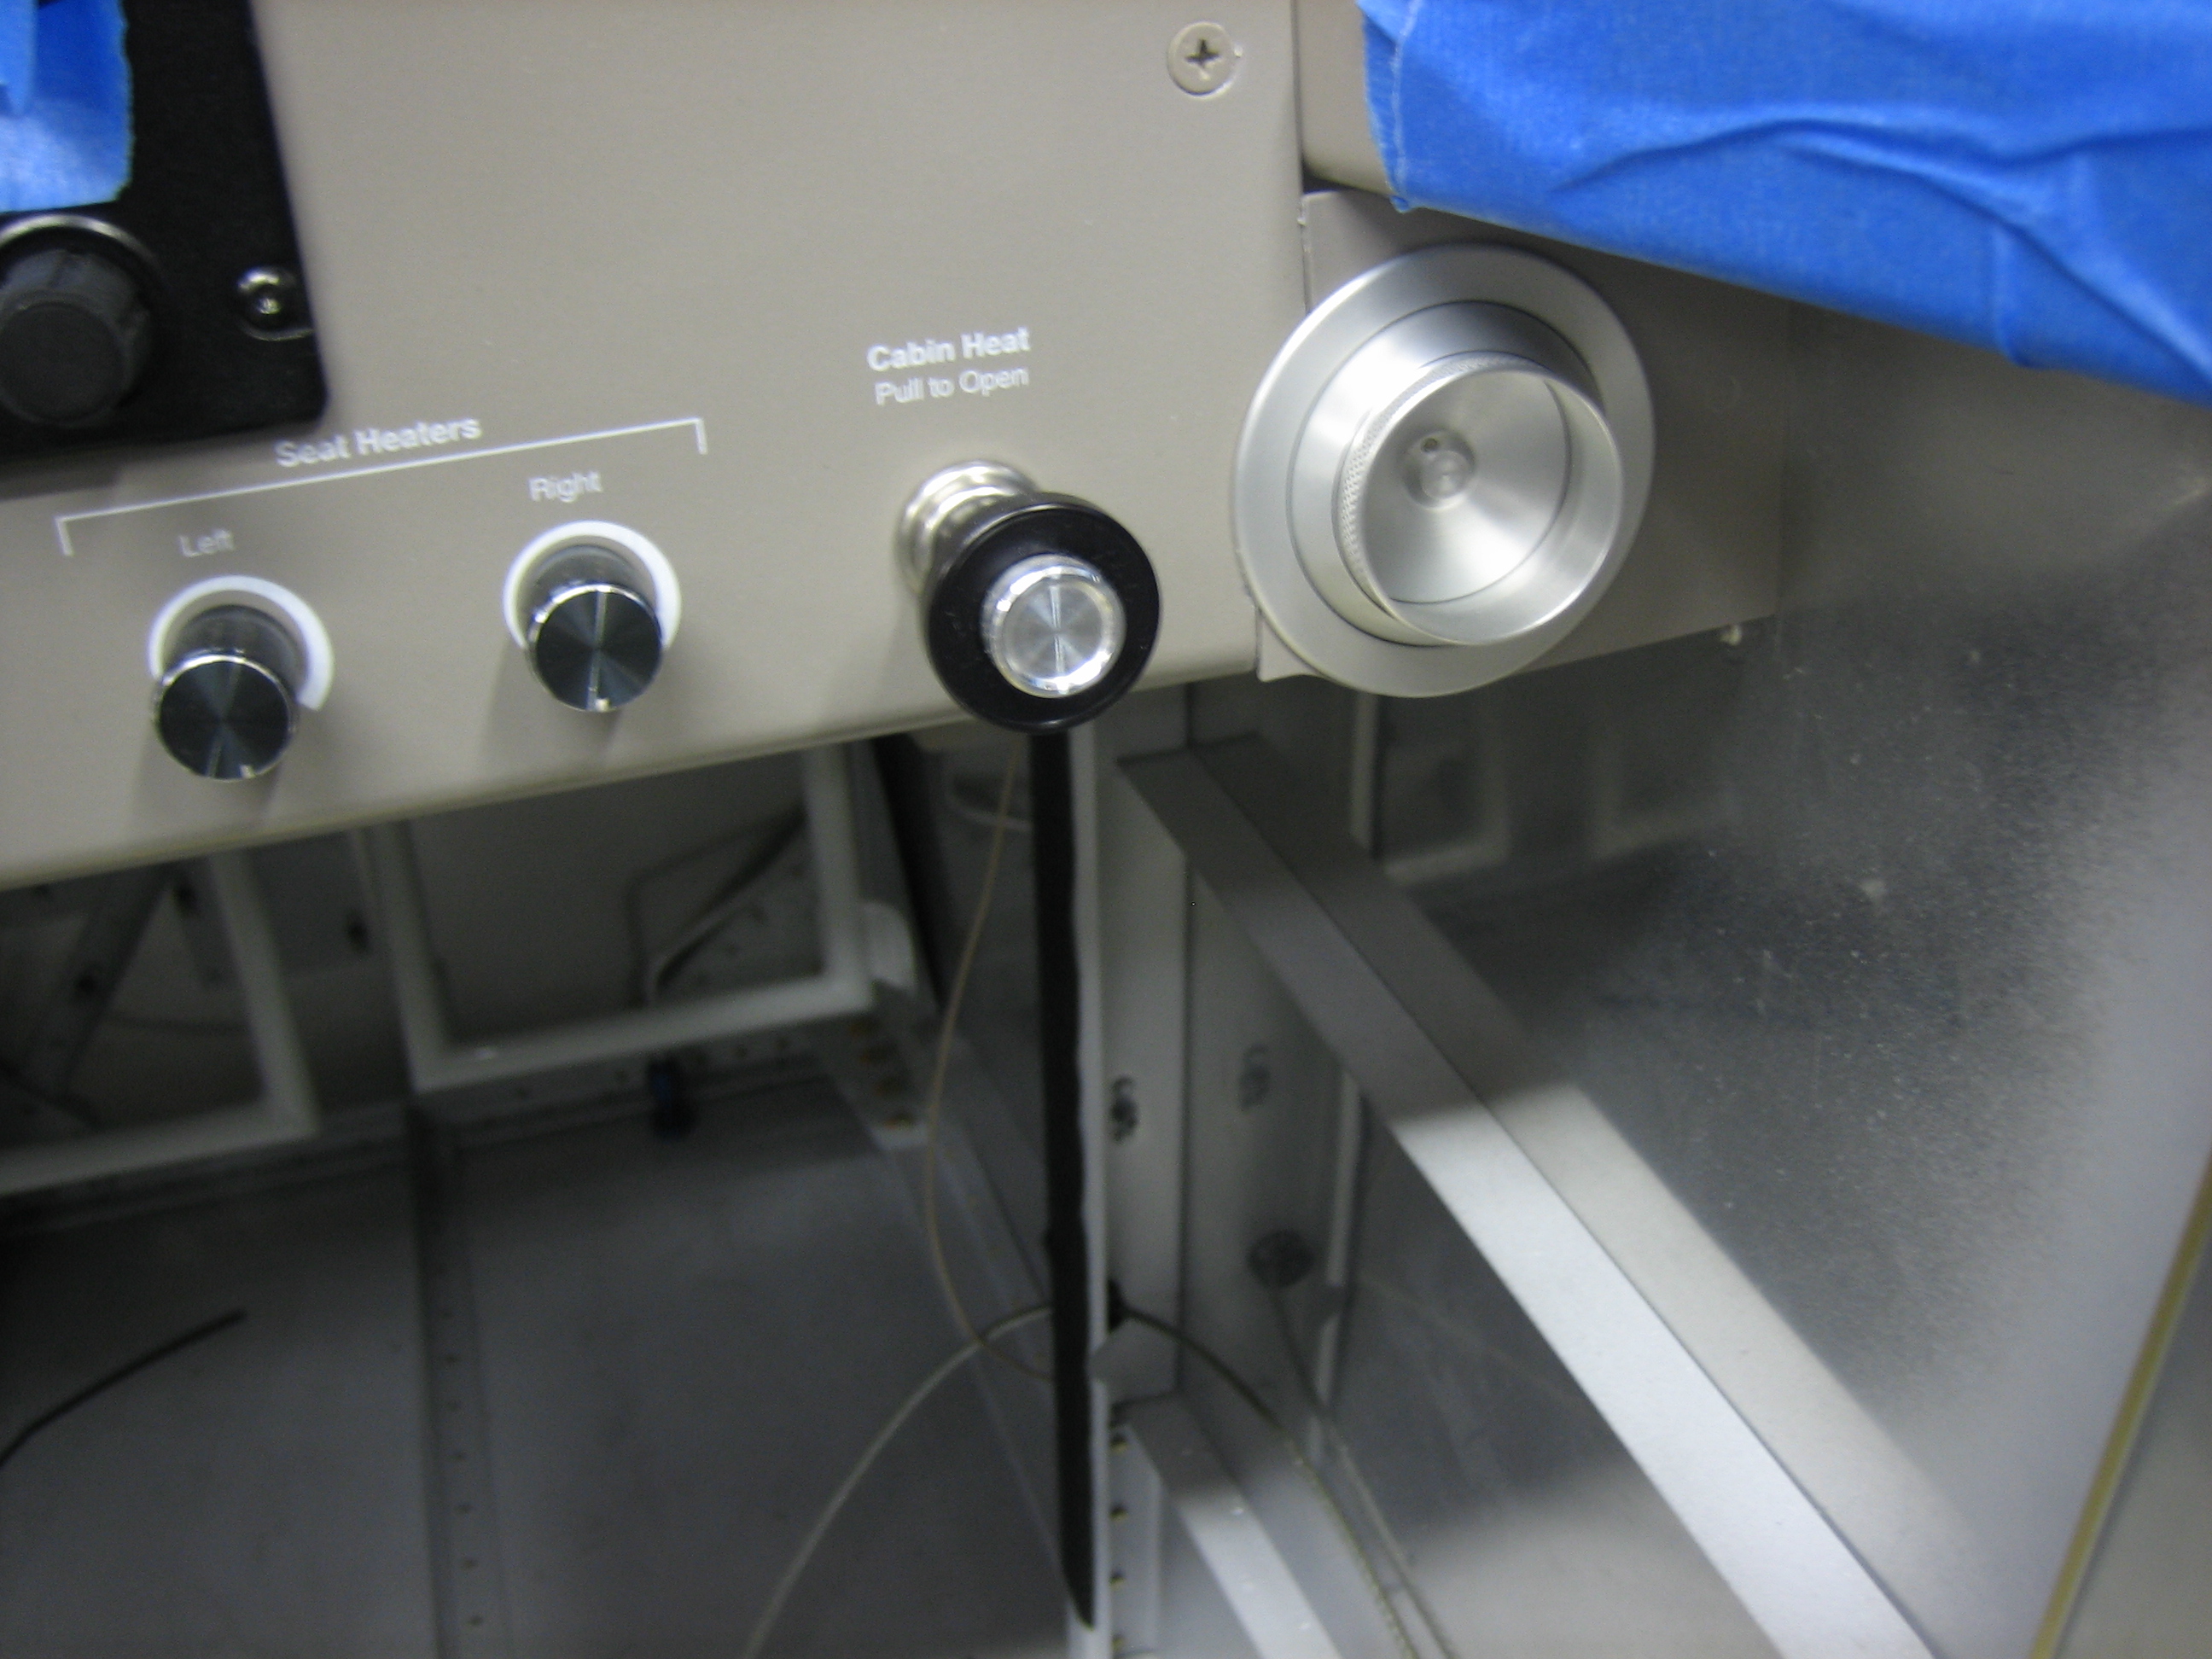
Installed Air Vents and Drilled Forward Plenum Mounting Angles
For some reason, I decided to install the air vents tonight. These weren’t too bad, but there’s not a lot of room back there to tighten the mounting nut.
I got the forward plenum mounting angles drilled to the baffles. These were a pain in the ass to curve this much and I ended up having to cut a couple of notches in the left one to follow the curve acceptably. I still have four more very small angles to fabricate and drill before I can move on to finishing the plenum.

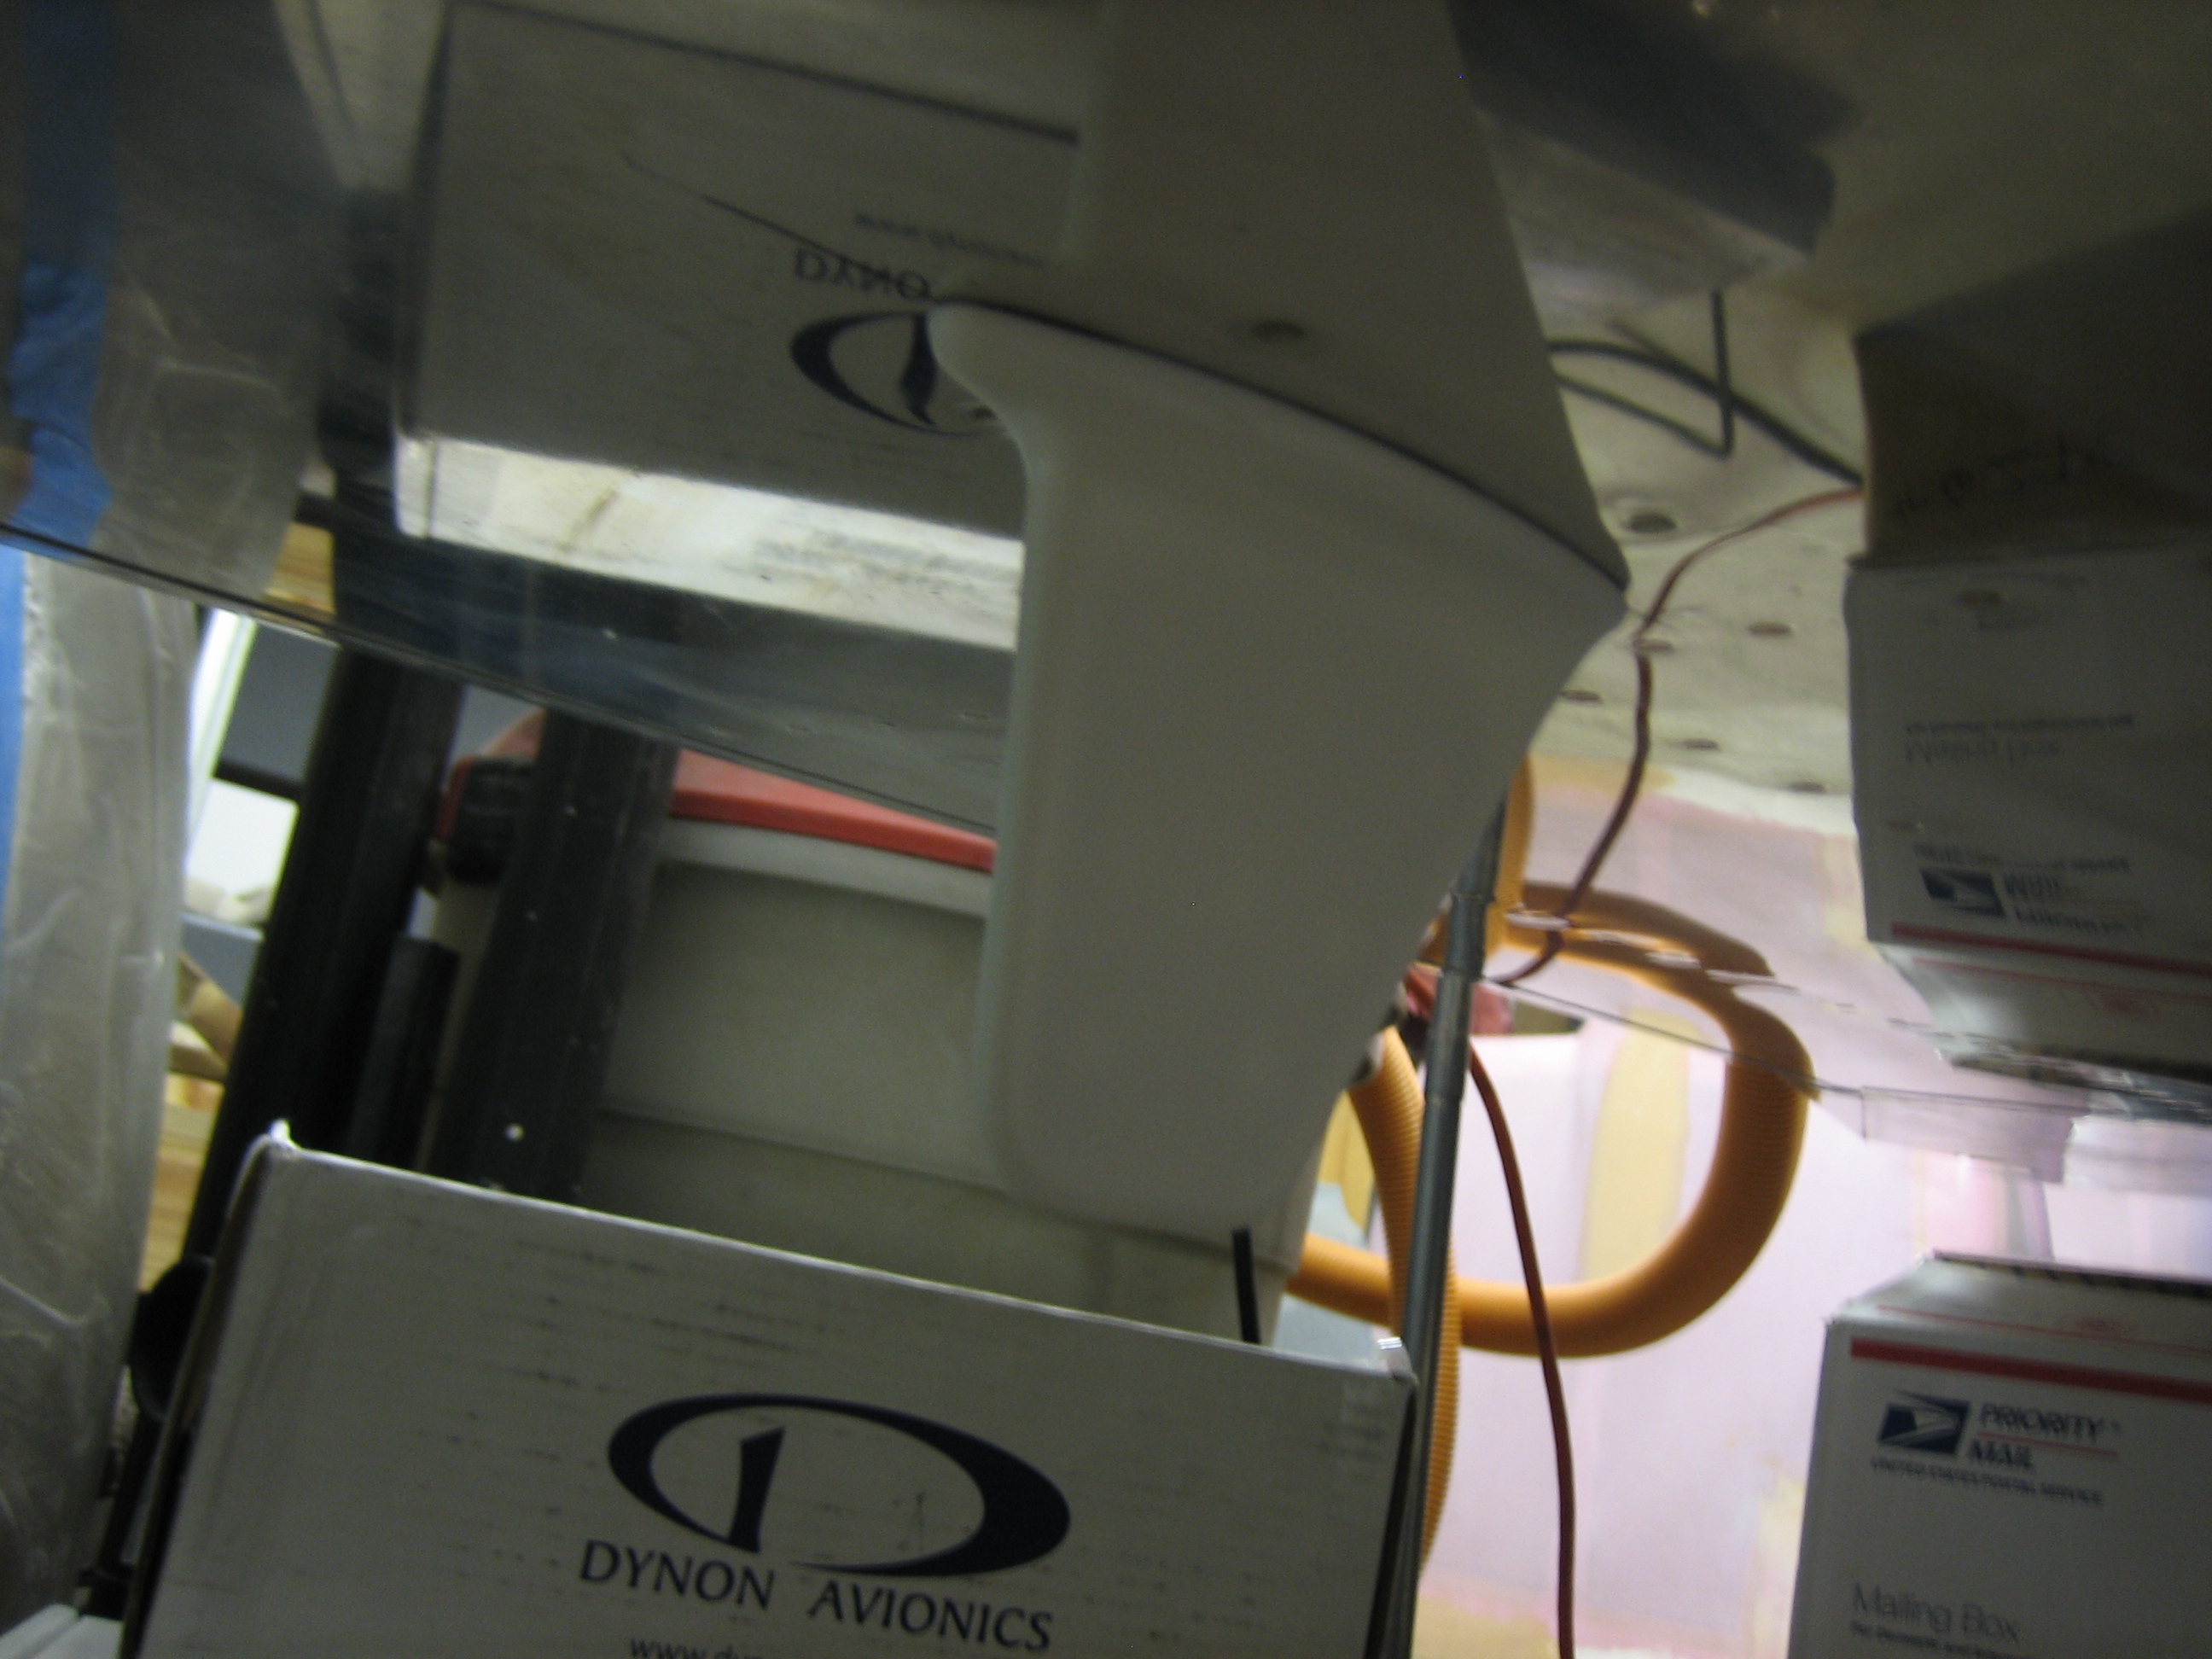
Dynon SkyView ADS-B Receiver has Shipped
The new Dynon ADS-B receiver started shipping today and I got my order in early enough that it will be shipped tomorrow. This will add ADS-B traffic and weather to the SkyView system and will be the last piece of avionics that I add to the plane before it flies. It should be here within a few days.
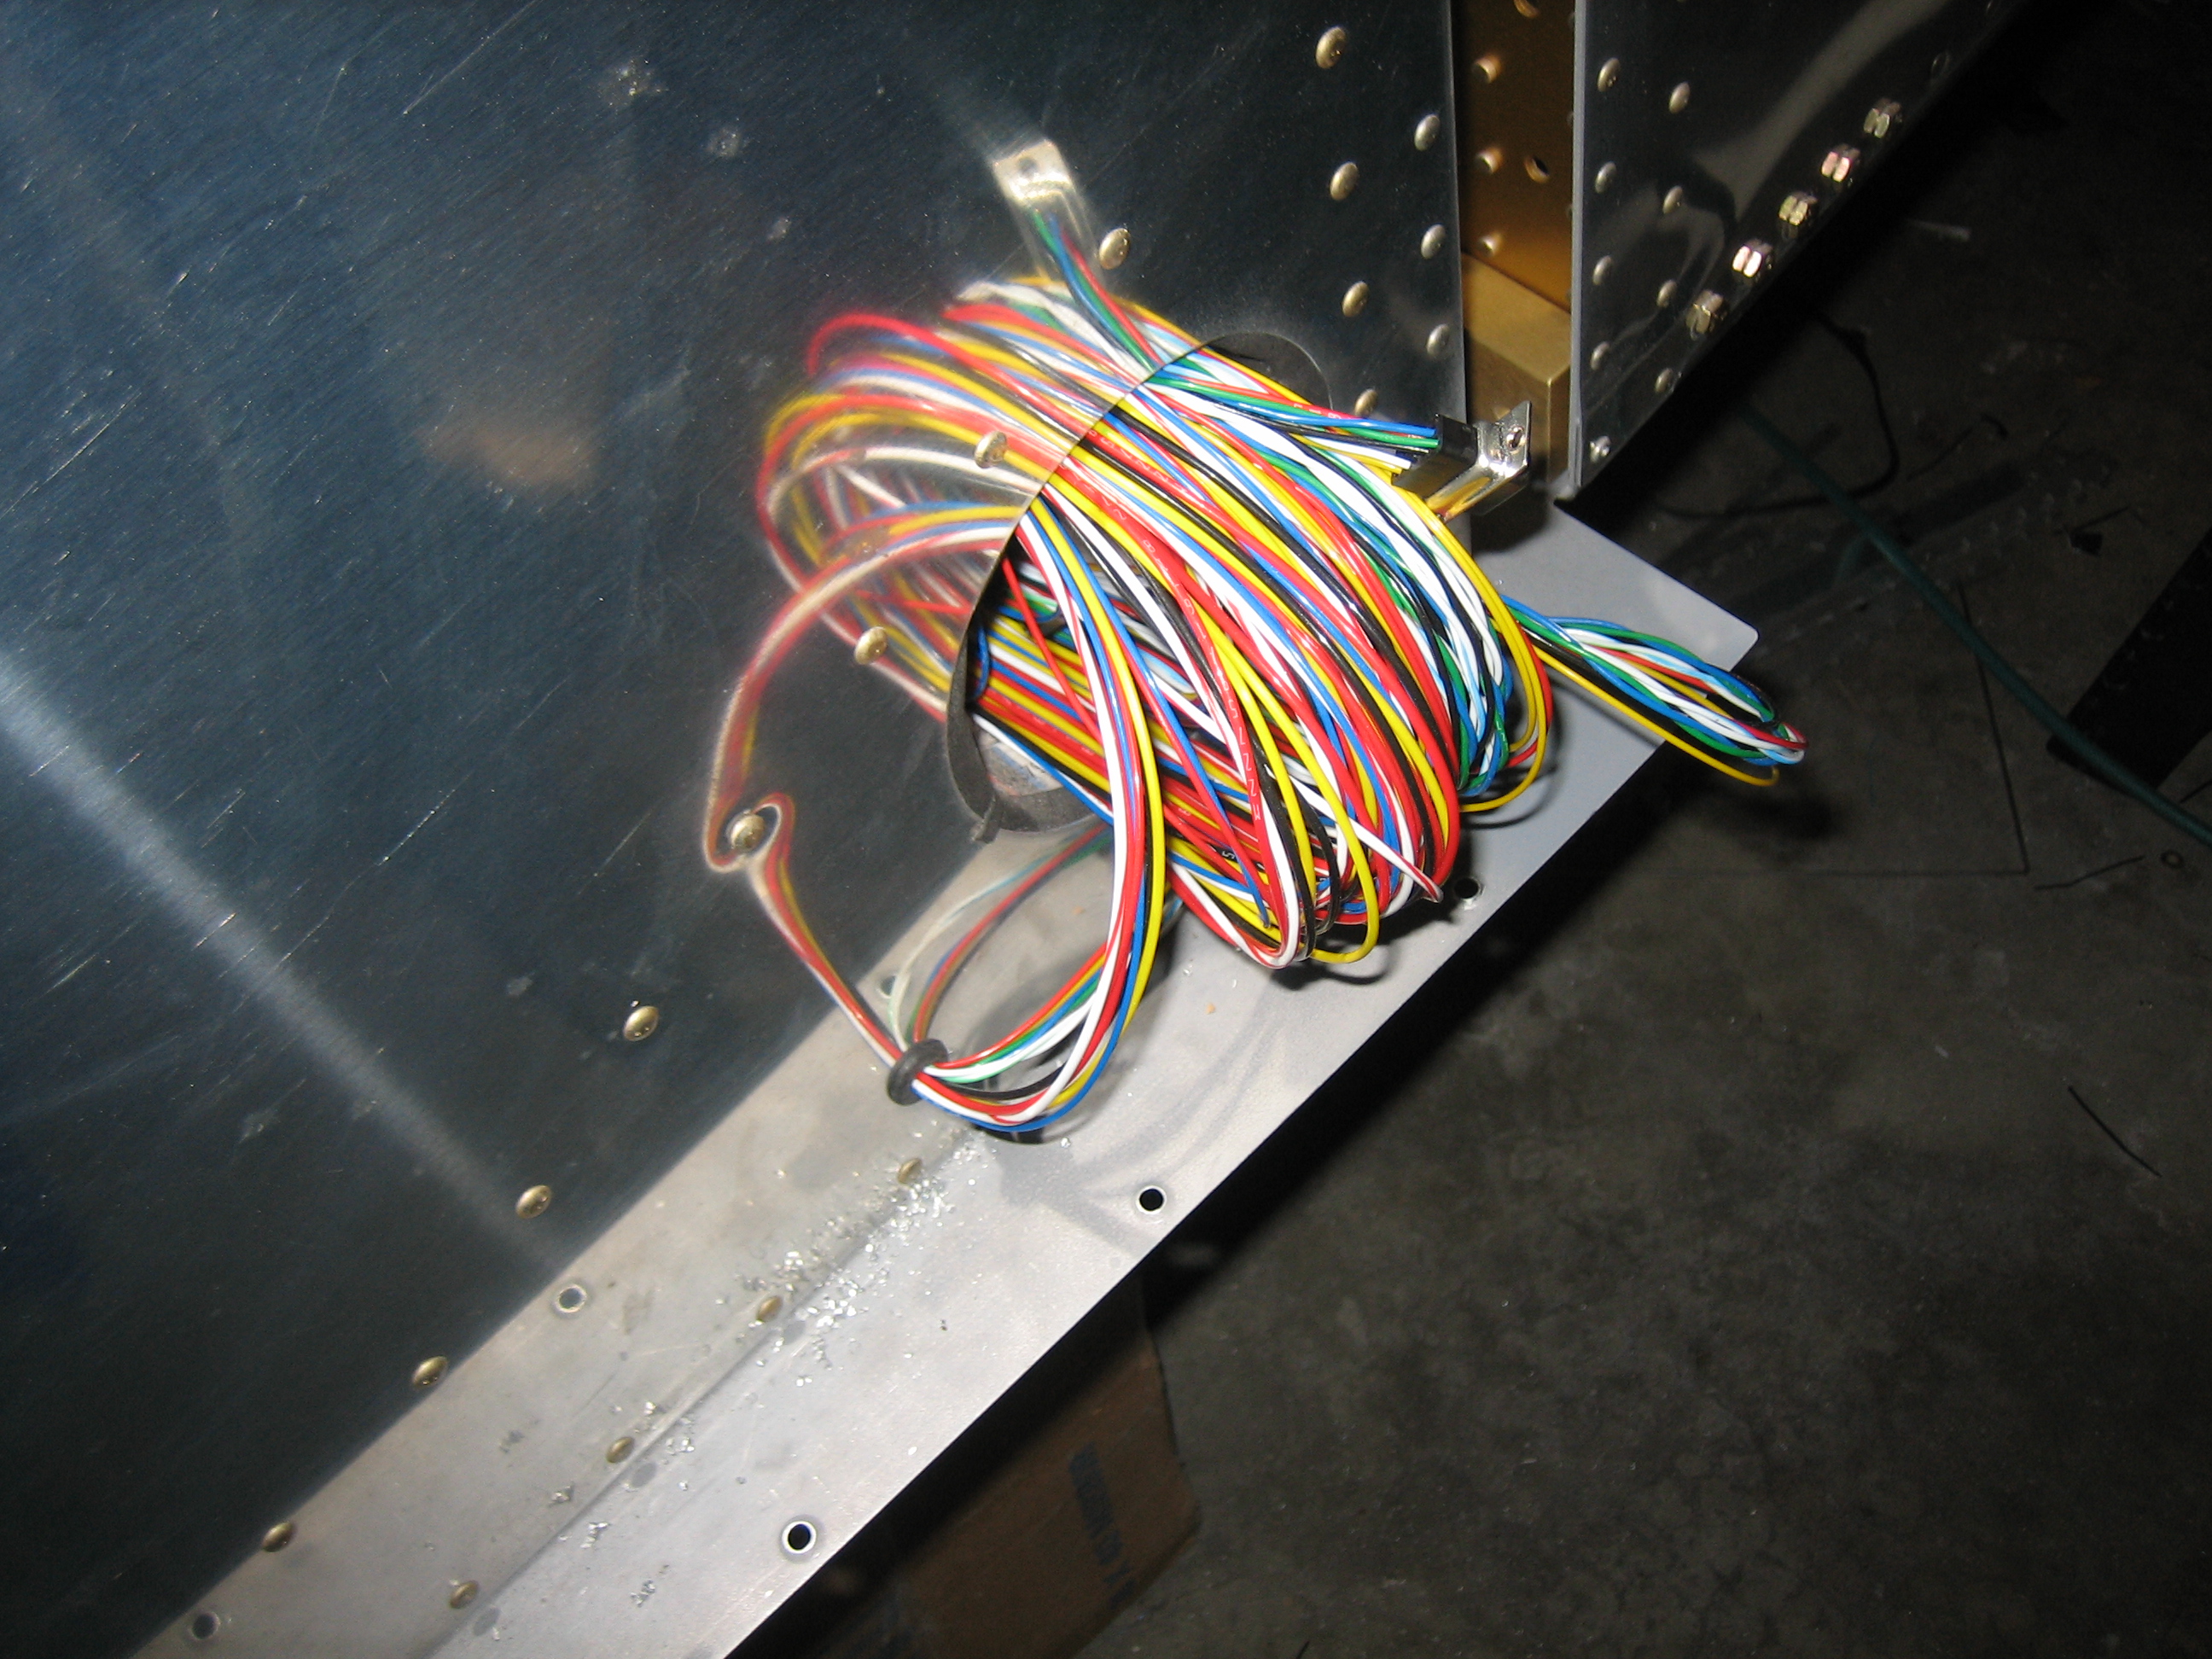
Routed Wing Wiring Outside of Fuselage, Replaced Oil Drain
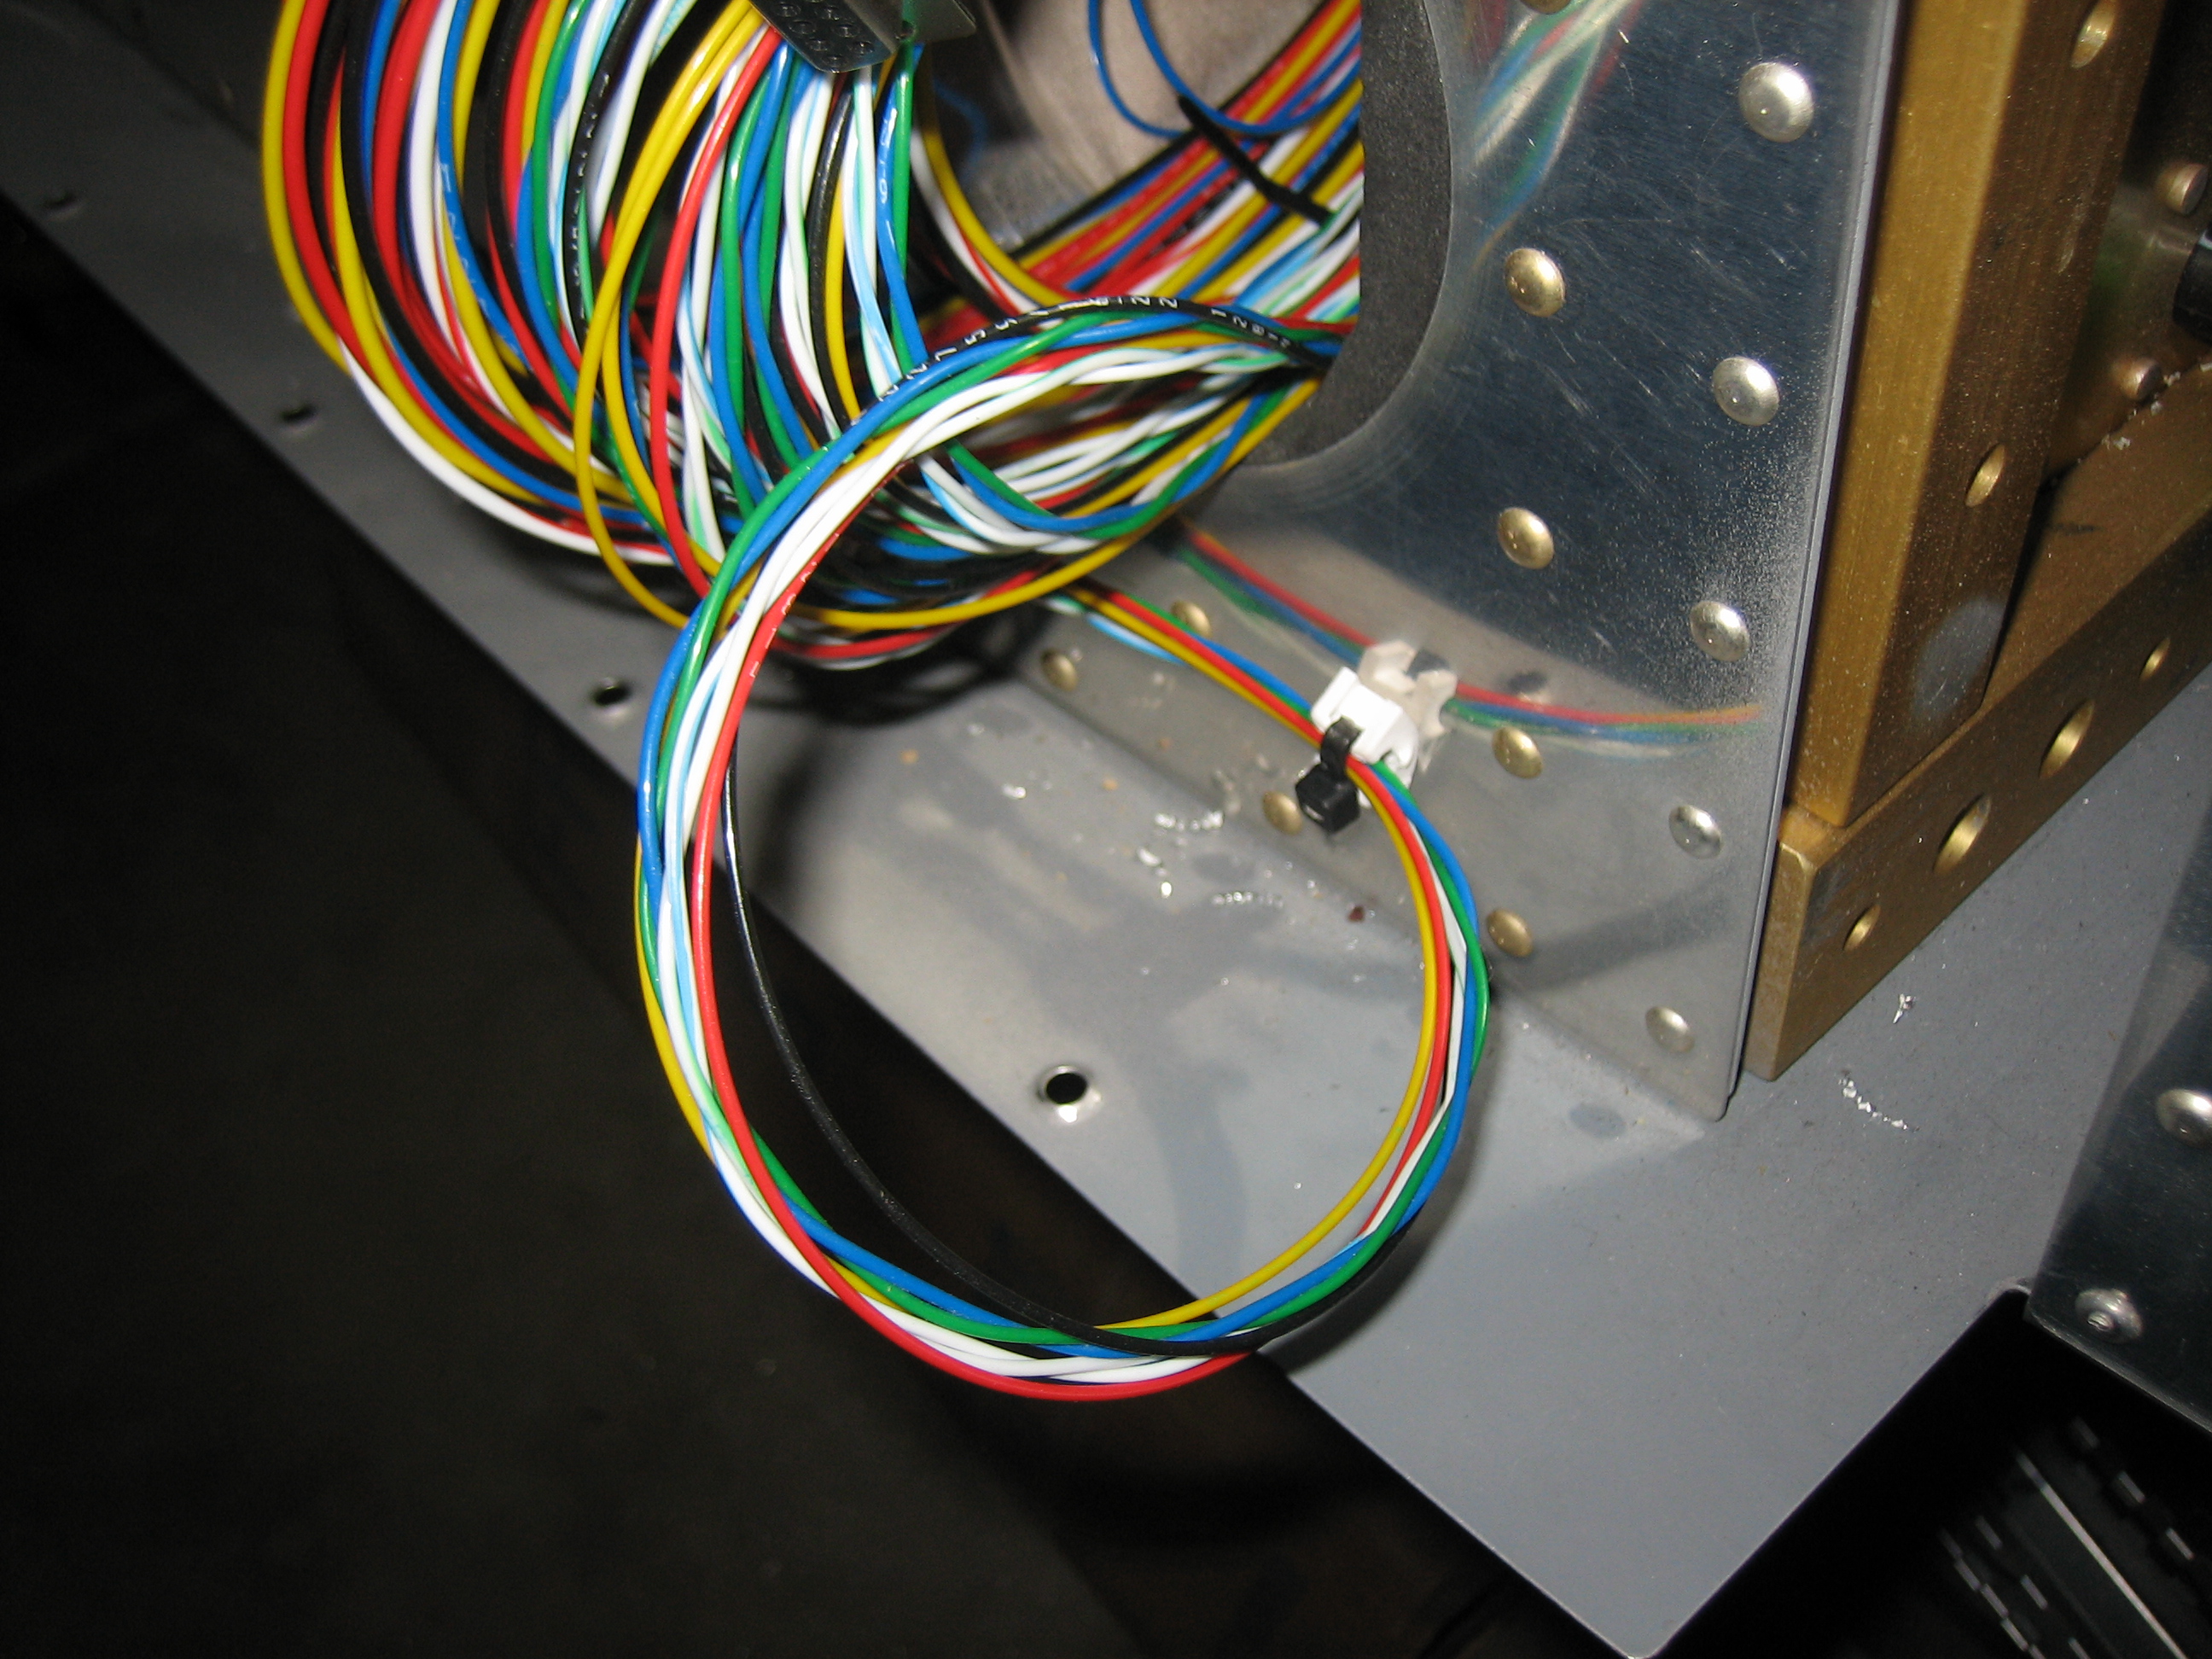
I drilled holes in the sides of the fuselage for the wing wire runs and fished them through along with a grommet. To keep the wires out of the way, I coiled them up and tucked them back into the aileron push-rod hole.
The wing tip wiring will go straight into the wing wiring conduit from the hole I drilled, but the roll servo cable turns forward from there and then needs to go up to a hole near the top of the wing to route down to the servo. I pop-riveted a wire clamp to the side of the fuselage to anchor the cable and keep it away from the aileron pushrod.
I also received the Dynon ADS-B receiver today and spent some time deciding where to mount it. There’s basically no place up front that is easily accessible since I’m trying to make sure that every box in the plane can be accessed and removed if necessary. I ended up deciding to order one of Van’s ELT mounts that fits between the left side stringers and mount it there. It’s a fairly short run of coax from there back to where the UAT antenna will be mounted about 2′ behind the transponder antenna.
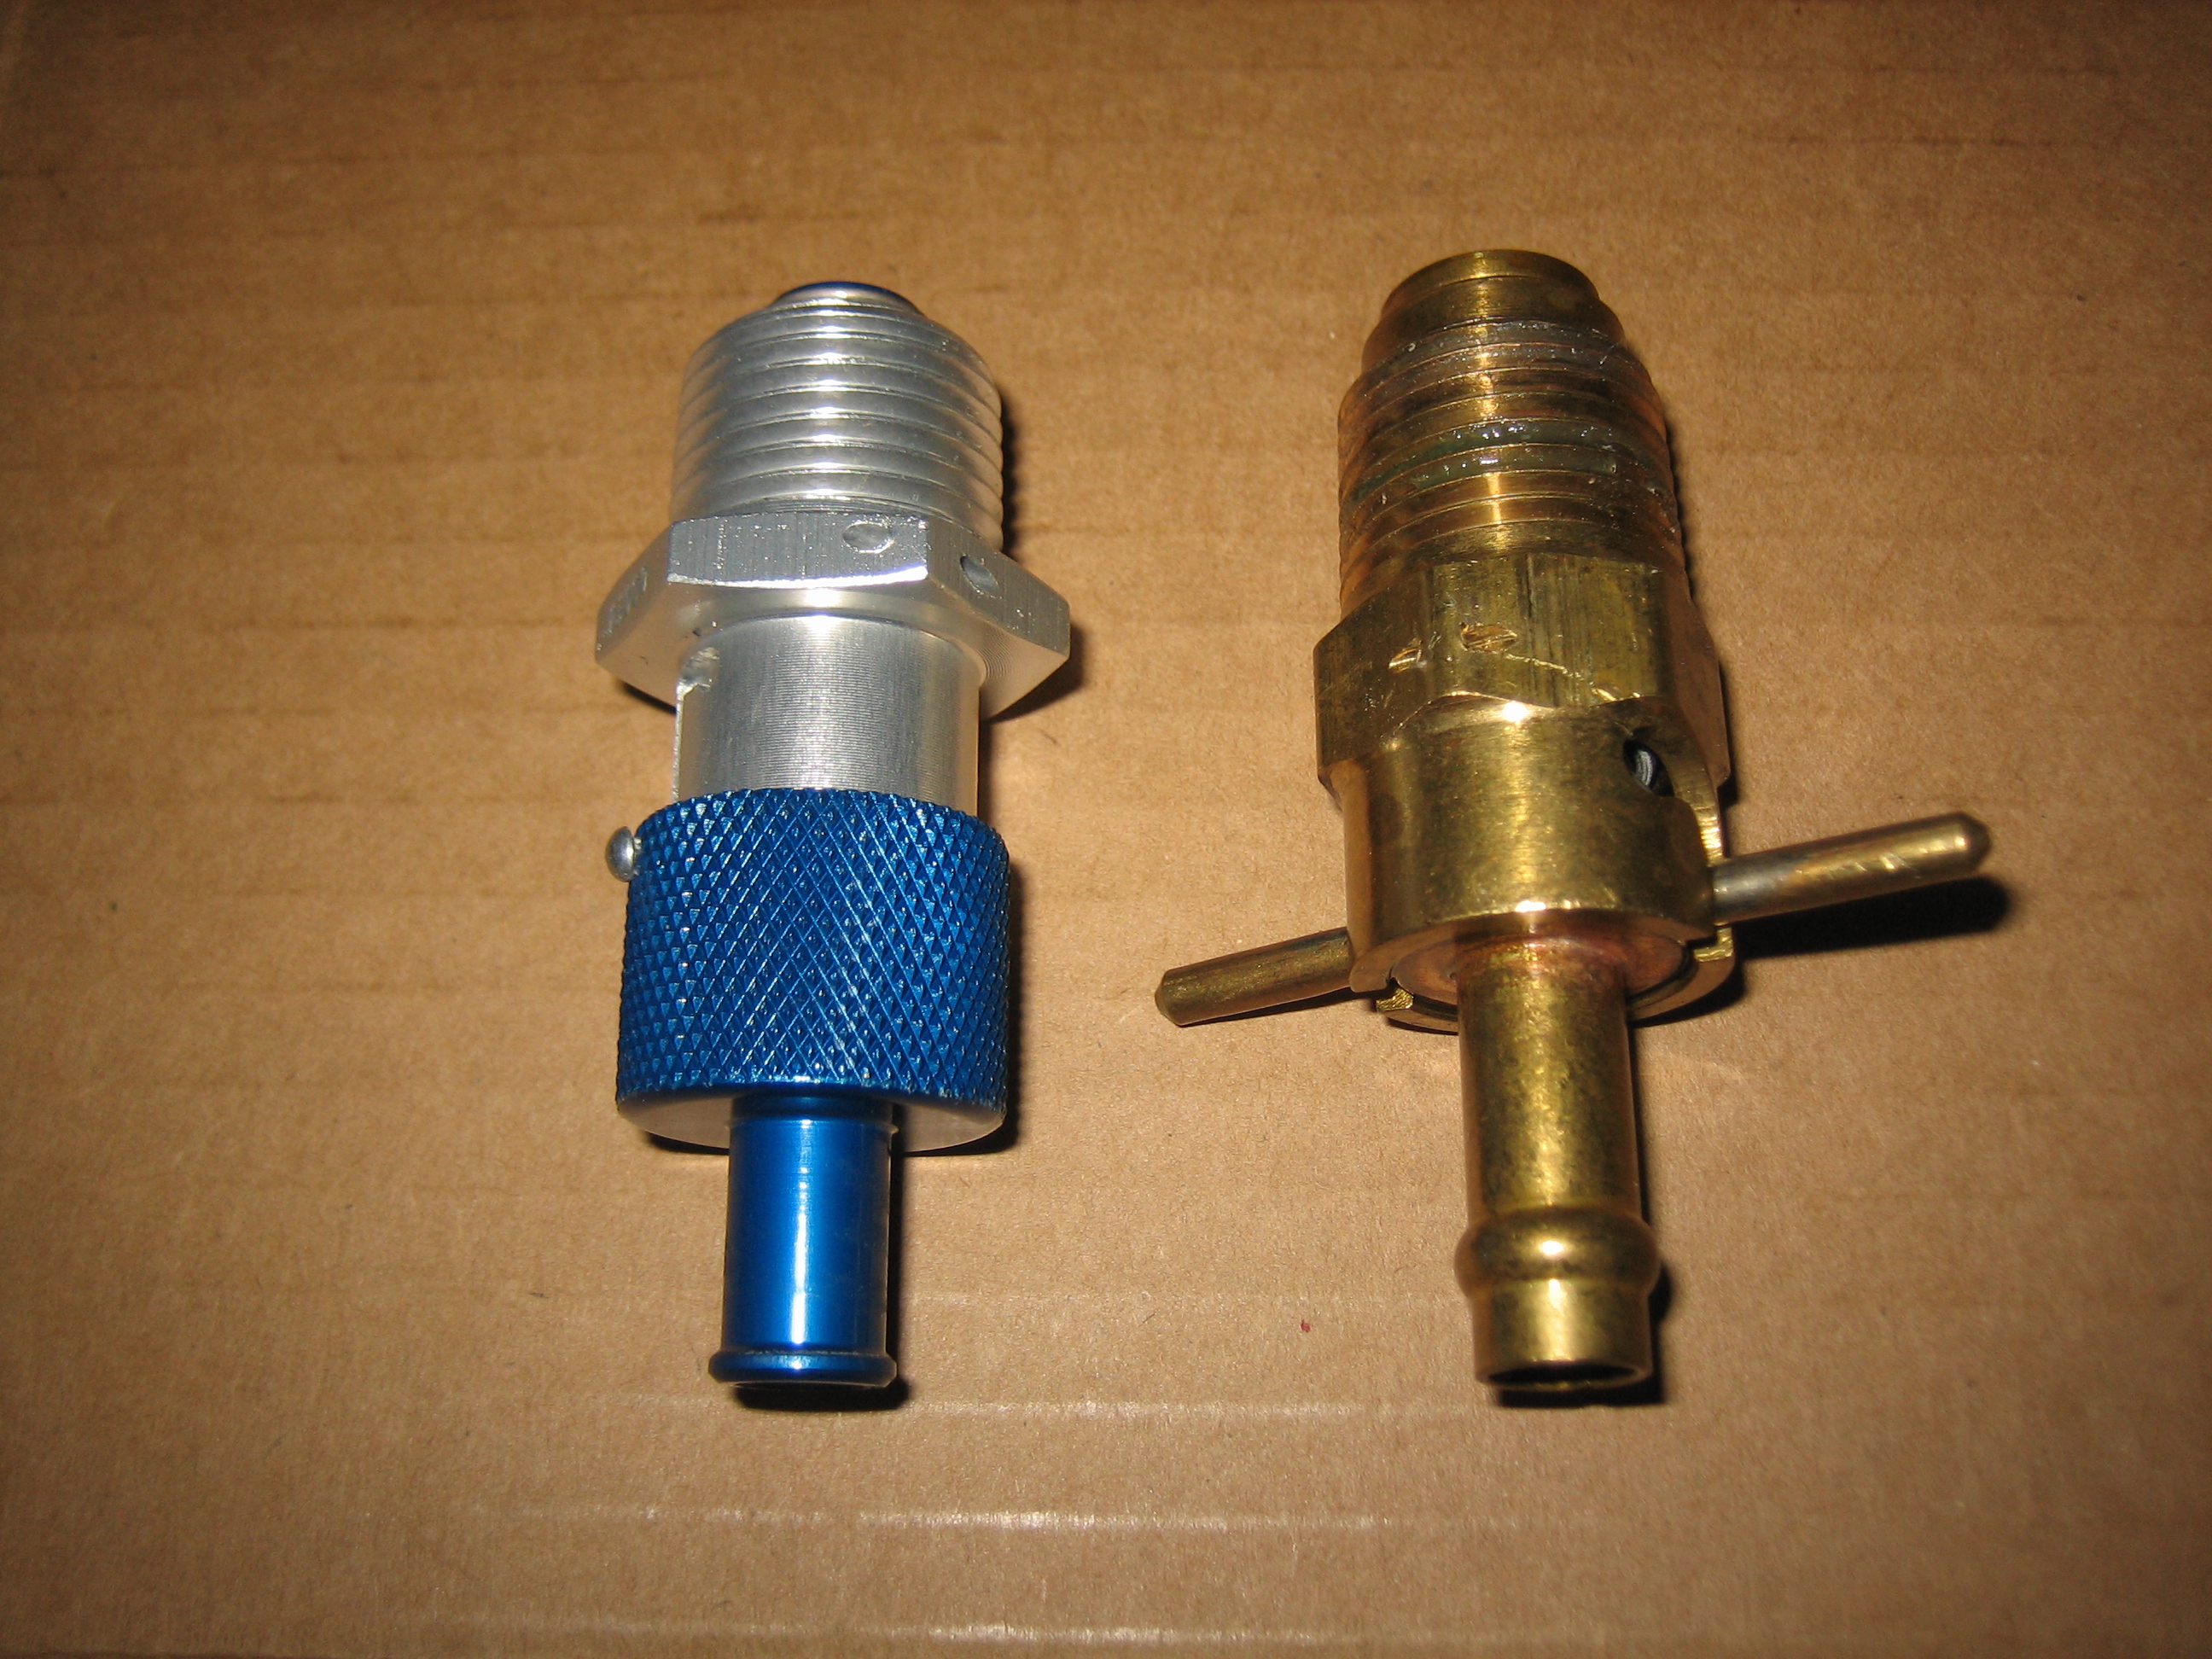
I decided to replace the Curtis quick drain on the right that came with my engine with the one from Saf-Air. Not only is it better made, double sealed and rebuildable, but it’s 2 3/8 oz lighter! That’s a huge weight savings for only $80. There are other parts on the plane that I spent hours on trying to shave out less weight than this simple change.
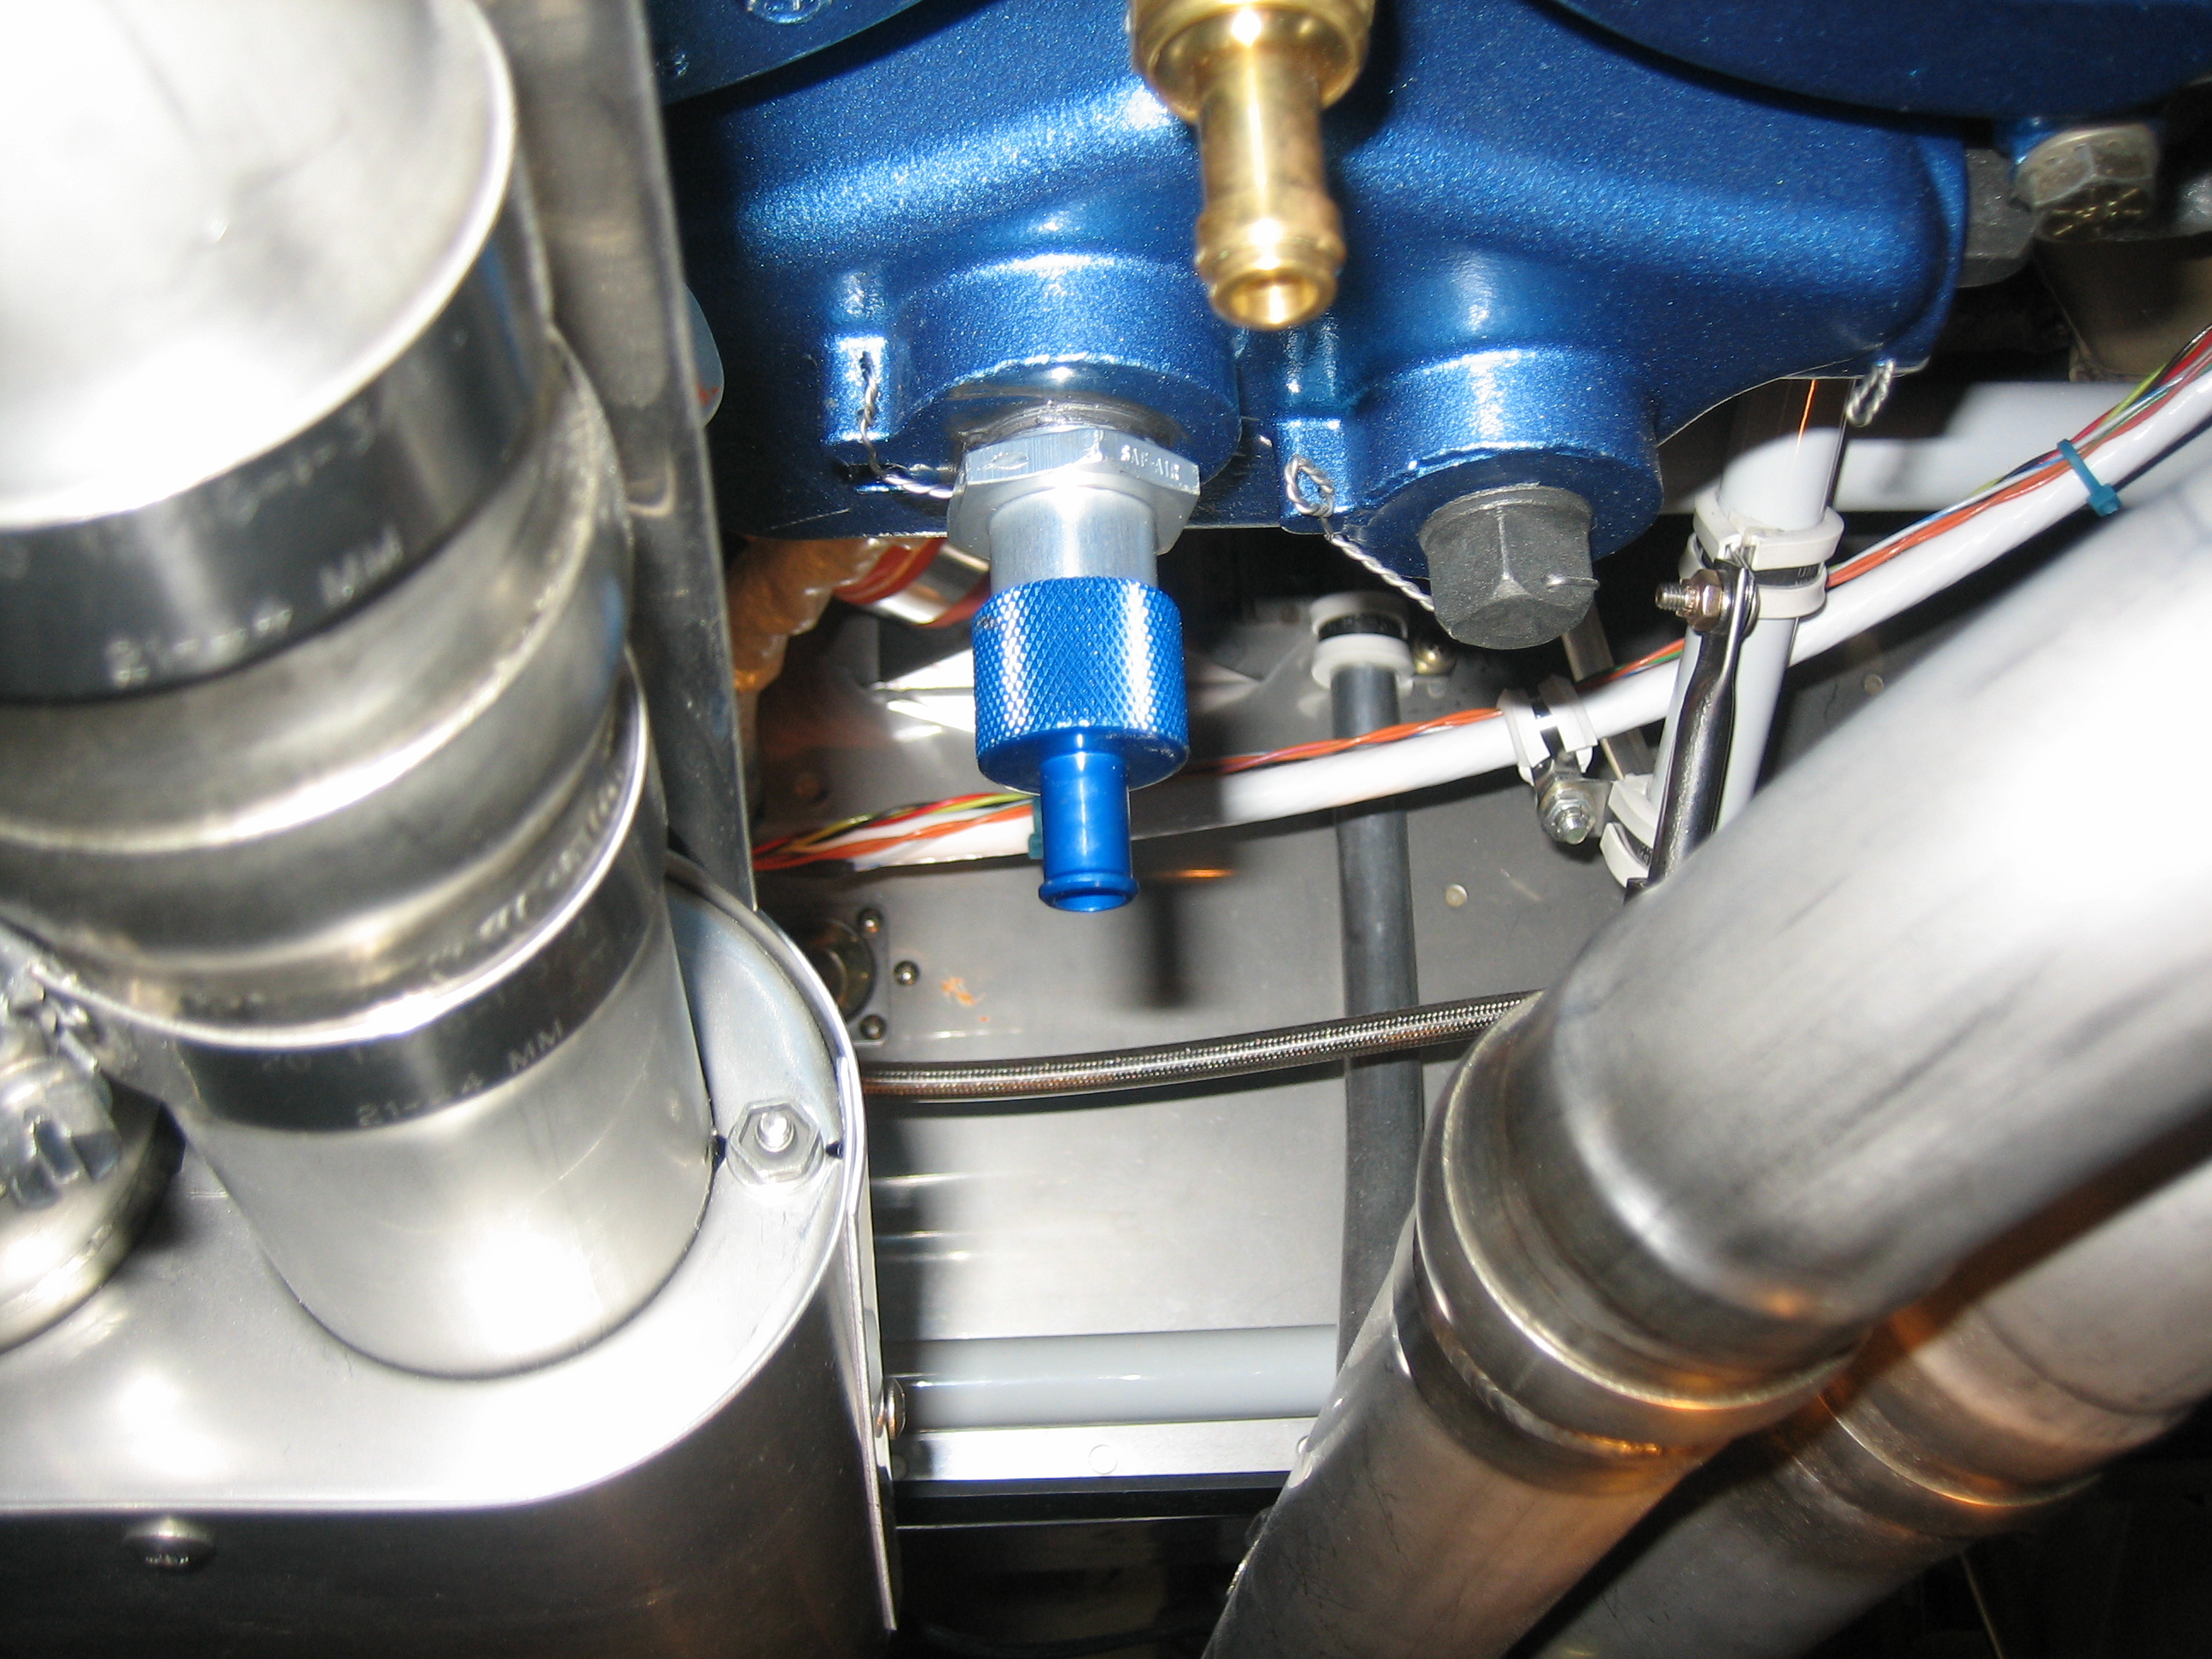
Here’s the valve installed and safety-wired.
Drilled ADS-B Receiver Mounting Bracket
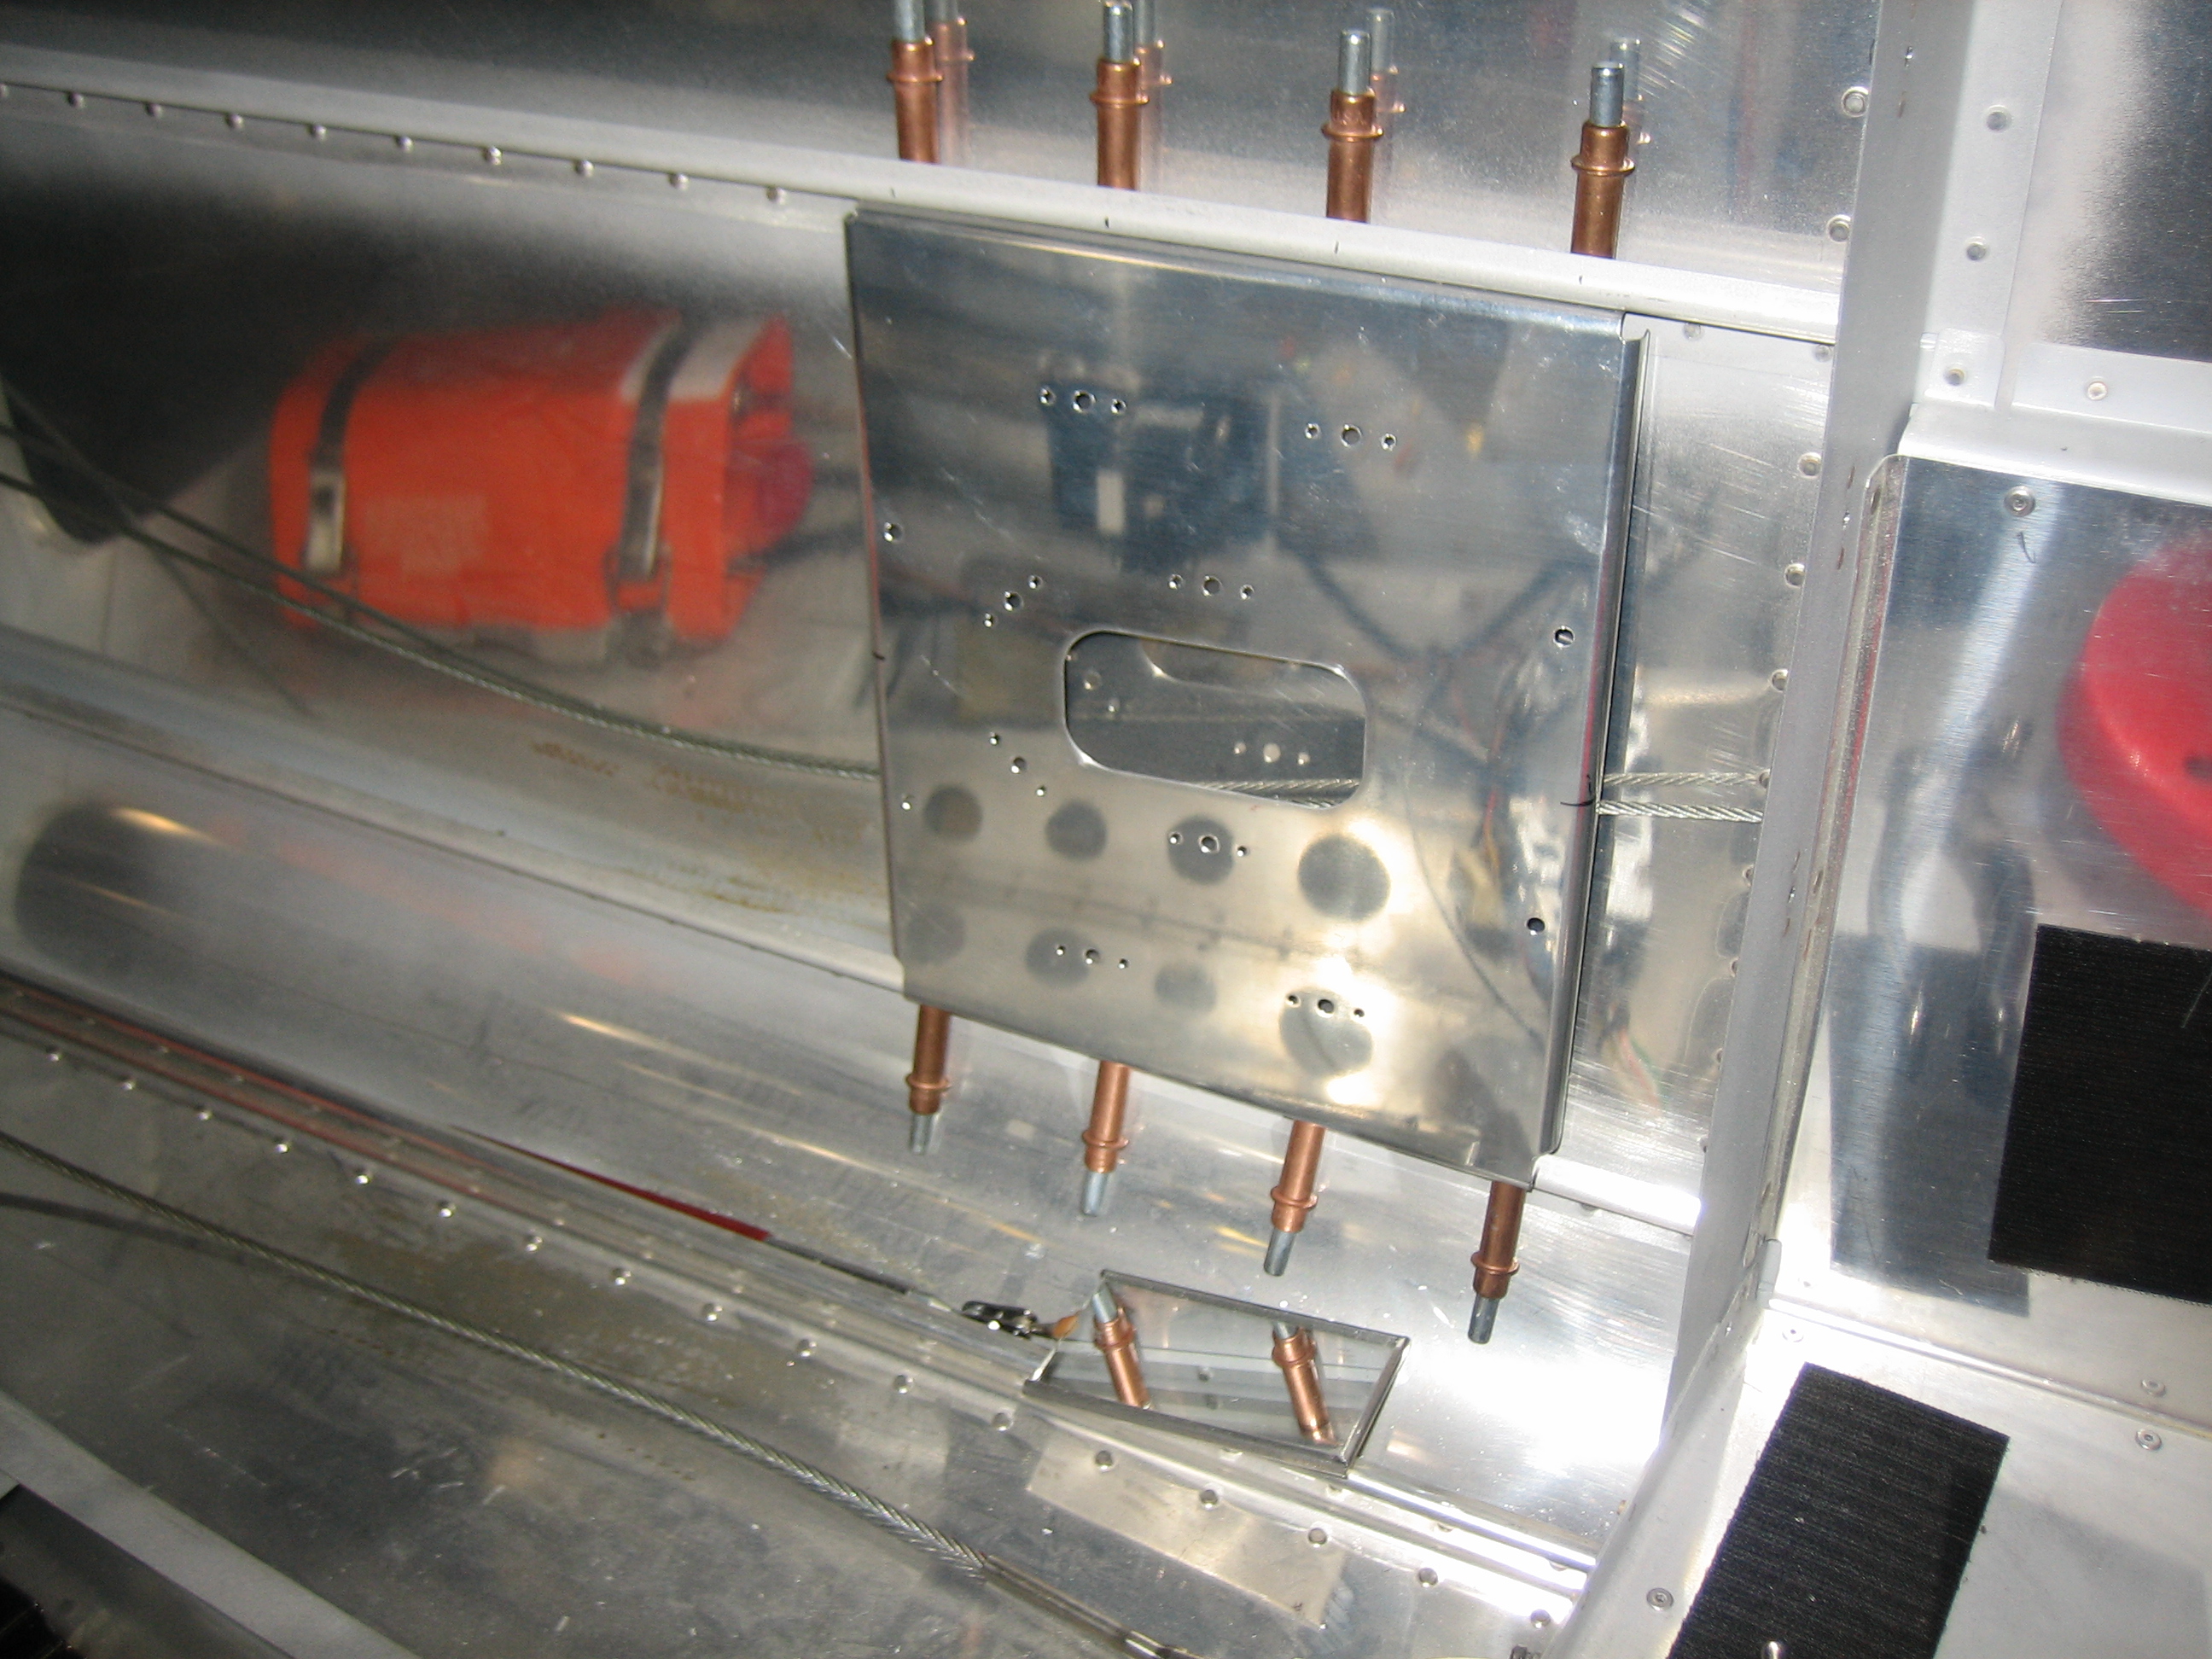
I drilled the mounting bracket to the left side stringers. I then drilled the bracket for the ADS-B receiver mounting holes.
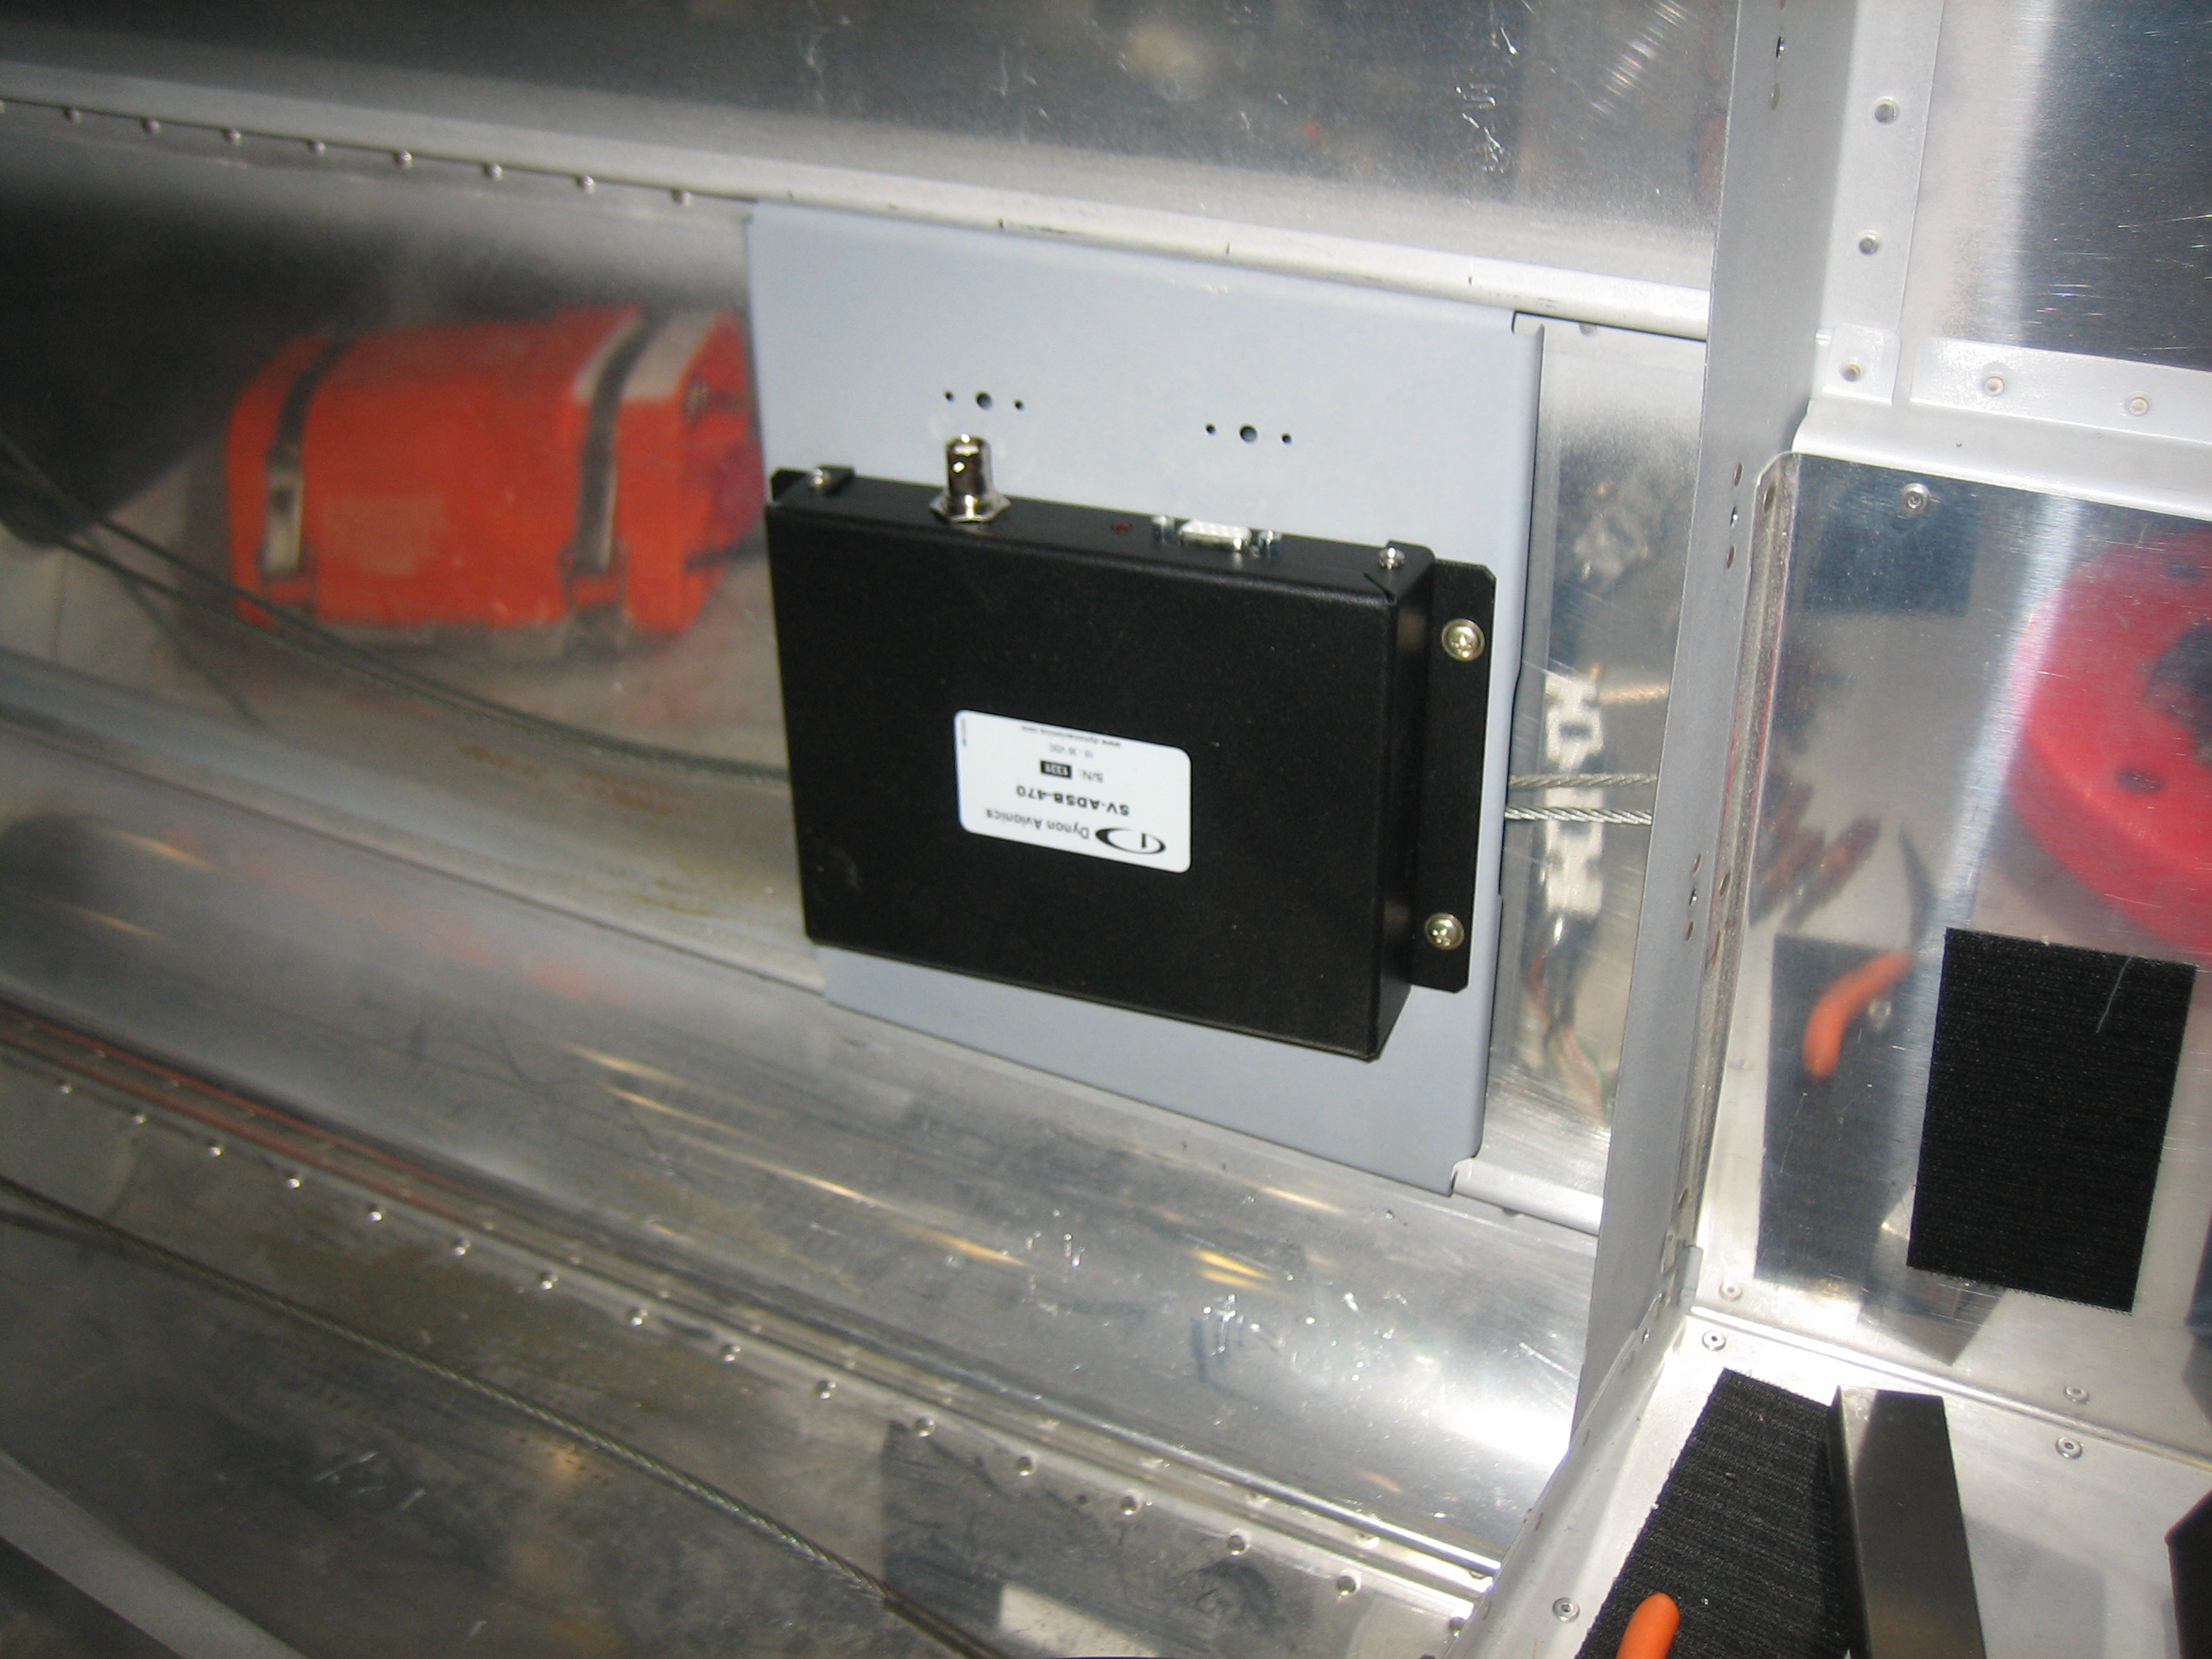
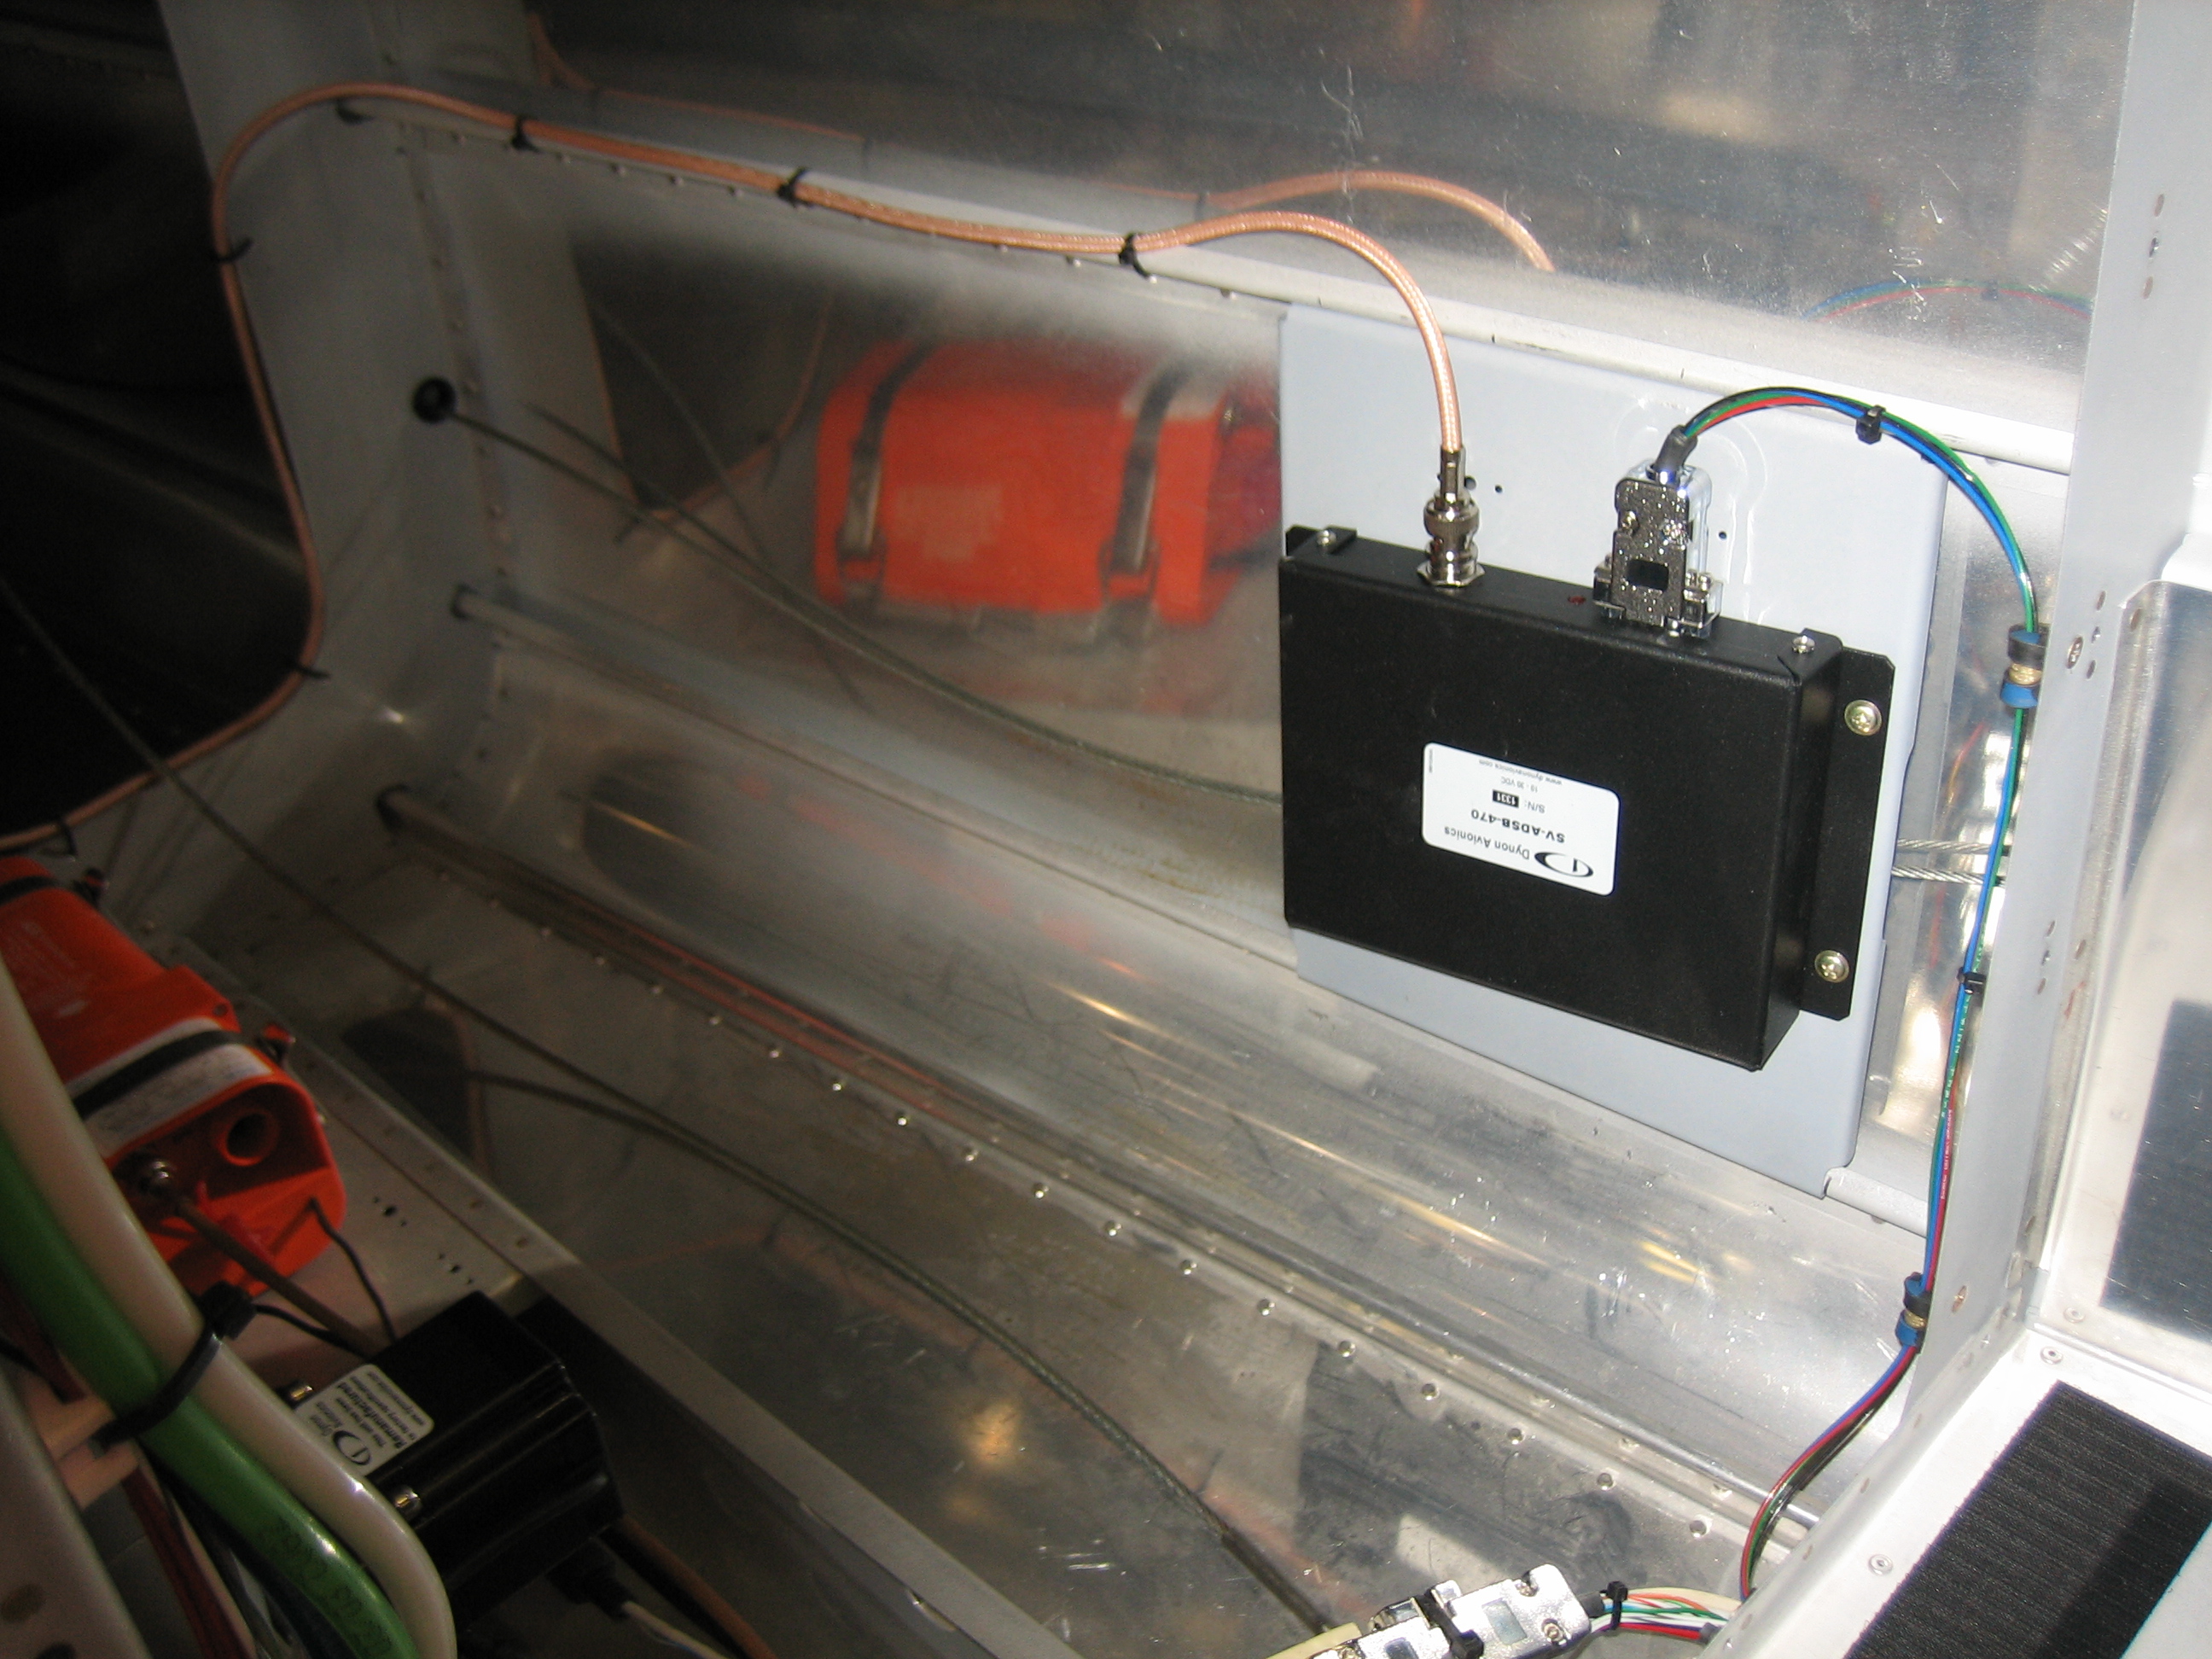
Mounted ADS-B Receiver
I installed the nutplates on the mounting bracket and then put a coat of self-etching primer on it. I had to fabricate a little spacer to be able to set the LP4-3 rivets since the flange of the stringers prevent the nose of the hand riveter from fitting down flush against the top of the rivet.
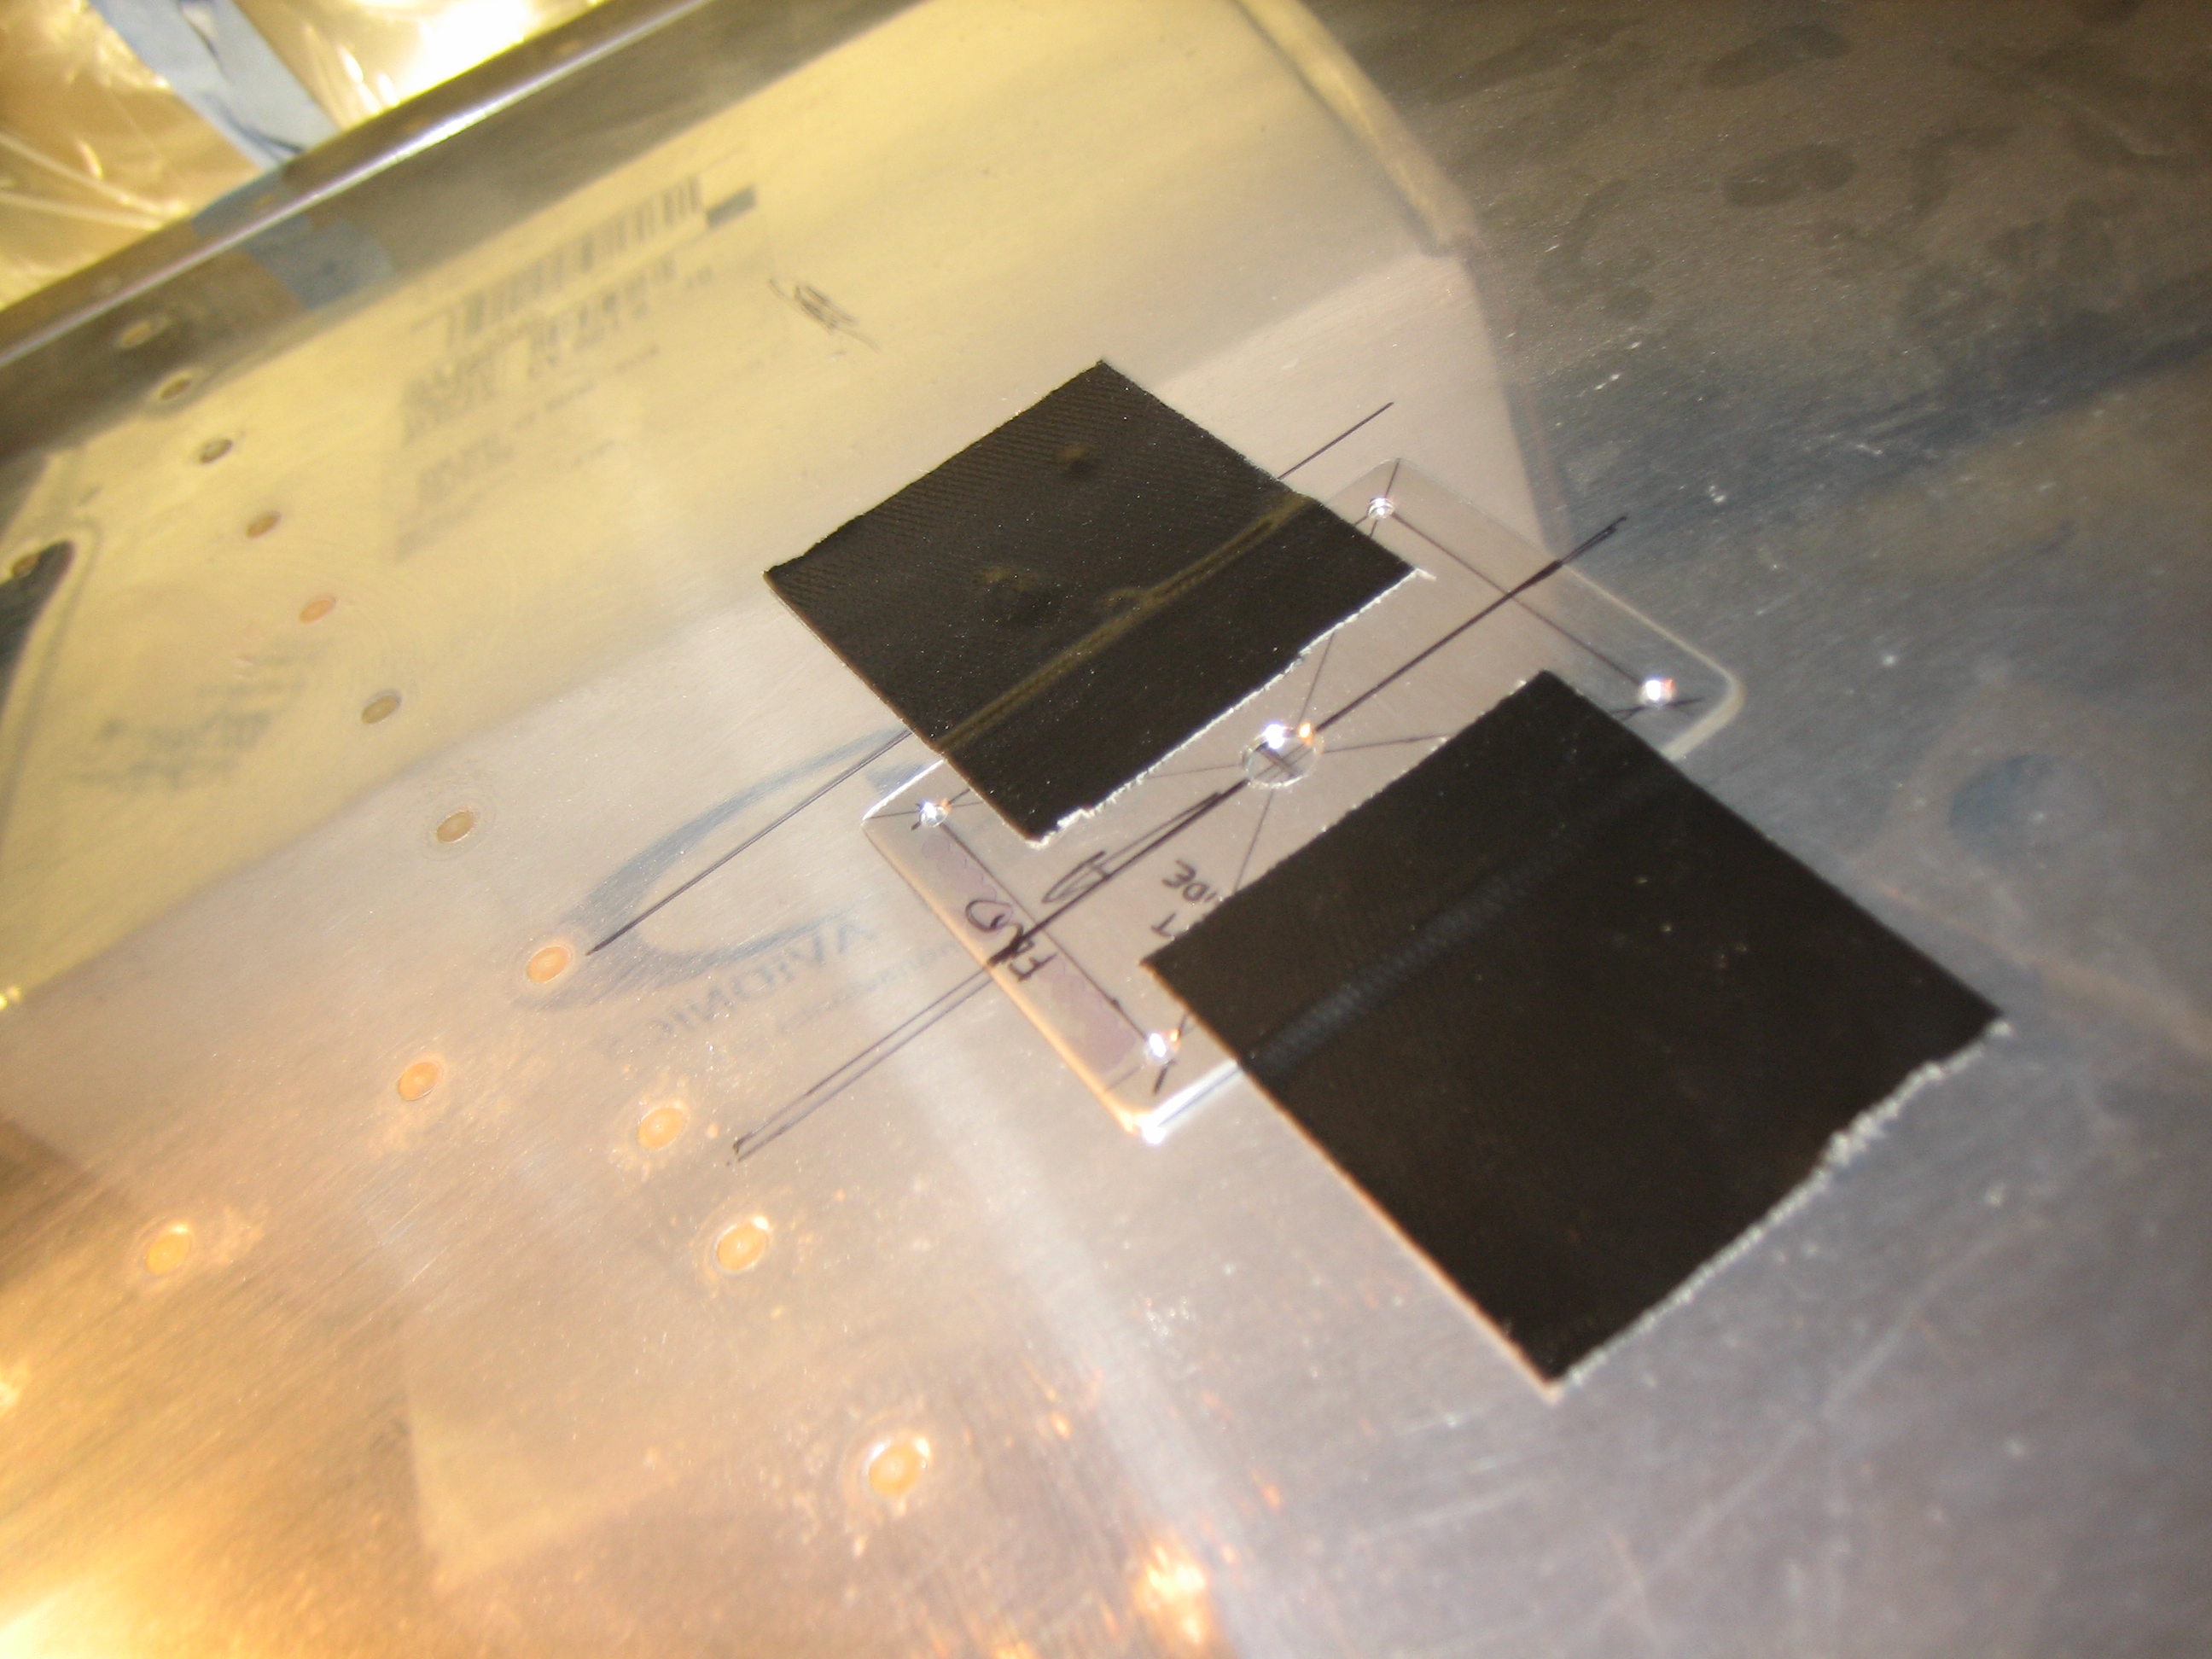
I fabricated a small antenna doubler for the UAT antenna, then drilled it to the bottom of the fuselage. I mounted this 2′ aft of the transponder antenna, just behind the next bulkhead and right on the aircraft centerline.
Finished Installing ADS-B Receiver
Jenn came out and helped me rivet the UAT antenna doubler and install the antenna.
I fabricated the antenna cable and installed it. It routes along the bulkhead and then…
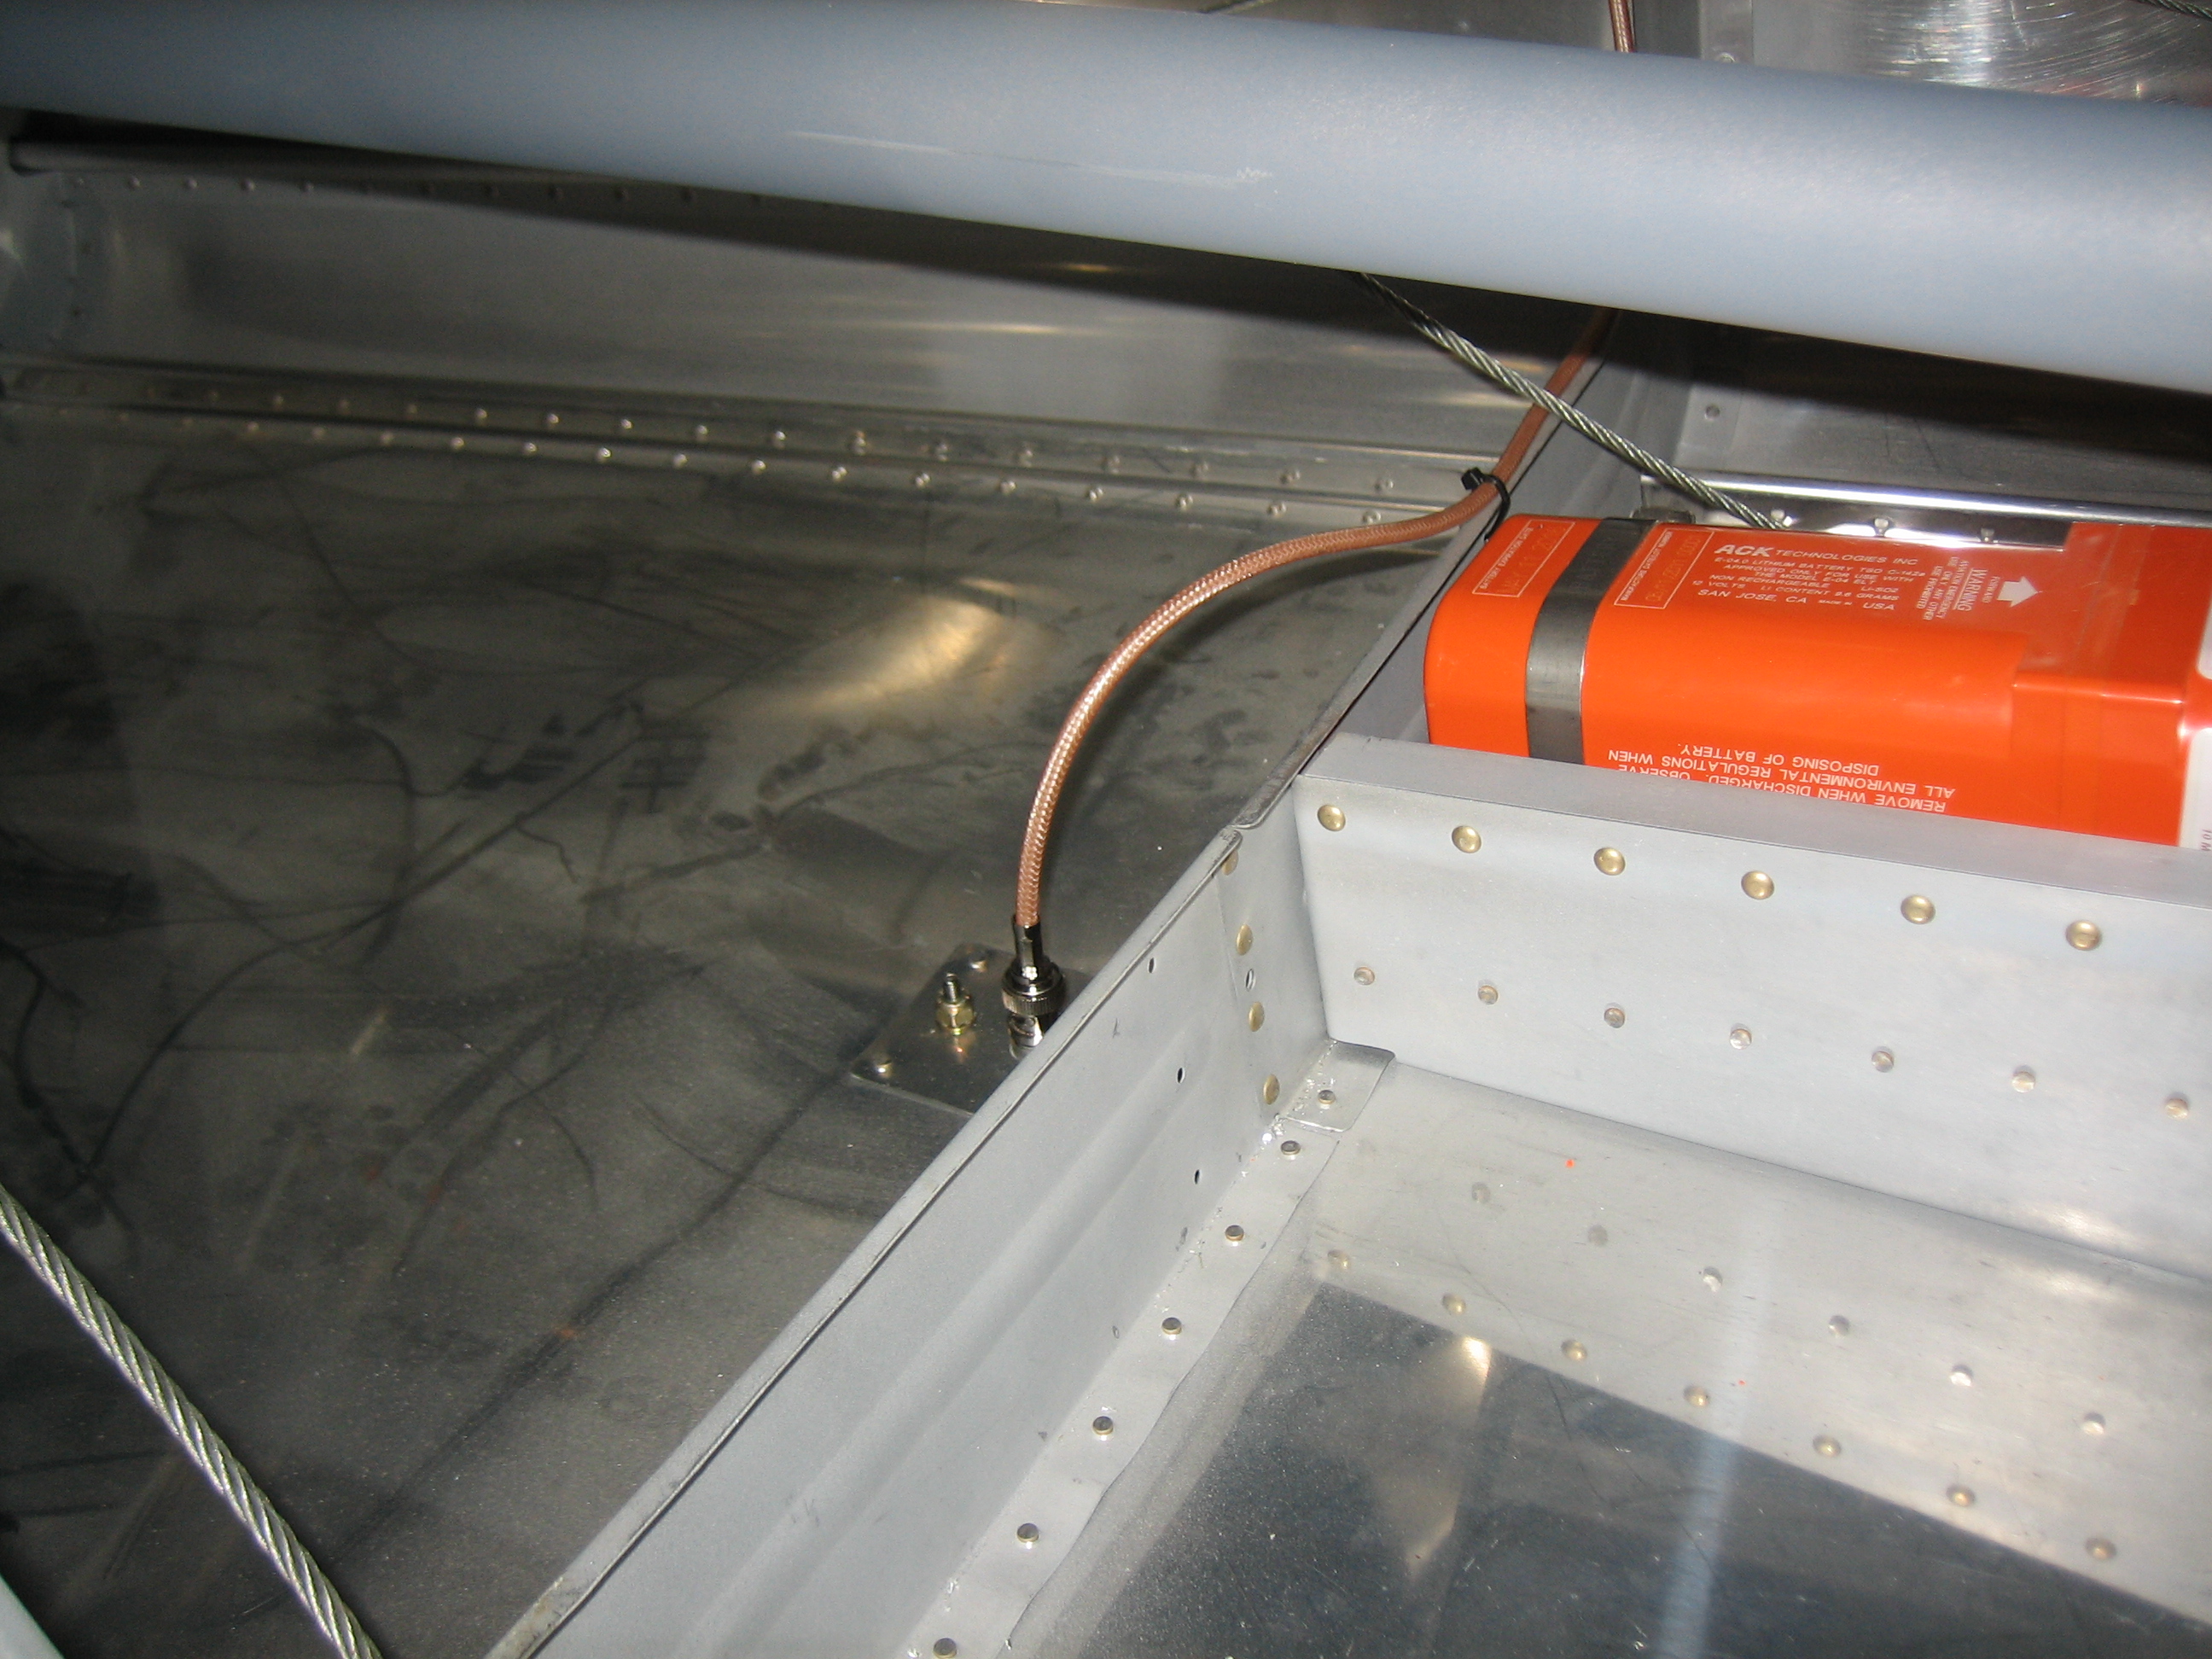
up to the stringer and forward to the receiver. I also installed the power, ground and serial lines.
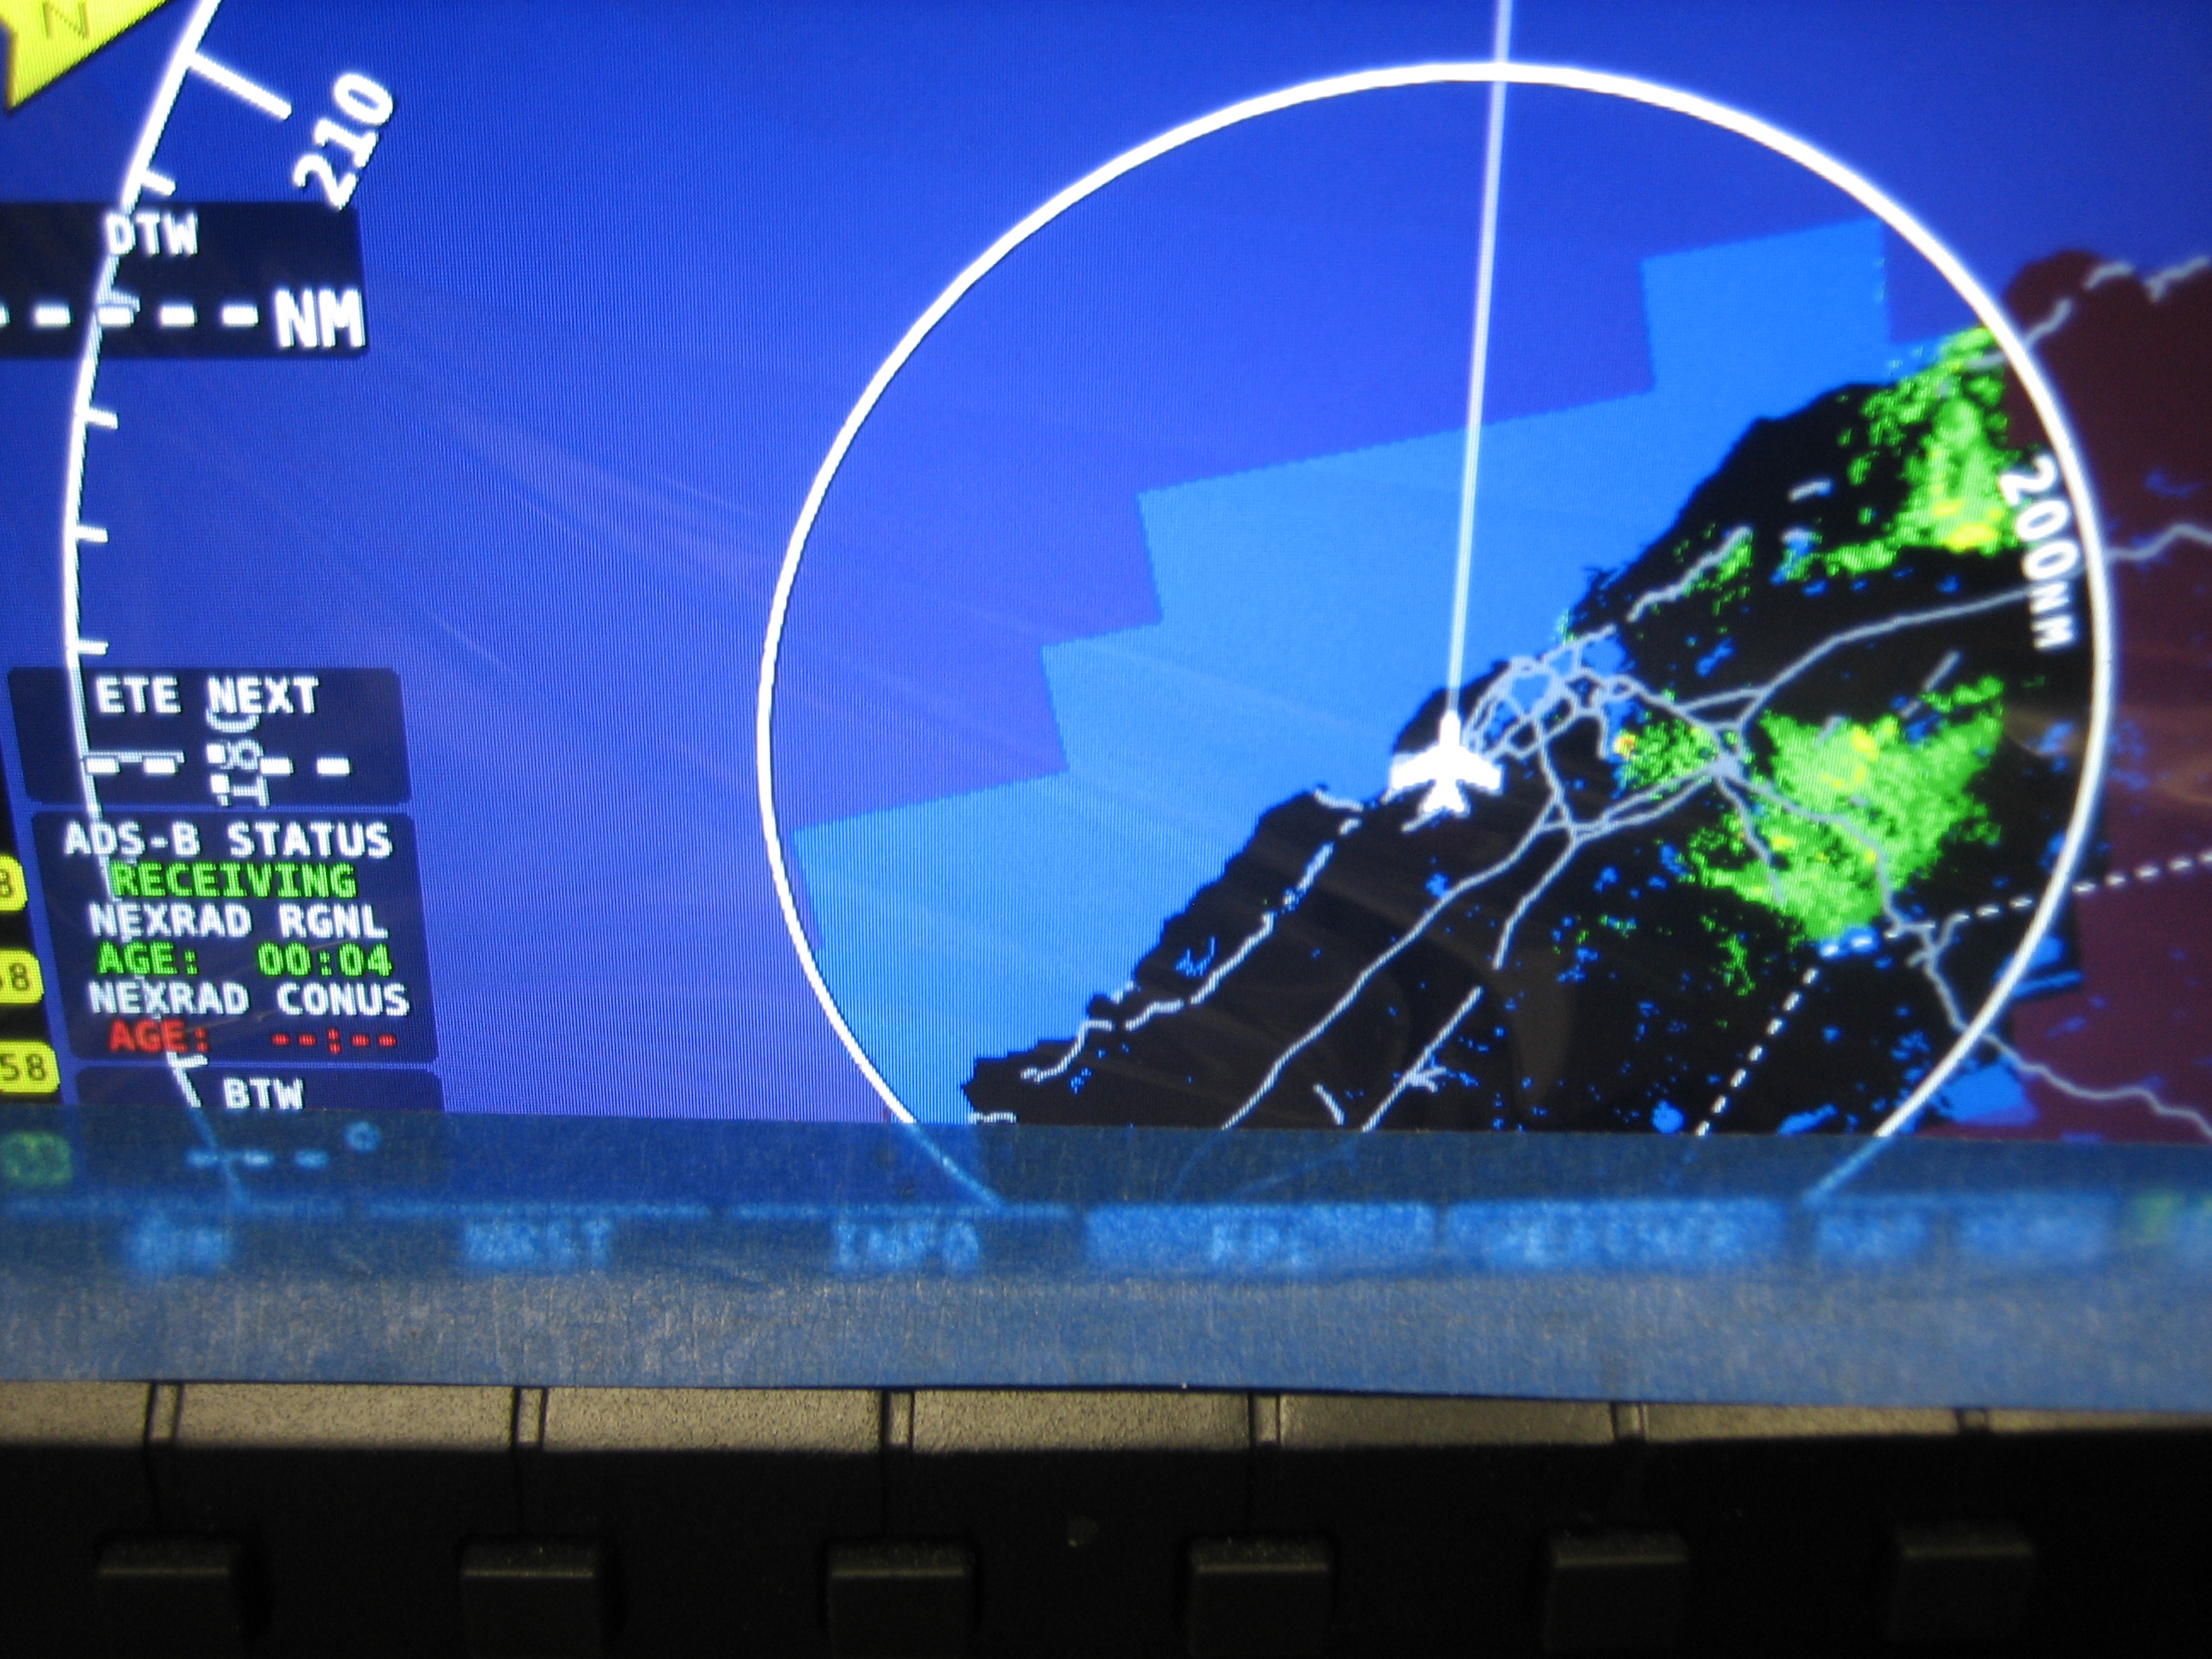
Finally, I fired it up and was able to get weather even sitting in my garage. I only waited long enough to let the regional weather load, but you can see the storms out to the north 100-200 miles away. You can see in the lower left corner that the regional weather is 4 minutes old and it’s still receiving. With this done, I’m finished with the avionics (for now at least).
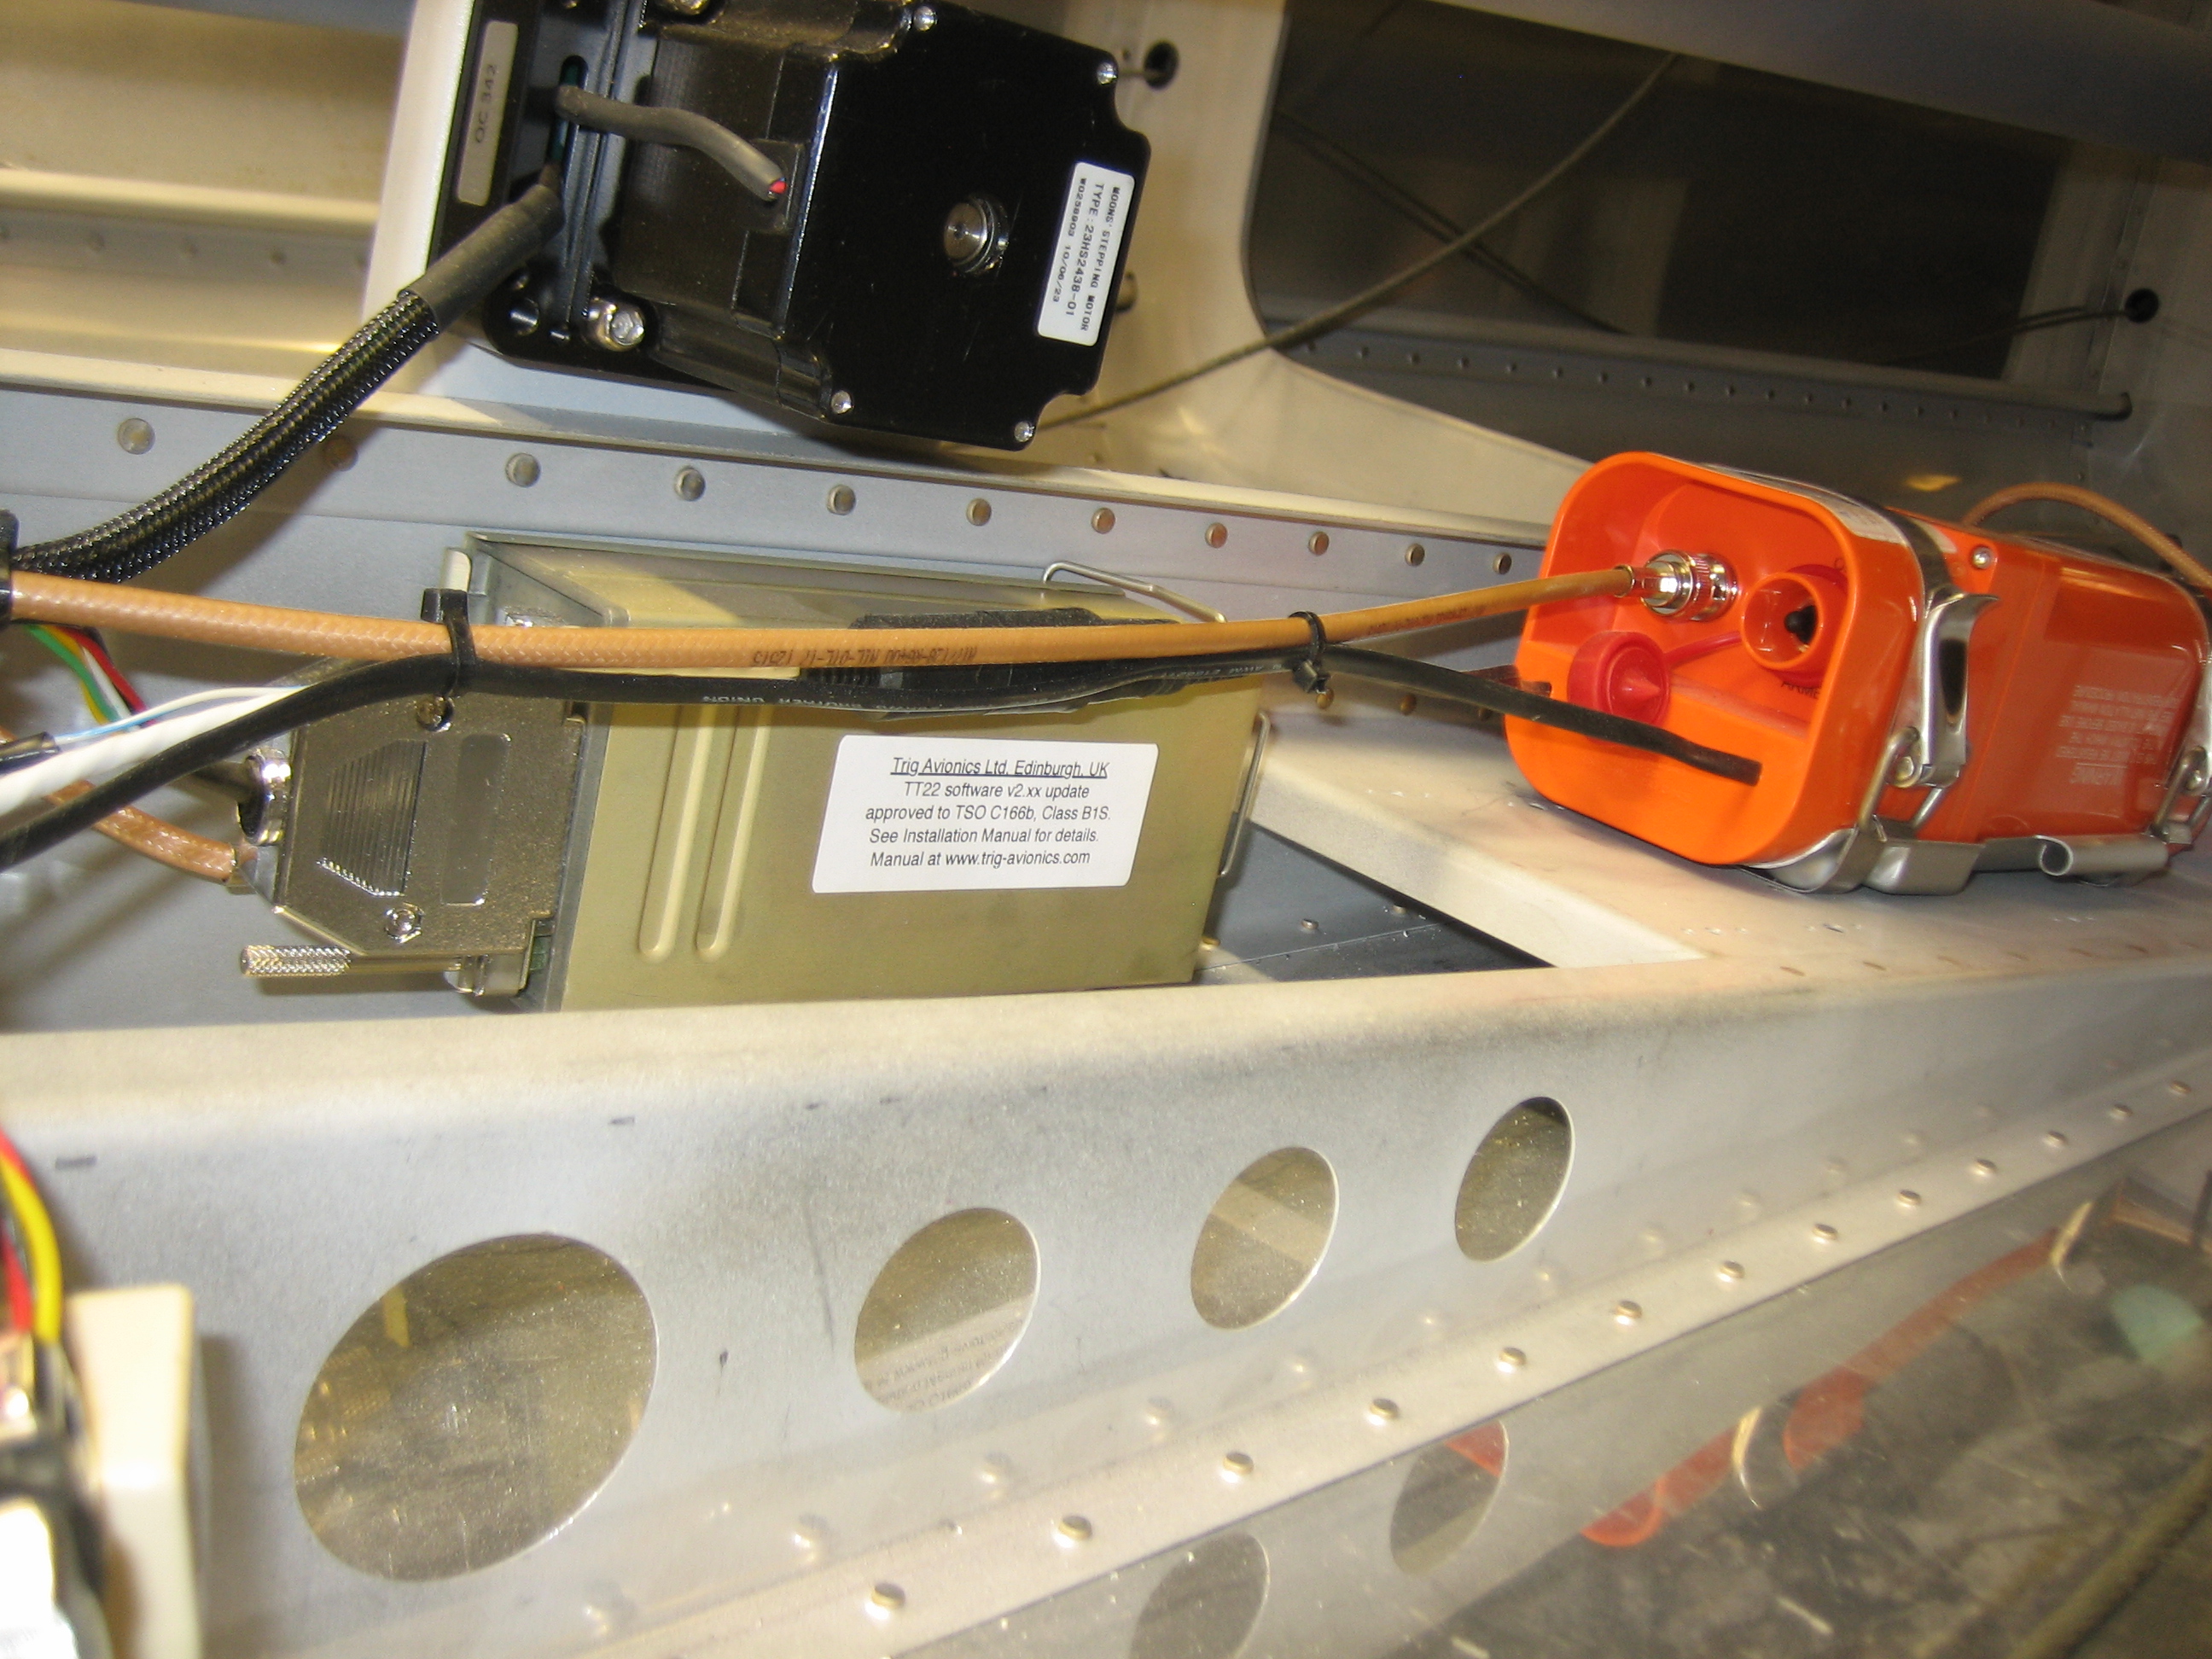
Updated Transponder to Full ADS-B Out Compliance
Included with the SkyView 5.0 software update is an update to the transponder that moves it from TSO C166a to TSO C166b compliance. This means it’s fully compliant with the 2020 ADS-B mandate for 1090ES. Installing the software update requires that the transponder be simultaneously labeled to indicate TSO C166b approval. Apparently, not applying the label renders the transponder unairworthy according to the FAA.
Odds and Ends
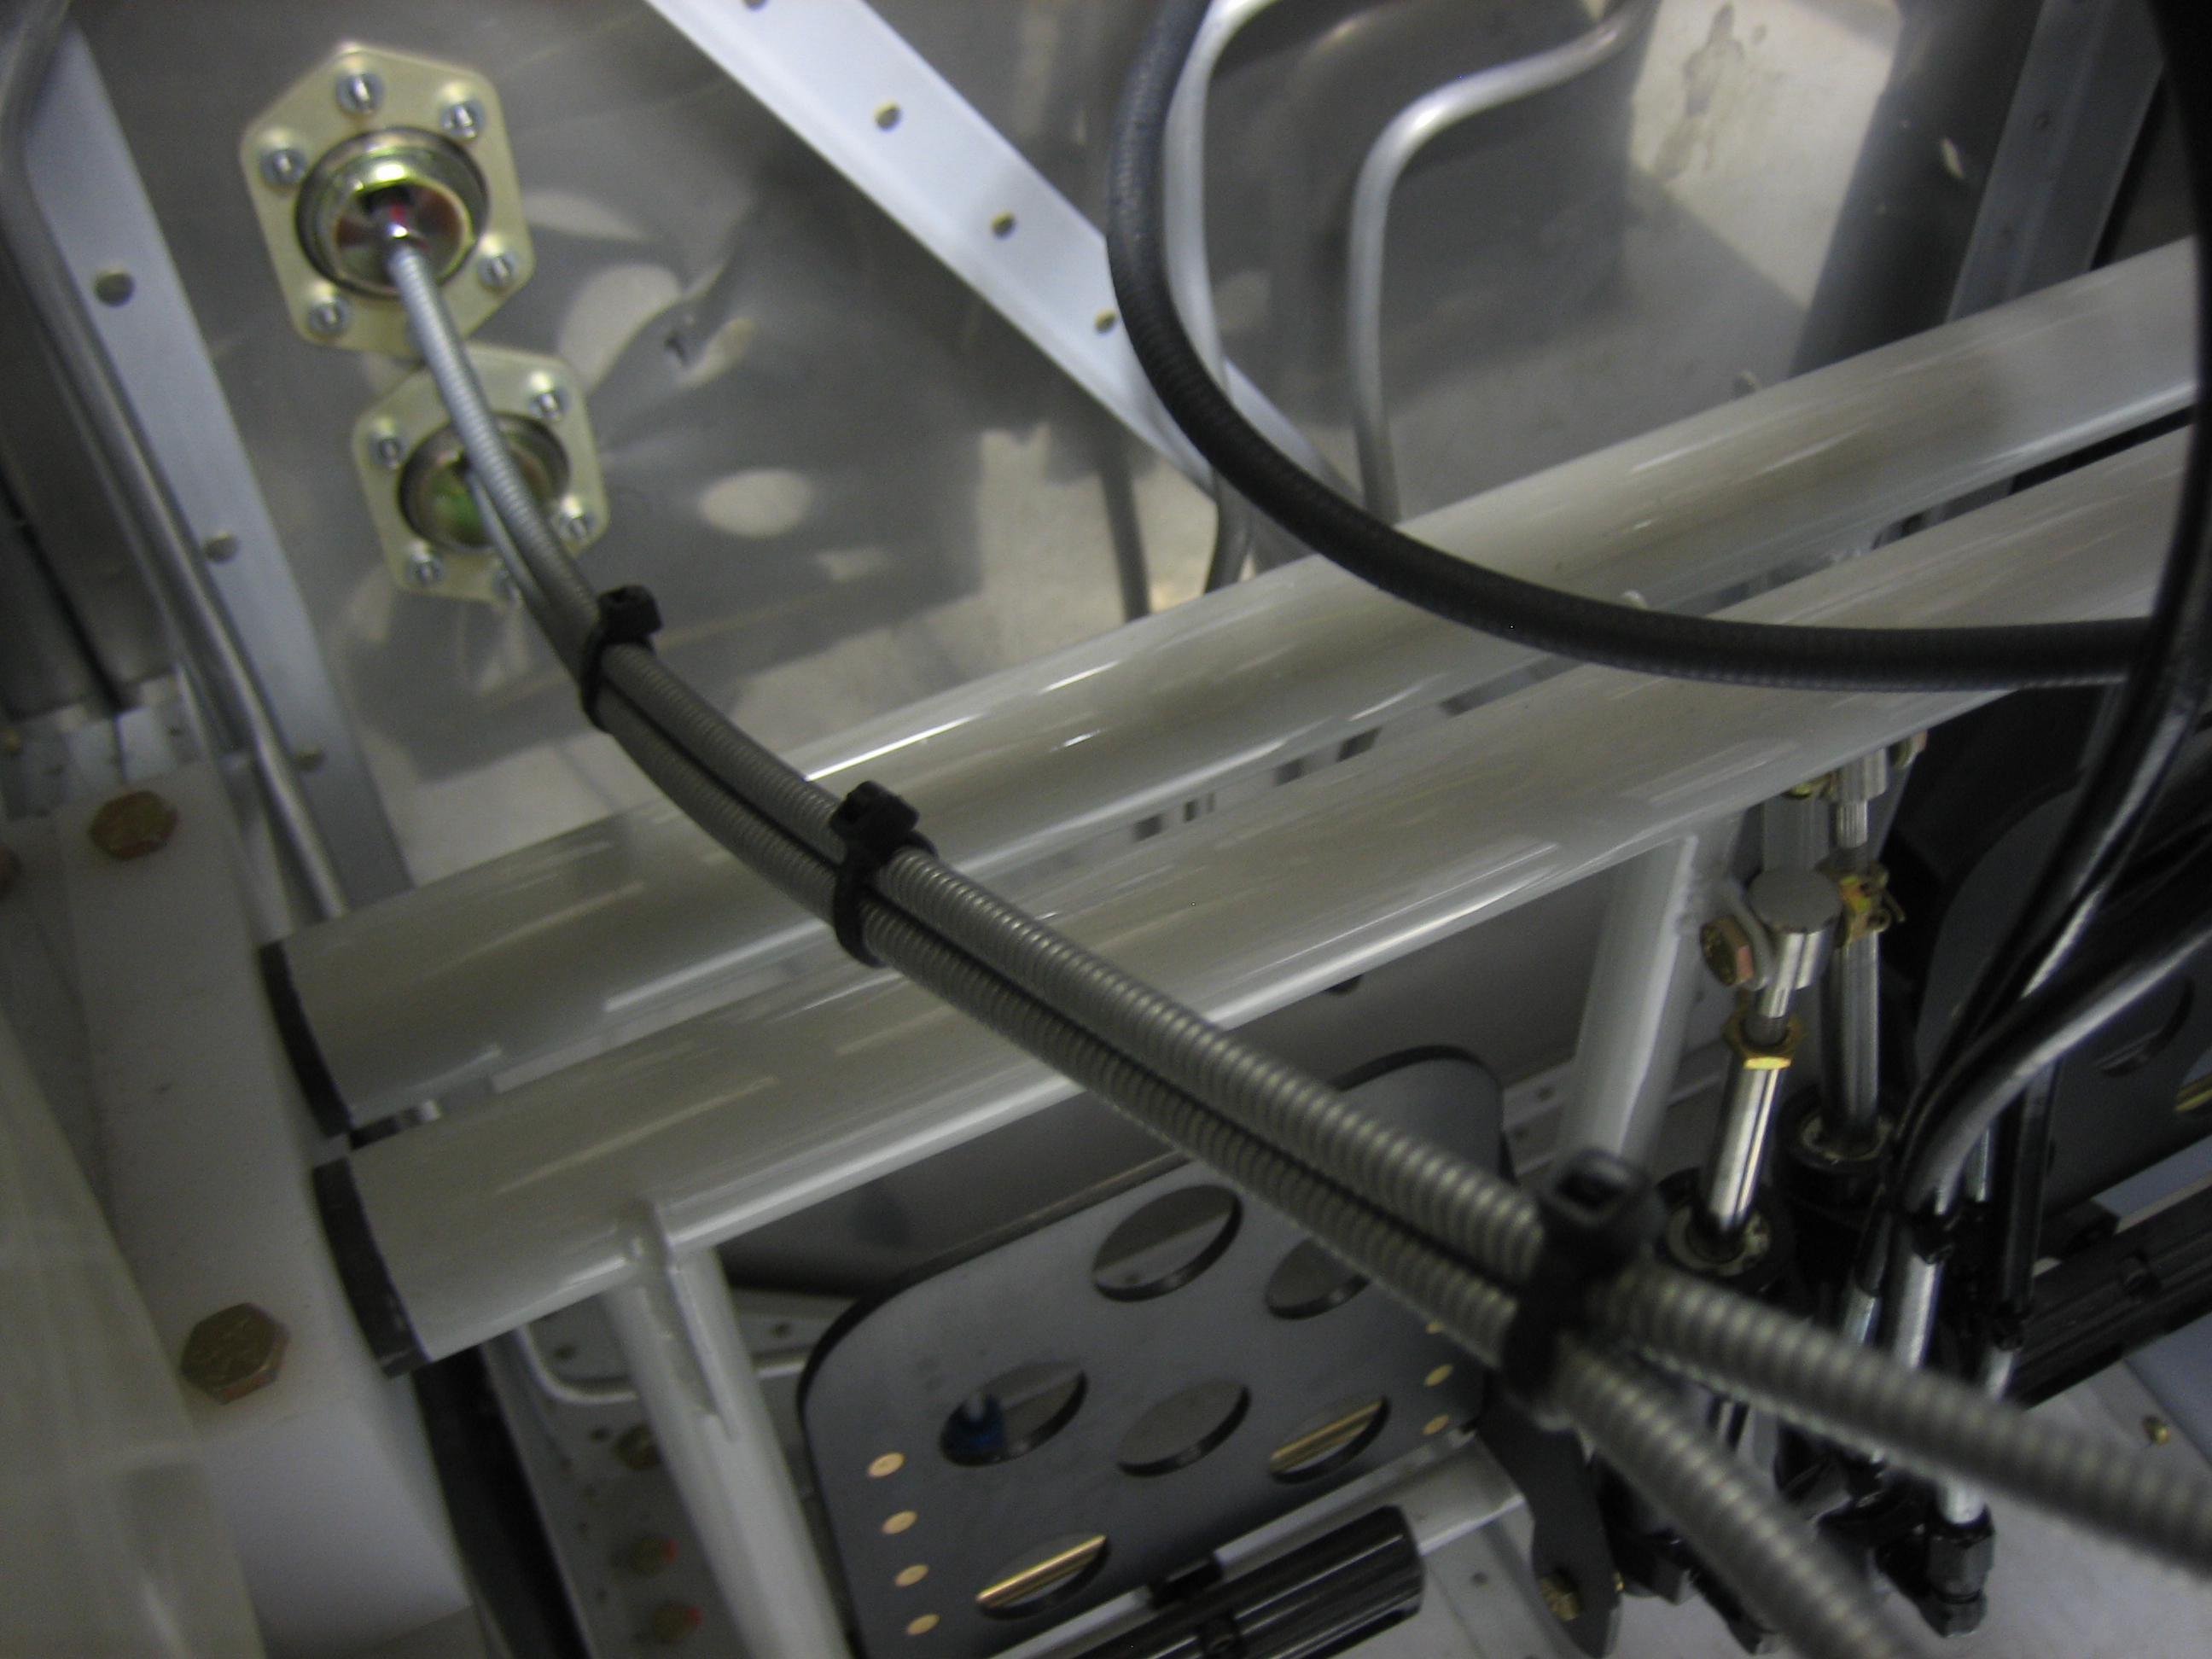
I started out the night sanding down the filler I added to the plenum and adding a bit more to fill in a couple of low spot. Next, I decided to take care of a bunch of odds and ends on the plane. I added some adel clamps to hold the alt air and oil cooler control cables to the subpanel.
I also zip-tied them together in a few spots which really stiffens them up.
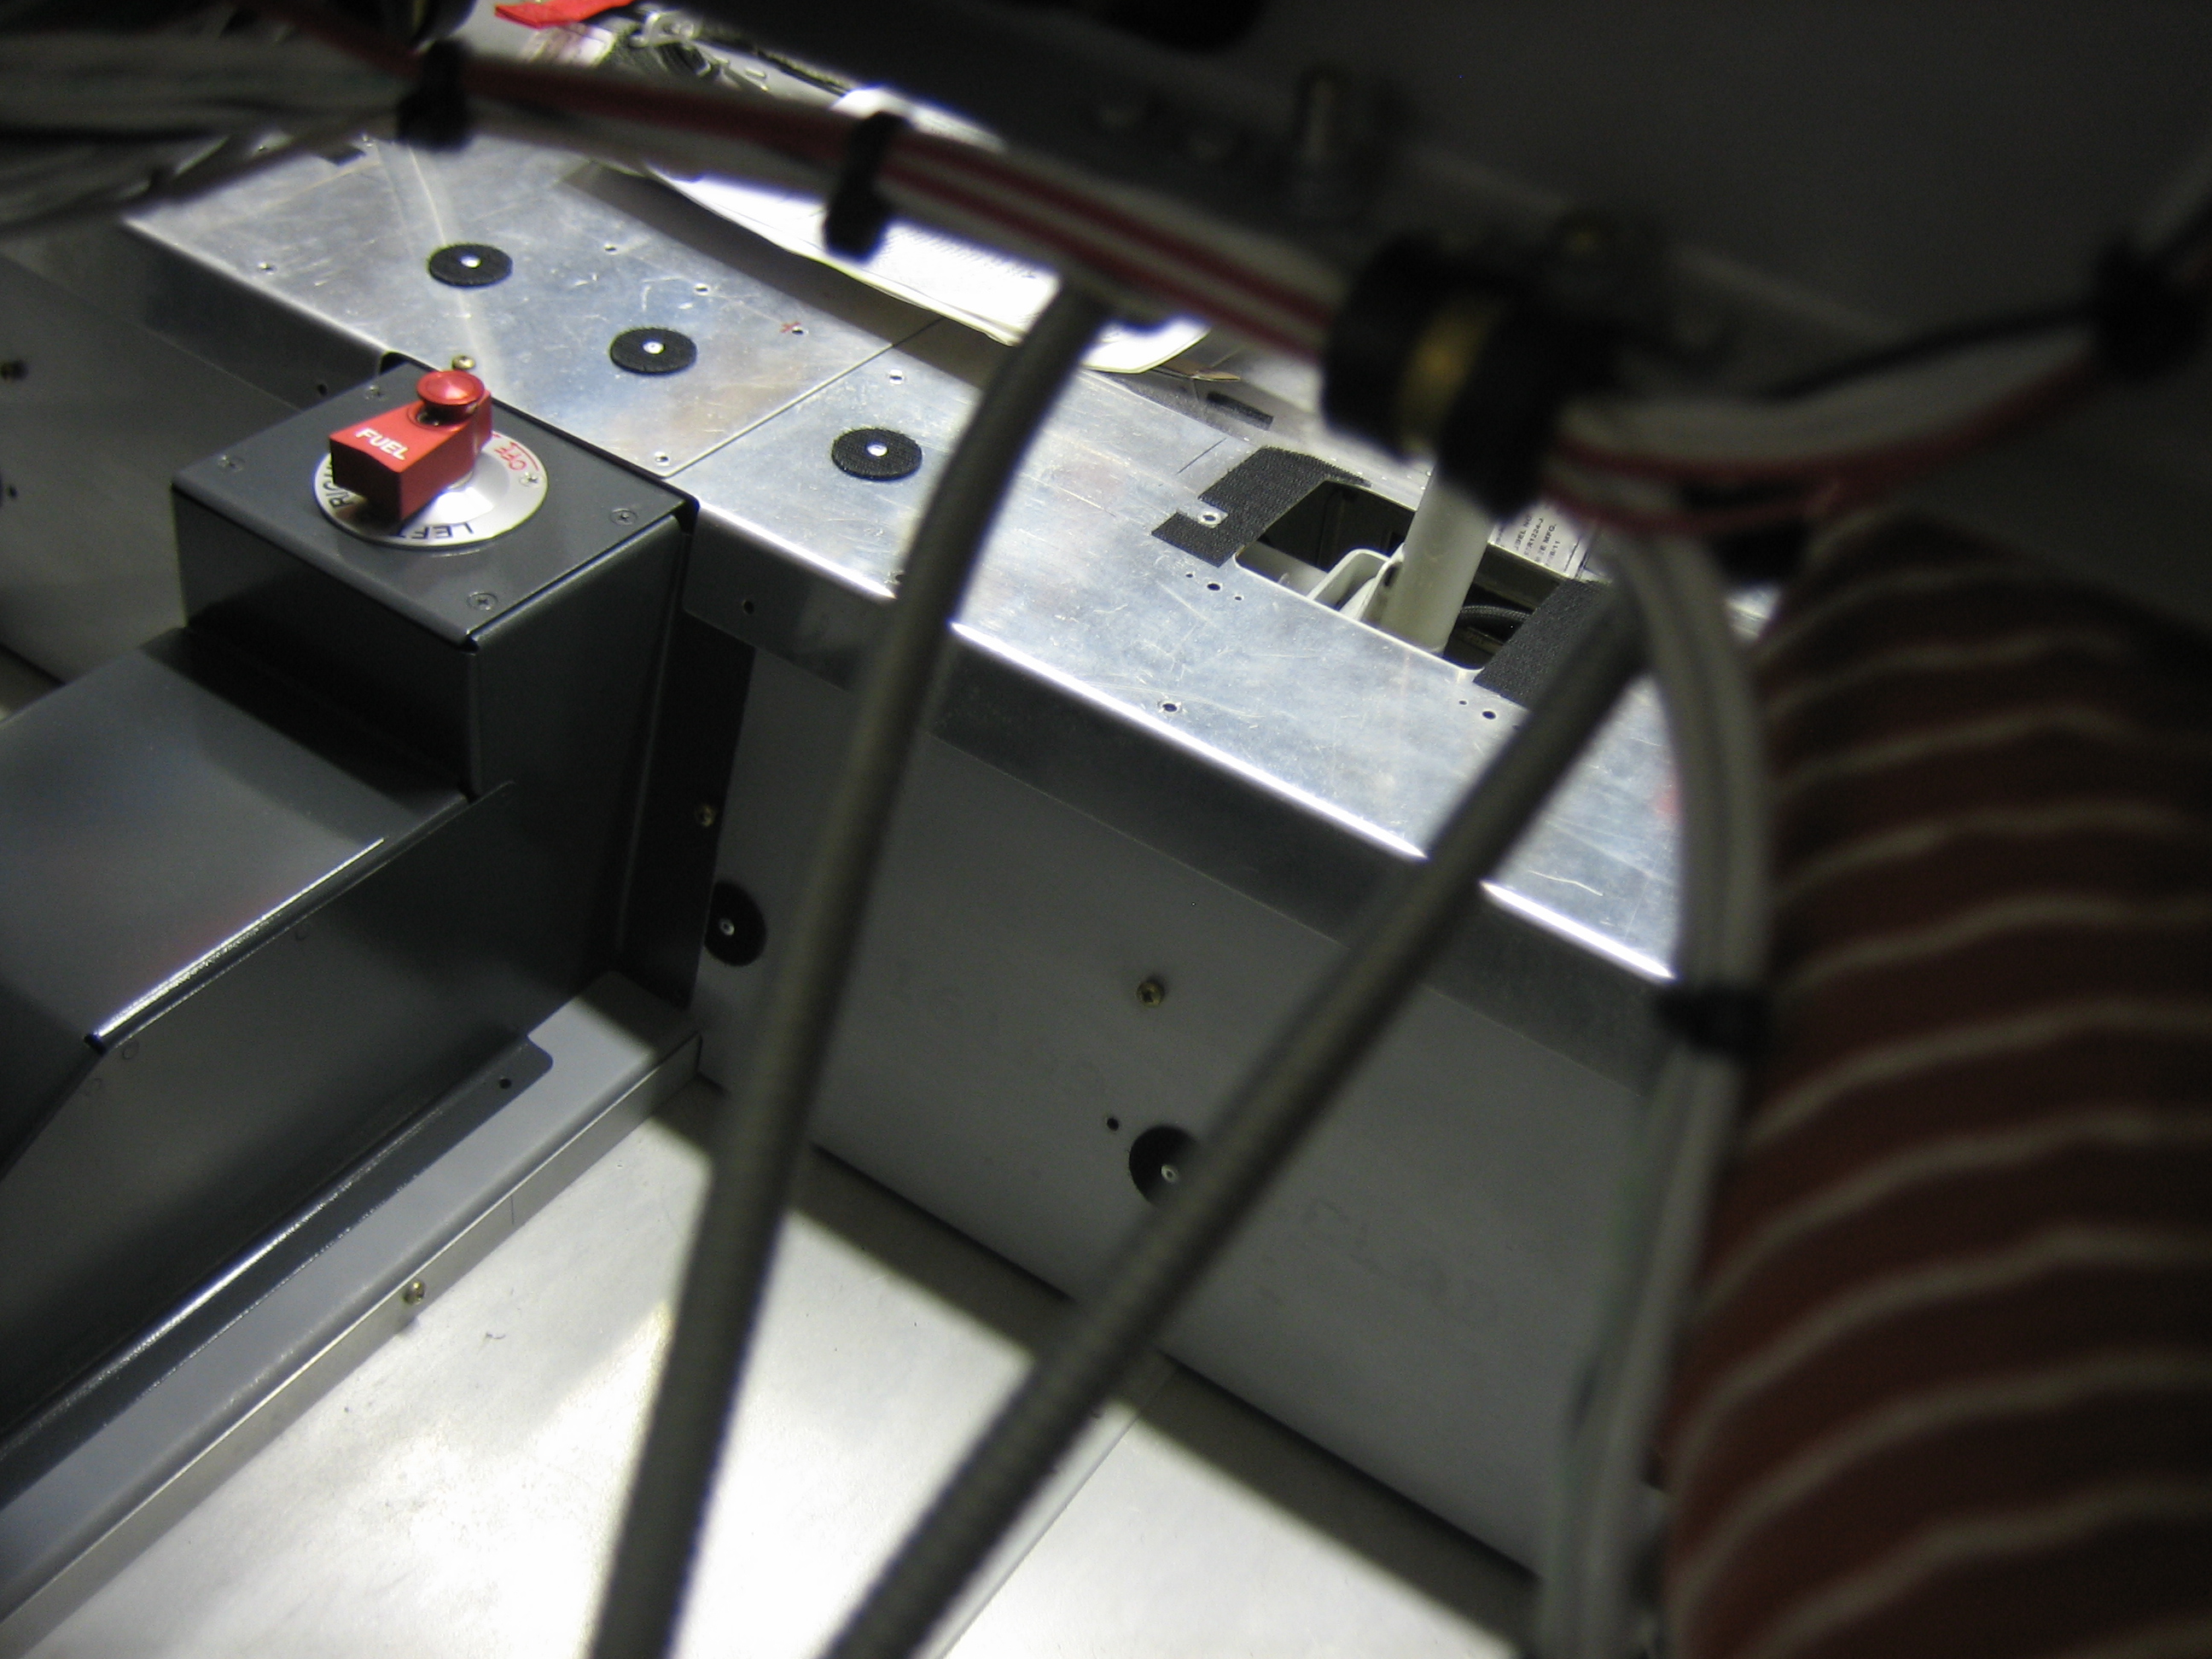
I also cleaned up and secured all of the wiring bundles in the forward part of the cabin. With that done, I think I’ve wrapped up virtually everything behind the panel and subpanel.