Drilled Remaining Hinges to Wings

I installed one of the hinges to the outboard end of the wings a long time ago (like two years!).  Since I had practically the whole day free to work on the plane, I decided to wrap these up so that I could start fitting the wingtips.  Afterward, I started fitting the left wingtip.  I trimmed the flange so that it will slip into place, but had to stop before drilling it to the hinges.

Drilled Left Wingtip

In preparation for drilling the wingtip to the hinges, I cut a piece of XPS foam and inserted it between the hinges to keep them from flexing inward when drilling.

I installed the wingtip and taped it in place with some clear packing tape.  I drew a line 7/8″ outboard of the row of rivets holding the hinge to the wing and marked lines even with all of those rivets.

Finally, I drilled all of the holes to lock in the wingtip’s position.

Riveted Hinges to Right Wingtip

I drilled additional holes in the hinges that will rivet to the wingtip so that I can form some epoxy/flox “rivets” between the aluminum rivets.

I countersunk the right wingtip and then riveted the hinges on.  You can see the epoxy/flox “rivets” here.  Afterward, I spent a little time cleaning out all of the epoxy that squeezed out around the hinge eyes so that it won’t interfere with installing the hinge on the wing.

Worked on Trailing Edge of Right Wingtip

I positioned the aileron in the neutral position and then used a straightedge to mark the trailing edge of the wingtip.  For some reason, it’s made a little long and needs to be trimmed about 1/4″.  I cut off the excess and then filed back to the line.

The trailing edge of the wingtip was now much thicker than the trailing edge of the aileron, so I cut the web that was joining the upper and lower pieces.  Somehow, this caused the trailing edge of the wingtip to no longer be in line with the aileron, so I had to split part way up the side as well to allow it to shift back into position.

I mixed up some epoxy/flox and glued the outboard end of the trailing edge back together with a little preload in the direction the tip needed to move to be in line with the aileron.

Reglued Corner of Right Wingtip

Unfortunately, the duct tape I was using yesterday came loose before the epoxy had a chance to cure, so I had to split the wingtip again and grind out all of the cured epoxy.  I reglued it and used quite a bit more duct tape and some clamps to ensure it won’t release before the epoxy has cured.

Glassed Bottom of Right Wingtip

The trailing edge glue-up turned out perfectly.  The trailing edge is perfectly in line with the aileron.  I still need to glue up the trailing edge, but I wanted to reinforce the wingtips before doing so.

The wingtips need reinforcement since they can easily be depressed.  This is because the wingtips just have a thin layer of fiberglass and no core material like the cowl to stiffen it.  Many builders install foam ribs or dowels, but I wanted to try reinforcing the whole surface.  I picked up some Coremat from Tap Plastics and bonded it to the bottom of the right wingtip and then added a couple of layers of 8.9oz glass.

Afterward, I installed the wingtip so that the fiberglass will cure with the right curvature.  This took way longer than expected, and I still have the upper surface of the right wingtip and both sides of the left wingtip to do.  You can see the pattern I made for the fiberglass hanging over the other wingtip.

Removed Wingtip Reinforcement and Filled Left Side of Rudder

Well, my attempt at reinforcing the bottom of the wingtip was a failure.  The Coremat didn’t come with instructions, and apparently, it needs to be saturated with epoxy in order to work.  I managed to pop the glass off and the Coremat released pretty easily from the inside surface of the wingtip.  I tried saturating the Coremat and reinstalling it, but it took a shocking amount of epoxy.  It would have easily weighed a couple of pounds, and I would need to do the same thing on the top and both surfaces of the other wingtip.  This would be far too much weight to add to the plane just to stiffen up the wingtips.

Before calling it quits for the evening, I decided to apply some filler to the left side of the rudder.  I mixed up the epoxy/microlight a little bit thinner tonight, so it should self-level somewhat which will make it easier to sand.

Reinforced Lower Side of Right Wingtip and Filled Right Side of Rudder

I decided to reinforce the wingtips by glassing in some foam rod.  I mixed up some epoxy/microlight/flox and bonded the rod to the inside of the wingtip and formed a fillet along both sides.  Afterward, I layed up a couple of layers of glass over each rod and then reinstalled the wingtip to put the right curvature in the skin.

I sanded down the filler on the left side of the rudder and then applied some filler to the right side.  I also removed the foam from the fiberglass tip at the top of the vertical stabilizer.  I need to reshape the tip a bit to fair it in with the rudder.

Worked on Vertical Stabilizer Fairing and Right Wingtip

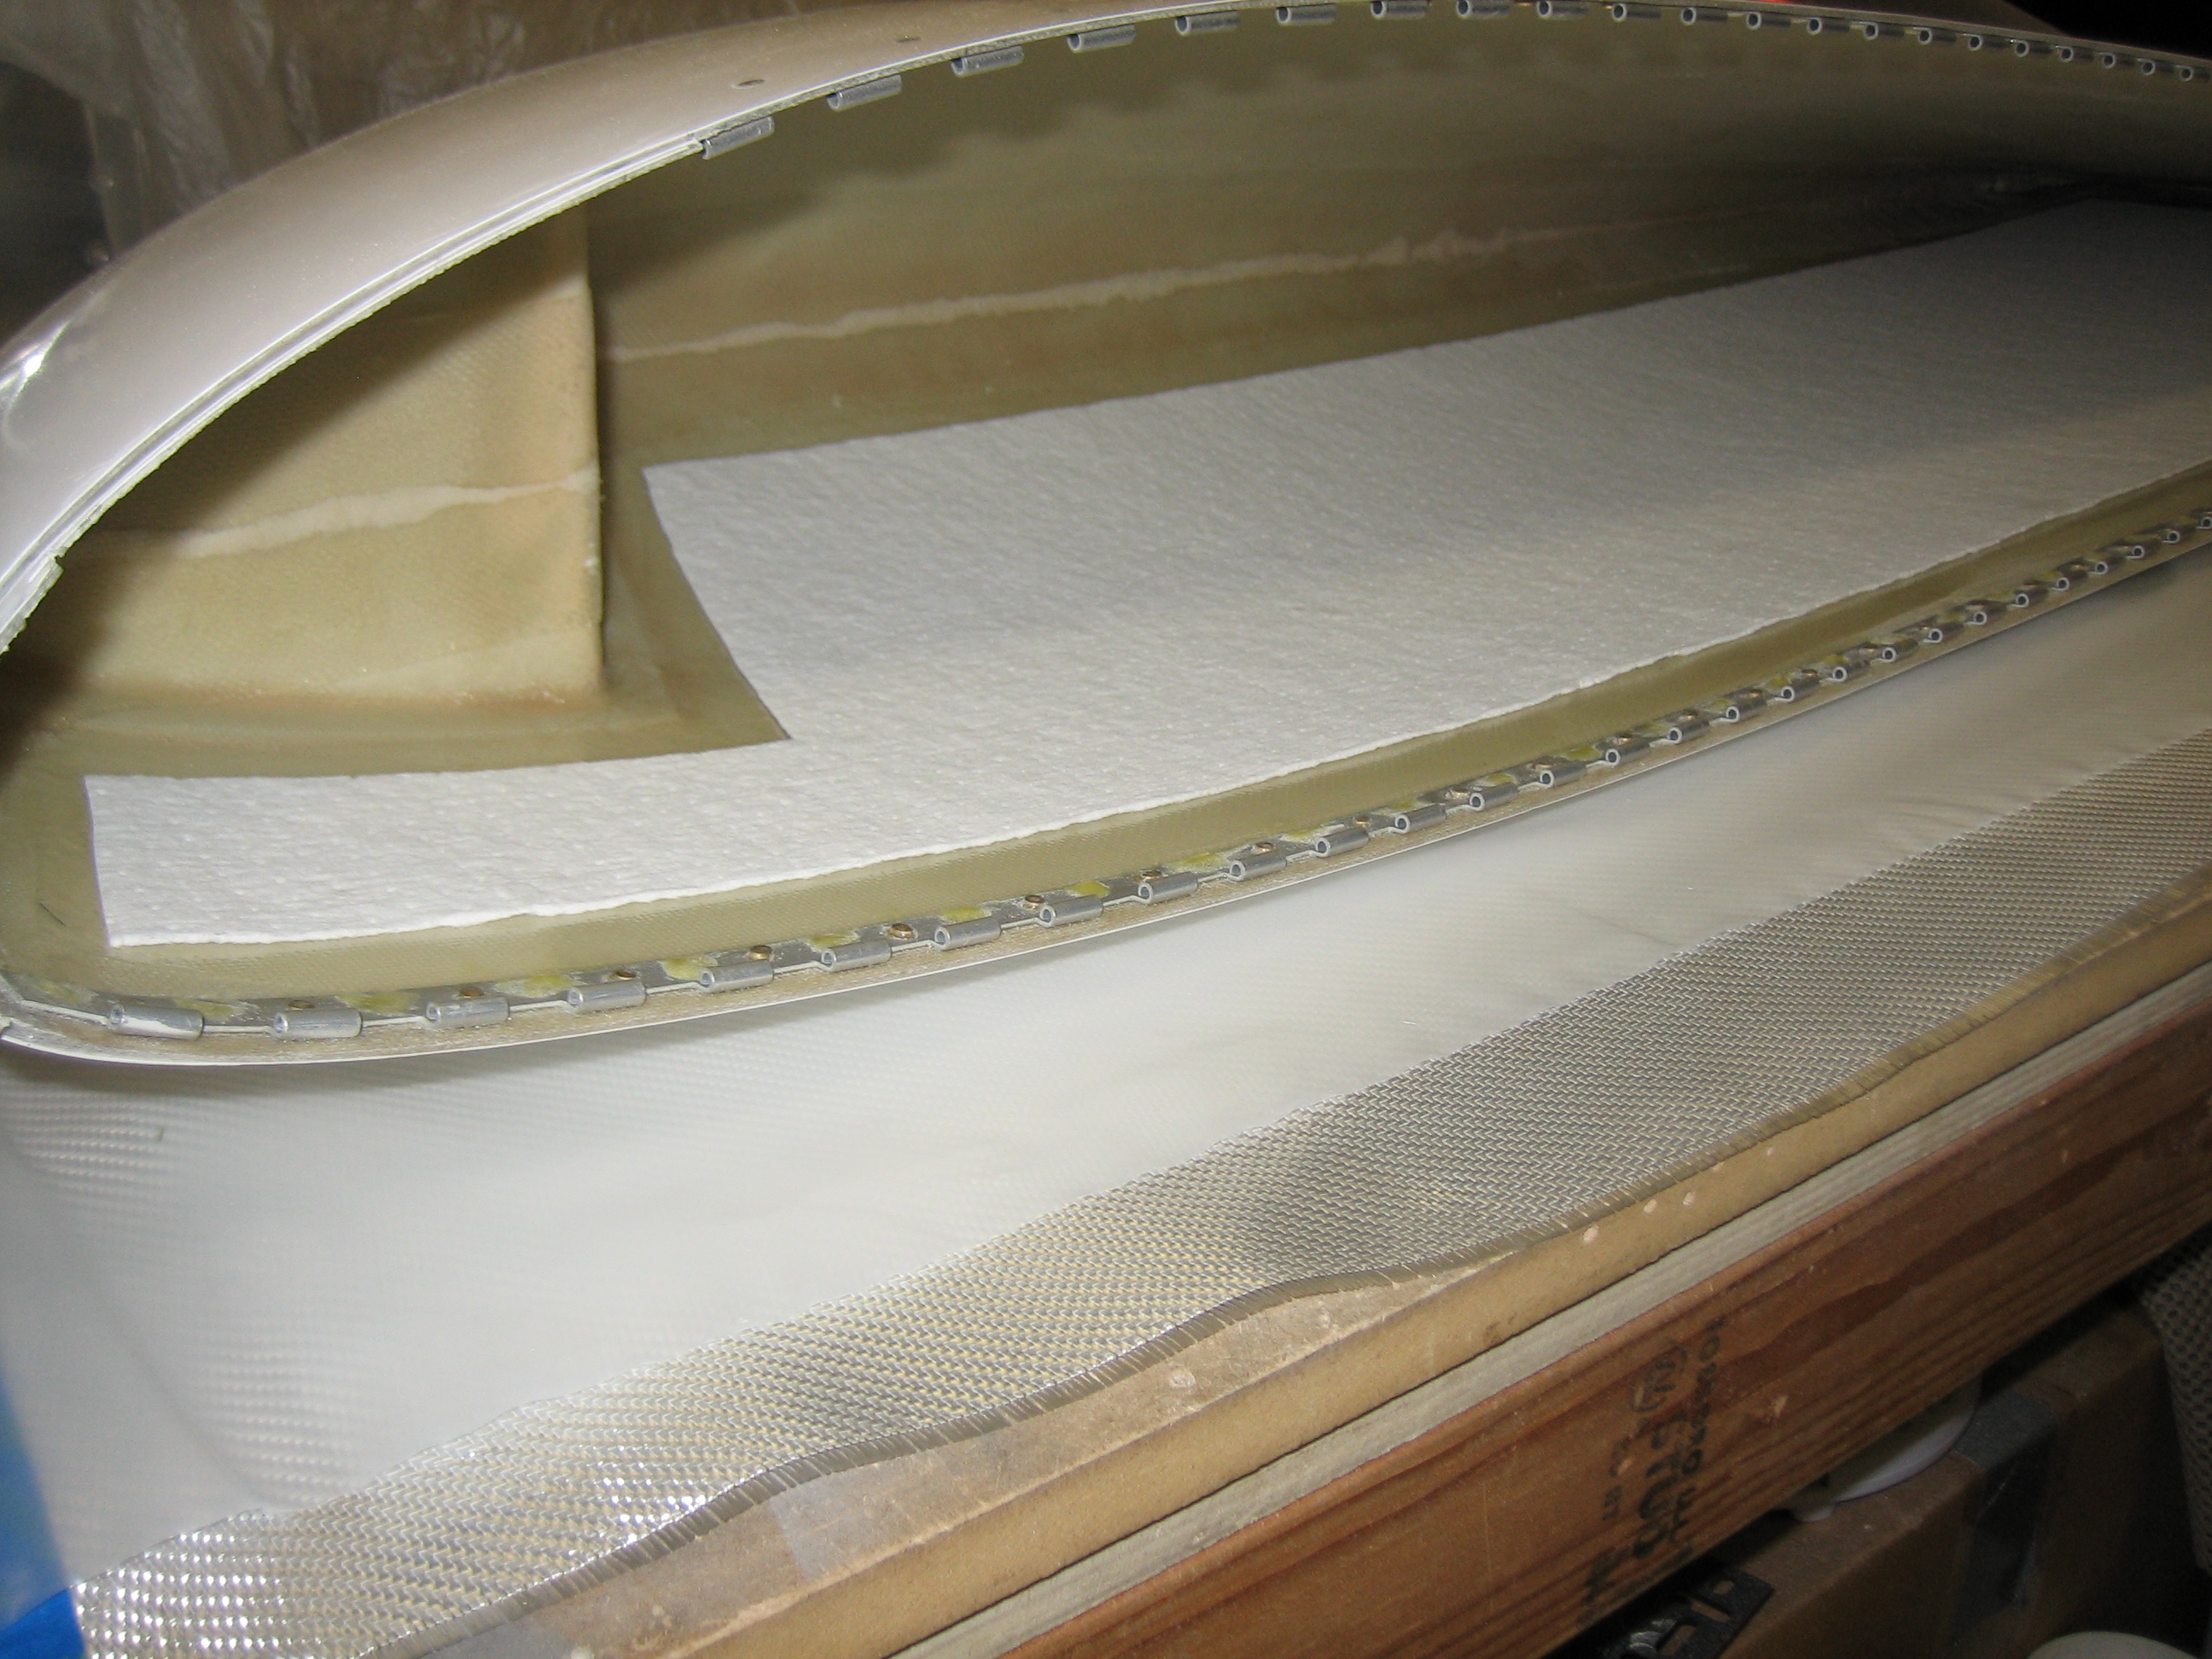
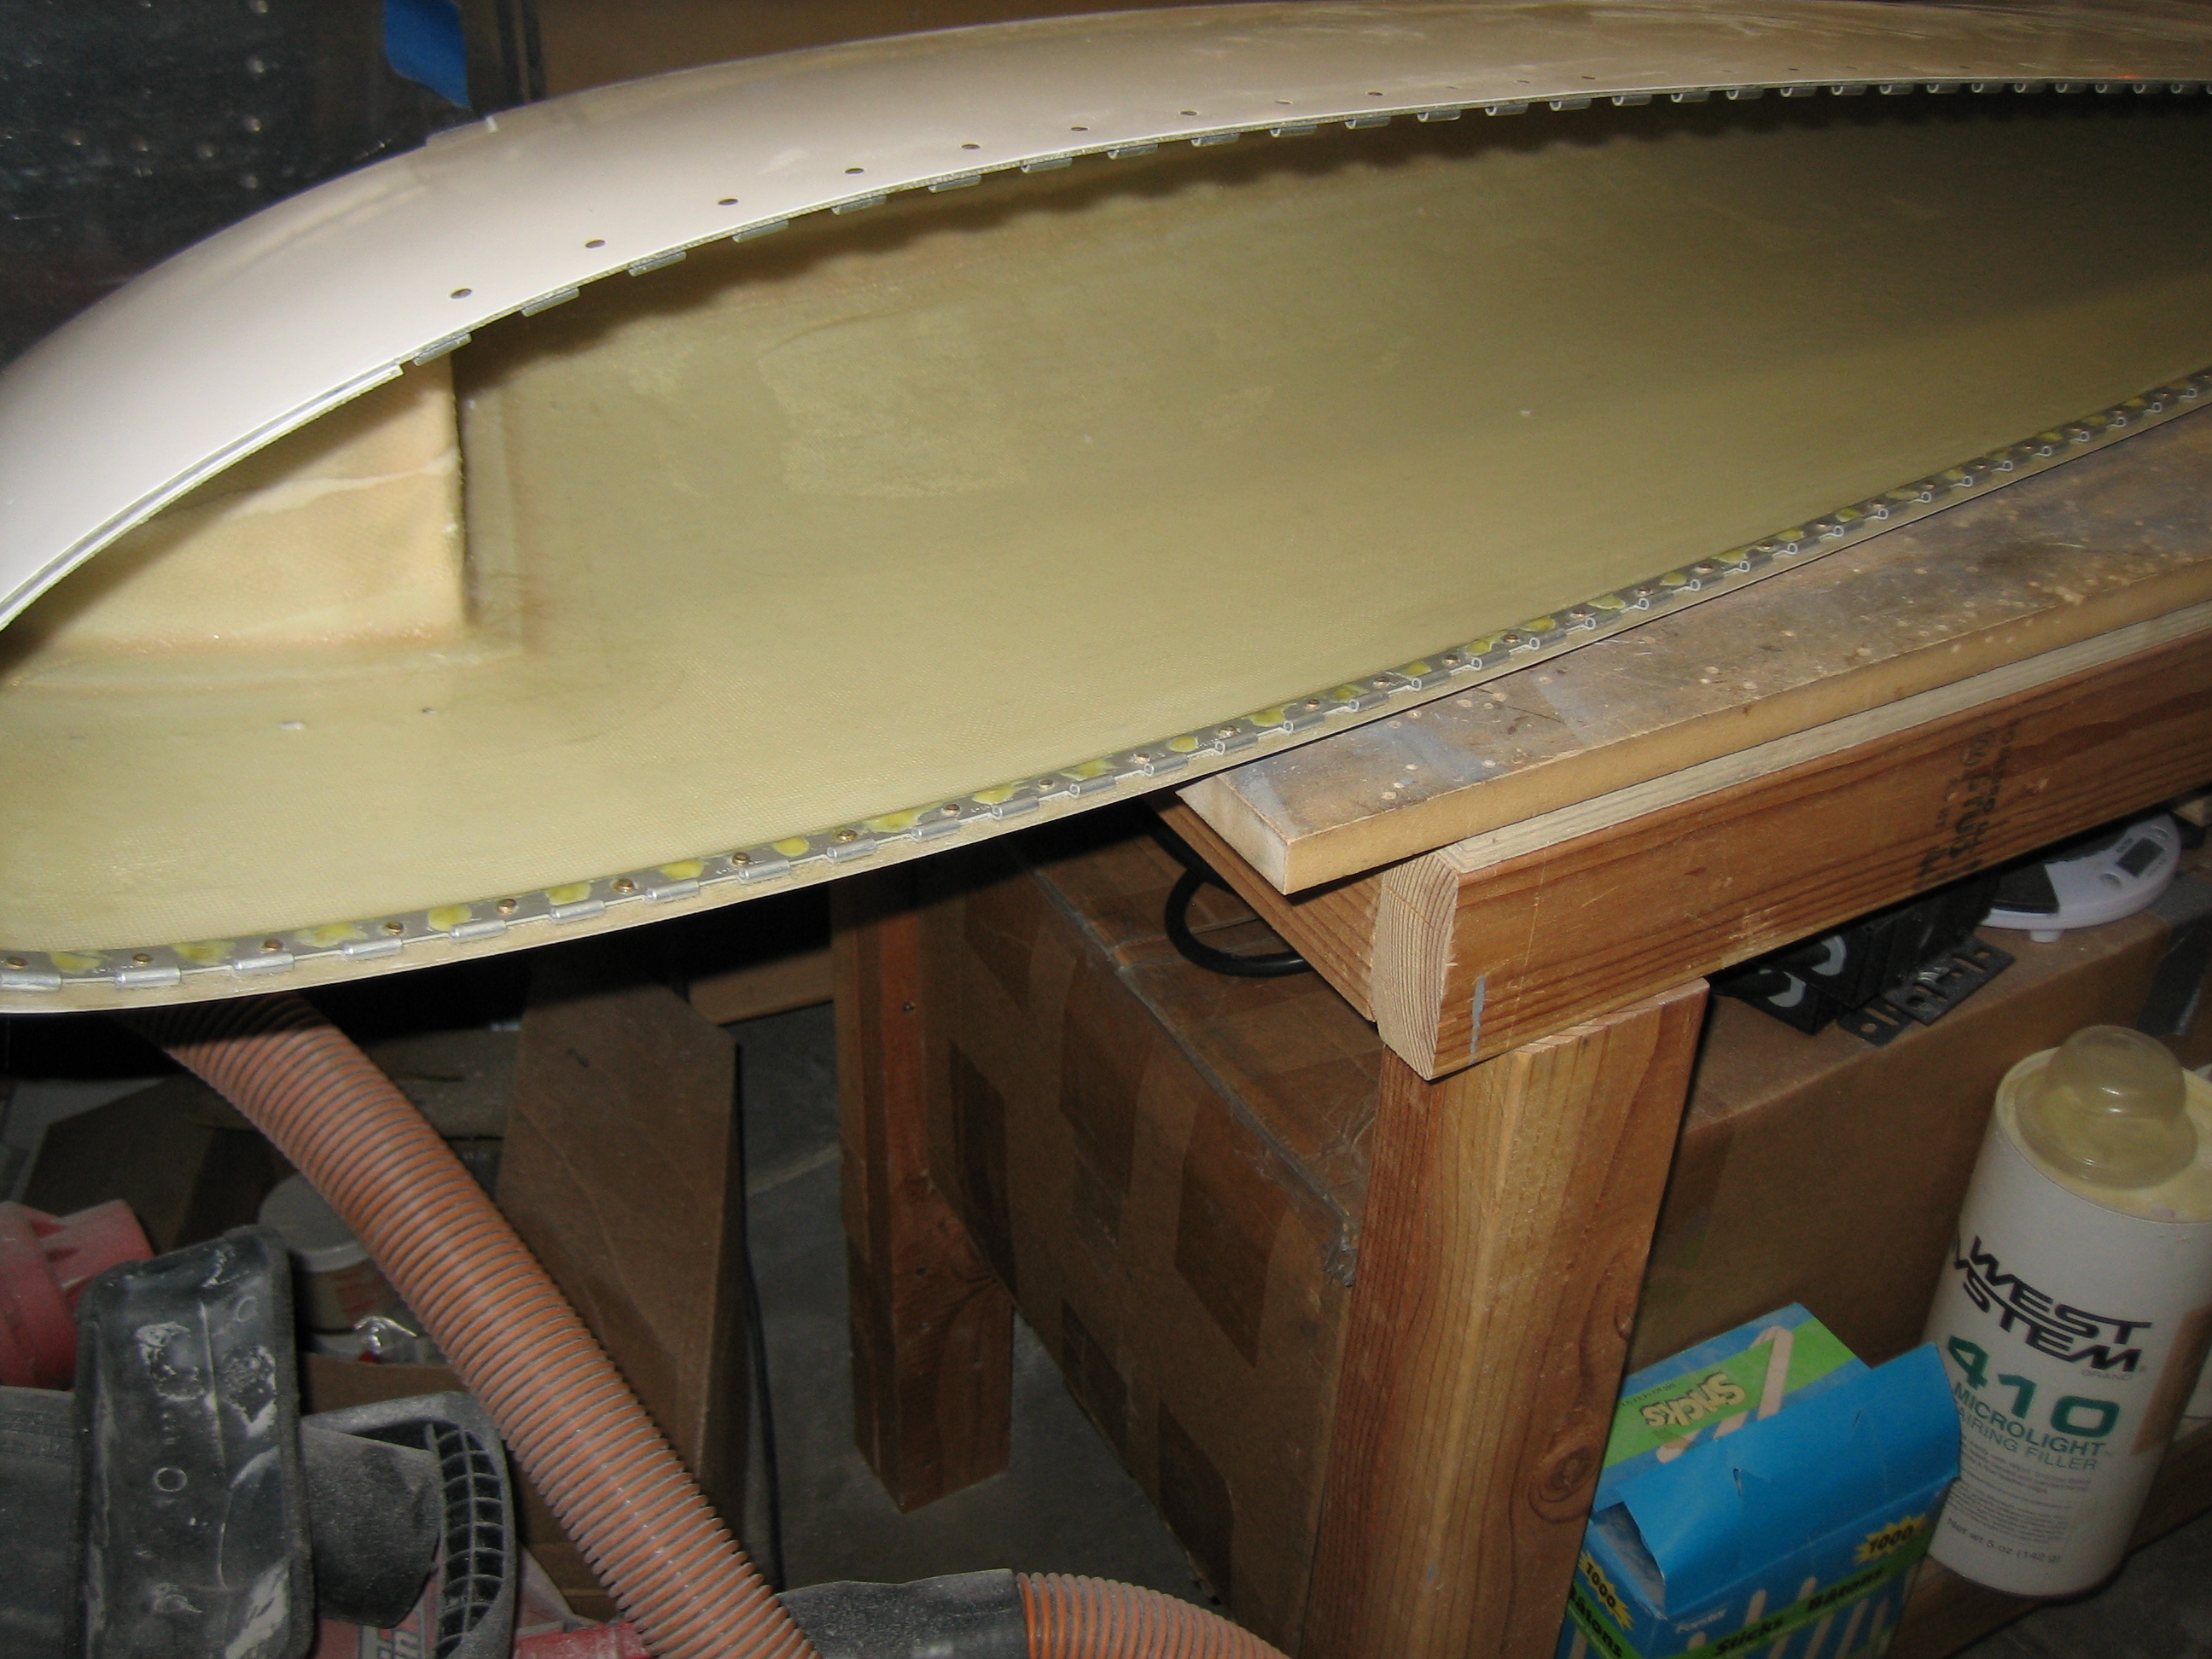
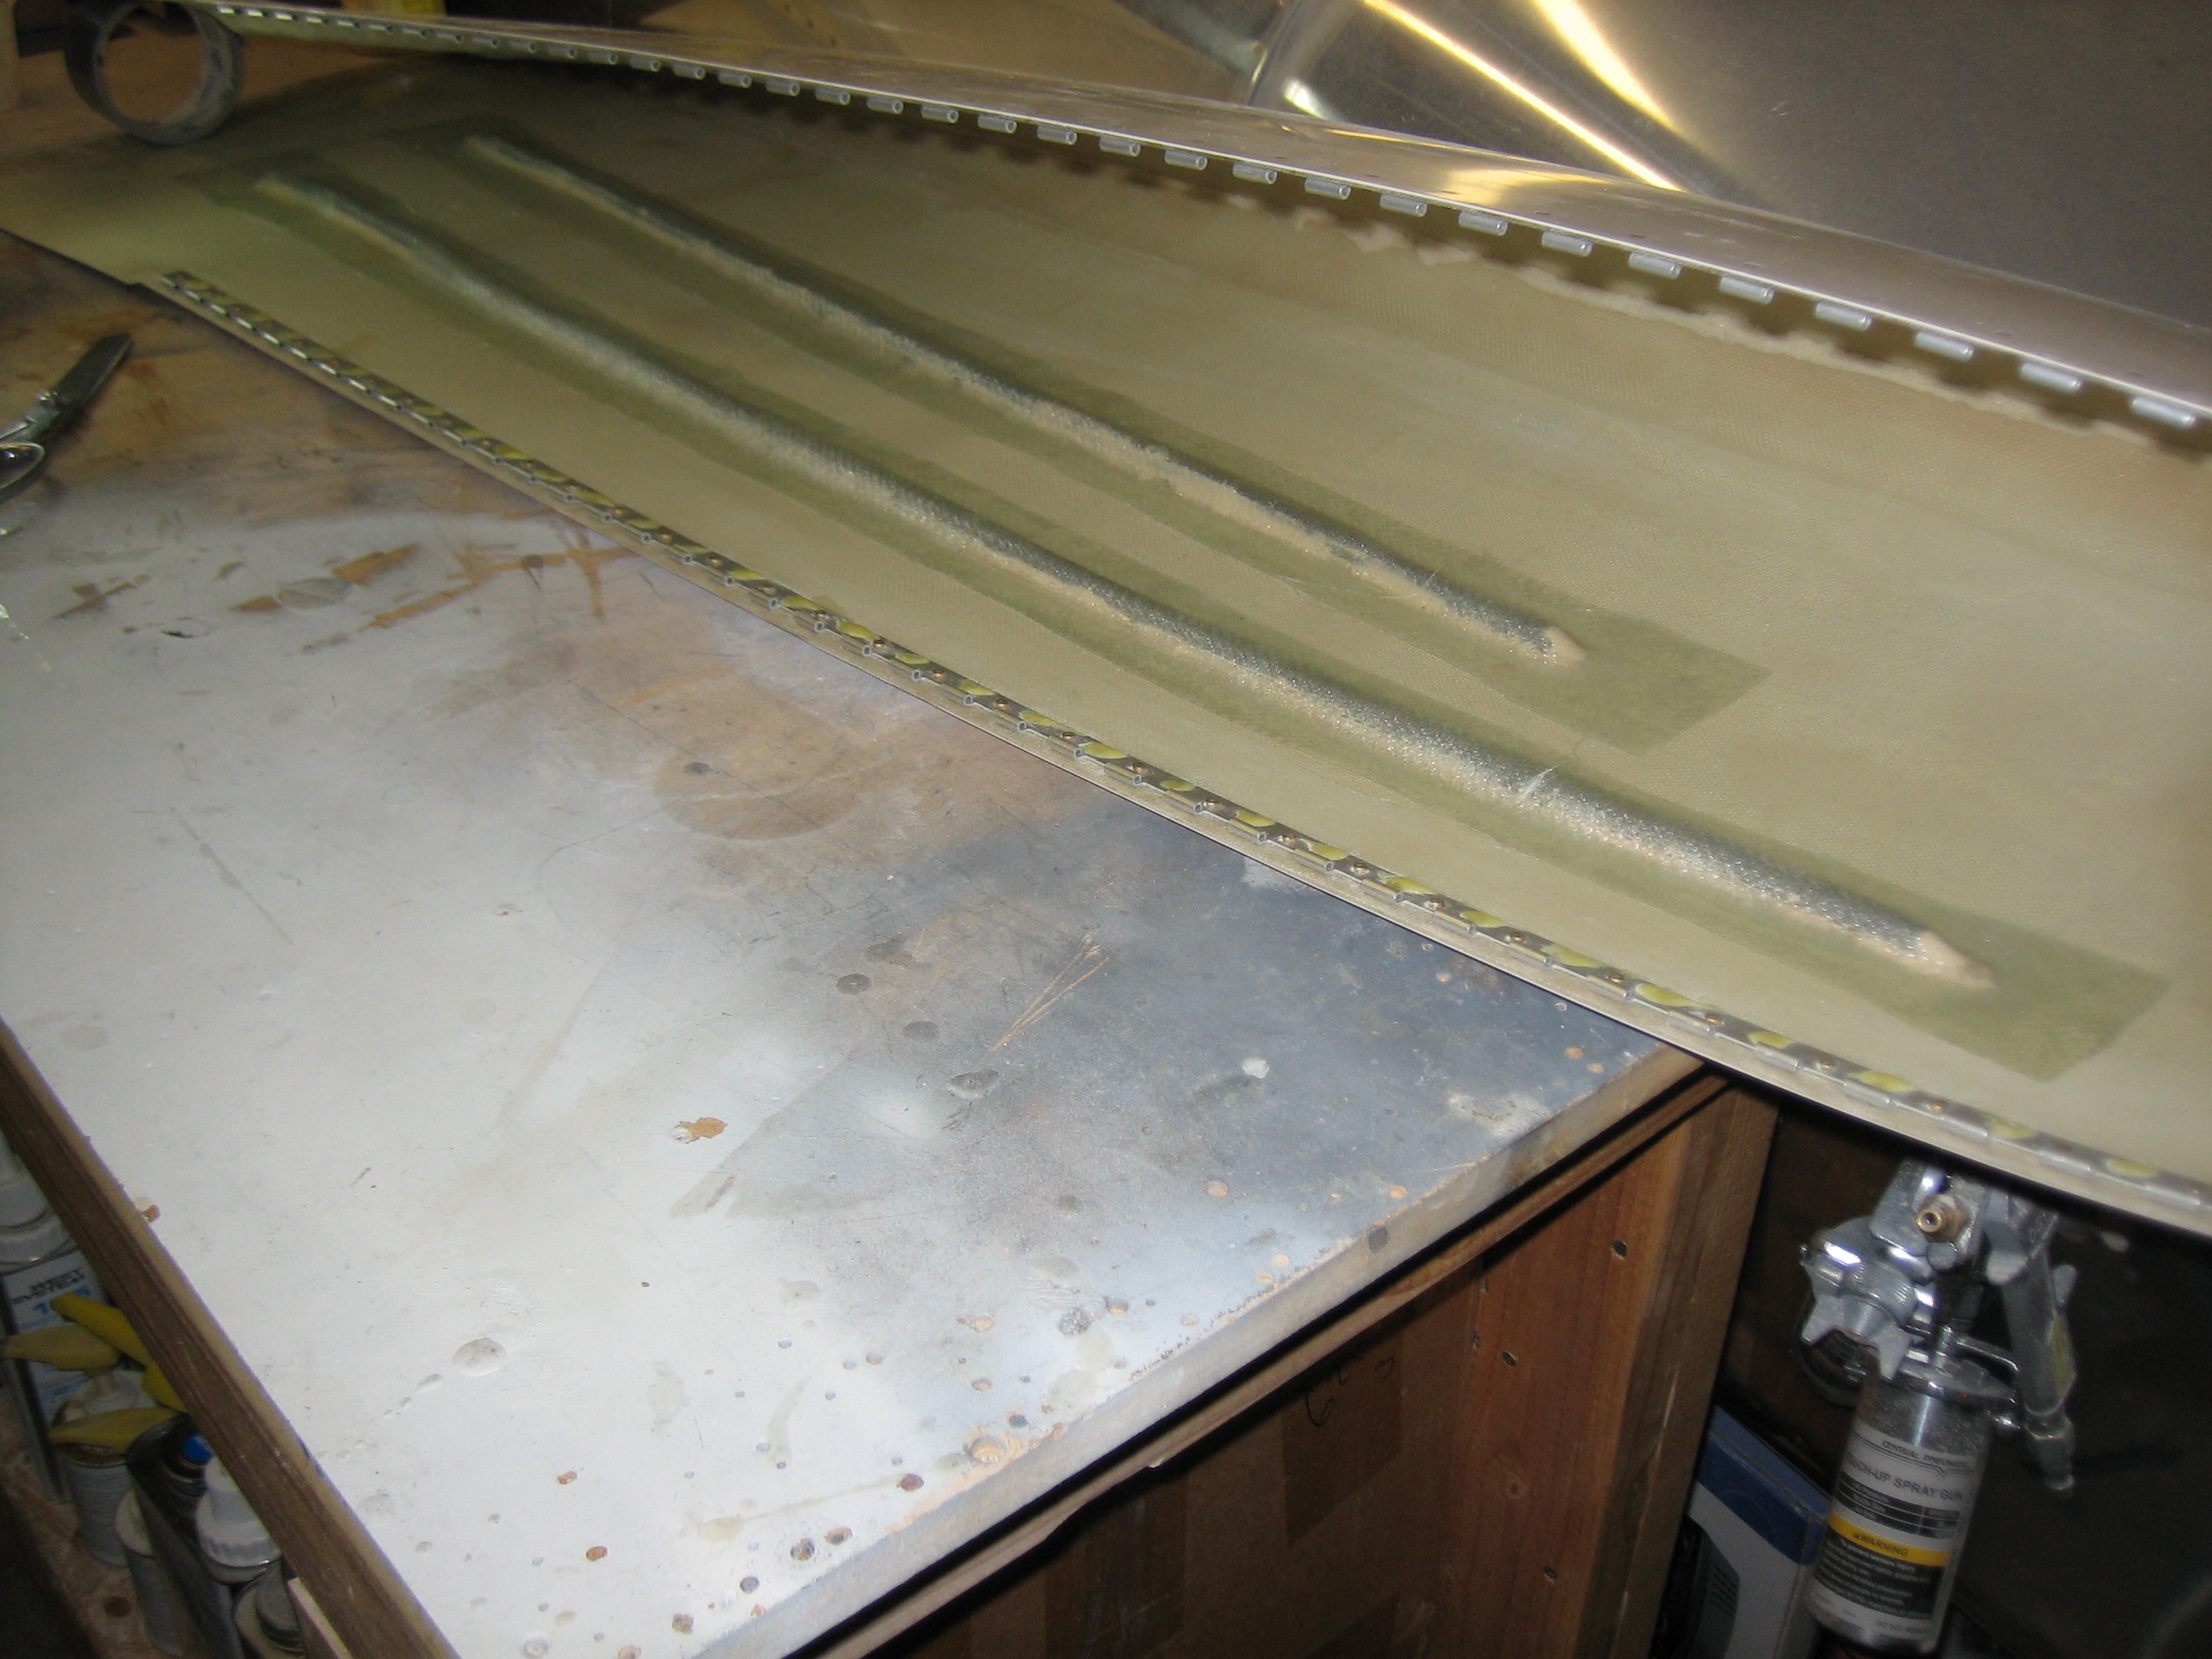
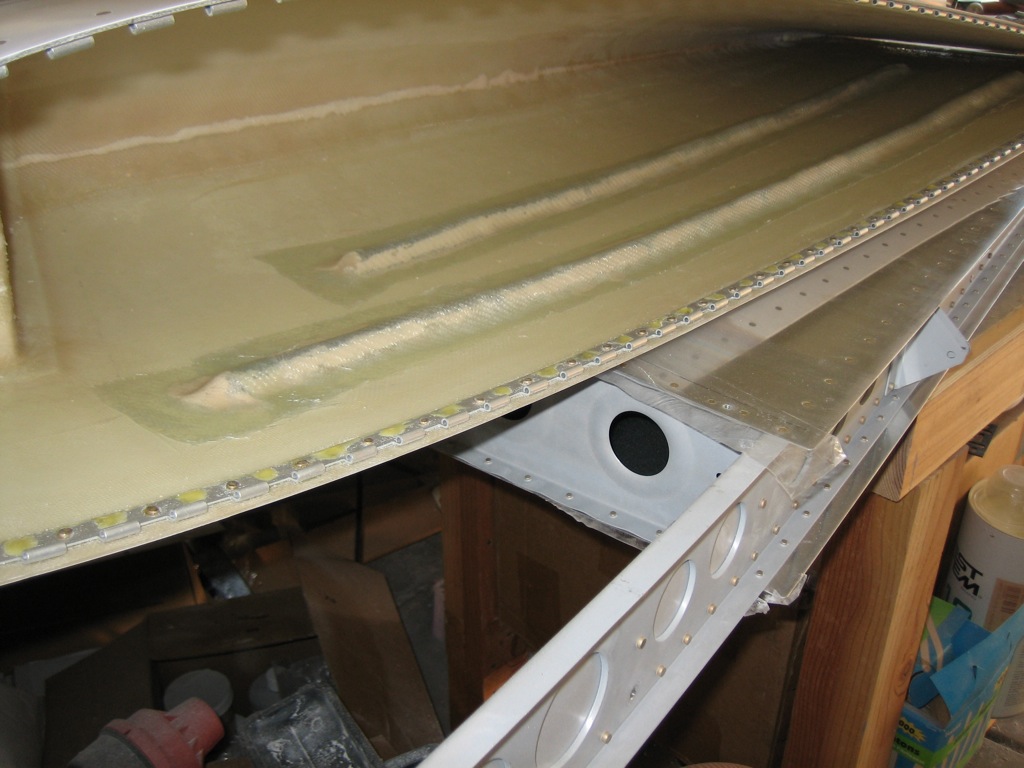
Here’s the cured fiberglass over the foam rod.  This worked great.  It’s incredibly light (just a couple of ounces per rod at the most), and added a surprising amount of stiffness to the wingtip.  The Coremat I was going to add would have made it stiffer for sure (probably close to the stiffness of the cowl), but that would have been overkill.  The wingtips simply do not need to be that strong and the weight penalty was excessive.

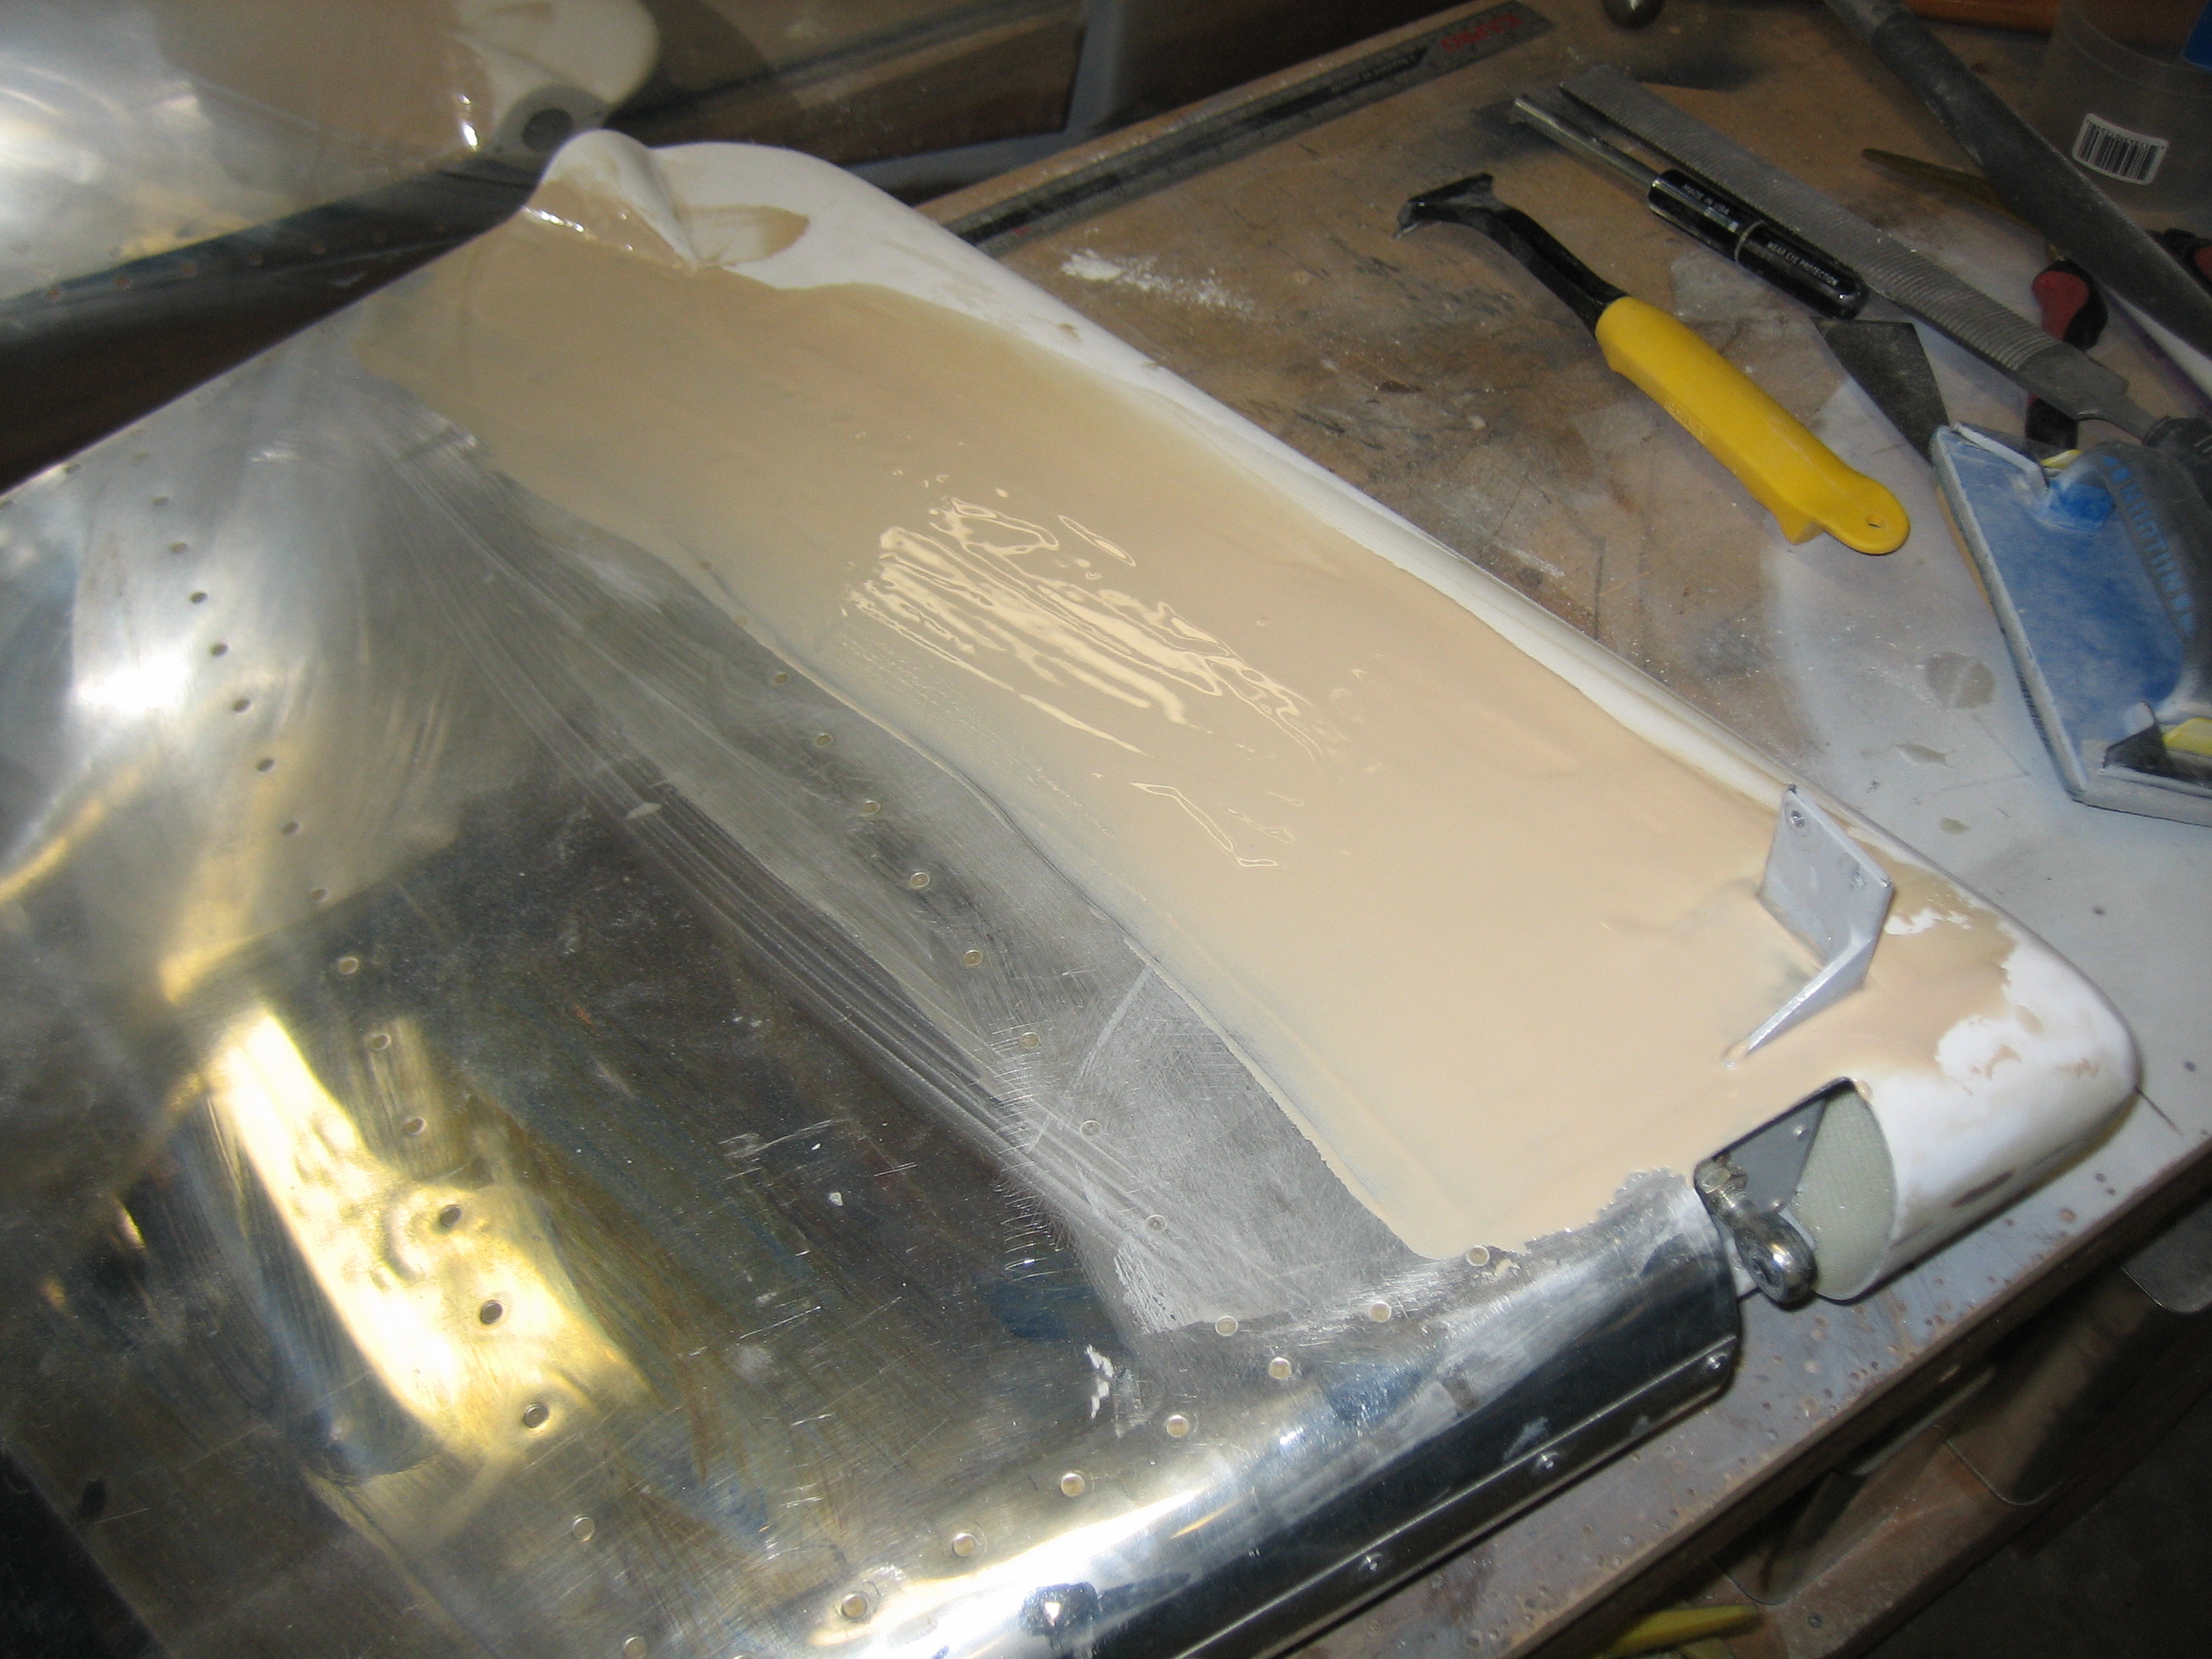
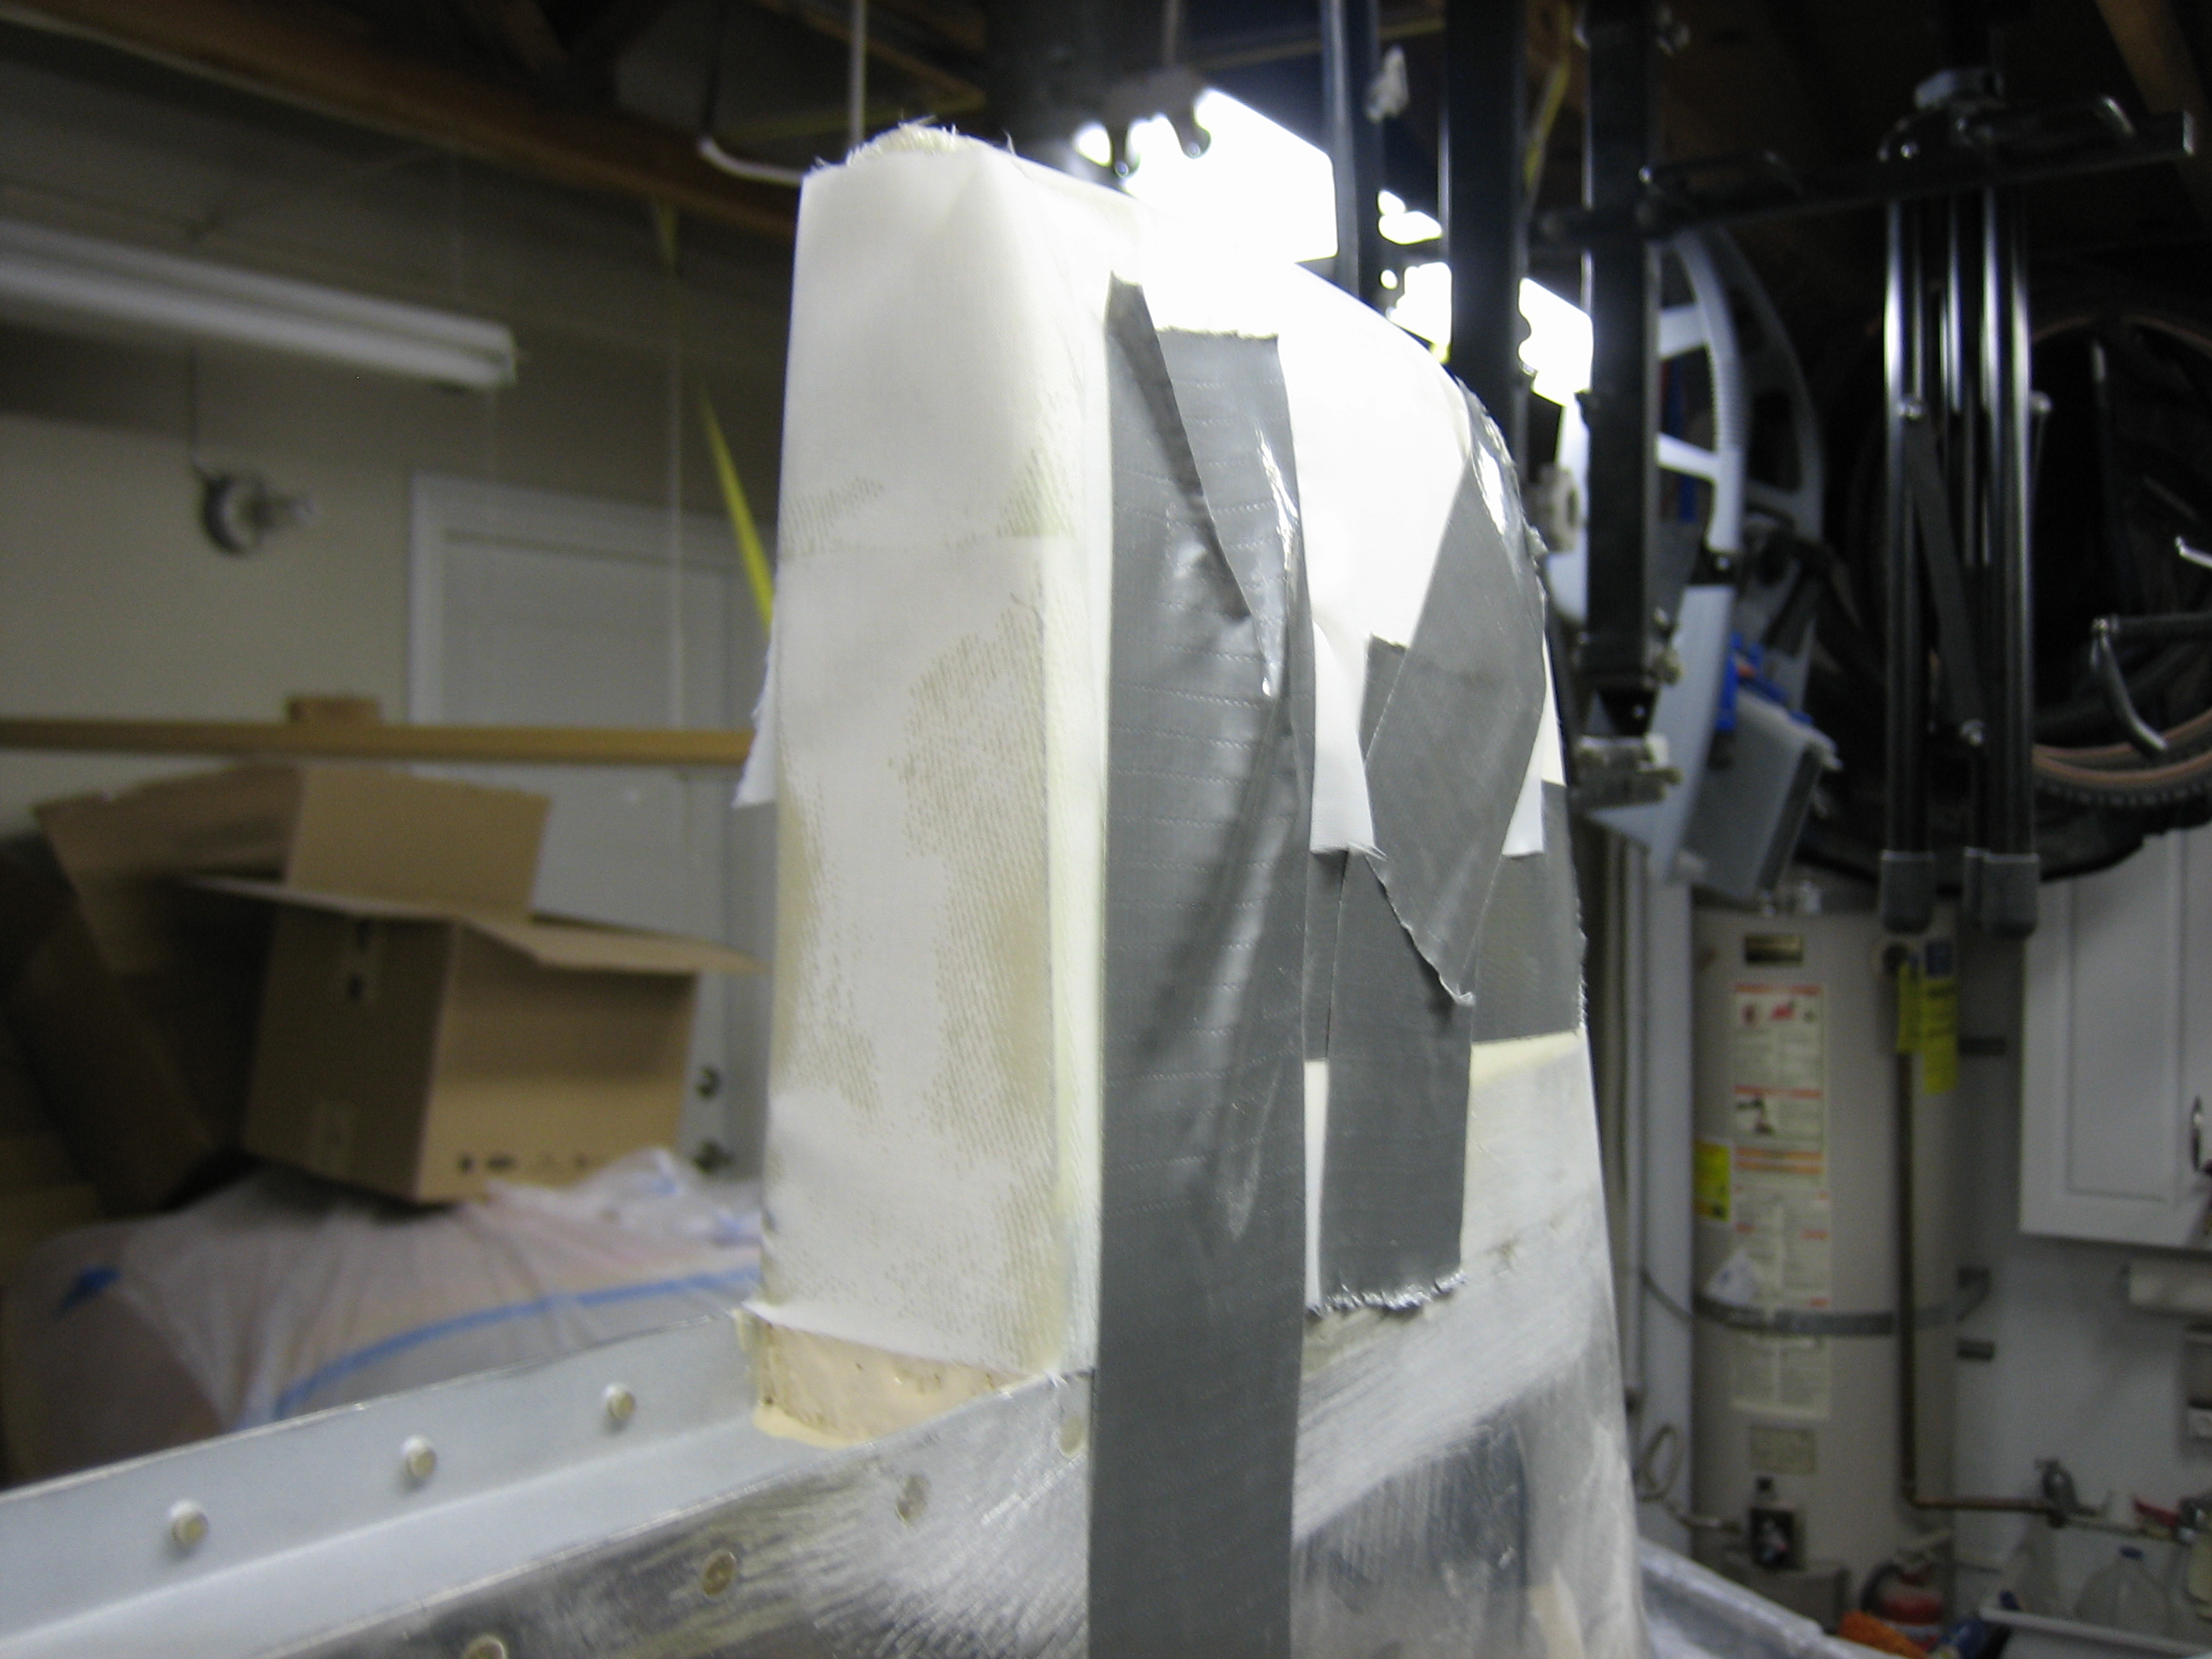
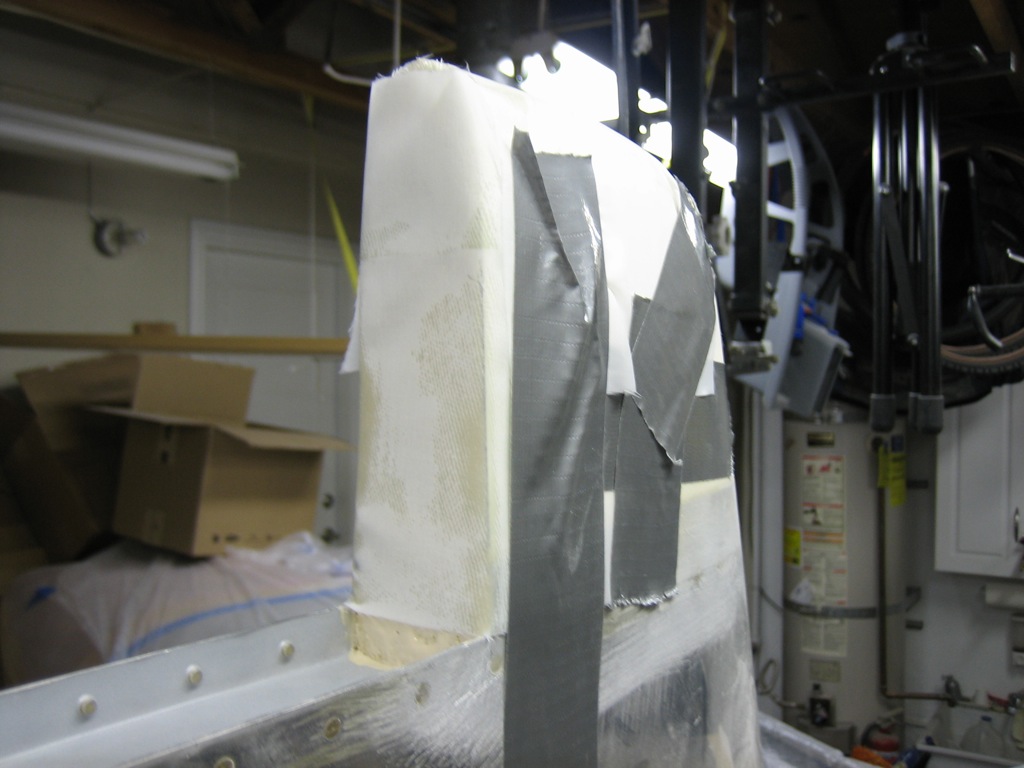
I’ve been meaning to reshape the vertical stabilizer fairing for some time.  I originally installed the foam rib based on the shape of the tip right out of the box, and not how it looked relative to the rudder horn.  Unfortunately, it turned out fatter and shorter than the rudder horn, so I needed to reshape it.  I removed the old foam rib and used a clamp to squeeze it (making it both narrower and taller).  I then used a heat gun to soften the epoxy so that it would take the new shape.  I wrapped the rib in some fiberglass which will stiffen everything up a lot.  I’ll still need to add a bunch of filler to both the fairing and rudder horn and sand them at the same time to fair them together.

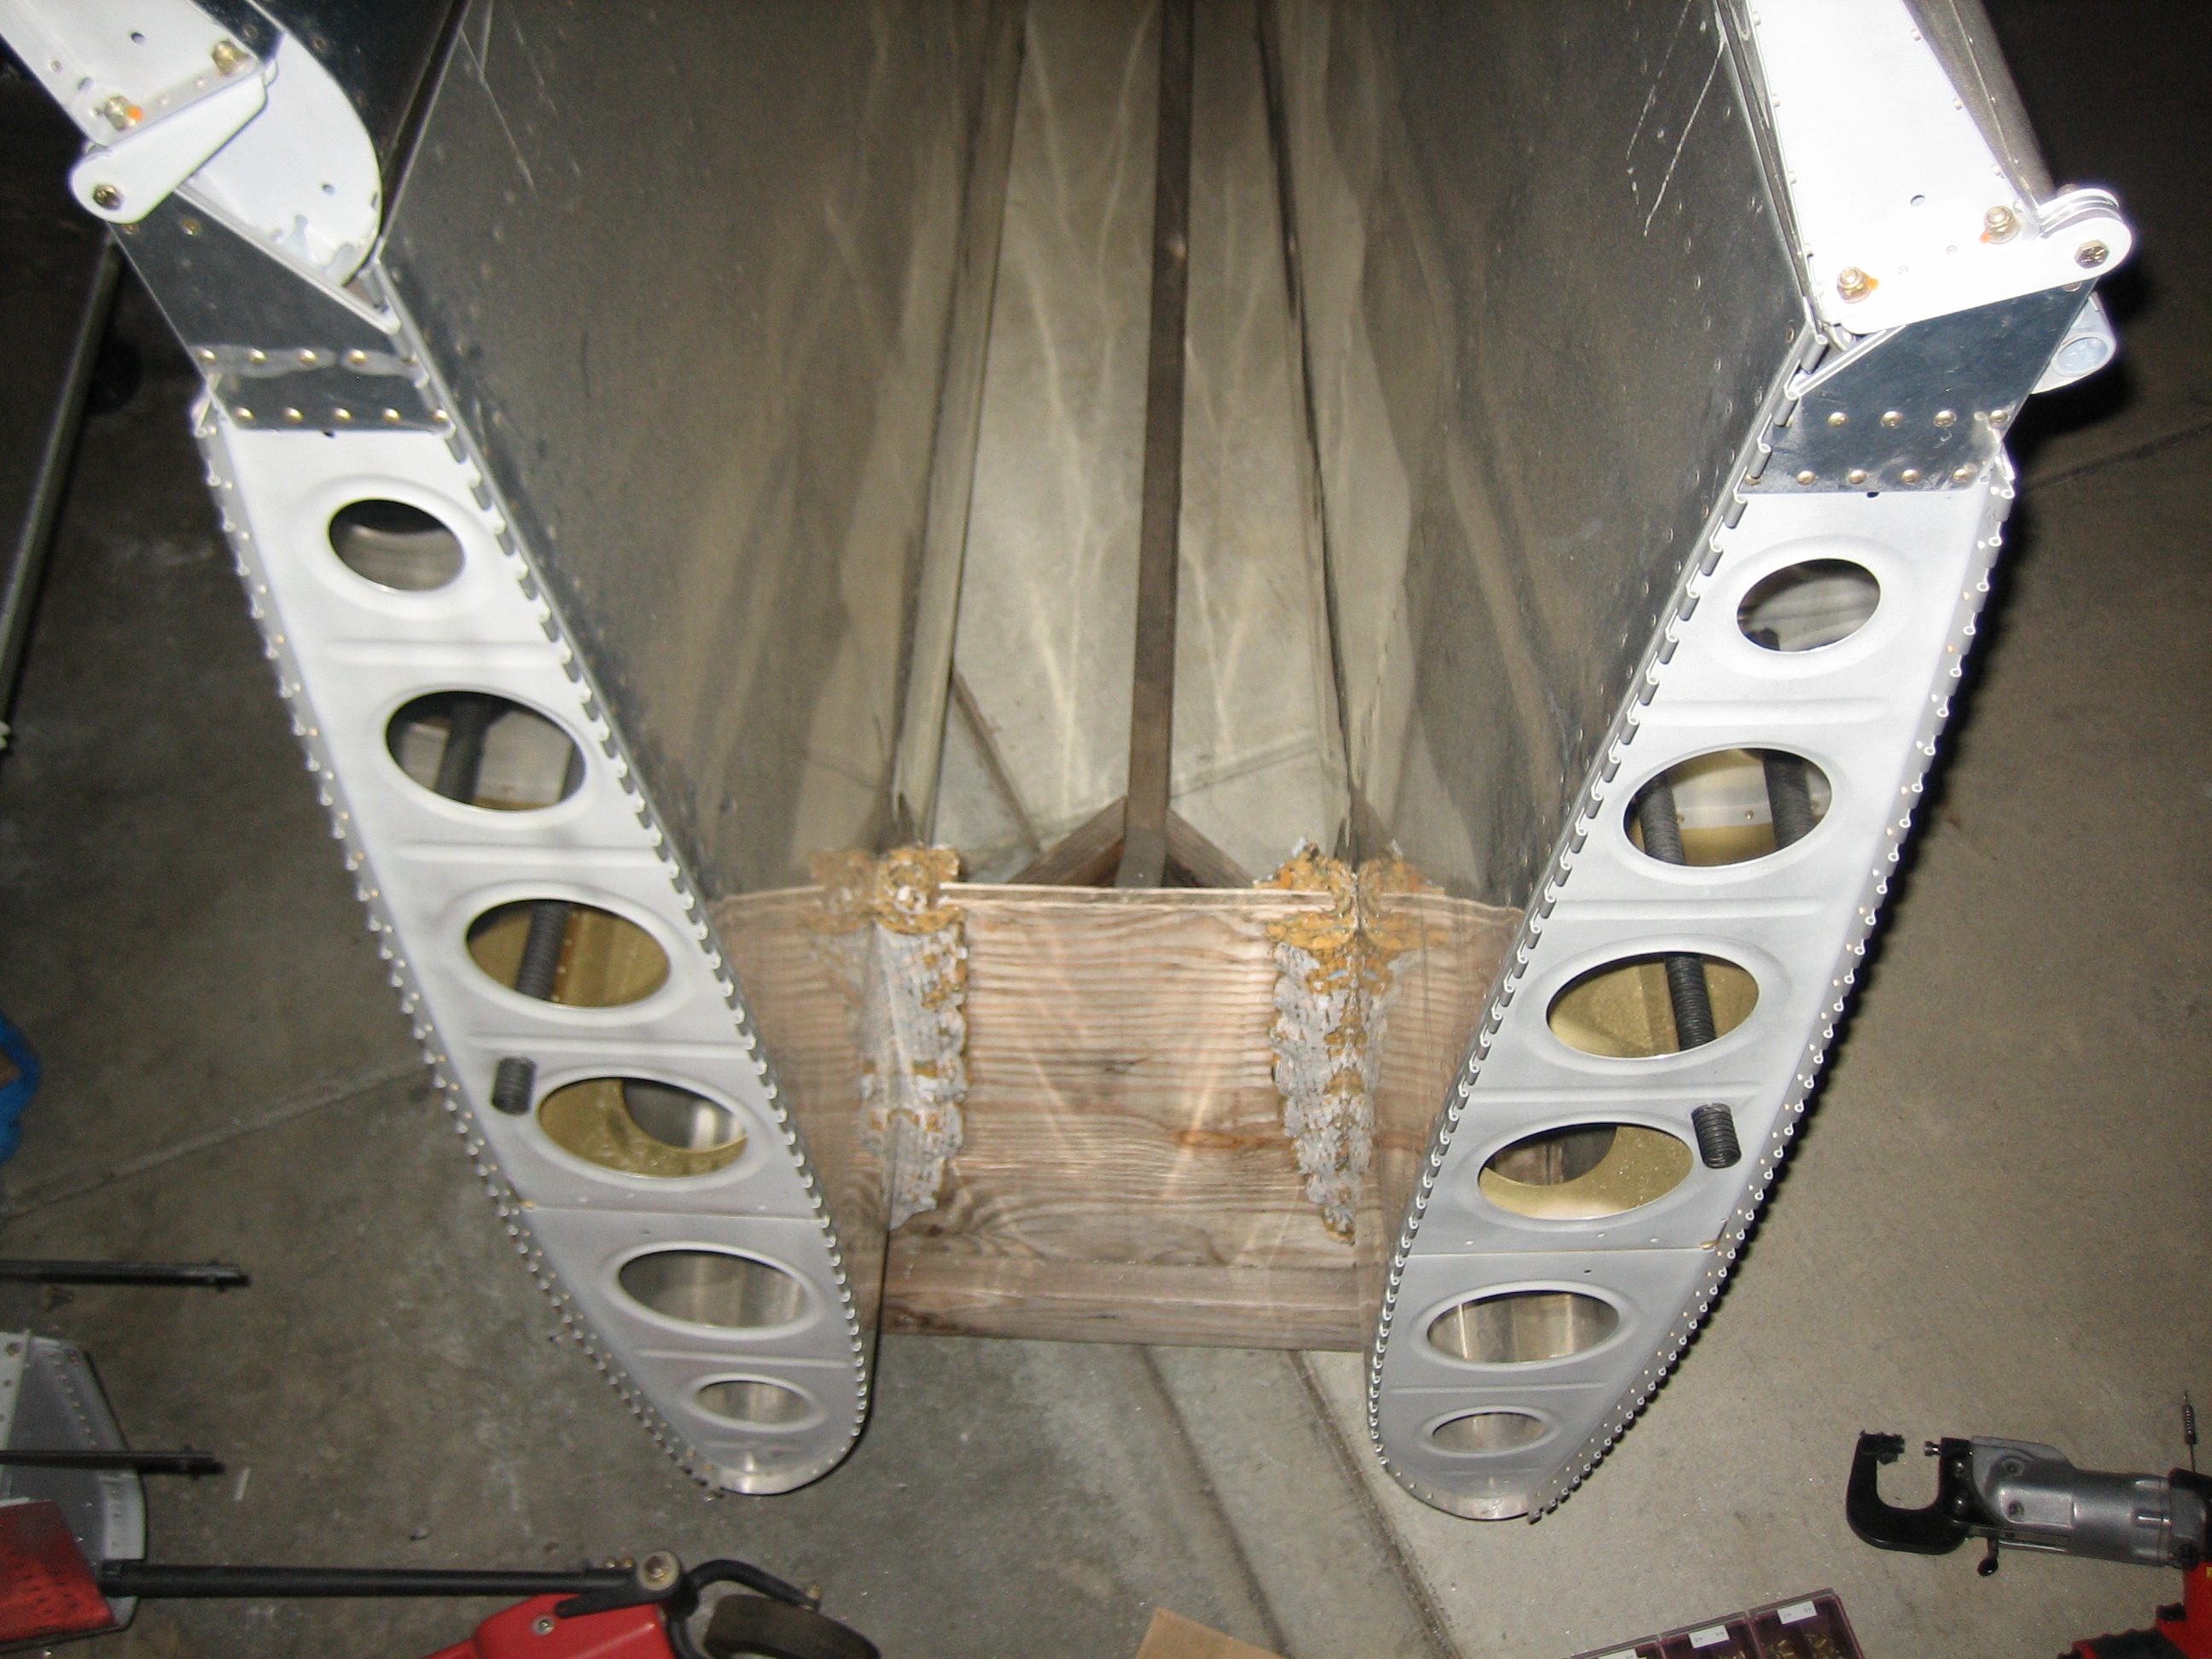
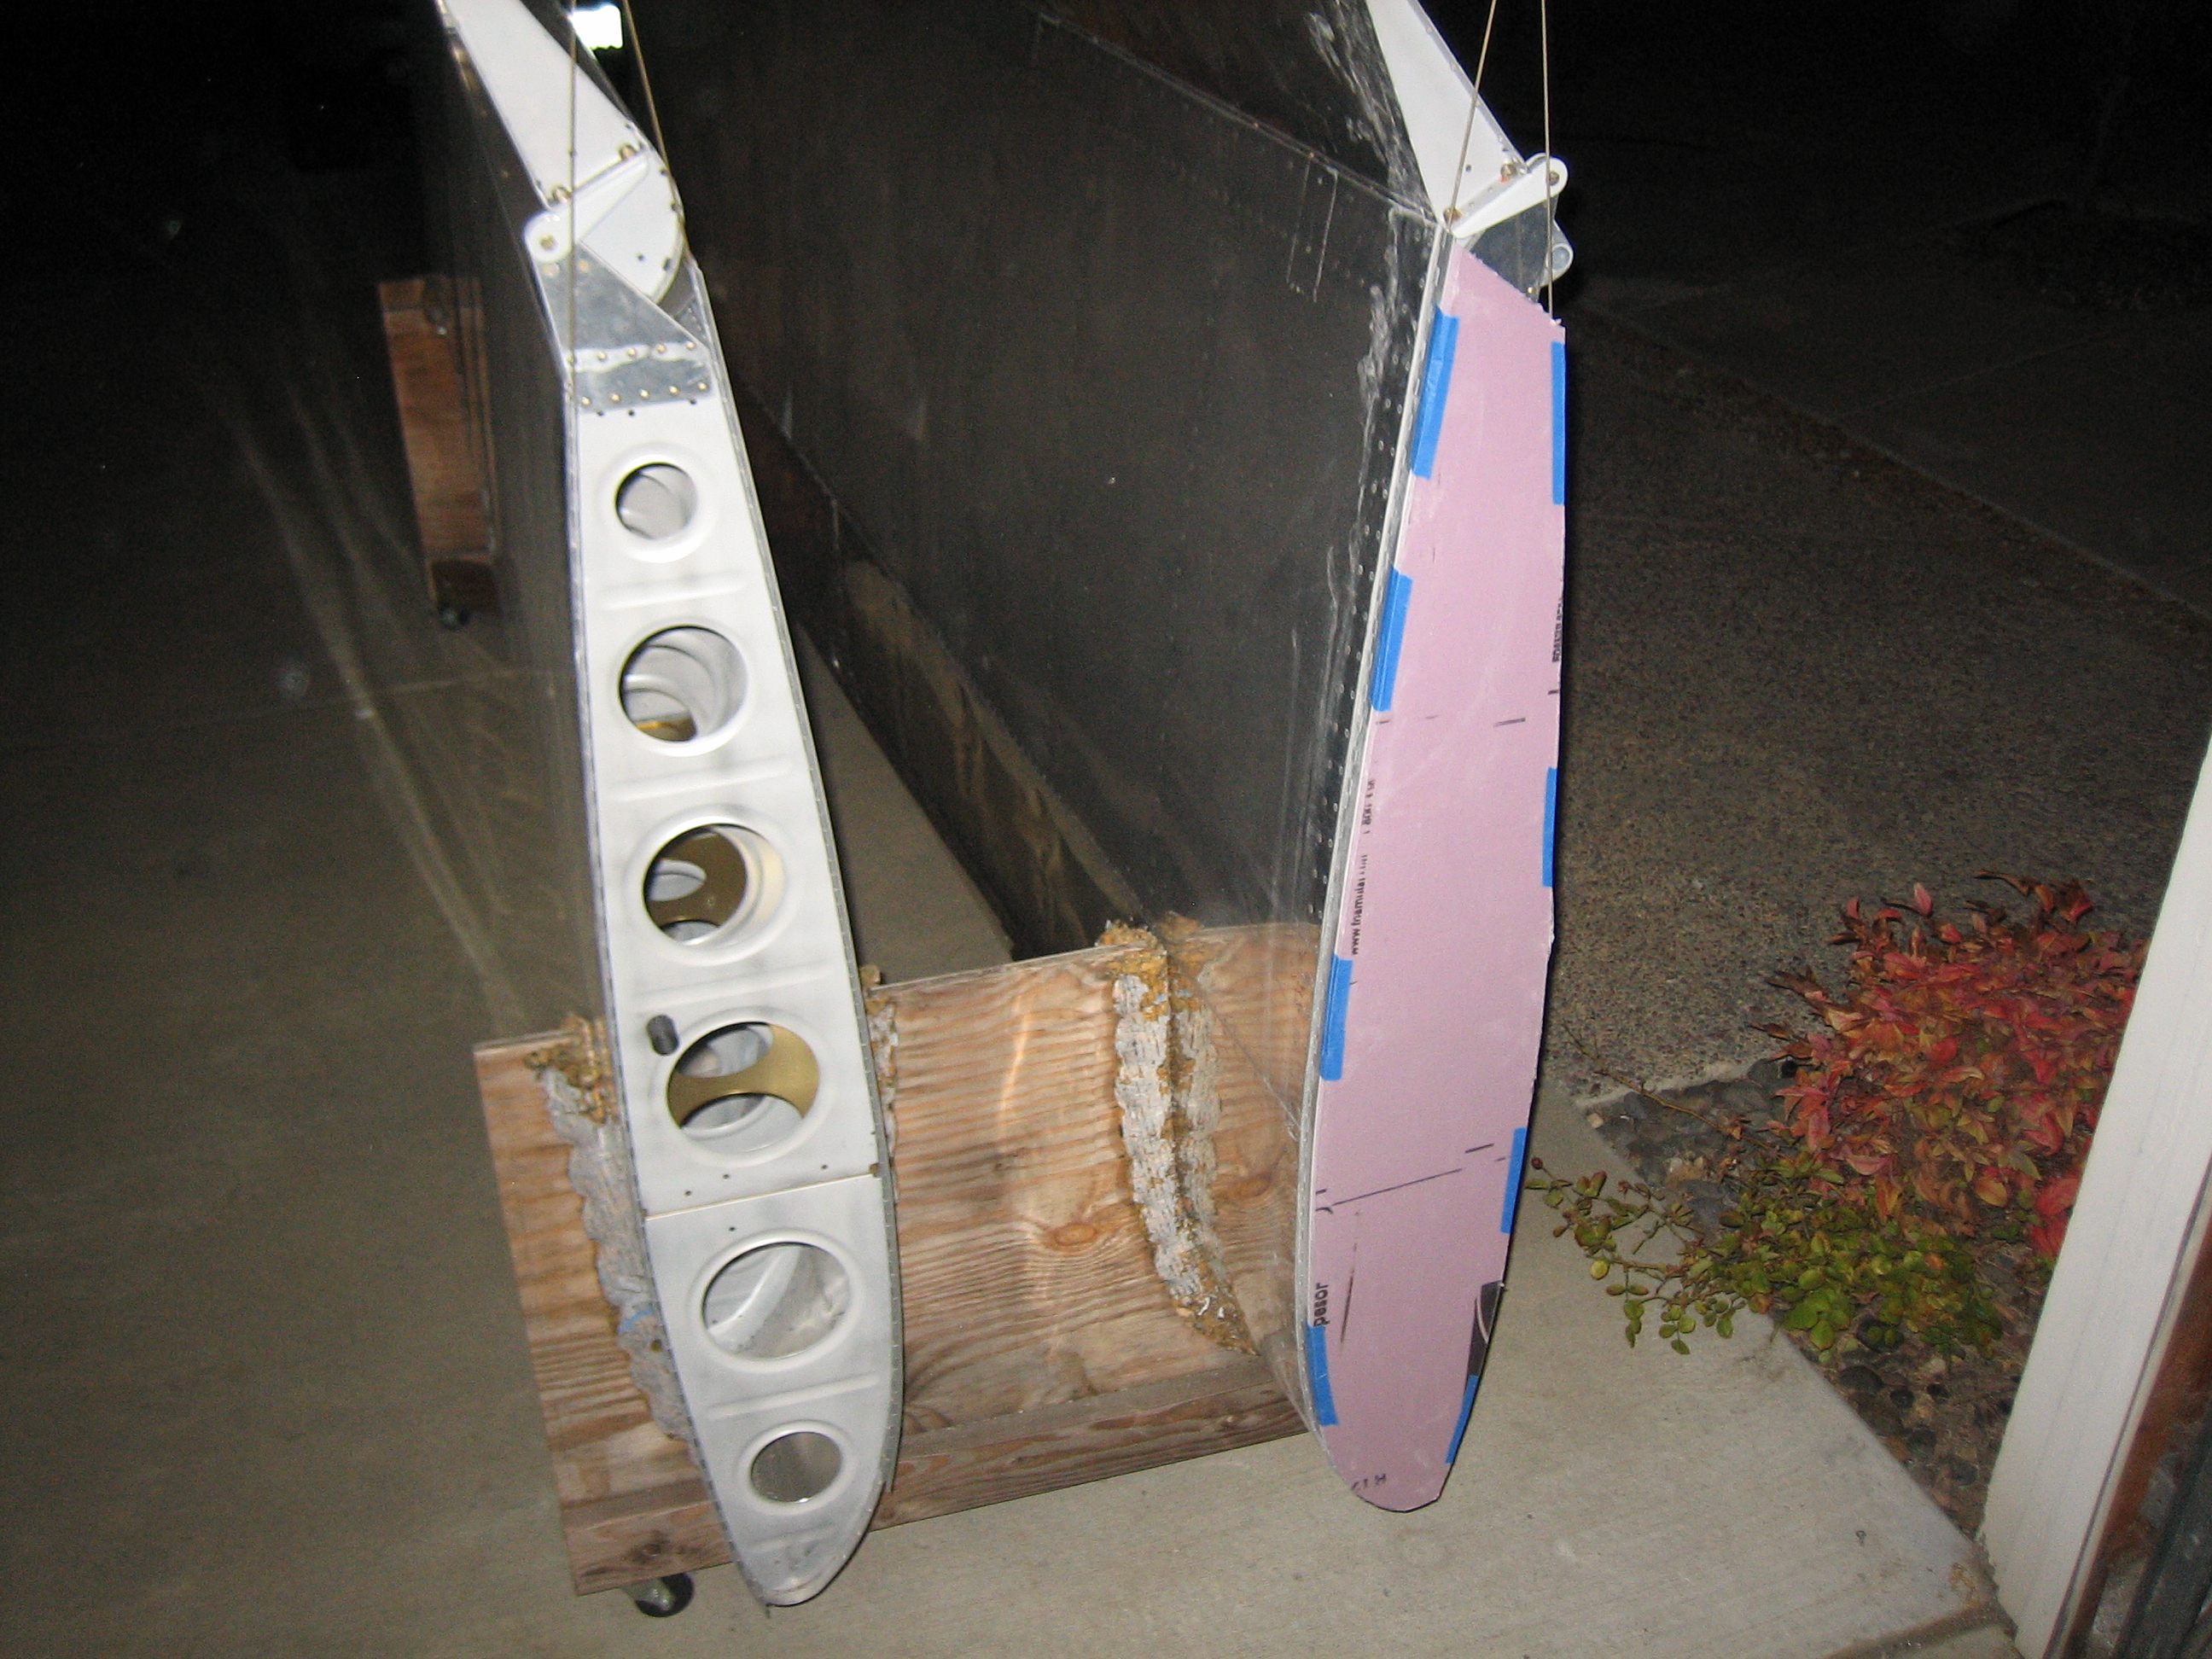
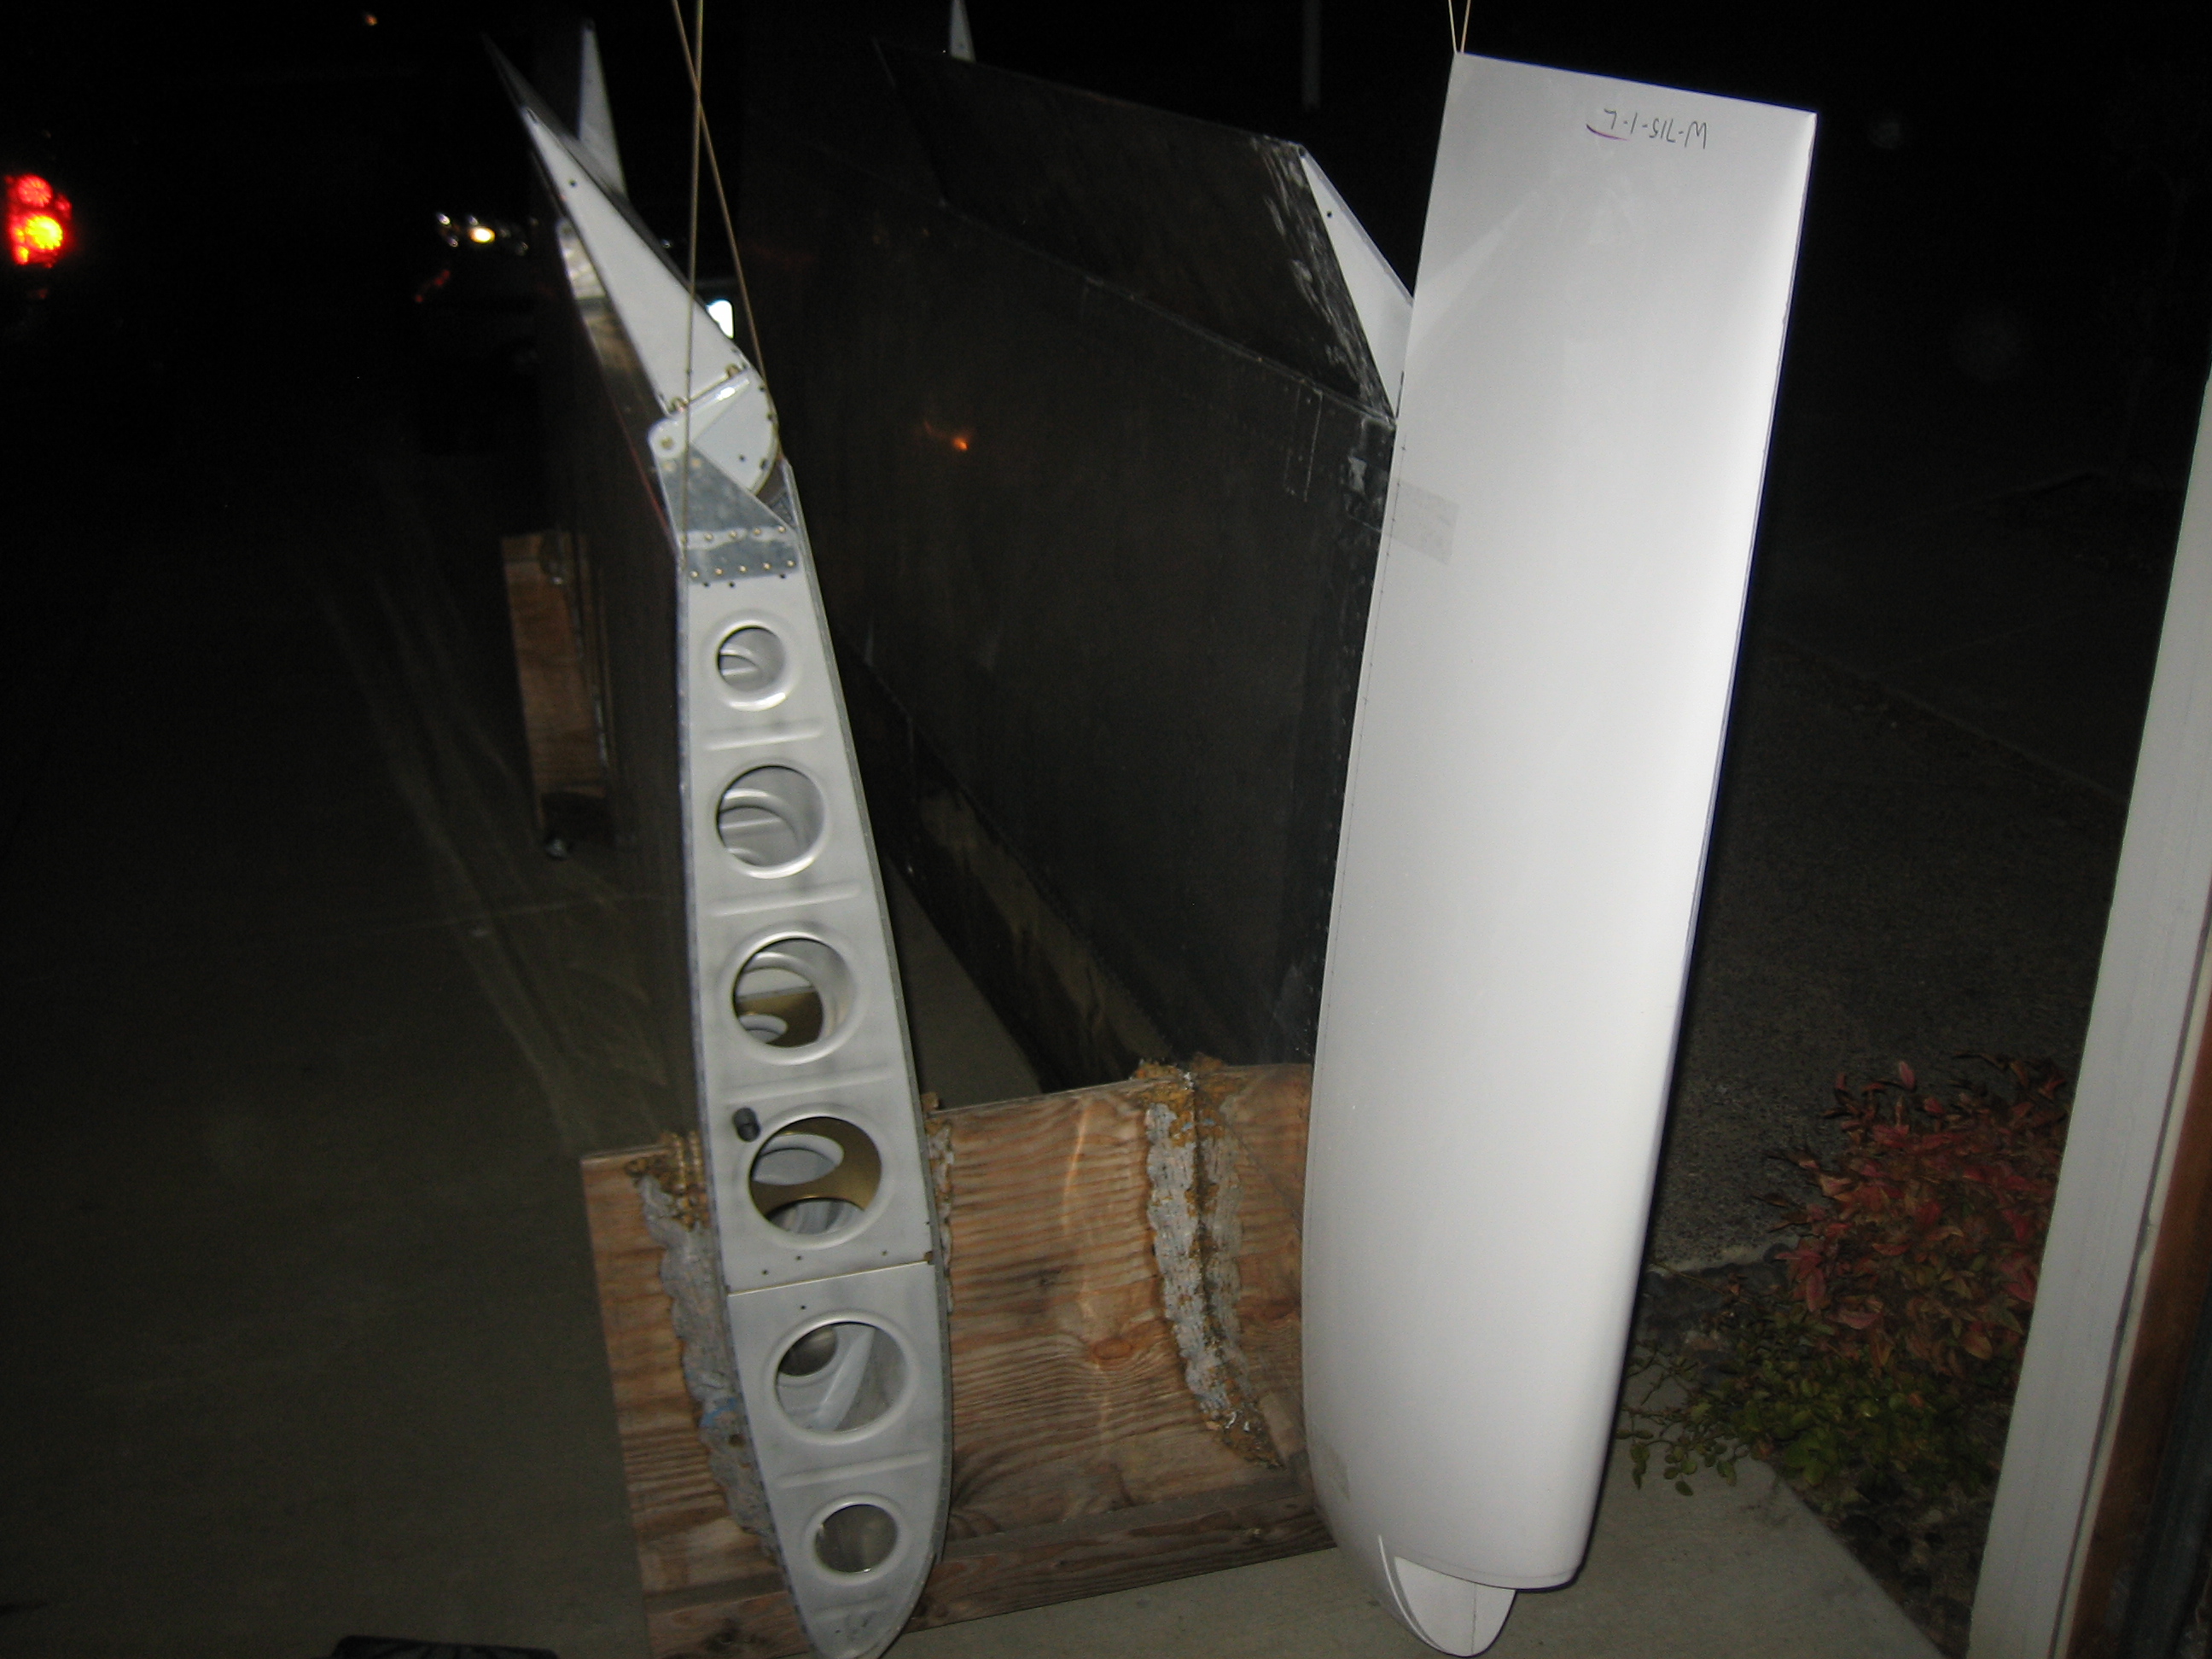
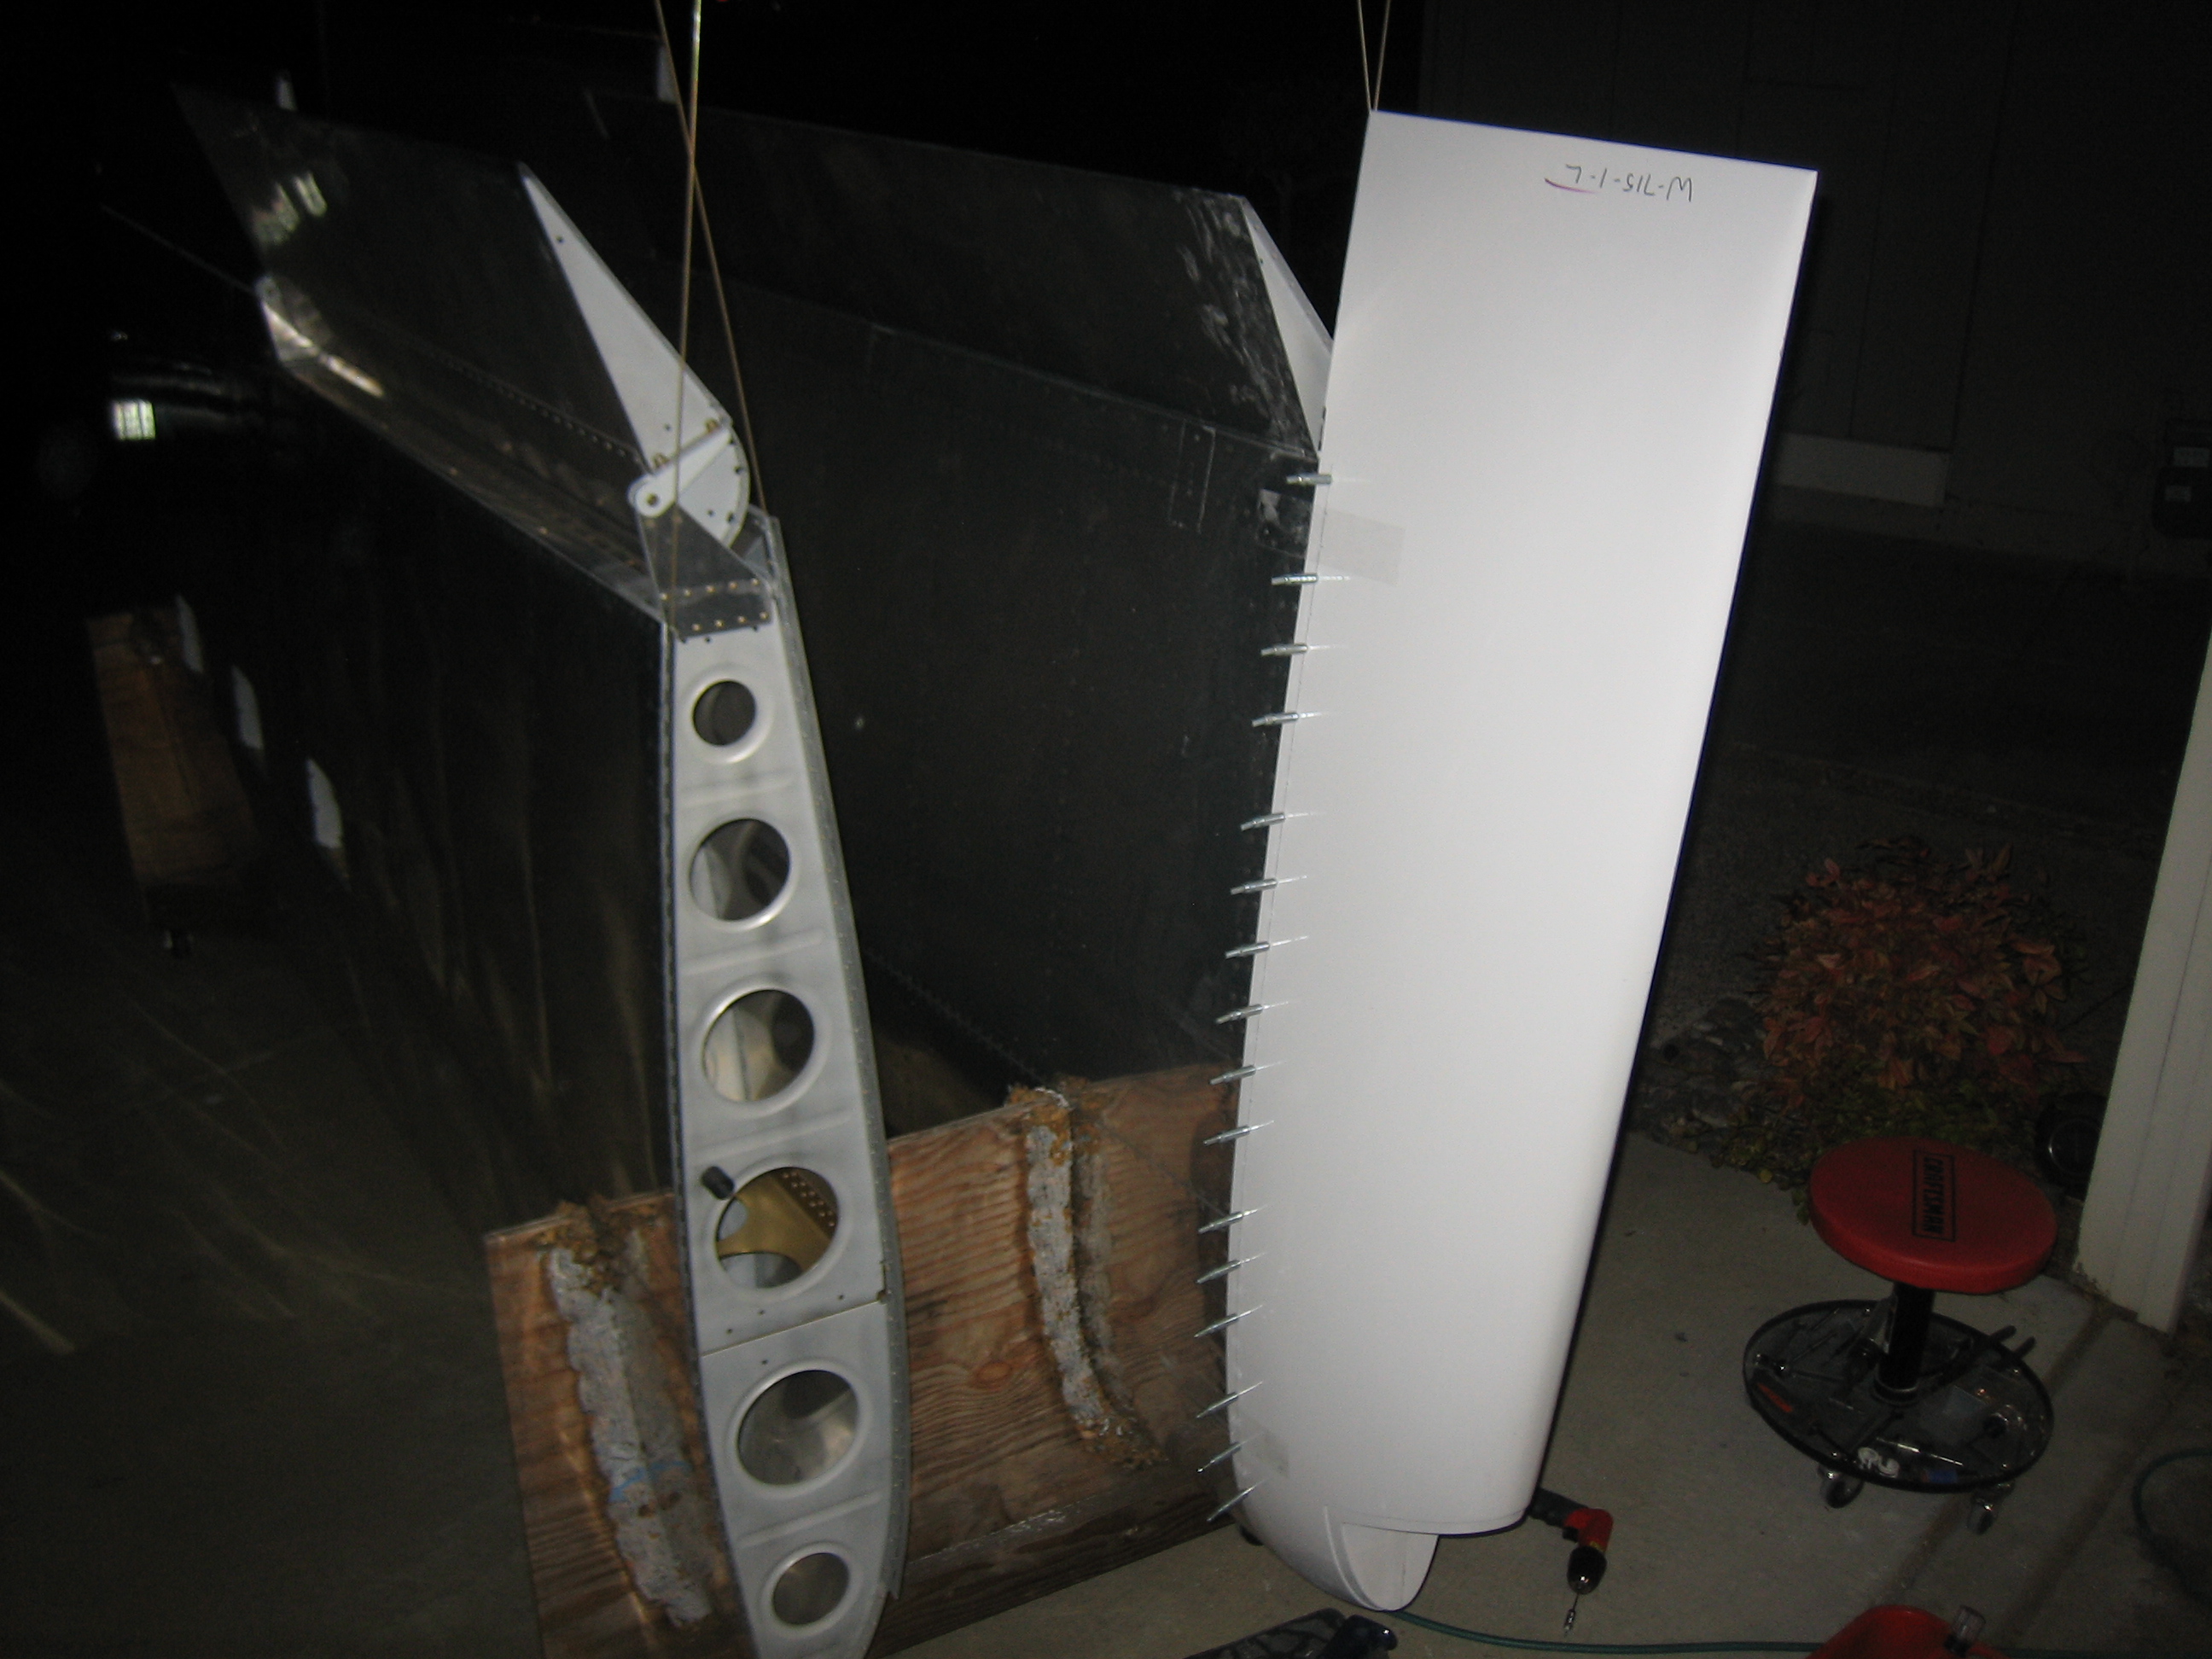
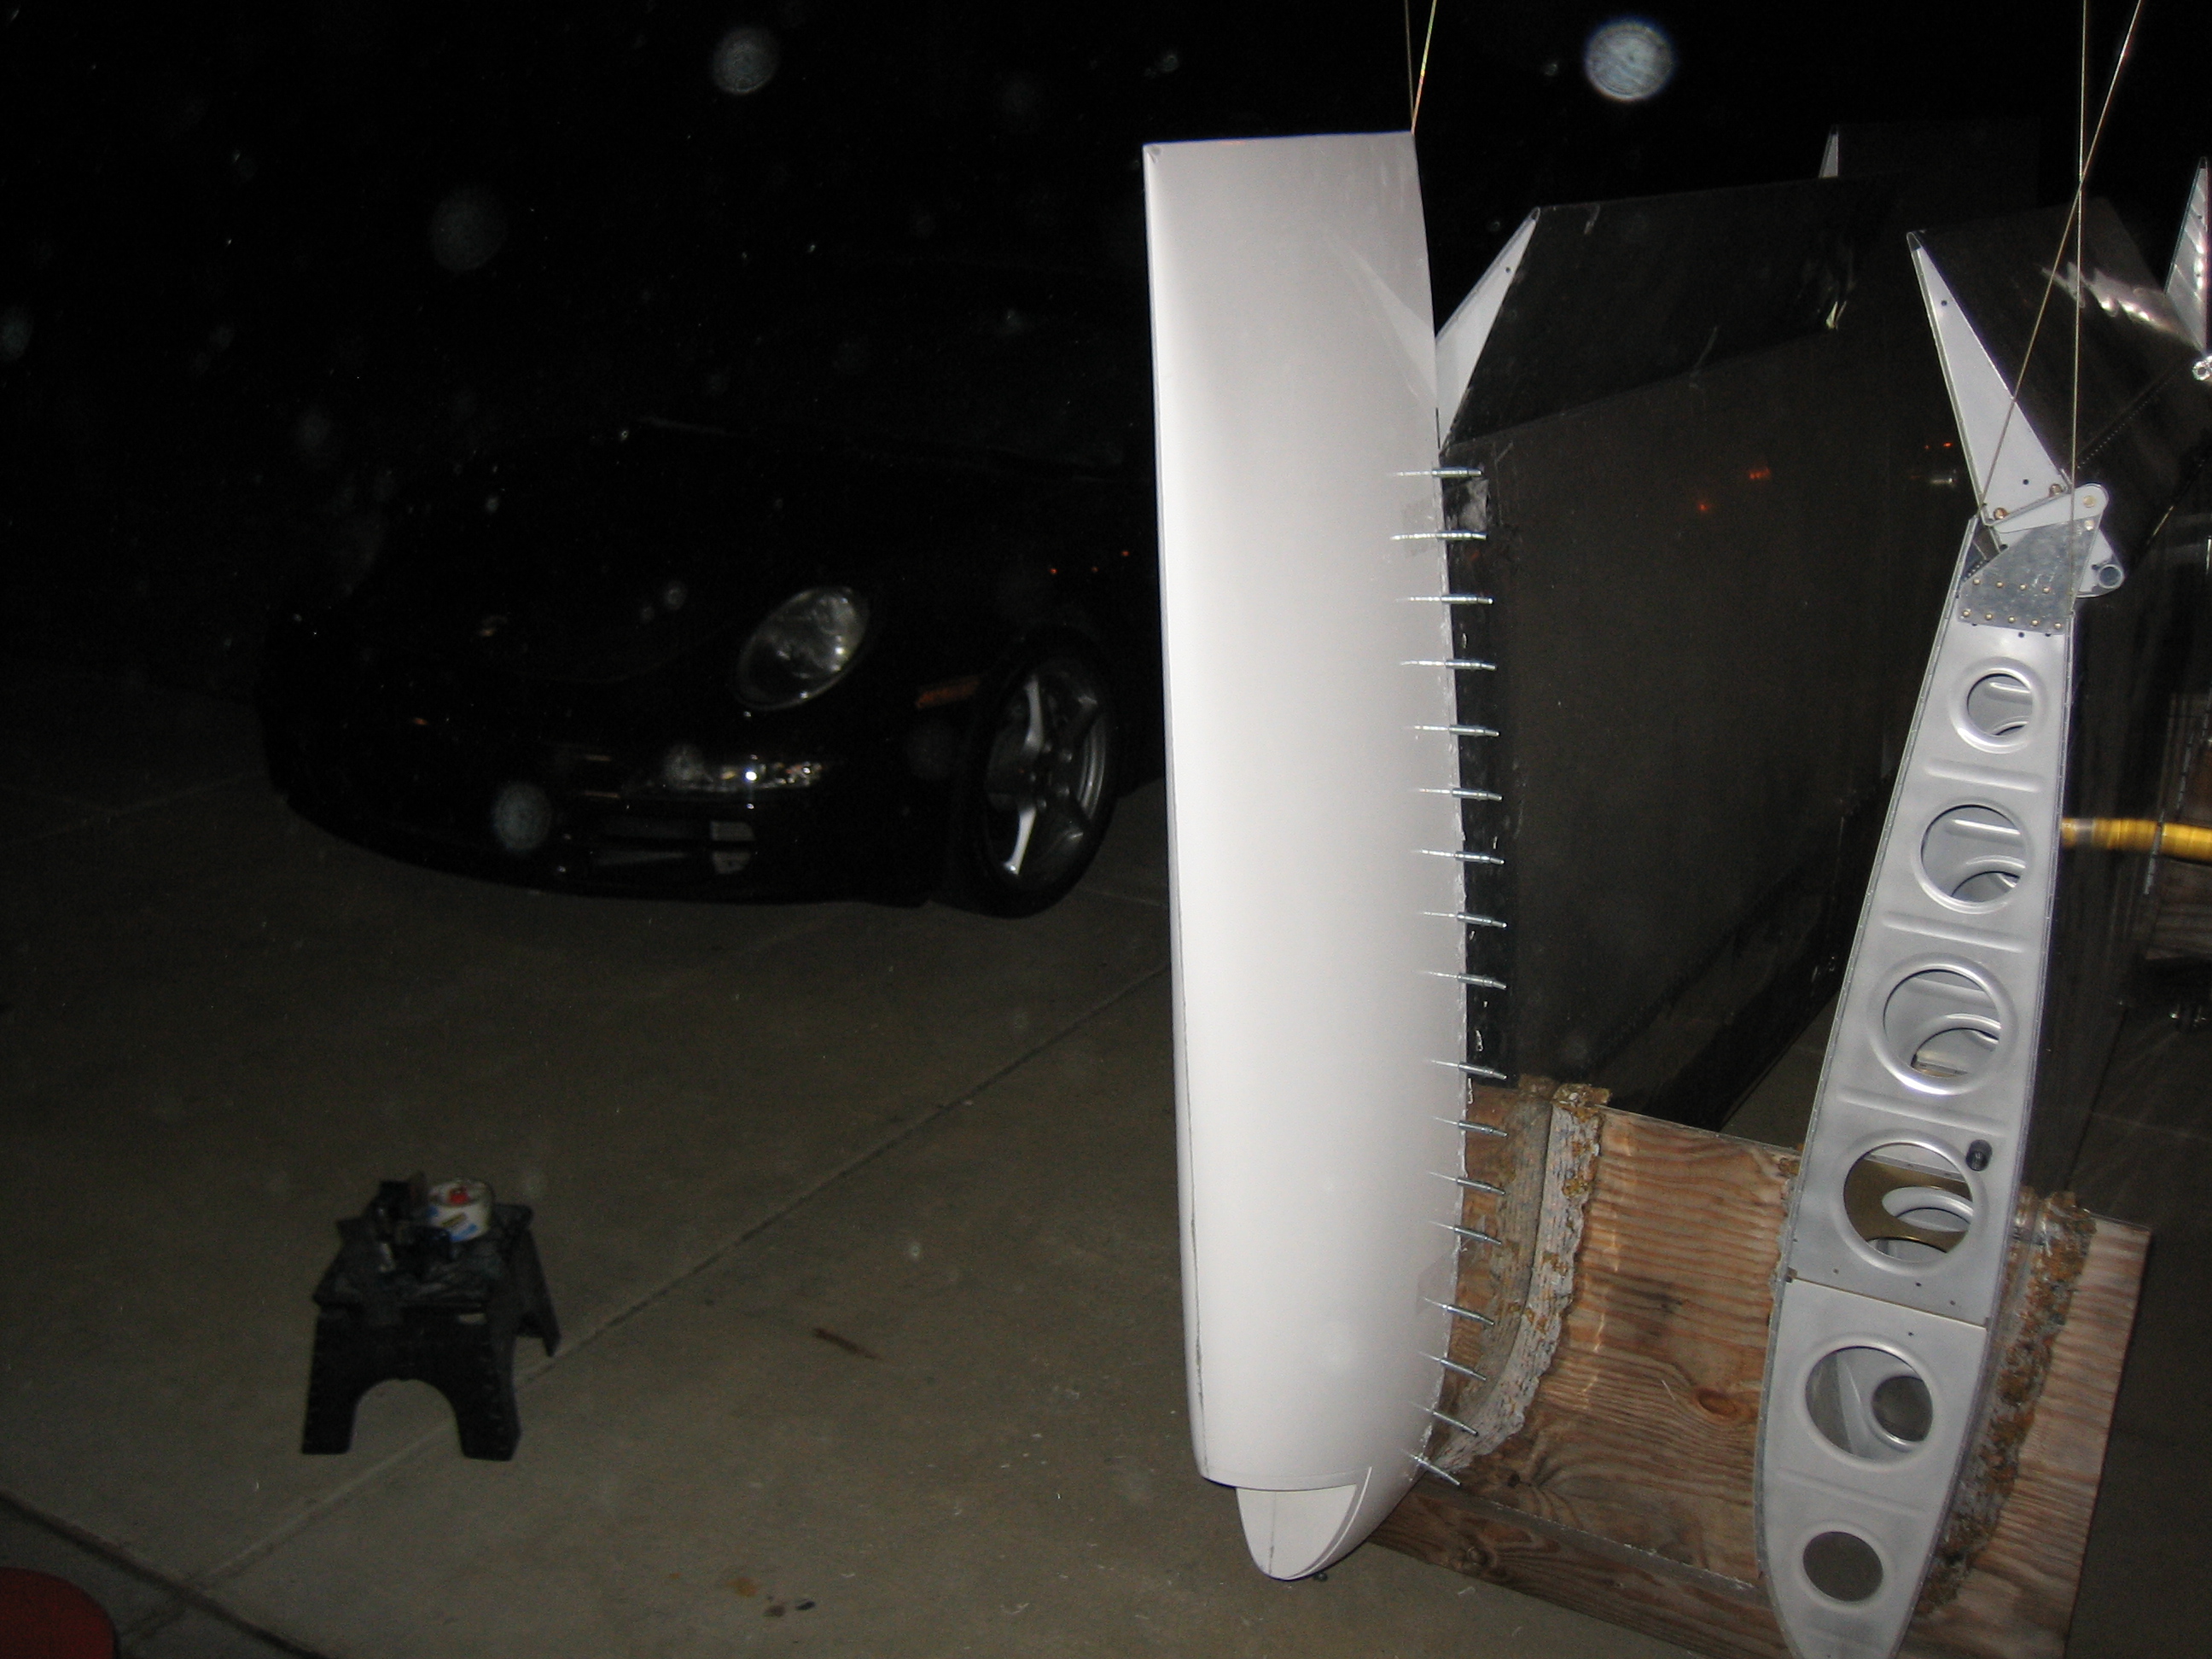
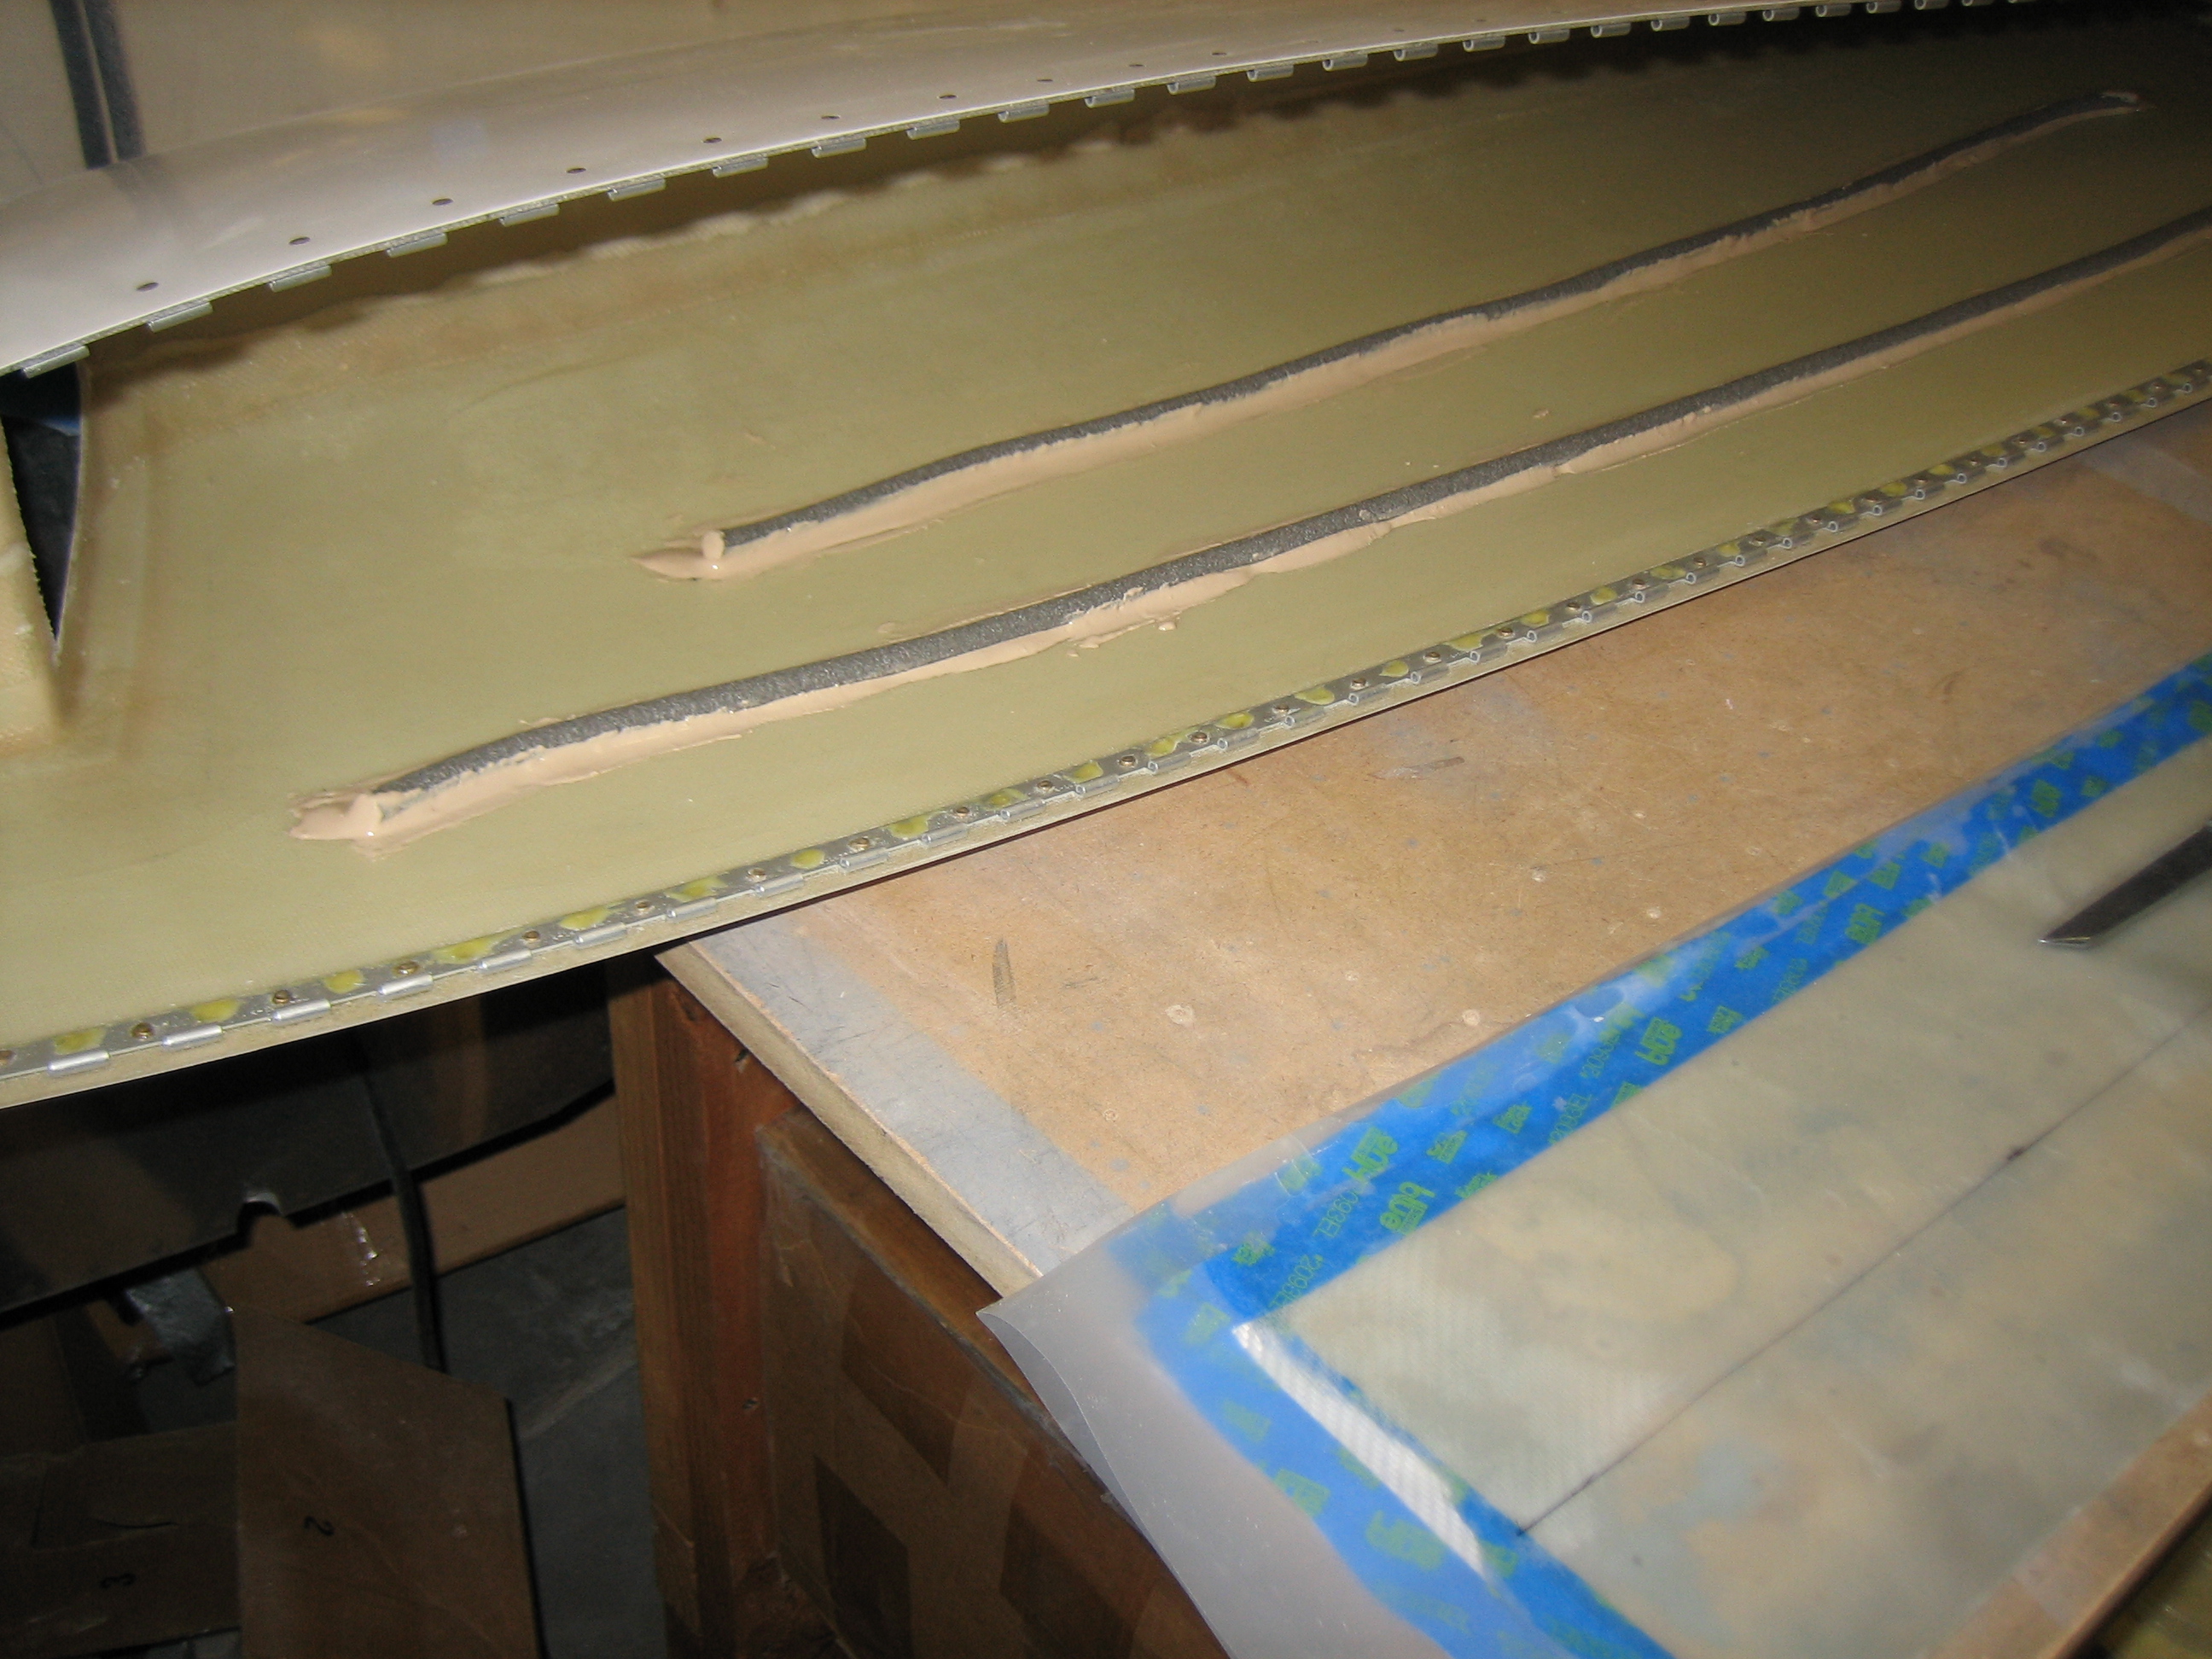
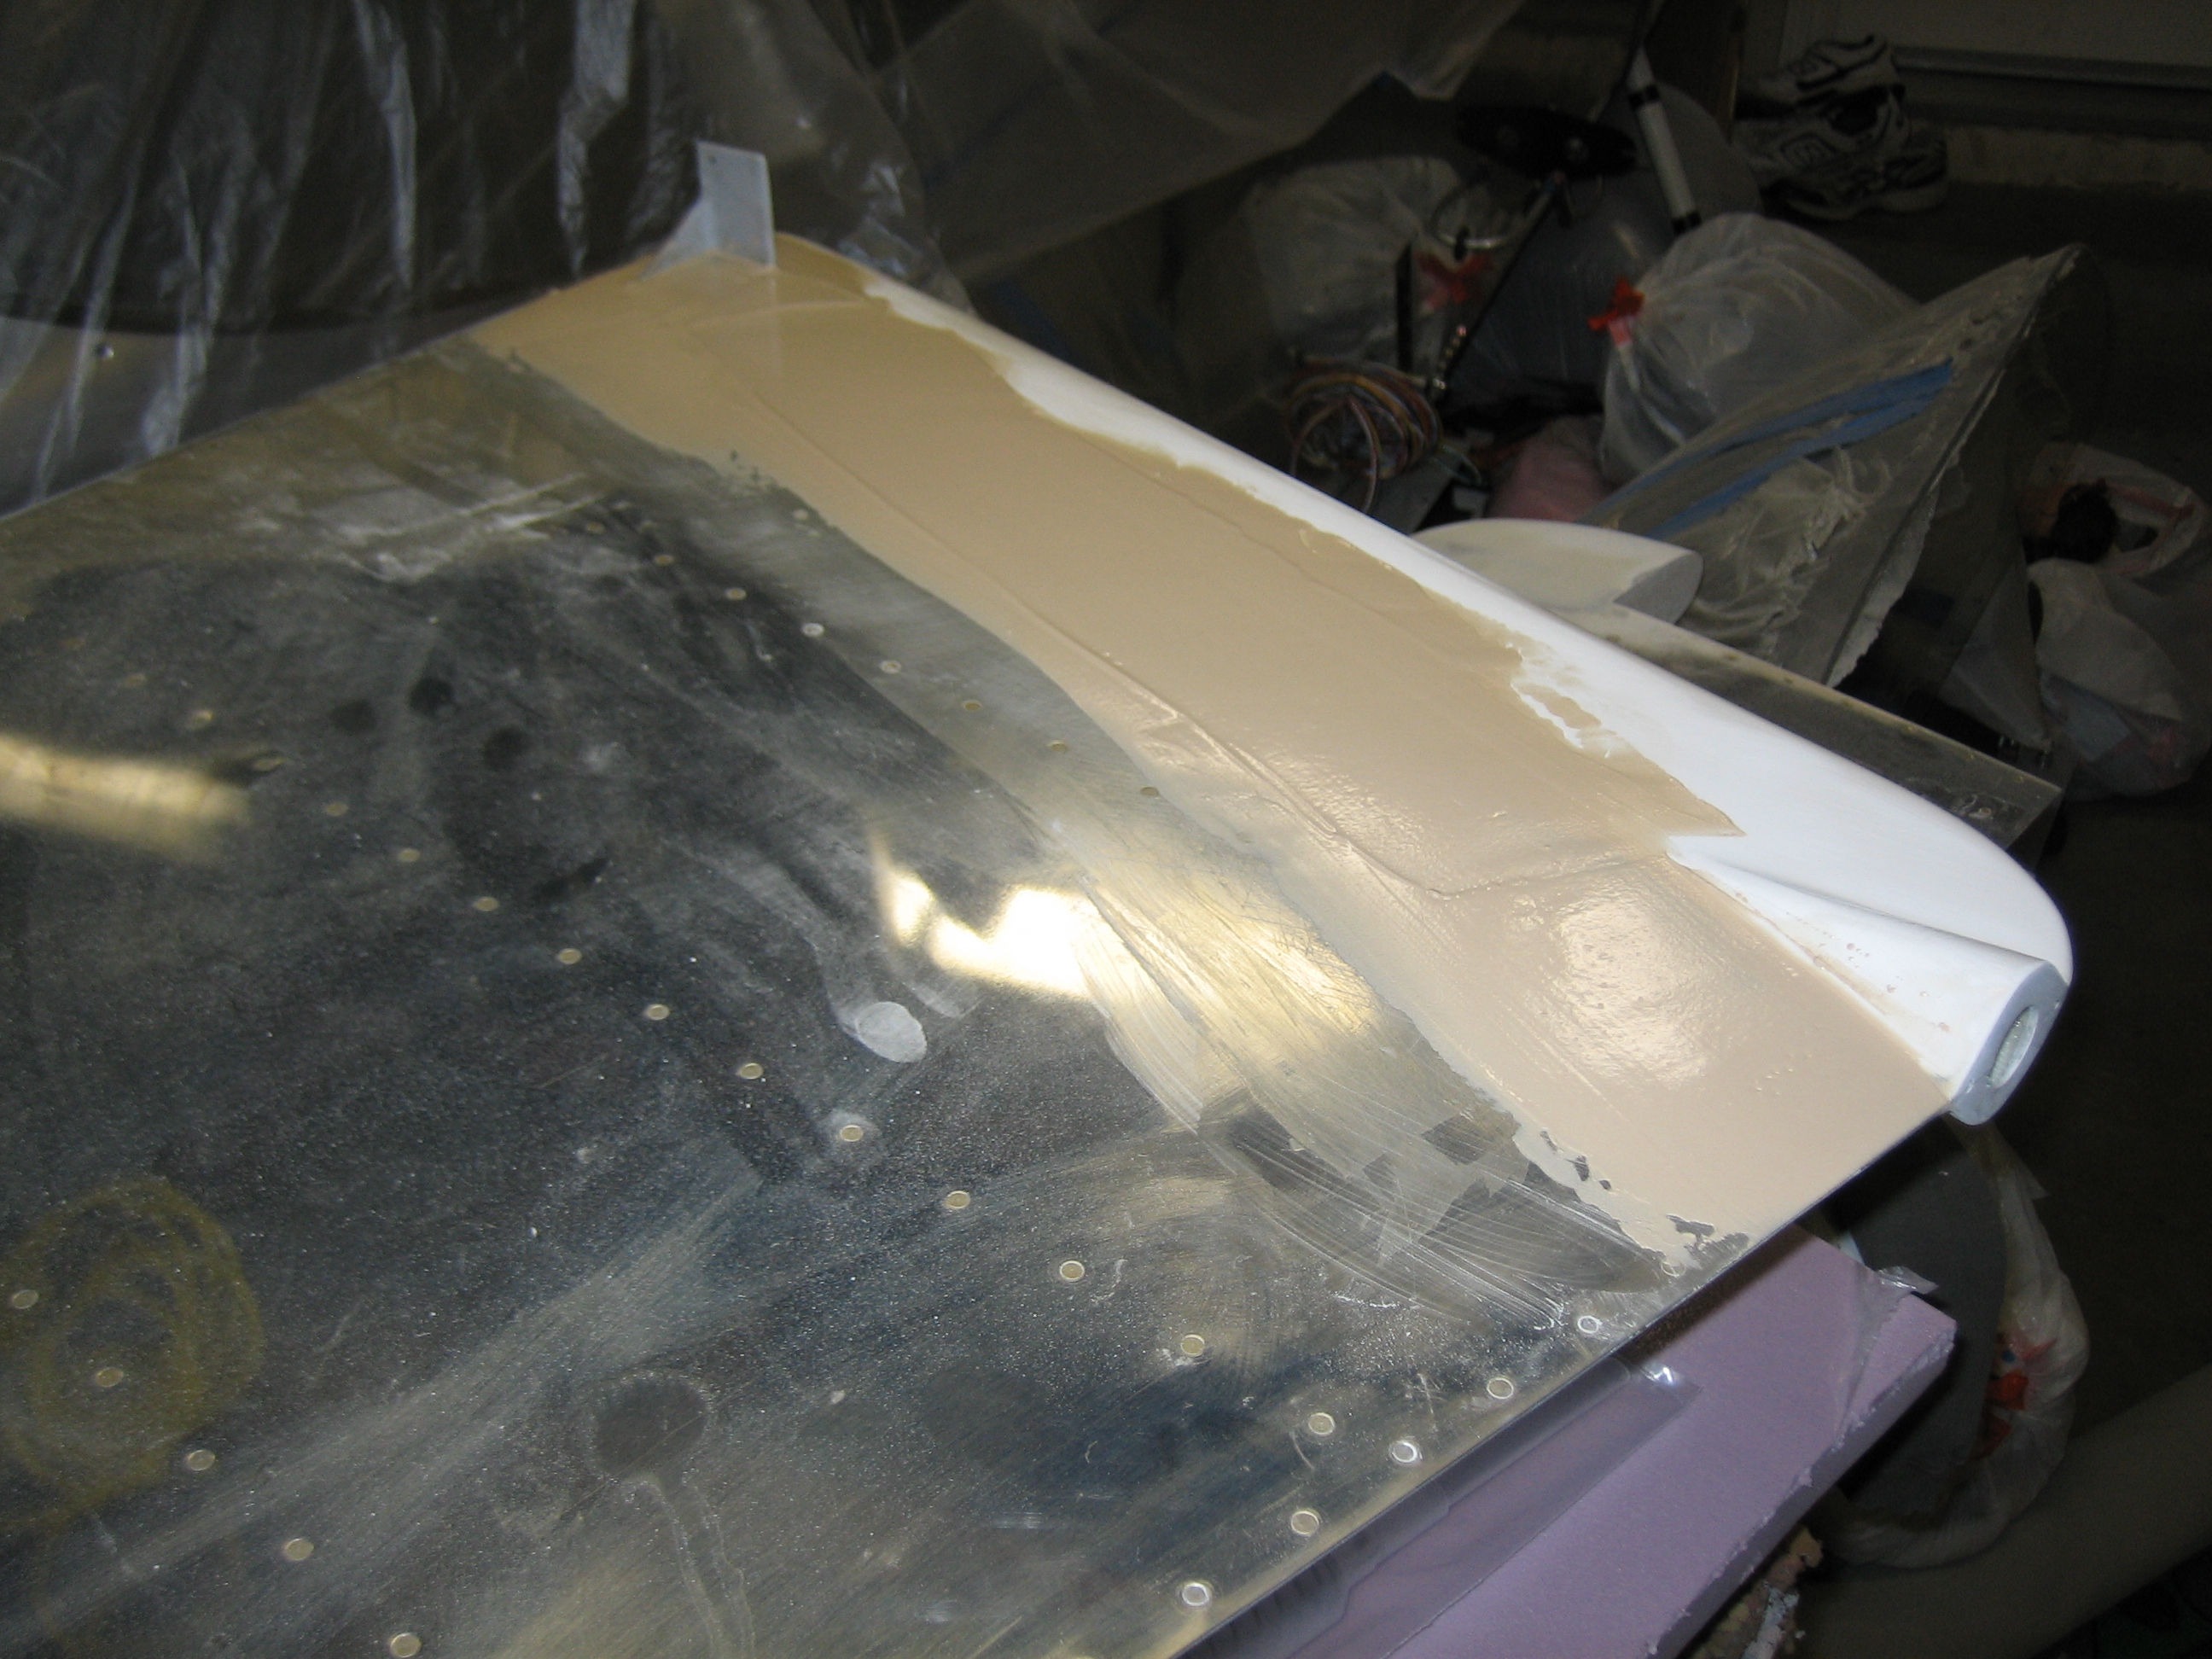
While that’s curing, I added some foam rod and glass to the upper side of the right wingtip and then reinstalled it on the plane to set the curvature.