Started Cutting Canopy

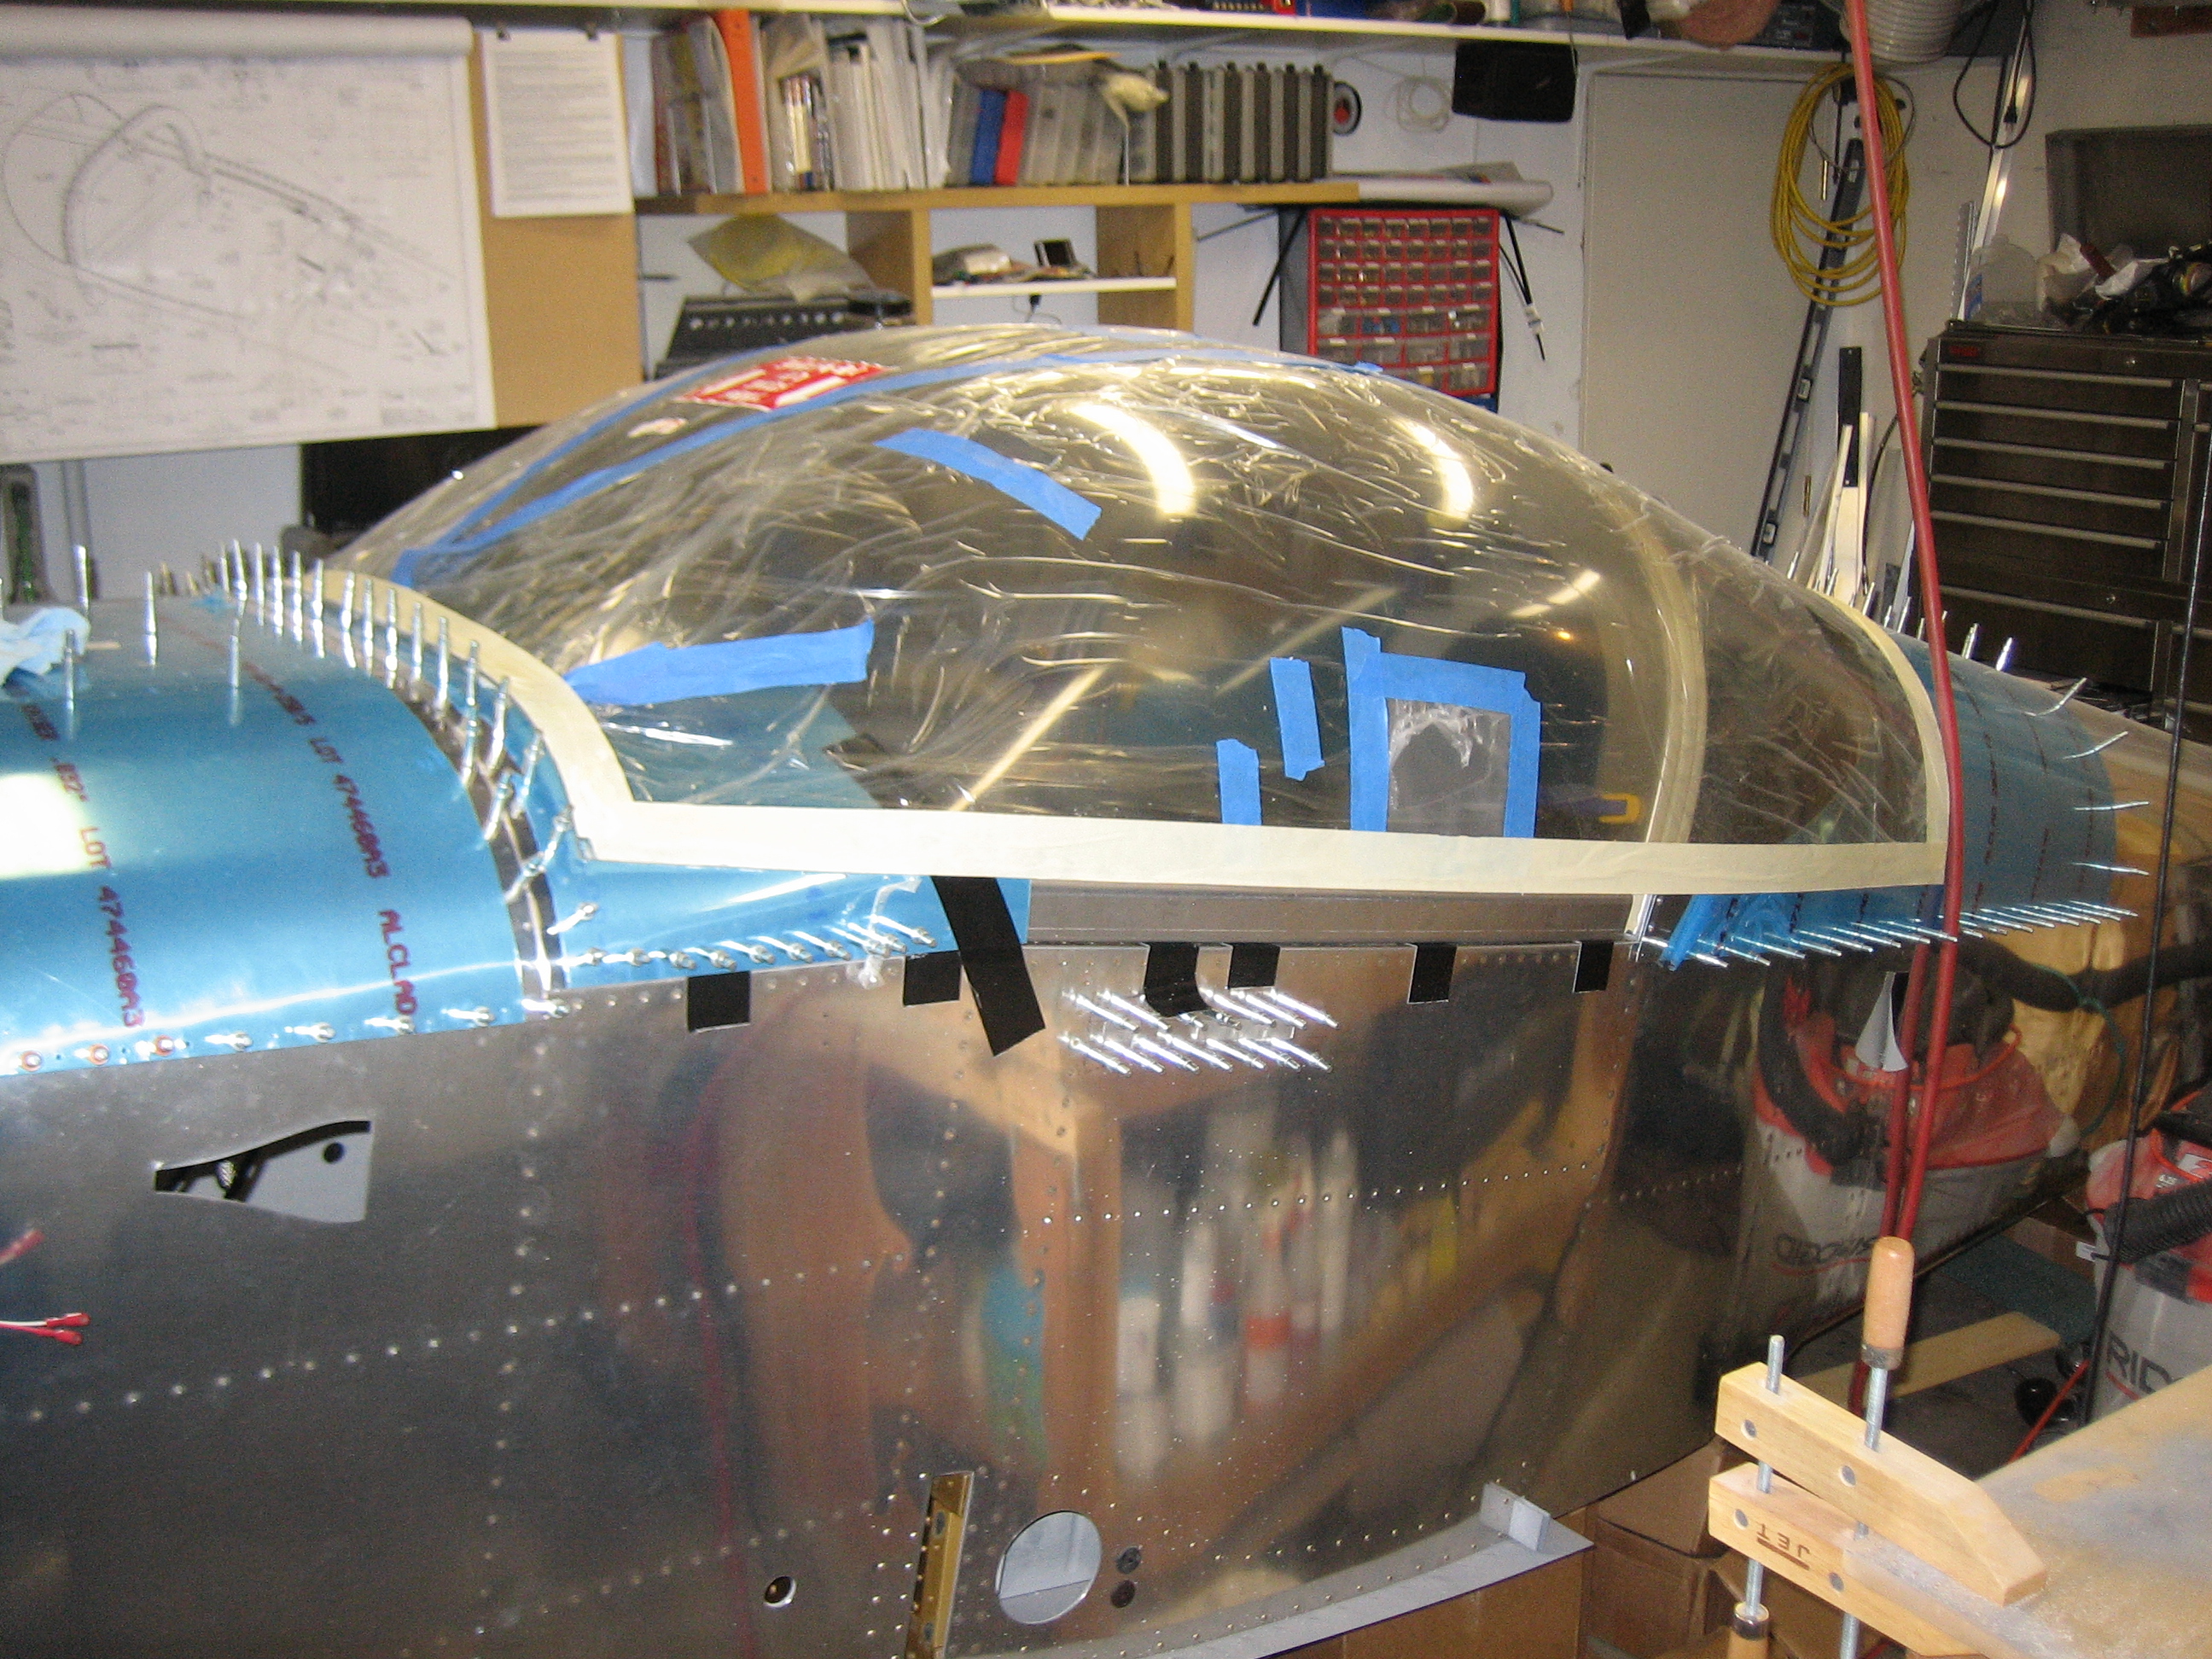
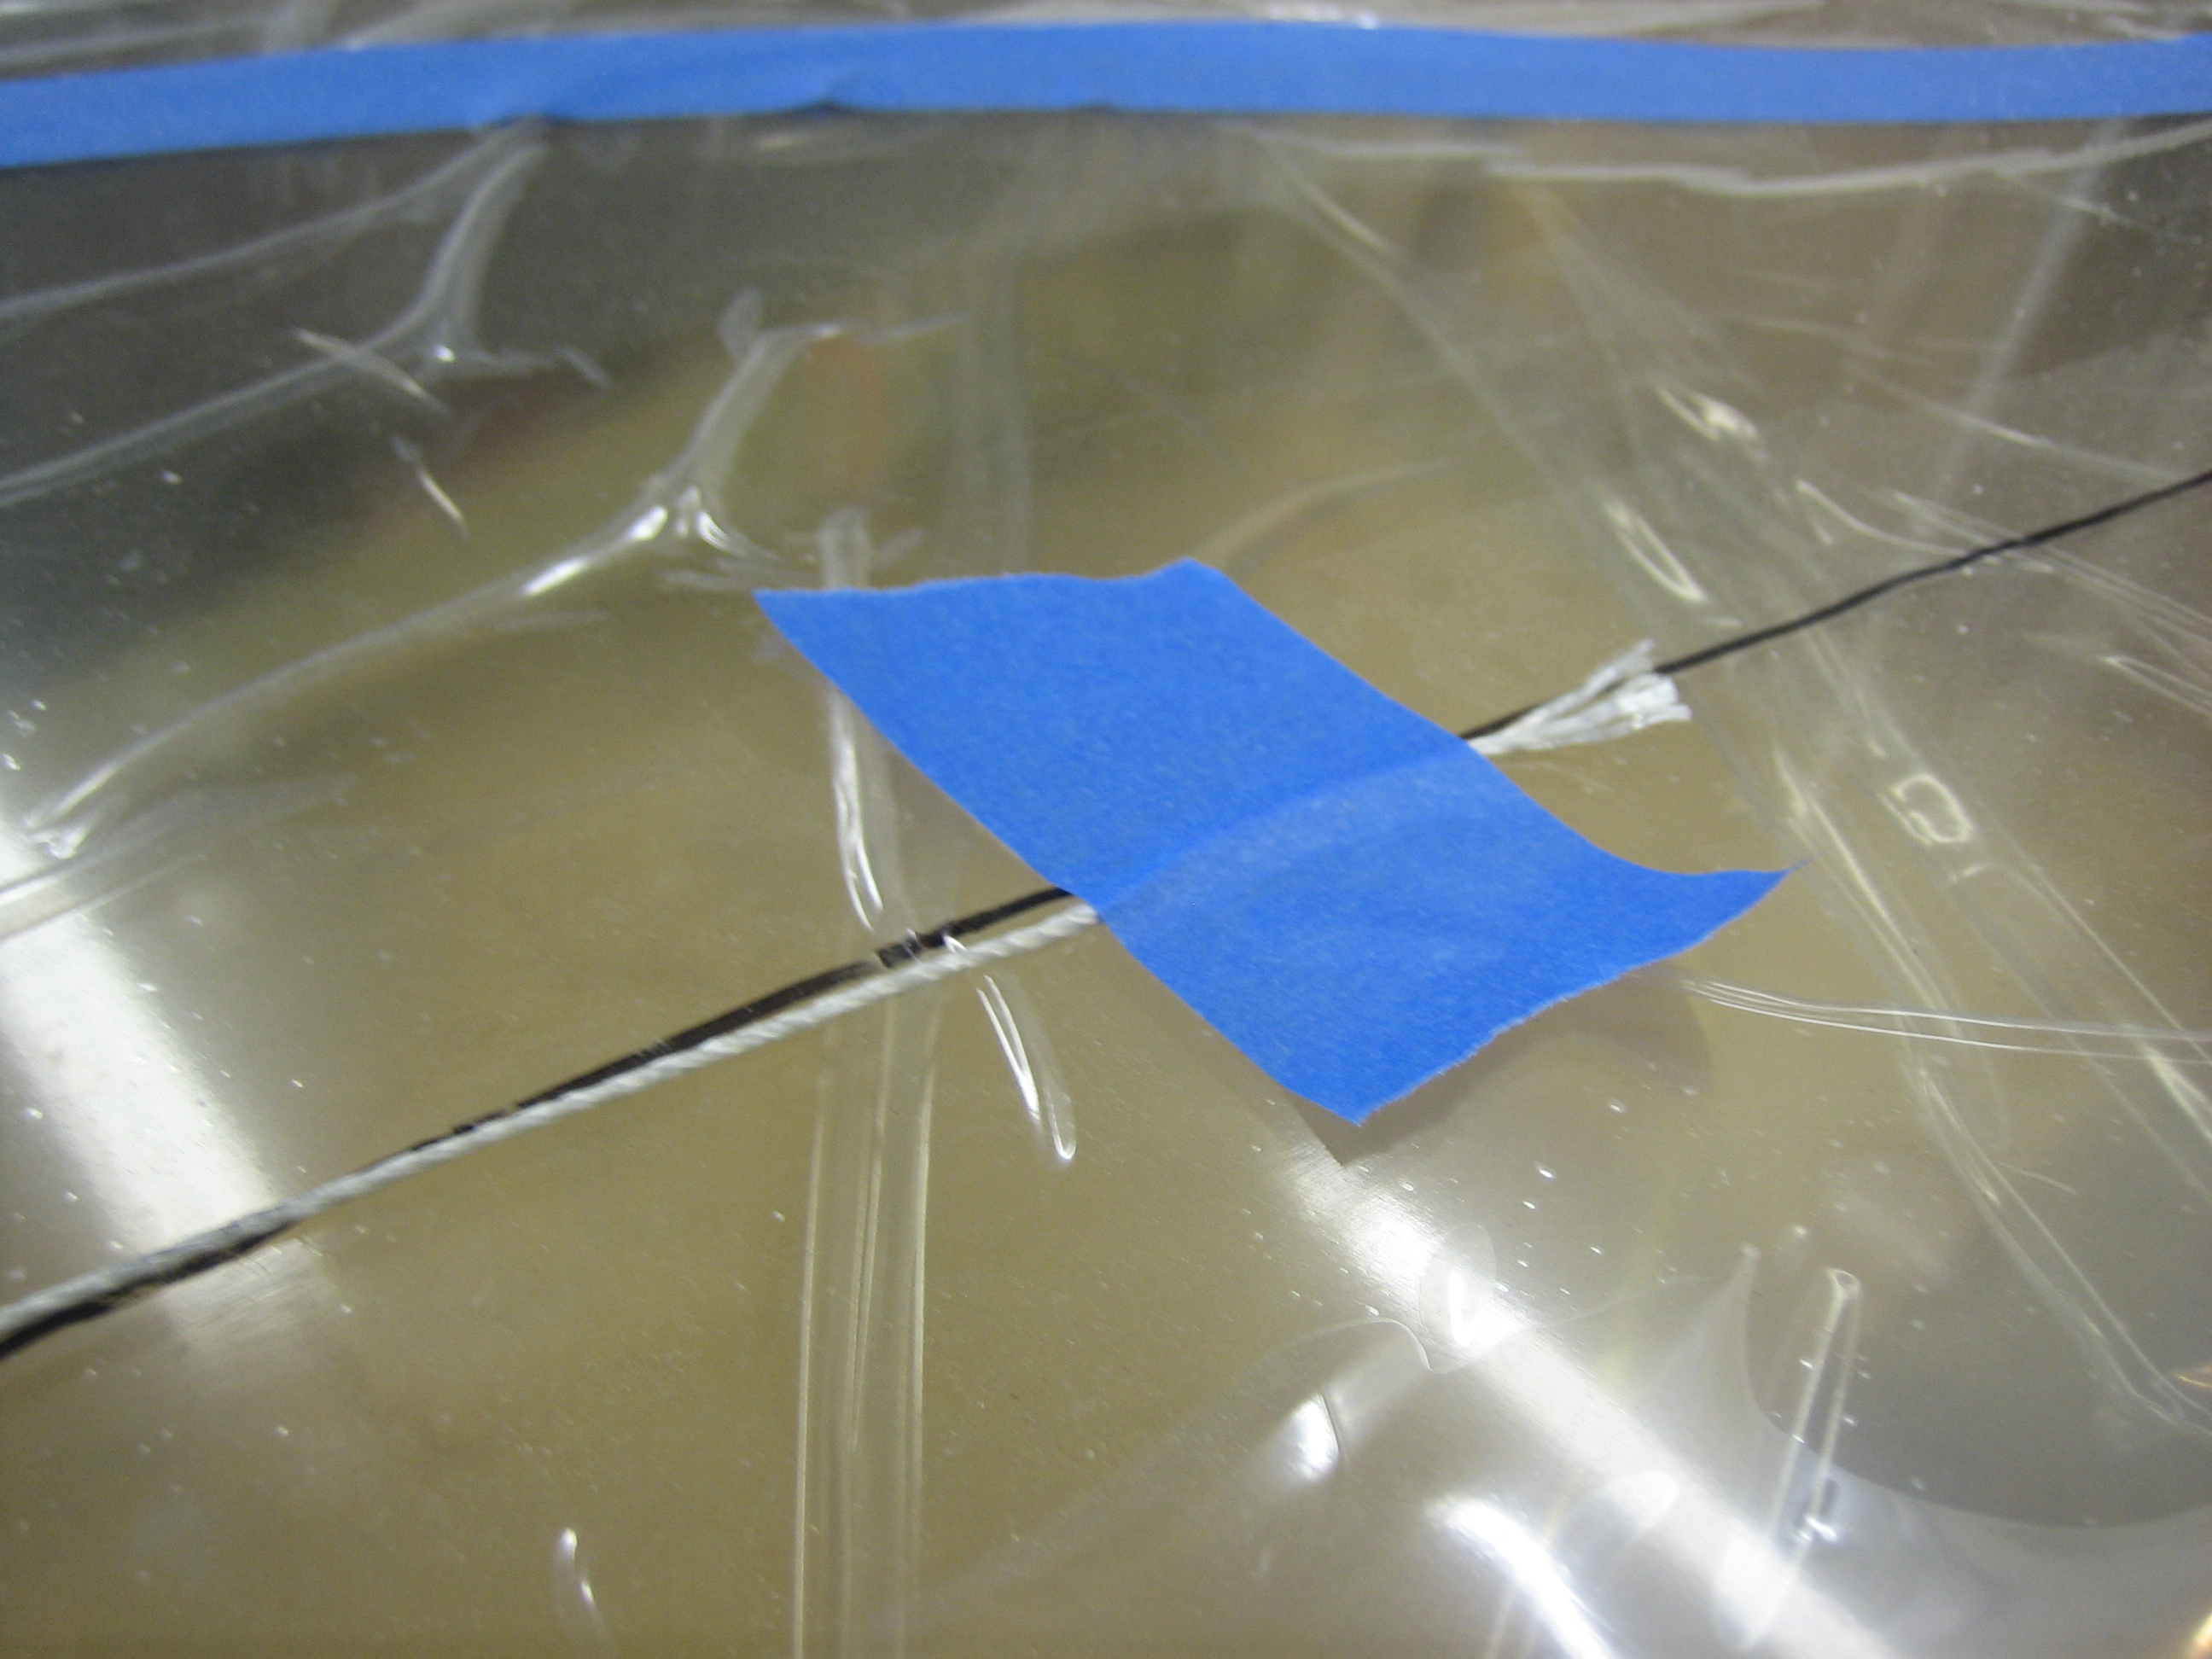
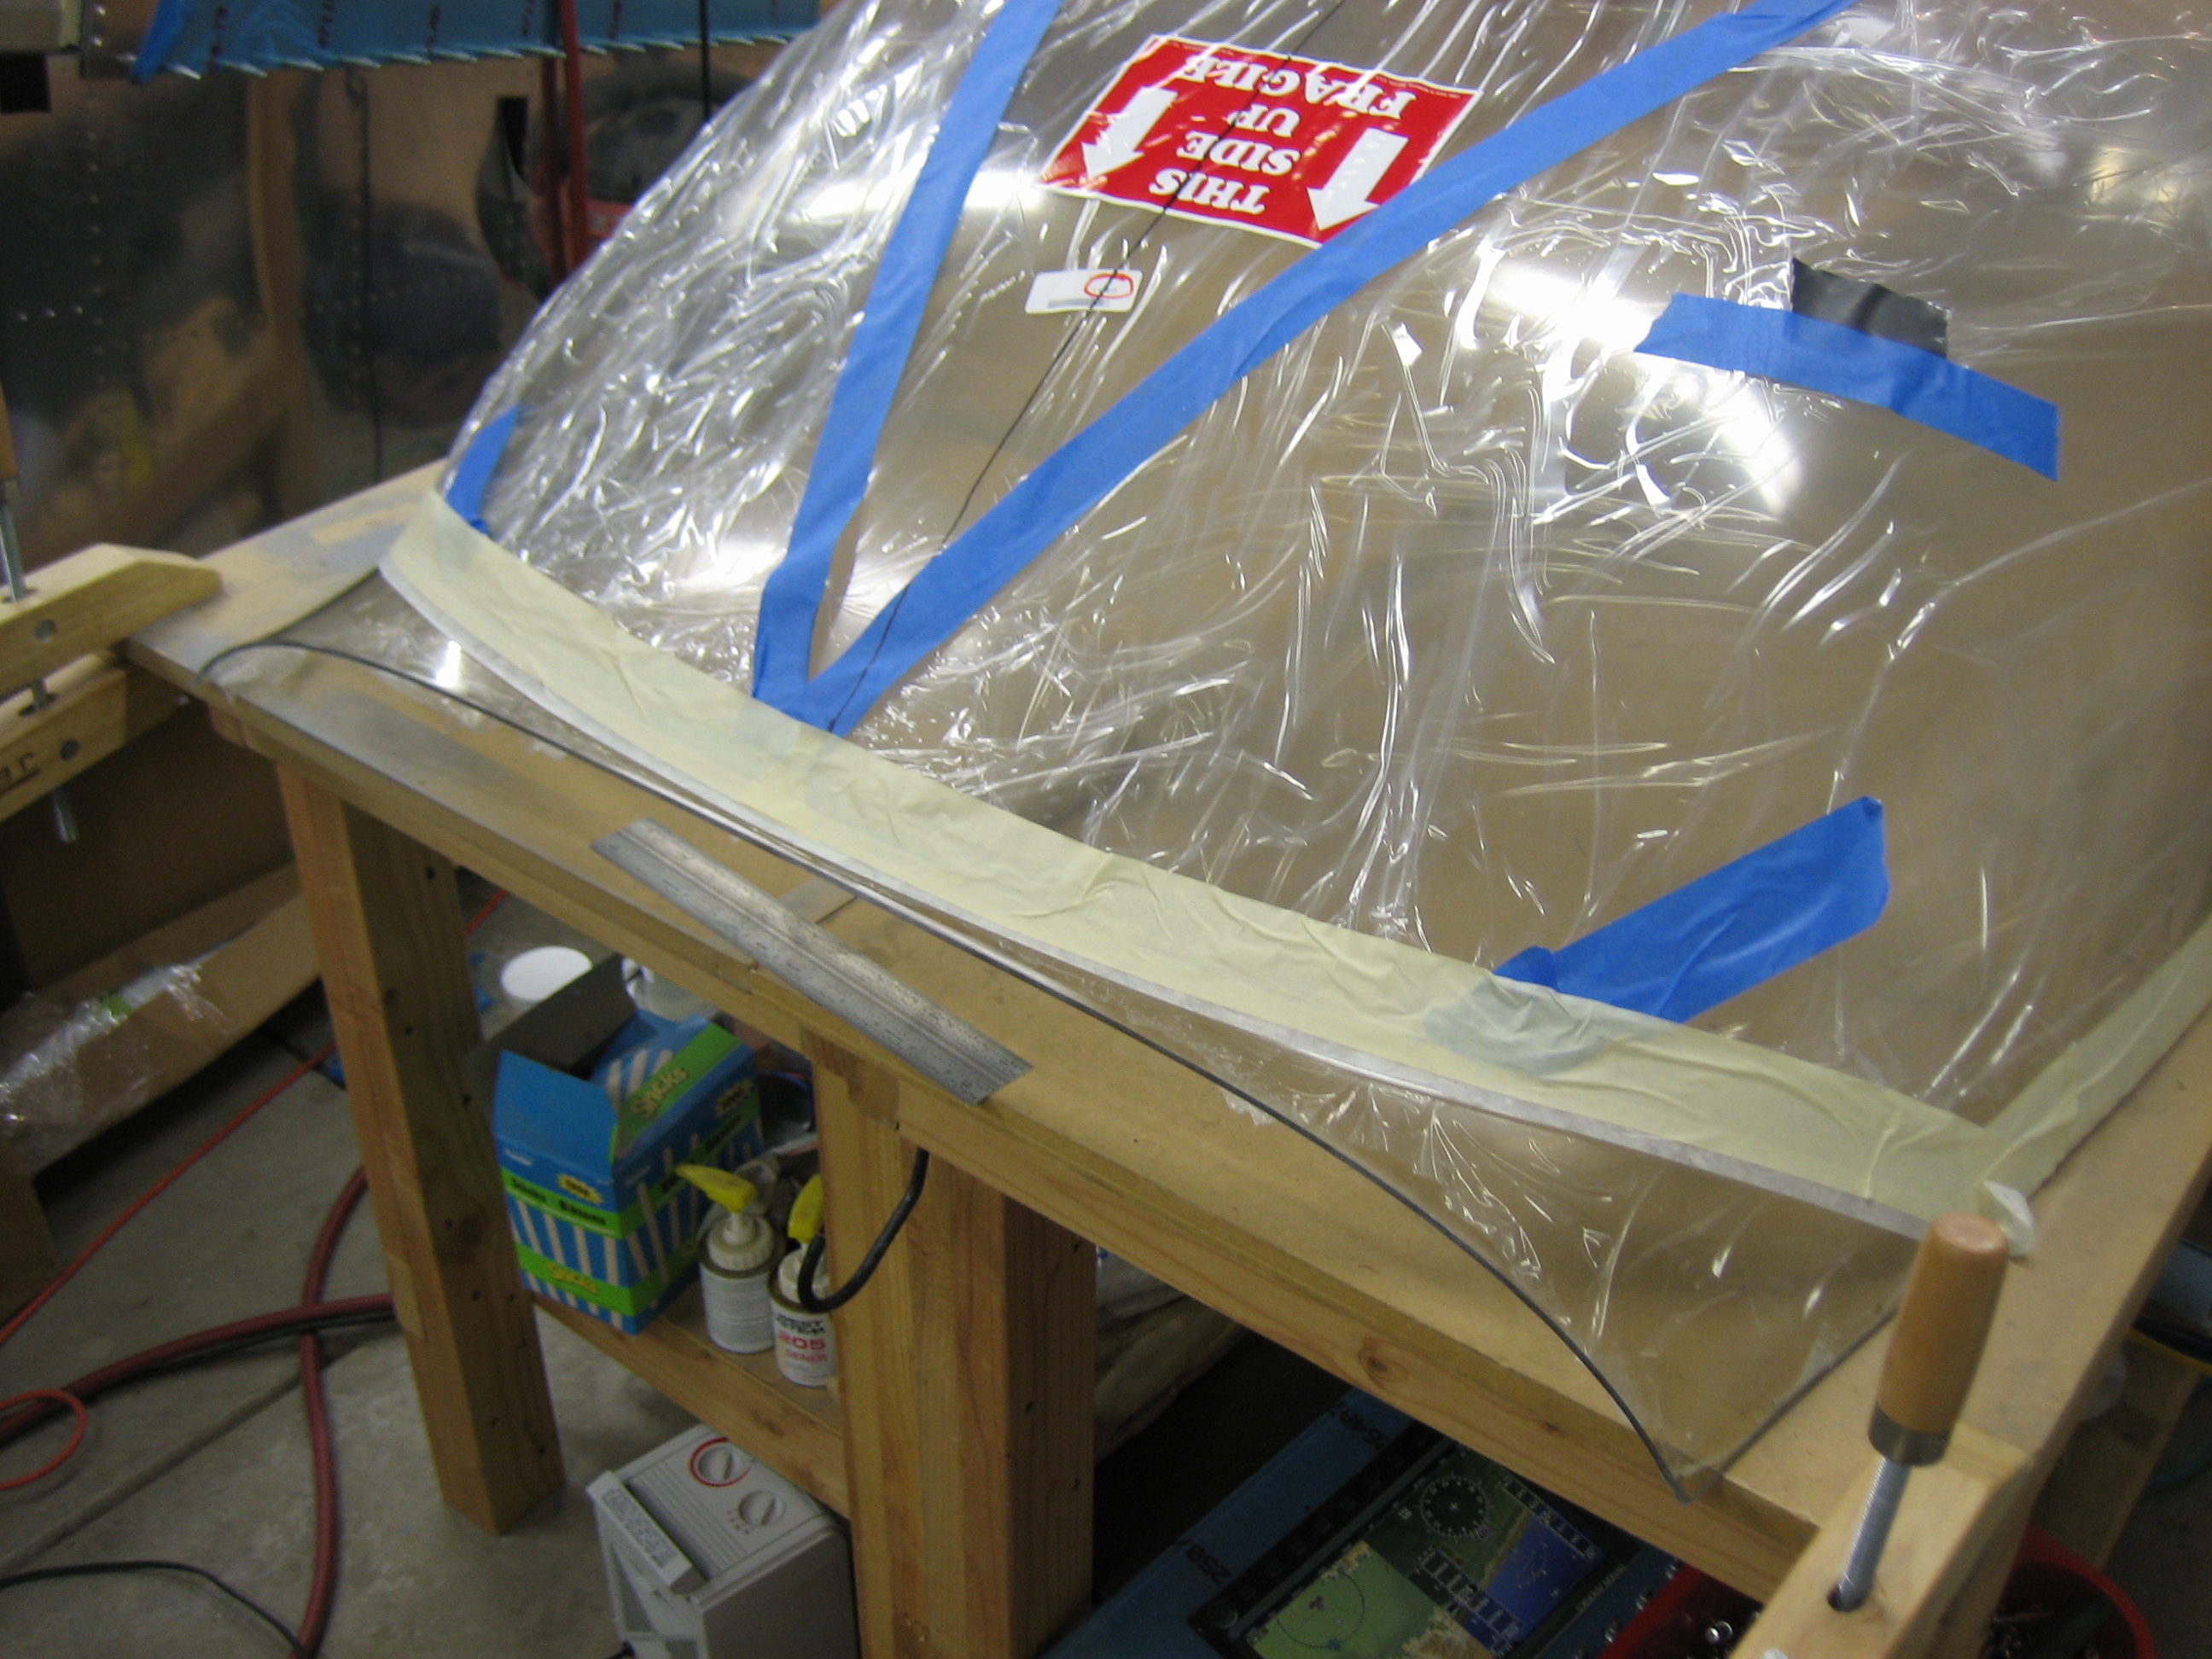
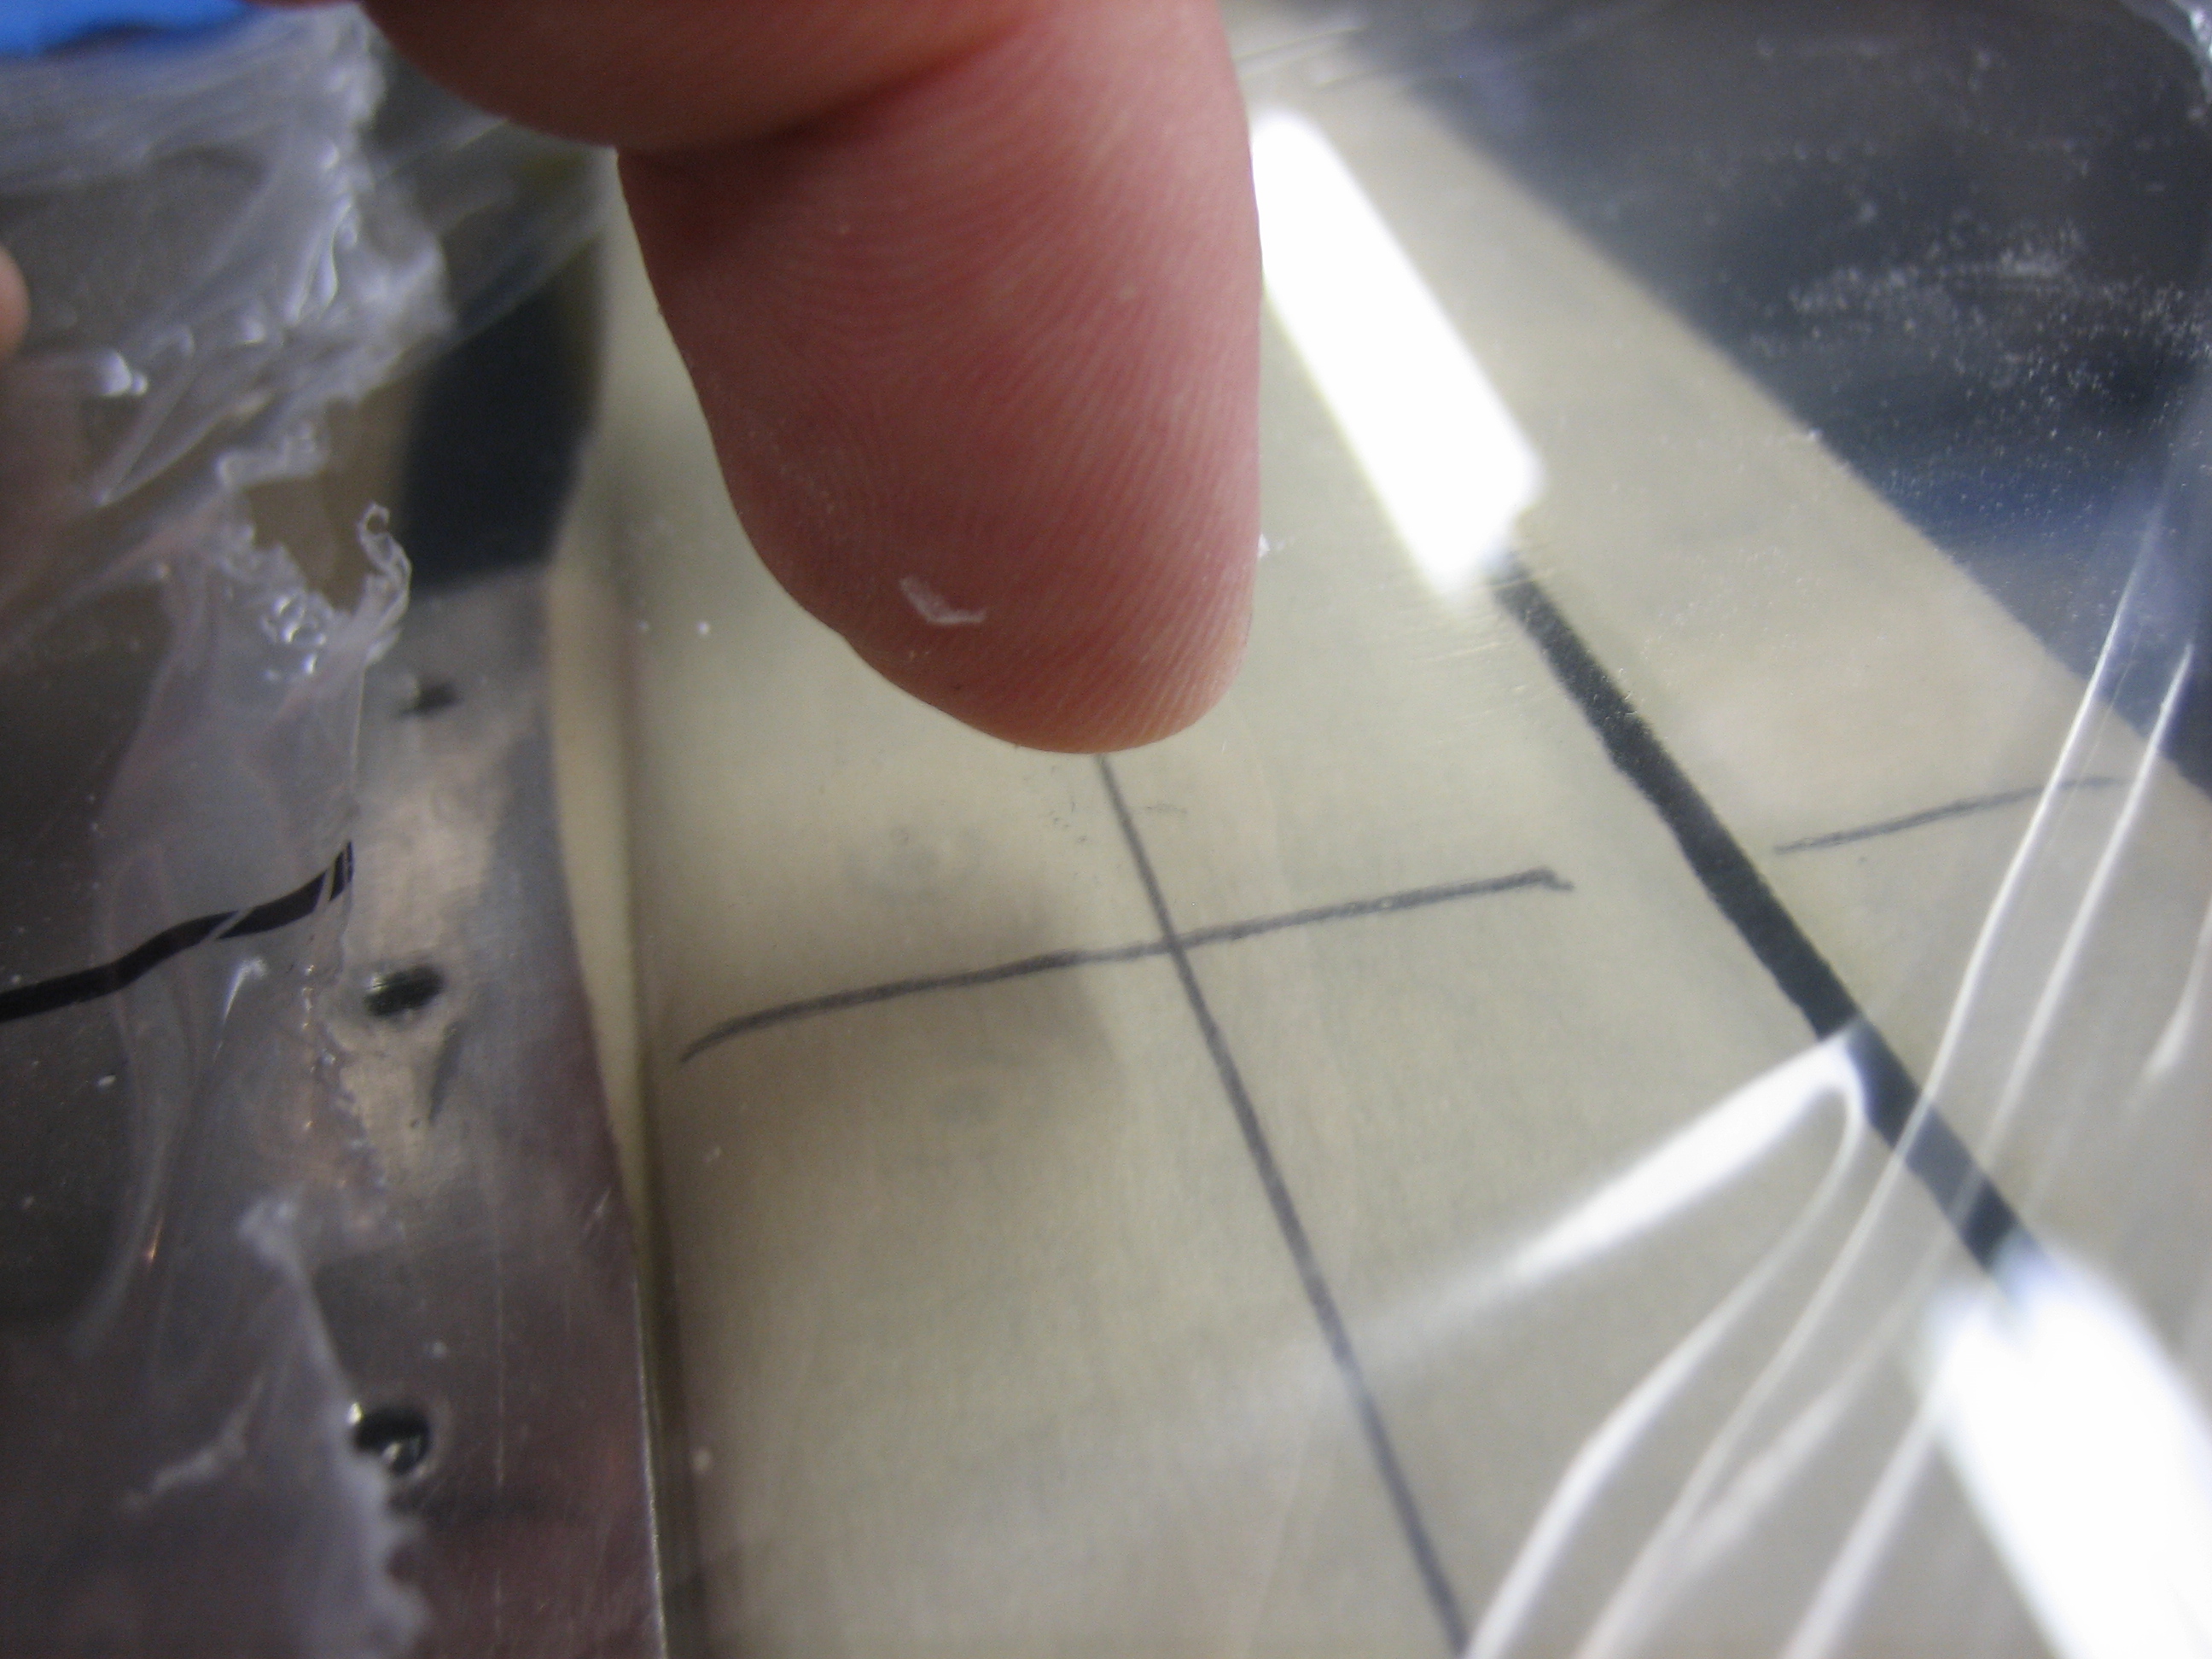
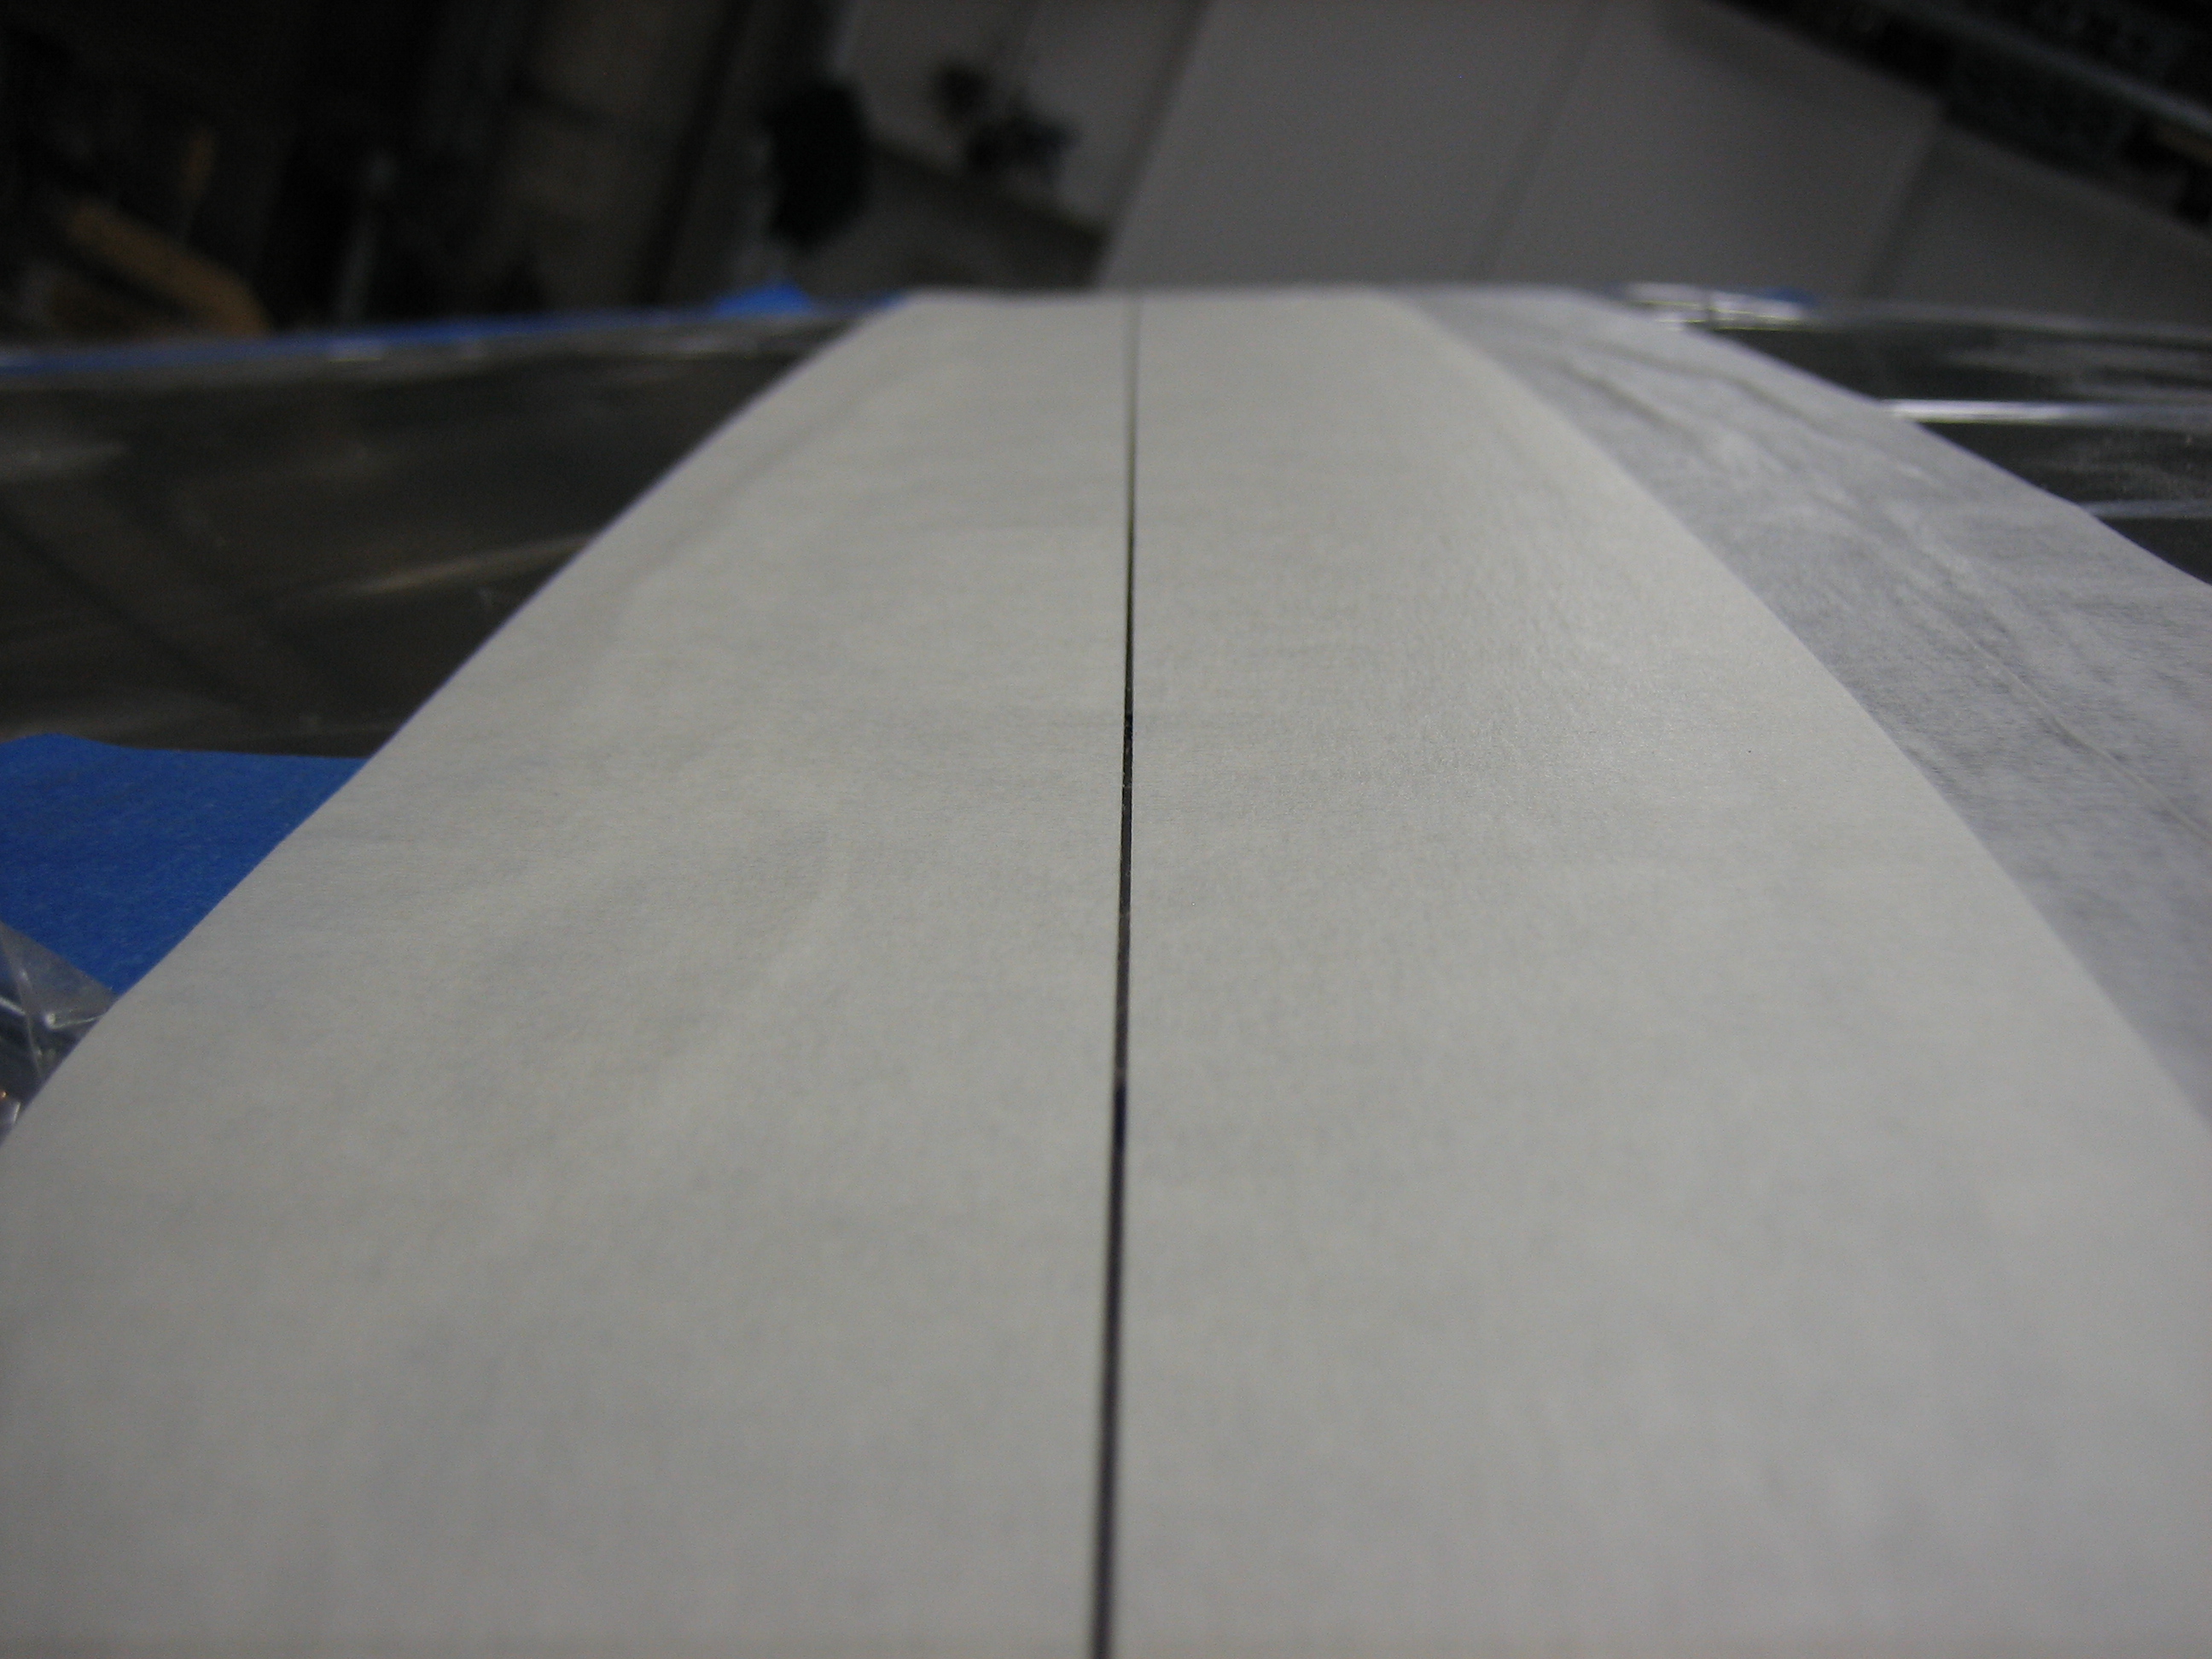
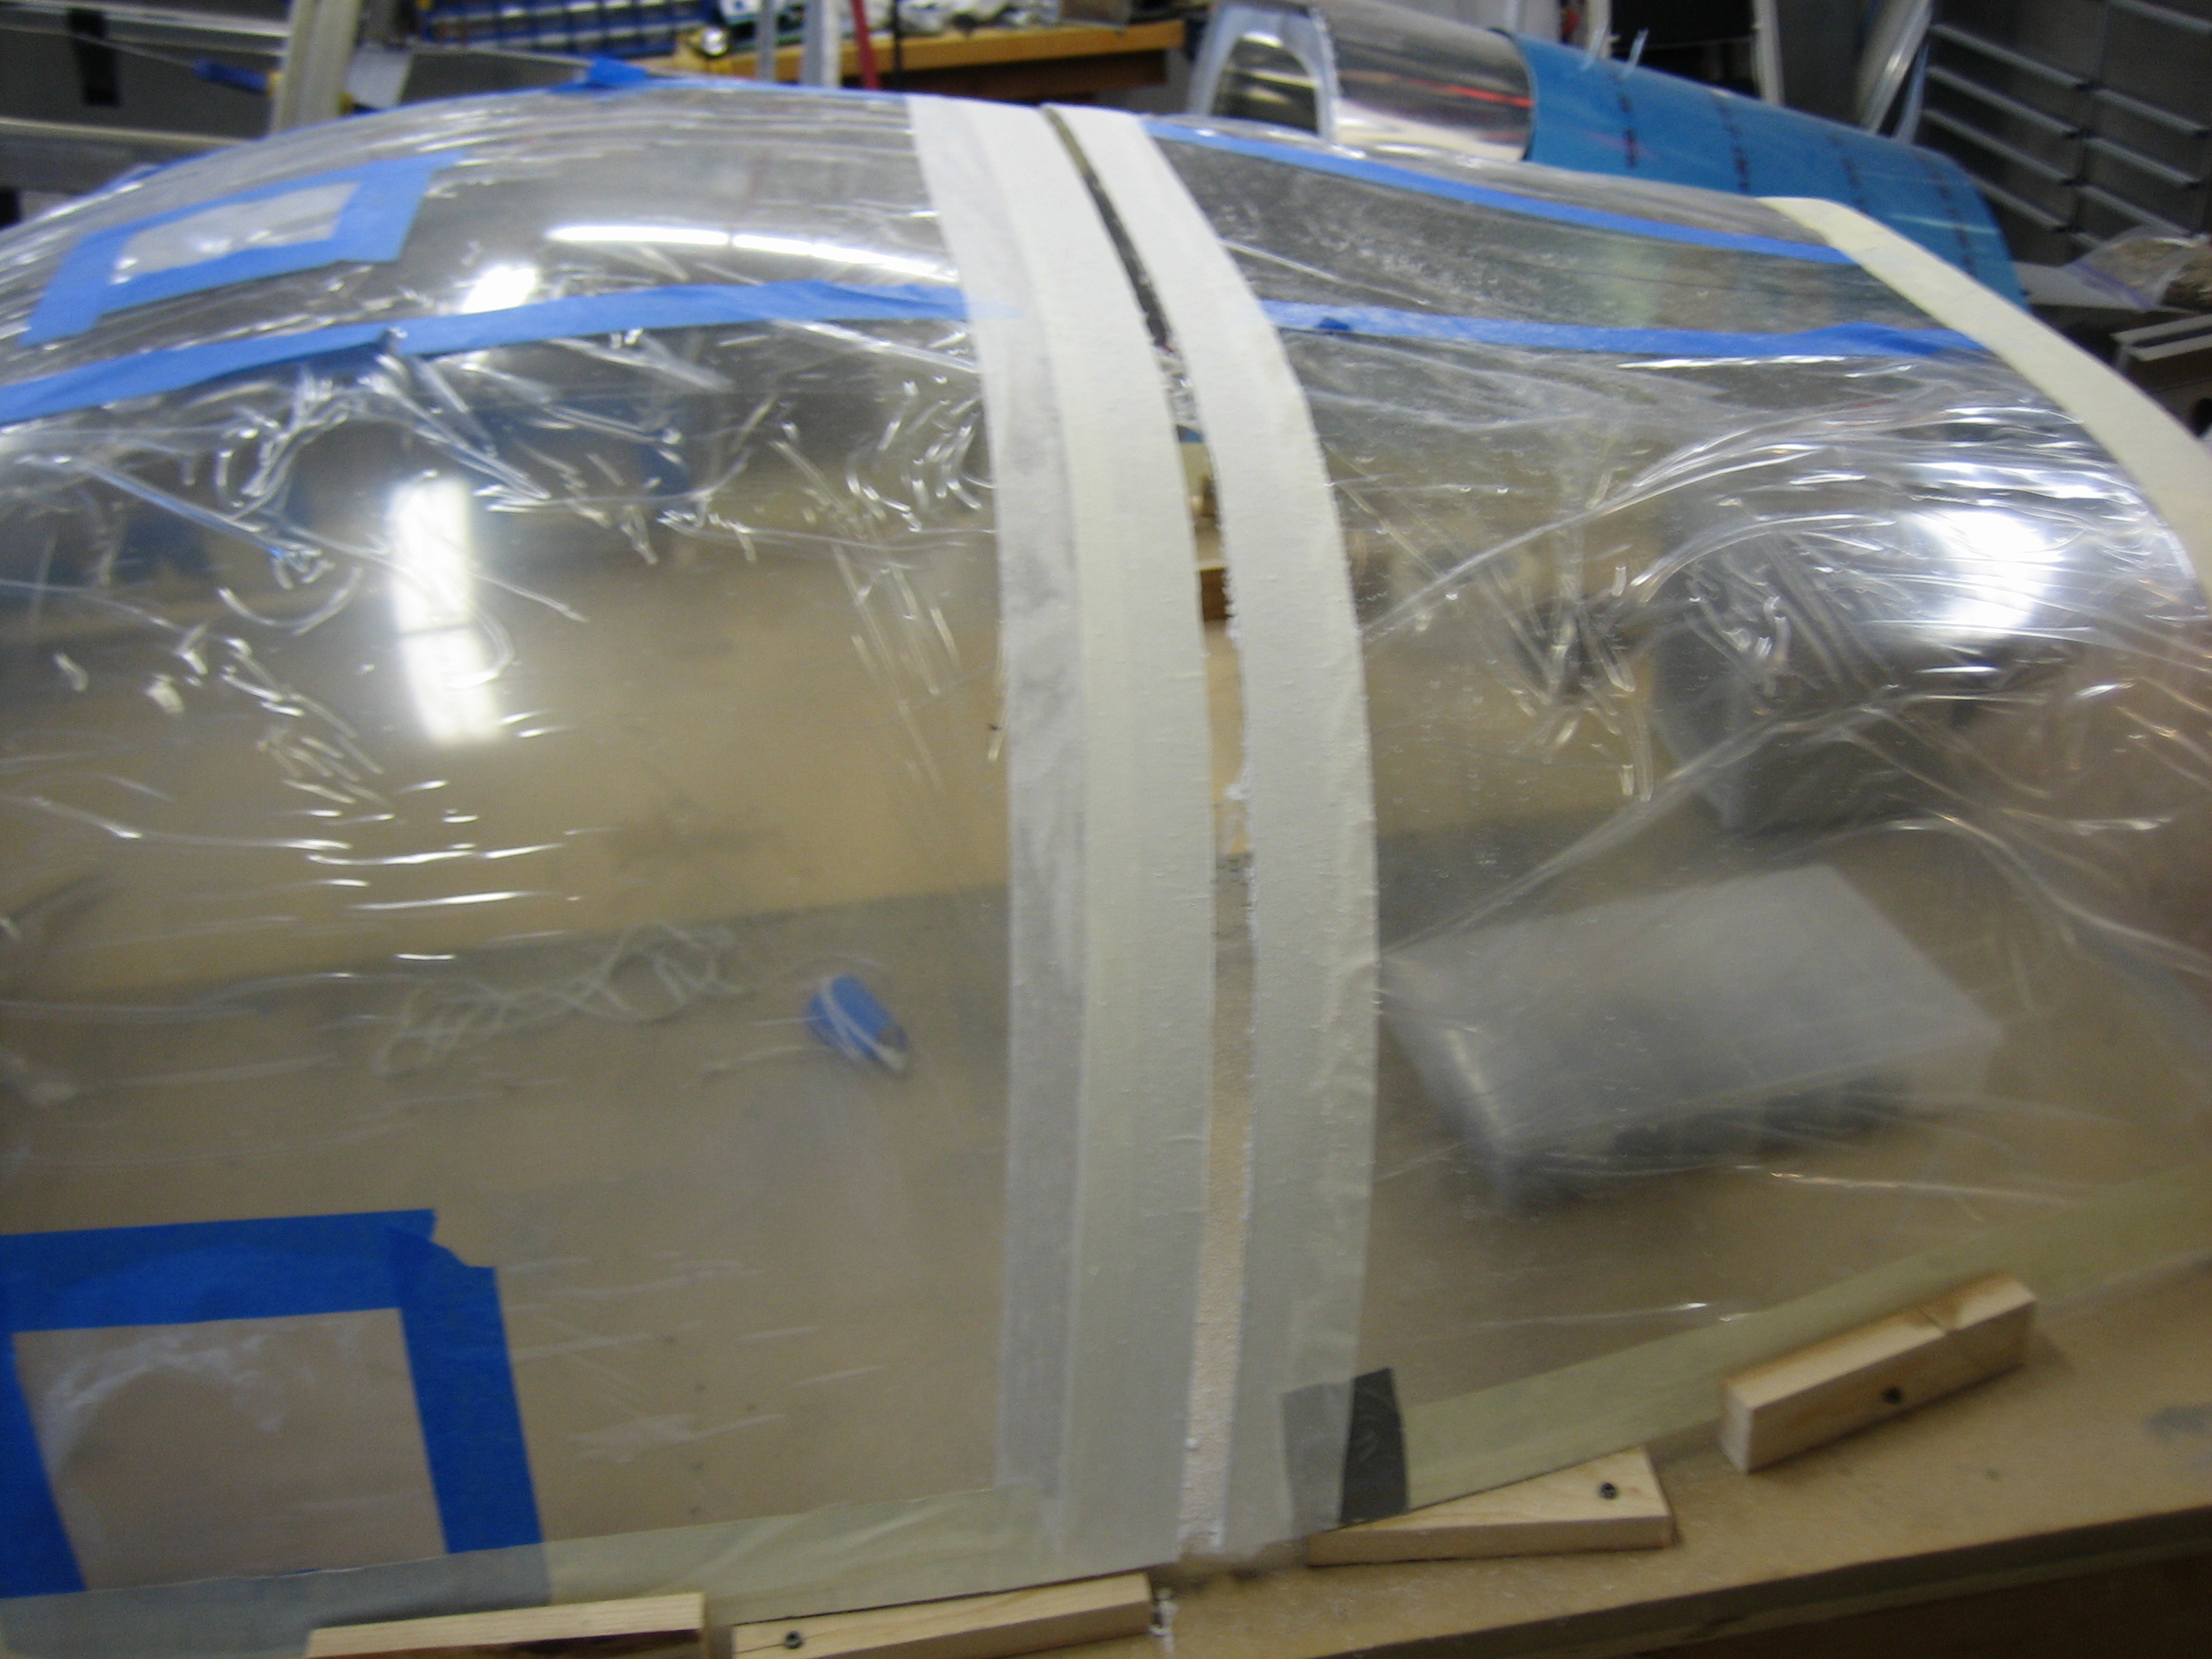
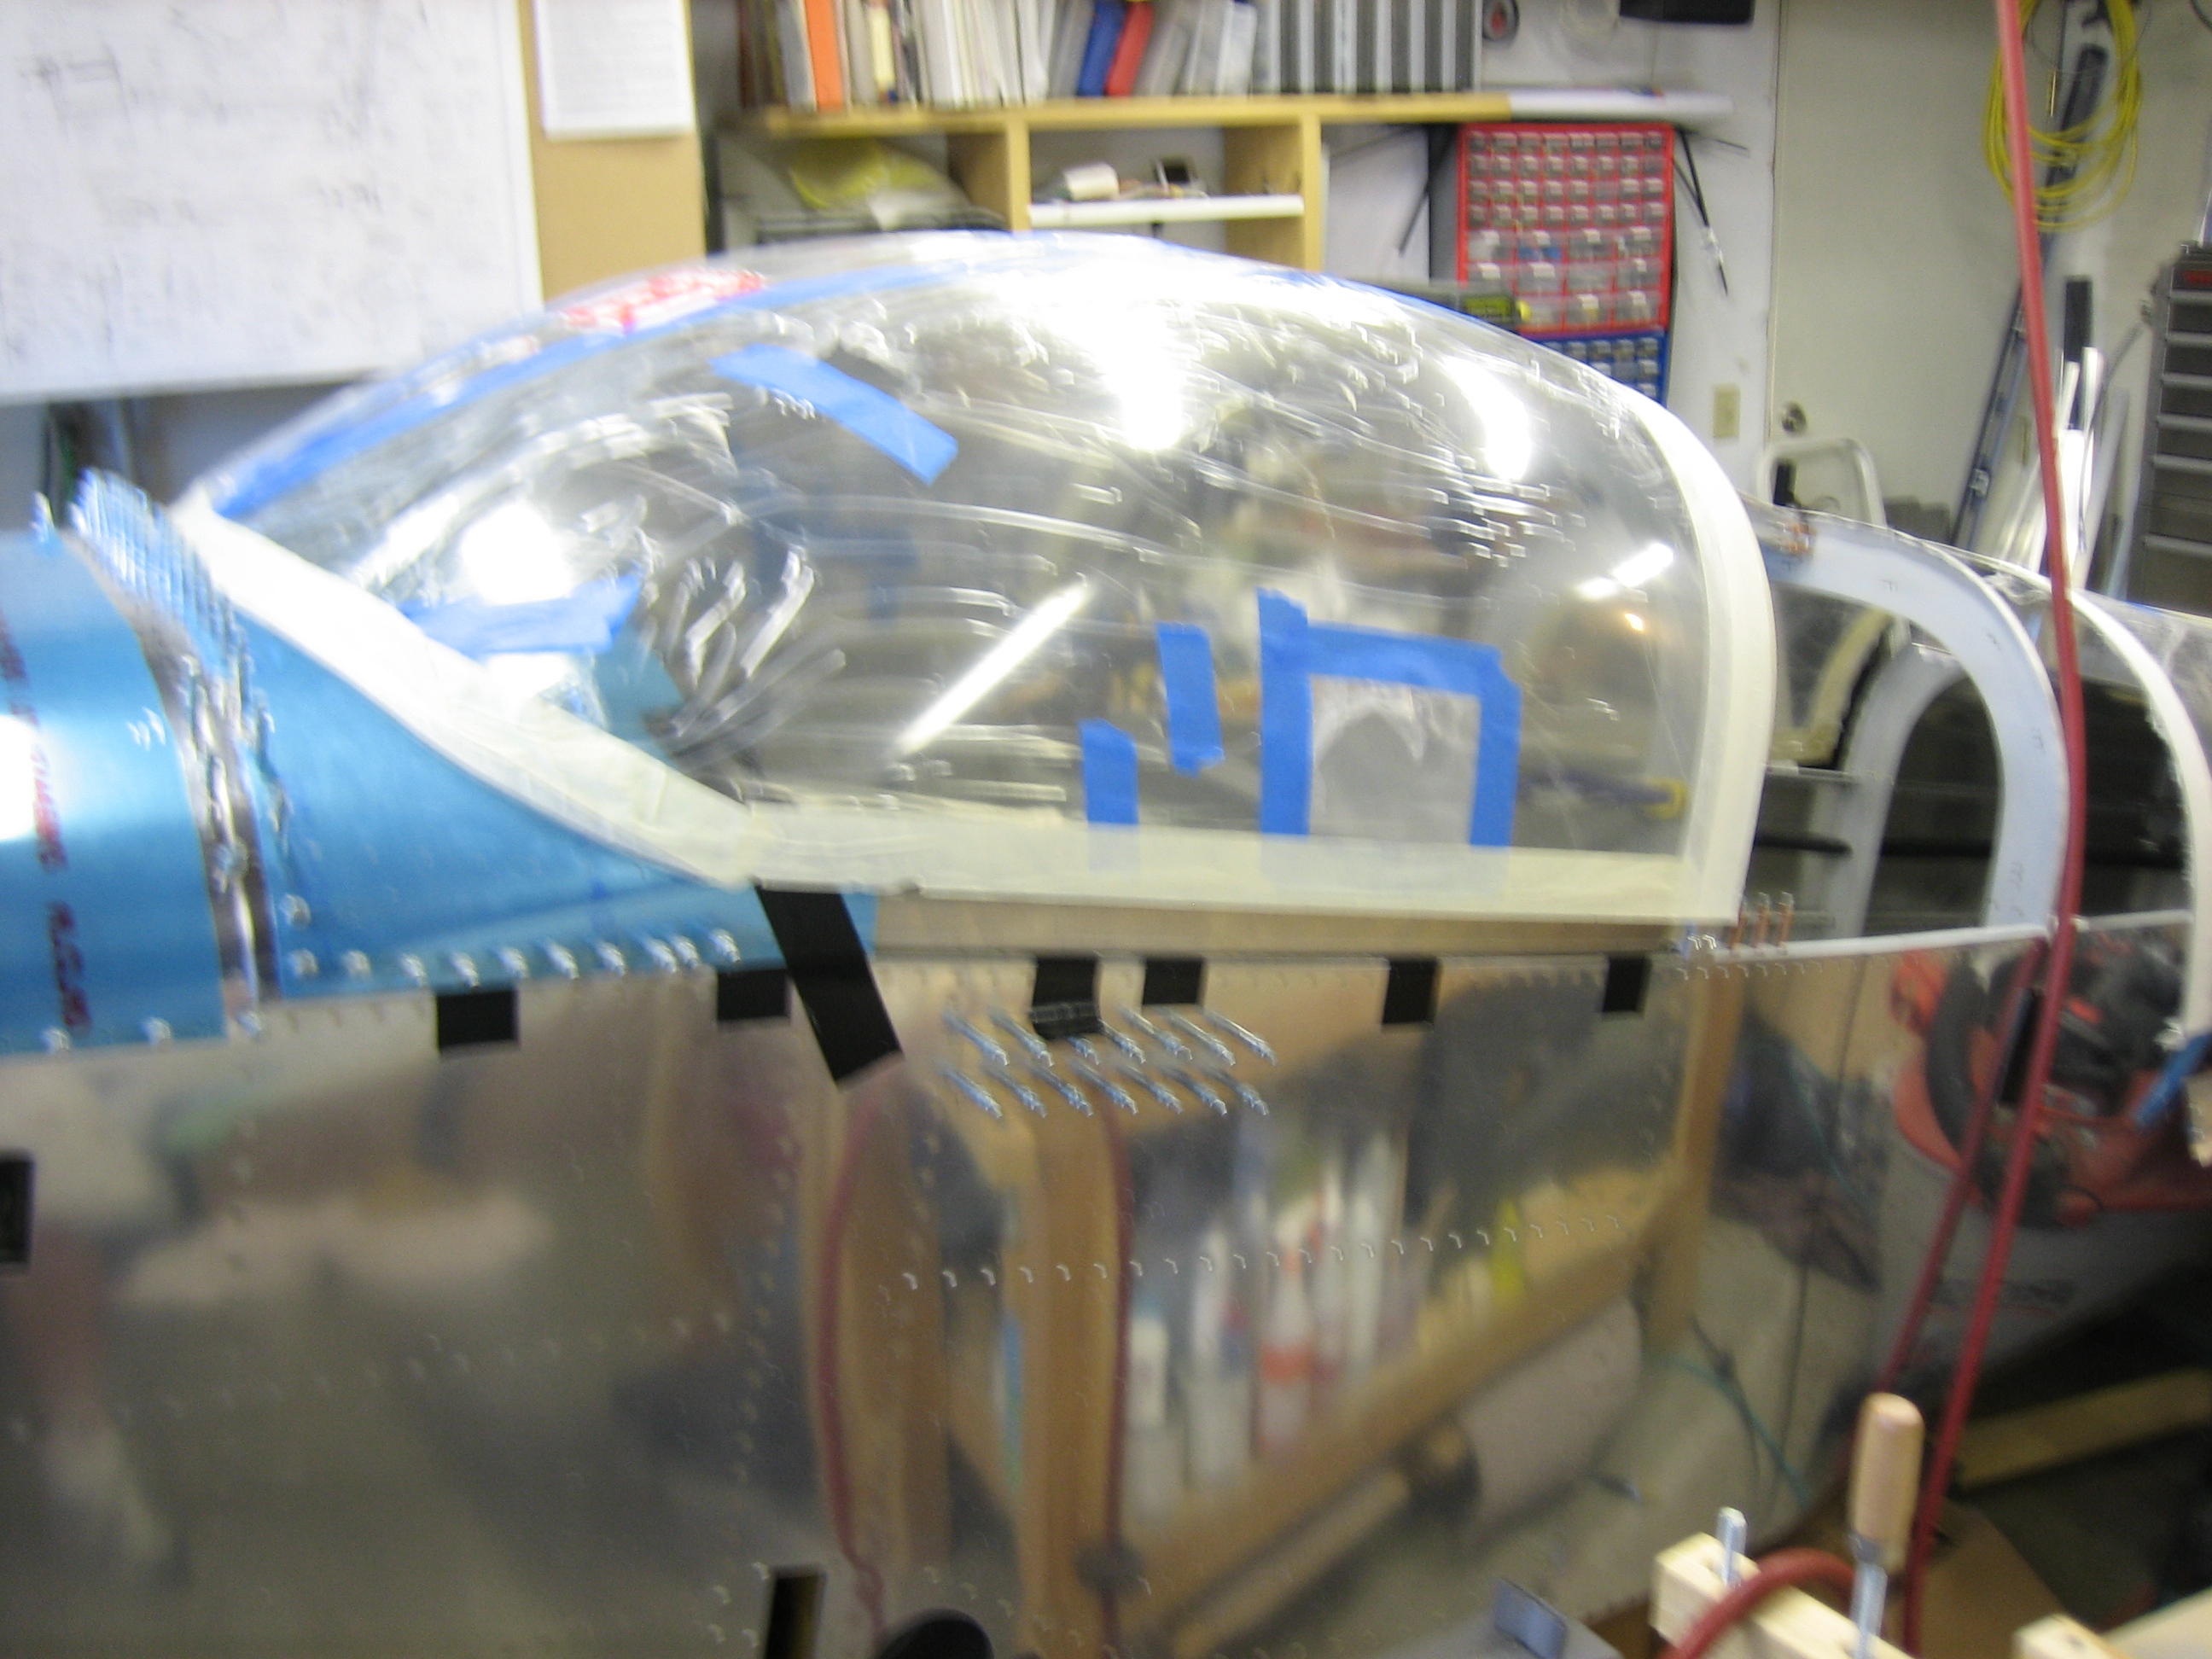
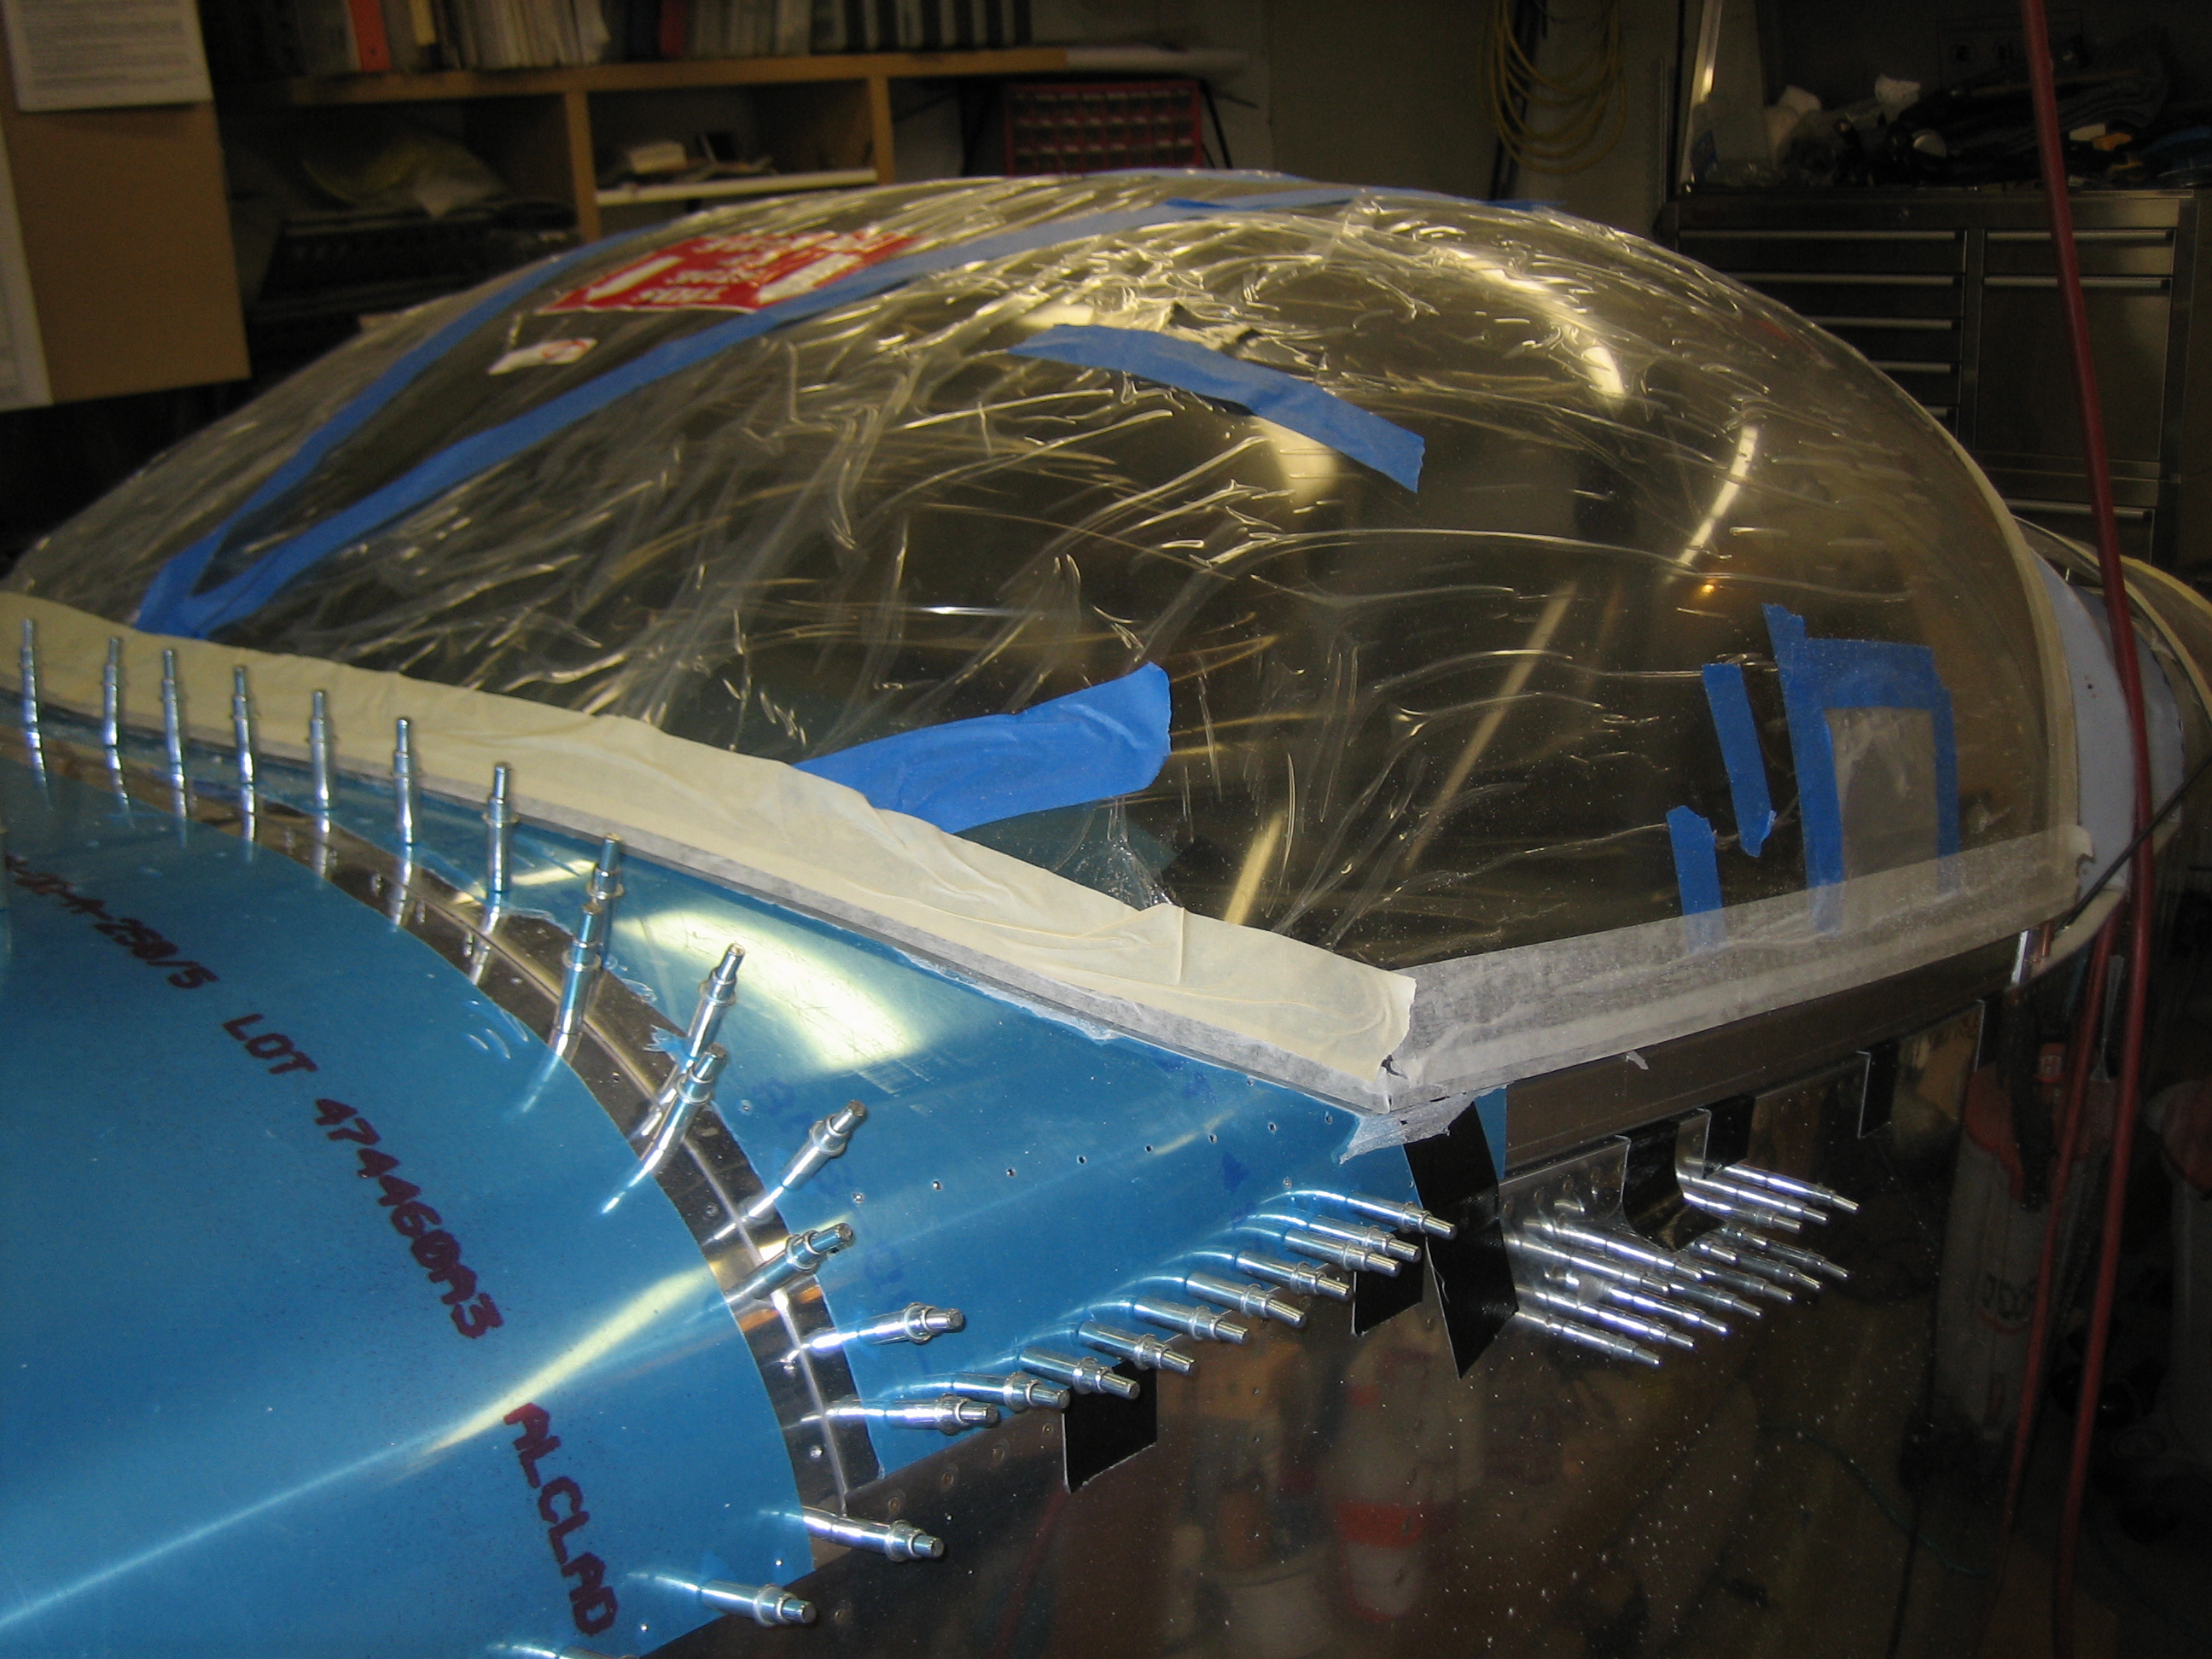
Another RV-7 builder from Paris stopped by tonight and we chatted RV’s for awhile.  It was good to finally meet him as we’ve only exchanged emails up to this point (hi Frédéric!).  After he left, I rearranged the workbenches and pulled down the canopy.  I forgot to take a picture of it, but I then drew a centerline down the canopy to use as a reference point.

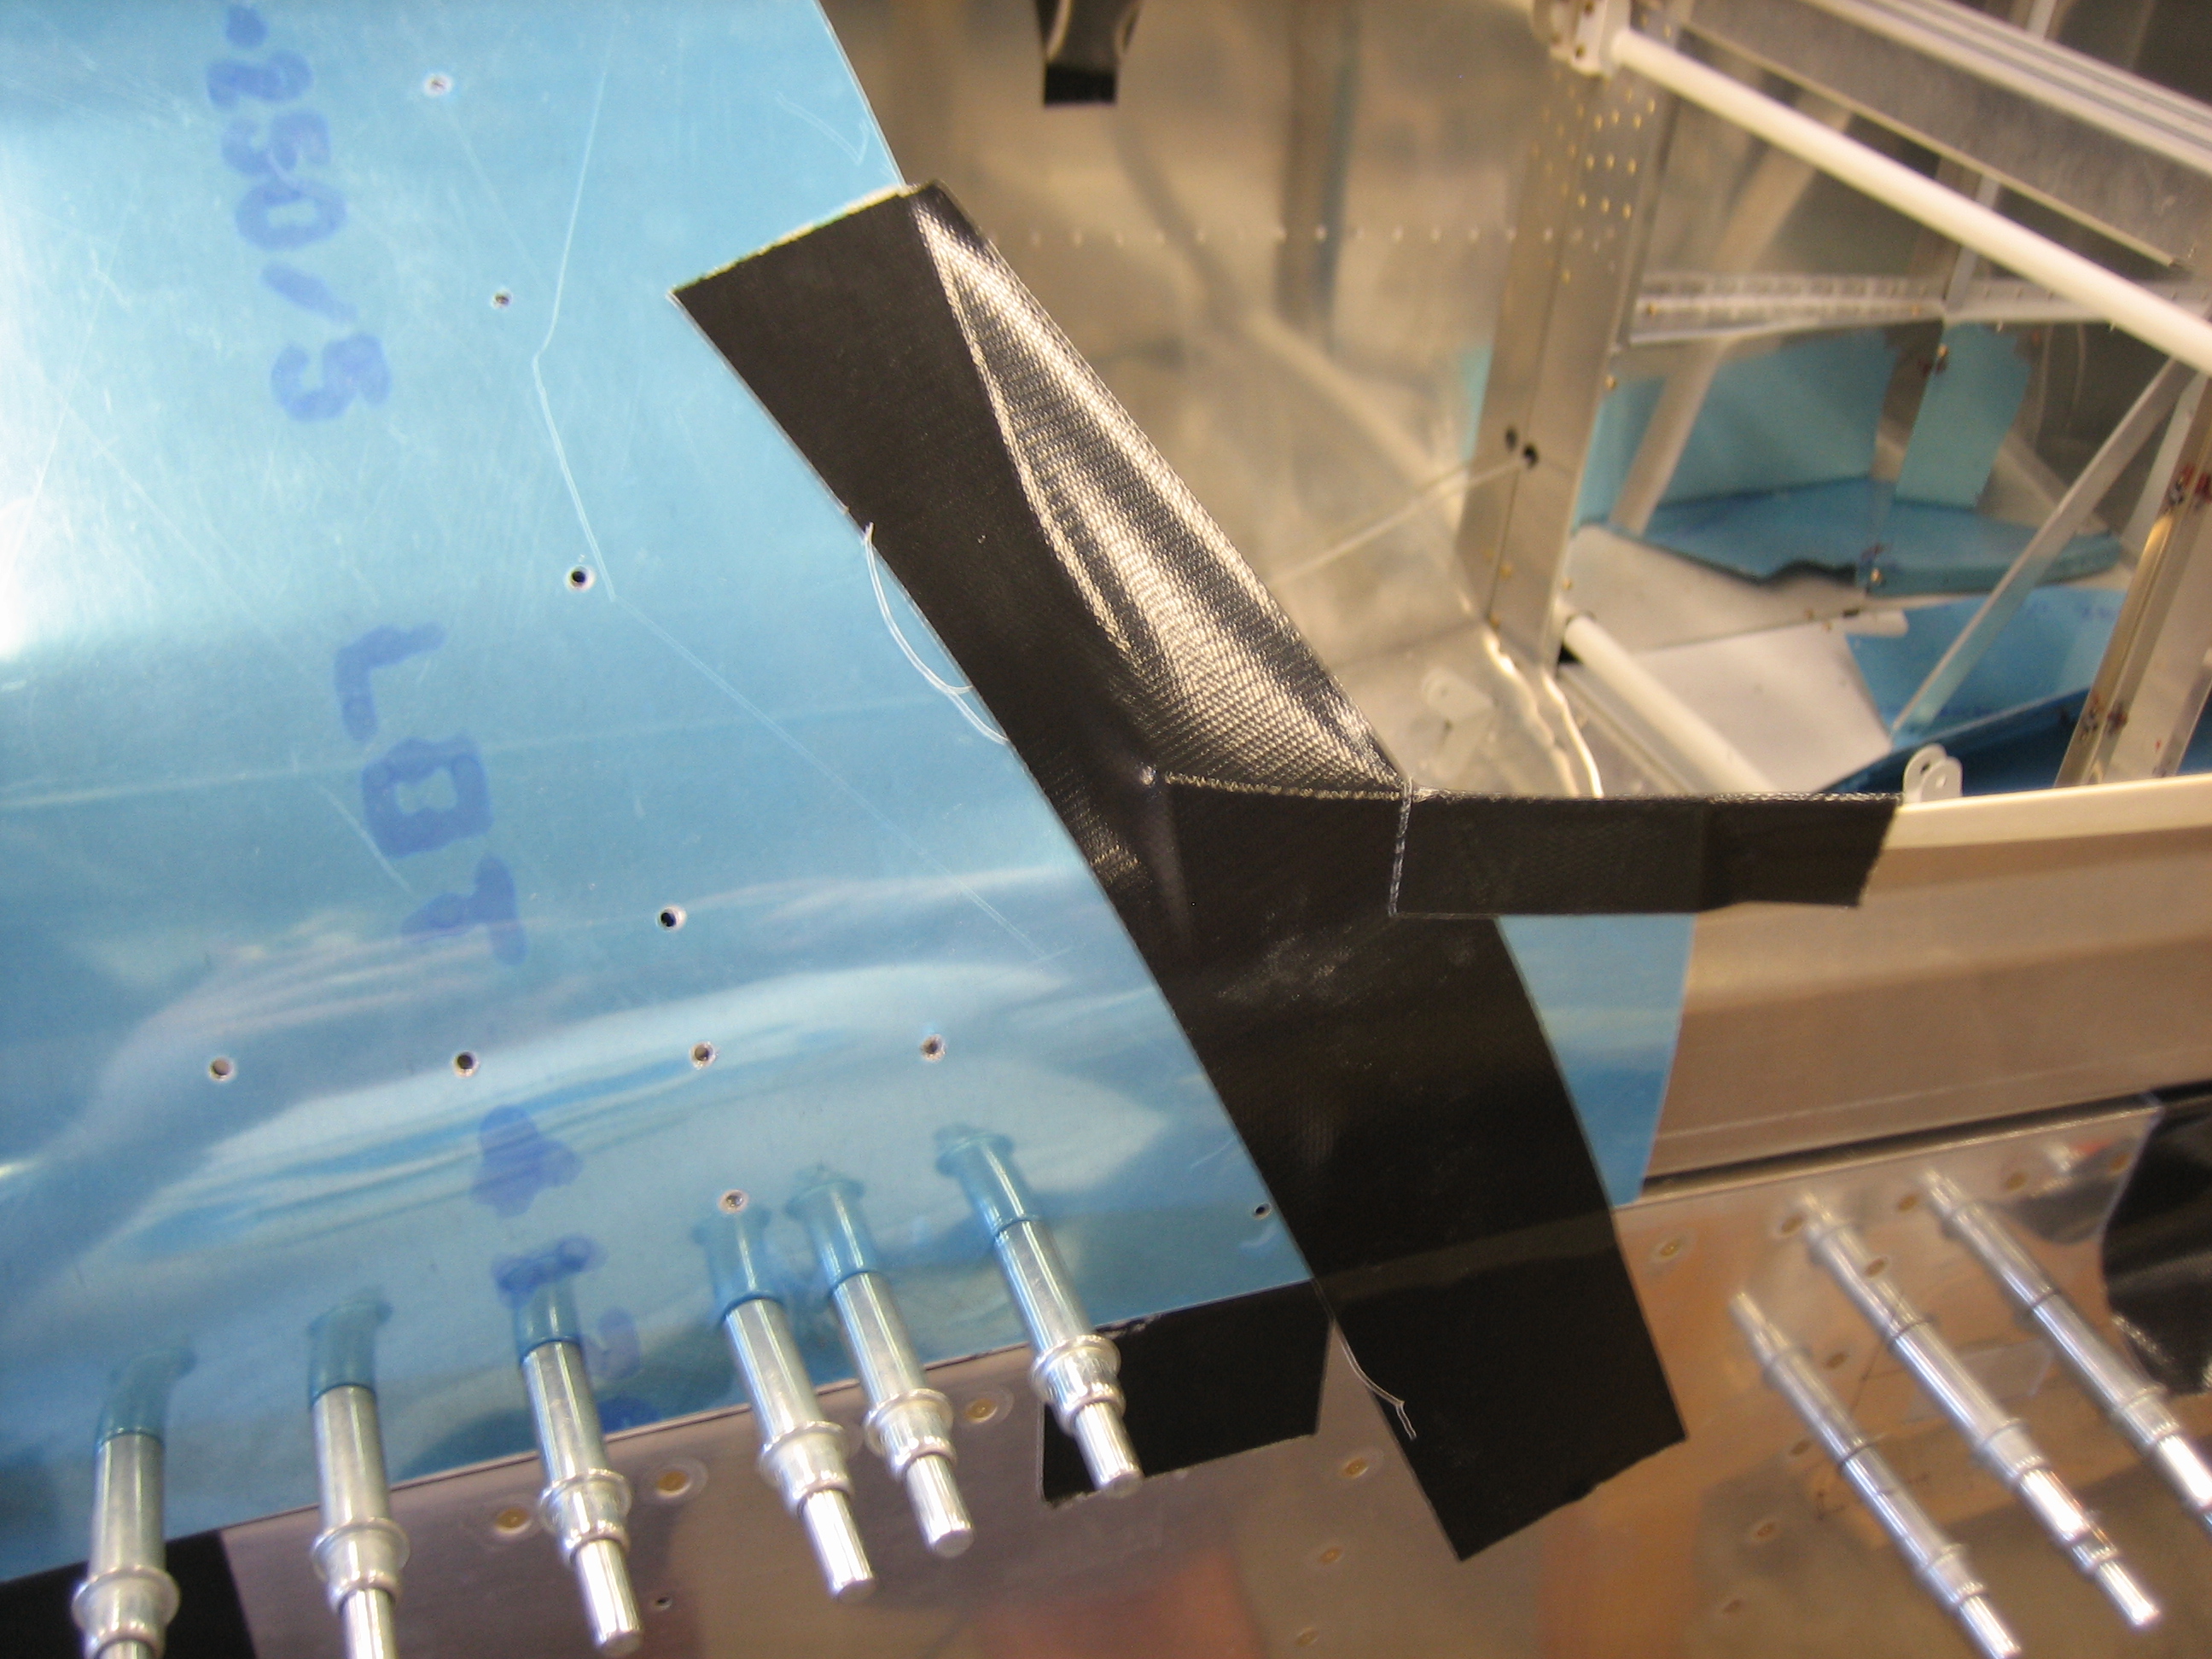
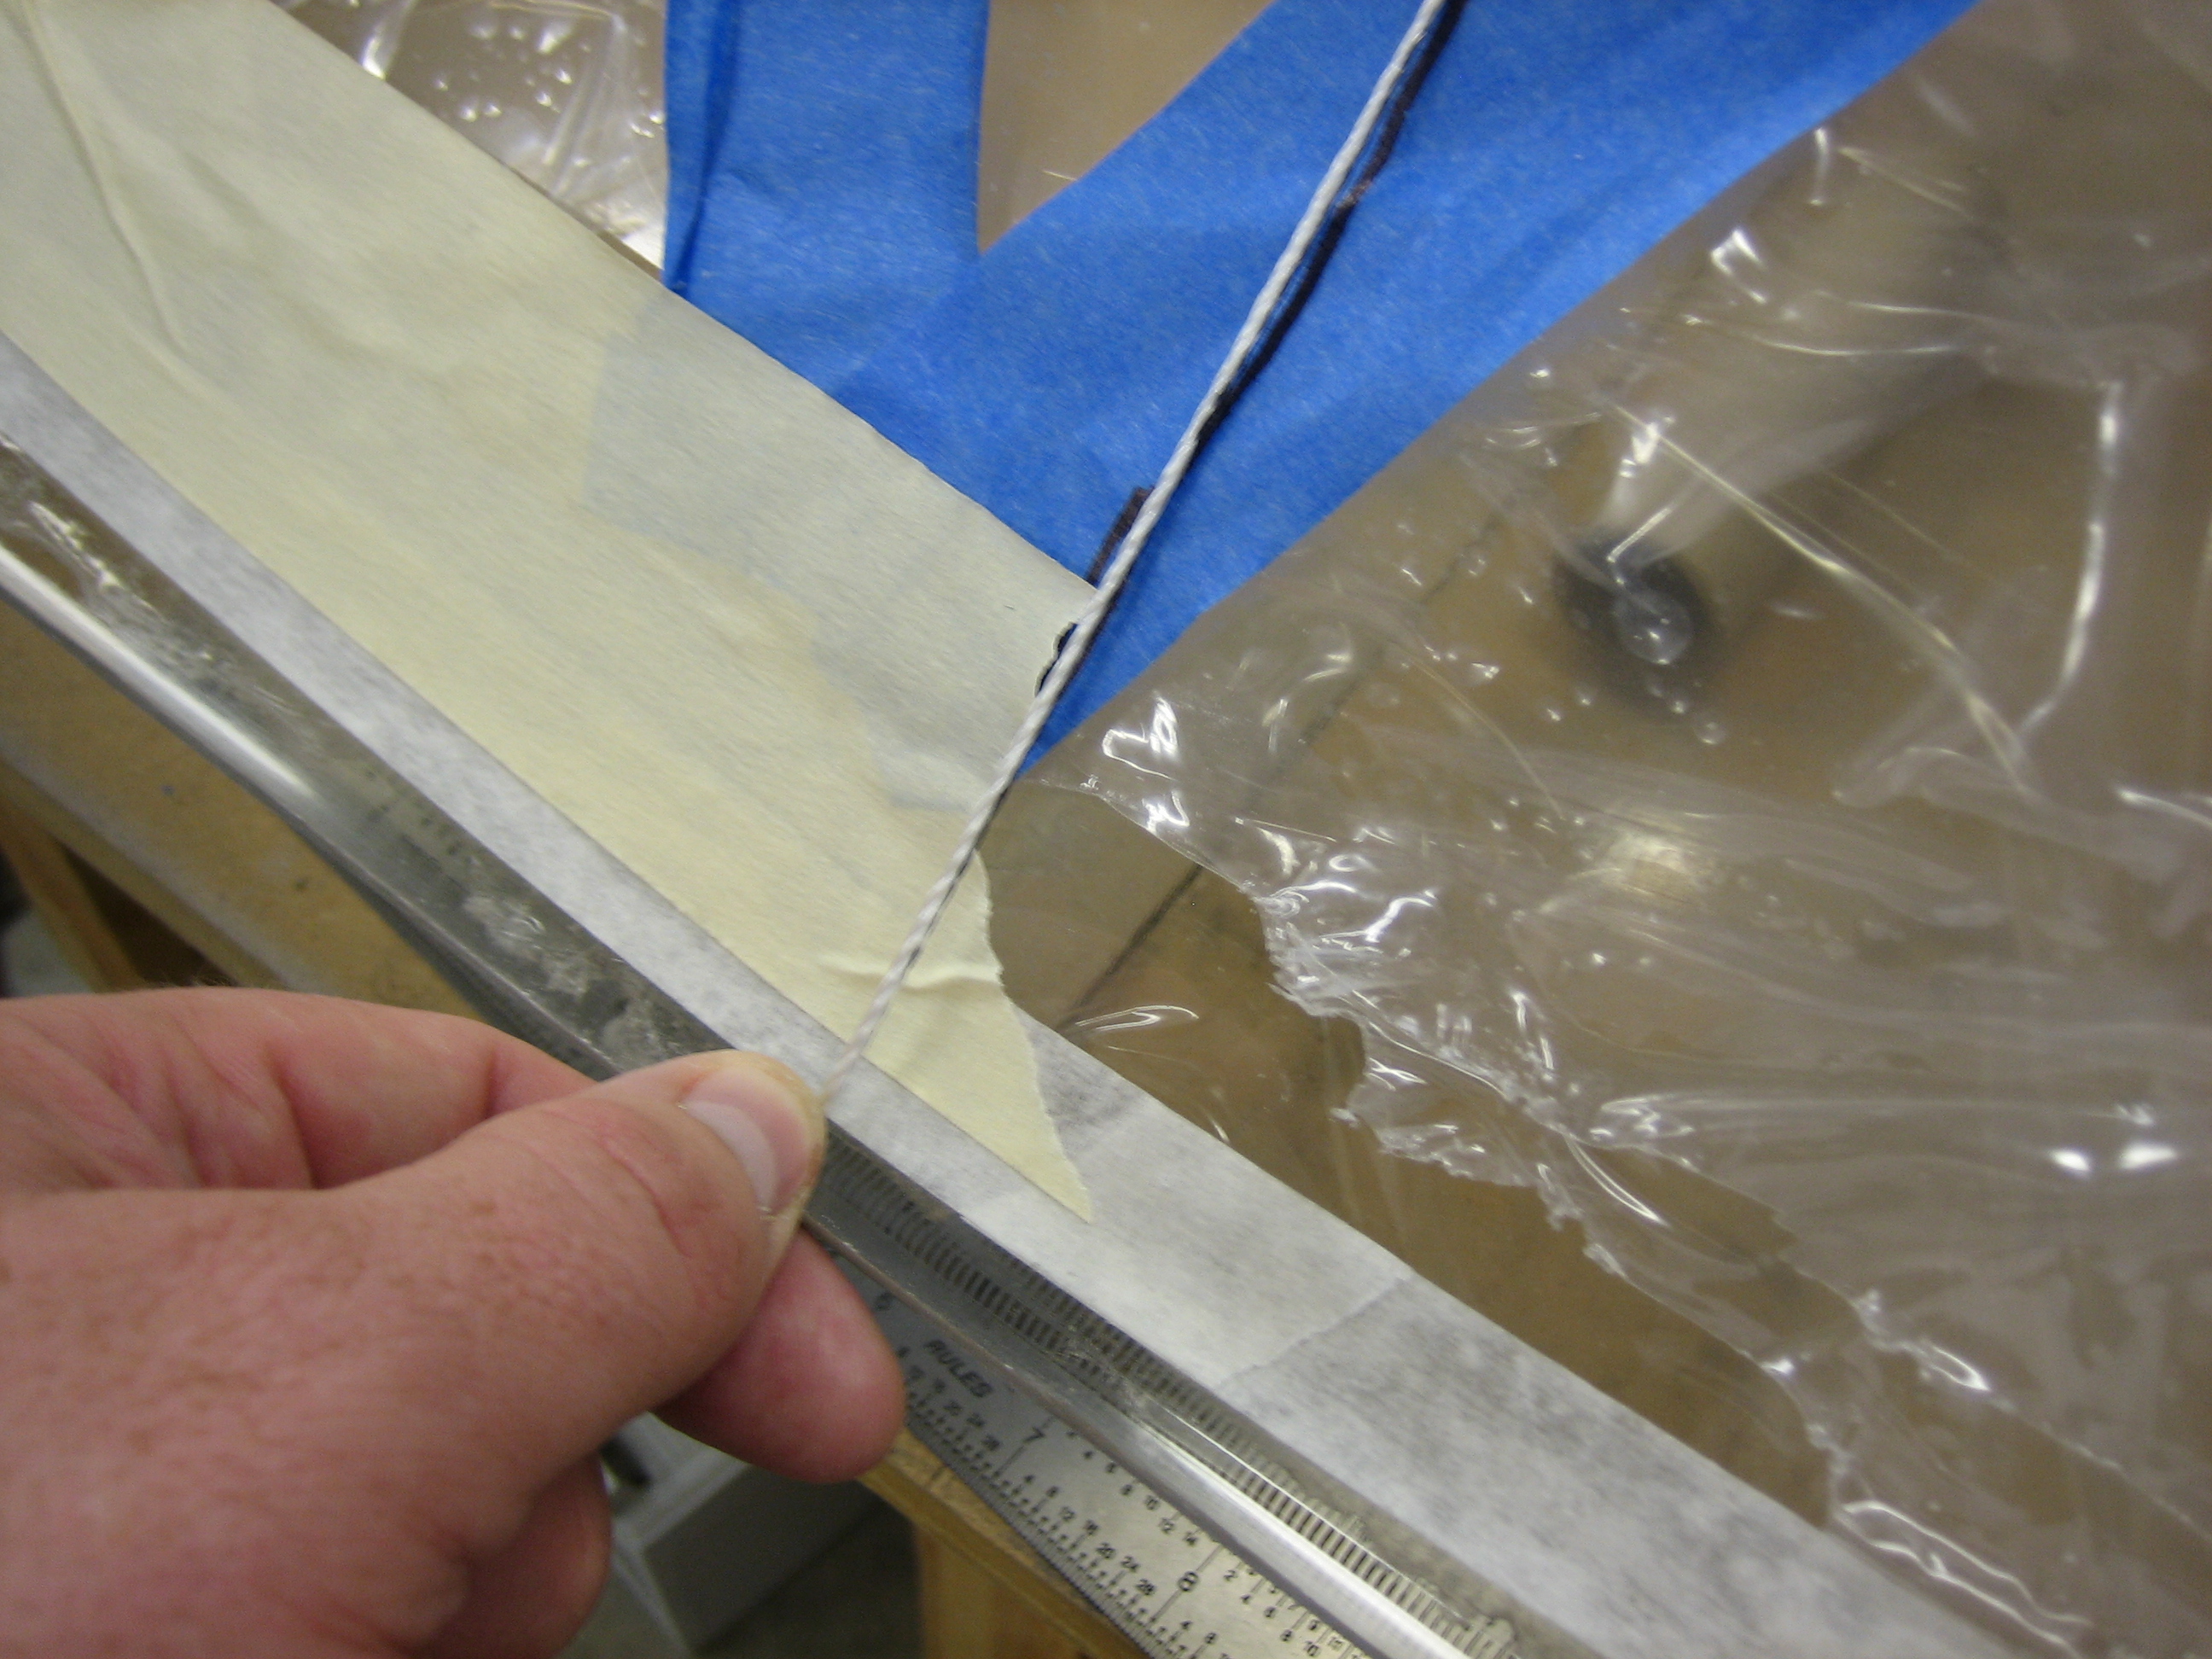
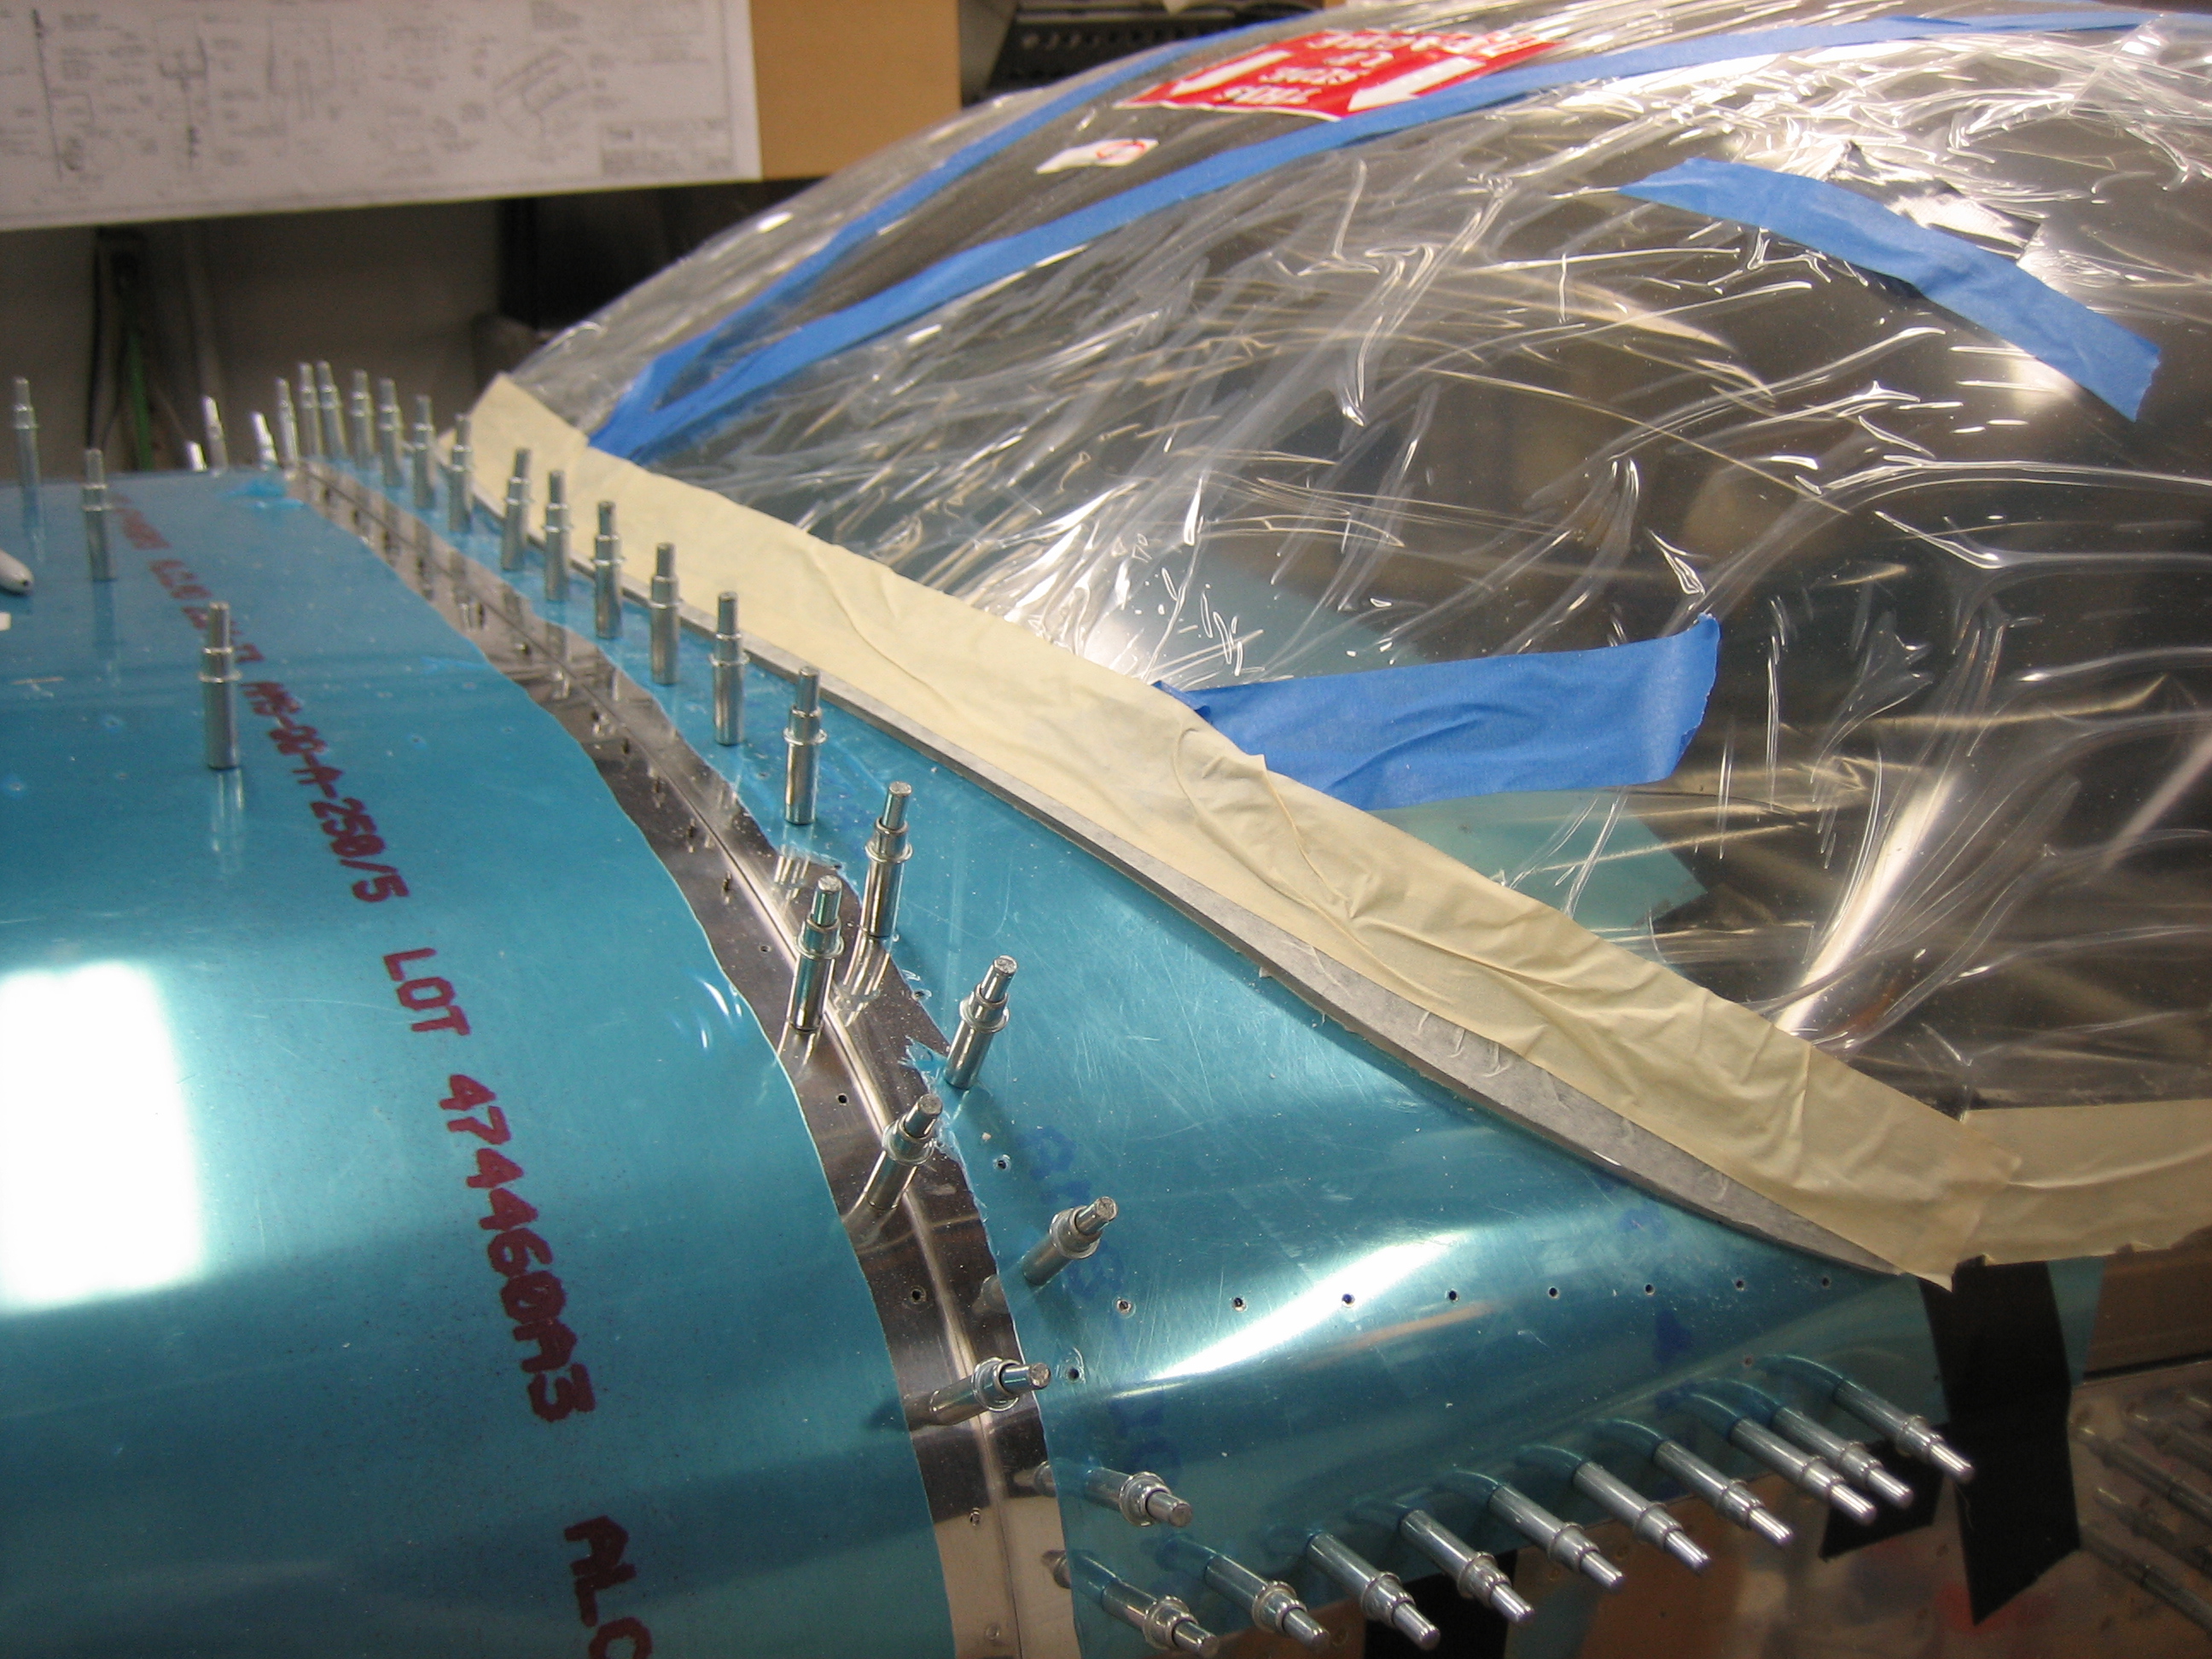
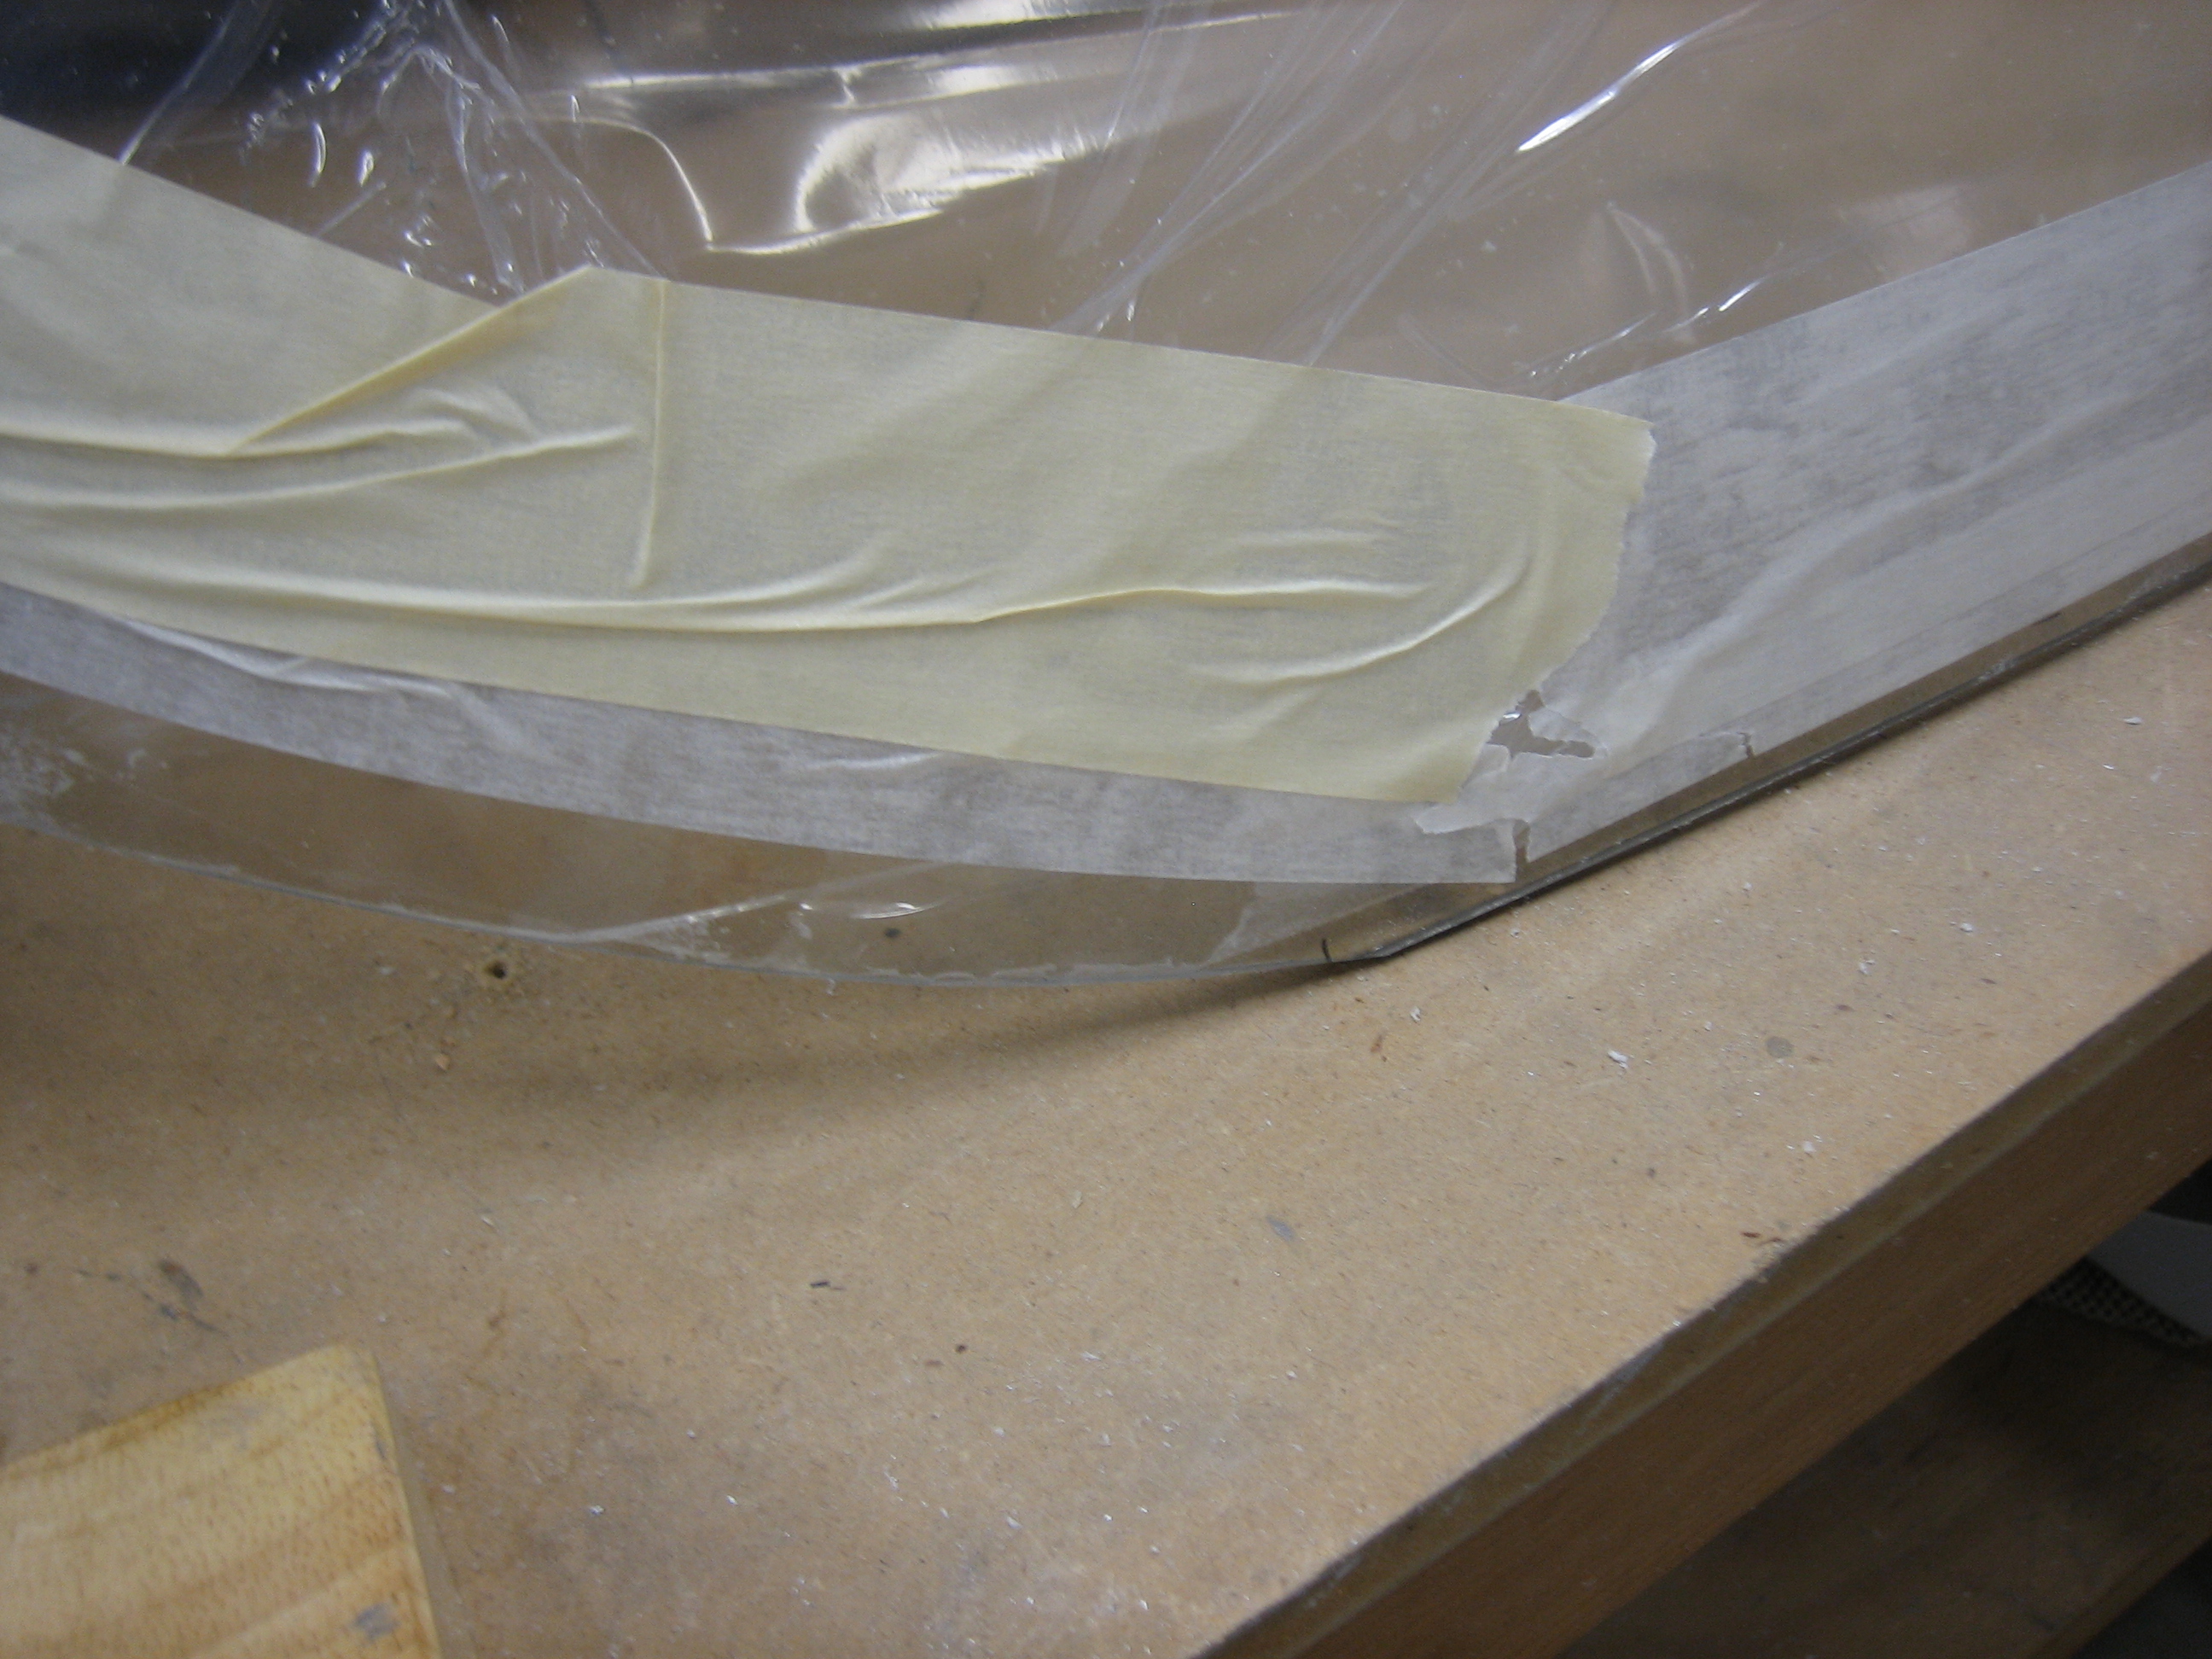
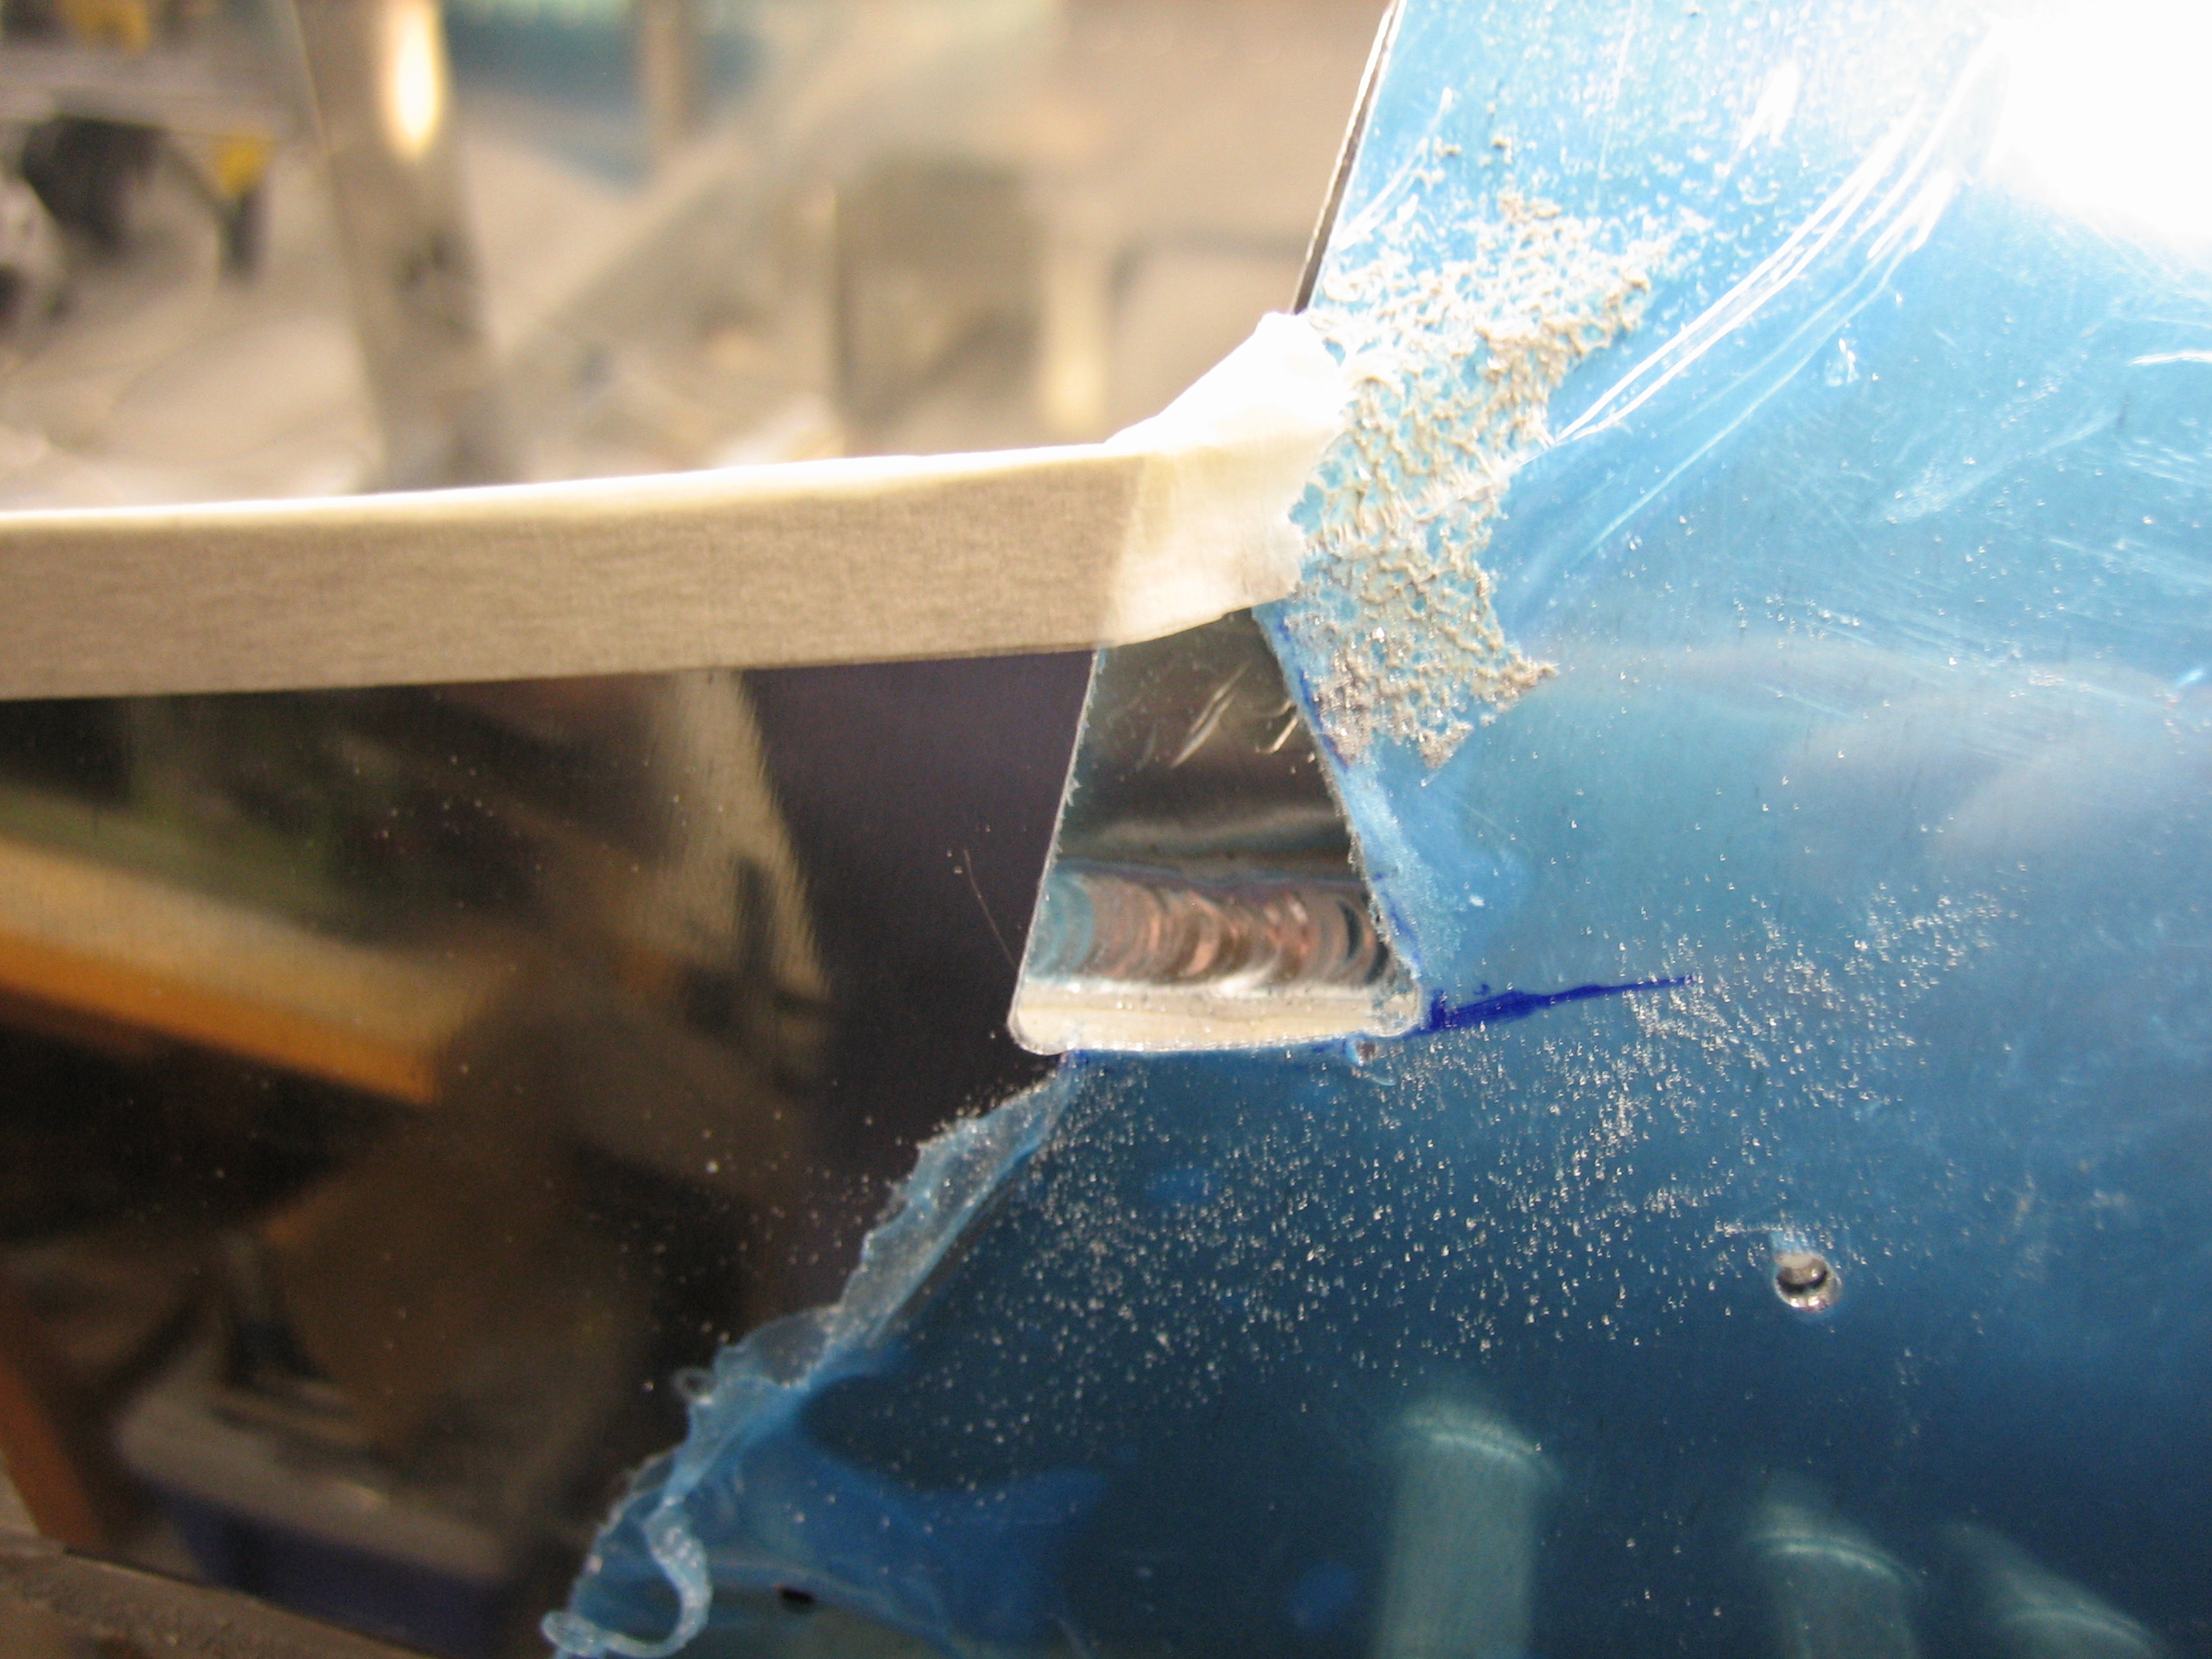
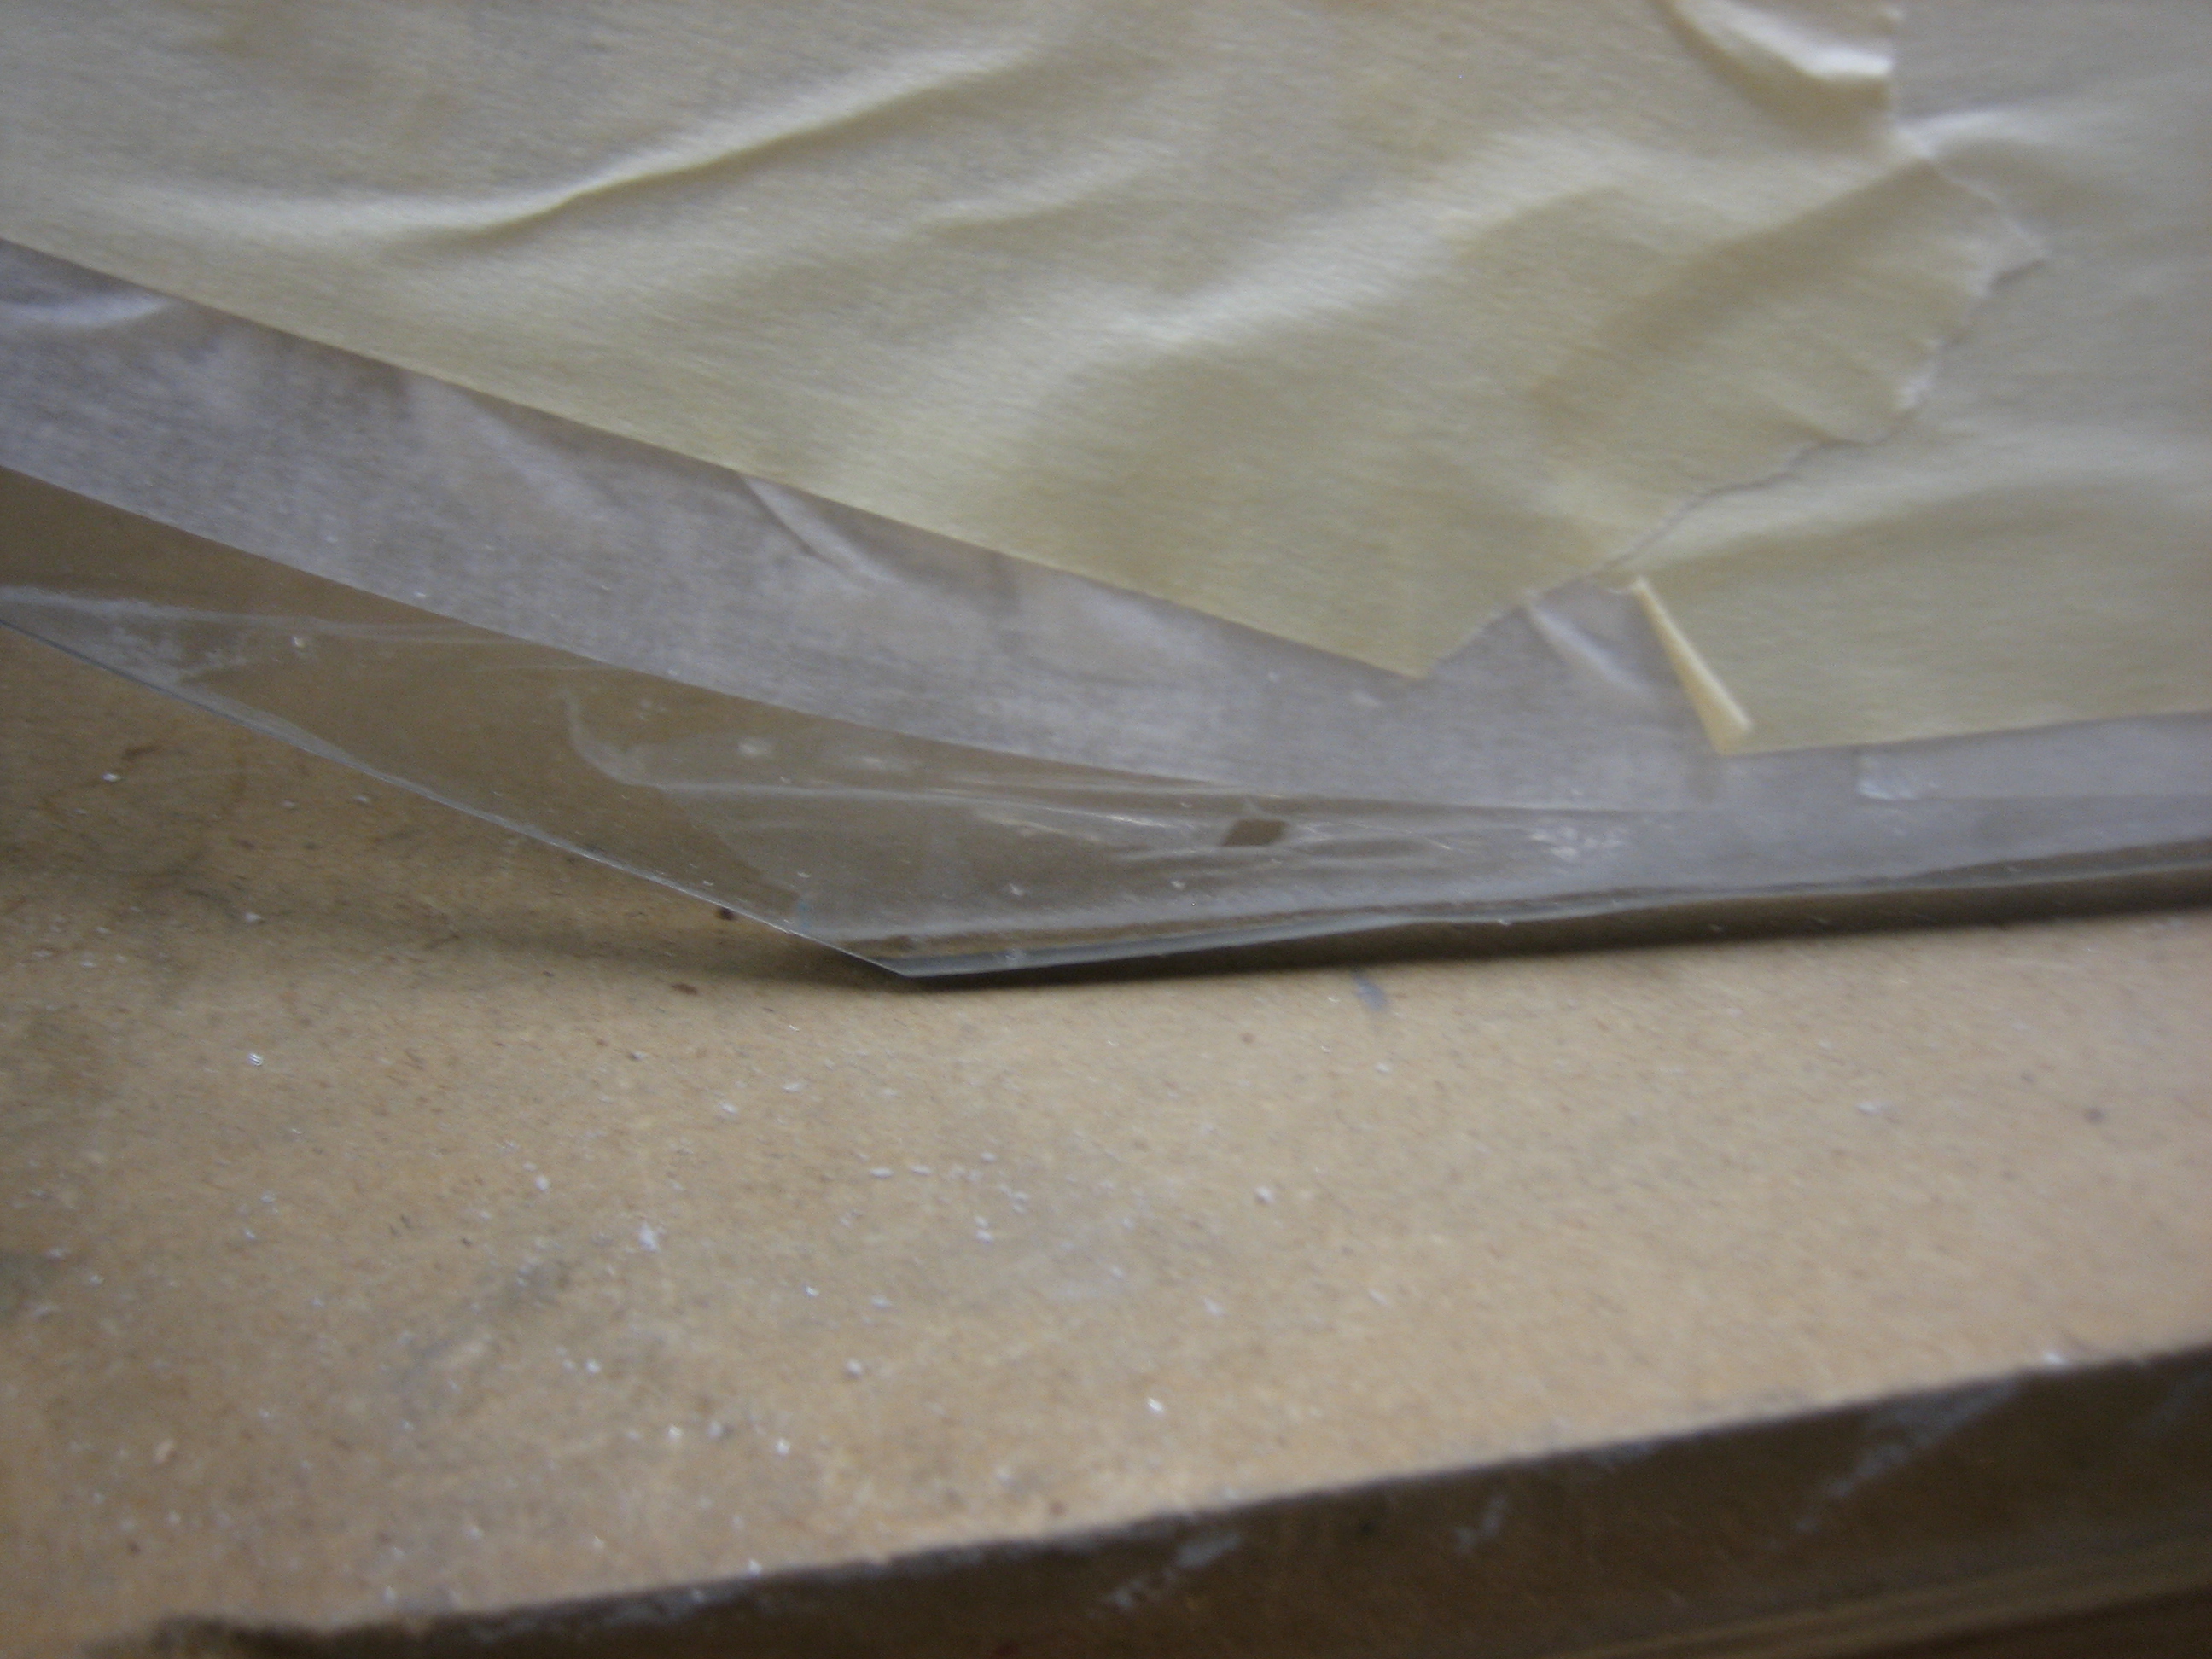
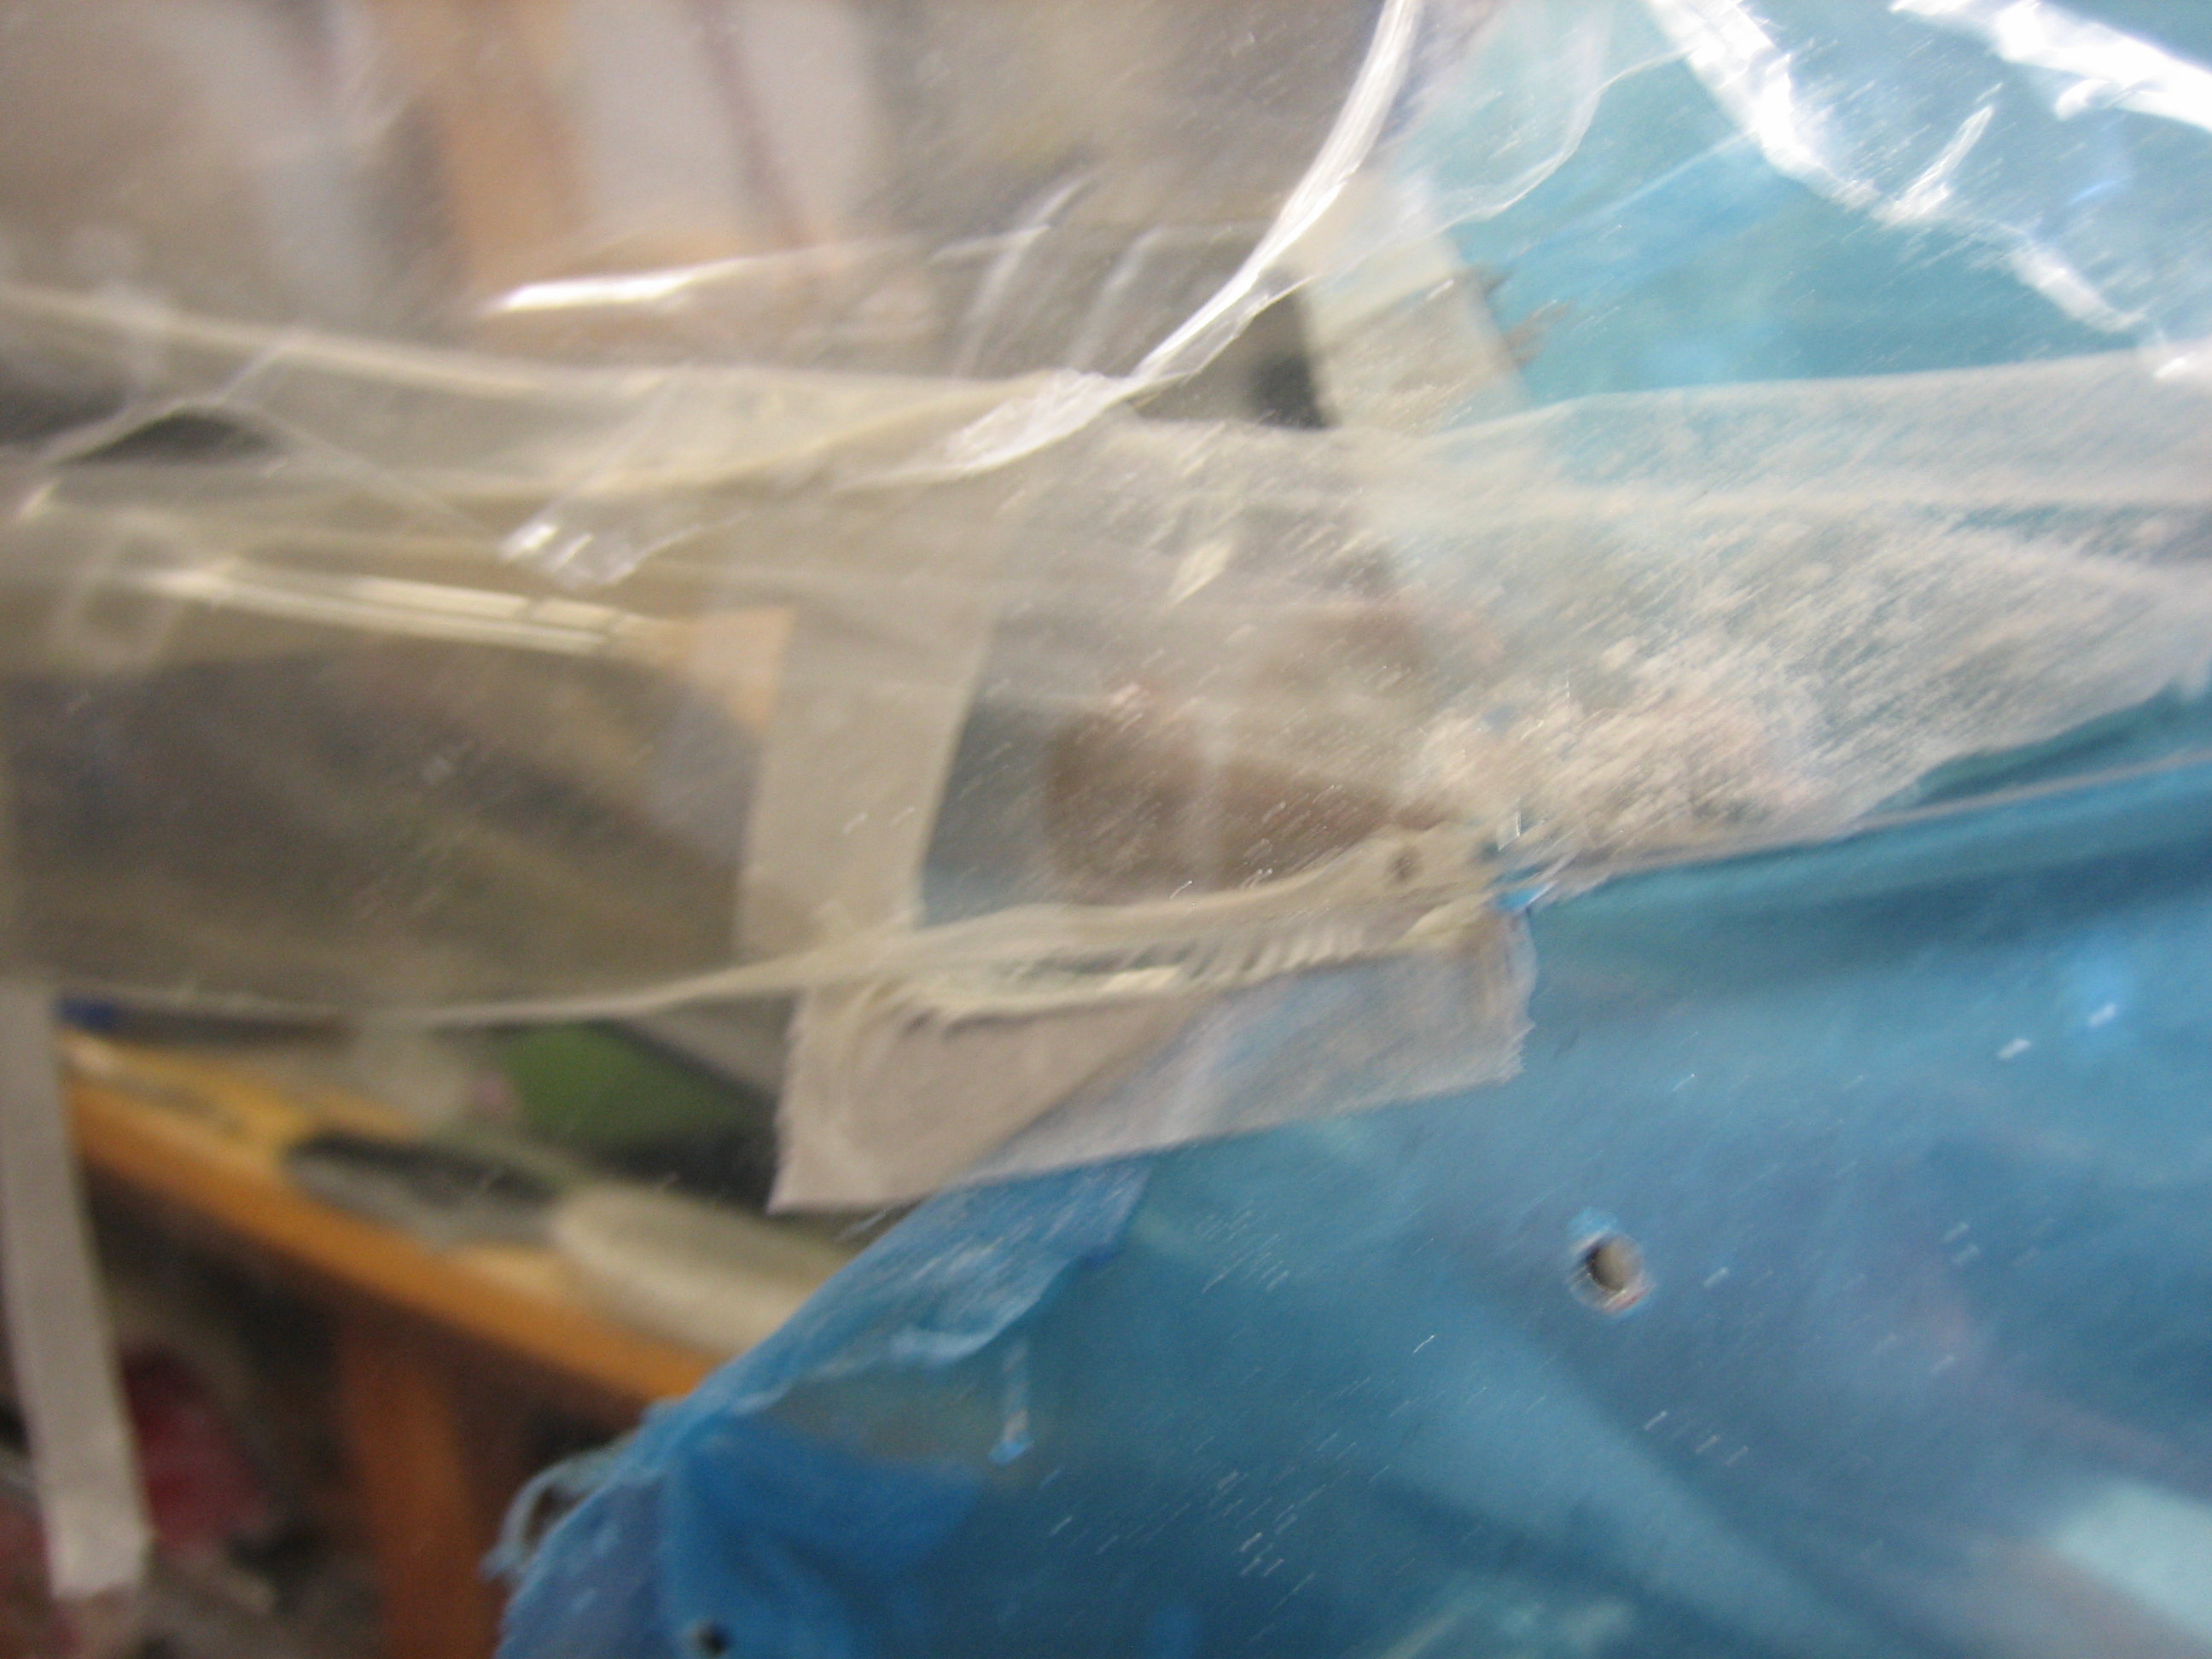
First up is to trim off all of the clamping marks on the edges.  I started with the front edge by cutting back the plastic and taping a cut line with some masking tape.

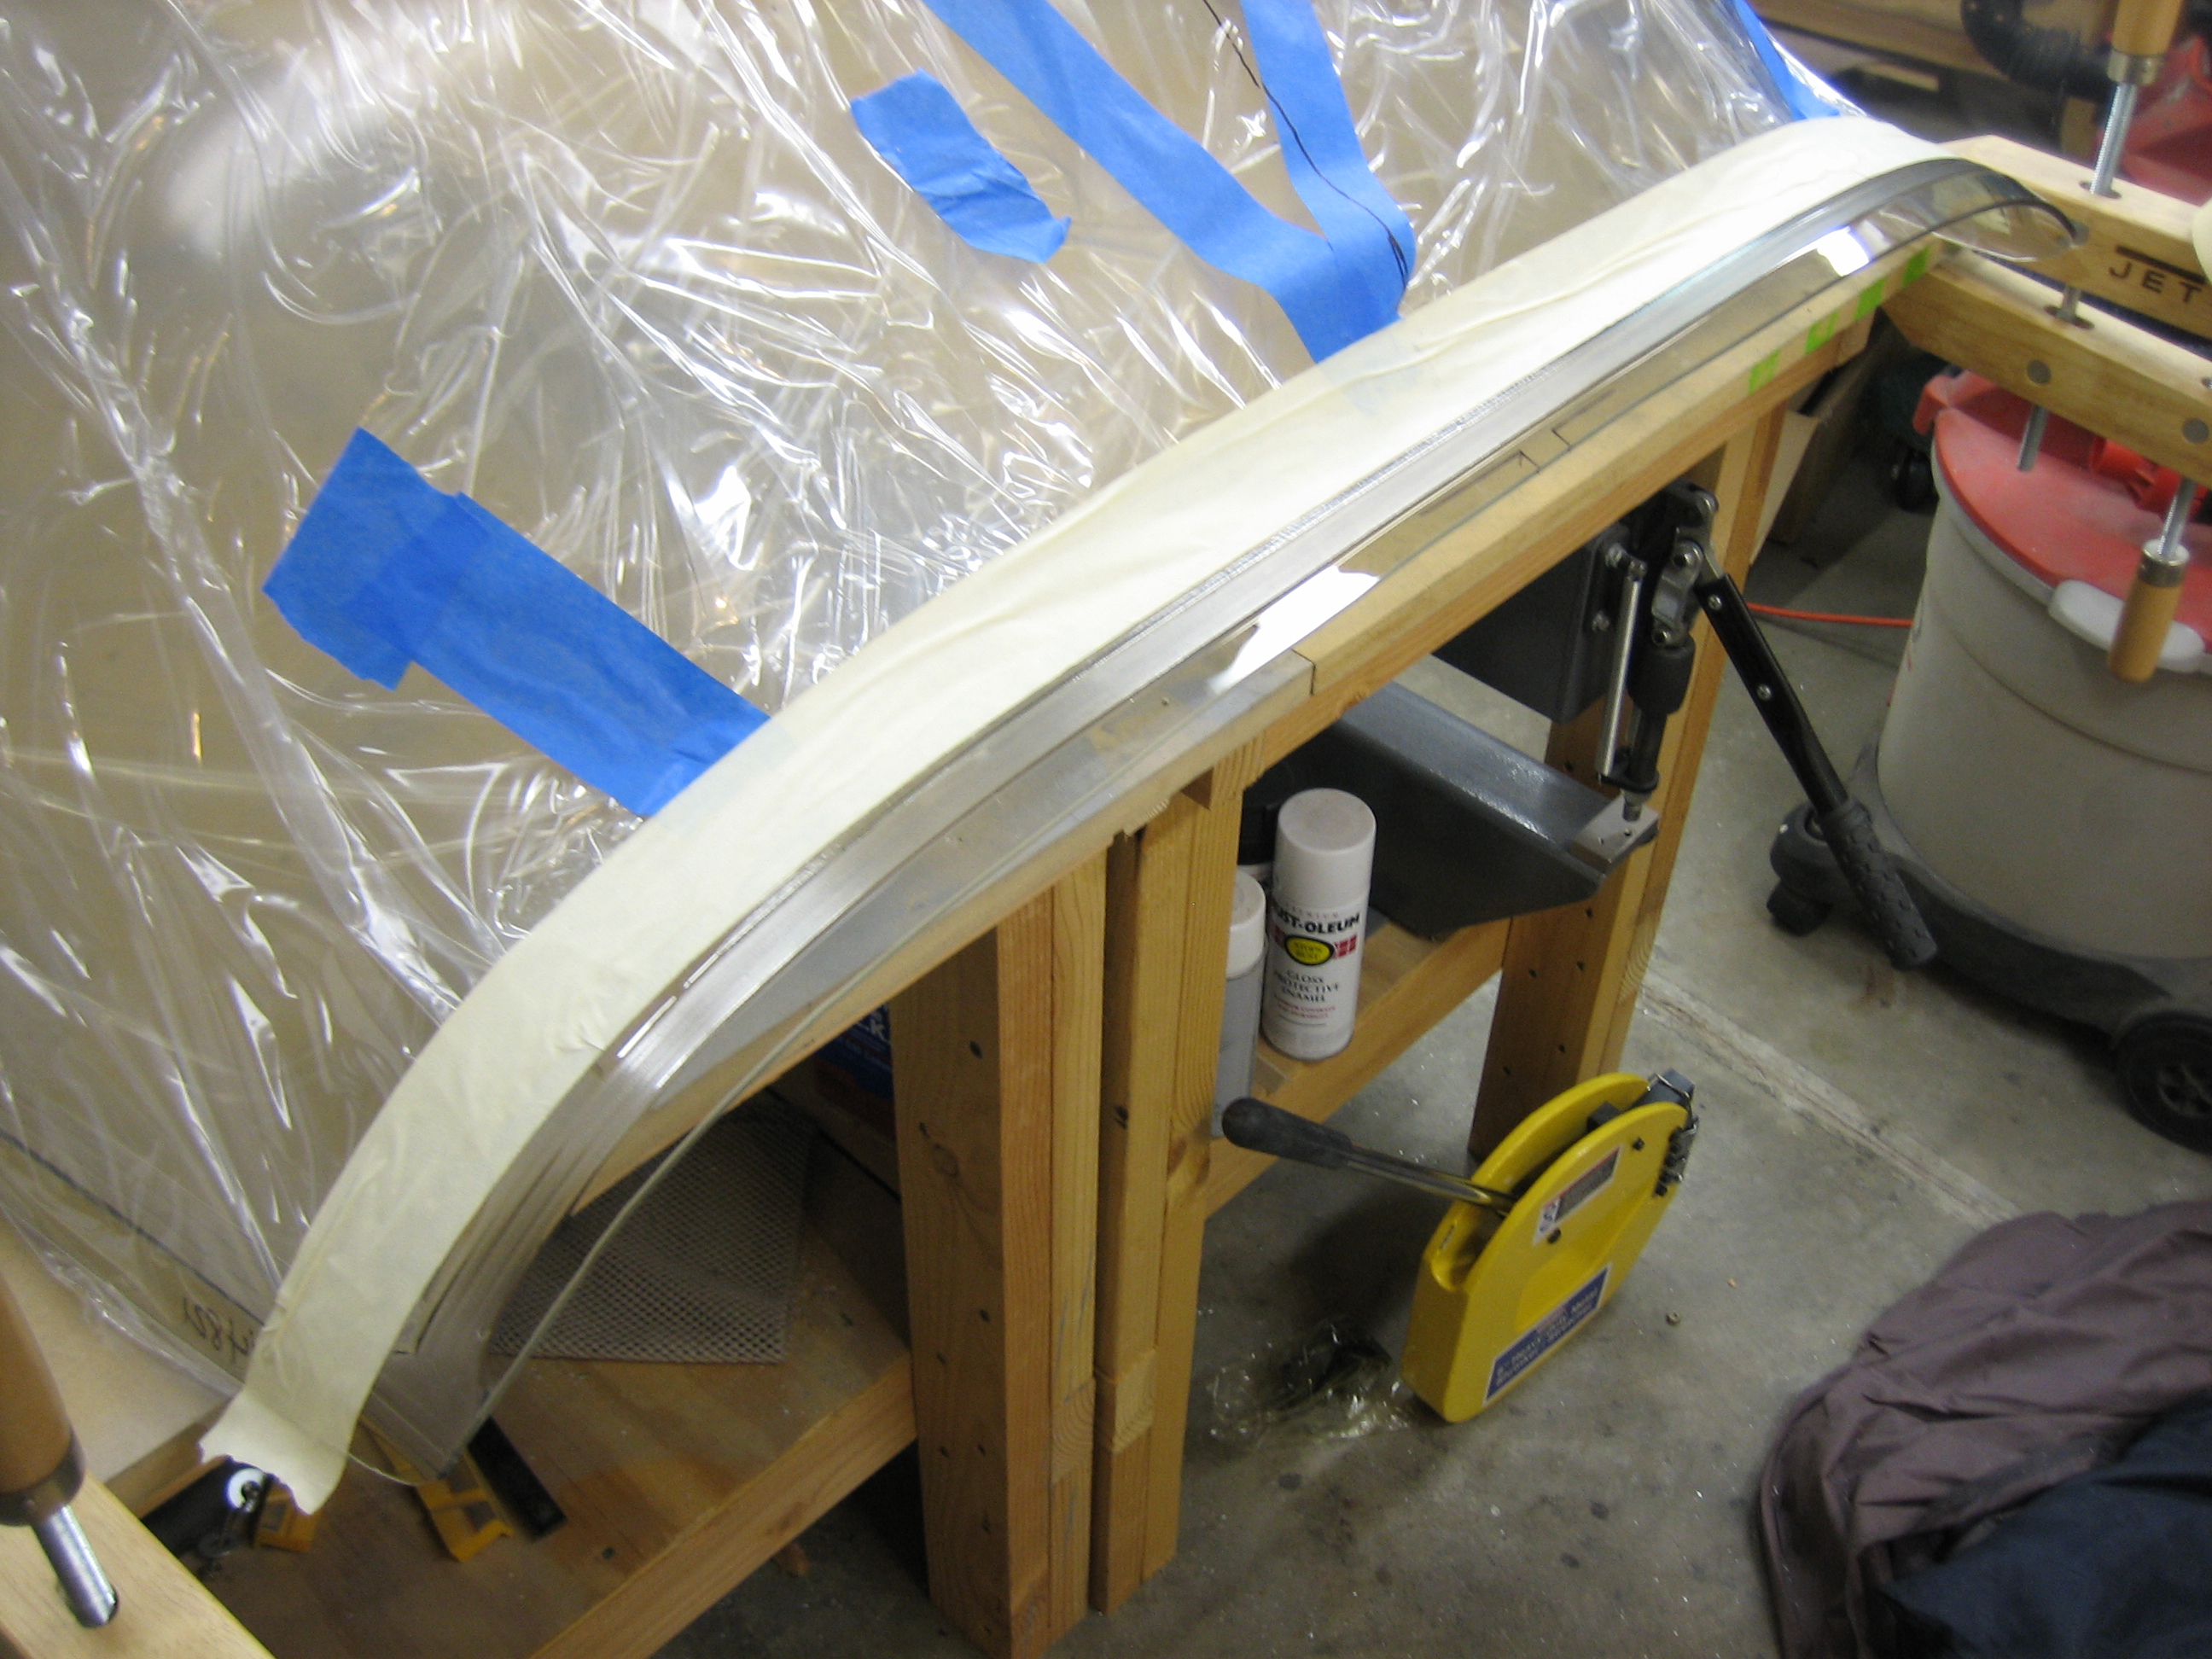
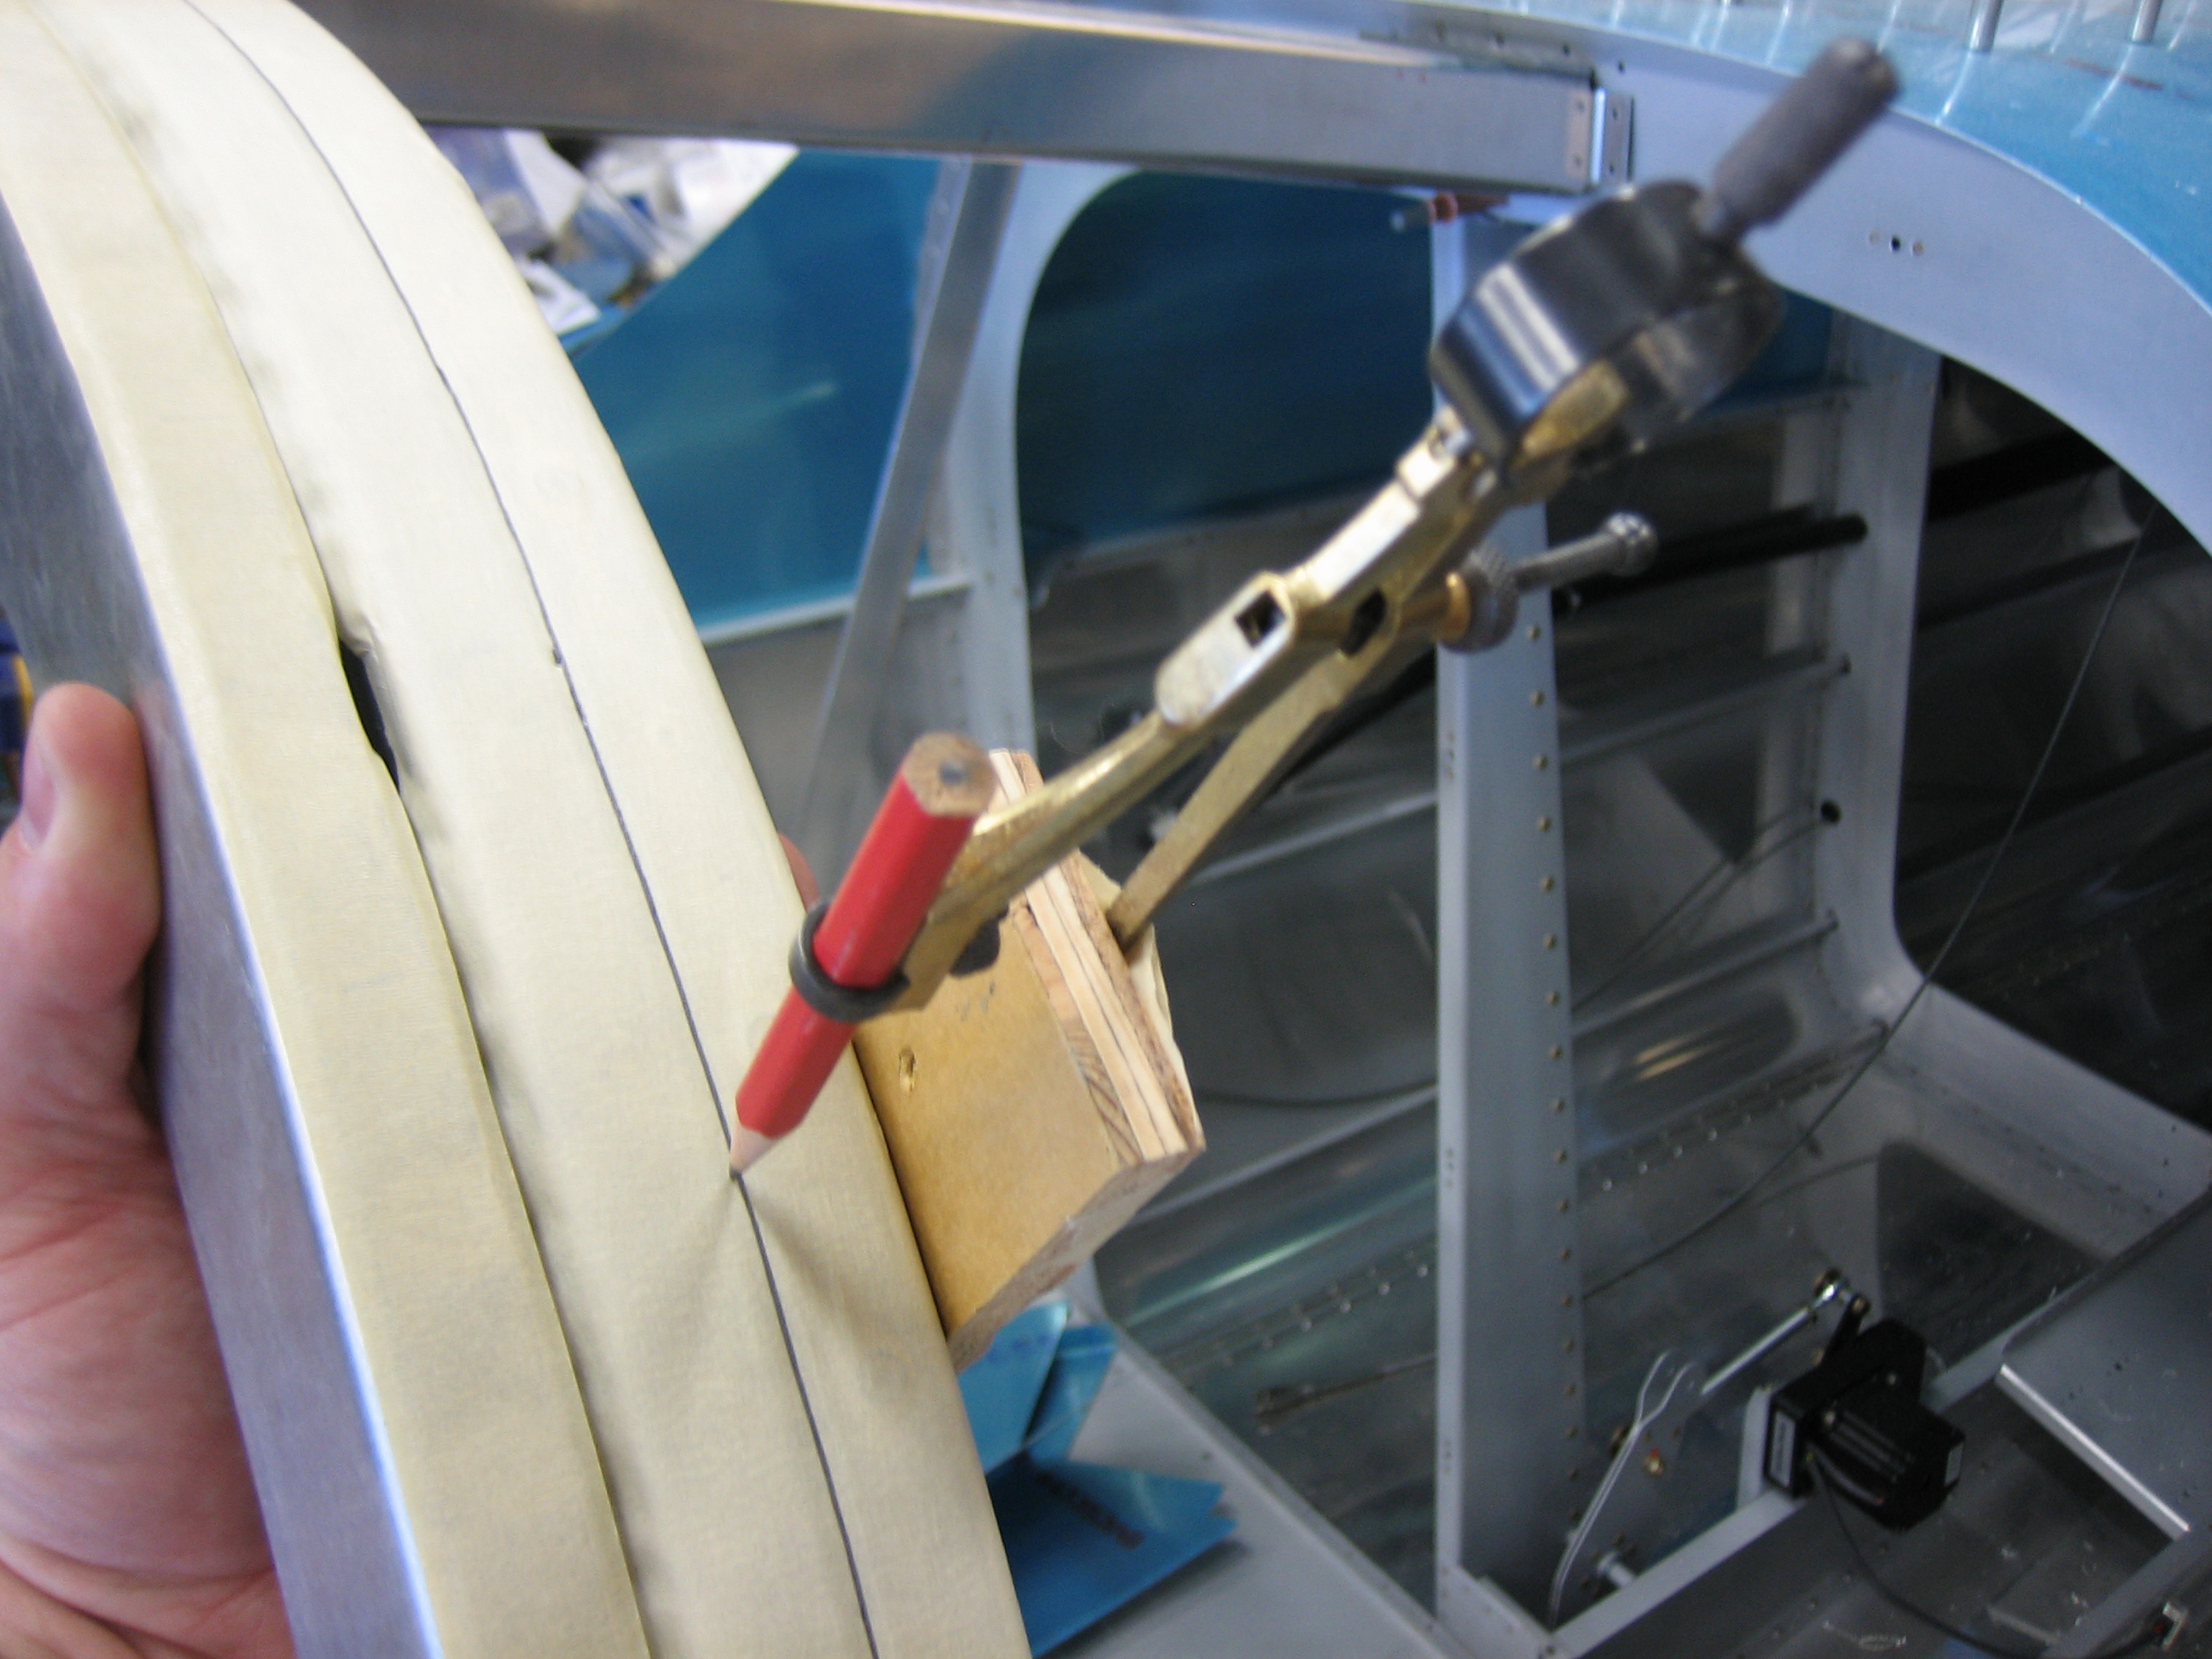
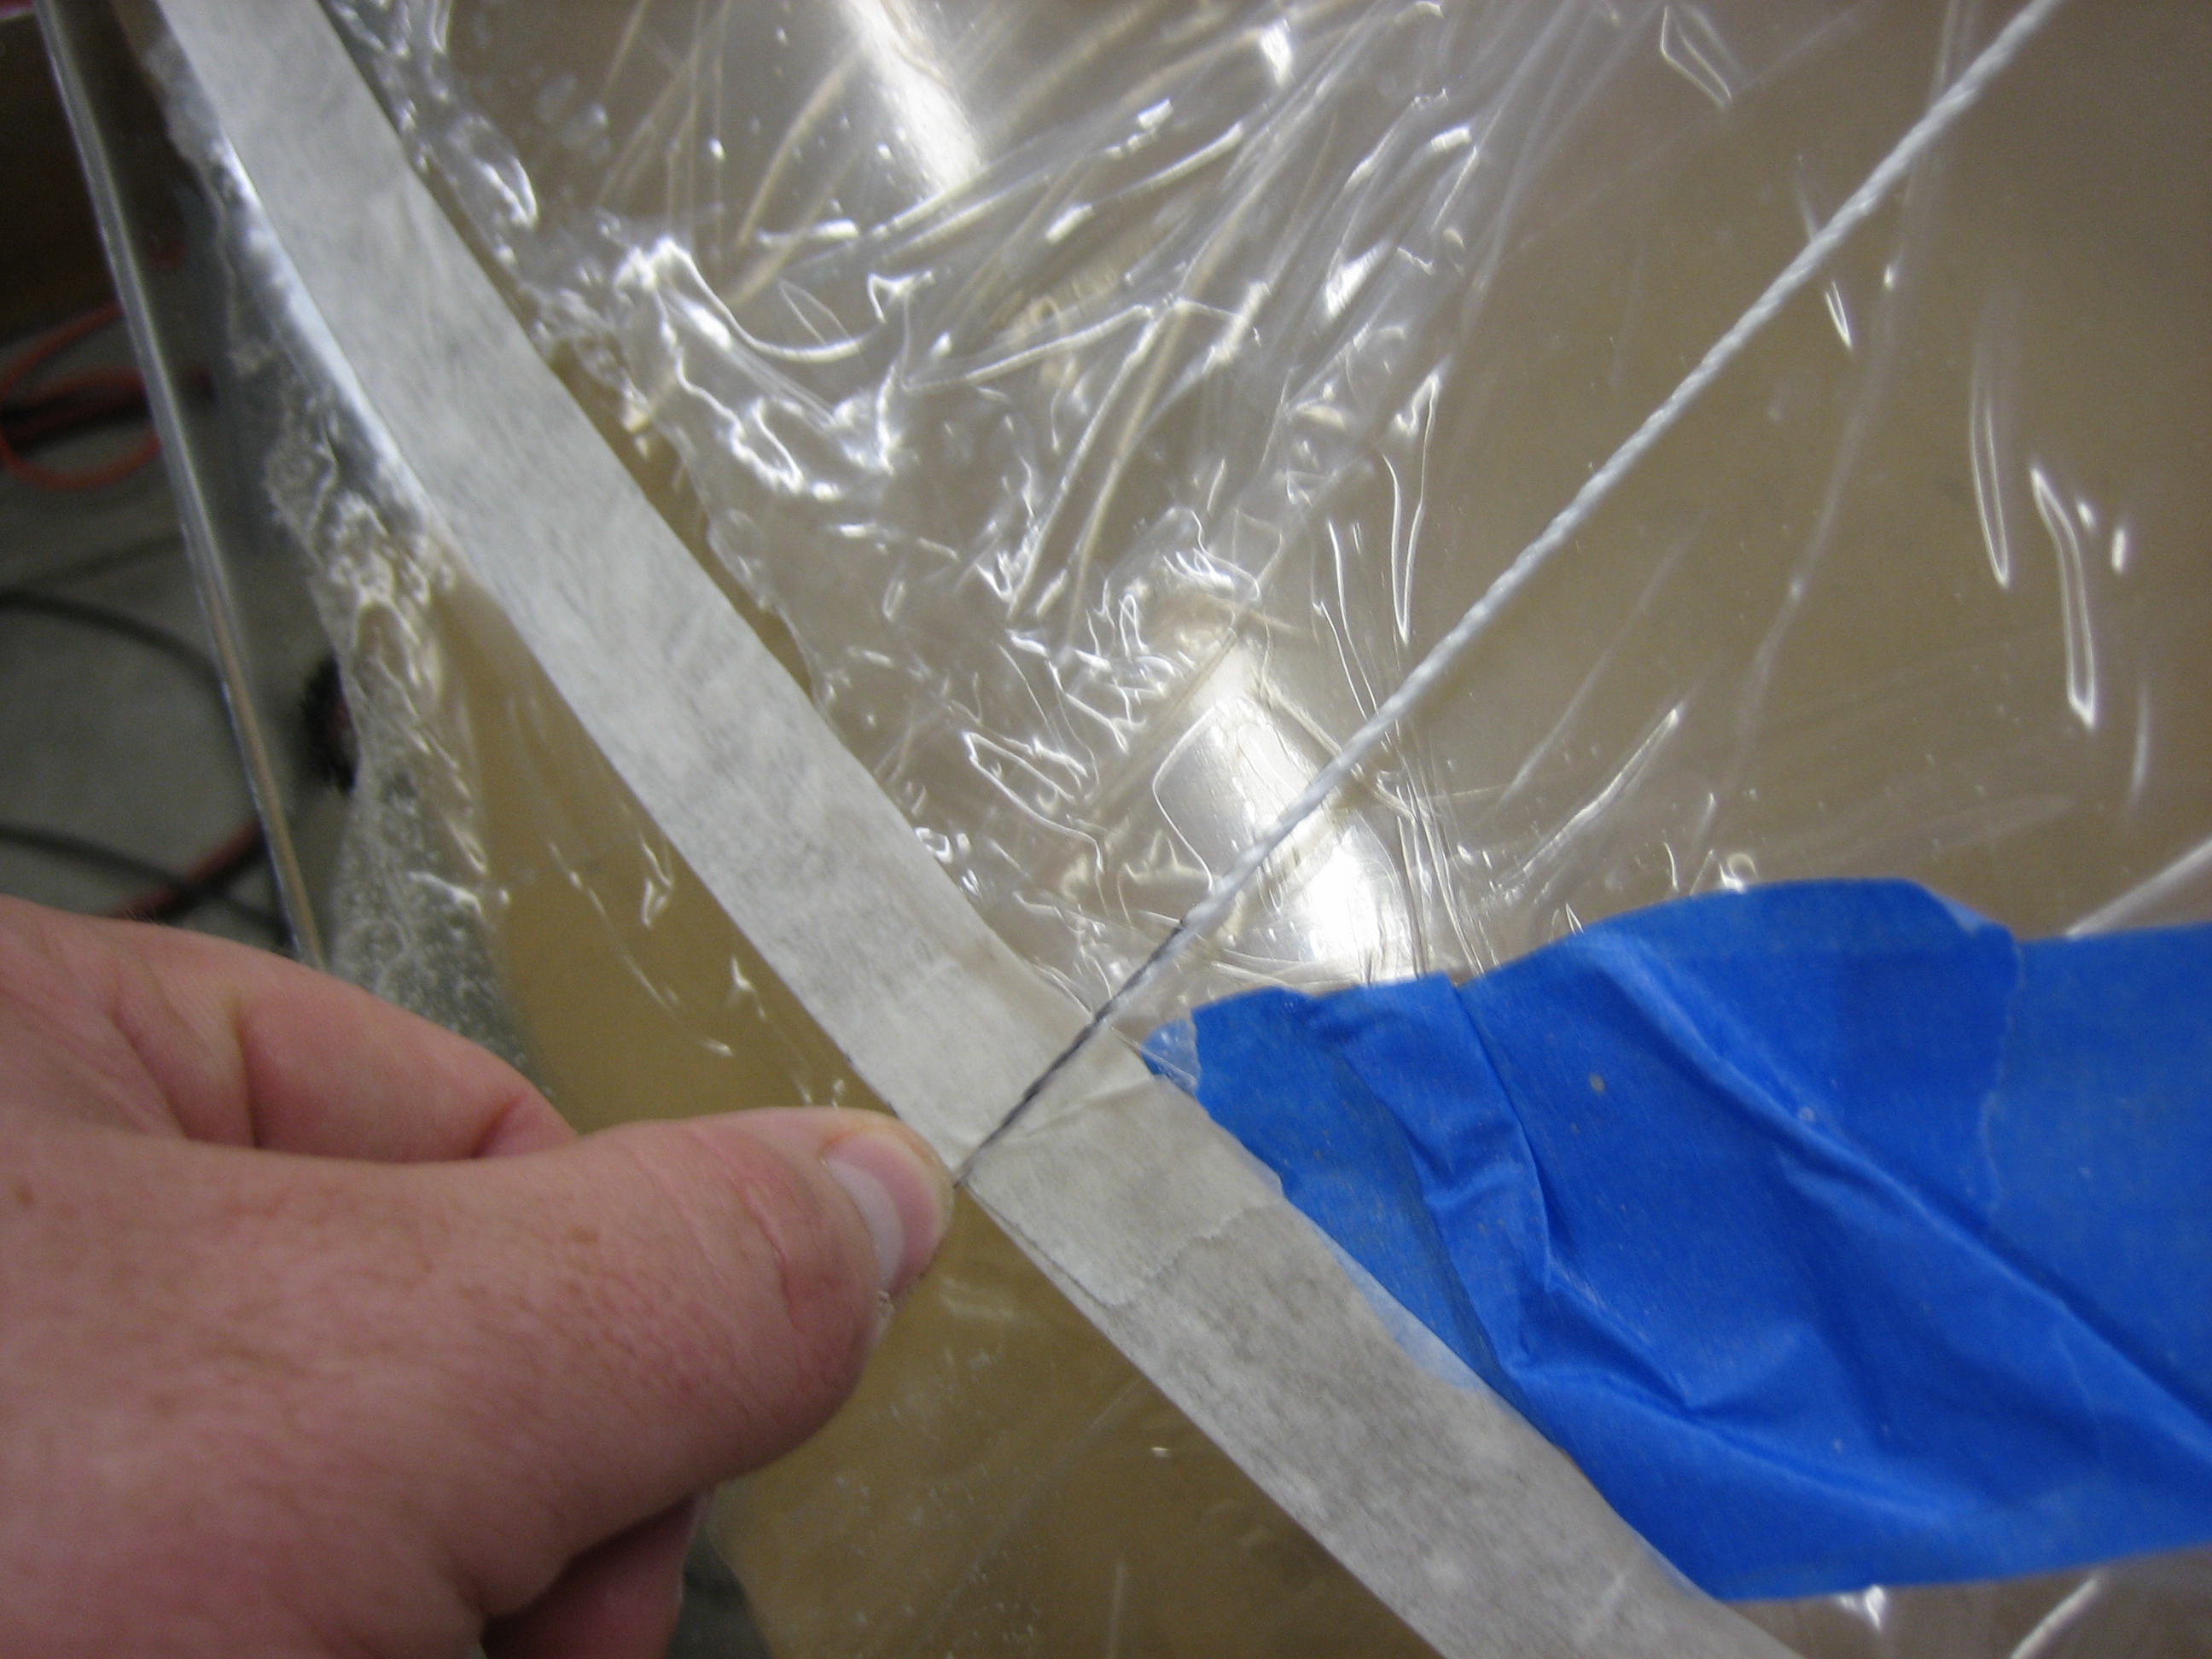
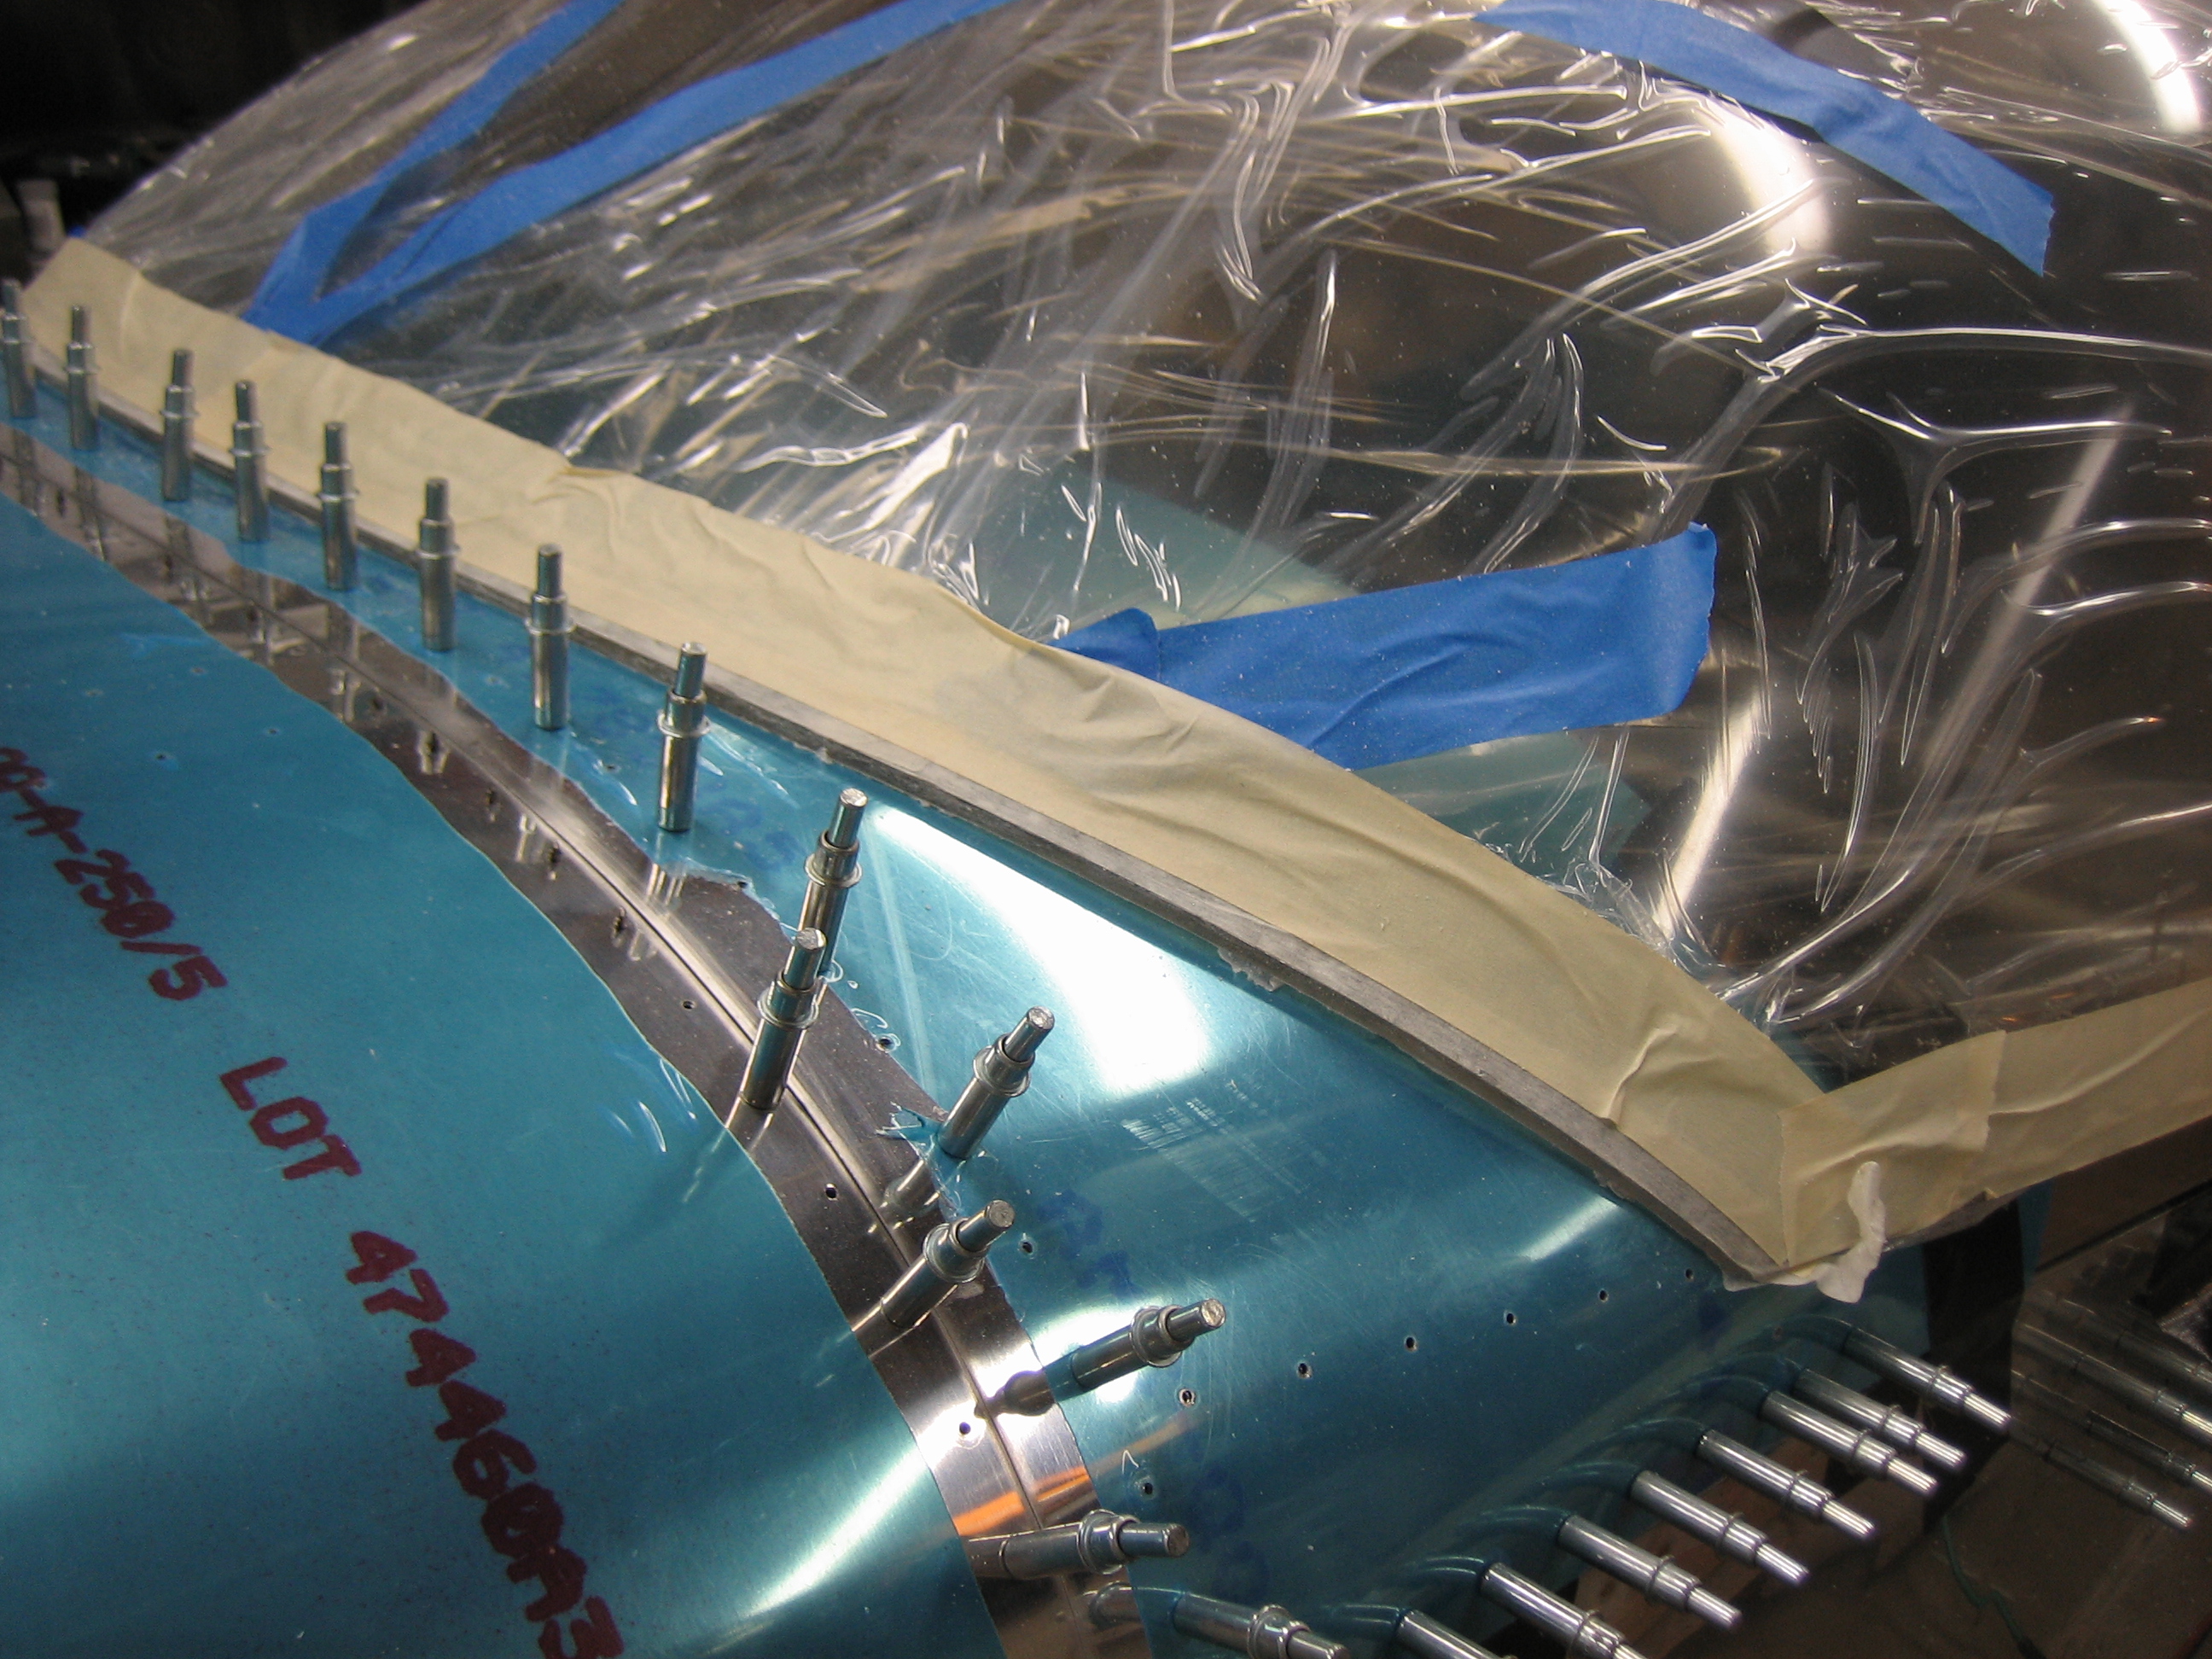
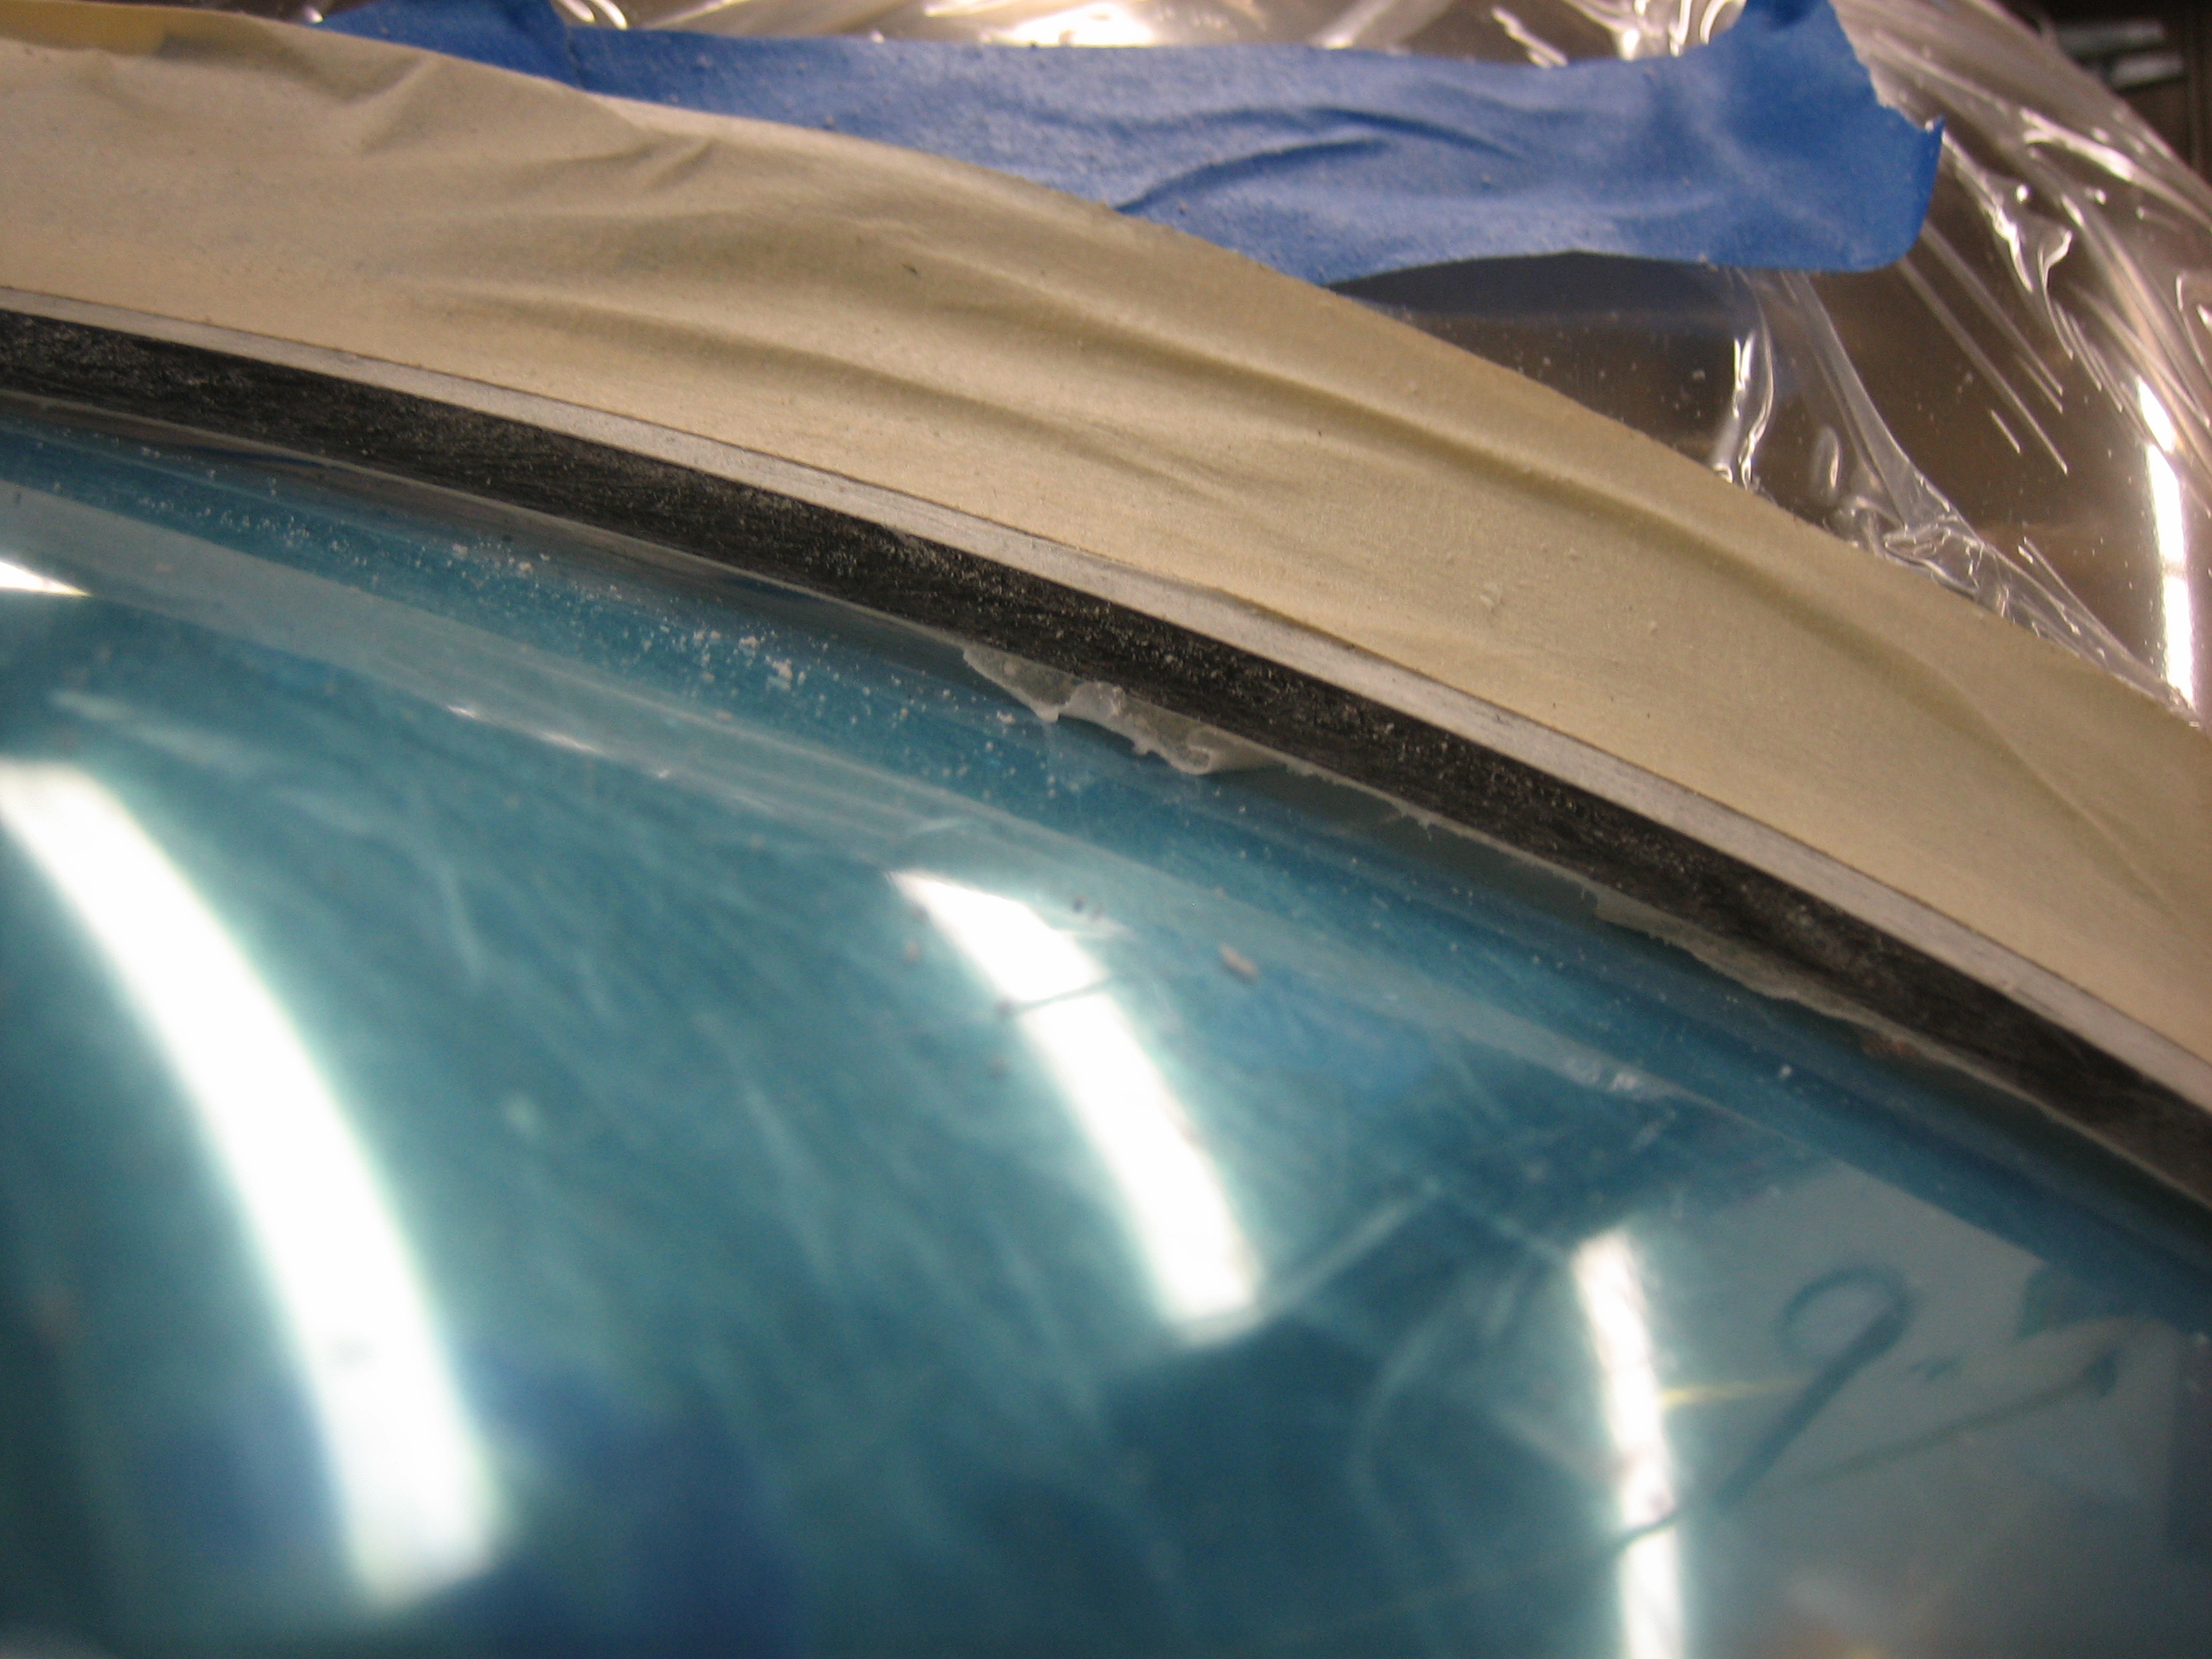
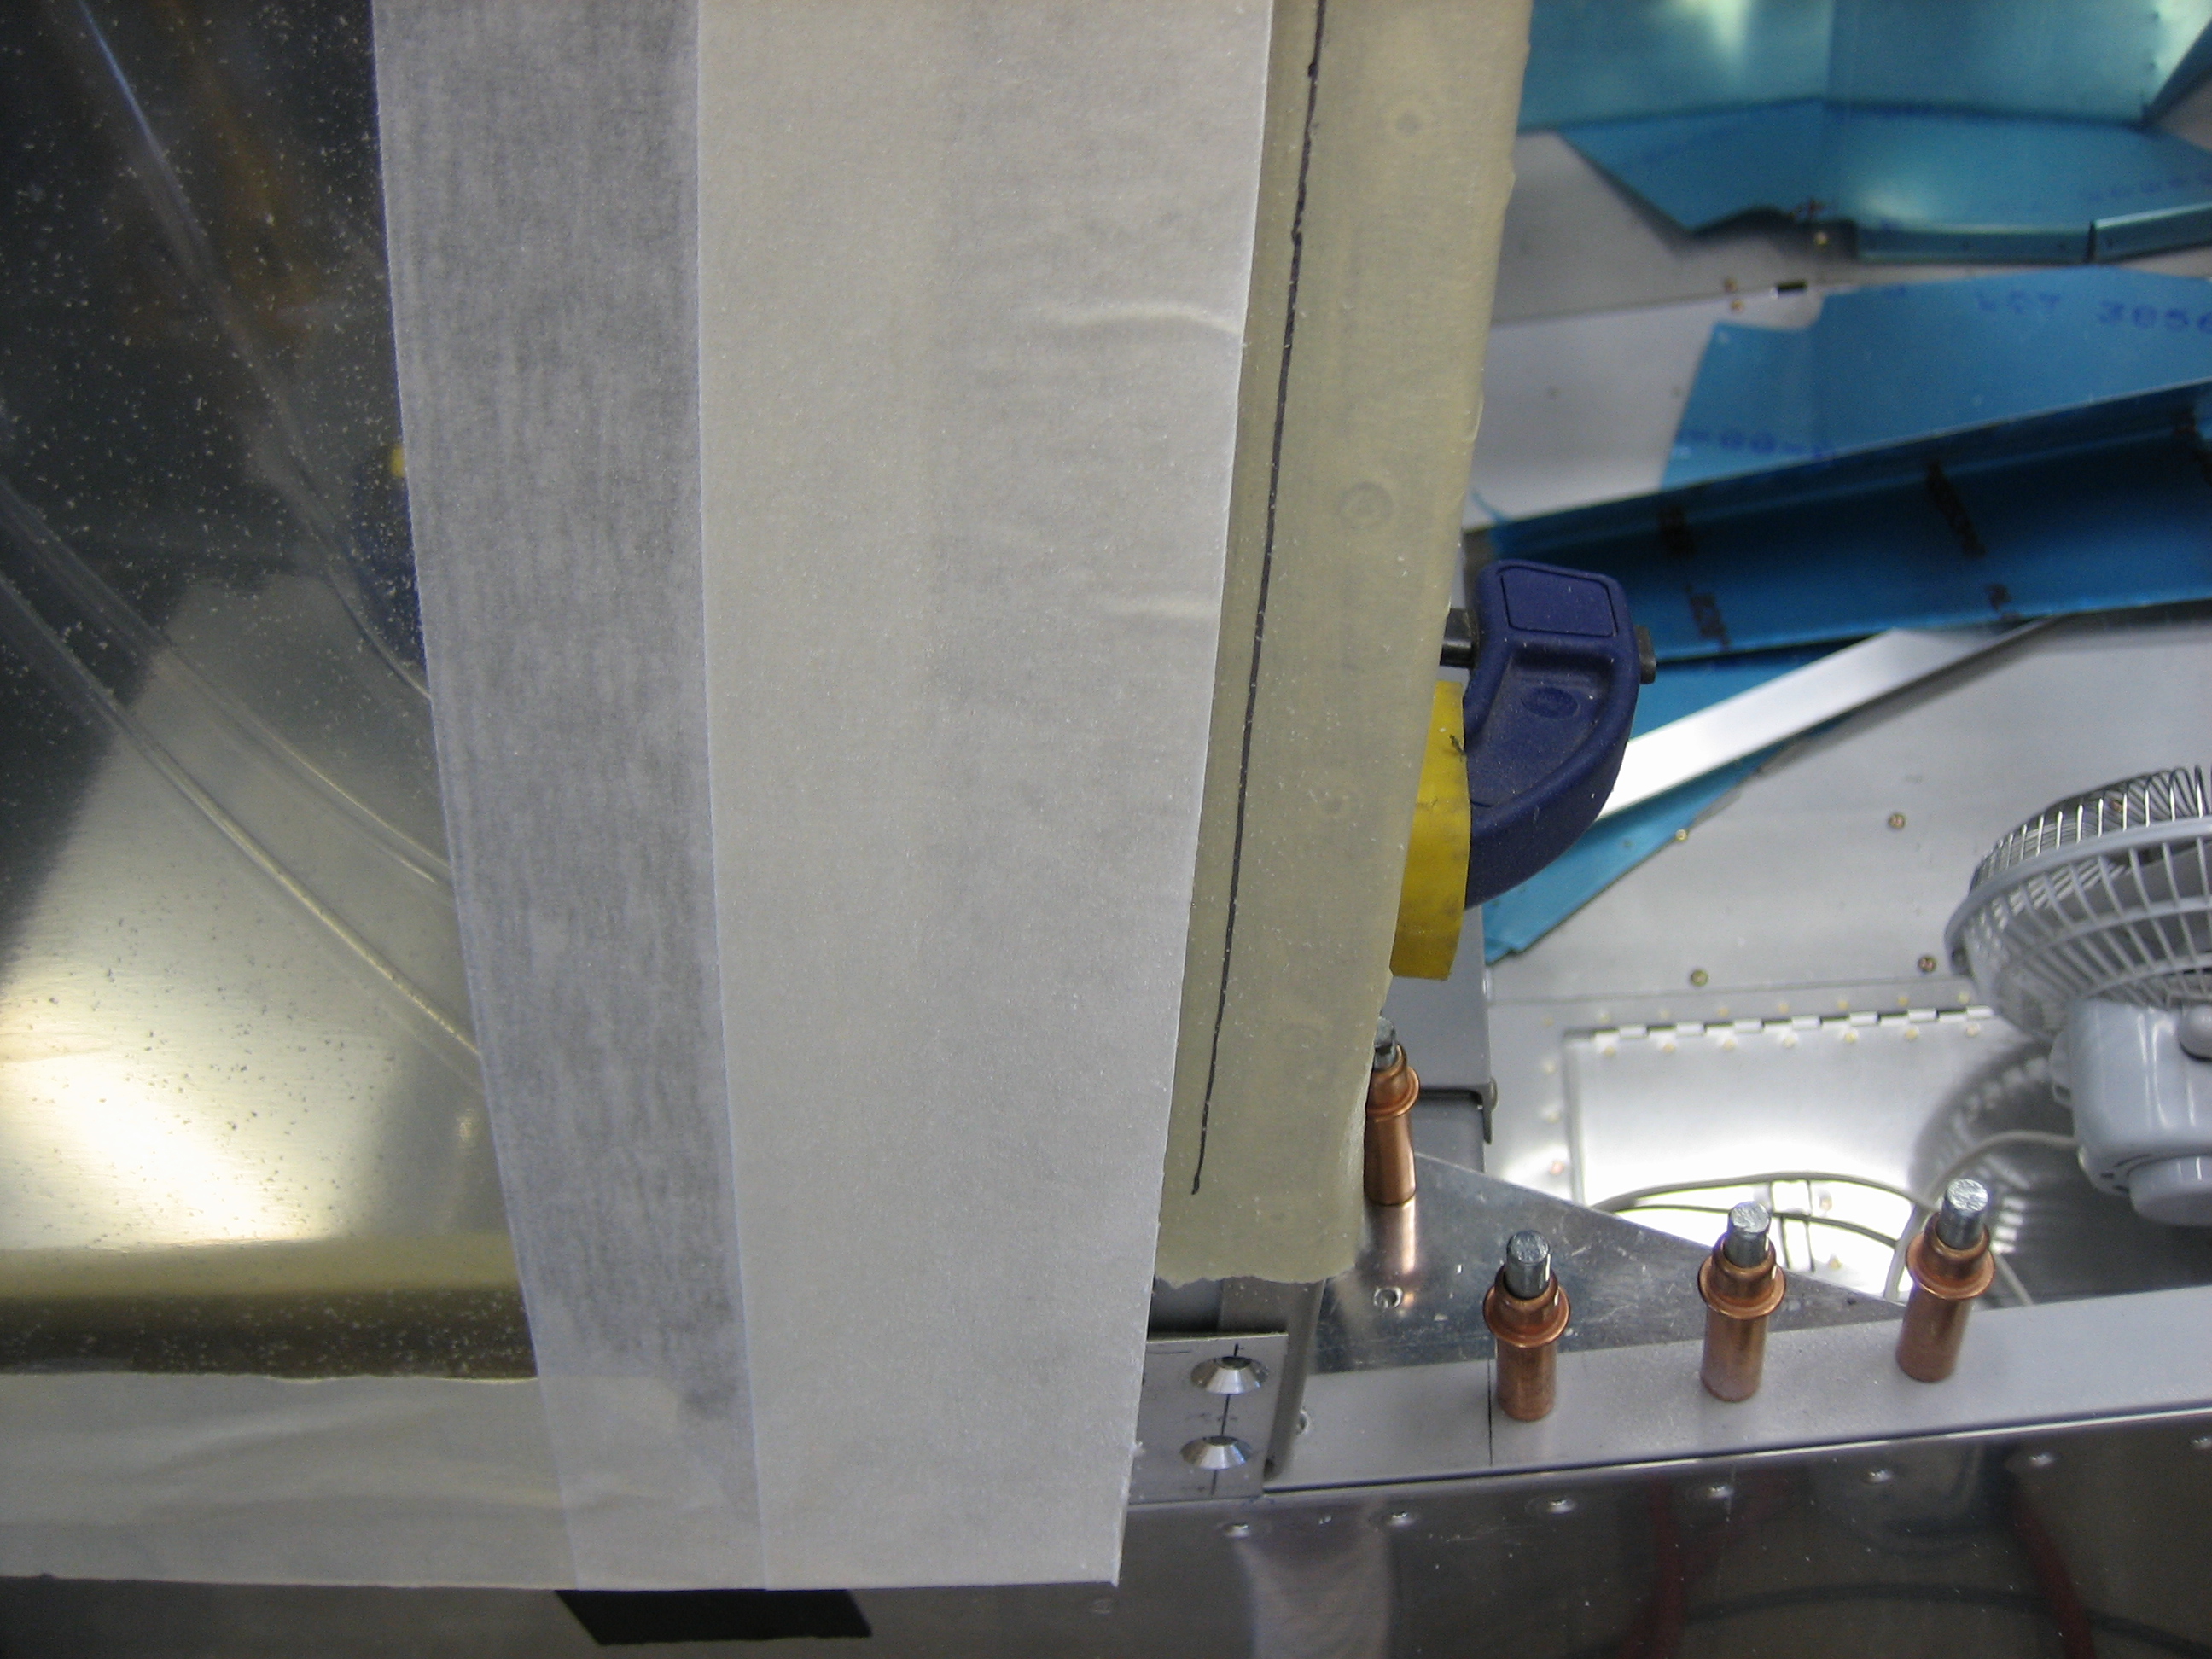
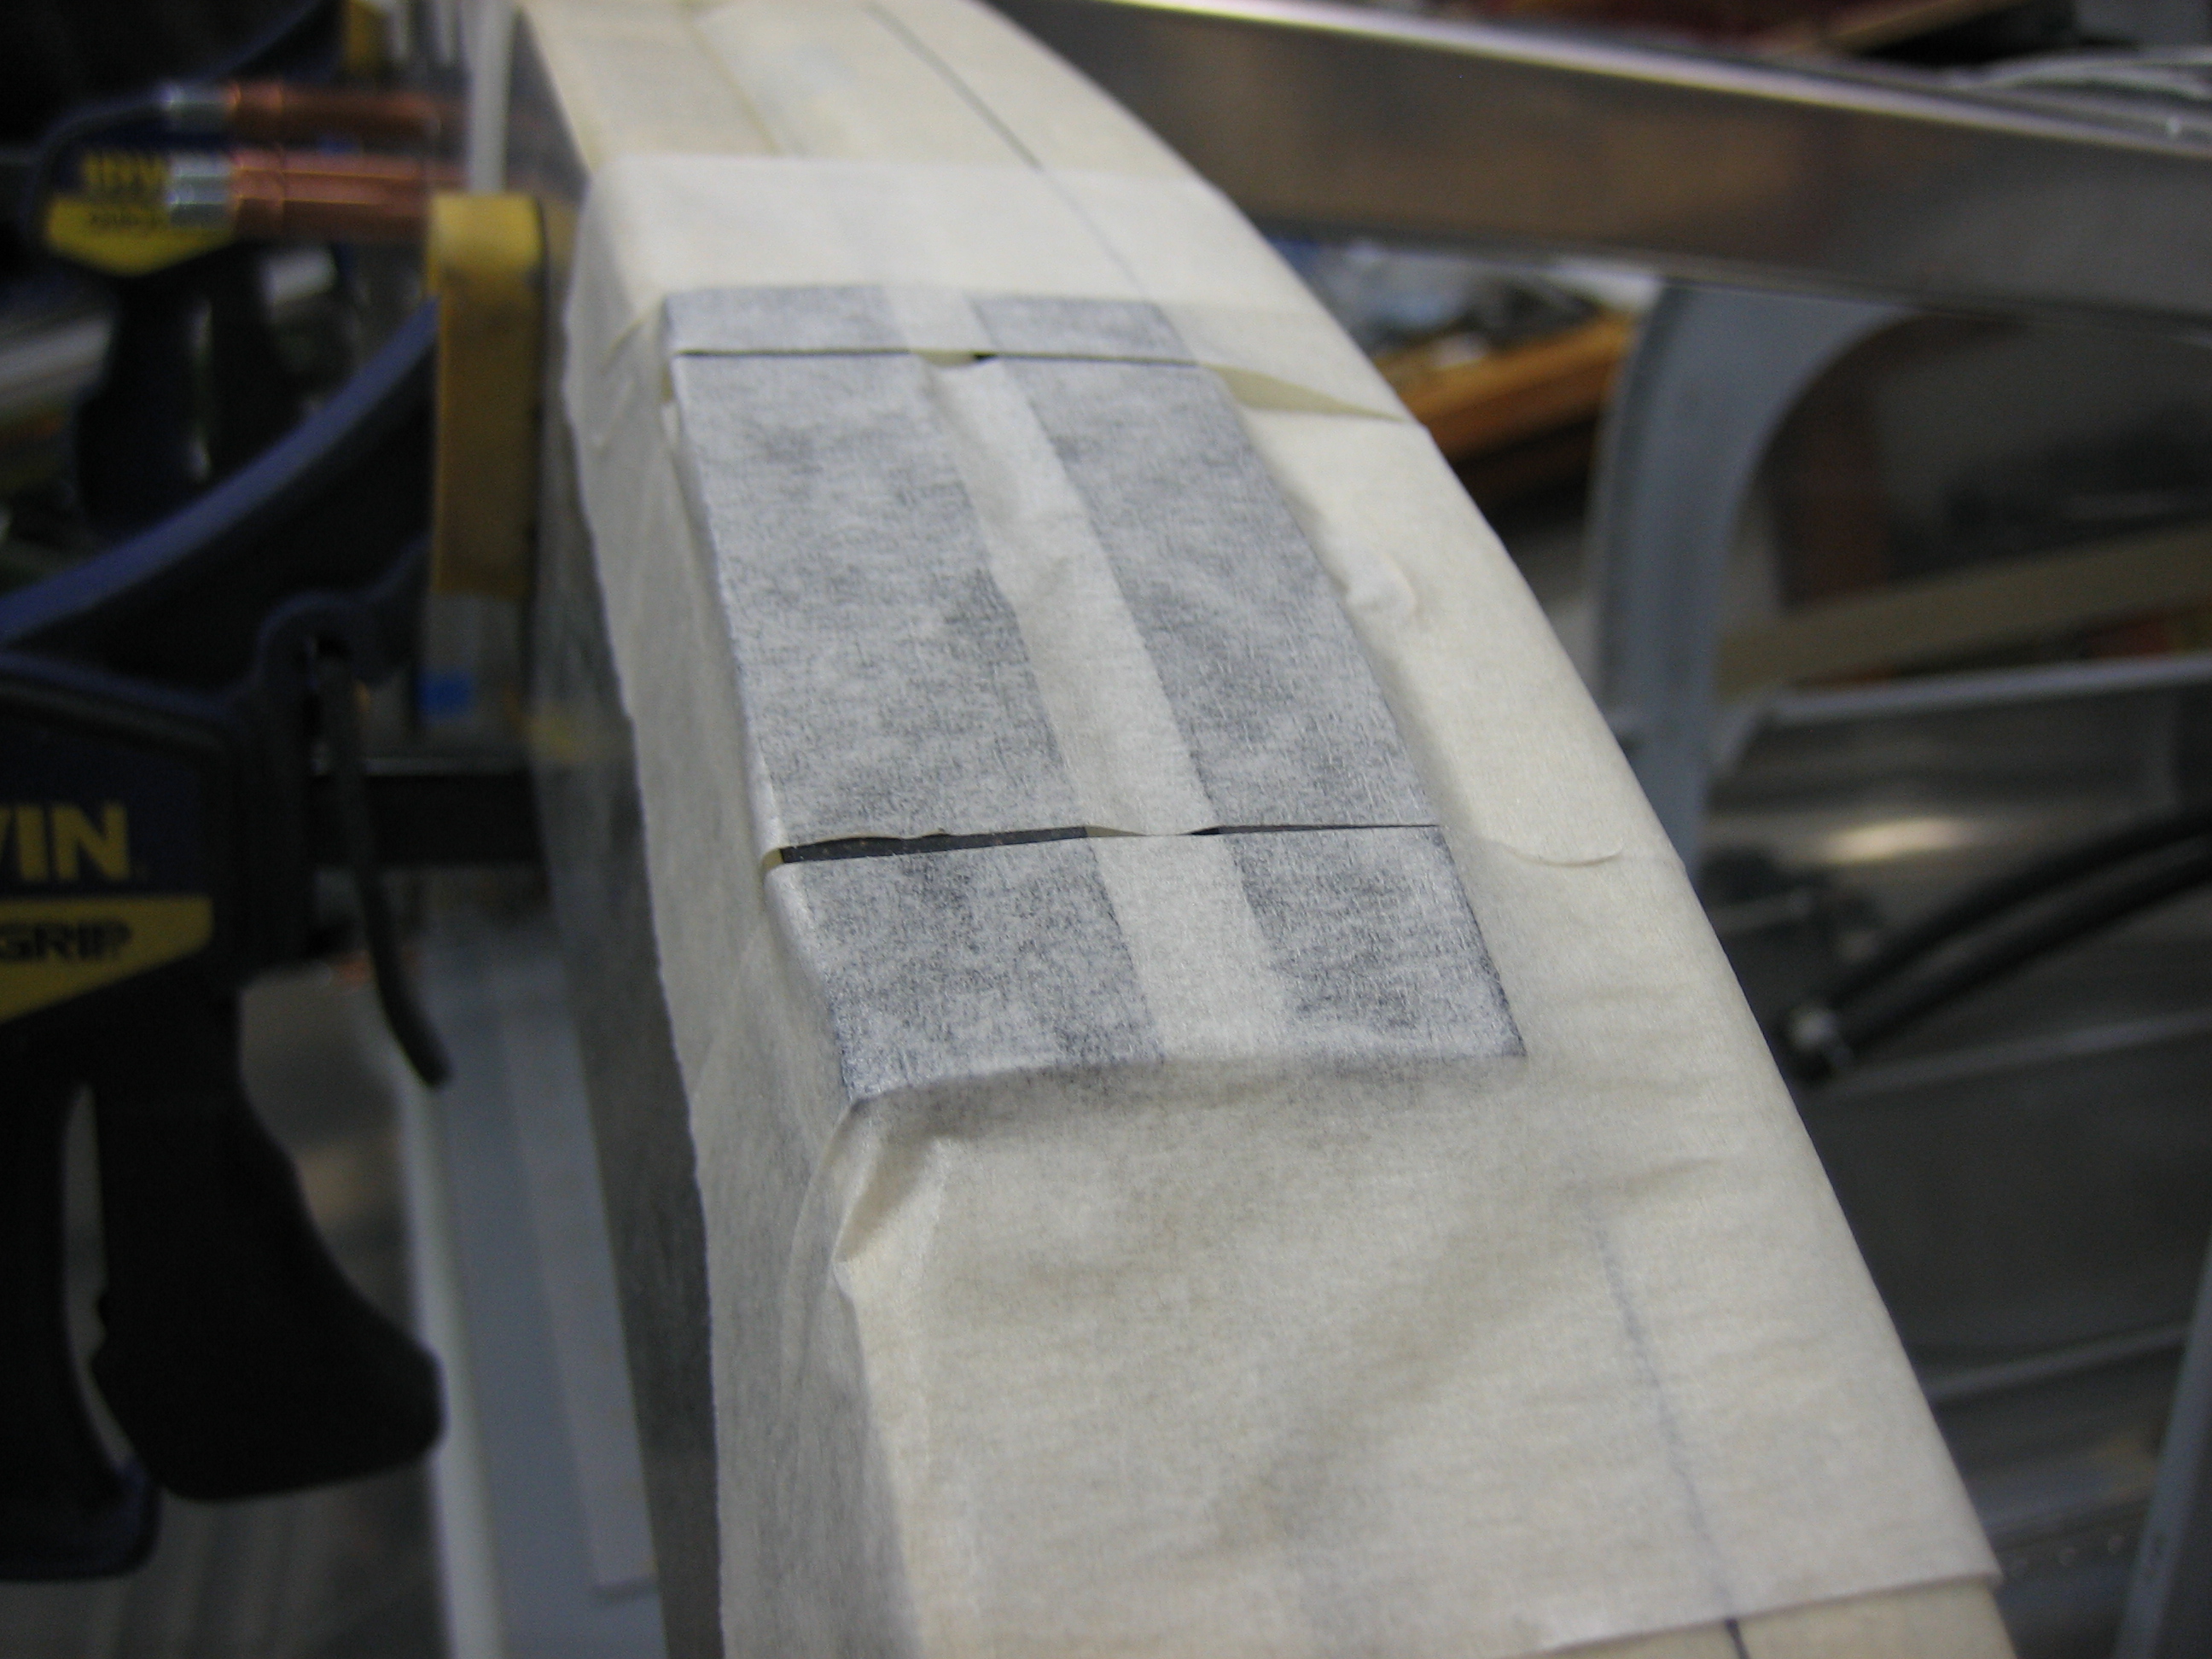
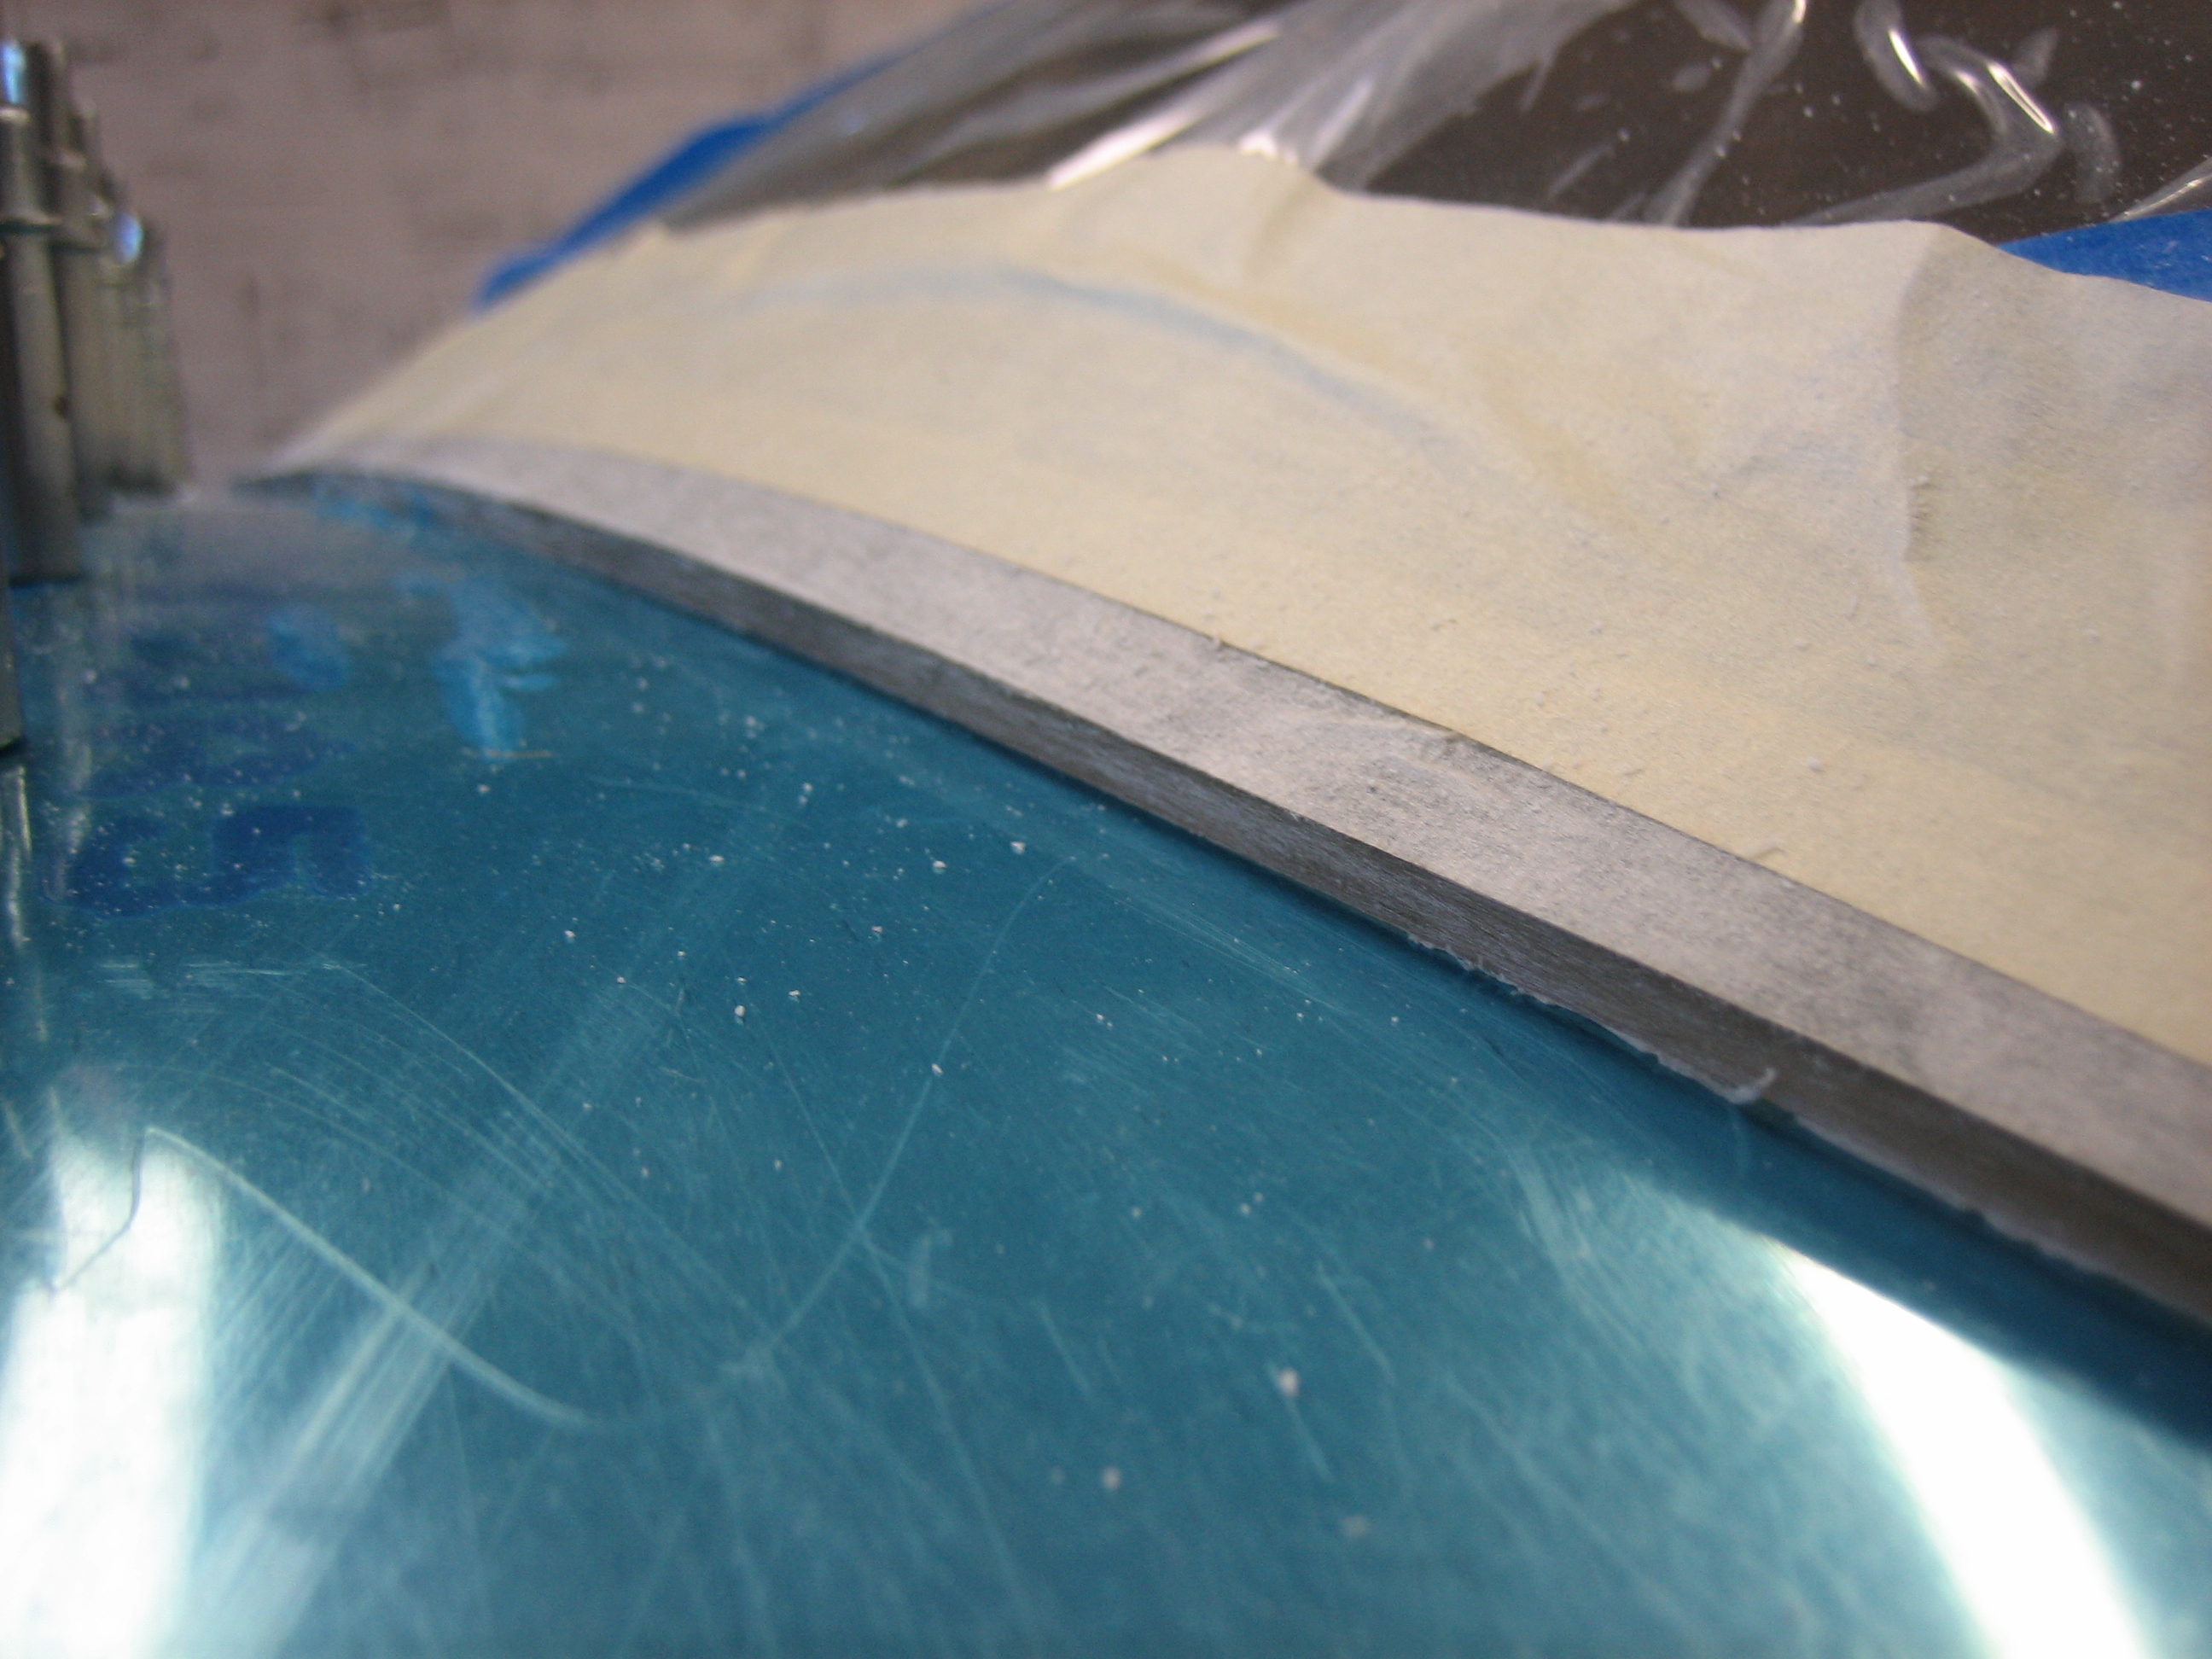
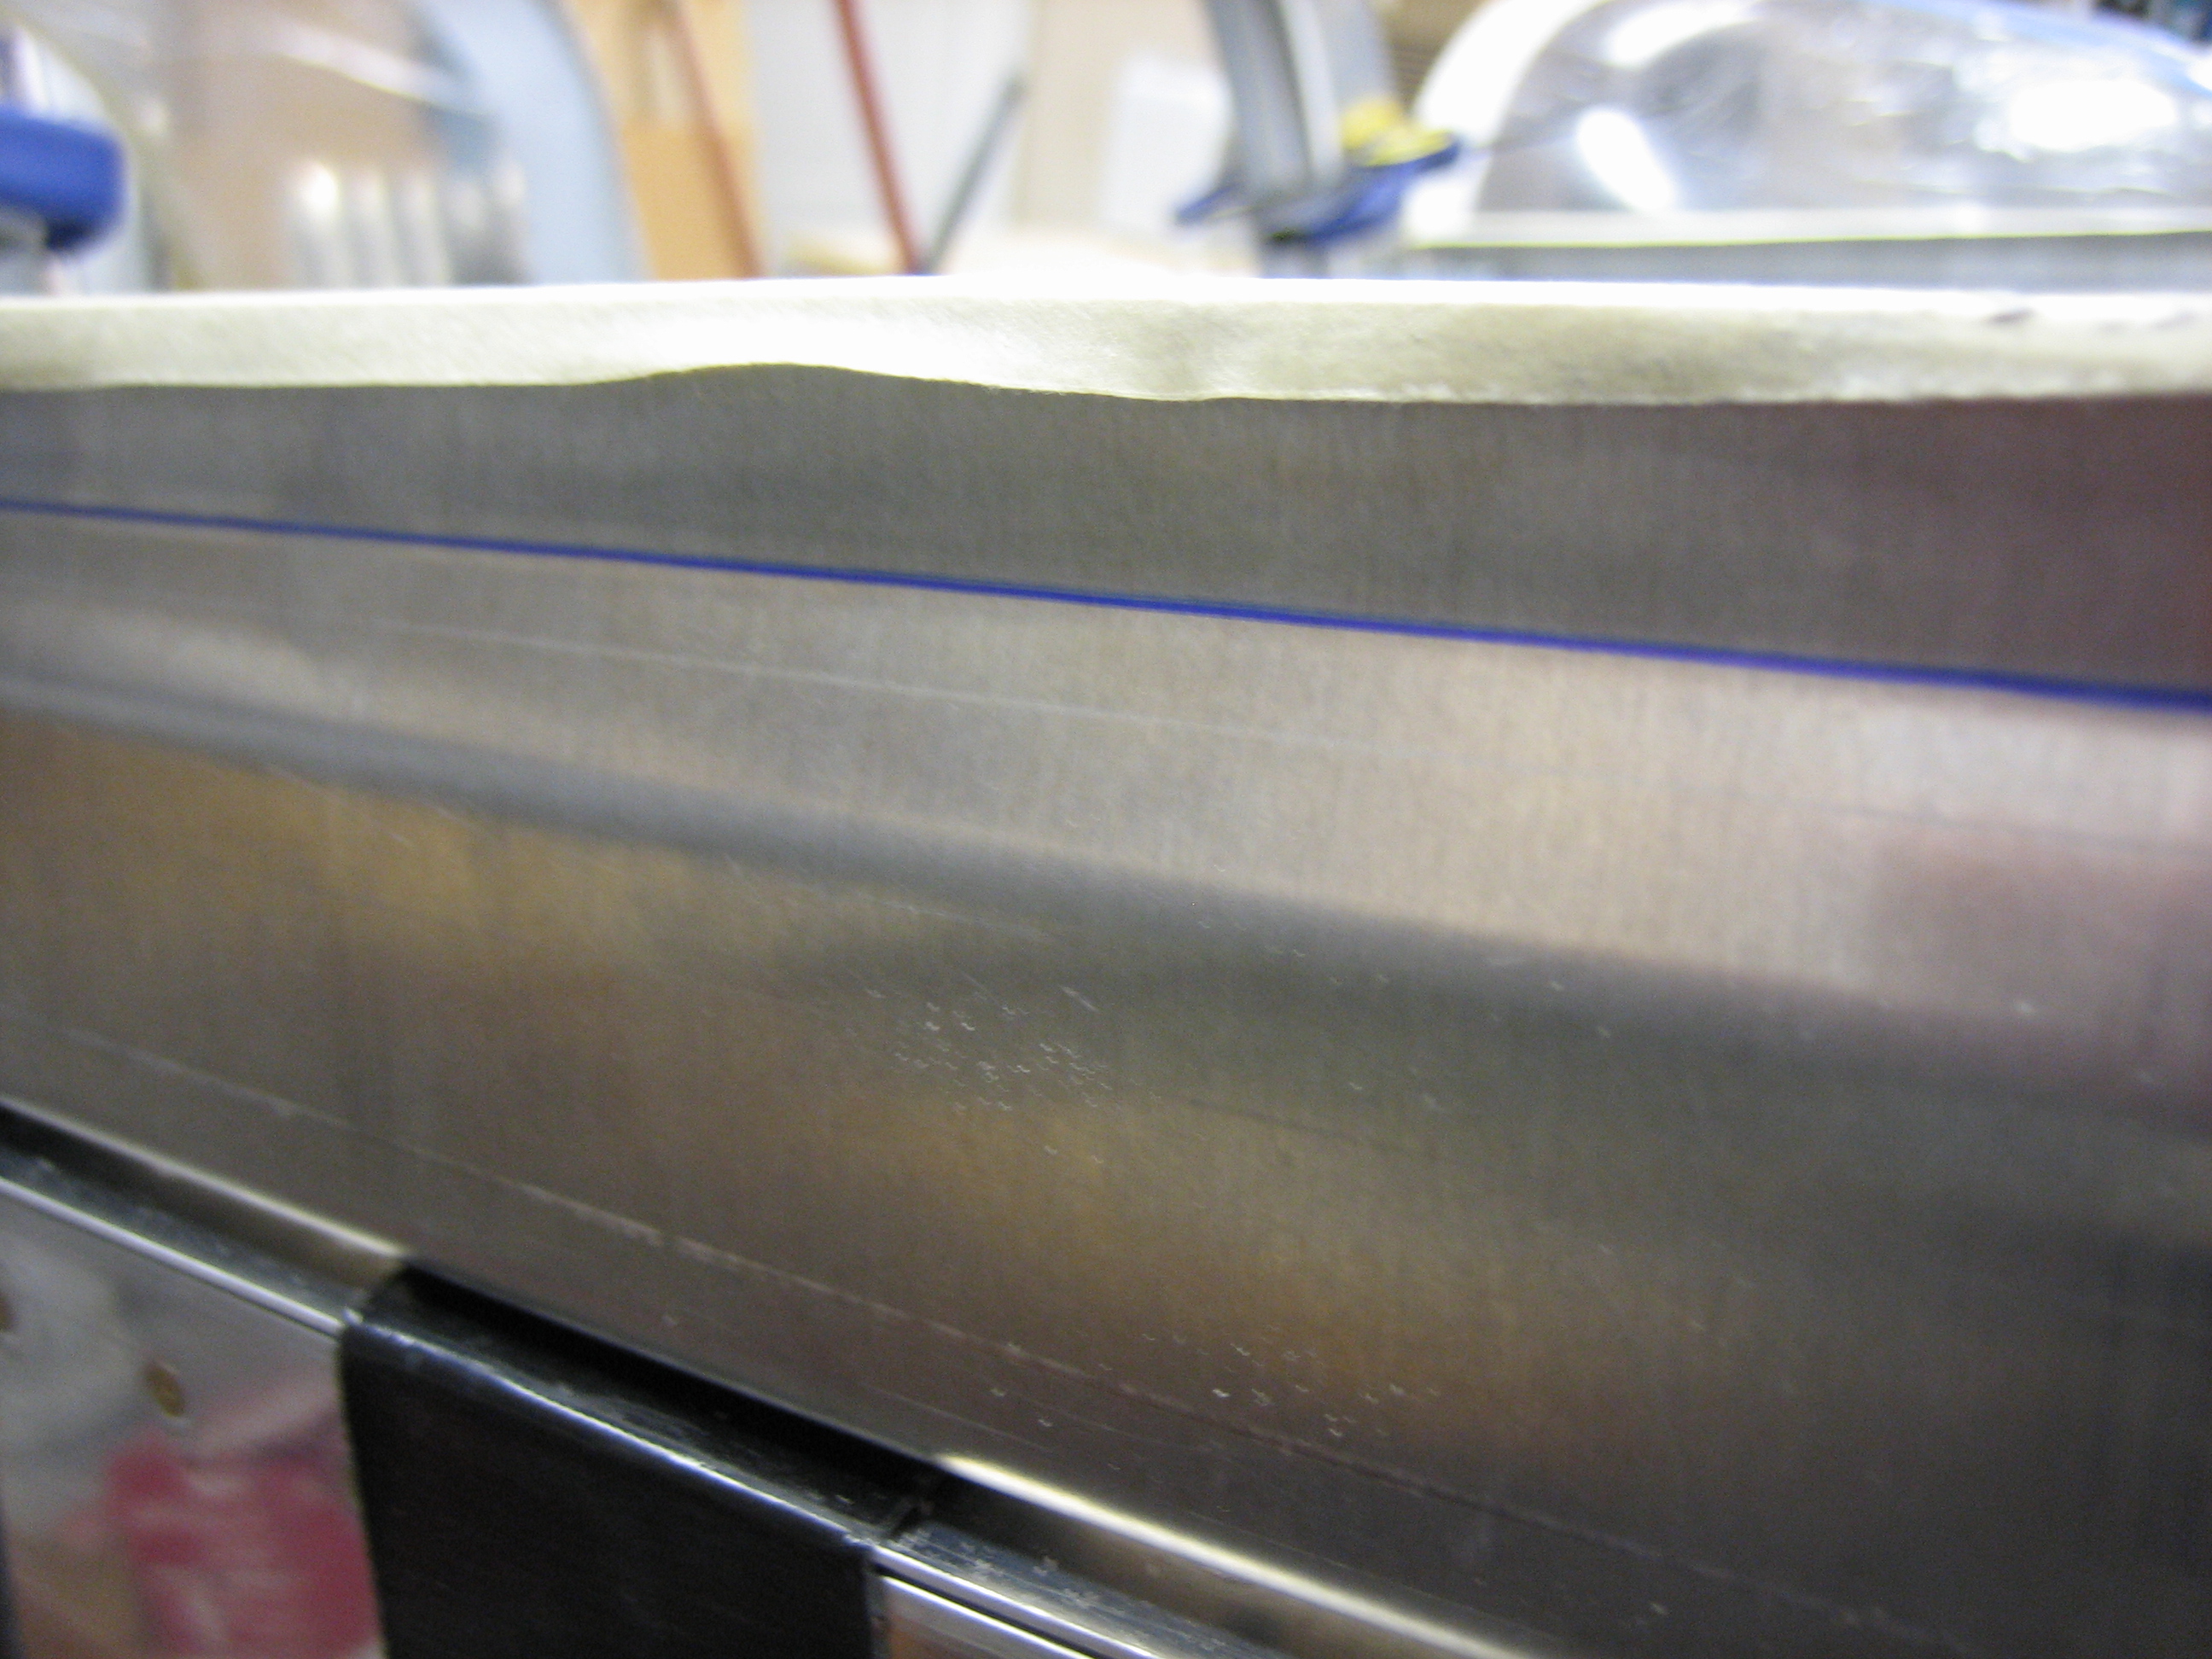
Here’s a closeup of the clamping flange and taped cut line.

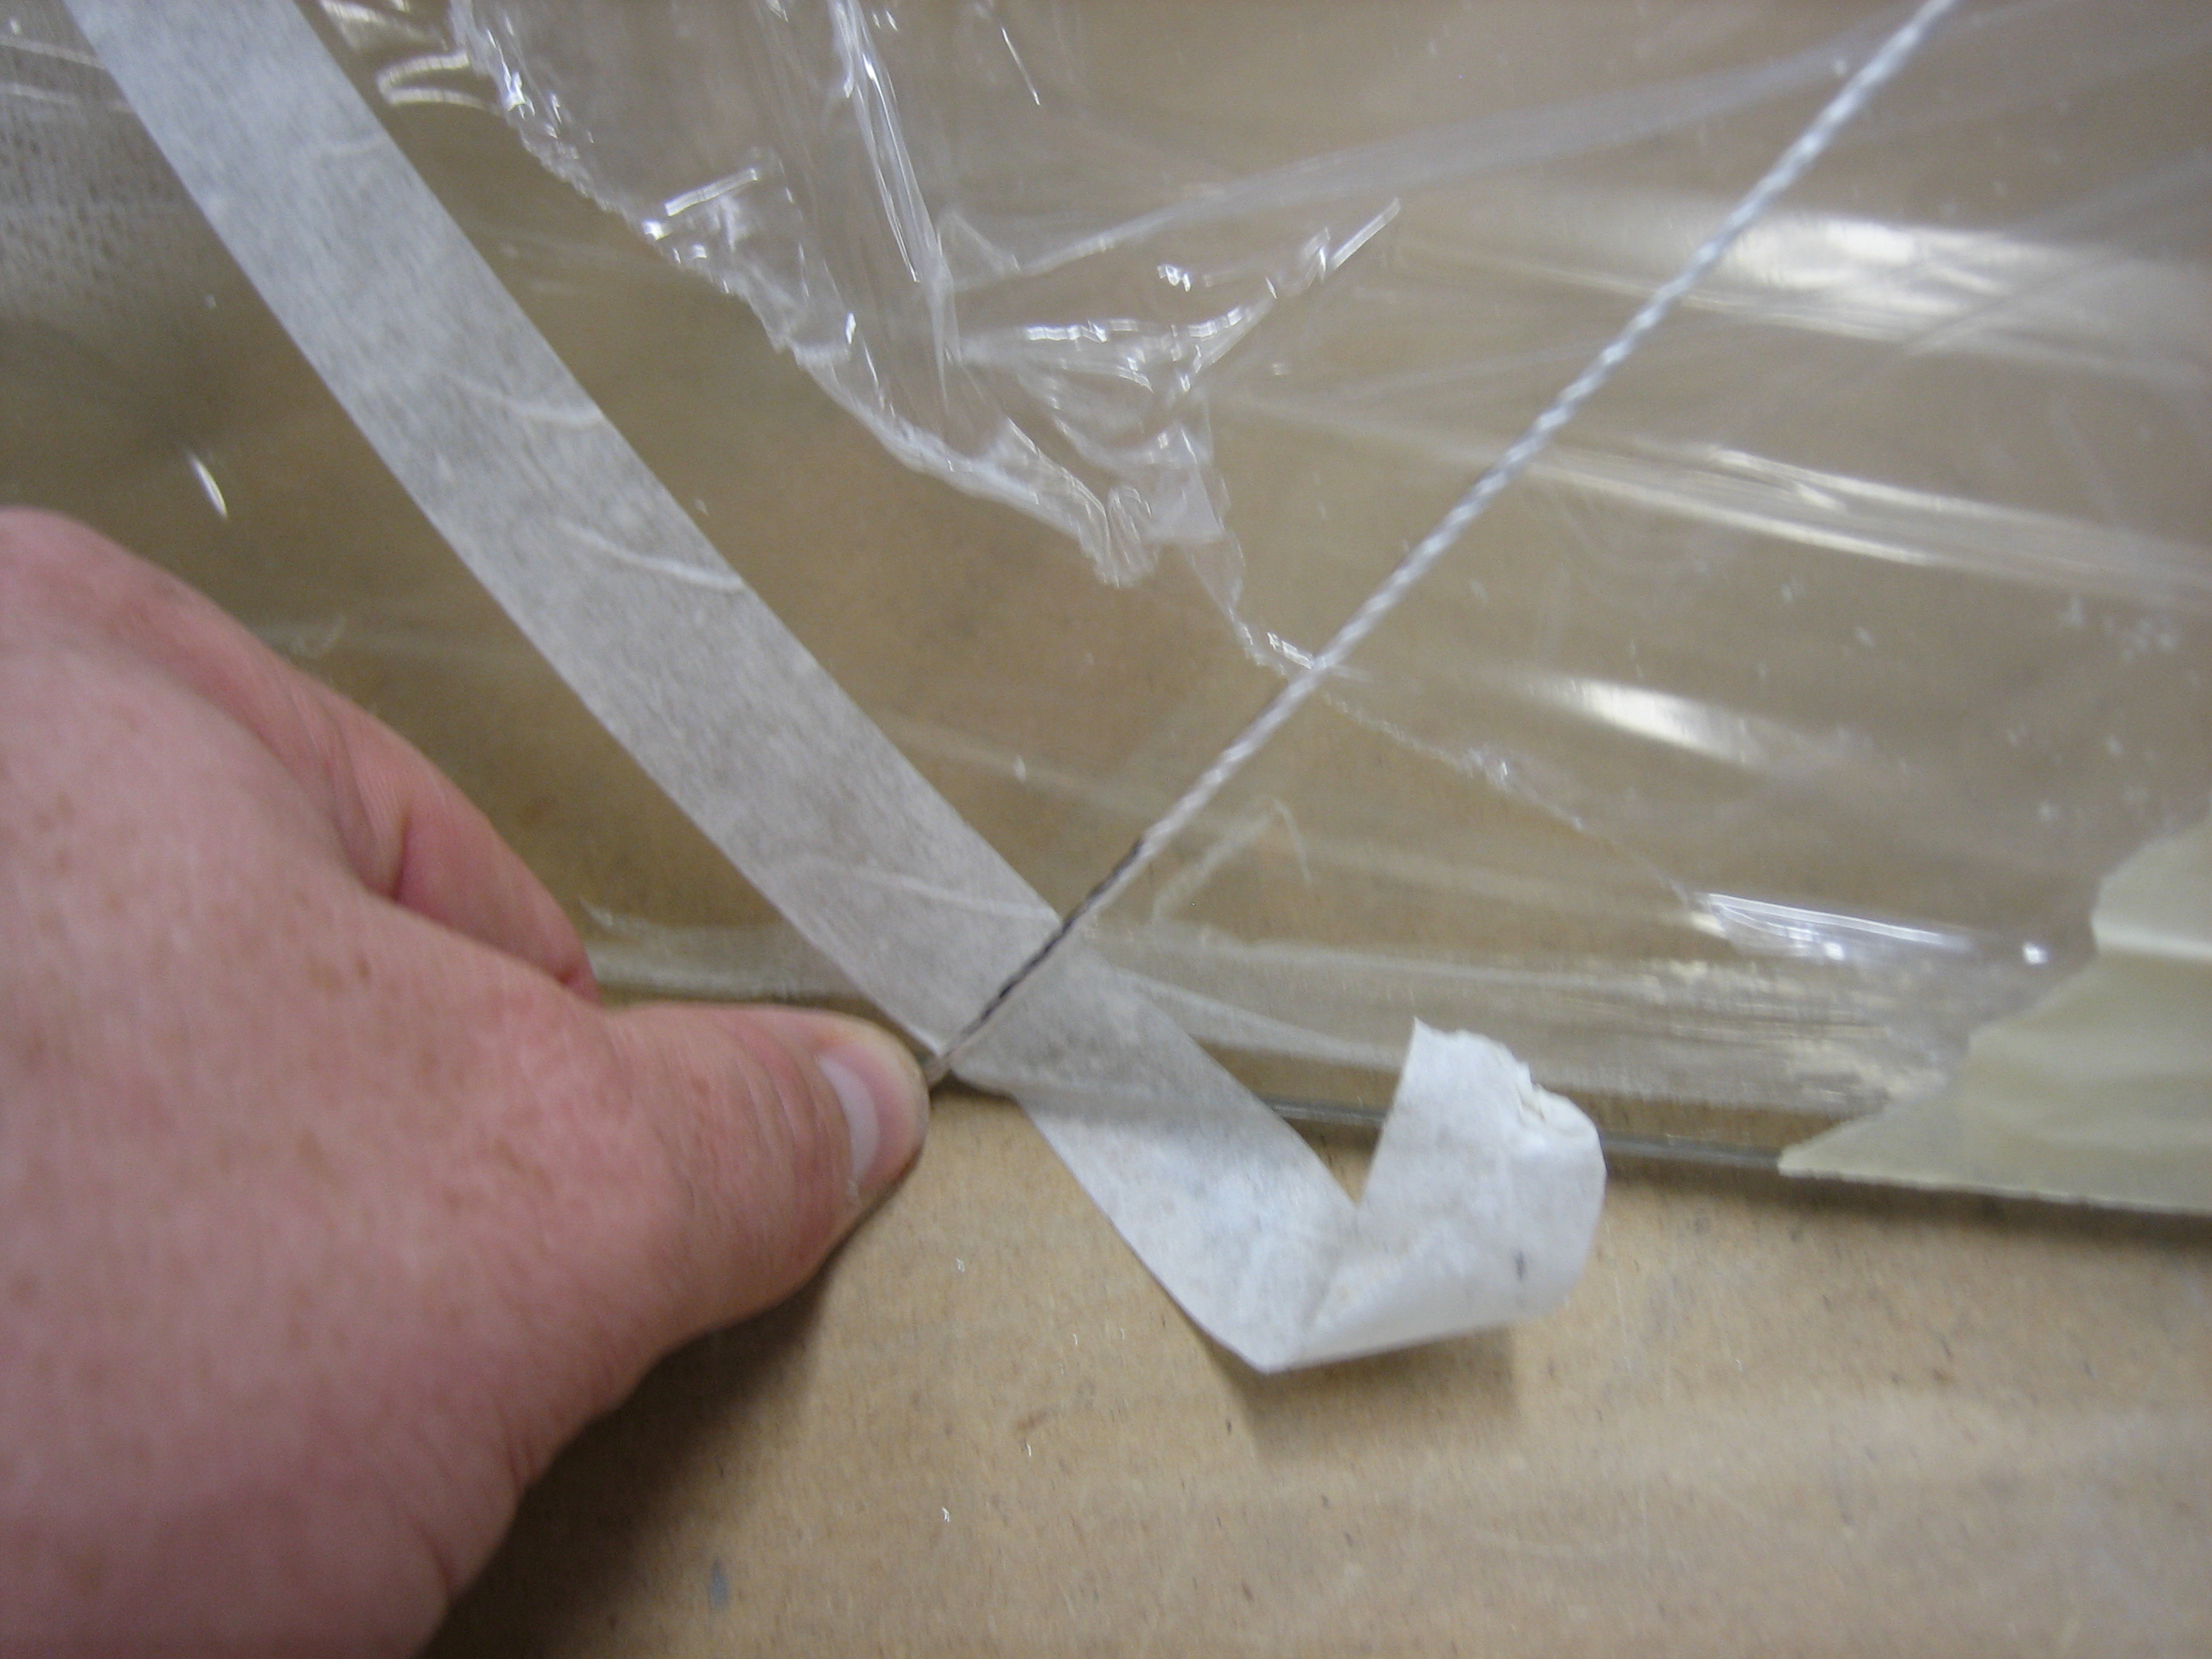
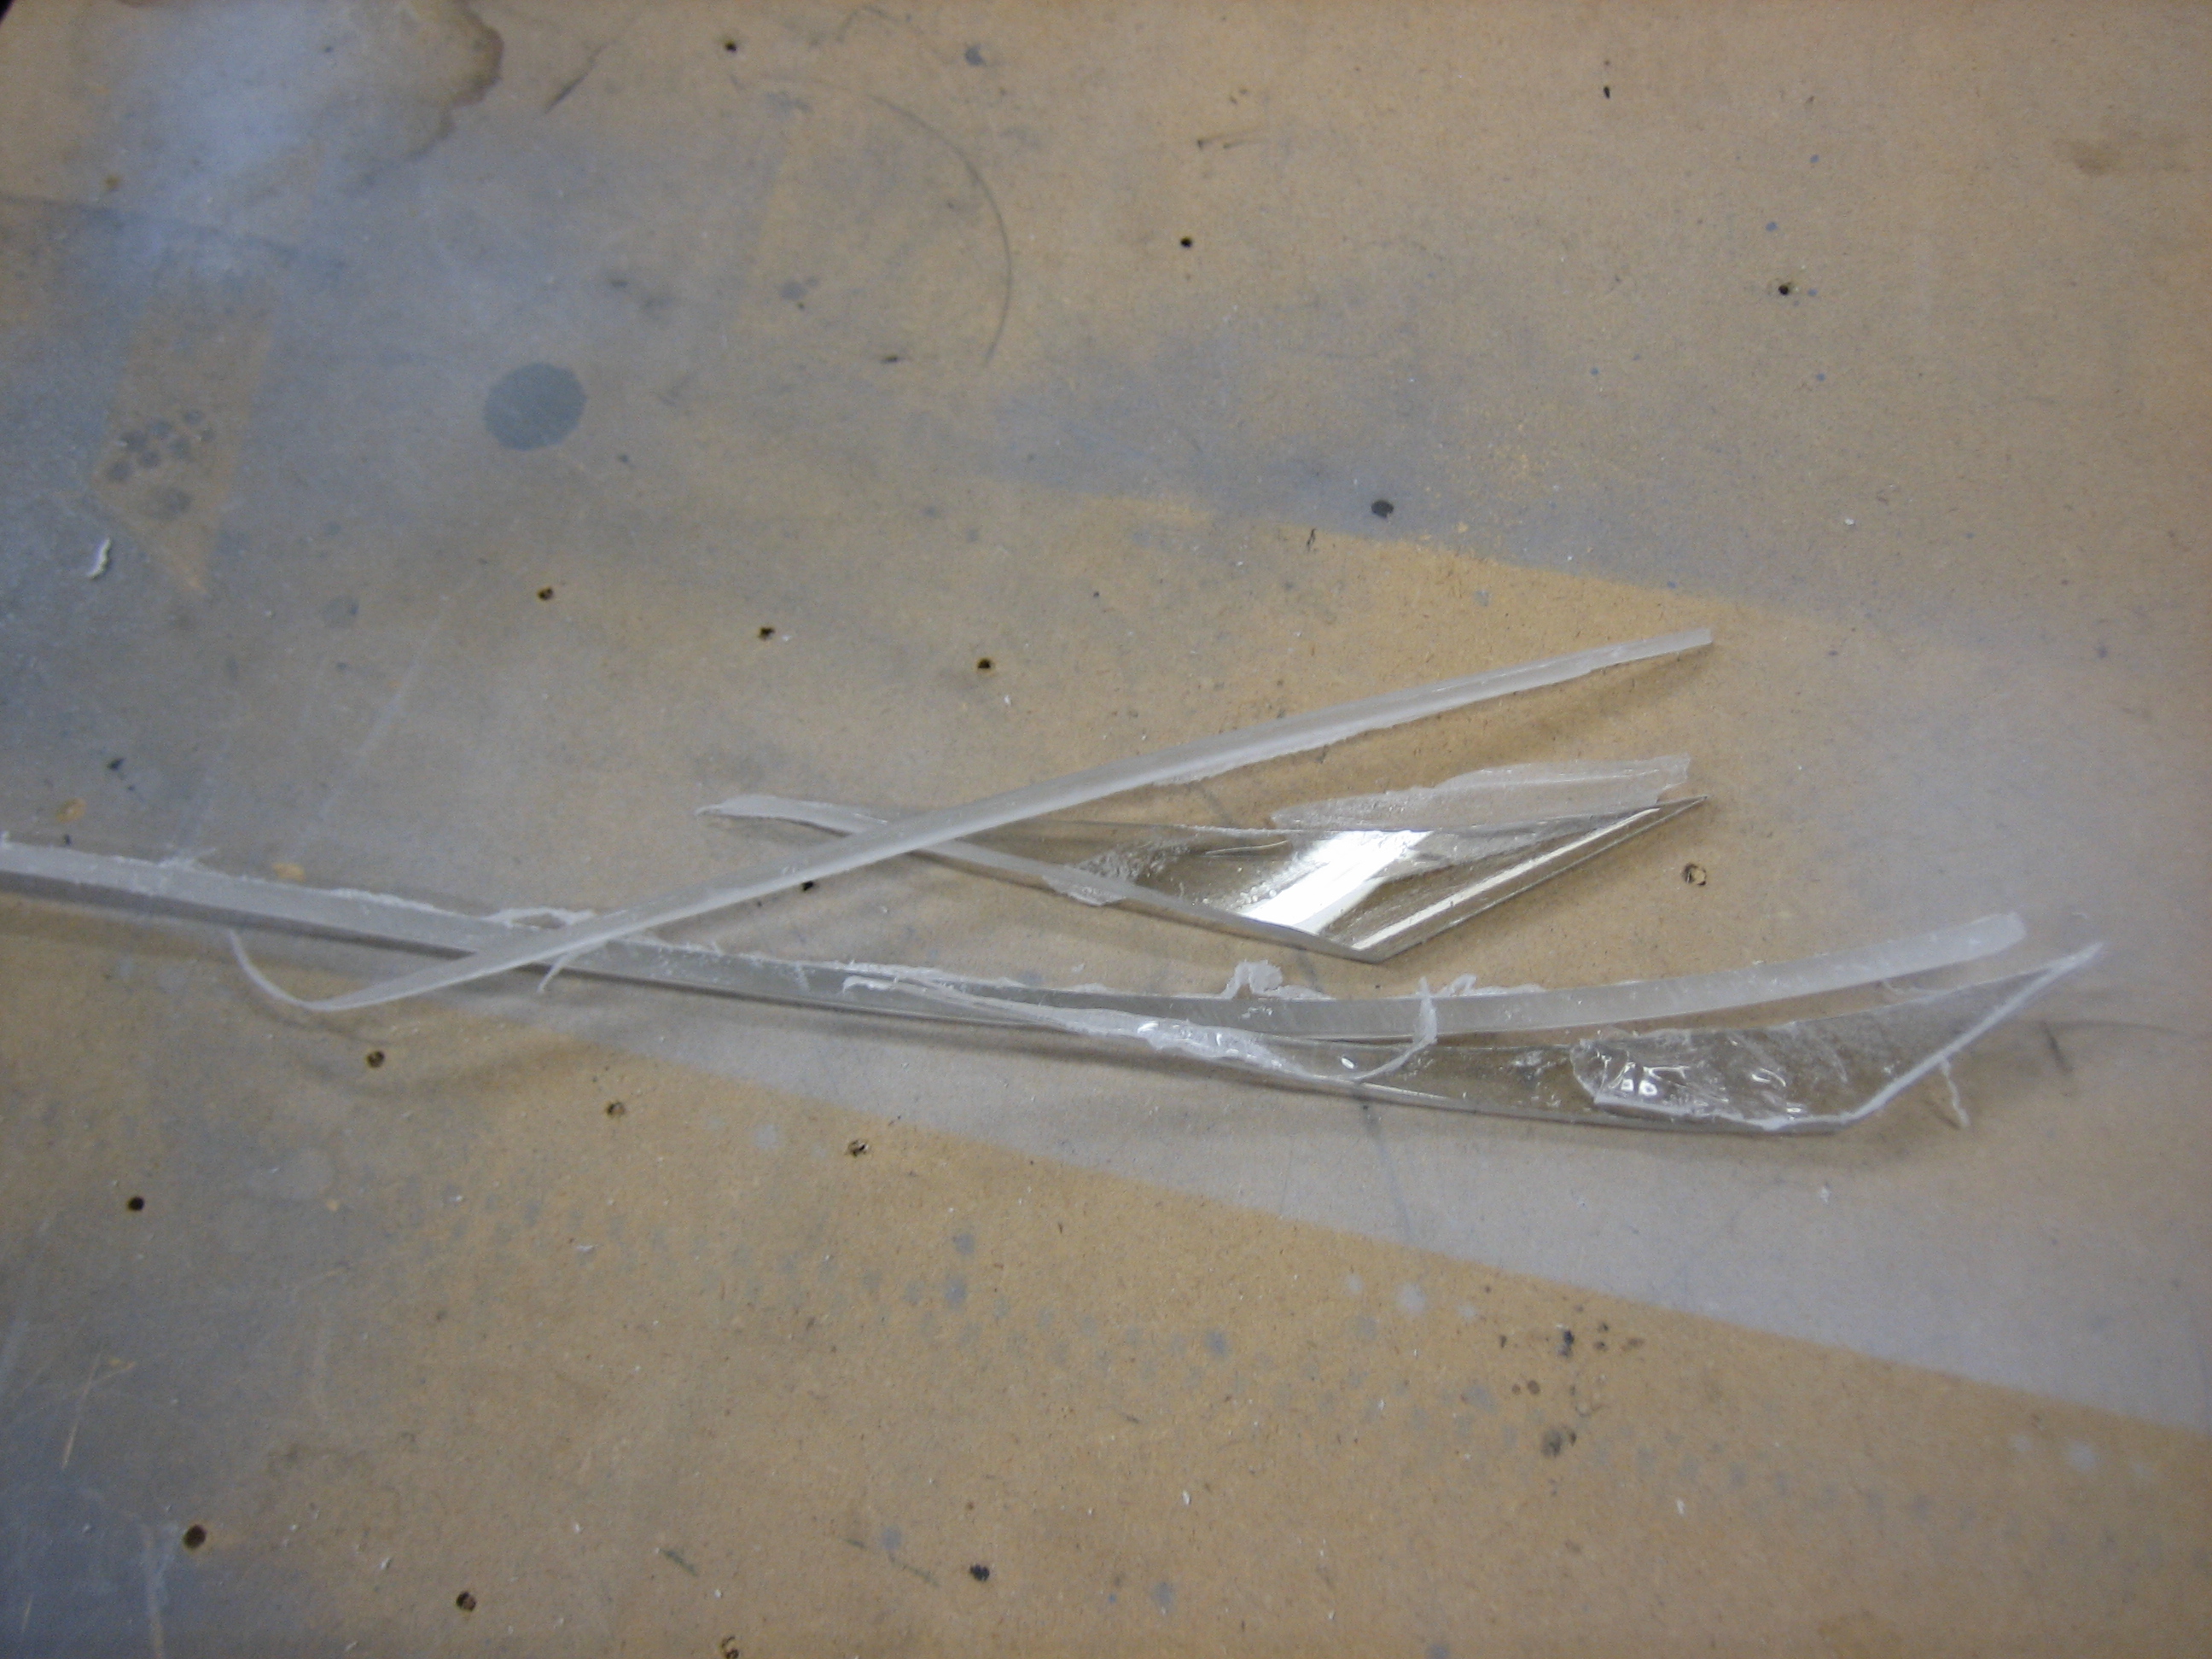
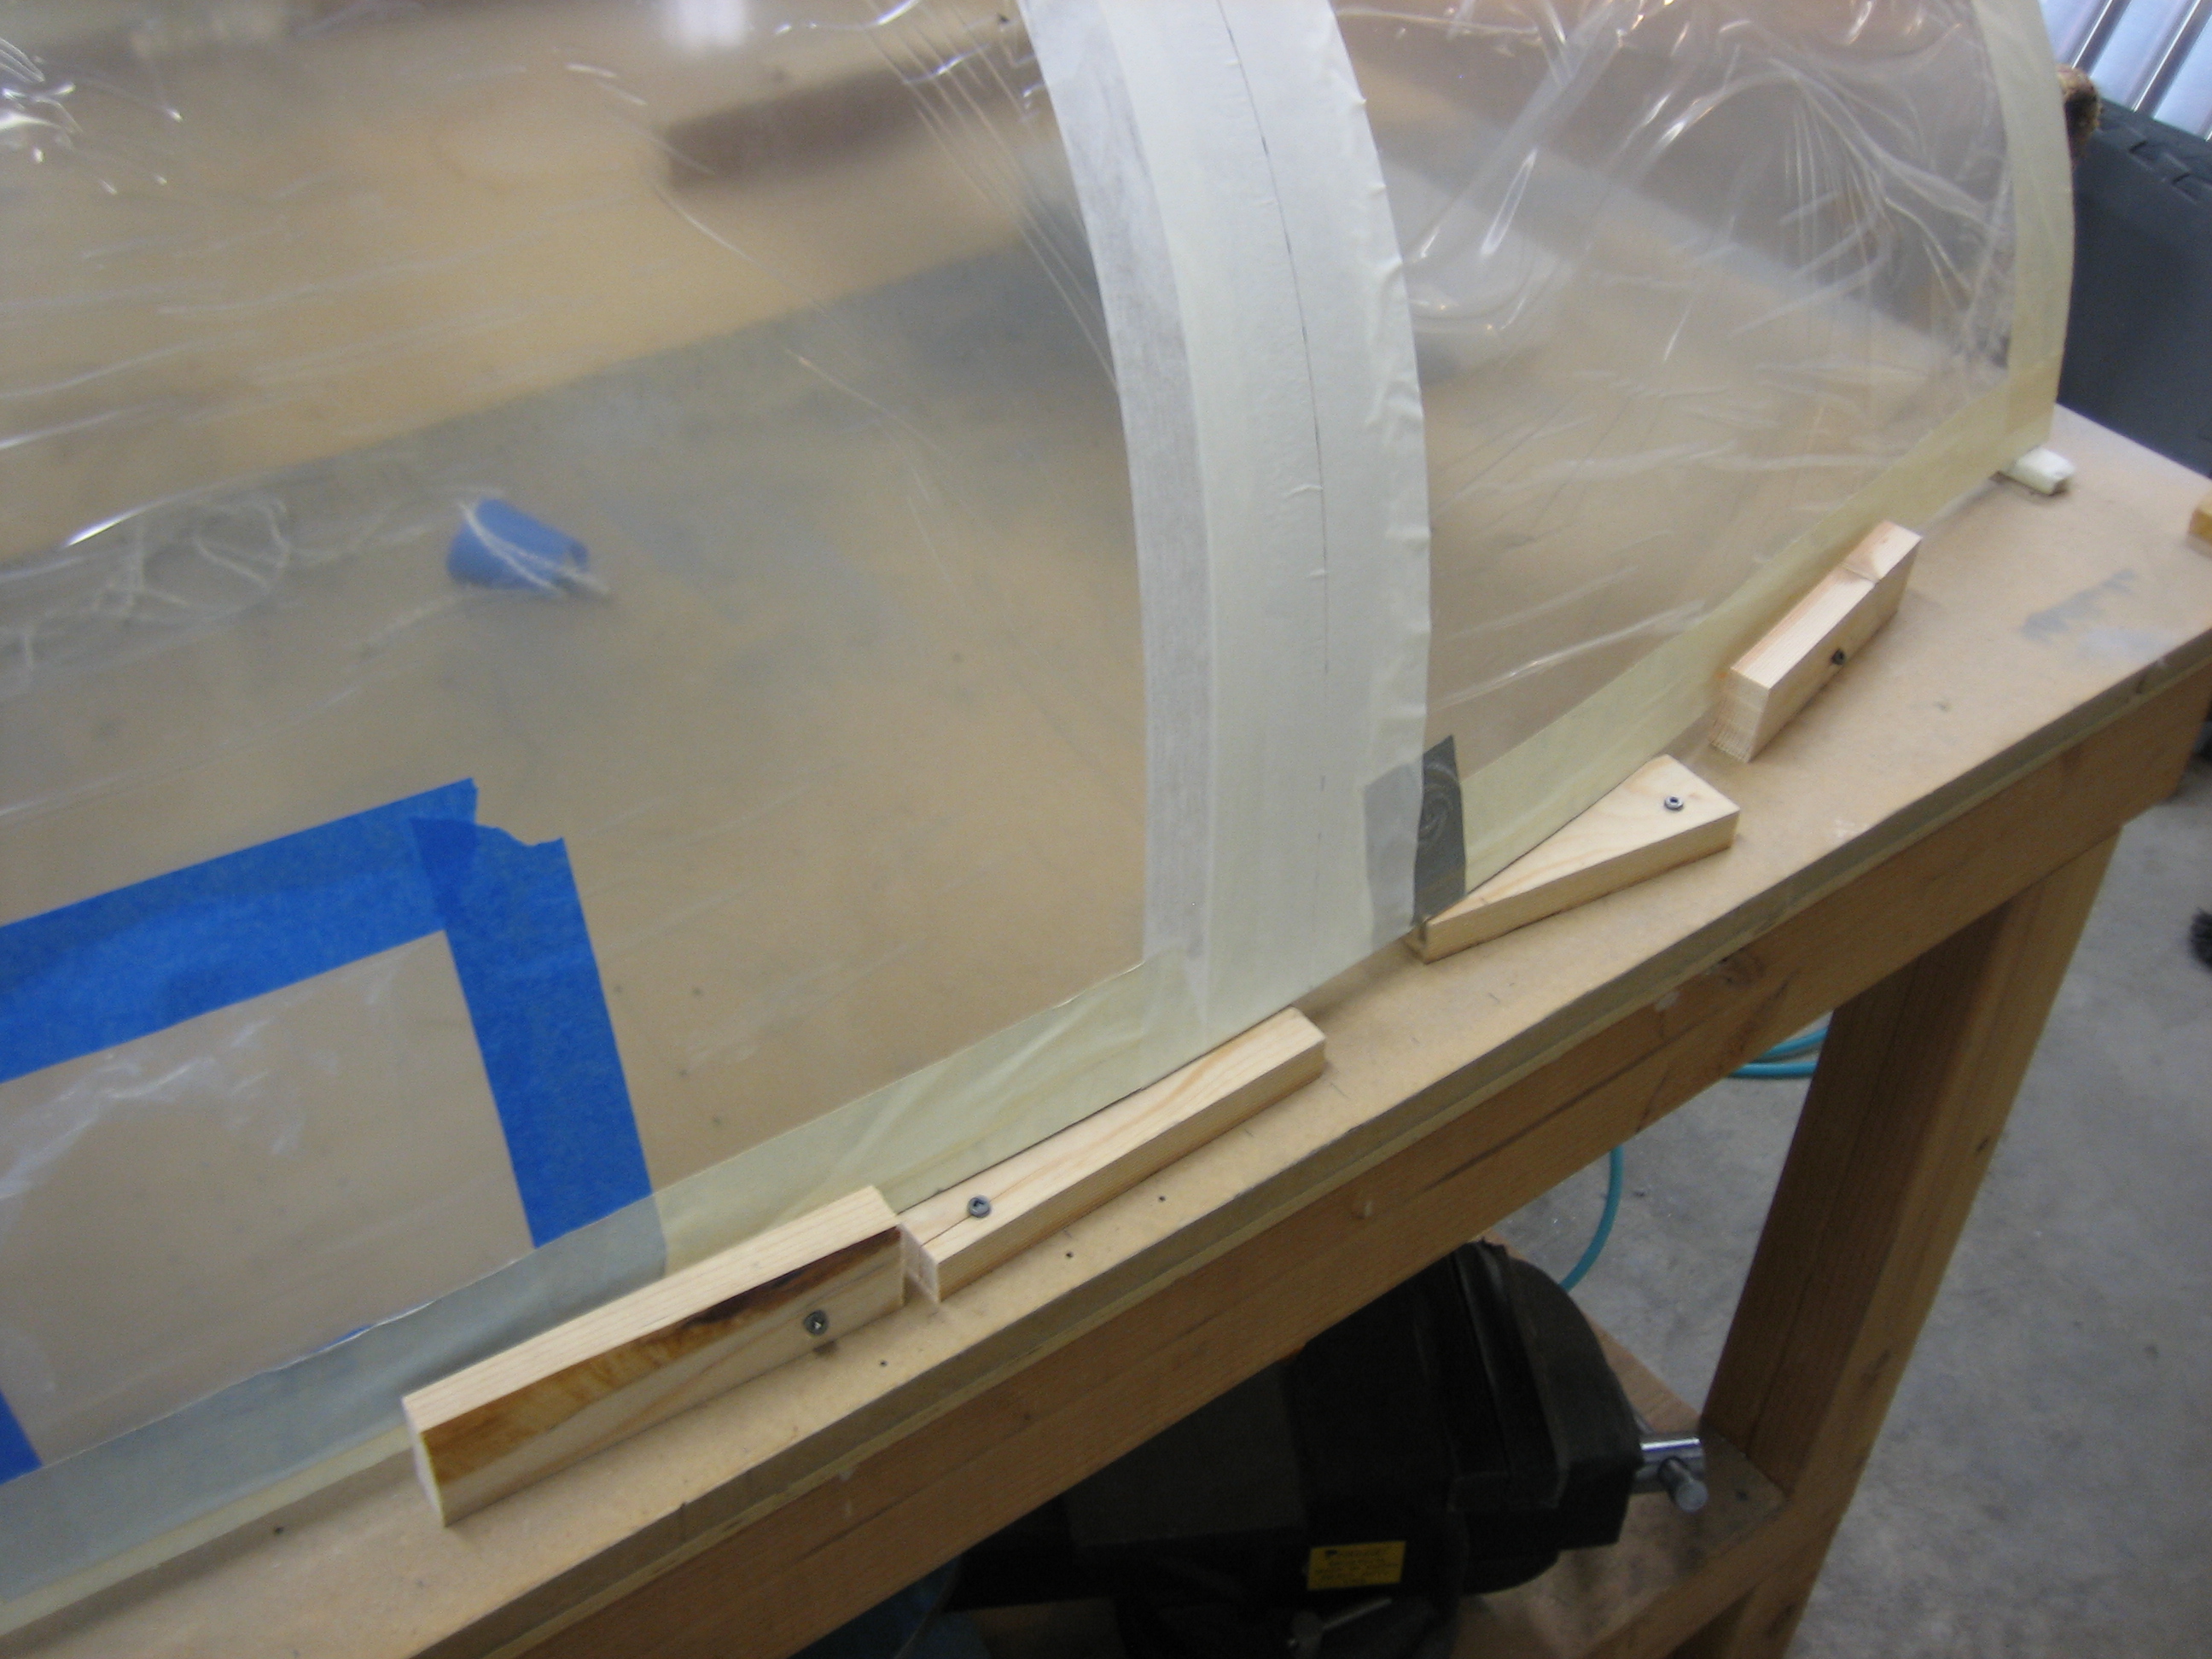
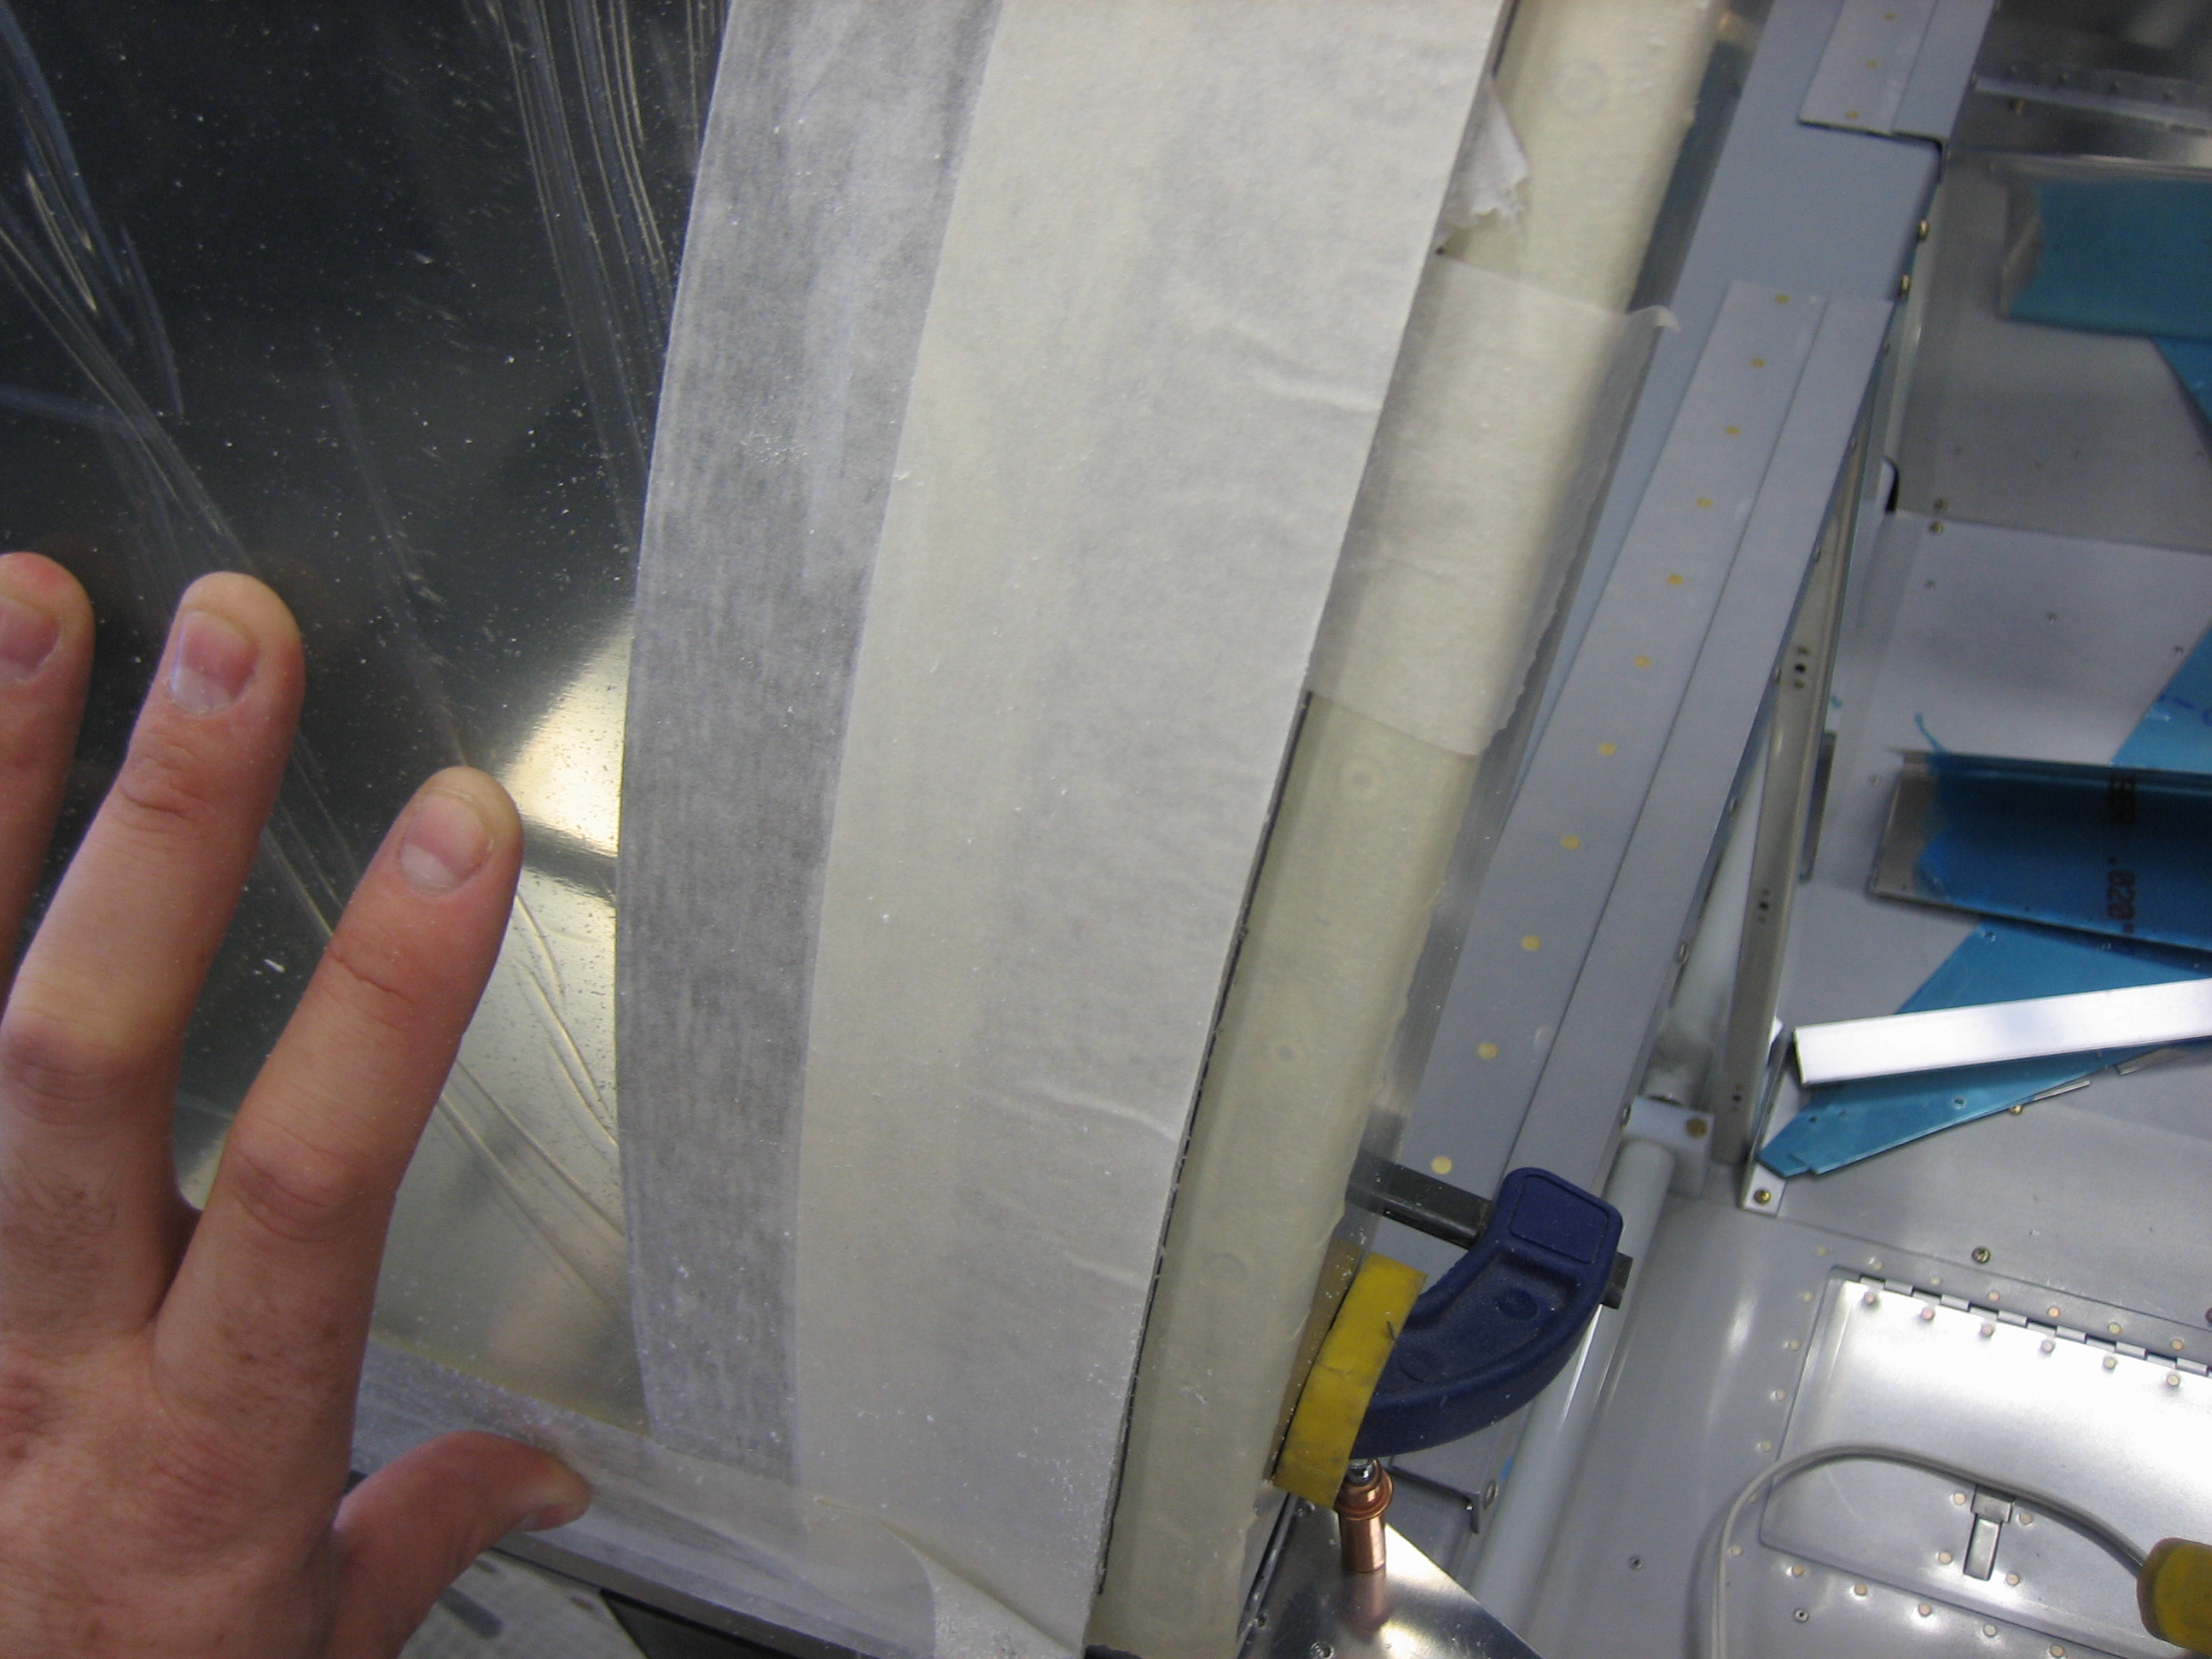
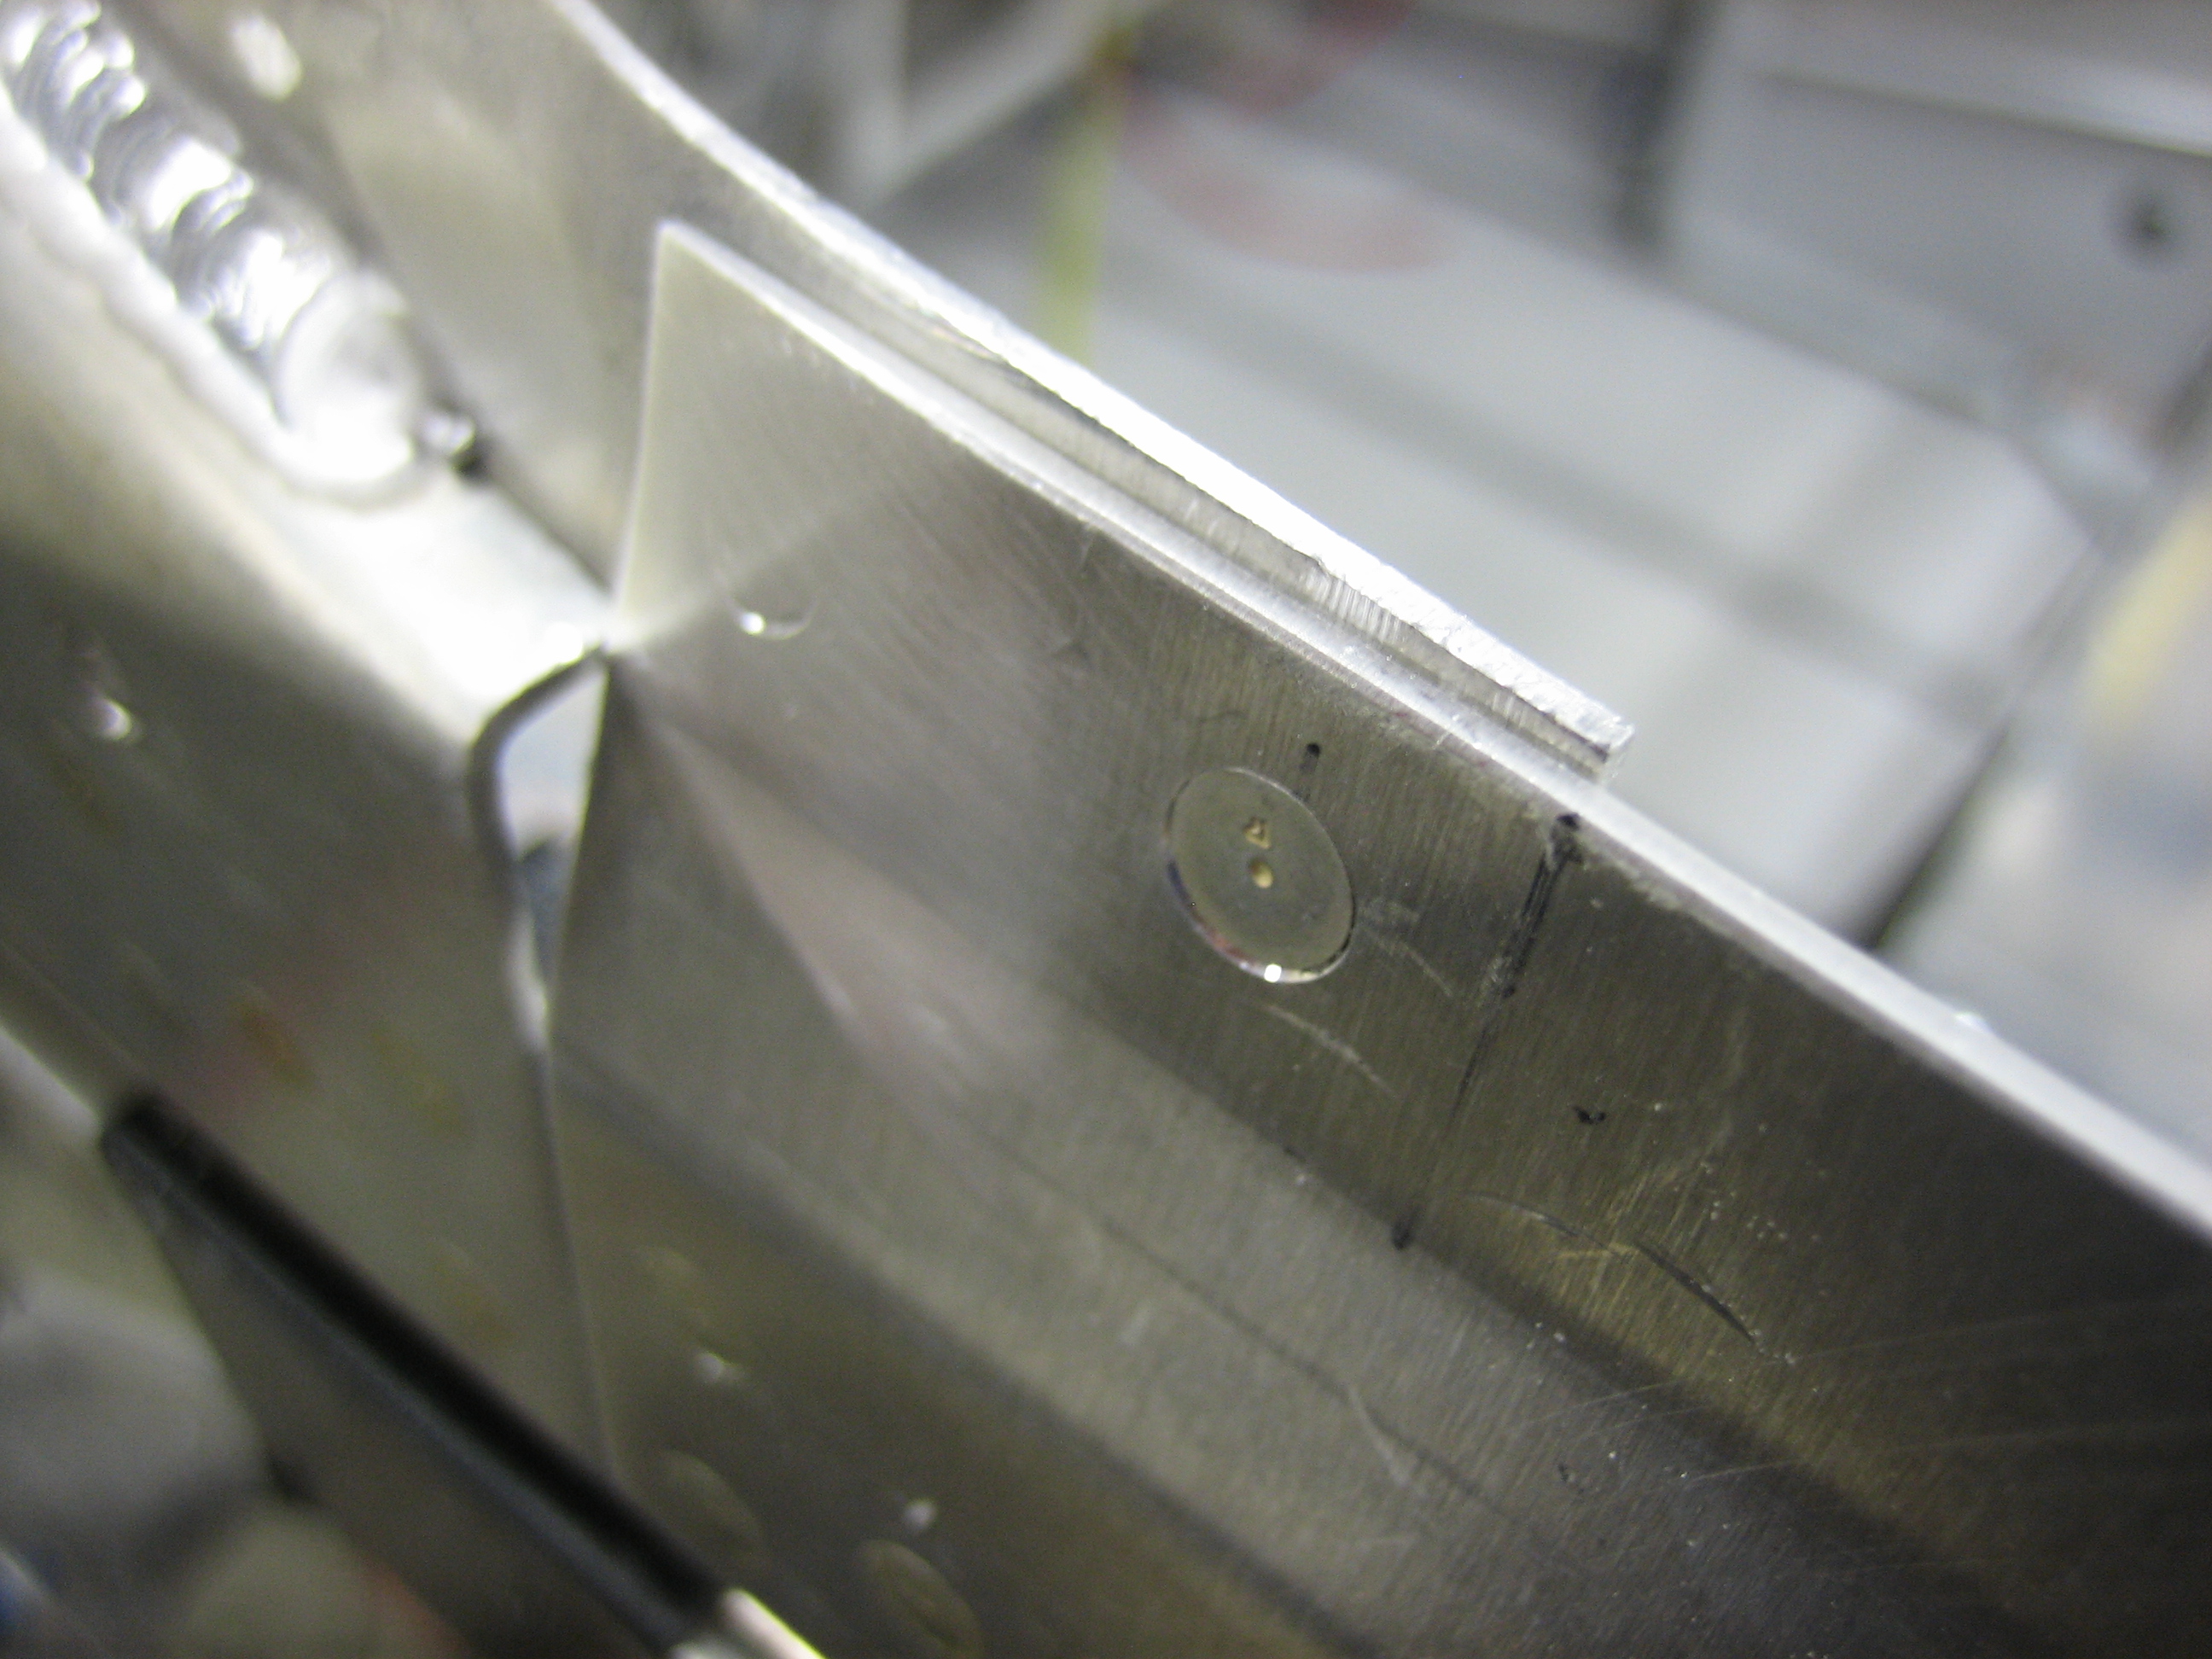
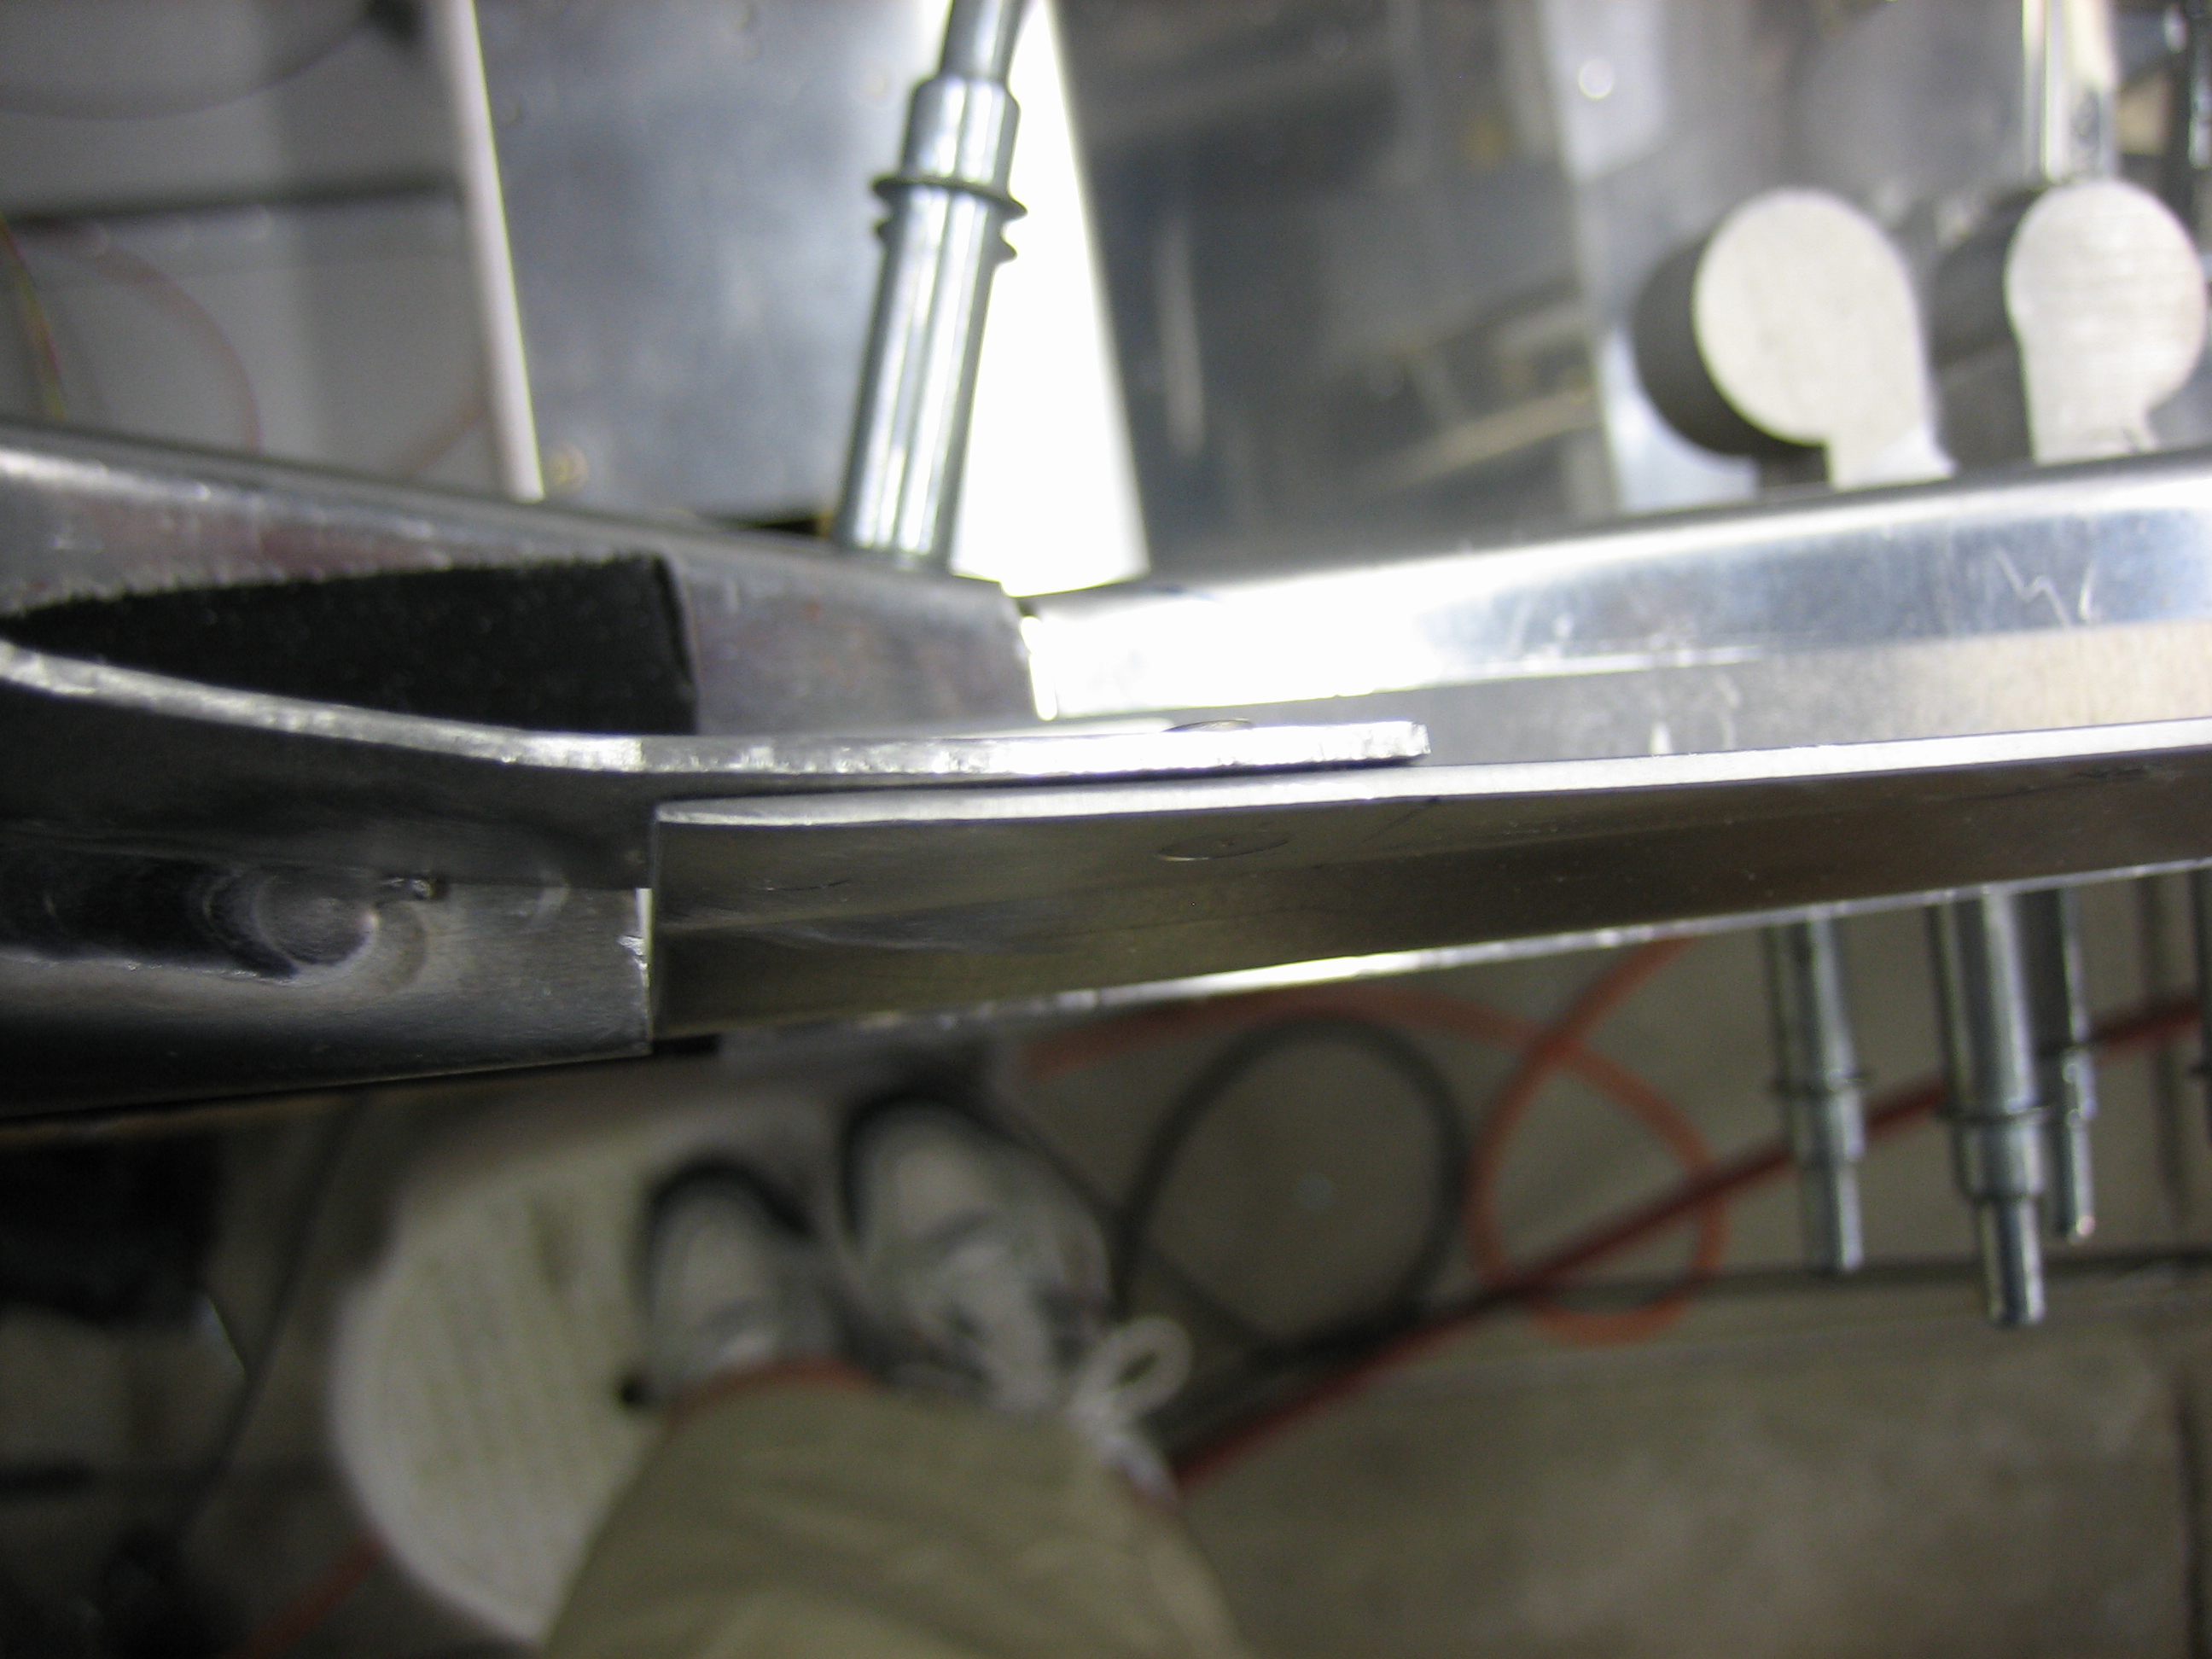
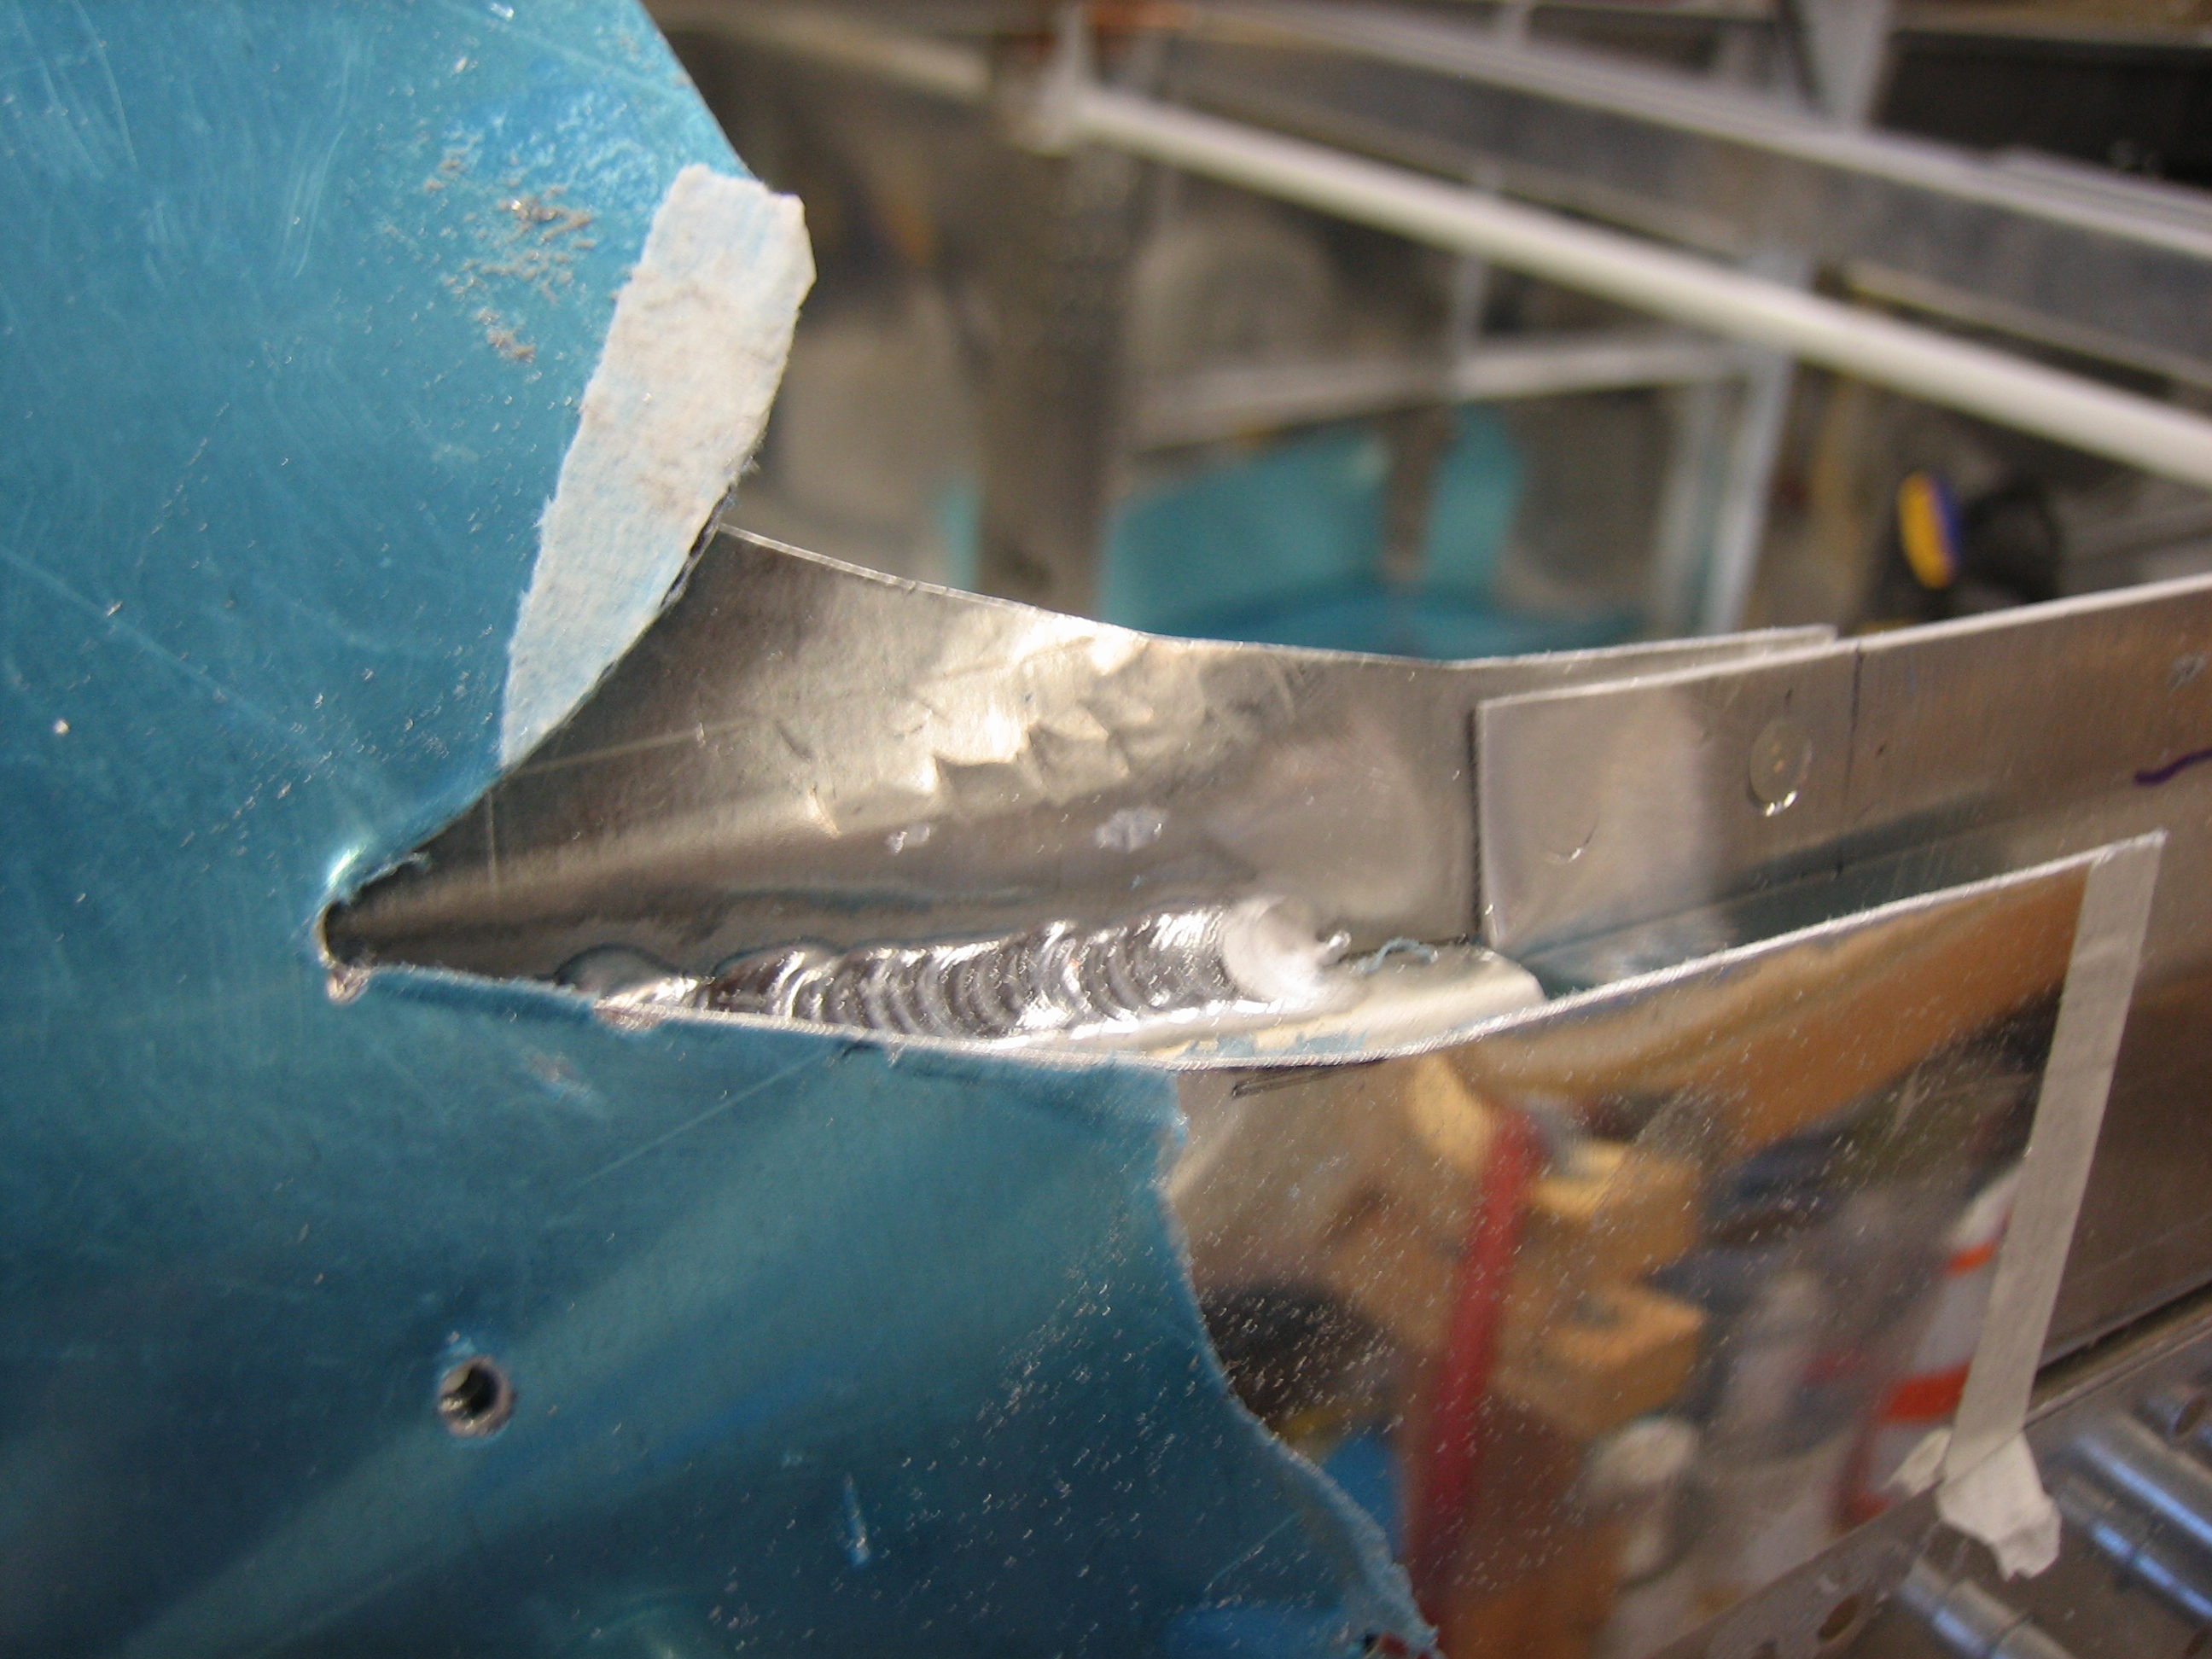
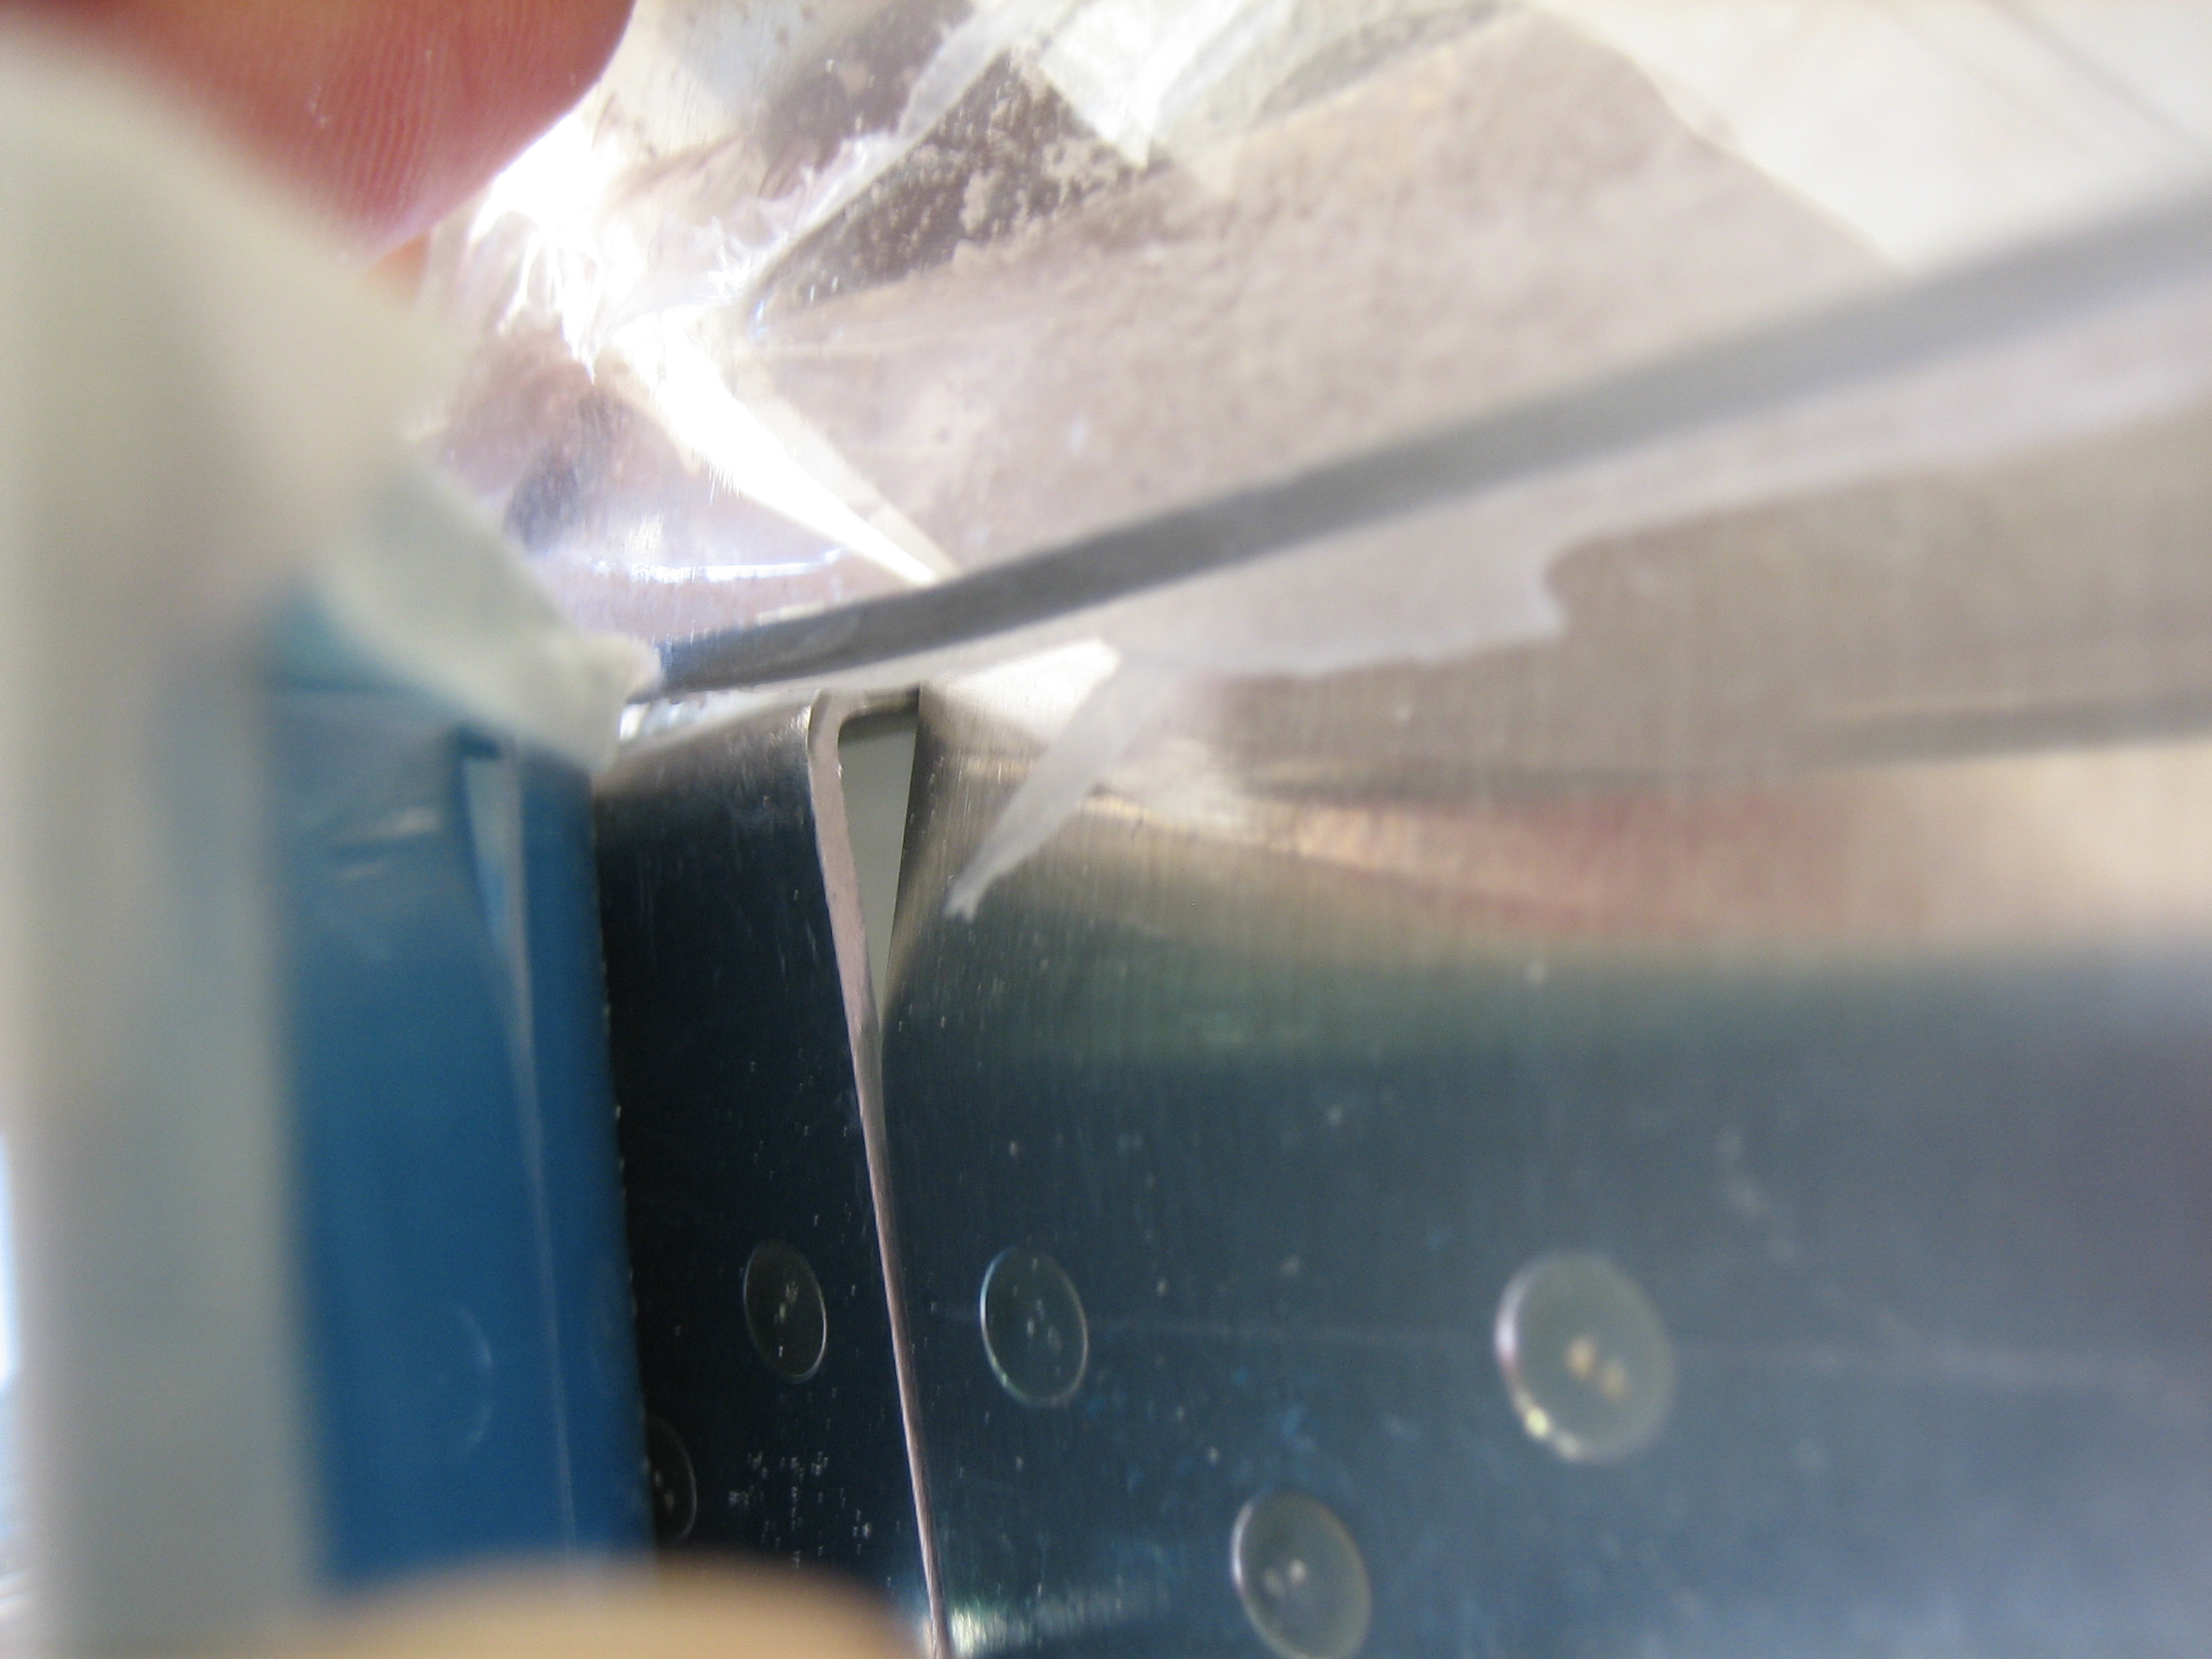
It probably took five minutes to cut off the flange.  I’m using the cutoff wheel that Van’s ships with the finish kit.  I’ve installed it on my 90º angle die grinder which helps keep it aligned with the cut line.

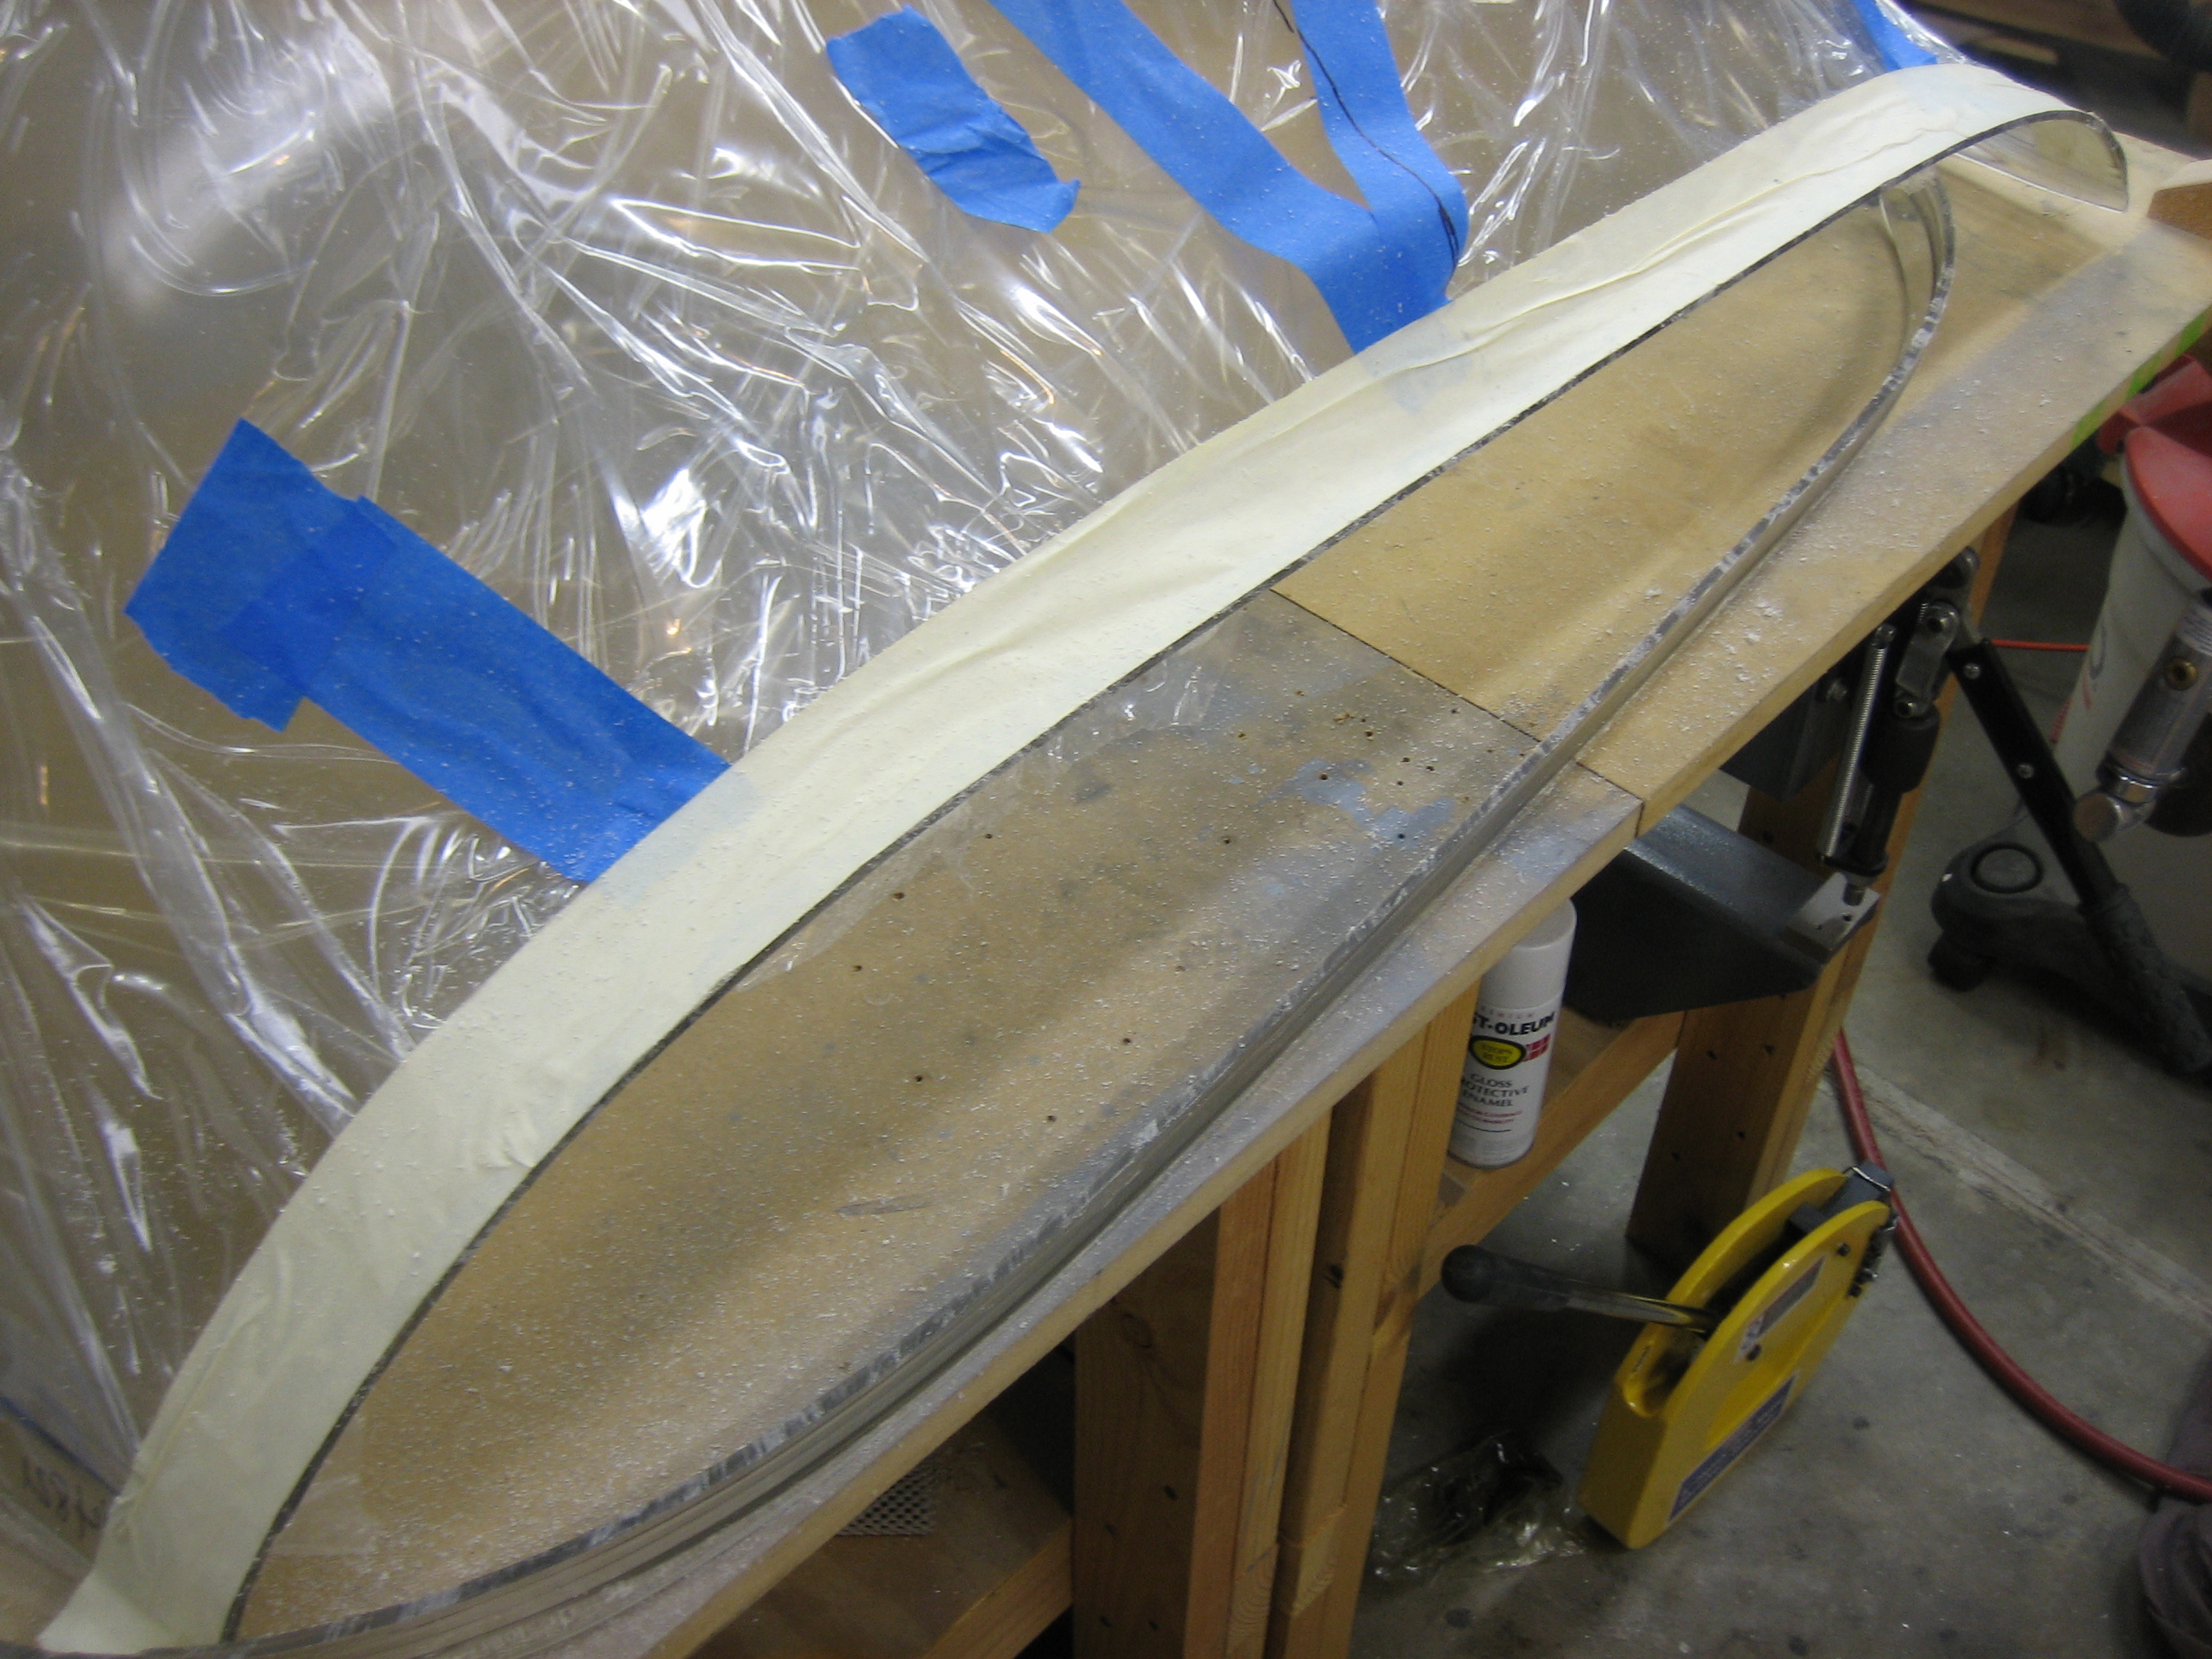
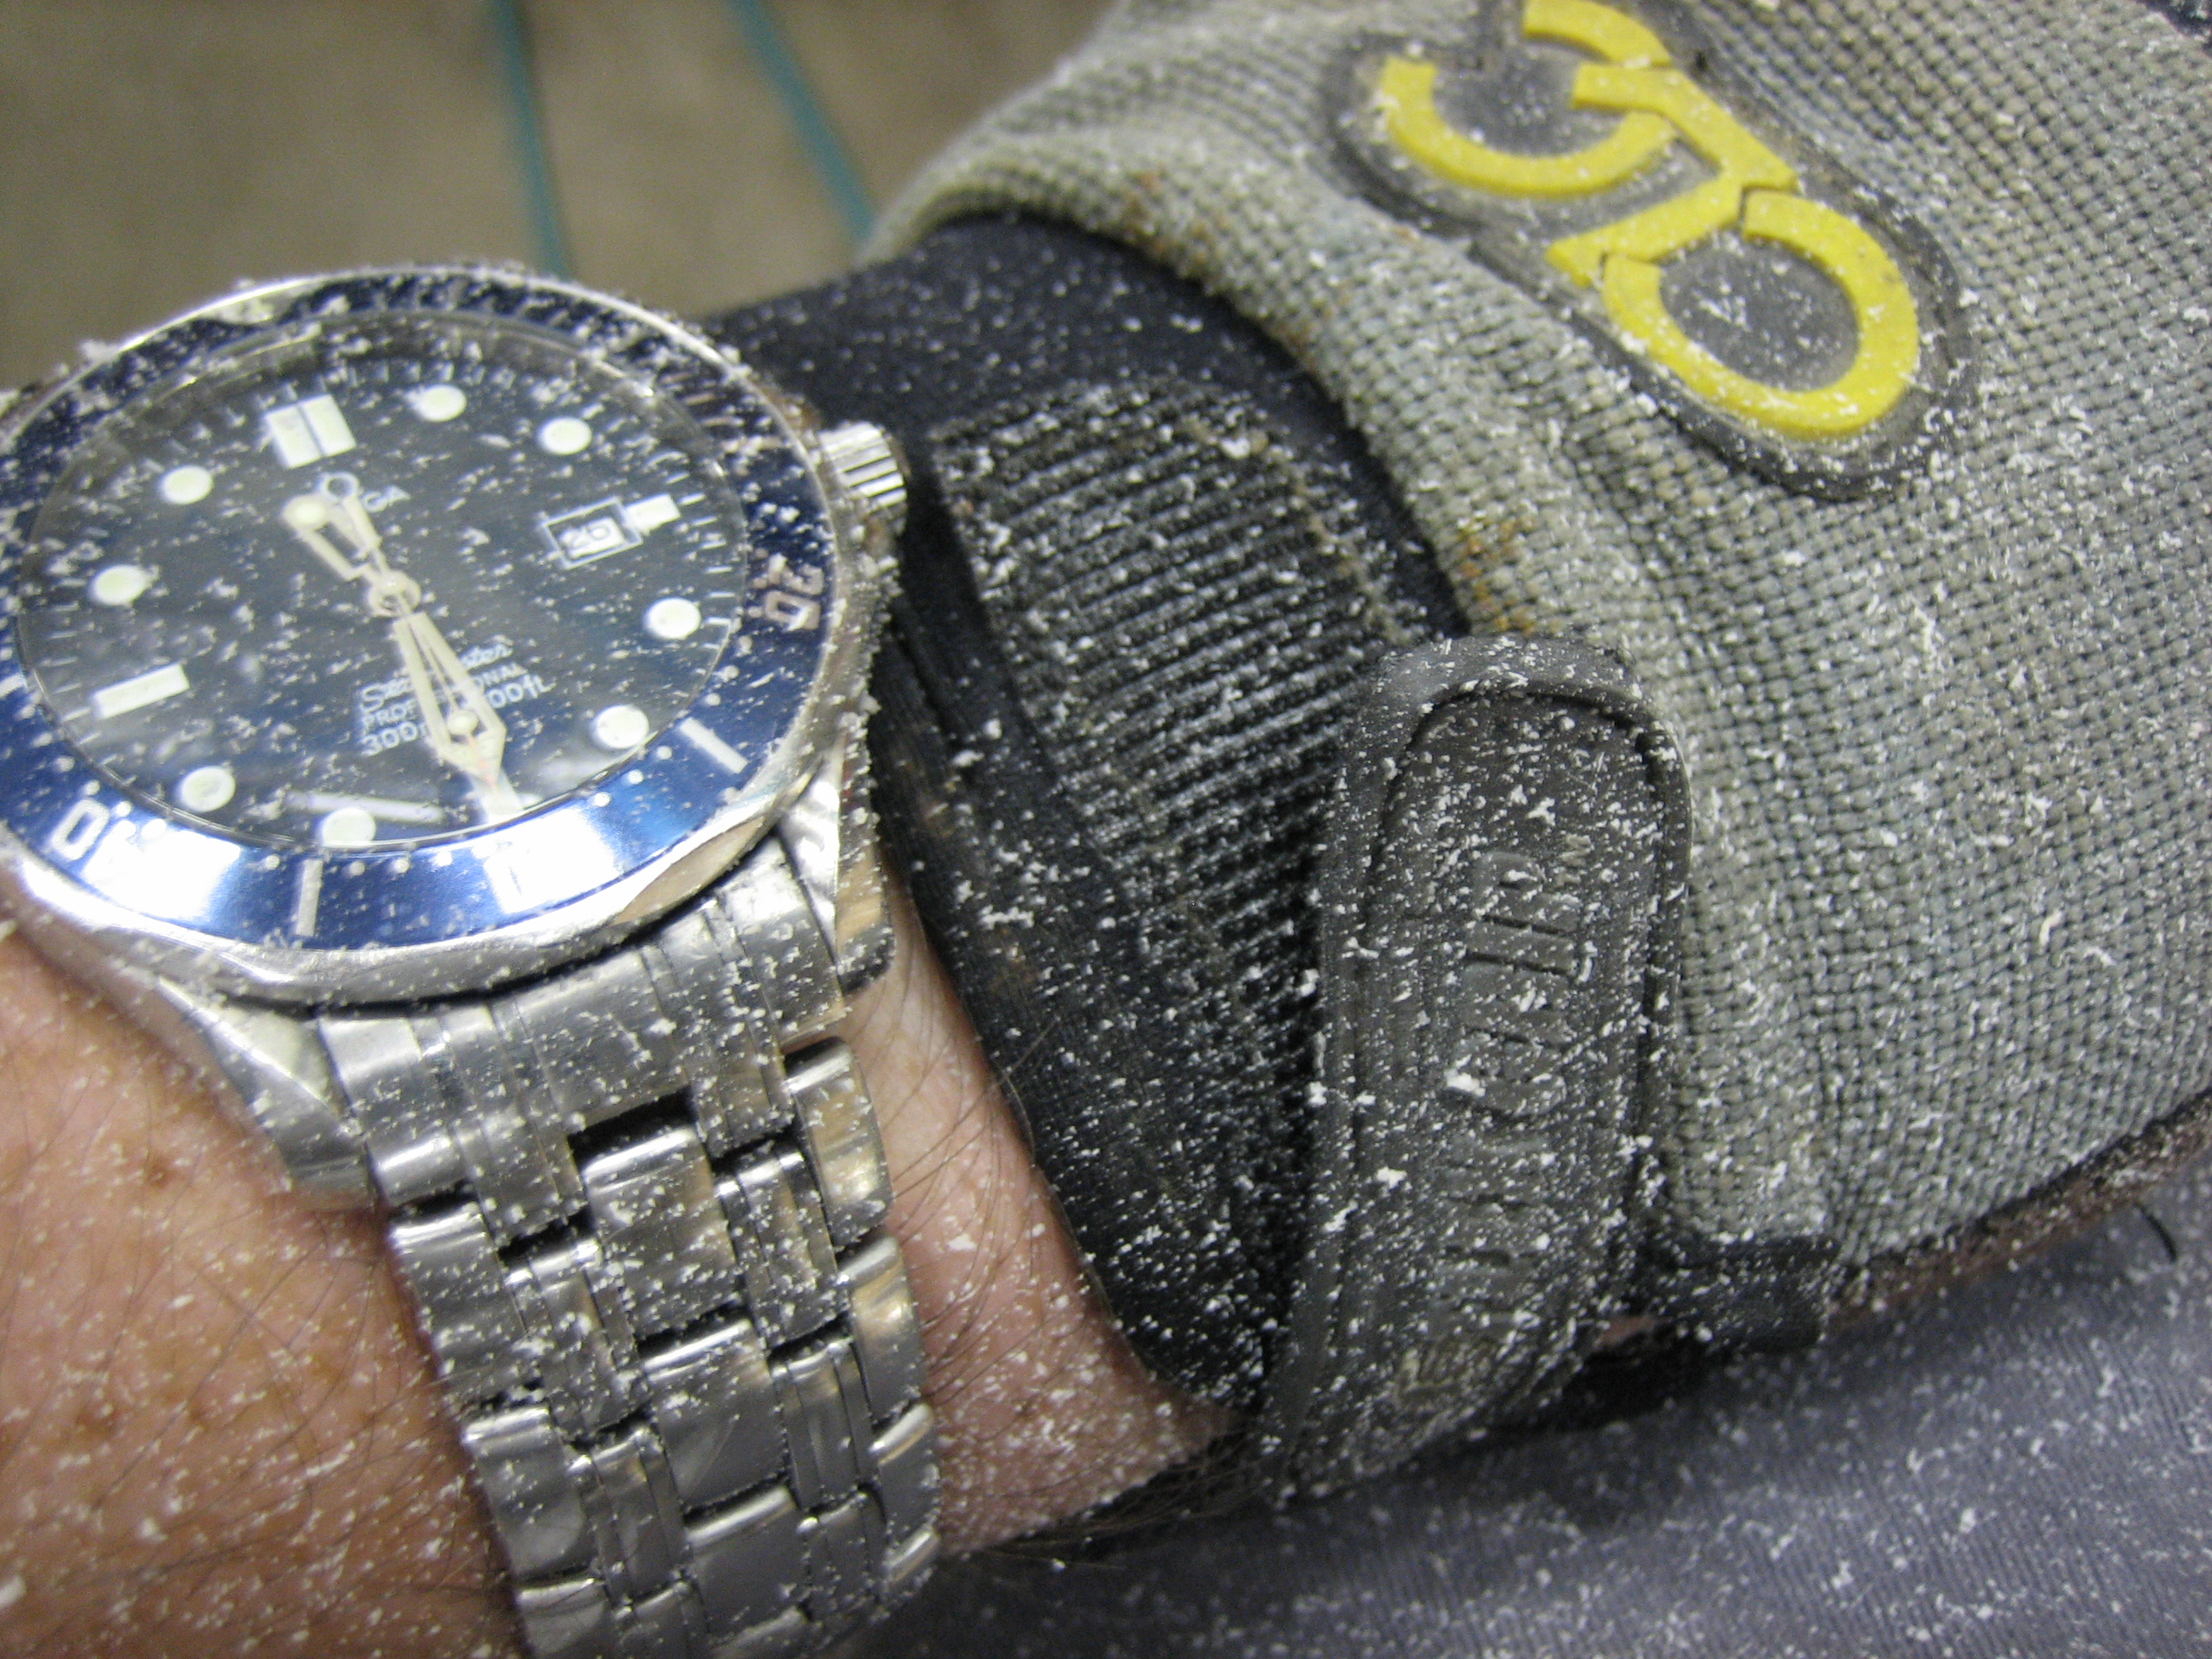
I’m covered in fine plastic snow.  I’m not looking forward to all of the cutting that I’ll need to do on this canopy.

Placed Canopy on the Fuselage

I started prepping the fuselage to receive the canopy.  First up was to cleco all of the skins back on.  Next, I put some masking tape over all of the places the canopy could touch to prevent scratching it.  Next, I marked a centerline down the cabin frame.  This will be the eventual split point between the forward canopy and the rear window.

I also taped up the ears on the canopy frame skin to prevent them from scratching up the inside of the canopy.

Finally, I finished cutting all four sides of the canopy, smoothed out the edges, and then placed the canopy on the fuselage.  This looks so fucking cool!  The edge finishing technique I’m using is to clean up the rough cut marks with the vixen file and then sand with 80 grit sandpaper to smooth things out.  I tried breaking a piece of the scrap without edge finishing, and it takes a surprising amount of force, so I’m confident that edge finishing to this degree is more than sufficient.  The shop was between 75º and 80º though, so that definitely helps keep the plexiglas soft.

Started Baffling

My buddy John Soward from KY was in town over the weekend, so we spent a little time working on the plane.  The canopy wasn’t a very good project for two people to work on, so instead we started on the engine baffling.  These are a few of the many pieces that form the baffles that fit on the engine to direct cooling air down through the cylinders.  We basically only made it through the first couple of pages of plans.  It’s easy to see that the baffles will be quite time-consuming.  There are lots of pieces to fit together and tons of nooks and crannies to debur.

Marked Forward Canopy Cut

I only had a few minutes to work on the plane tonight, but I cleaned up the baffle parts and moved the canopy back to the workbench.  I wanted to cut the bulk of the material off of the front of the canopy, but I haven’t seen anyone come up with a good way to ensure the left and right sides are approximately uniformly cut.  What I ended up doing was taping a piece of string to the top of the canopy along the centerline near the rear.

With some tape in the center at the bottom of the apex of the curve, I used the string to determine how far that was from the taped point.

I then swept that string along the canopy to define the position of the tape.  Here’s approximately the midpoint of one side.

And here’s where the curve intersects the side.  Using this technique, it’s easy to get each side within 1/8″ or so which is more than symmetrical enough.

After using narrow tape to follow the curve, I used wide tape to seal up the gaps in the plastic covering.  It’s too late to cut this tonight, so I’ll do this cut next time.  This will remove the bulk of the flattened flange on the front of the canopy.  There will still be a small radius along this cut line that will need to be removed, but I want to sneak up on the proper fit instead of risking cutting too much.

Cut Front of Canopy

I got out in the garage before work this morning because it’s the only time that I can work on the canopy during the week.  The cutting process is really loud, so I can’t do it in the evenings after the kids go to bed.

Anyway, I cut along the line I laid out yesterday and put the canopy back on the fuselage.  The fit was pretty good right off the bat.  The sides also pulled in quite a bit closer just due to this cut.

The center still has about a 1/8″ gap.

And there’s about a 1/16″ gap on each side.

Prepped for Big Cut

I finished yesterday with a couple of minor gaps around the front of the canopy.  I got started tonight by laying out a curve along the front edge from the gap peak to gap peak.  A few minutes with the cutoff wheel removed the scraps.

The canopy fits much better now.  There’s still about a 1/16″ gap in the center, but this is good enough to do the “big cut.”

I taped the canopy down to prevent it from shifting.

You can sort of see here that there’s less than 1/2″ of space between the canopy and cabin frame.  From what I understand, this is better than most builders achieve.

I then laid a few pieces of wide masking tape along both sides of the cut line.  The theory is that this will help guide the cutoff wheel, but I’m dubious of this since the cutoff wheel basically cuts anything the moment it touches it.

Finally, I transferred the canopy to the bench and screwed down some blocks to stabilize the two halves prior to cutting it in two.  It’s too late to do this tonight, but I’ll try to knock it out first thing in the morning.

Made the Big Cut

I came out to the garage this morning and made the big cut.  A lot of builders seem to get all worked up about this, but it’s a total non-event.  Just go for it.  The canopy in this section is significantly thinner than around the edges (just over 1/8″ thick), so it cuts fast.  The whole cut took only 2-3 minutes.

I smoothed out the edge and fit the canopy temporarily on the fuselage.  Blurry, but this looks sweet!  There’s still pretty of trimming left to go though.

I also edge finished the aft window.  This will be put aside for the time being while I work on the forward canopy.

With the top center of the aft edge of the canopy flush with the line, the sides are forward of the line by nearly 1/4″.  This was expected though since there was a gap at the top before the big cut.  The canopy pivoted down around the front edge.  I still have to lower the canopy more in the front though, so this will be reduced somewhat.  After the front is at the proper height, I’ll remark the line and trim the aft edge to follow the line perfectly.

I’m planning on using sikaflex adhesive around the canopy channel and cabin frame, so I taped some 1/8″ thick pieces of rubber to both pieces.  This will raise the canopy enough for the adhesive to fit.

After clamping the canopy in place, I marked a further trim line around the front that will finally remove the last of the flare where the front flange used to be.  I also marked a cut line along the side that will bring them up to within 1/2″ of their final position.  These cuts need to be done to get the canopy to transition more smoothly to the sides.  I’ll try to do these before work tomorrow.

Trimmed Forward Canopy

I cut the canopy along the line I taped up yesterday.  As I mentioned, this completely removed the flare along the front edge.

I was a little worried that a full cut along the front edge would make the fit worse, but surprisingly it actually got better.  The fit along the sides is still great and the fit in the middle got noticeably better.

Even more surprisingly, that lowered the front enough that the back edge nearly perfectly follows the marked line.  It’s within 1/32″ along the whole line.

Modified Canopy Frame

The notch in the forward canopy skin needs to be lengthened to allow the canopy to slip from the outside of the skin forward of the notch to inside of the skin behind the notch.  I’ll probably have to lengthen the slot further, but I don’t want to overdo it.  Most builders cut some or all of the ear away anyway.

I also marked the apex of the joggle which will define the bottom edge of the side of the canopy.

I then drilled and riveted together the forward end of the side channels and forward weldment.  Afterward, I tapered the channel a bit to provide a smoother curve onto the forward weldment.

Here’s a shot from the top showing how the side flange begins to curve inward where it joins the forward weldment.

Finally, I marked and taped up a new cut line that provides a mo

re gradual curve into the notch in the forward skin.  I also marked new side cut lines that are within 1/8″ of the final position.

Further Fitting of Canopy

I elongated the forward edge of the slot further and made a few small cuts to get the canopy up to the bottom of the slot.  Sorry about the blurry picture.  This camera I’m using has been doing this a lot lately; it lives a hard life in the garage.

I did a bunch of research on what to do with the “ears”, and I ended up deciding to simply cut them off.  This whole area will be fiberglassed over anyway, so you’ll never see this.  You can also see here that I elongate the forward edge of the slot even further and added a curve to it to better follow the inside of the canopy.

Finally, I trimmed the sides to basically their final positions.  There’s still a little bit of interference that I have to deal with.  For example, here on the left, the bump out in the forward canopy frame weldment is preventing the canopy from dropping down all the way.  I’ll need to do a little more trimming to get this to fit properly.