No work on the plane tonight, but I received an order from Van’s that included the baffle kit and induction kit. I spent a couple of hours inventorying the kits and reading through the plans to see what is involved.
Fine Tuned Canopy Latch Handle
I received some UHMW tape from Van’s yesterday, so I disassembled the latch and put pieces of tape between the attach angles and the latch handle pieces. I then filed out the openings so that the handle has about 1/64″ clearance all around. This required removing and installing the latch handle countless times to get the fit just right. I still have a little work to do to get this where I want it, but it’s operating smoothly now.
Started Canopy Frame
I reassembled the subpanel along with the hinge blocks and clecoed on the top skin.

Fit Canopy Frame
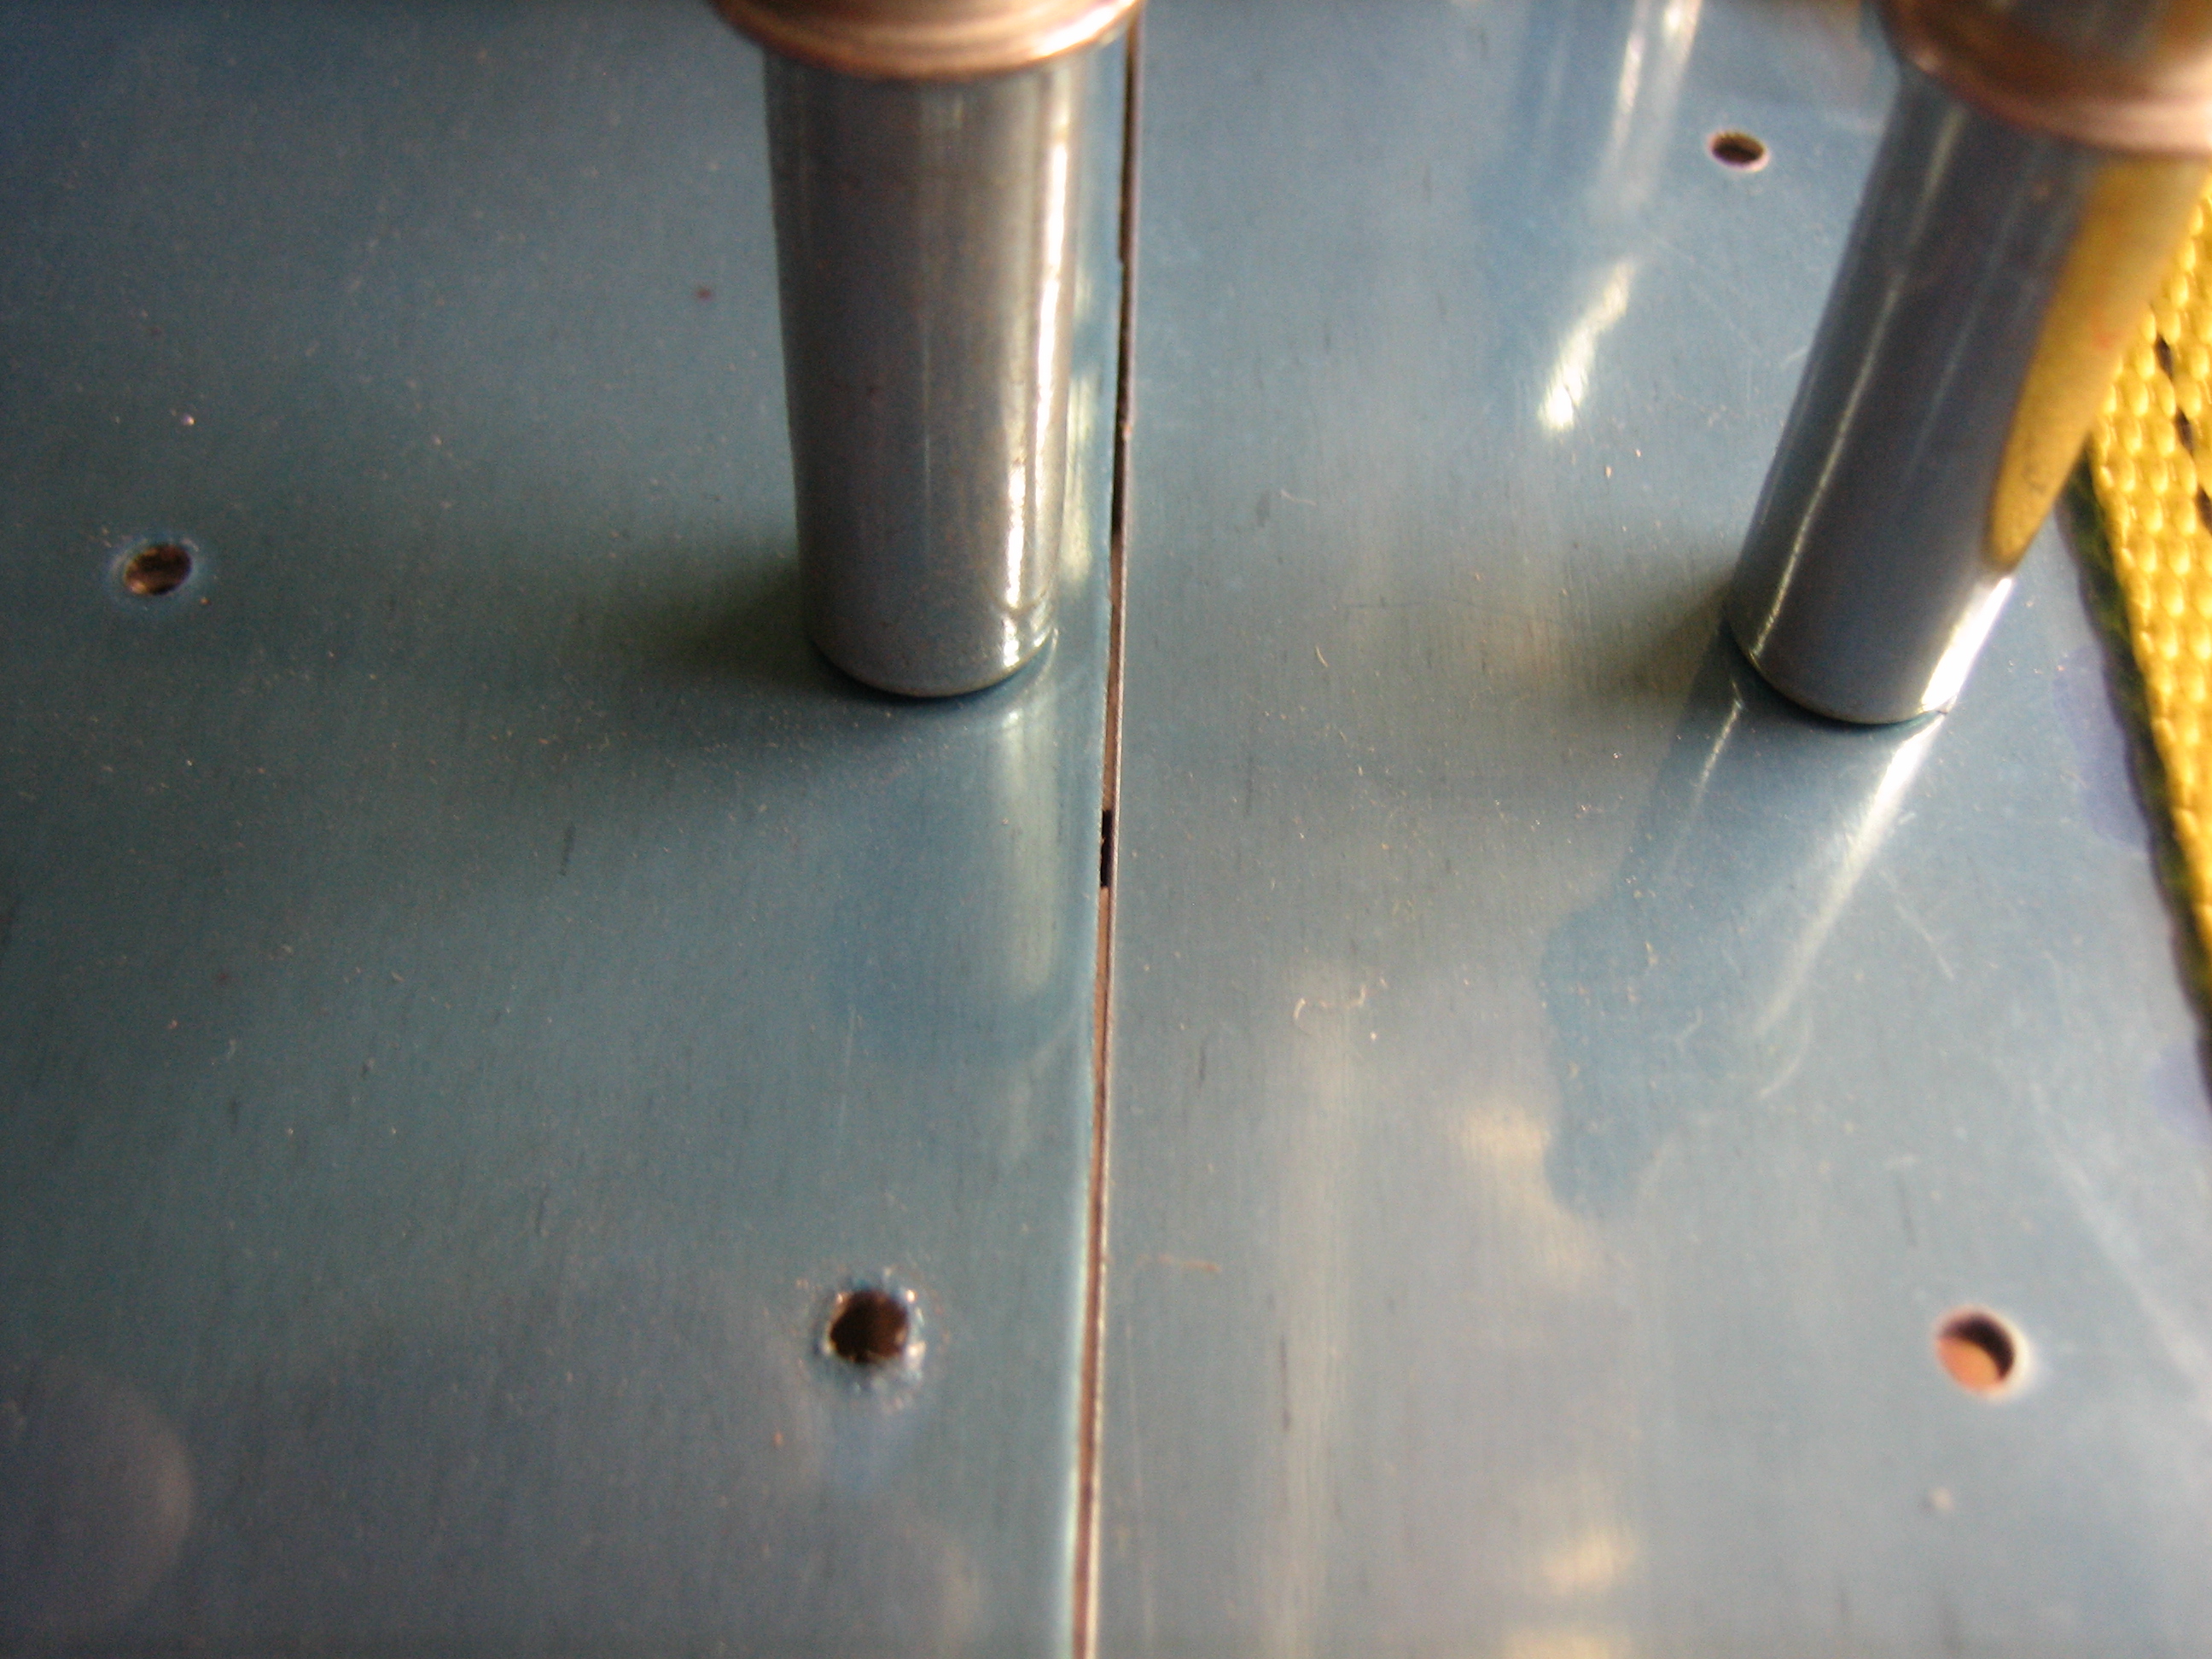
I couldn’t find anything obviously preventing the canopy frame from moving farther forward, but I suspected the seal support flange. I unclecoed the outboard portion of the canopy frame skin and sure enough the forward channel of the canopy frame was pressed firmly against the seal support flange.
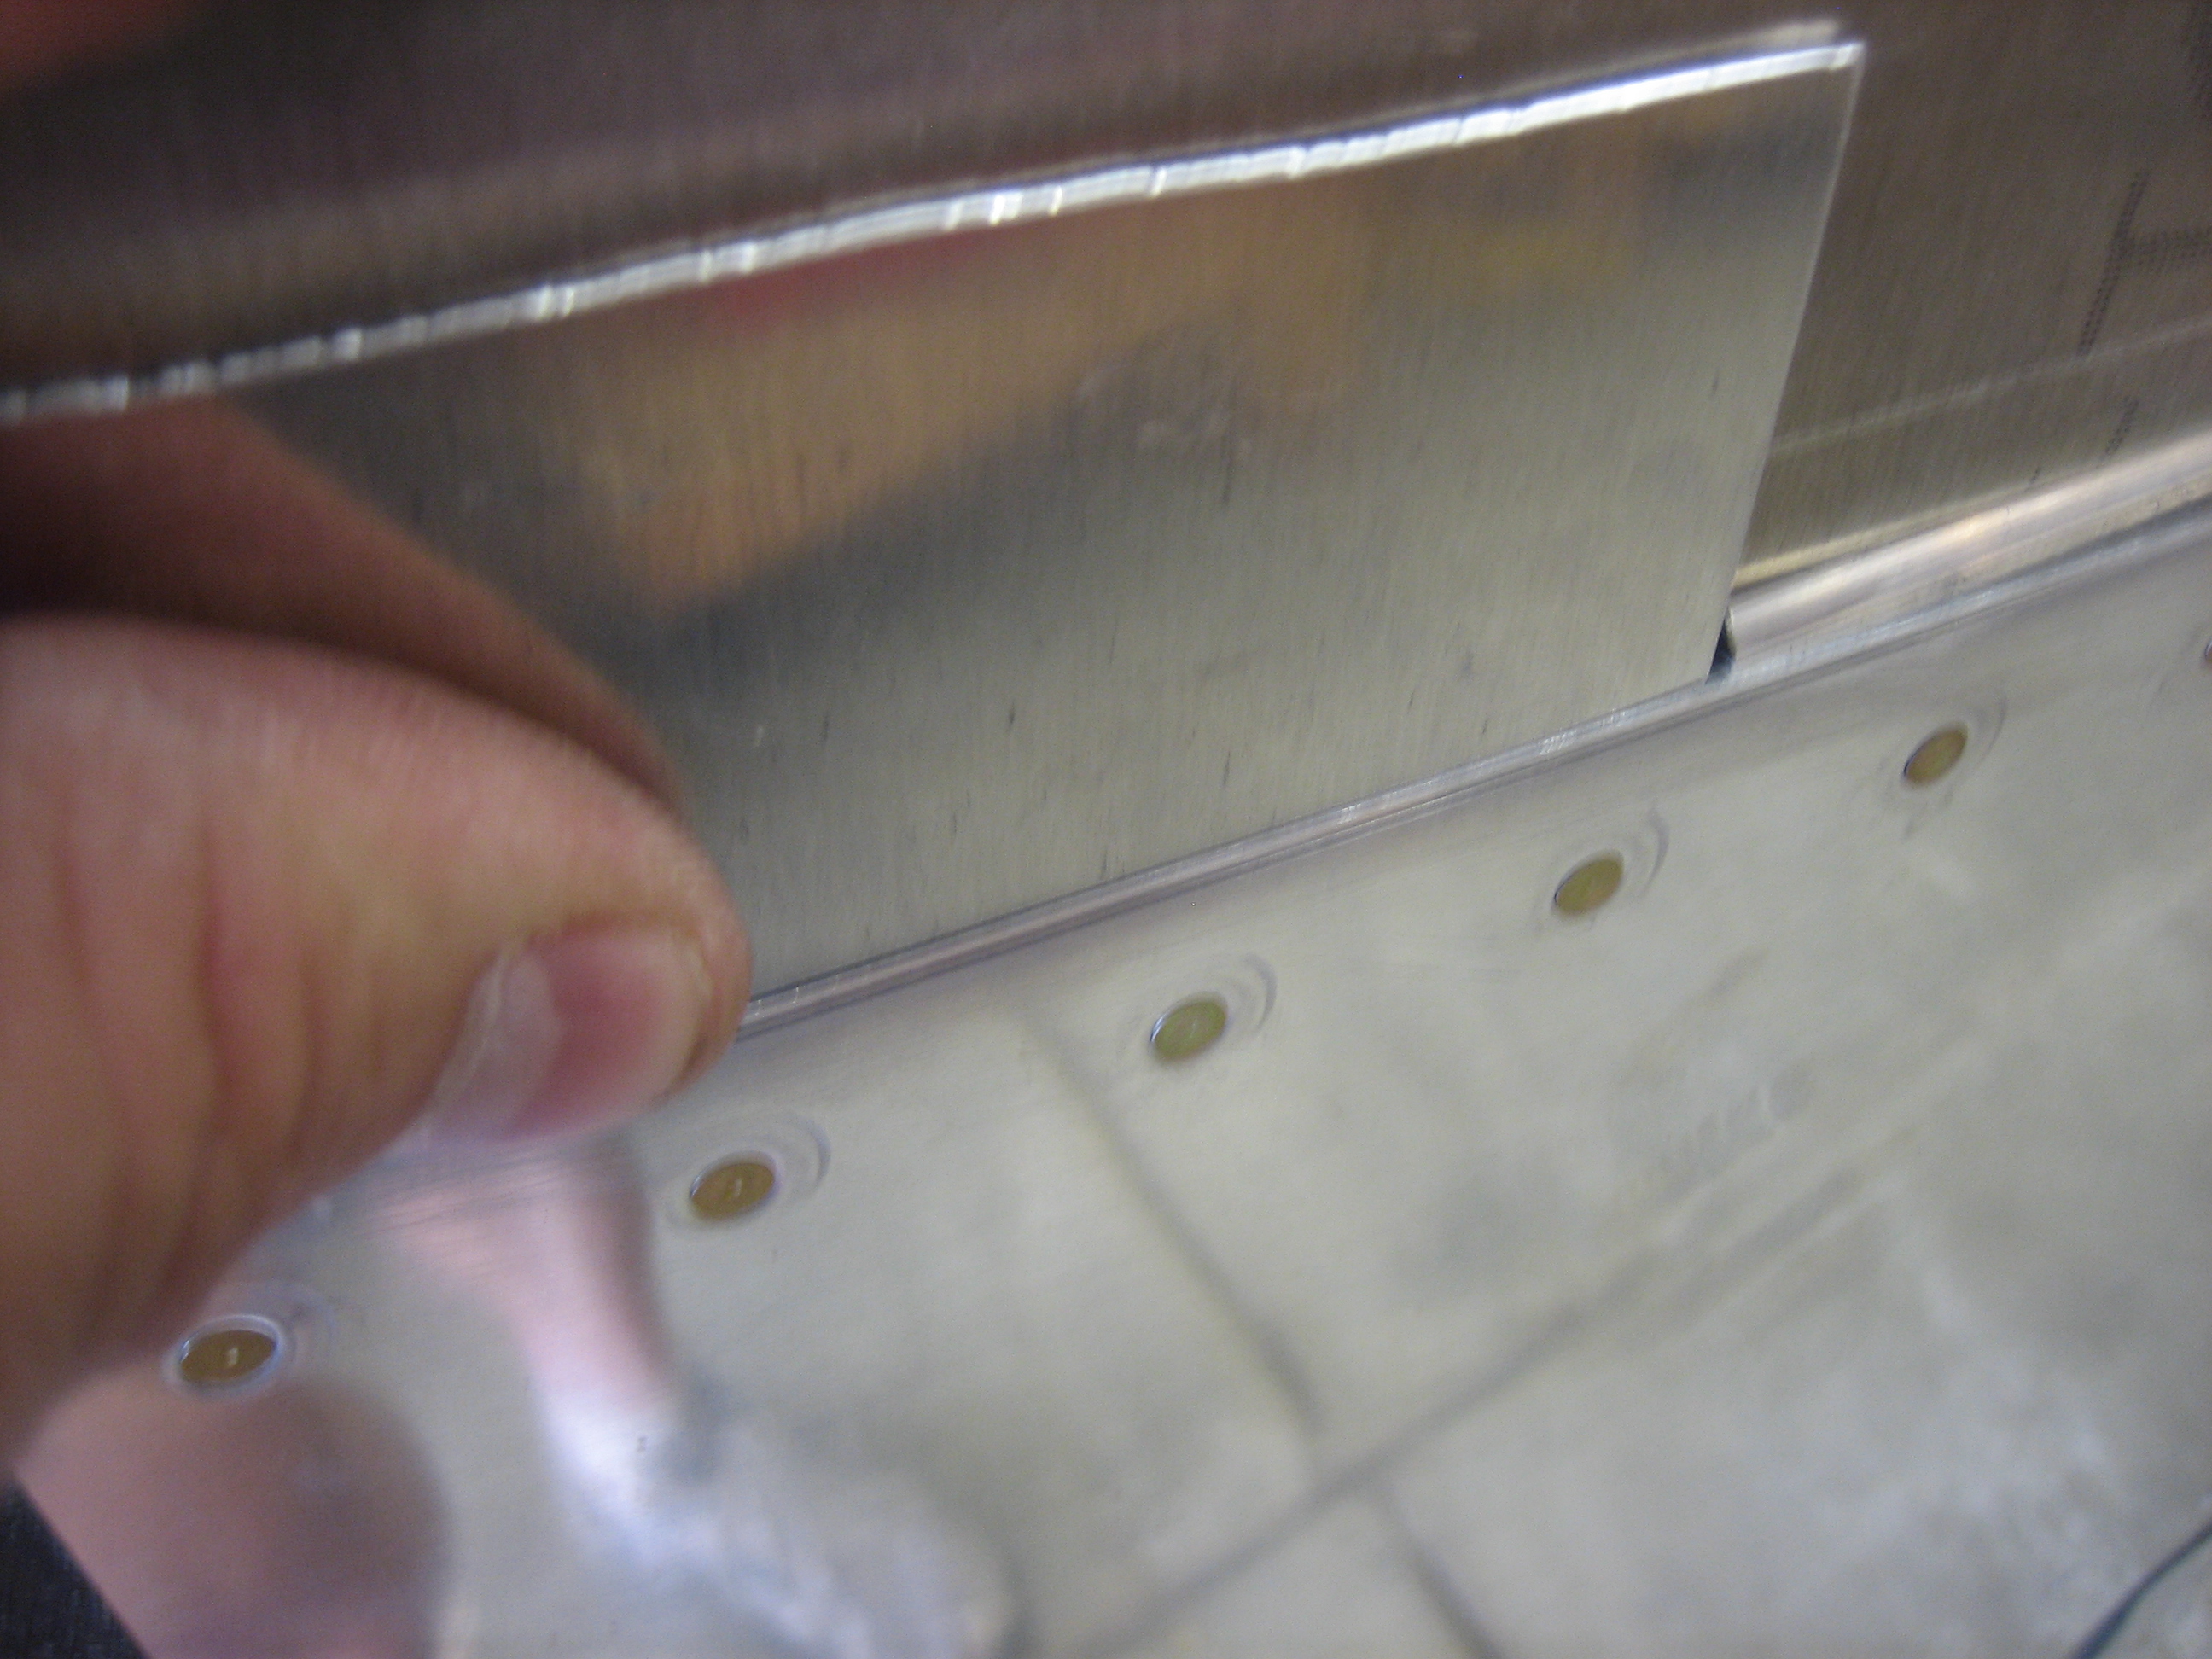
A few minutes with the vixen file removed the interference and now the canopy frame could be moved far enough forward that the skins butt together. The plans want you to put a 0.020″ spacer between the skins, but the fit isn’t perfectly tight along the whole joint. Instead, I’m going to butt the skins tightly together and then file the canopy skin to create a uniform gap along the whole joint.
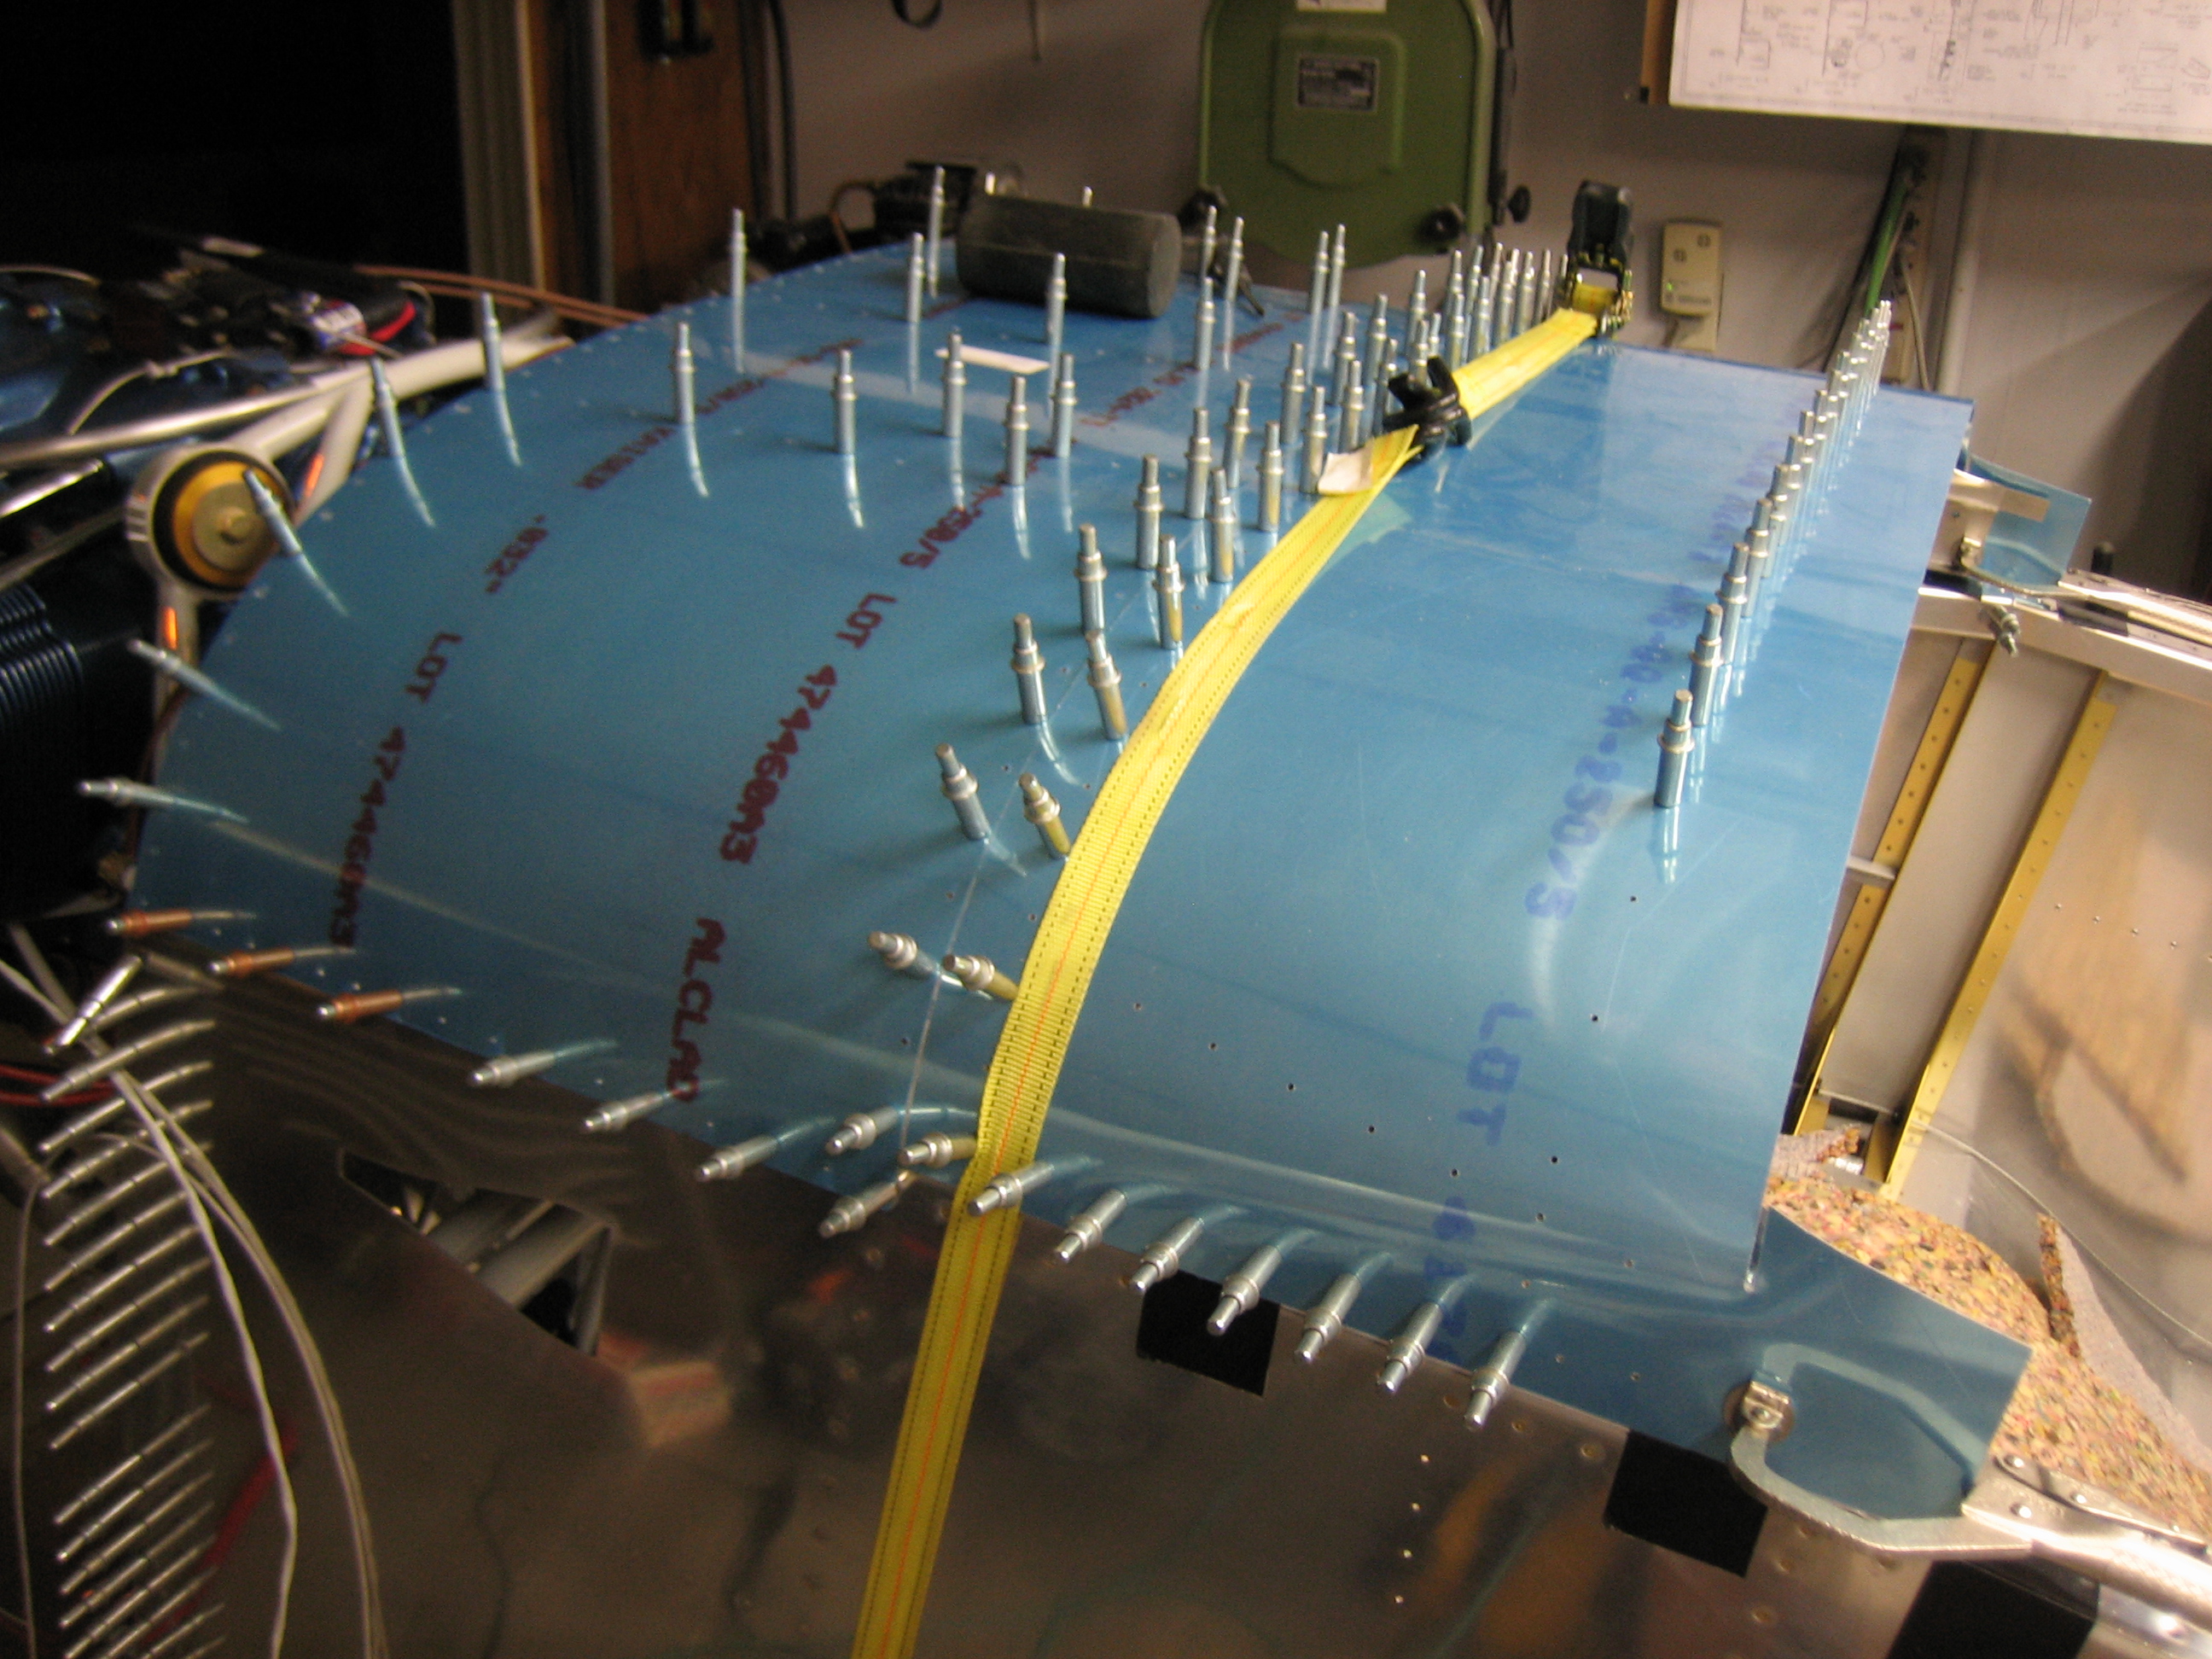
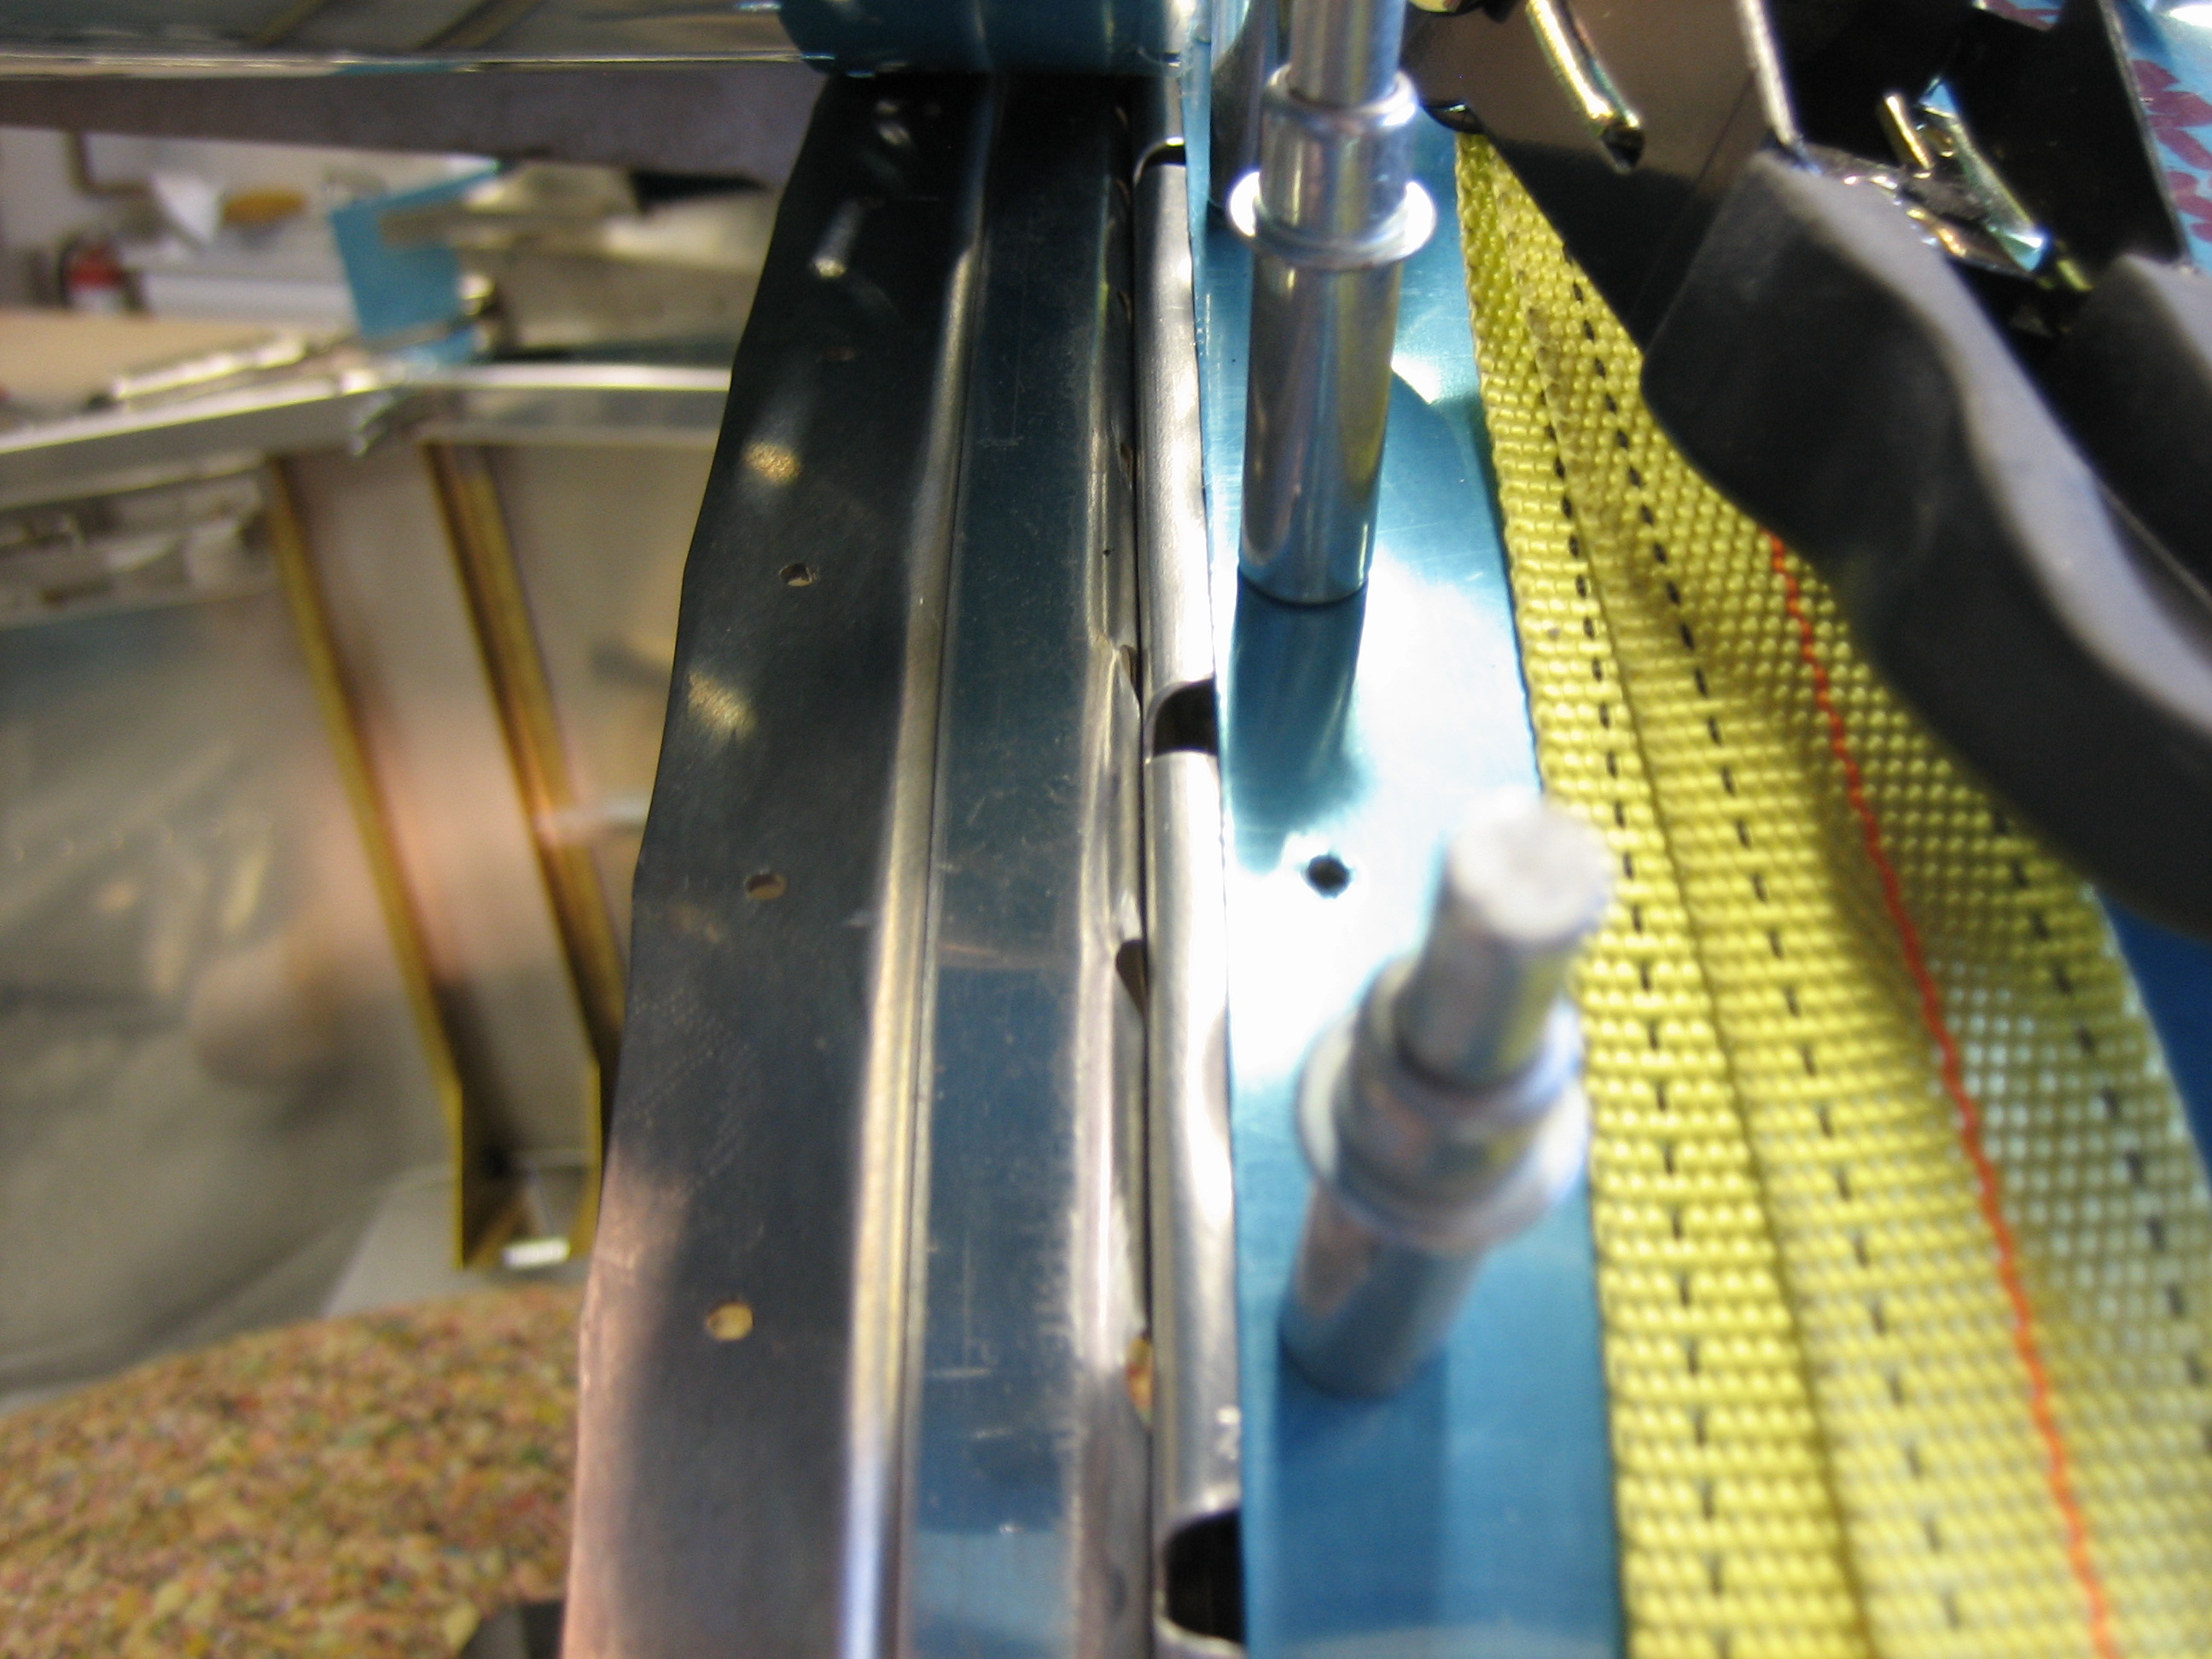
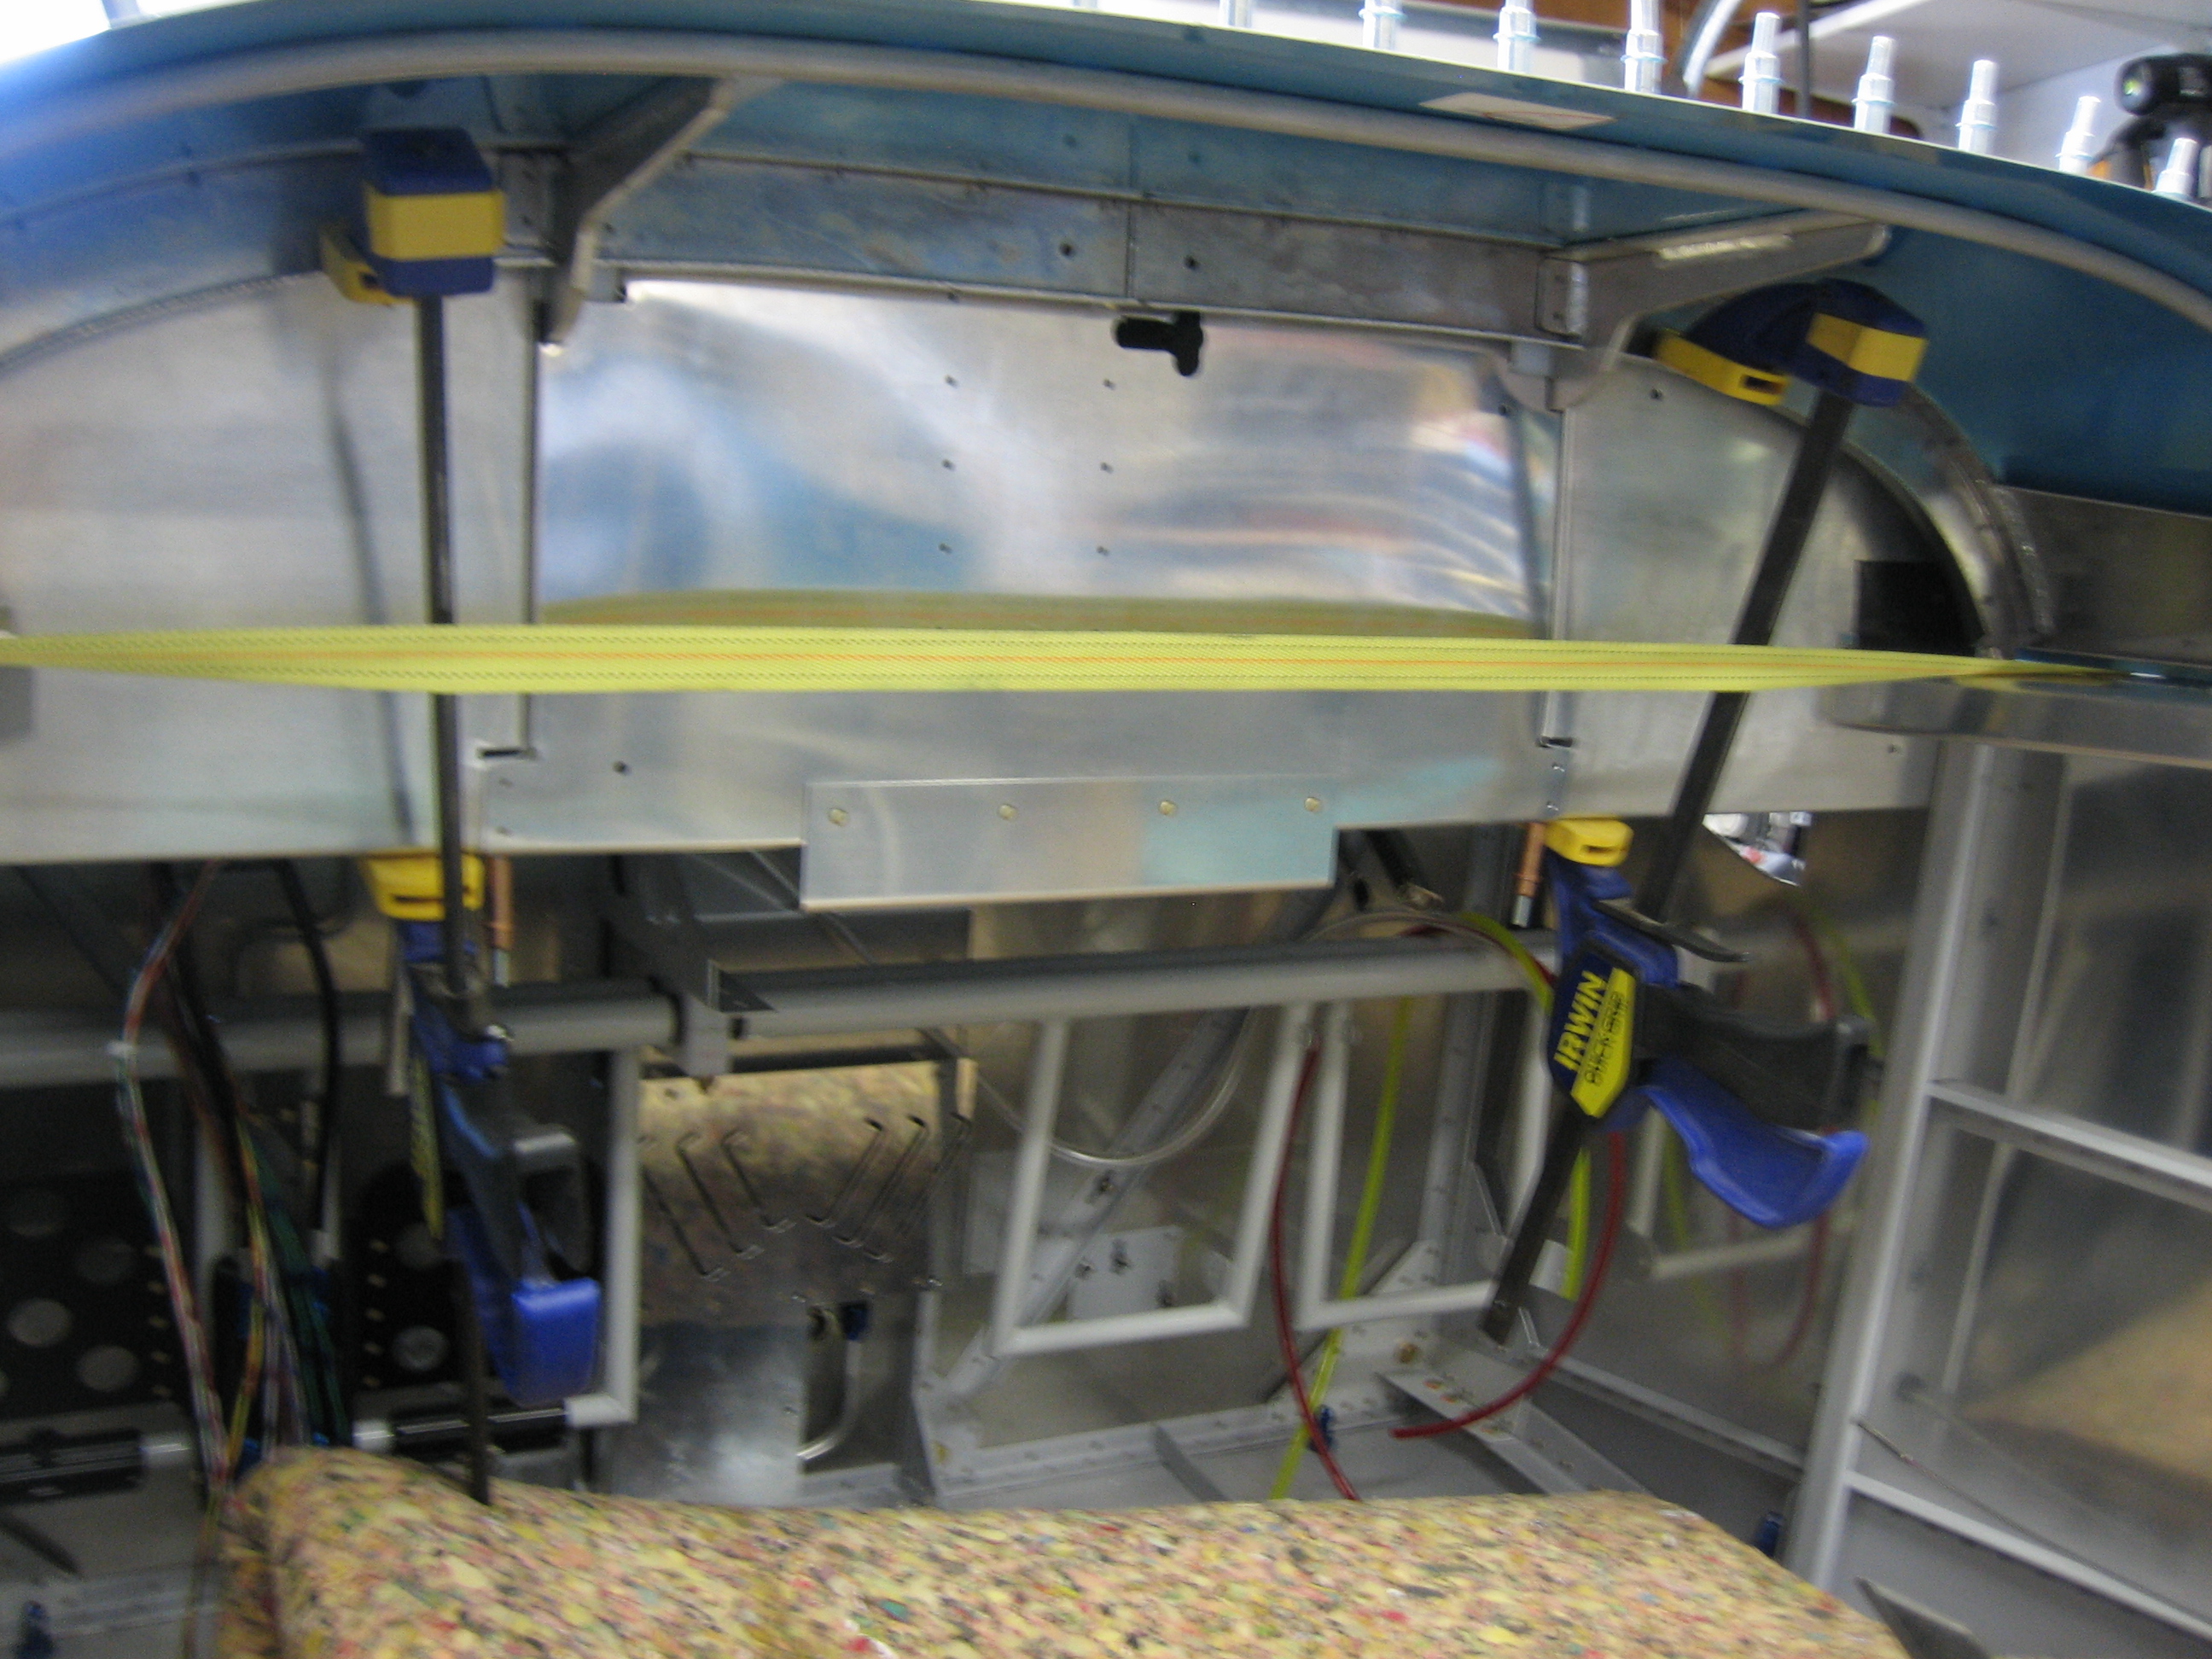
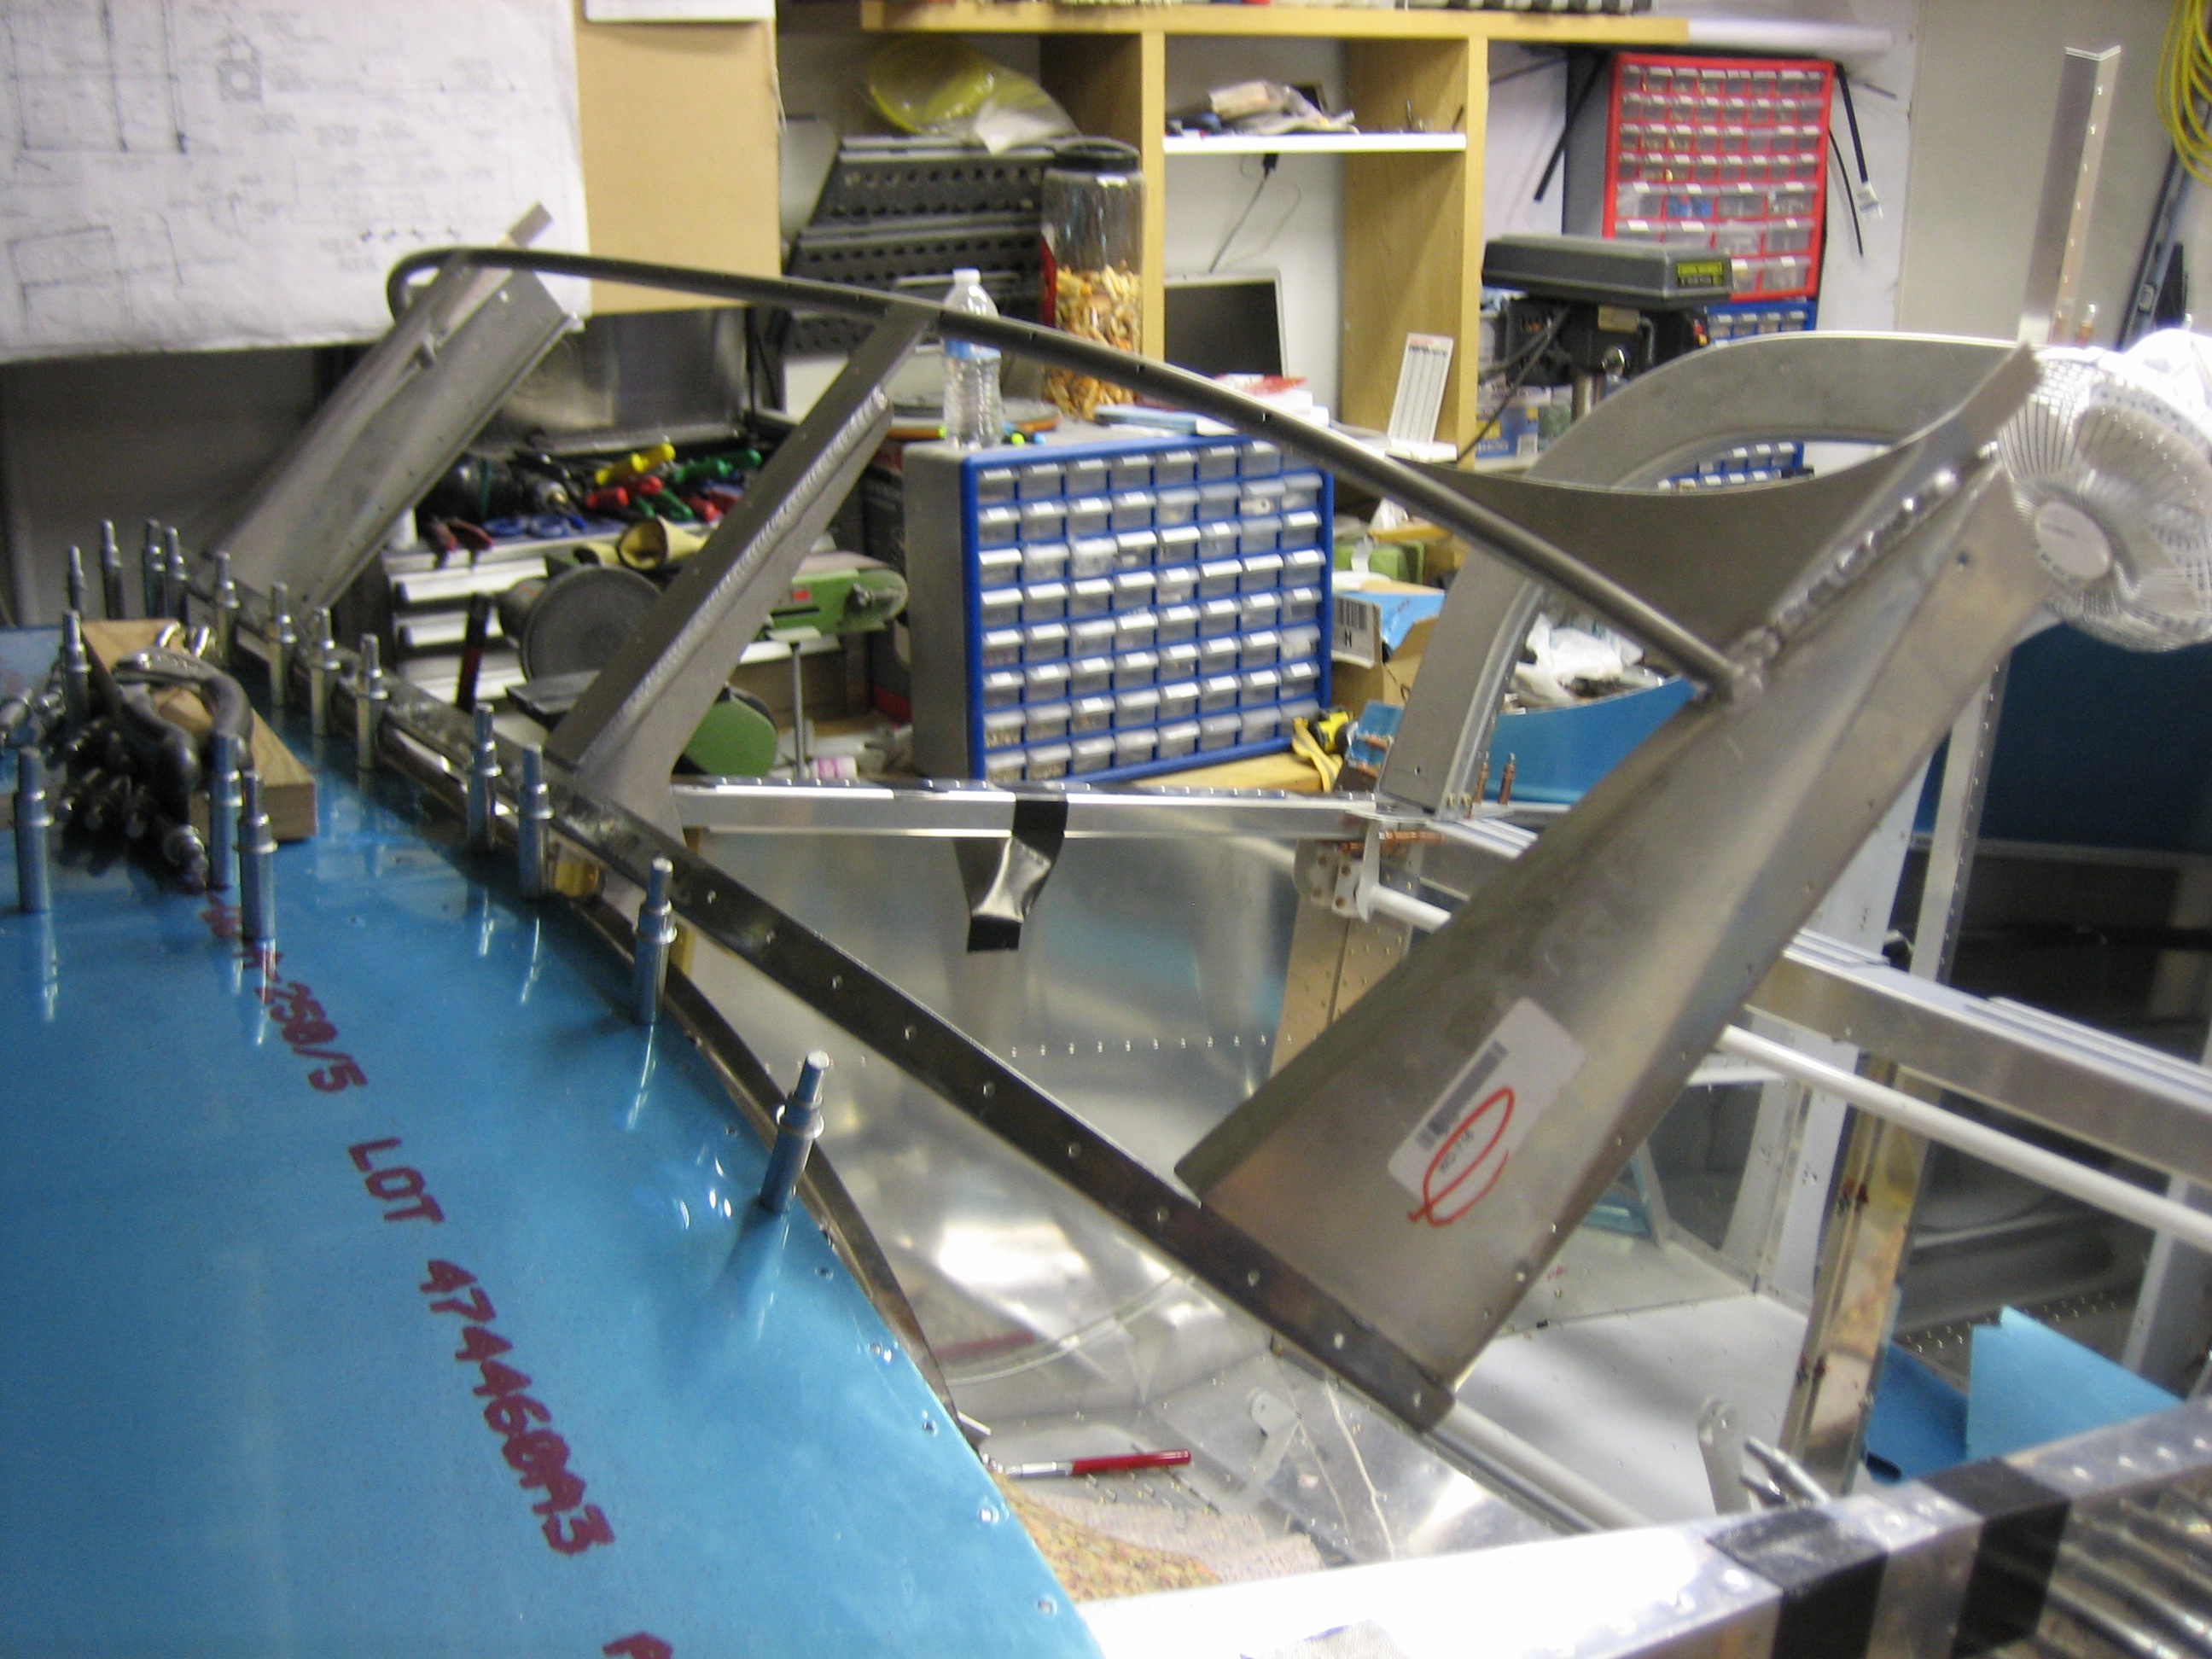
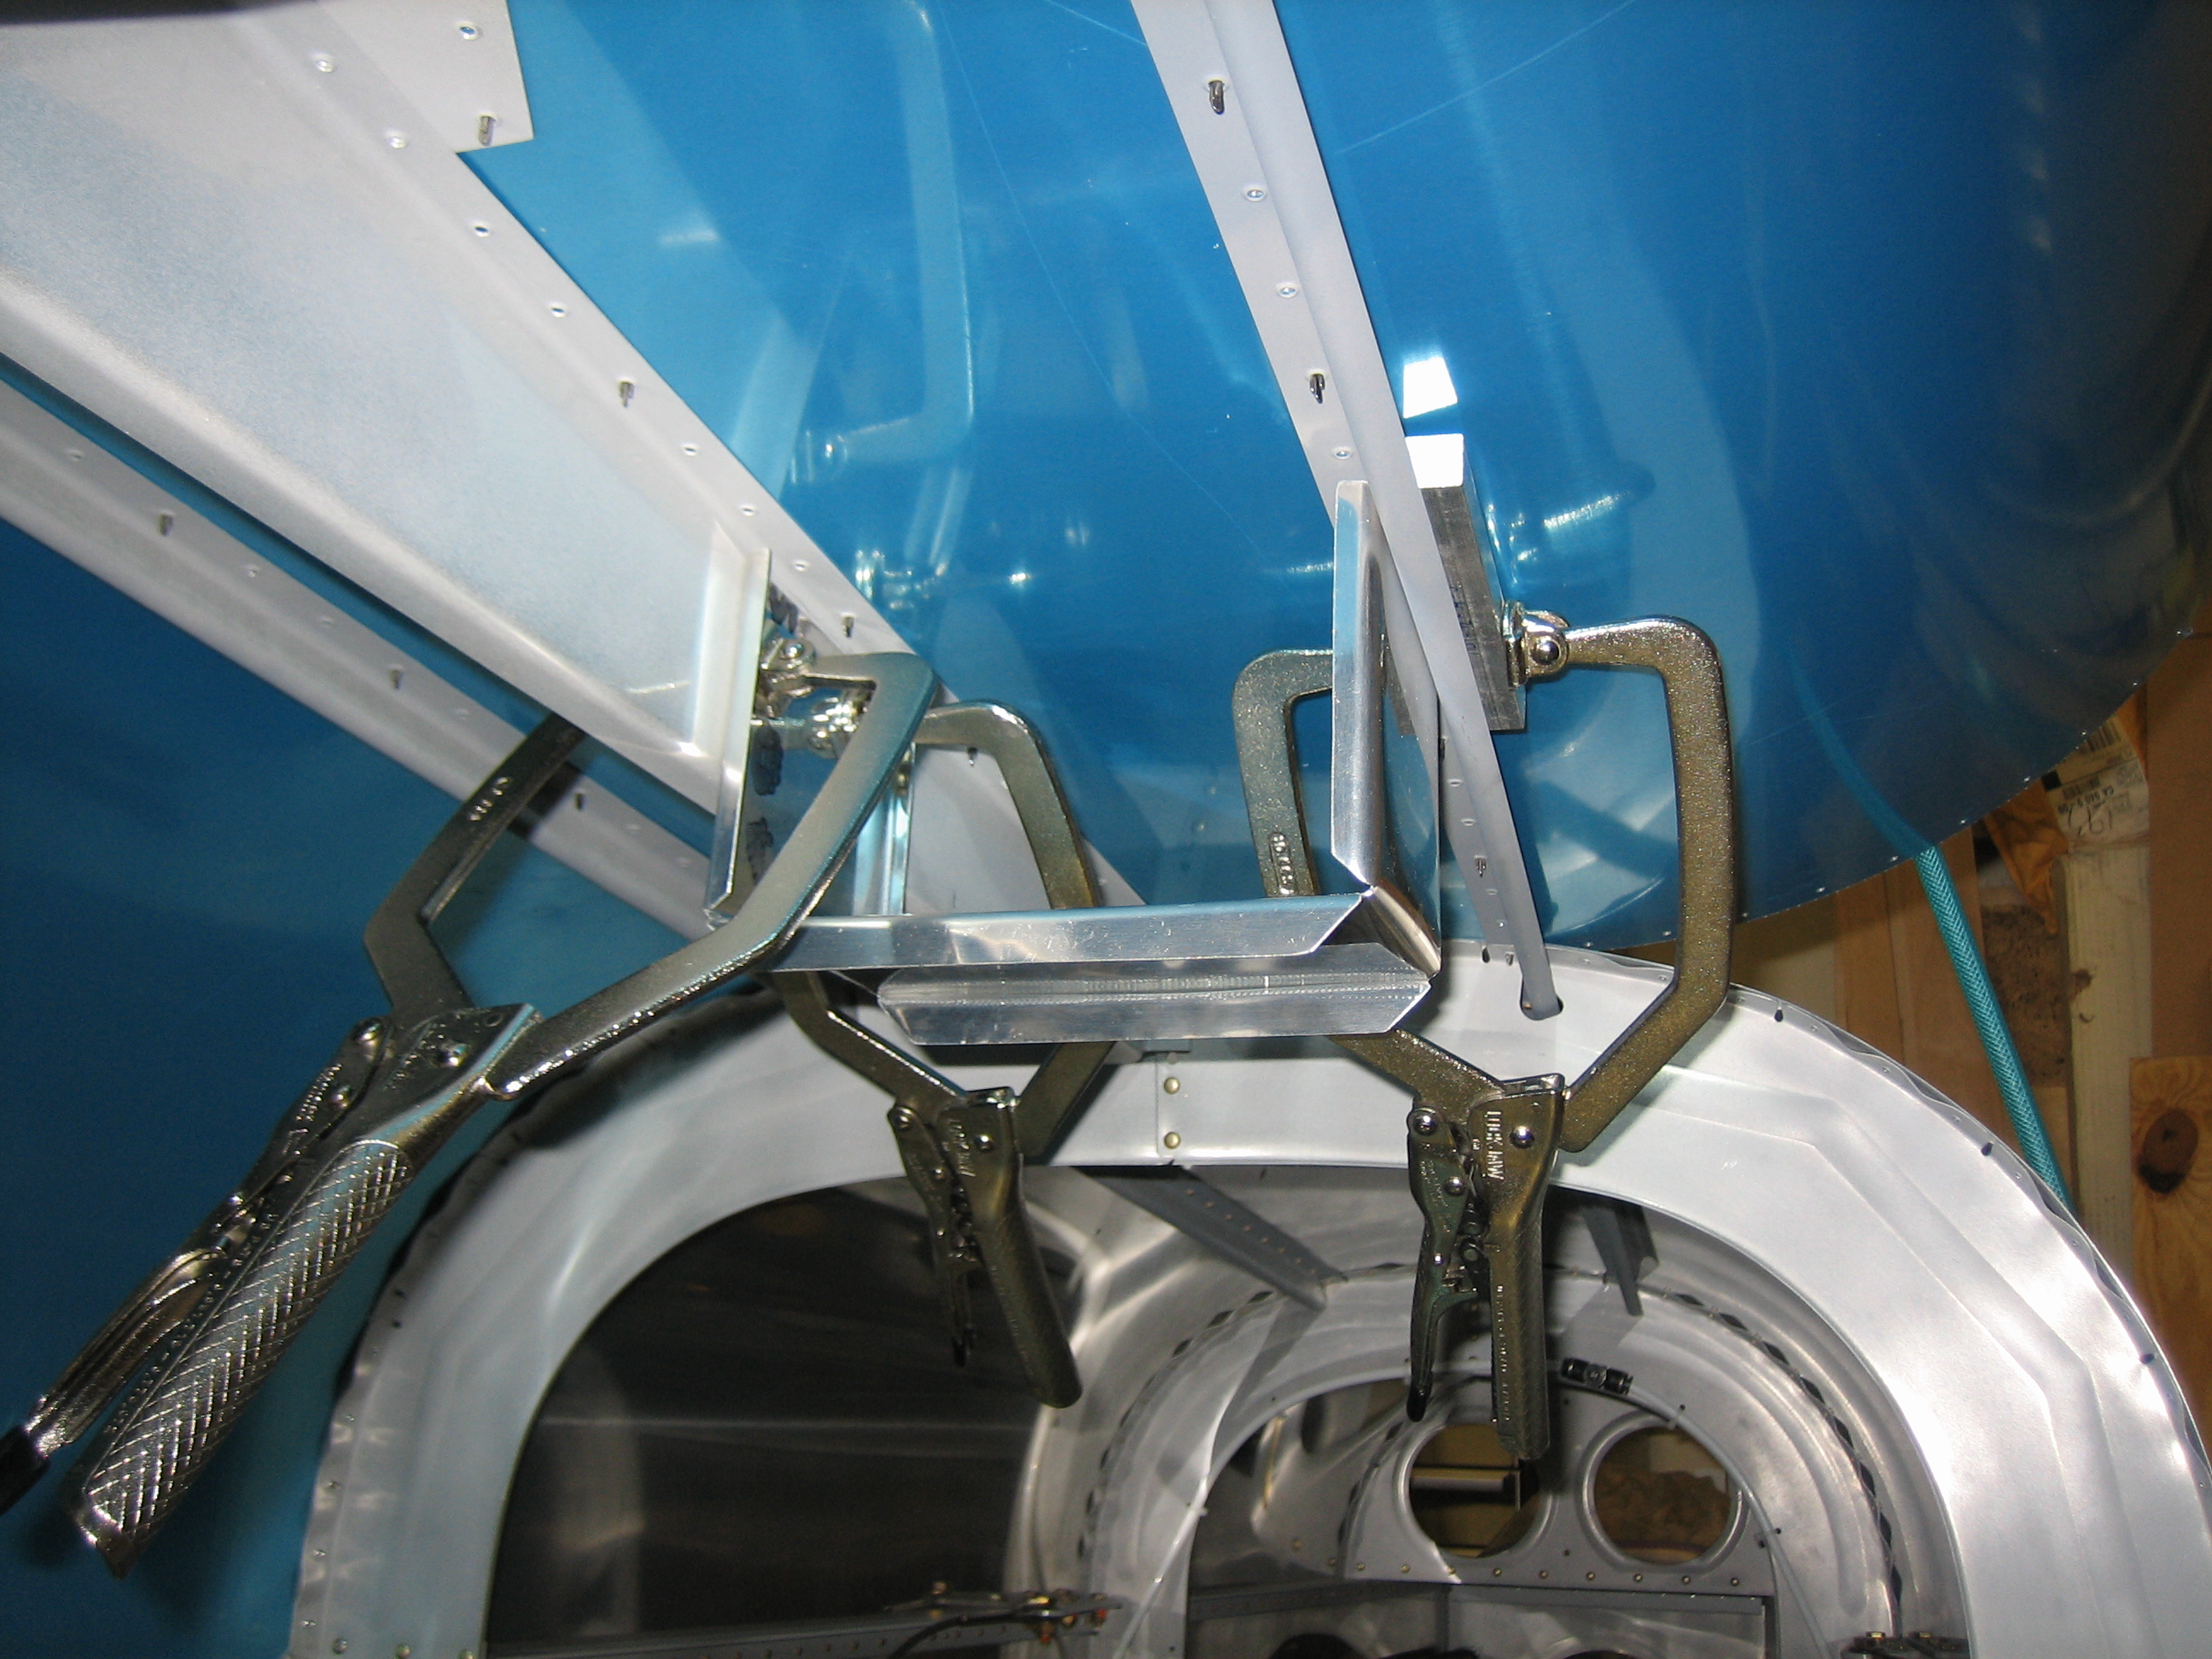
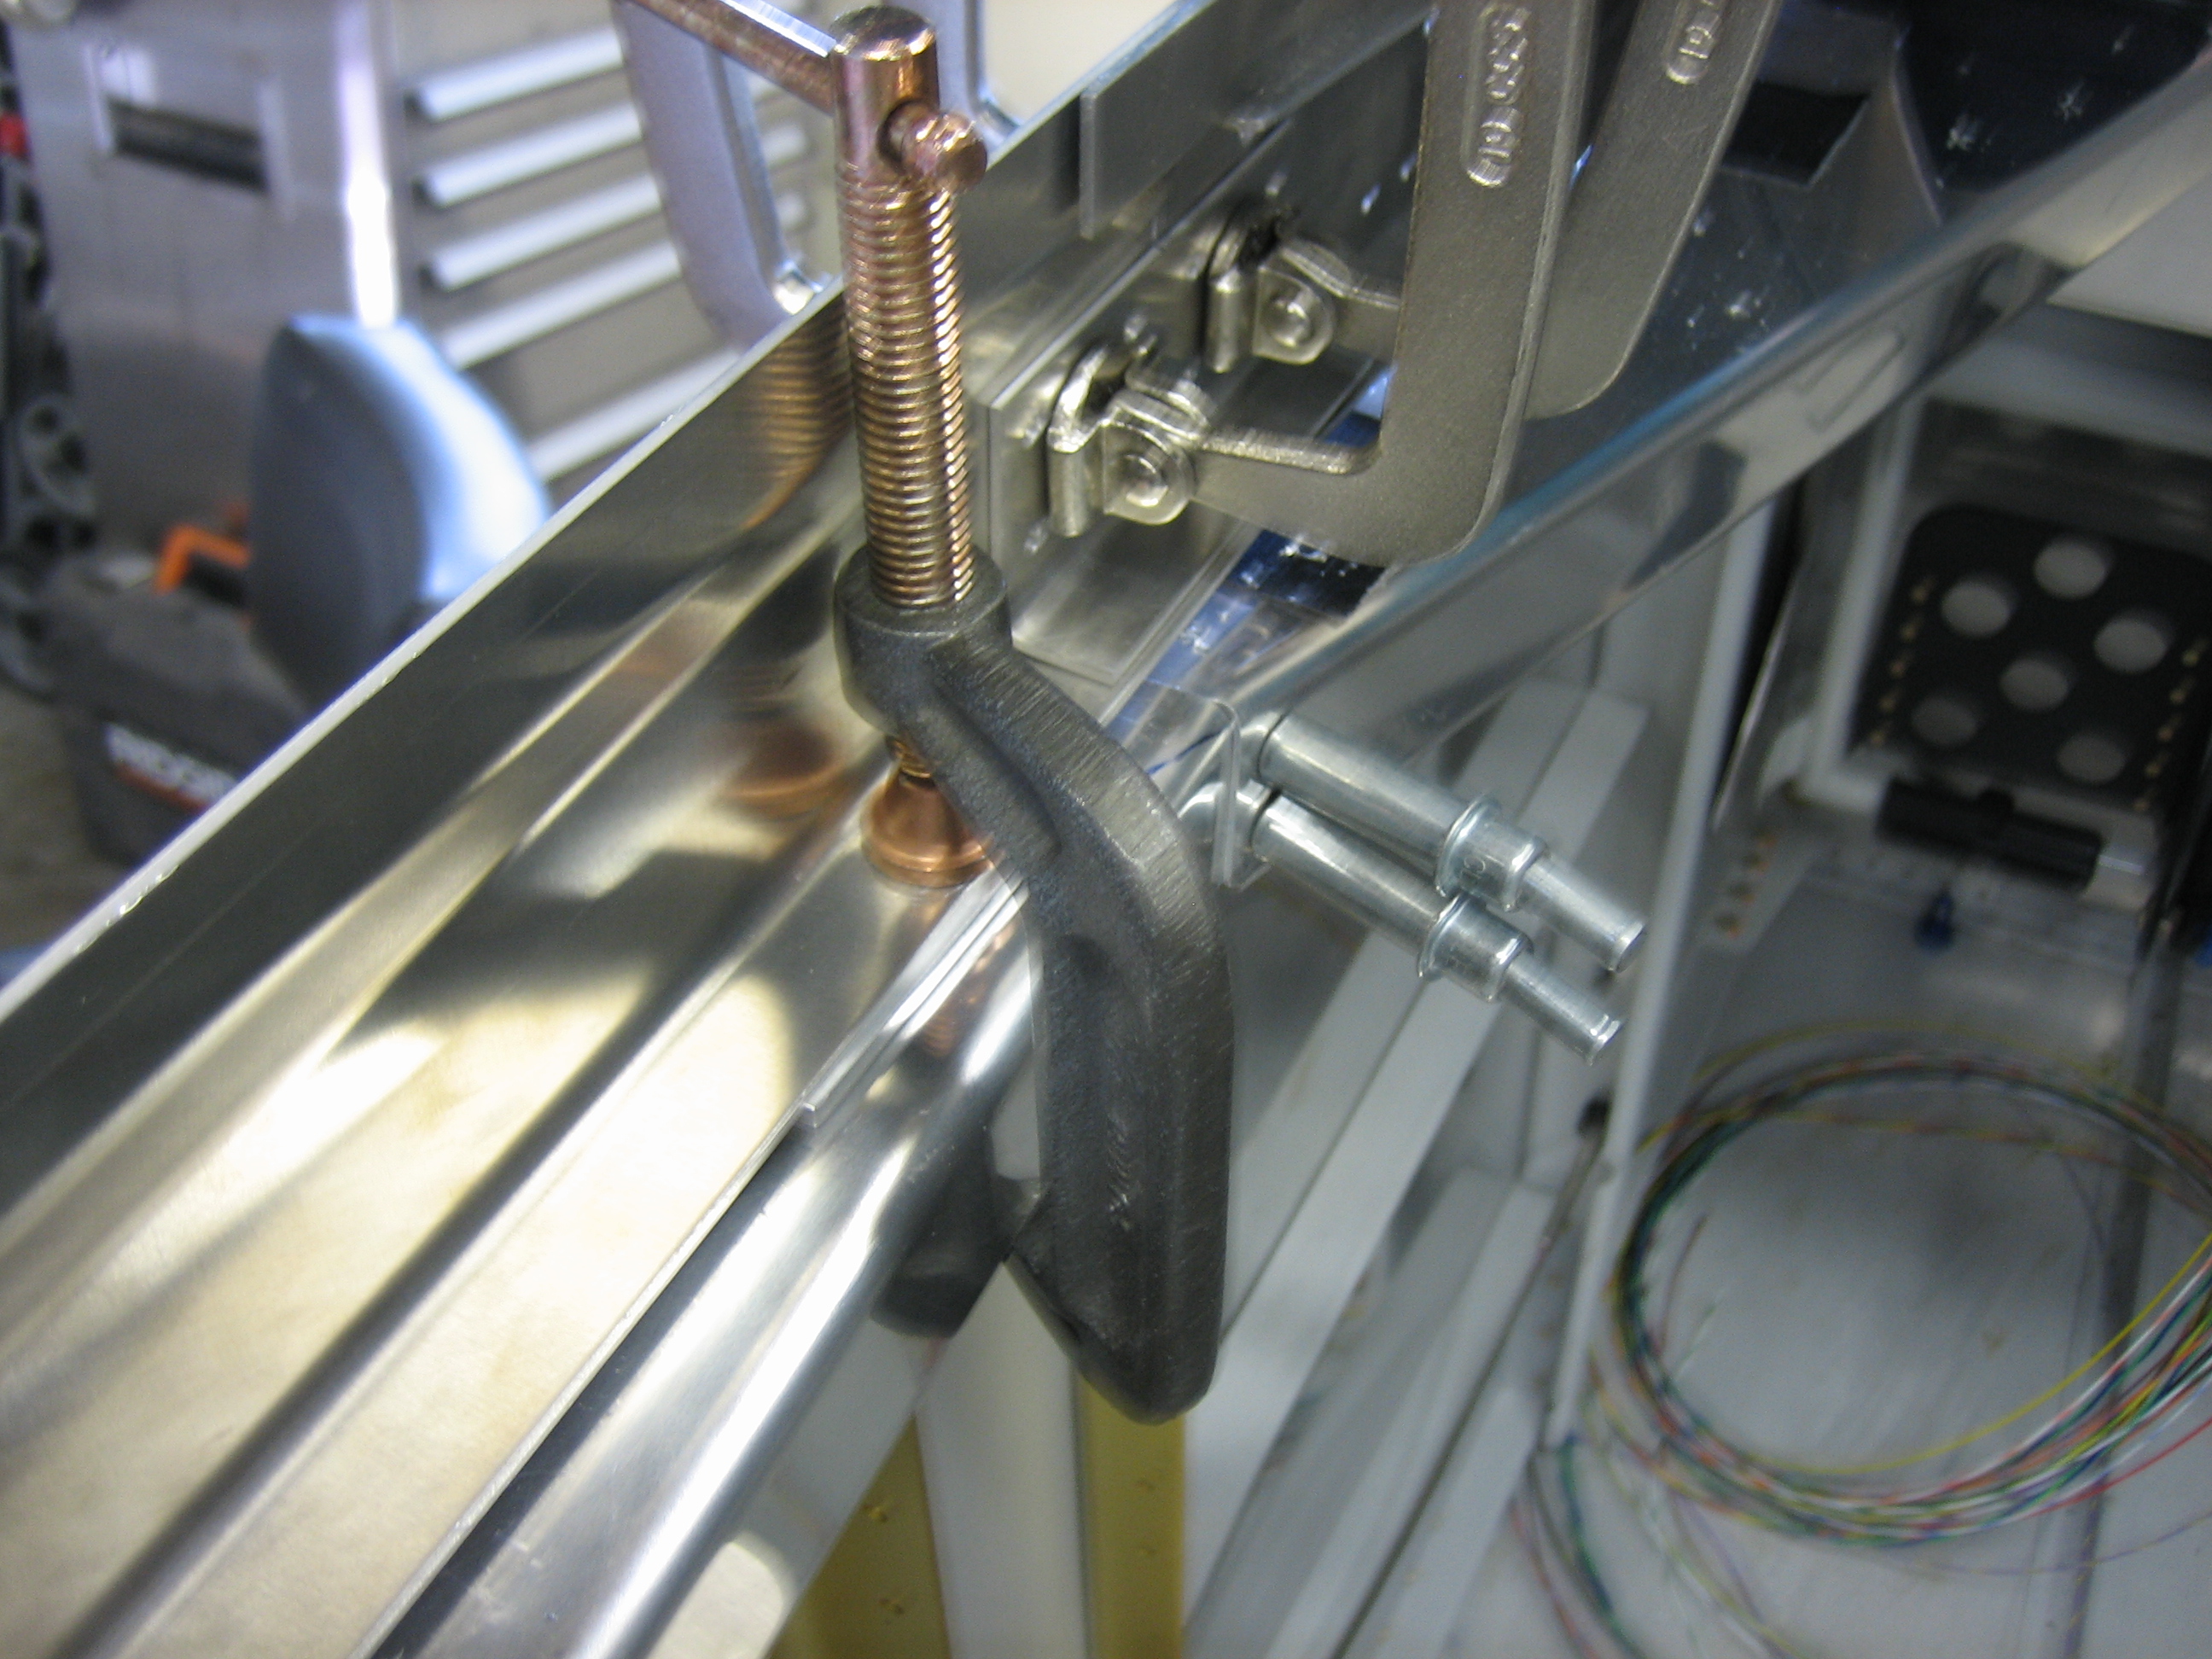
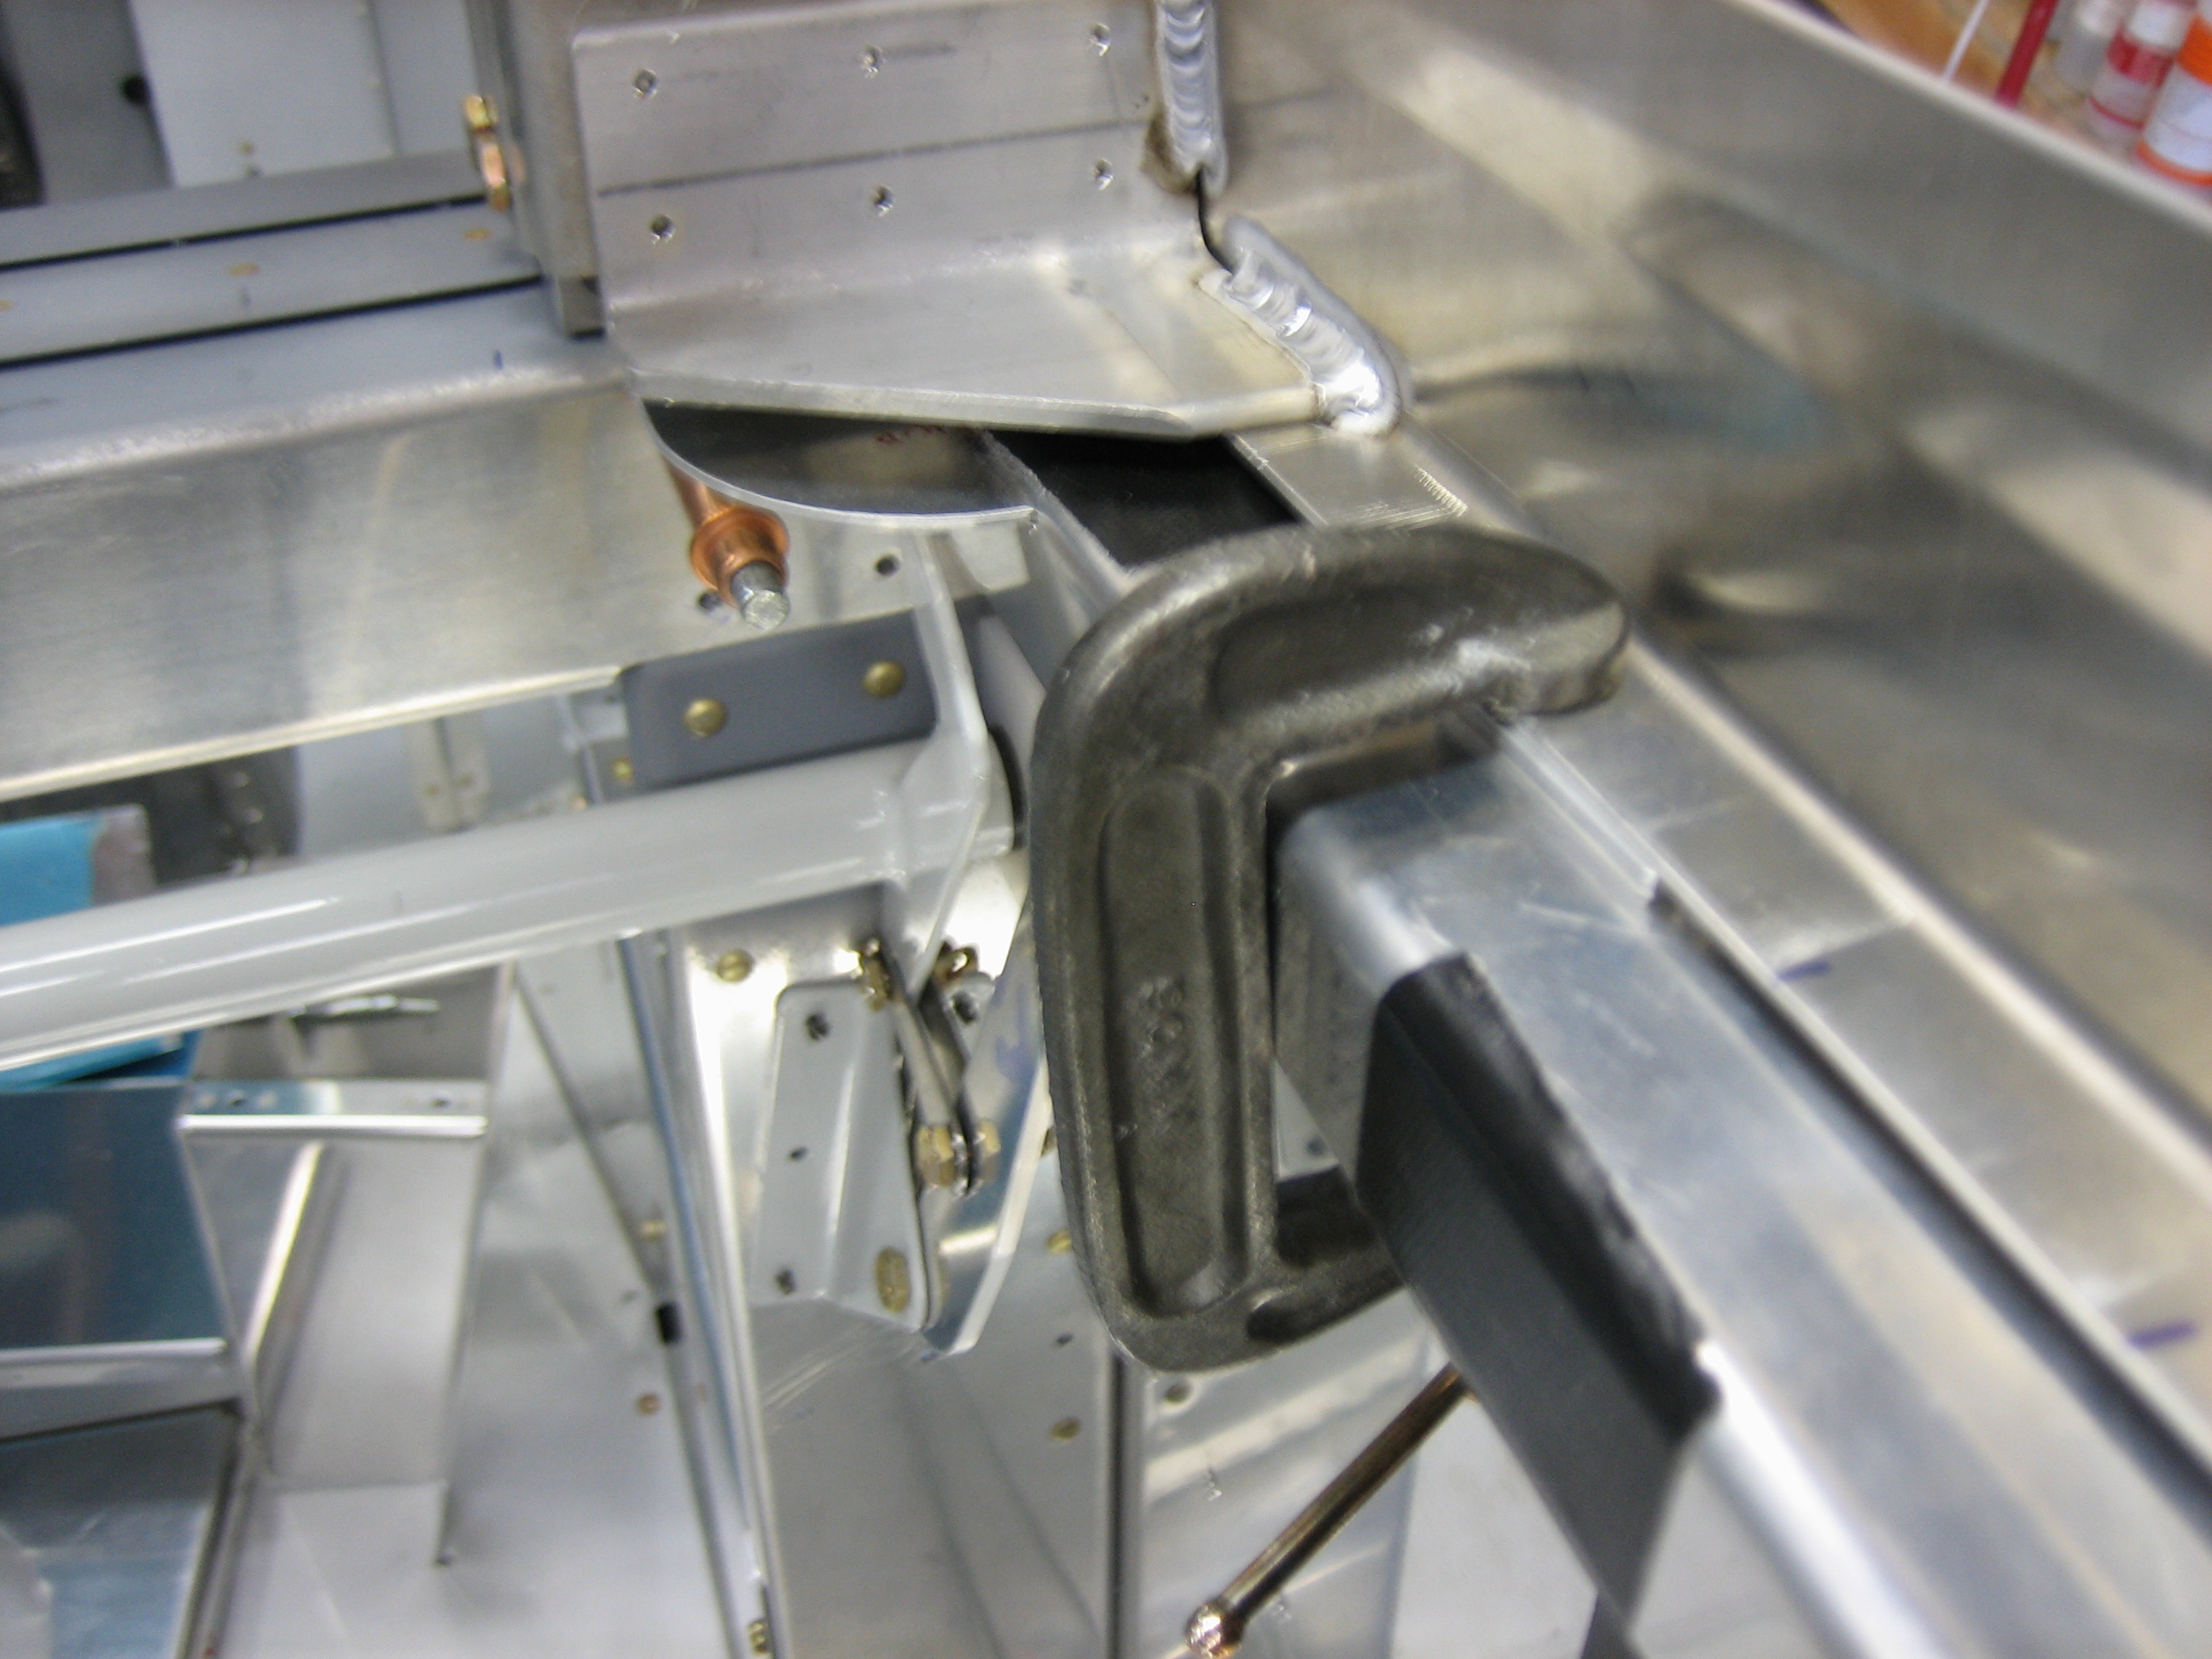
I put a couple of ratcheting straps on. One is pulling the sides of the frame inward to ensure the frame is the correct width. The other is pulling the frame down to ensure it’s tight against the fuselage.
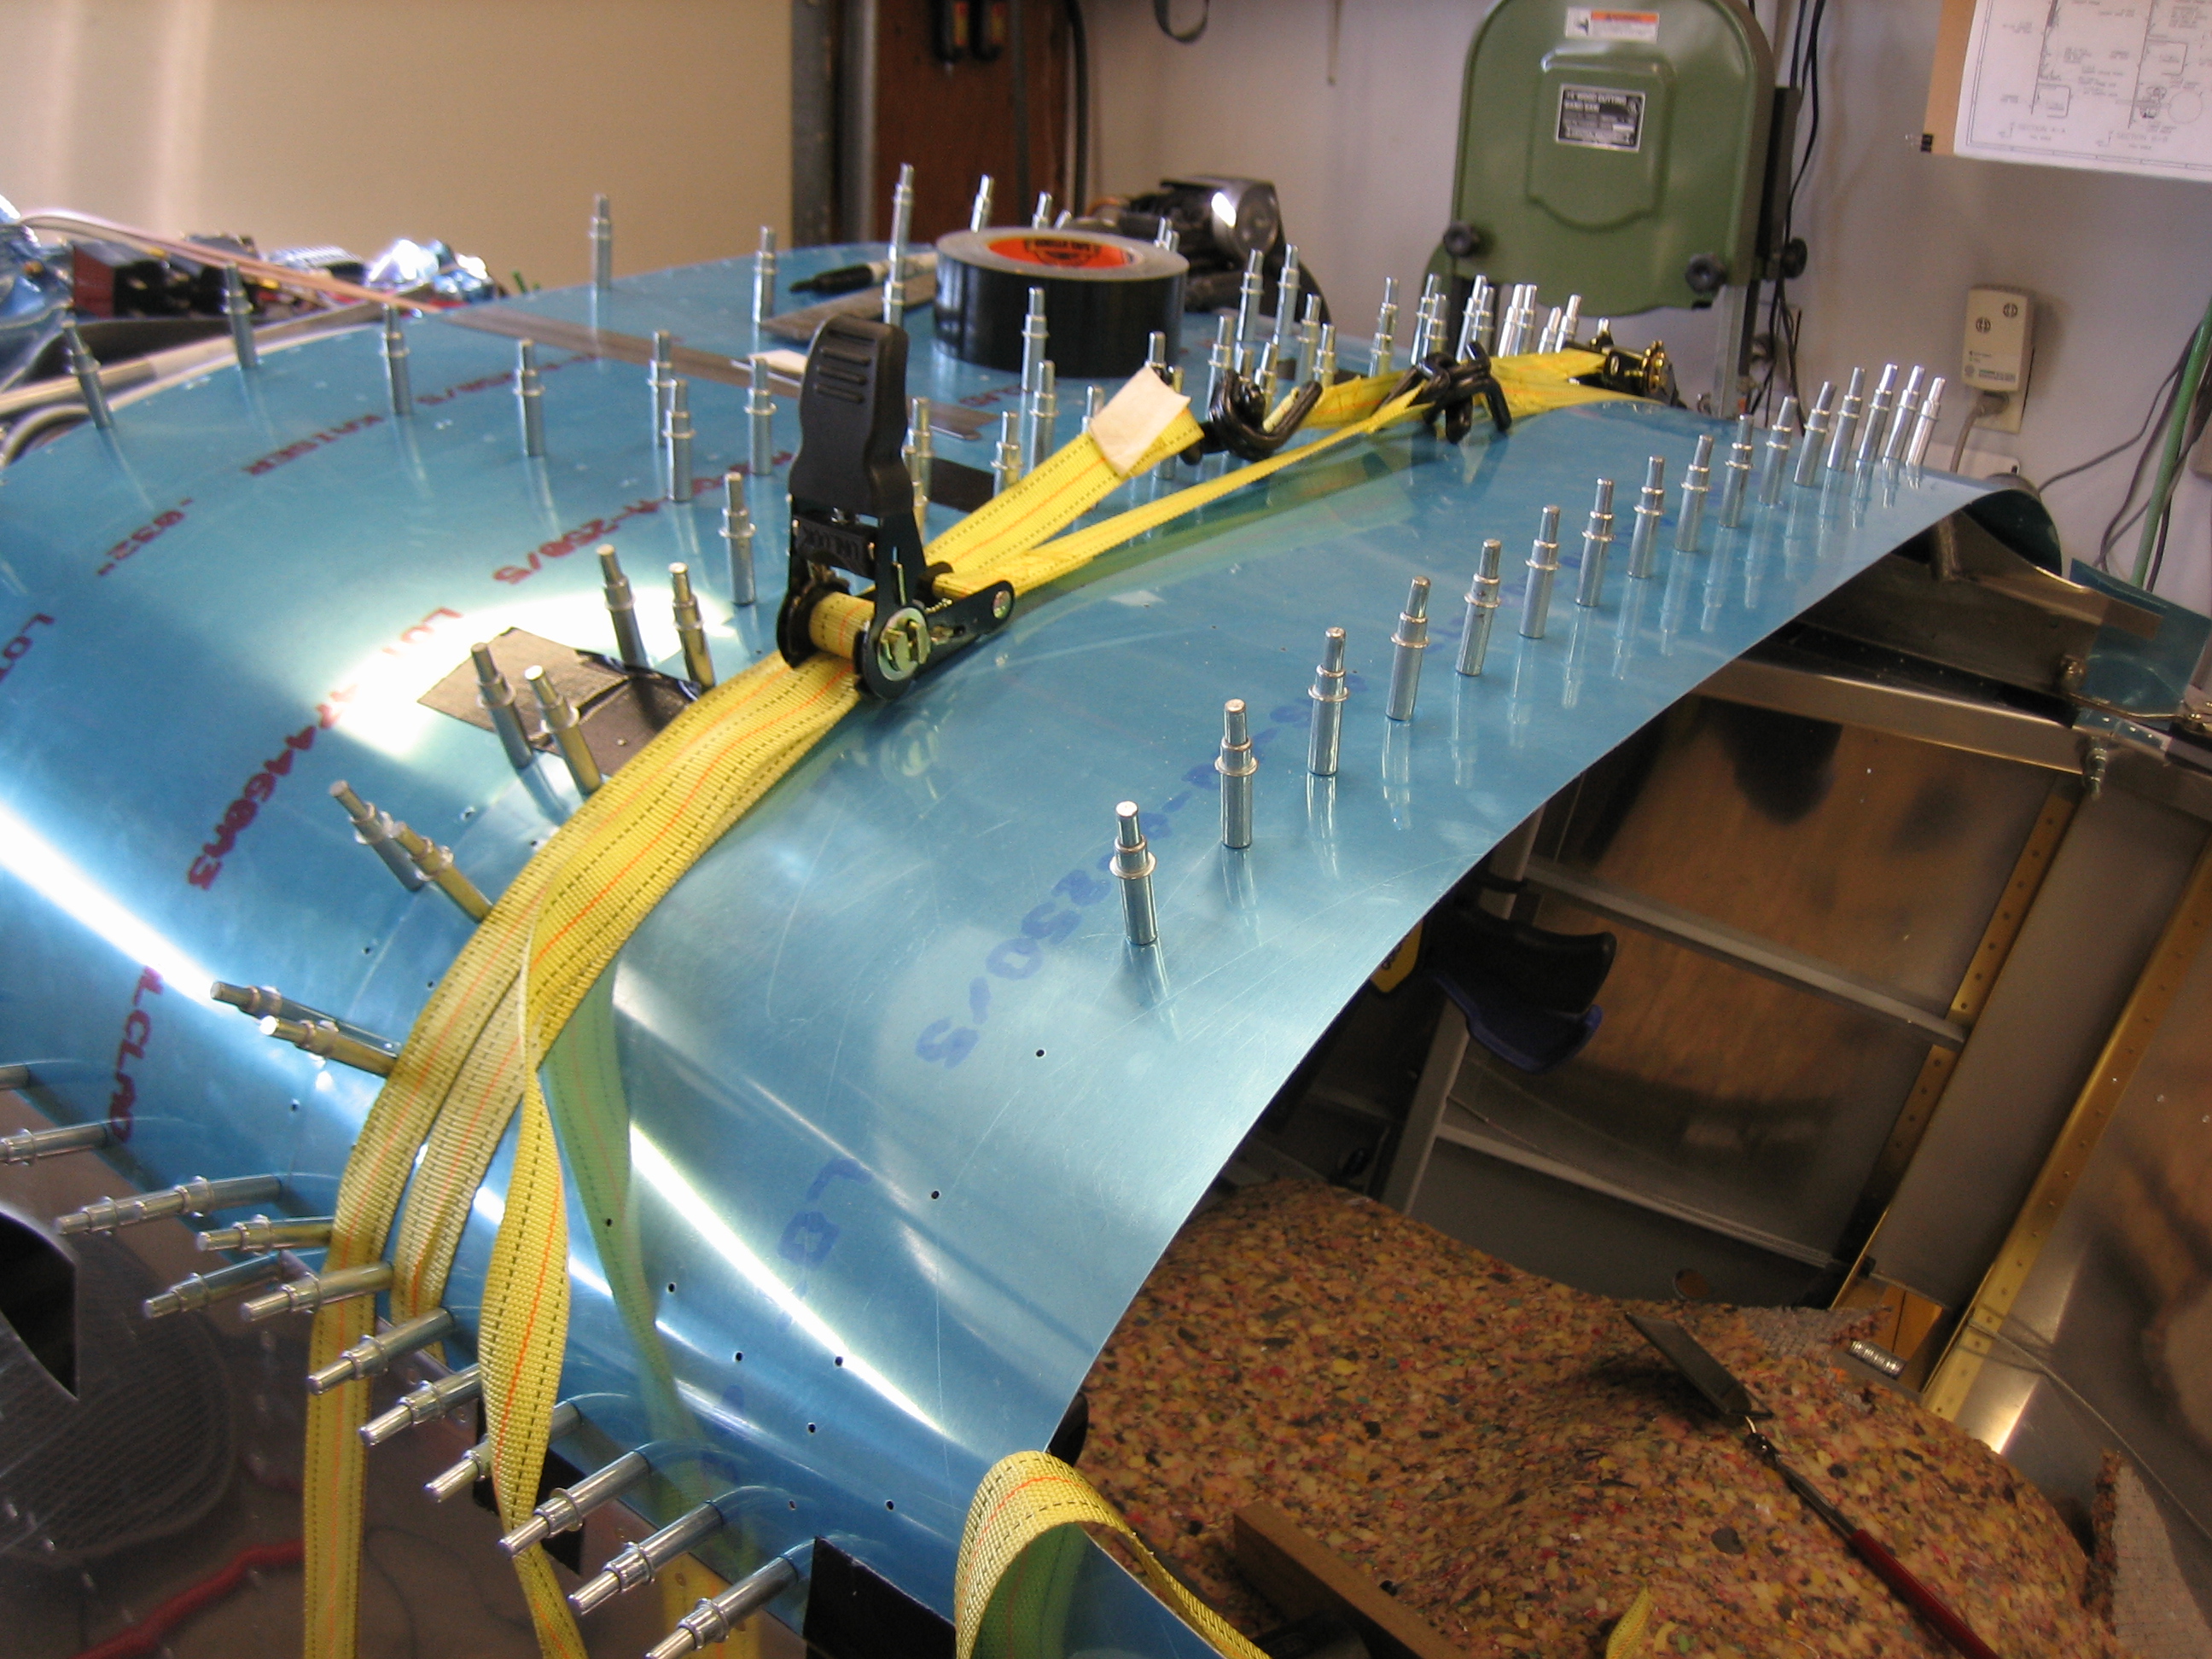
I also use a couple of clamps to make sure the canopy frame wall pulled down tight.
Drilled Canopy Frame Hinge Brackets
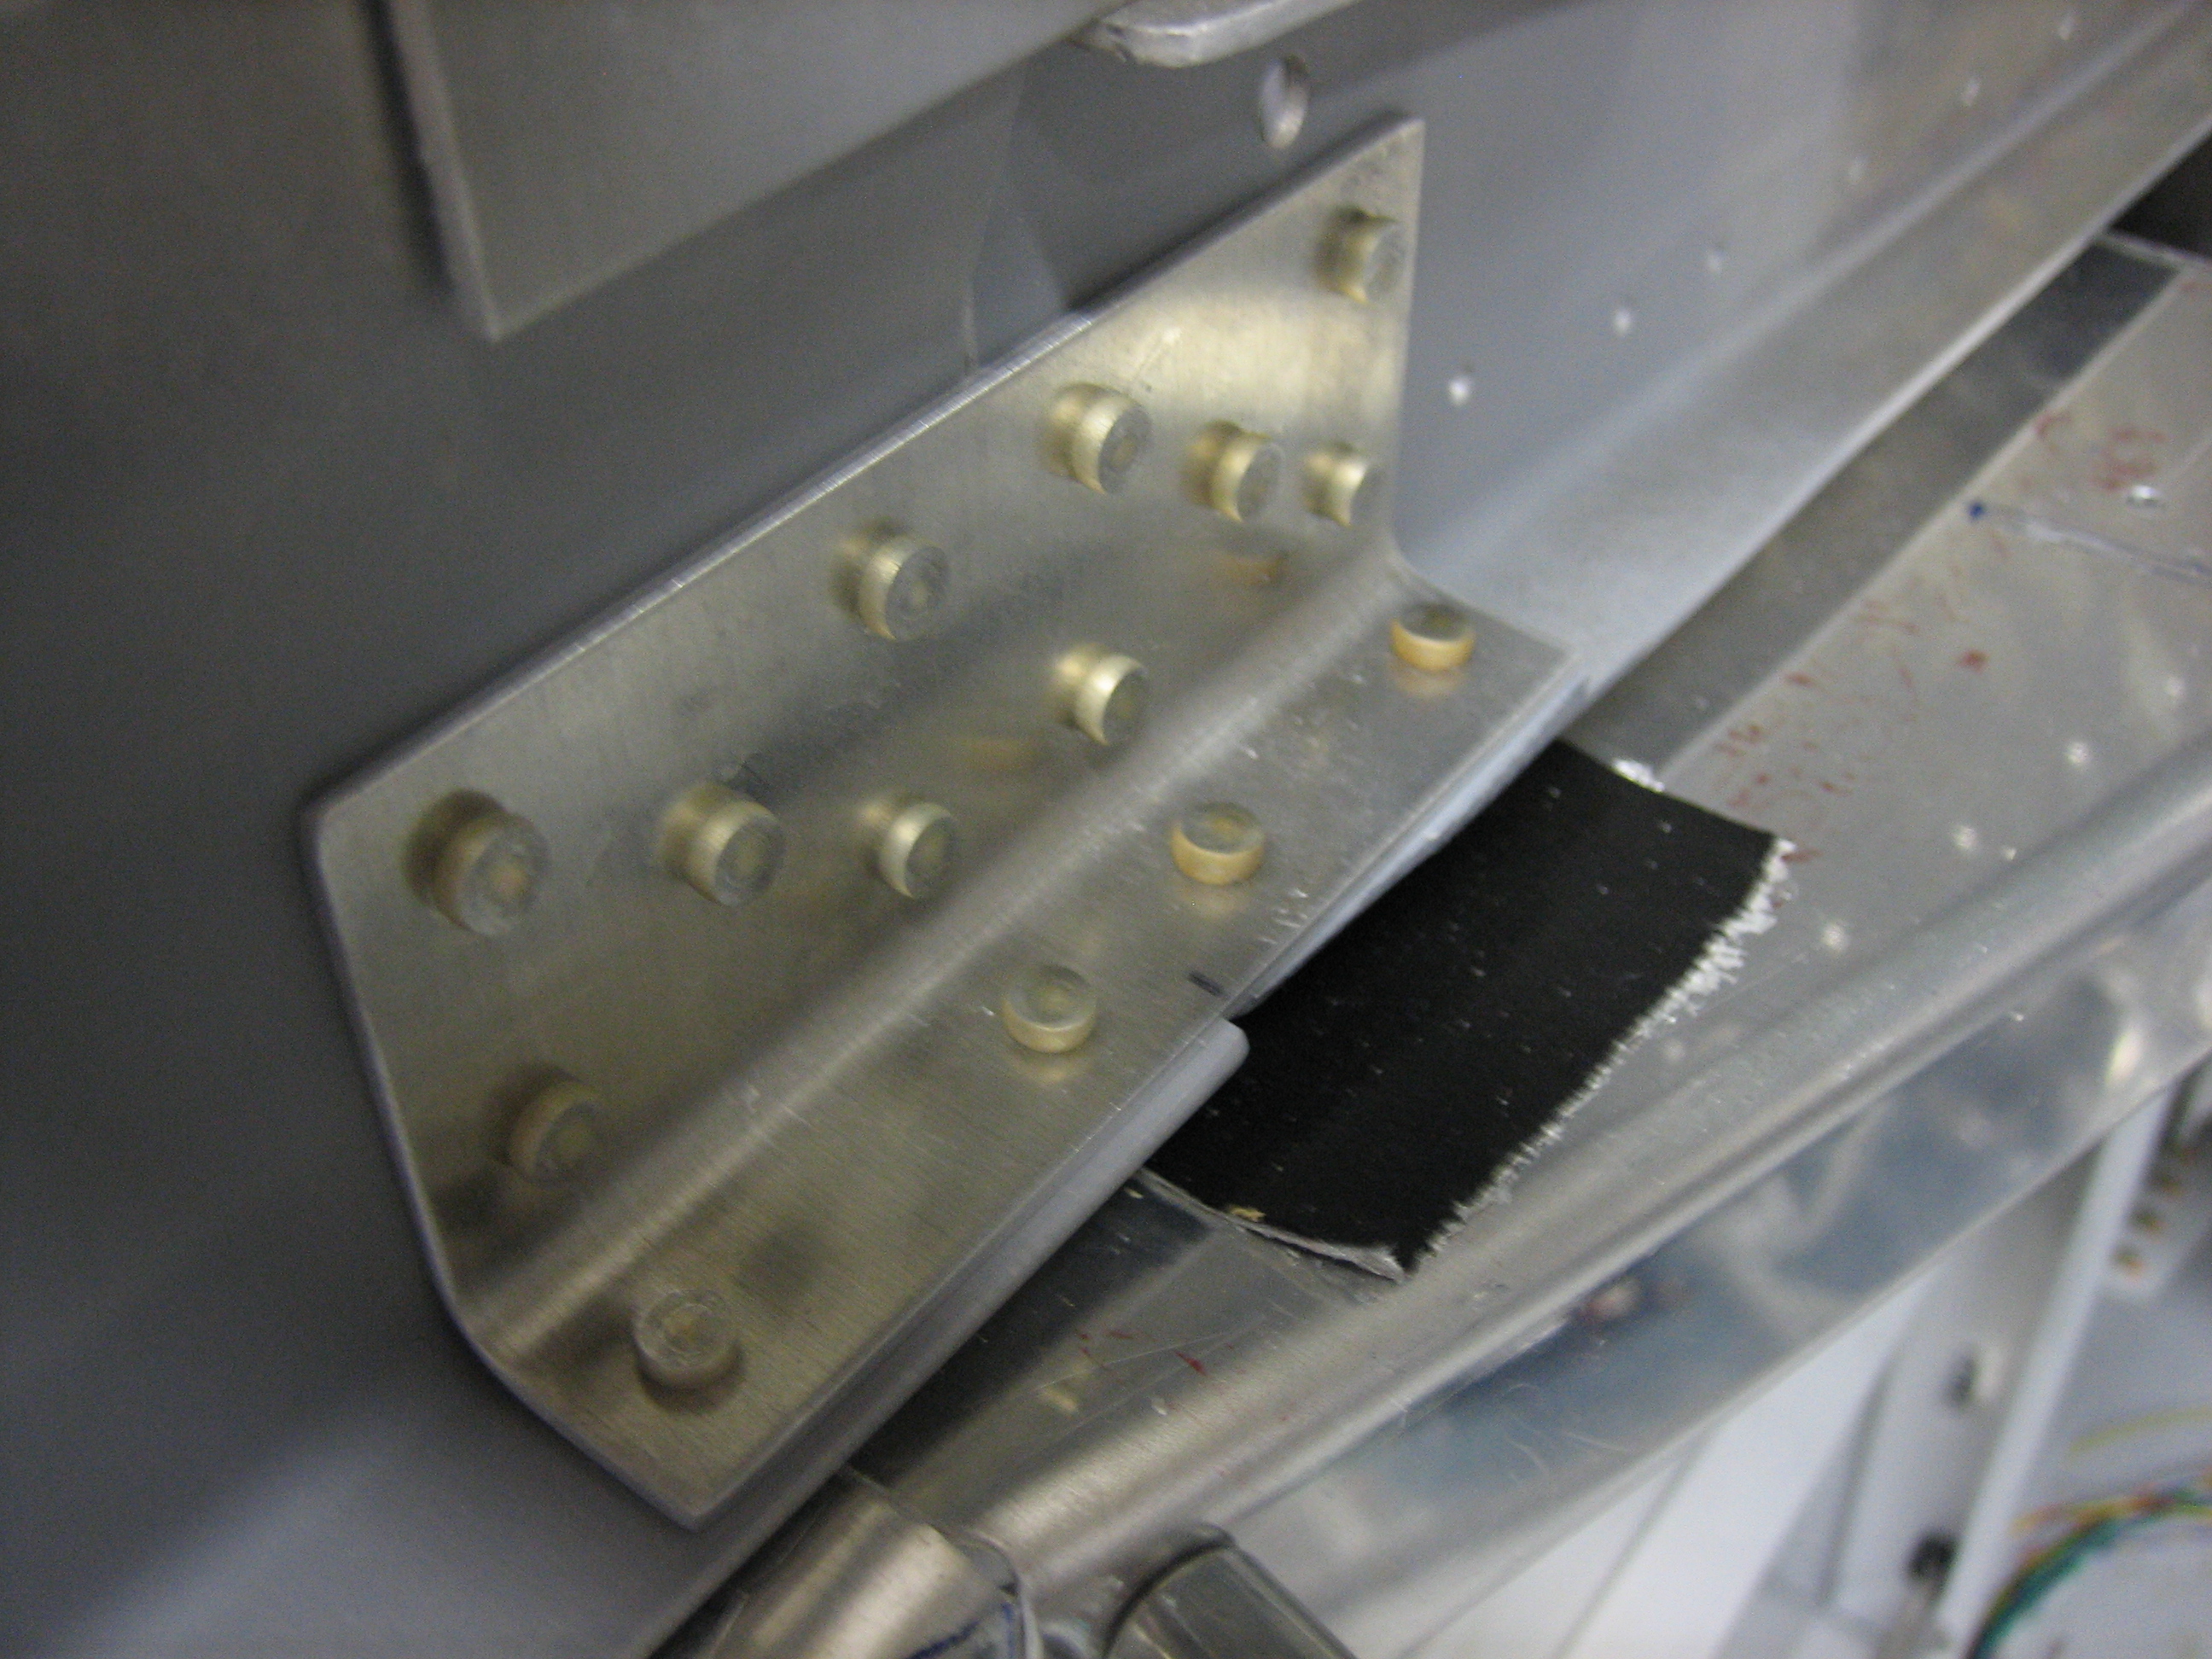
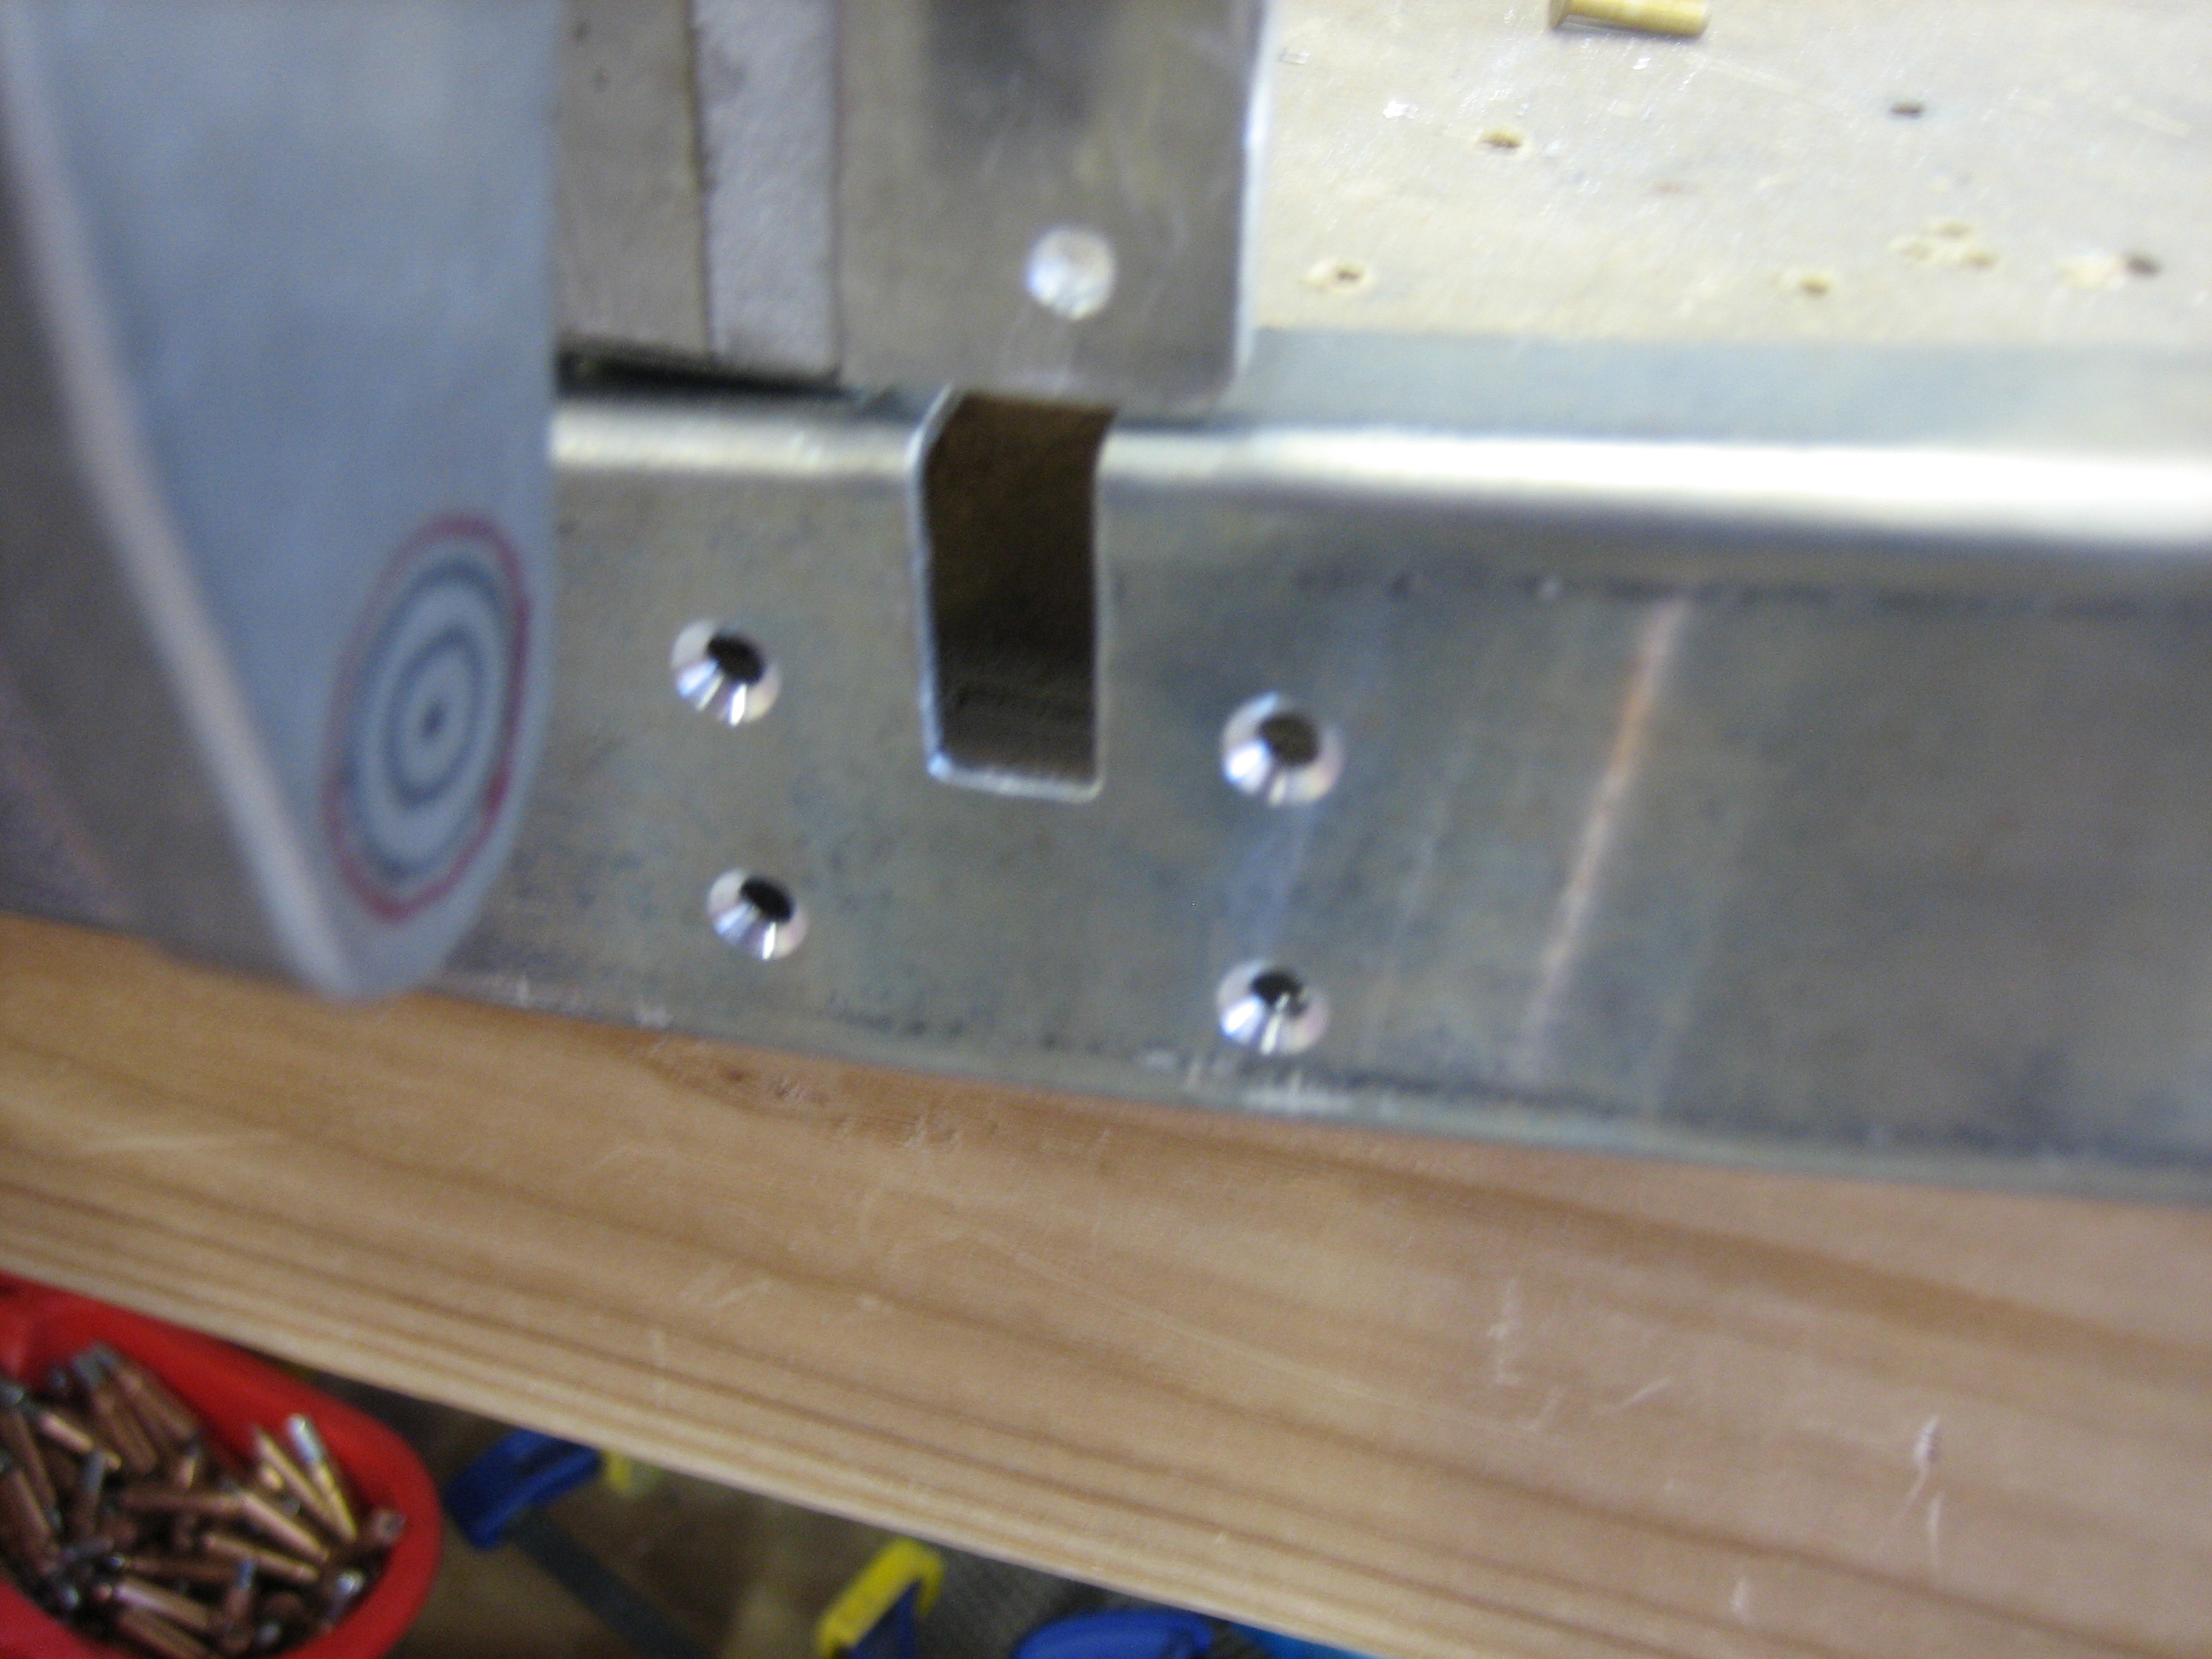
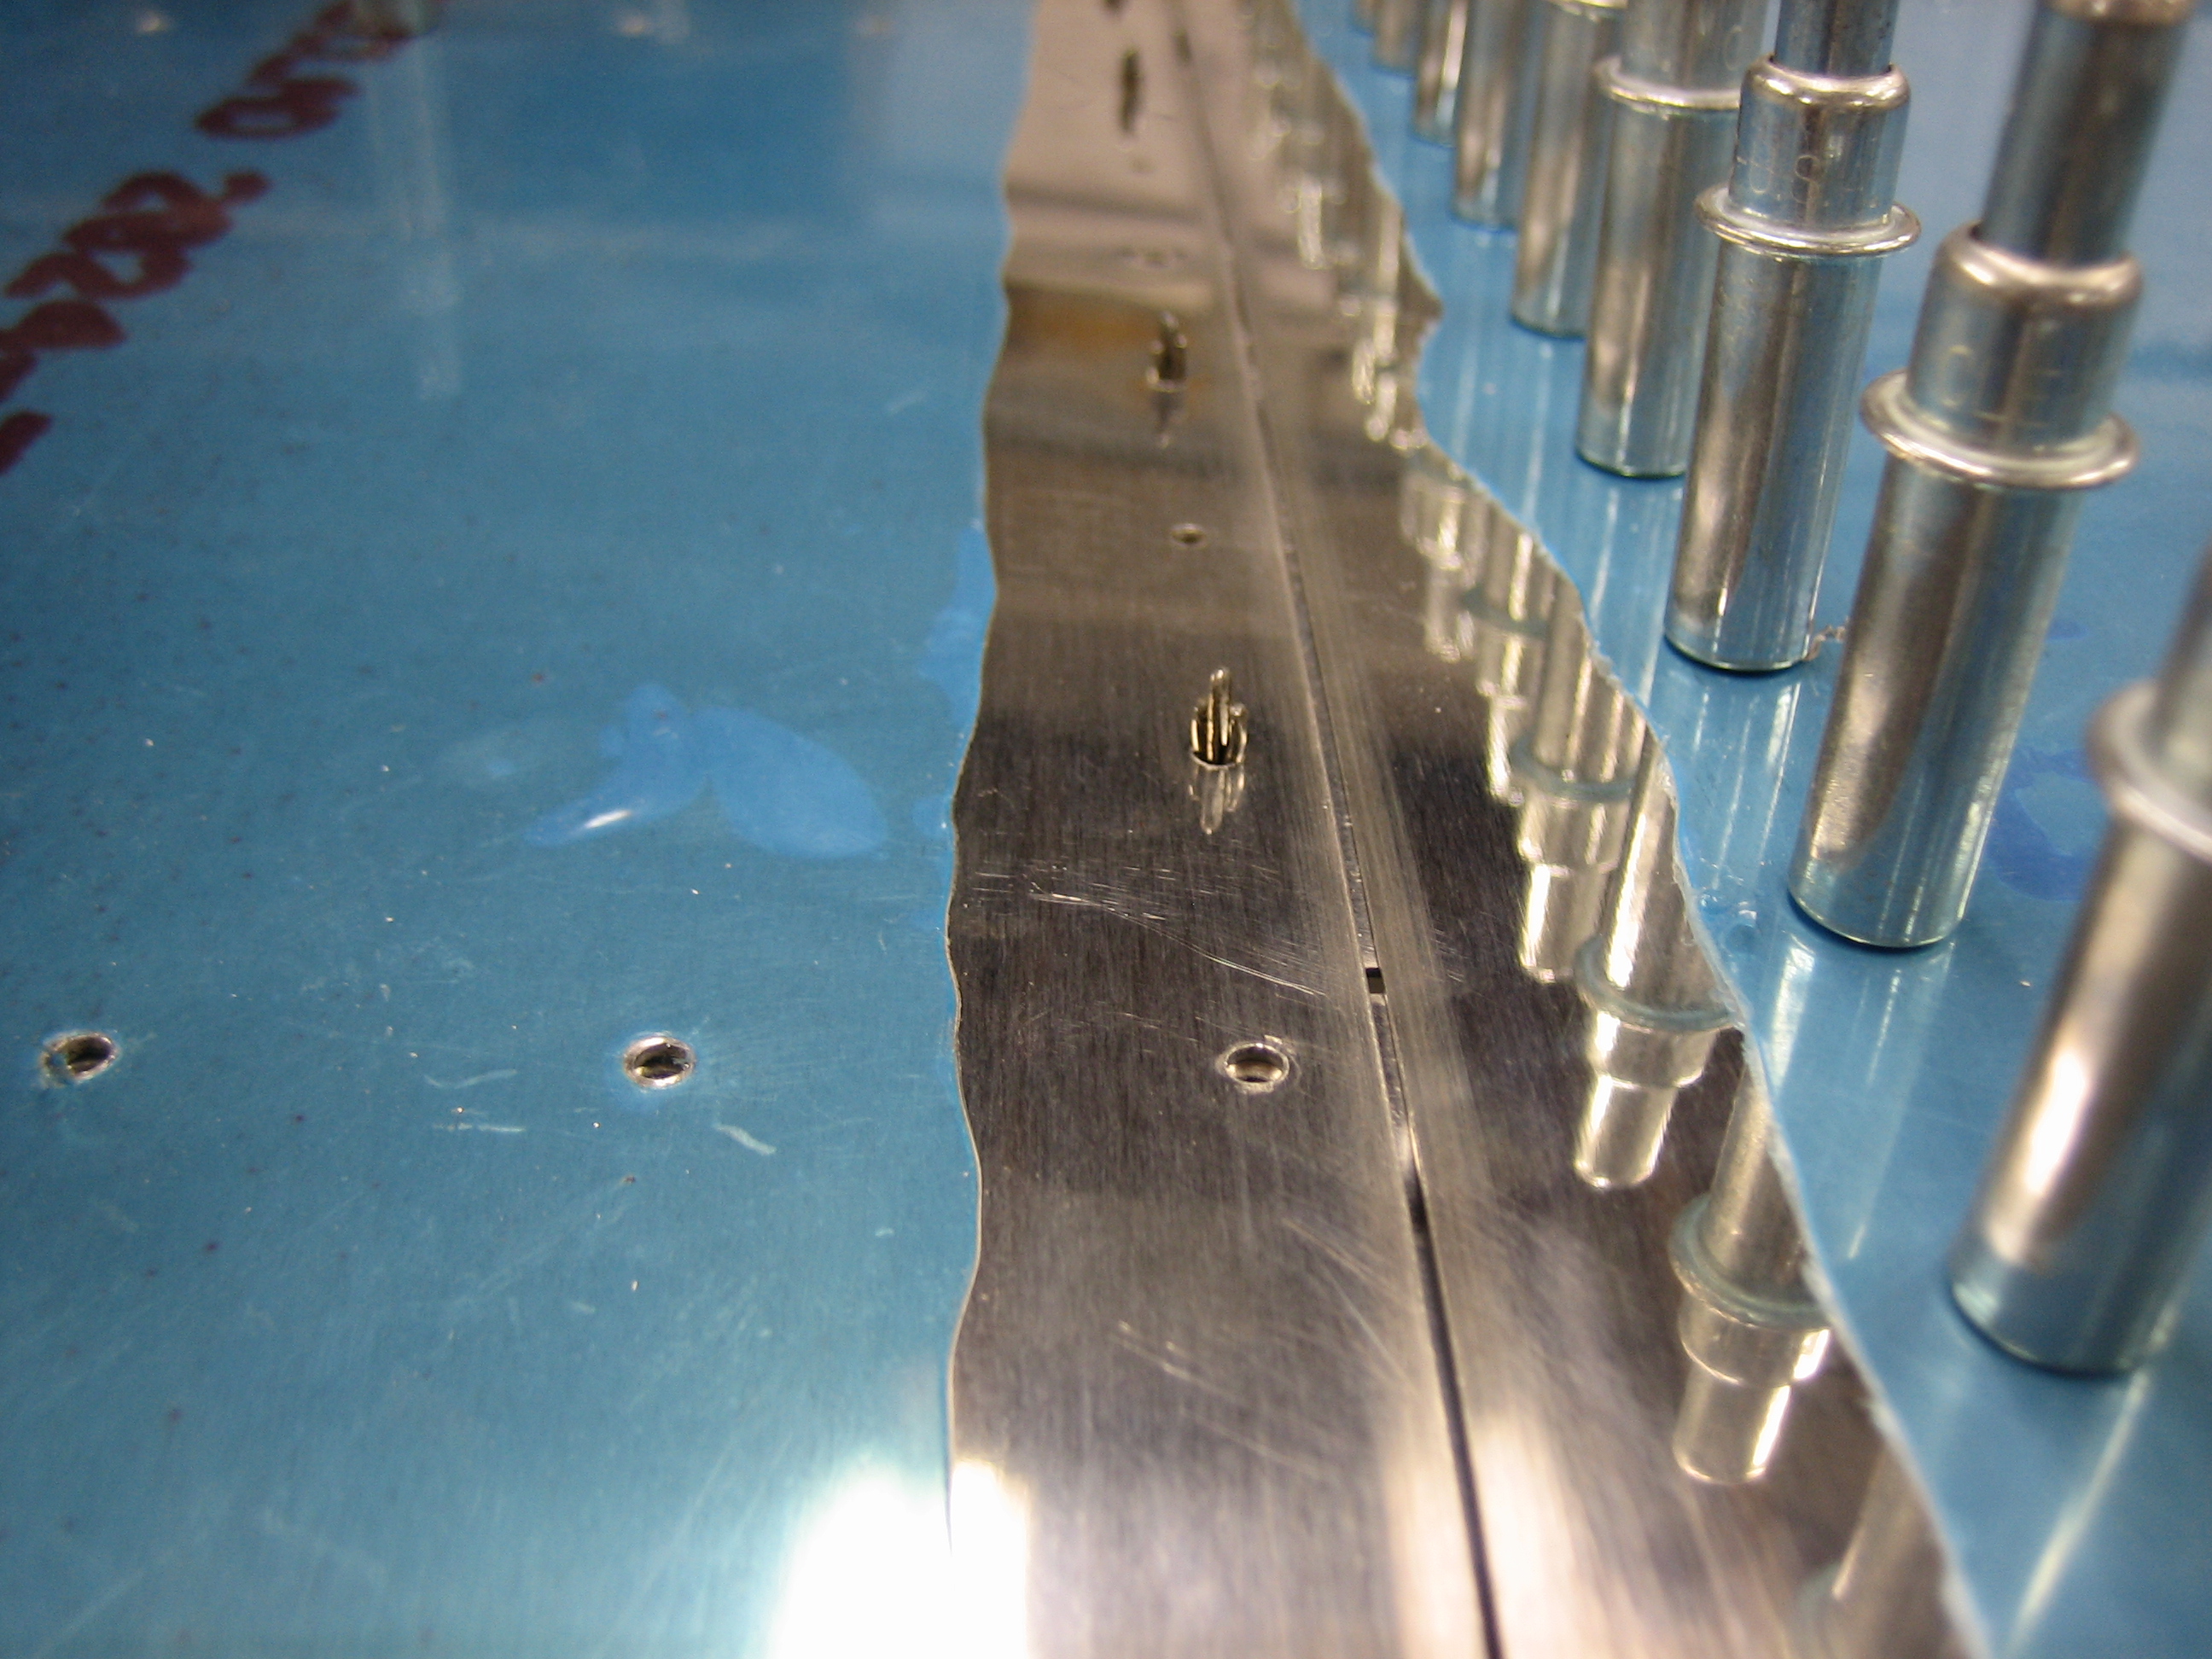
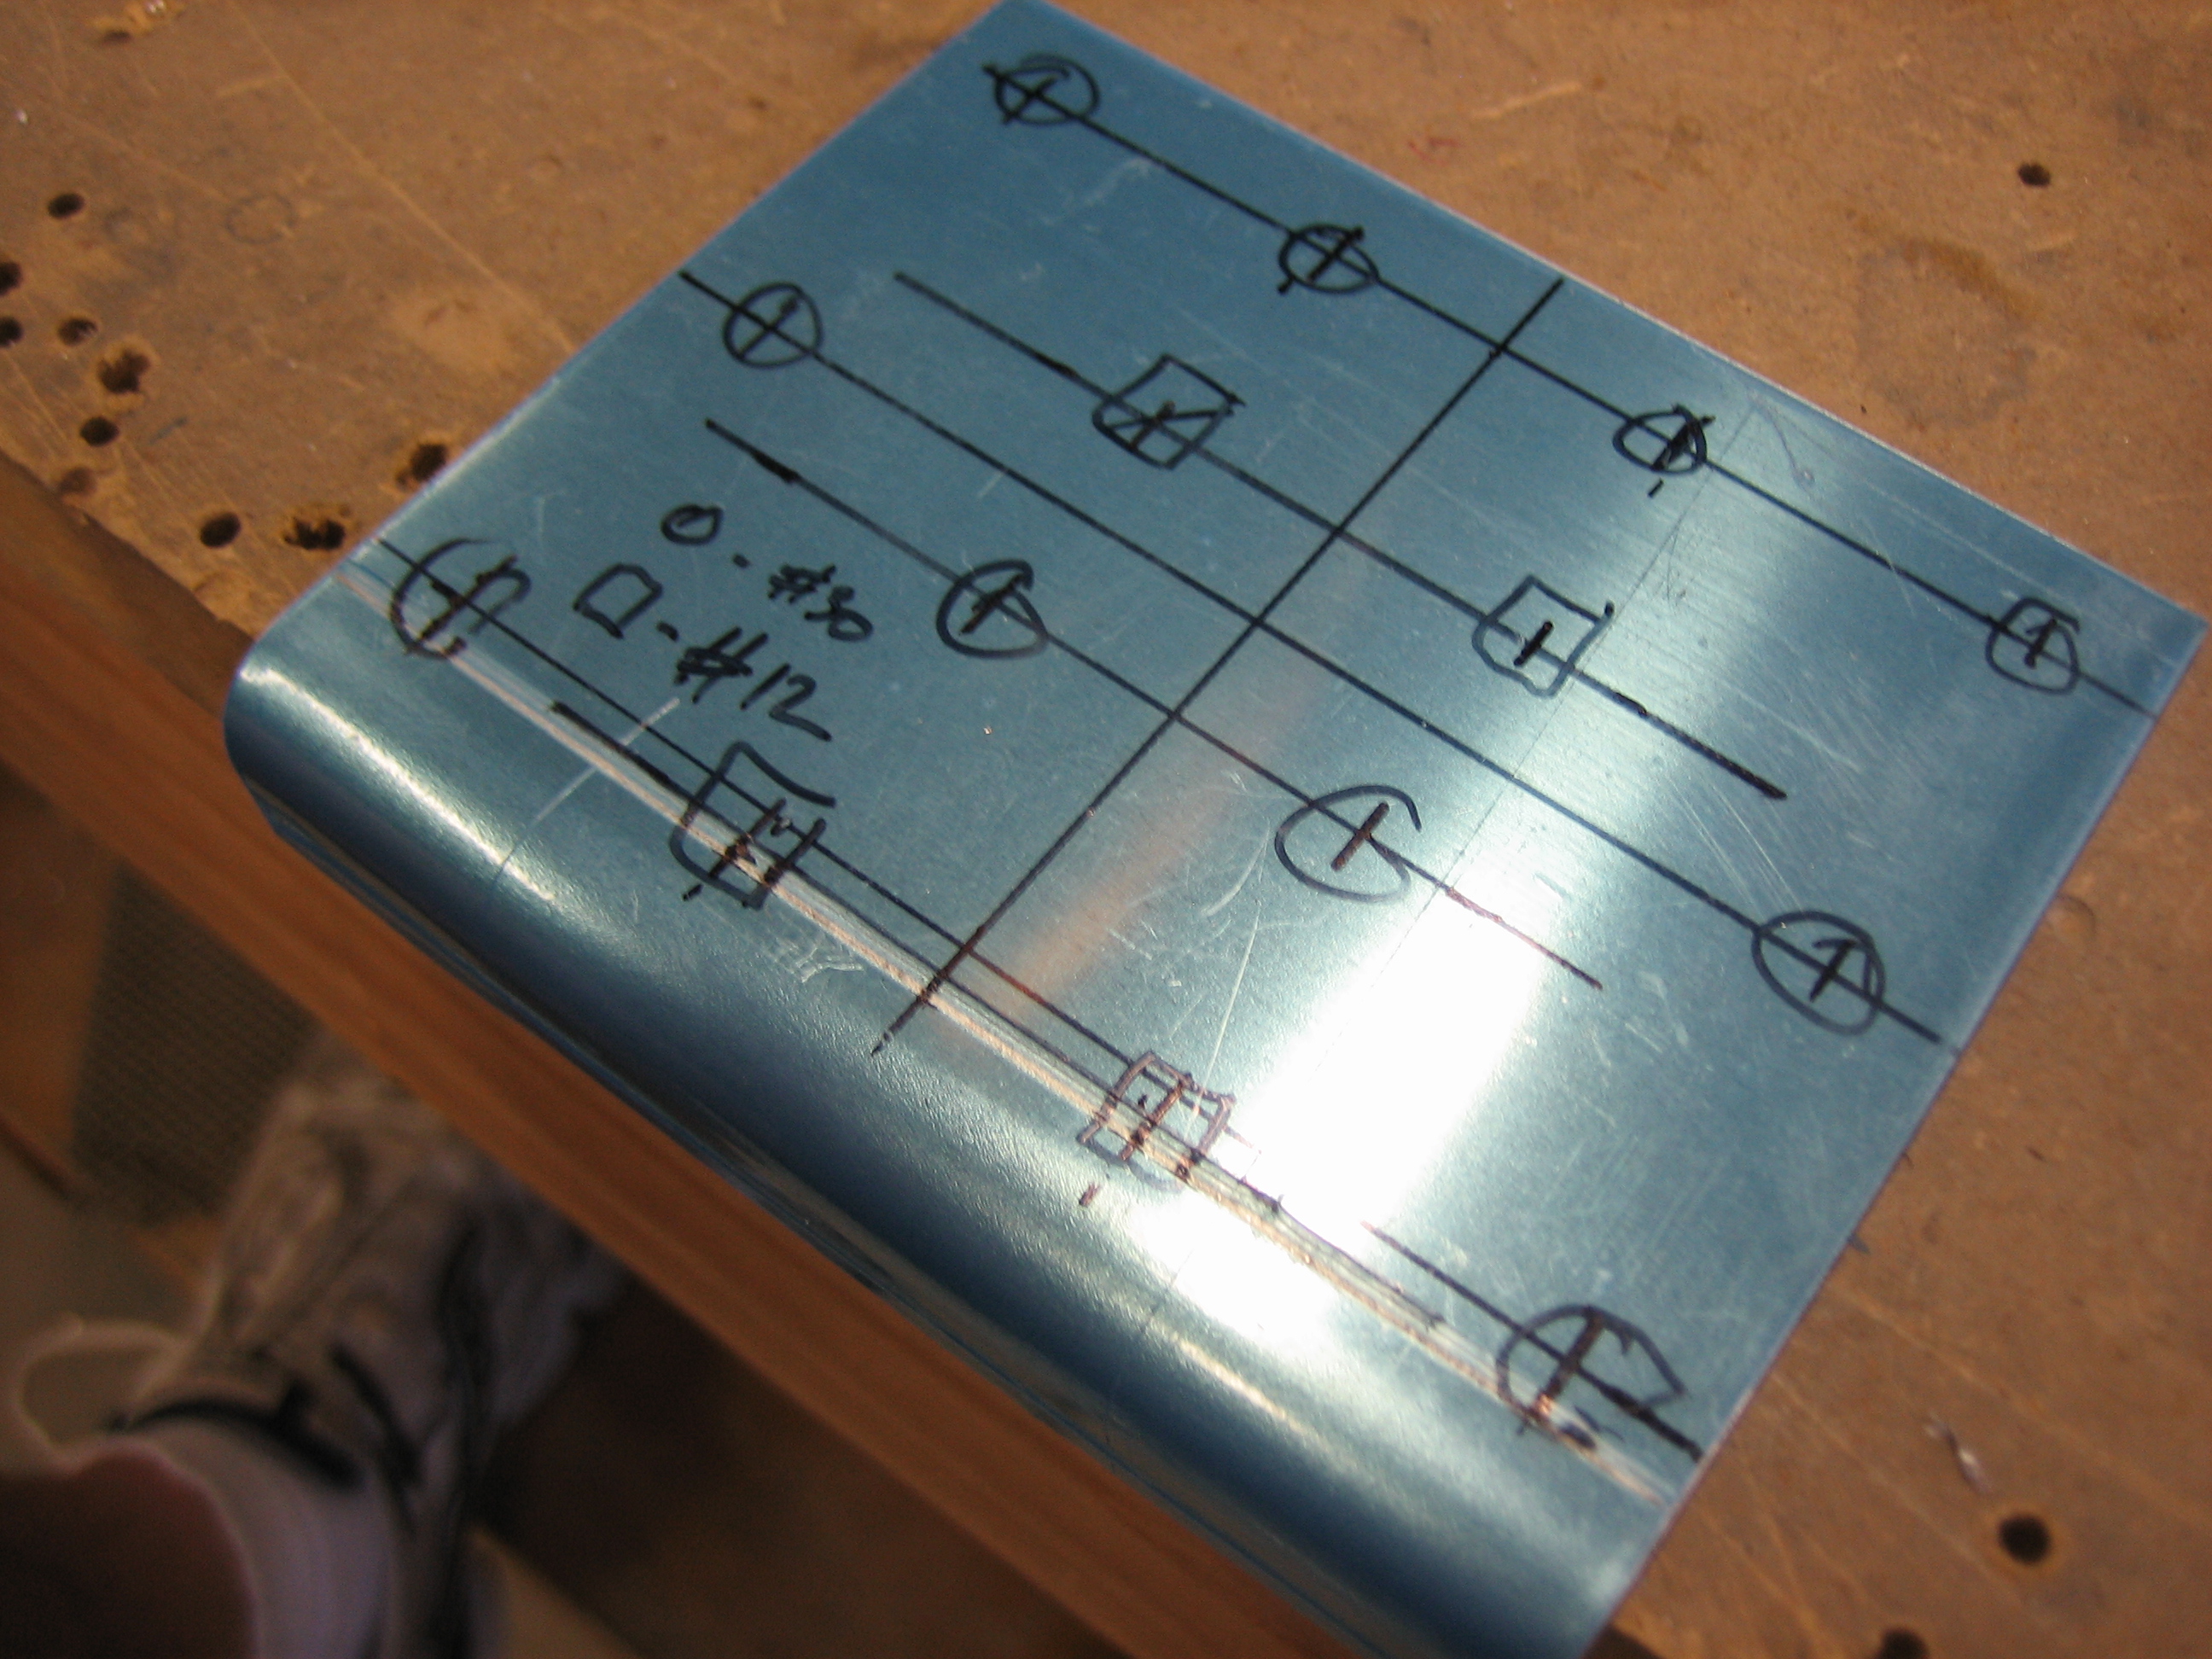
I drilled the channel to the flanges on the hinge bracket. I then disassembled the frame and deburred everything and countersunk all of the holes on the forward face of the channel. You can also see the little target I drew on the hinge arms. Once I get the canopy frame in position, I can look through the holes in the hinge blocks. As long as I don’t see any of the red line, I will have plenty of edge clearance on the pivot hole.
After spot priming all of the mating surfaces, I clamped the frame to pull the sides in as far as possible since the clecoes allow some flex. I then squeezed all of the rivets in the splice plate.
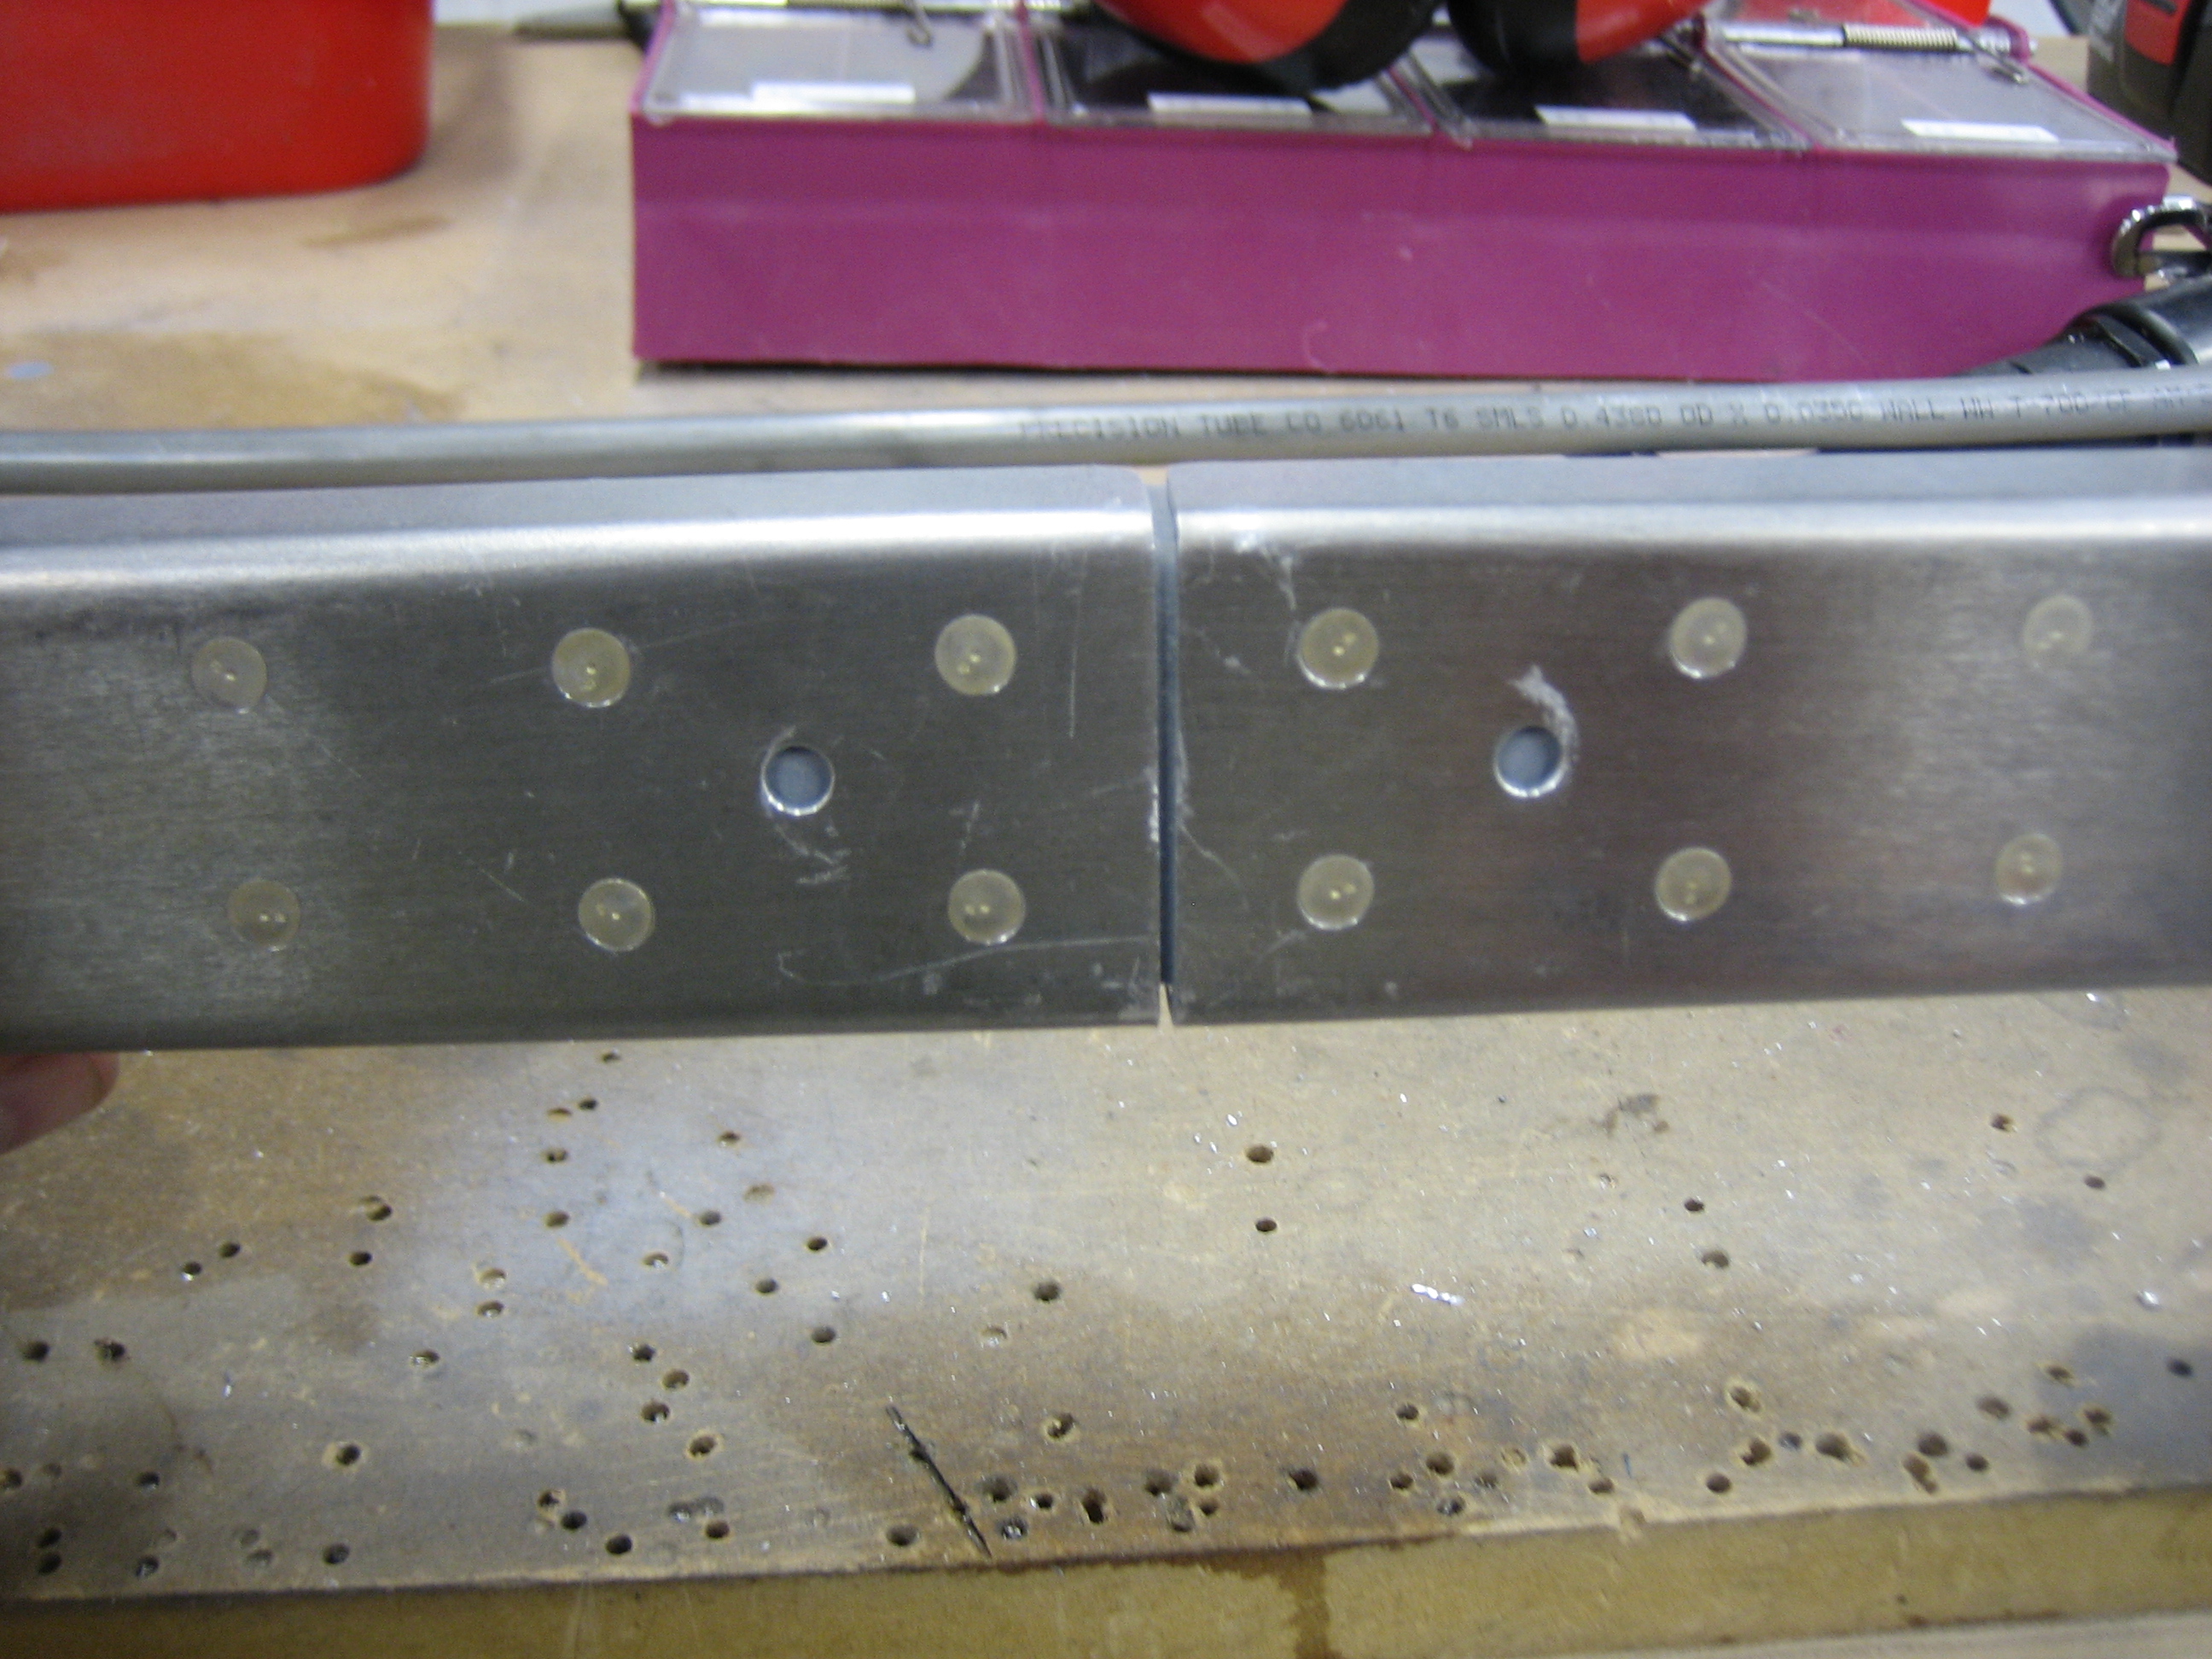
I also squeezed all of the rivets holding the hinge bracket to the channel. I ended up needing to make some spacers that fit between these two pieces since the hole spacing on the skin pulled the bracket back slightly.
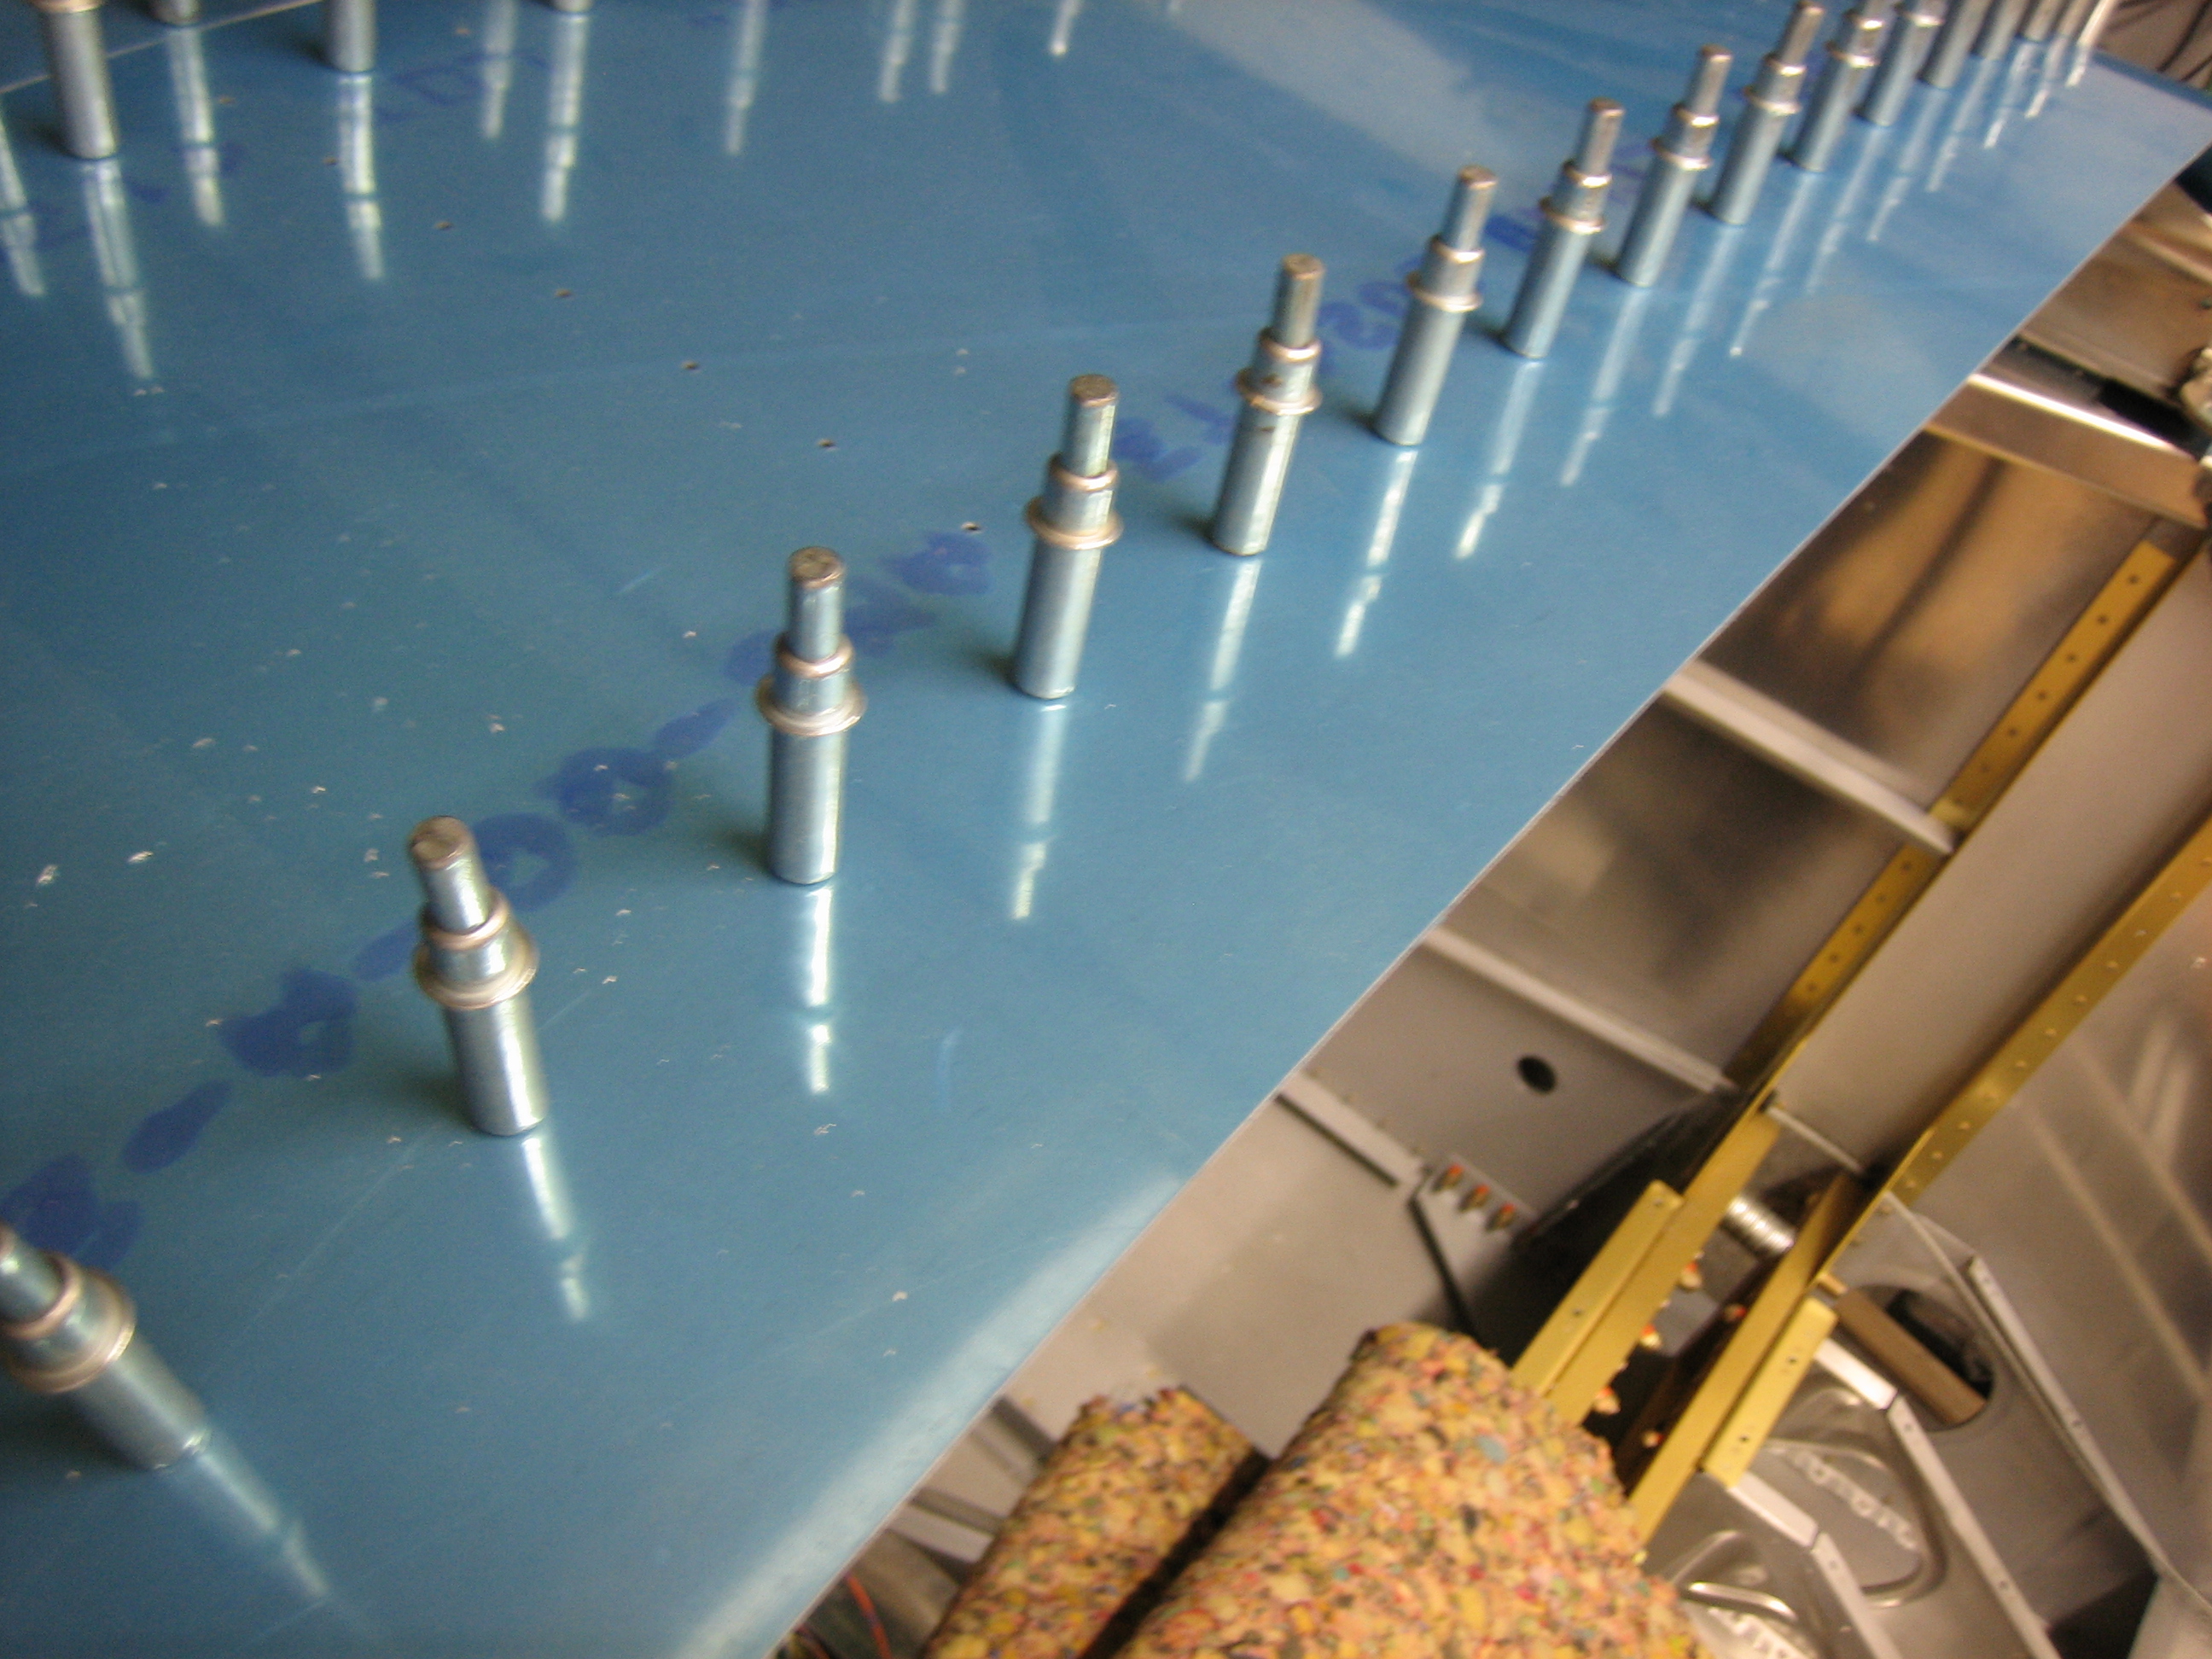
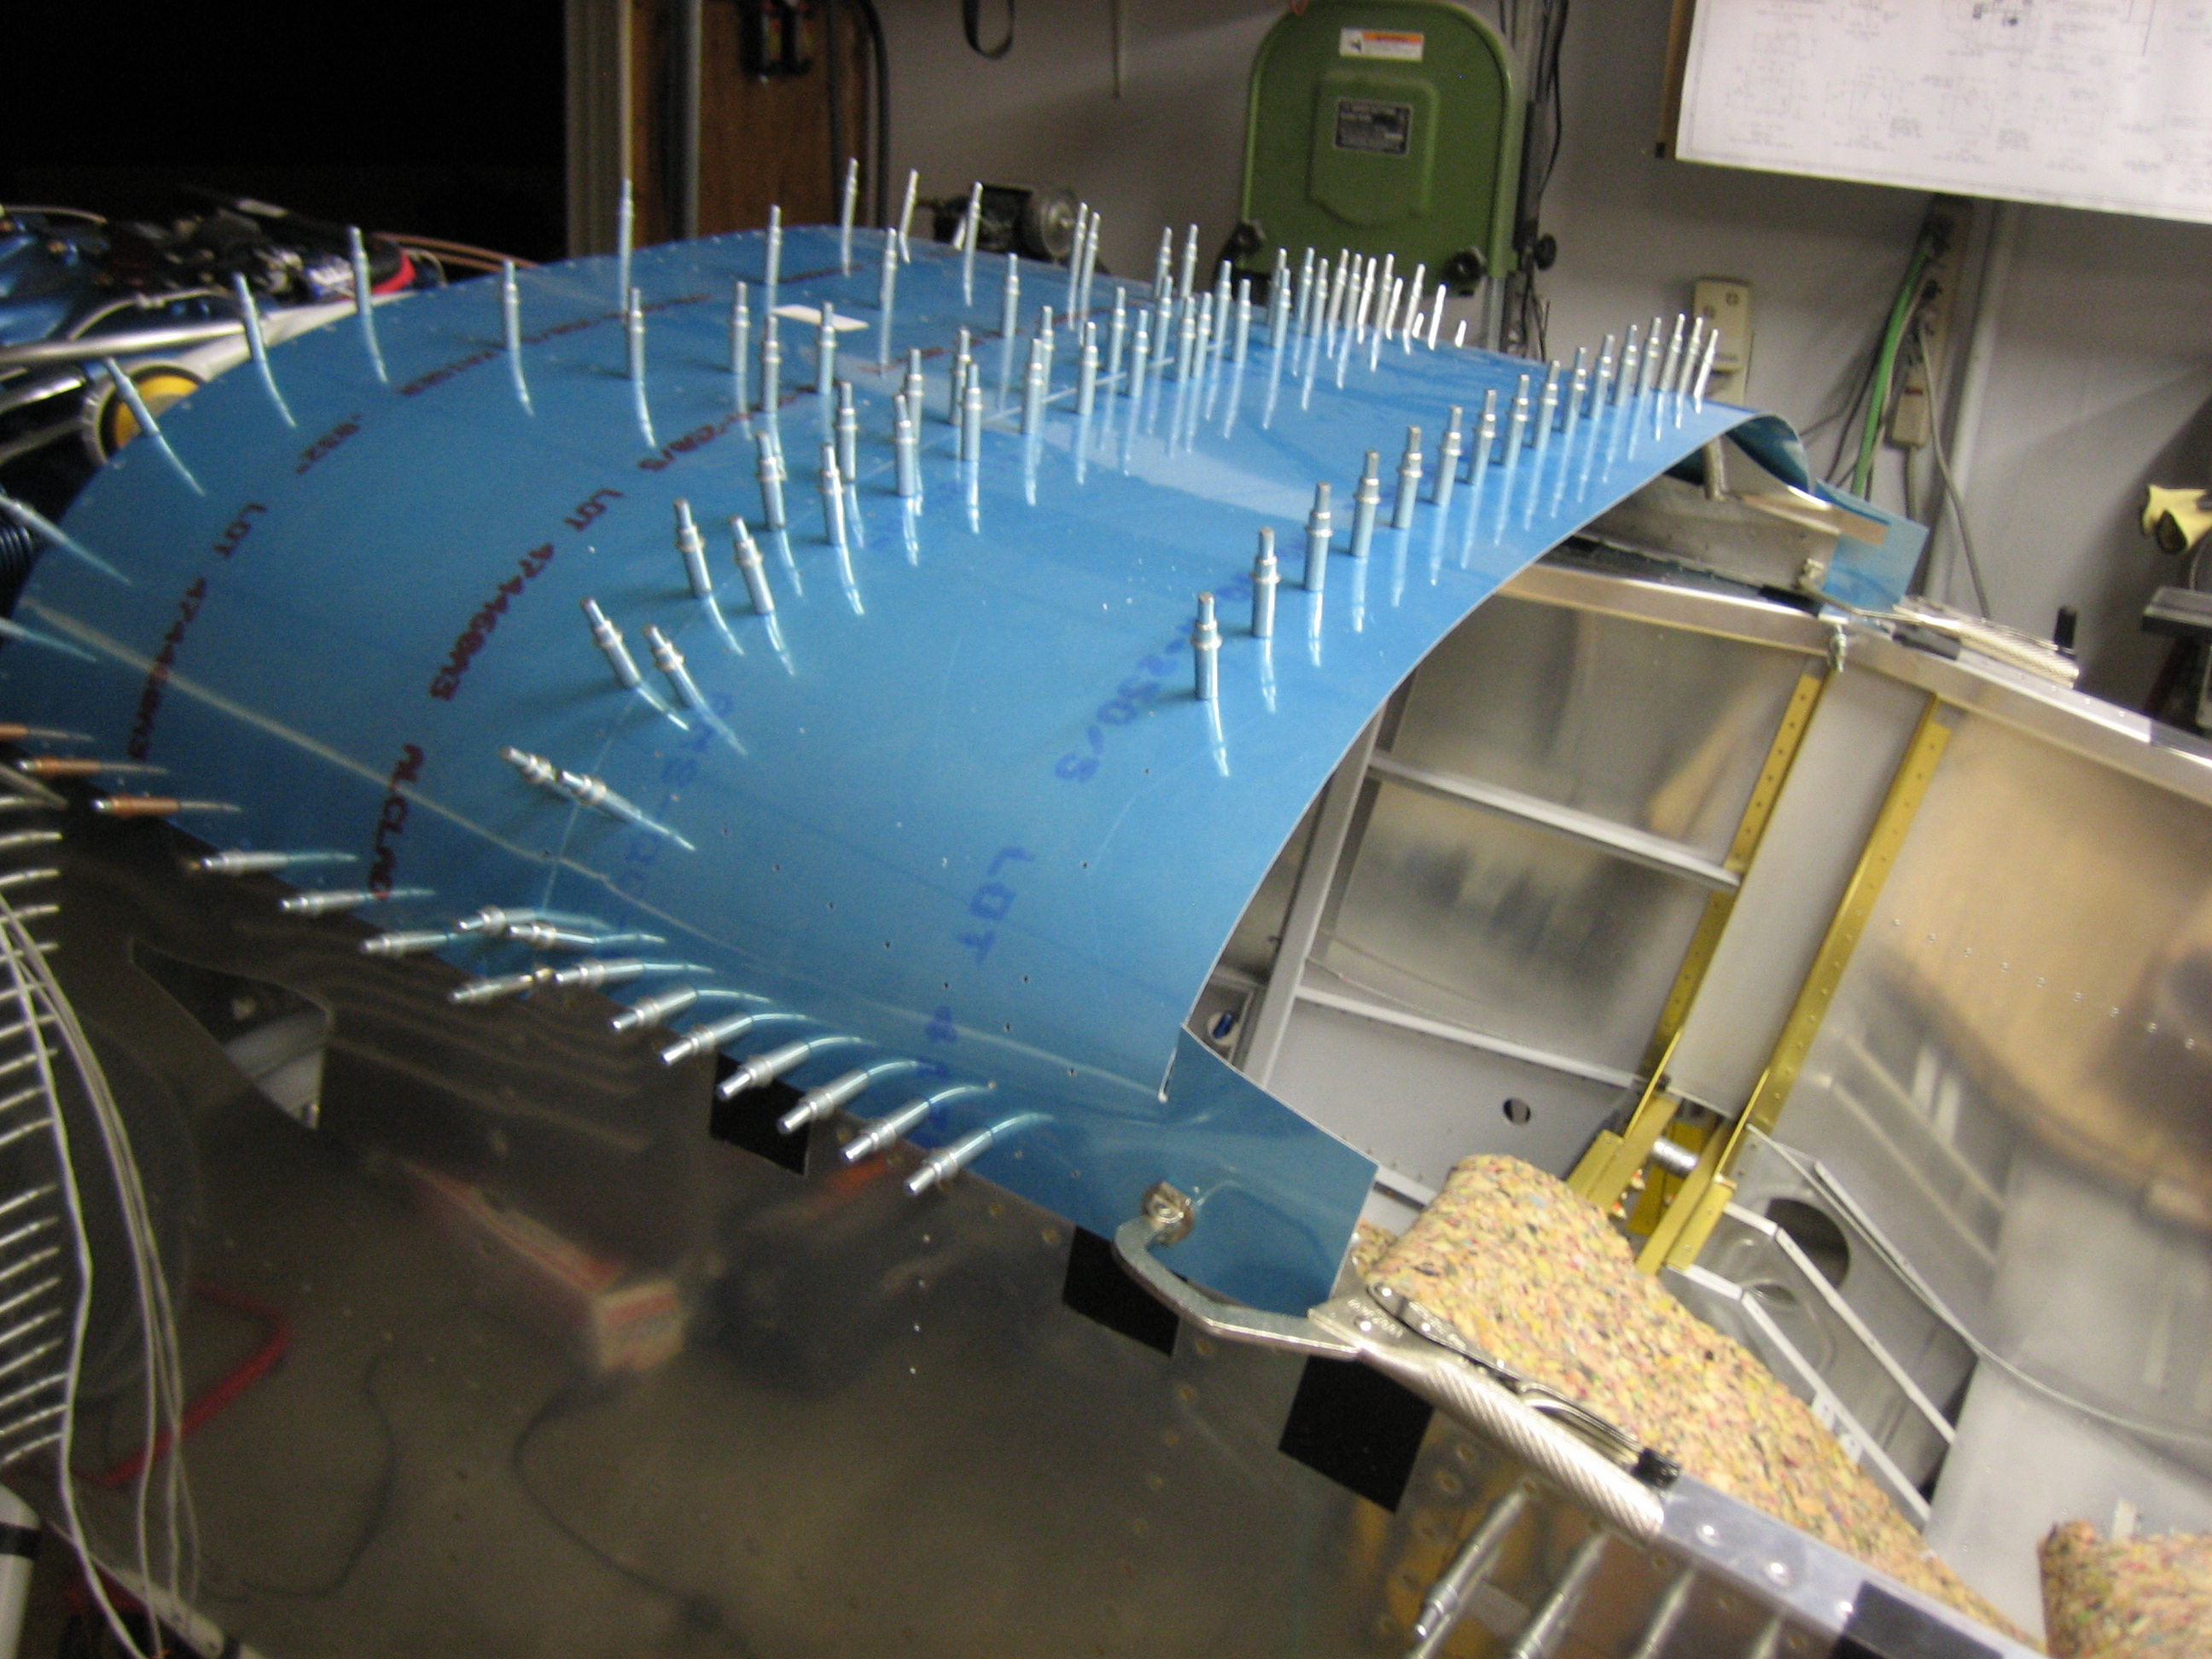
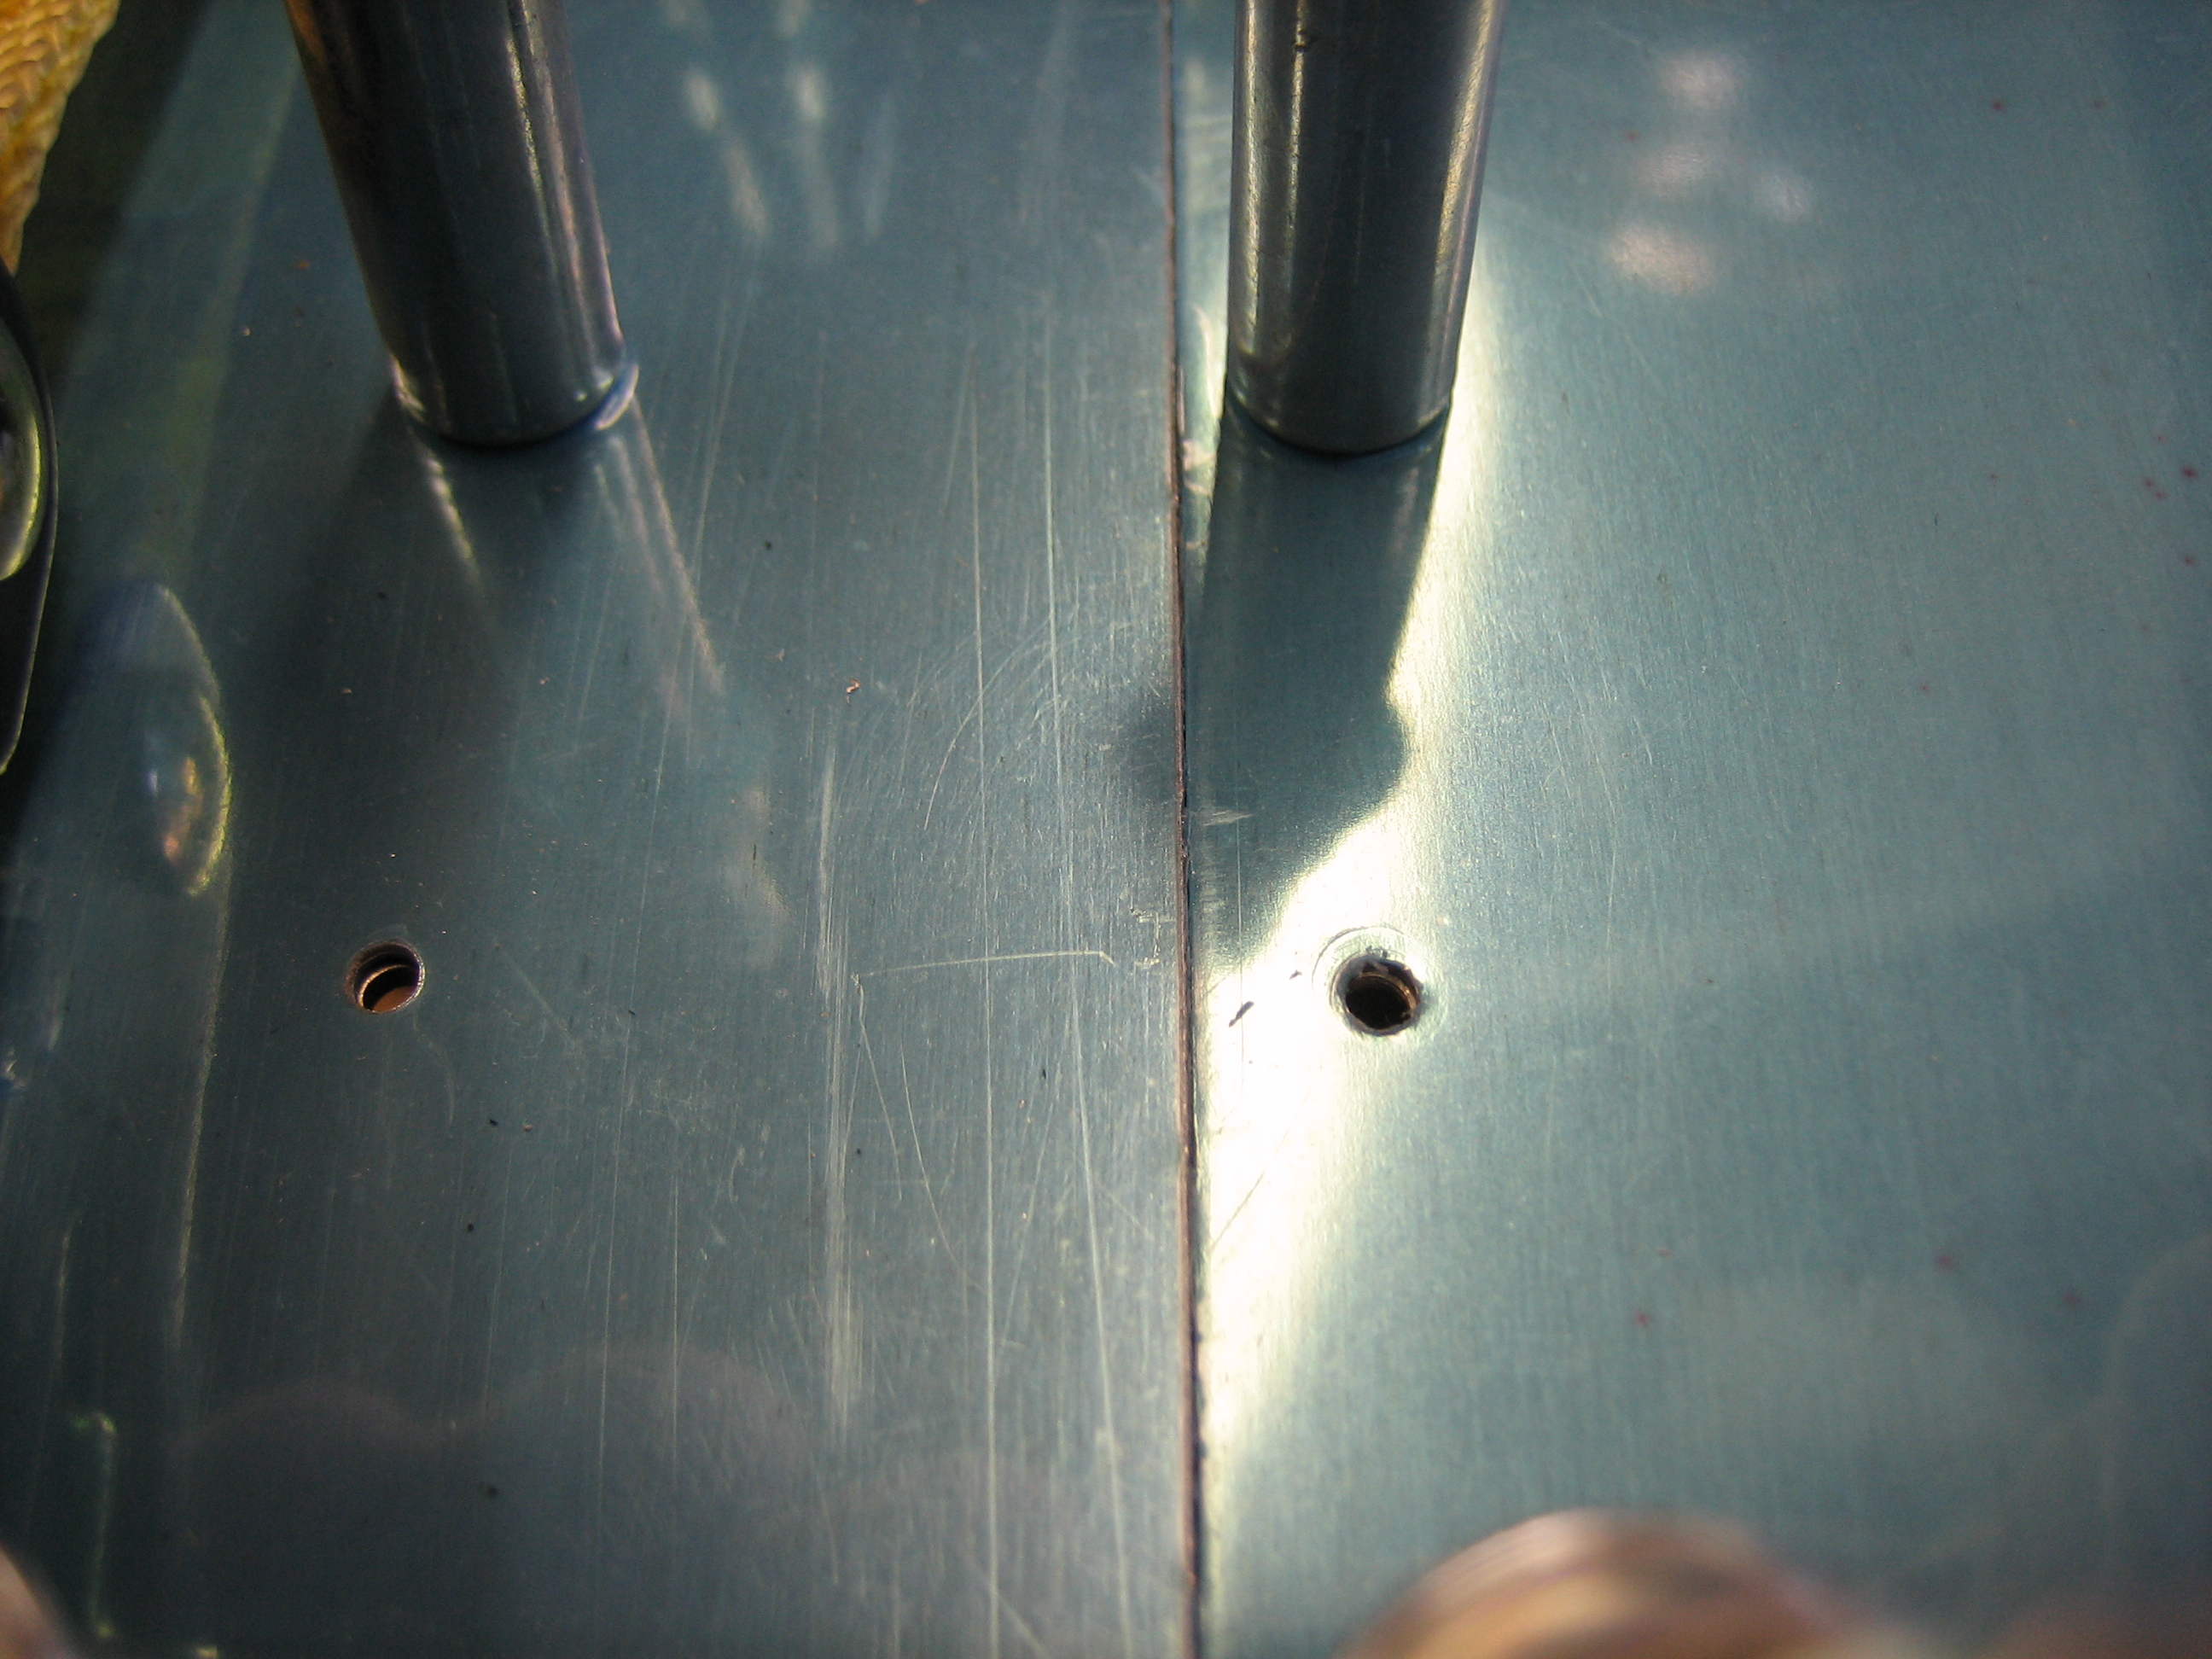
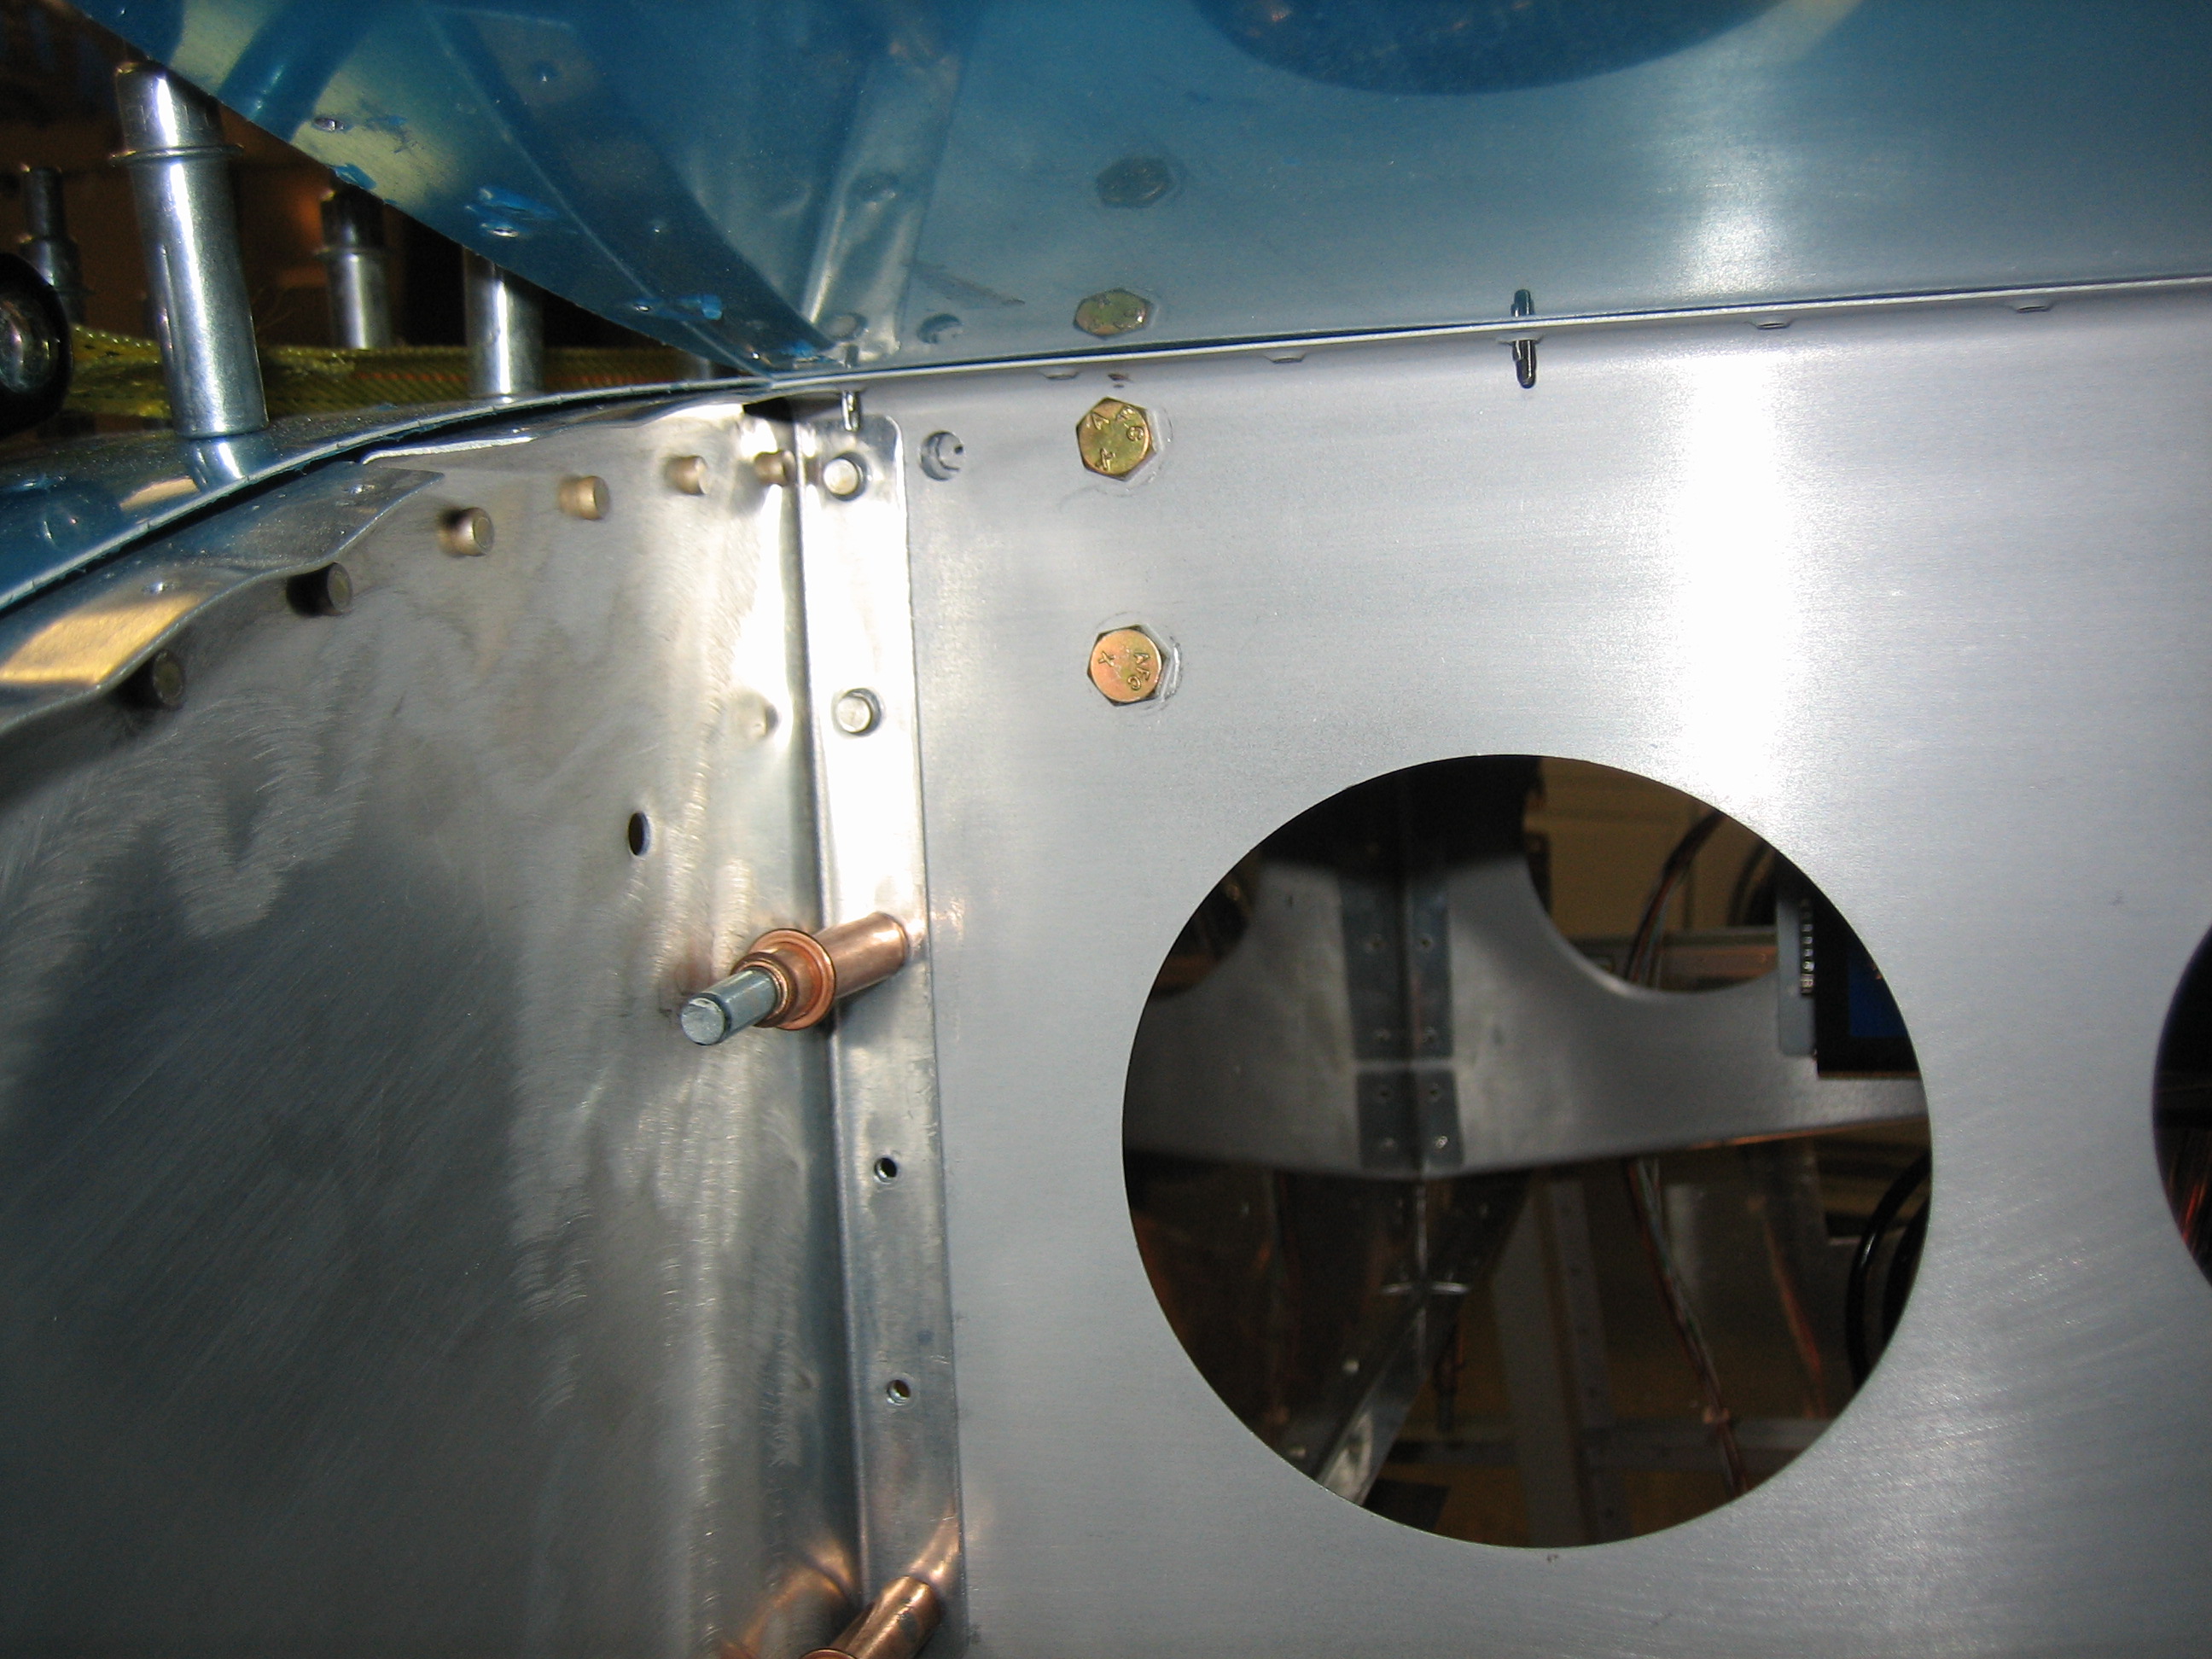
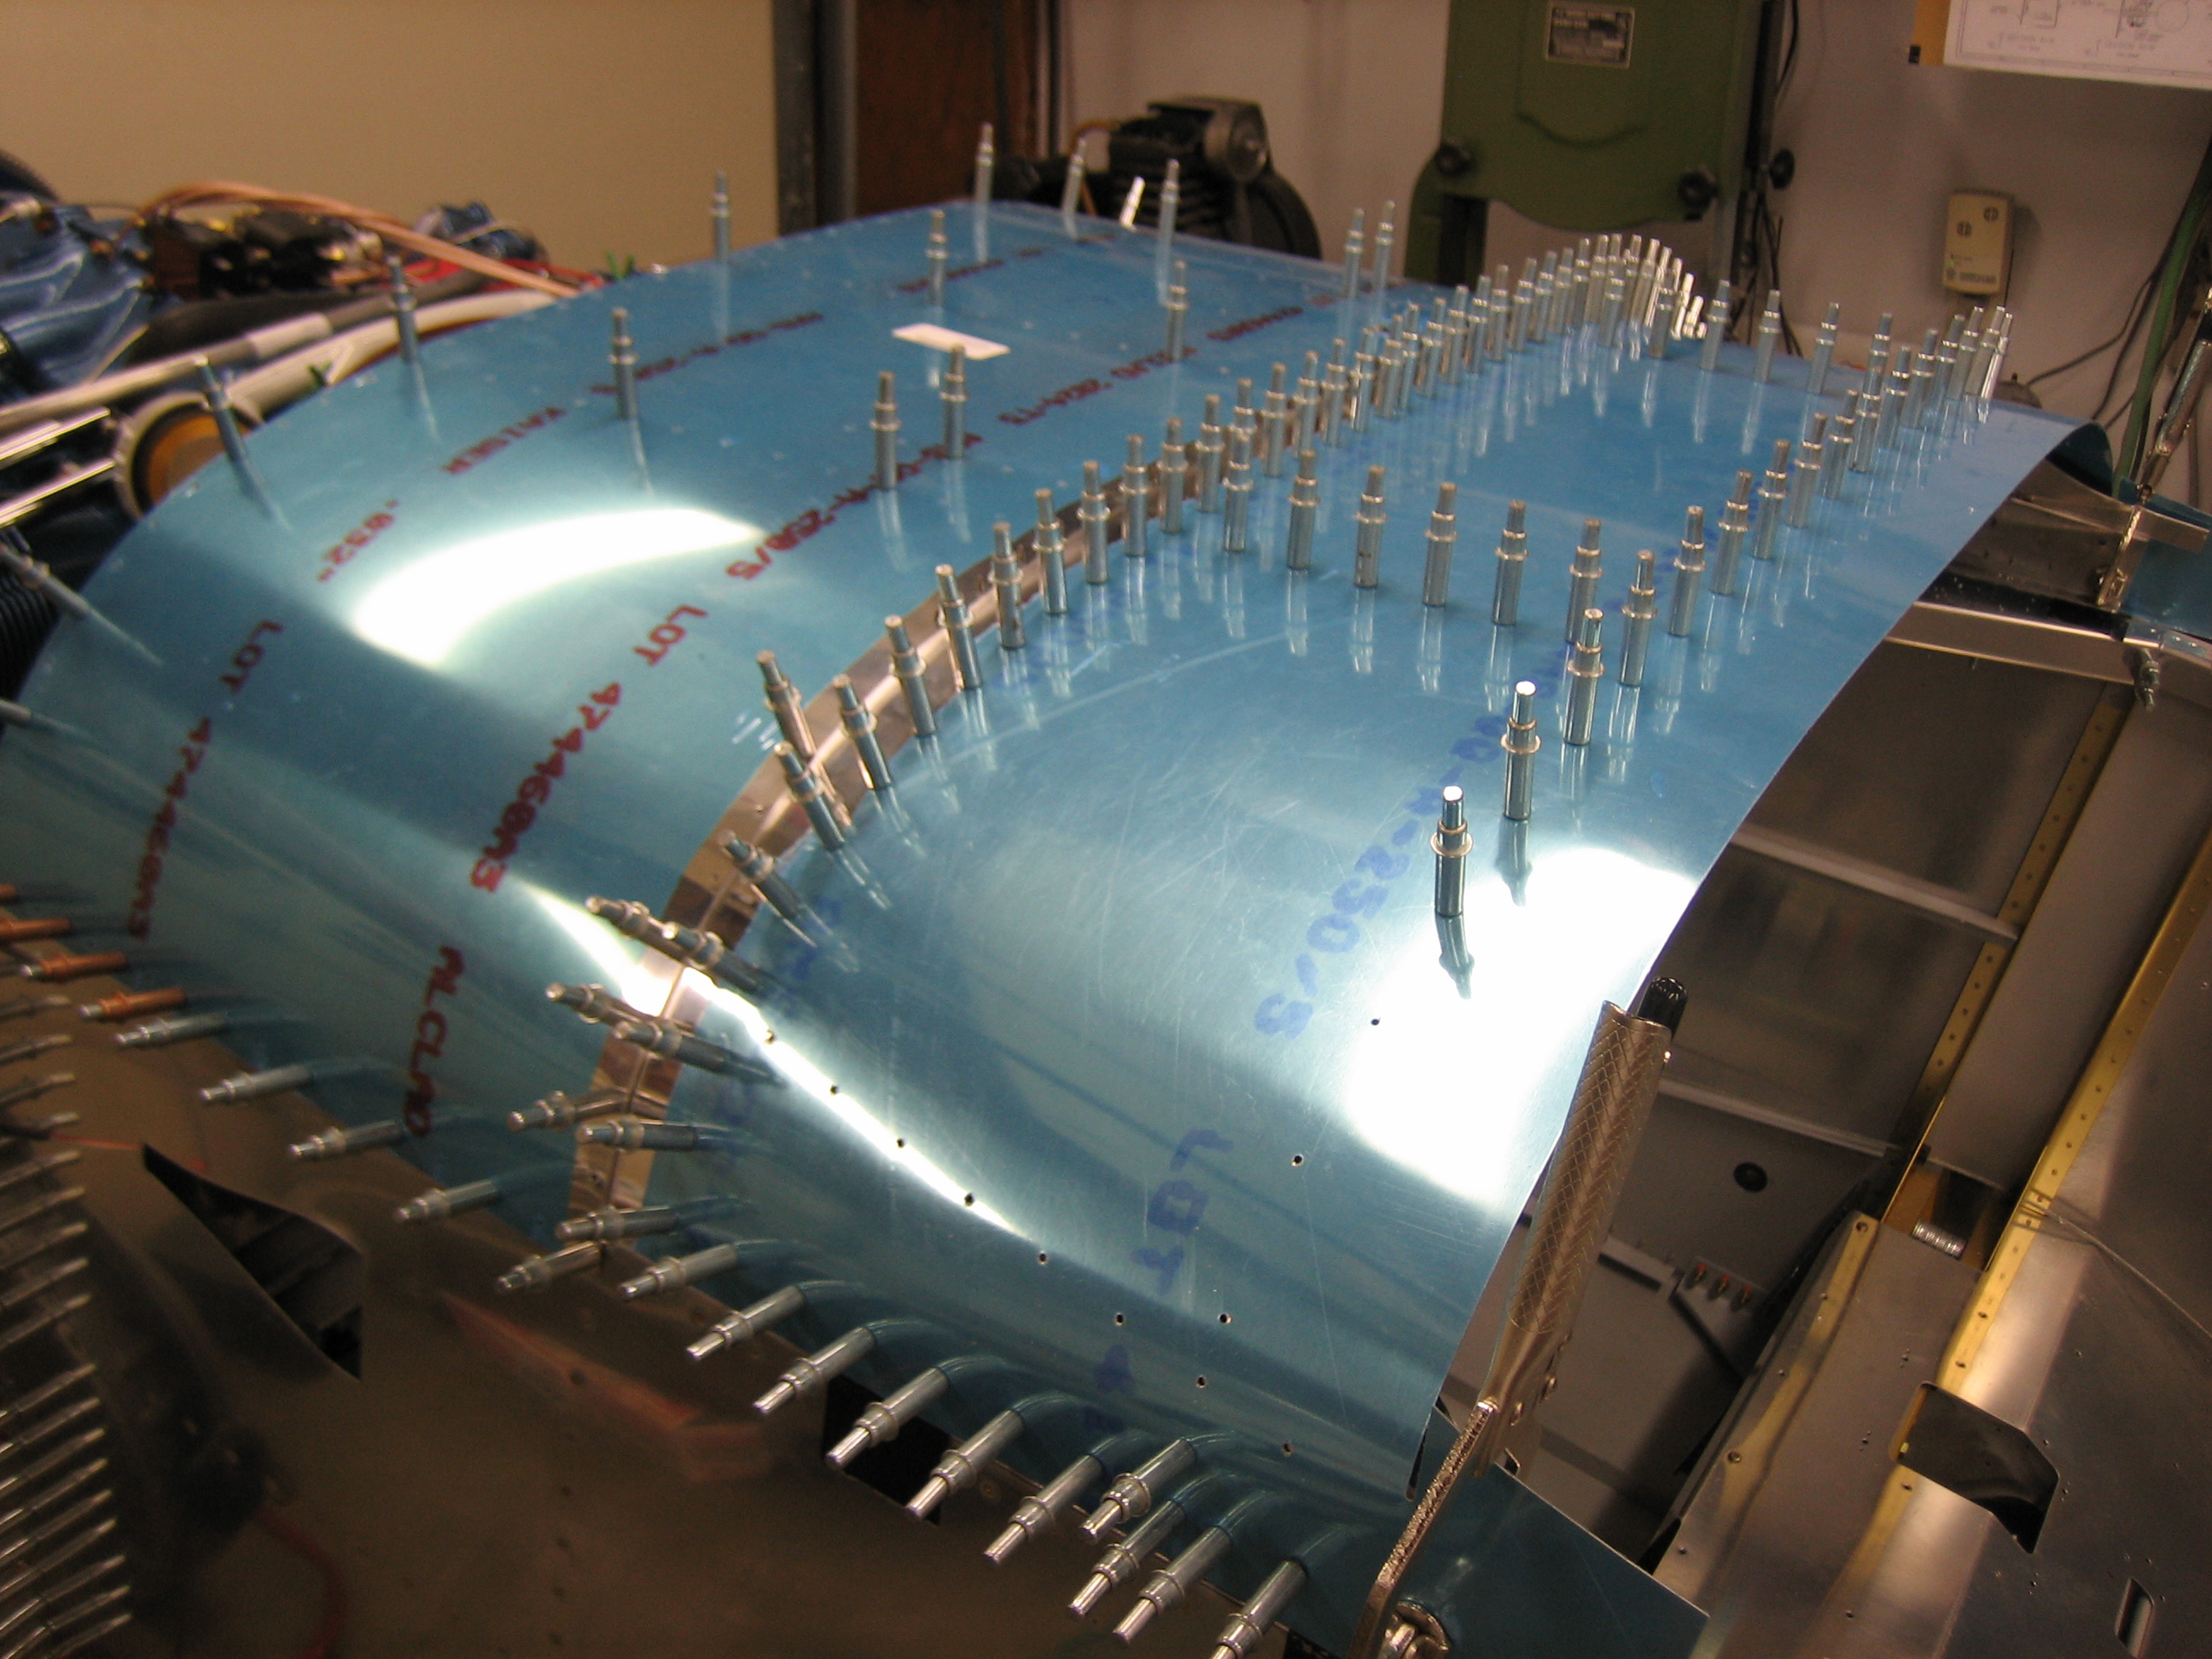
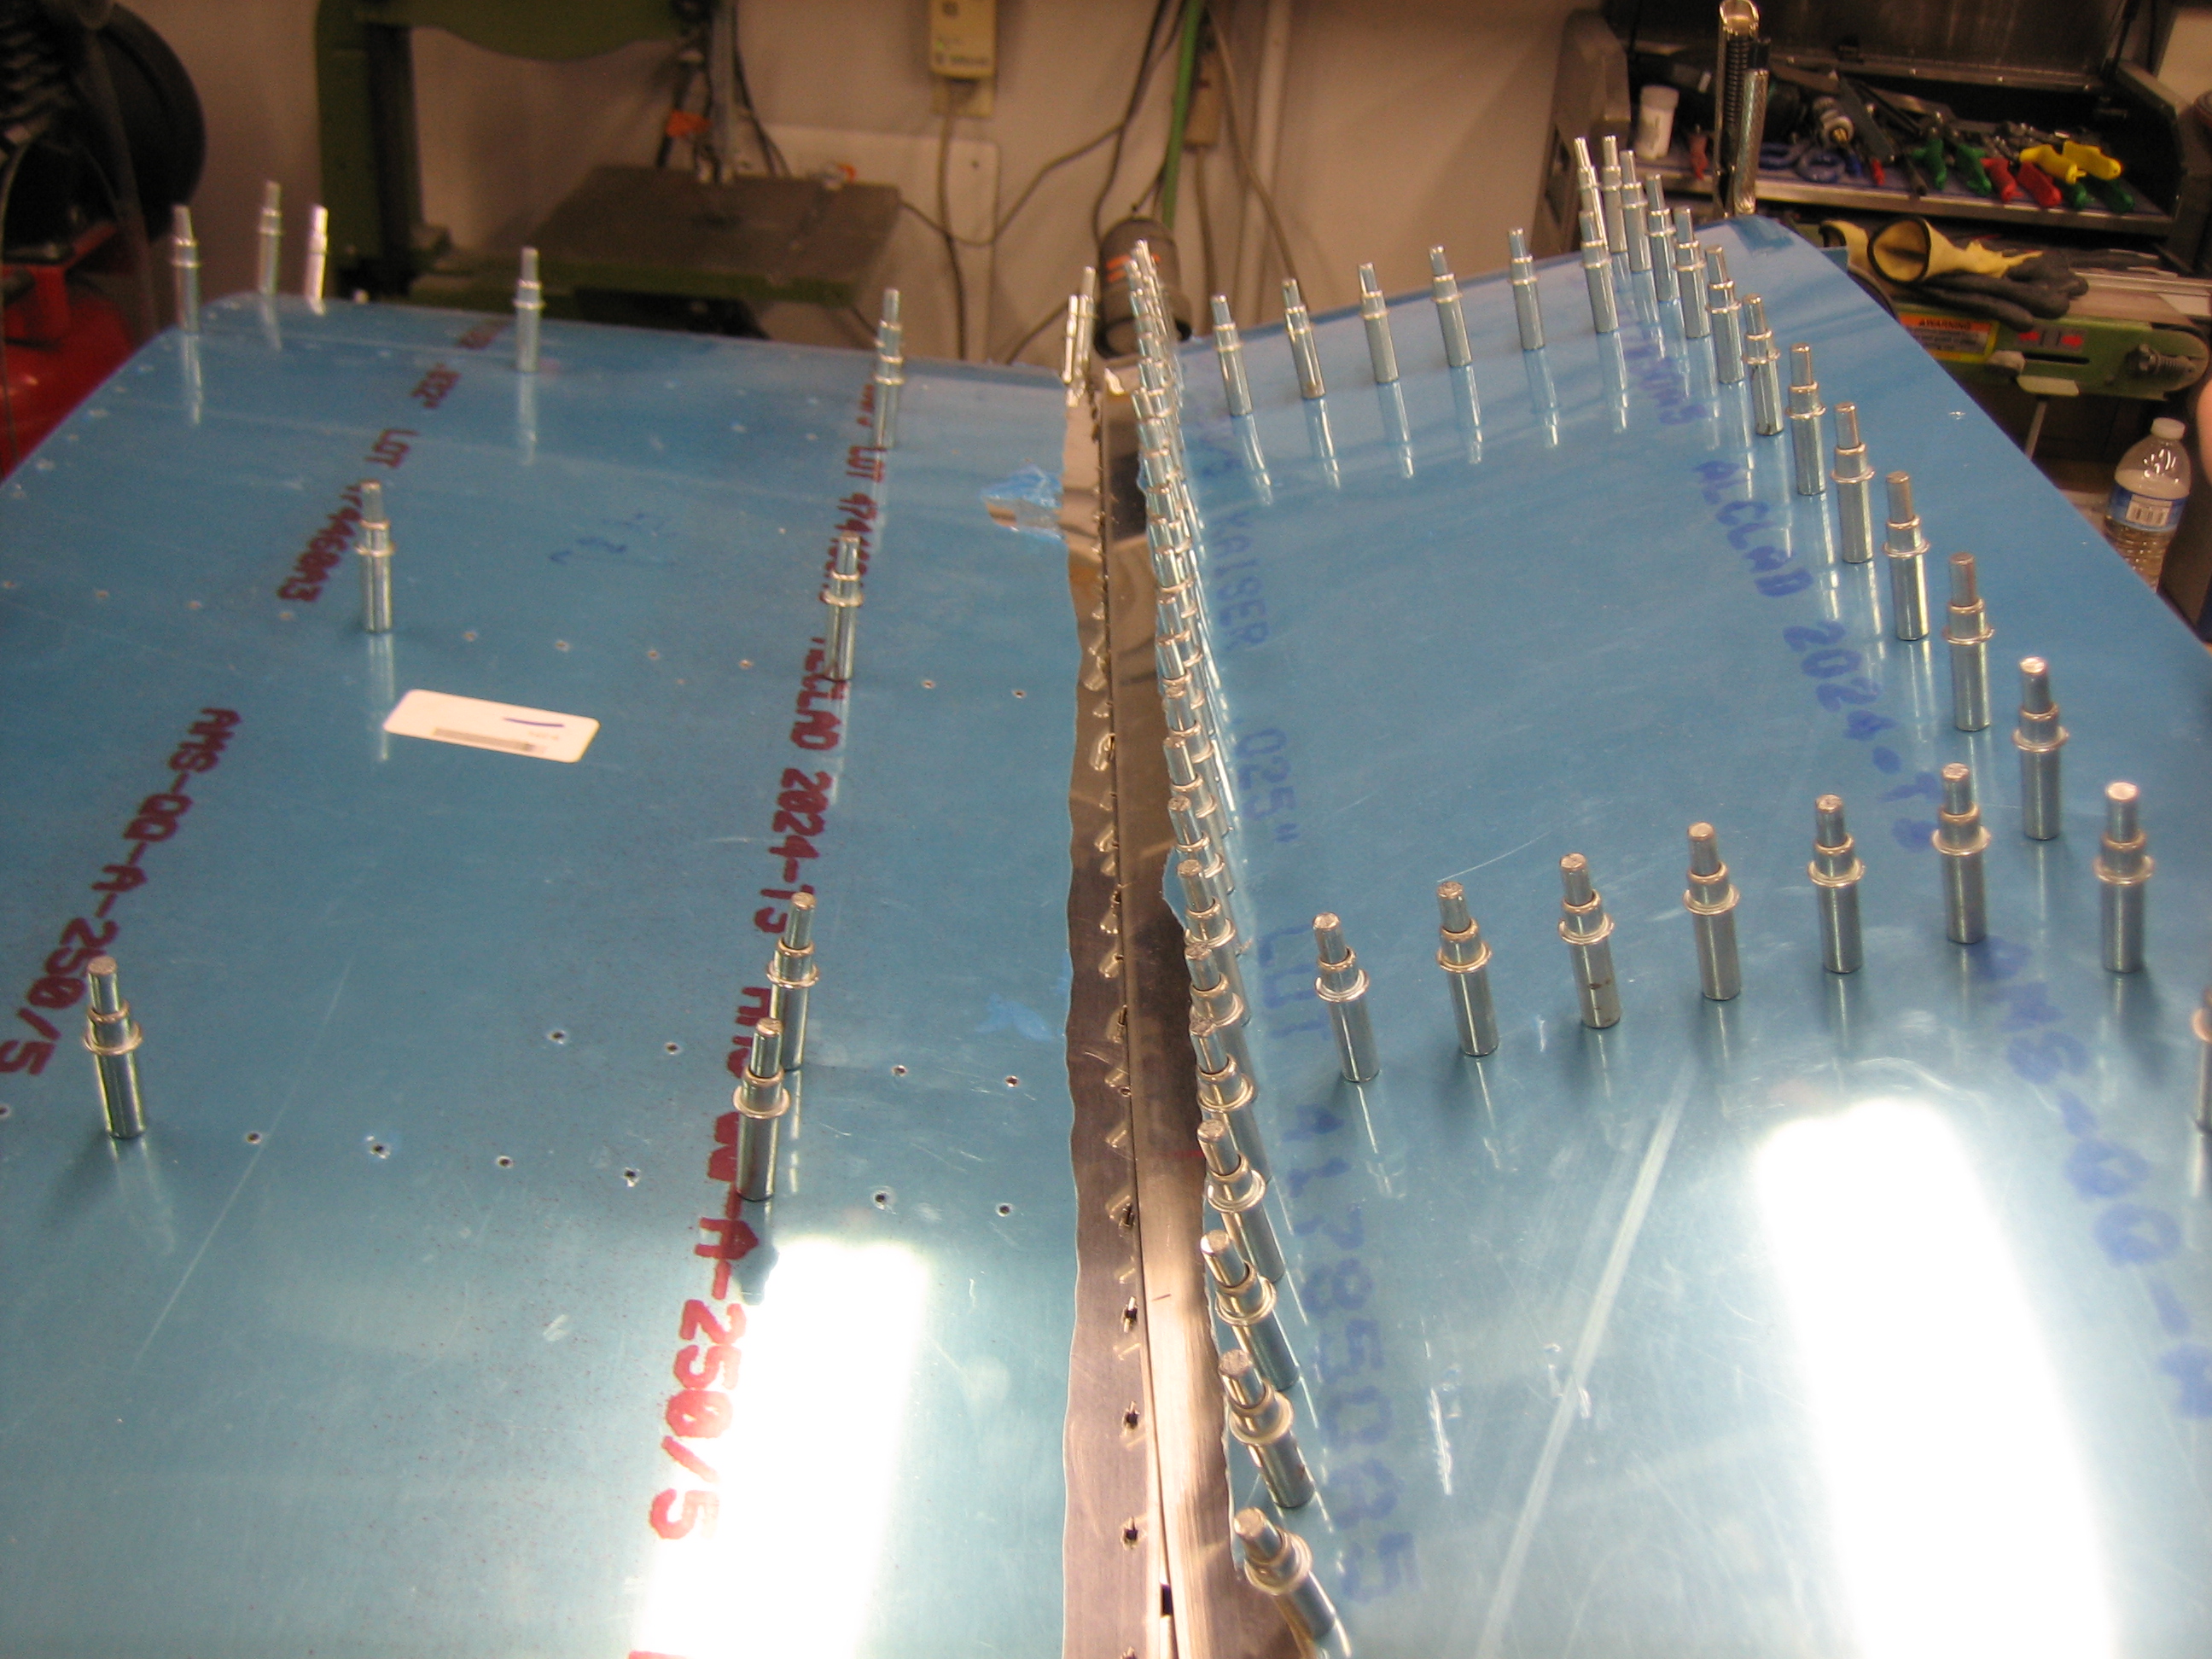
I then reinstalled the canopy frame on the fuselage and got it back into position. I crawled in the fuselage to confirm the holes would land in the right spot and they were great. Plenty of edge clearance all around. I tried using my right angle drill, but I couldn’t get squarely on the hole. Instead, I decided to peel up the outboard portions of the forward skin and use a straight drill. If you click on the picture to zoom in, you can see that the hole is nearly centered on my target.
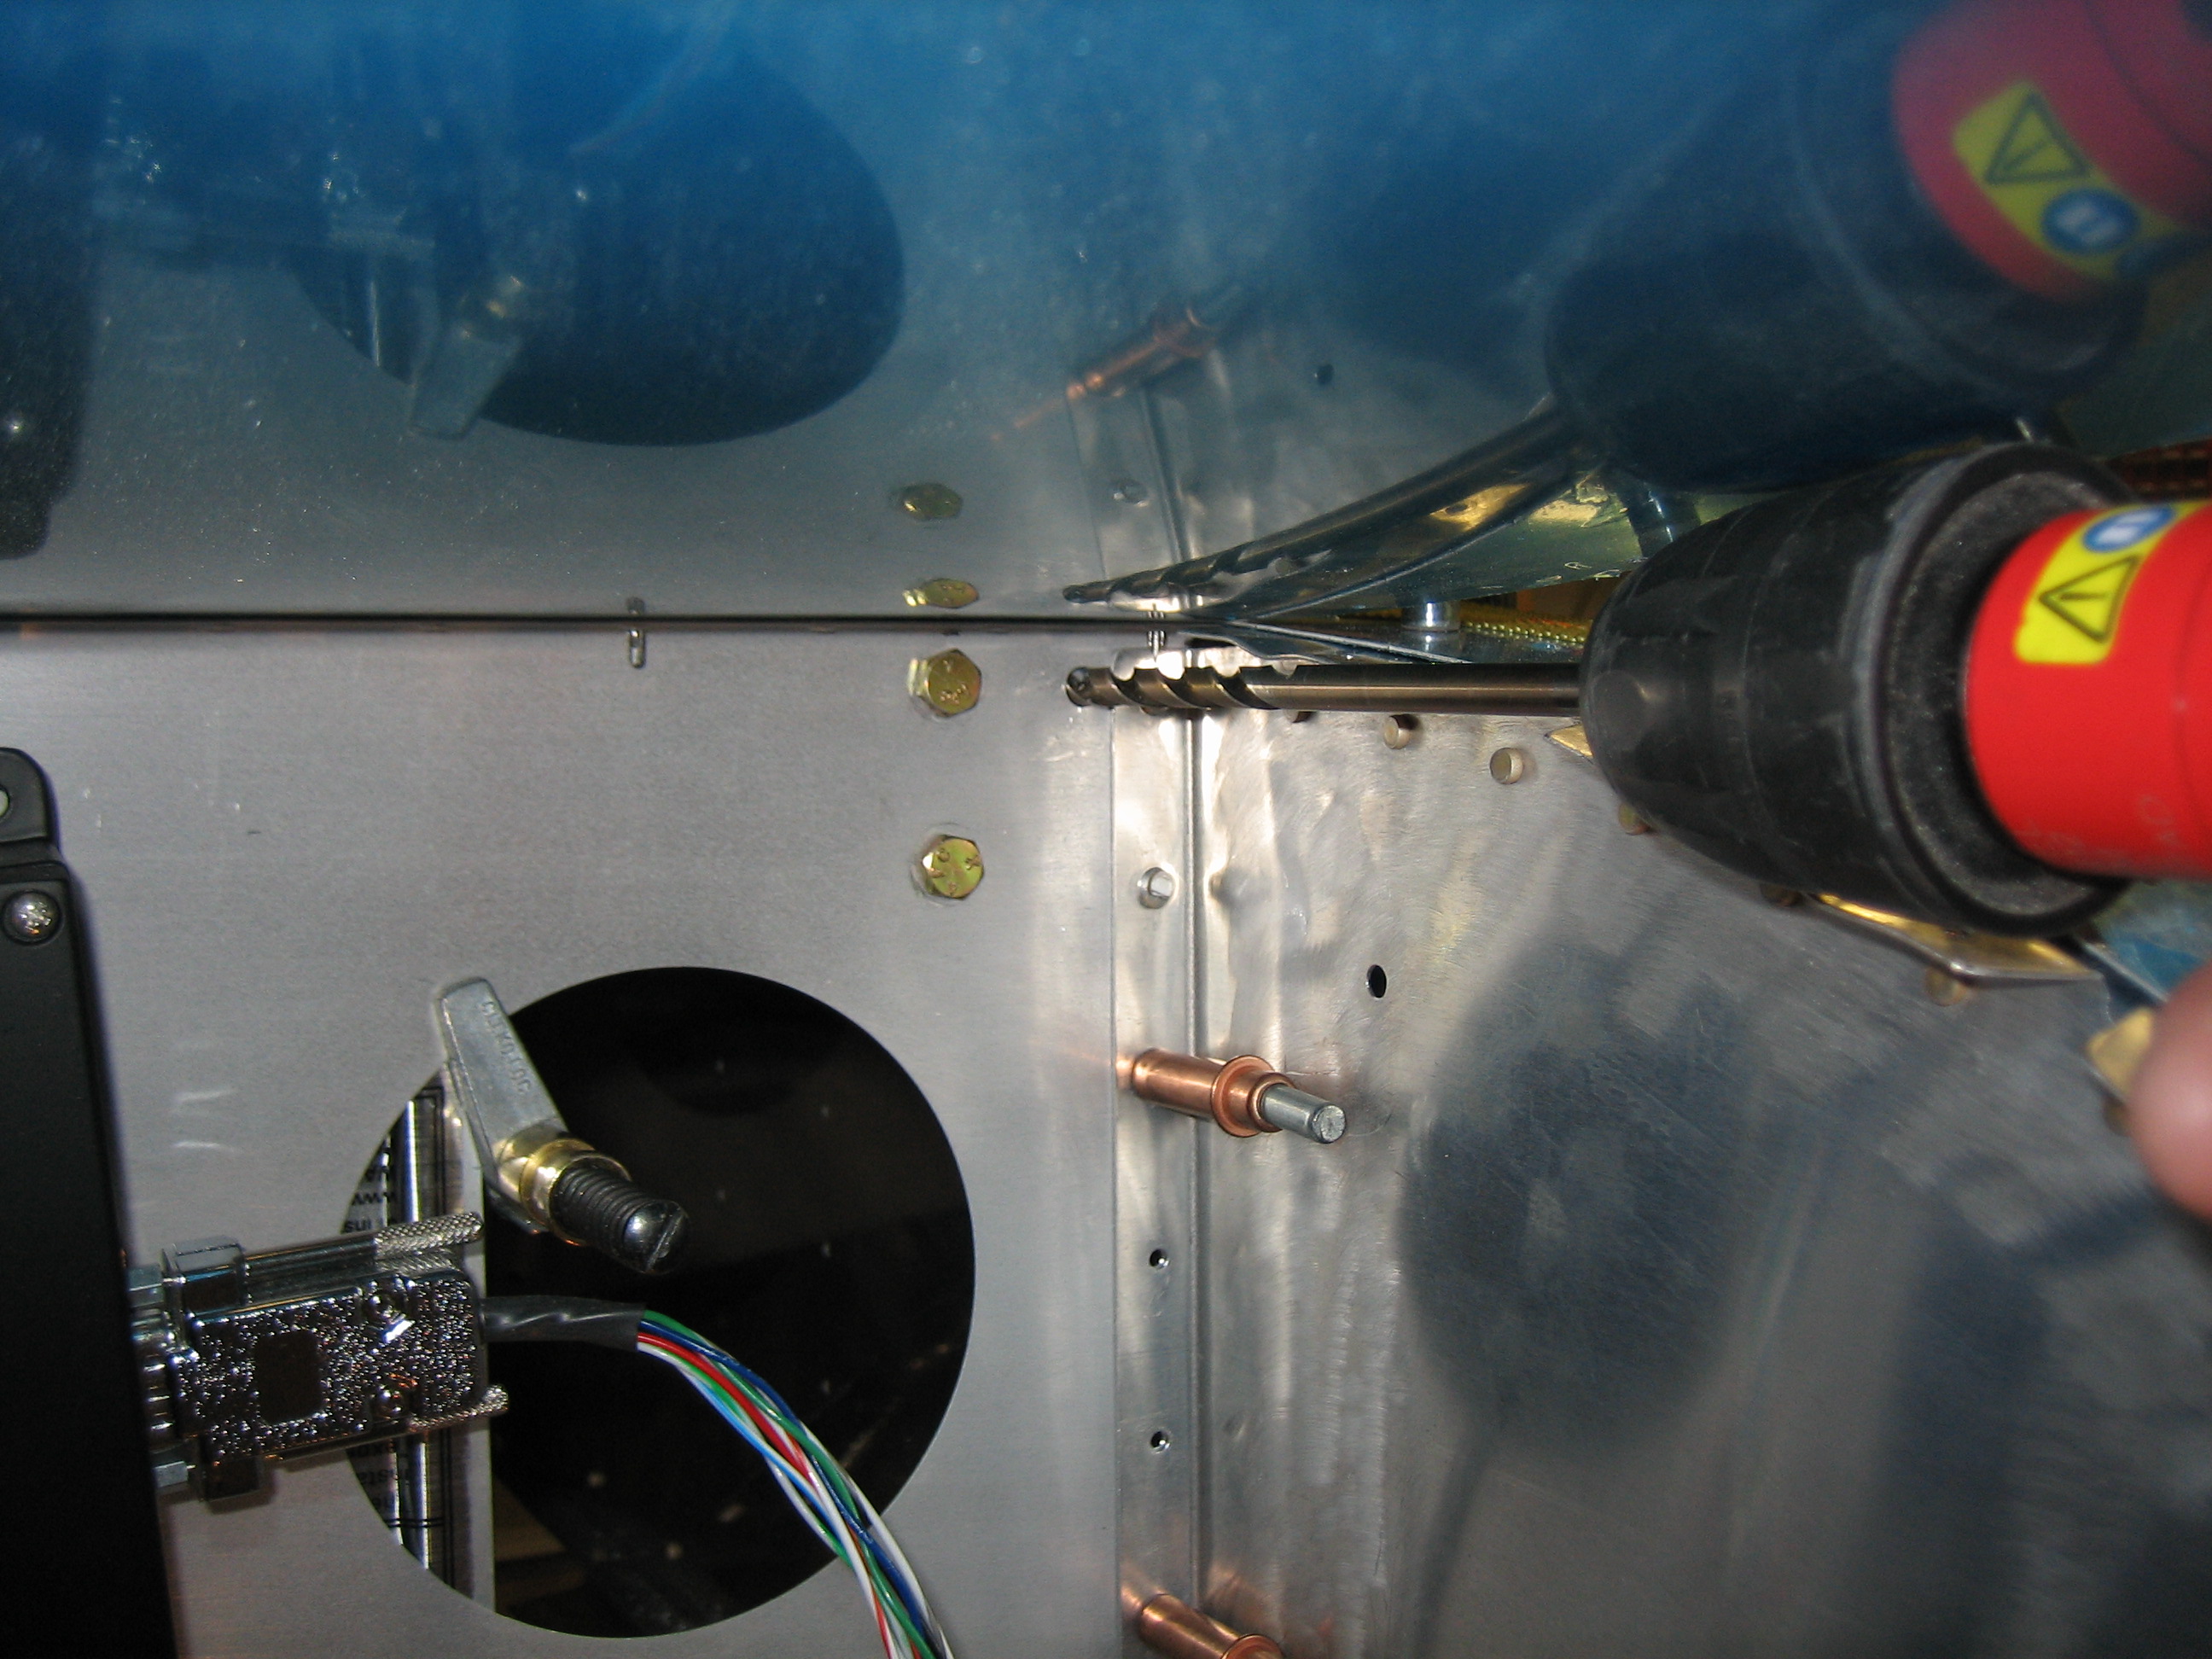
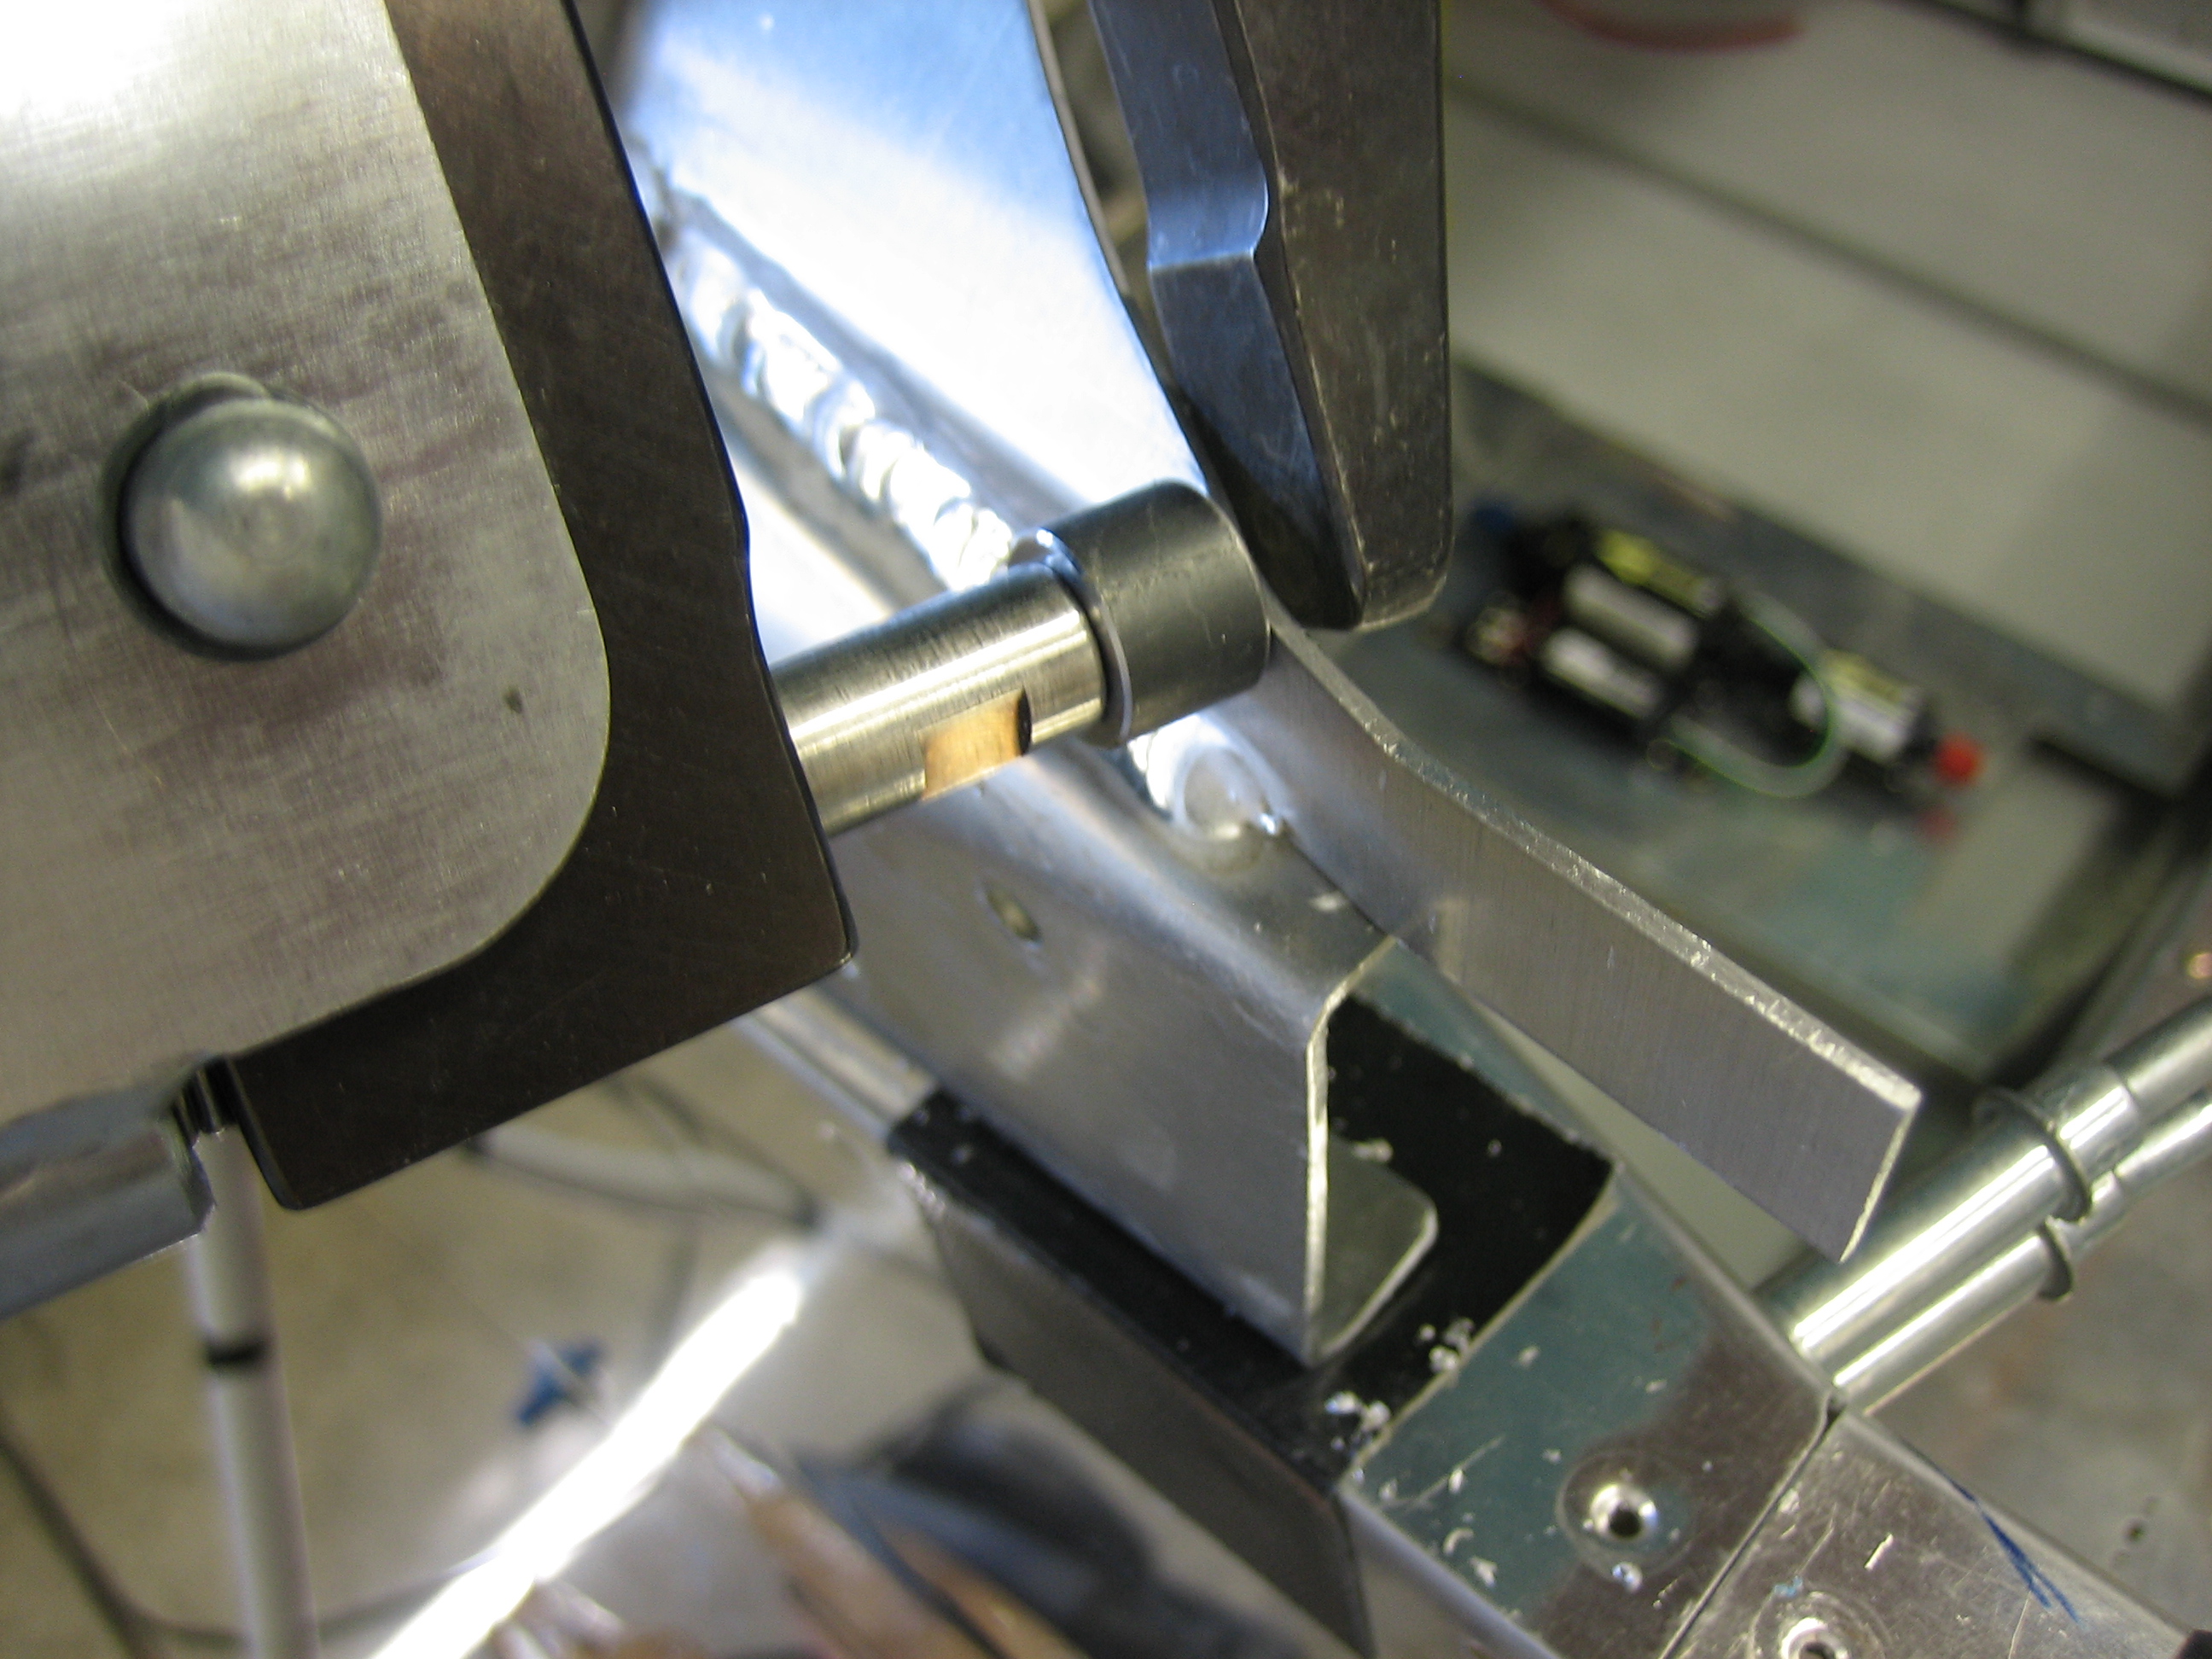
I used my straight drill with a 6″ long, 1/4″ bit to mark the holes.
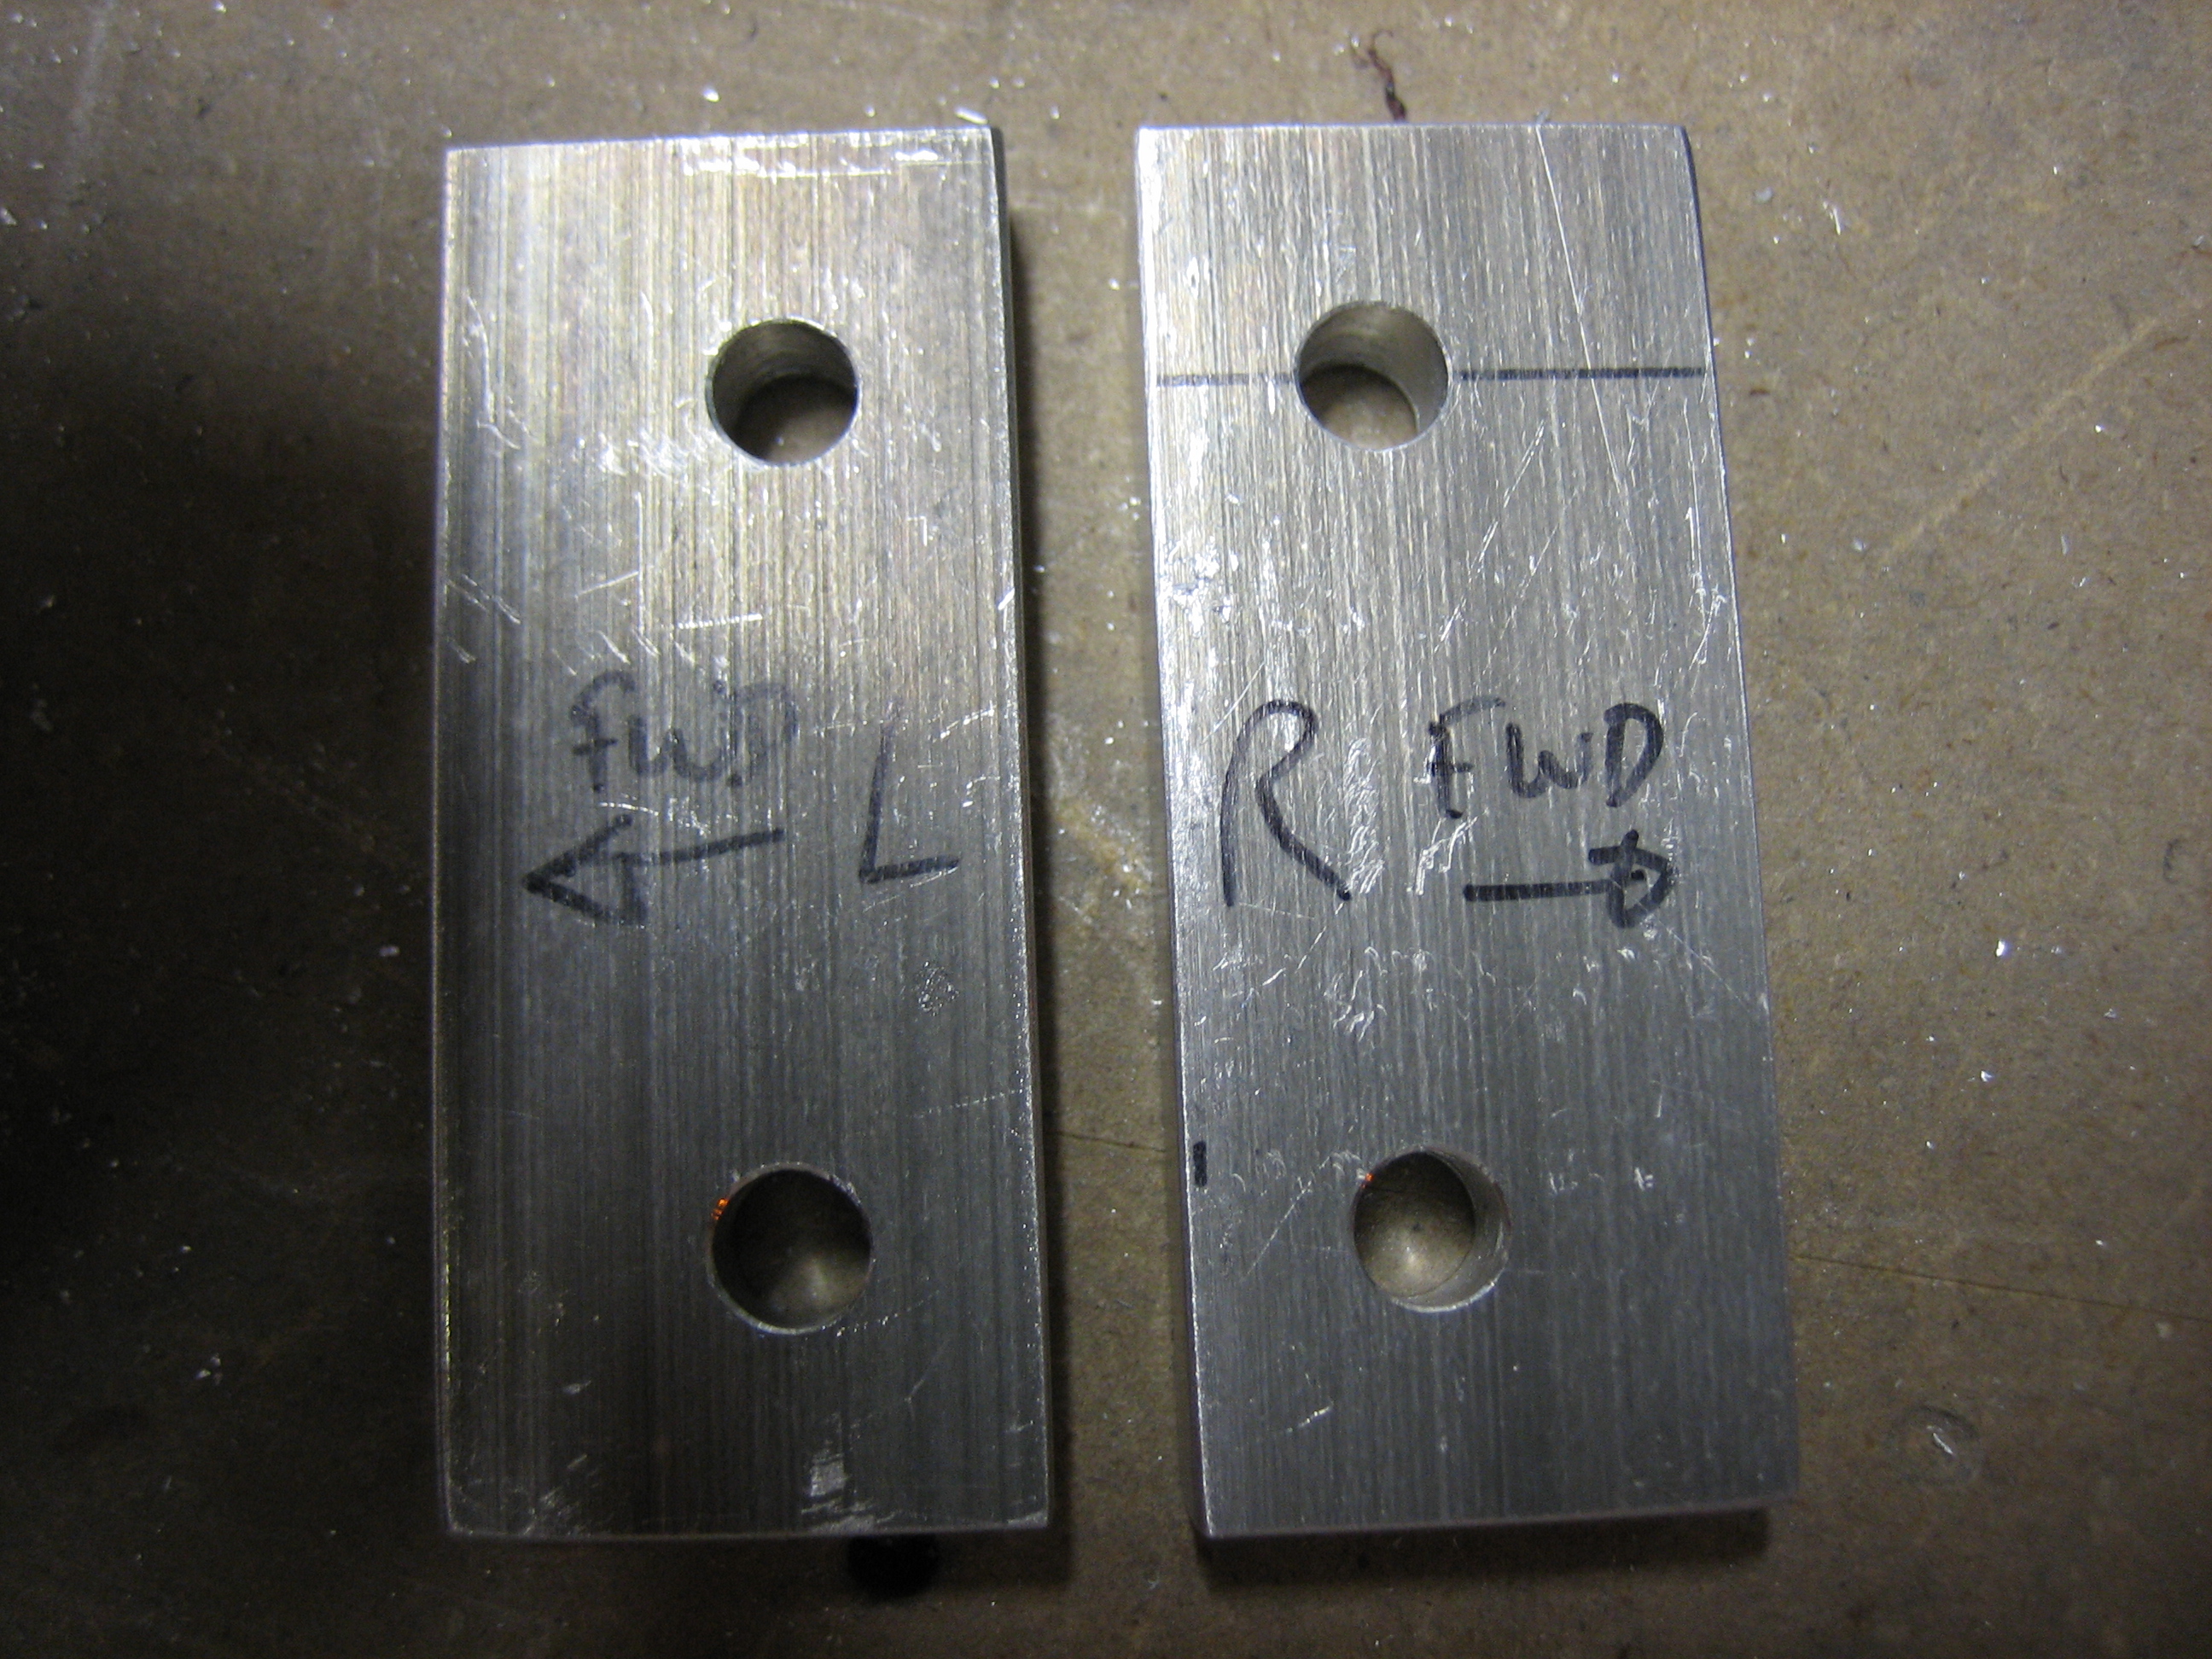
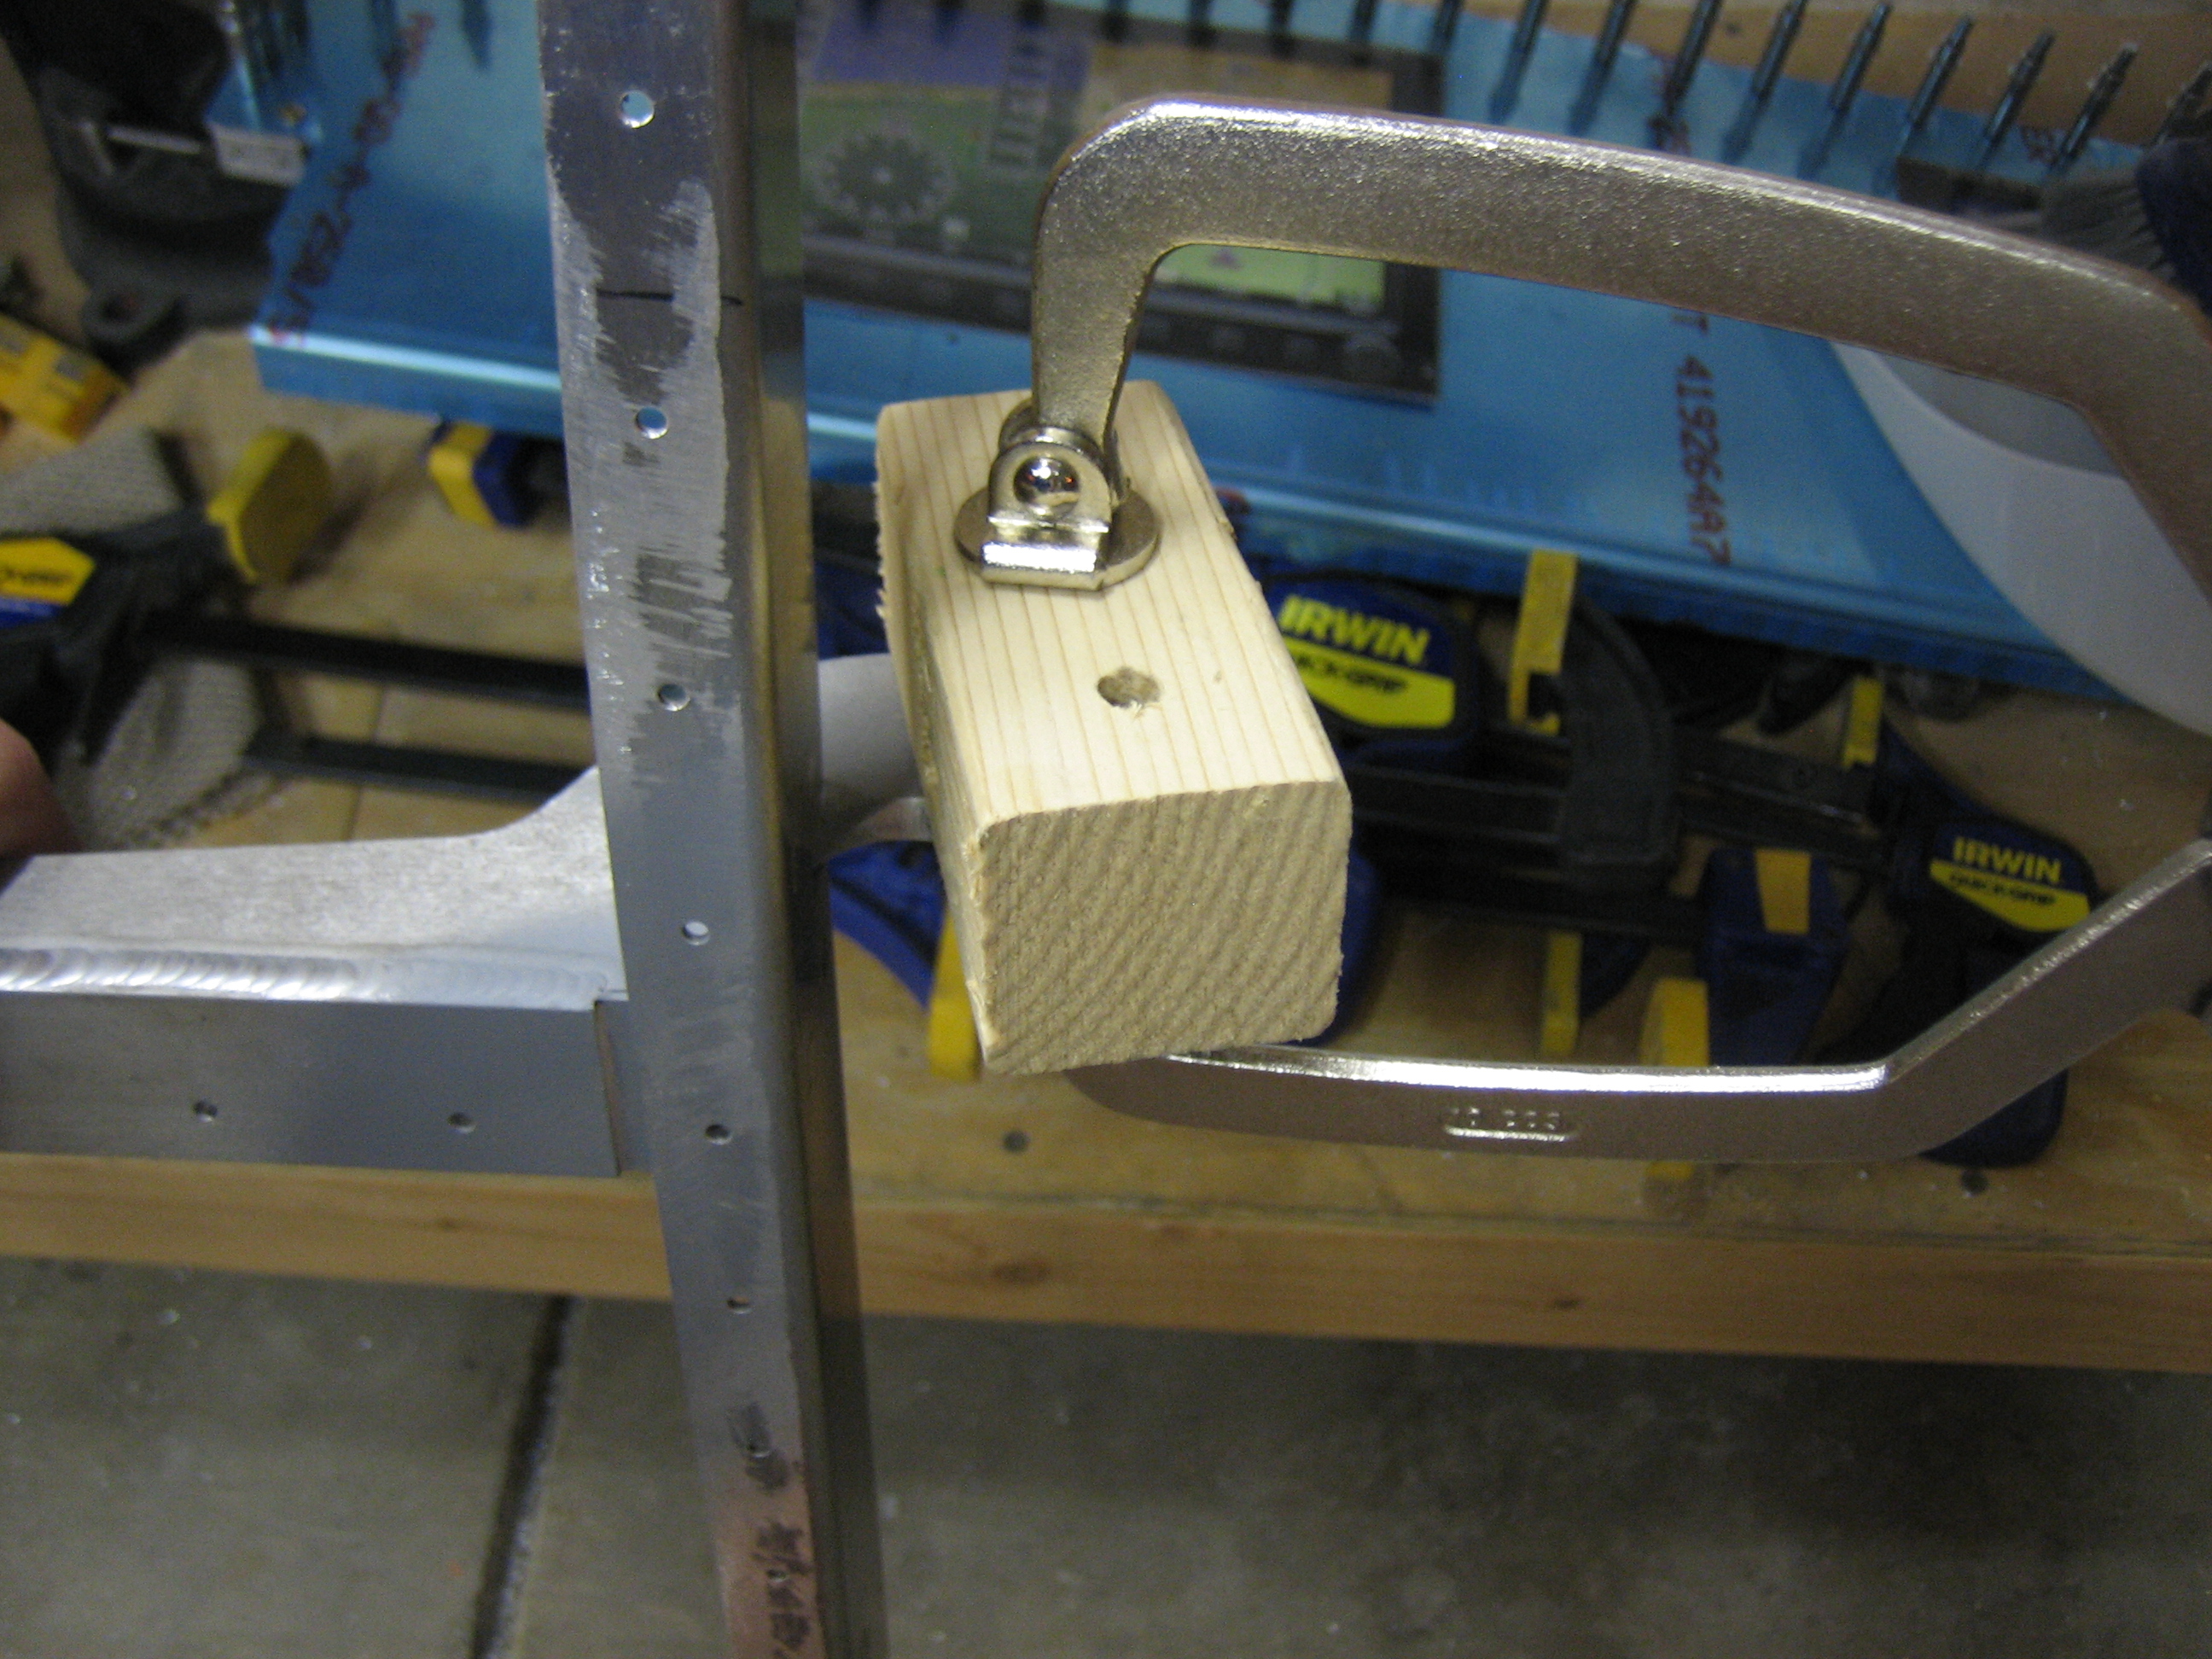
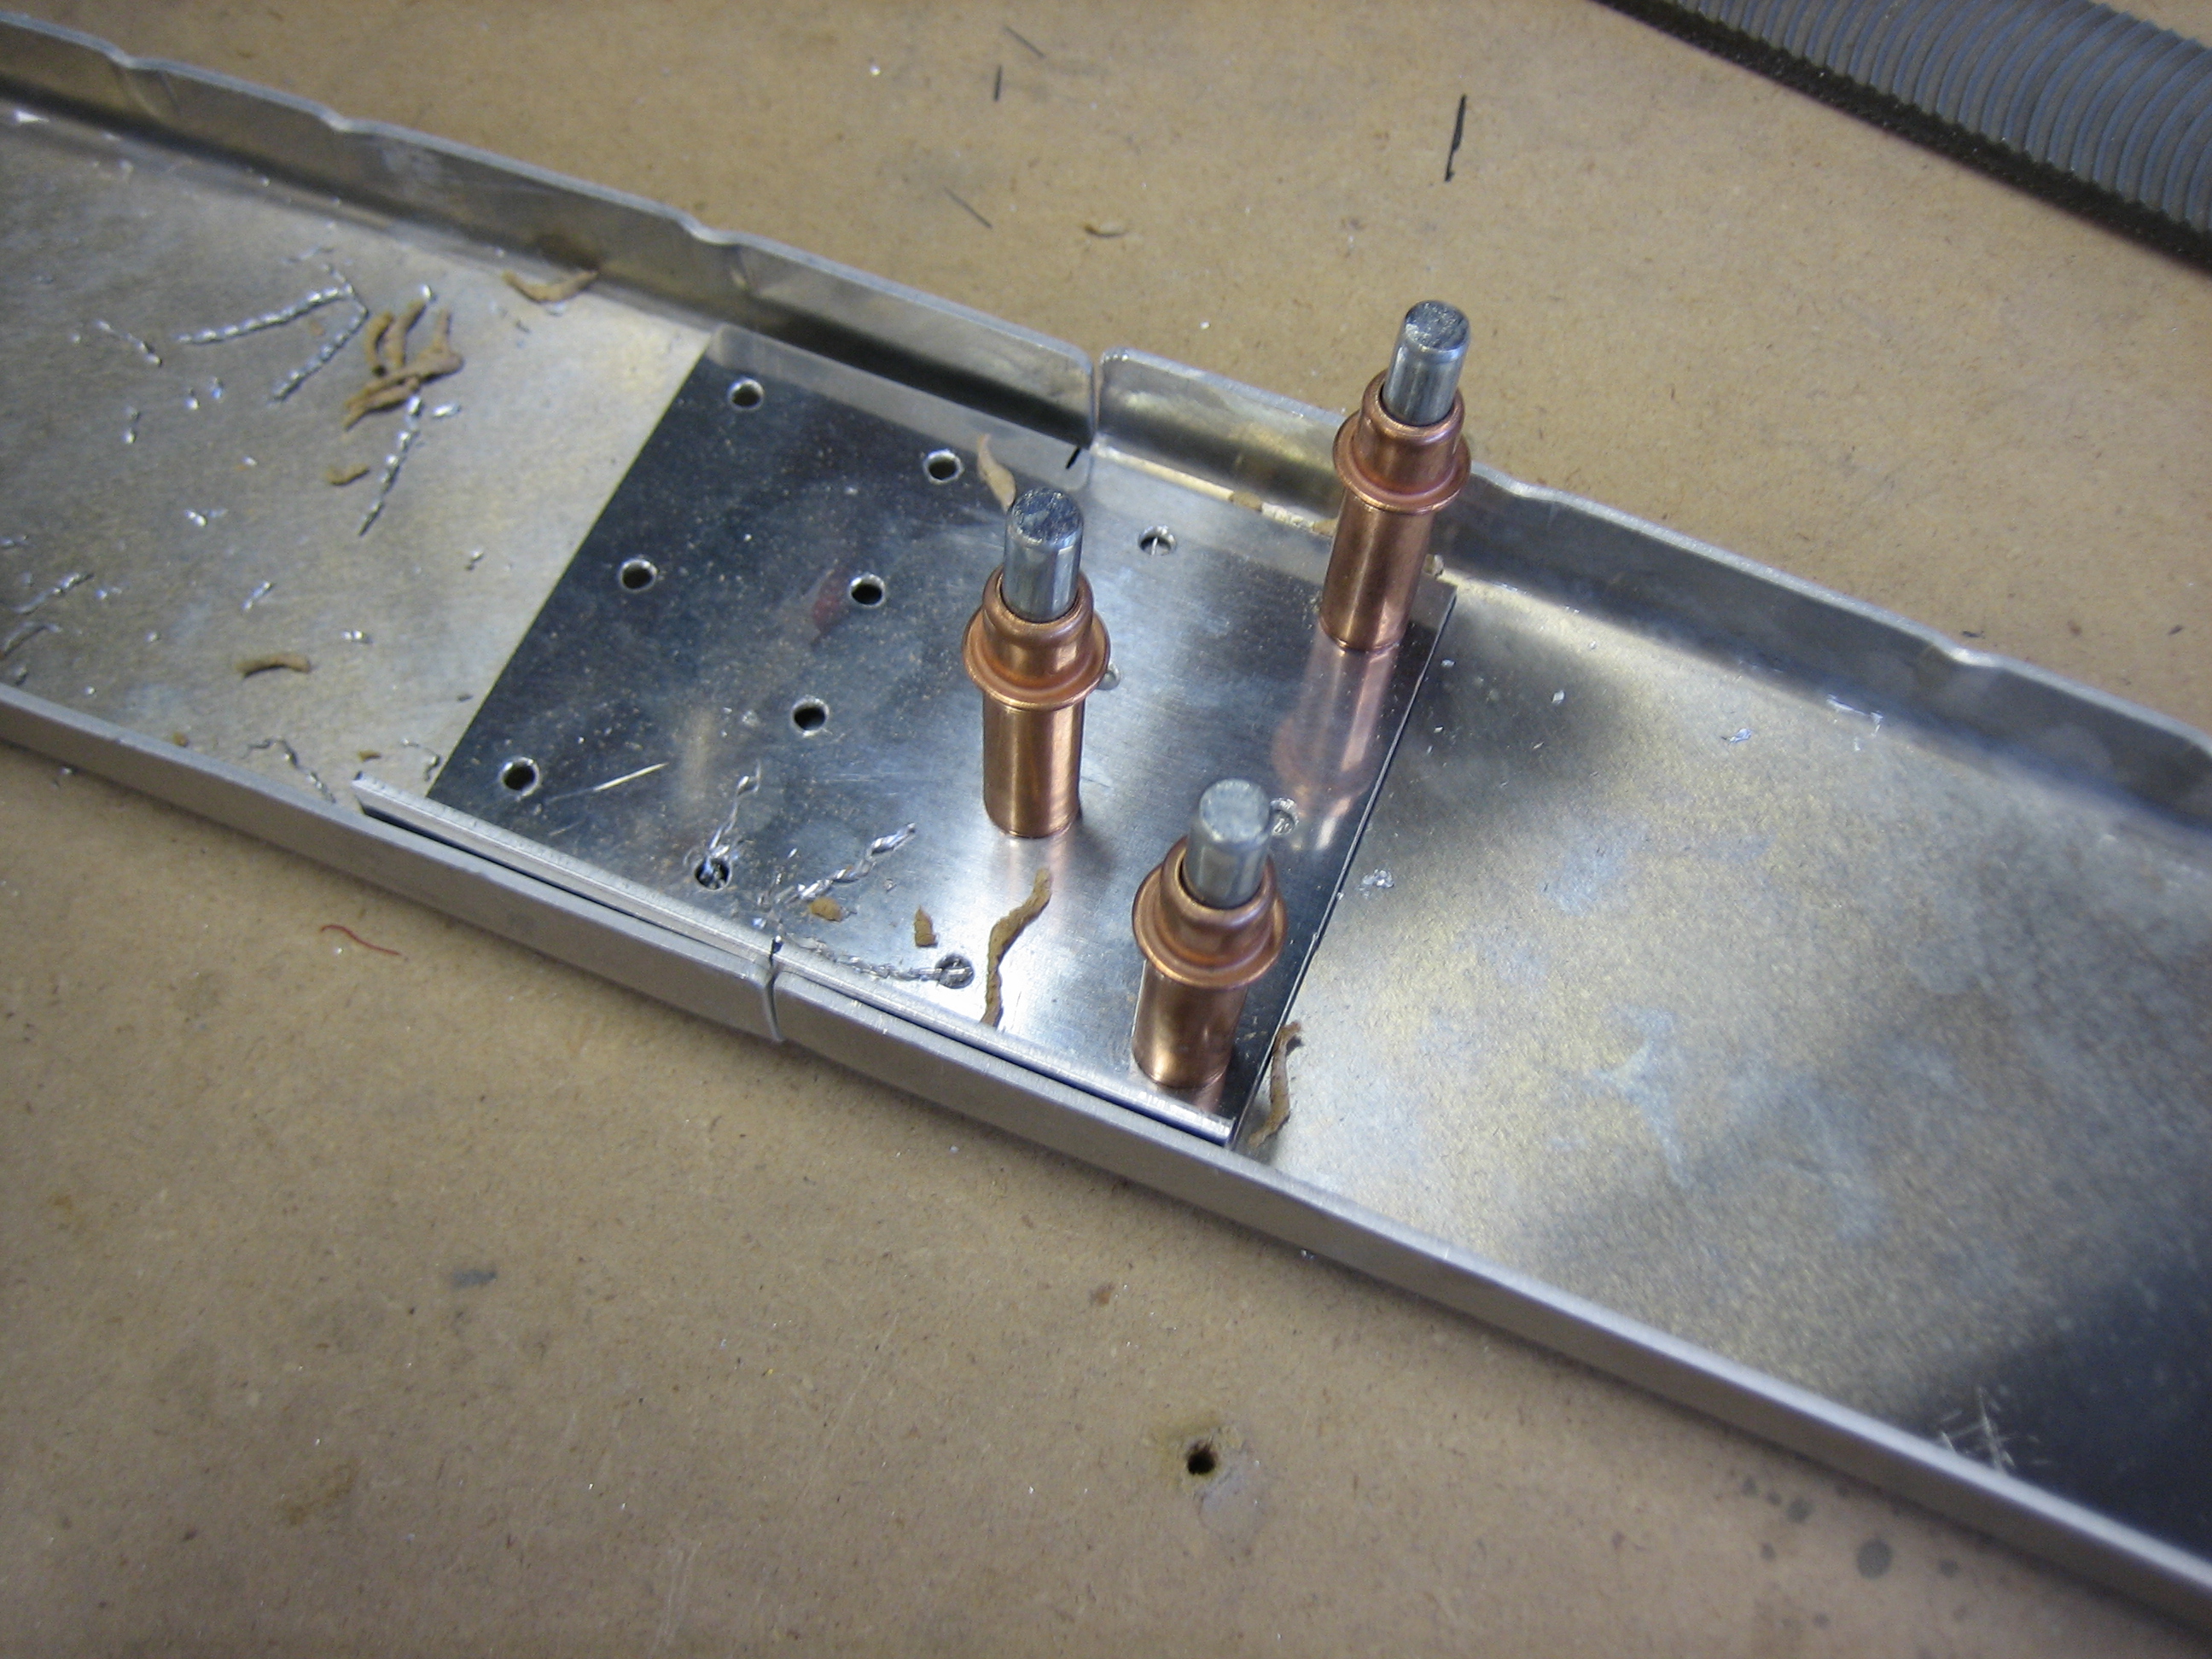
Then a fabbed up a little drilling block to ensure the hole would be square and drilled all the way through the brackets with the 1/4″ bit.
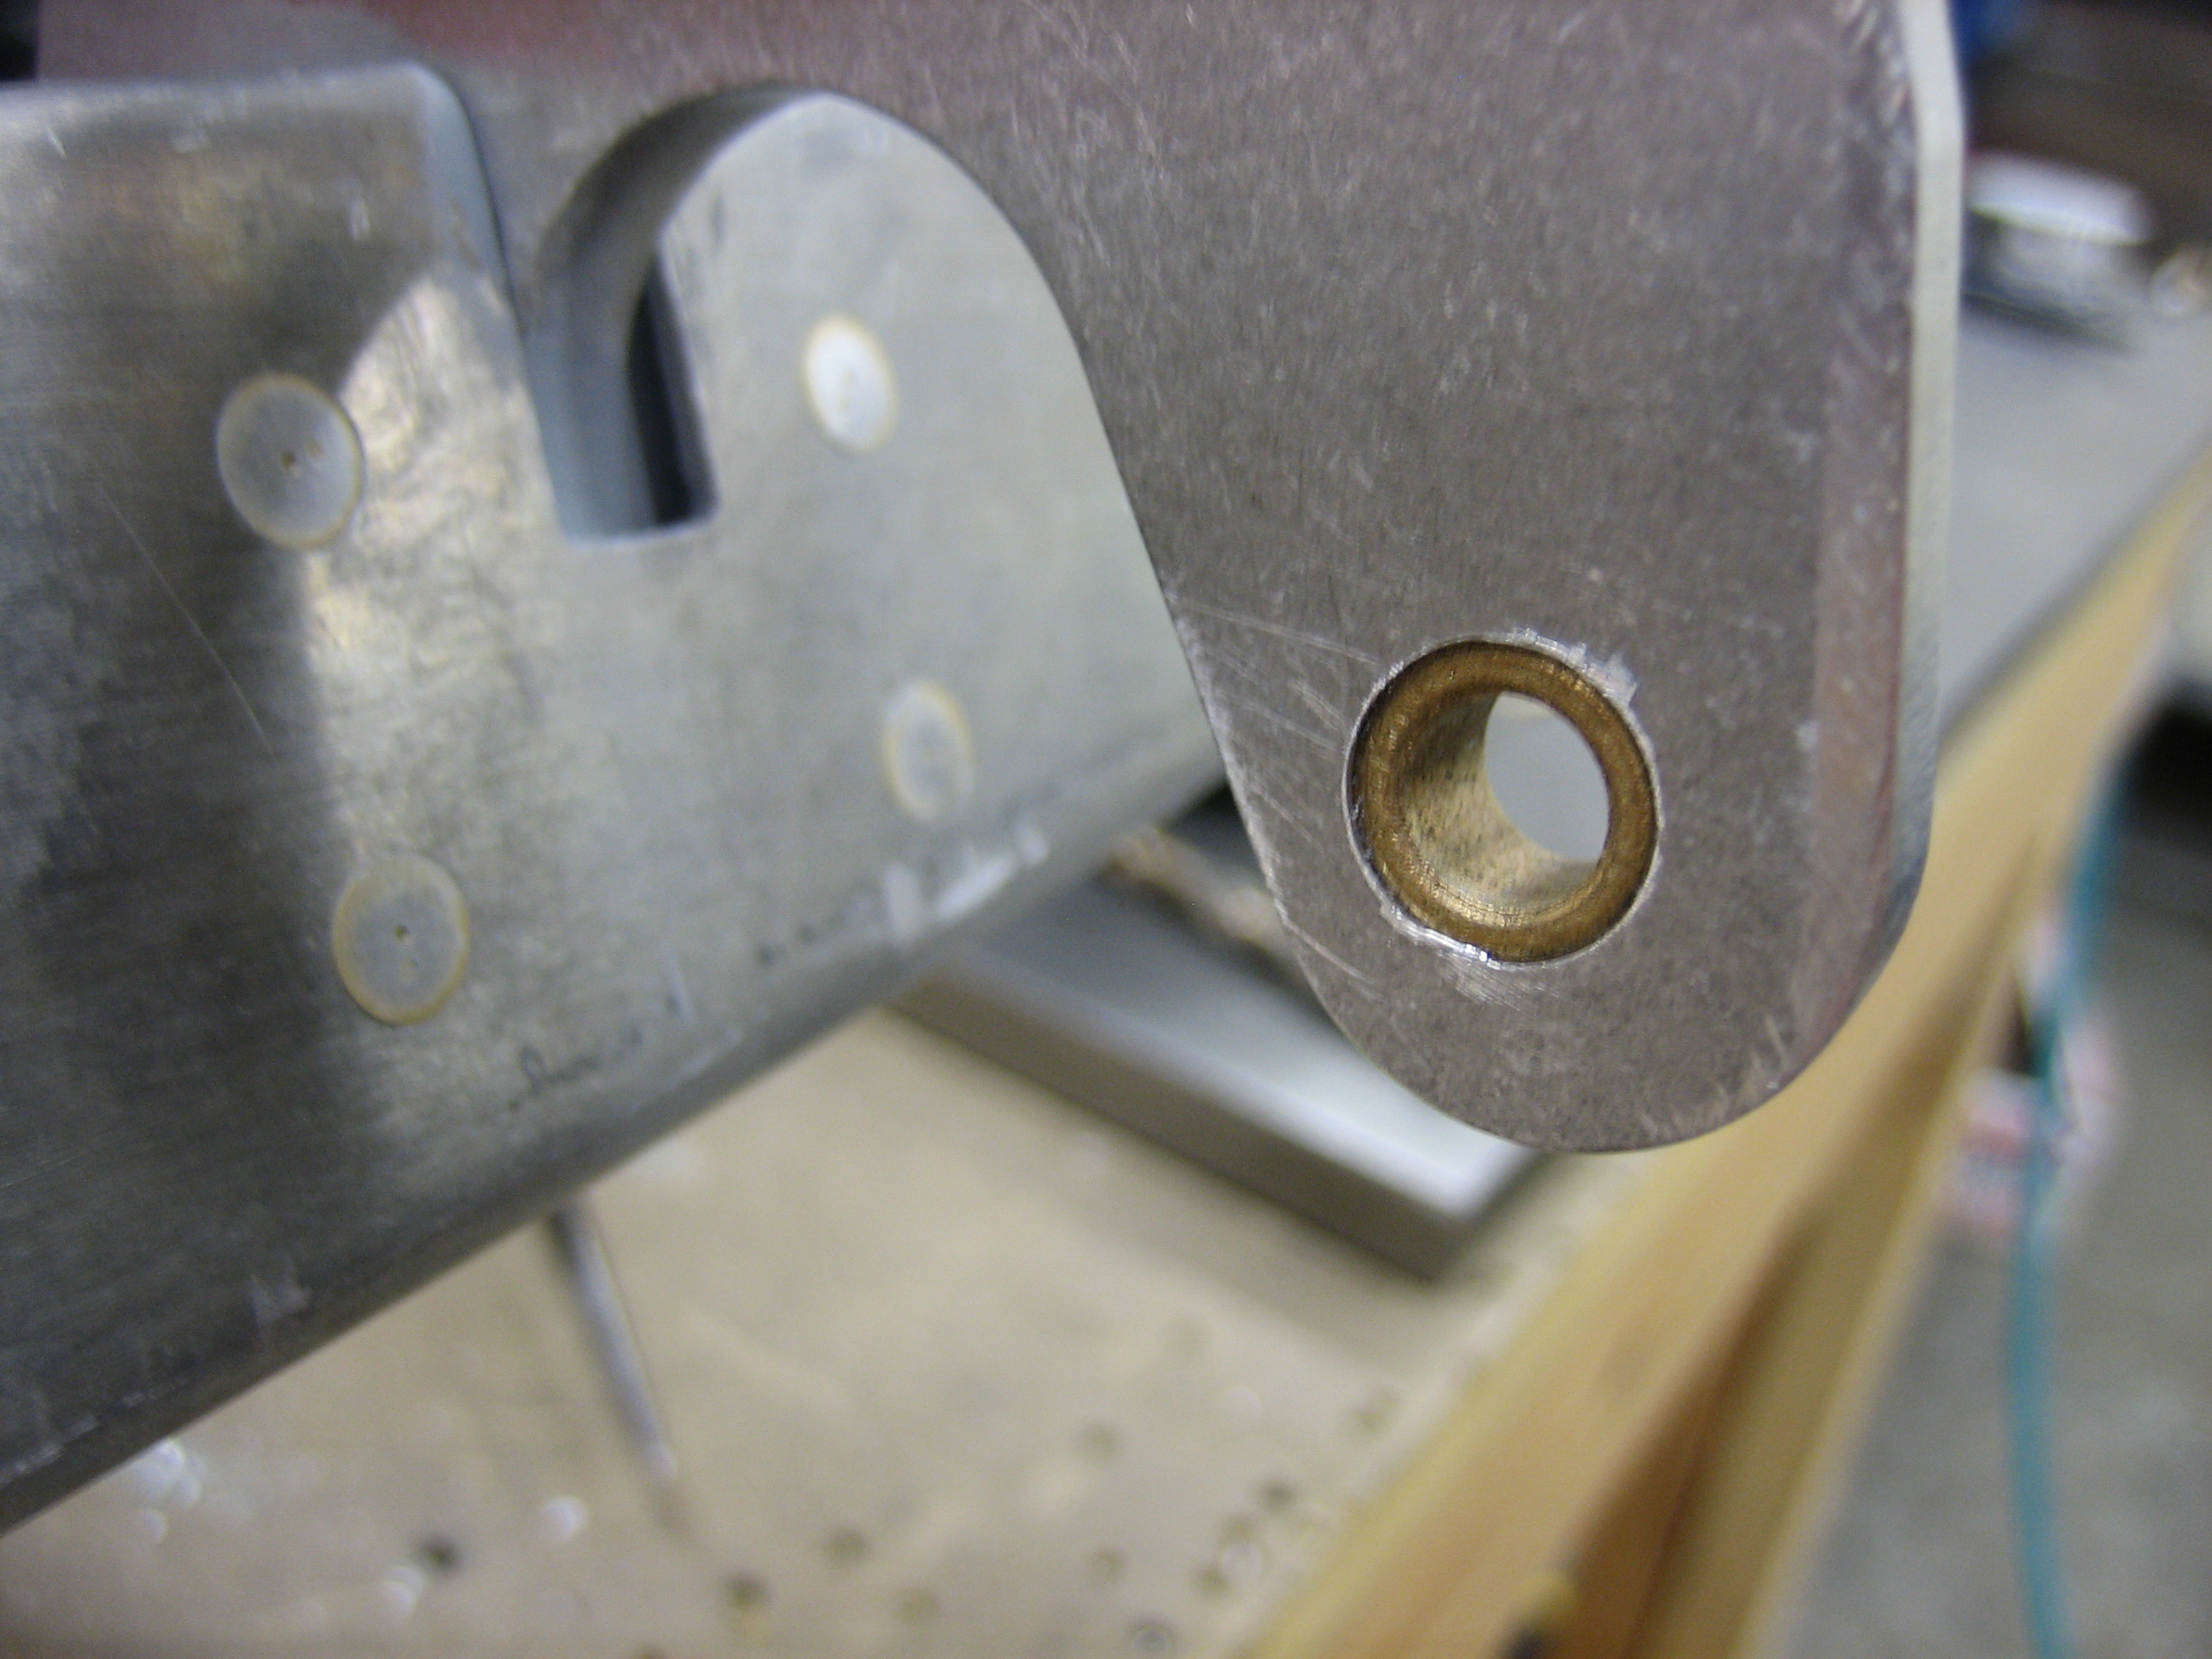
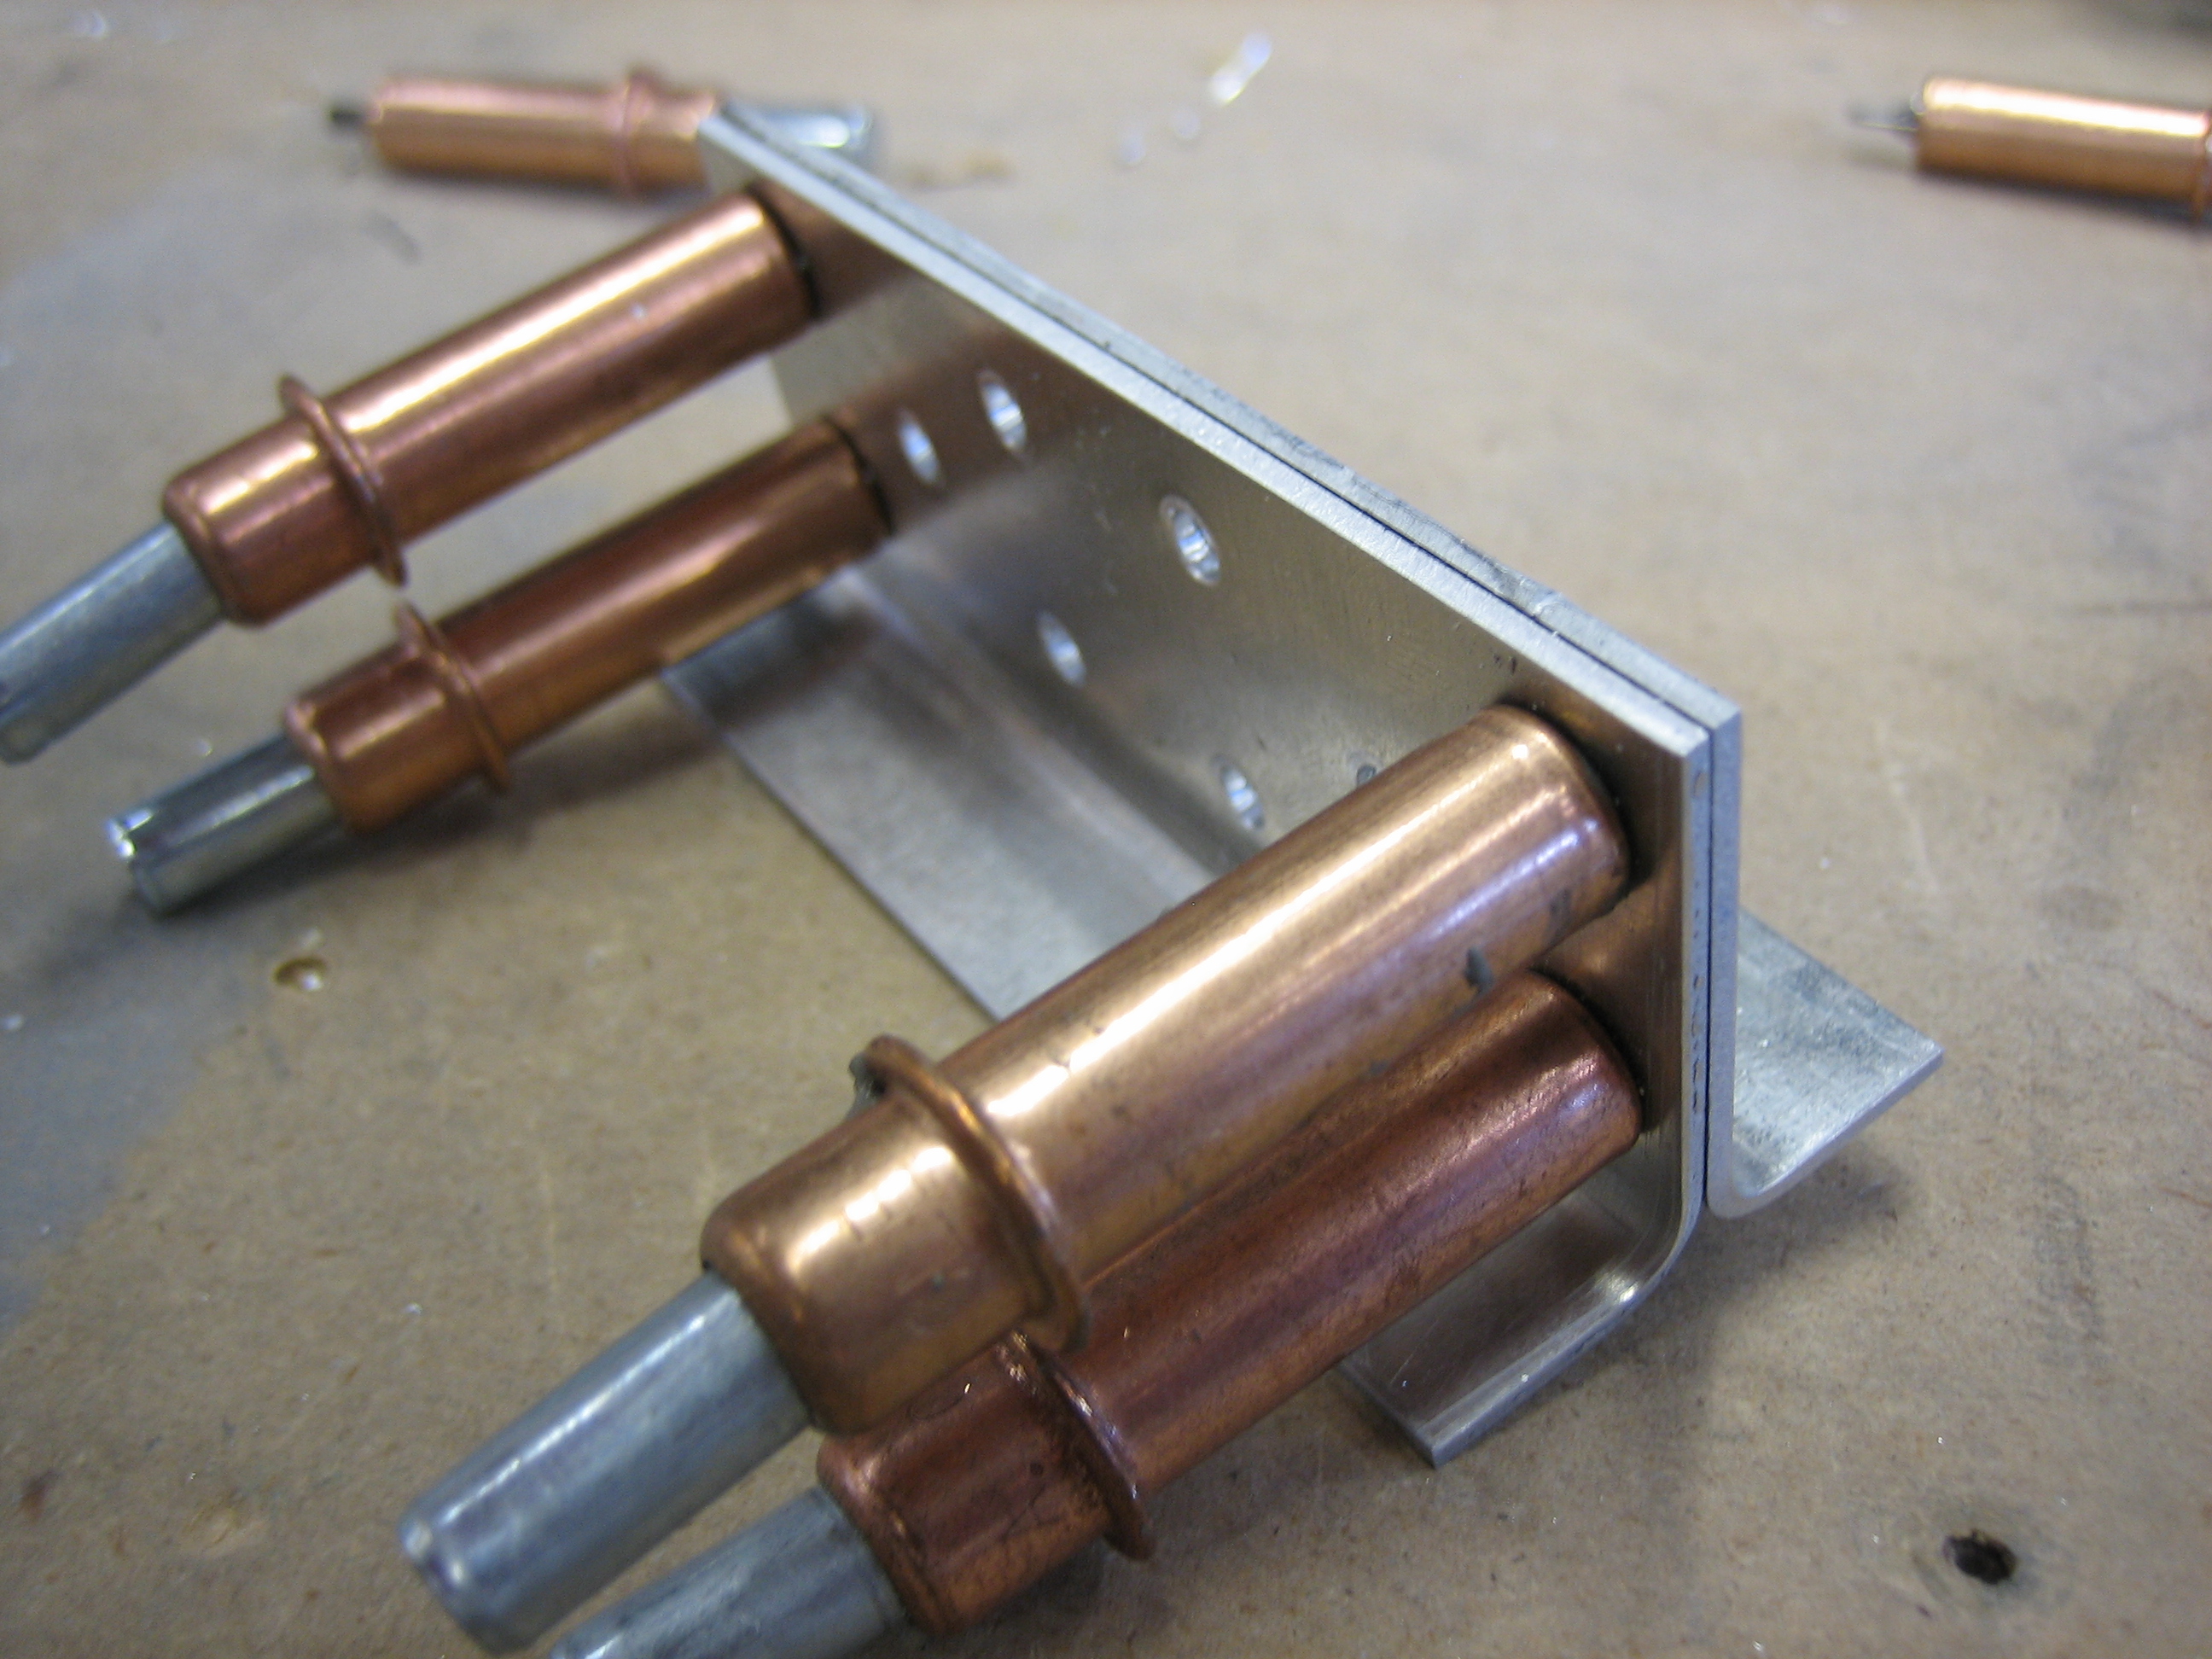
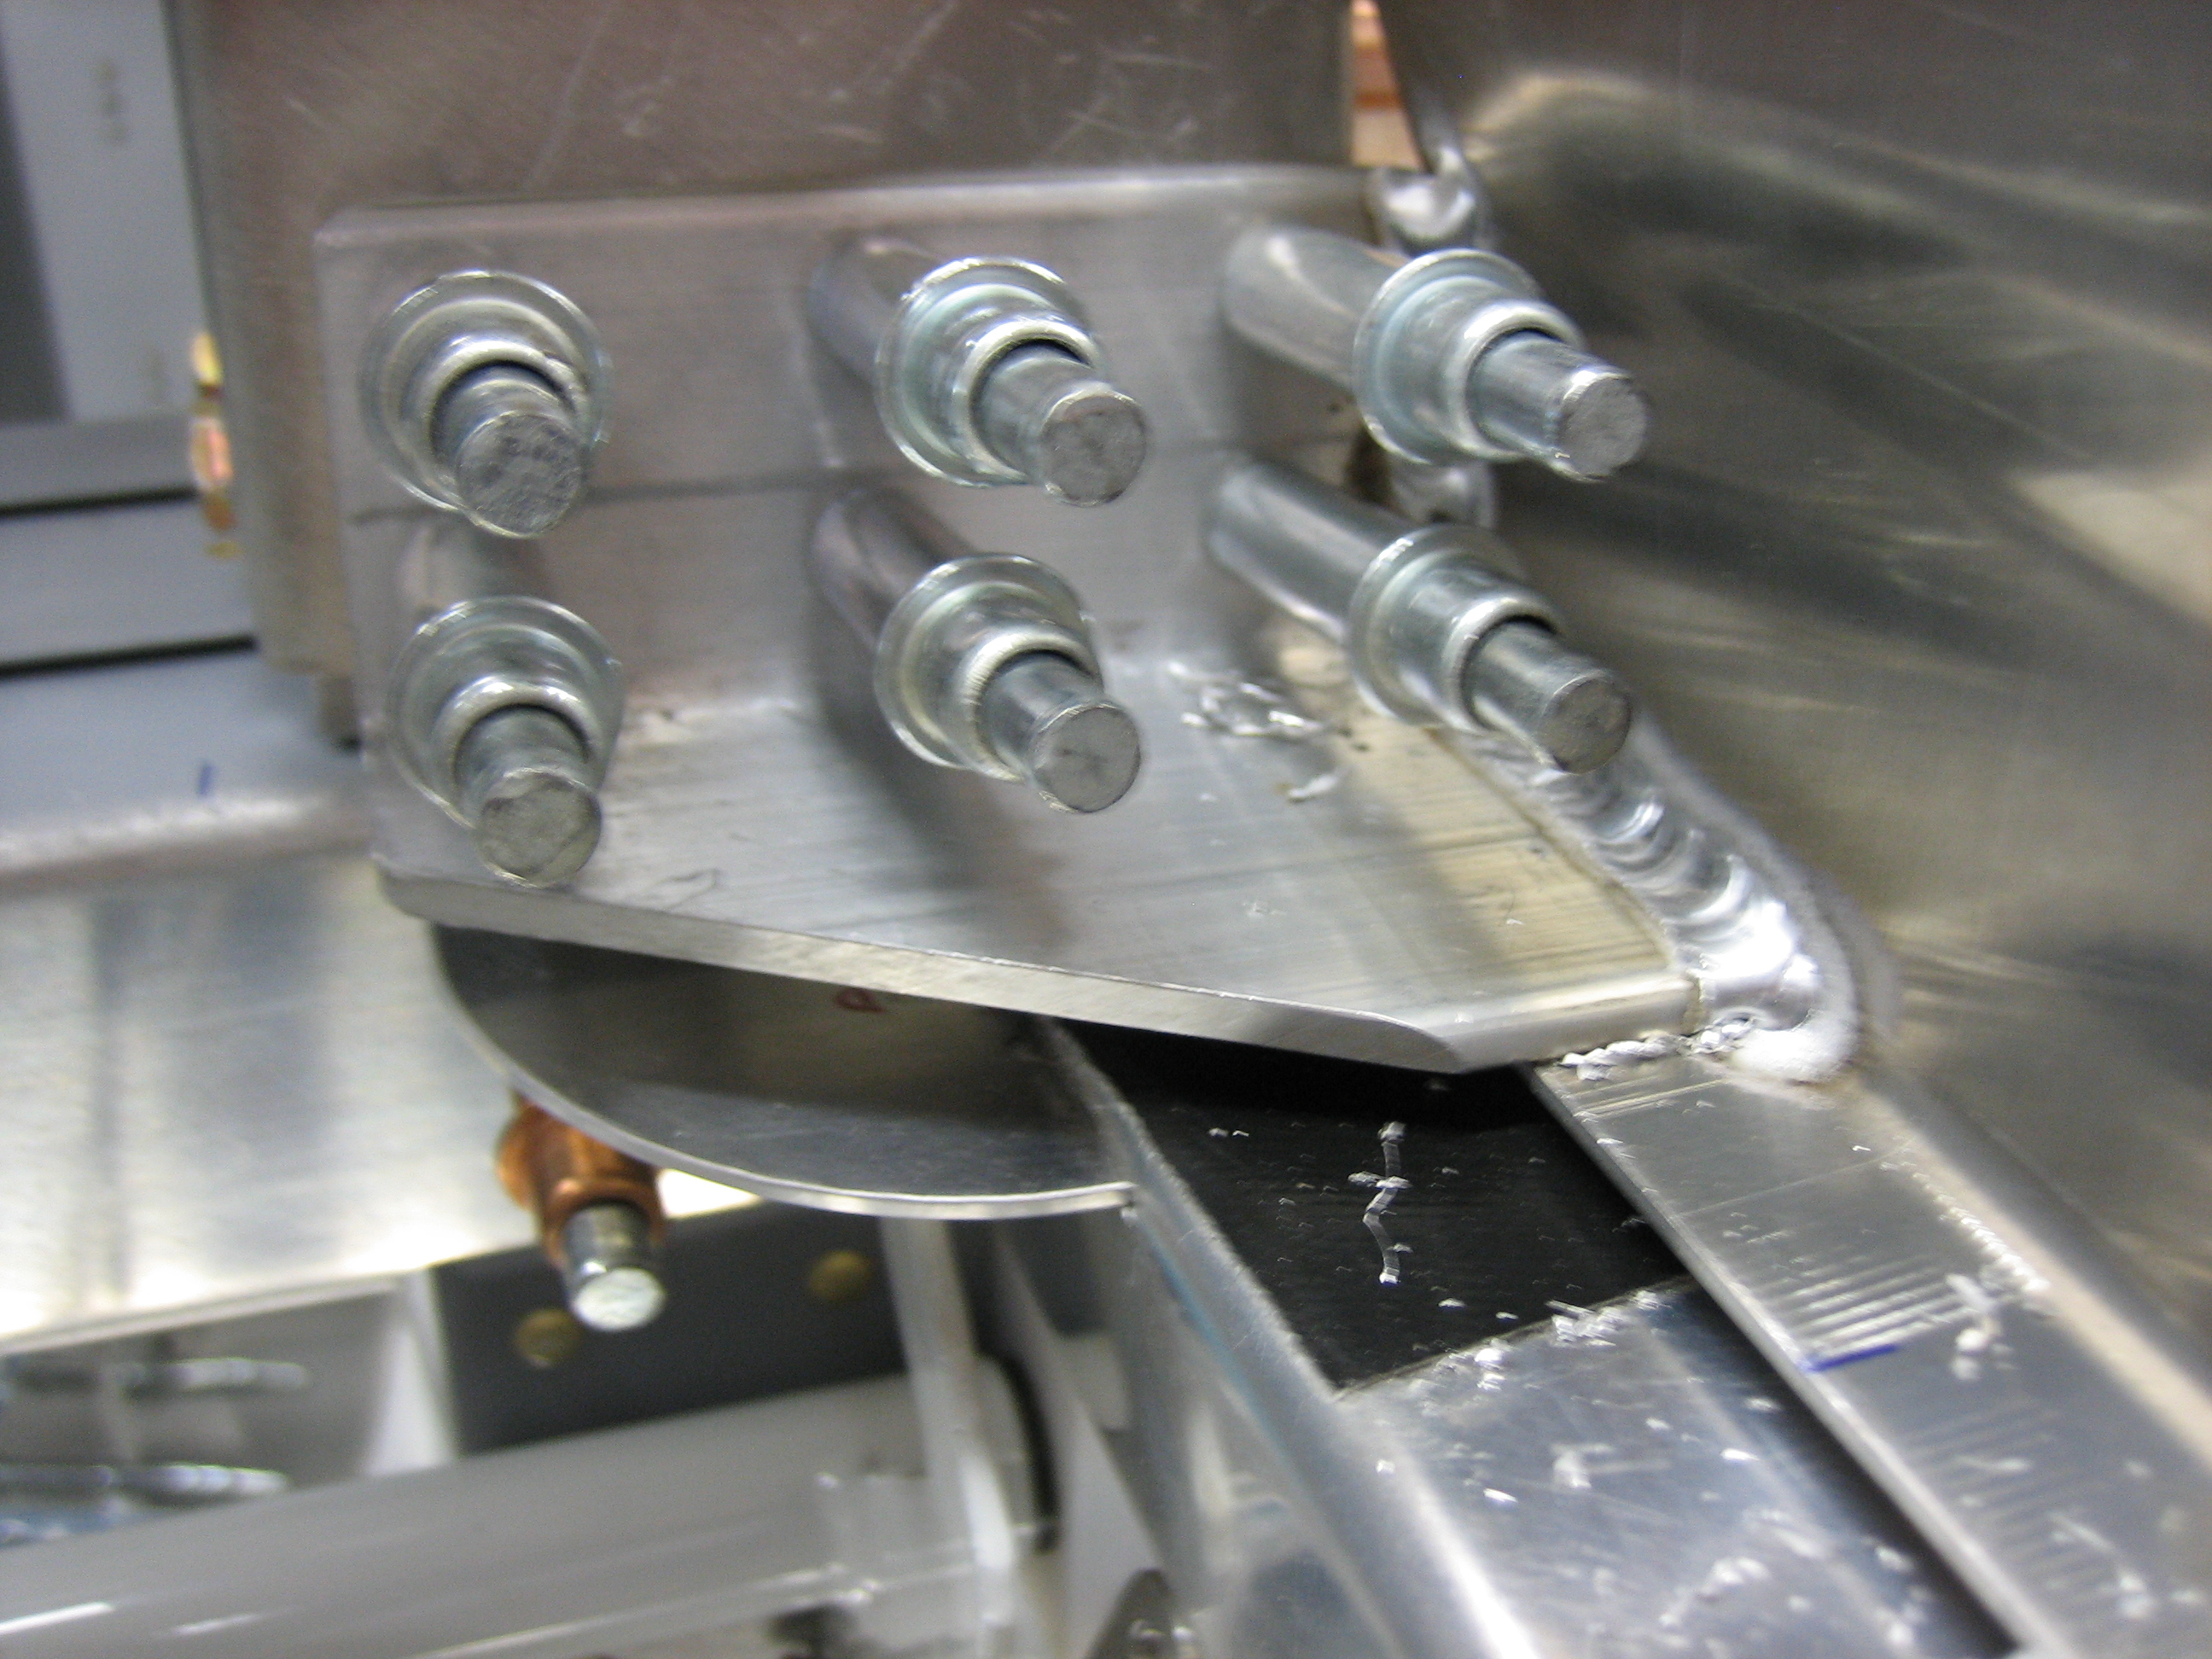
I then opened the hole up to 23/64″ and then used my 3/8″ unibit to open the holes up to 3/8″. Here you can see the bushing block in the right hinge arm.
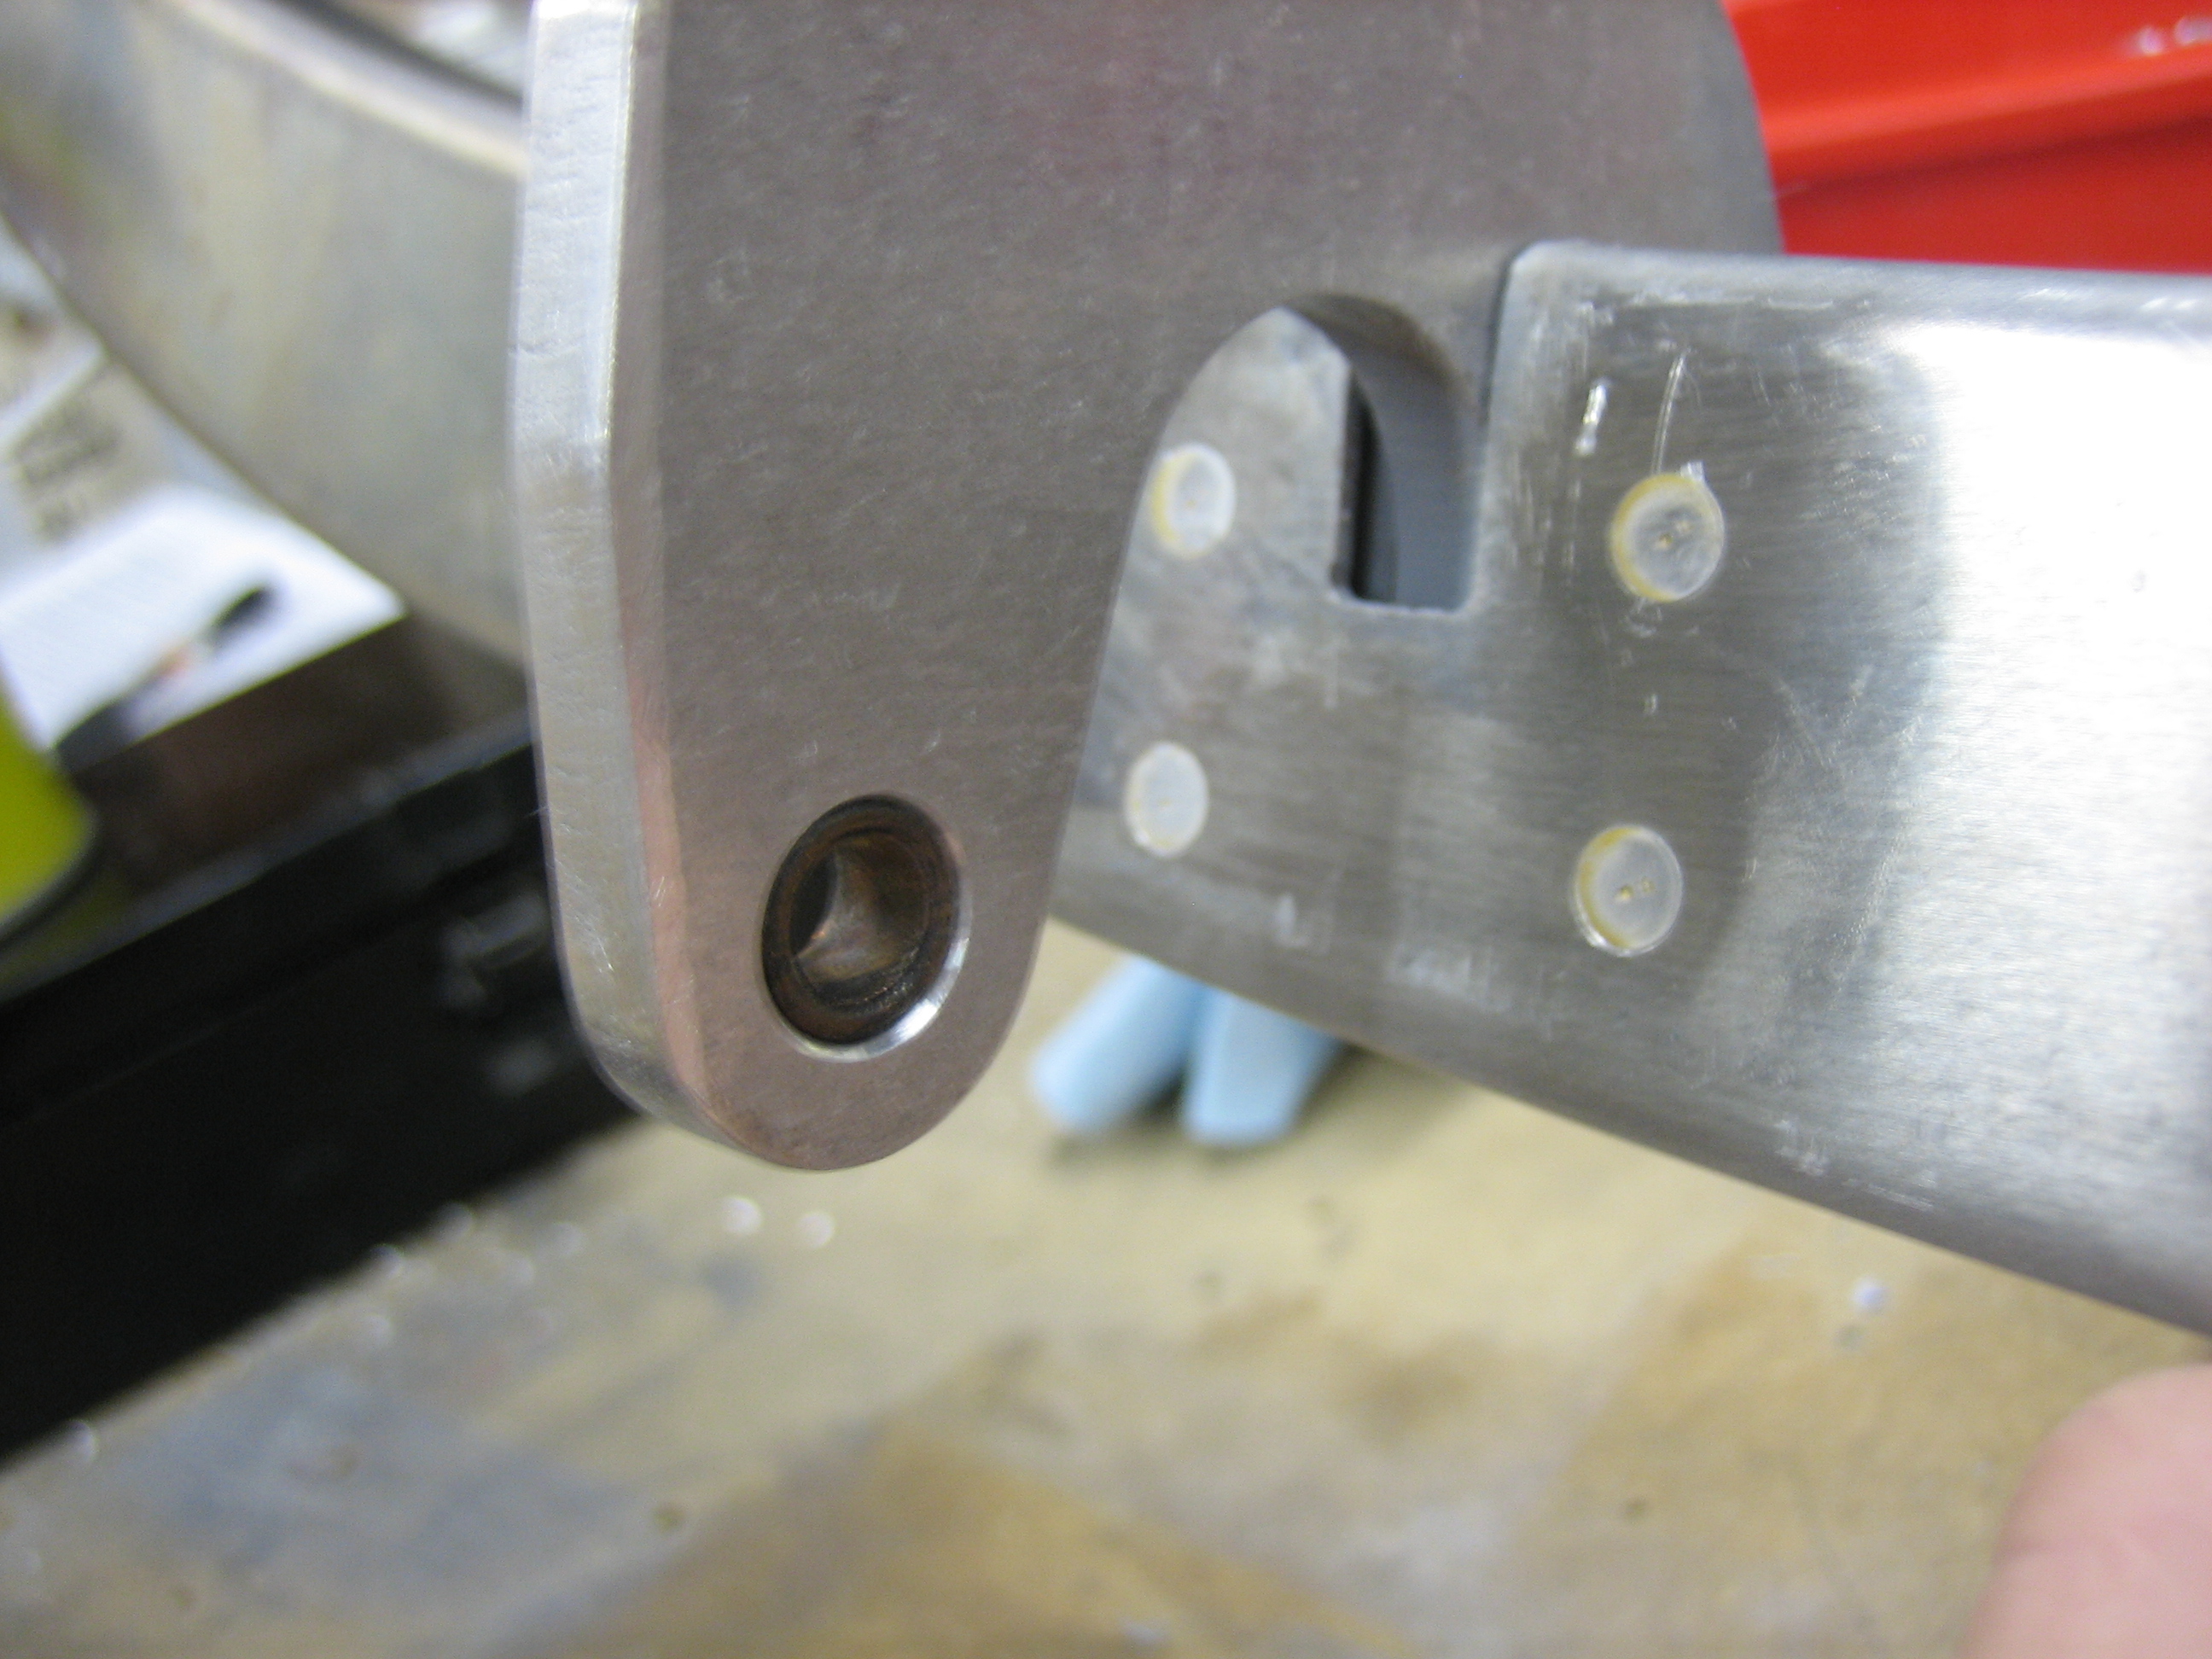
And here’s the bushing block in the left hinge arm.
Finally, I put the canopy frame back on using some temporary pins and checked the motion. As the instructions specify, the seal support angle interferes with opening the canopy frame. I filed back the seal support angle a little bit and retried the frame. After a few iteration, I have the canopy frame swinging smoothly.
Finished Forward Canopy Frame
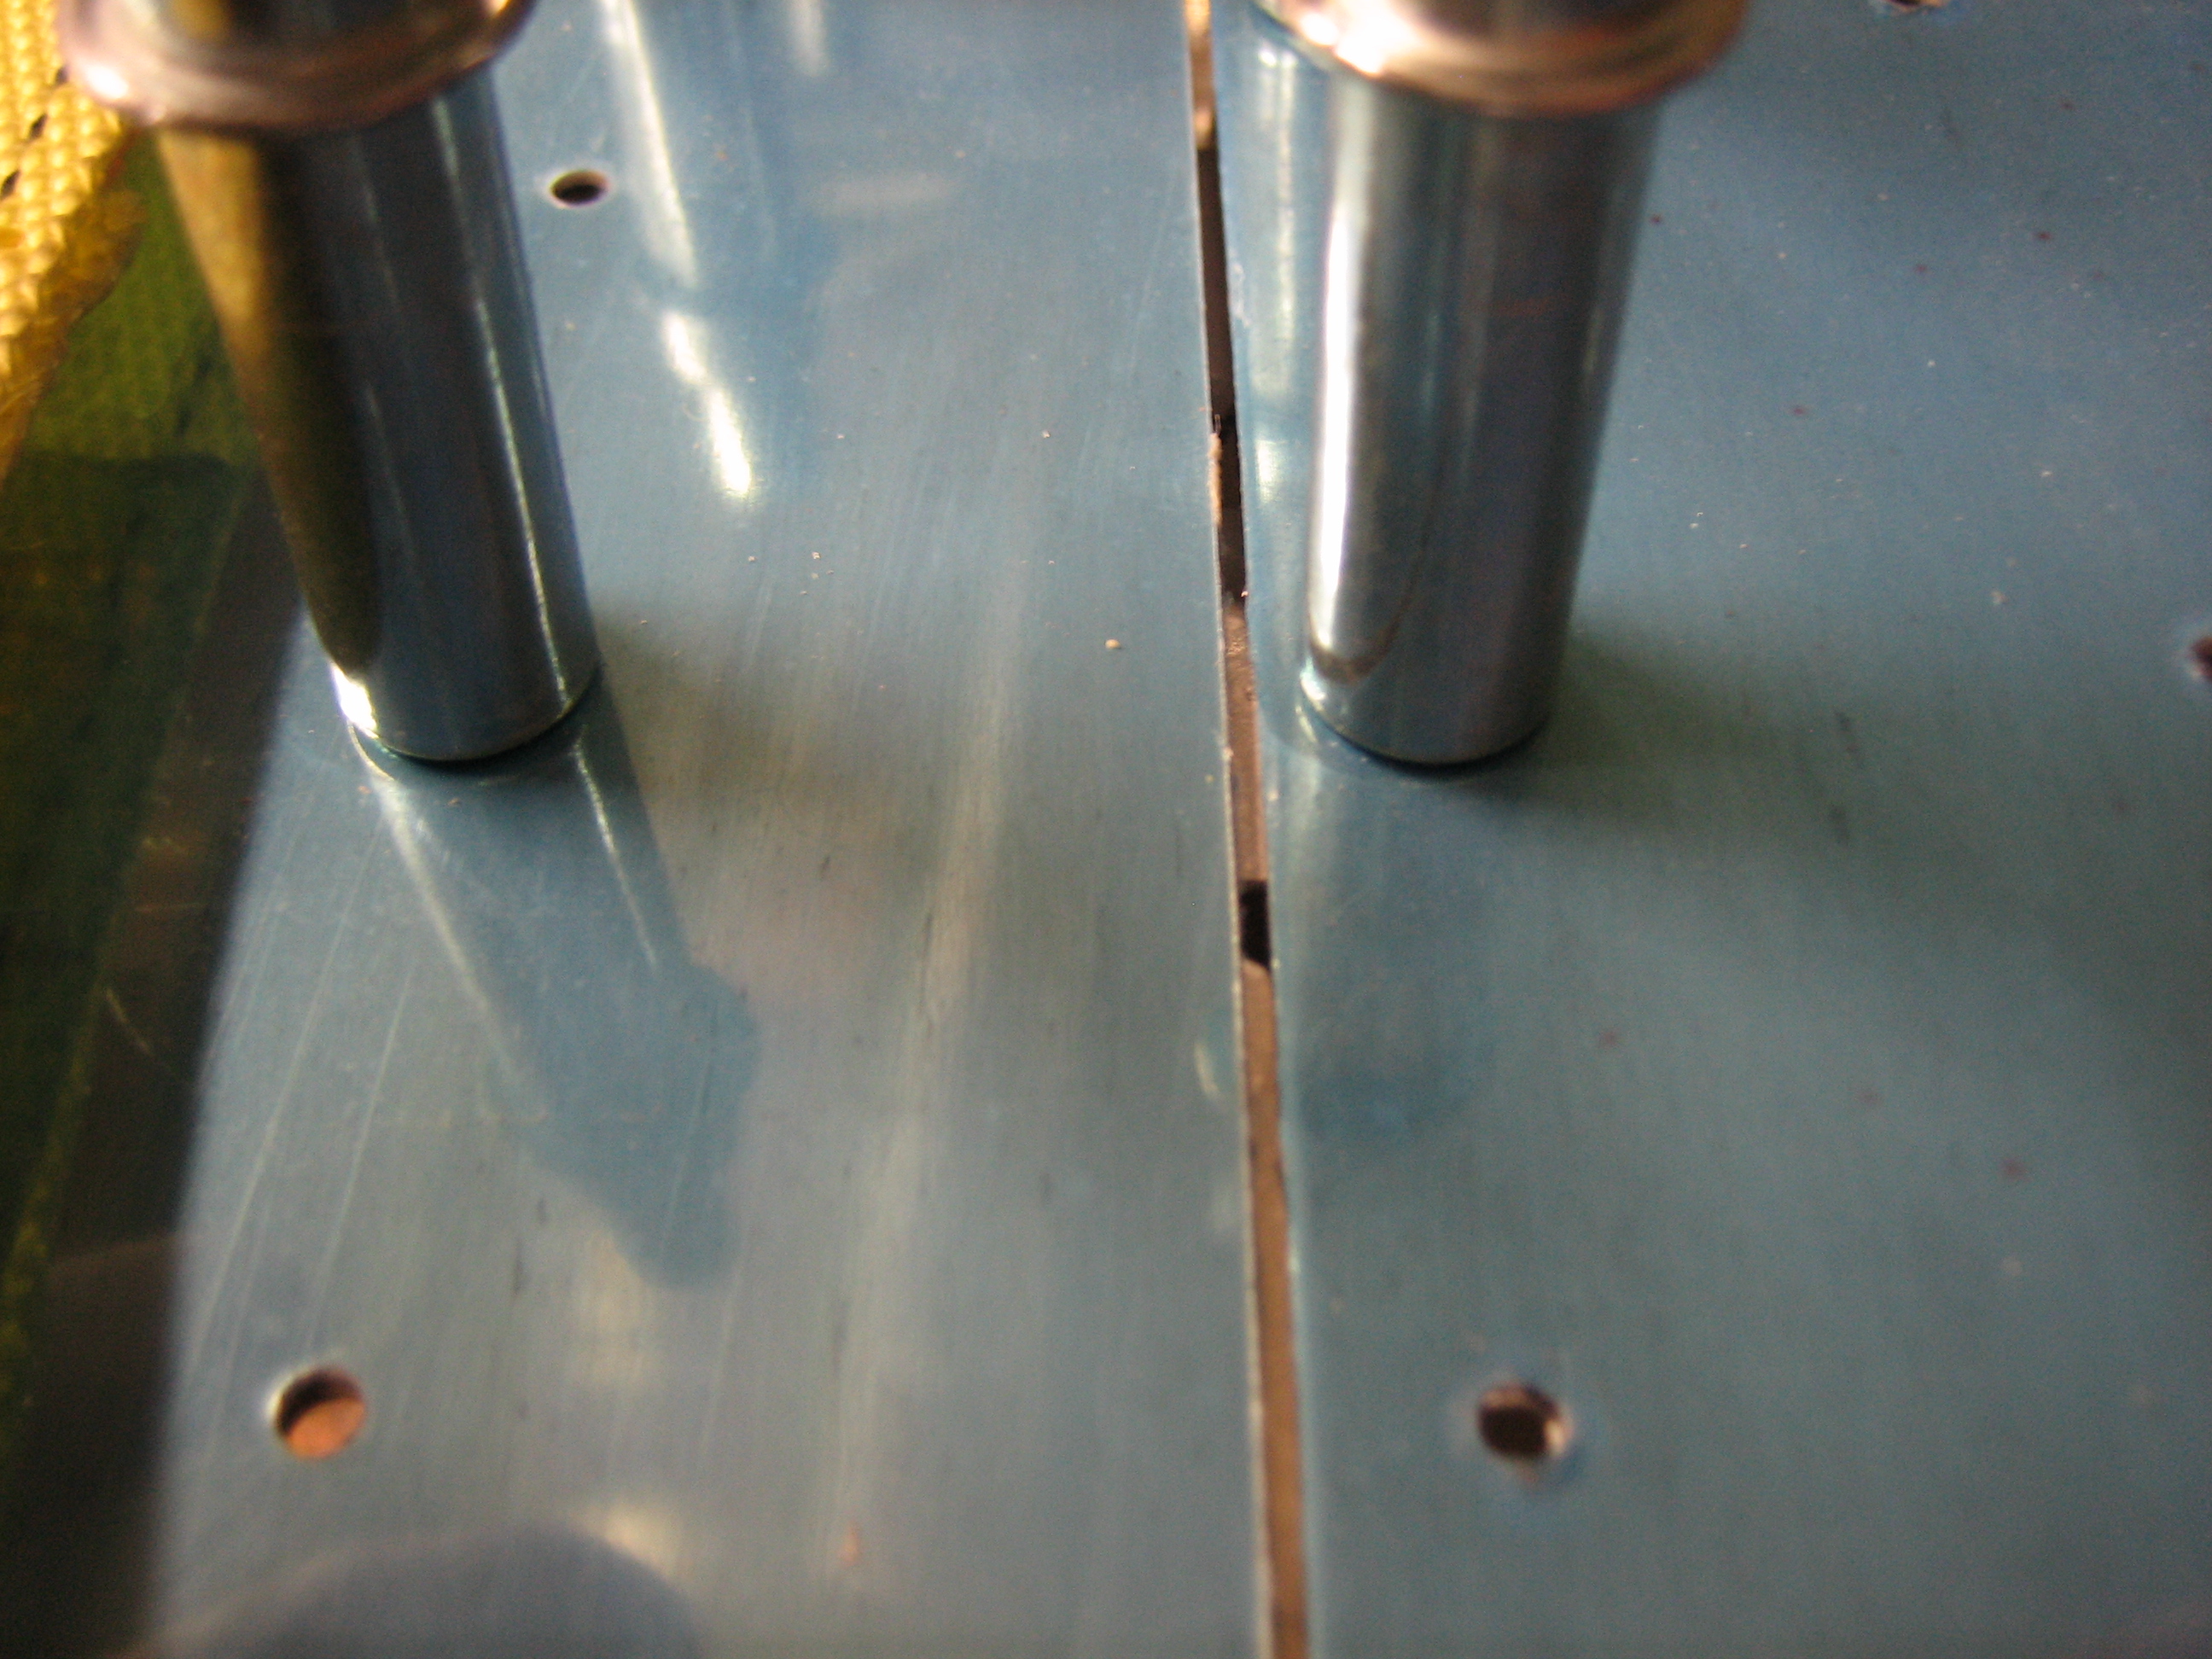
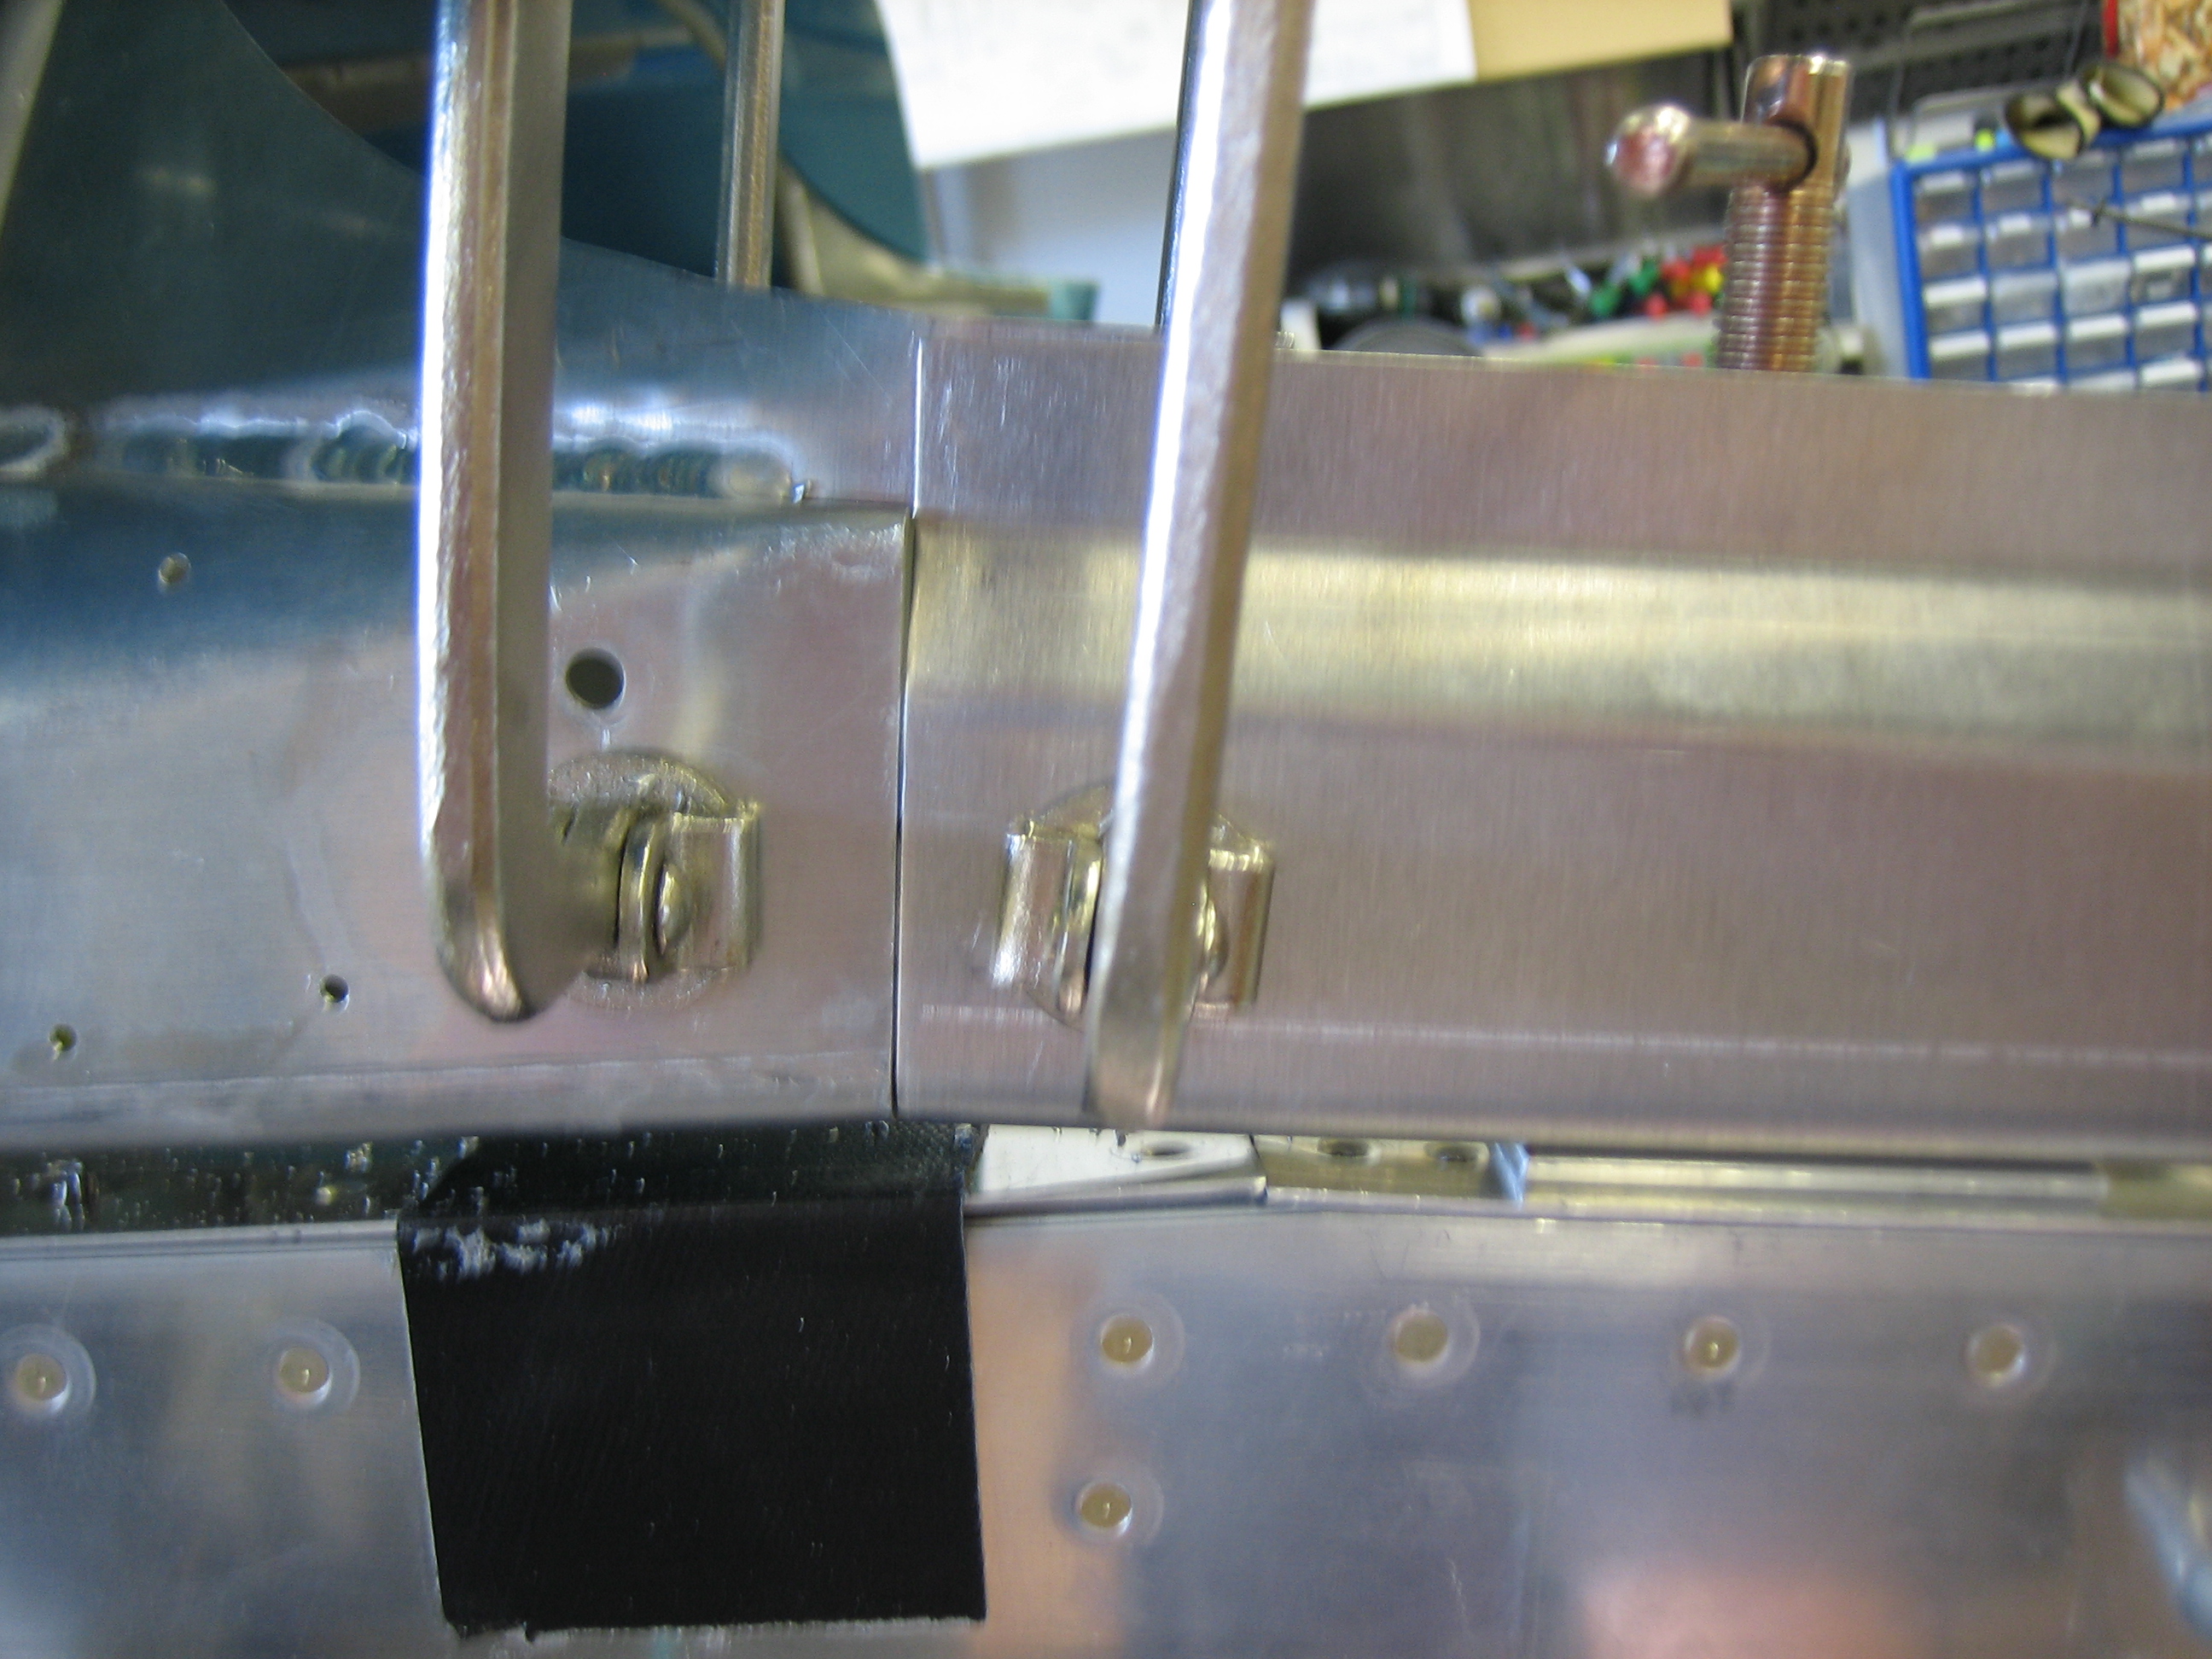
I finished the fit of the forward canopy frame to the forward skin.
I ended up with about 0.032″ along the entire joint. I did end up having to put a 0.016″ spacer under the forward channel of the canopy frame to lift the skin up a little bit. Otherwise, the front edge of the canopy frame skin was pushed up by the subpanel a bit and the front edge of the canopy skin would catch on the aft edge of the forward skin when I tried to raise the canopy. You can also see here that I installed a bunch of clecos from the inside to give me a little more room to open the frame. These still stick up too much to allow the frame to open fully though.
This is about all I can raise the canopy before it interferes with the clecos, but it’s enough to ensure everything moves smoothly. Beyond this point, there would not be any interference anyway.
Fabricated ADAHRS Mount
I decided to take a break from the canopy and fabricate the ADAHRS mount for the Dynon SkyView ADAHRS box. I looked at several builder’s sites about how other people have done this and settled on a U shaped piece hanging between the center rib and left stringer. I decided to add some bends along the edges though to stiffen the structure. It’s approximately level in both axes right now, but I need to fine tune it slightly before drilling the holes though the rib and stringer.
I made the box deep enough that I could put two ADAHRS boxes (stacked vertically) in here if I decide to do that.
Worked on Canopy Frame
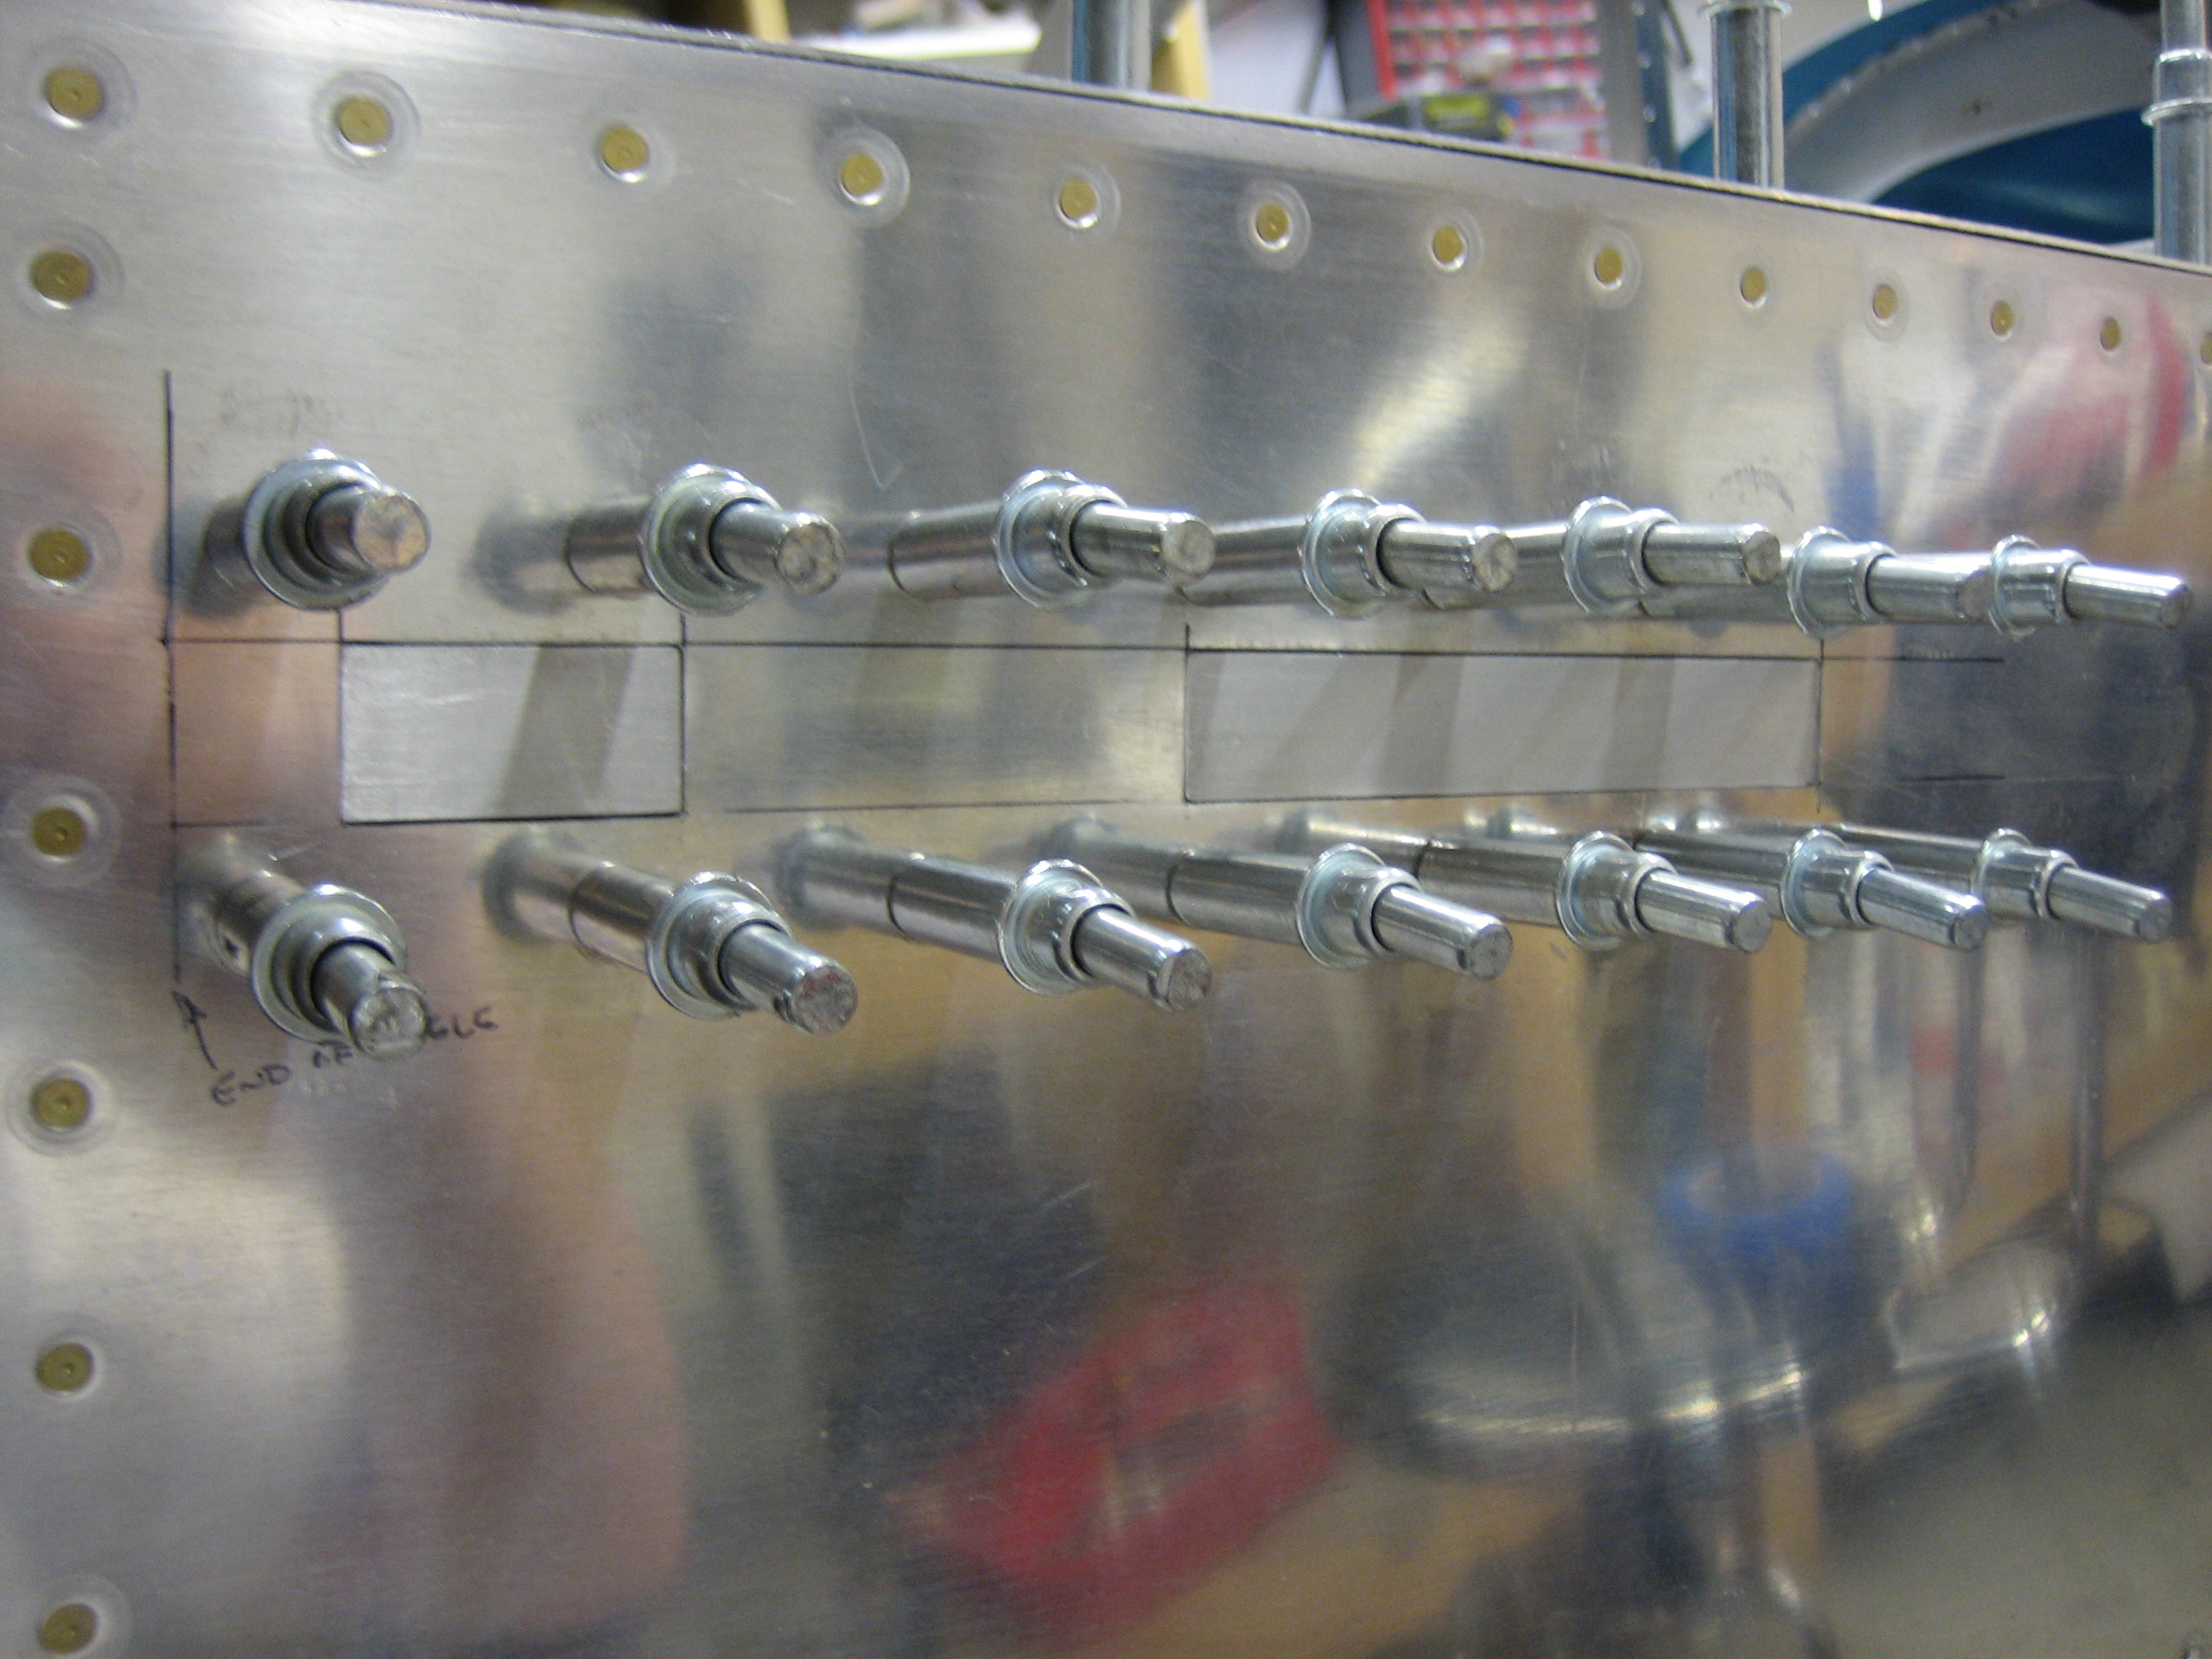
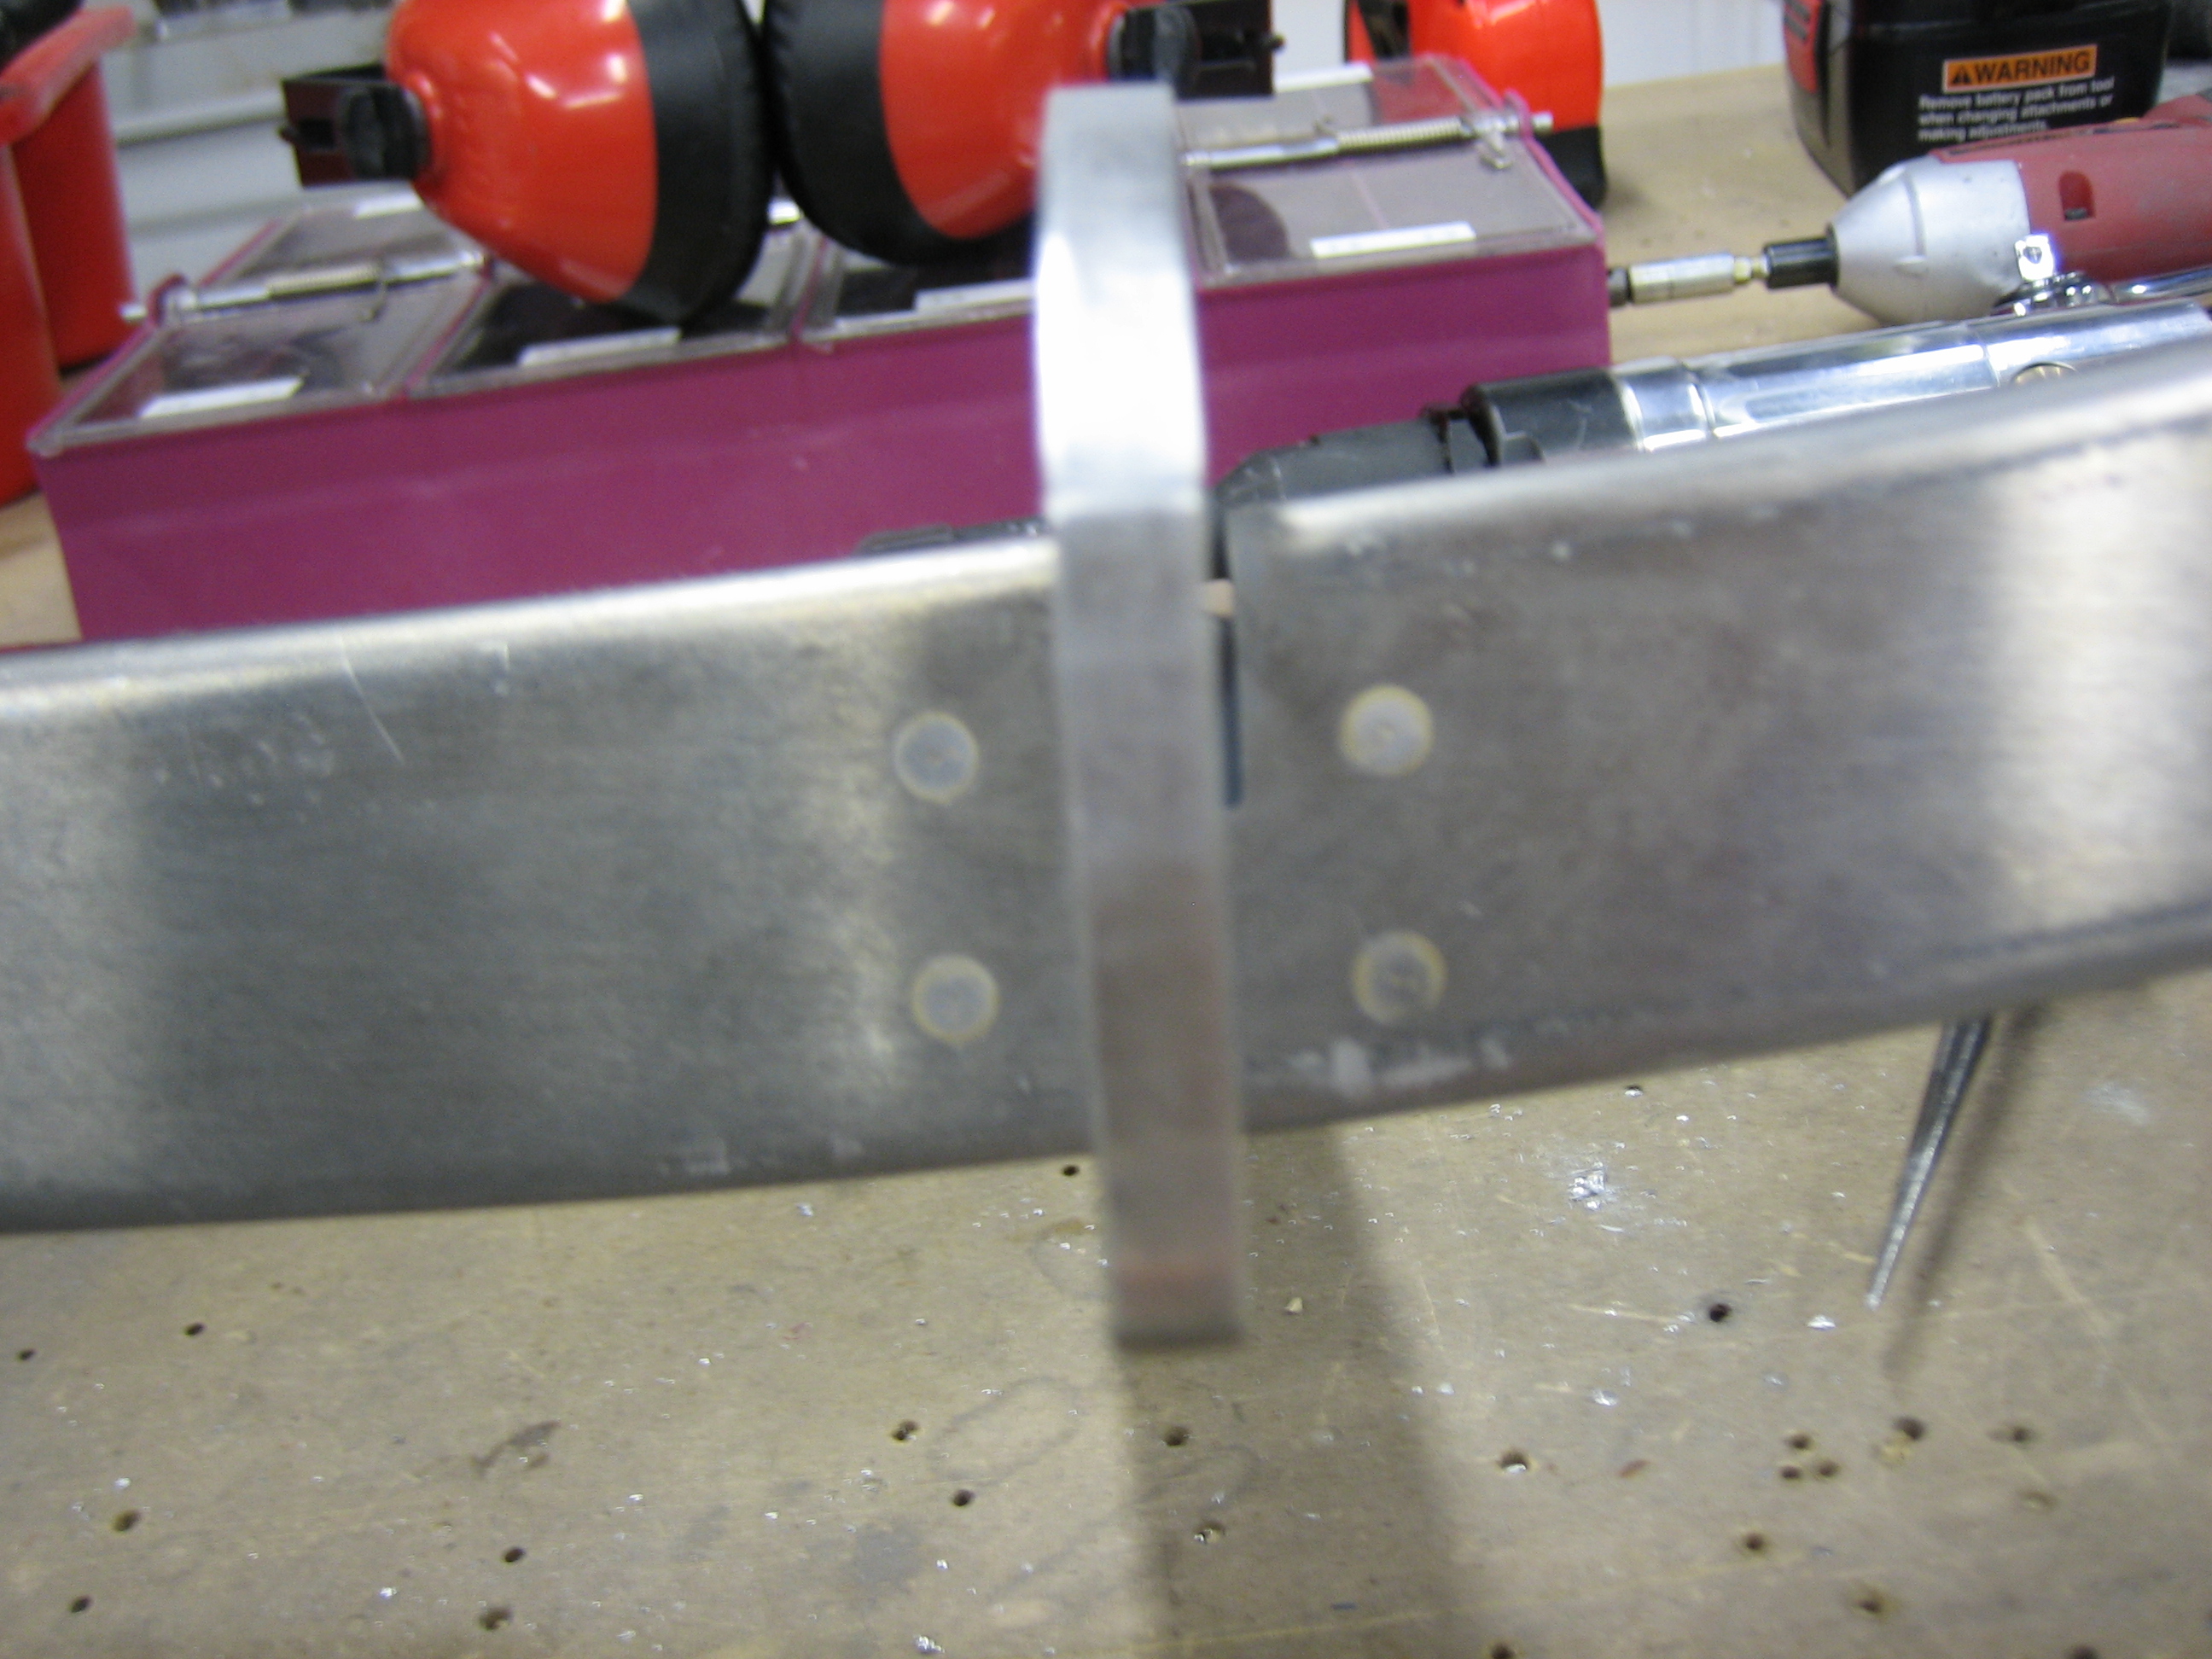
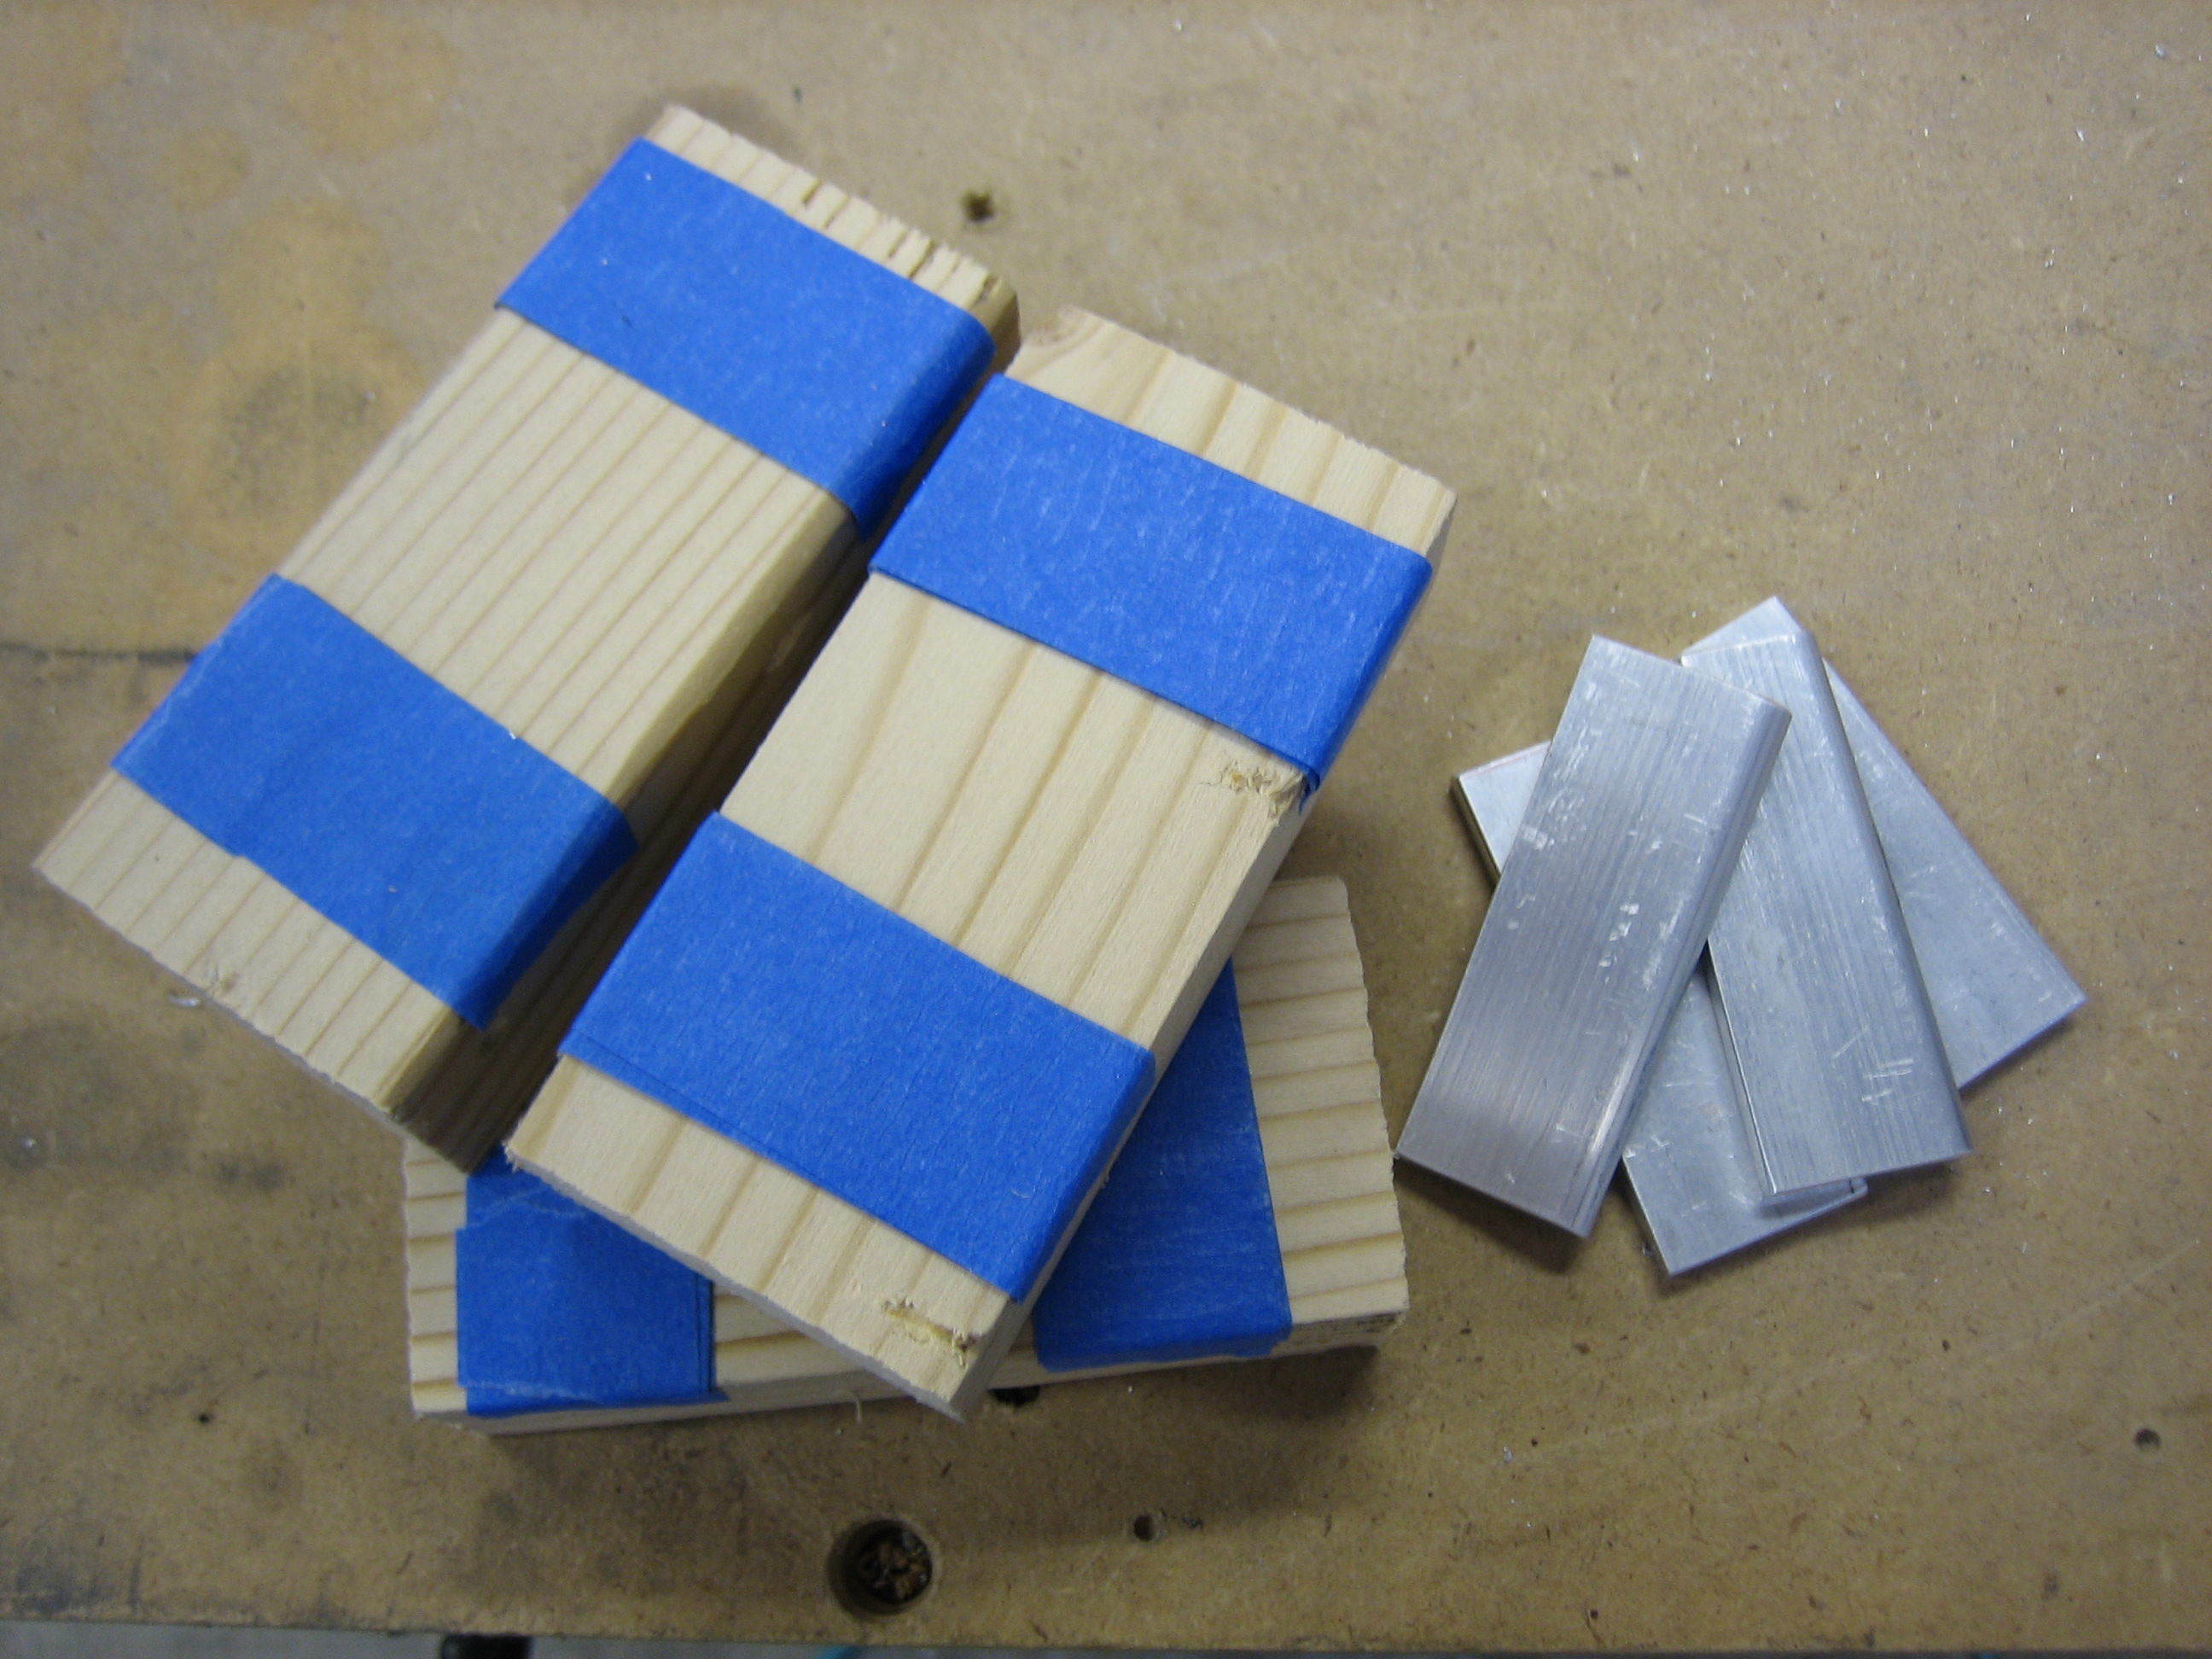
I finally got a long day on the project for the first time in a while. I got started by making some 7/8″ and 1/8″ spacers. I used some blue tape to make the wood spacers exactly 0.875″ thick. The aluminum bar was already 0.125″ thick.
Fabricated Canopy Frame Wedges
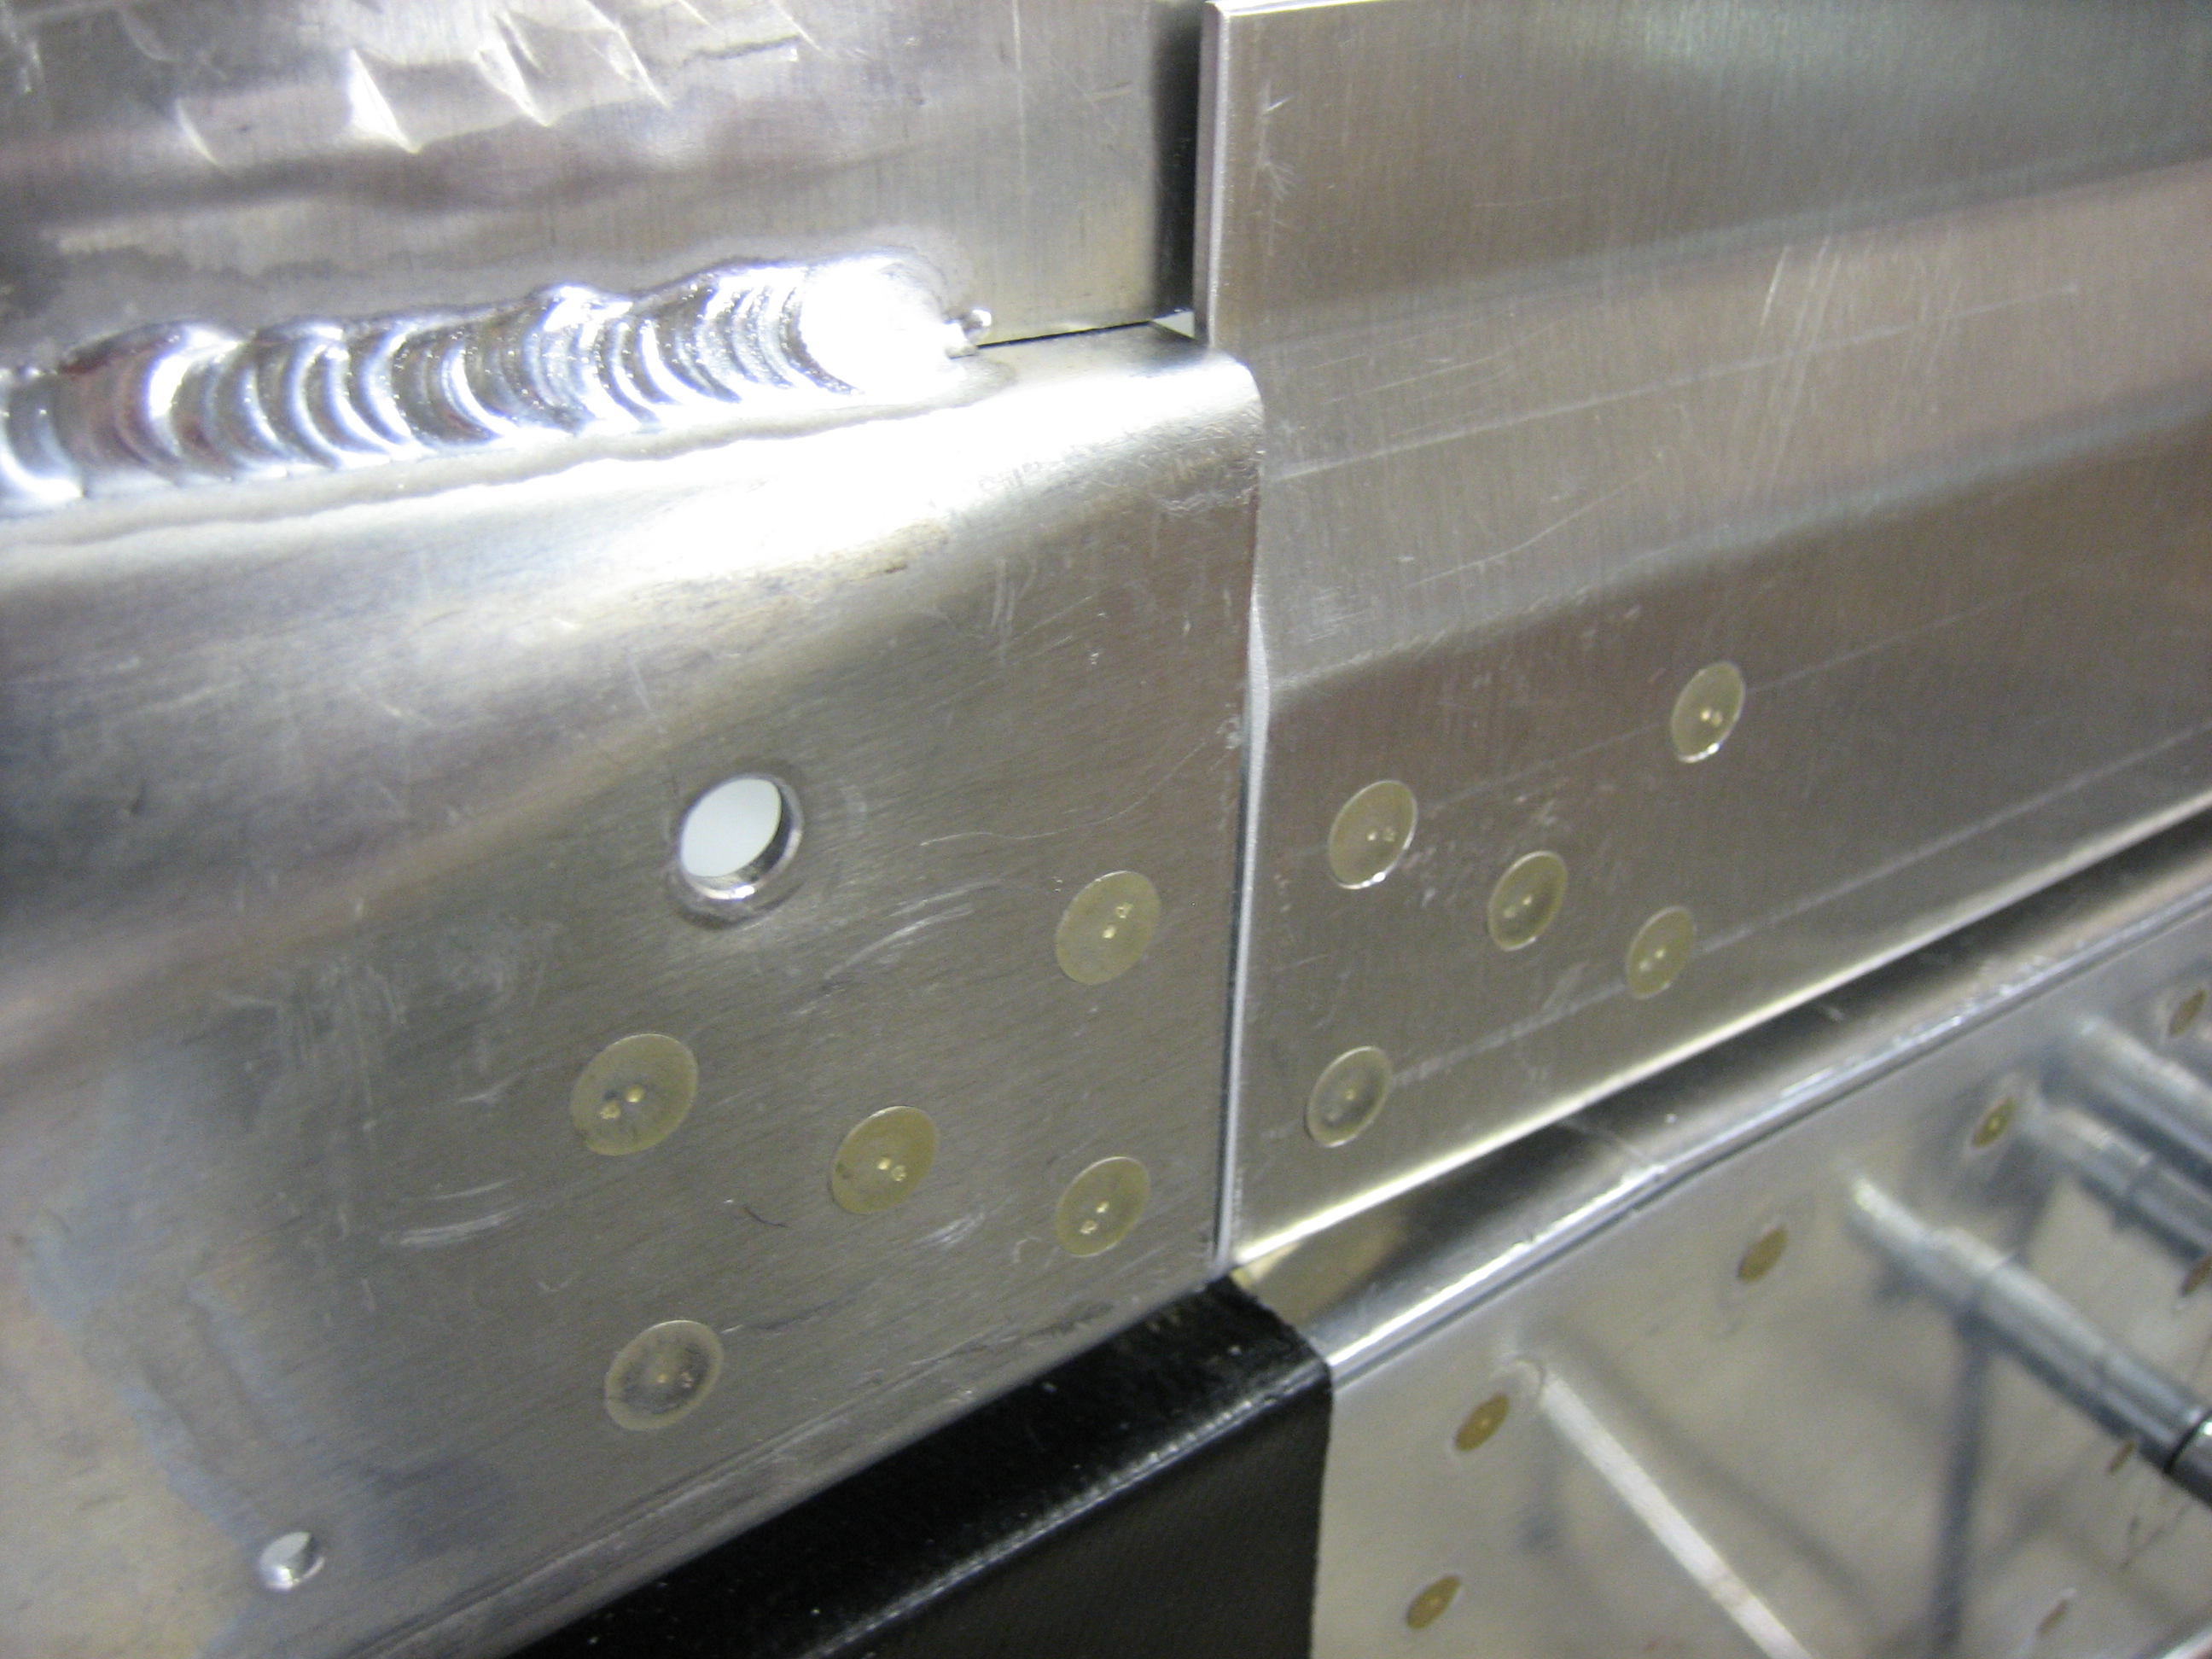
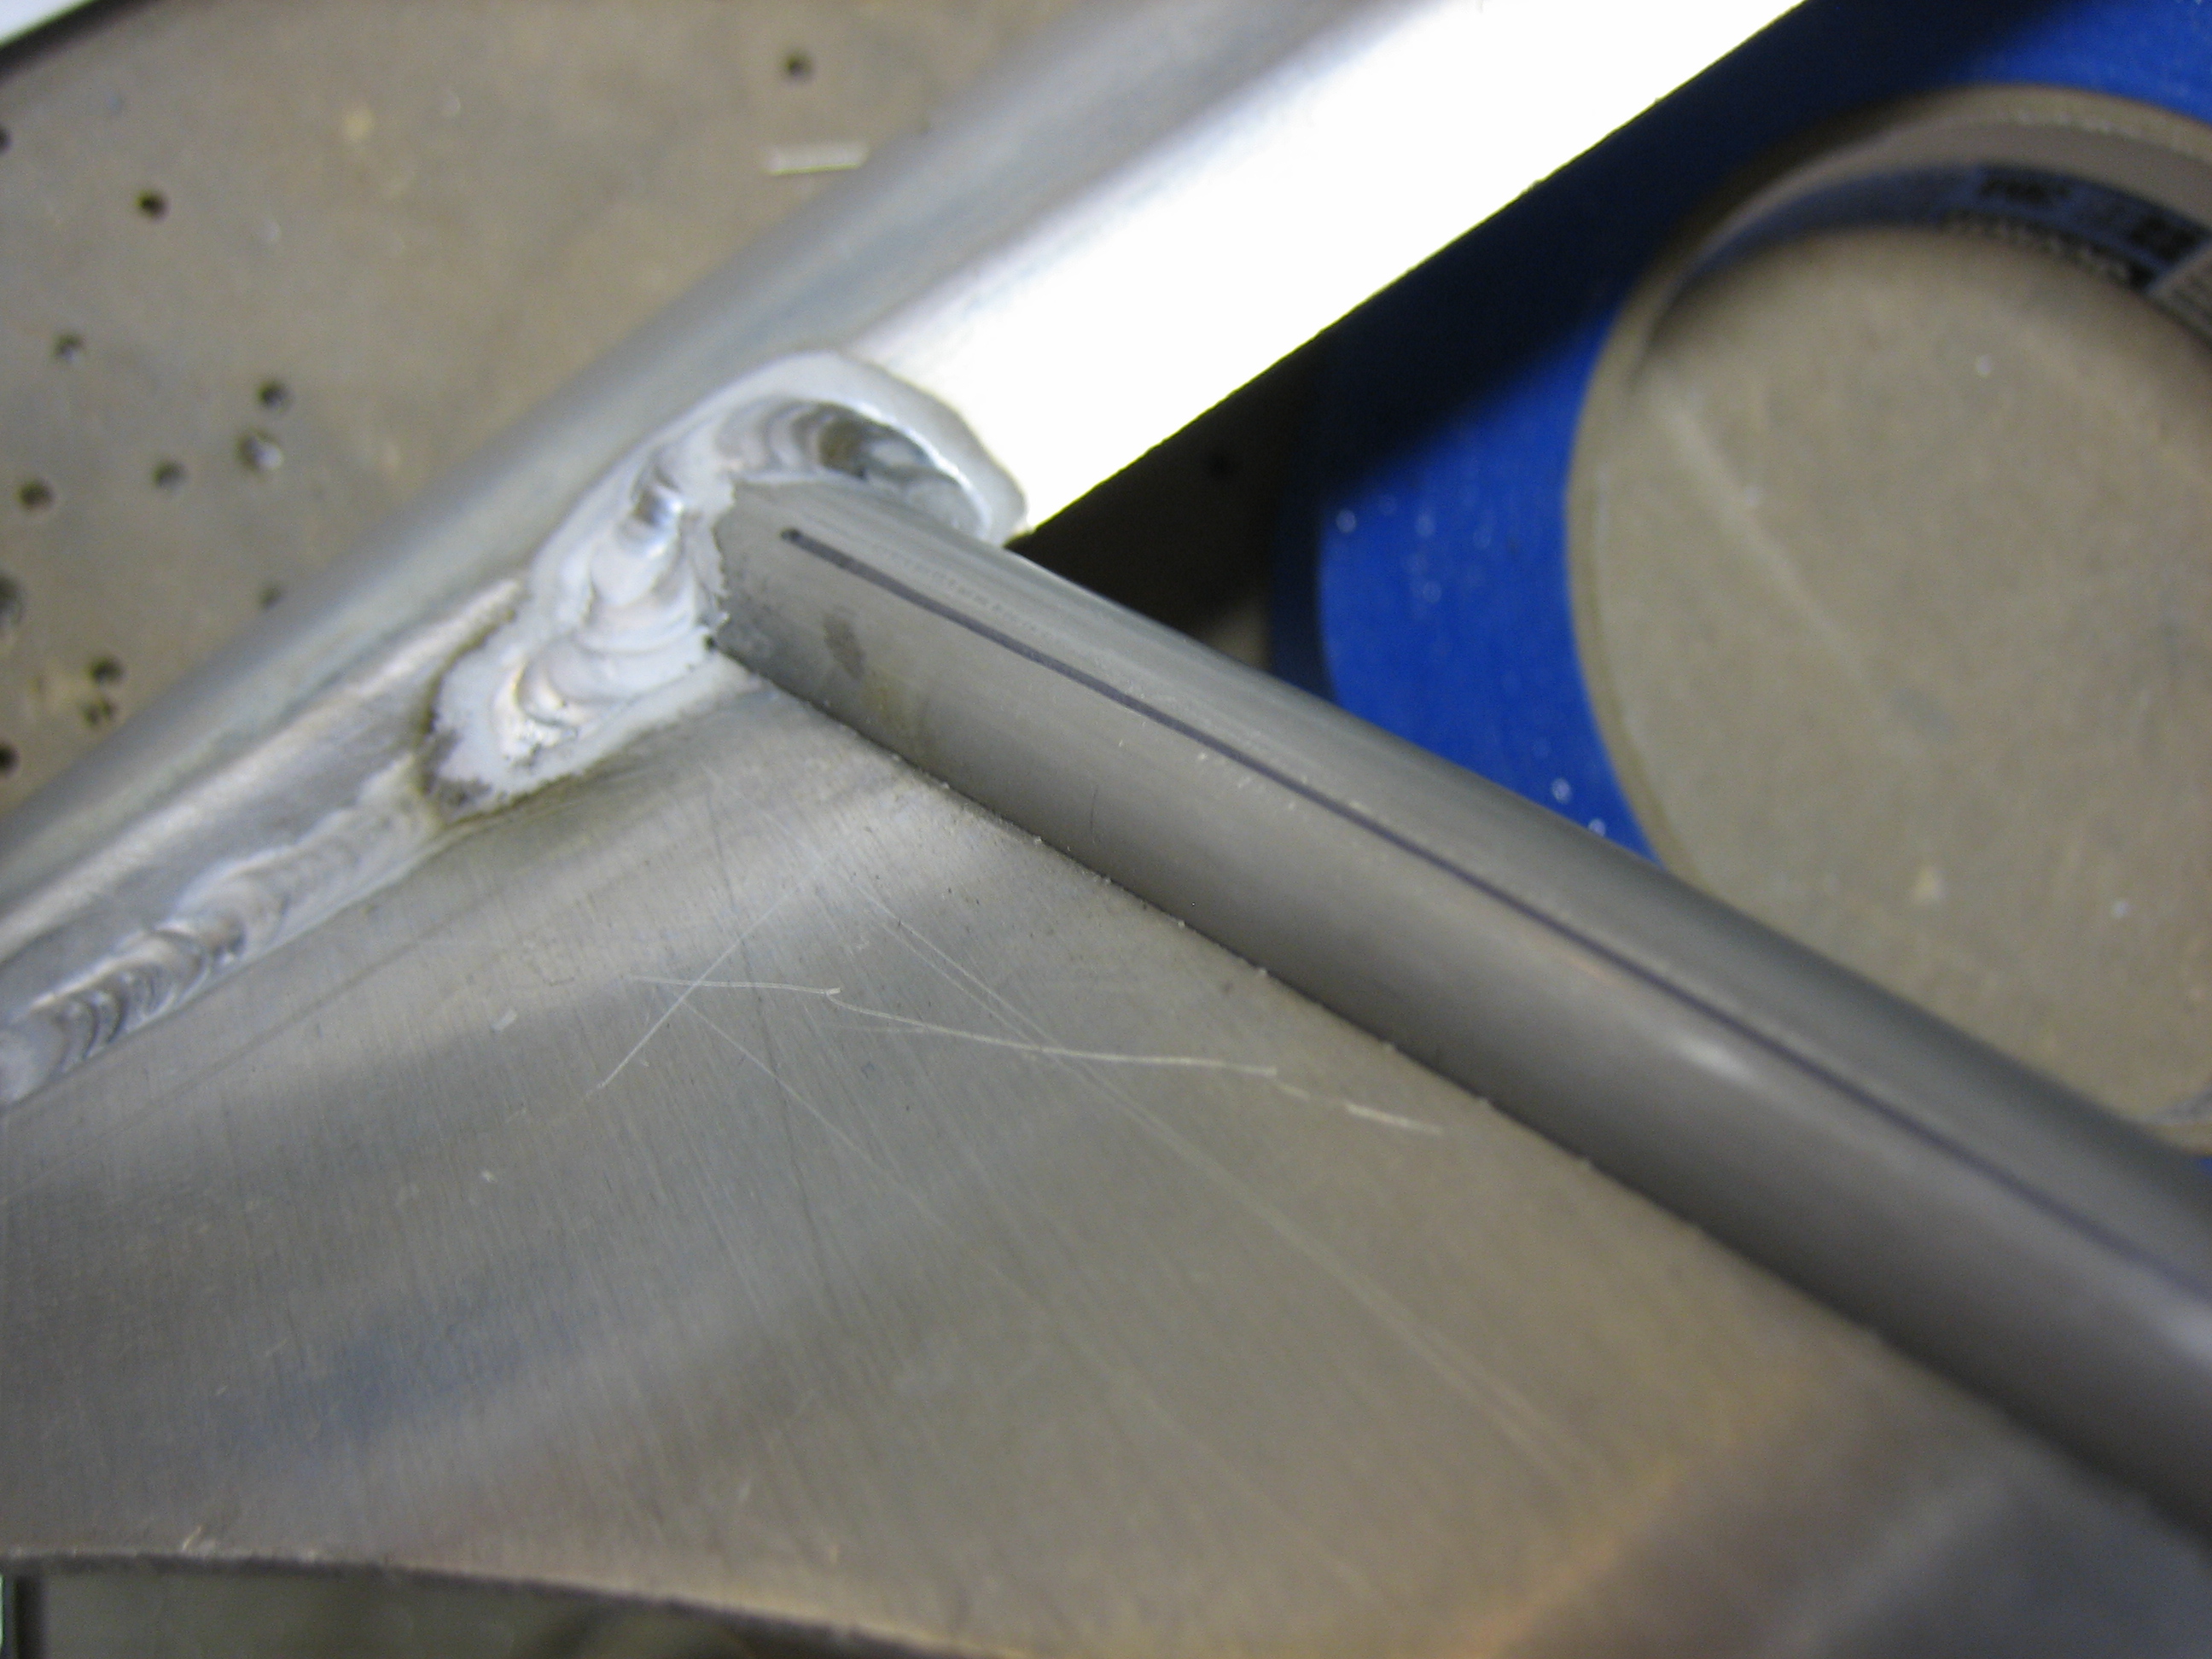
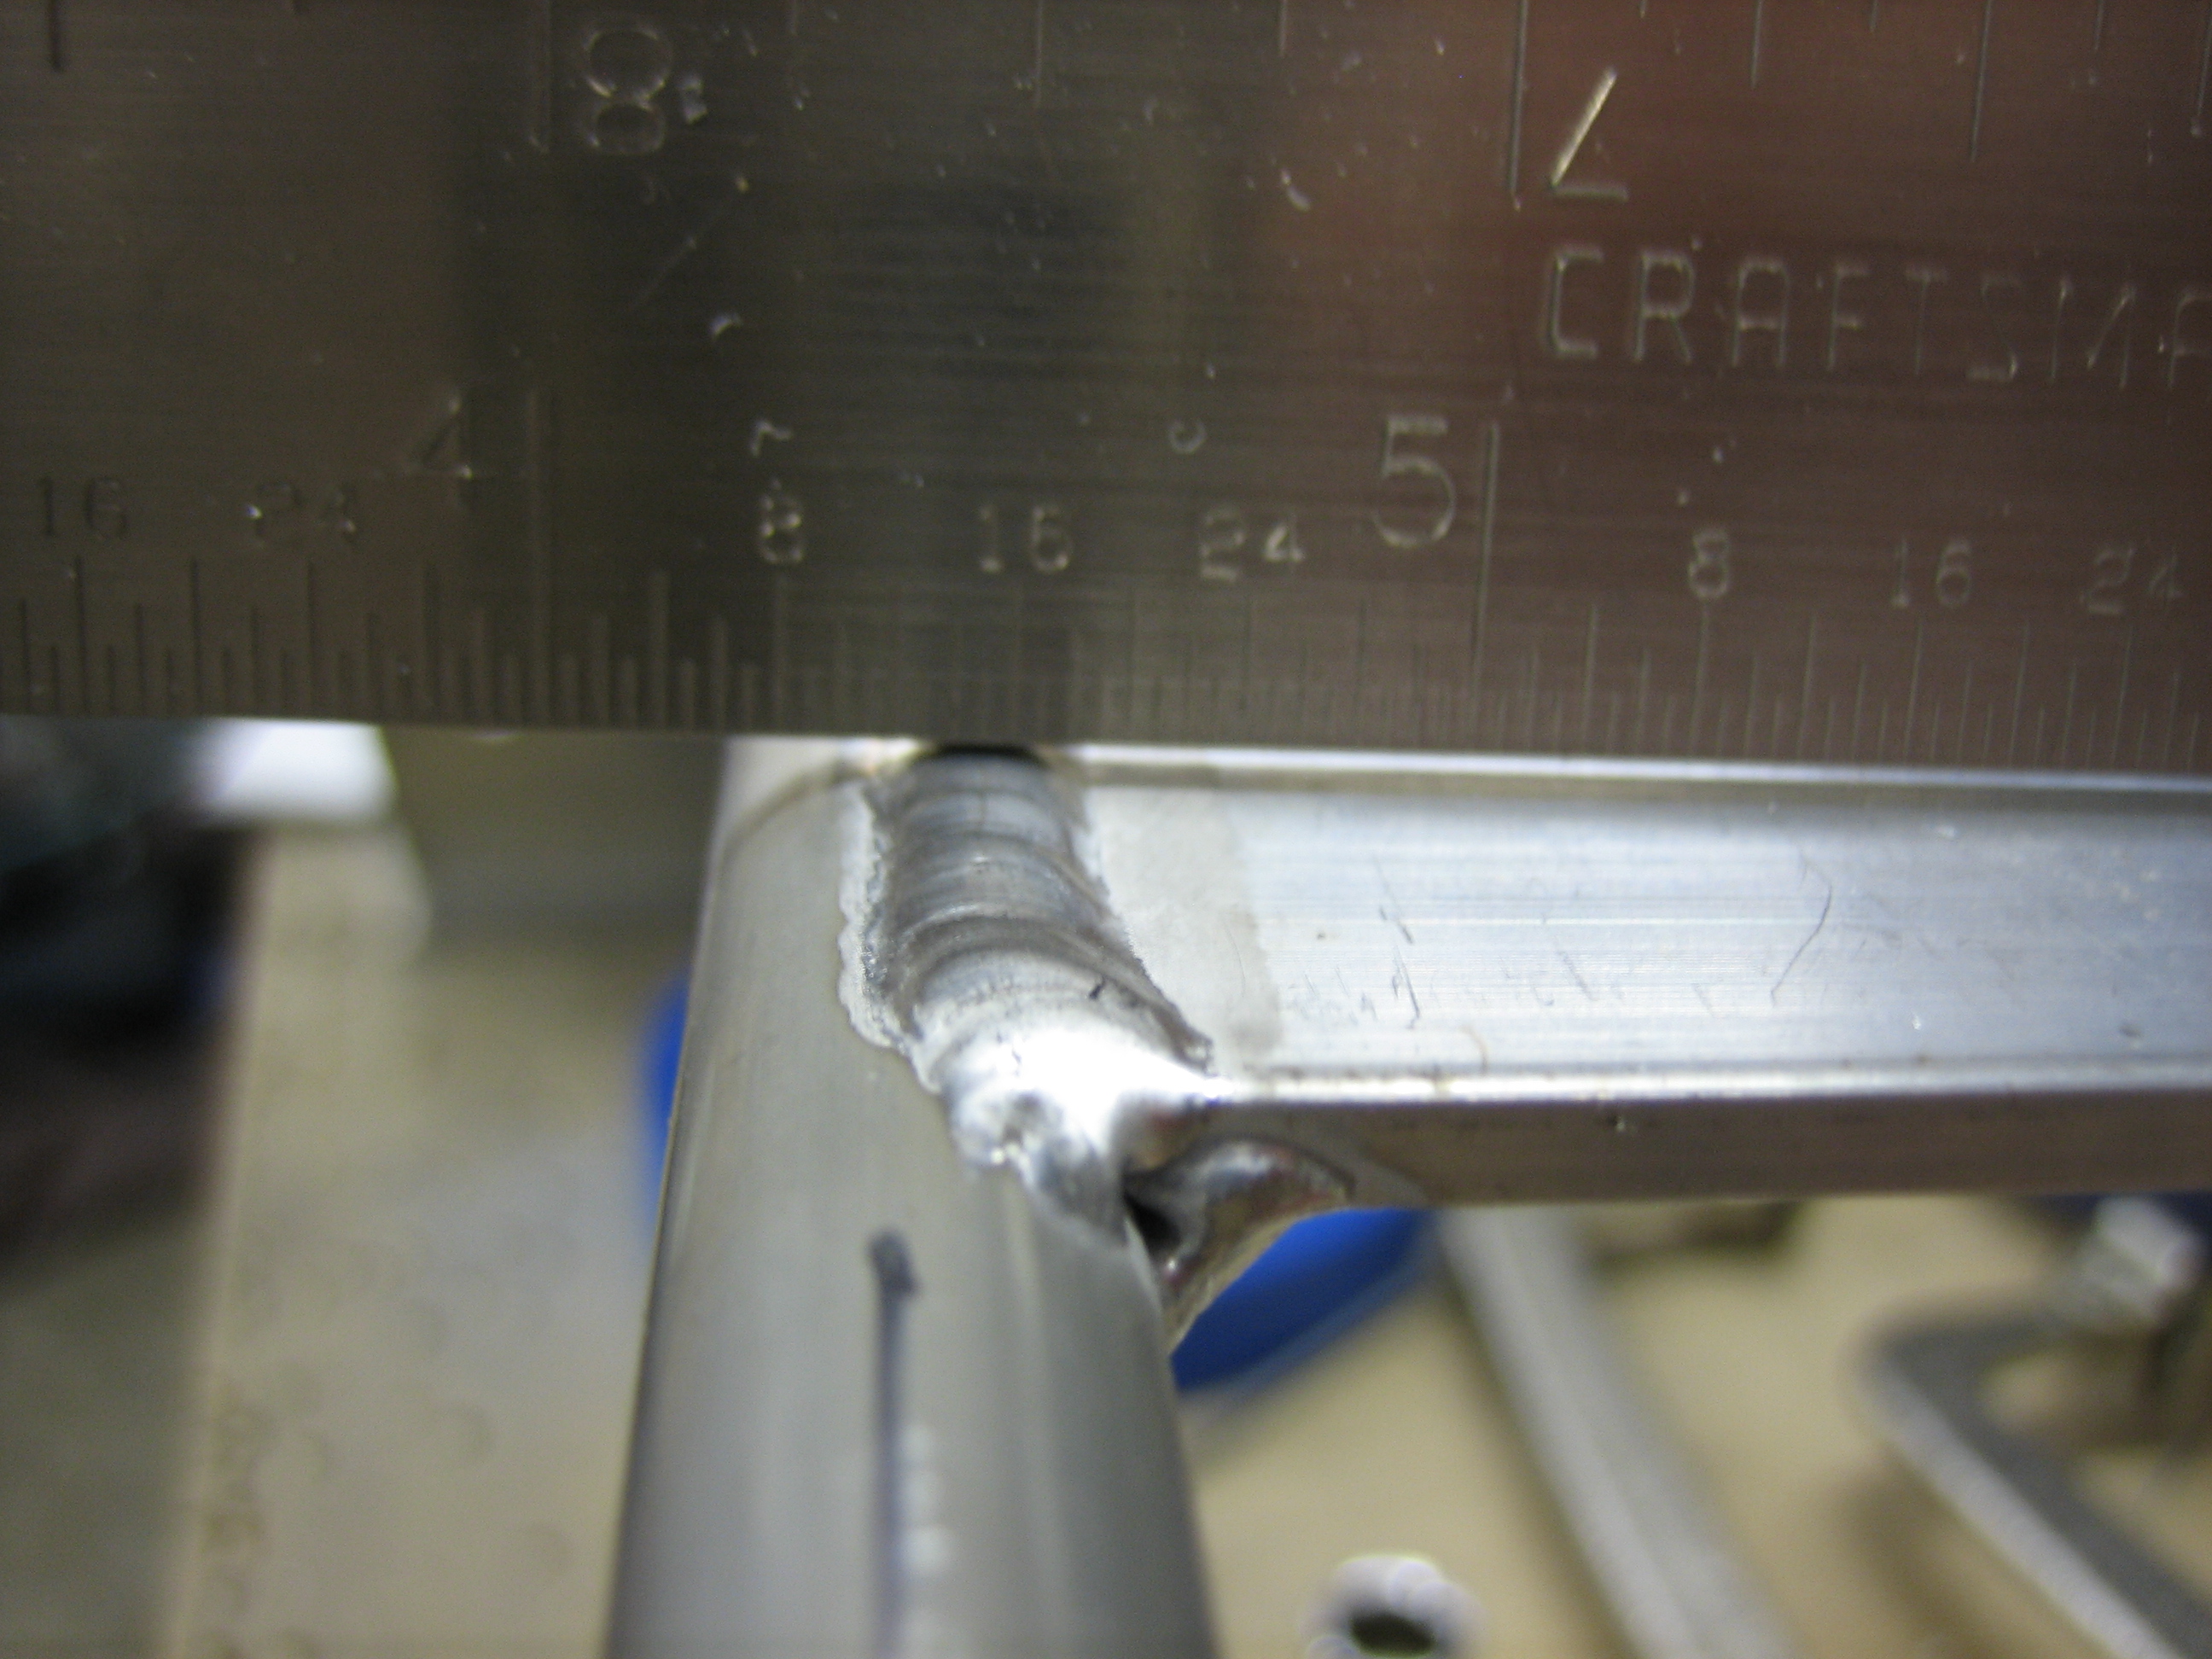
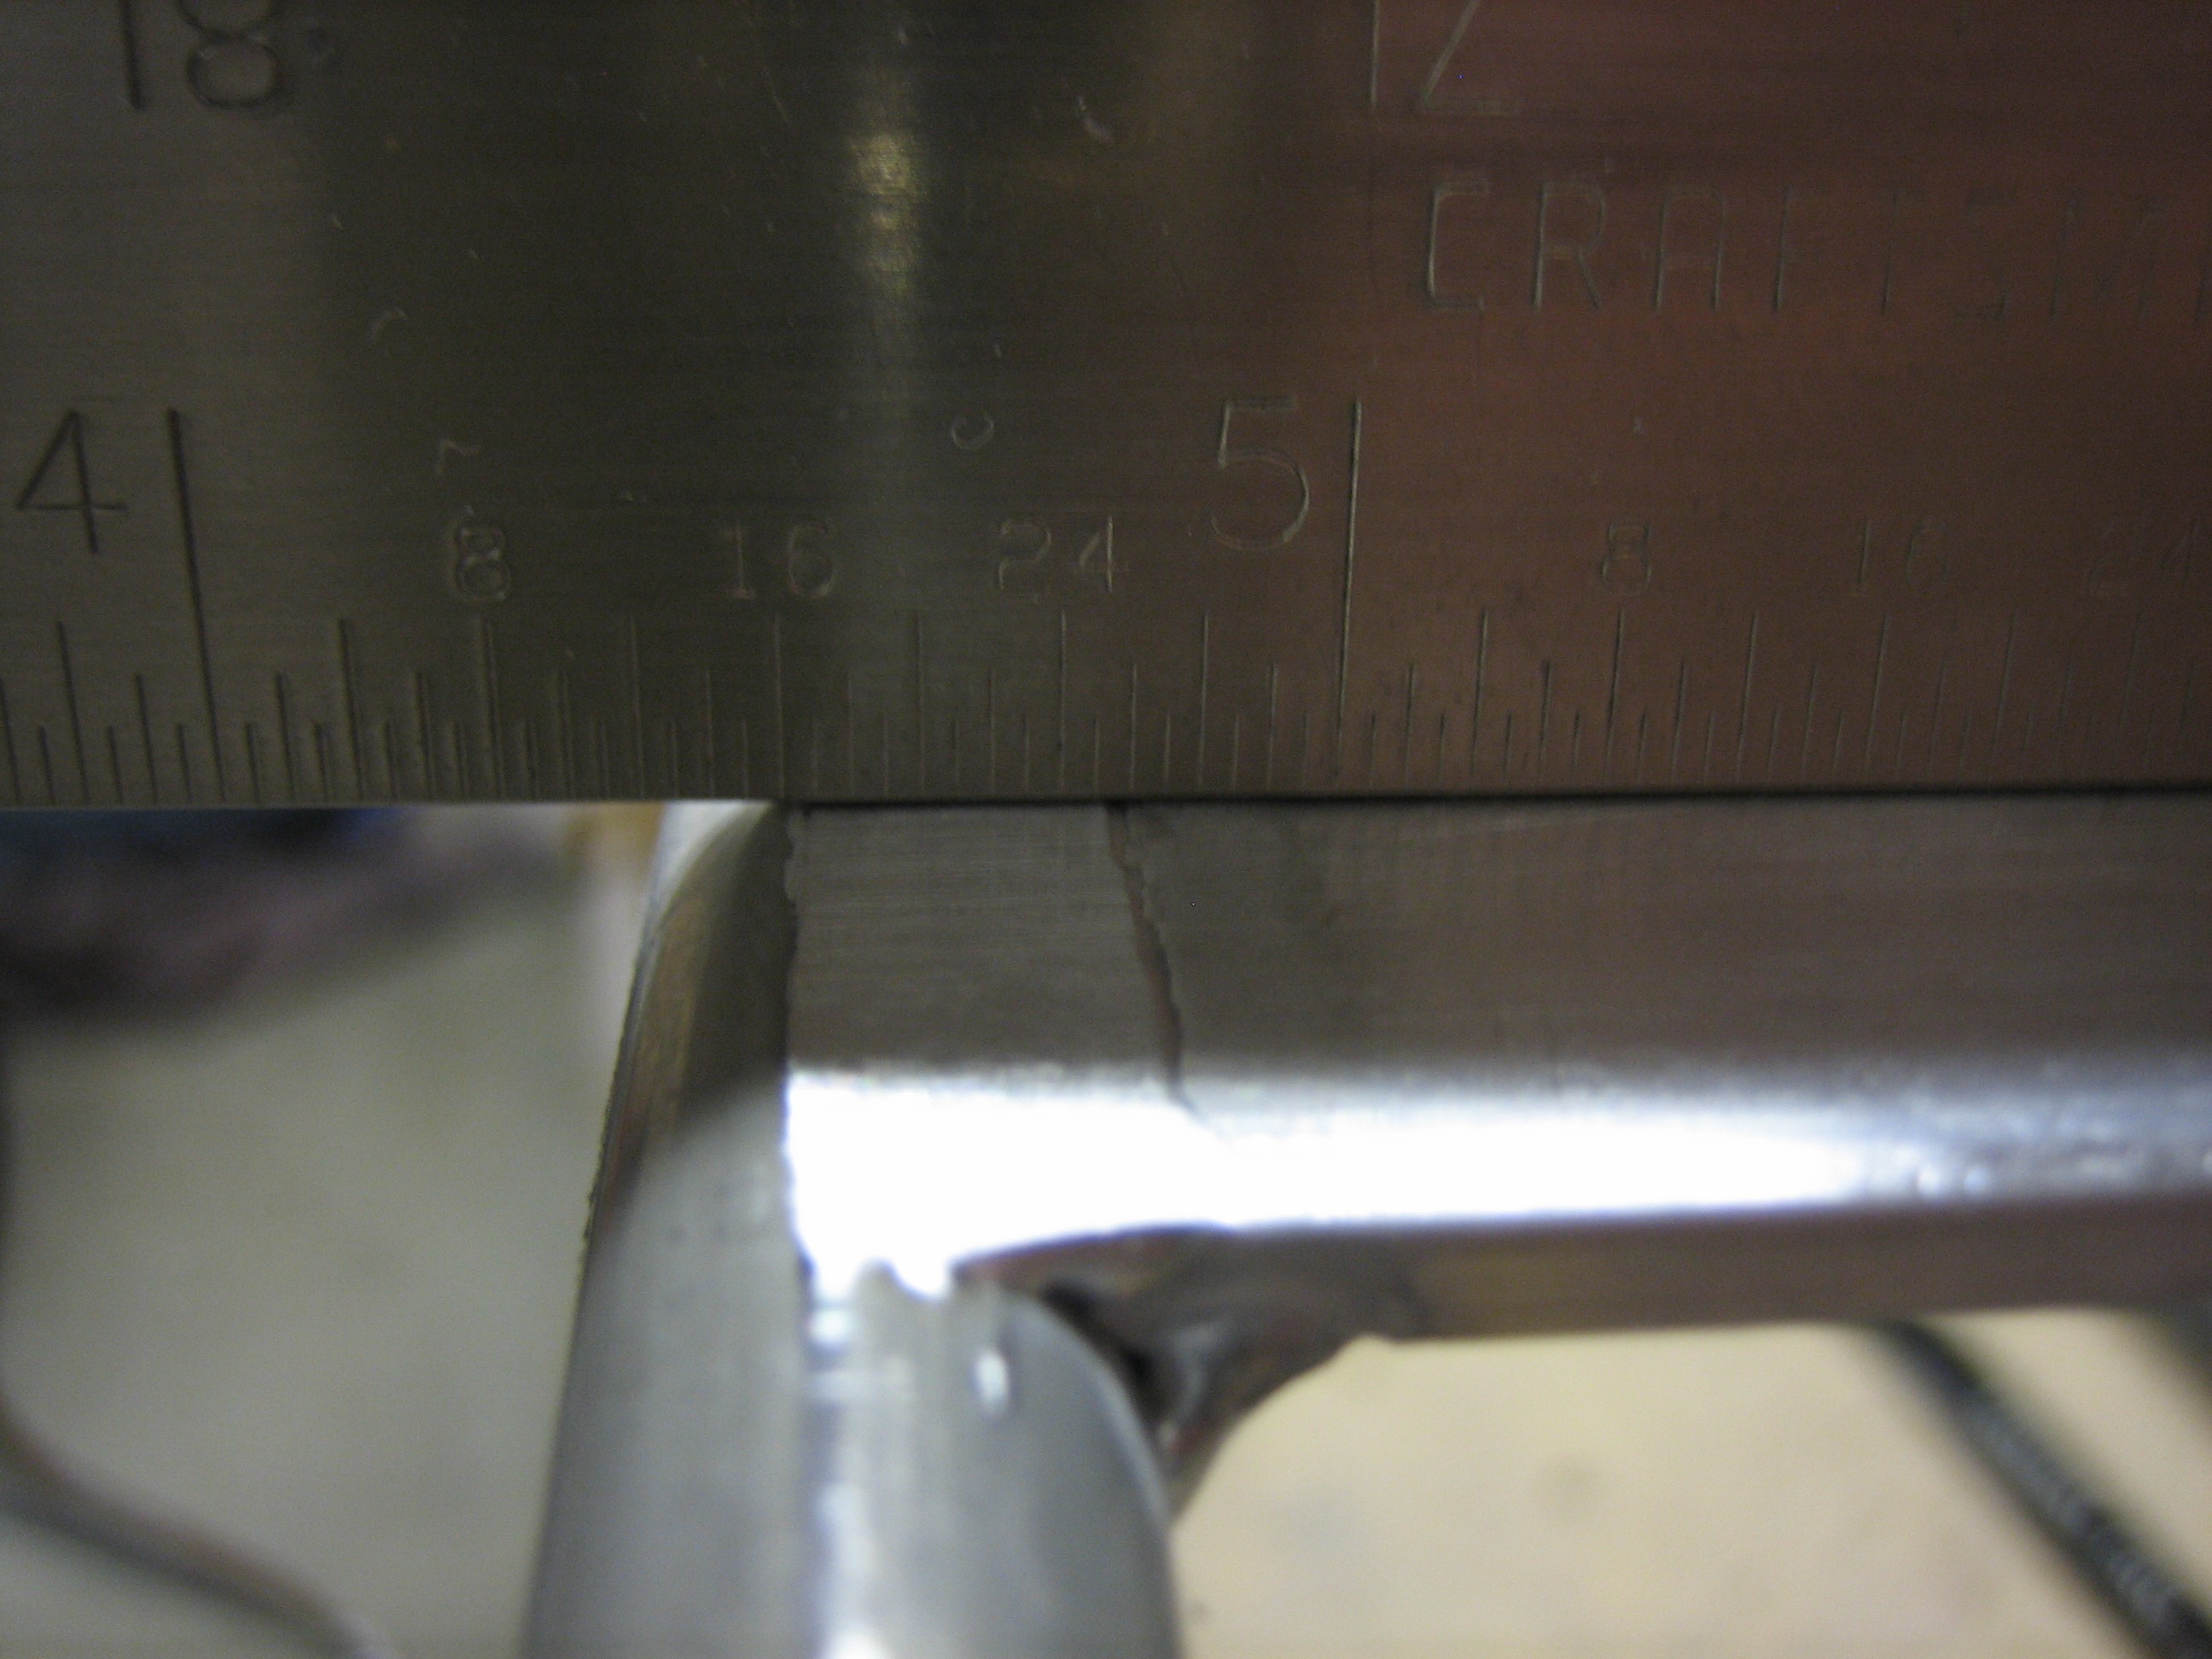
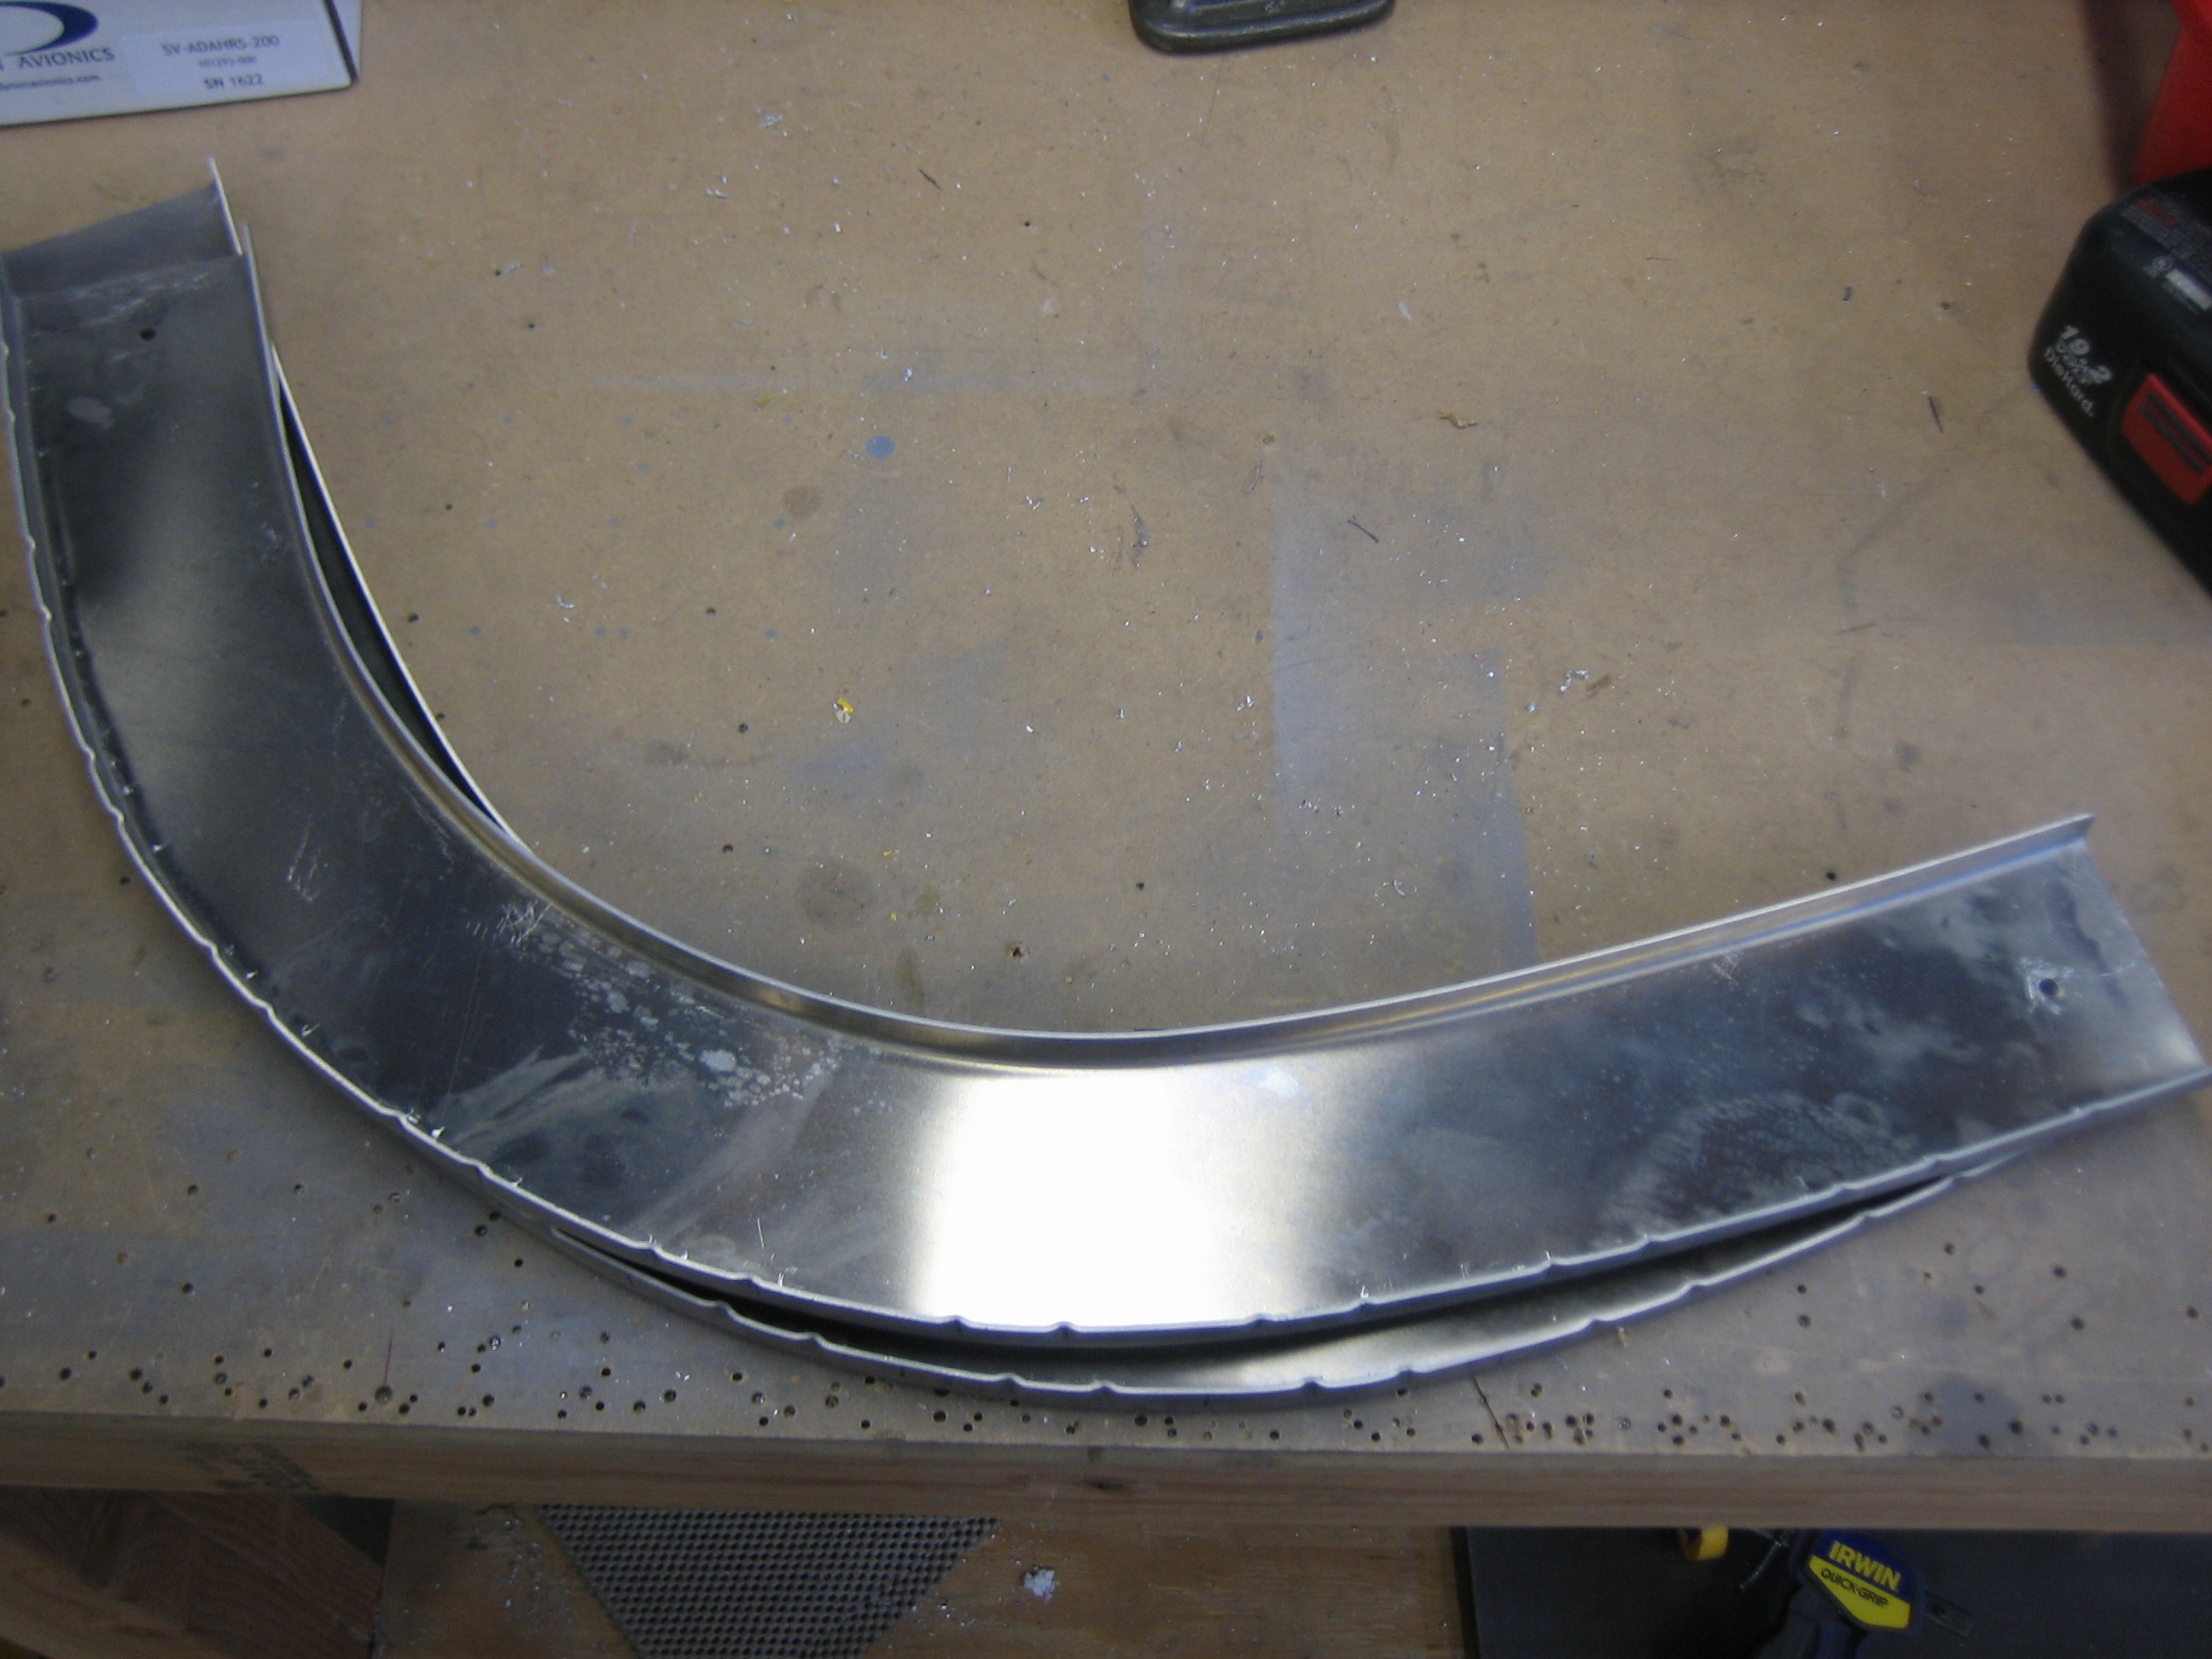
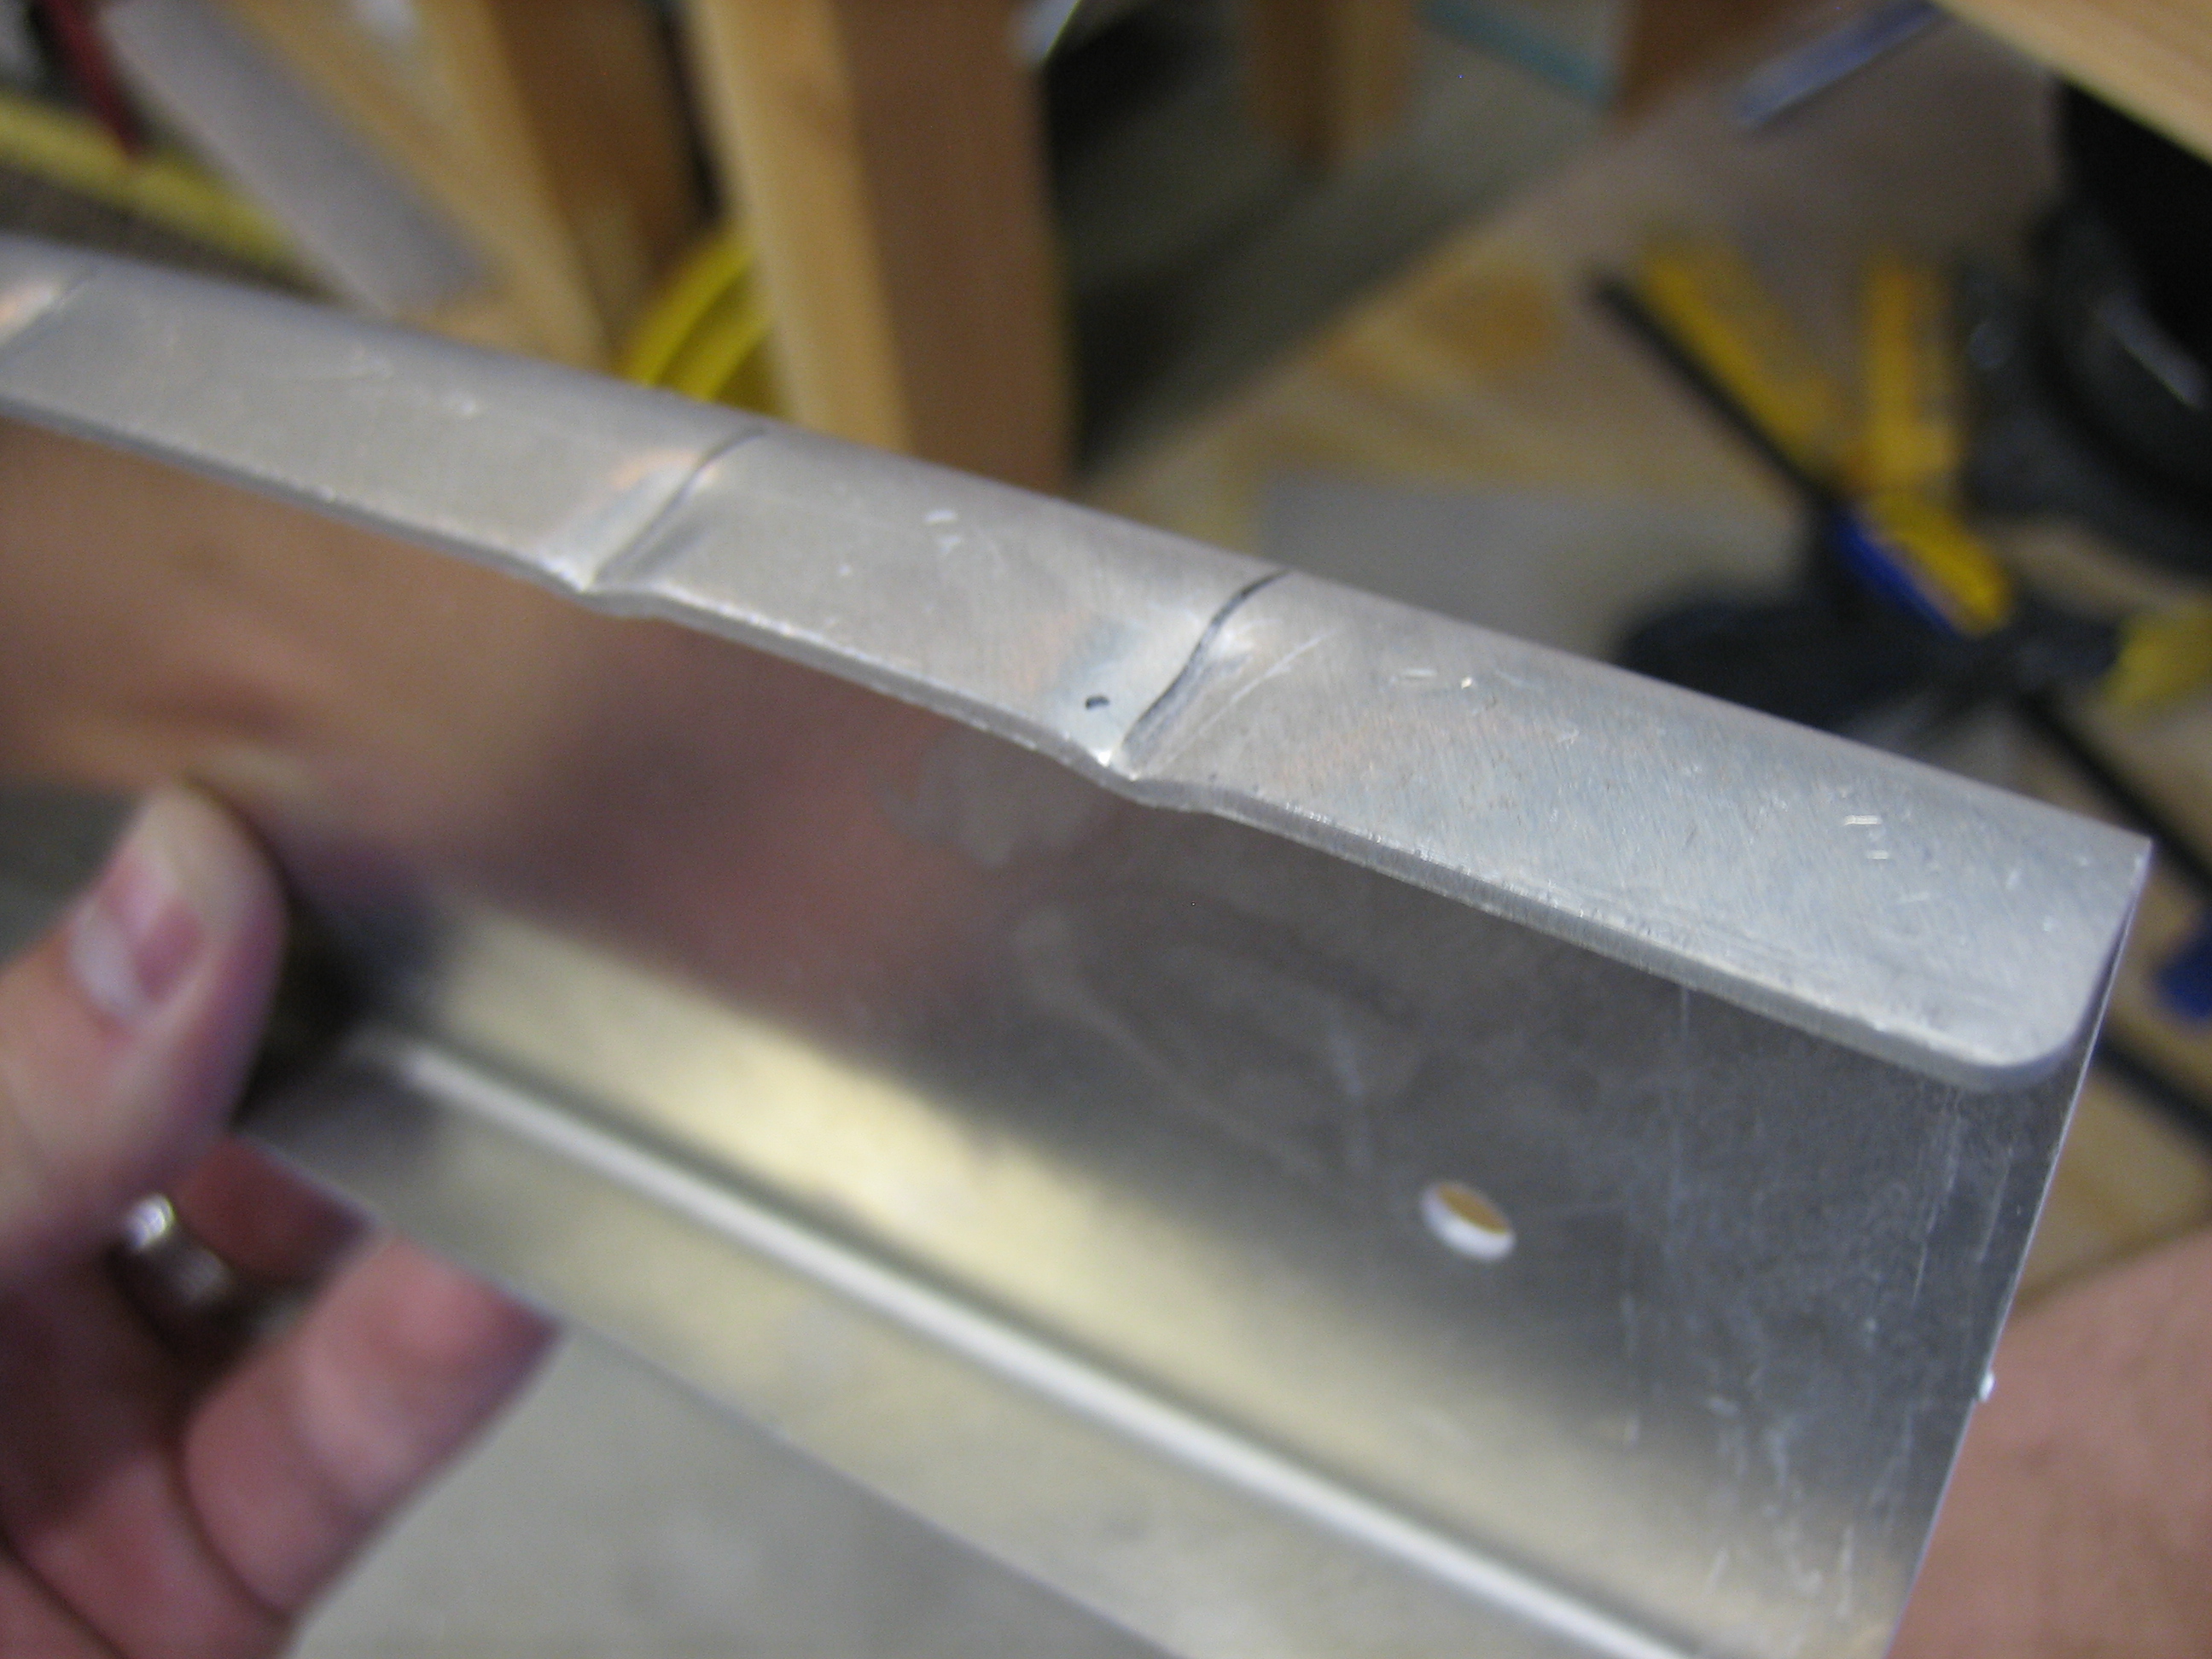
Because of the angle the side frames meet the forward canopy weldment, there is a gap between the bottom flange and the splice plate flange. To fill this, you have to fabricate a wedge out of aluminum. This took probably one hour to make two of these, but it wasn’t as bad as other builders made it out to be. The plans specify that it should be 5/32″ thick at the forward end, but fortunately my gap was only 1/8″, so I could use some scrap I already had on hand. The scrap already had a radius on one edge that tucked nicely into the radius on the bottom flange of the forward weldment.
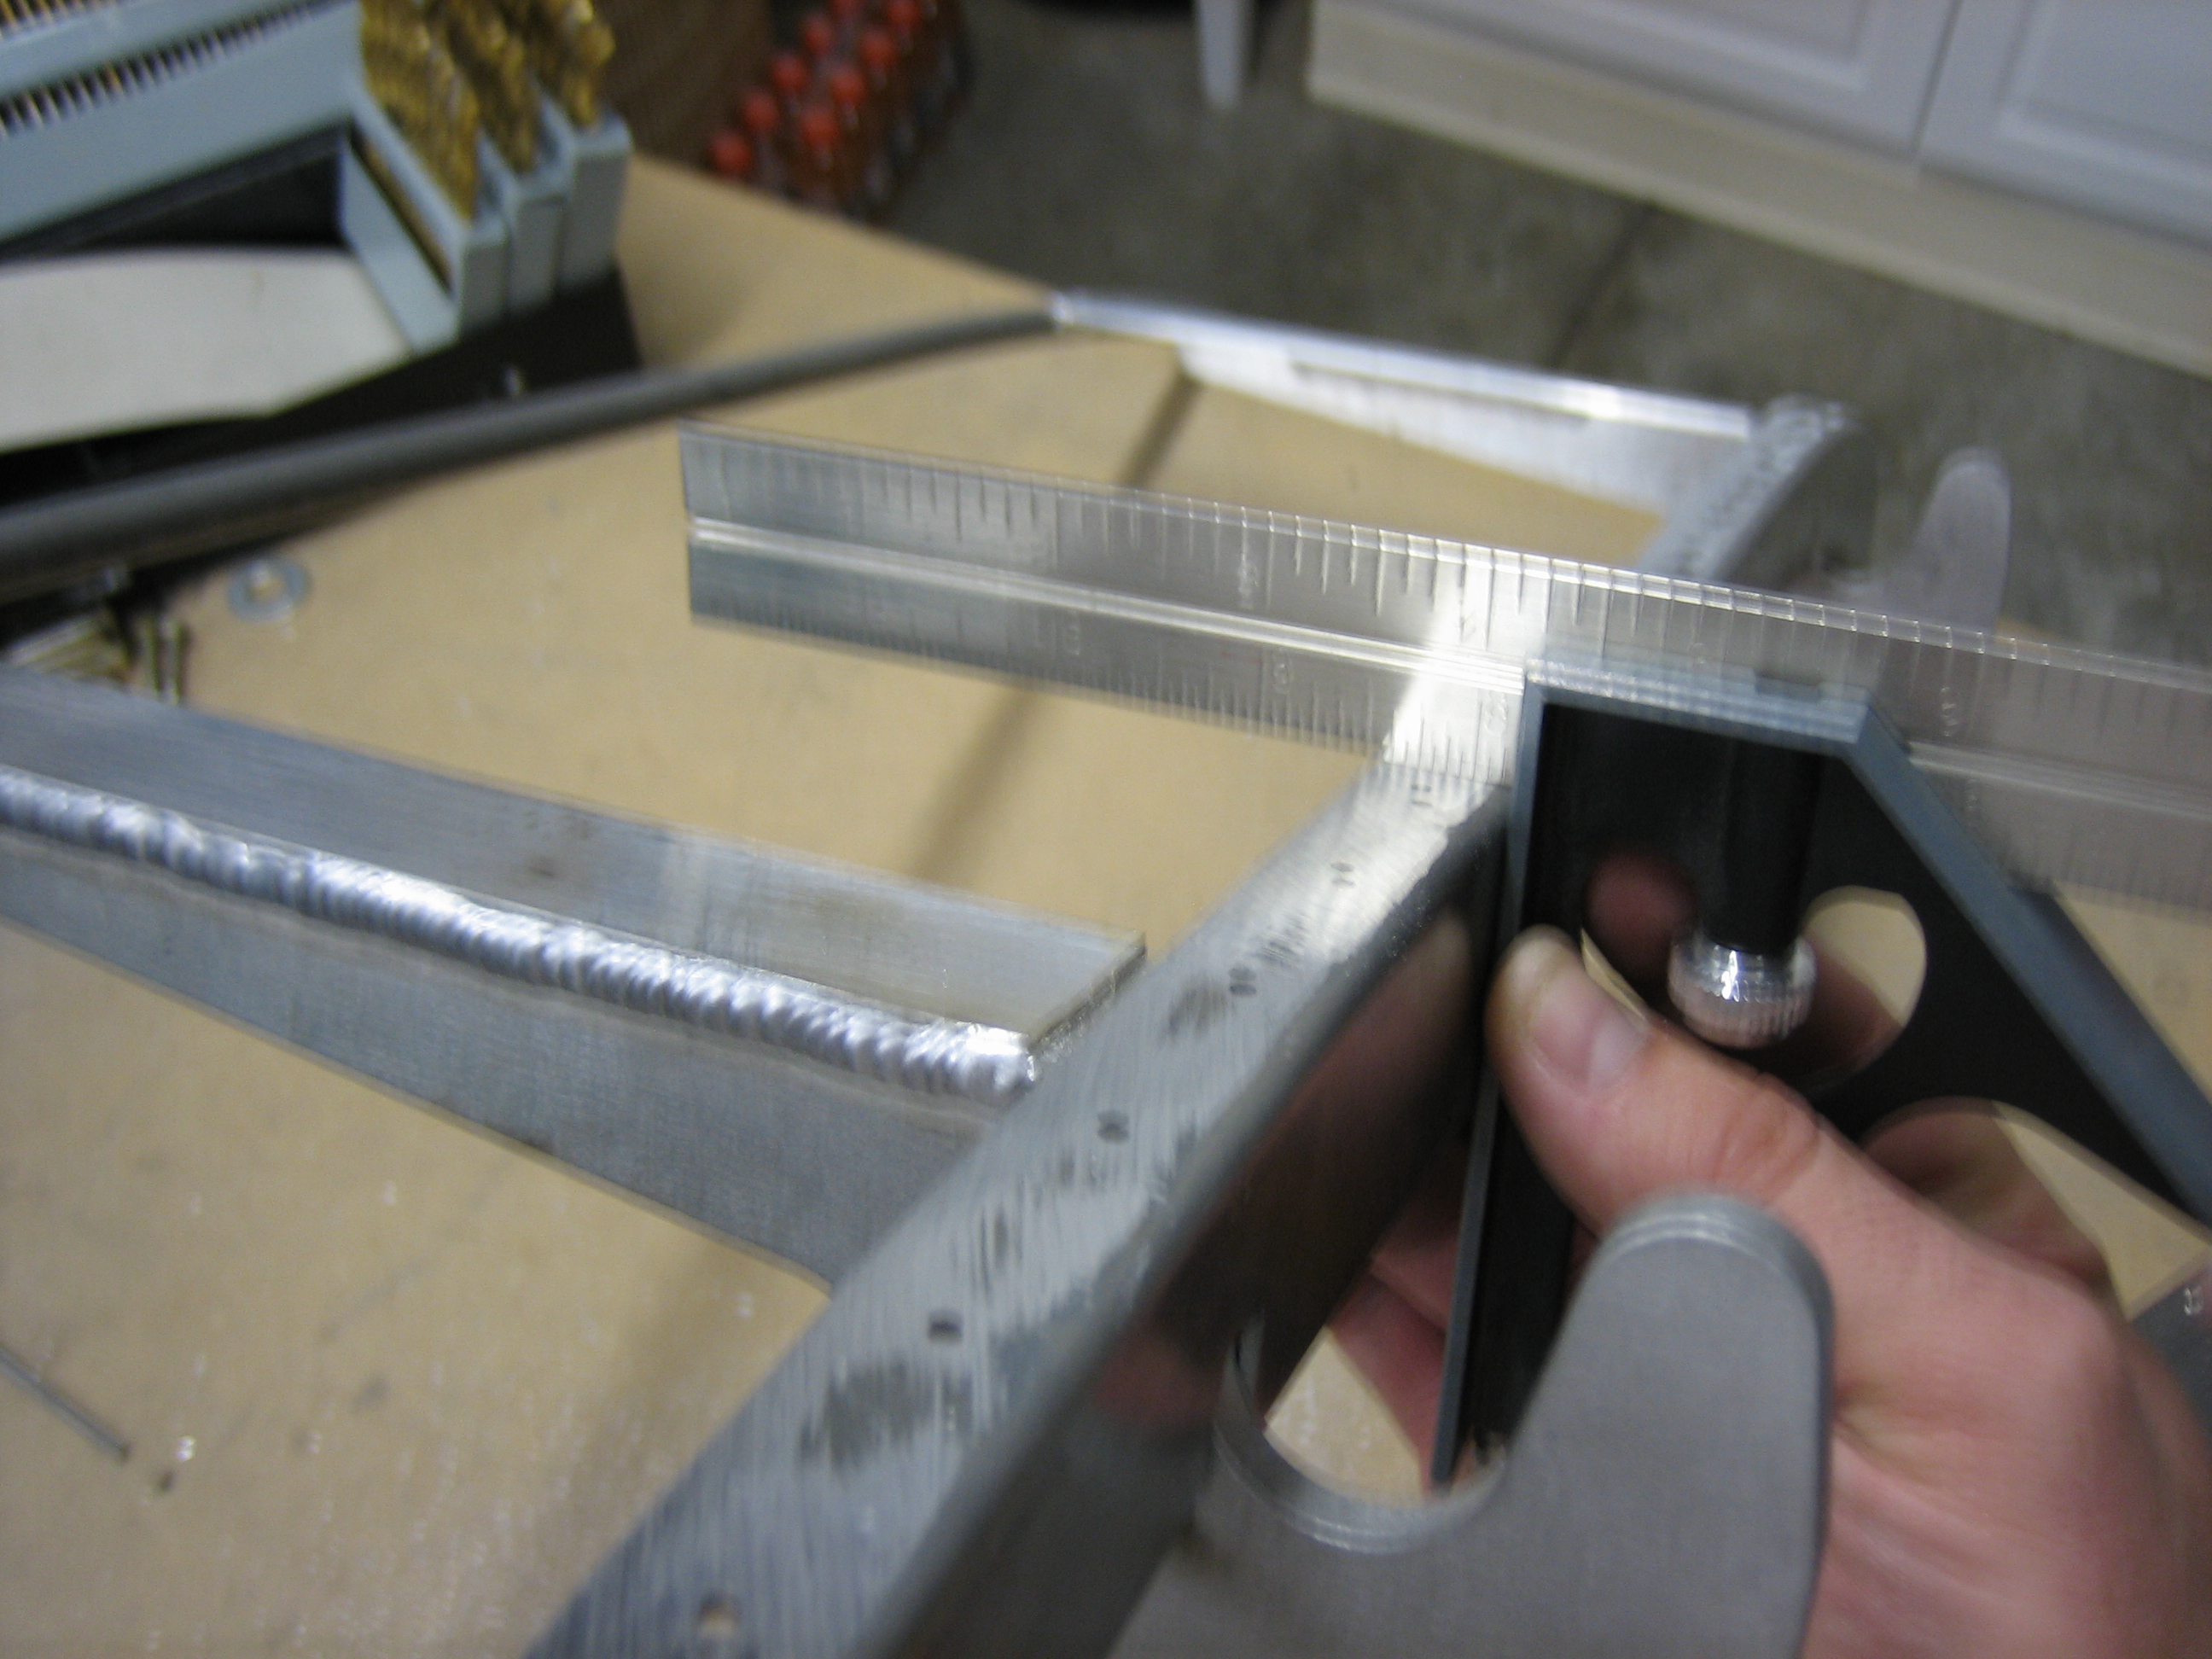
After fitting the wedges, I laid out and drilled four holes along the bottom flange.
Finally, I deburred all of the canopy frame components. Next up is to countersink a bunch of the rivet holes and then start riveting this puppy together. After that, it’s time to start on the canopy itself. I was really hoping to get the canopy cutting done during August while it’s still pretty warm, but it looks like it’s going to stretch into September.
Riveted Canopy Frame Sides
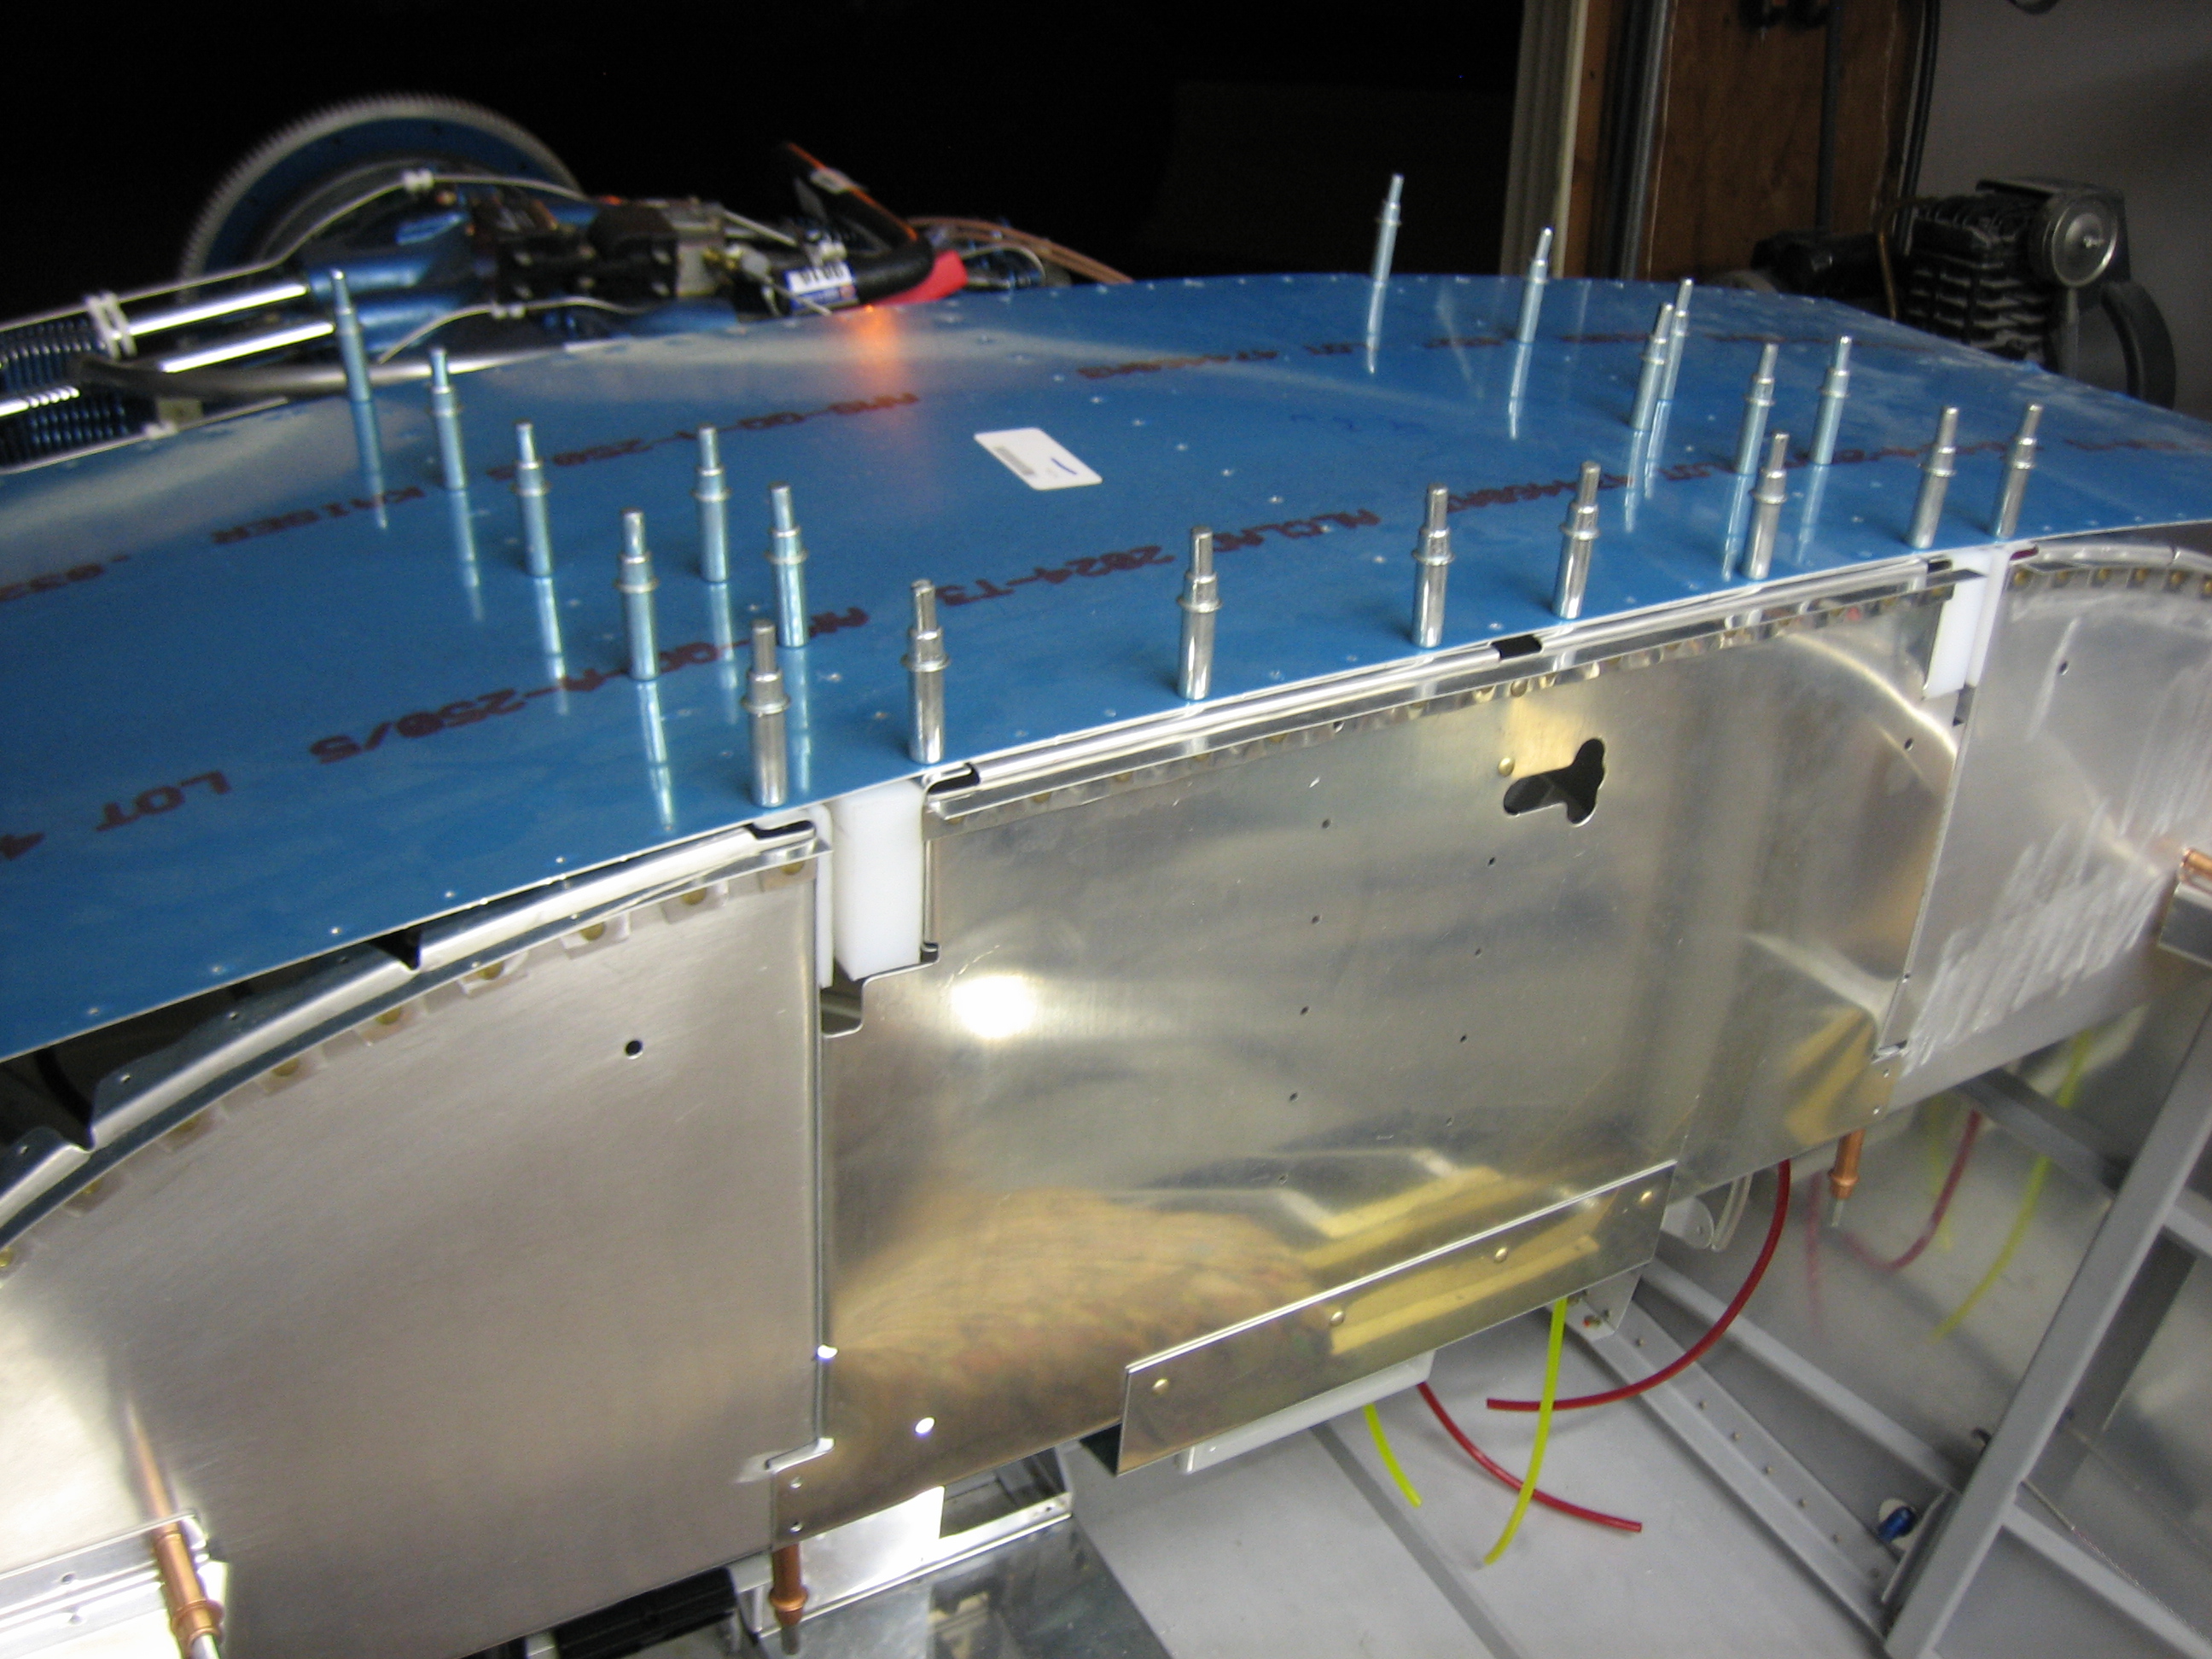
I primed all of the mating surfaces and then clecoed the canopy frame back together. I then clamped the frame back on the fuselage to ensure everything was aligned properly since clecoed joints have a little bit of flex.