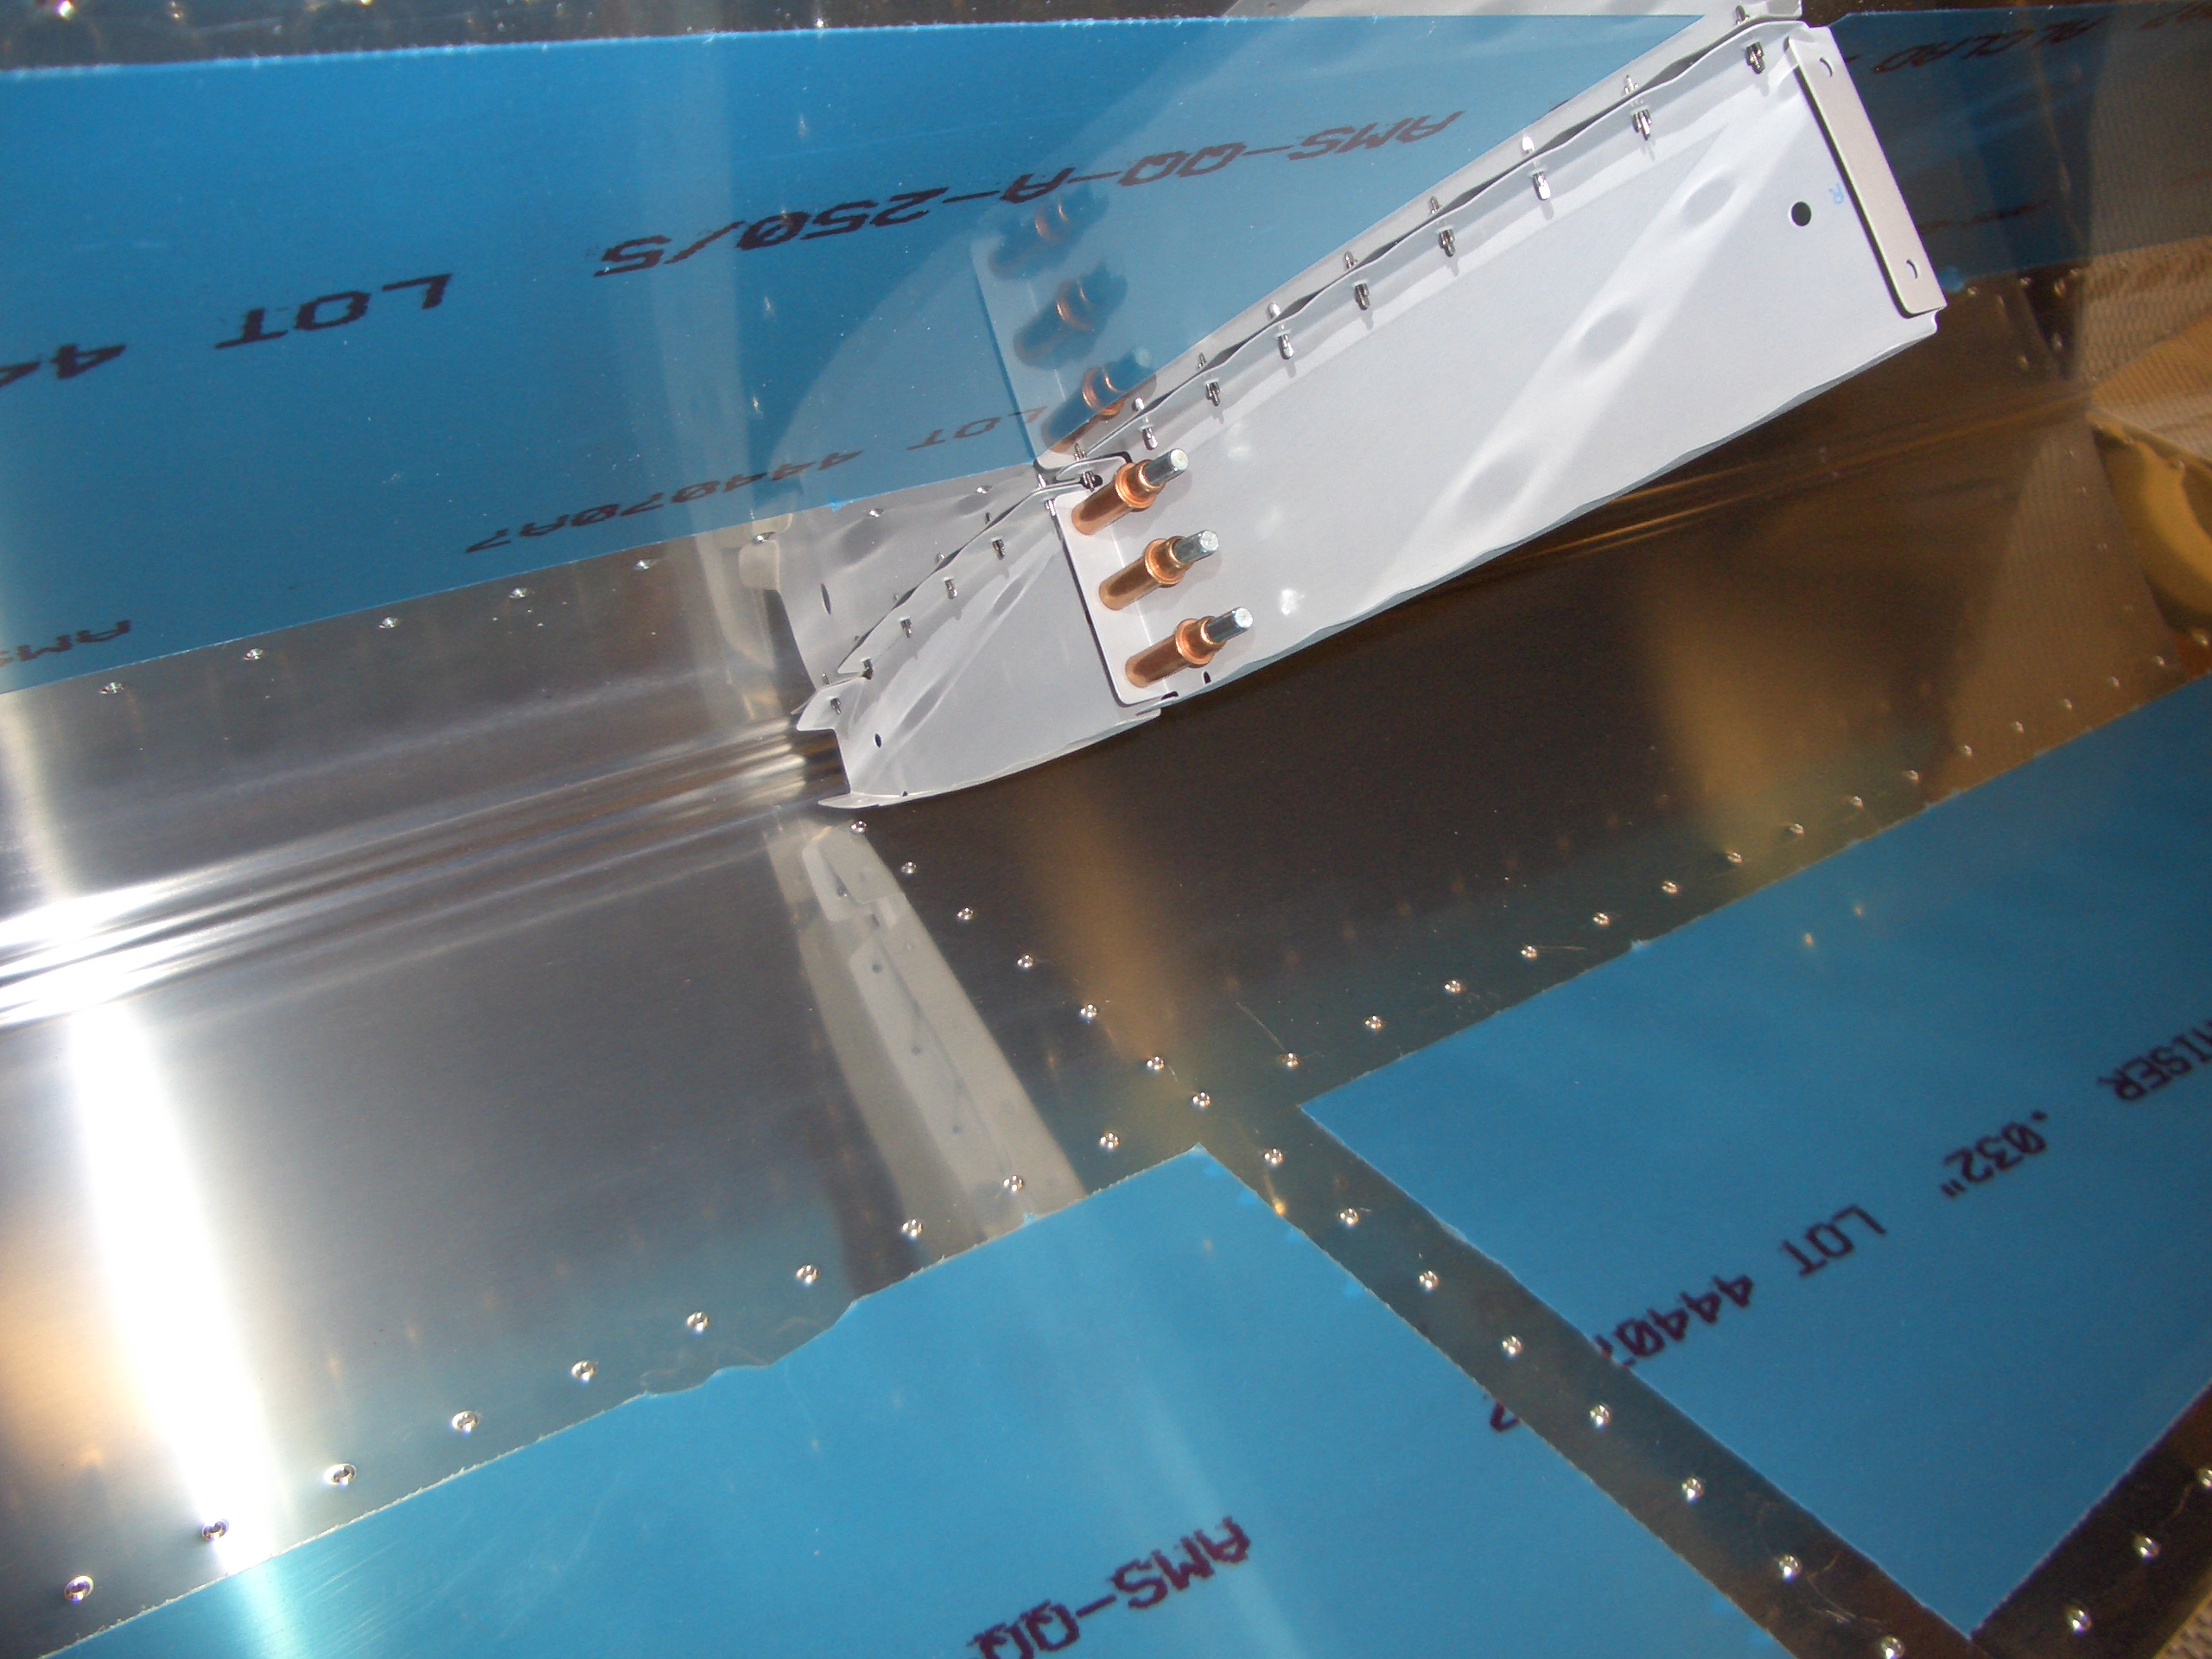
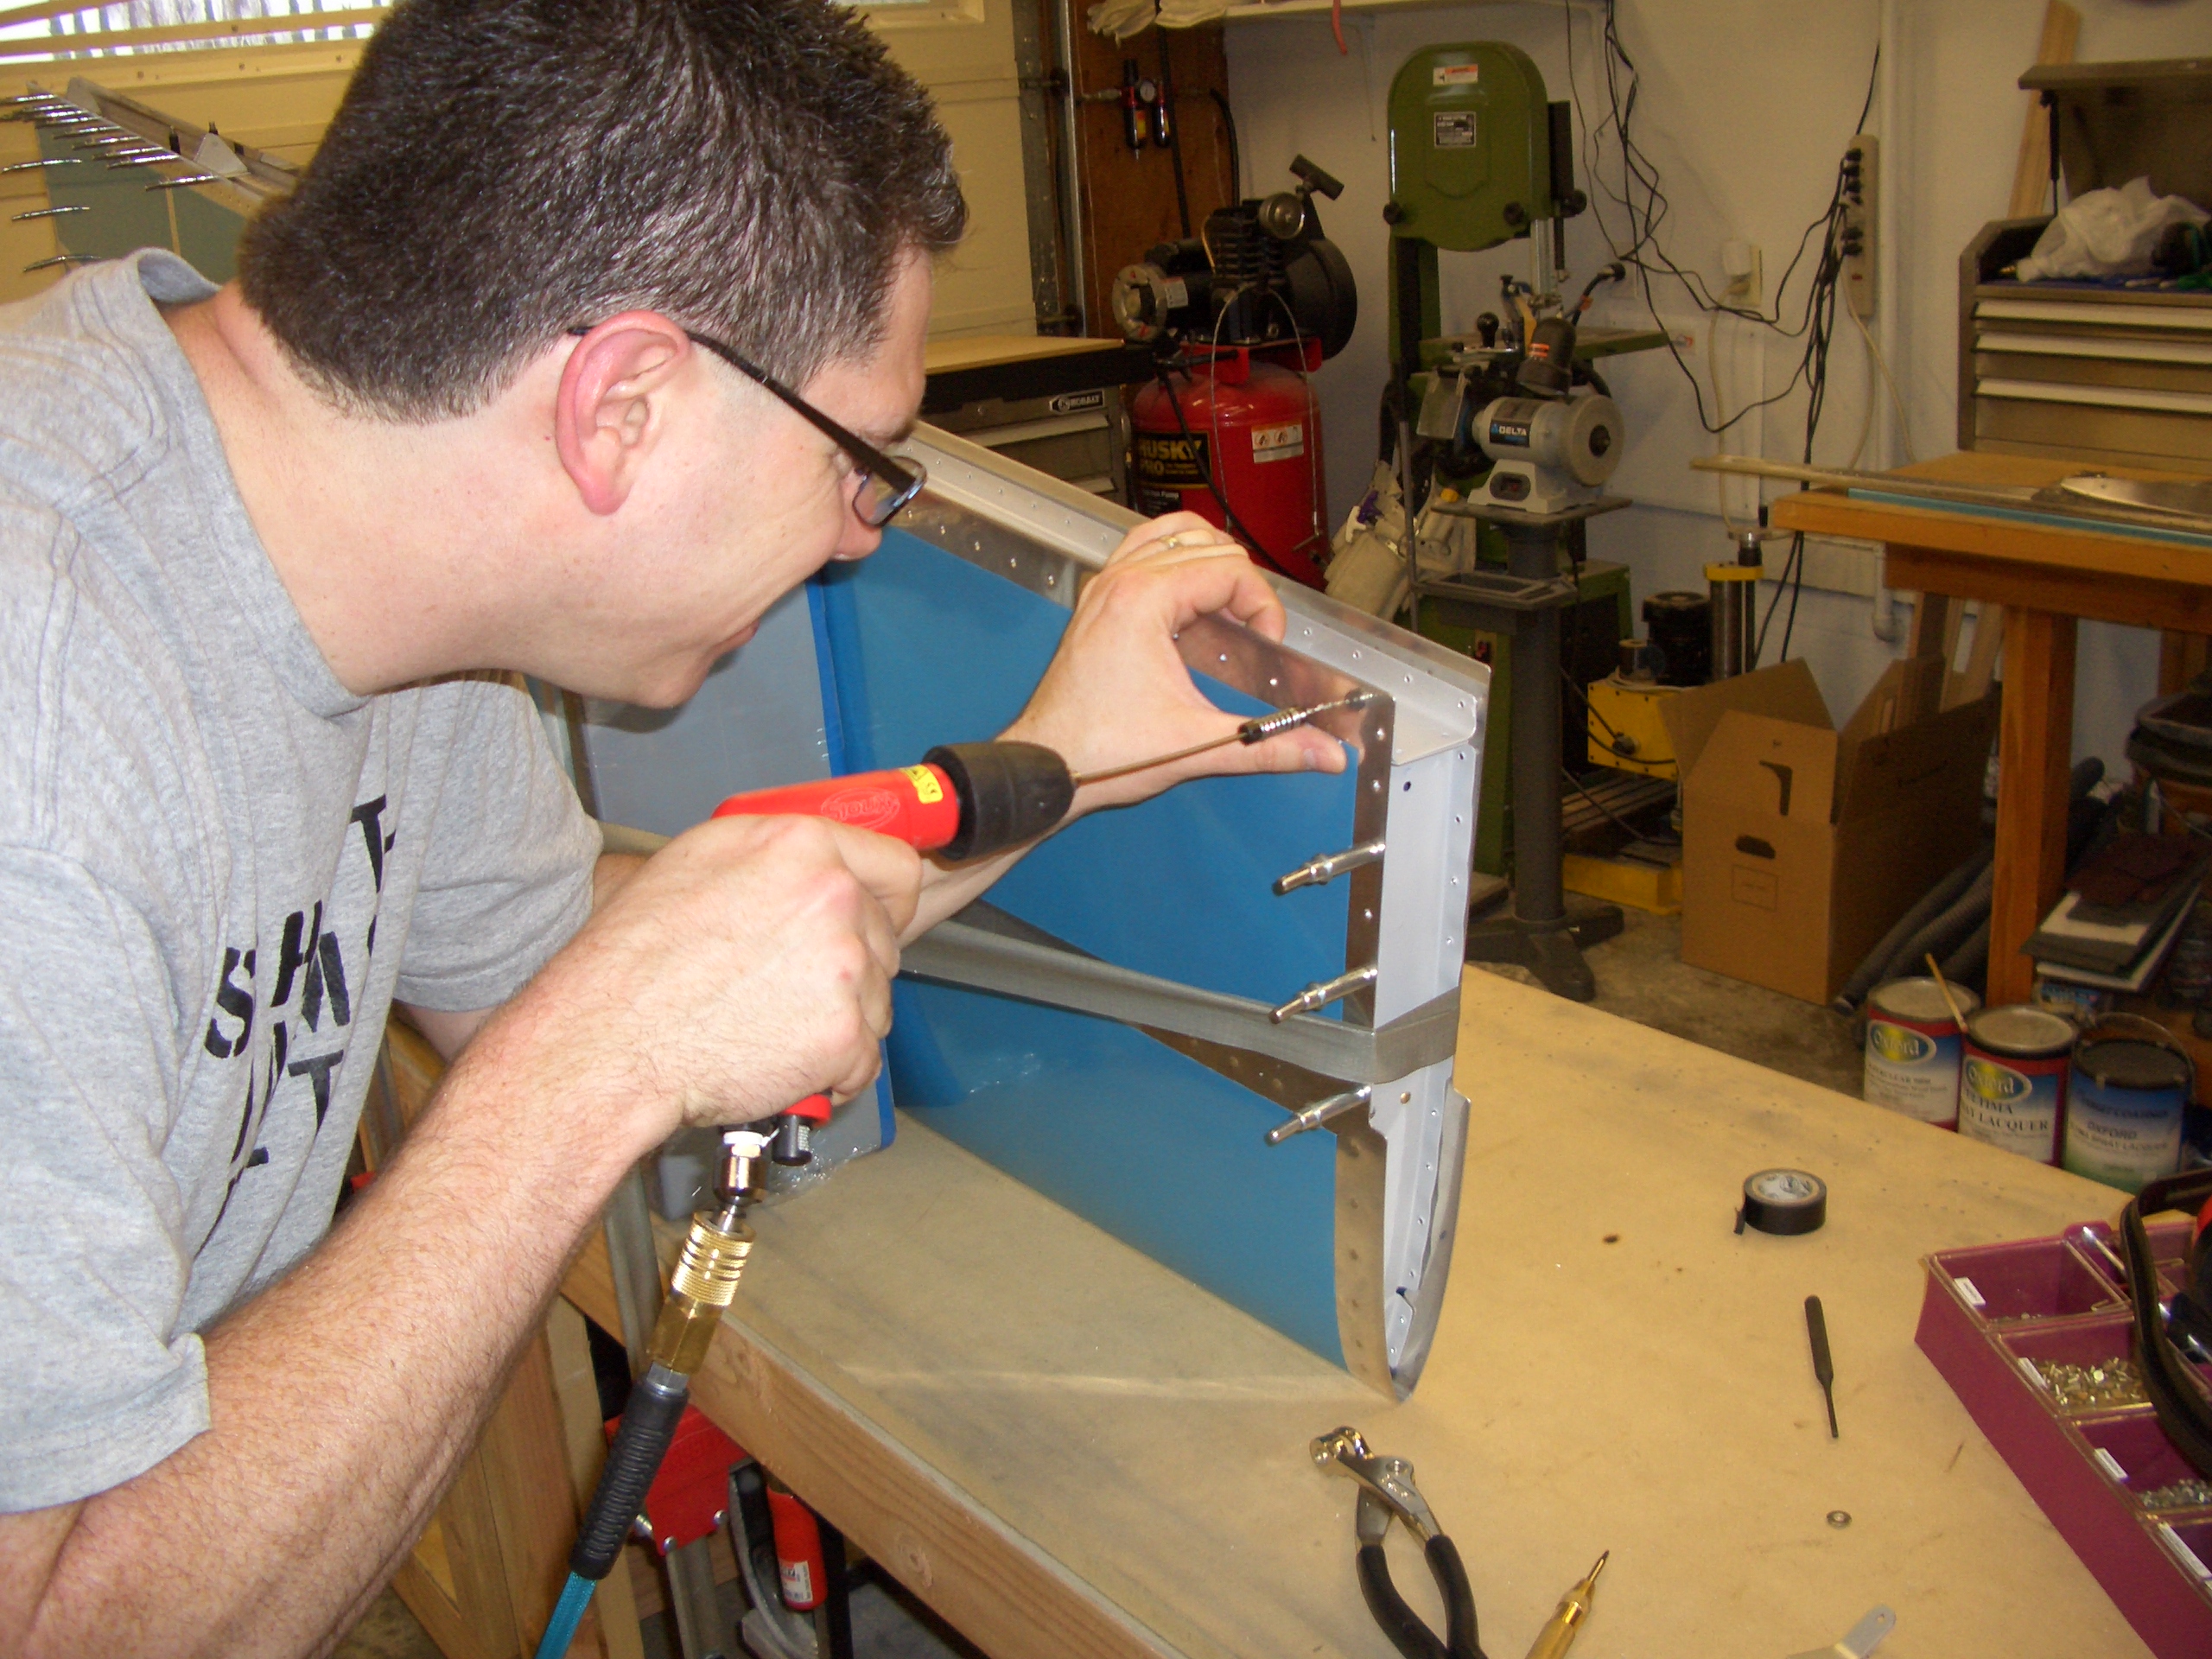
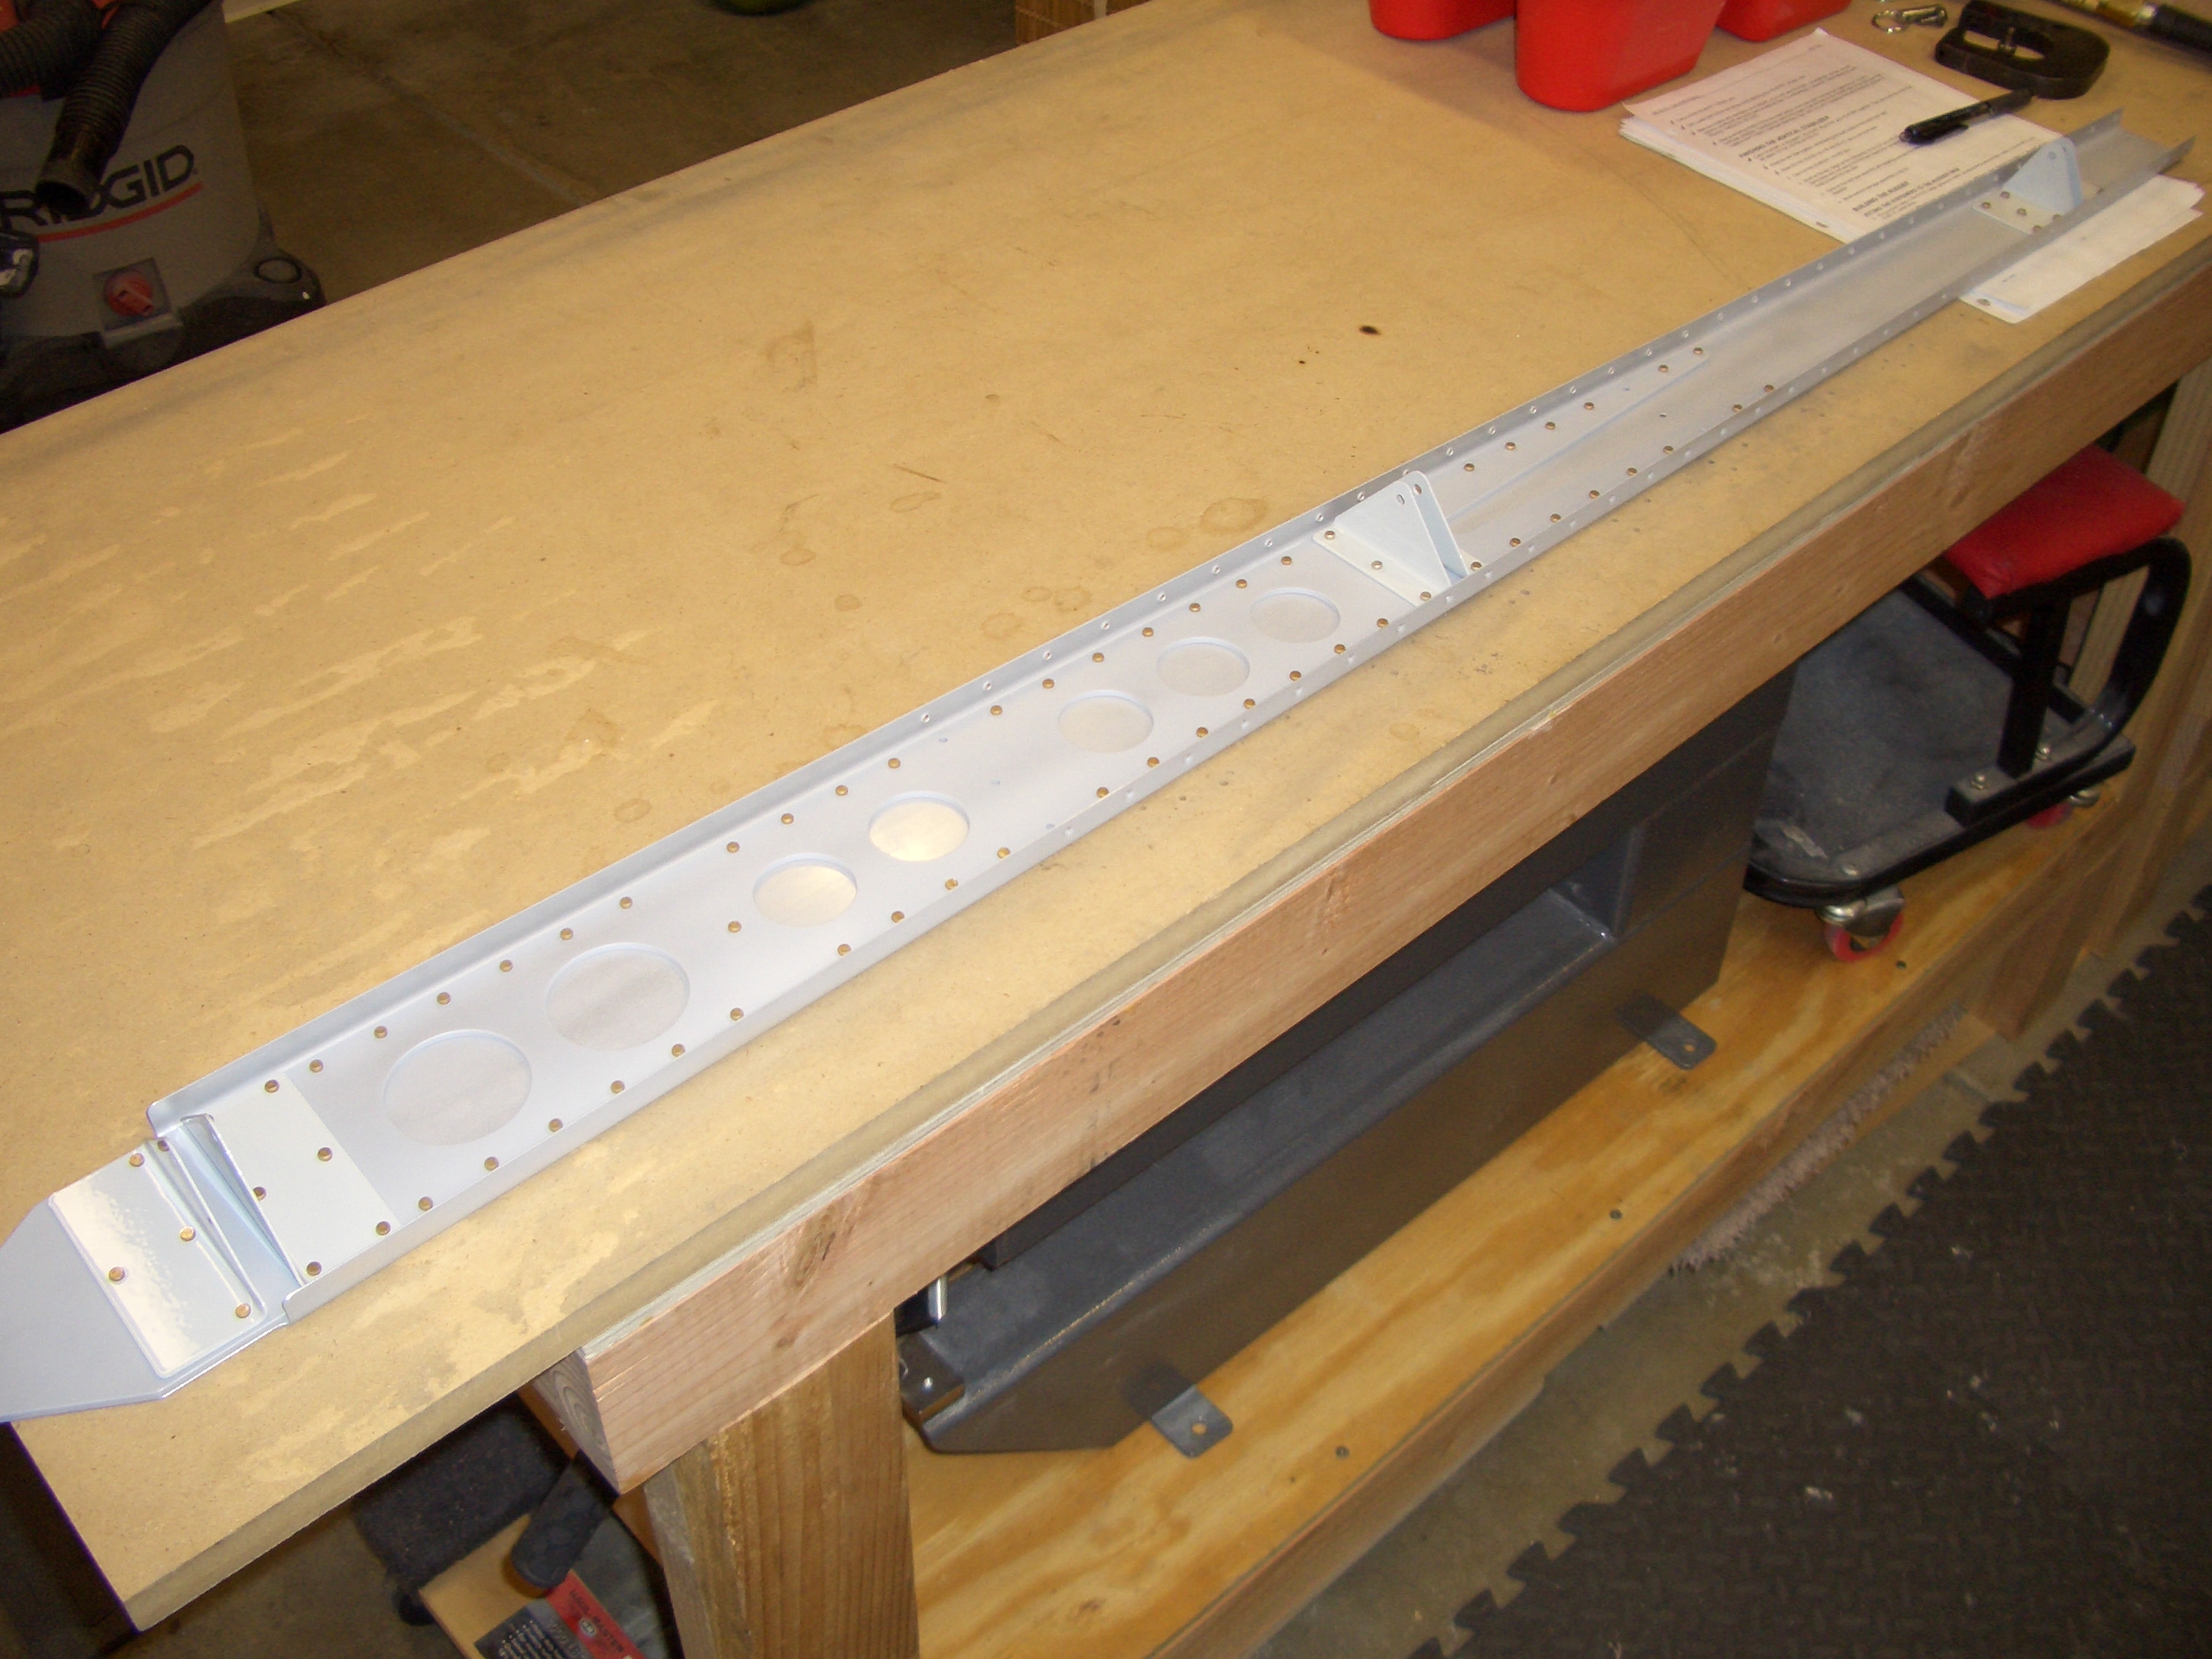
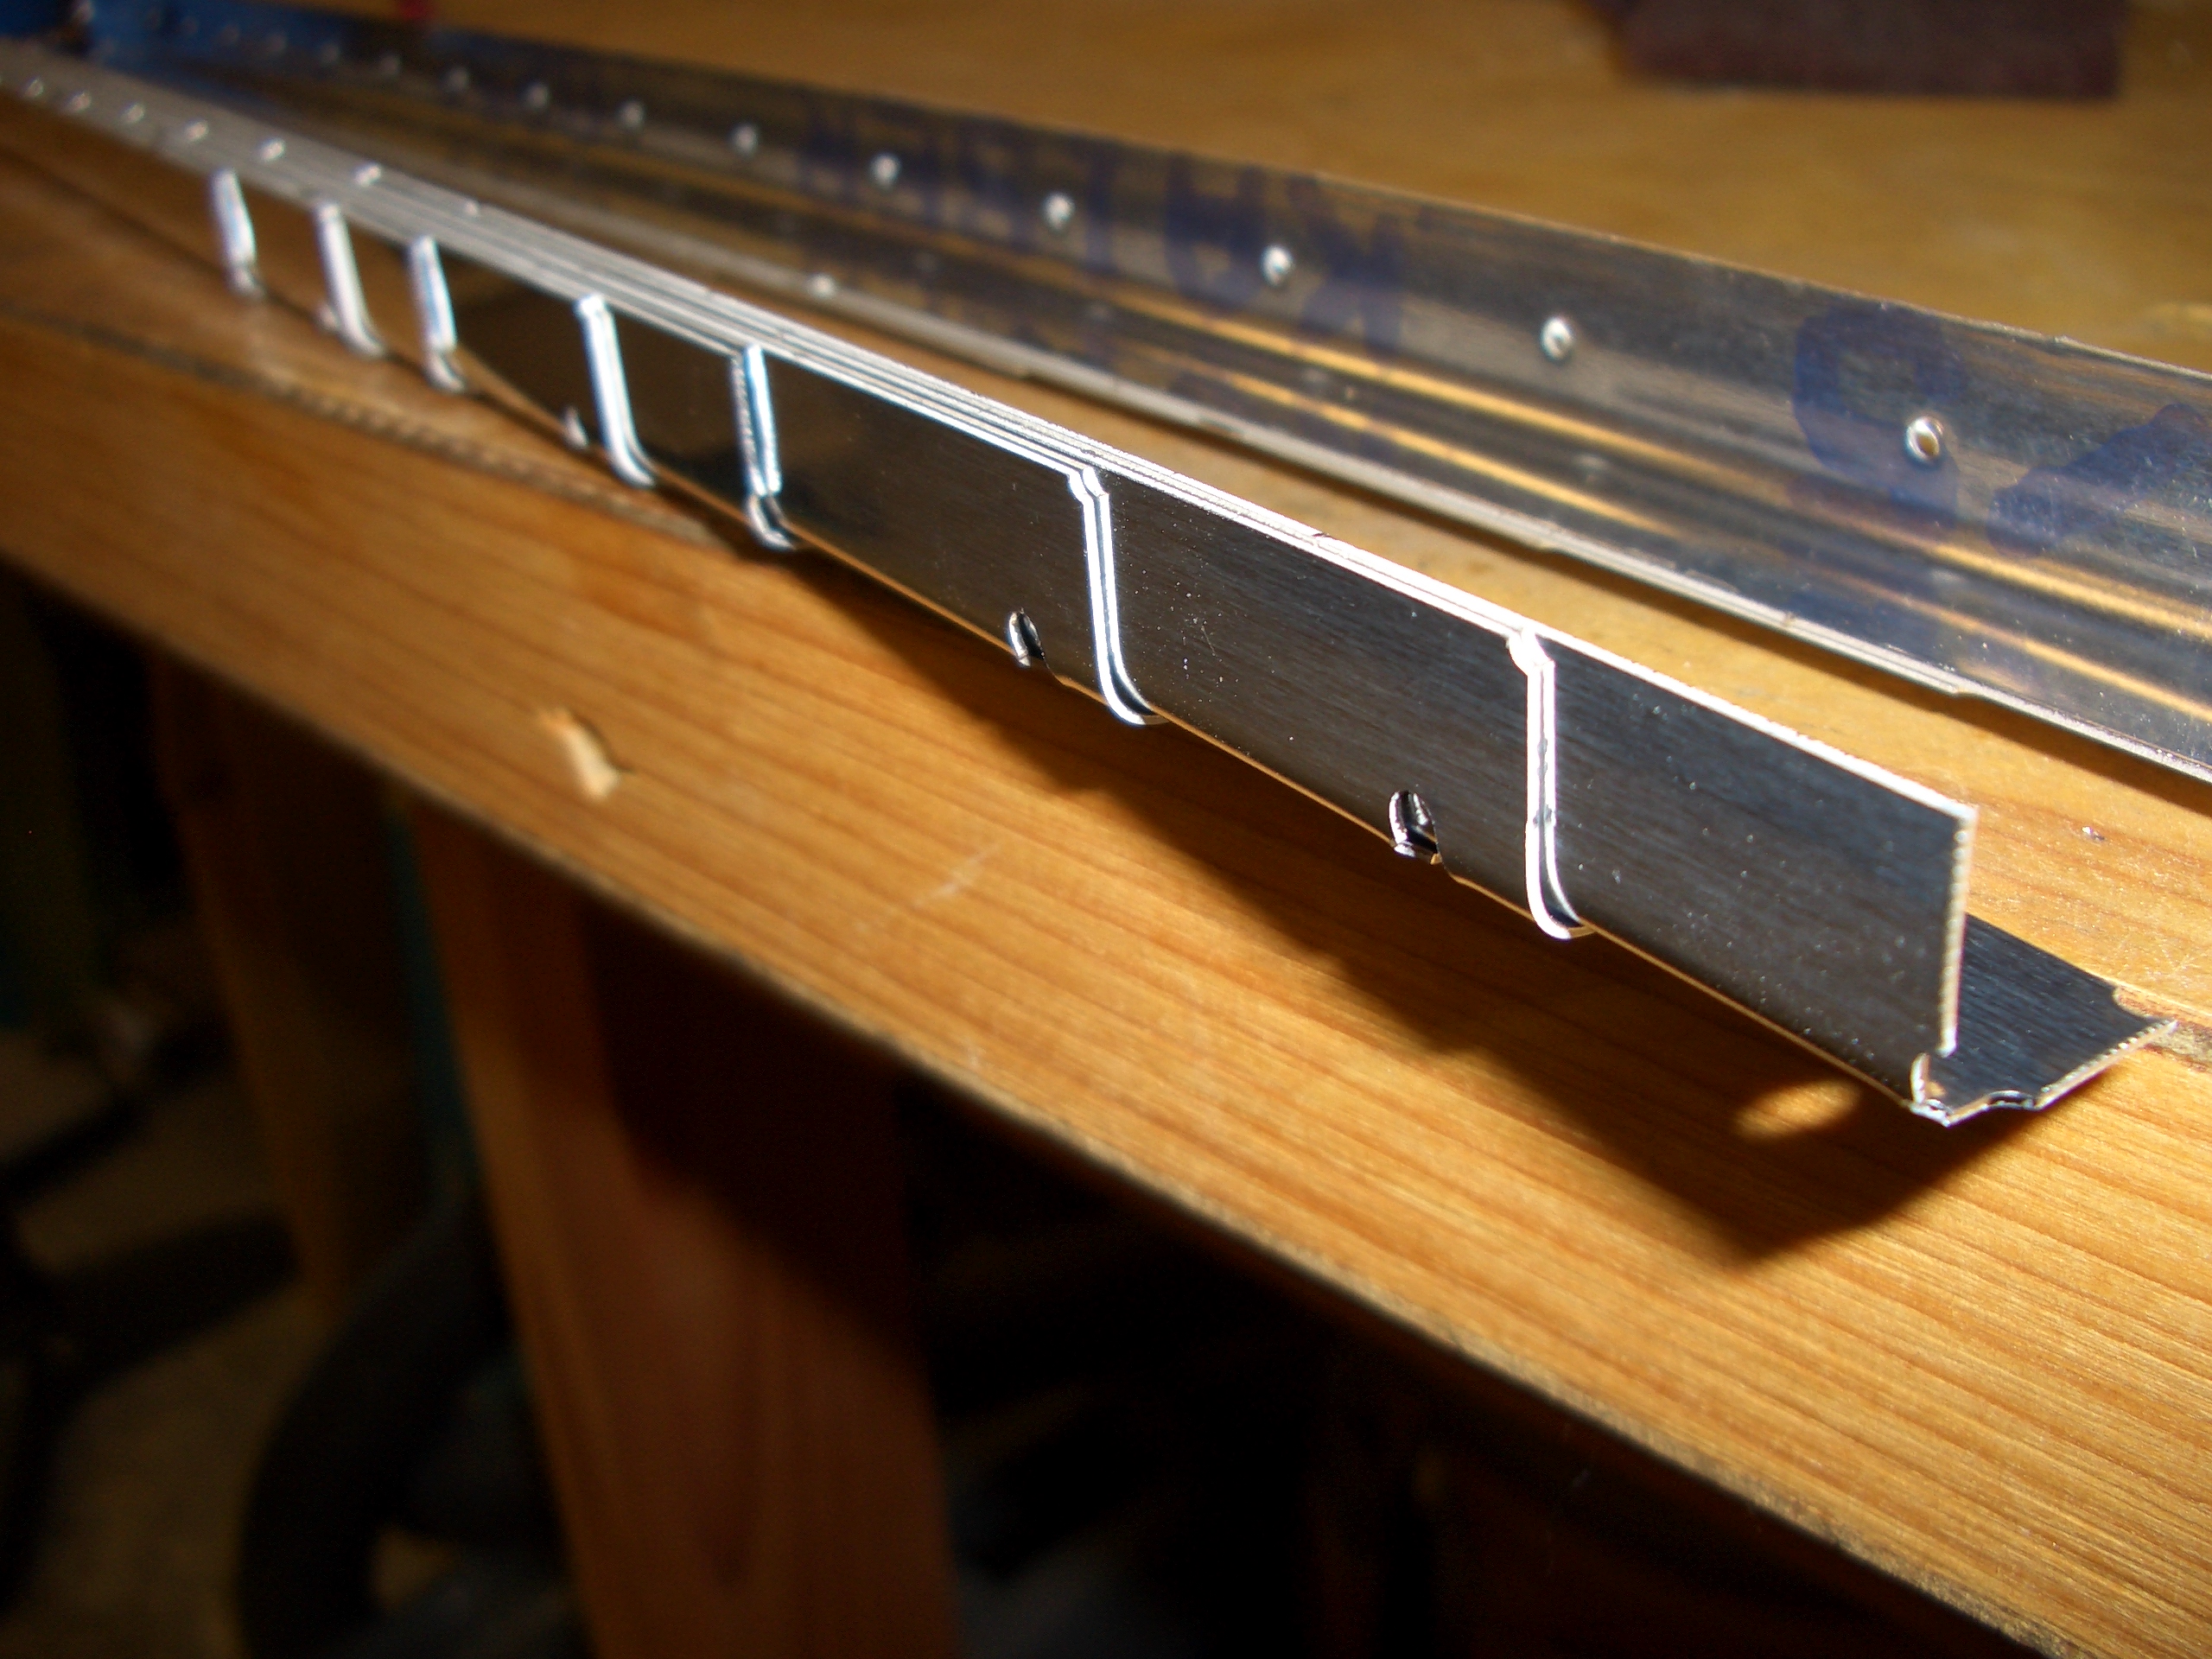
I went ahead and riveted the HS-404 inner nose ribs on to the front spar since the instructions have changed and you now rivet both the upper and lower sides of HS-707 (middle nose ribs) before attaching the skin to the spar. The instructions apparently used to specify a different order and the only way to put solid rivets on the bottom of HS-707 was to leave this rib off and reach through here to buck them.

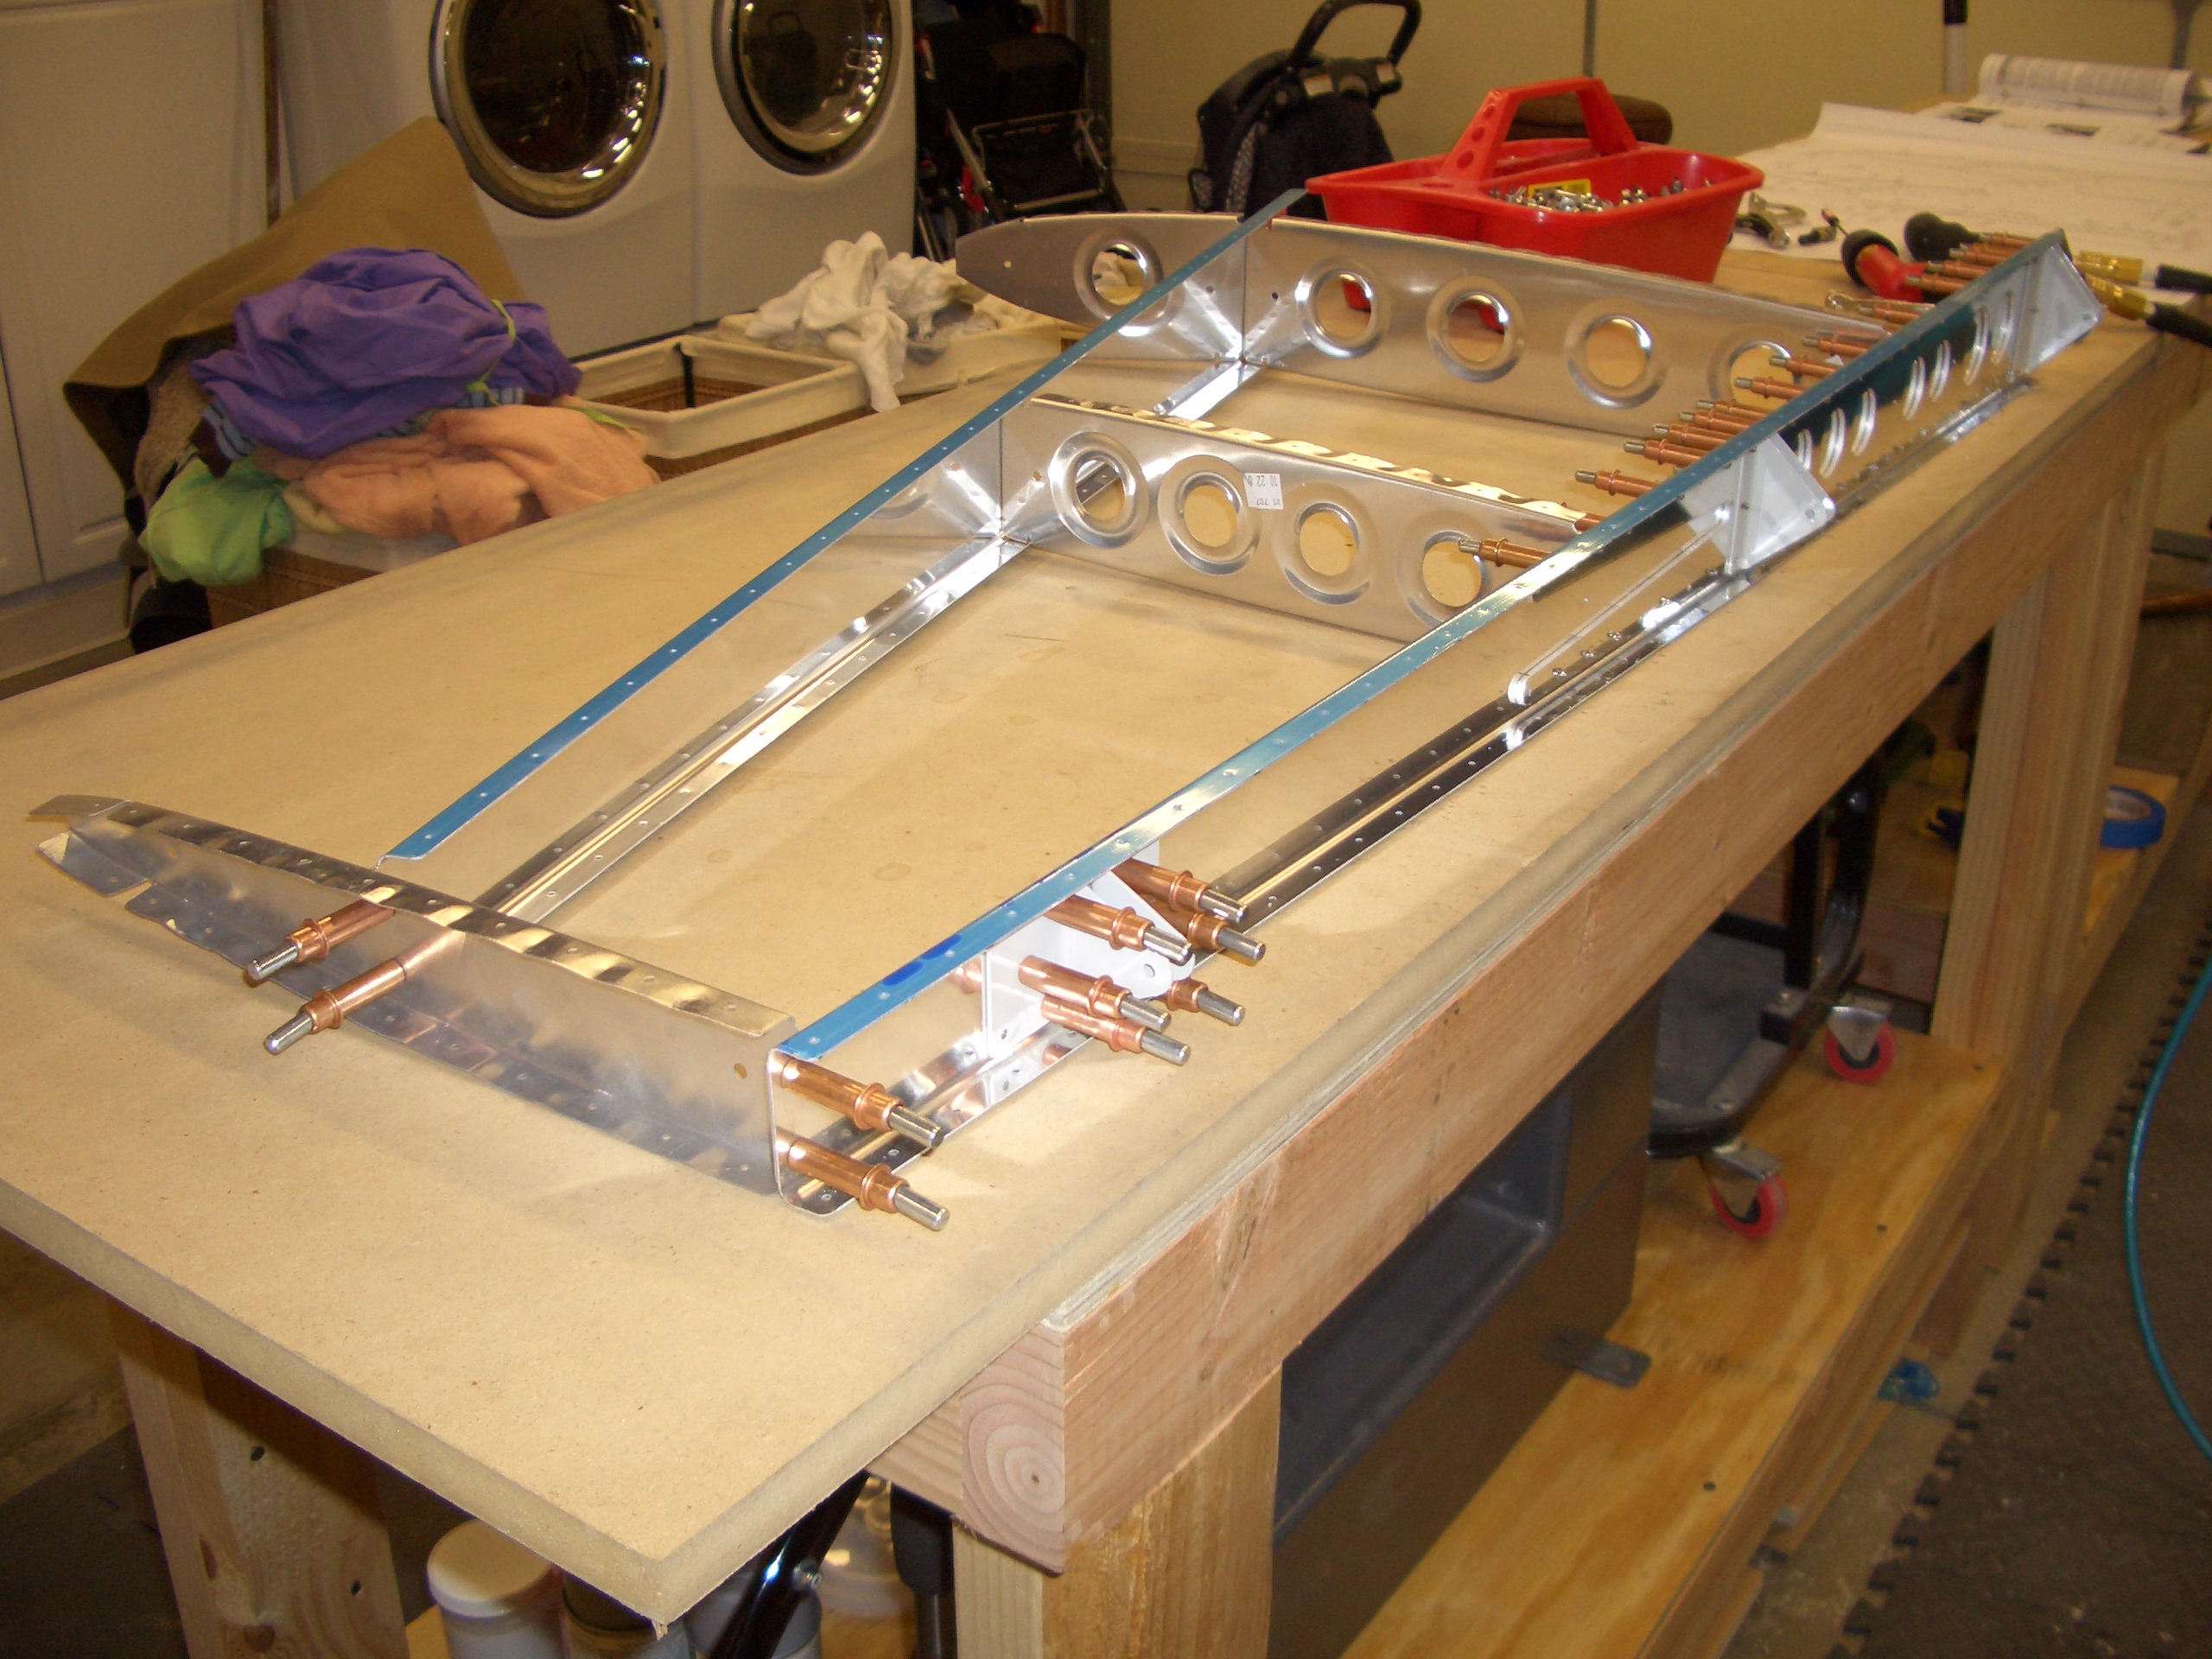
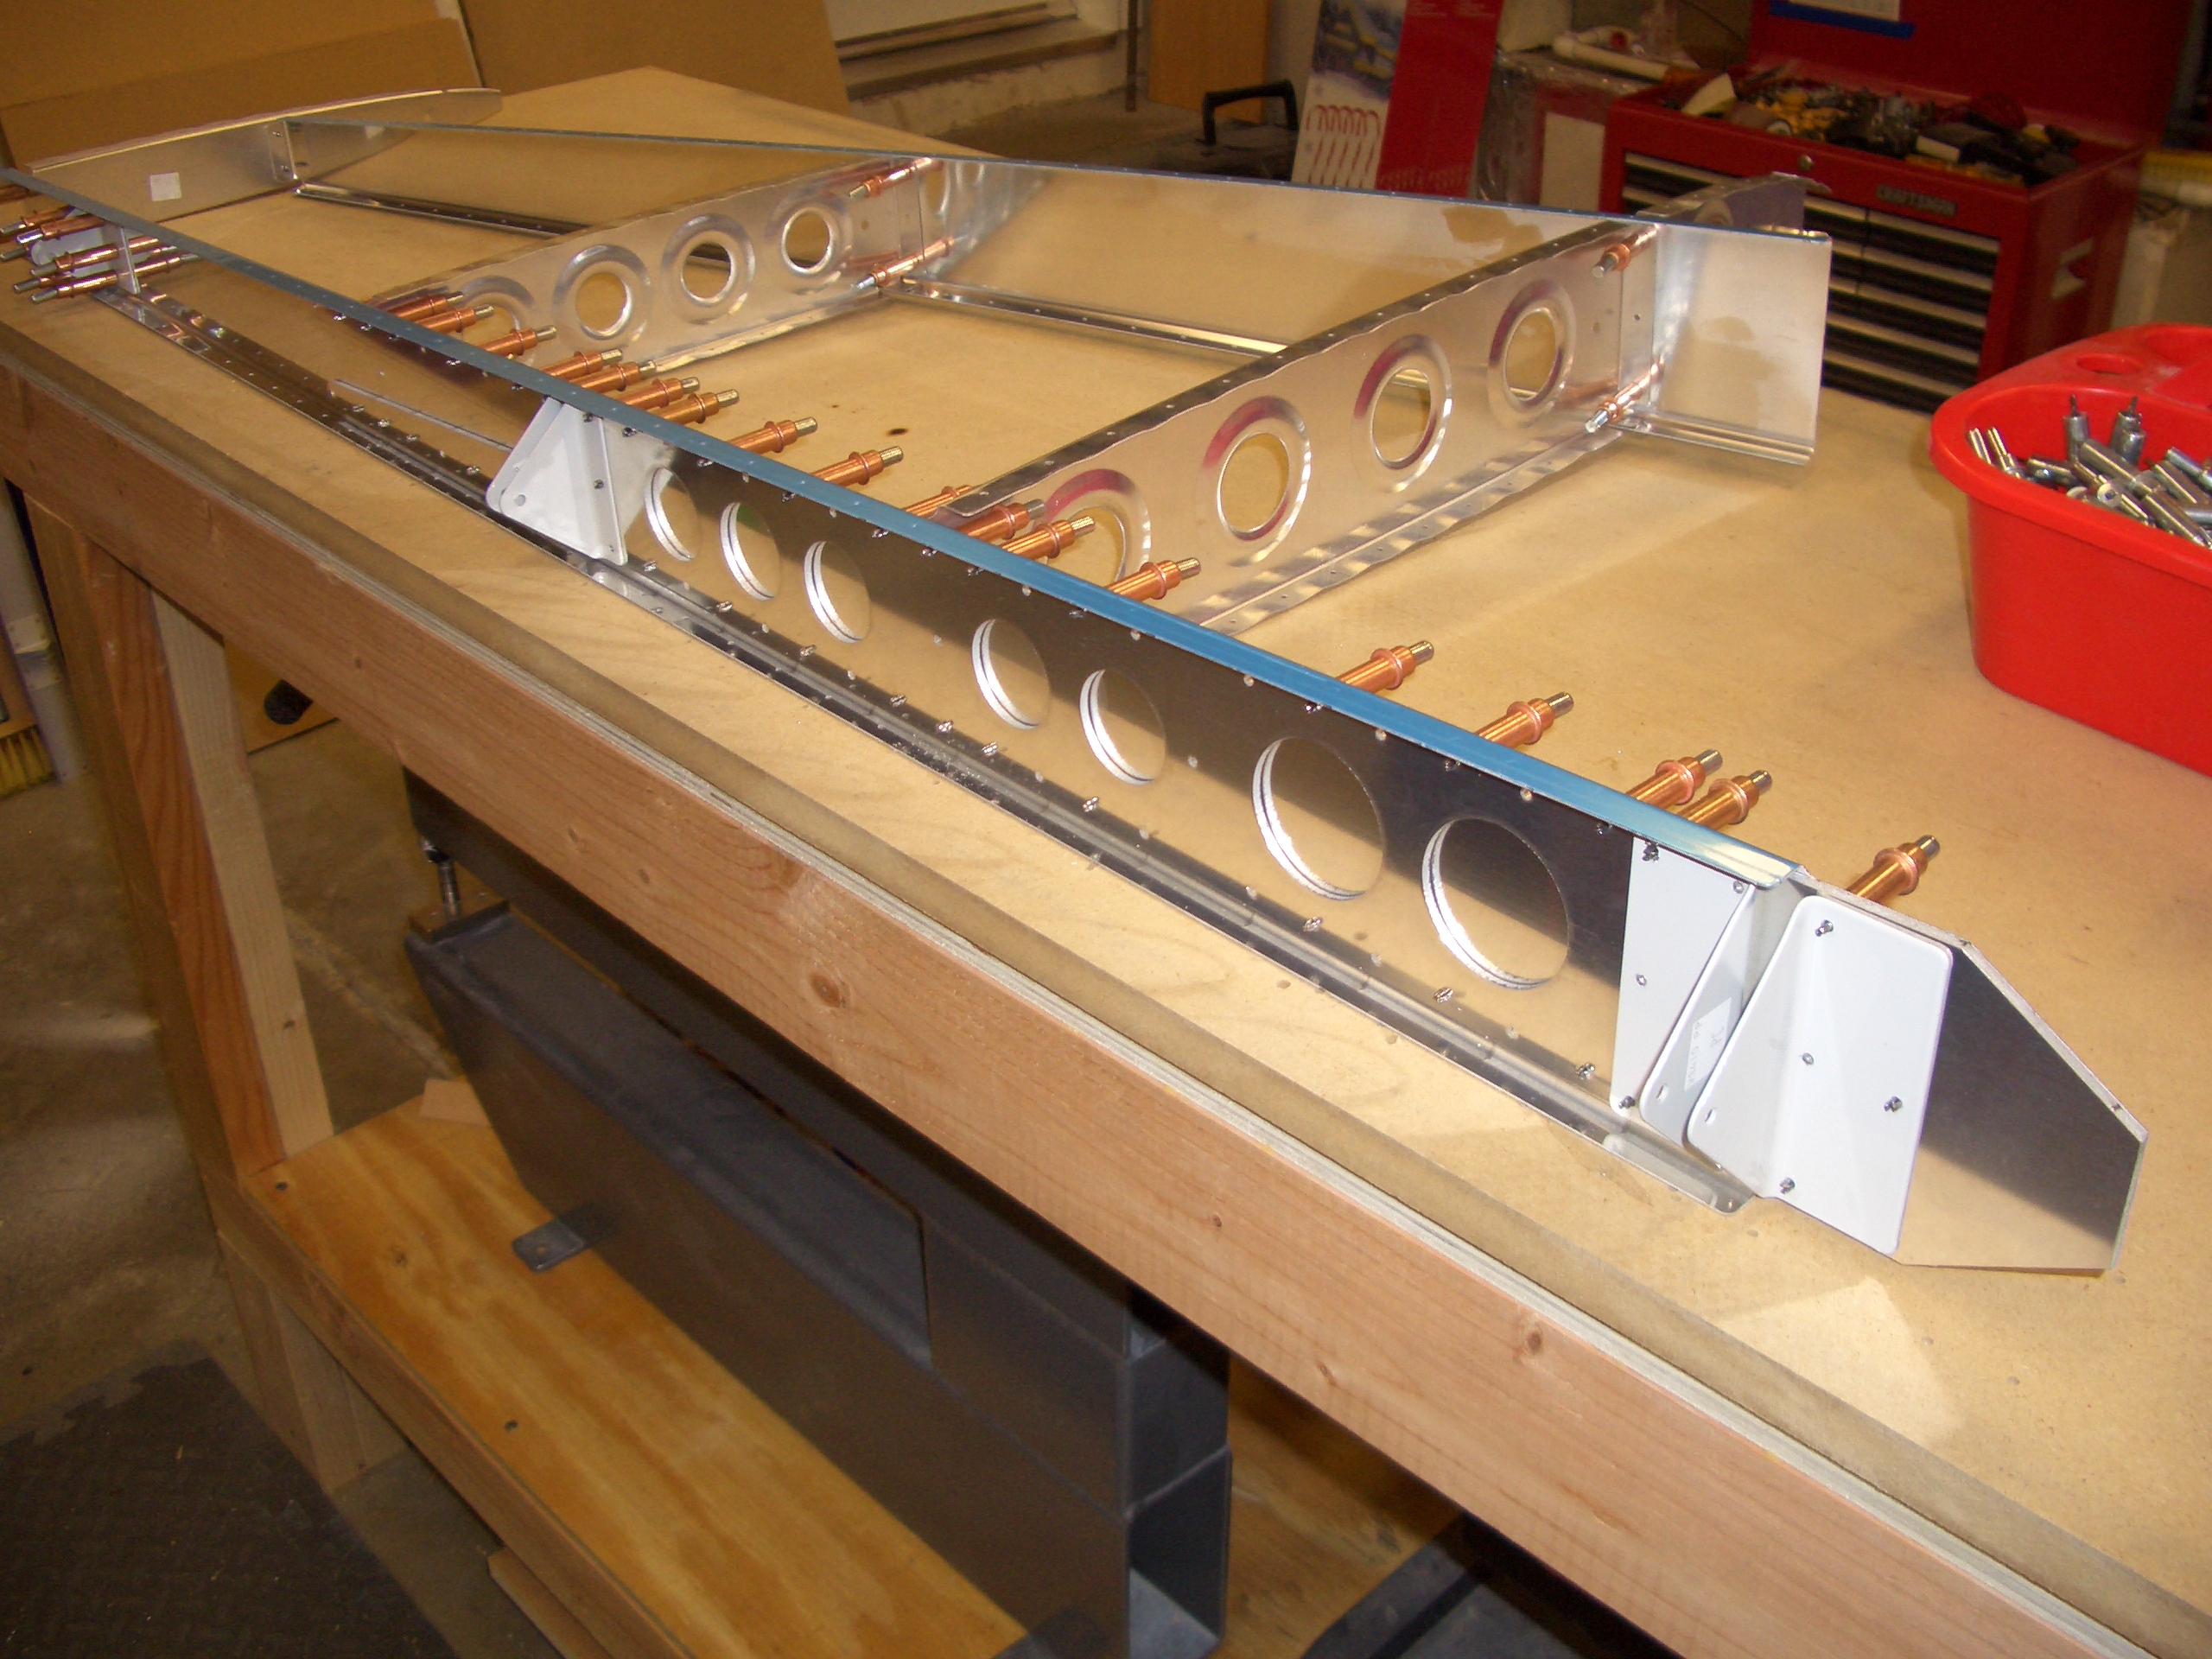
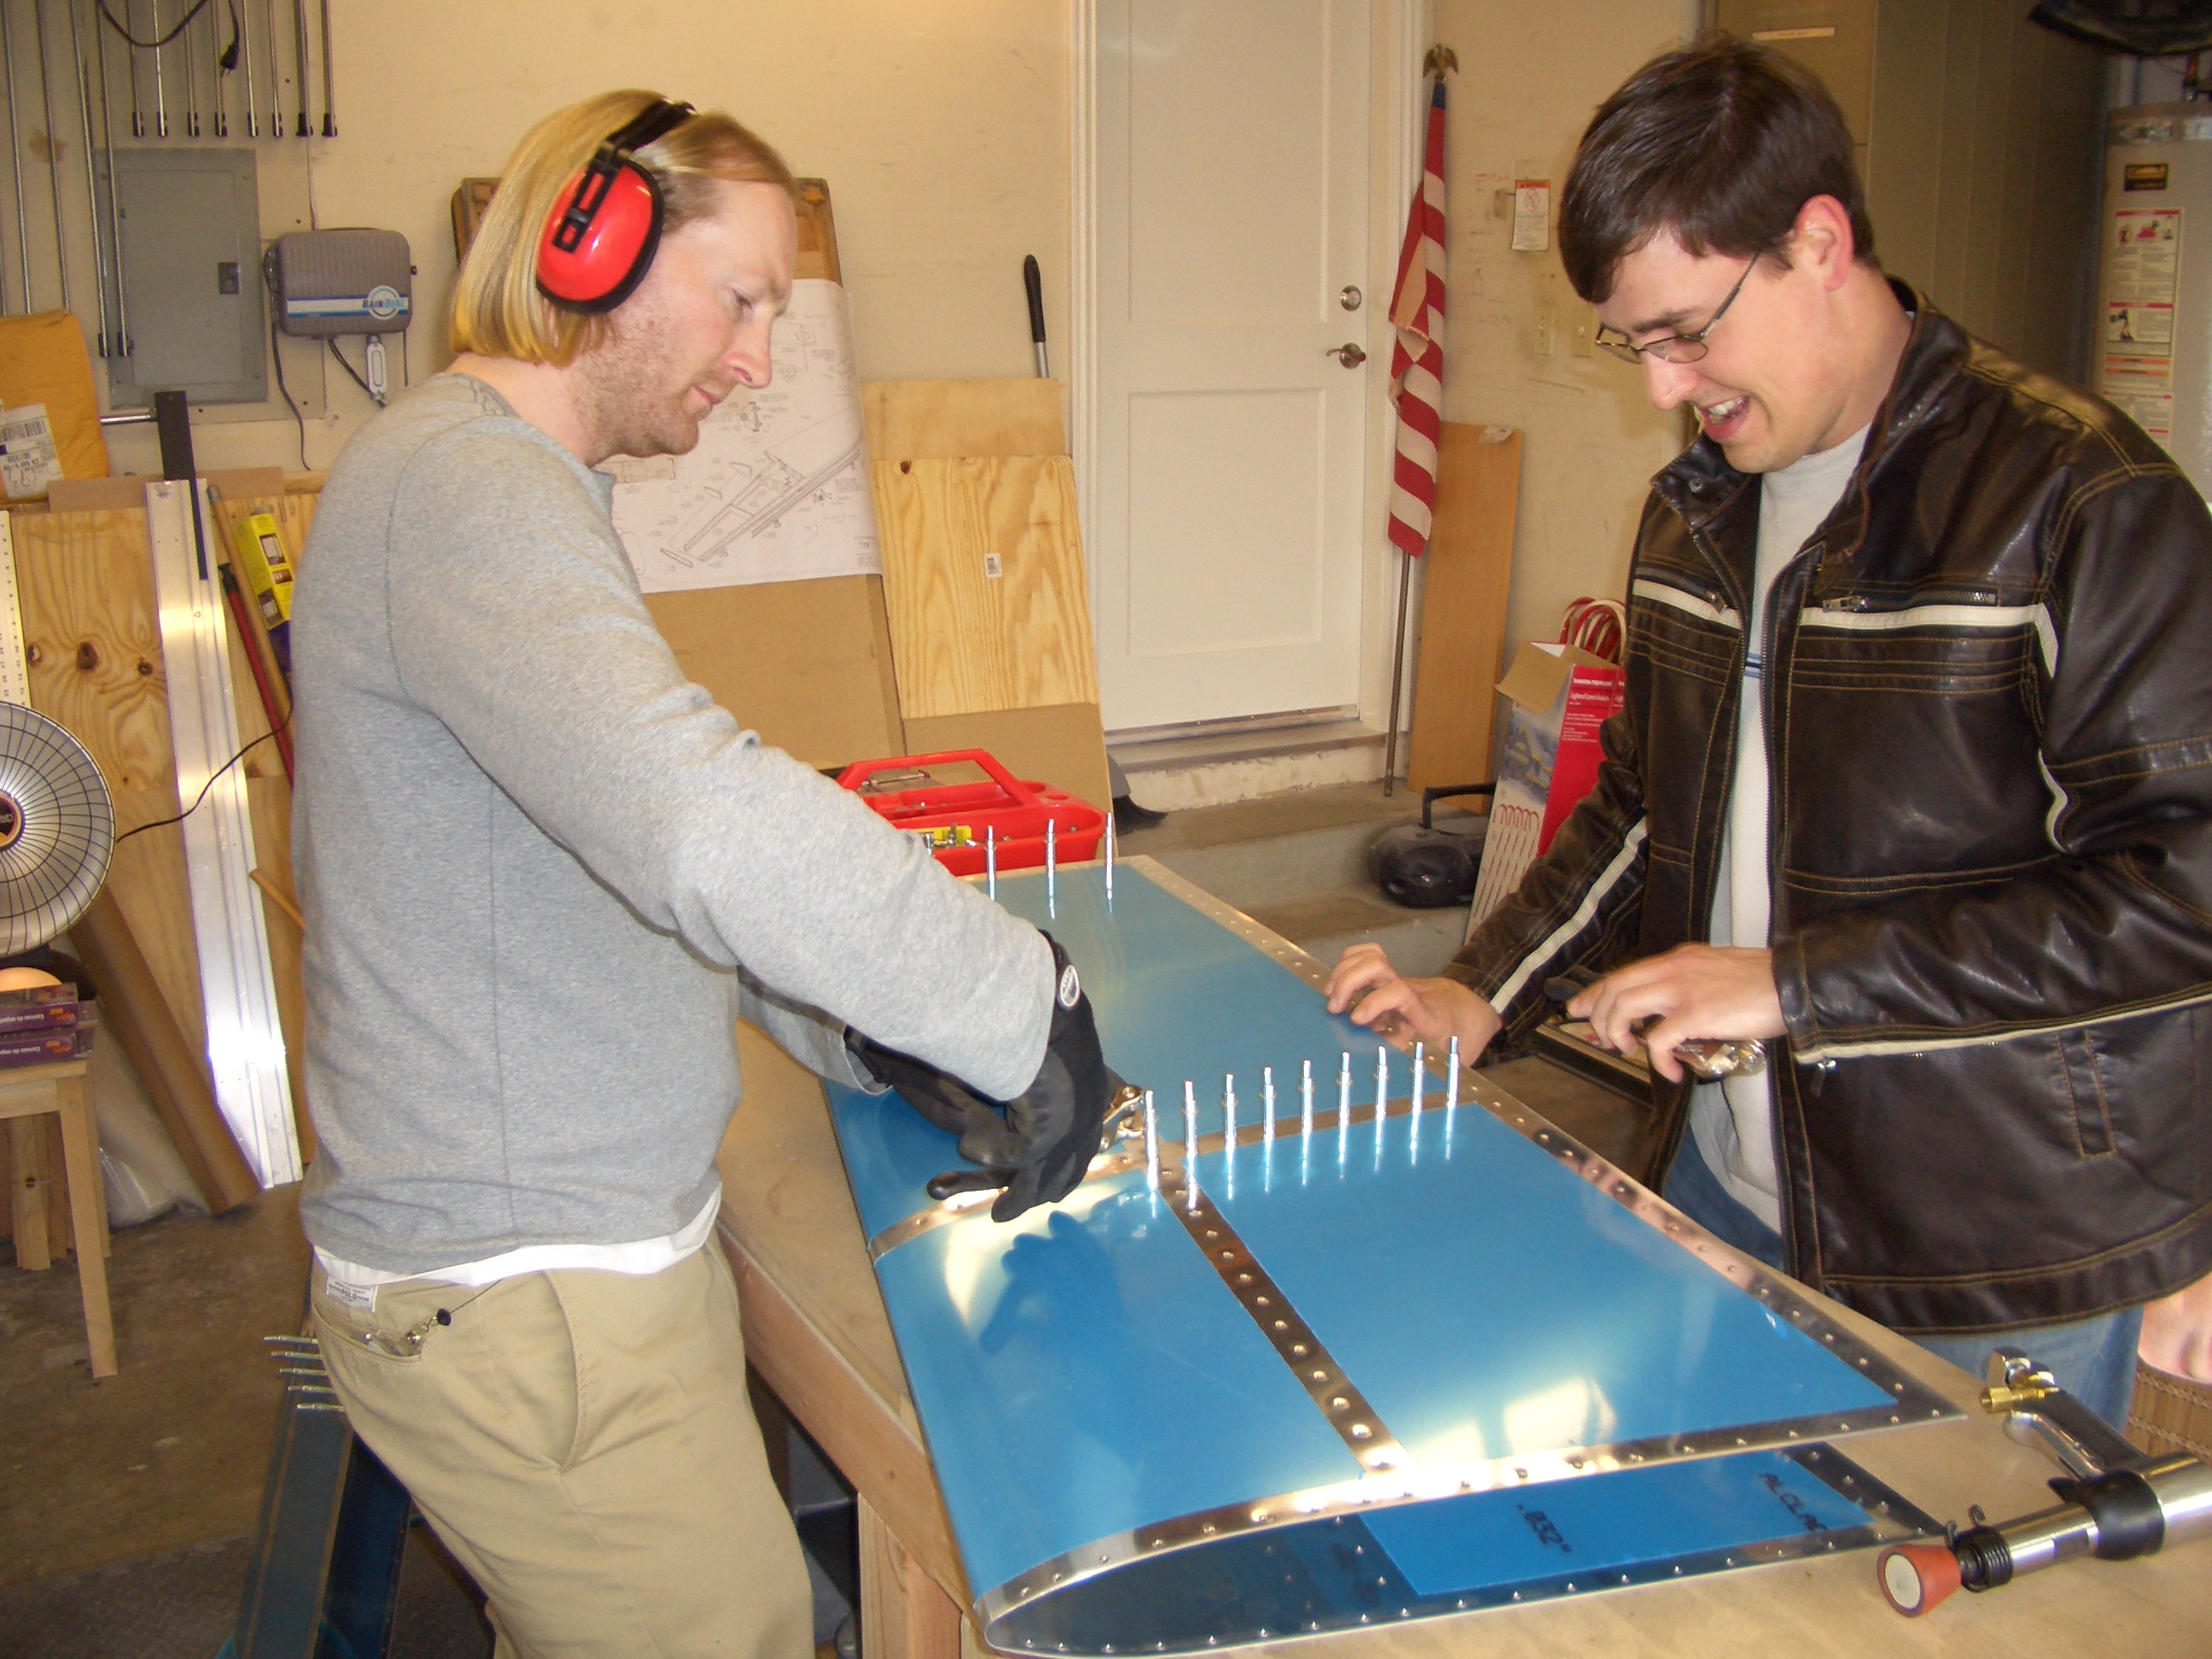
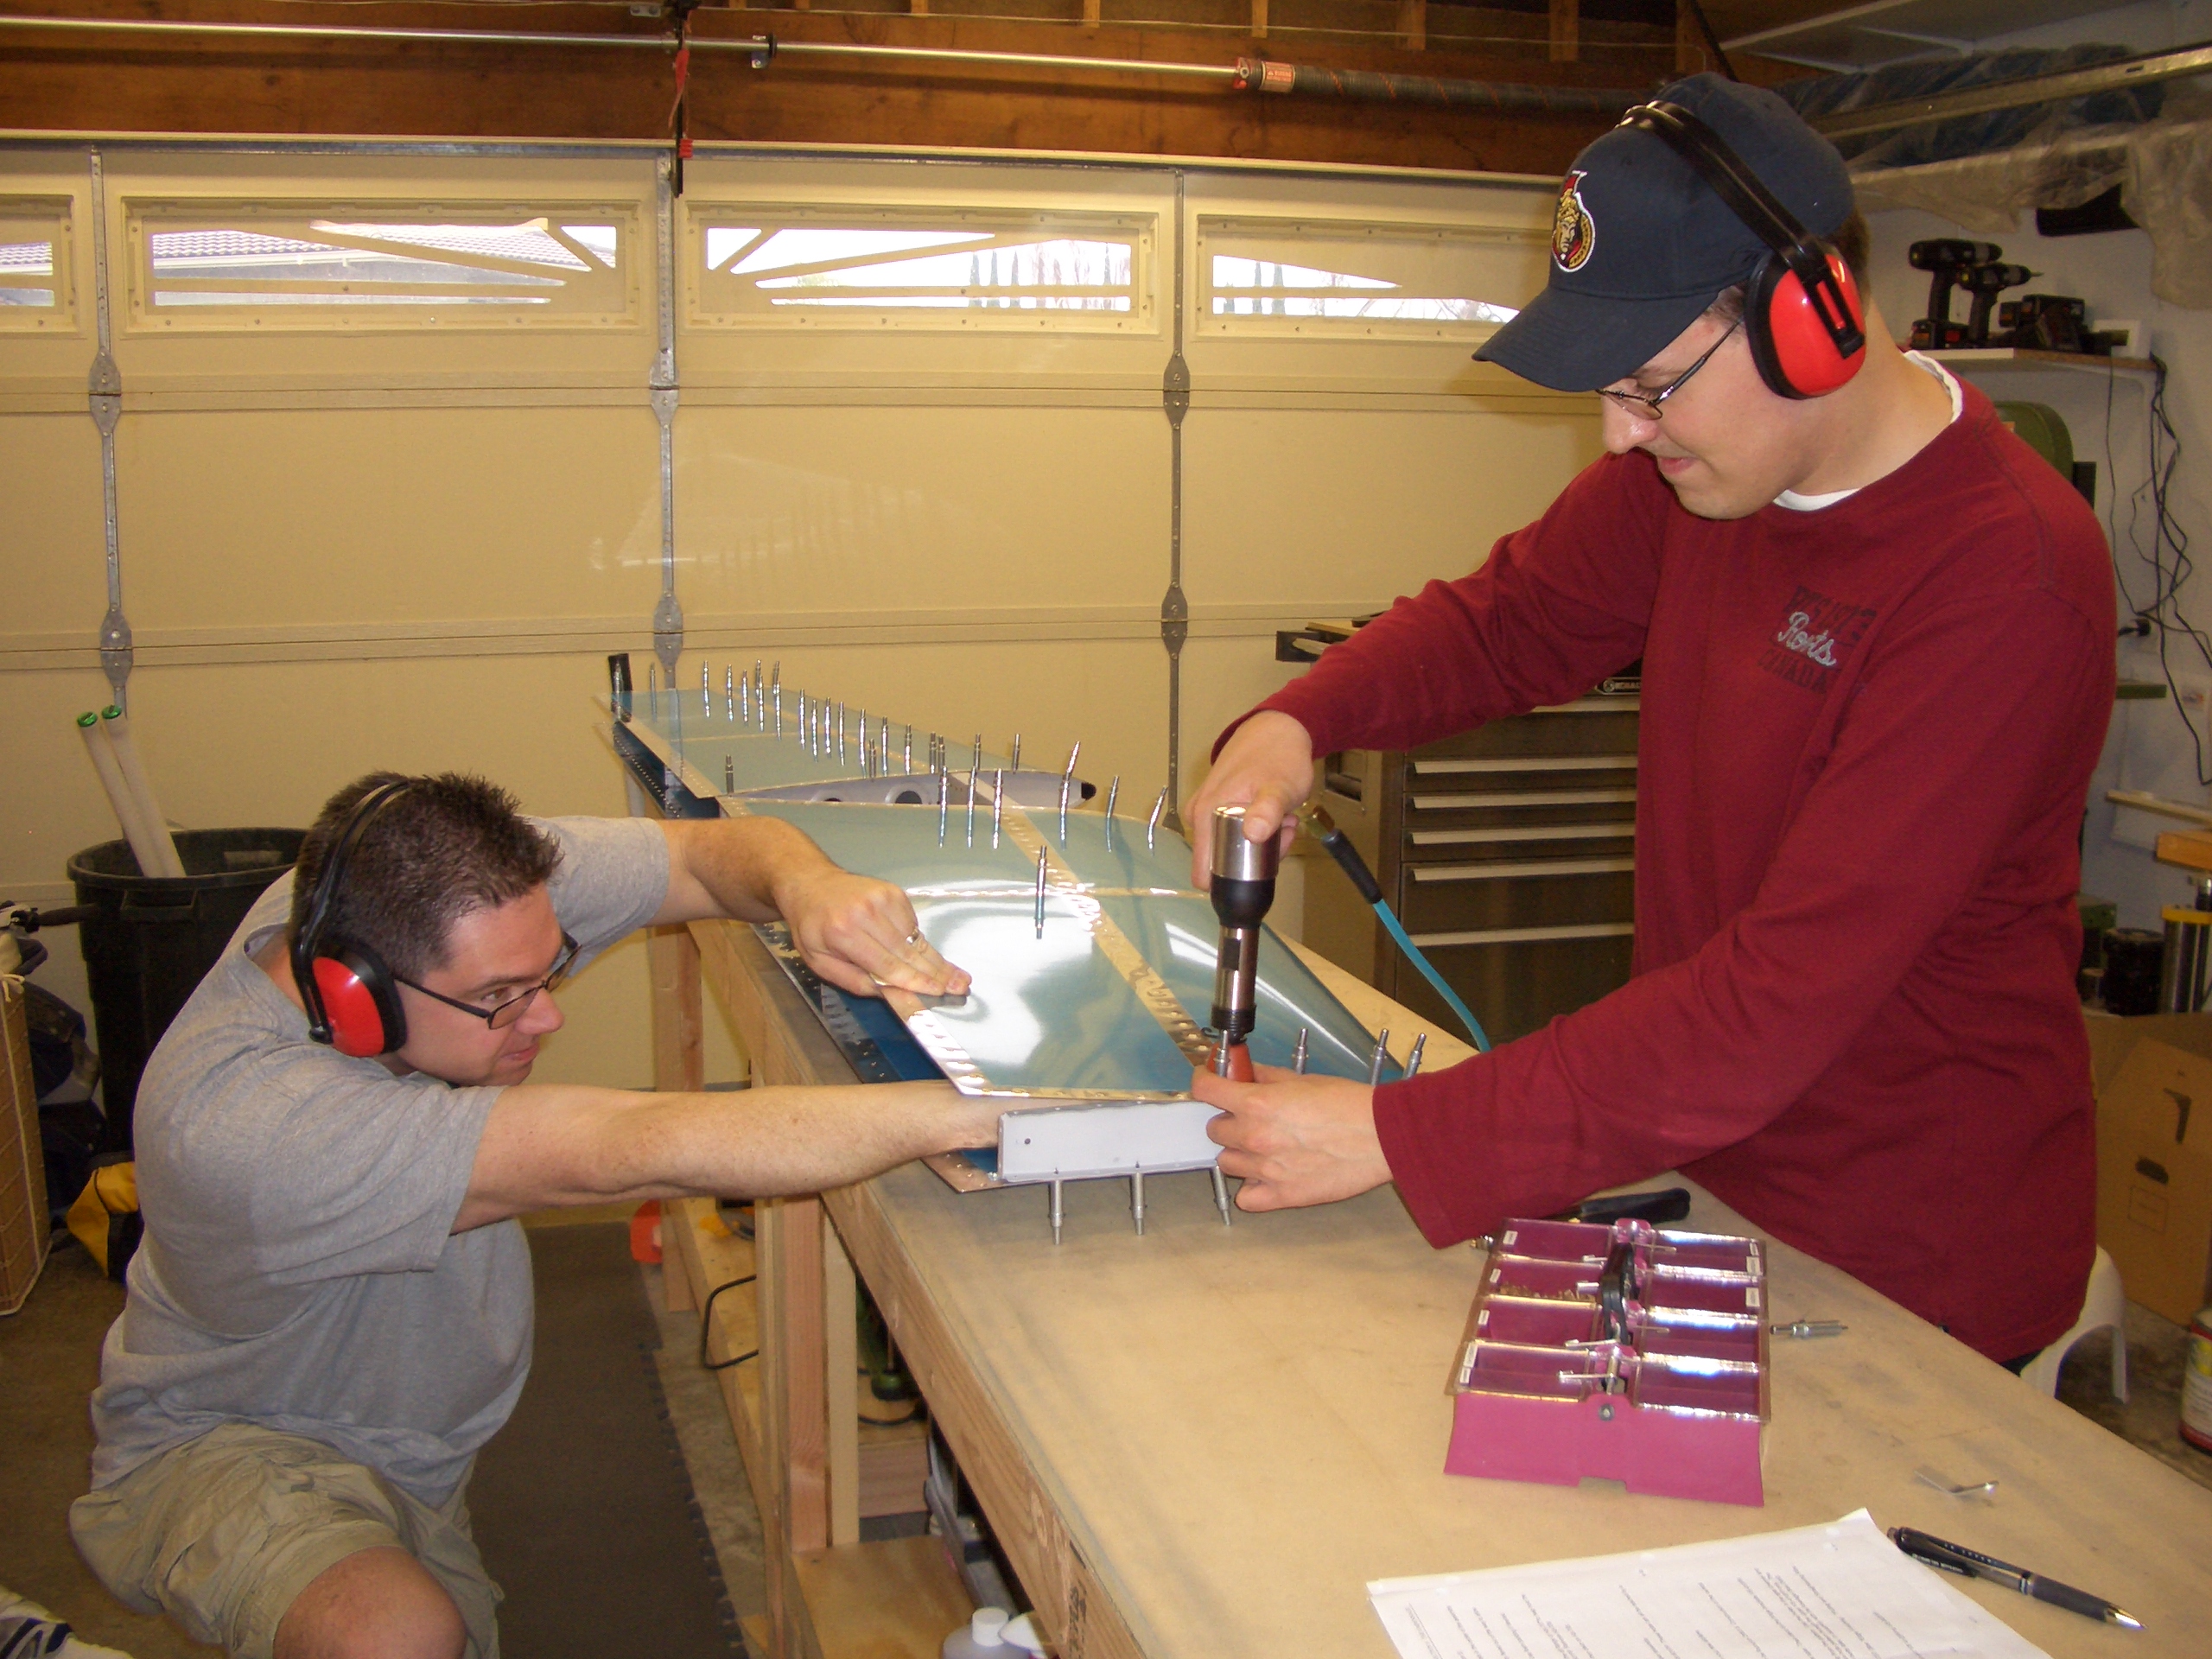
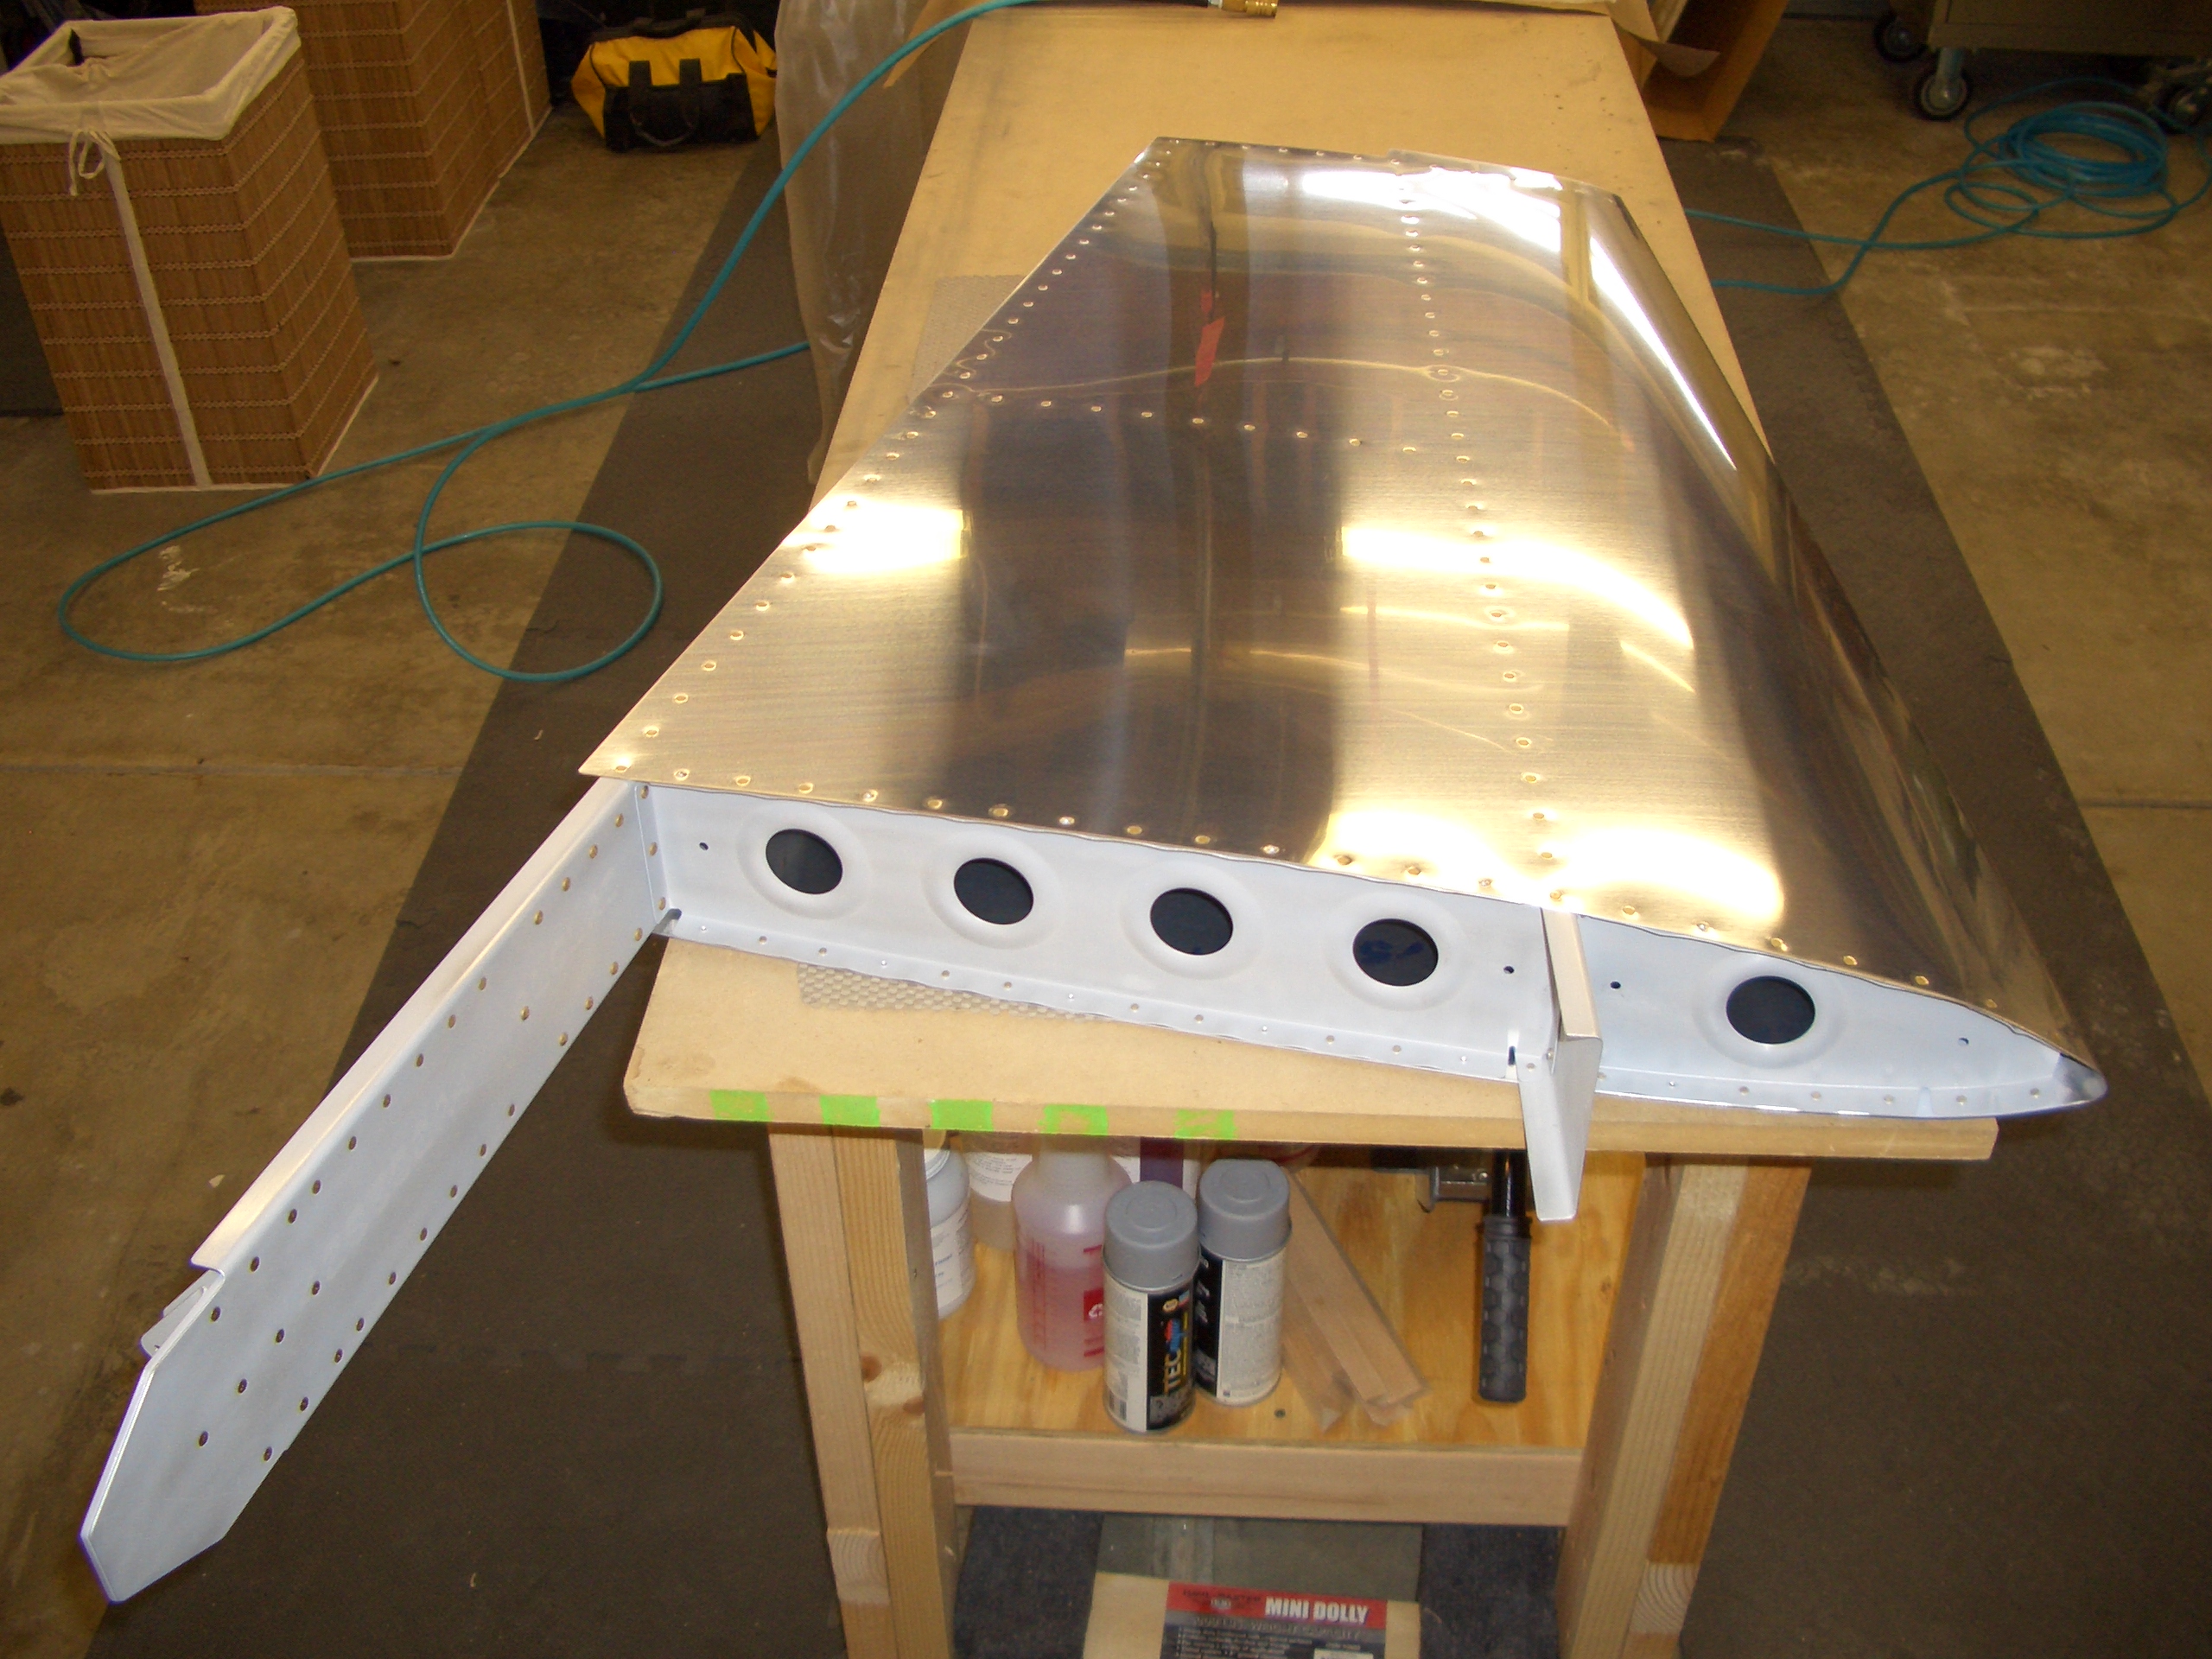
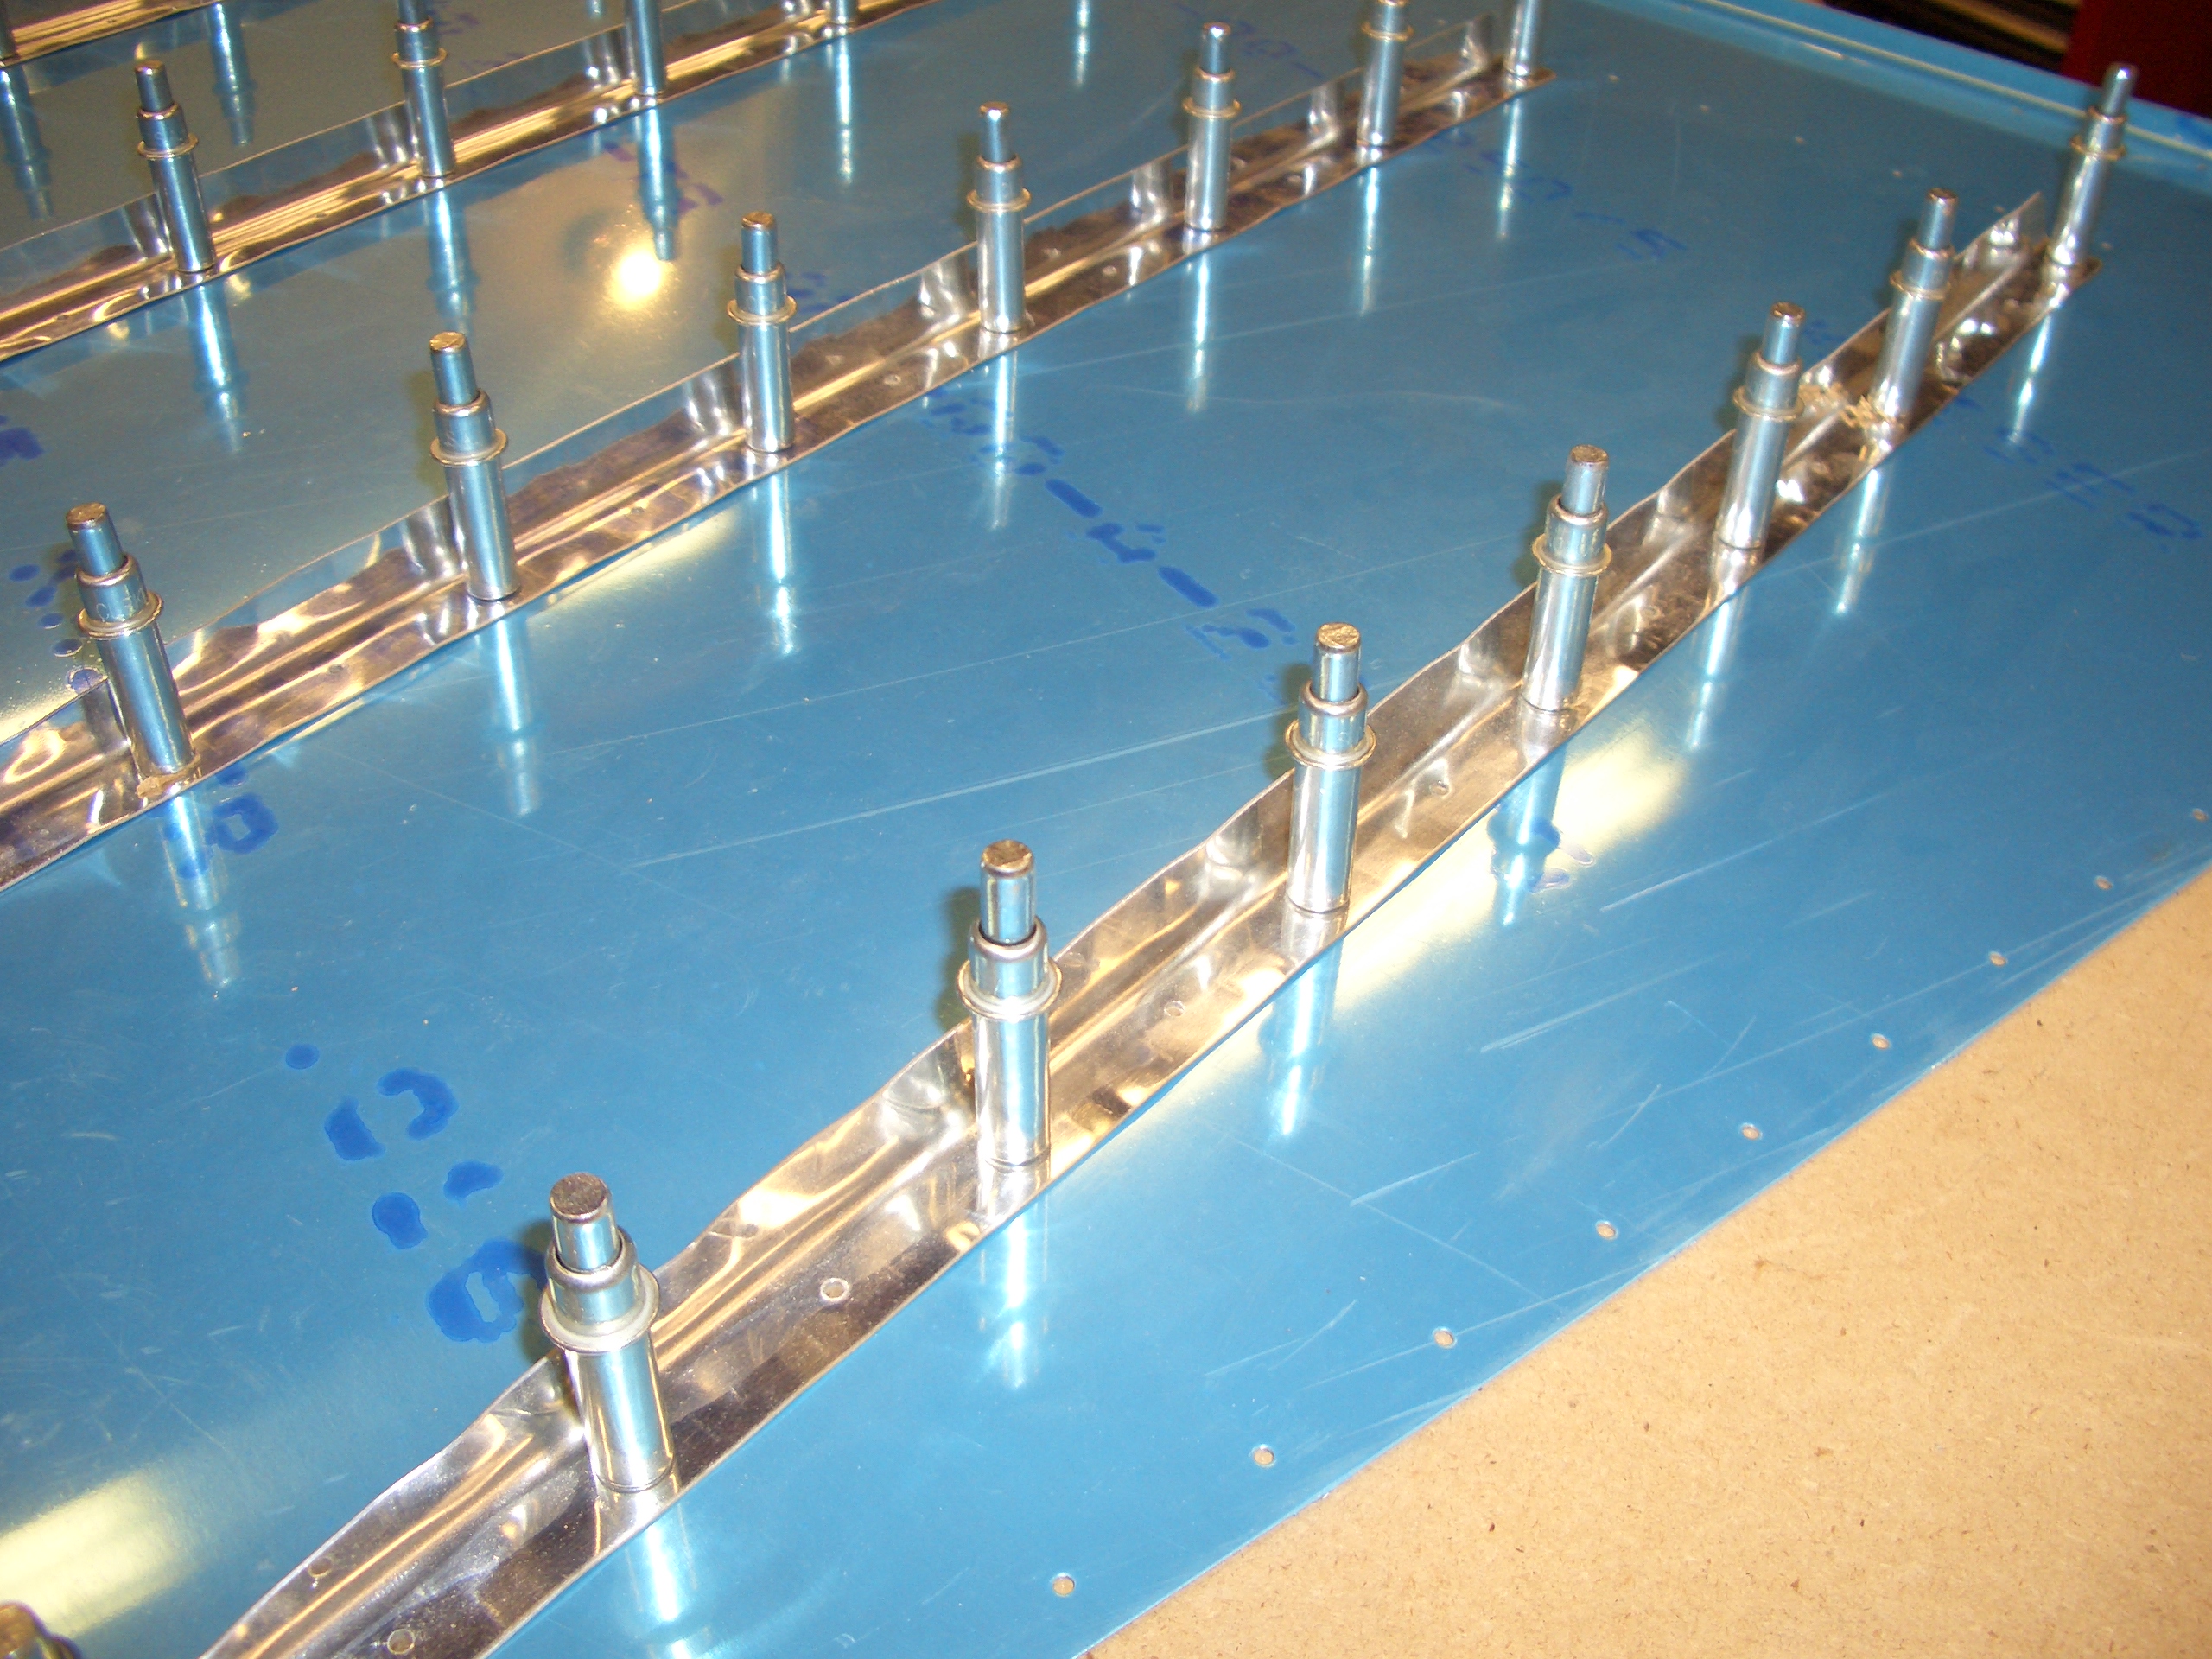
Both left and right skins have been deburred, dimpled, and edge prepped. Here, I’ve clecoed HS-707 and HS708 on in preparation for riveting HS-707. The front spar will eventually go between these two ribs (where the copper clecos are), but I’ve clecoed it on here now to help the skin stay flush against HS-707. It’s too late to start riveting this now since the kids are asleep. Besides, I wouldn’t want to attempt this alone until I have a bit more experience. This is going to have to wait until tomorrow night or Saturday when I can get a riveting partner.