I got up early this morning to wrap up my phase 1 flight test period. Since I only needed one more hour, I didn’t have to get up quite as early as yesterday. There was a 1700 ft overcast over the airport, but I found a hole and climbed through it. I used the time to play around with the autopilot, testing editing flight plans, joining courses, etc. After flying around for about 45 minutes, I descended through another hole and landed. I taxied up to the hangar right as the hobbs meter rolled 40.0 hours. I’m officially out of phase 1!
Fabricated New Exhaust Support Brackets
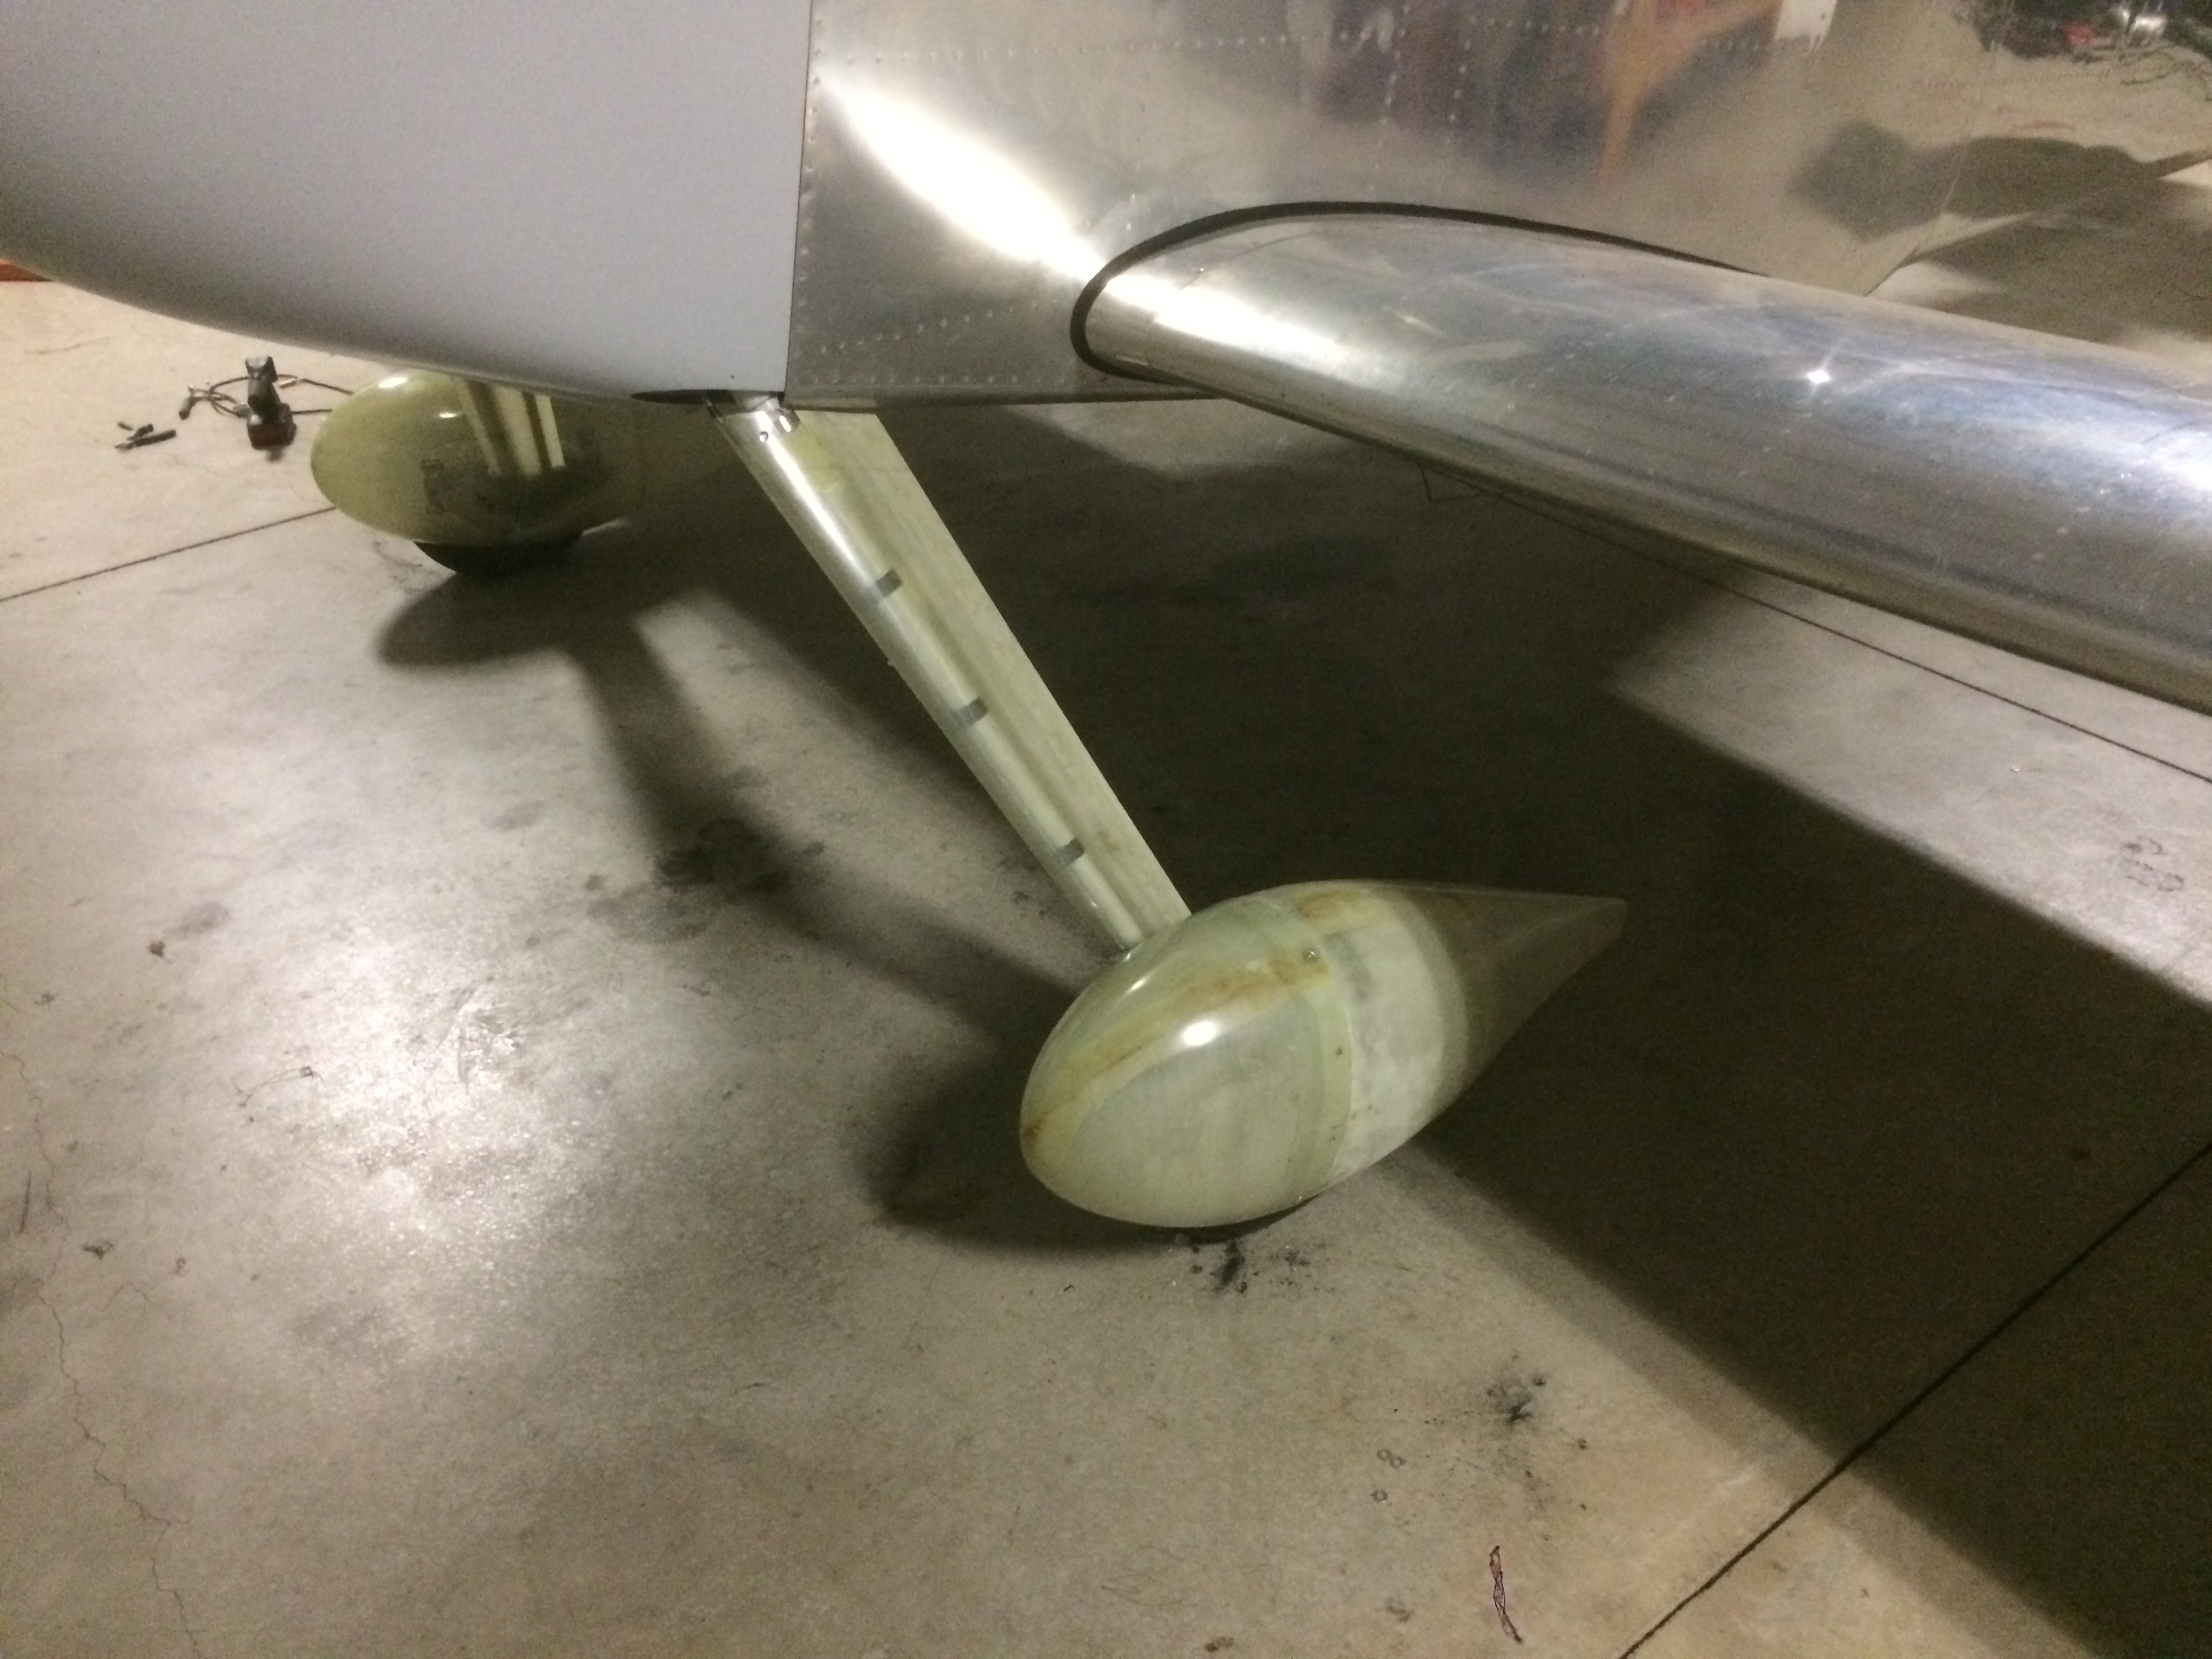
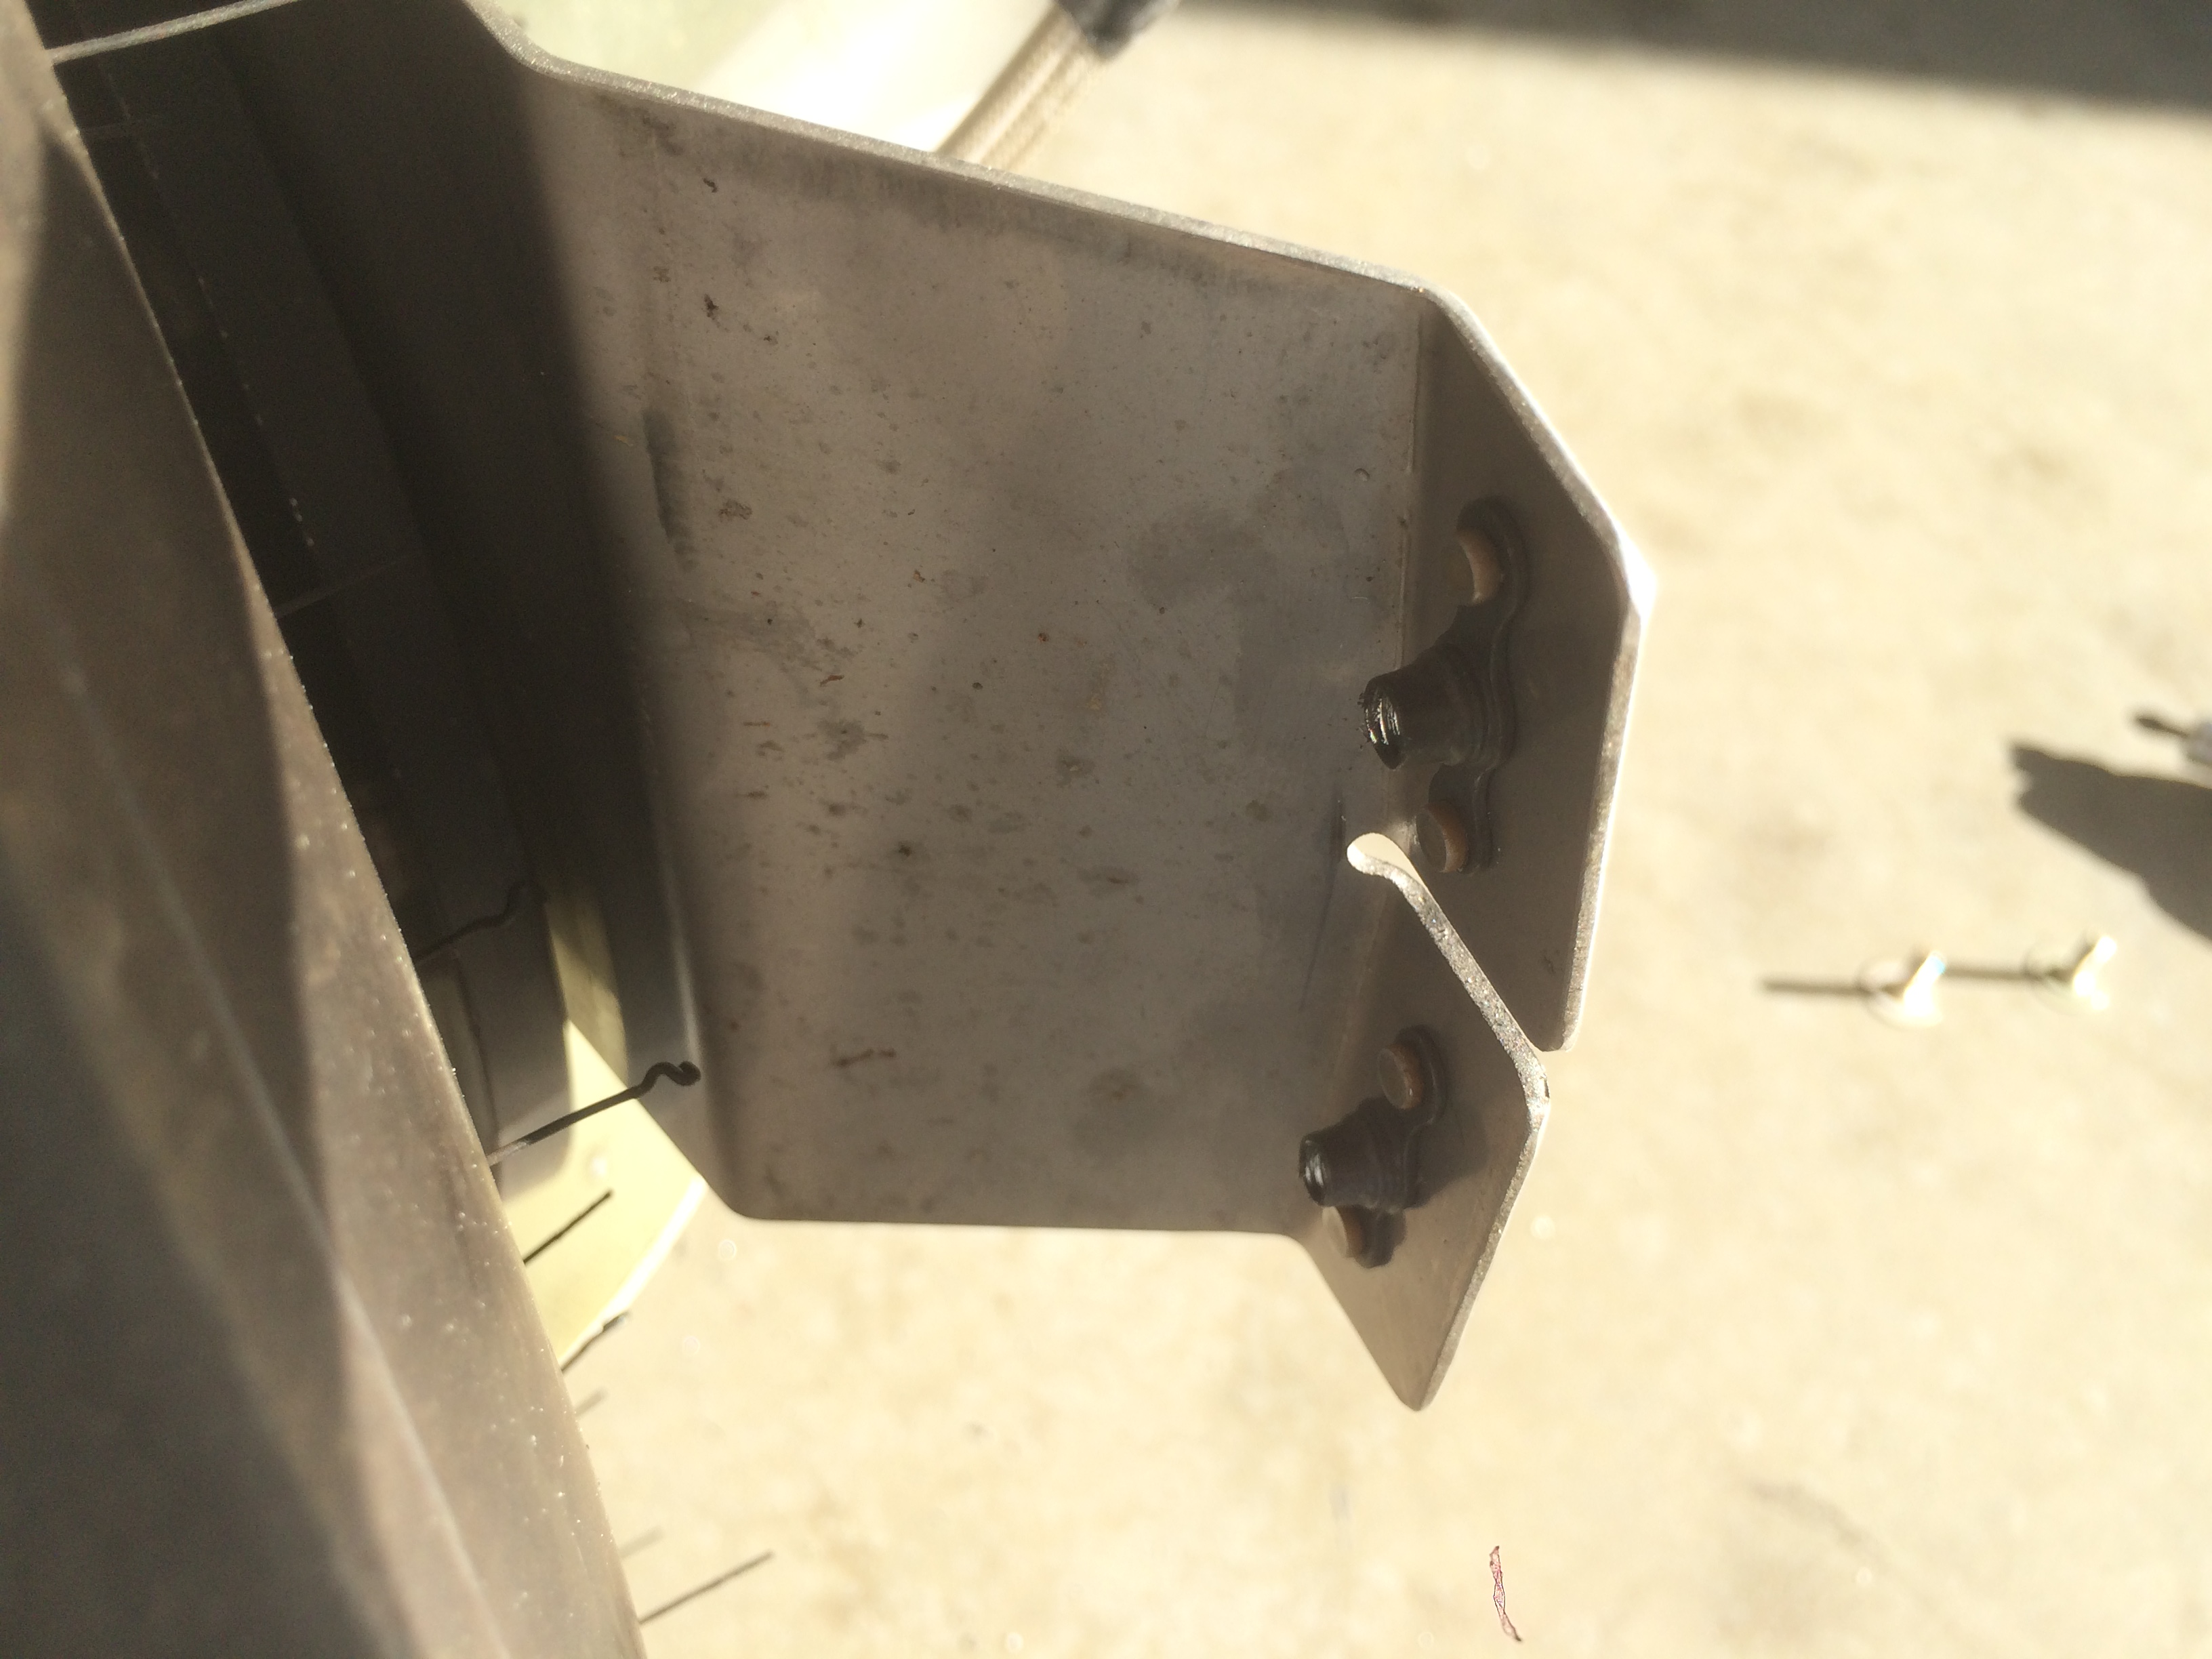
One of the things I’ve been needing to do is replace my exhaust supports. I originally built them to the plans from Vetterman Exhaust which involved supporting them from the engine mount. This puts stress on the exhaust as the engine shakes at startup and shutdown since the exhaust can’t move with the engine. It’s better to support the exhaust from the sump so that it can move with the engine. I ordered some 0.035″ wall thickness, 3/8″ OD stainless steel tubing and some MIL6000-6 rubber tubing which is the same as what came from Vetterman. I cut the tubing to length and flattened each end so I could drill holes and bolt it to the sump and exhaust support. There is about 1/4″ gap between the upper and lower tube, and I put a small flare in the end to keep the tubing from pulling out. Here’s the lower end of the left support.

You can see the upper end has a bend to align with the sump.

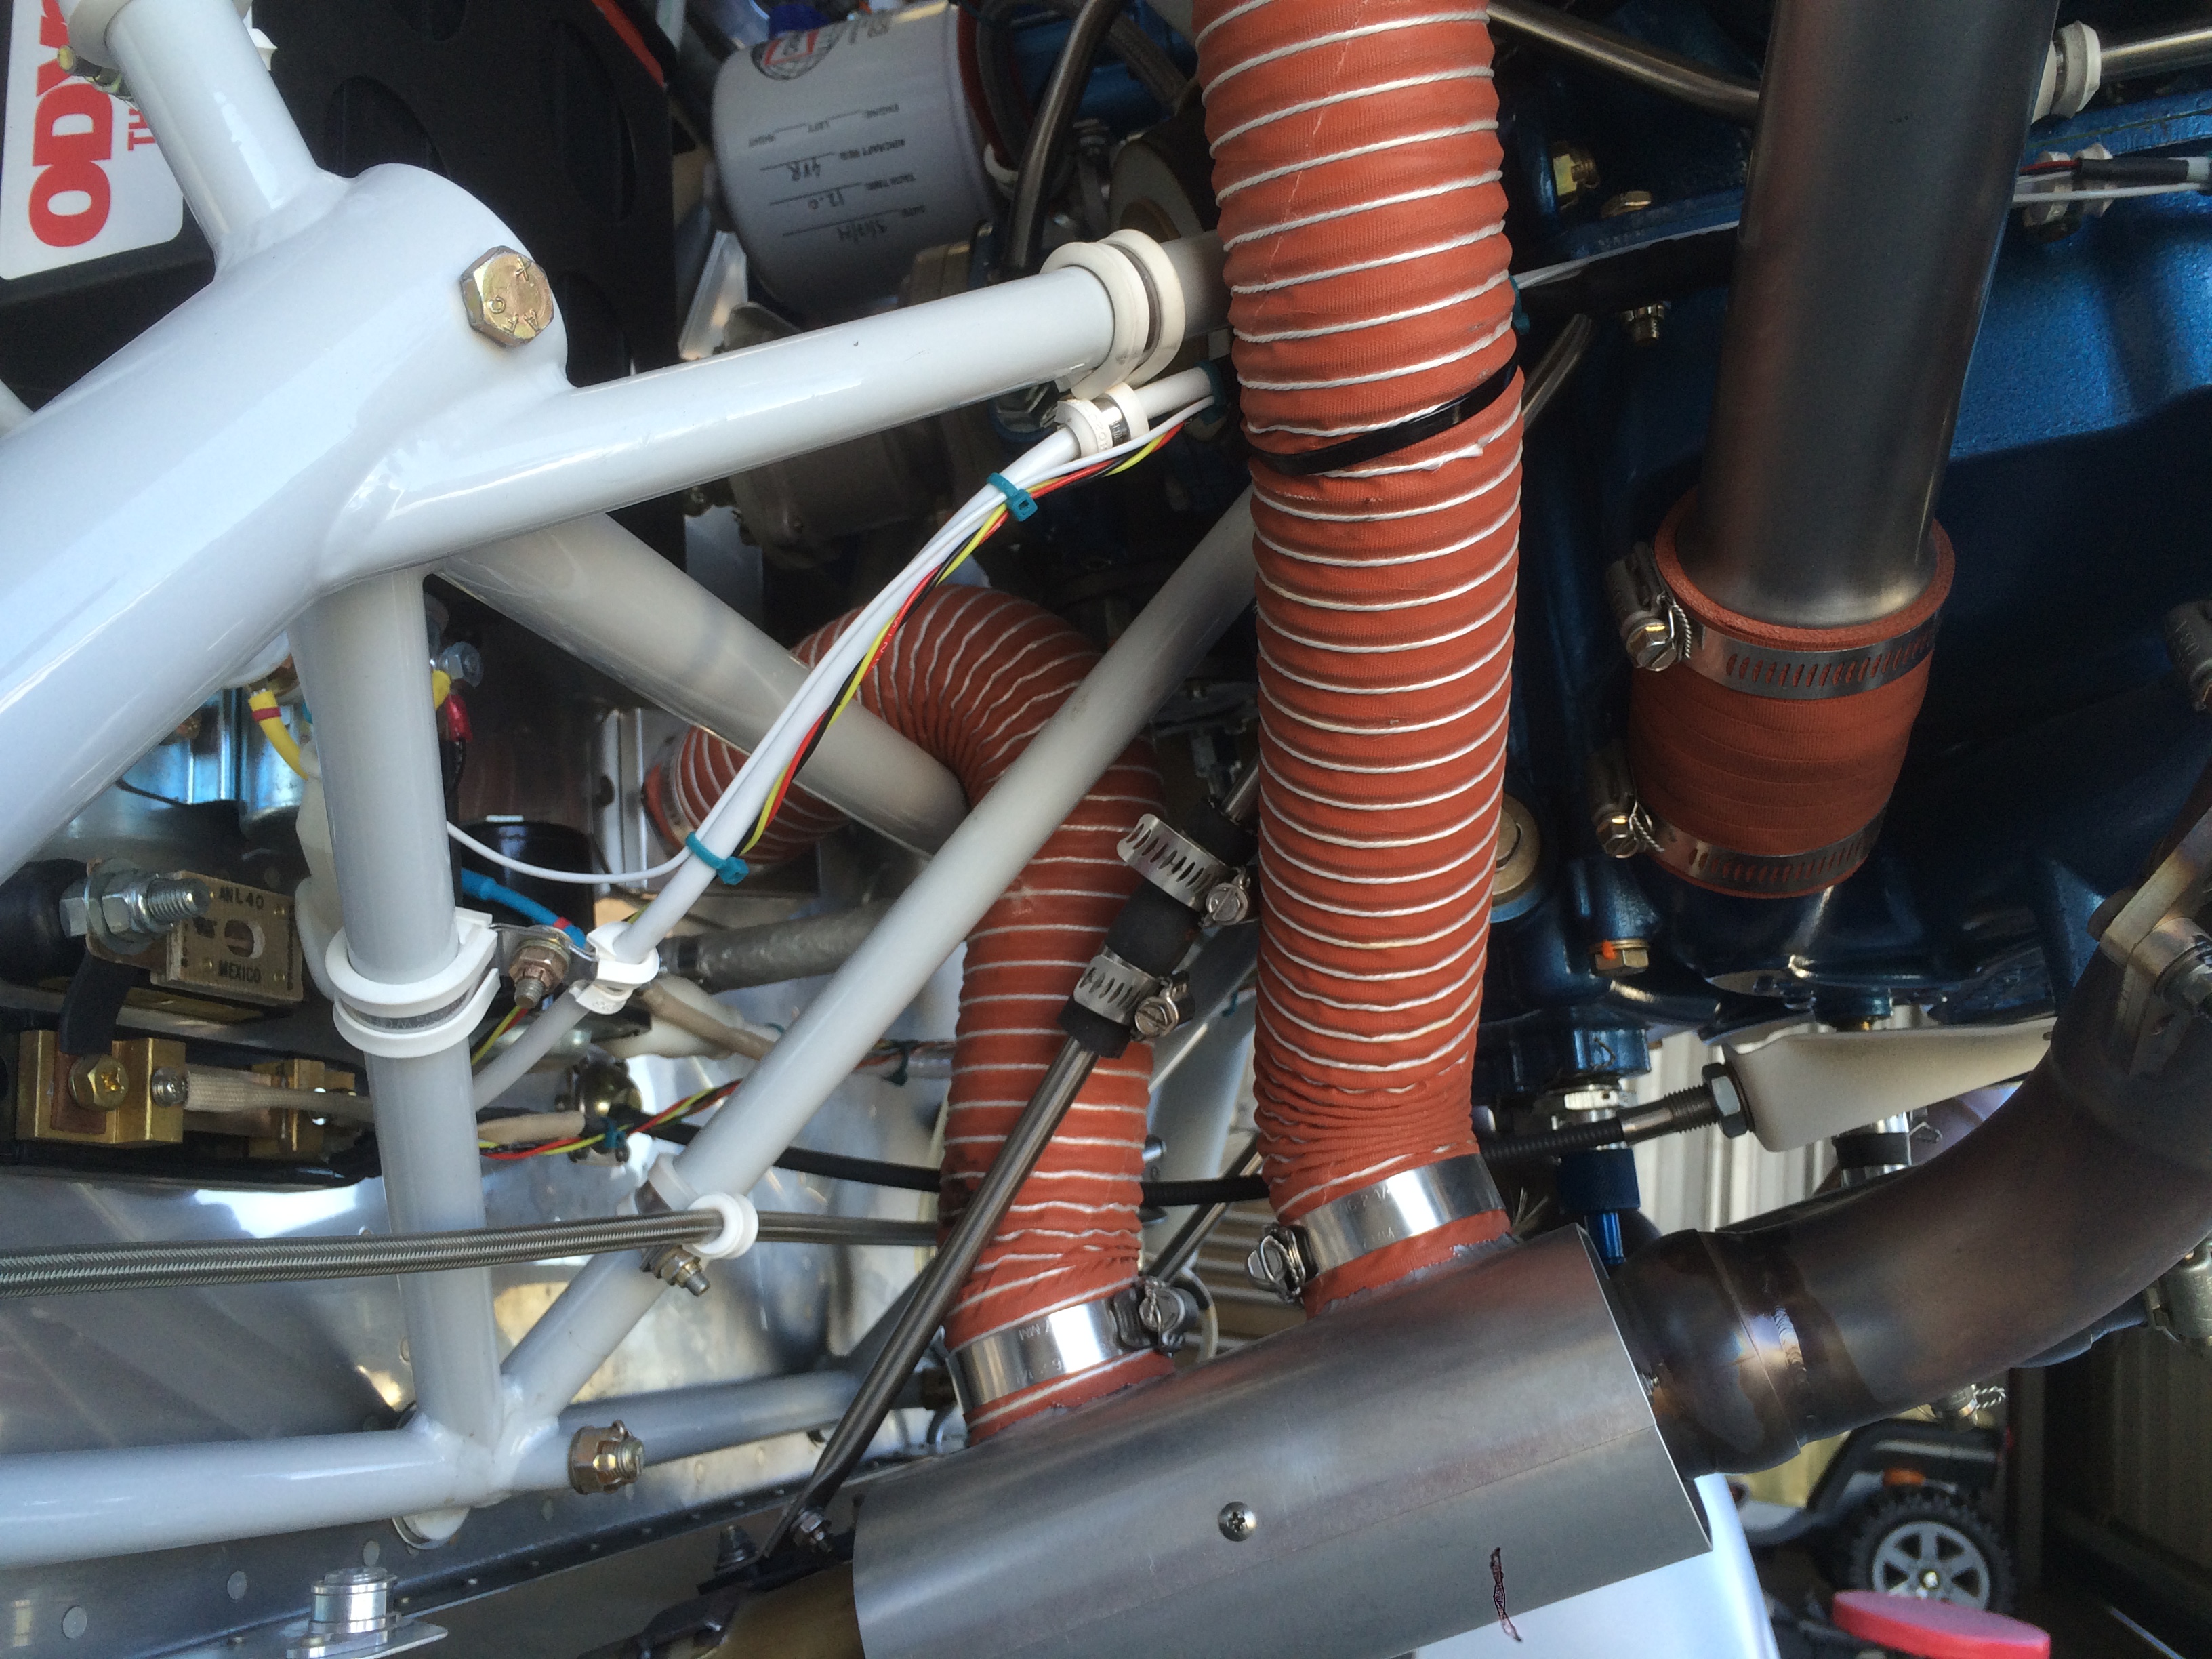
Here’s the left side. This support runs tight against both pieces of SCAT tubing. I’ll keep an eye on this for chafing. If it does, I can fabricate a bracket to move the lower attach points outward and then reroute the forward SCAT tube so there is no interference.
First Passenger
I was supposed to take my buddy André up as my first passenger since he helped so much with the build over the years, but he got sick. After wrapping up the next exhaust supports, I needed to take the plane up for a test flight, so I took my nearly 11-year-old son Matthew up instead. He was a little nervous, but ended up really enjoying the flight. He asked to go upside down, so we did a couple of rolls. He felt a little weird, so we didn’t do anymore and headed back to the airport.
First Flight Outside my Phase 1 Flight Test Area
André was feeling better, so we decided to fly and meet my buddy Dan somewhere for lunch. We flew up to the Nut Tree airport just north of the Travis Air Force Base. It was a bumpy flight and André wasn’t feeling 100%, so we didn’t do any aggressive maneuvers. After lunch, I gave Dan a quick ride and the tanked up with some cheap gas and headed back to South County with André.
Fixed Fuel Flow Sensor
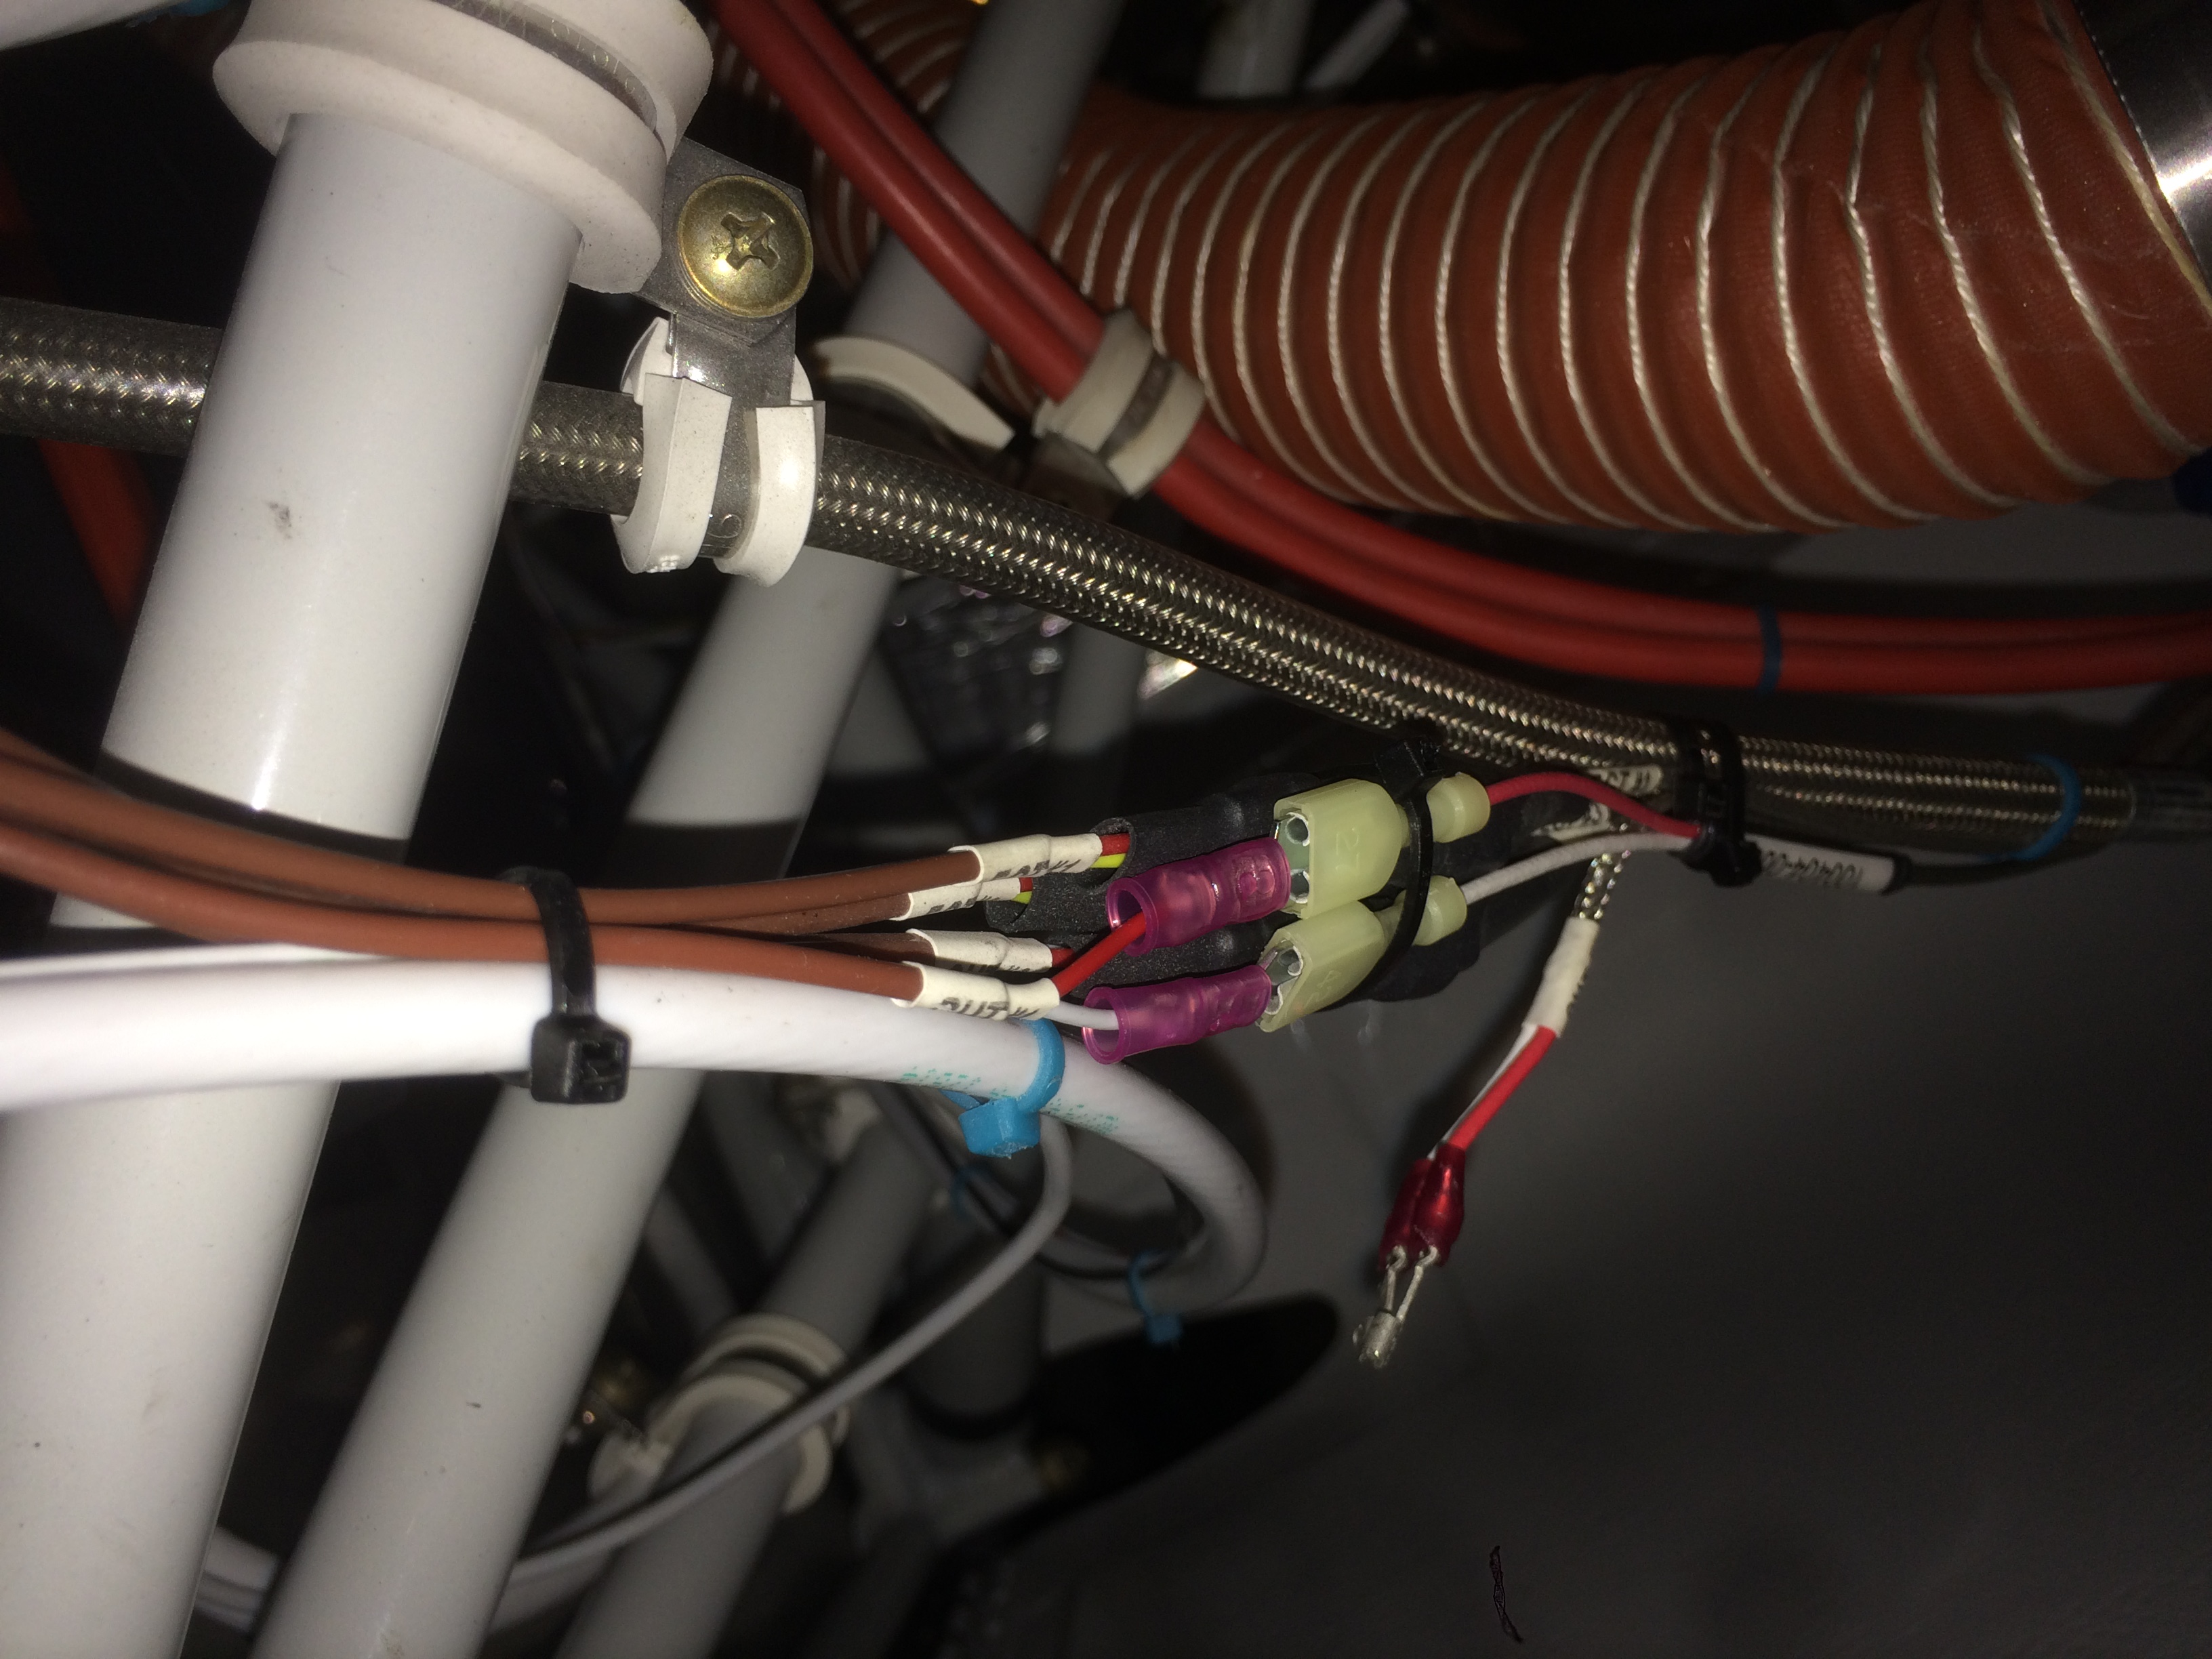
I’ve always had a slightly erratic fuel flow. The fire sleeve I added a couple of months ago helped, but didn’t fully resolve the problem. Although I still suspected a heat problem, I called Dynon to get other ideas. They sent me a document on diagnosing fuel flow issues and wanted me to remove the 90º elbow on the outlet before trying anything else. I decided to call EI who makes the sensor to see what they thought and they told me that the number one cause of an erratic fuel flow sensor was a bad electrical connection to the sensor.
I pulled the heat shrink off of the knife splices for the three wires going to the sensor. I re-crimped them and squeezed the splices so that they’re much tighter. I then re-heat-shrinked them and took it up for a short flight. The fuel flow was rock solid.
Update: with over 5 hours on the plane now since redoing the connections, I’m pretty sure this is now resolved.
Fabricated New Exhaust Support and Replaced CHT Probe
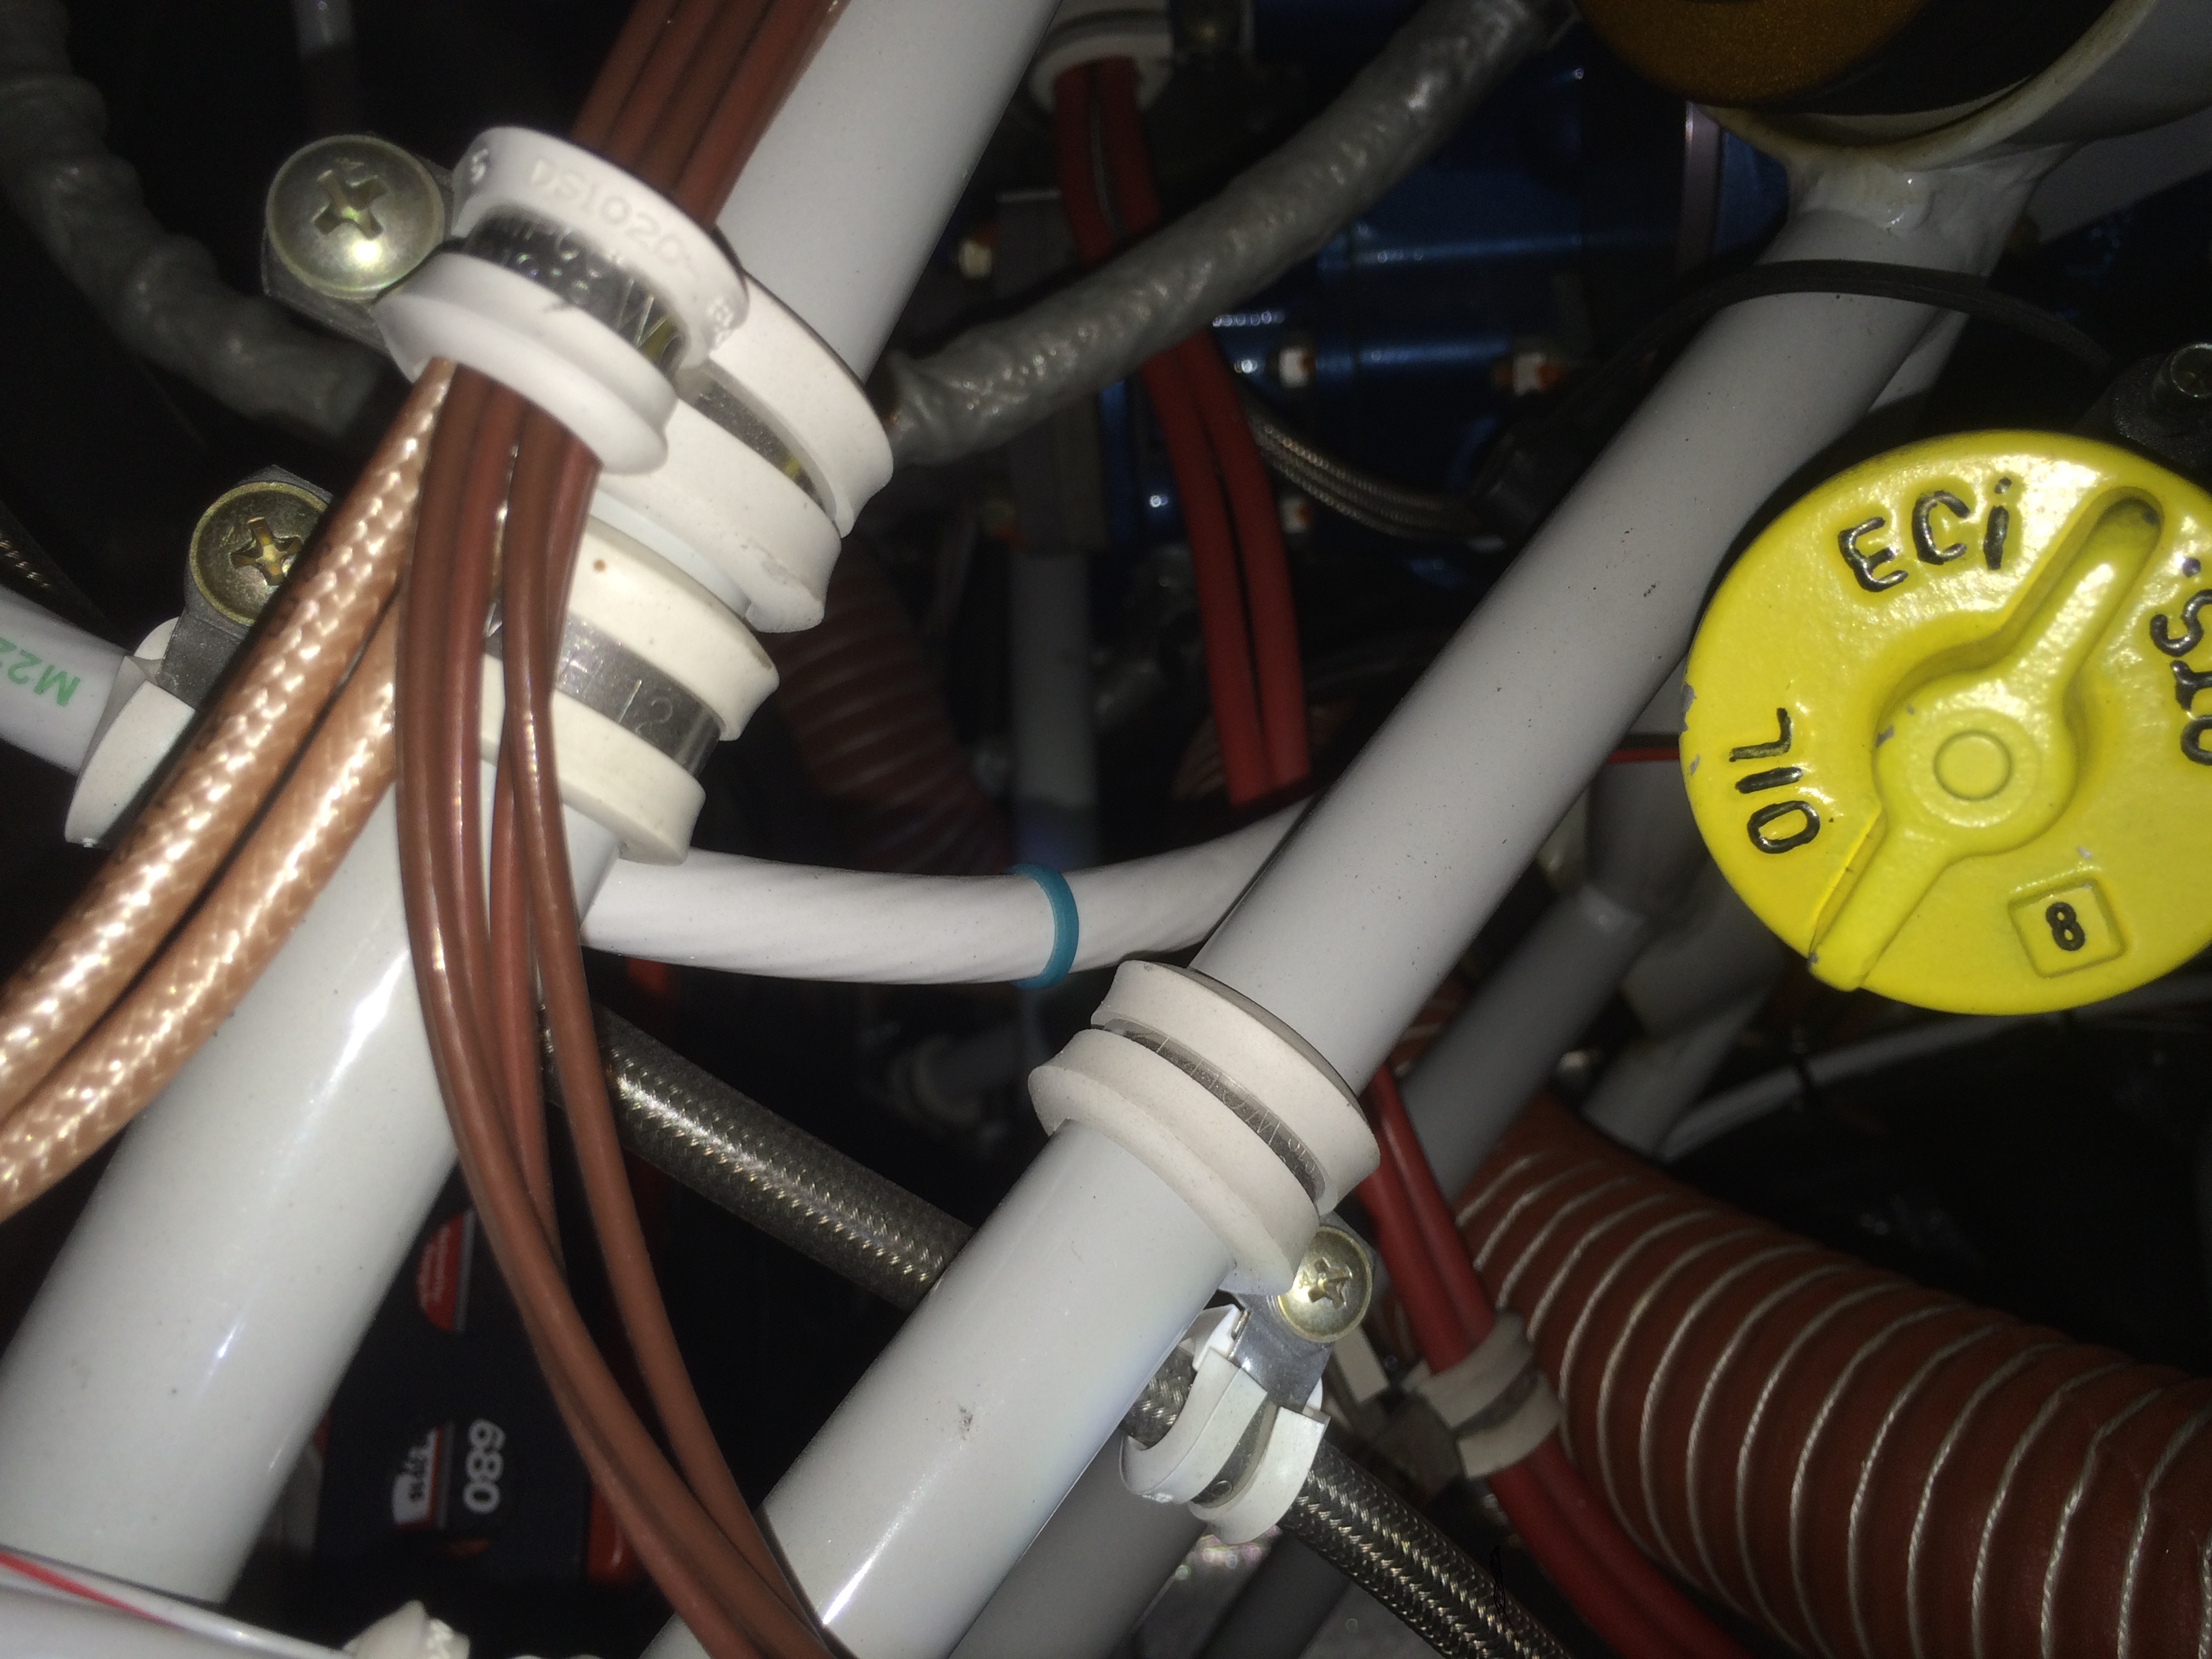
I needed to move the exhaust support tubes outward to clear the SCAT tubes going to the heat muff. Sadly, I didn’t get any pictures while the cowl was off, so I tried to take some pictures of what I did through the openings in the cowl. I replaced the aluminum bar that ties all four pipes together with one that is 4″ longer. I drilled additional holes in each end to attach the clips that tie the stainless tubing to the bar. This moves these supports out about 1 5/8″ on each side.

I rerouted both SCAT tubes and replaced the piece that was worn by rubbing on the exhaust support. Now there is plenty of clearance all around. This piece of tubing now runs above the lower engine mount tubing so it doesn’t rest against the wire going to the alternator.
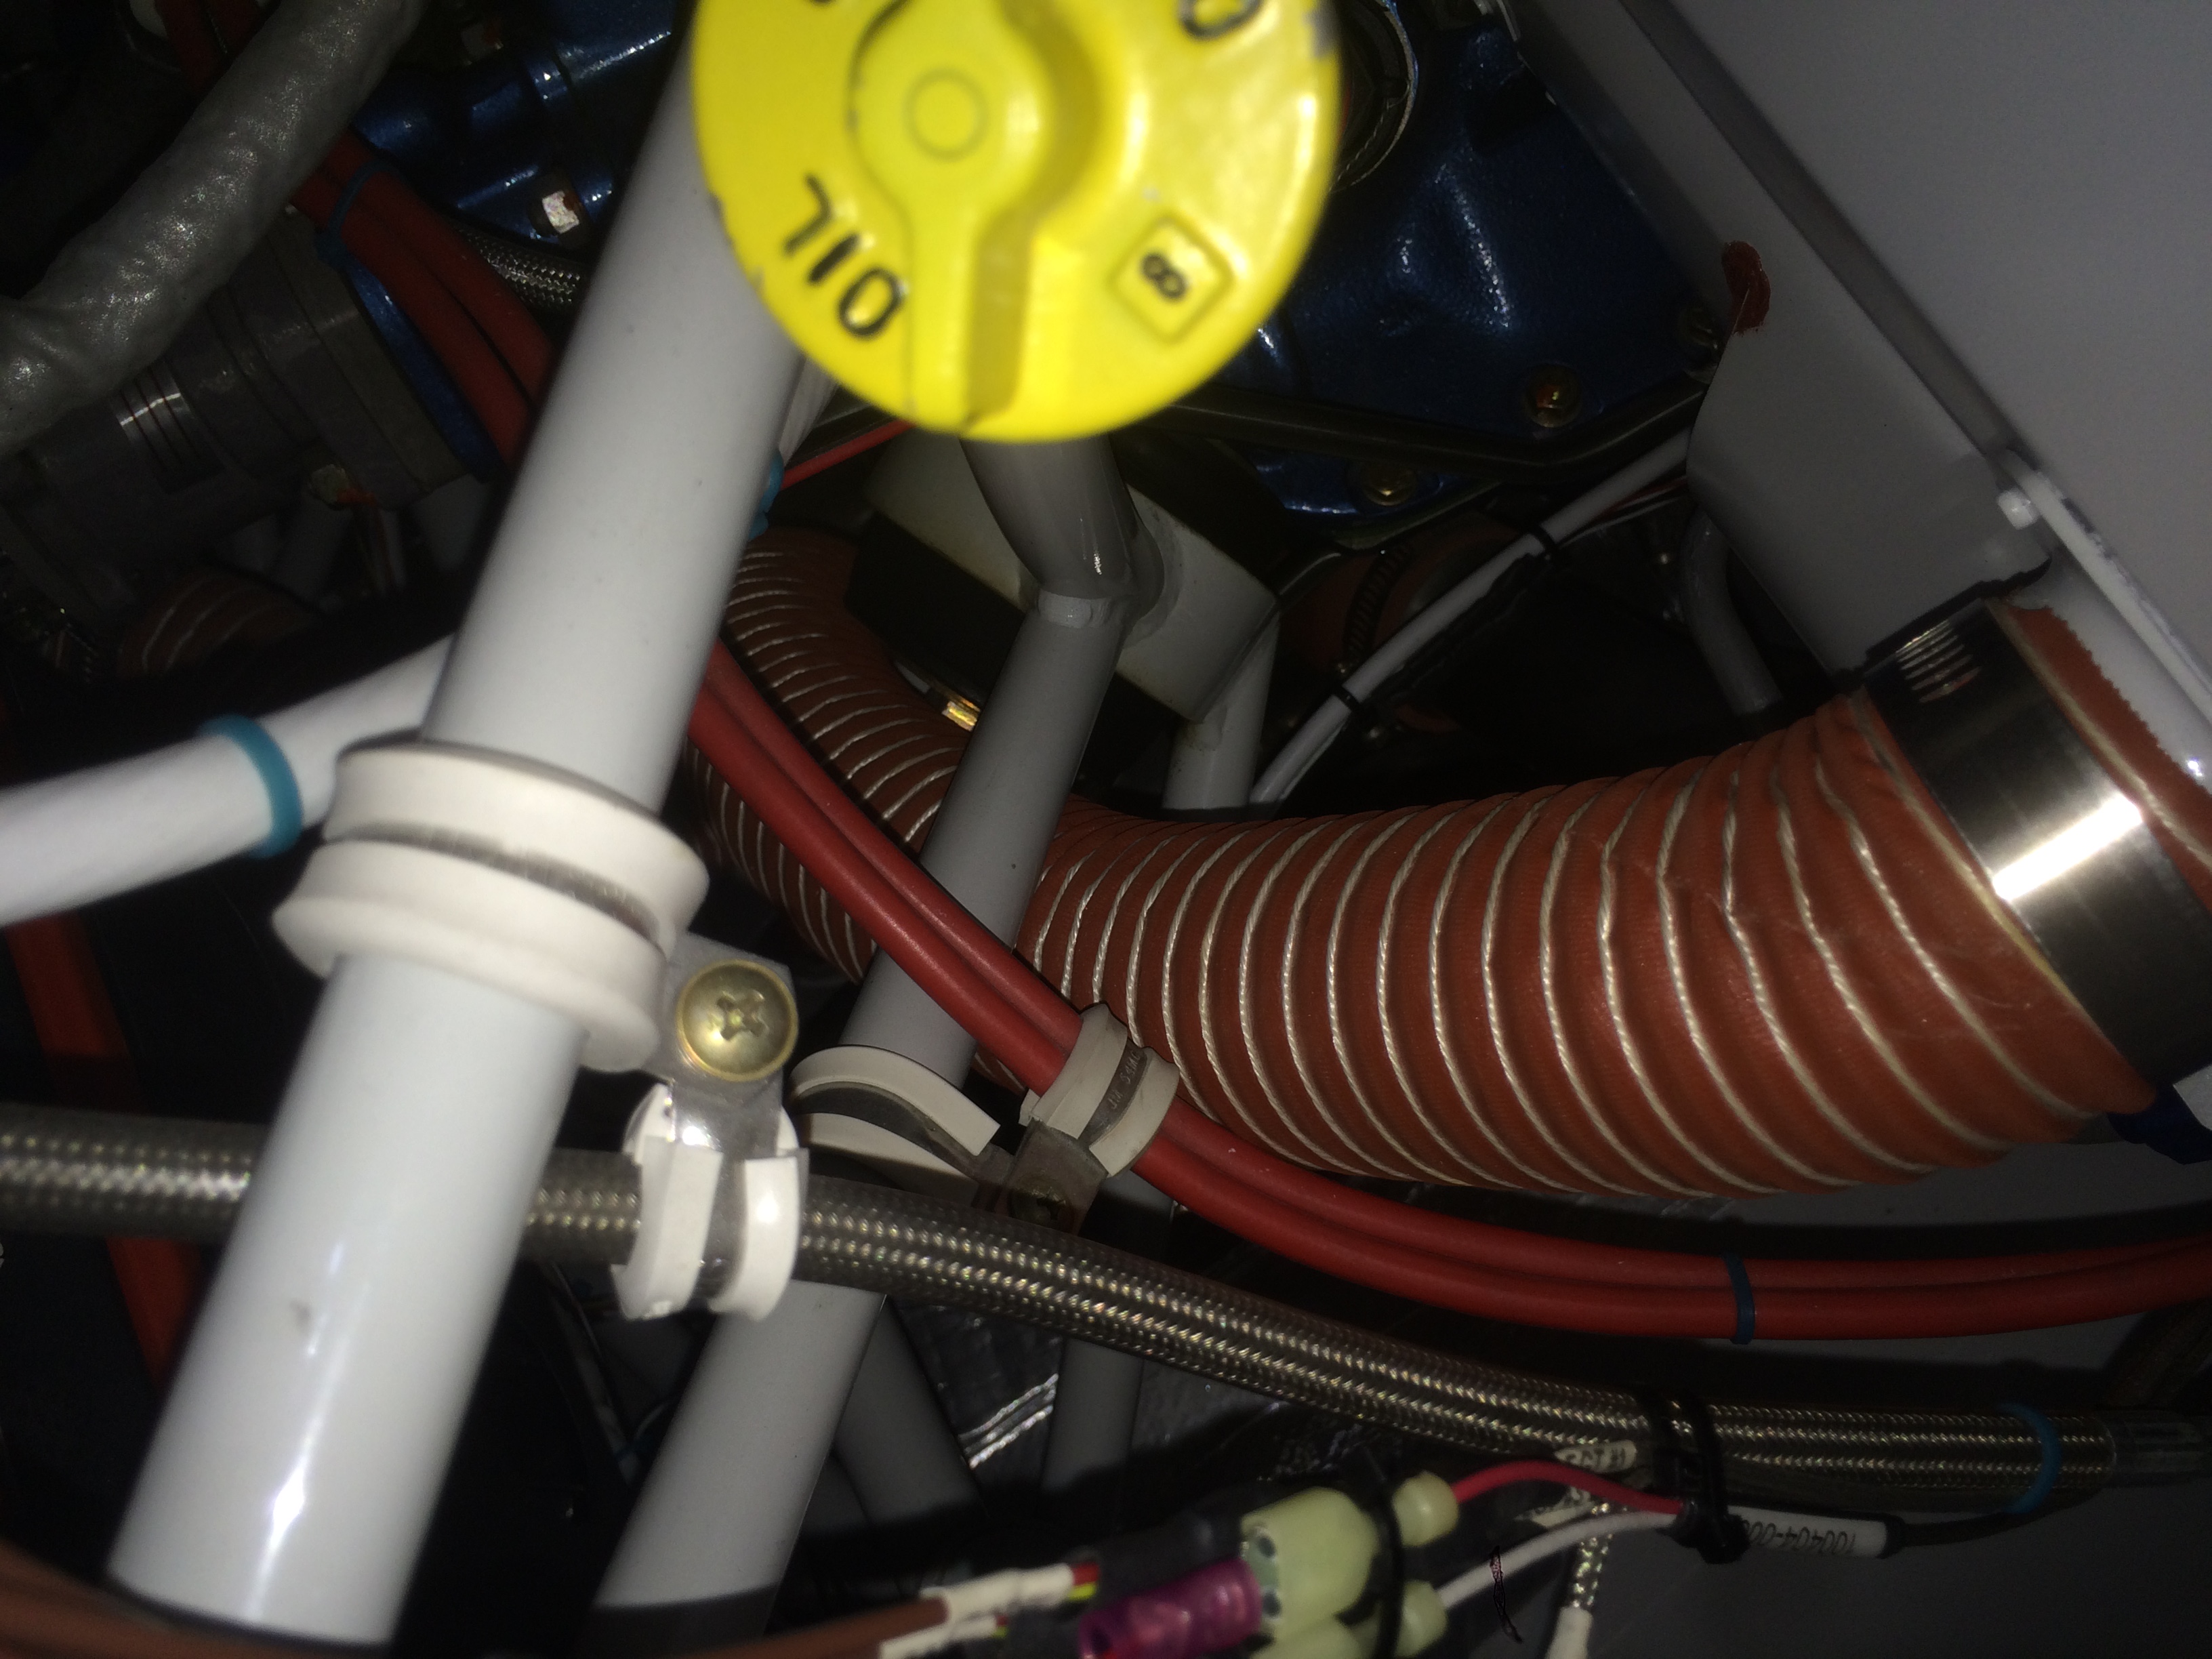
It’s pretty tough to see here, but the SCAT tubing from the heat muff to the firewall valve now runs under the horizontal tubing on the engine mount. This shortens the tubing and provides a more direct path into the heat muff.
I received a new CHT probe from Aircraft Spruce, so I installed it to see if the problem was the probe of the connection. This probe works just fine, so I’m going to redo the connections on the other one to see if the problem comes back.
Cleaned Hangar and Fabricated Chocks
I’ve spent the last week up in San Francisco for our developer’s conference, but I’m home now. I stopped by the hangar for a bit to straighten up and decided to make some quick chocks to keep the plane from moving if there’s an earthquake.

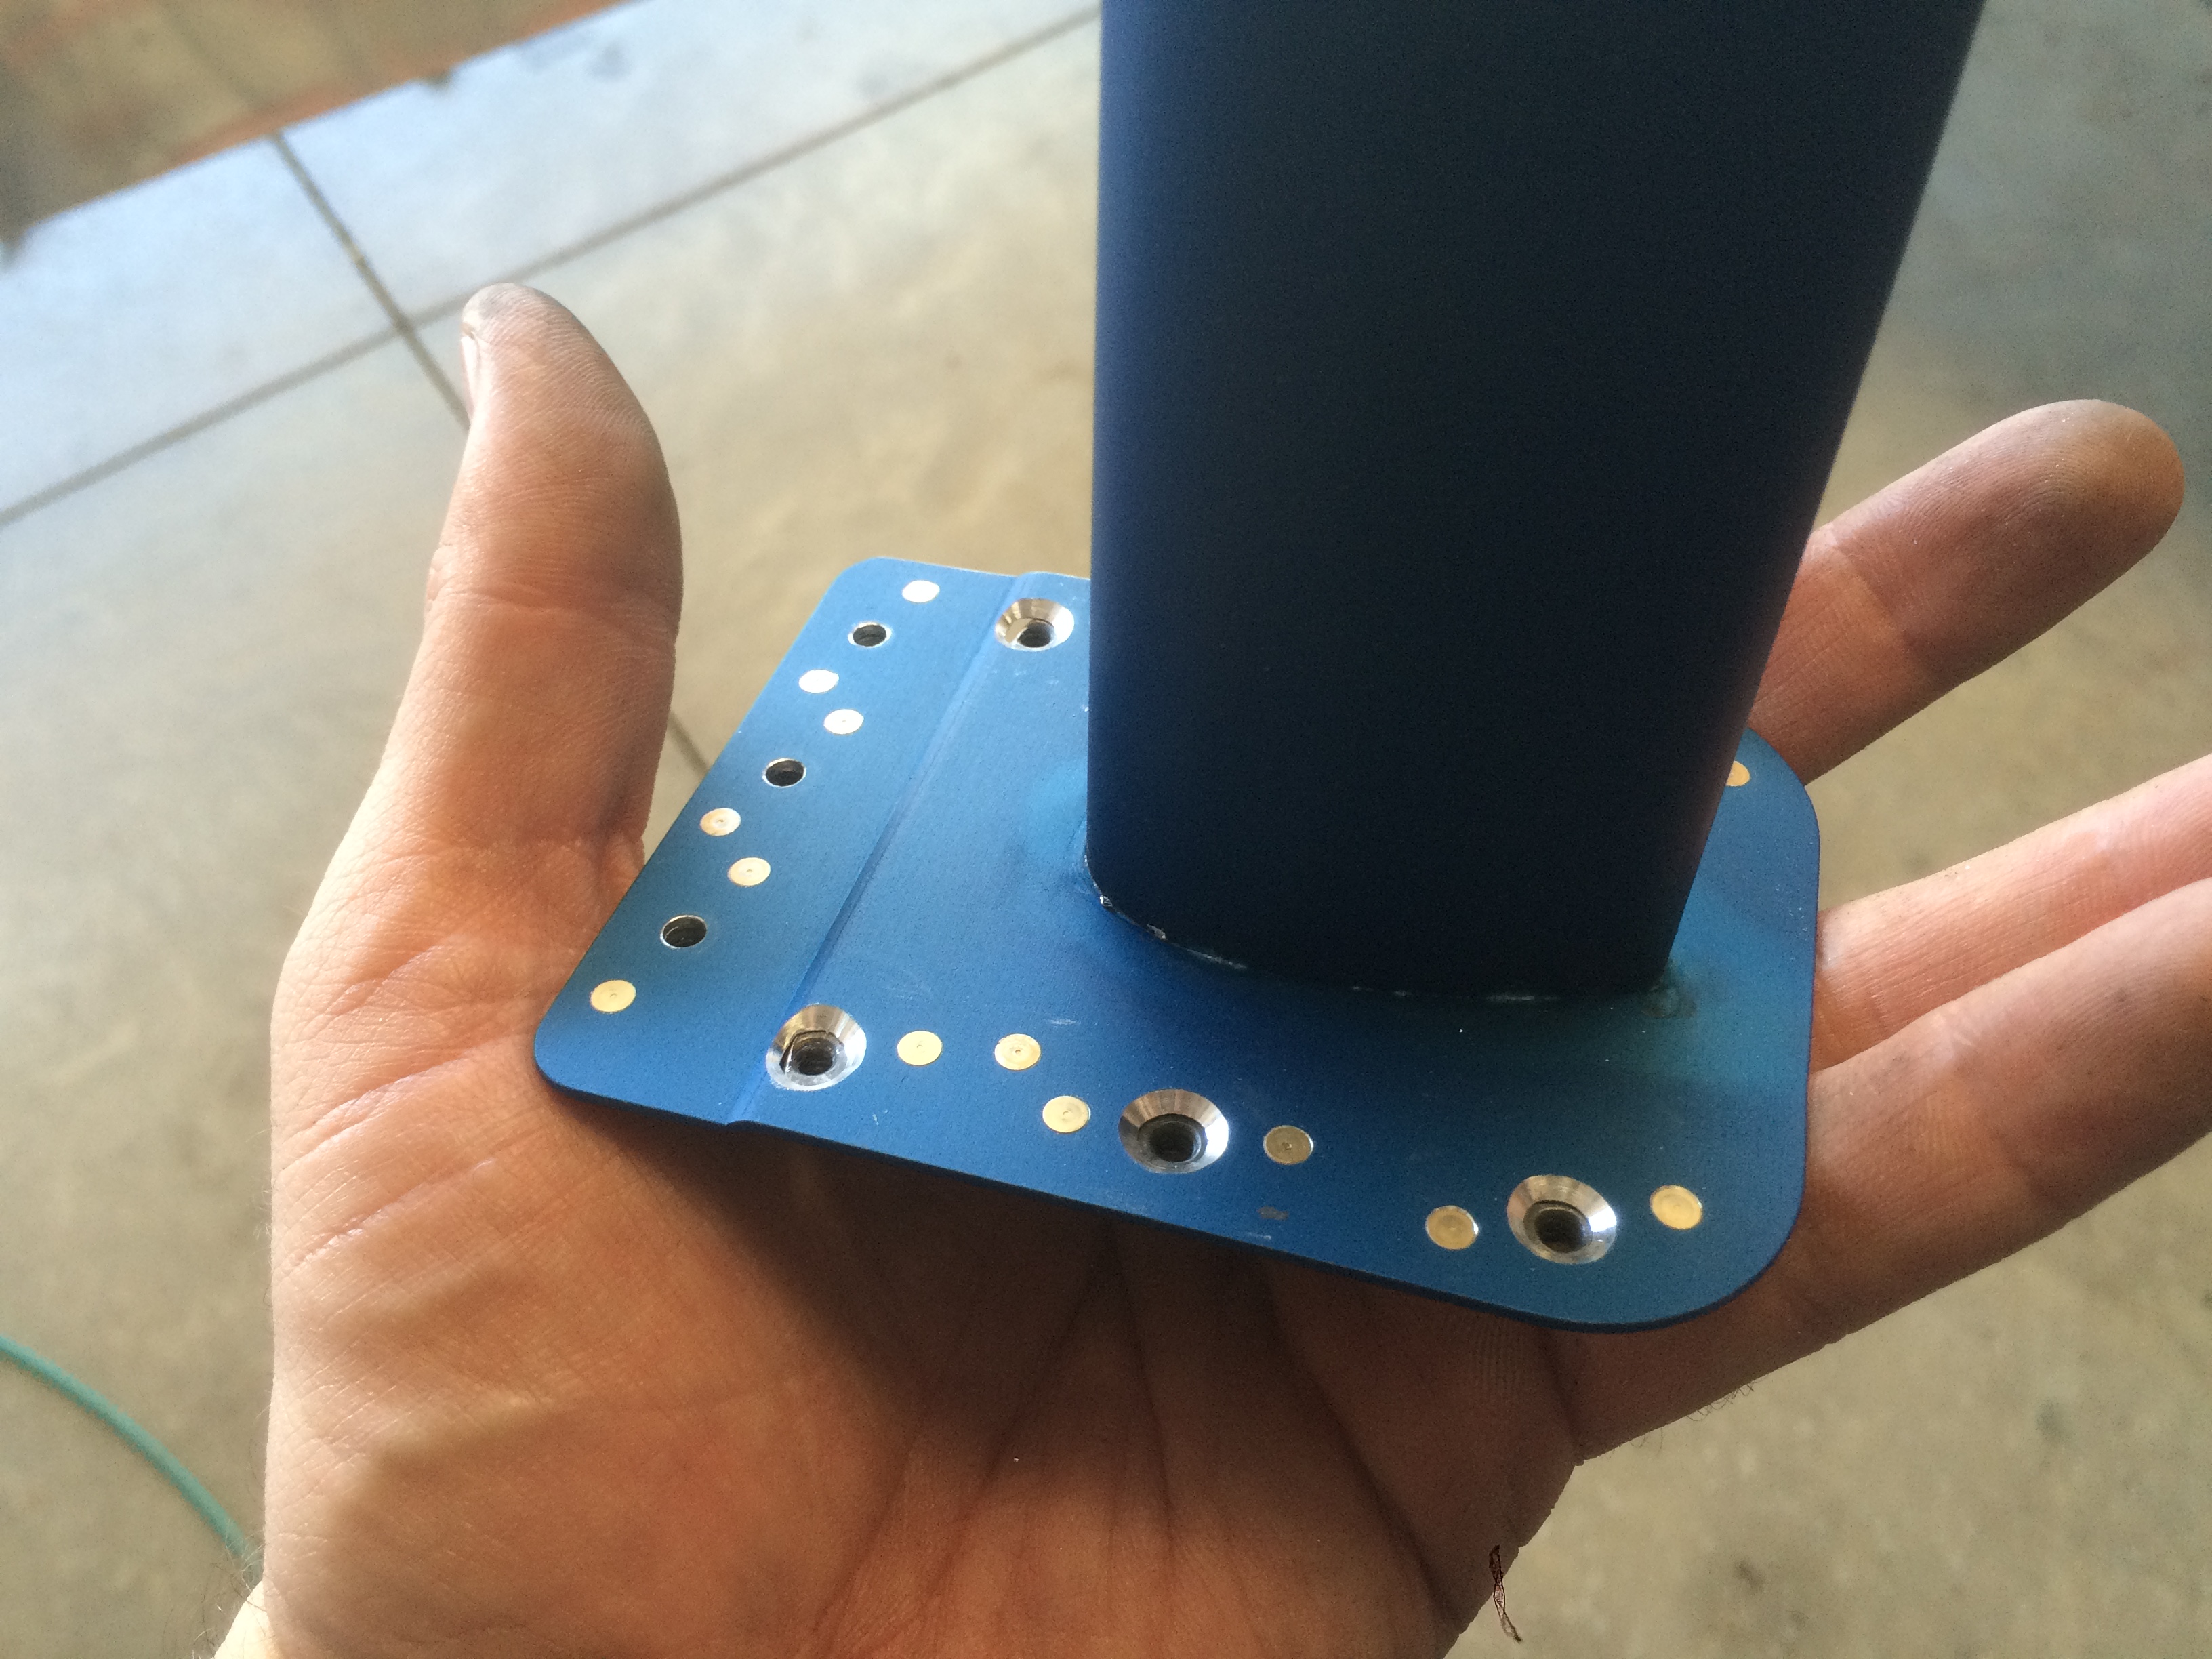
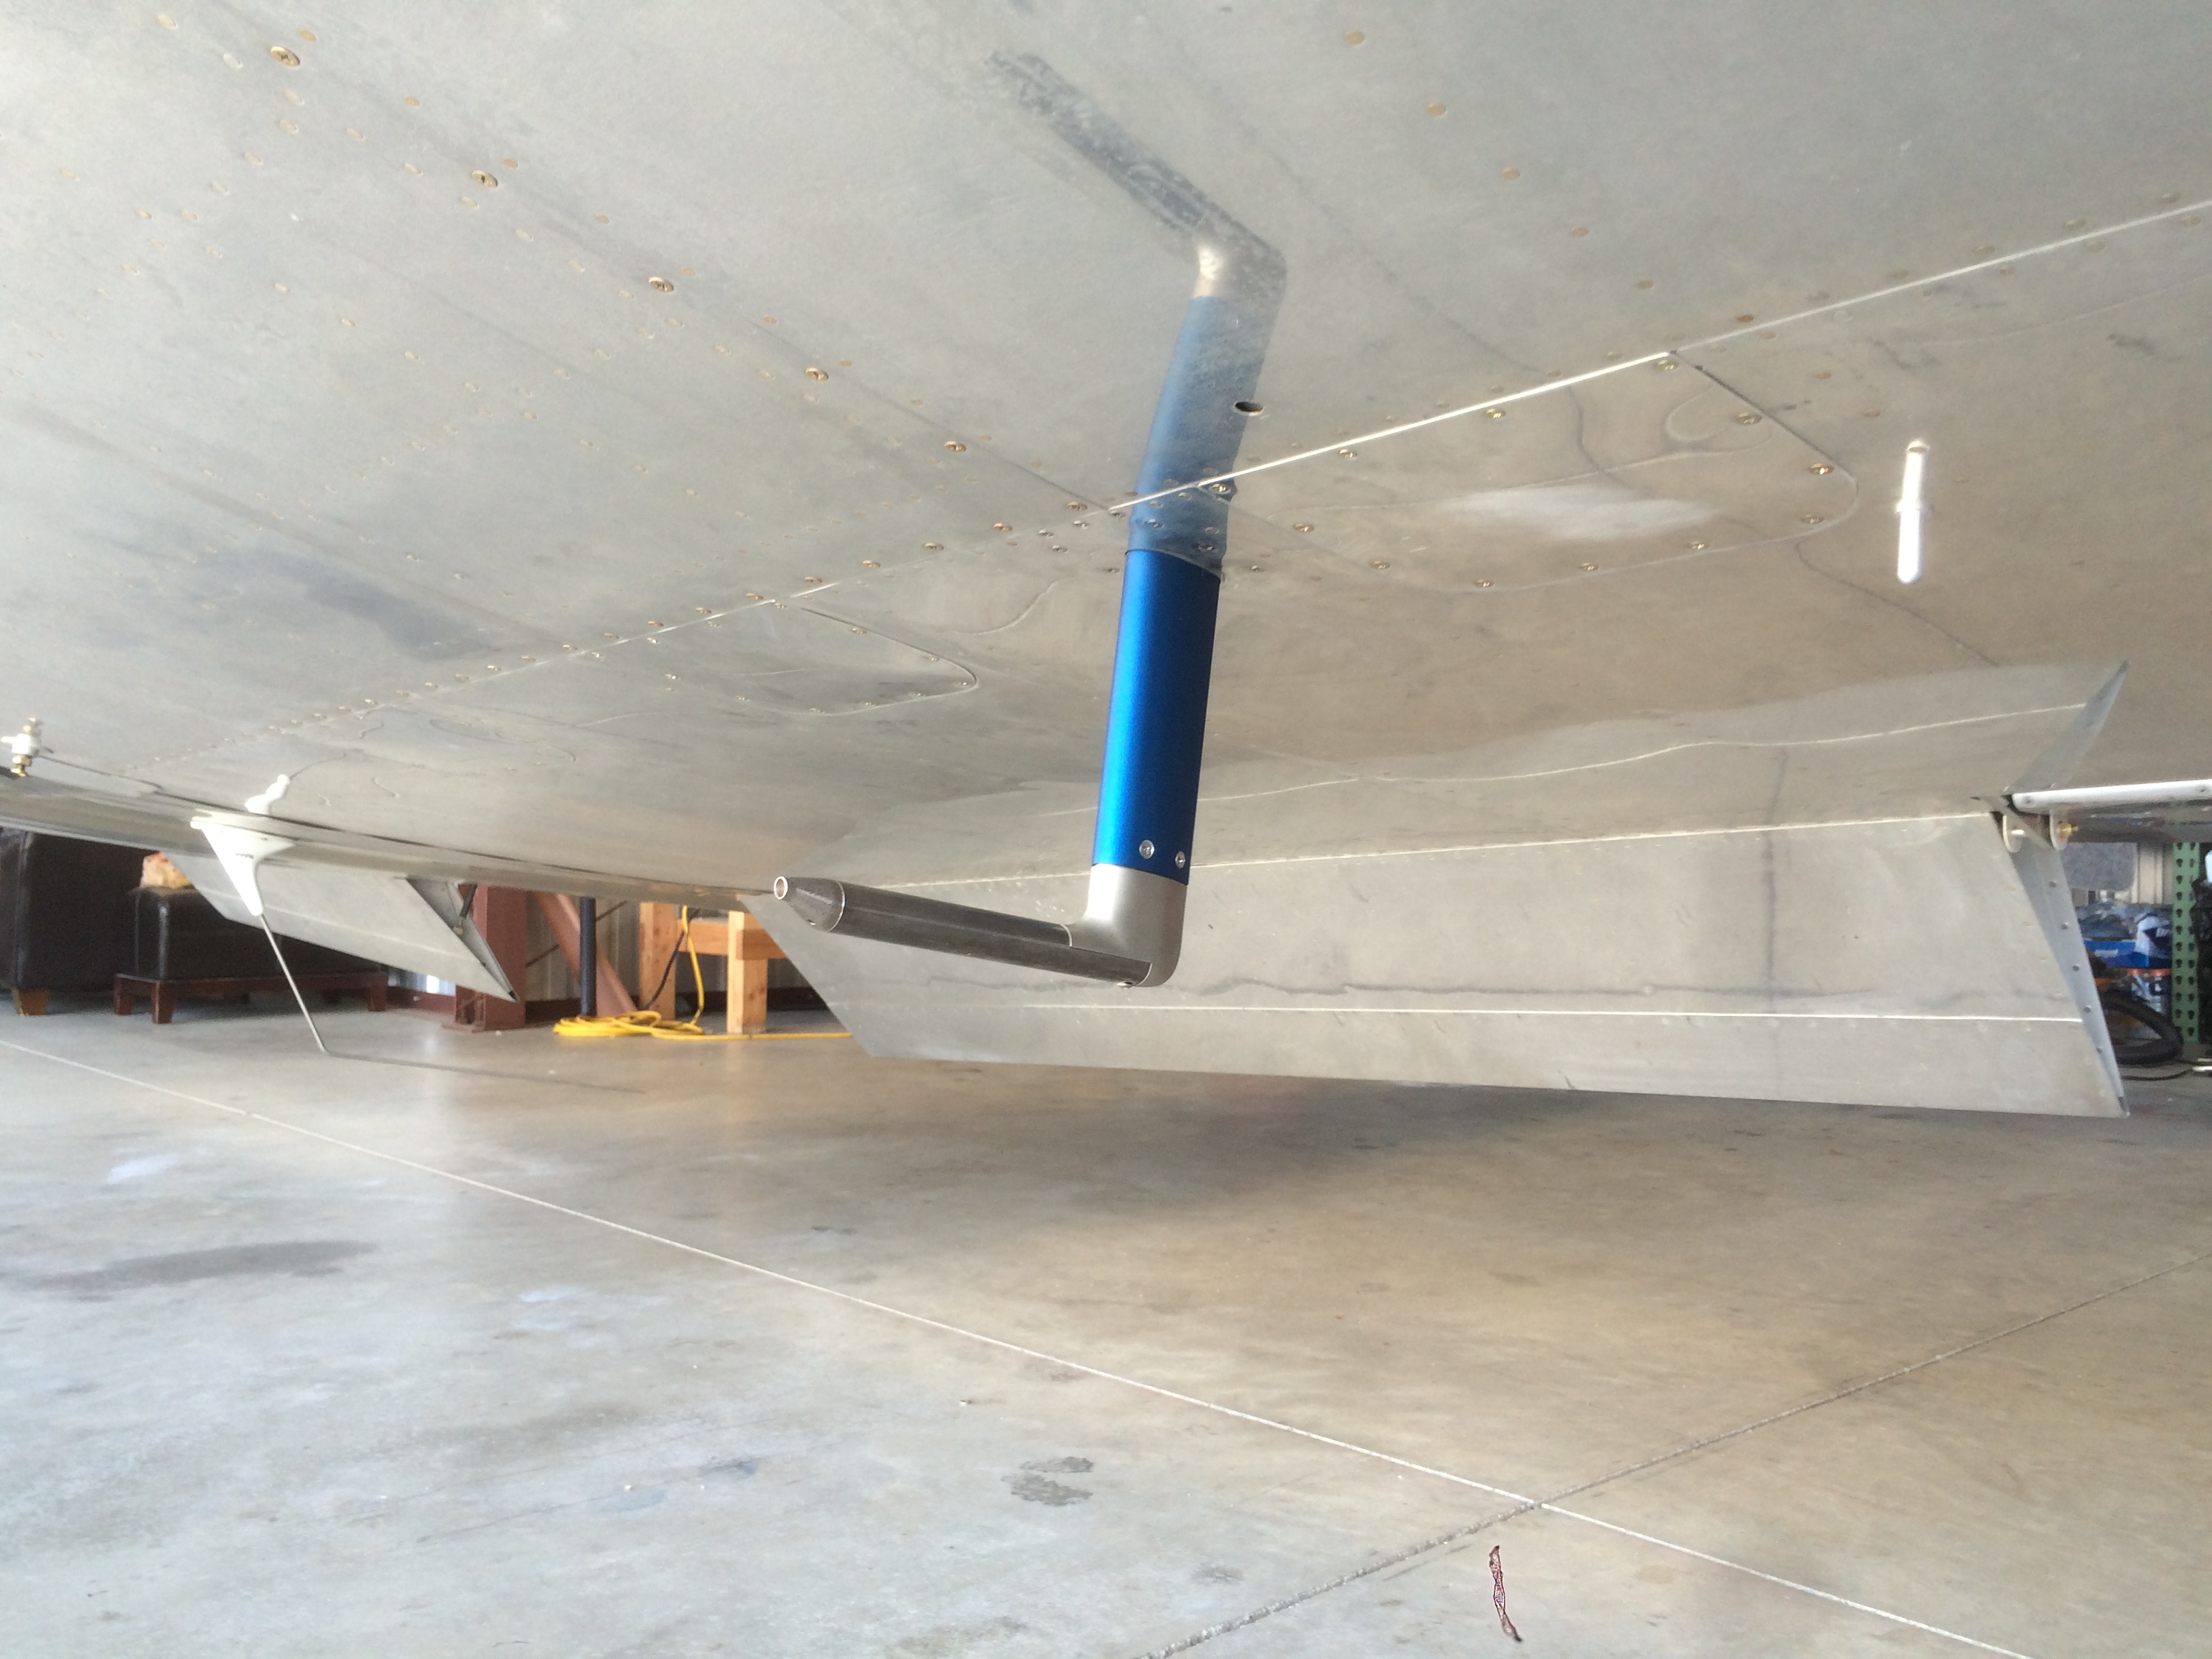
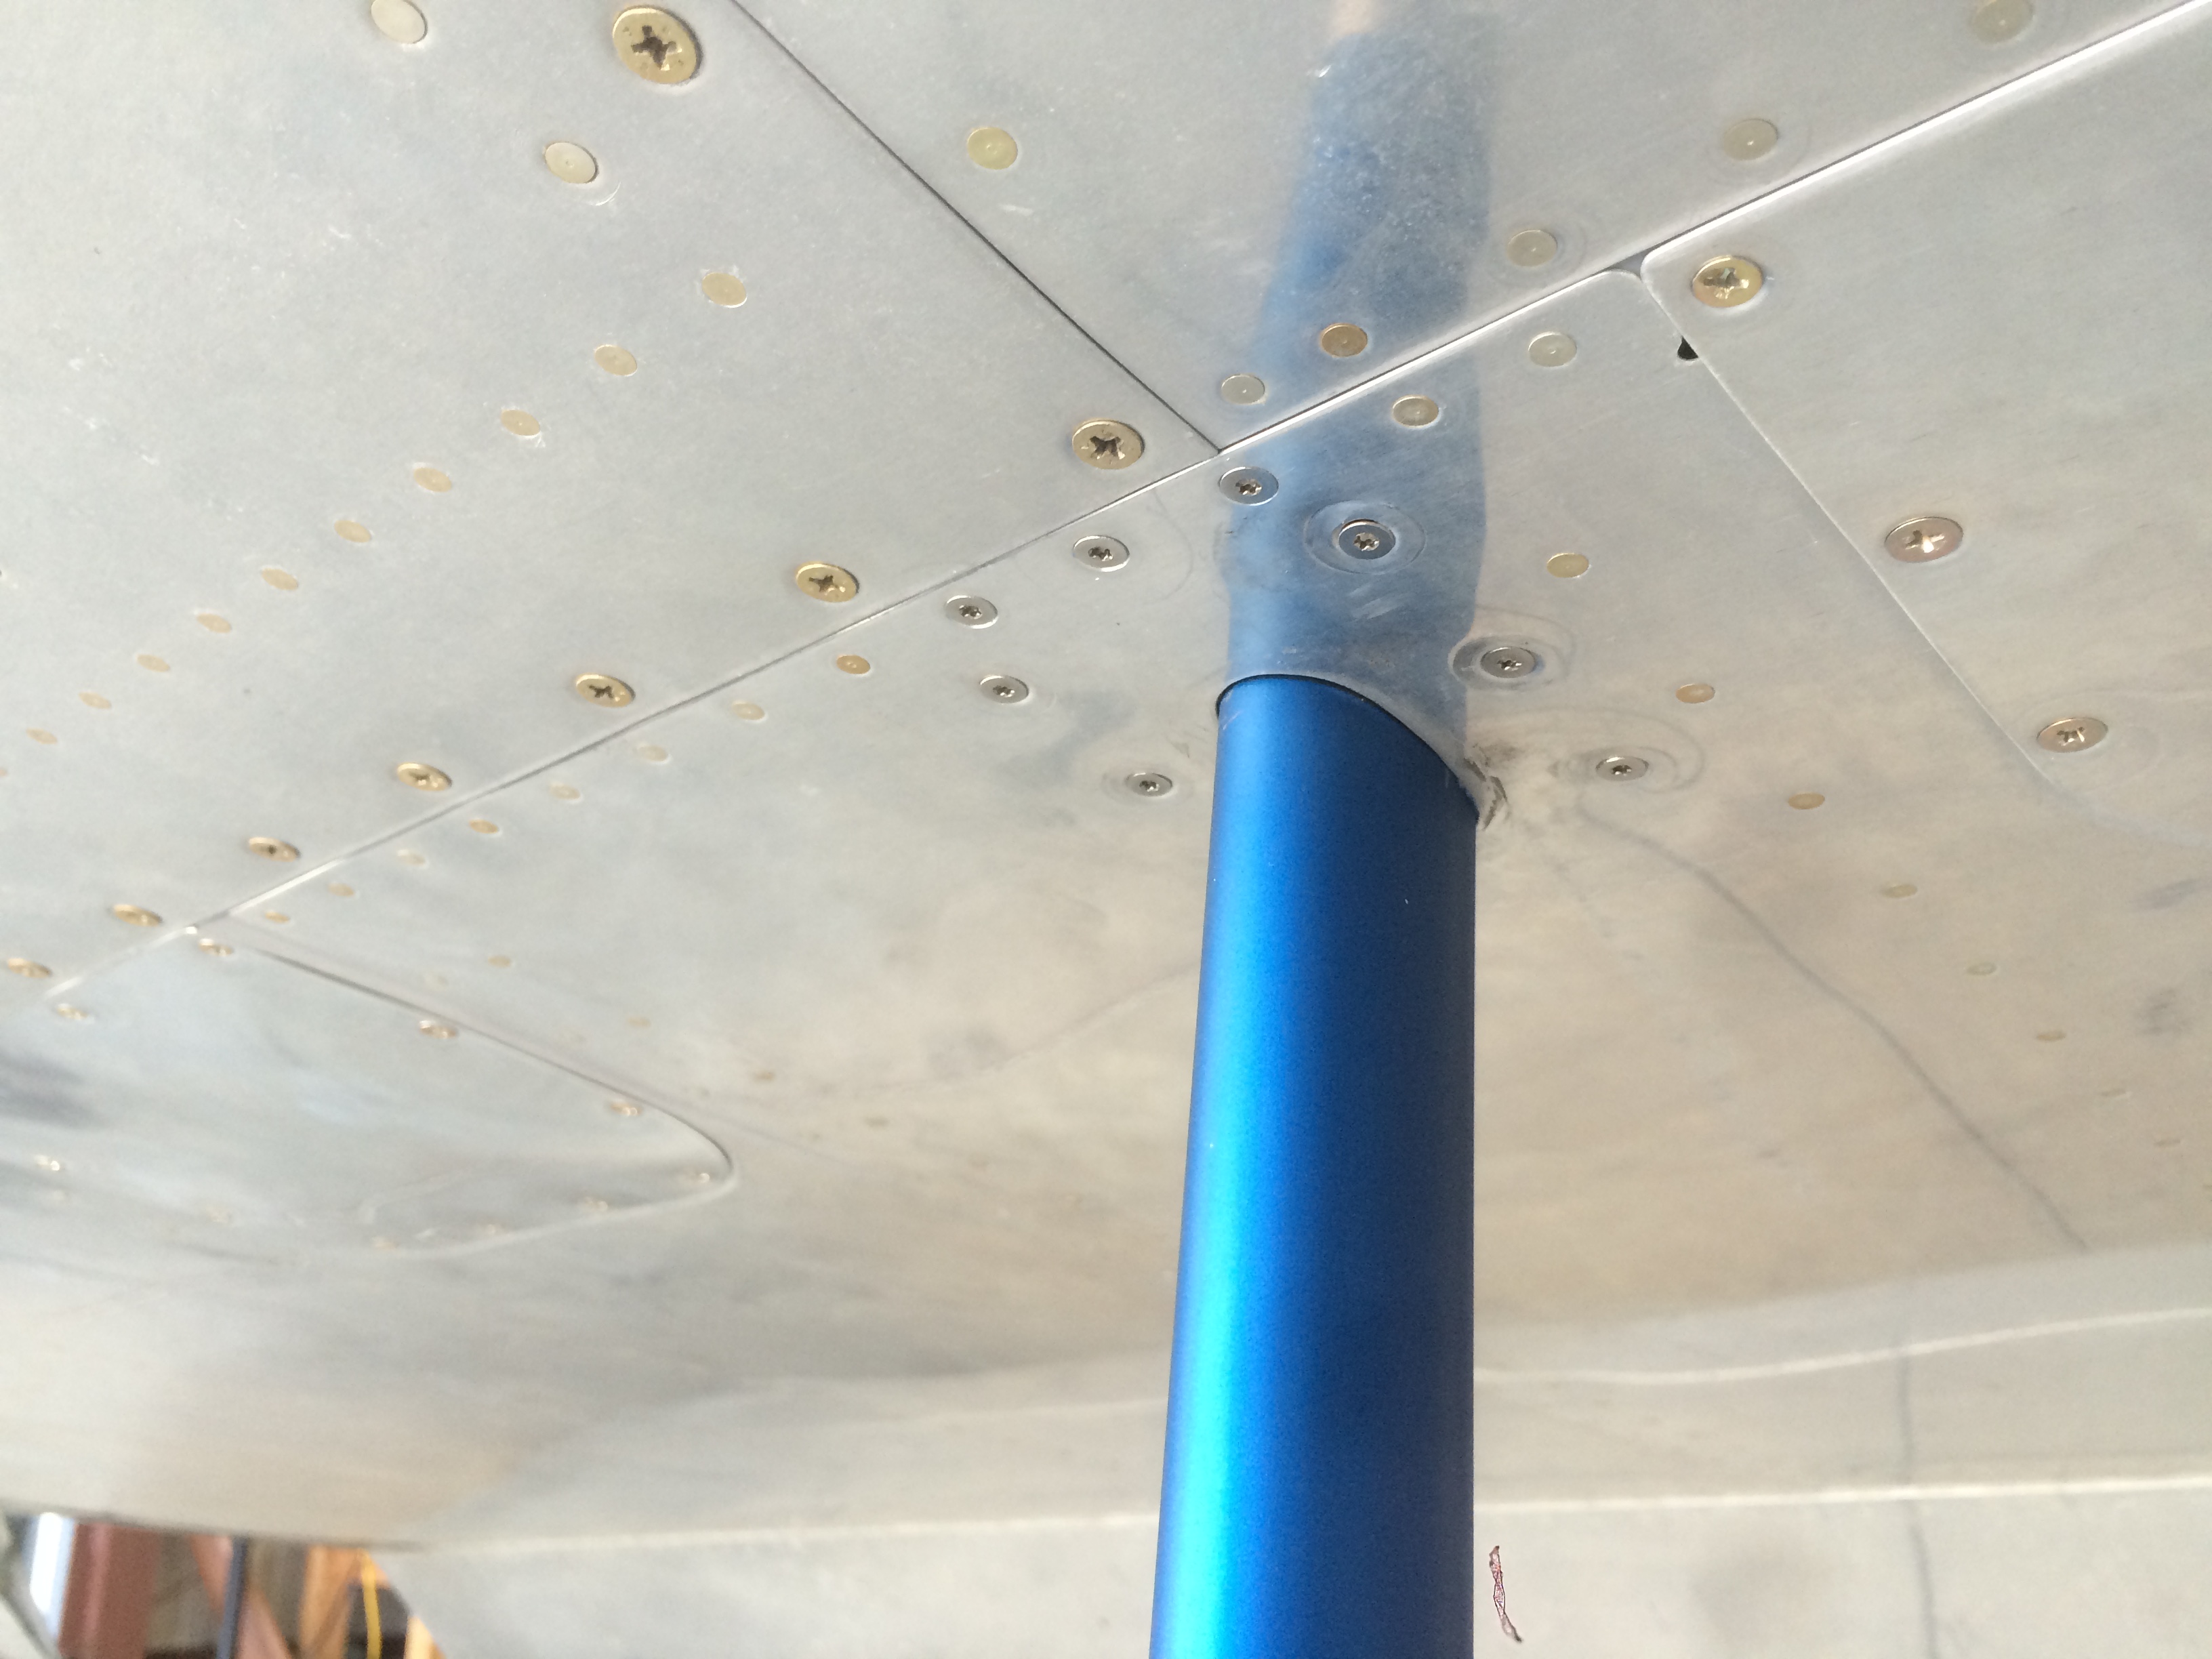
Replaced Pitot Mast
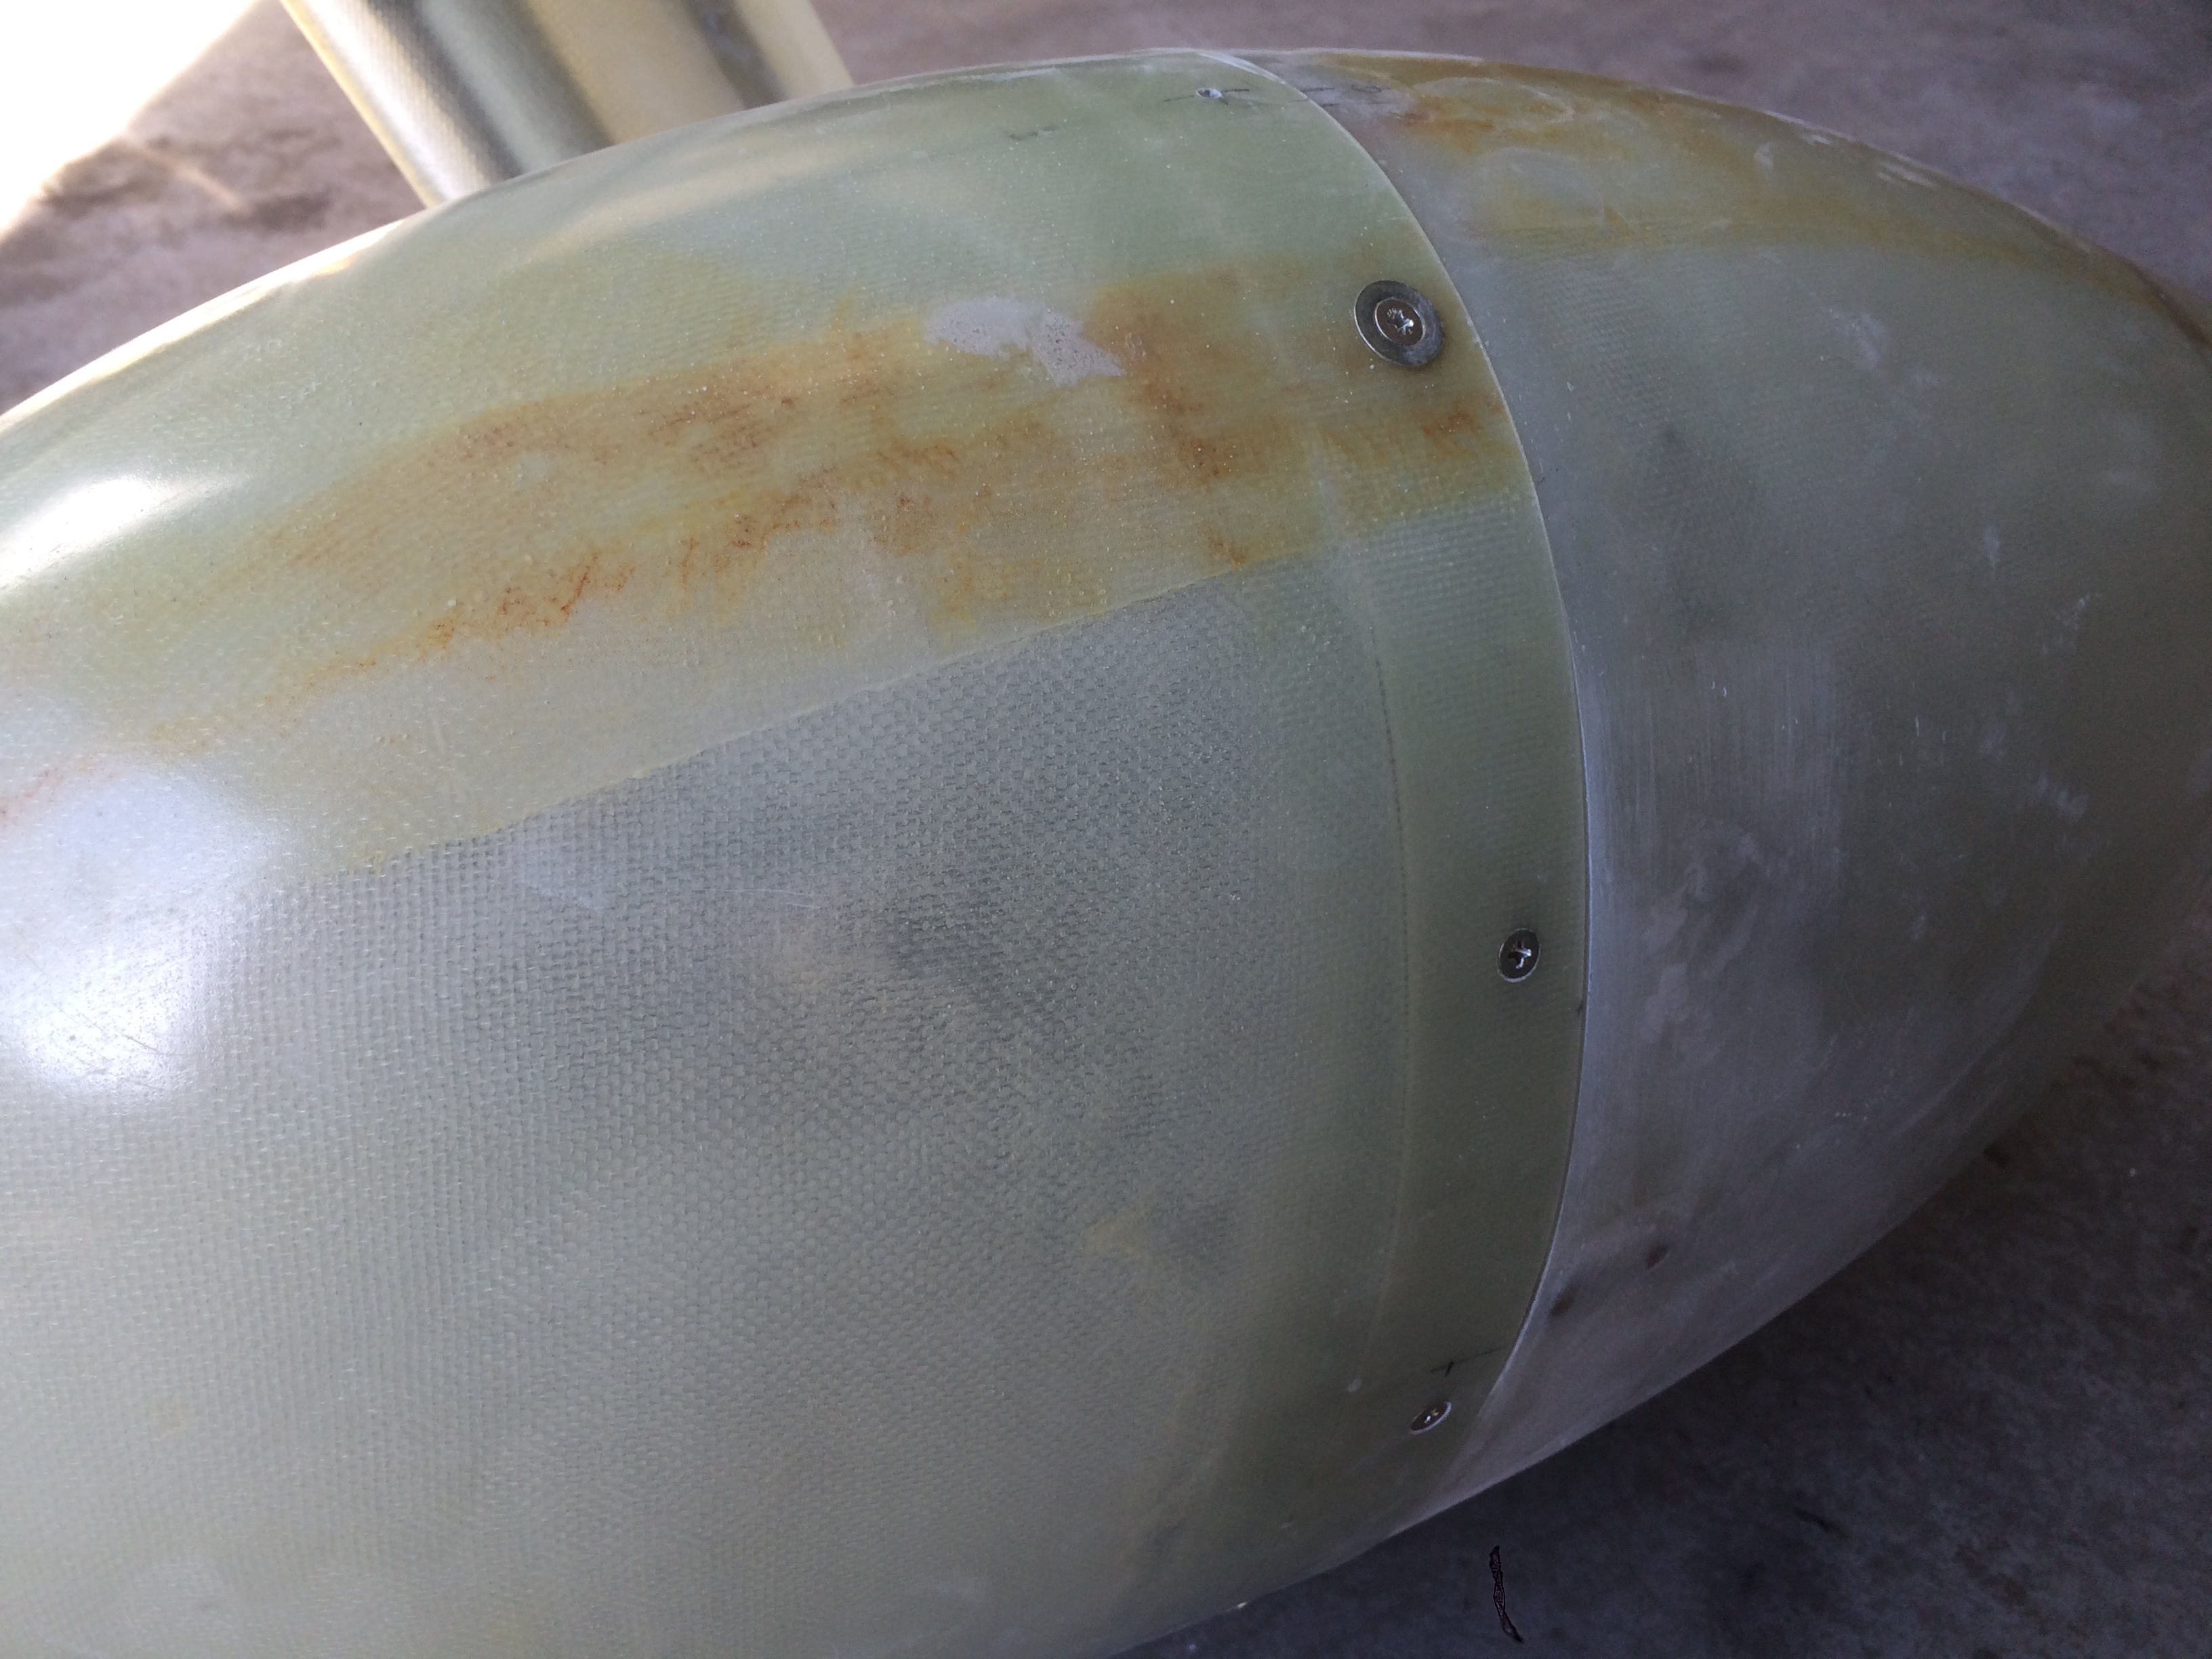
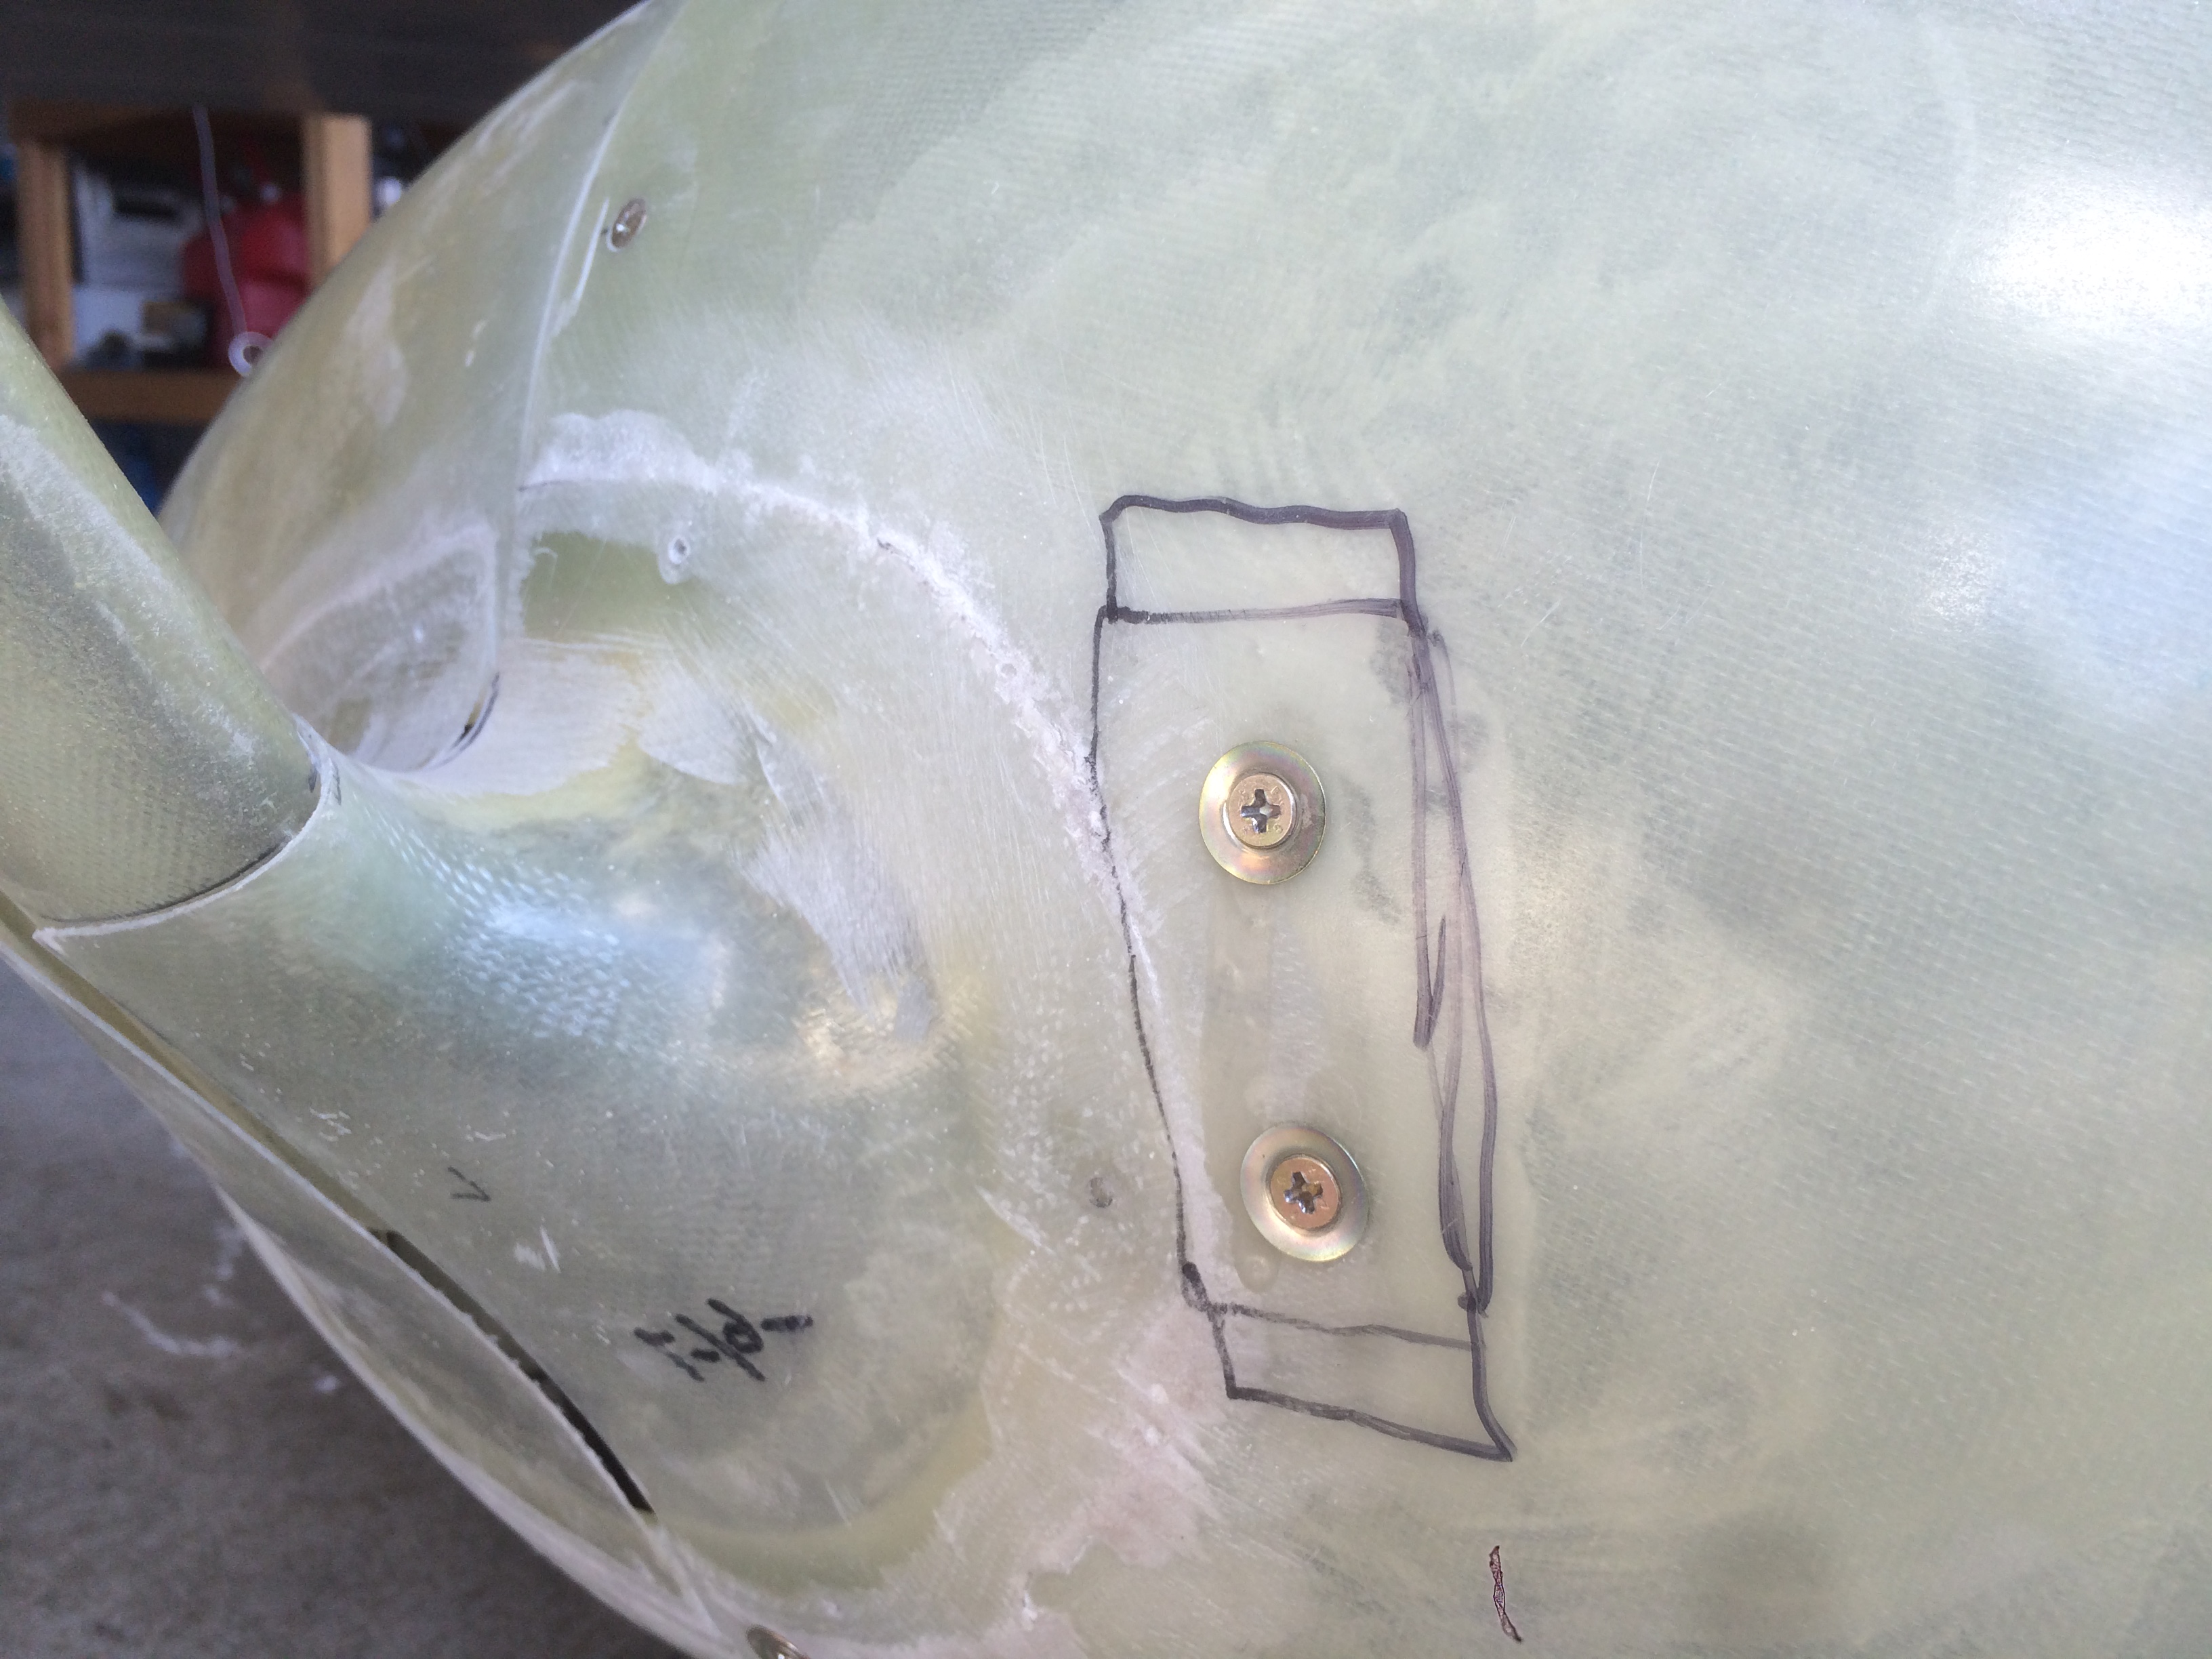
A few months ago, Tony Munday (owner of SafeAir1) contacted me about the pitot mast I purchased from them. There were apparently some instances of cracking in the weld that joins the mast to the mounting plate and he is replacing all of them free of charge. He sent me the new mast, but I’ve been so busy with Phase 1 and other maintenance that I haven’t had the time to do the swap. I had a good chunk of time today, so I decided to take care of it. Drilling out the old mast was fairly straight forward, but I decided to attach the new mast with screws in case I ever have to take it out again in the future. I dropped the new mast down through the hole and then drilled all nine spots for #6 screws. I then pulled the mast out and added nutplates on the mounting plate.
More Work on Wheel Pants
I had another chunk of time today at the airport, so I decided to make a little more progress on the wheel pants. I first drilled and mounted all of the nutplates on the mounting flanges. These are stainless, so drilling them is a pain.
I also added 7 nutplates around the flange where the forward and aft halves of the left wheel pant join. I also iterated a bit on the opening around the tire. I now have 5/8″ of clearance all the way around with the weight on the tire.
With the pant attached to the mounting flanges, the left wheel pant is ready for flight. I still have 2-3 hours of work to get the right pant to this stage, but then I’ll be ready for flight with these.
Adjusted Wheel Pant Brackets
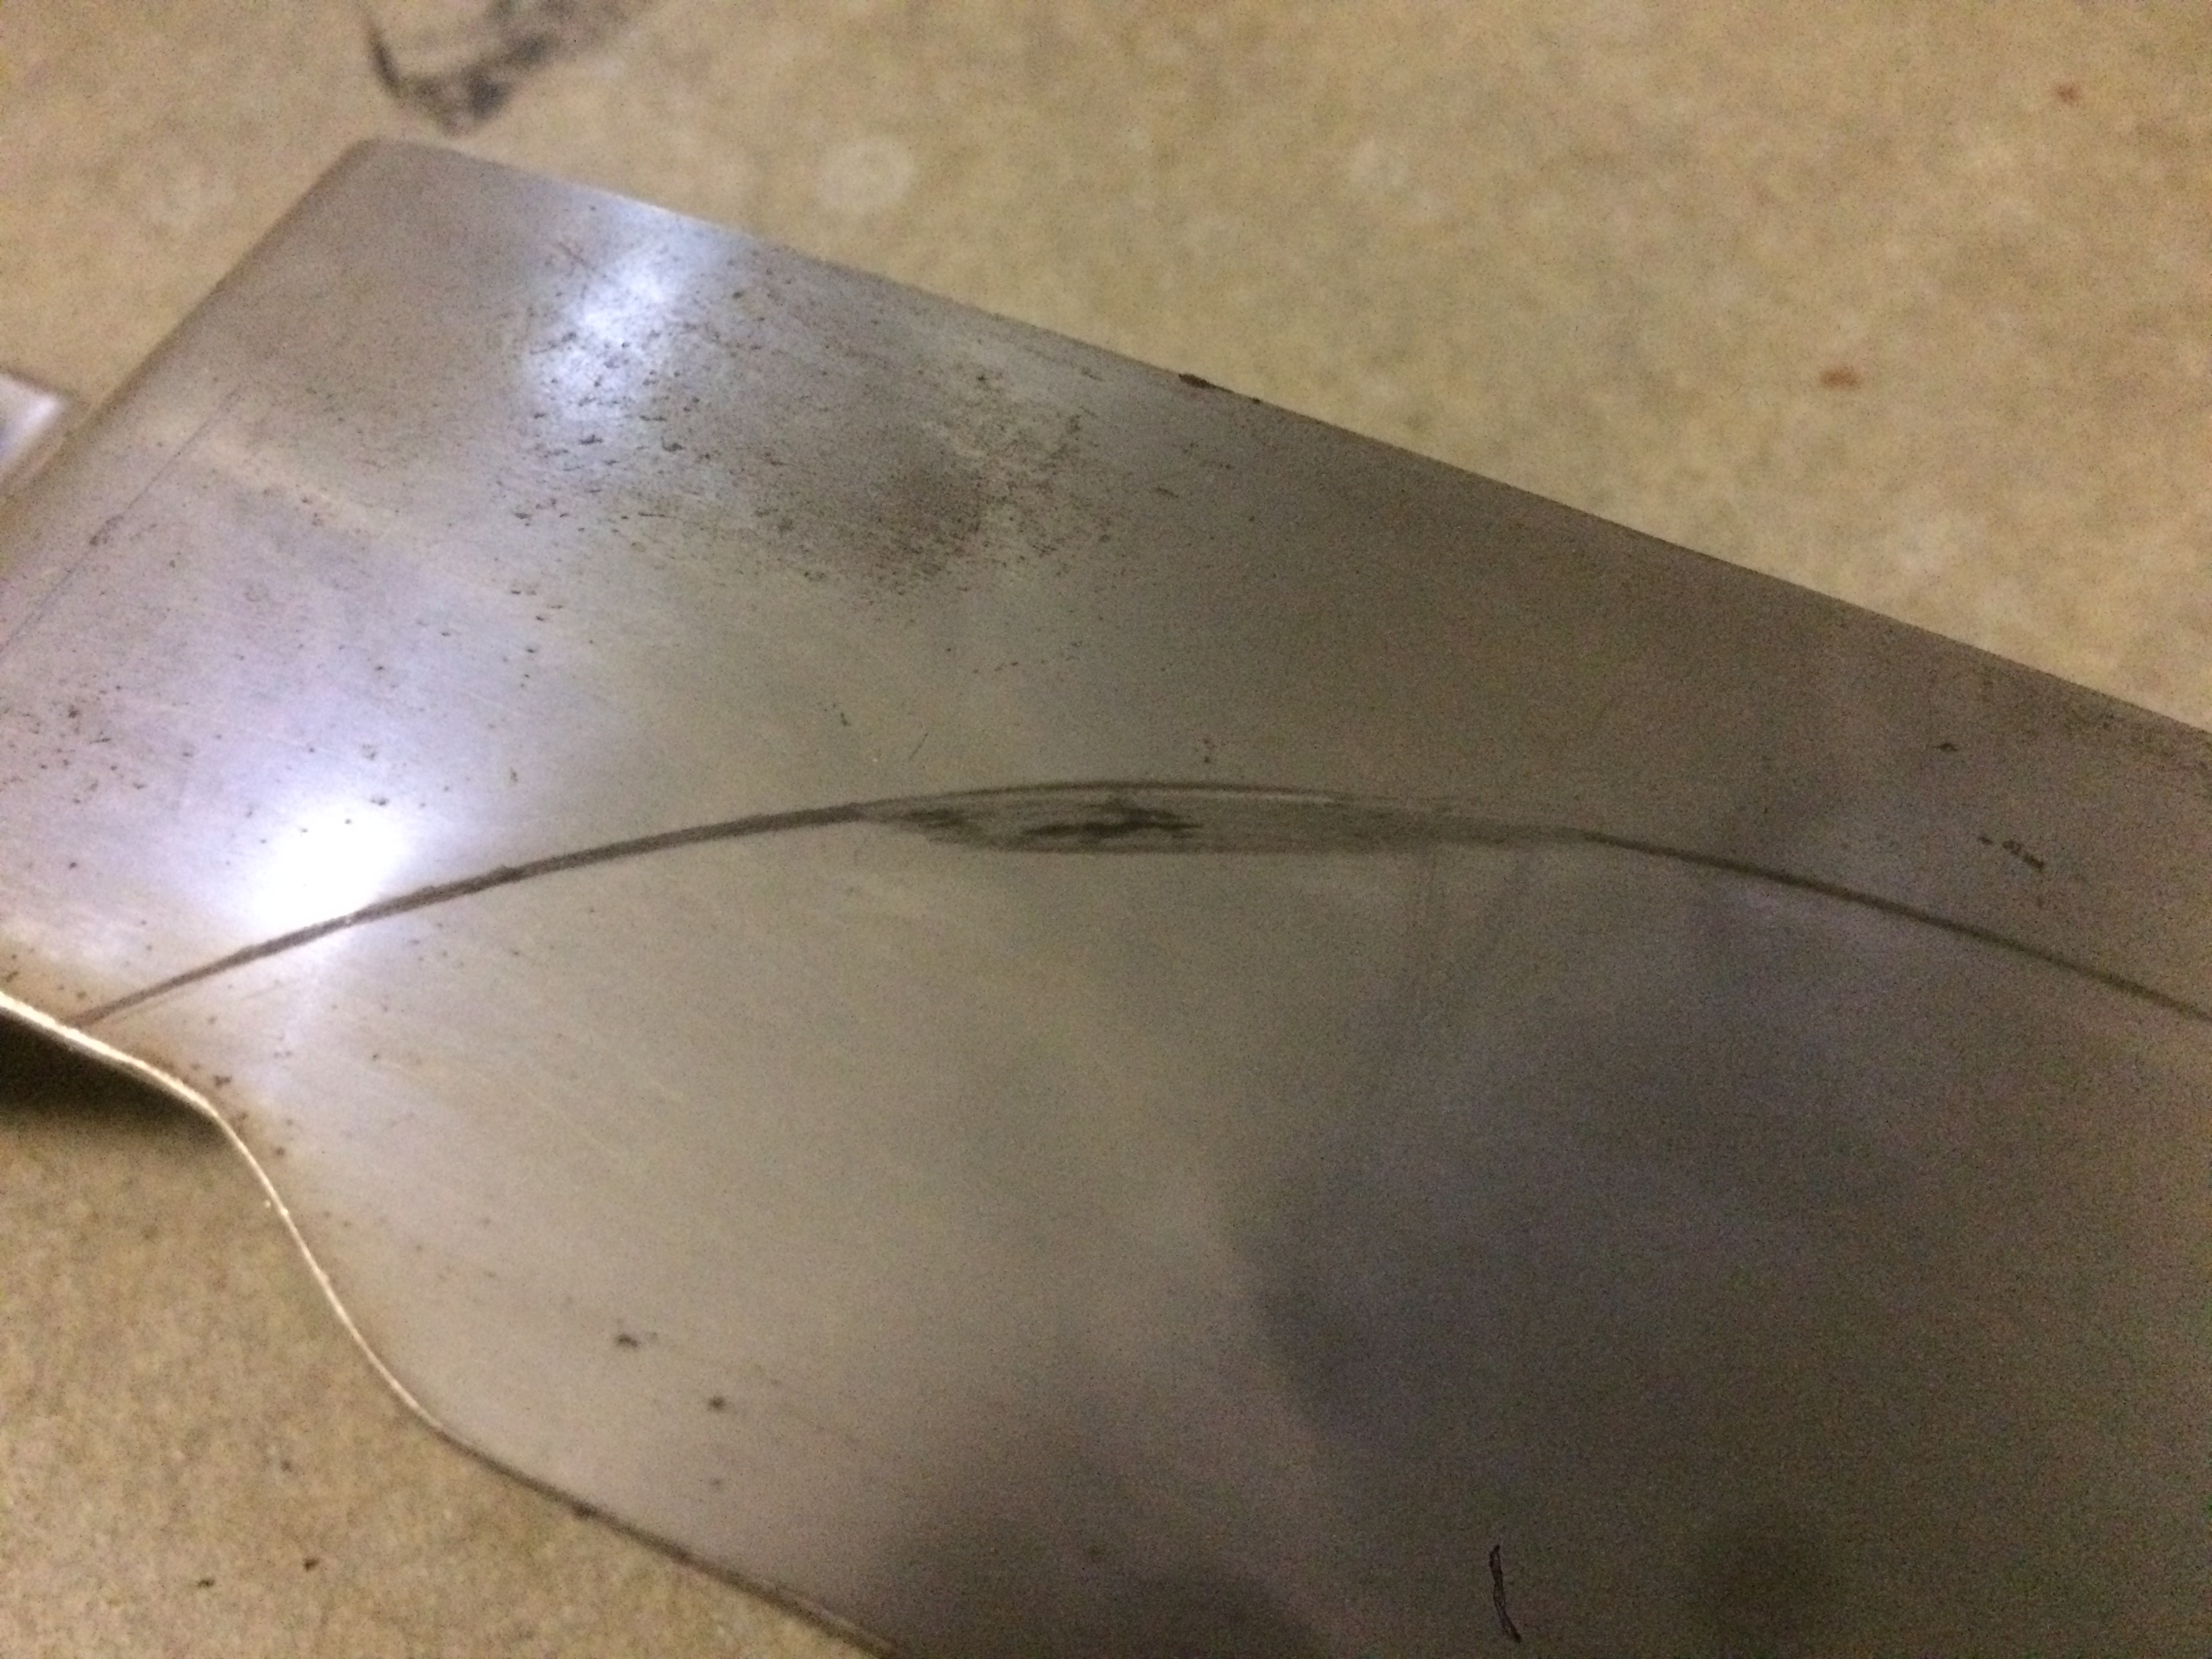
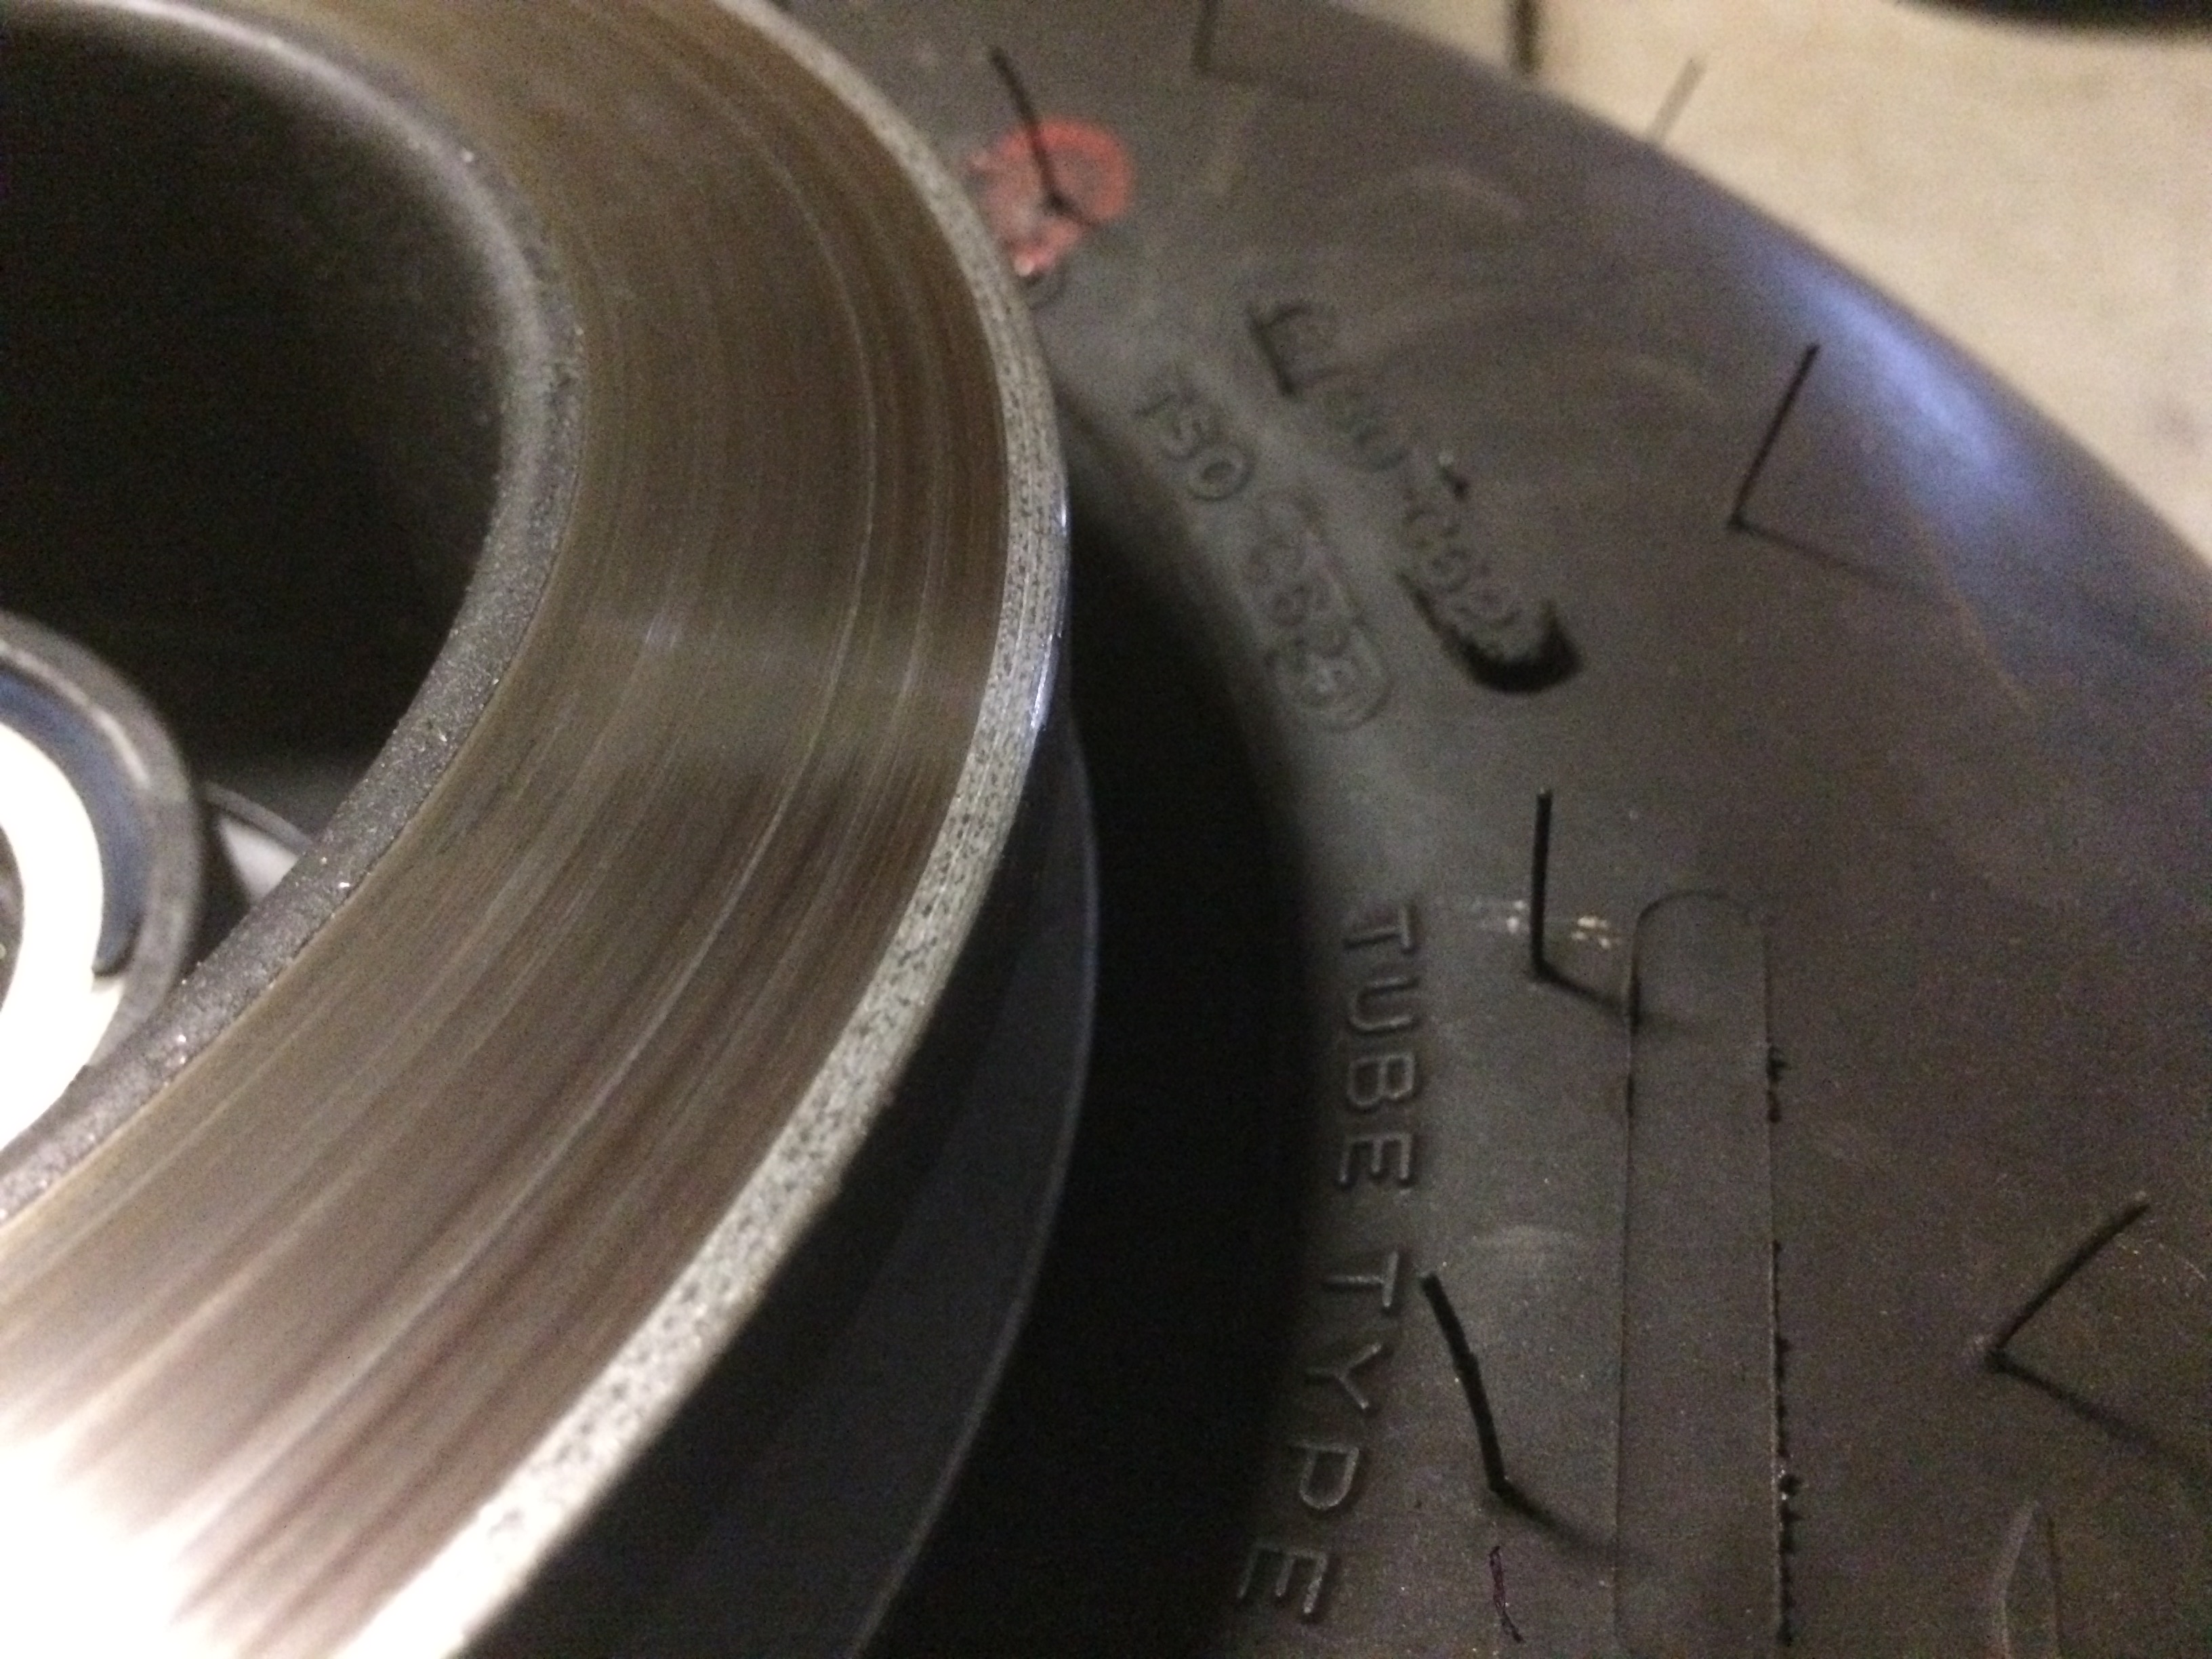
I took the plane up for the first test flight with the wheel pants installed. Everything seemed solid and the ball was still centered, so I guess I did a good job with the alignment. On the taxi back however, I heard a funny sound coming from the wheels, so I pulled the wheel pants to see what was up. I took a close look at all of the components and it was apparent that the bracket was being flexed into the brake rotor when the pants were installed. I pulled the wheel and the bracket to take a better look. You can pretty clearly see the mark that was being left on the bracket. Fortunately, since this was stainless steel, the damage barely penetrates the surface and should be easy to remove.

The worst spot is right here and is still probably less than 10% of the thickness of the part.
You can see that the bracket was also damaging the brake rotor. Since these are both steel, it looks like galling.
I used the scotchbrite disk to remove the marks from the bracket and then added an additional washer to push the bracket out an additional 1/16 of an inch.

I reinstalled the wheel pants and snaked an inspection camera inside to make sure there was still clearance between the bracket and the brake rotor. Everything looked good, so I took it up for another test flight. Problem solved.