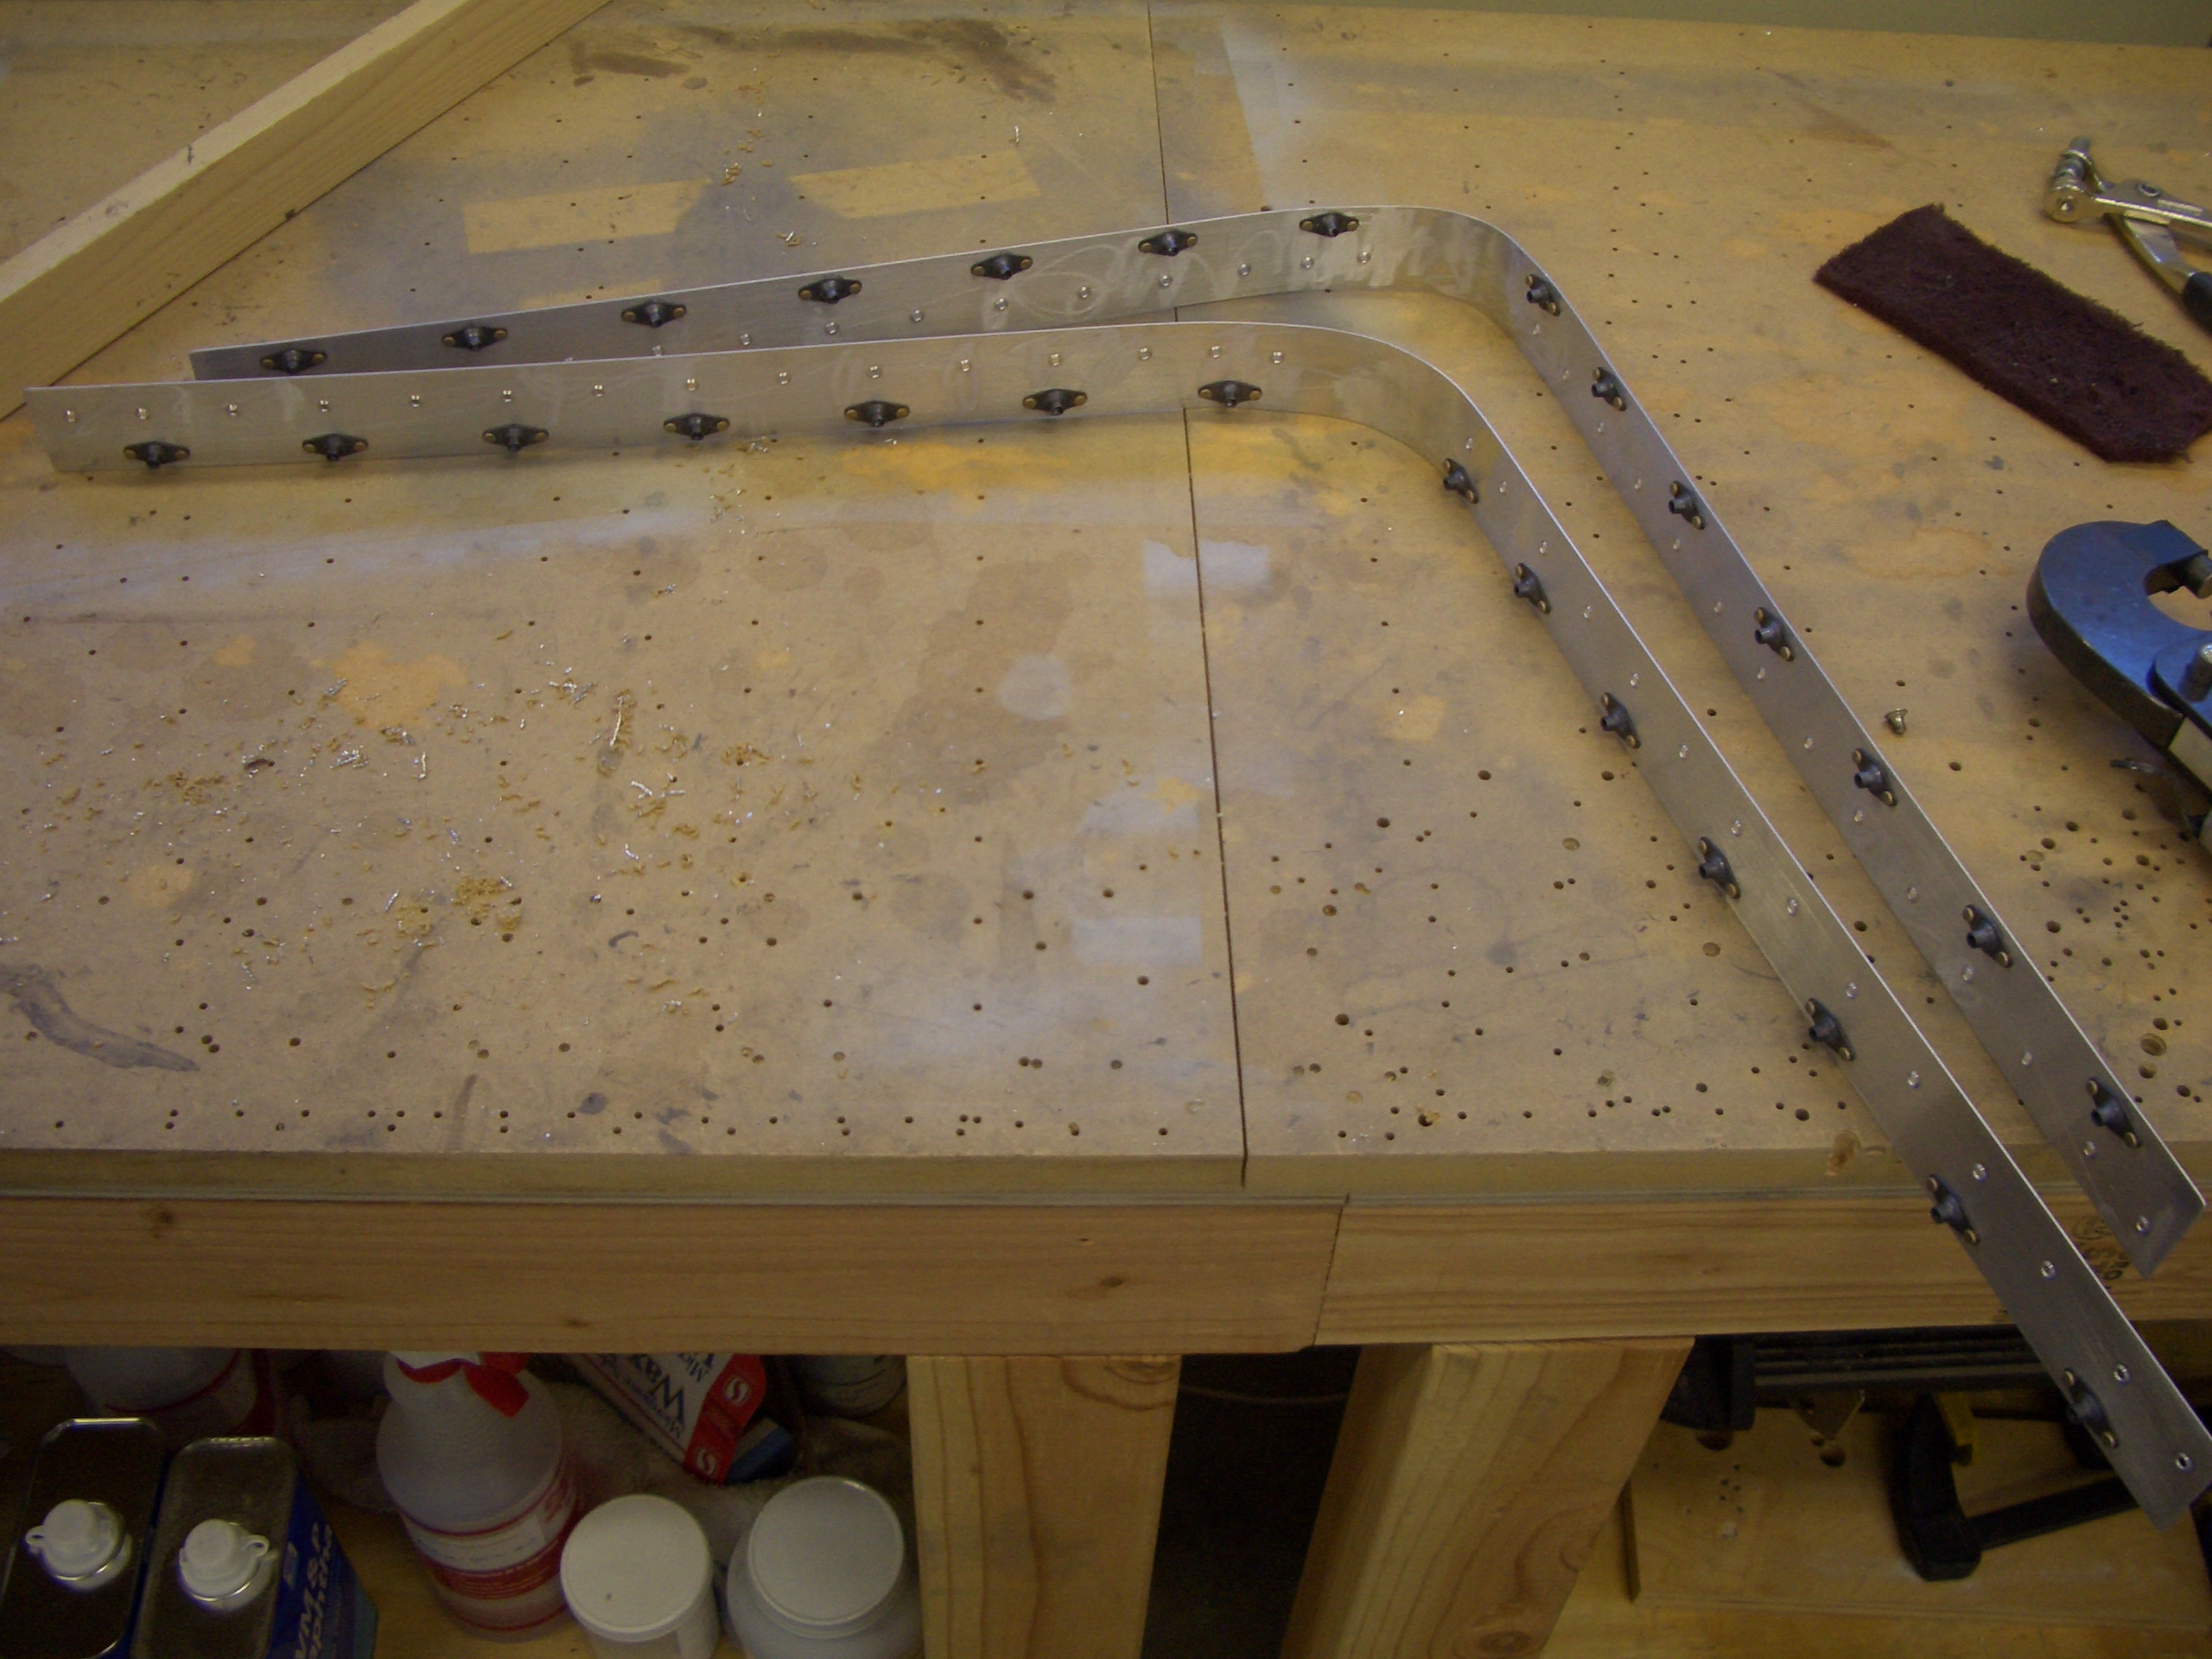
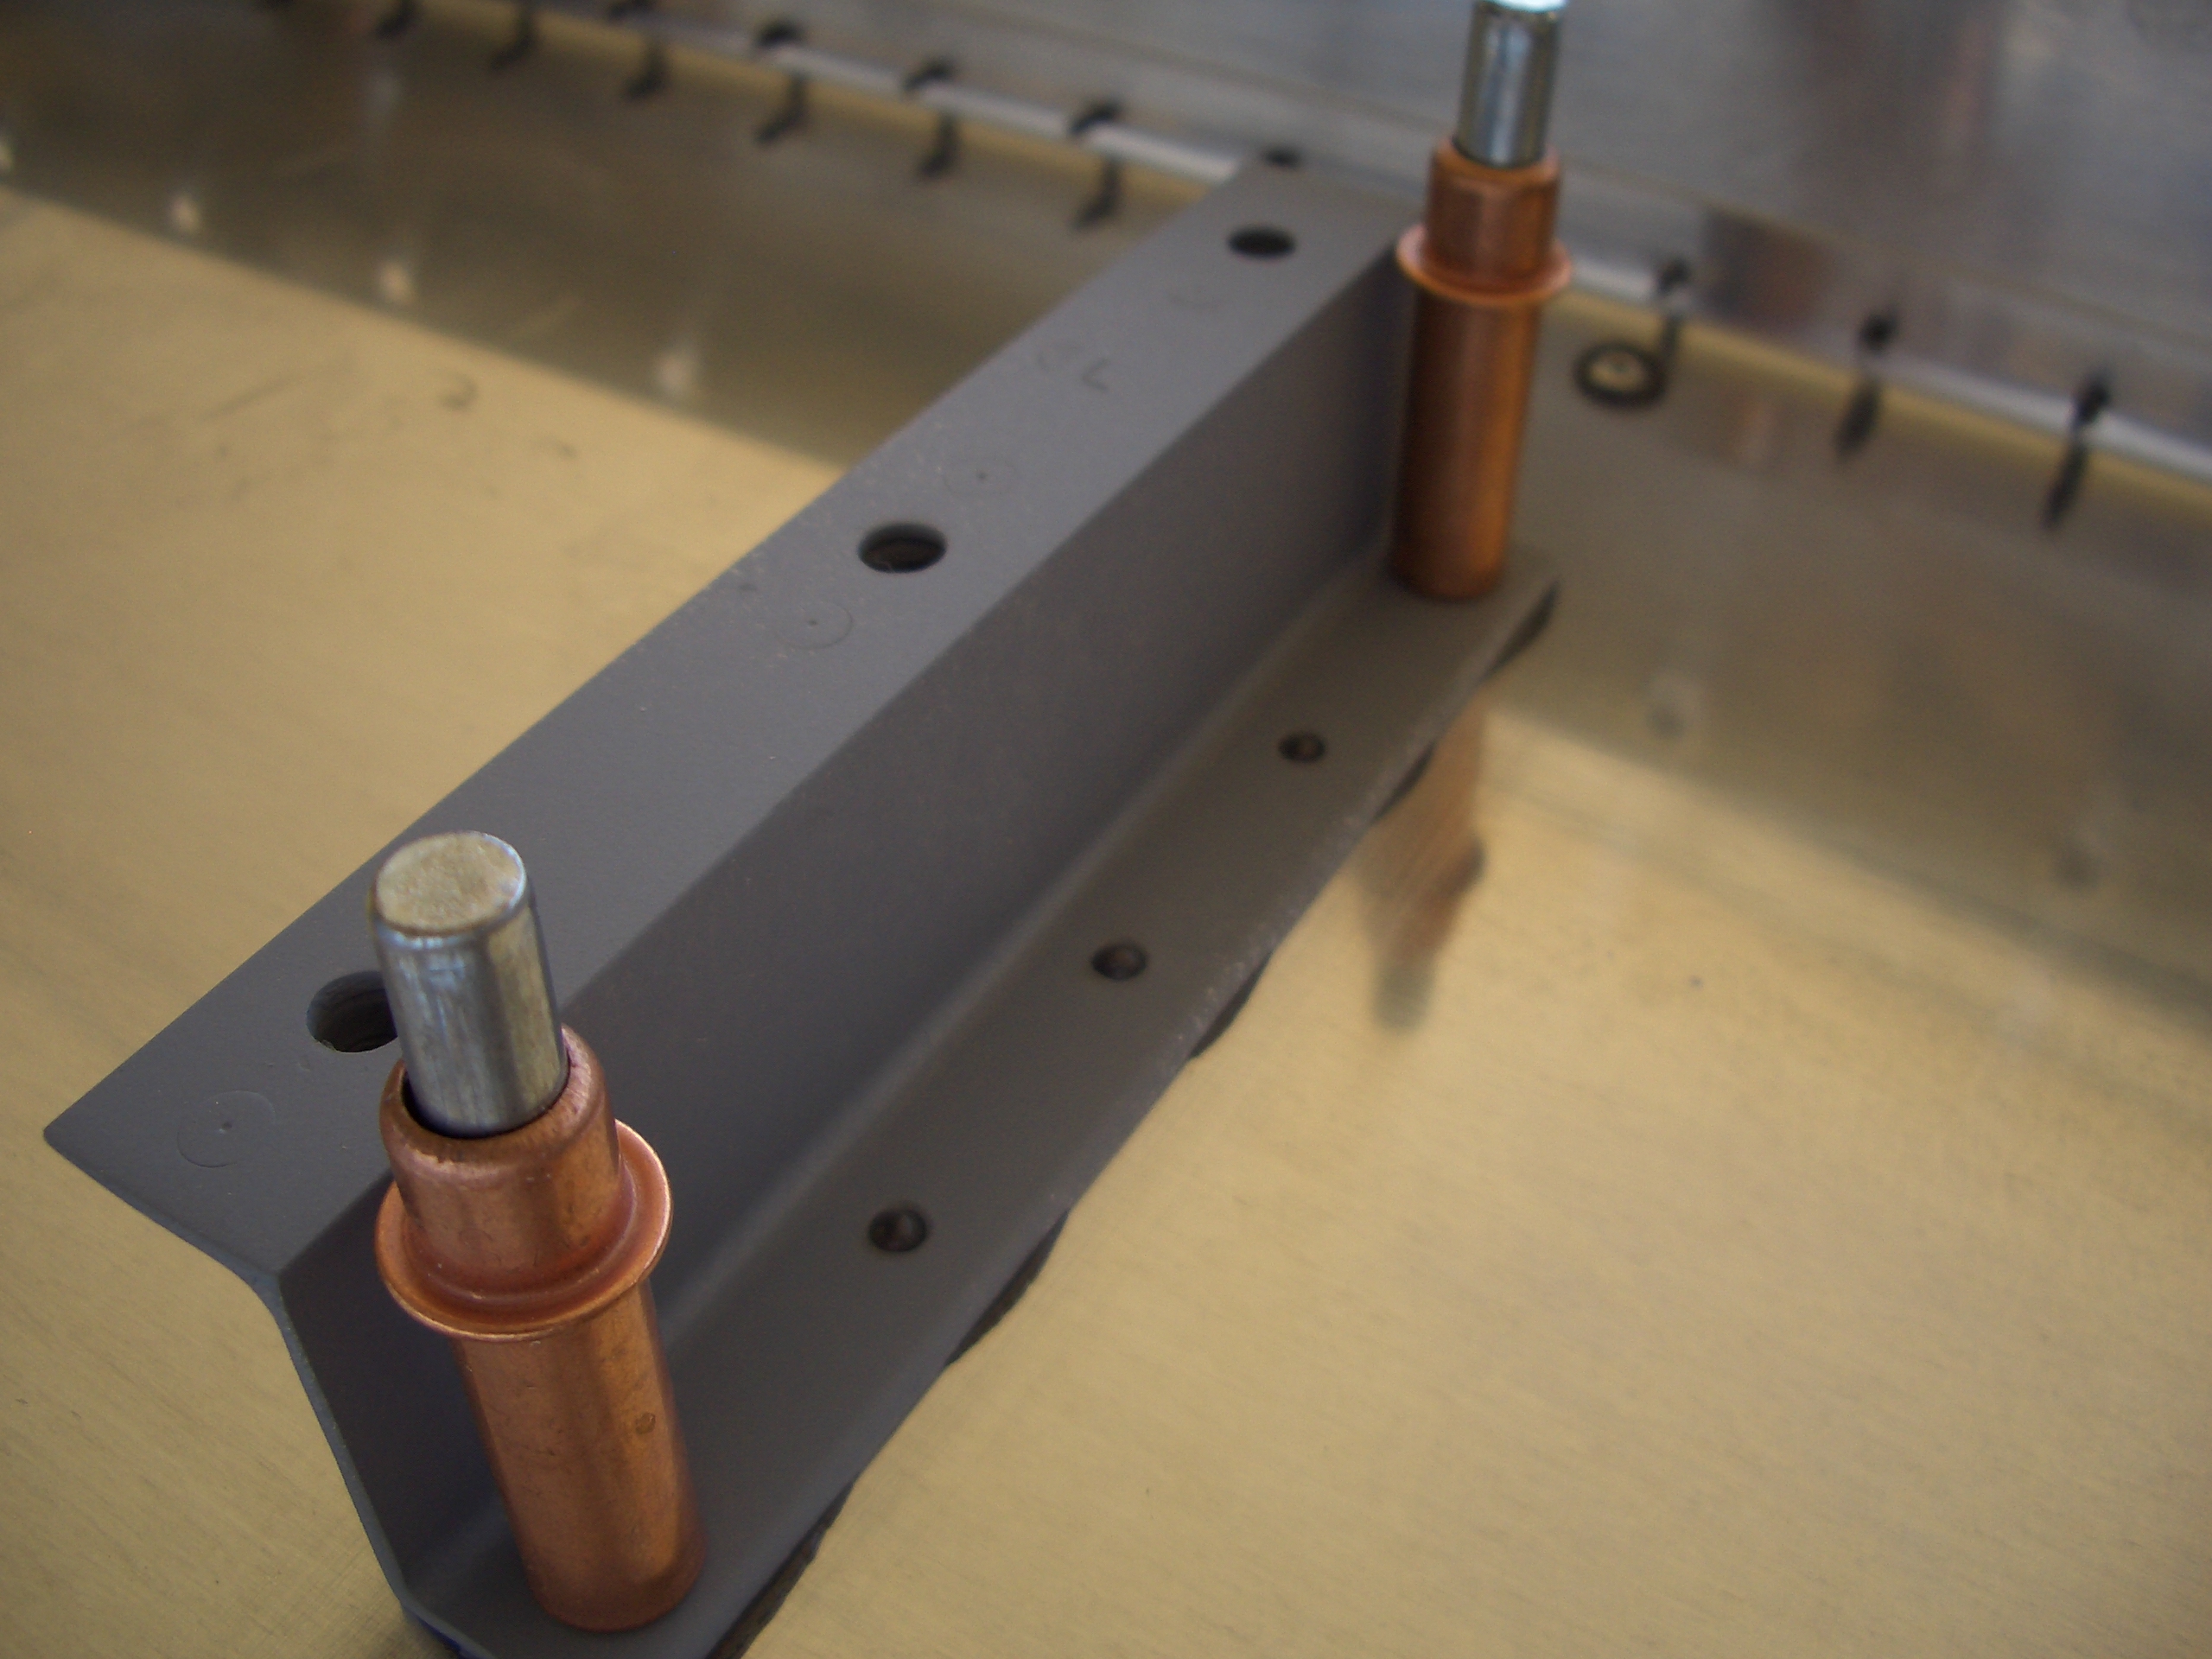
I got up early this morning before the kids were up to work on the plane a little. It wasn’t enough time to get started on the fuel tanks, so I decided to fabricate these splice plates instead. These will get riveted to the outboard leading edge wing skins and provide additional nutplates for the fuel tank to attach to.
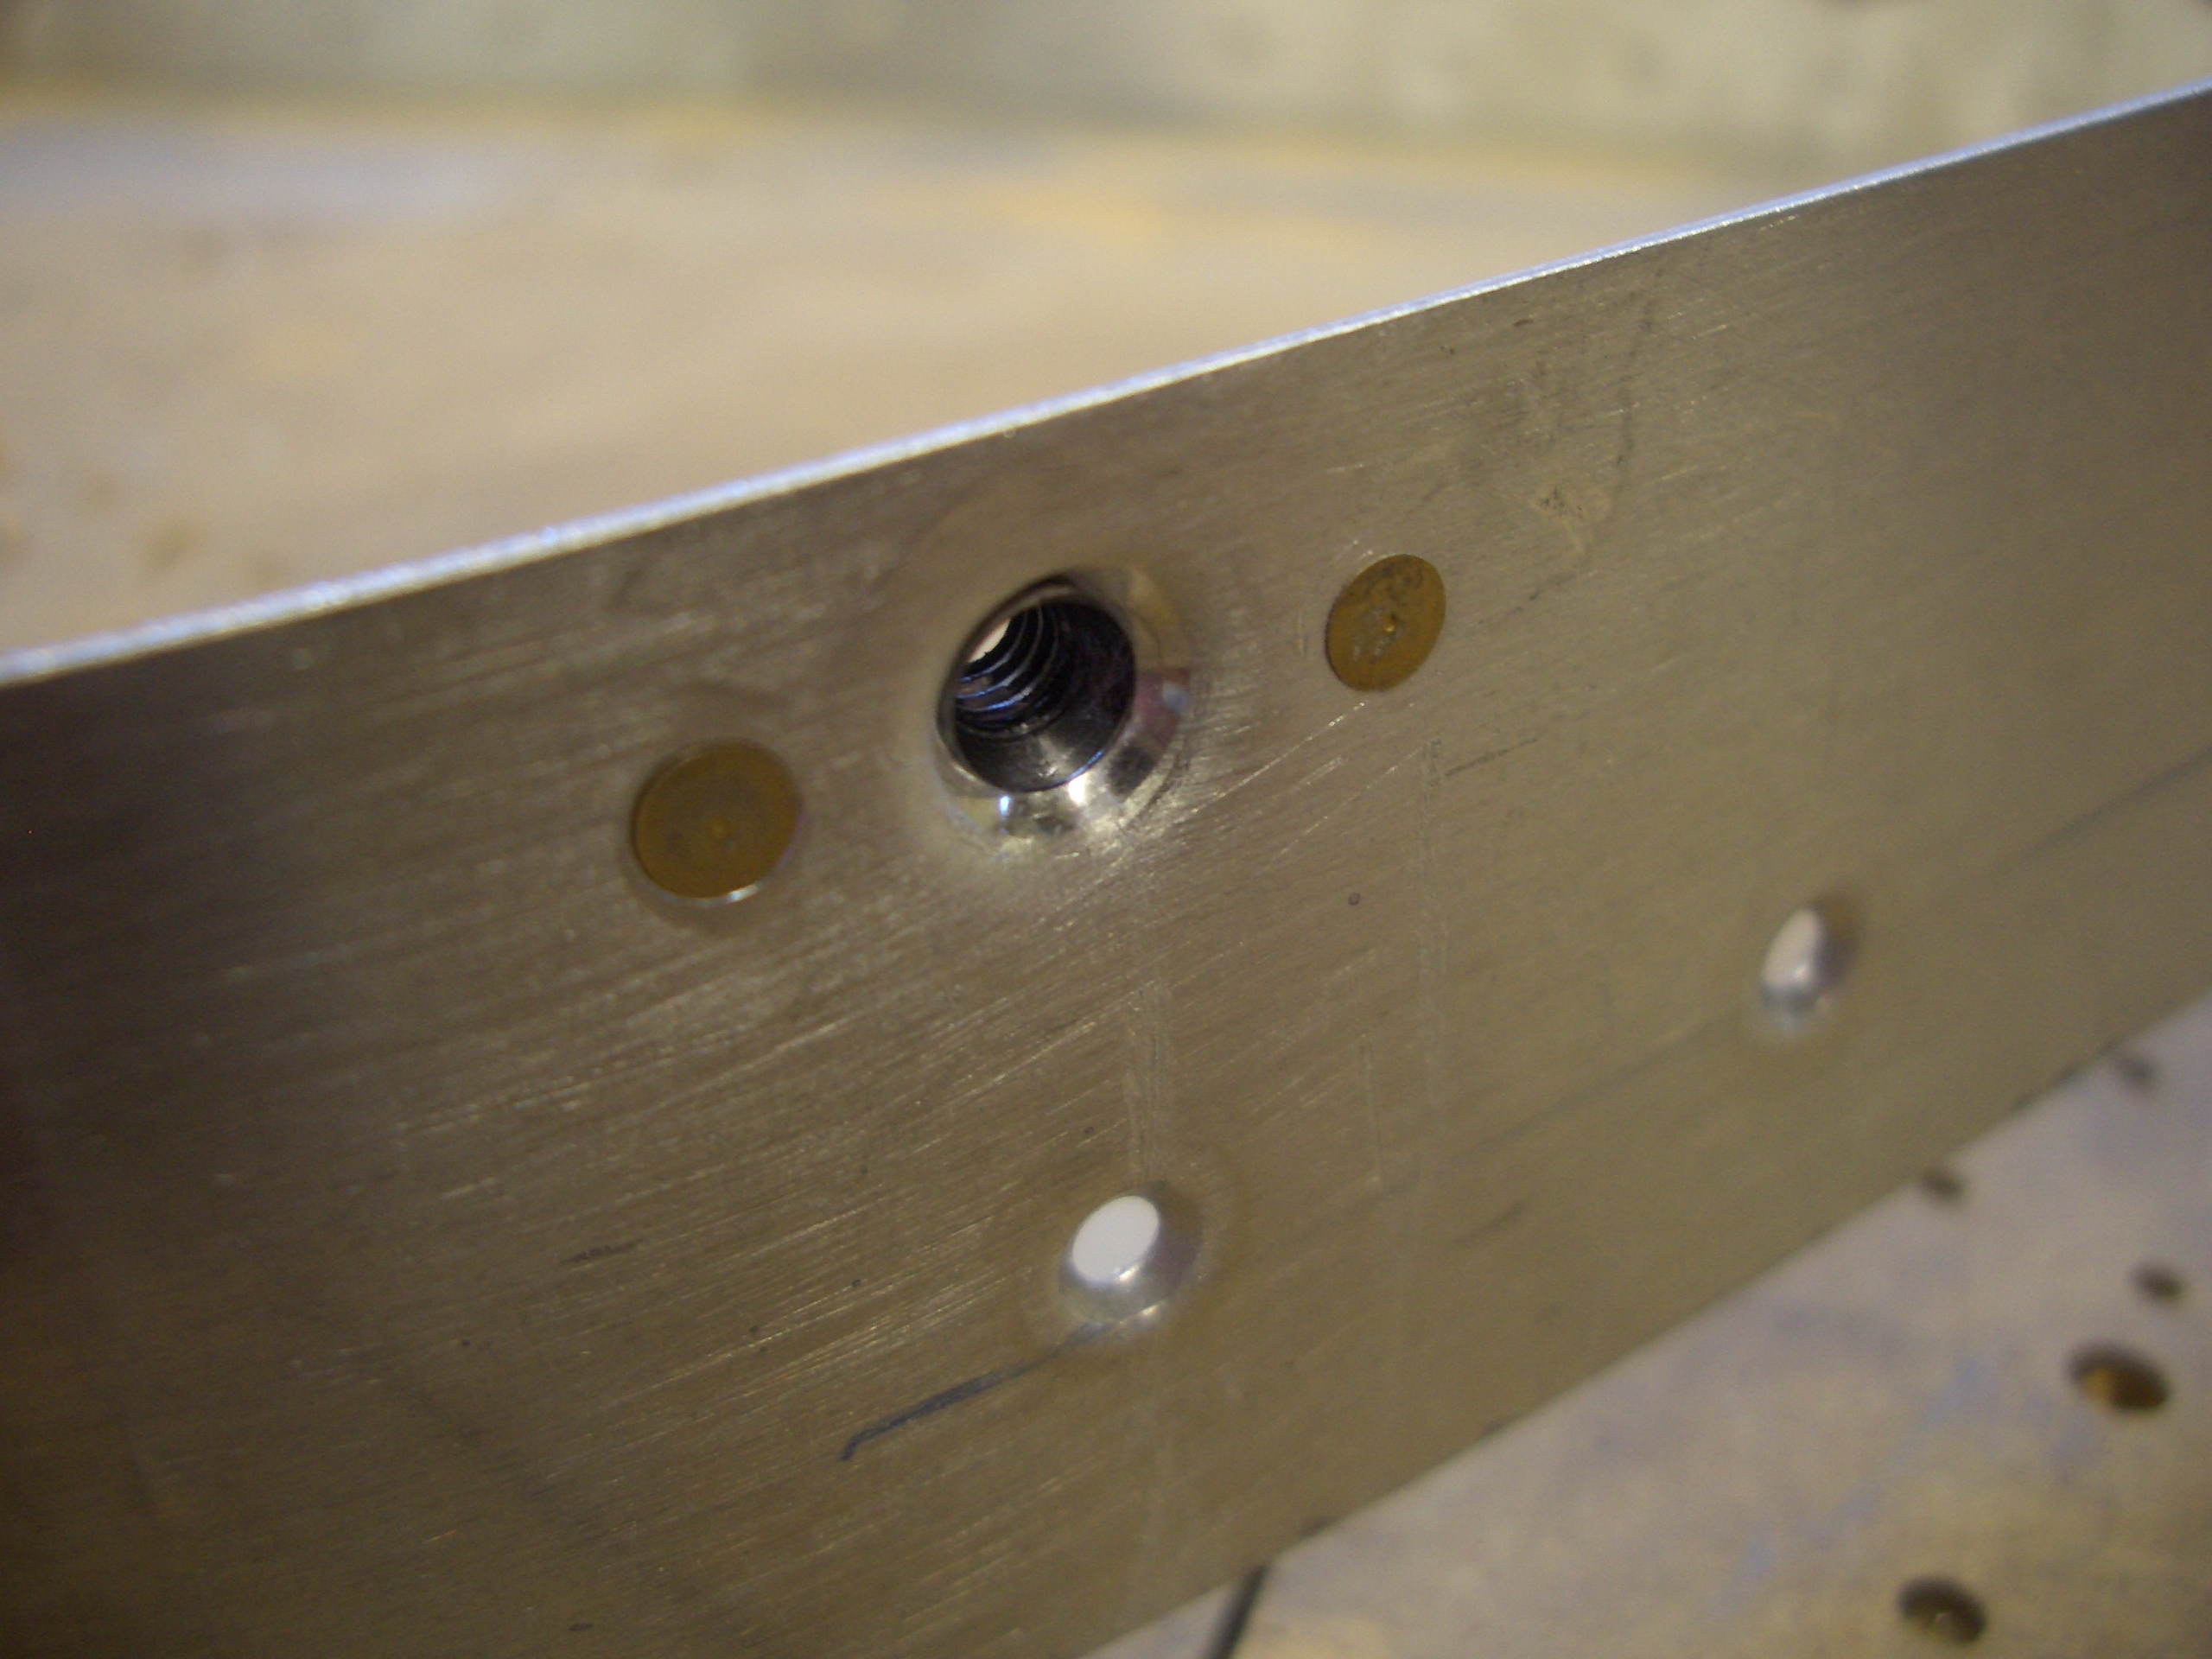
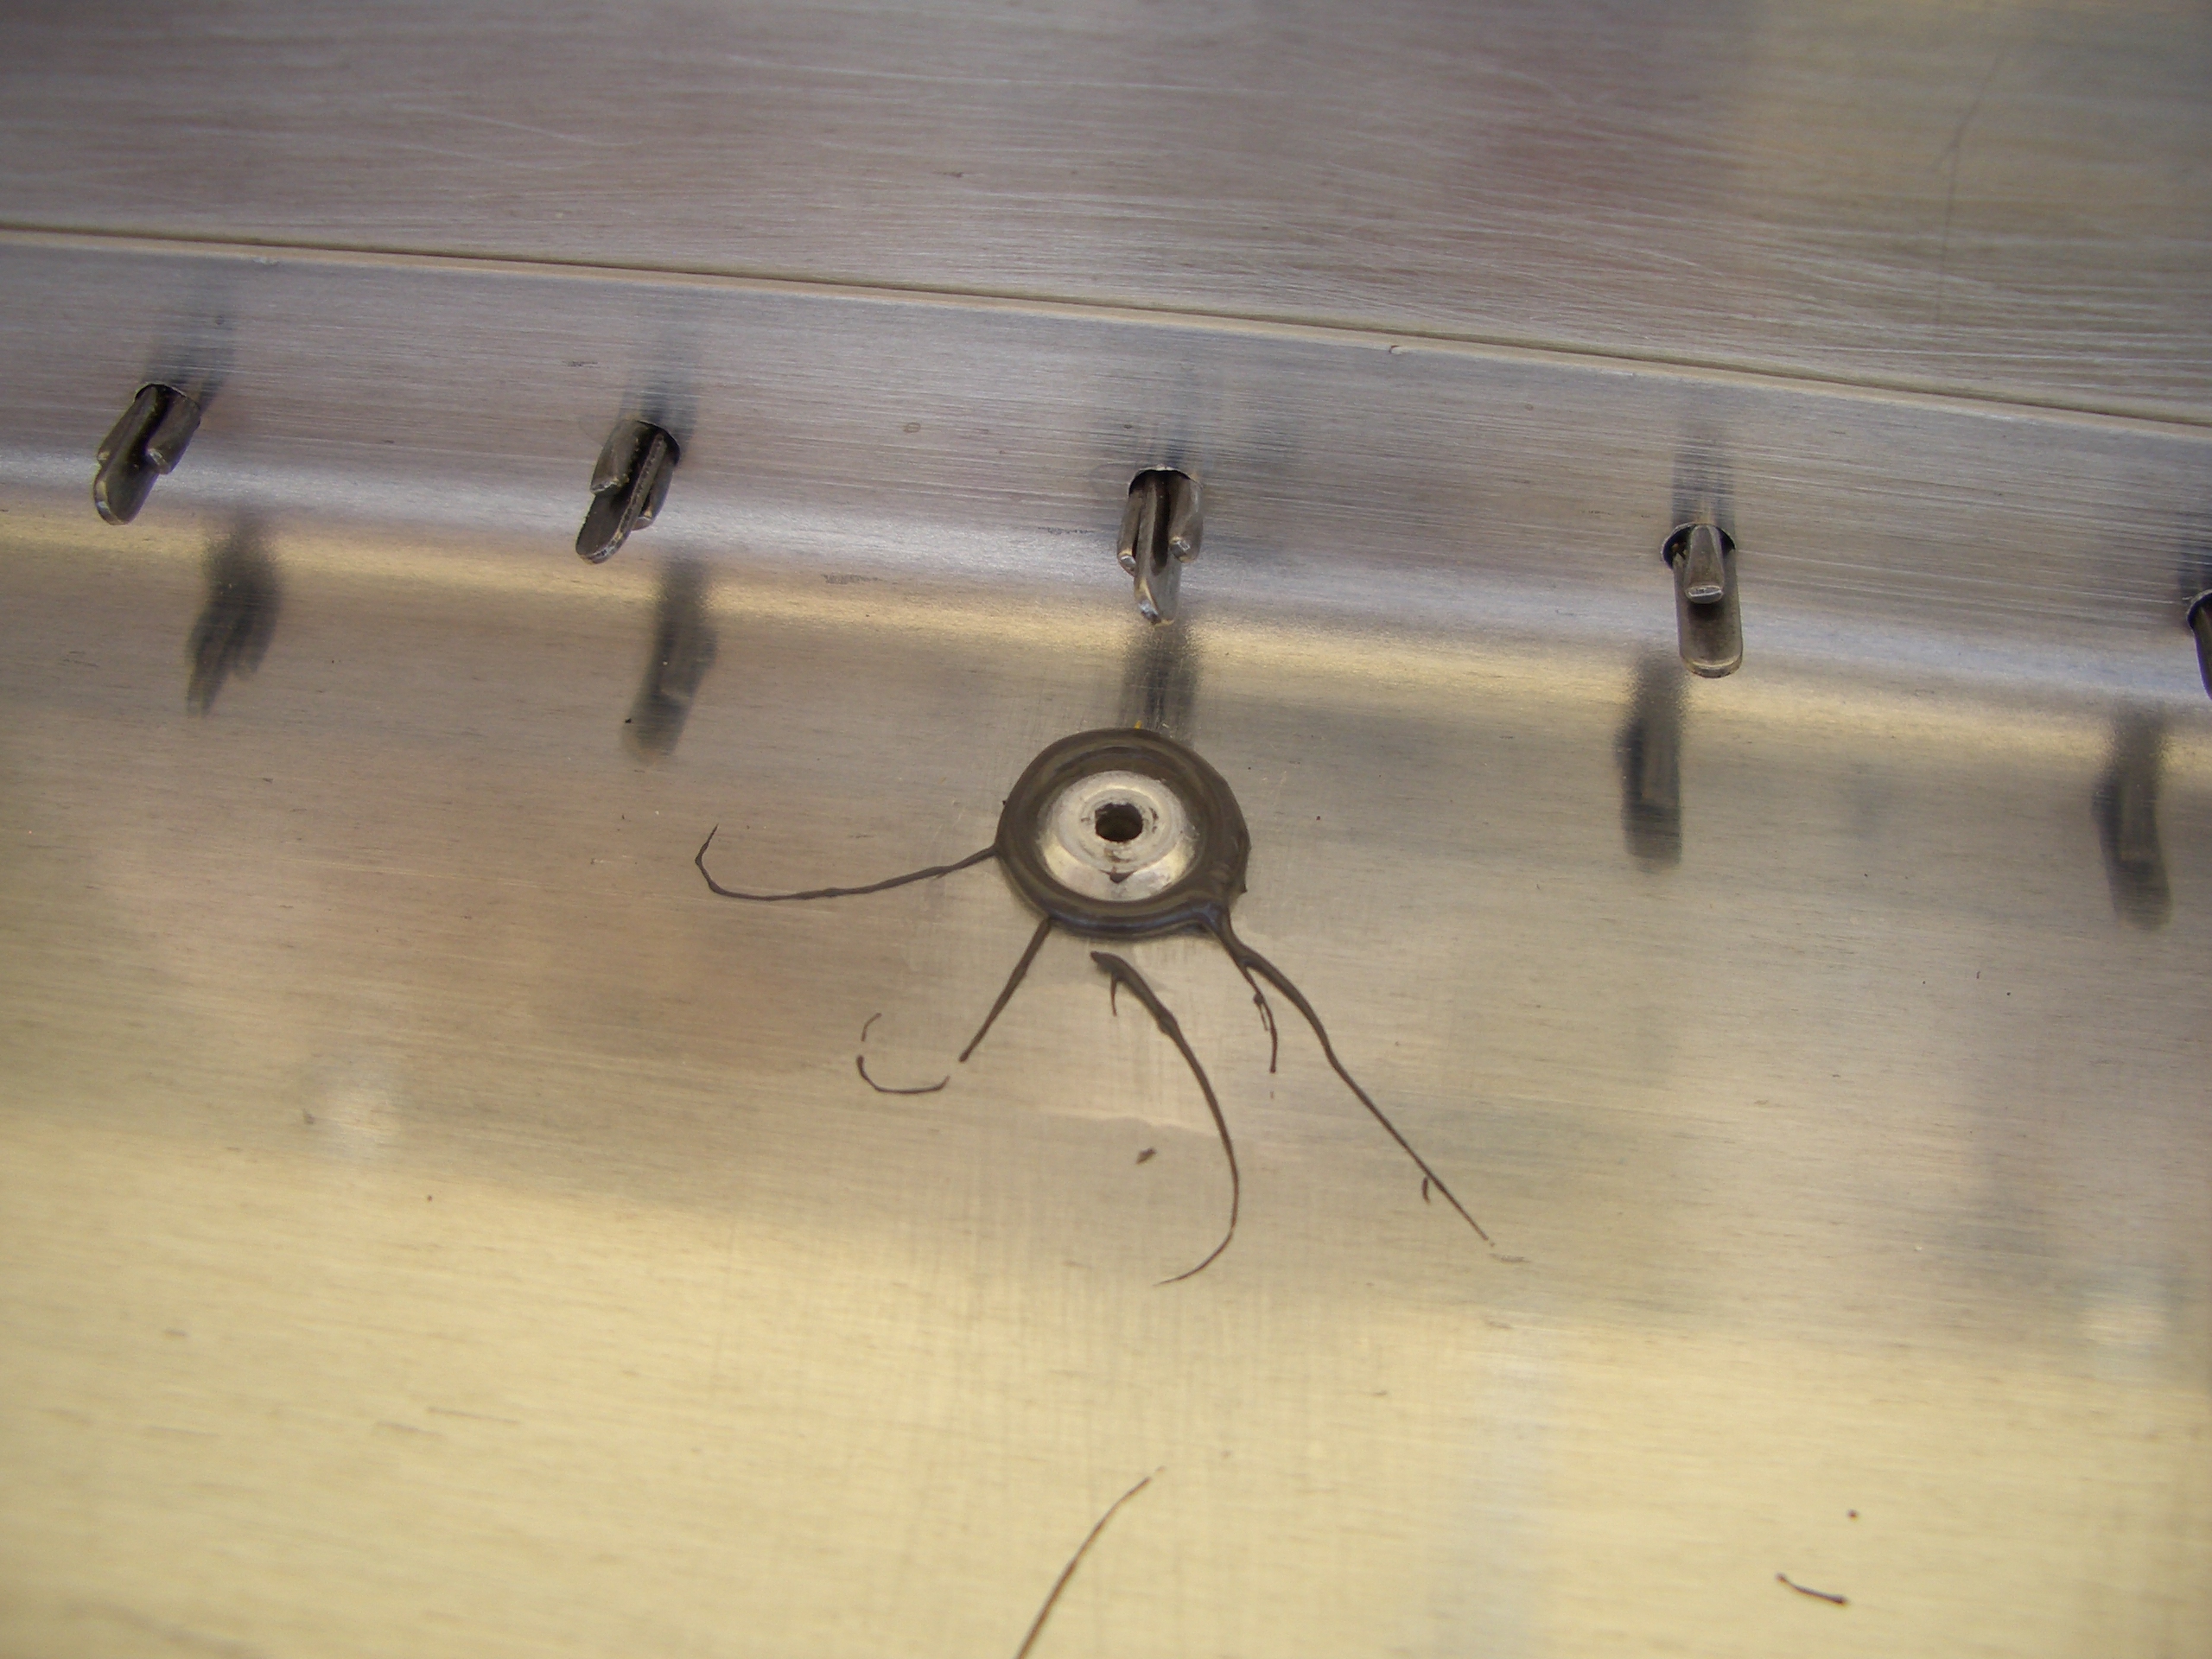
Here is a closeup of one of the nutplates. The skin is dimpled here to accept the fuel tank dimples and #8 flush screws.
I didn’t get any pictures of how the sealant is applied, but I just followed Van’s instructions. I applied a <3/16″ bead just ahead of the skin to baffle rivets (where the long row of silver clecos are below) as well as sealant around each of the rib to baffle rivets and along the outer ribs. Next, I dropped the baffle into place and clecoed every skin to baffle hole to ensure a tight fit (I’m really glad I have the pneumatic cleco gun).
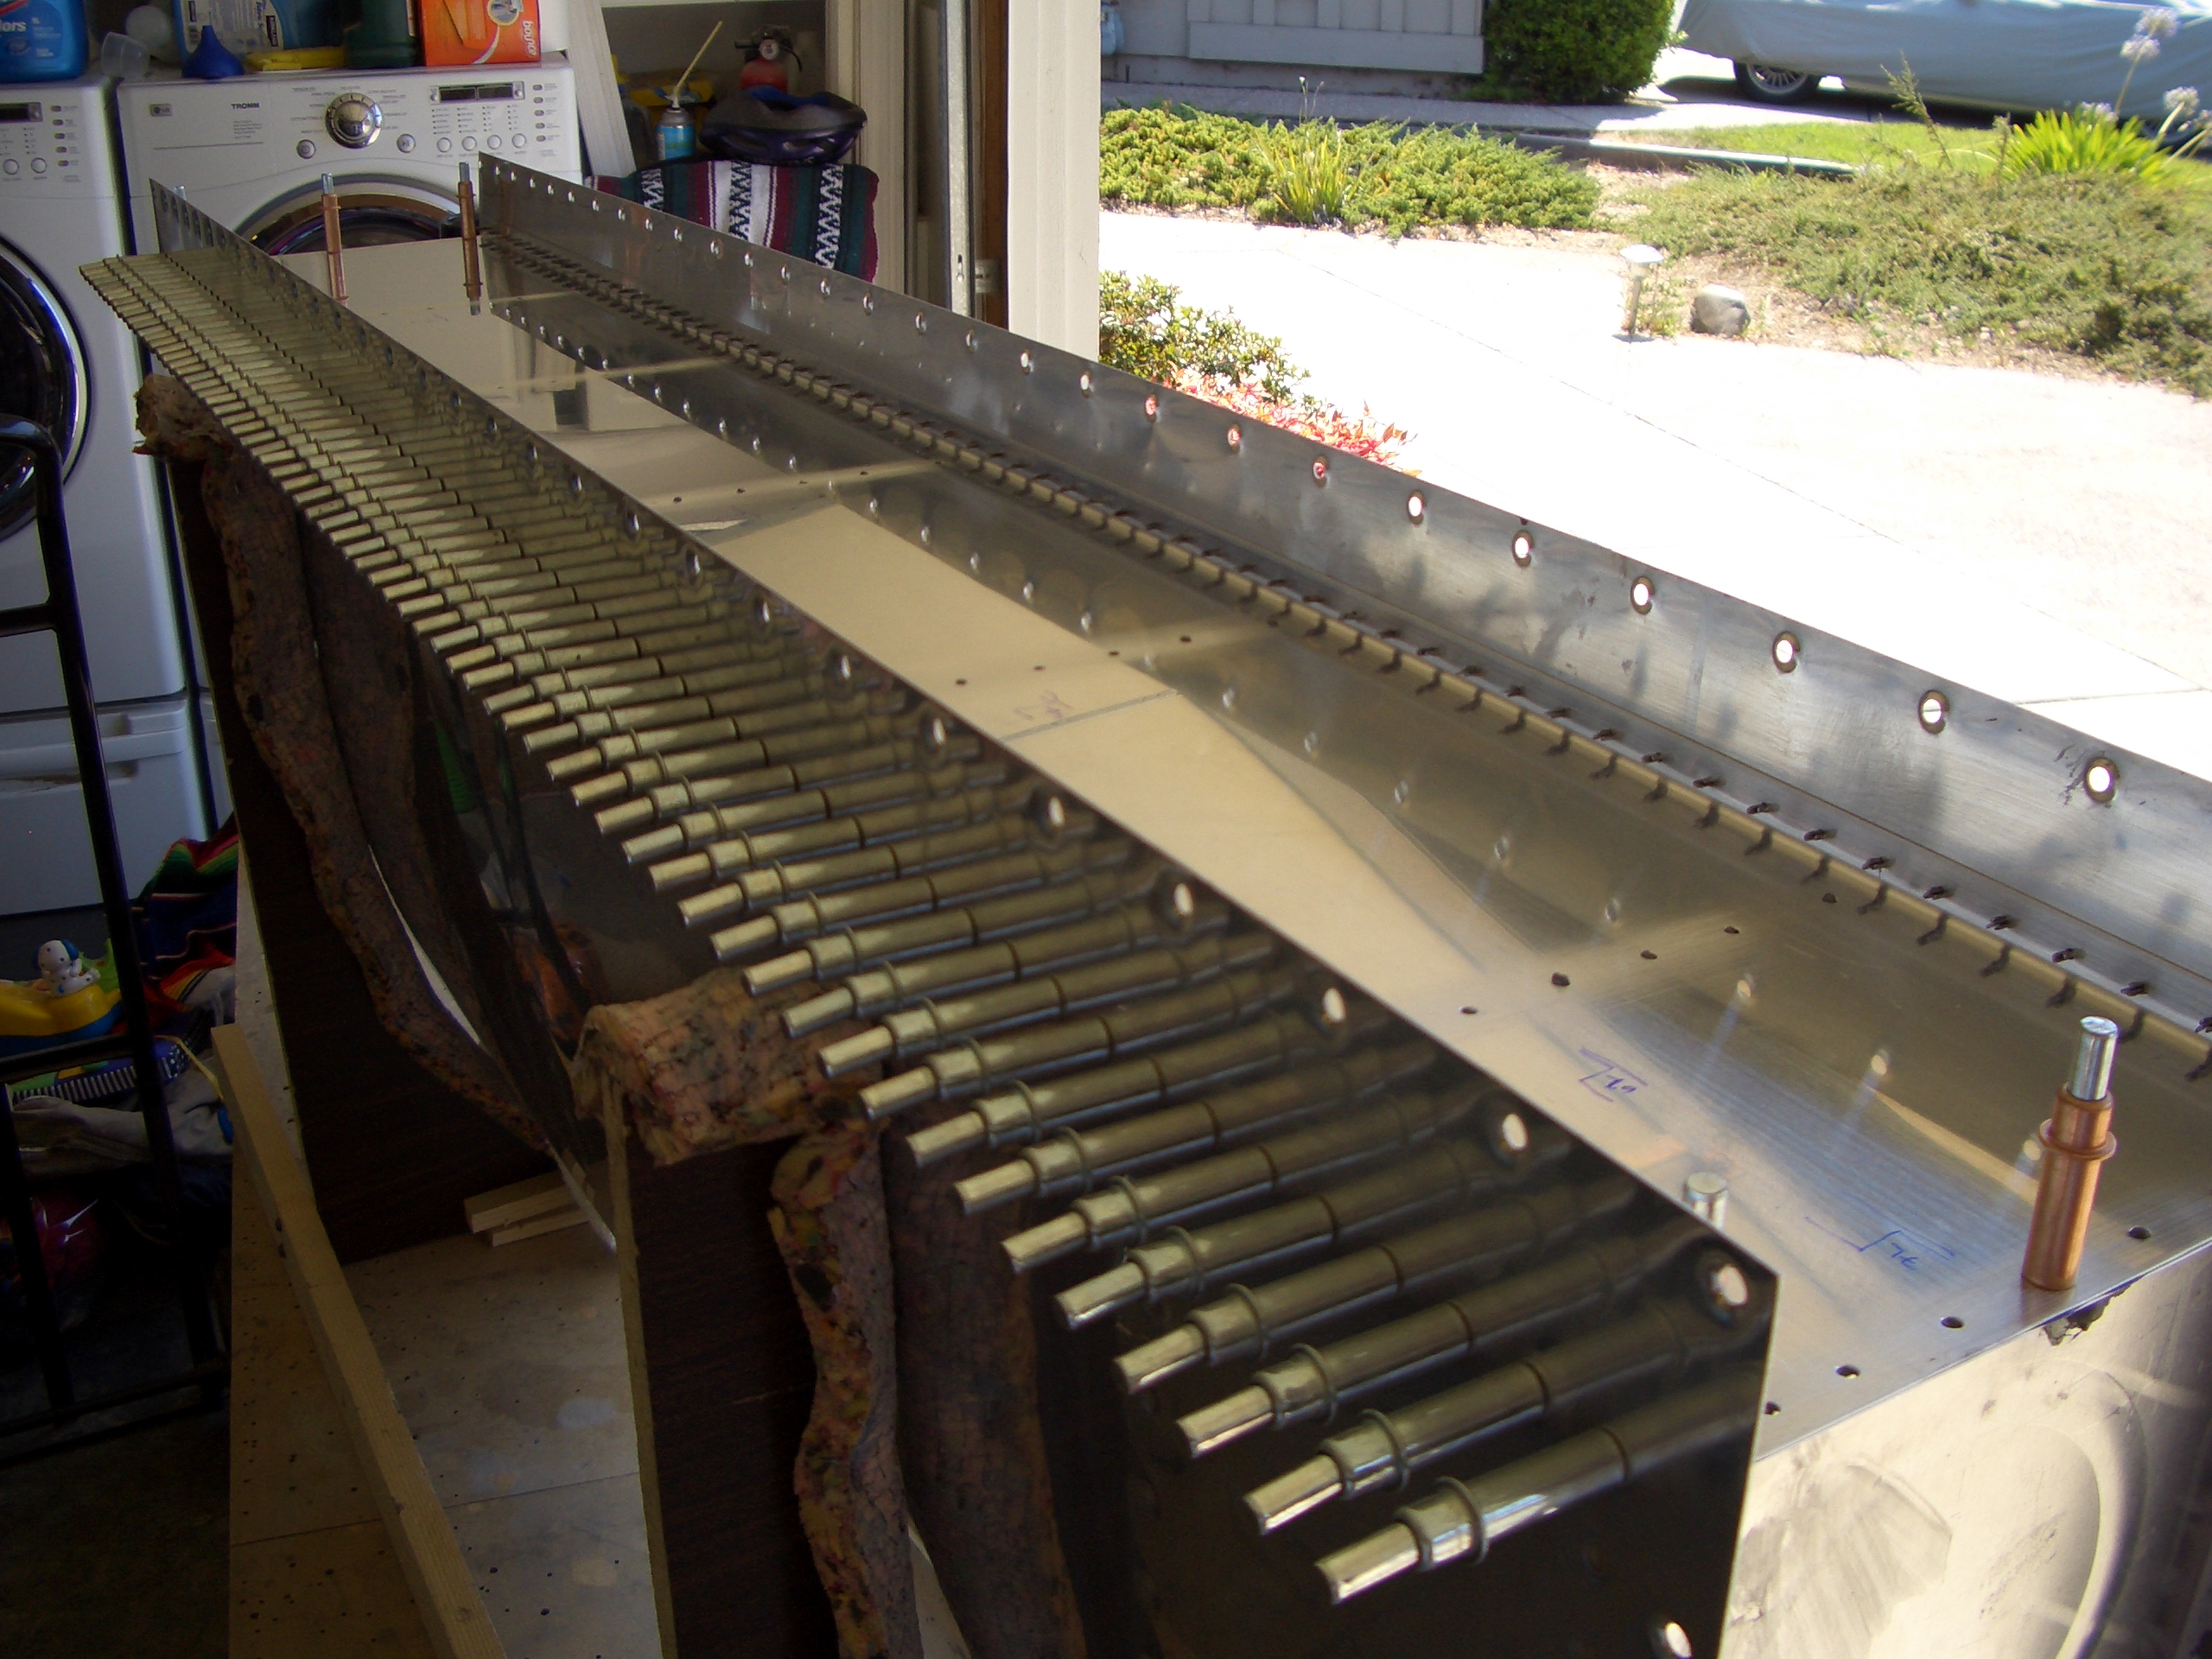
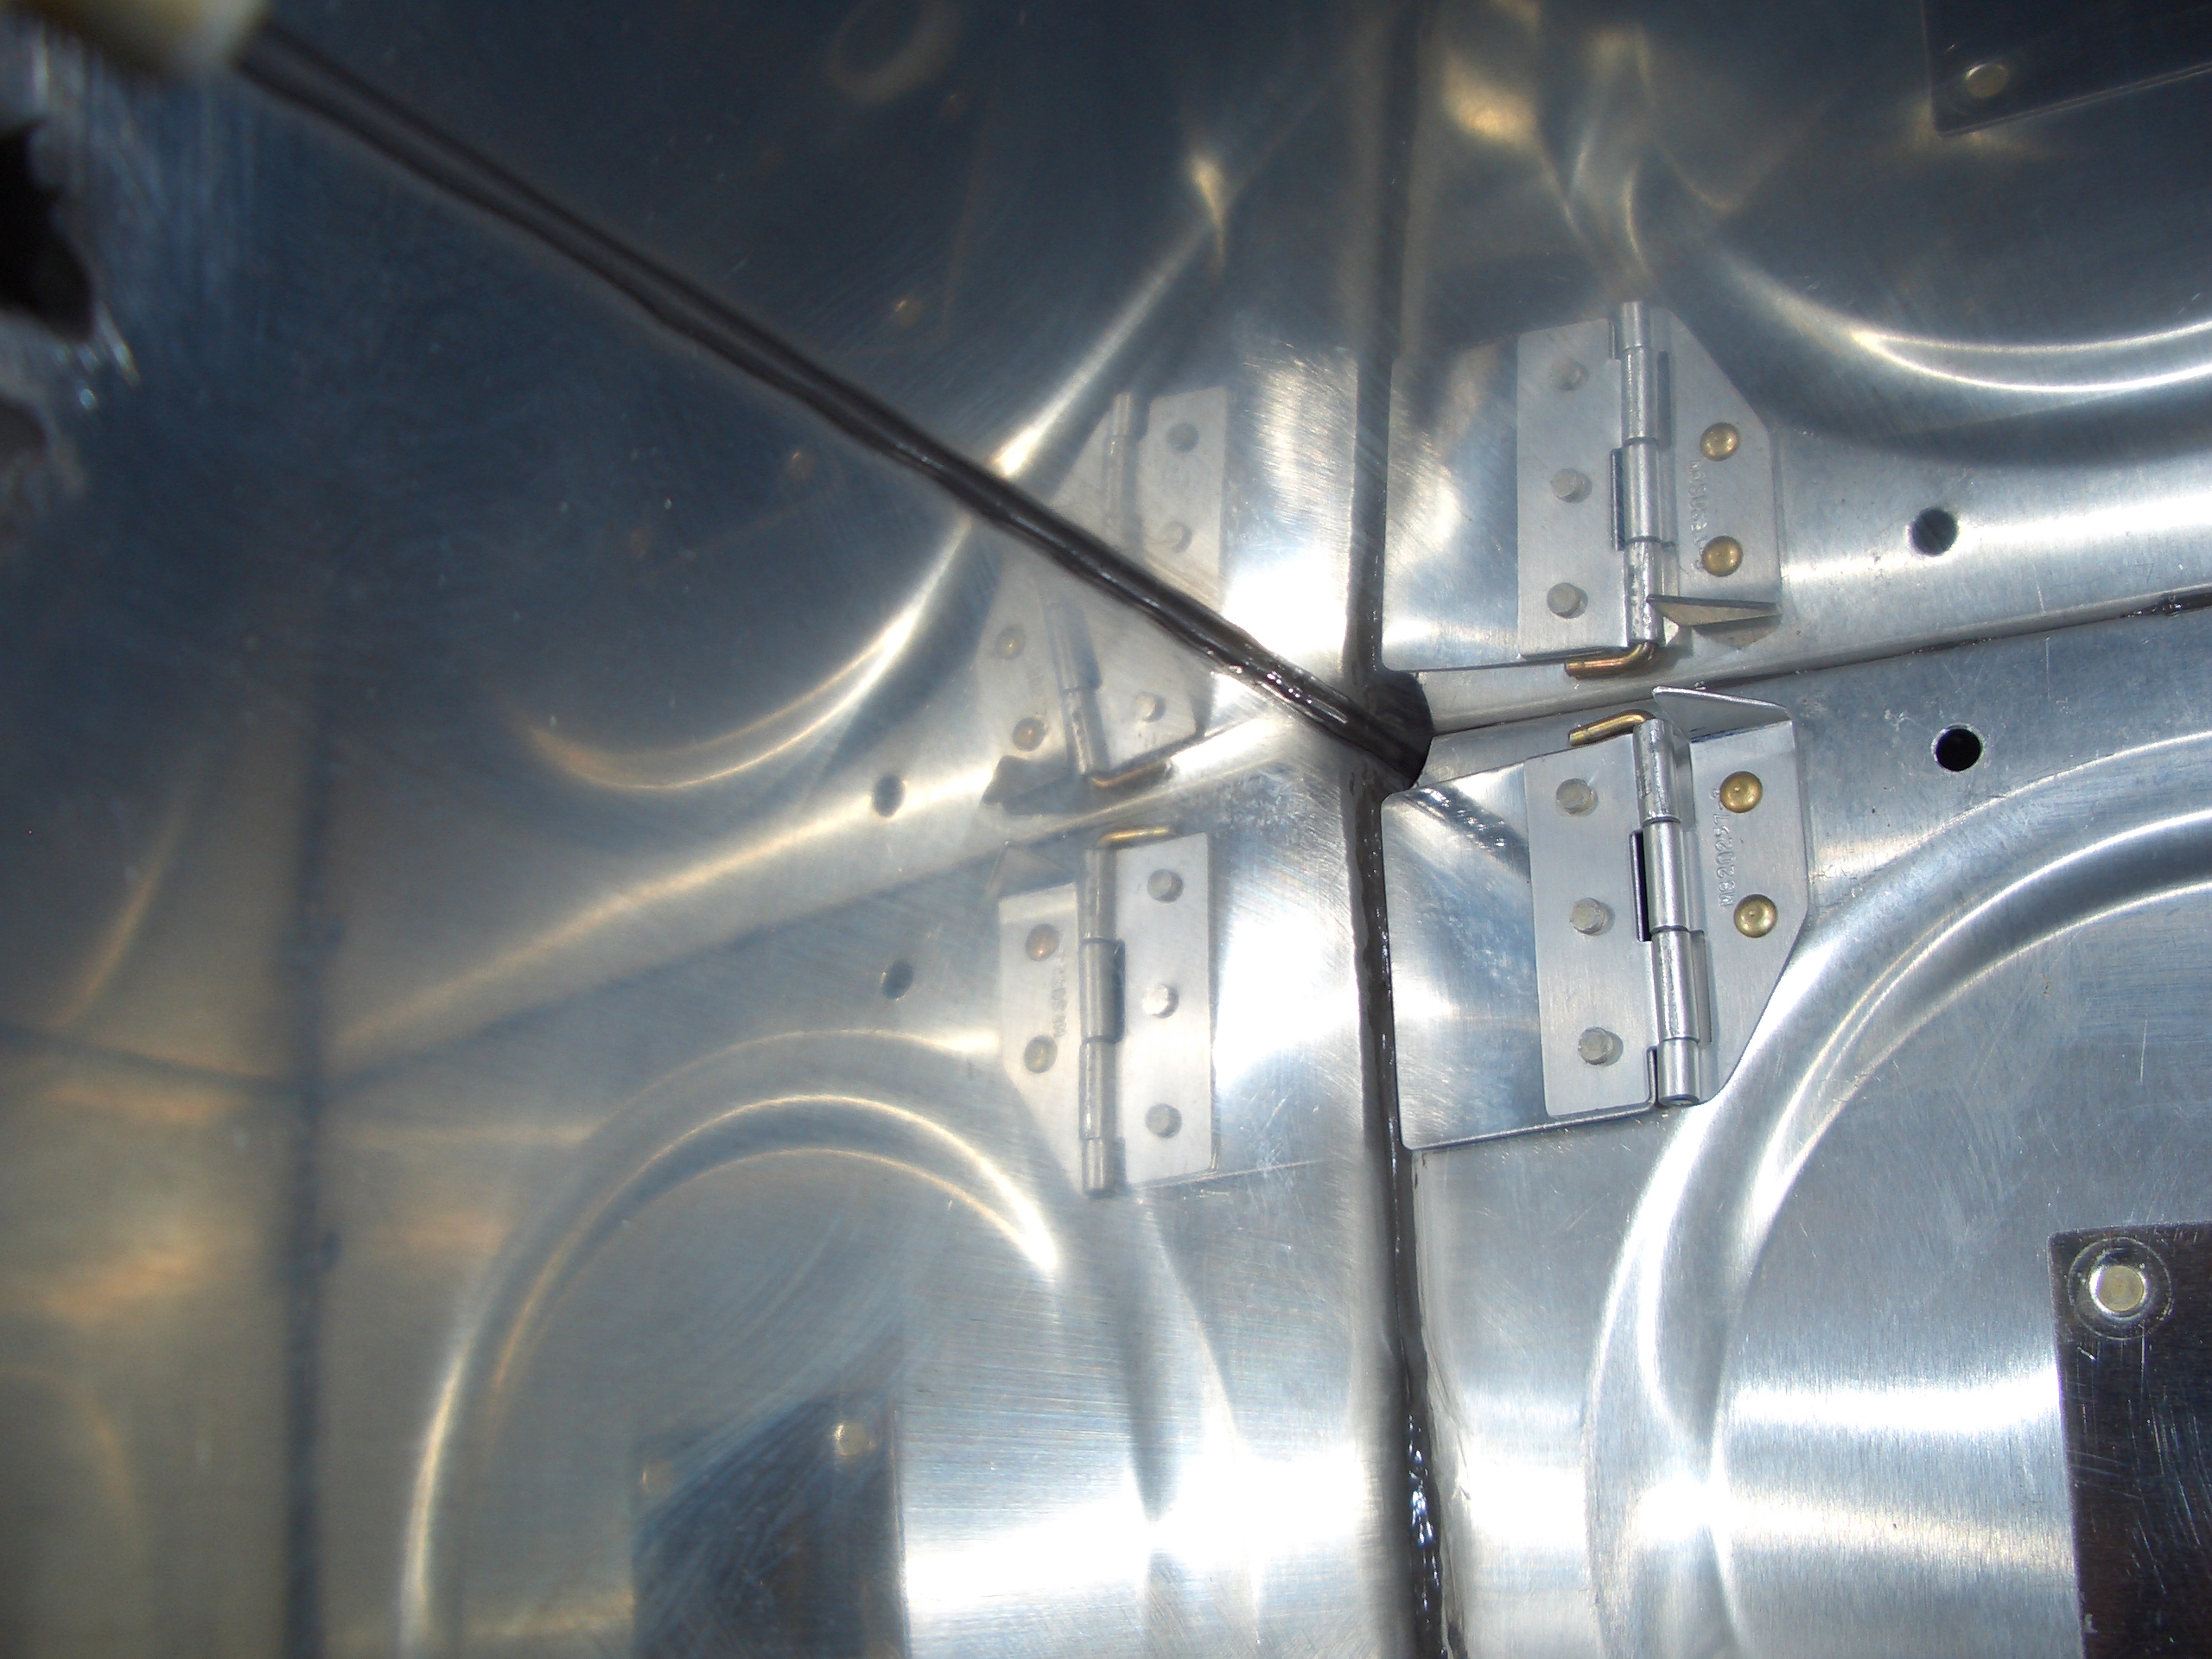
Next, the upper and lower rib to baffle holes are pop riveted.
Then the z-brackets are pop riveted on. Double check the orientation of each of these brackets because it varies and it would be really hard to change once they’re riveted on. Just like other builders, I had to grind the nose of my crappy Harbor Freight pop rivet gun down to get to these pop rivets.
At the top of this picture, you can see the bead of sealant that gets formed when the baffle gets pushed into position. I’m really glad I purchased a Semco sealant gun now. It made it trivial to get a nice bead on the skin.
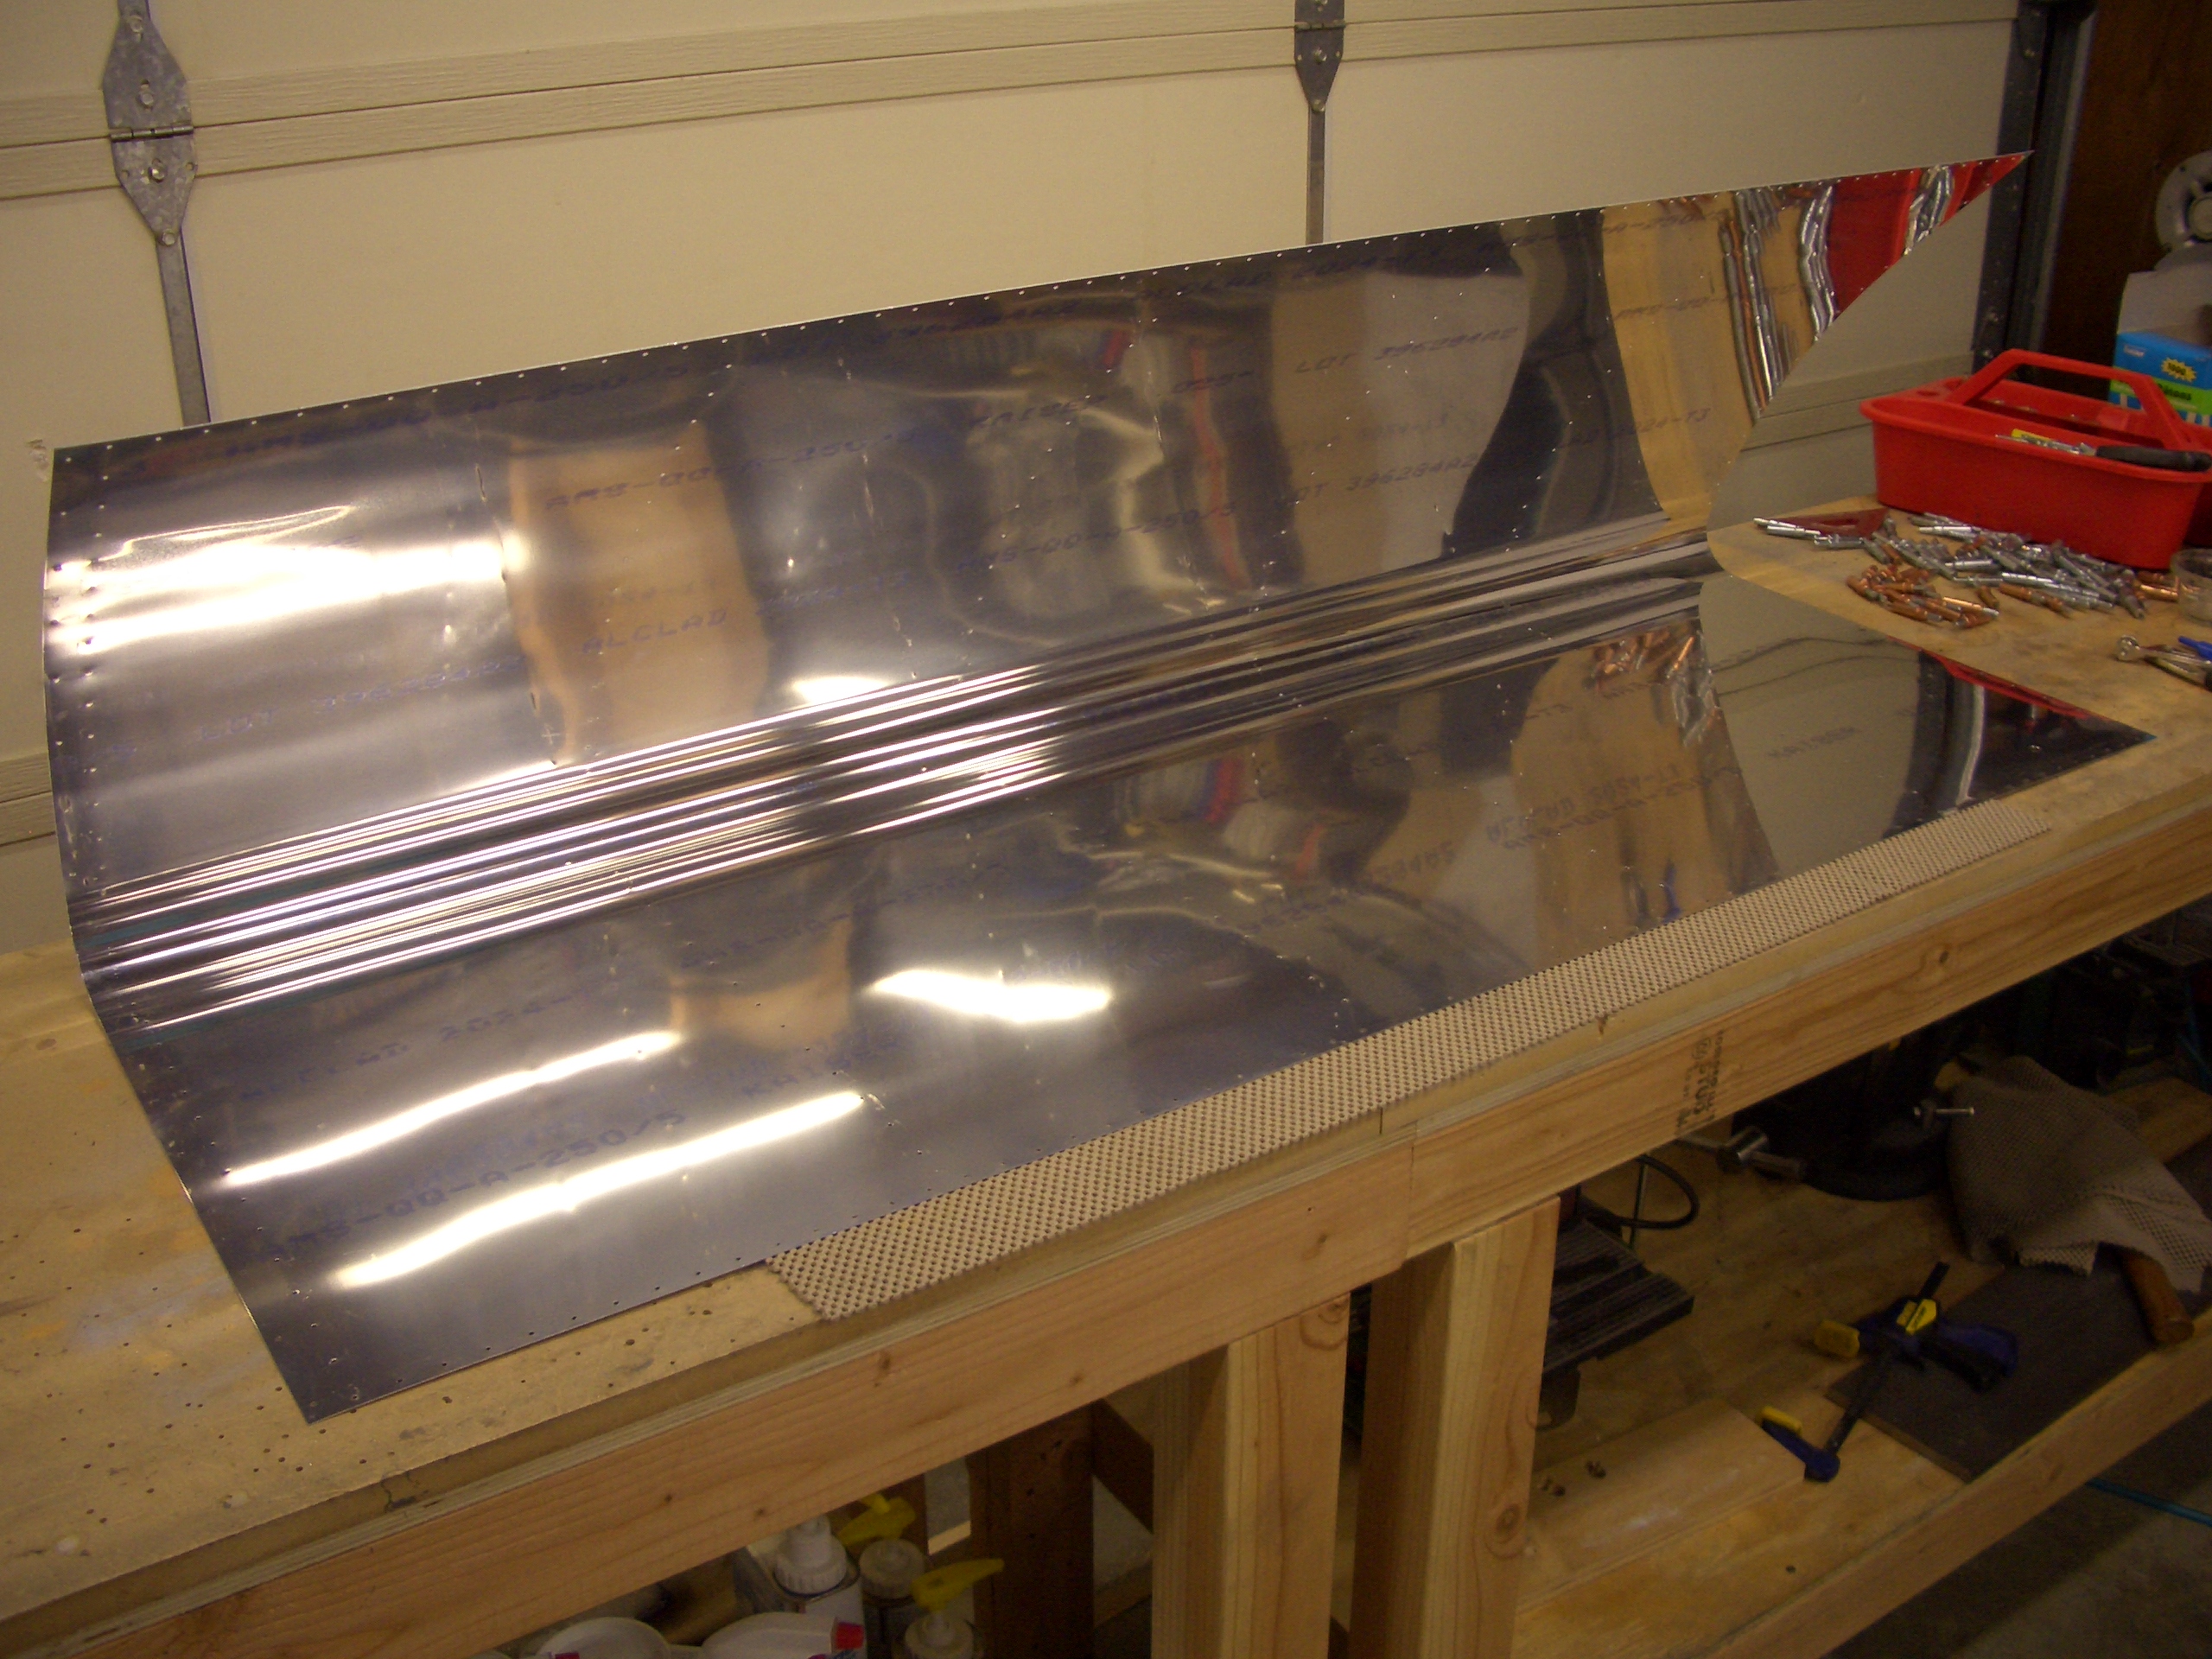
I came out into the garage a little later in the evening. It was too late to get started sealing the other tank, so I took down one of the outboard leading edge skins and deburred it. After finishing the tanks, these will be the next pieces to get riveted.