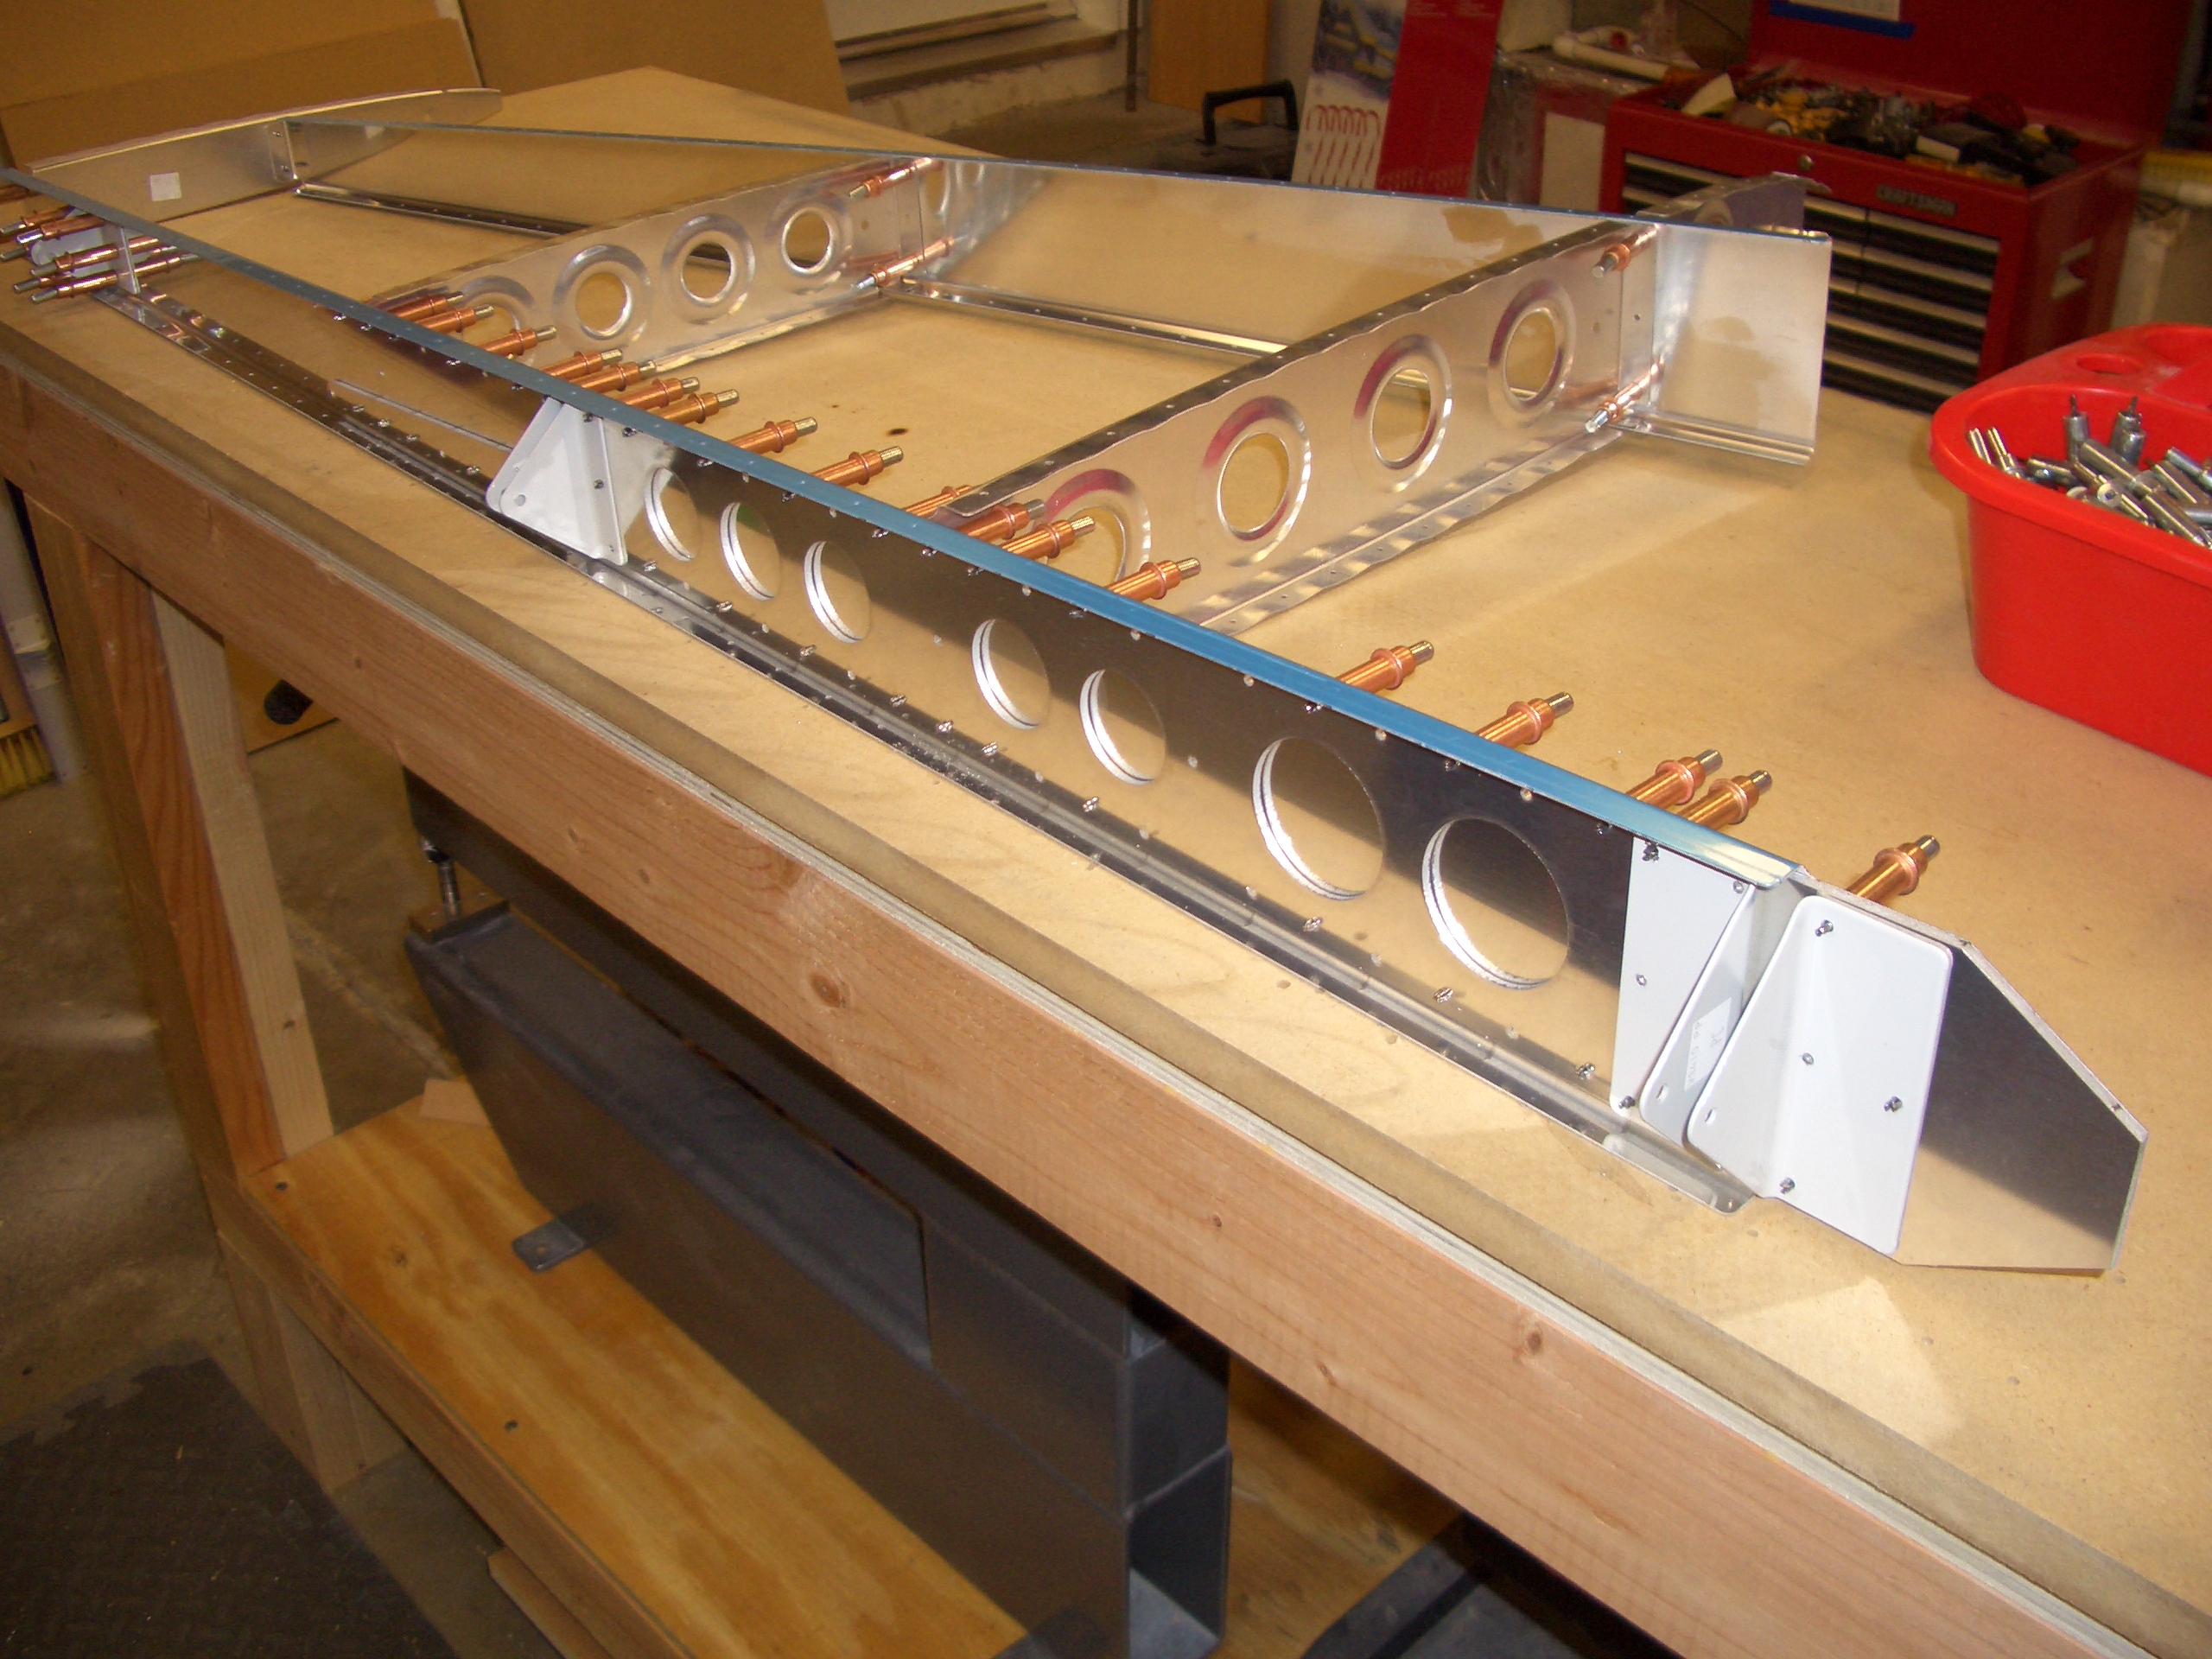
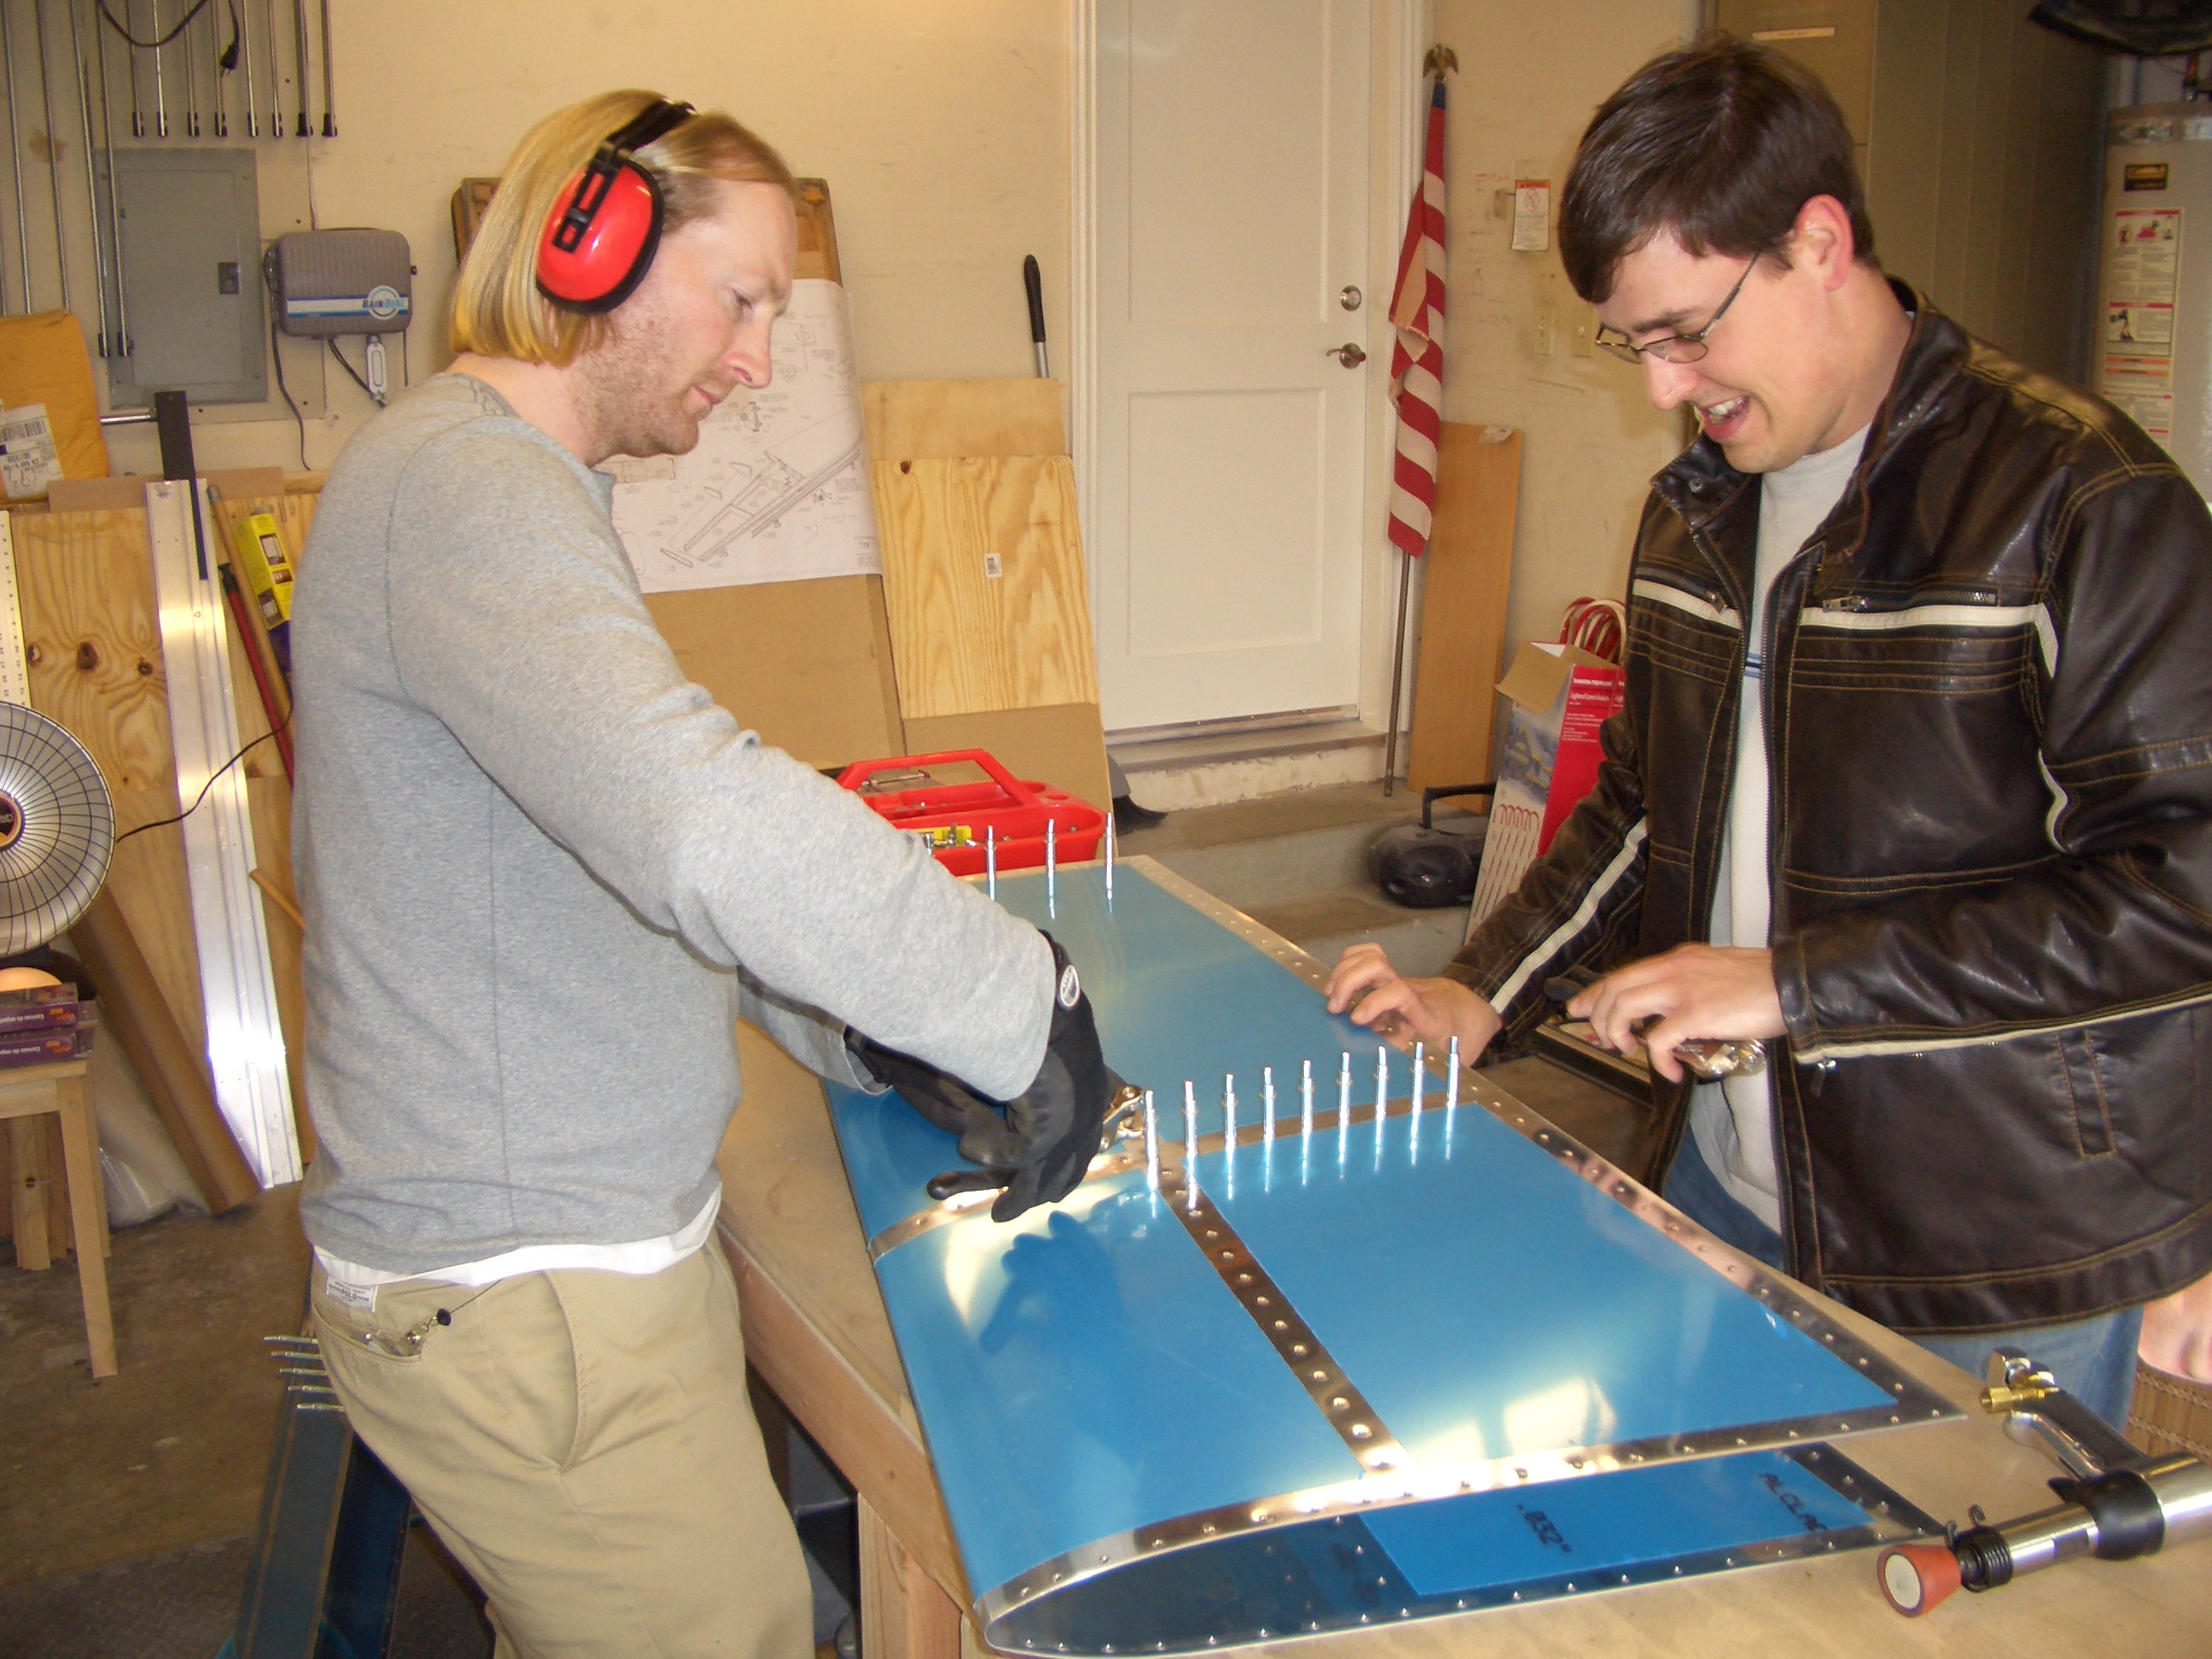
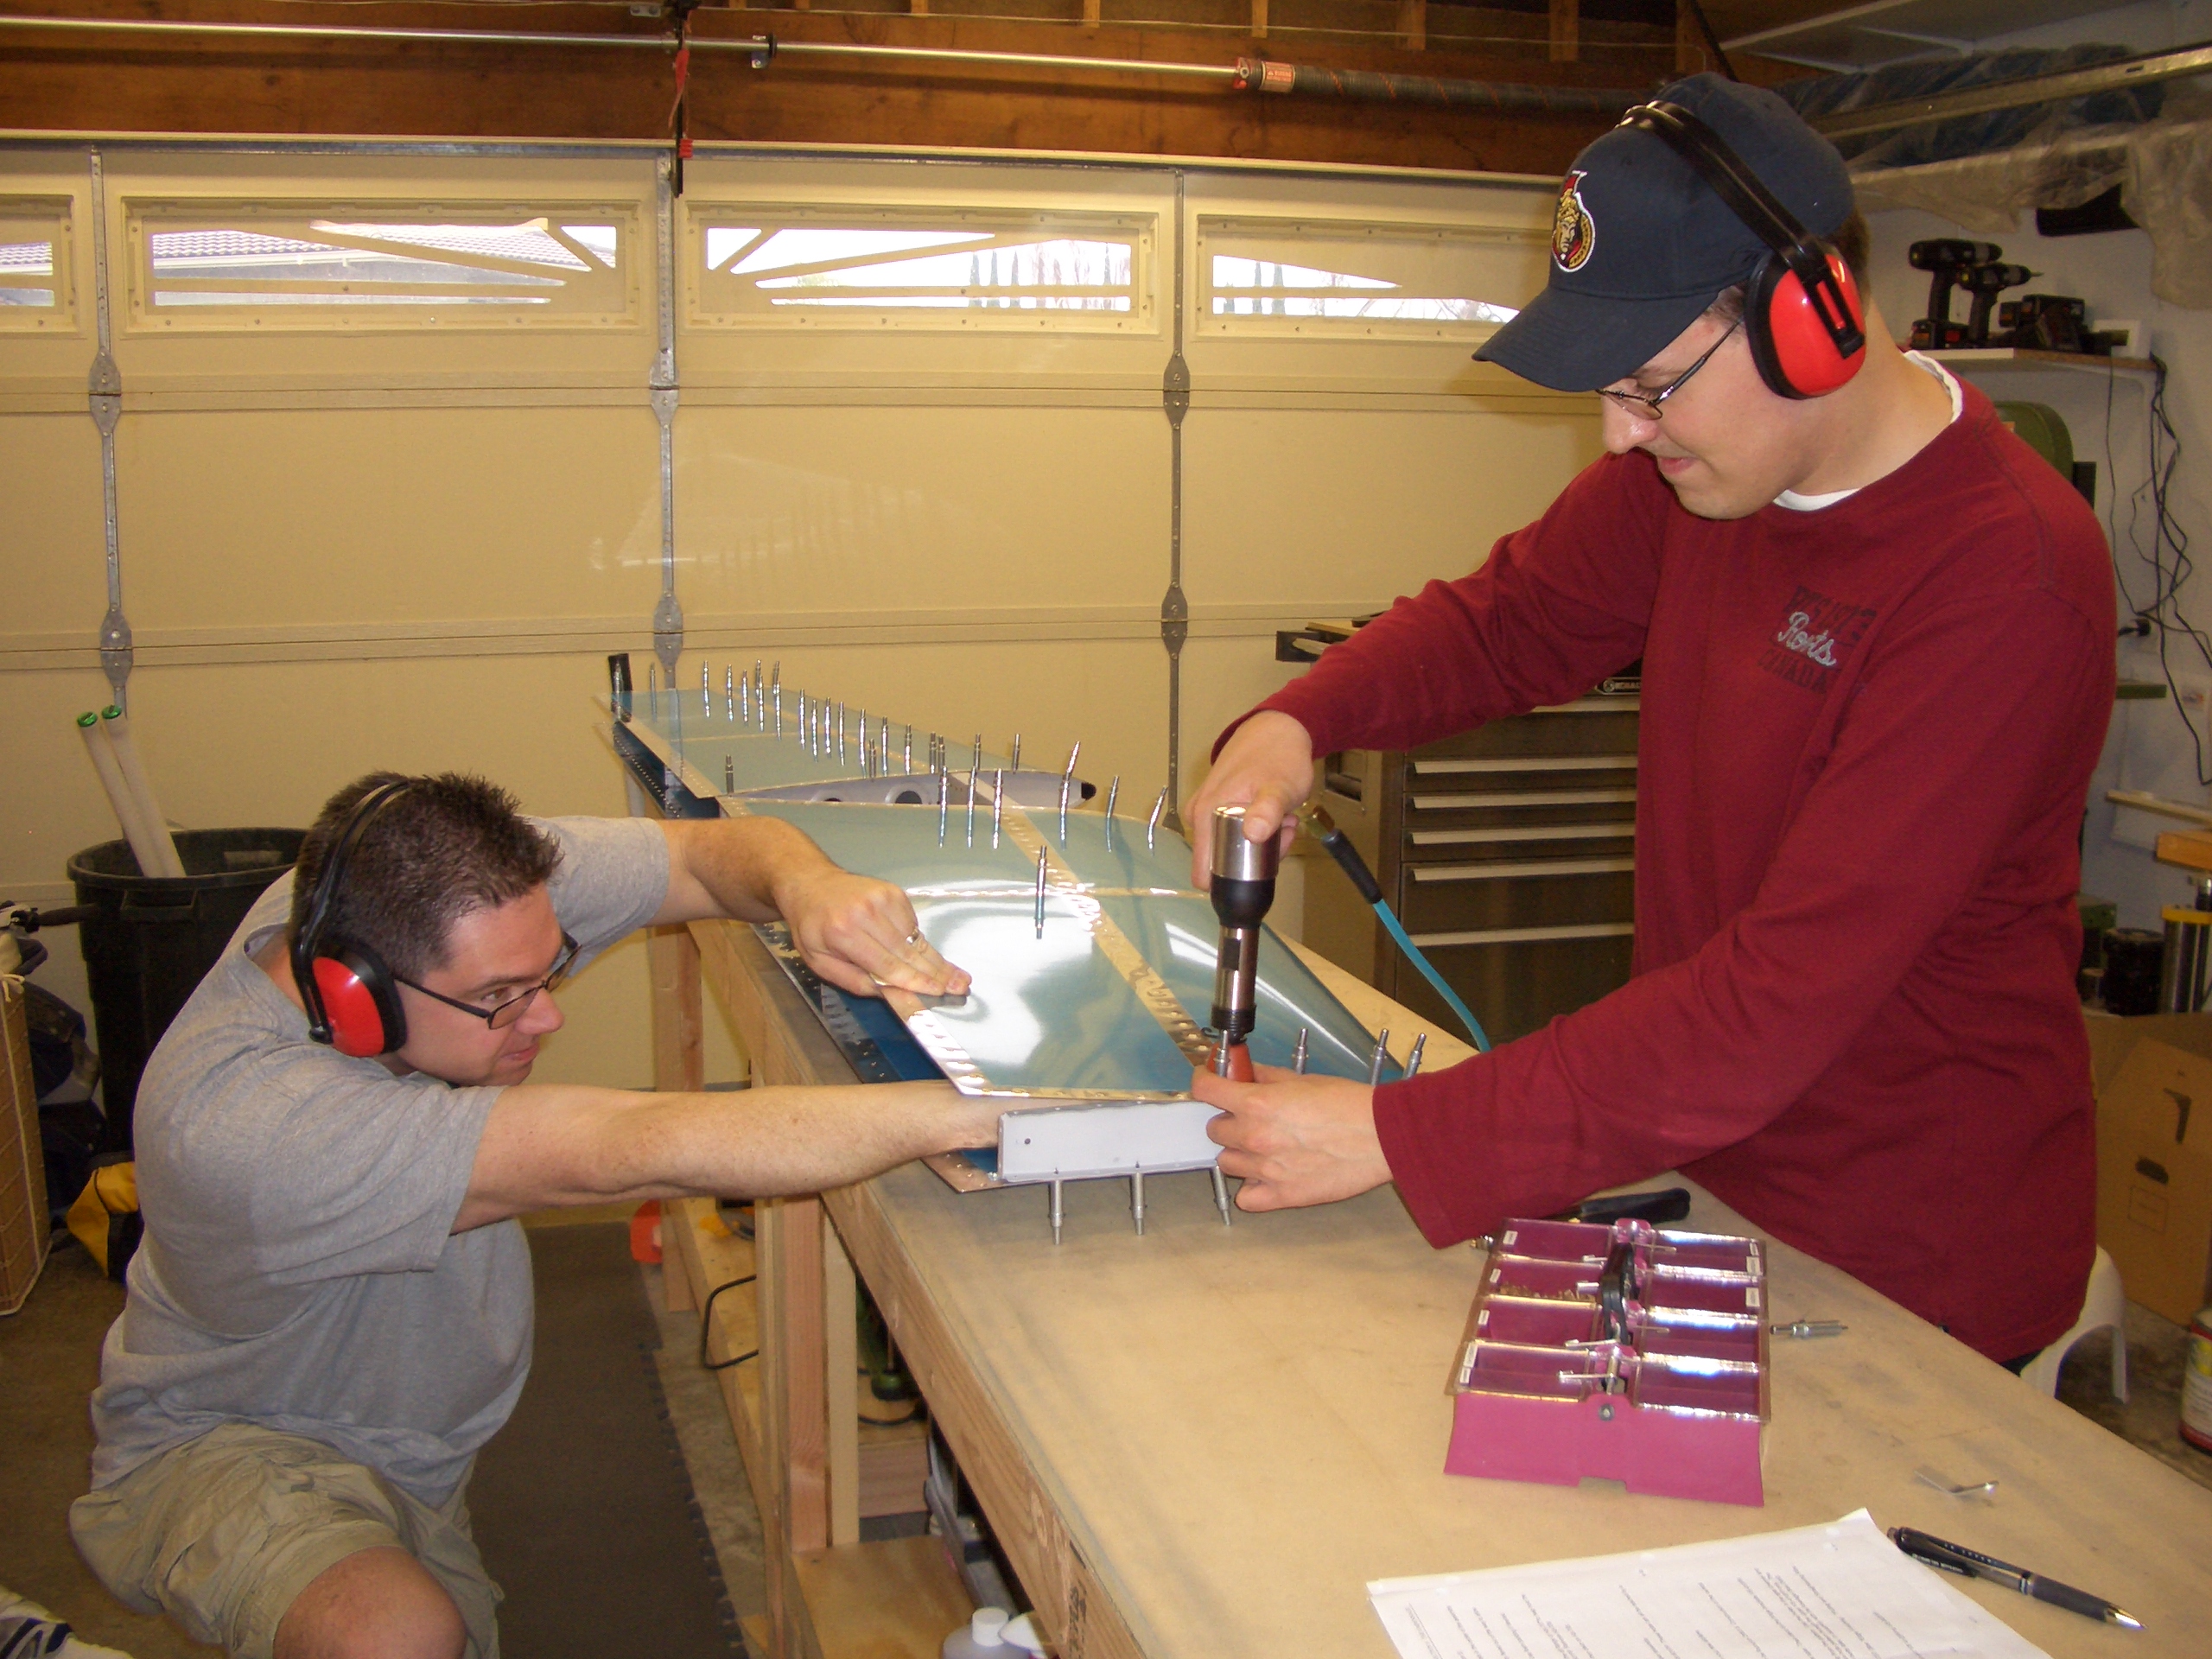
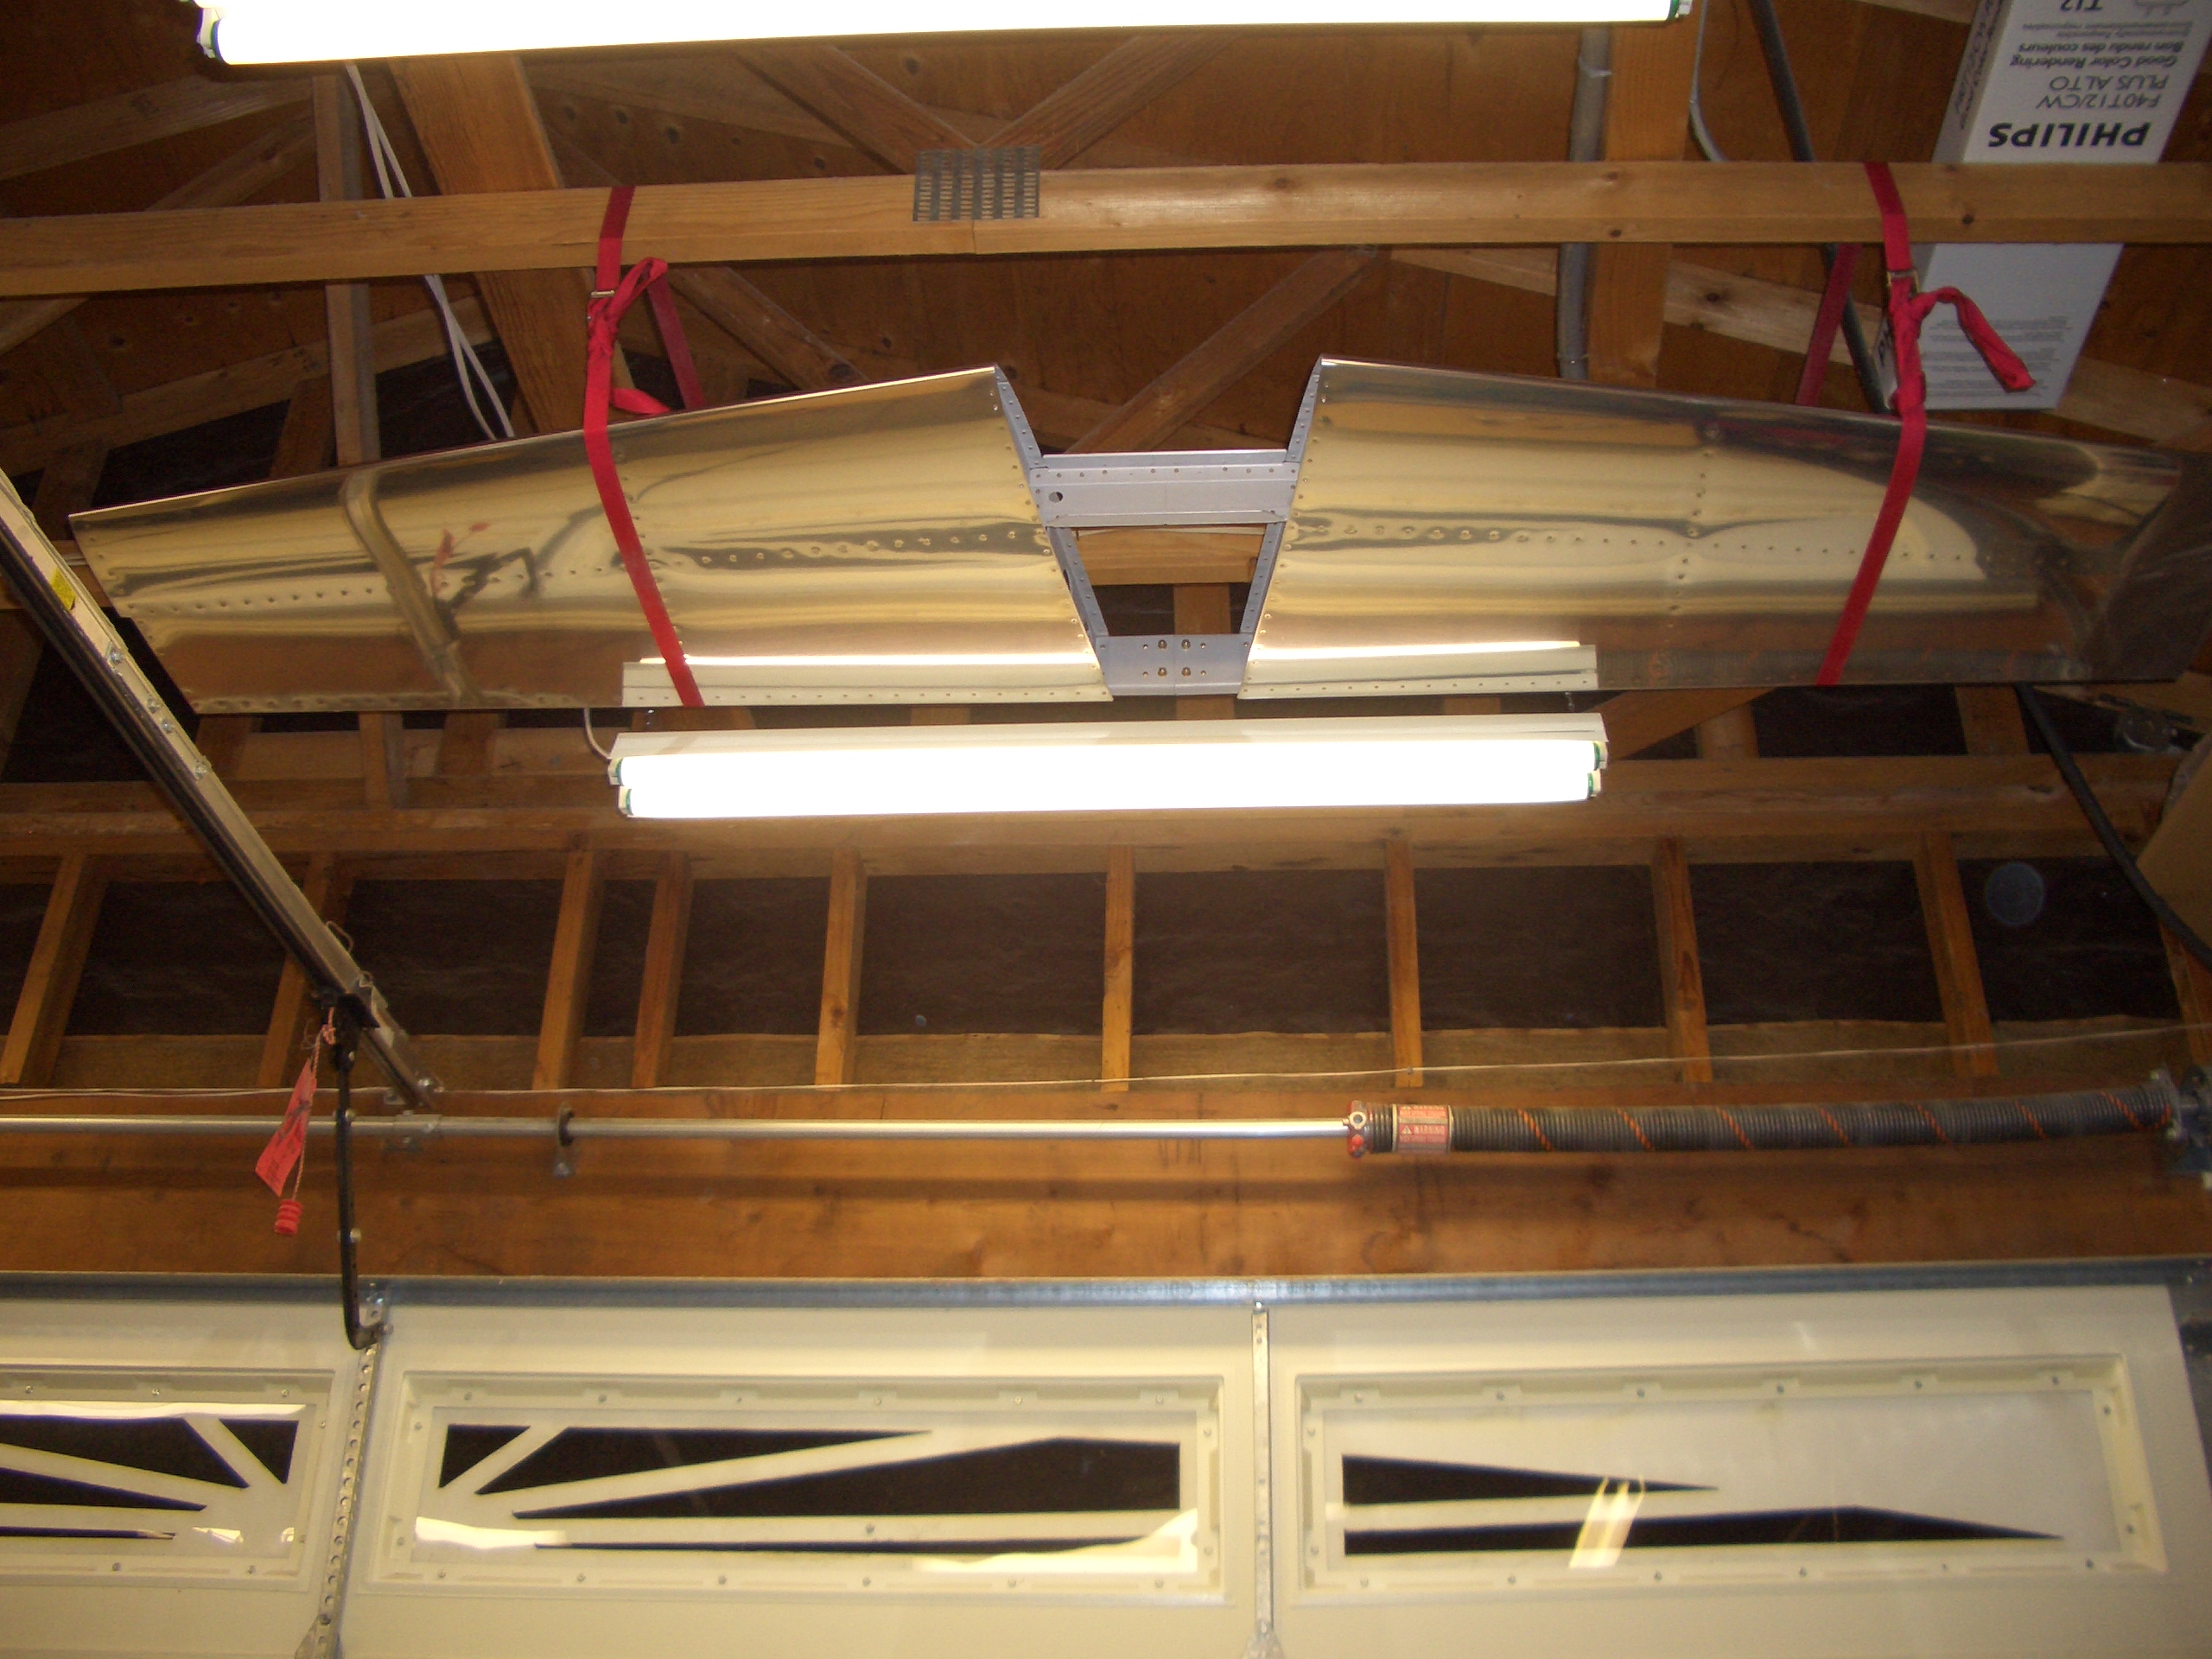
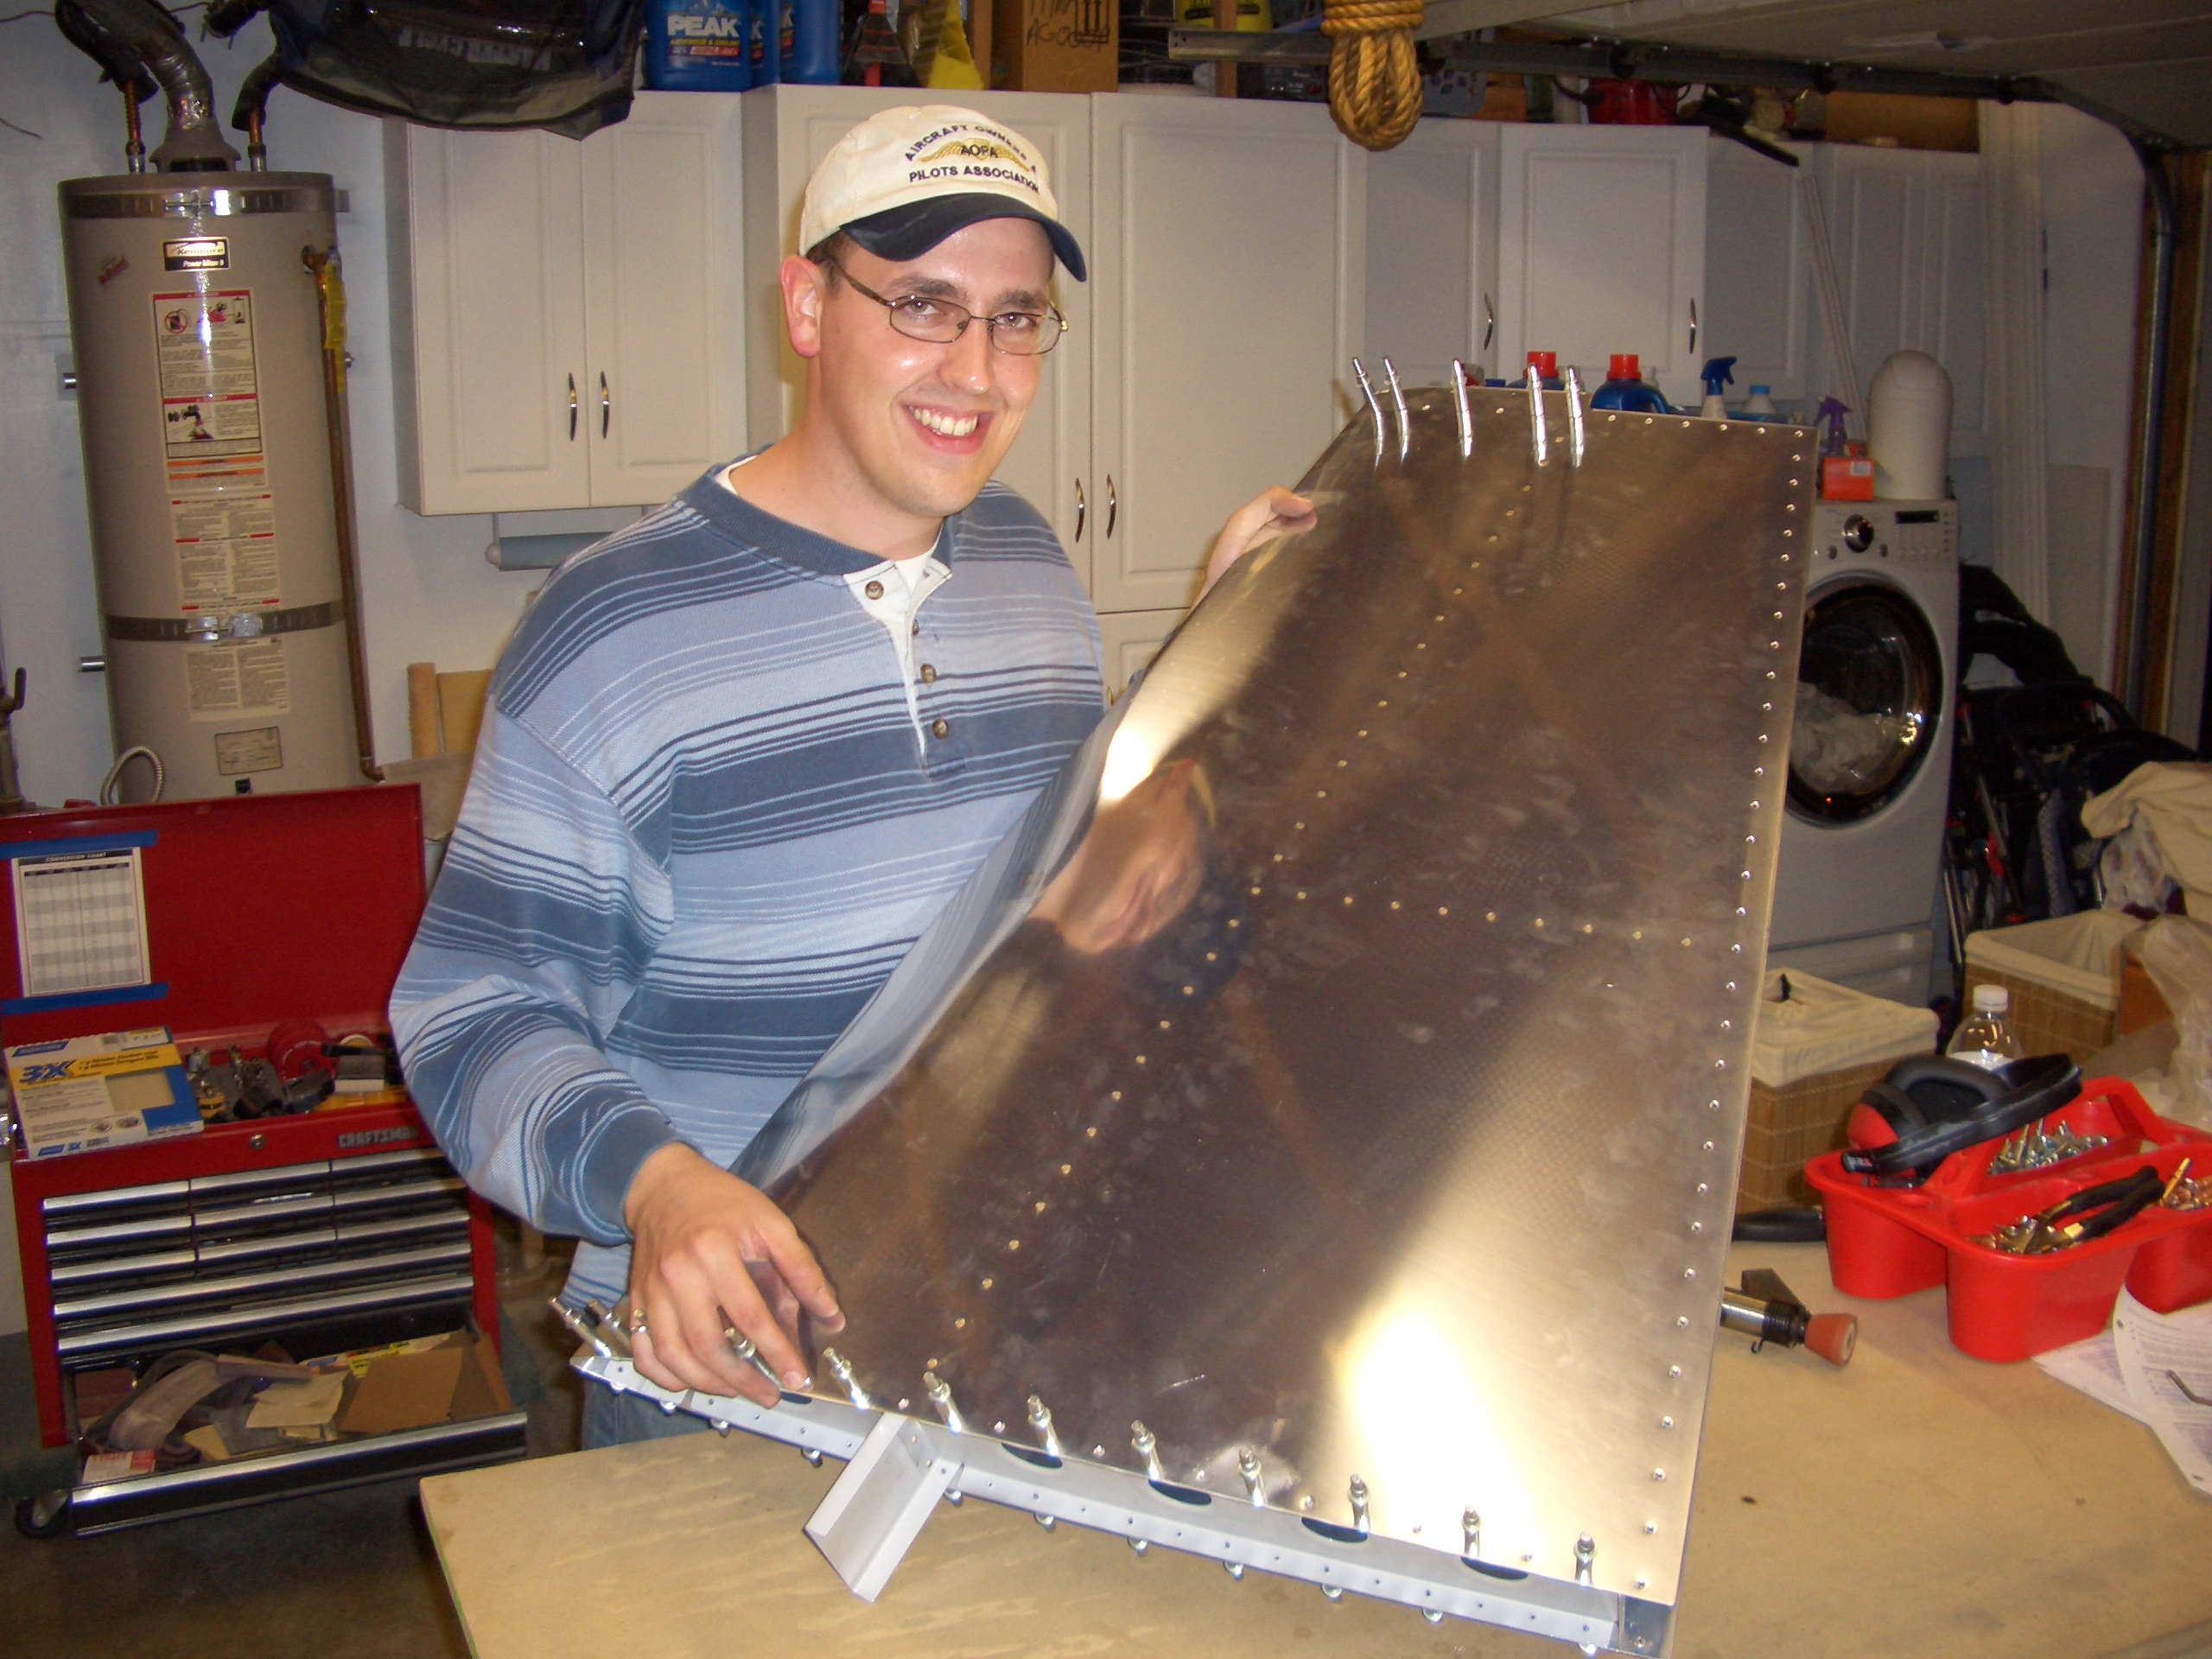
Since I need a riveting partner to begin riveting on the horizontal stabilizer skin, I went ahead and started on the vertical stabilizer. Here is the structure clecoed together.
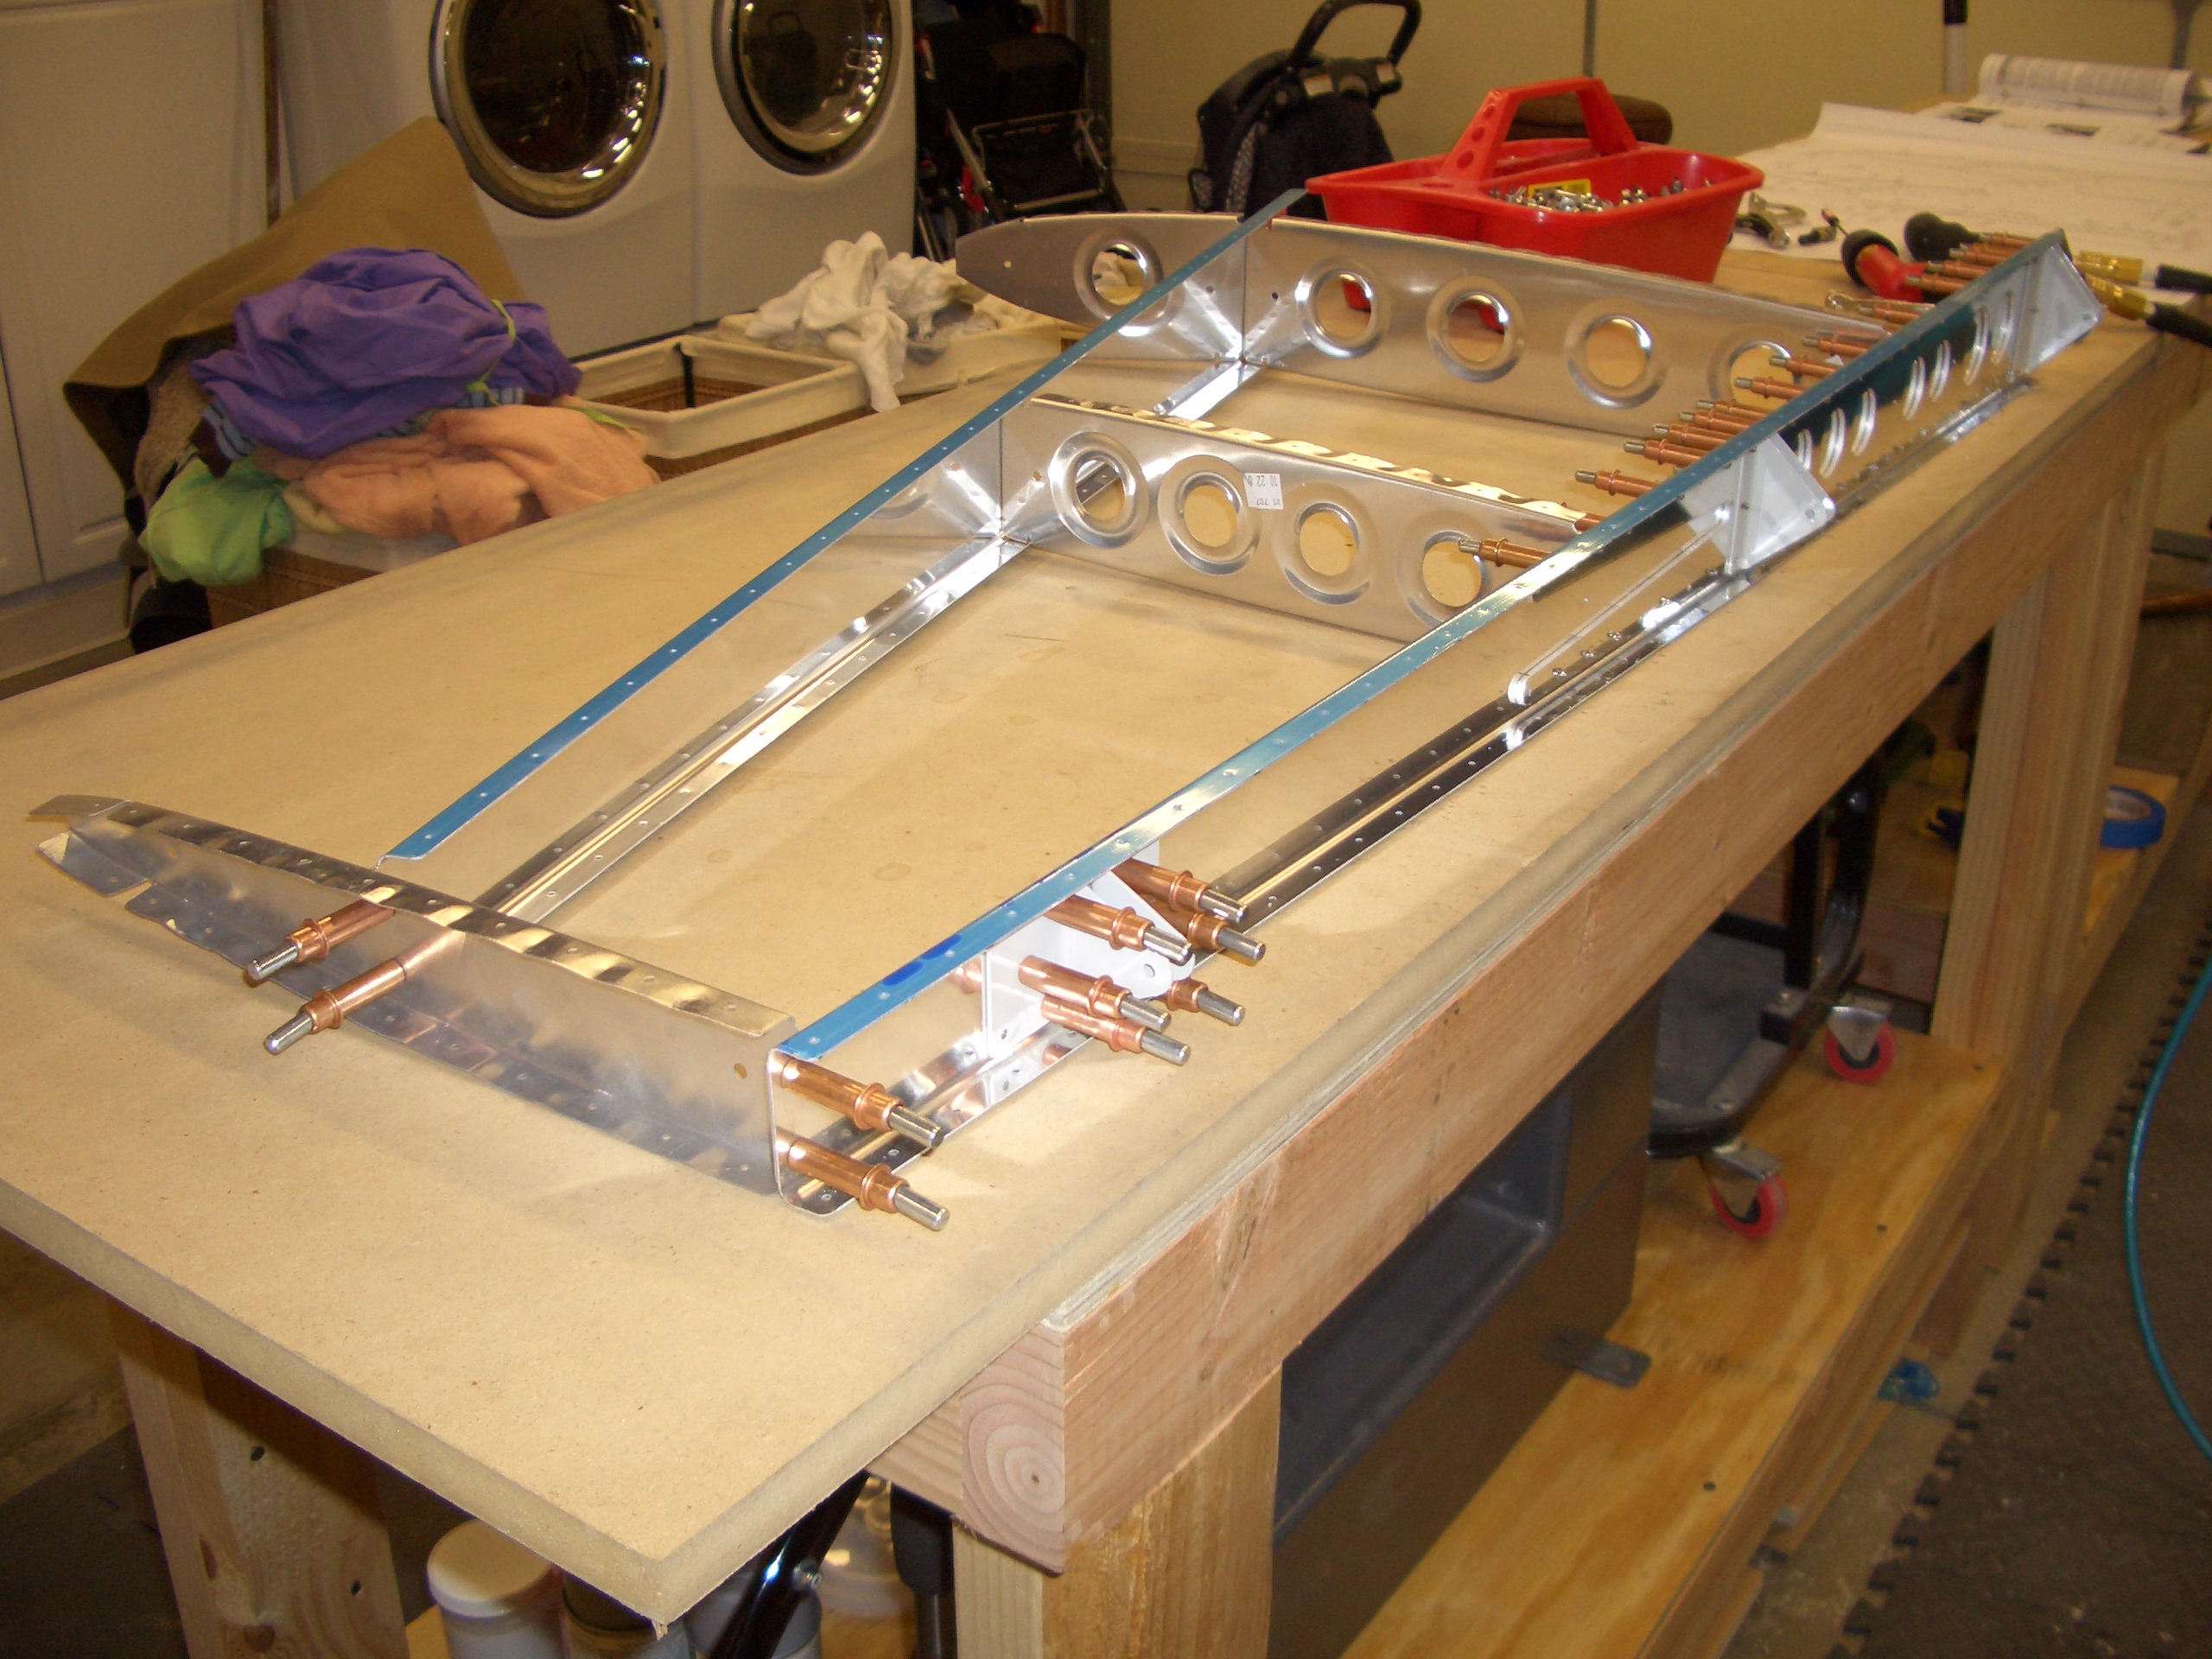
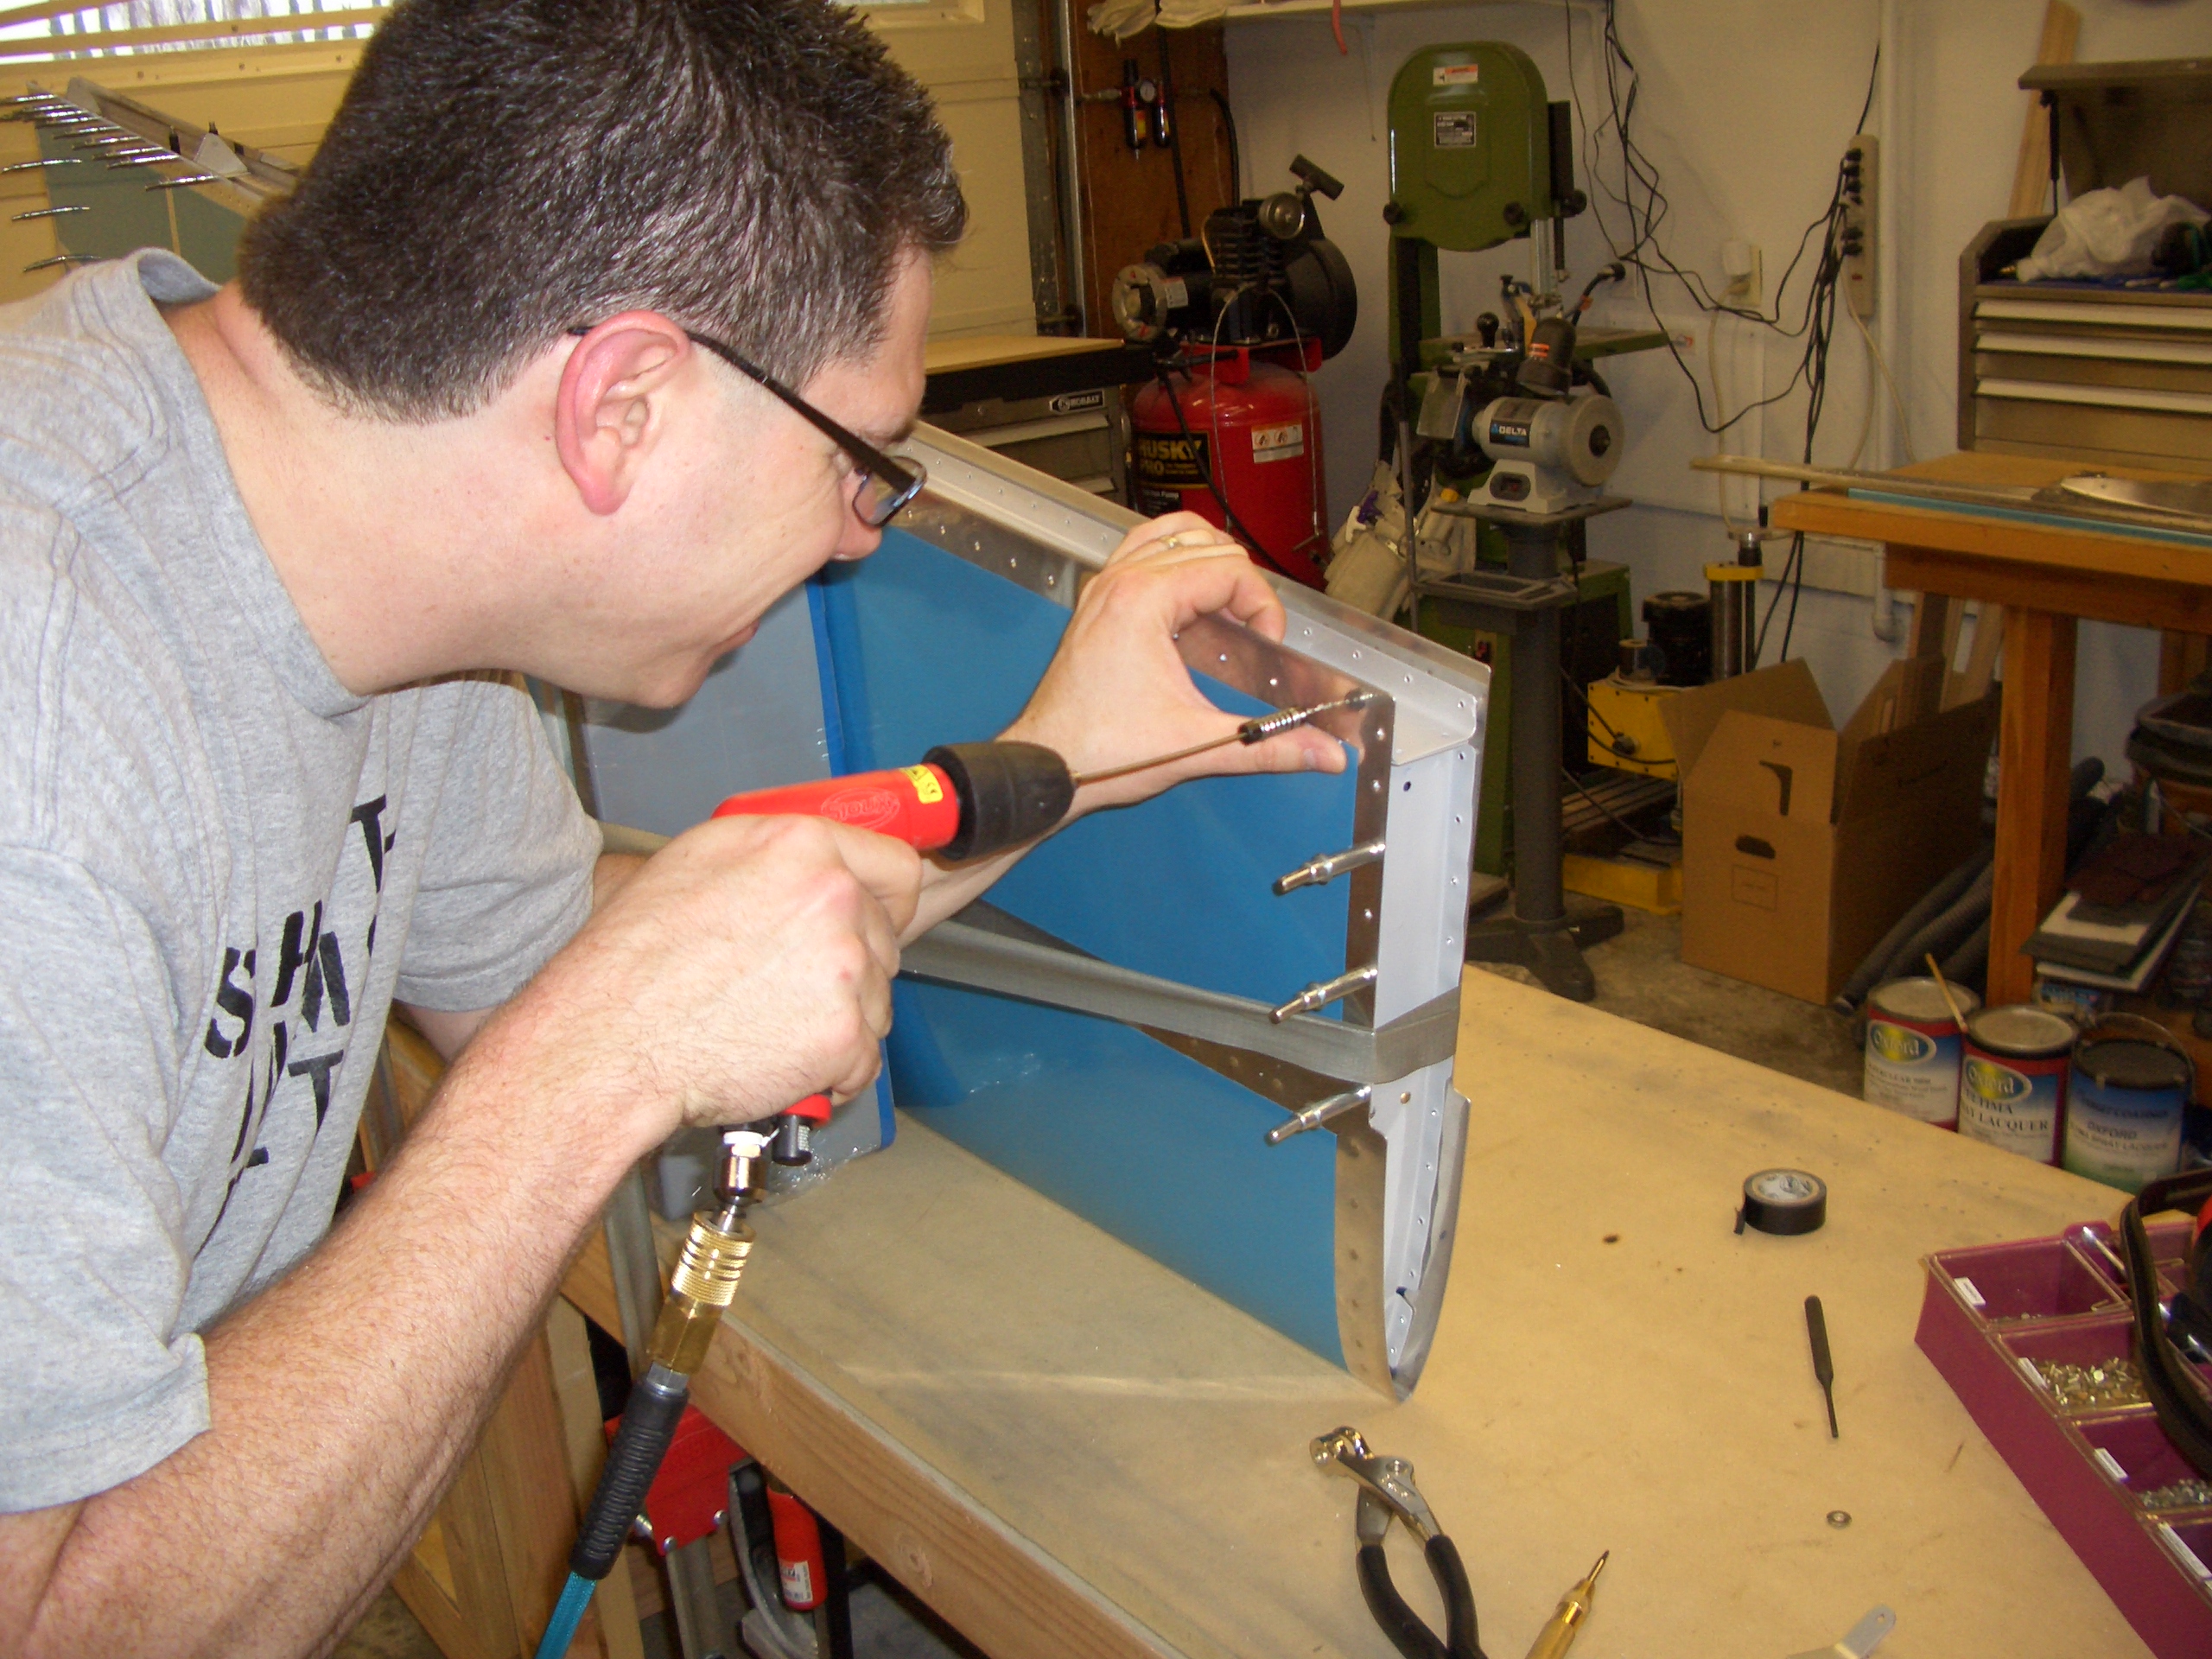
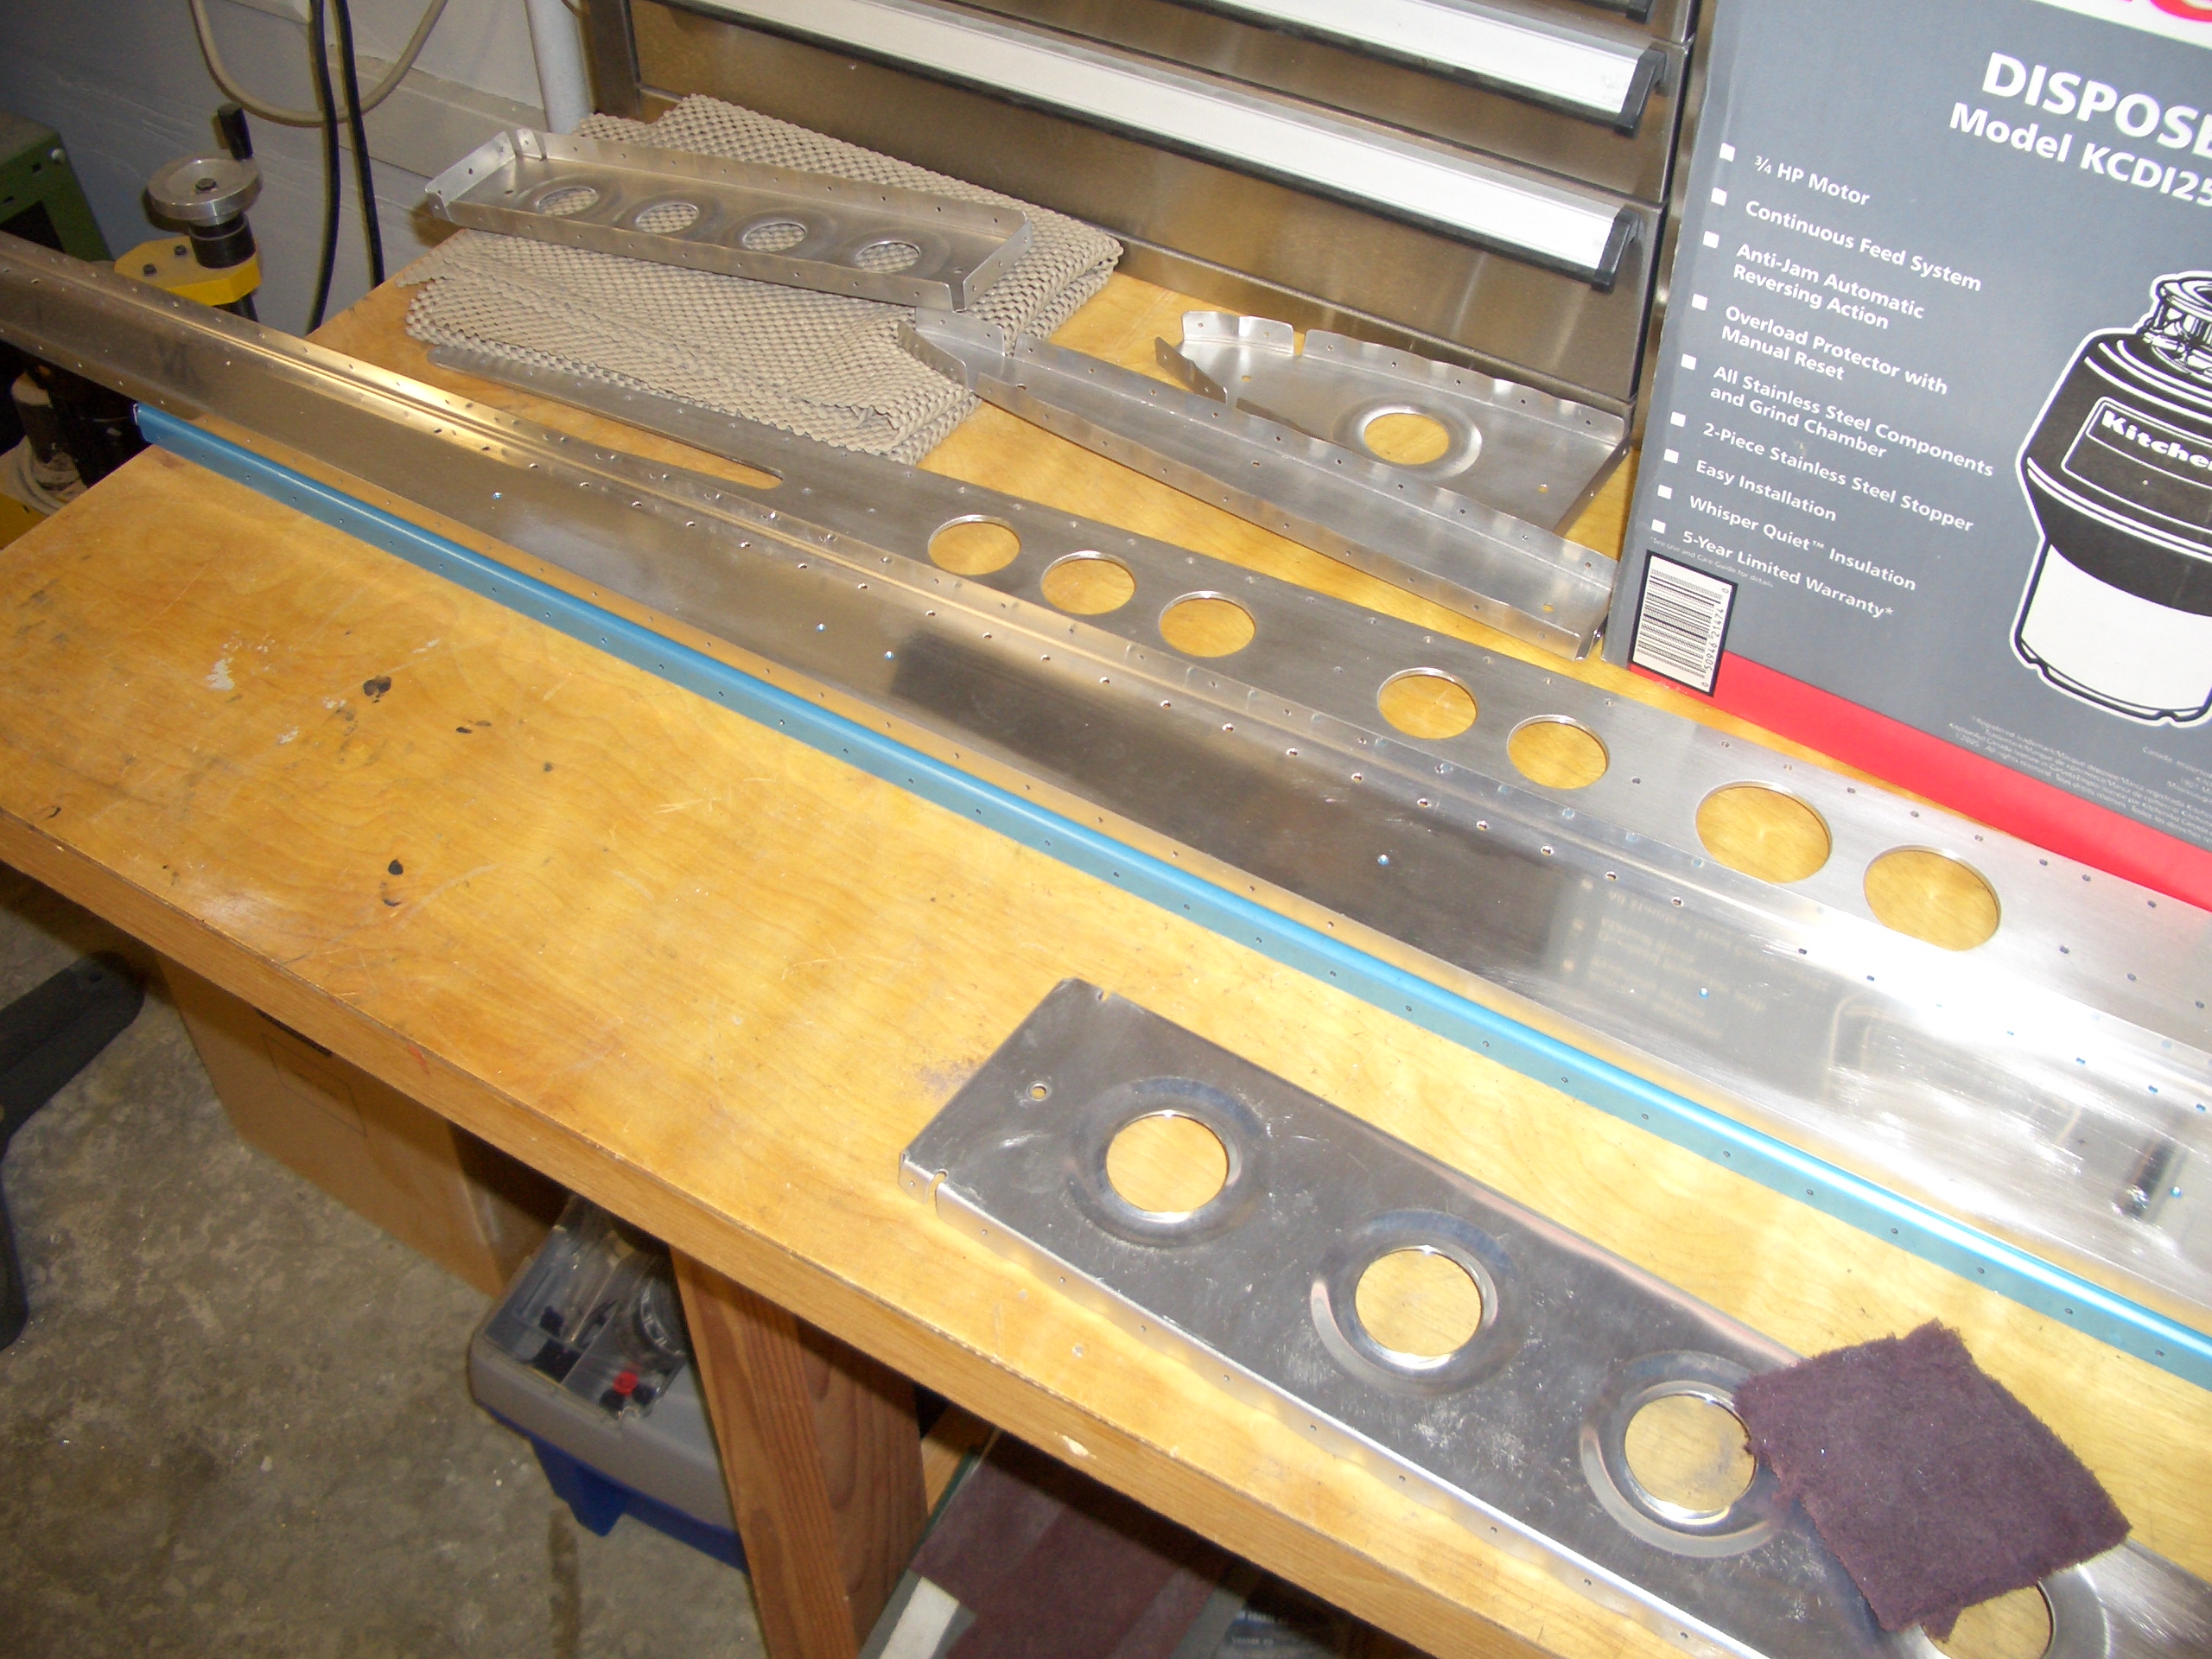
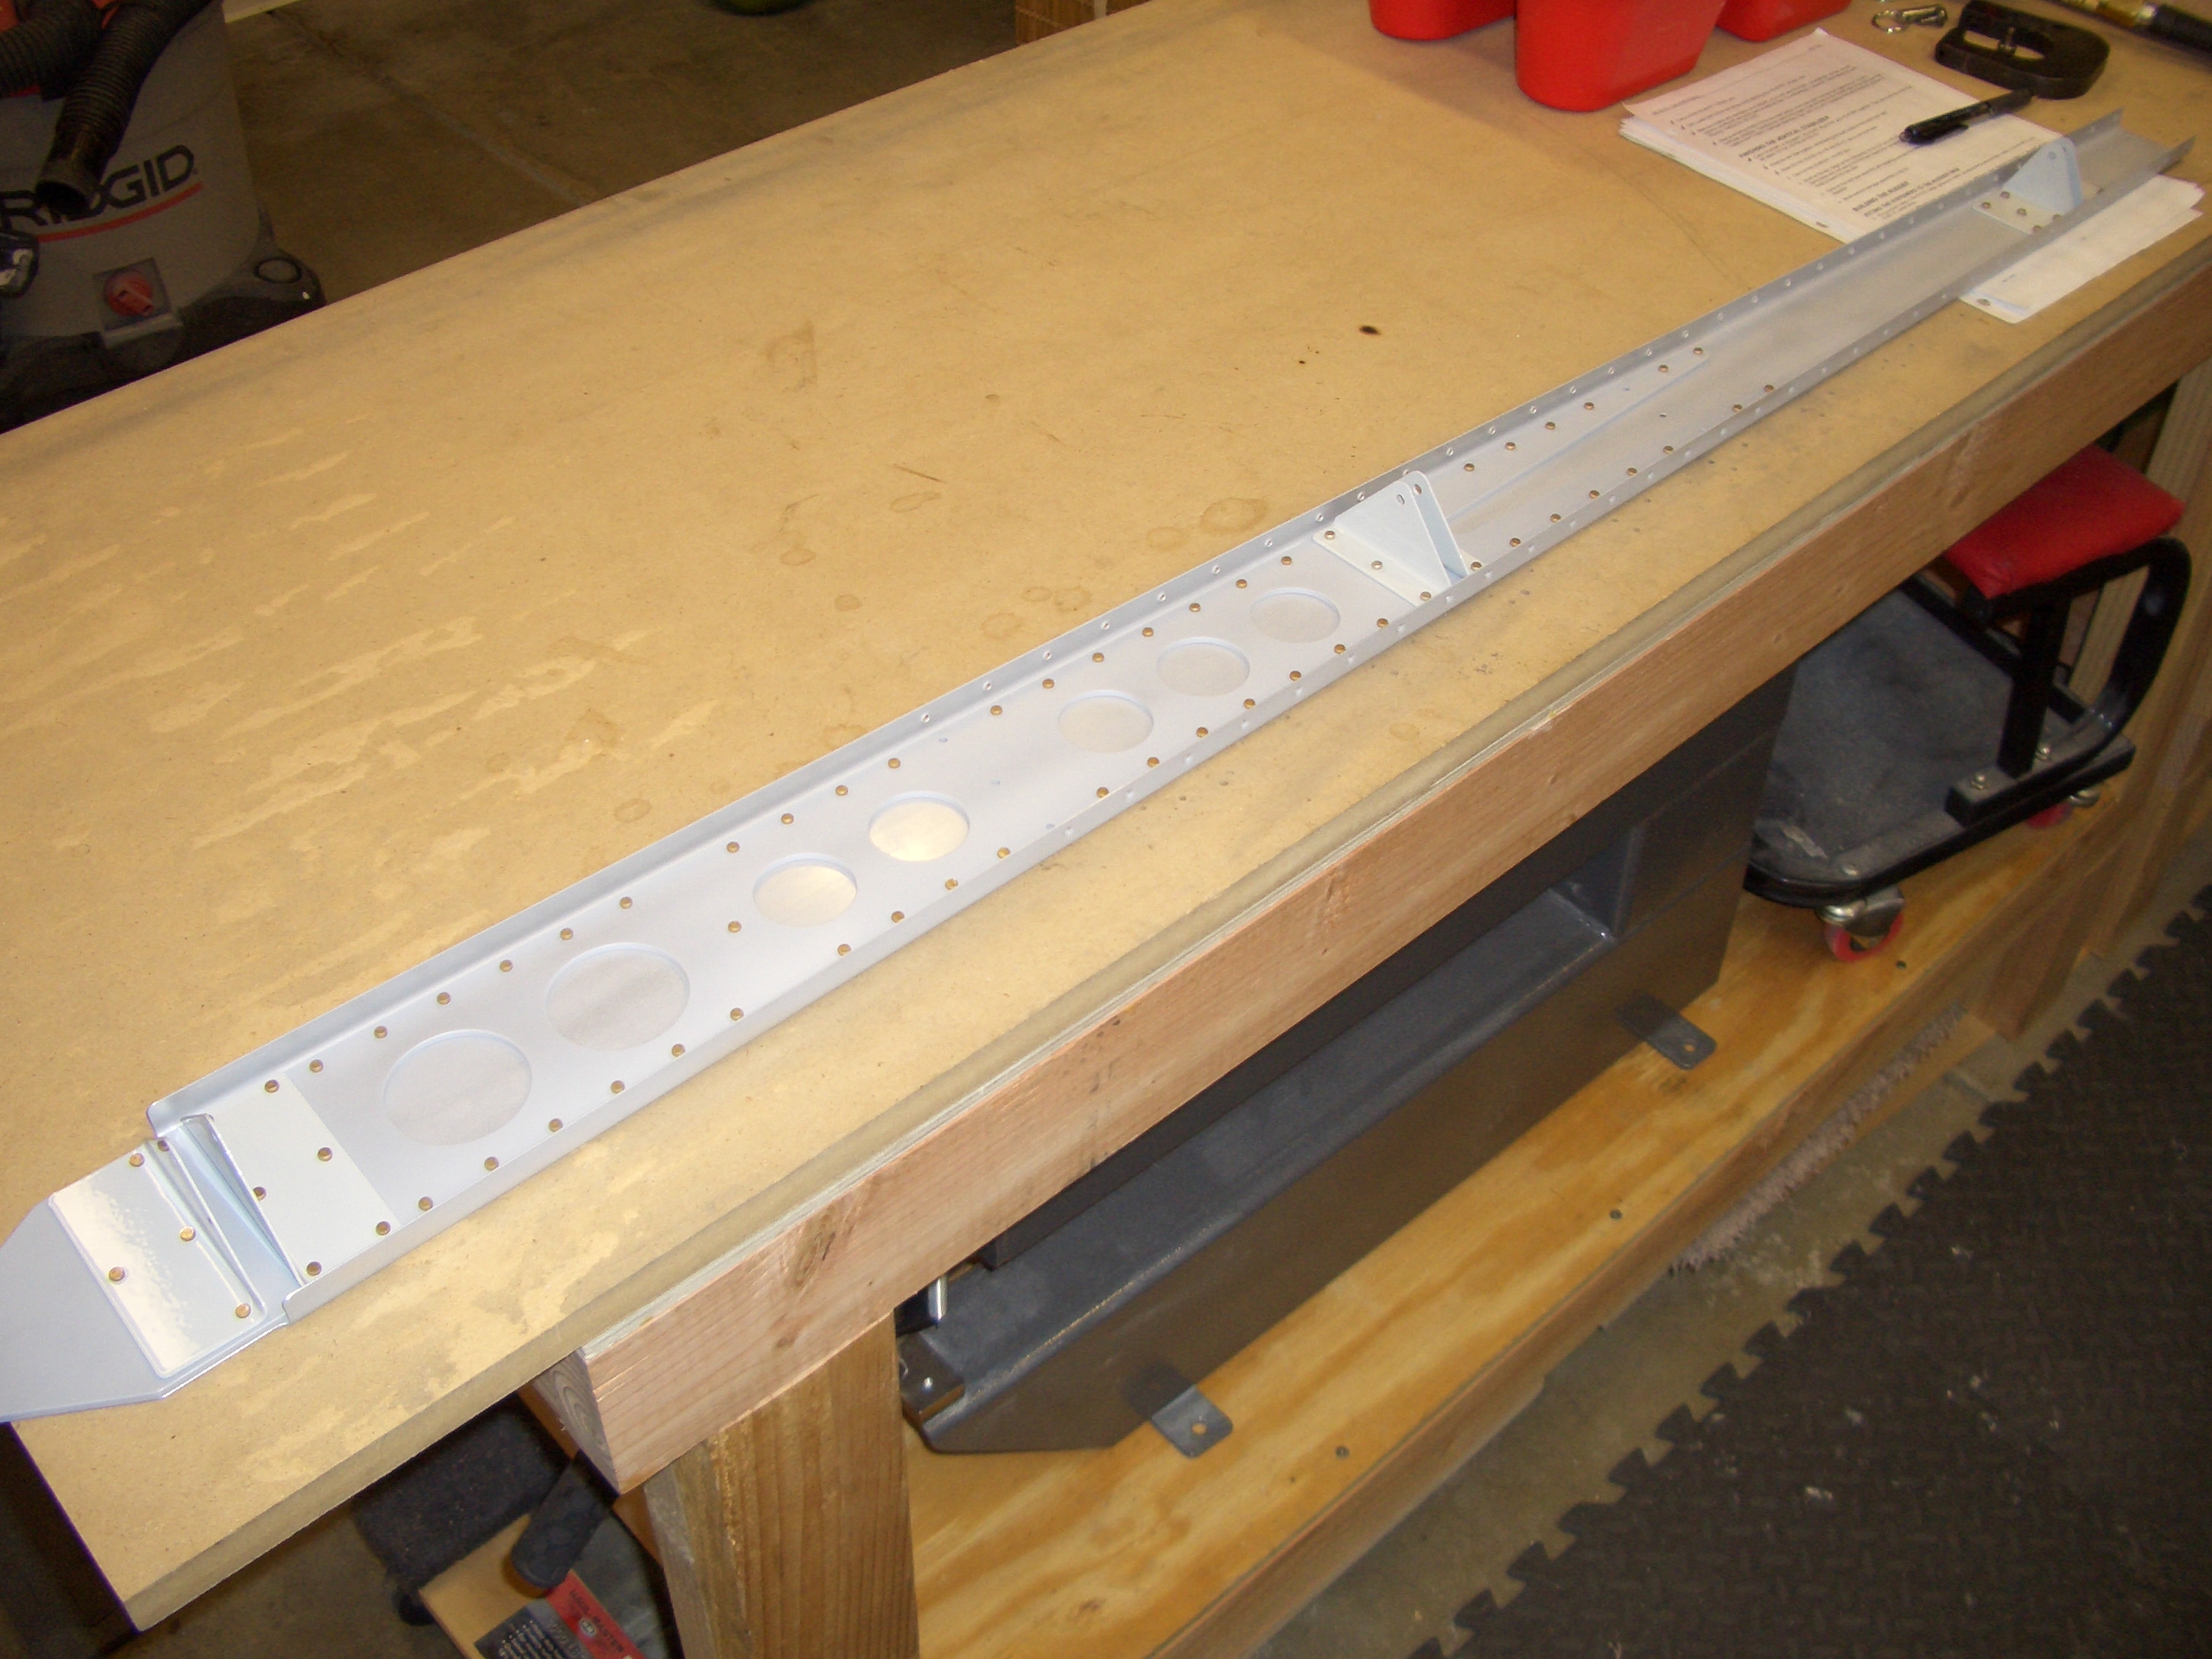
And here it is will all holes drilled out to final size. I didn’t get a picture of it, but I also clecoed on the skin and drilled all skin holes out to final size. I then disassembled and began deburring all of the components. I didn’t even make it completely through VS-808PP (rear spar doubler, shown below with all the lightening holes). Just like the horizontal stabilizer rear spar doublers, I really want to get this part as close to perfect as possible since it carries a significant percentage of the load of the vertical stabilizer.