Added Filler Around Lens

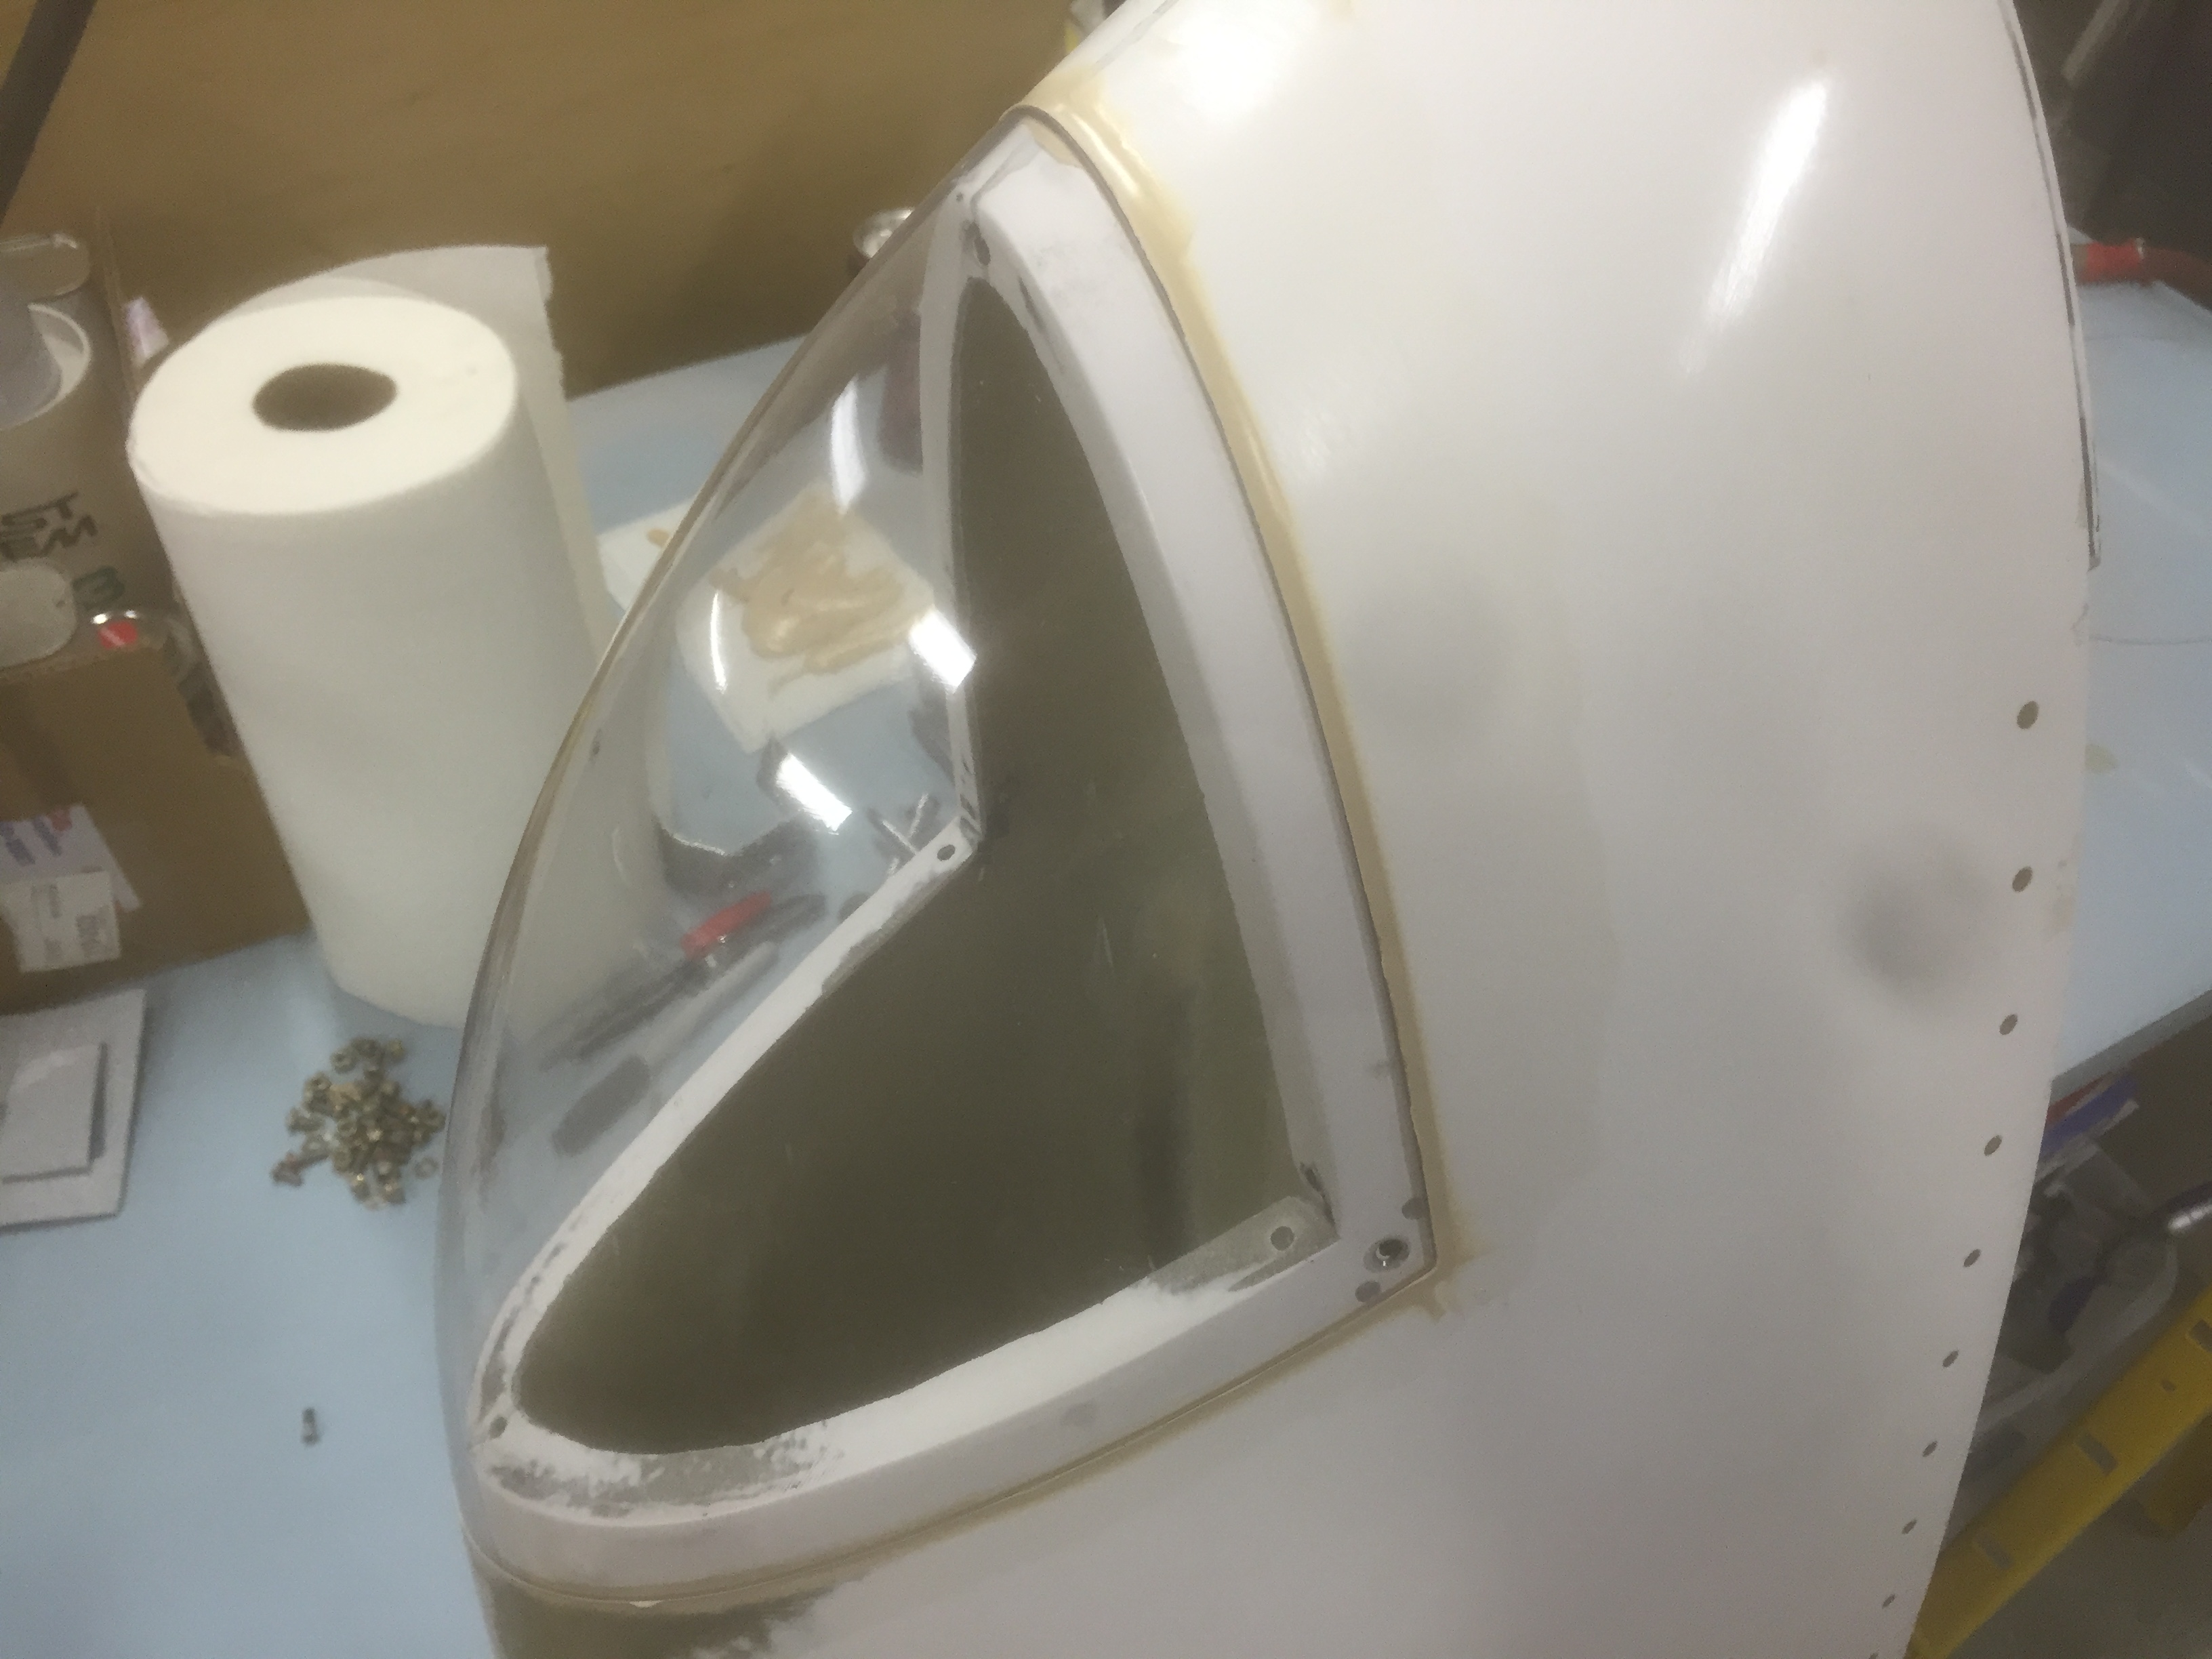
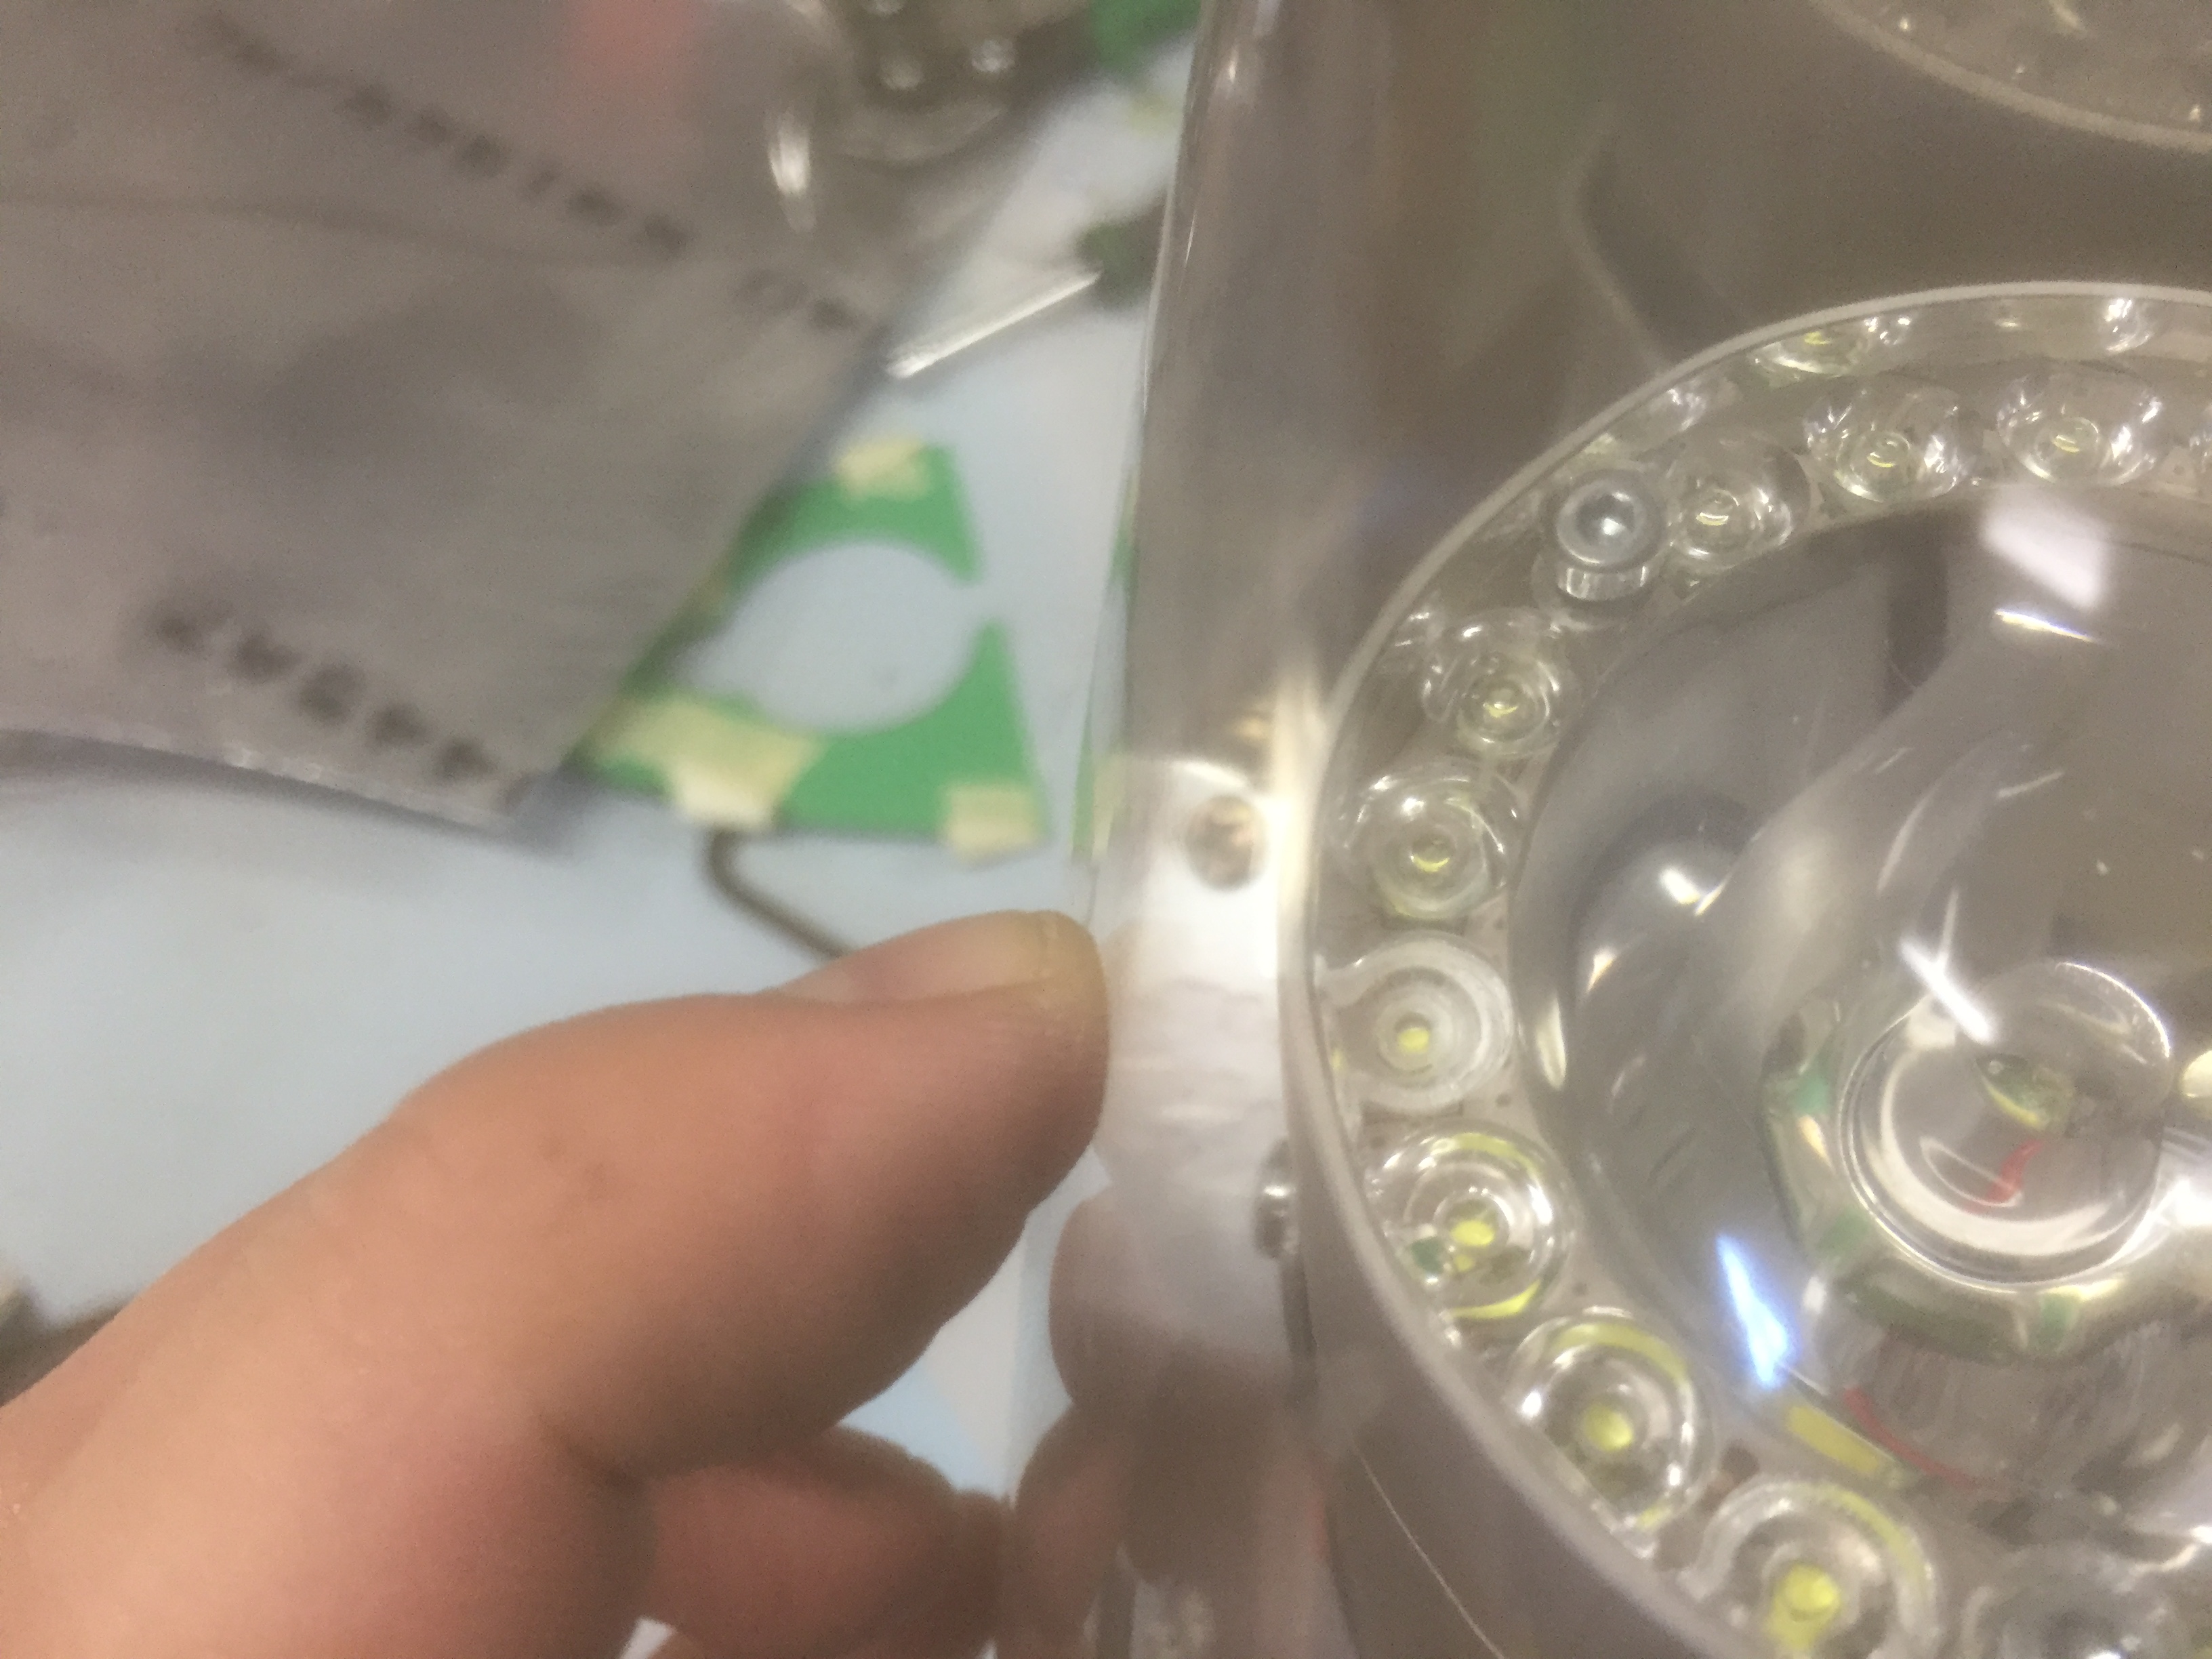
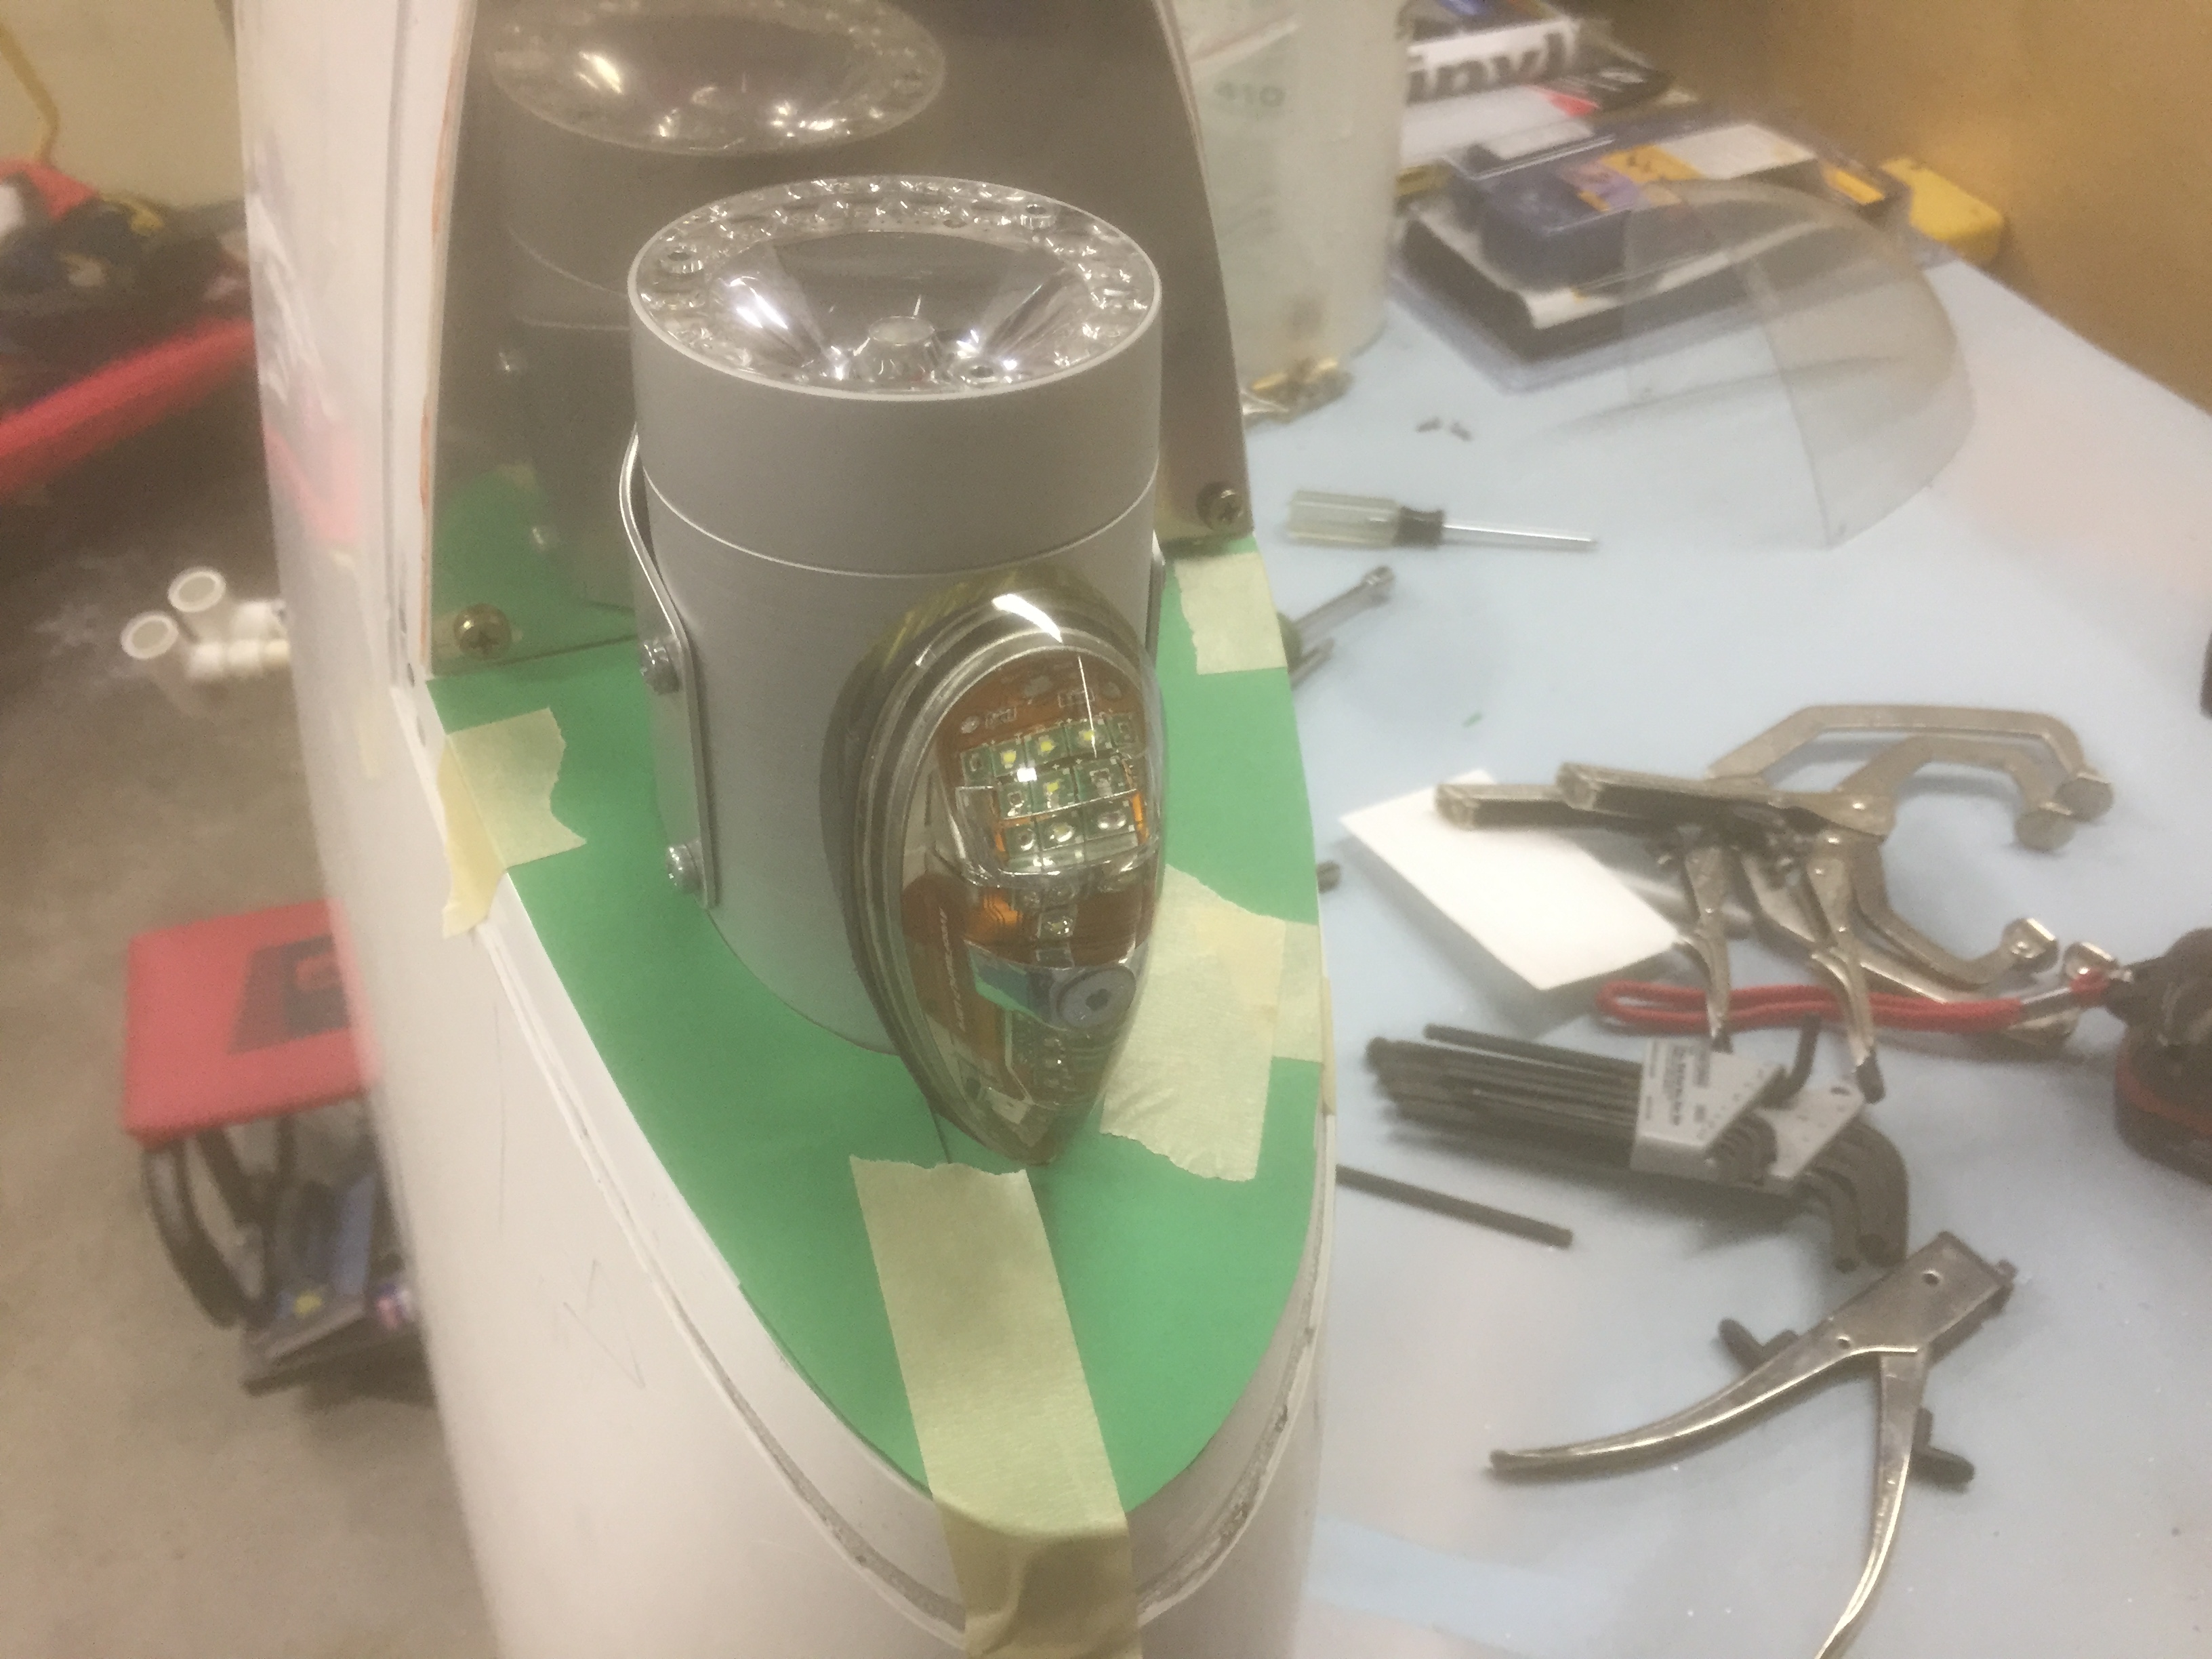
I had previously cut the lens opening larger than necessary because I knew I would use filler to make them fit the lenses exactly. This is way easier than trying to trim the lenses or opening to fit exactly. I added a couple of layers of electrical tape around the lens to act as a release and then installed it on the wingtips. I mixed up some epoxy with microlight and squeegeed it into the joint.

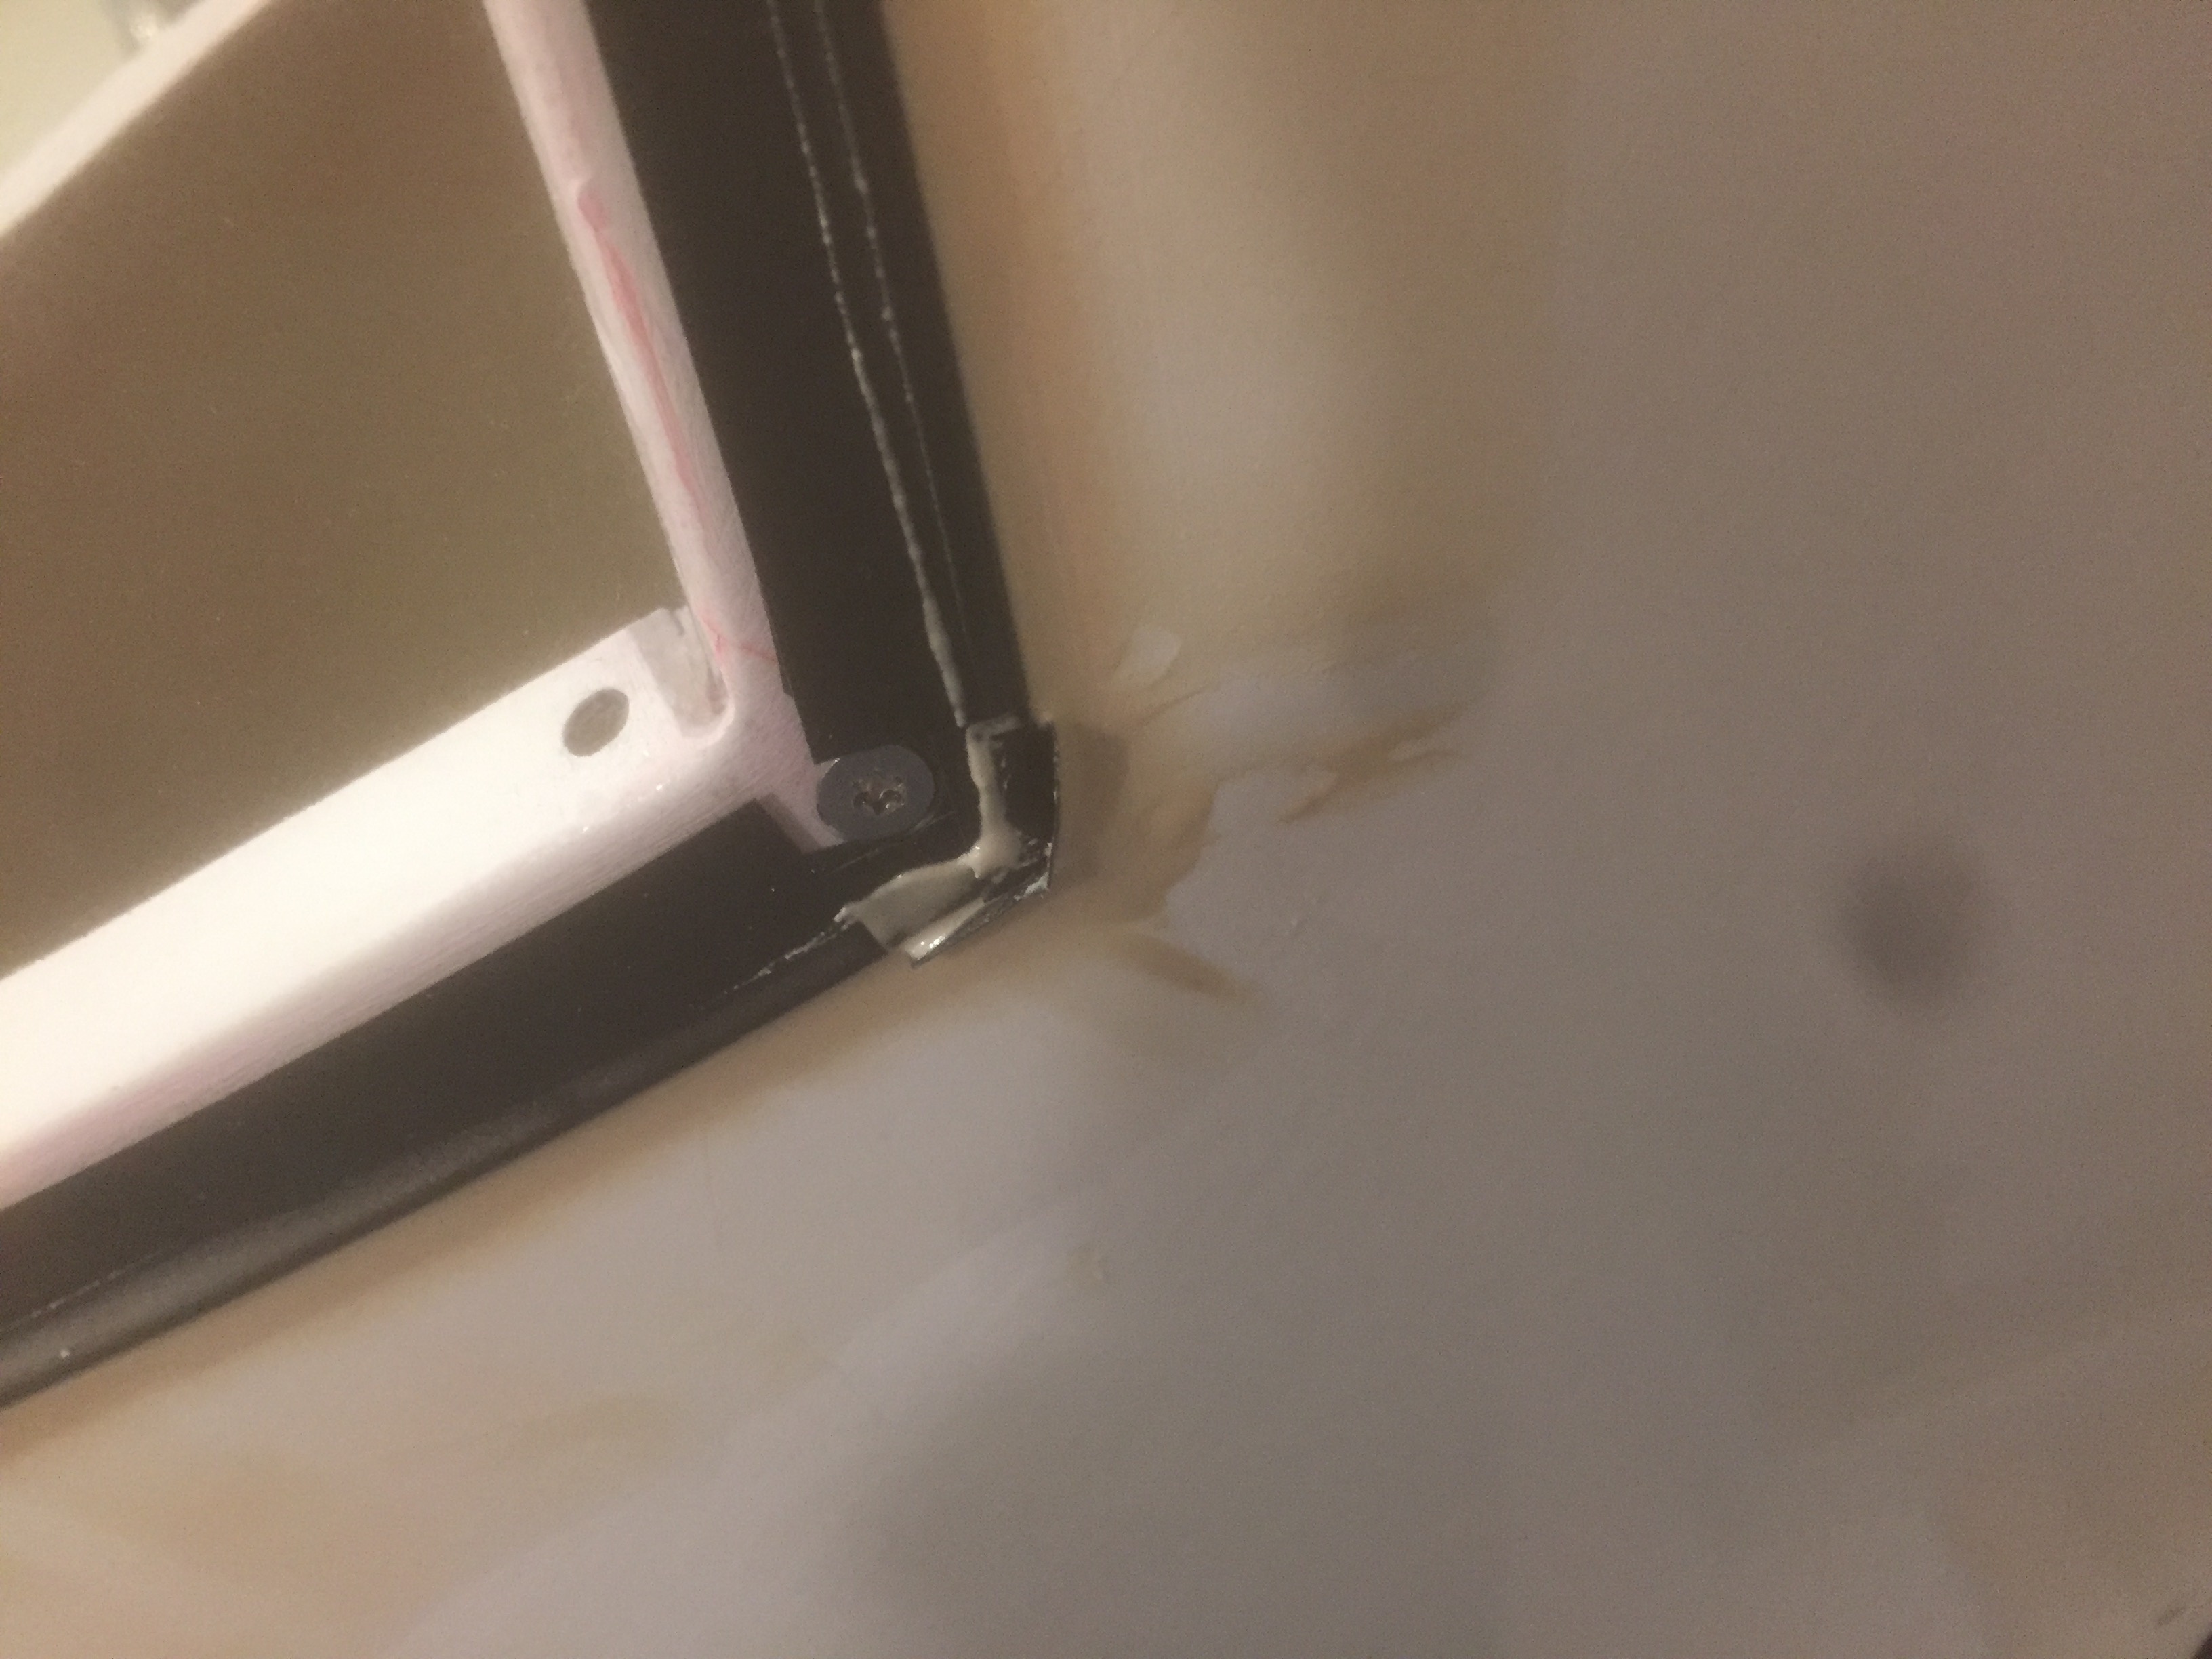
After the epoxy cured, I popped out the lenses and sanded the filler back so that it’s perfectly flush with the edge of the lens.

Fabricated Other Landing Light Backing Plate

I used the first landing light backing plate as a template to make the other one.

I left some extra material on so that I could fit it precisely to the other wingtip. Despite the fact that both of these cutouts were made at the factory, they’re slightly different.

After trimming and drilling, here’s the other backing plate installed.

I then installed the lens to make sure the backing plate doesn’t touch it.

Here’s how much clearance I have around the landing light.  There’s over 1/4″ below the light.

There’s about the same clearance above the light.

There’s also over 1/8″ from the position light. With this much clearance around the light, I’m not at all worried that these could touch the lens from the inside. If they could touch, they would vibrate against each other and scuff both the light and lens.

Fabricated Landing Light Backing Plate

Now that I know the landing lights are aimed properly, I started fabricating a backing plate to close off the opening into the wingtip. I used some construction paper and made a template that follows the contours of the light exactly.

I transferred the template to a piece of 0.040″ aluminum and cut it out.

After some iterative sanding, the backing plate fits perfectly around the light.

Replaced Upper Gear Leg Intersection Fairing Flange

The upper gear leg intersection fairing has a split in it to allow it to be flexed open and slipped over the gear leg. Once installed, a screw holds the split closed. Originally, there was a piece of fiberglass glued here with a small wood screw holding the joint closed. After repeated installation, the screw loosened up so I decided to replace it with a piece of aluminum and a nutplate. Now I can use a machine screw and there is positive locking of the screw with the nutplate. An added bonus is that the piece of aluminum forces the joint into alignment.

Here’s the other side of the joint with a torx machine screw and a countersunk washer.