Test Install of Gear Leg Fairings

After grinding down some of the excess flox inside the gear leg fairings, I cut some slots for the hose clamp and installed the gear leg fairings on the airplane.  I’ll do a proper alignment with the longitudinal axis of the airplane later, but for now I used the upper intersection fairings to align these.

Here’s what the upper end of the fairing looks like.  You can see that I also drilled a hole forward of the slots to access the worm clamp’s adjustment screw.  All of this is hidden inside the upper intersection fairing once that is installed.

Almost Halfway Through Phase One

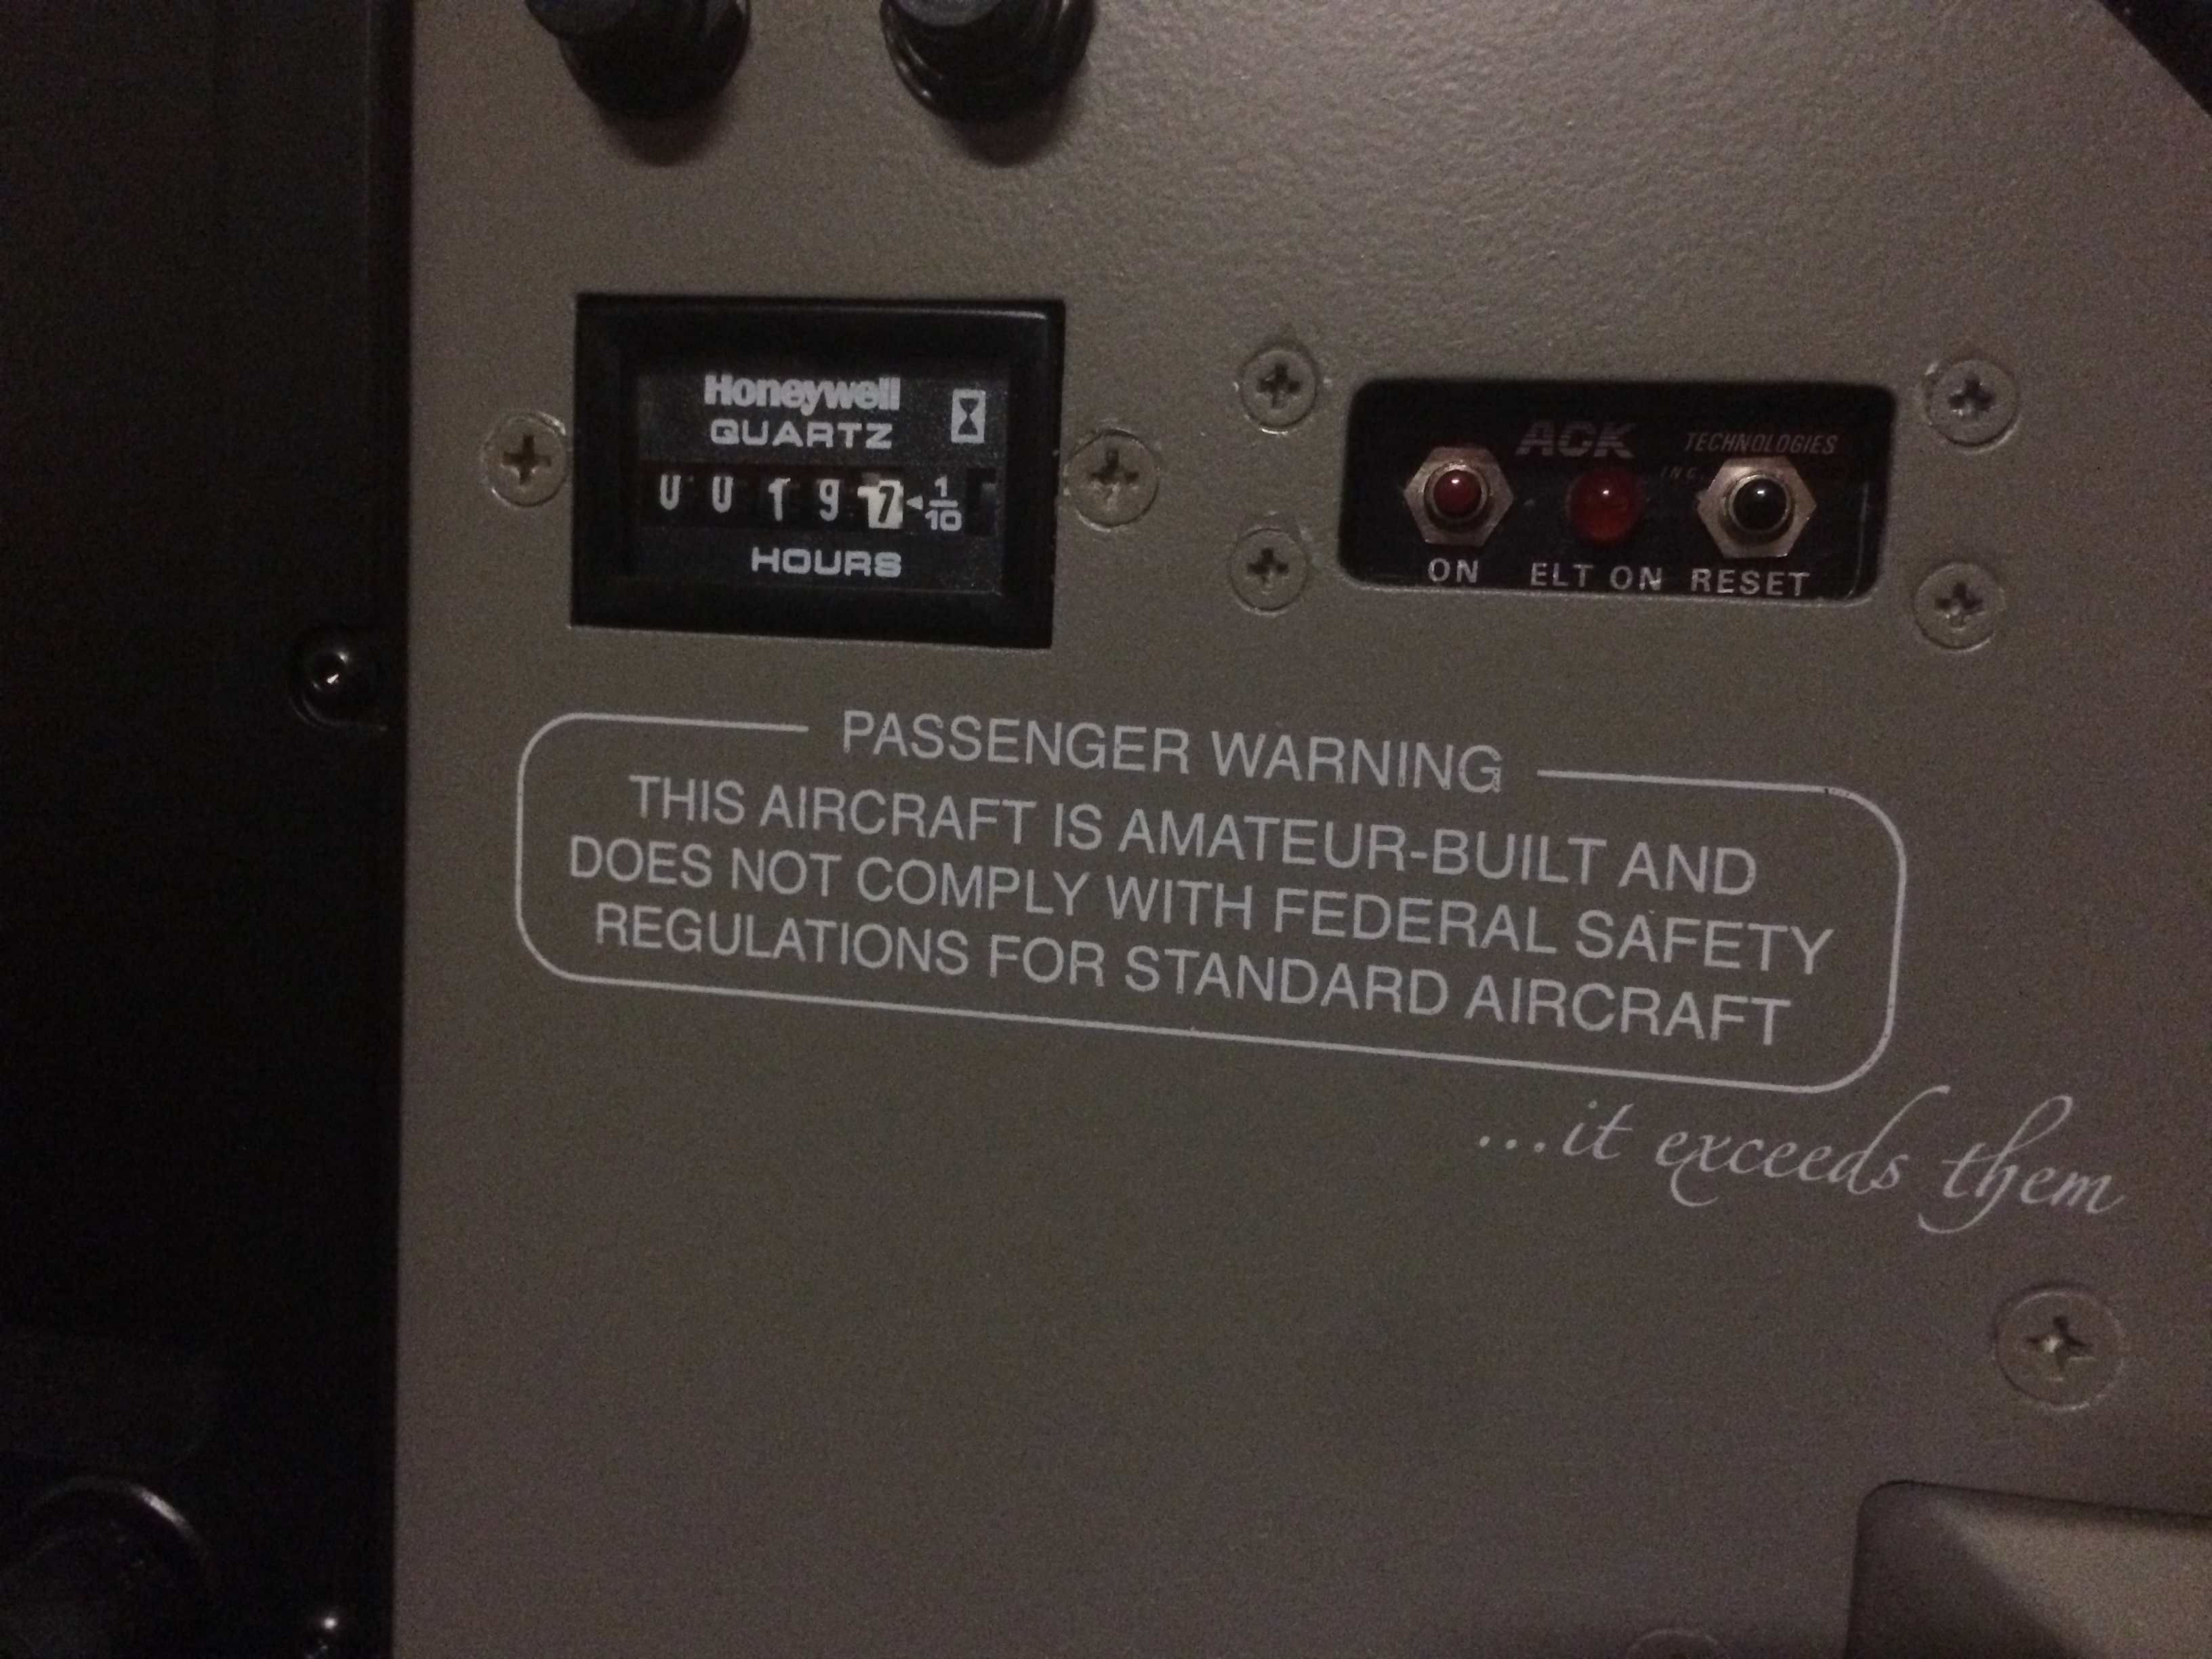
I had nearly the whole day free and the weather was perfect, so I decided to see if I could get up to 20 hours on the Hobbs.  I didn’t quite make it, but I came close.

I first flew over to Watsonville to meet up with my buddy Dan and his neighbor for lunch and then joined up with Greg in the air for some more formation practice.  I’m definitely getting the hang of formation flying; my throttle and control inputs are getting smaller and smoother.  We even did a formation takeoff which was quite a bit different than a regular takeoff. I was not looking down the runway or at my flight instruments and we were nowhere near full power so that I still had some smash if I started to fall behind.

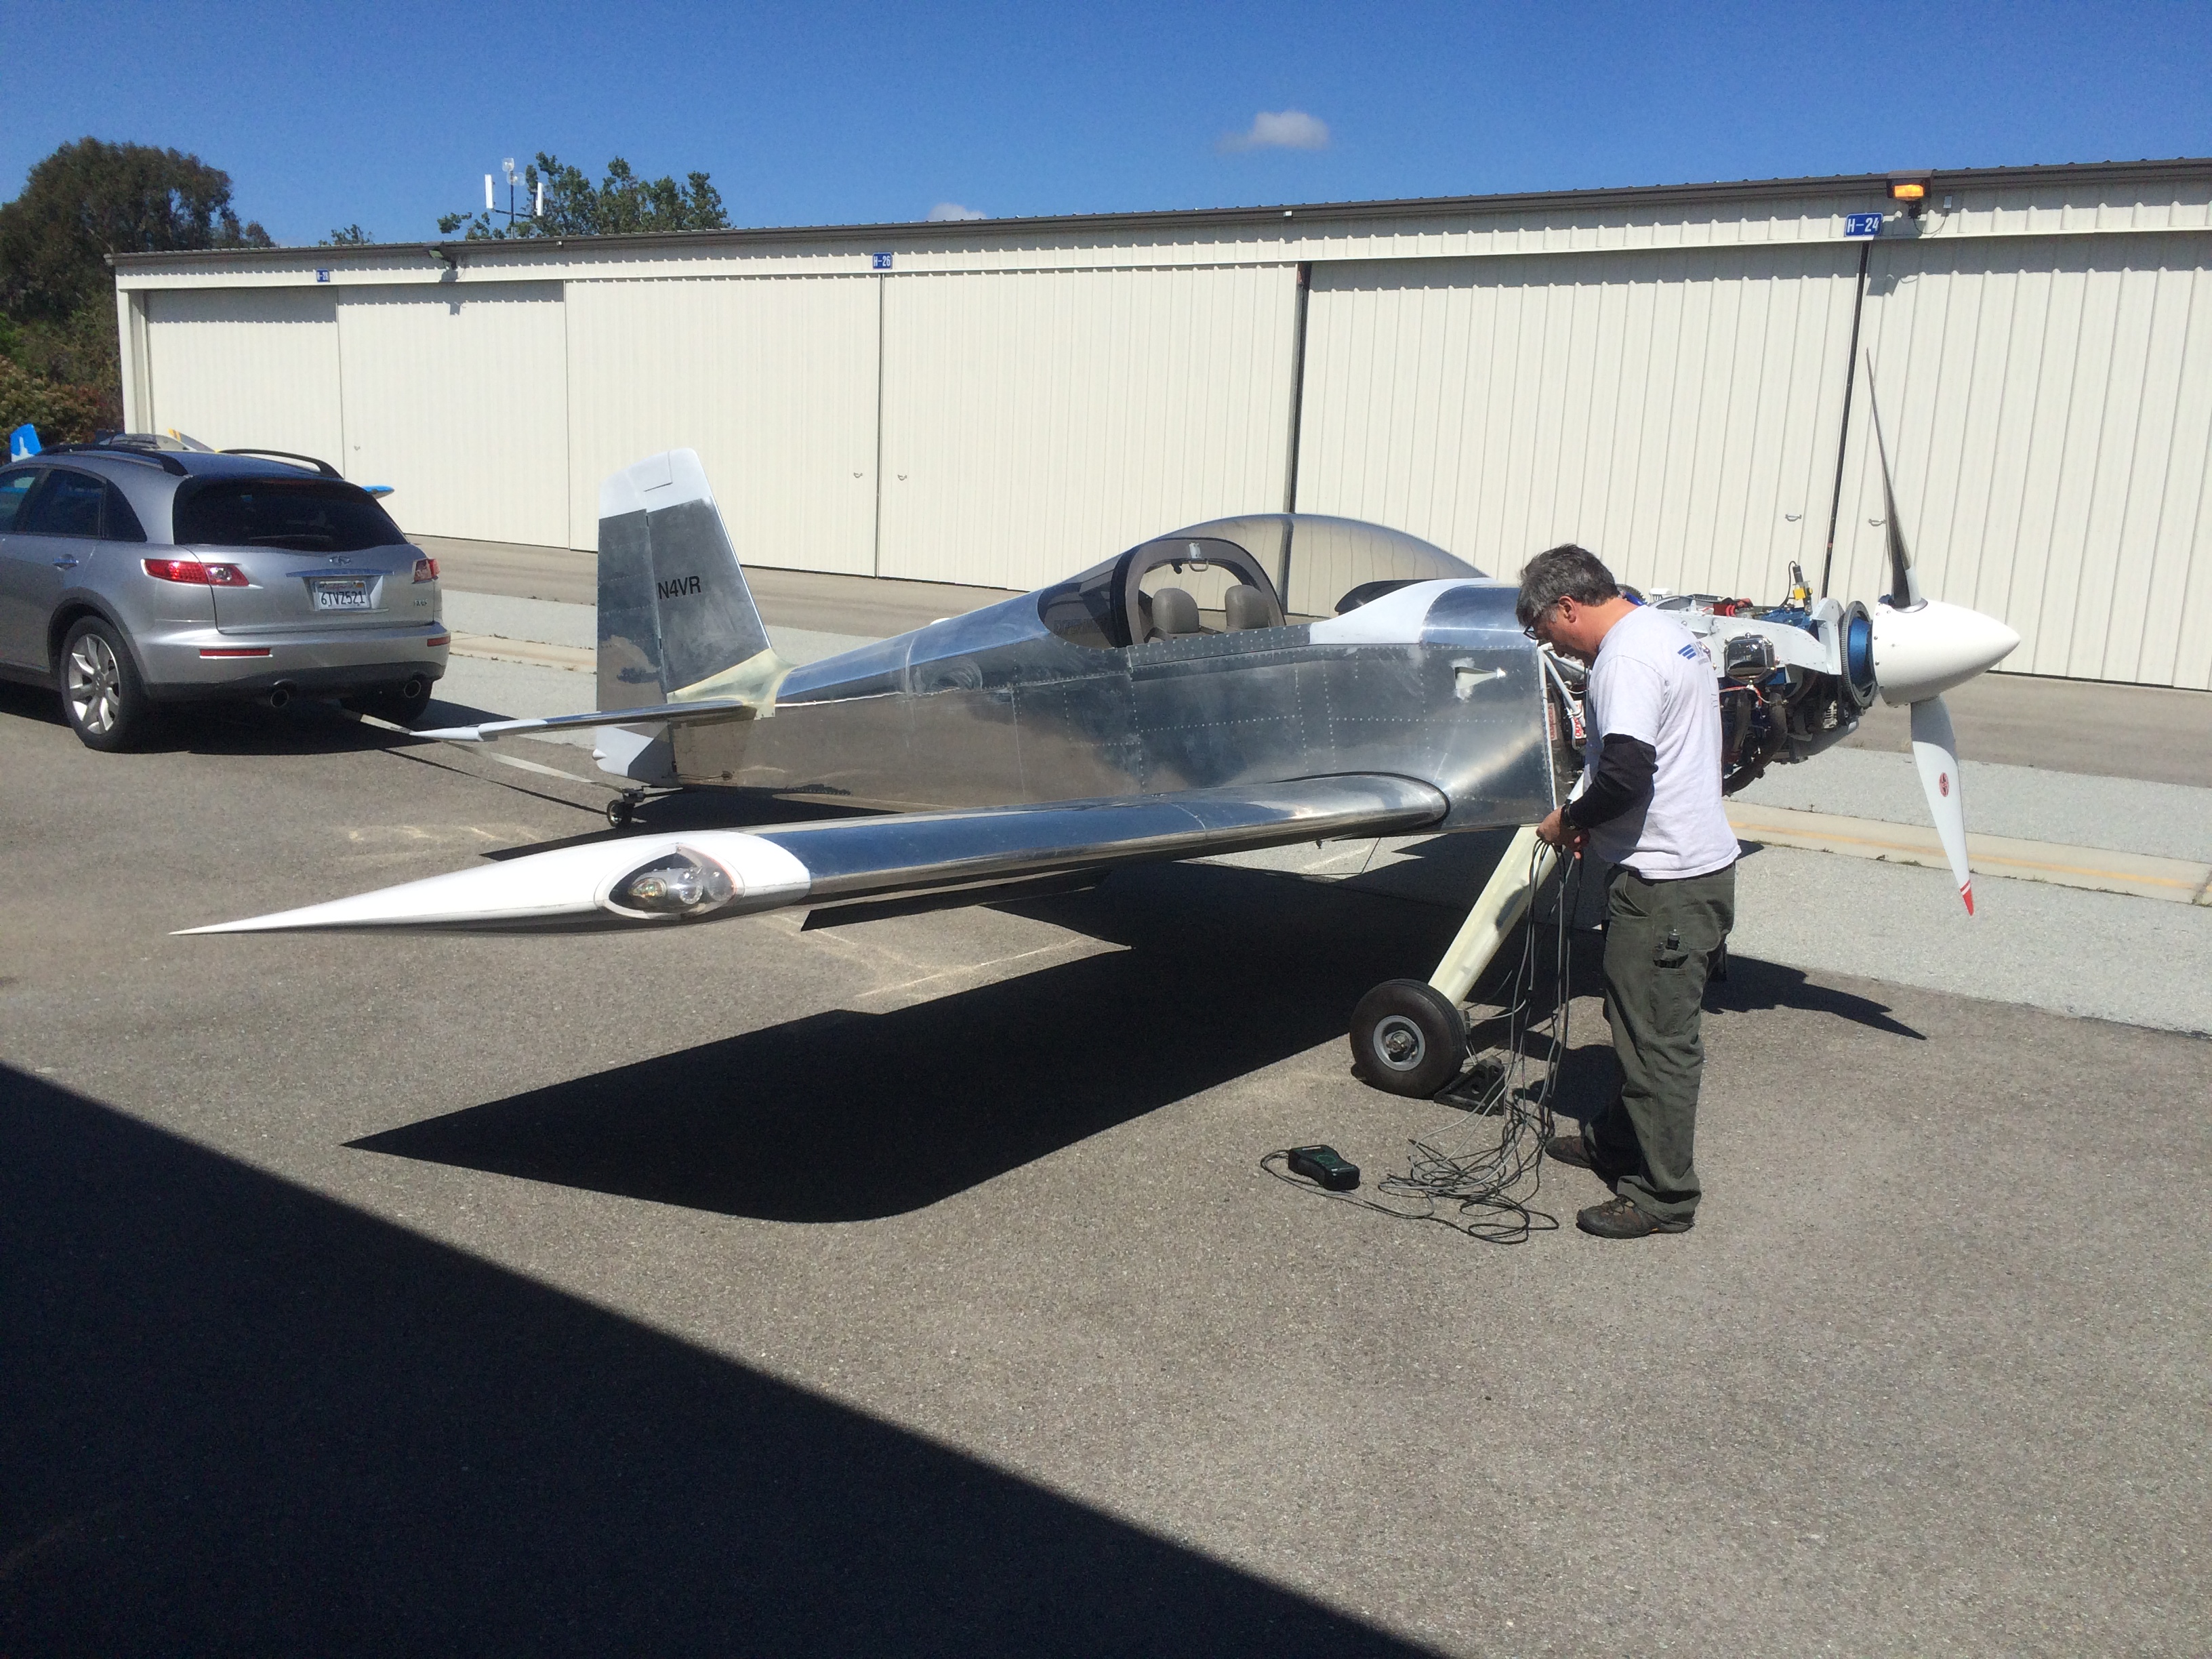
We landed back at Hollister for some fuel.  I’ve been keeping track of my fuel consumption for the last few flights, so I adjusted the K factor in the EMS to account for the discrepancy between estimated and actual fuel flow.  Greg also helped me do a compass alignment on their compass rose since I hadn’t done that yet and I noticed our headings were sometimes nearly 10º off in flight.  Finally, we played around with some very low power settings to see how efficient we could make the plane.  Down around 80-85 kts, I was getting nearly 30 nmpg.

As the sun was setting, Greg and I headed back to Hollister for some pattern work.  With only two RVs in the pattern, we were able to fly some incredibly tight and fast patterns.  I would turn crosswind well before the departure end of the runway and be at pattern altitude by the time I finished turning onto a tight downwind.  Pulling the power back, I was ready to drop flaps by the approach end of the runway so I could fly a close base.  I didn’t time it, but I doubt that each trip around the pattern took more than a couple of minutes or so.

Dynamic Propeller Balancing and Fairings

Lee Apaka flew down this morning to balance the propellers for Greg and I.  Since I’m running at 2500 RPM with wide open throttle, we tied the plane back to the car and chocked the wheels.  Greg and I both have really smooth engines (a testament to how well Aerosport Power builds then), but they can always be better.  Greg started out at 0.35 IPS (inches per second), so Lee added 17g of weight (a bolt and some area washers) to the spinner backplate.  Amazingly, he nailed it on the first time and hit 0.02 IPS.  Anything under 0.1 IPS is pretty good, and 0.02 is somewhere between excellent and perfect.

After Greg wrapped up his run, I pulled my plane into position and Lee hooked up his gear.  I was only at 0.12 IPS when we started, so I was already a bit better.  We added 5.9g to my spinner backplate and ran it again. That dropped me to 0.11 IPS.  The formula wanted another 6+g mounted just a few inches away from the first weight.  Lee decided instead to add one more washer and a slightly longer bolt.  I did a third run and hit 0.02 IPS.  I’m super happy with the results.

Here’s where the weight was added to the spinner backplate.  There is a washer and an AN364 nut on the other side.  Our fix was to add one additional washer under the head shown here.

I jacked up the plane and started working on the gear leg fairings.I laid up some additional fiberglass inside and then mixed up some epoxy/flox mixture and gooped it around the line where the fairing will sit against the gear.  I then started working on the wheel pants.  With the fuselage level, I supported the rear of the fairing to get the center 8 5/8″ from the ground while simultaneously adjusting the fore/aft position so that the outer support bracket edge lines up with the step in the fairing.  I then drilled it to the outer fairing.

Worked on Gear Leg Fairings

I spent a couple of hours down at the hangar tonight, working on the gear leg fairings.  I bent the hinge pins and then spent some time installing them and removing them from the gear legs to make sure I could get the pins in and out fine.  I then drilled a hole in the top of the fairing so that the pin can be safety wire in place.