Positioned Wingtip Lights

I spent a little time playing with the positioning of the landing lights.  They need to be far enough forward that I can access all of the mounting screws on the top and bottom, and the farther forward the lights are, the better they will illuminate the area right in front of the plane.  They can’t be so far forward that they bump into the lens though.  Since I still need to aim the lights, I needed enough clearance that the lights could be moved a bit.  I ended up moving them back about 1/4″ from where they are in this picture.  I’ve decided to just make the mounting plate sacrificial and use it to get the lights aimed correctly.  Once I’ve flown at night and am happy with the positioning, I’ll fabricate a new plate with only the set of holes I need along with the back plate.

Weatherstripping, Avionics Cover and Brake Safety Wiring

In preparation for wrapping up the canopy and getting it reinstalled, I applied the weather stripping to the flange and trimmed it to fit.  I also recently received my avionics cover from Flightline Interiors, so I installed the supplied velcro and tested the fit.  It works great and should hopefully help me keep my avionics dry.

Next up, I started working through the list of issues that were found in the inspection yesterday.  I safety wired both brakes since I don’t think there is any reason to remove the wheels now before first flight.  I also checked the two bolts identified yesterday as having too many threads showing, and they’re both fine.

Airplane Inspection Party

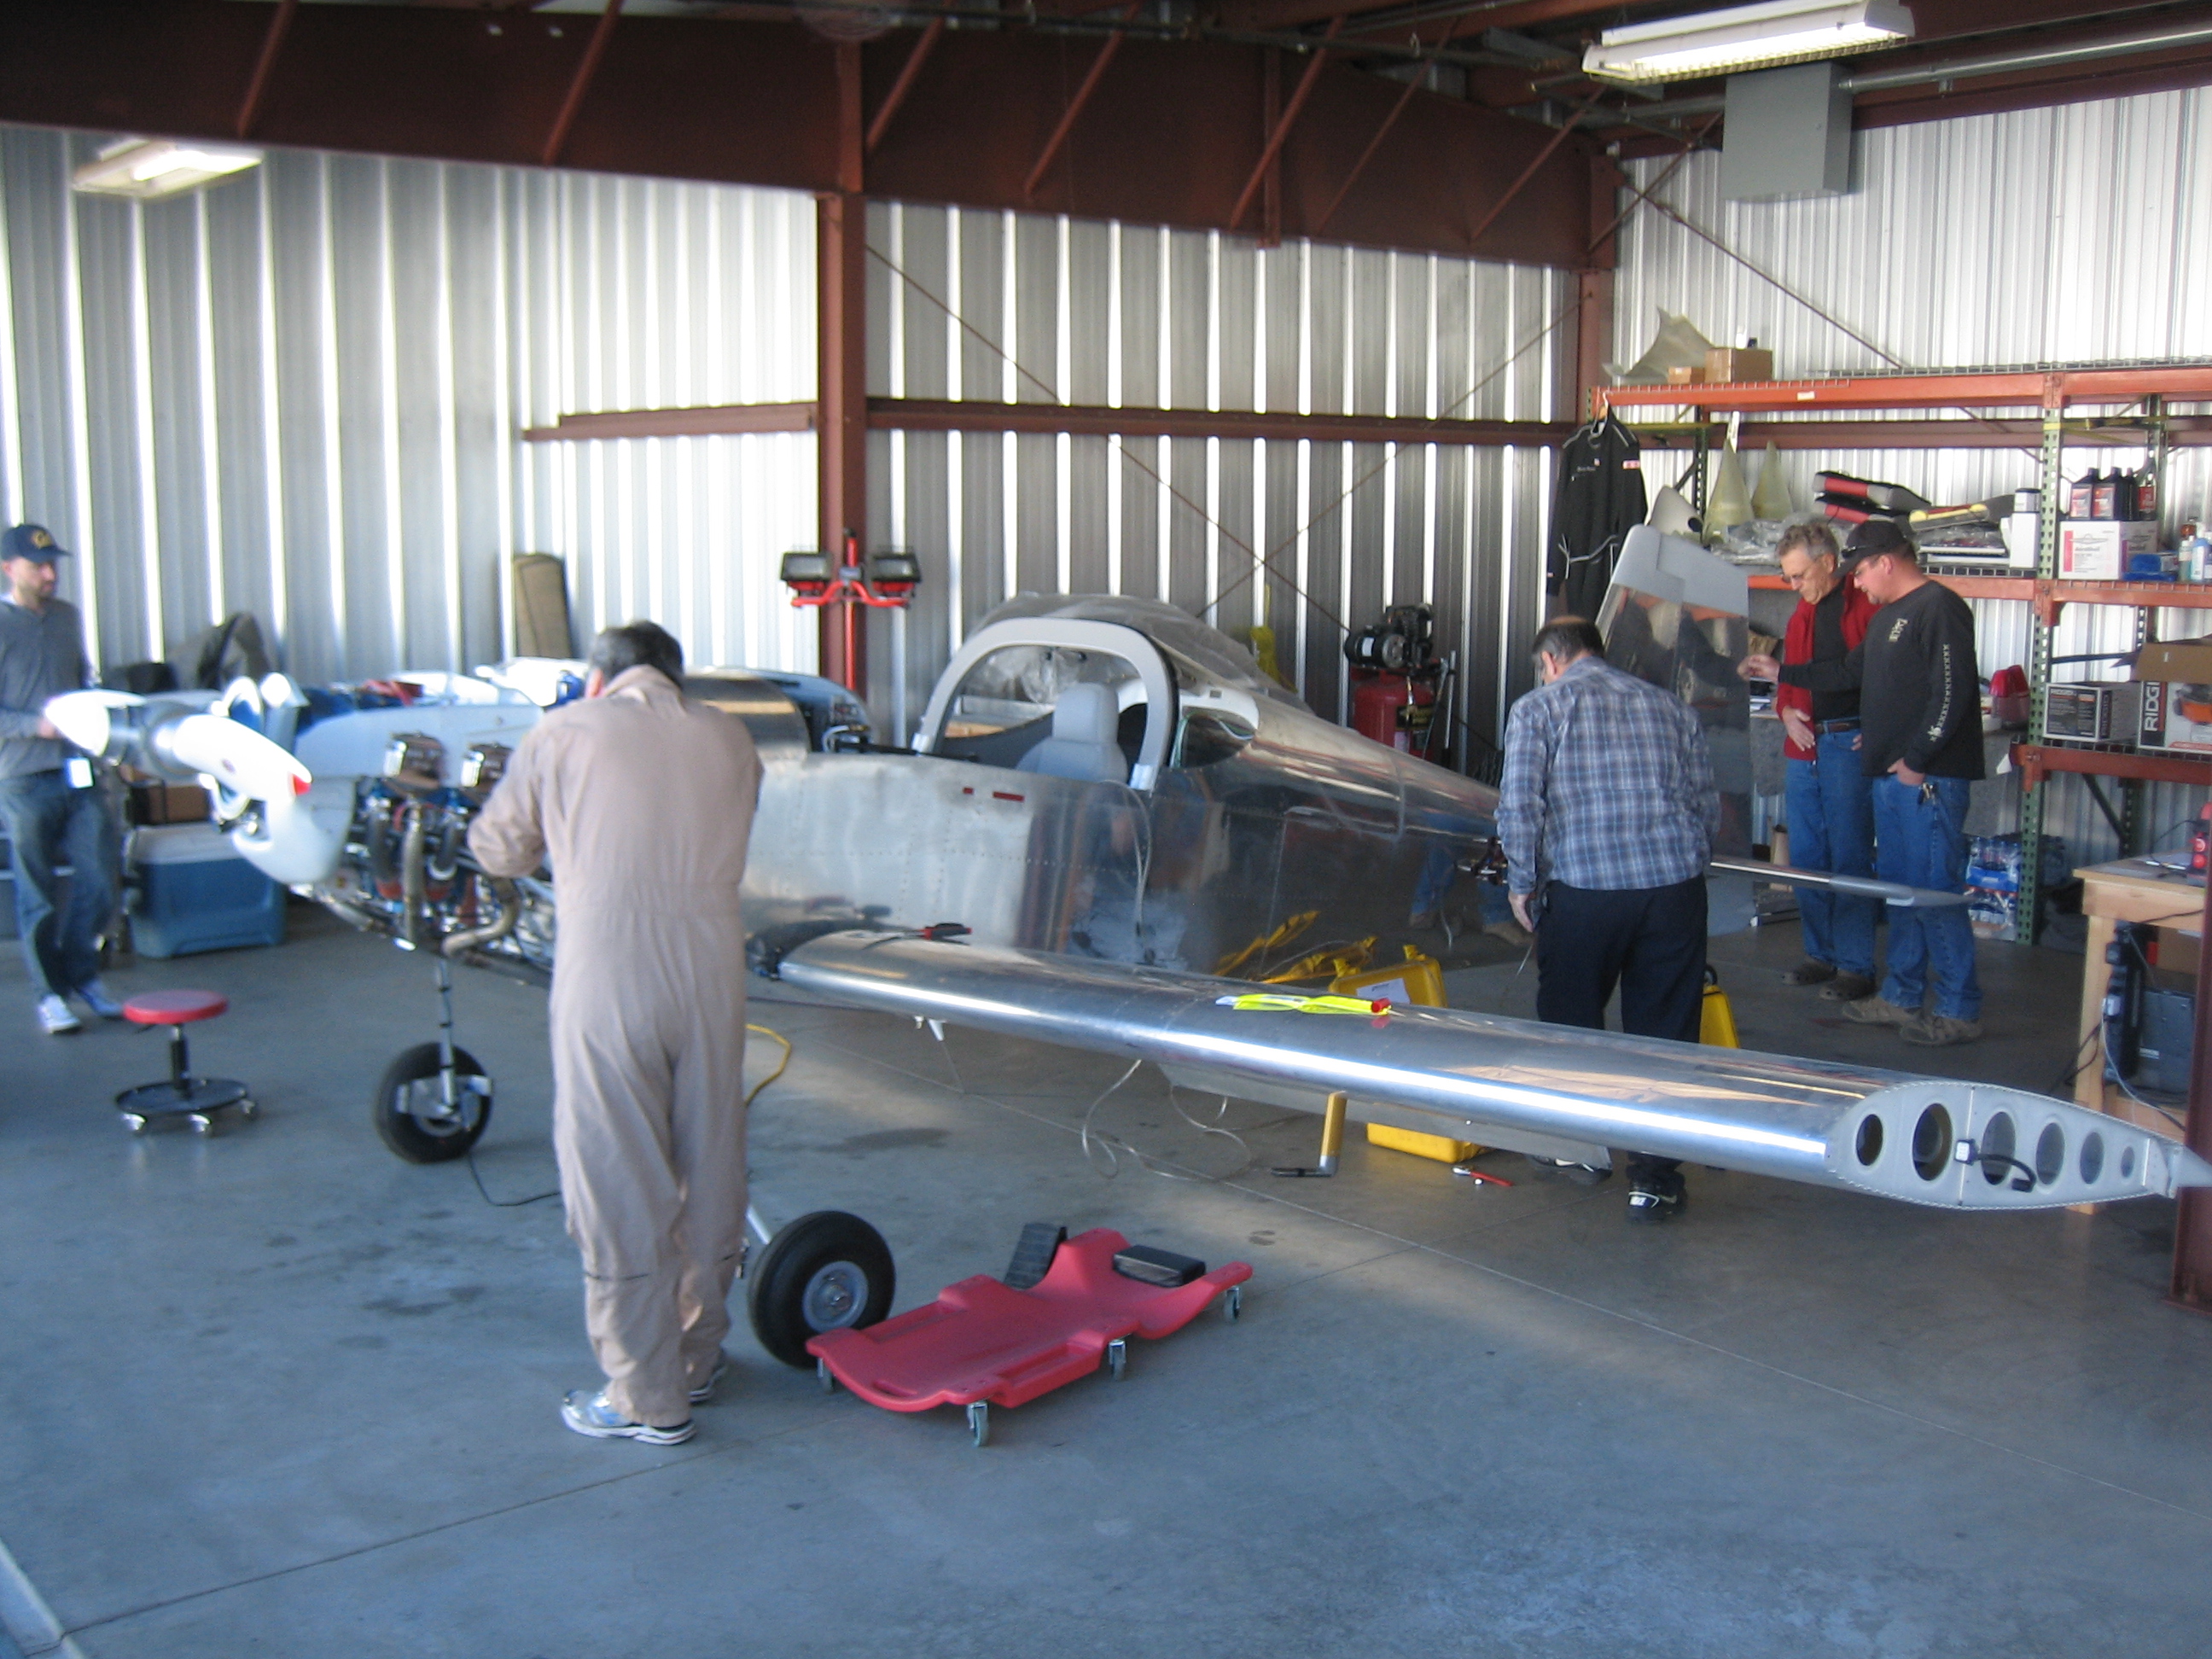
I had my airplane inspection party today.  I invited RV builders from all over the region to come give my plane a good once over before scheduling time with the DAR.  I had a great turnout; roughly 40-50 pilots and builders stopped by over the course of the day.  Overall, the inspection went very well.  Nothing major was found, but there were a number of small items people caught (some of which I knew about and some I didn’t).  I just want to give a huge thank you to everyone who stopped by.

The day started with my transponder certification and pitot/static check.  The transponder check passed with flying colors, but I had a leak in my pitot system.

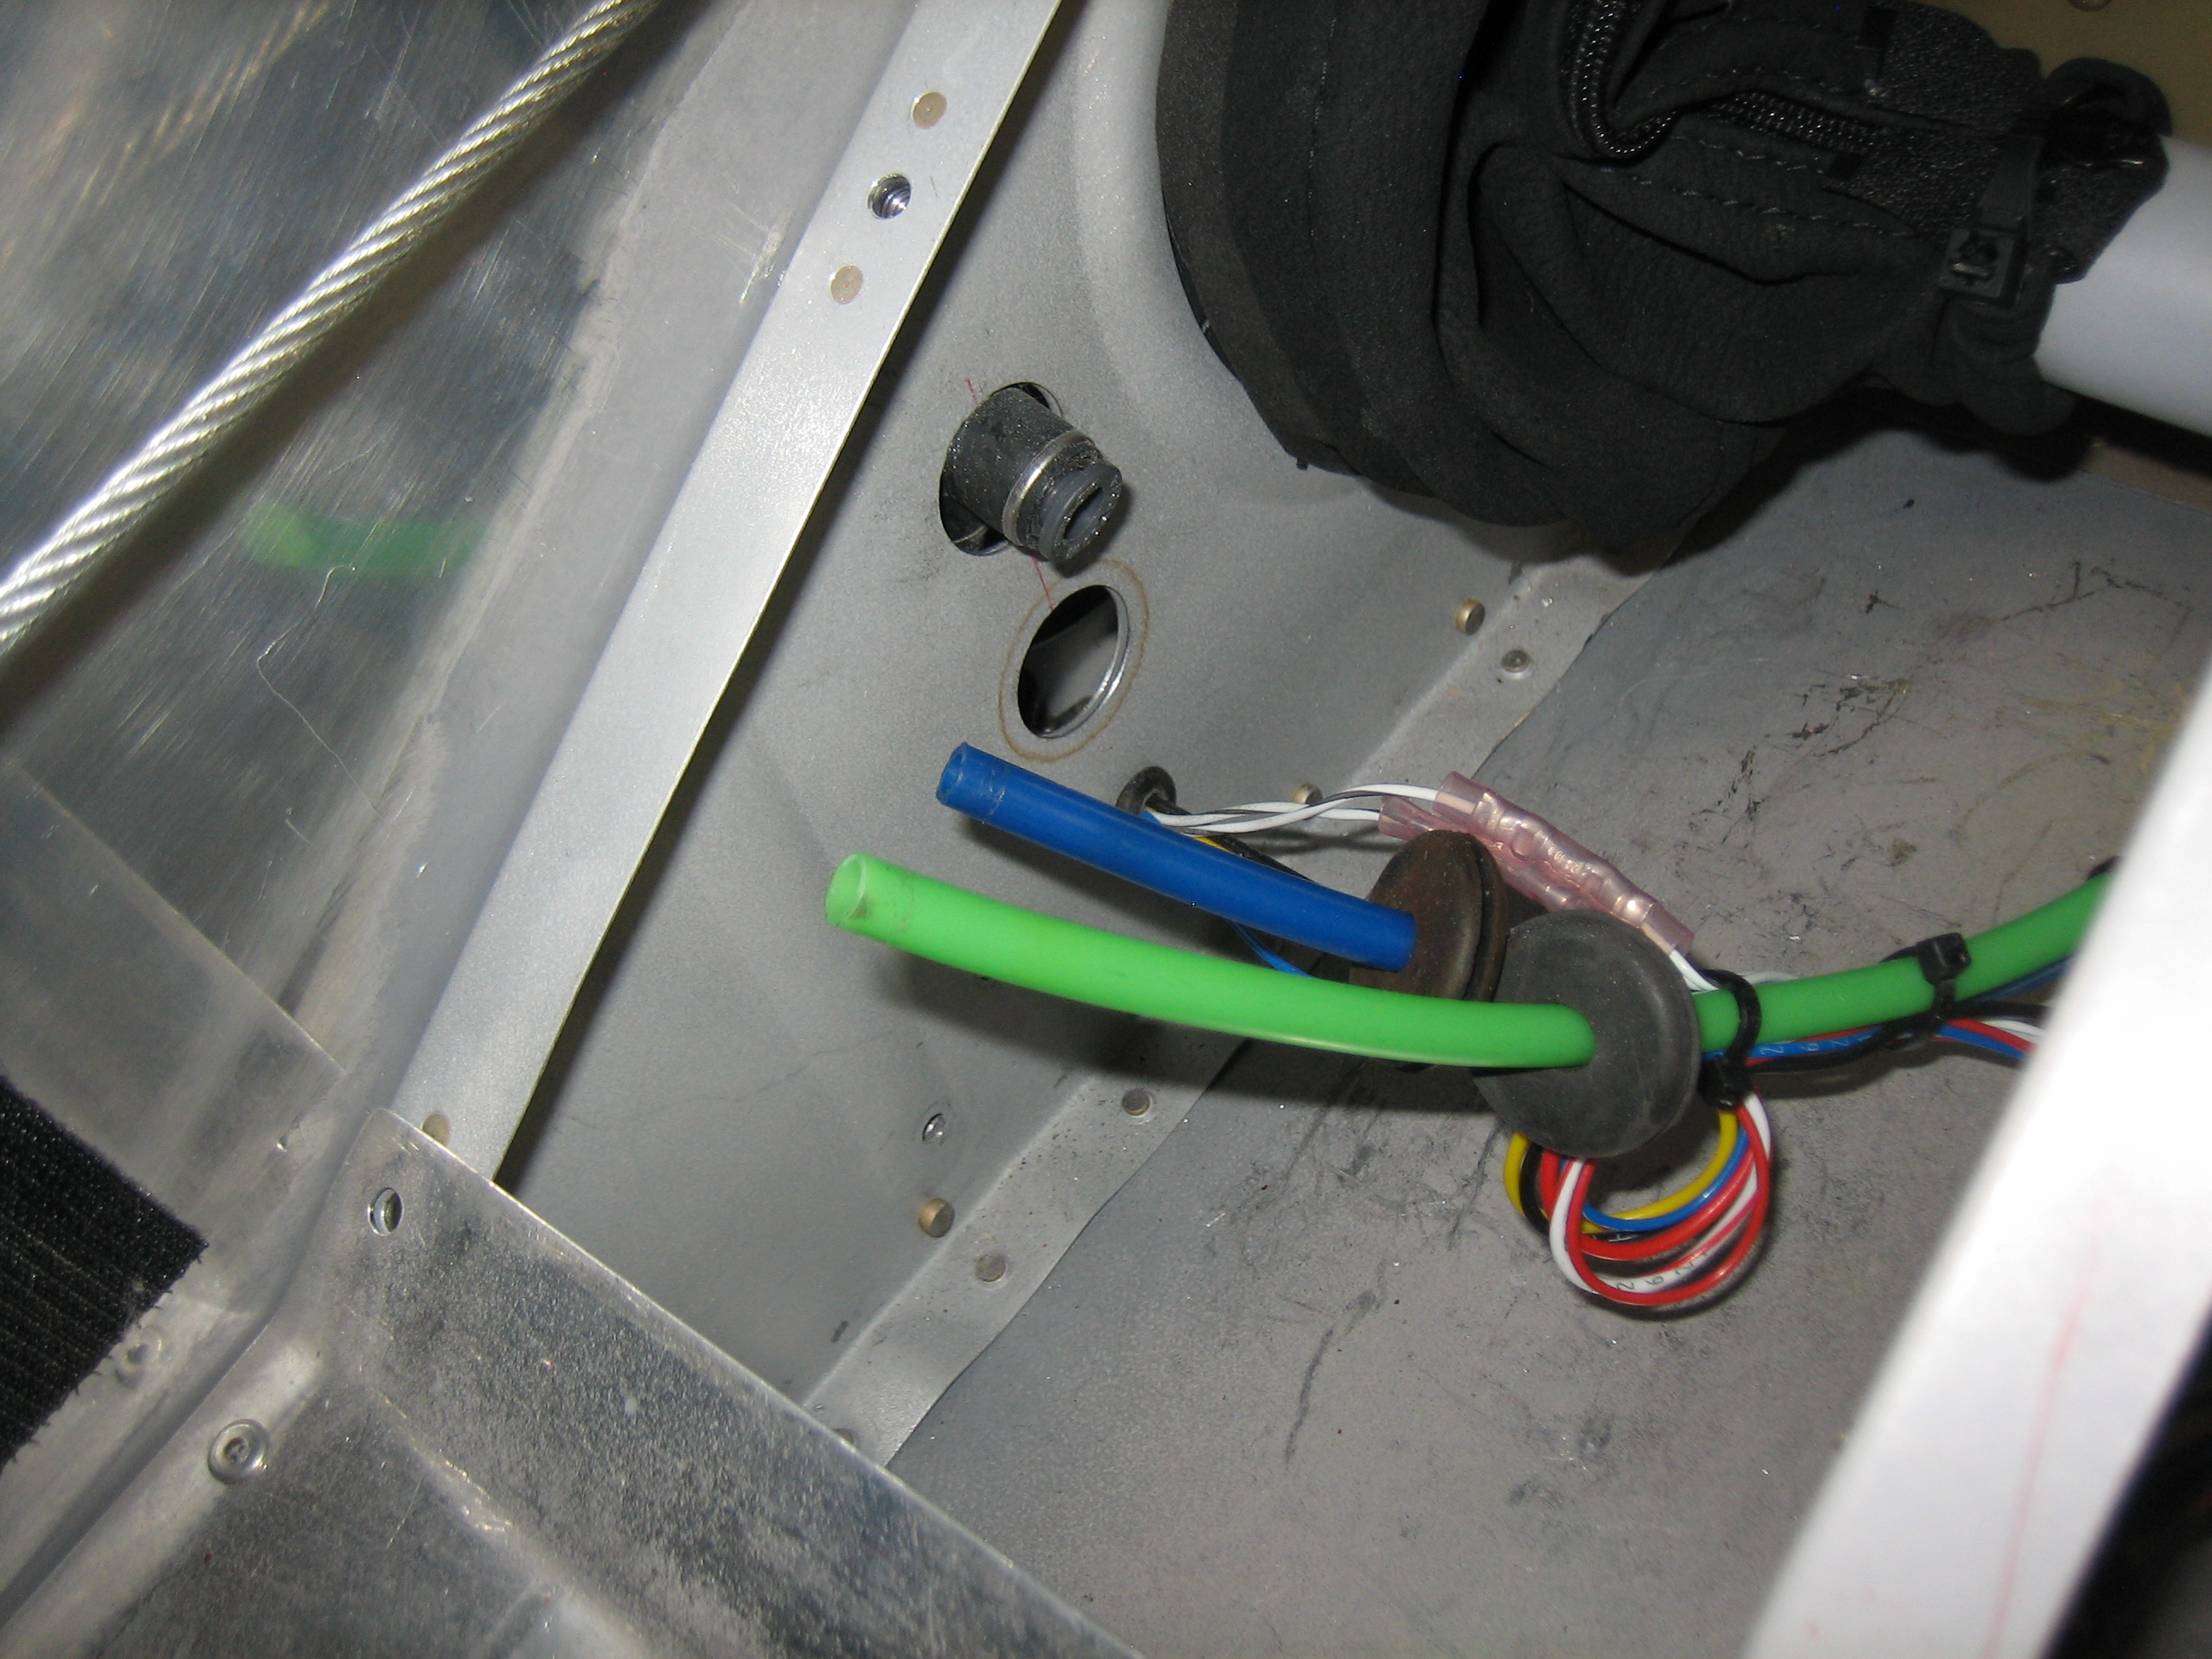
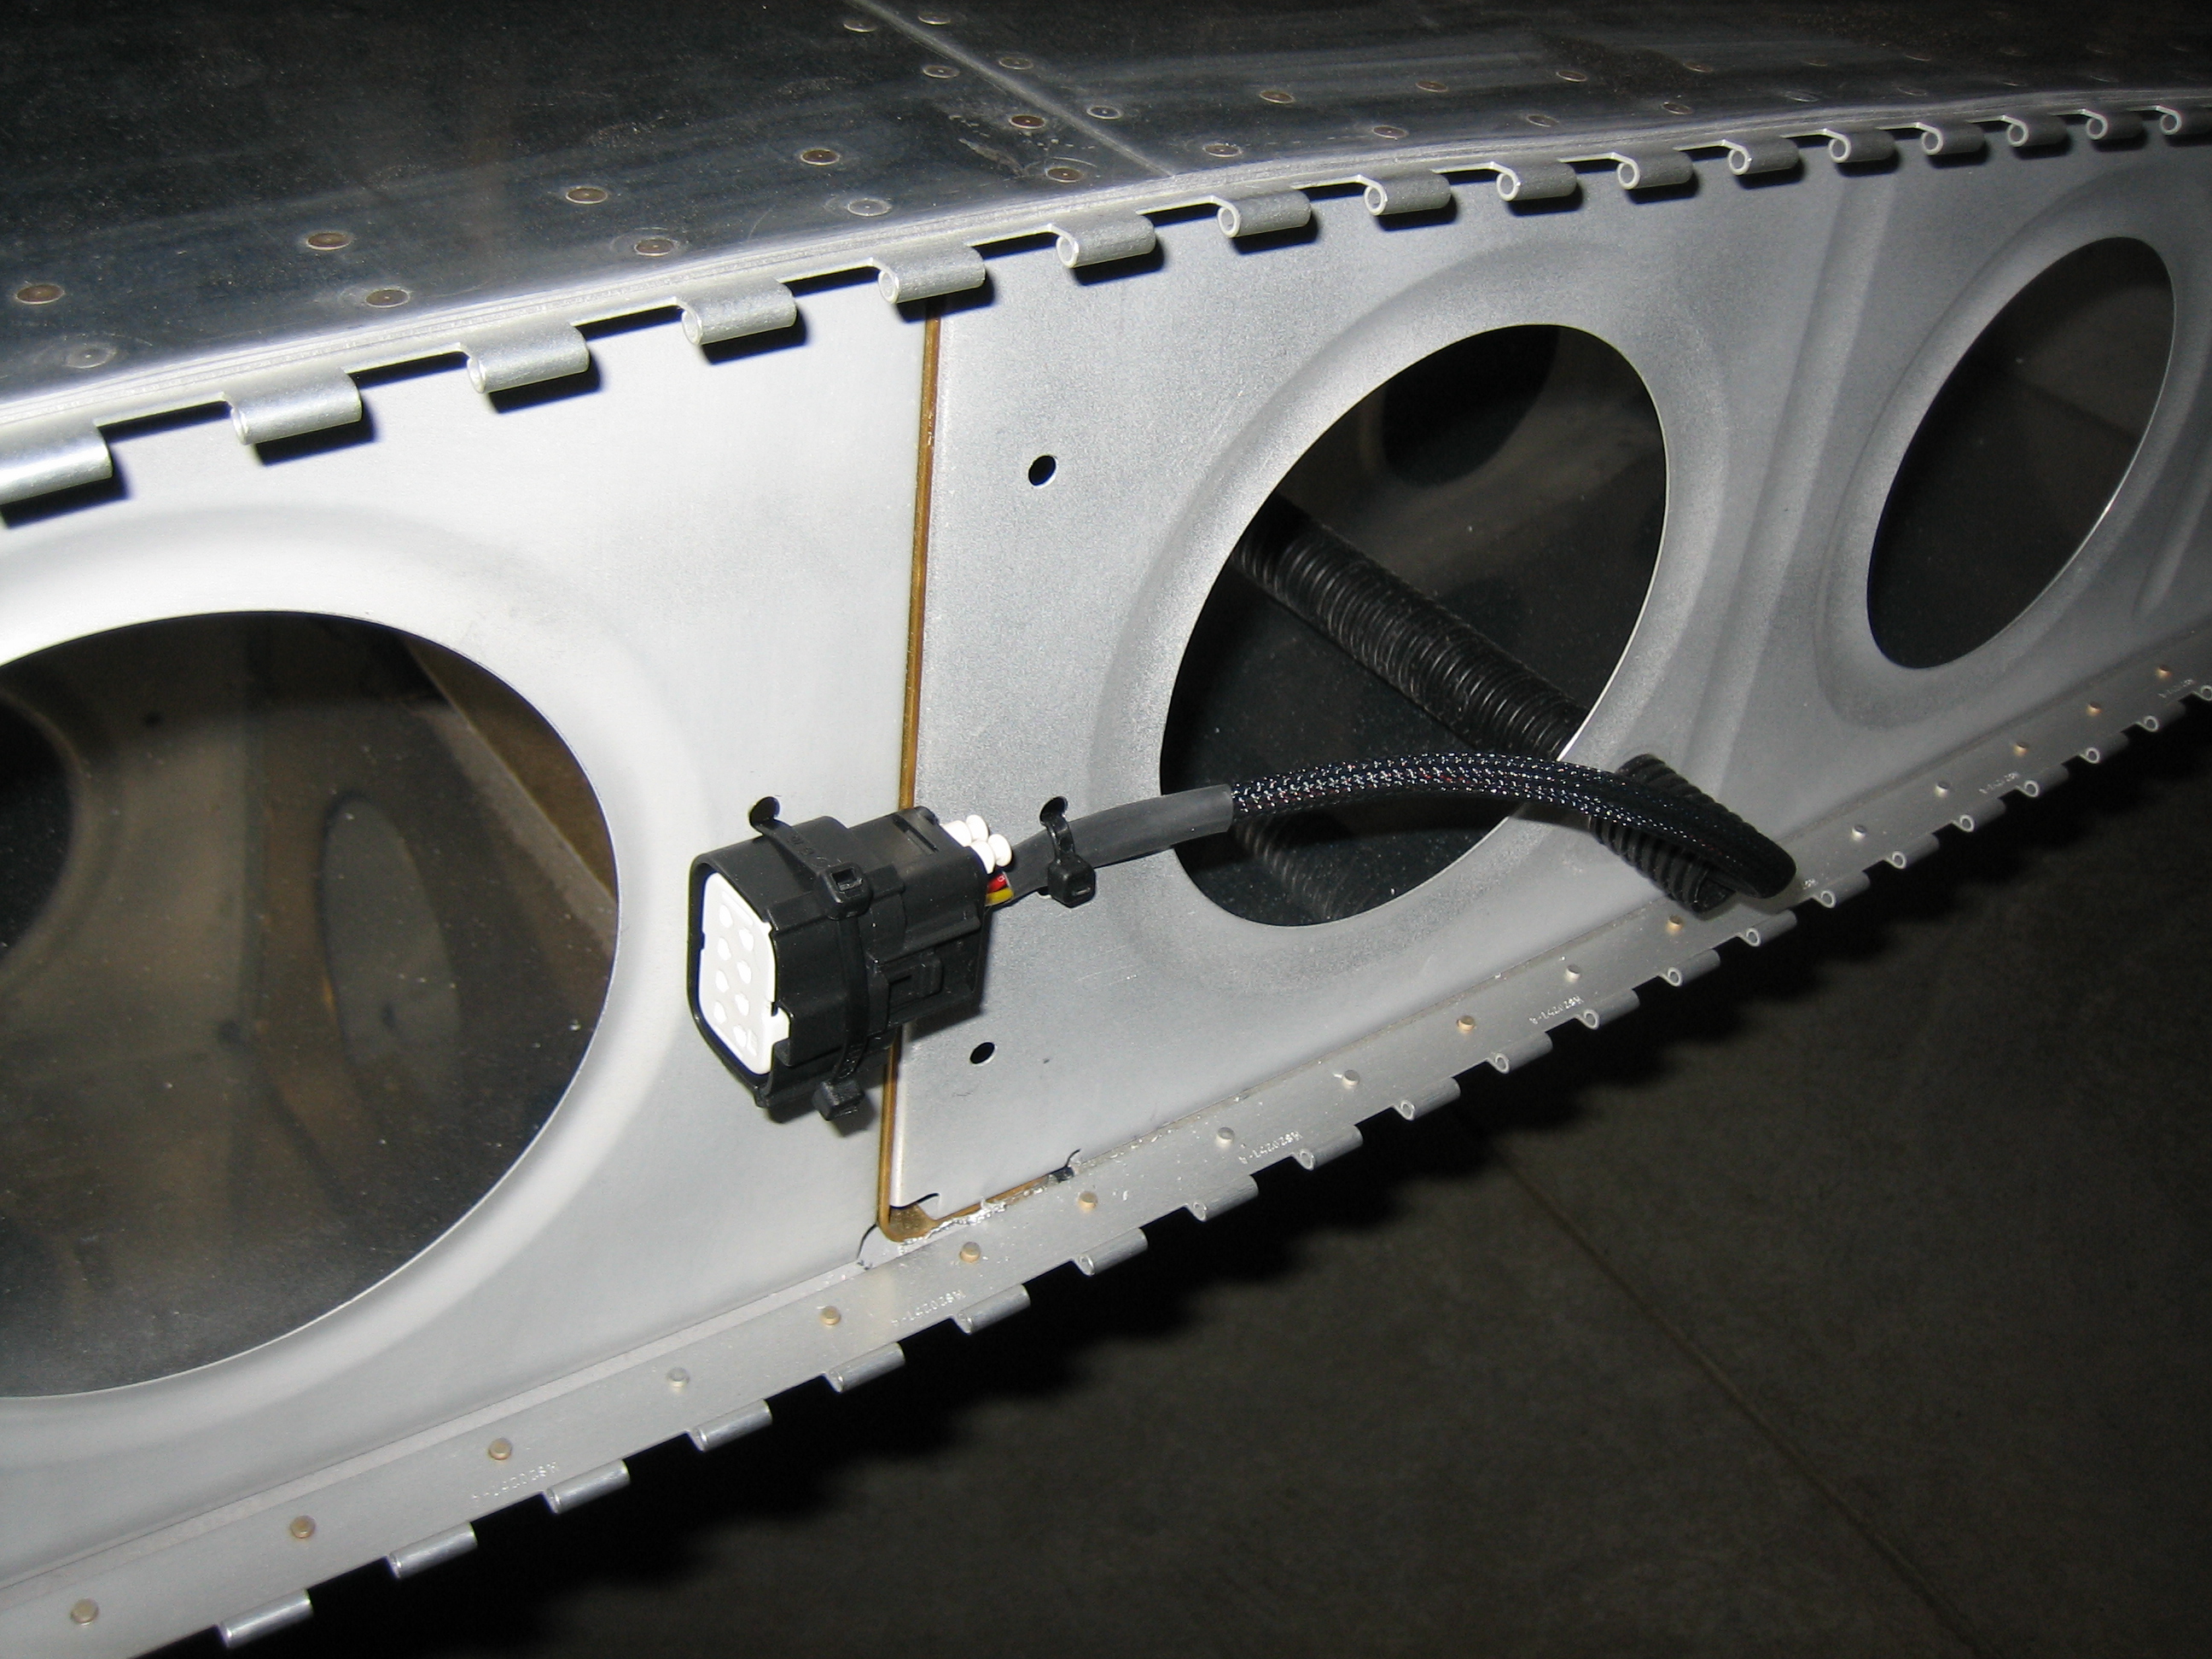
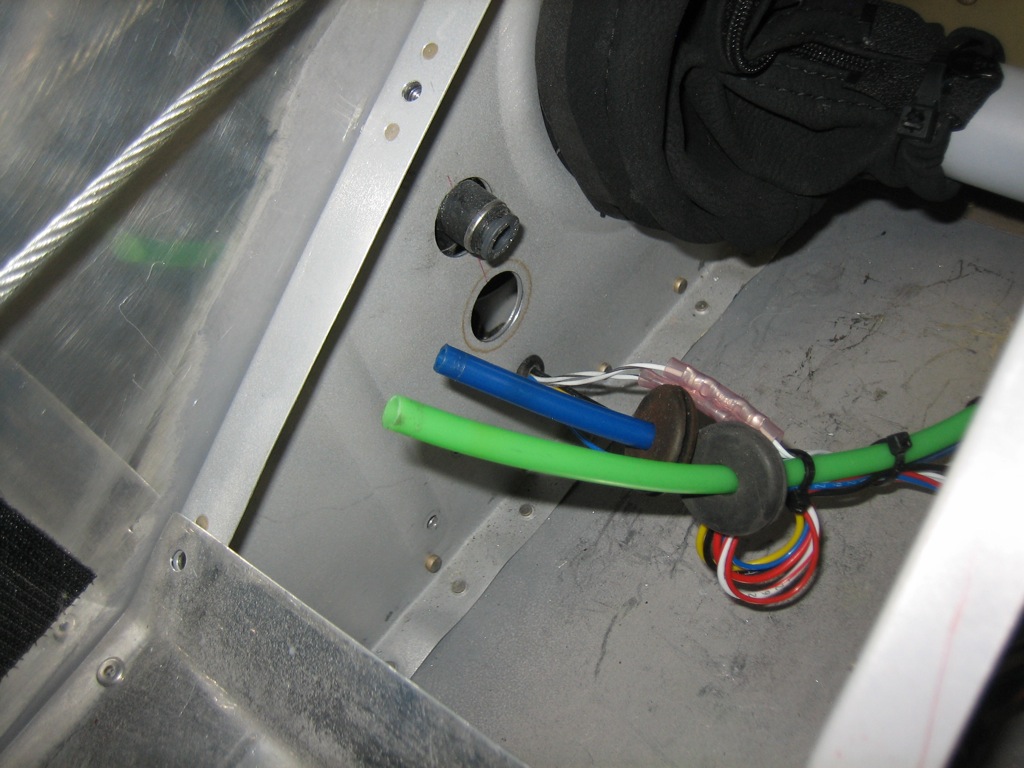
Unfortunately, the leak turned out to be in the wing root fittings where I didn’t quite get one of the pieces of tubing fully seated.  In the process of trying to seat it, the tubing popped out and I had essentially no access to get it back in.  This was really the wrong place to put these, so I’m probably going to have to pull new lines through the wings and make the connections under the pilot’s seat.  Do yourself a favor and avoid all wiring and tubing connections between the fuselage and wing on the RV-7; there is simply no room to work in there.

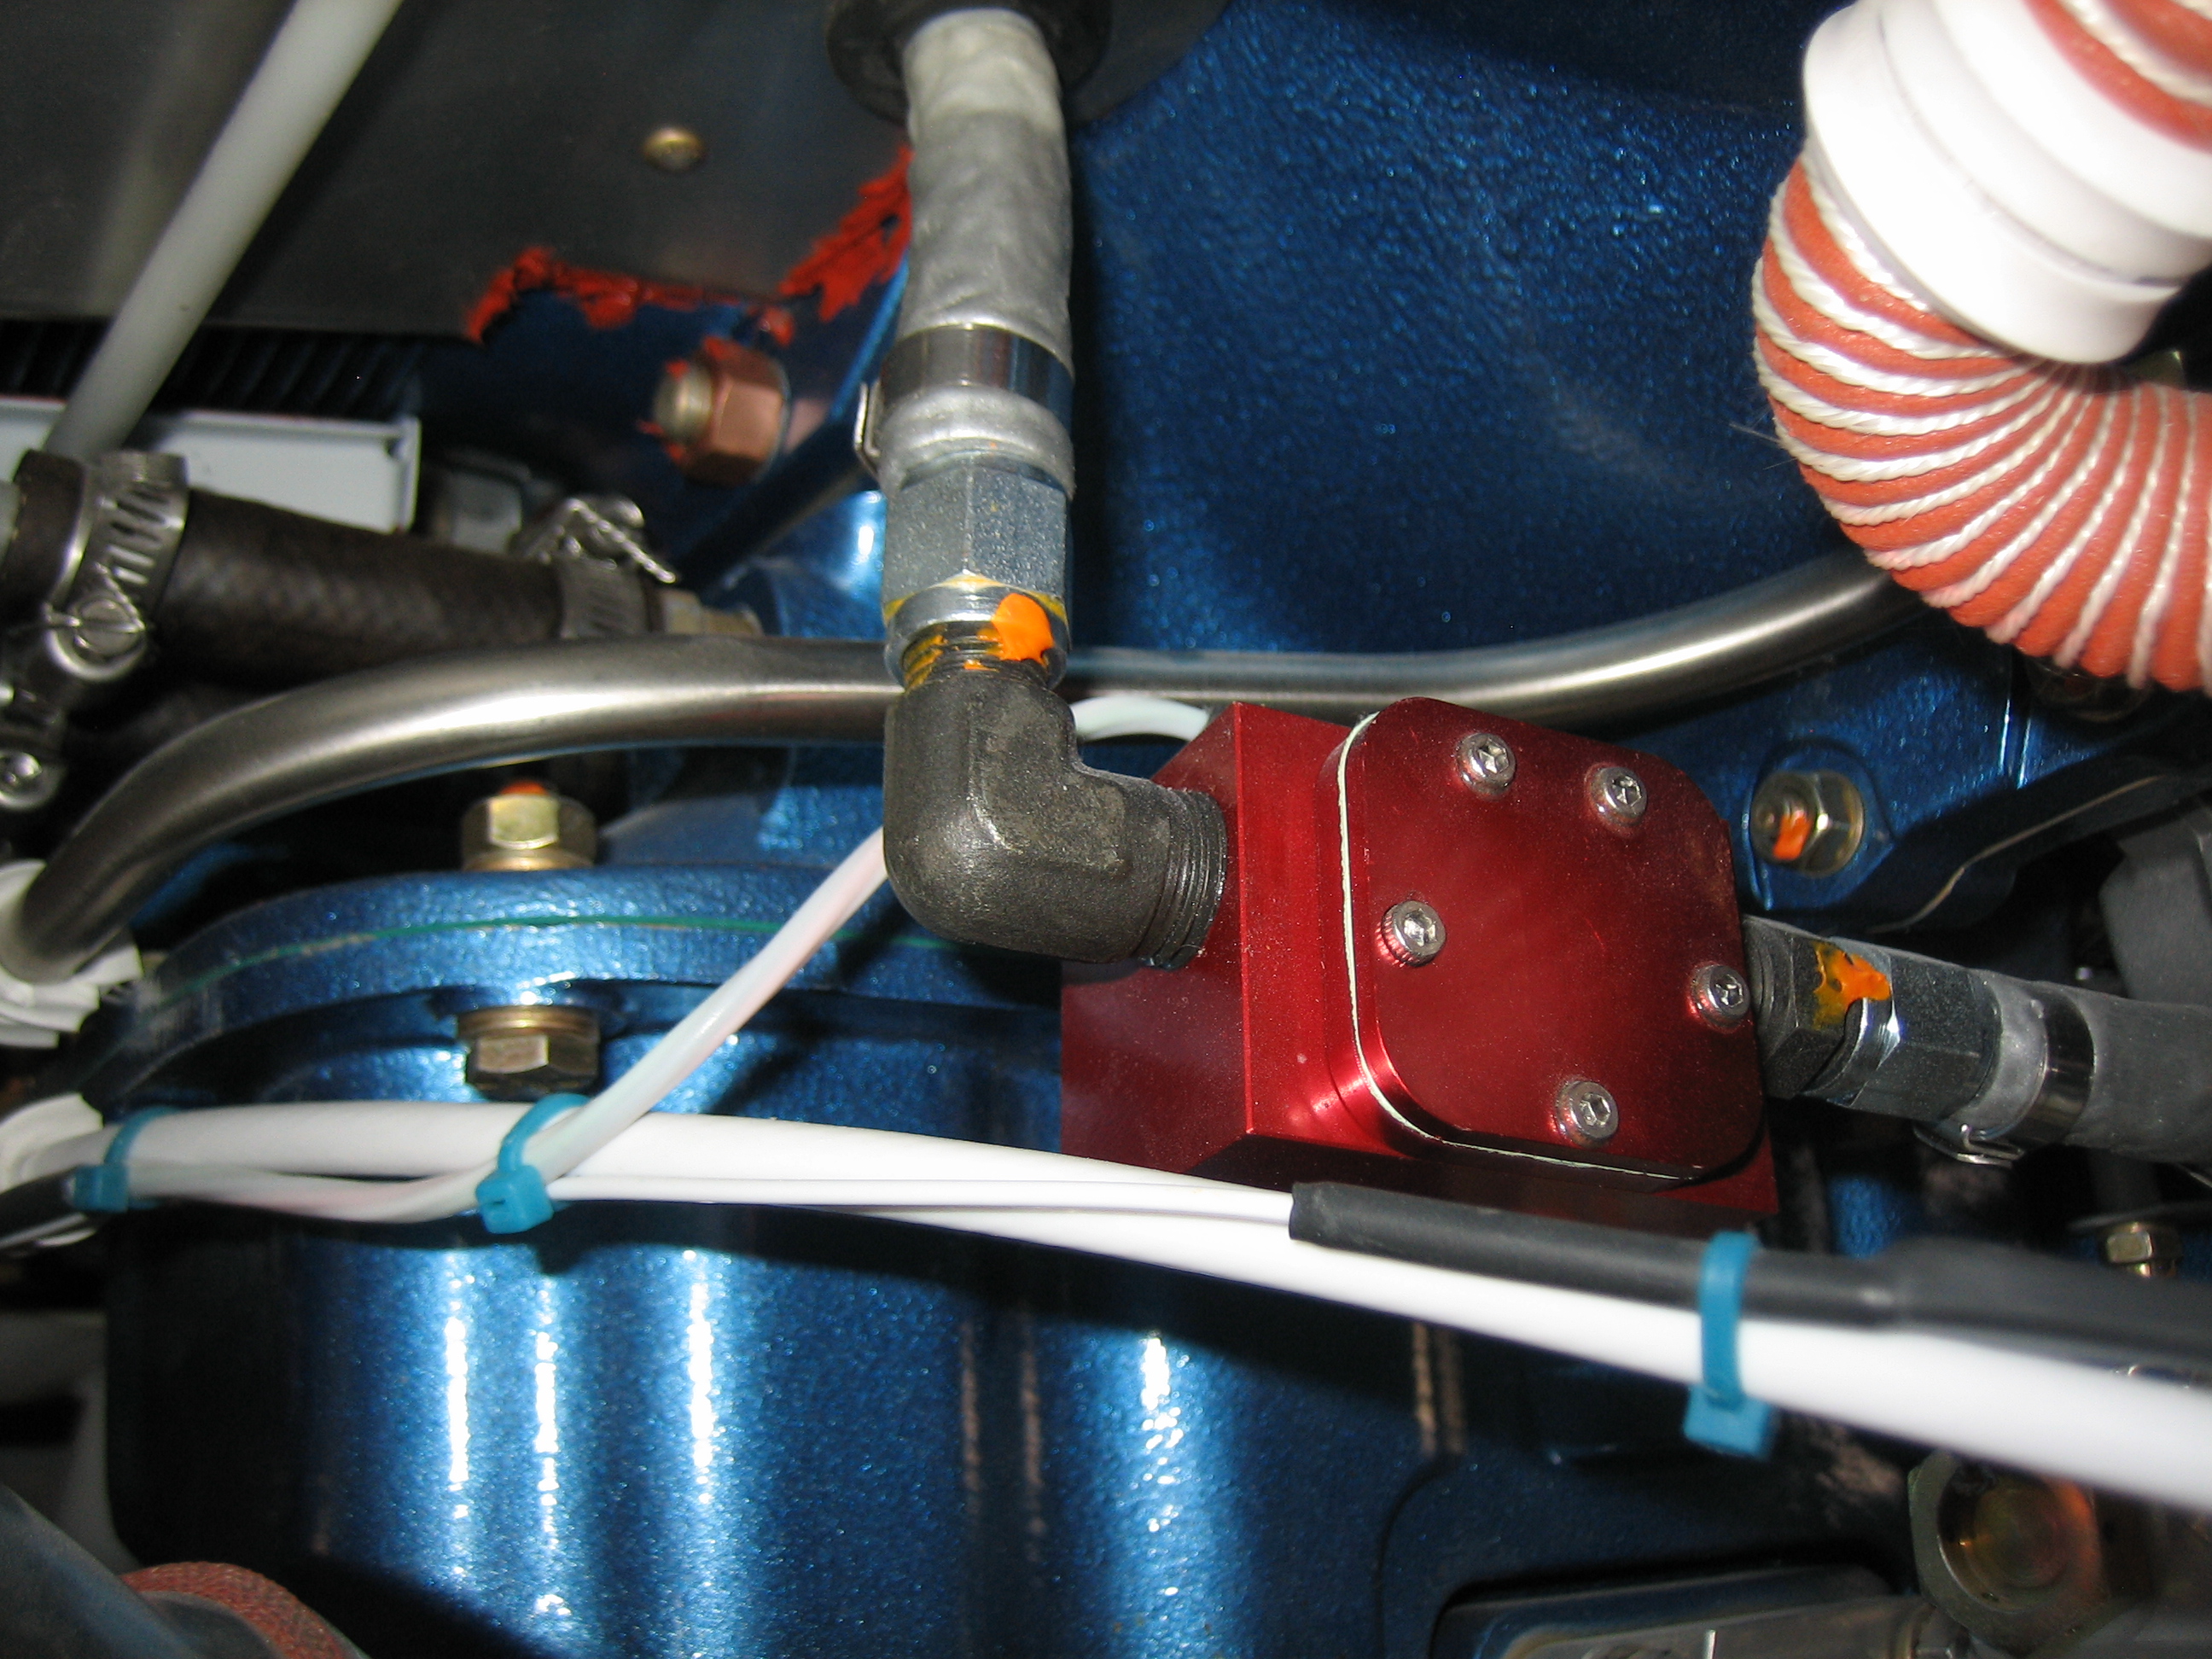
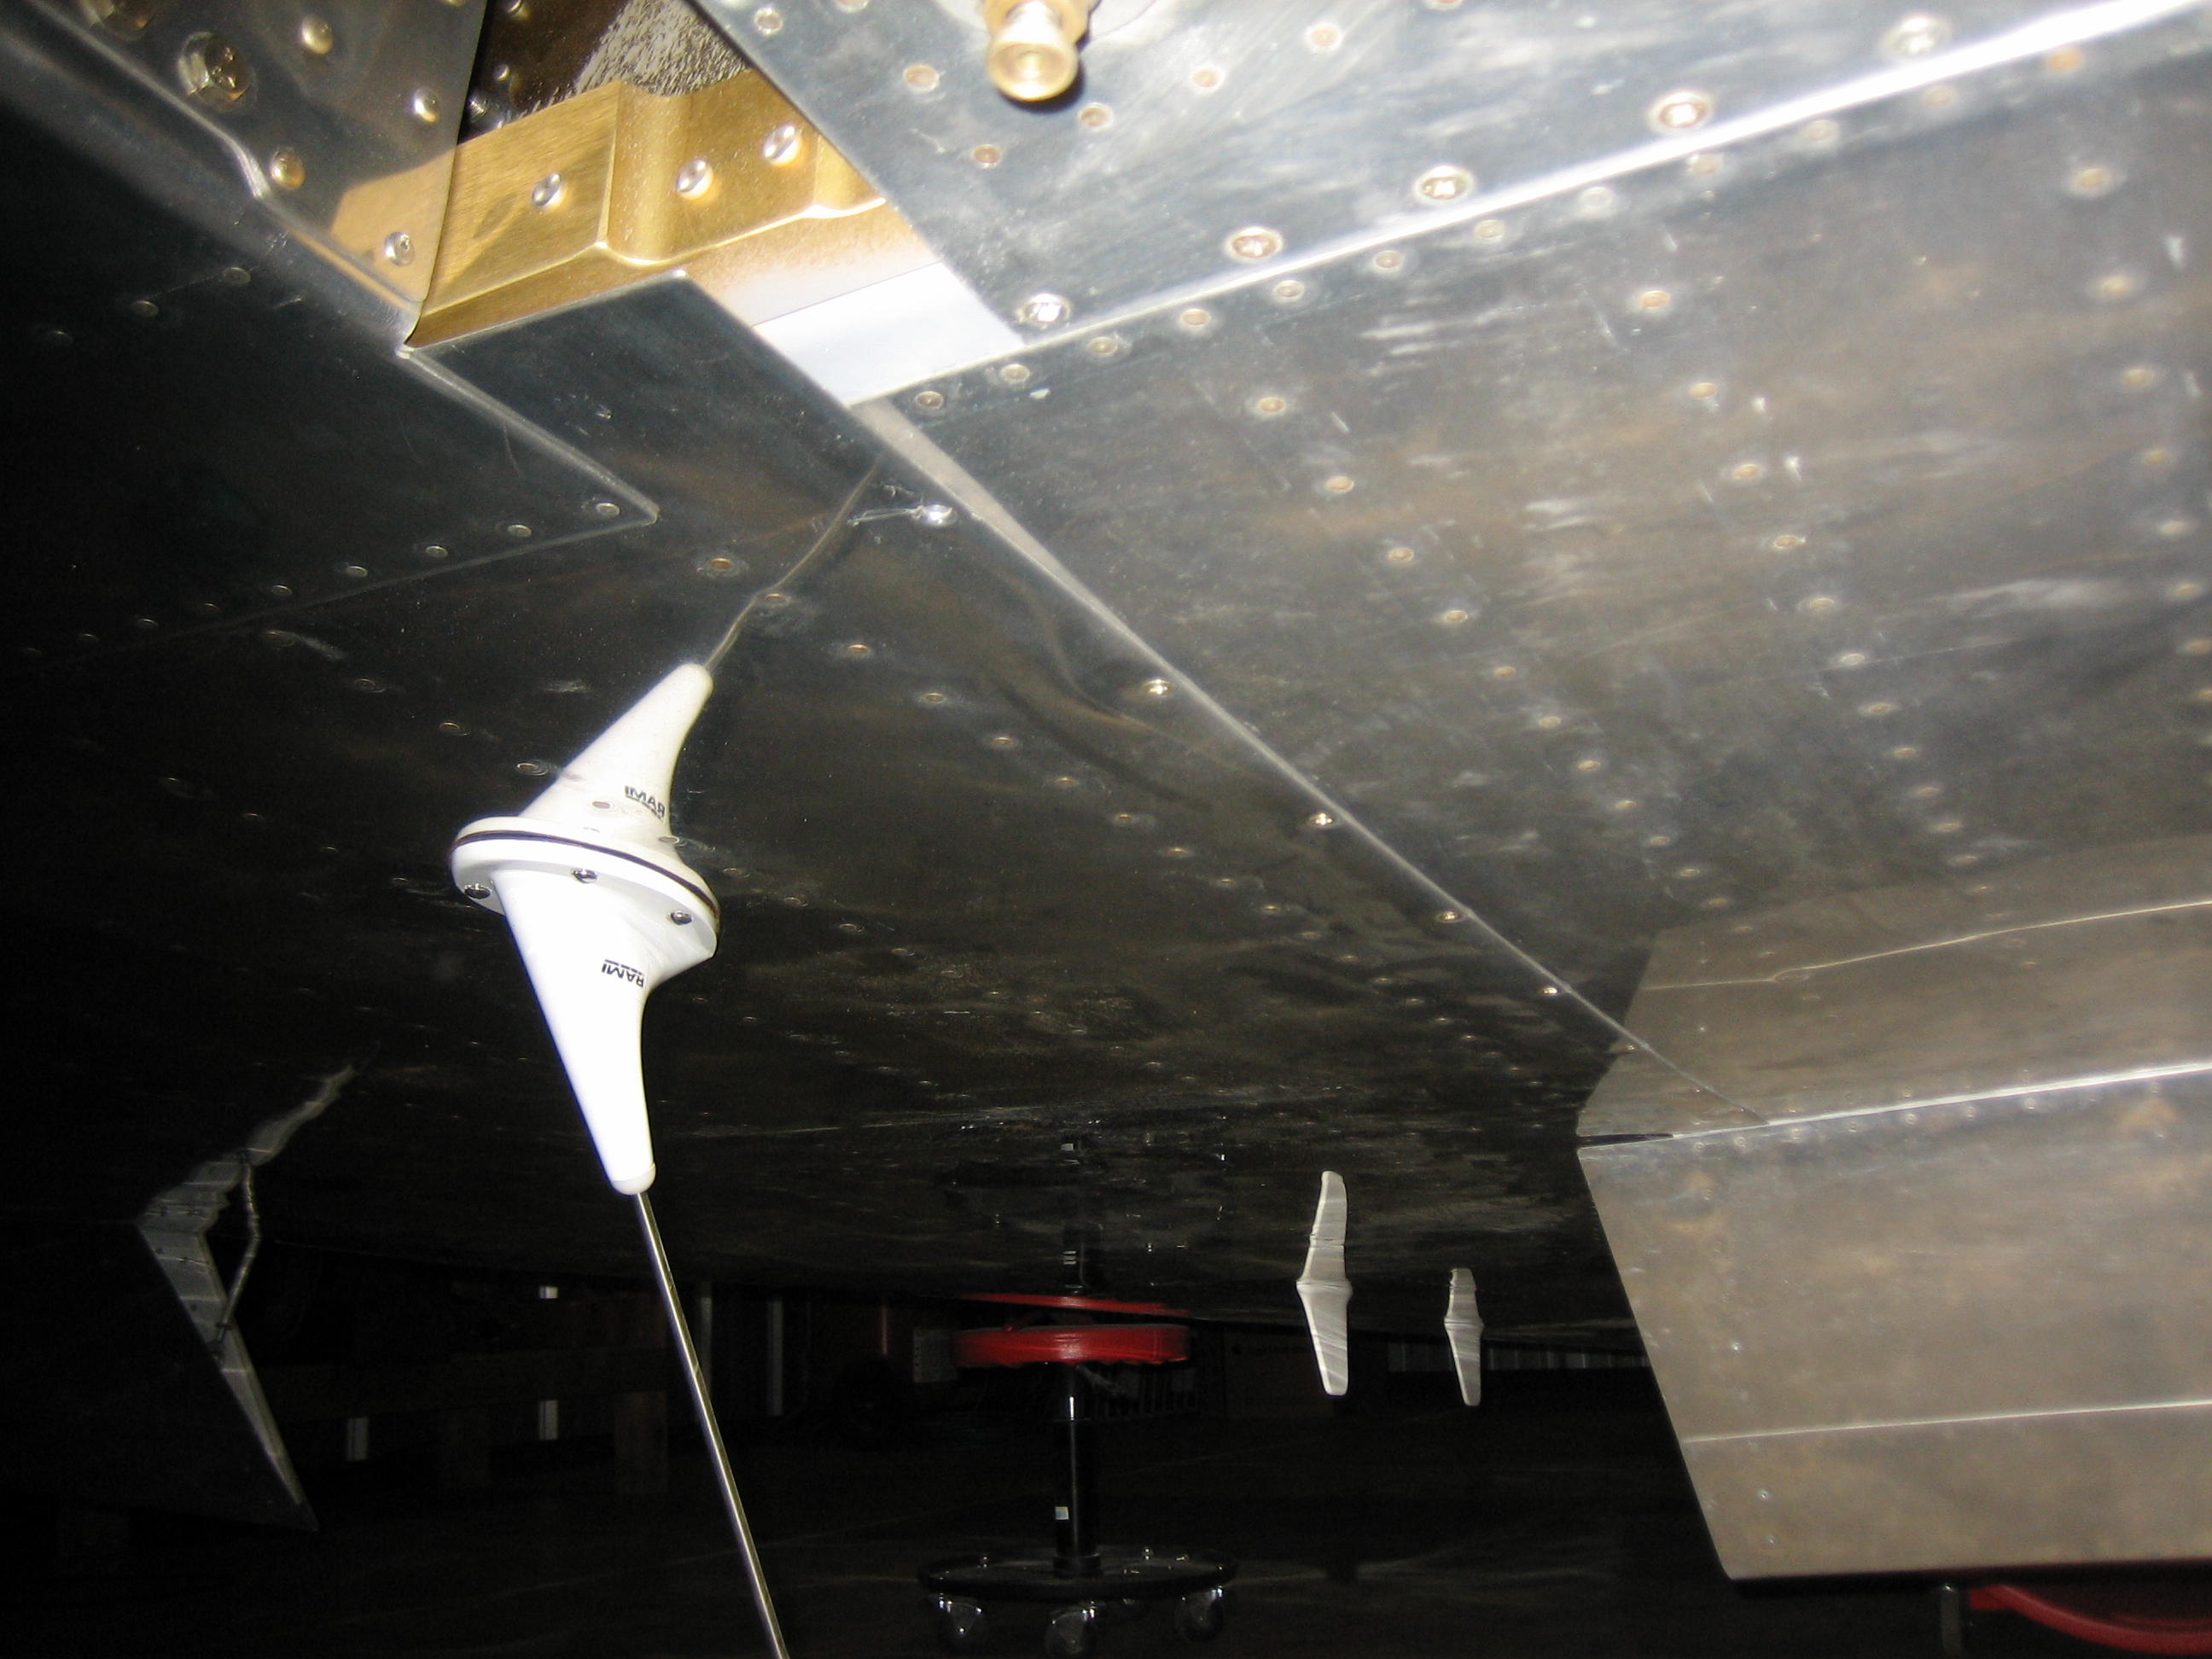
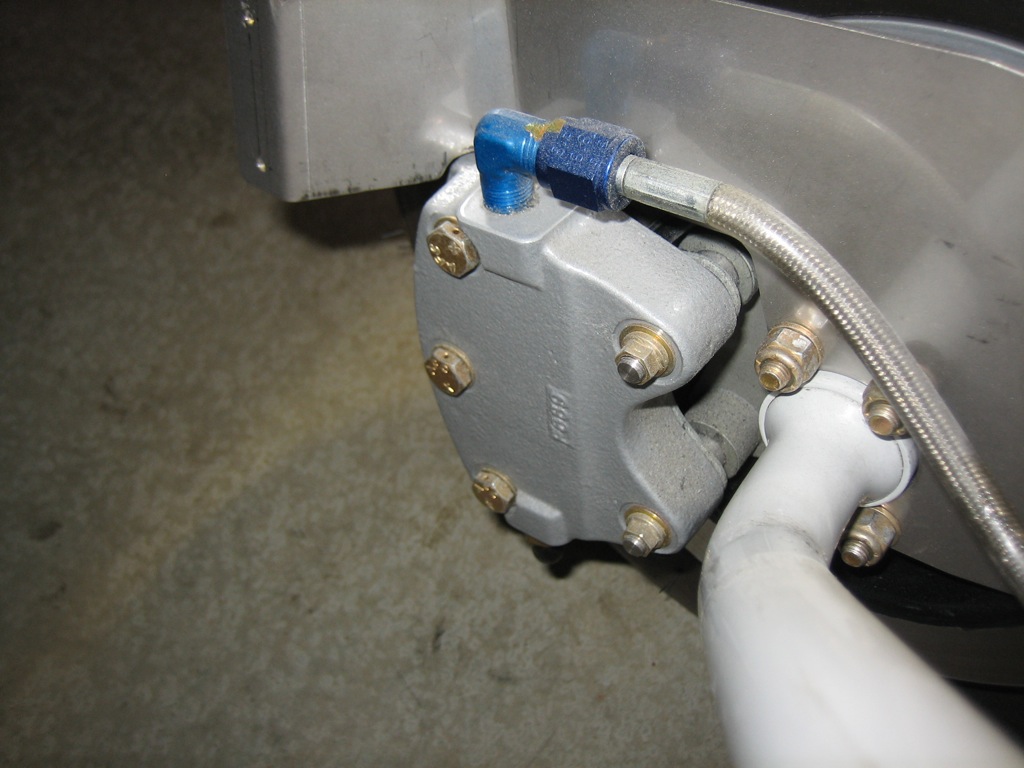
Now, on to the things that were caught during the inspection.  Let’s start with a few things that were squawked, but are not actually issues.  A couple of people questioned the mounting of my fuel flow transducer which is simply suspended from the fuel lines.  Apparently, there are two versions of the red cube.  The earlier one didn’t tolerate being rigidly mounted to the engine, but the later one could be mounted like this or to the sump.  When I purchased this, I called the manufacturer and they recommended this mounting approach.

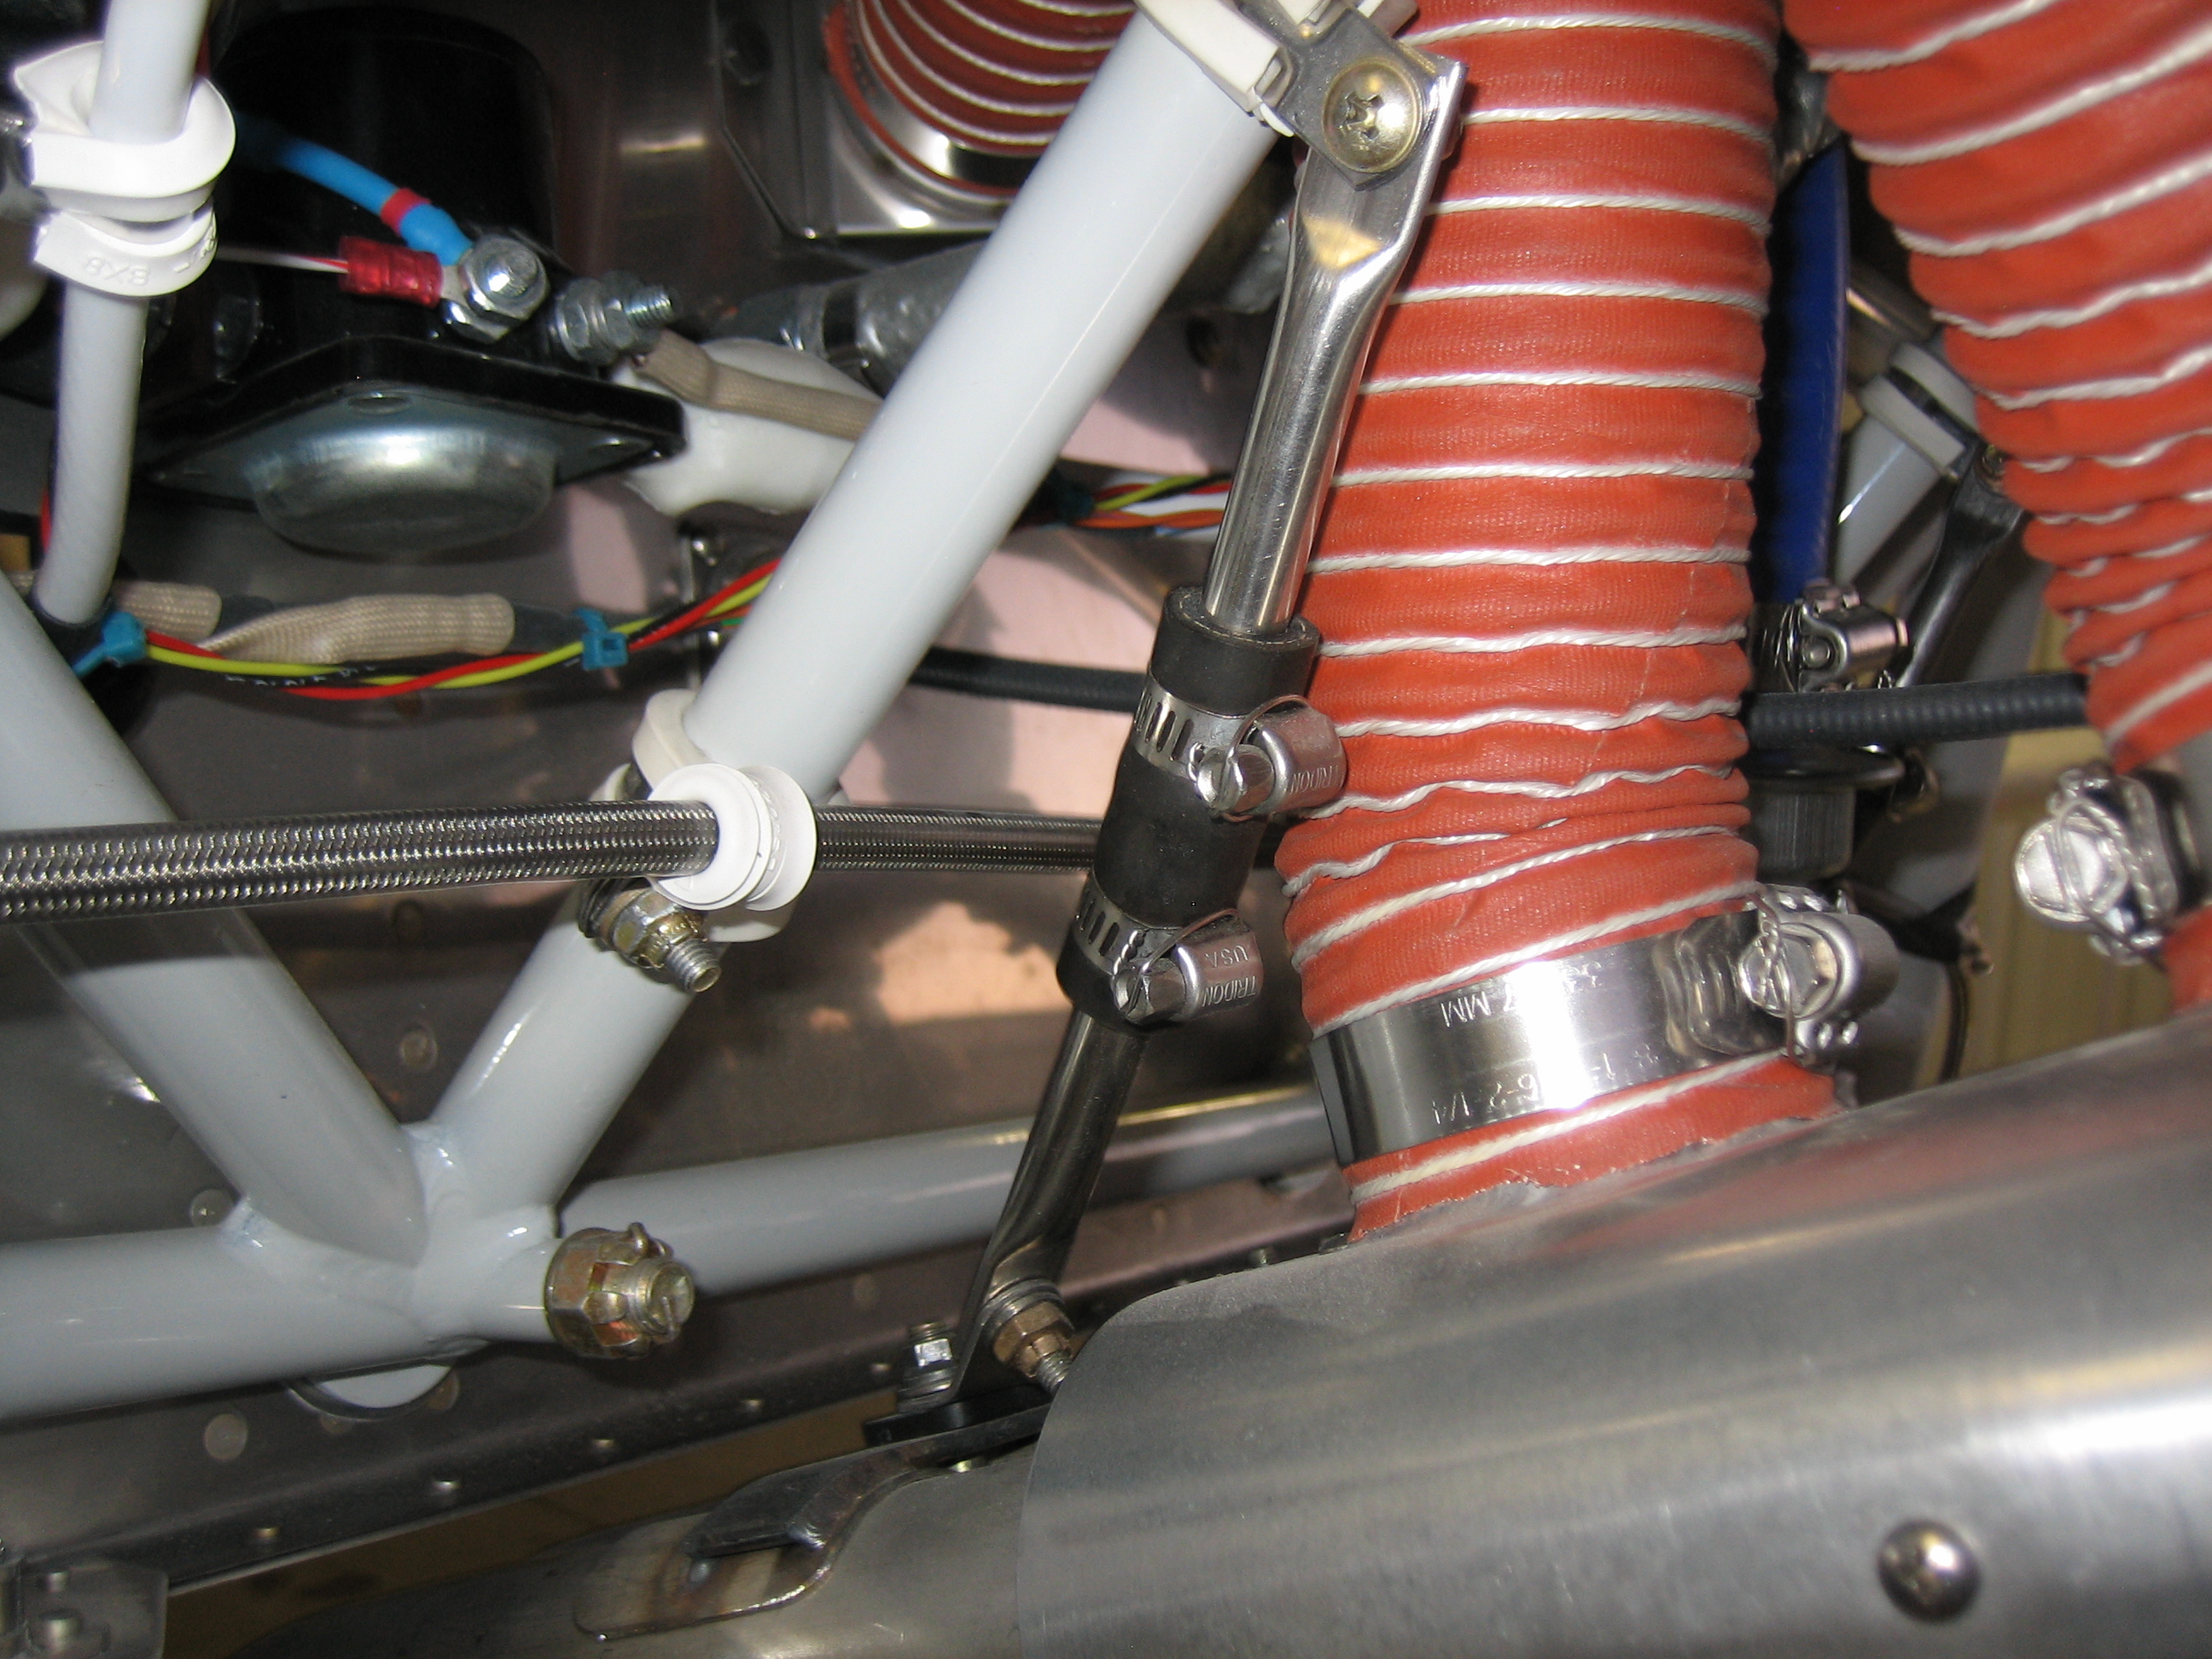
Another builder squawked that there was not enough rubber material on the exhaust hangers which would not allow sufficient movement in the exhaust pipe.  Larry Vetterman specifies that the stainless steel tubes only be separated by 1/4″ inside the rubber tubing, so this is installed as the manufacturer recommends.

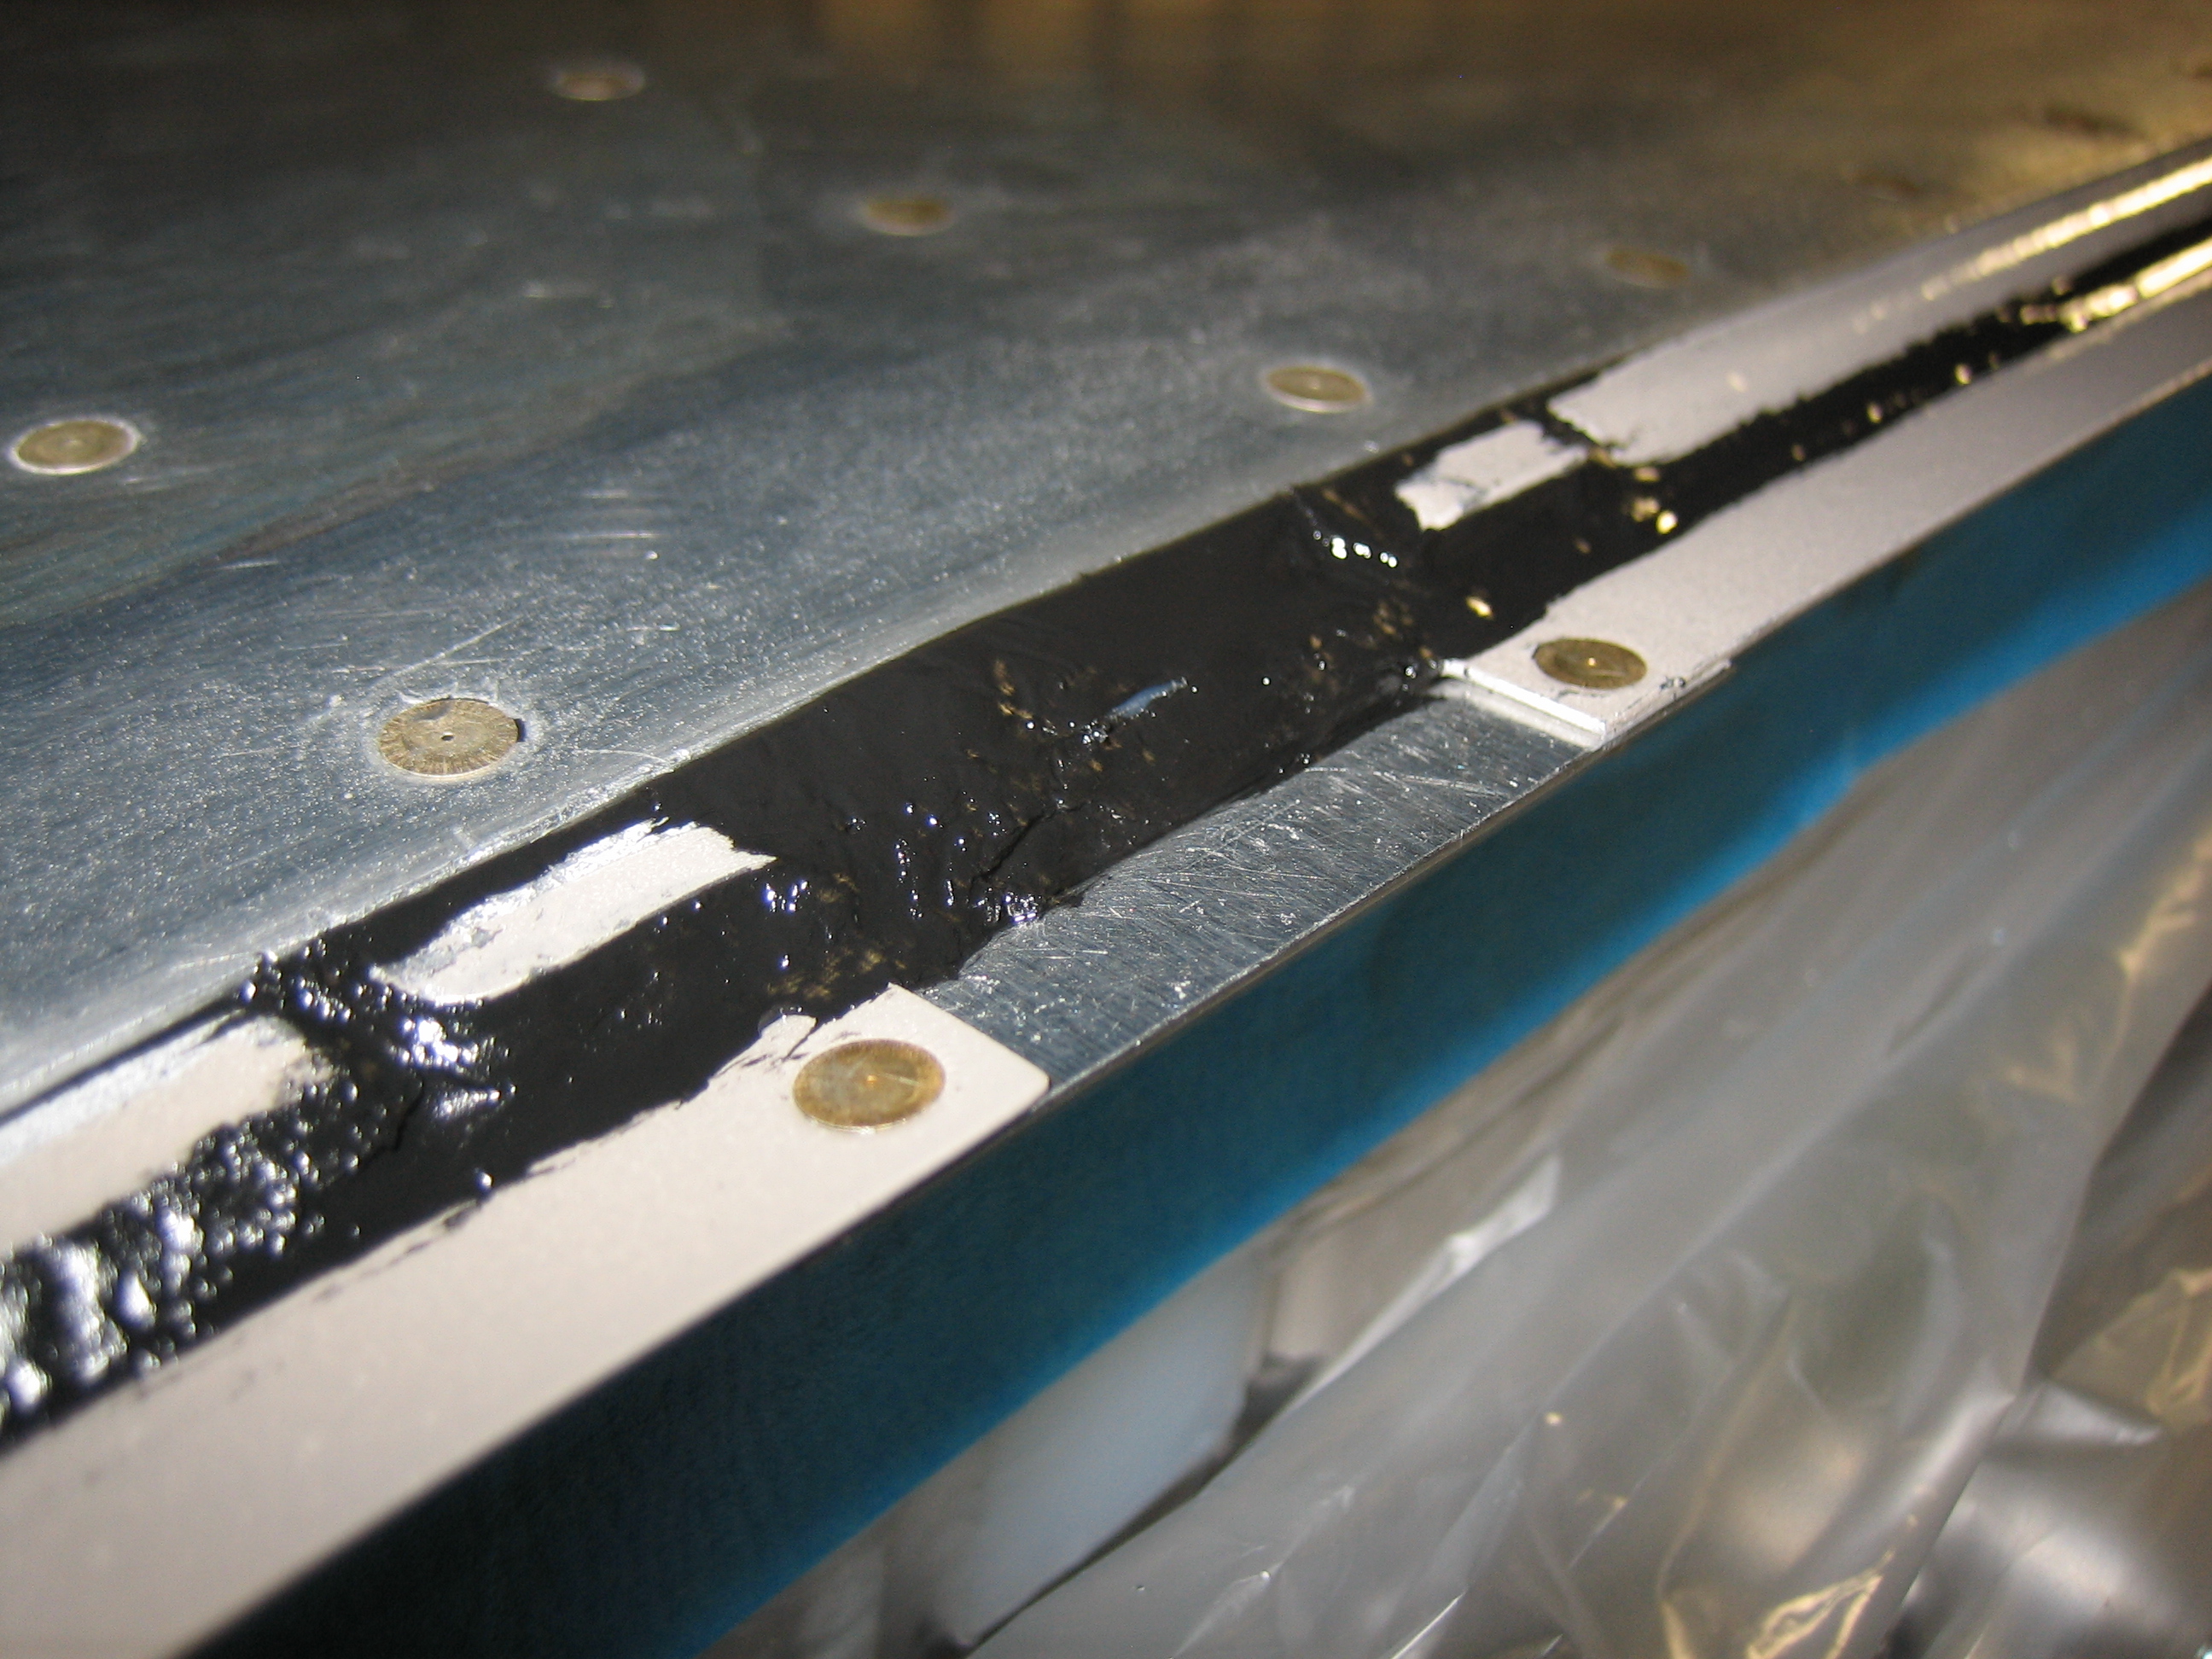
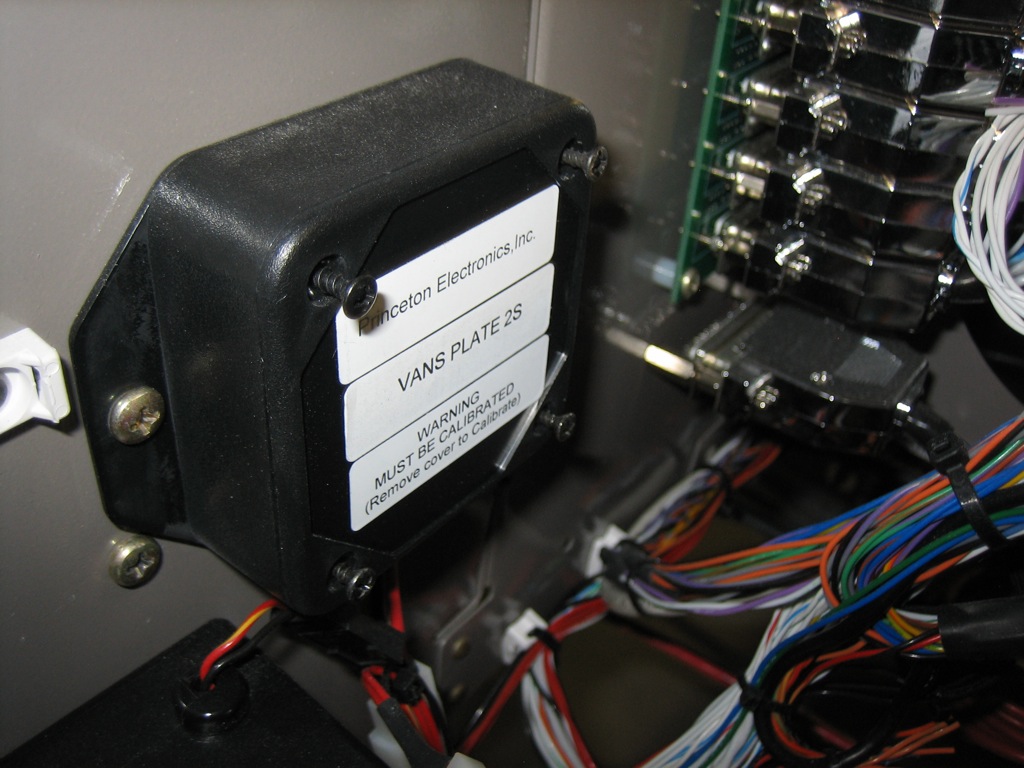
Next, let’s move on to some things that are actually issues, but I knew about.  Someone mentioned that the screws weren’t fully installed in the fuel senders.  This is because I haven’t had a chance to calibrate the fuel tanks.  I have to remove this cover plate to do the calibration, so I left the screws loose until this is taken care of.

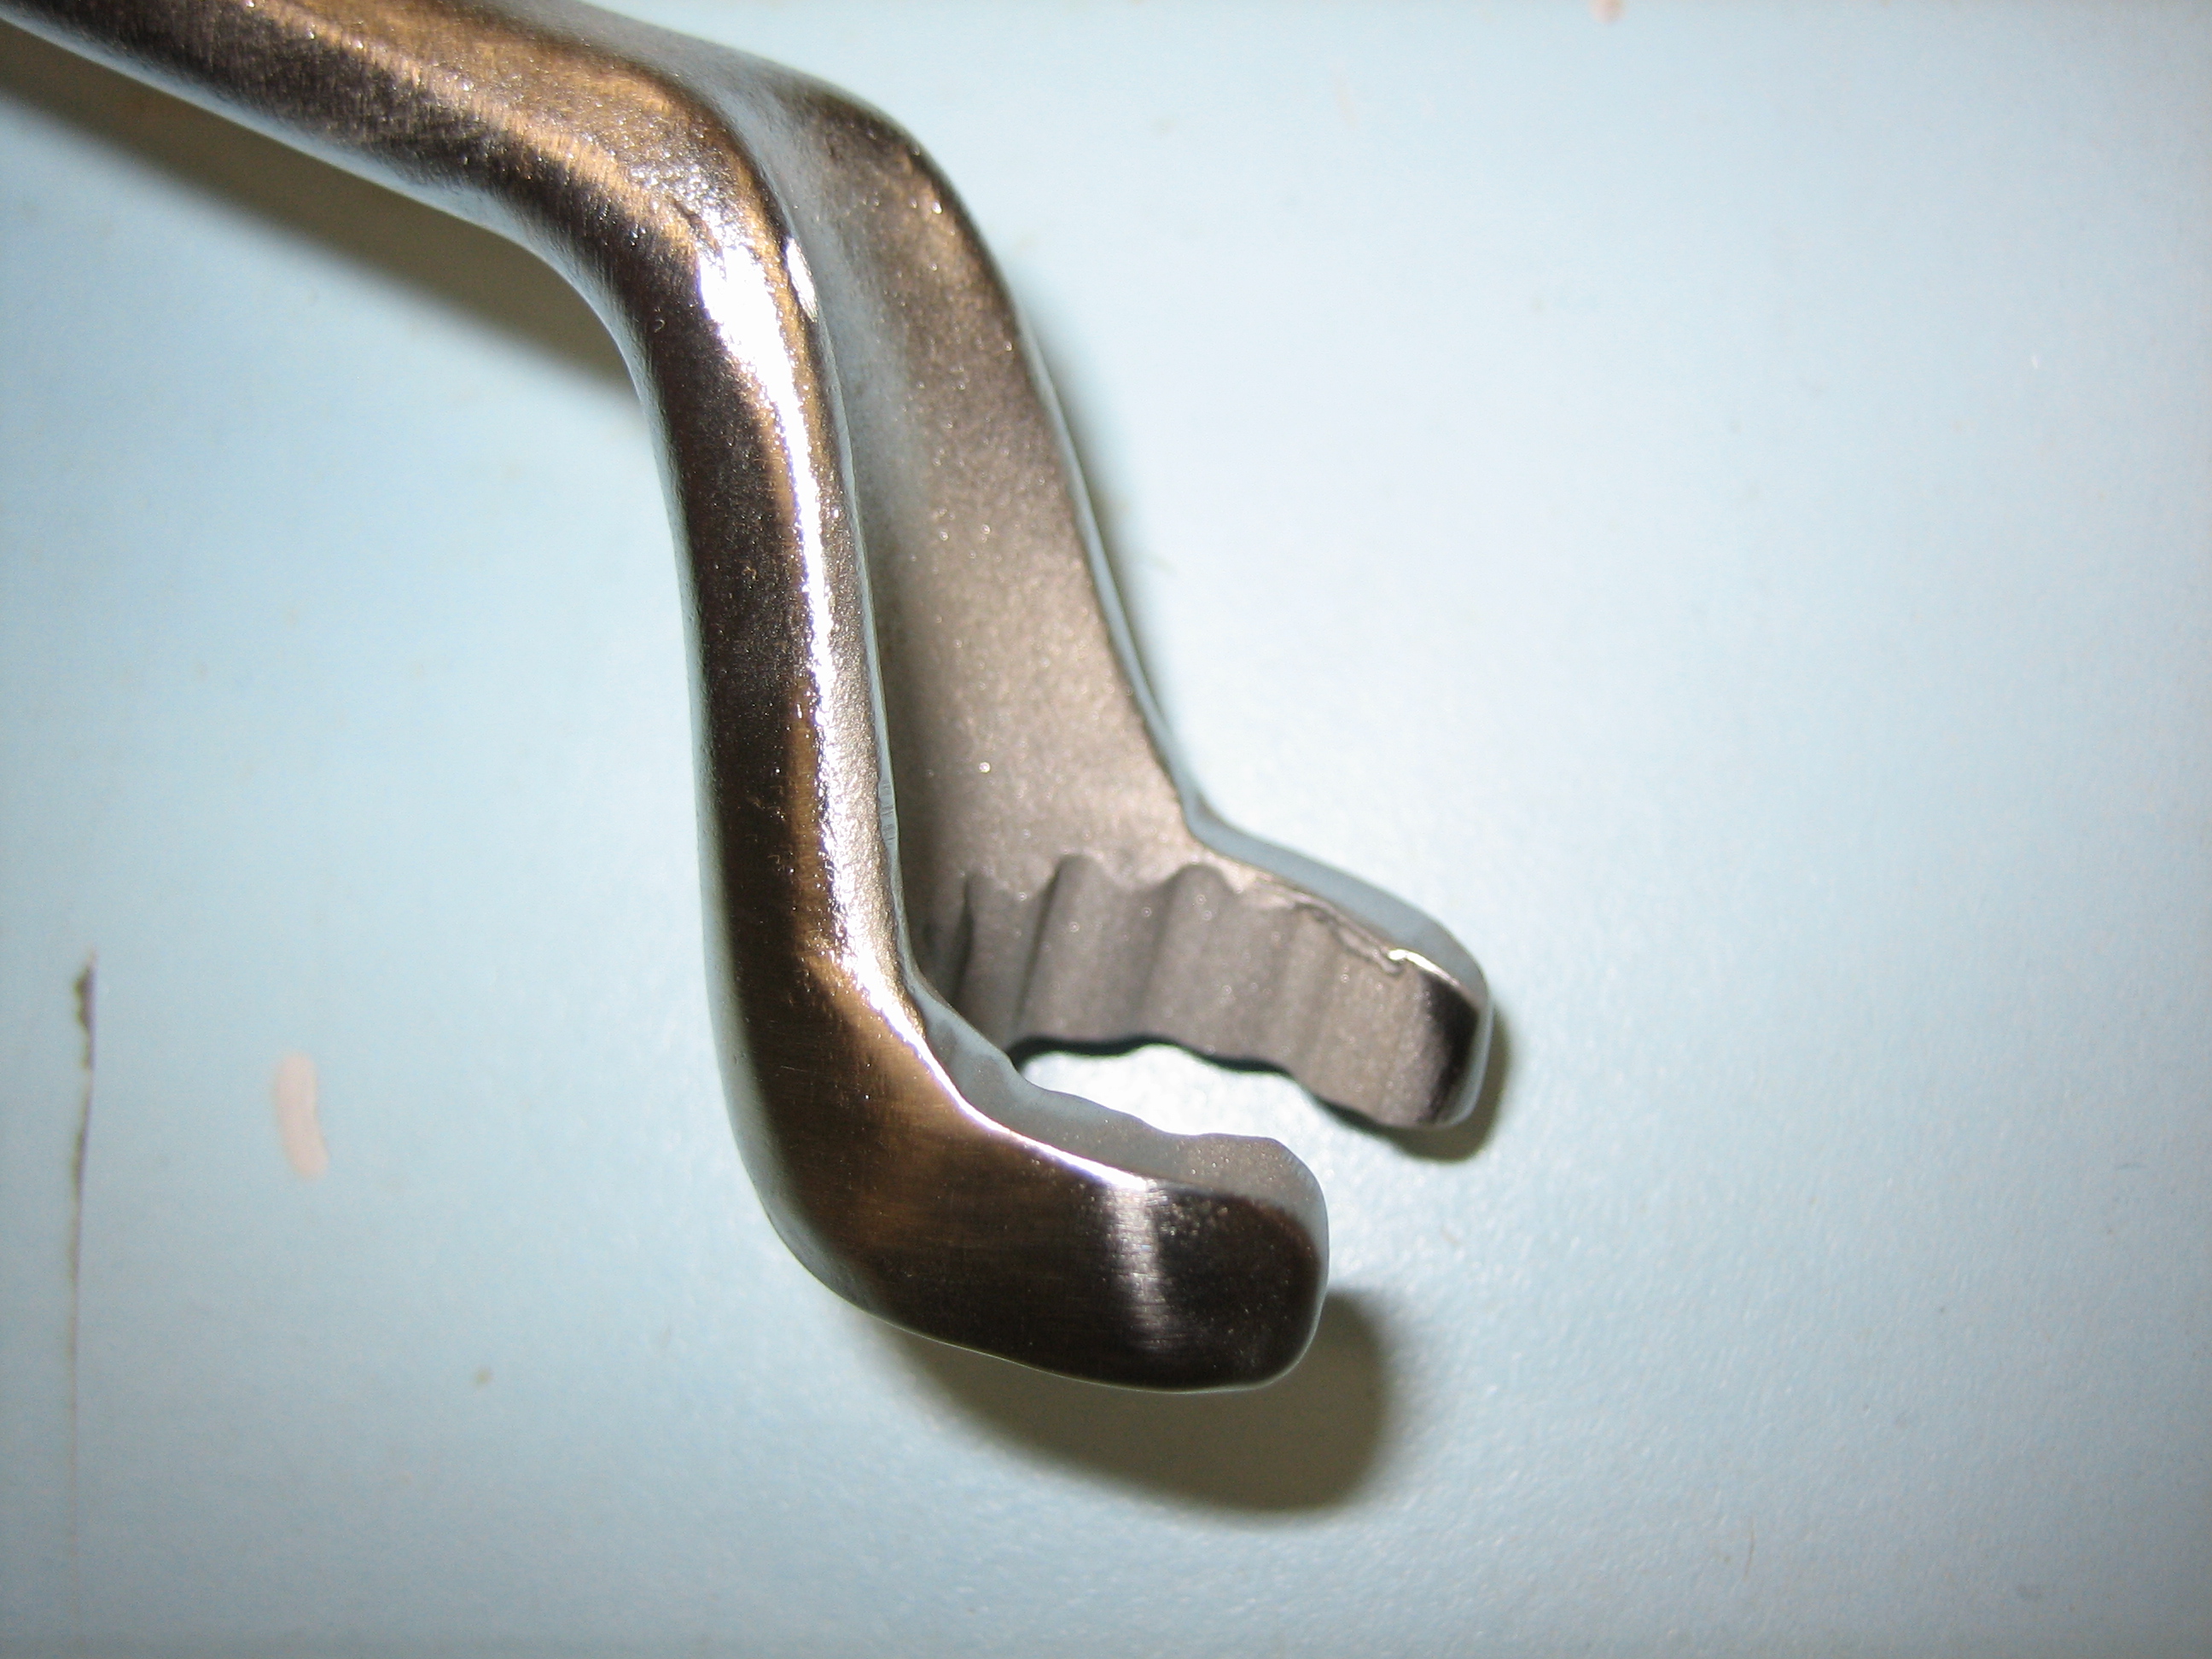
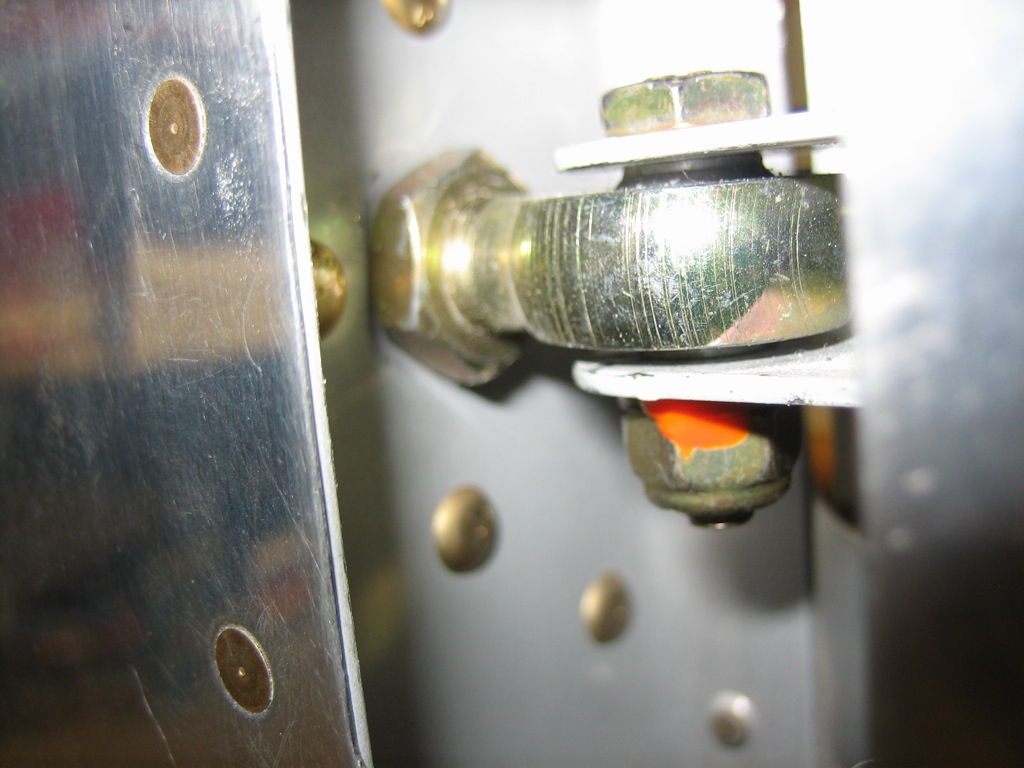
Another builder noticed that the jam nuts on the empennage bearings weren’t torque sealed.  Although I modified a tool to fit in here, I wanted to modify it further before torquing these down for good.

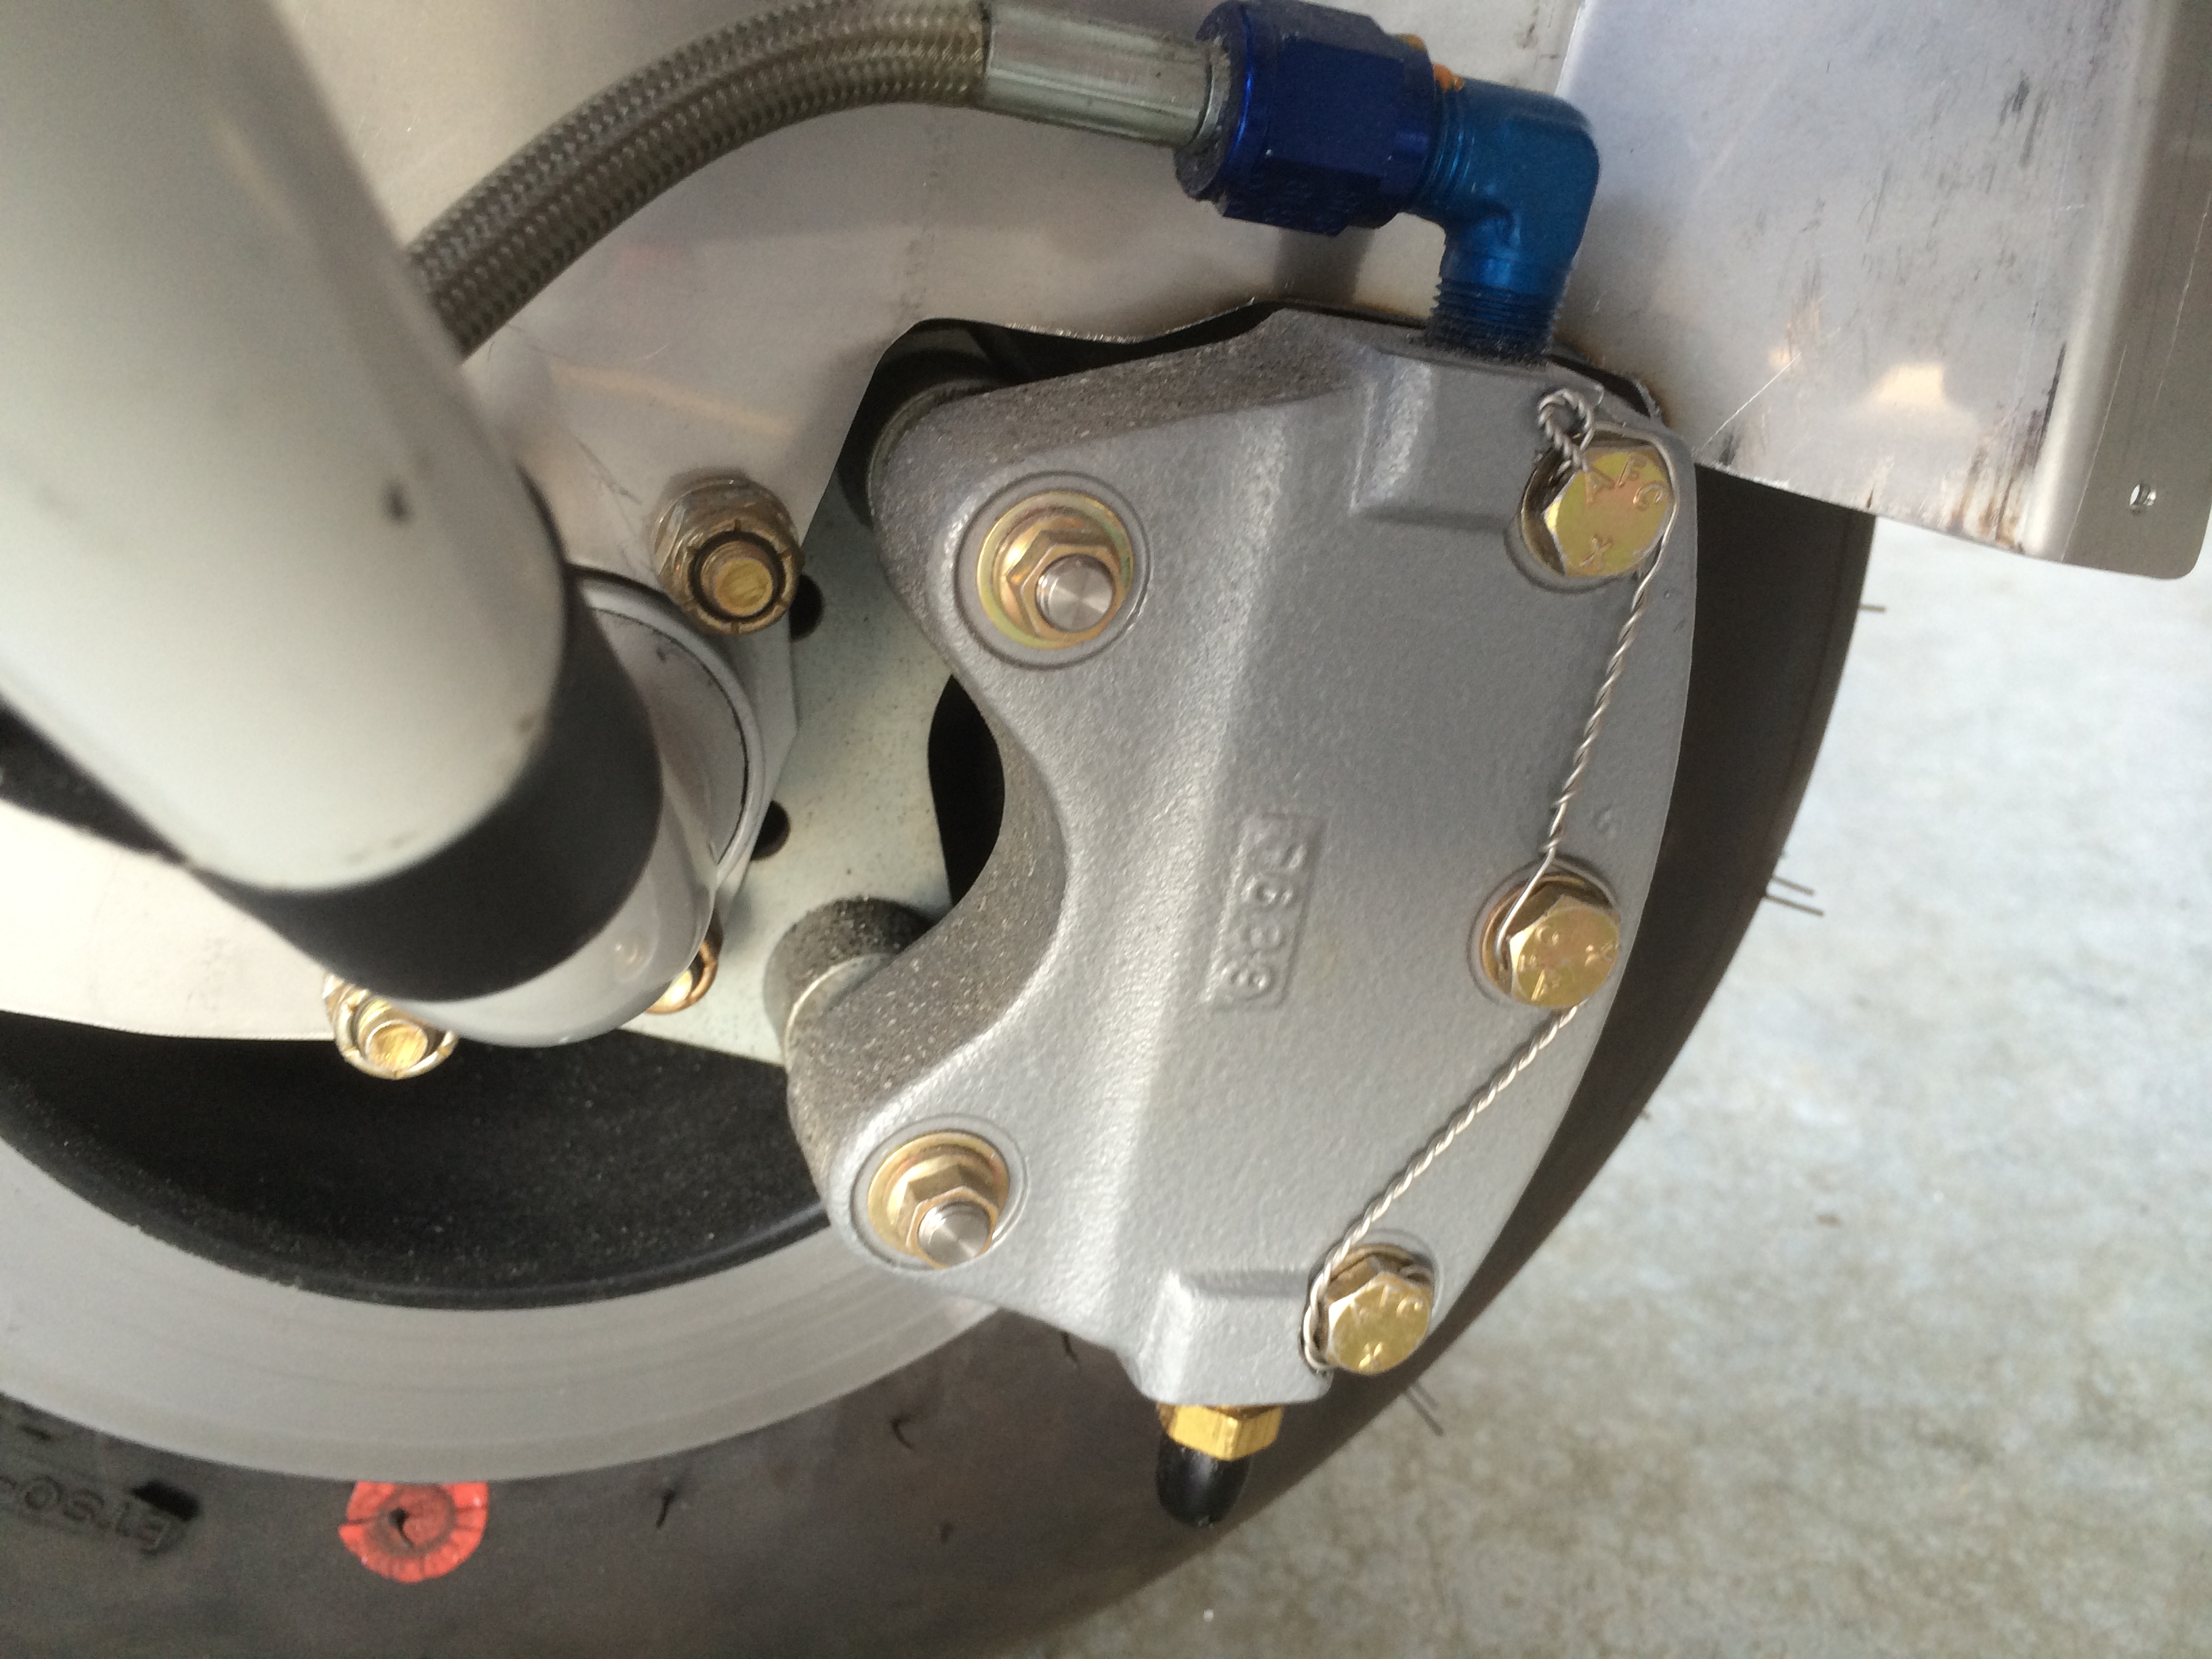
Several builders noticed that my brakes weren’t safety wired.  I had intentionally put this off since I thought I might need to pull the wheels off again, but I don’t think I have any need now before first flight.

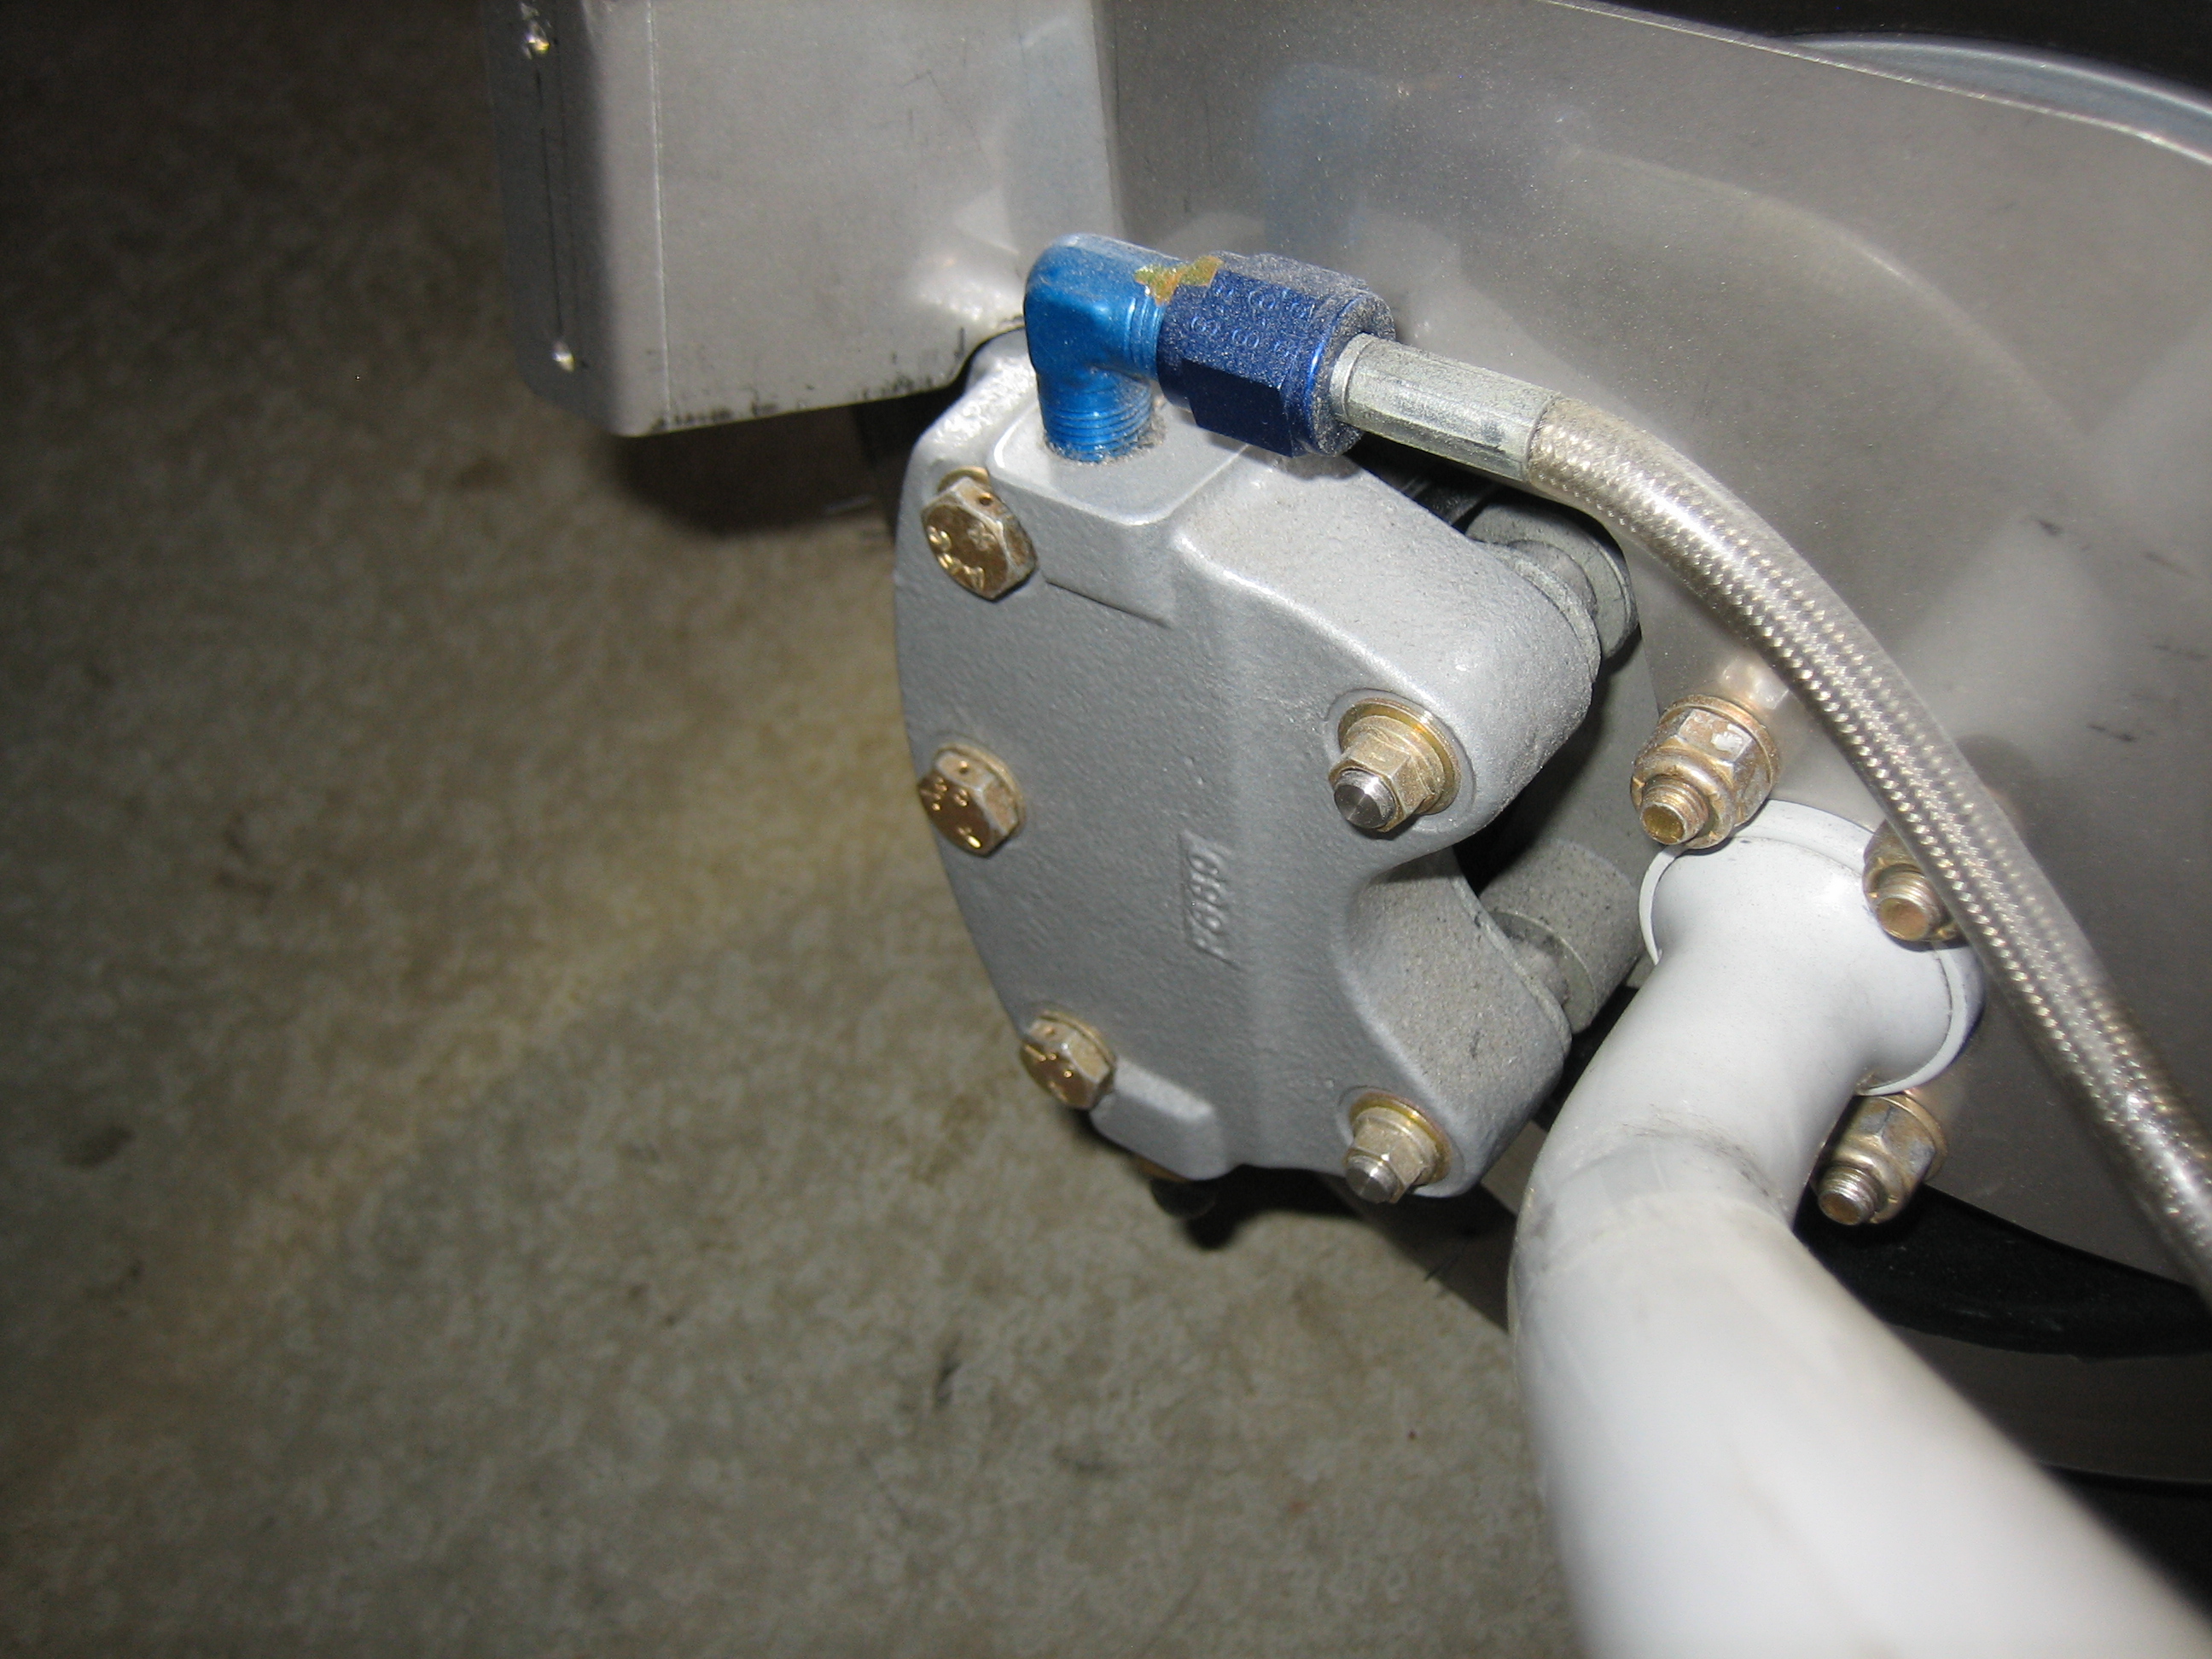
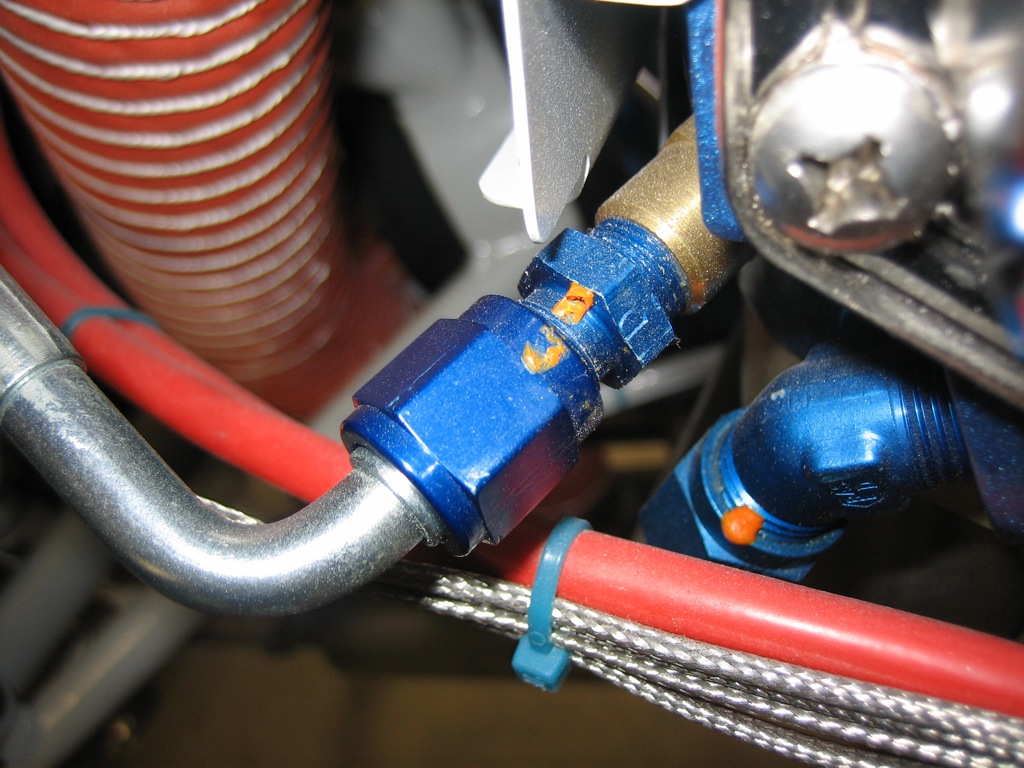
A builder noticed the torque seal was broken on the inlet to the spider.  I had pulled this off before first engine start because I wanted to run some fuel through the line to flush any debris out so that it wouldn’t clog the injectors.  We hooked the line back up before the engine run, but I didn’t put a torque wrench on this then.

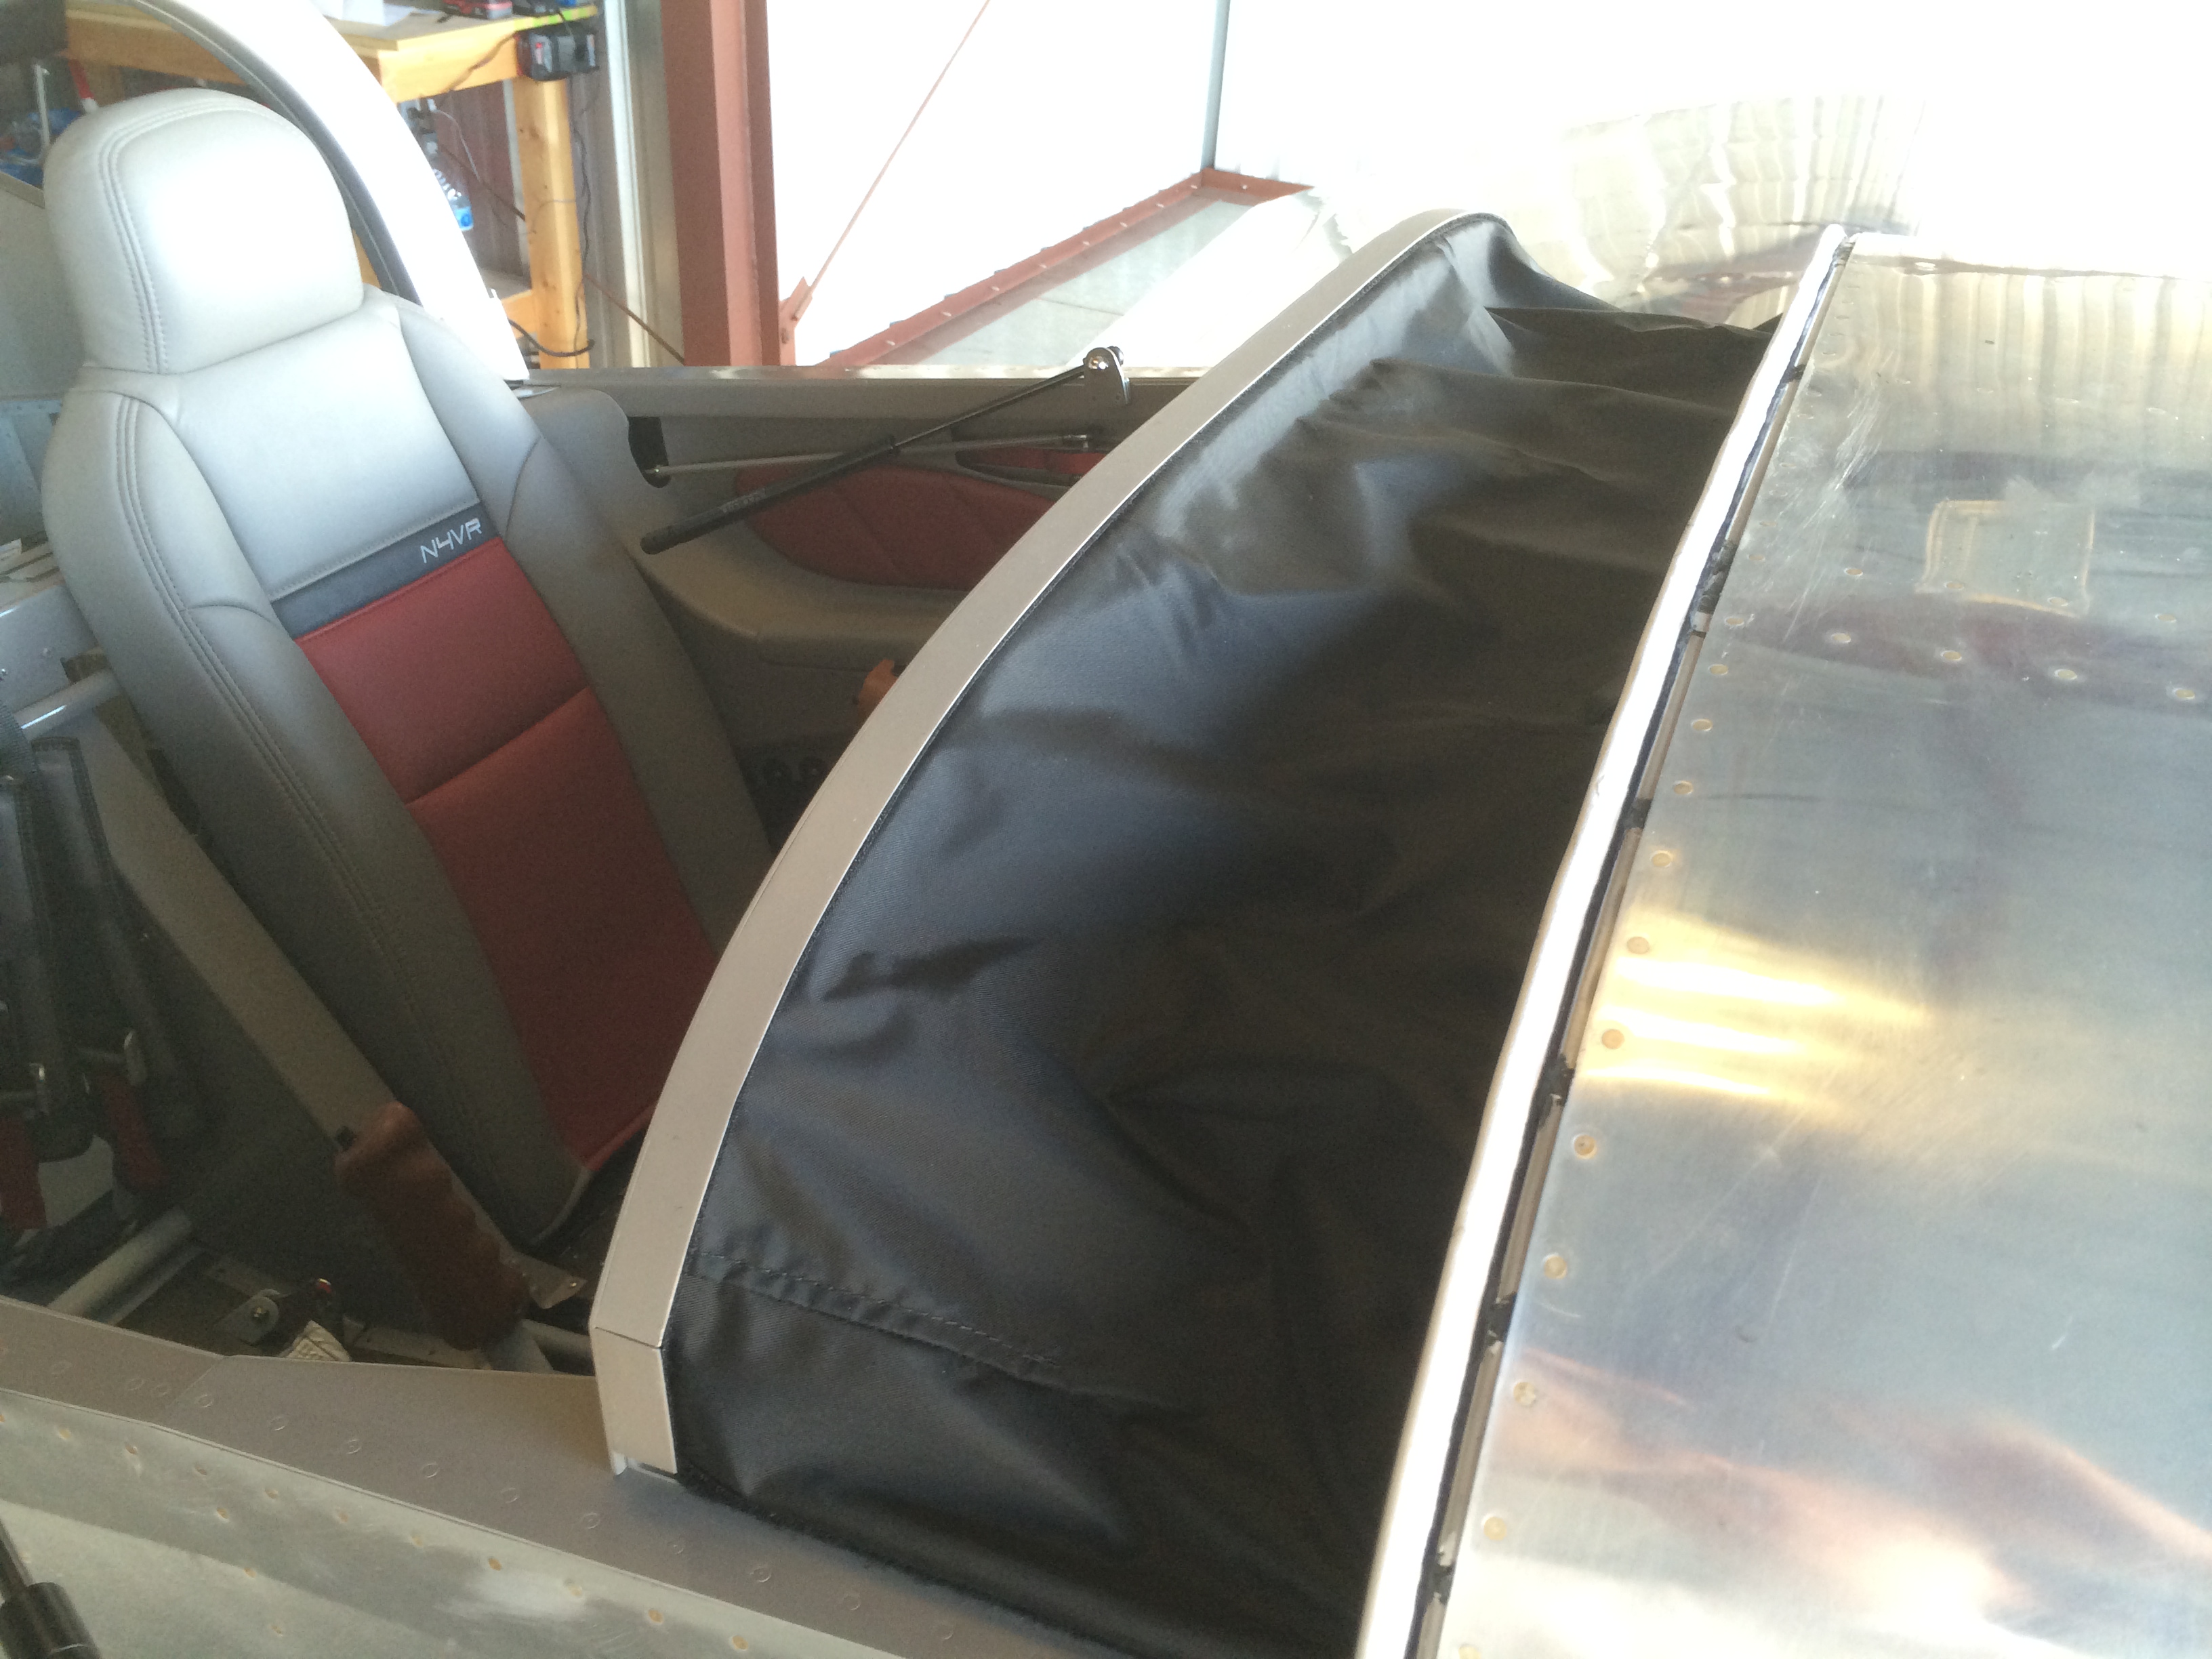
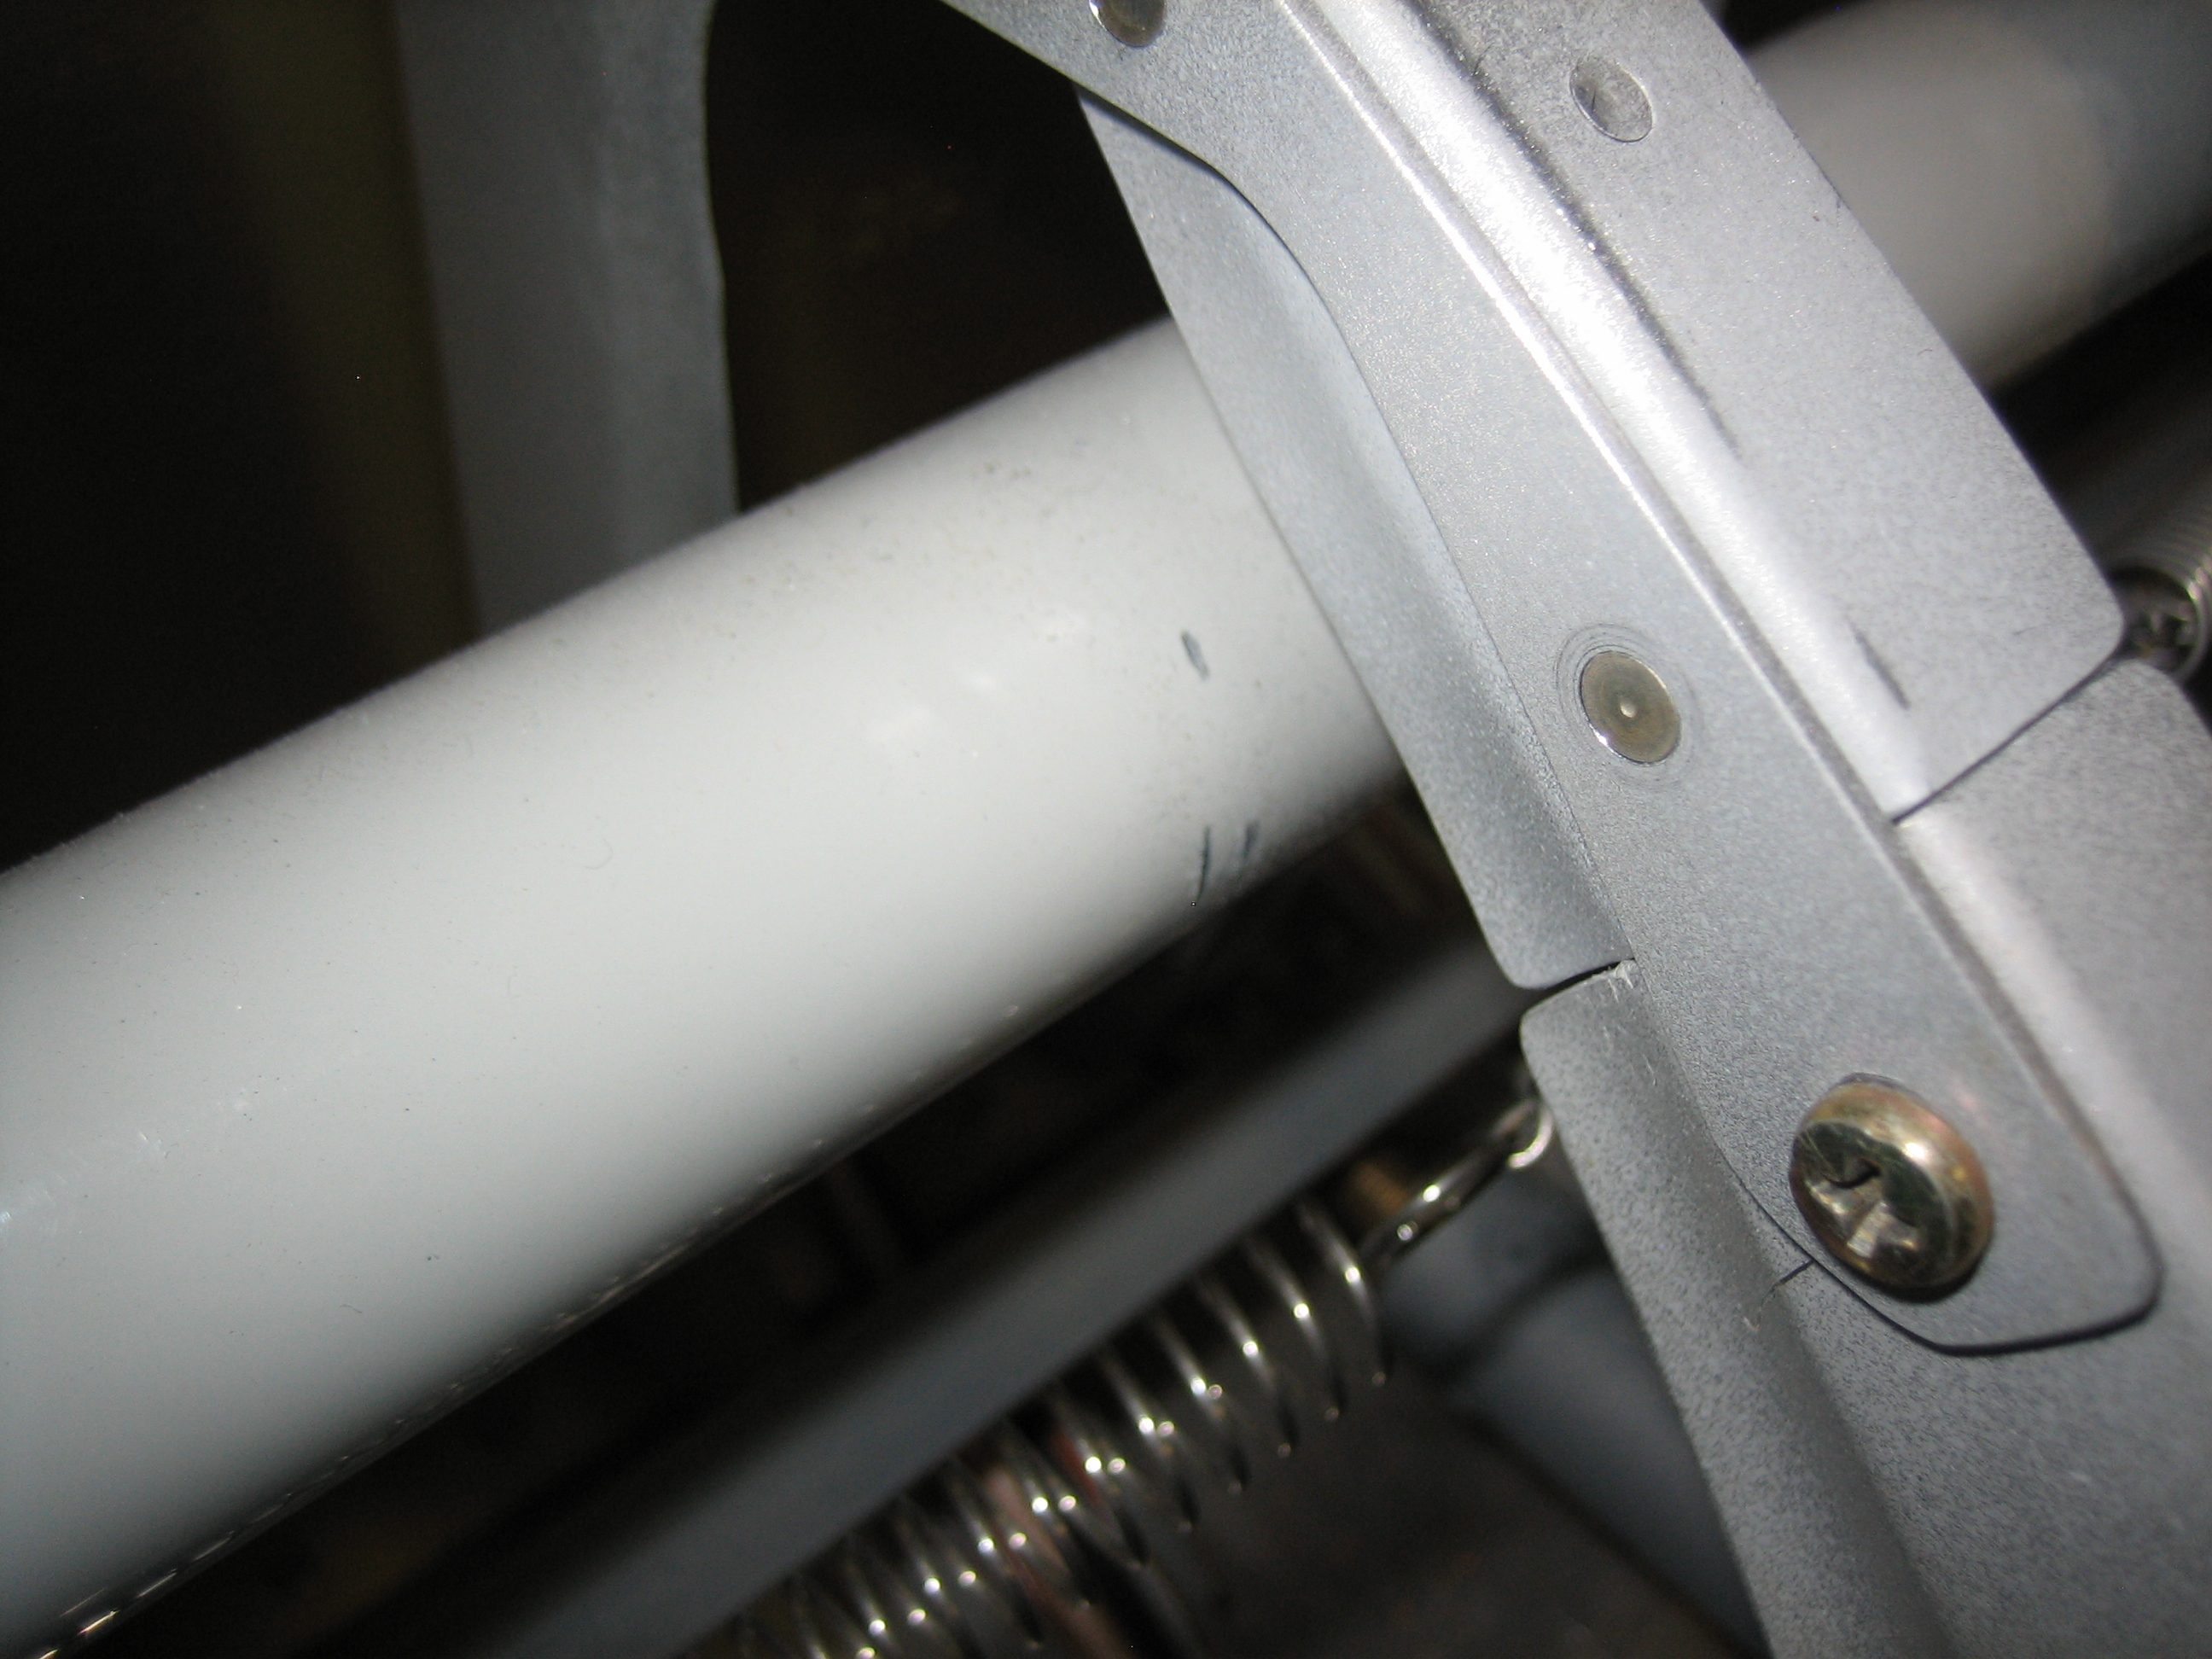
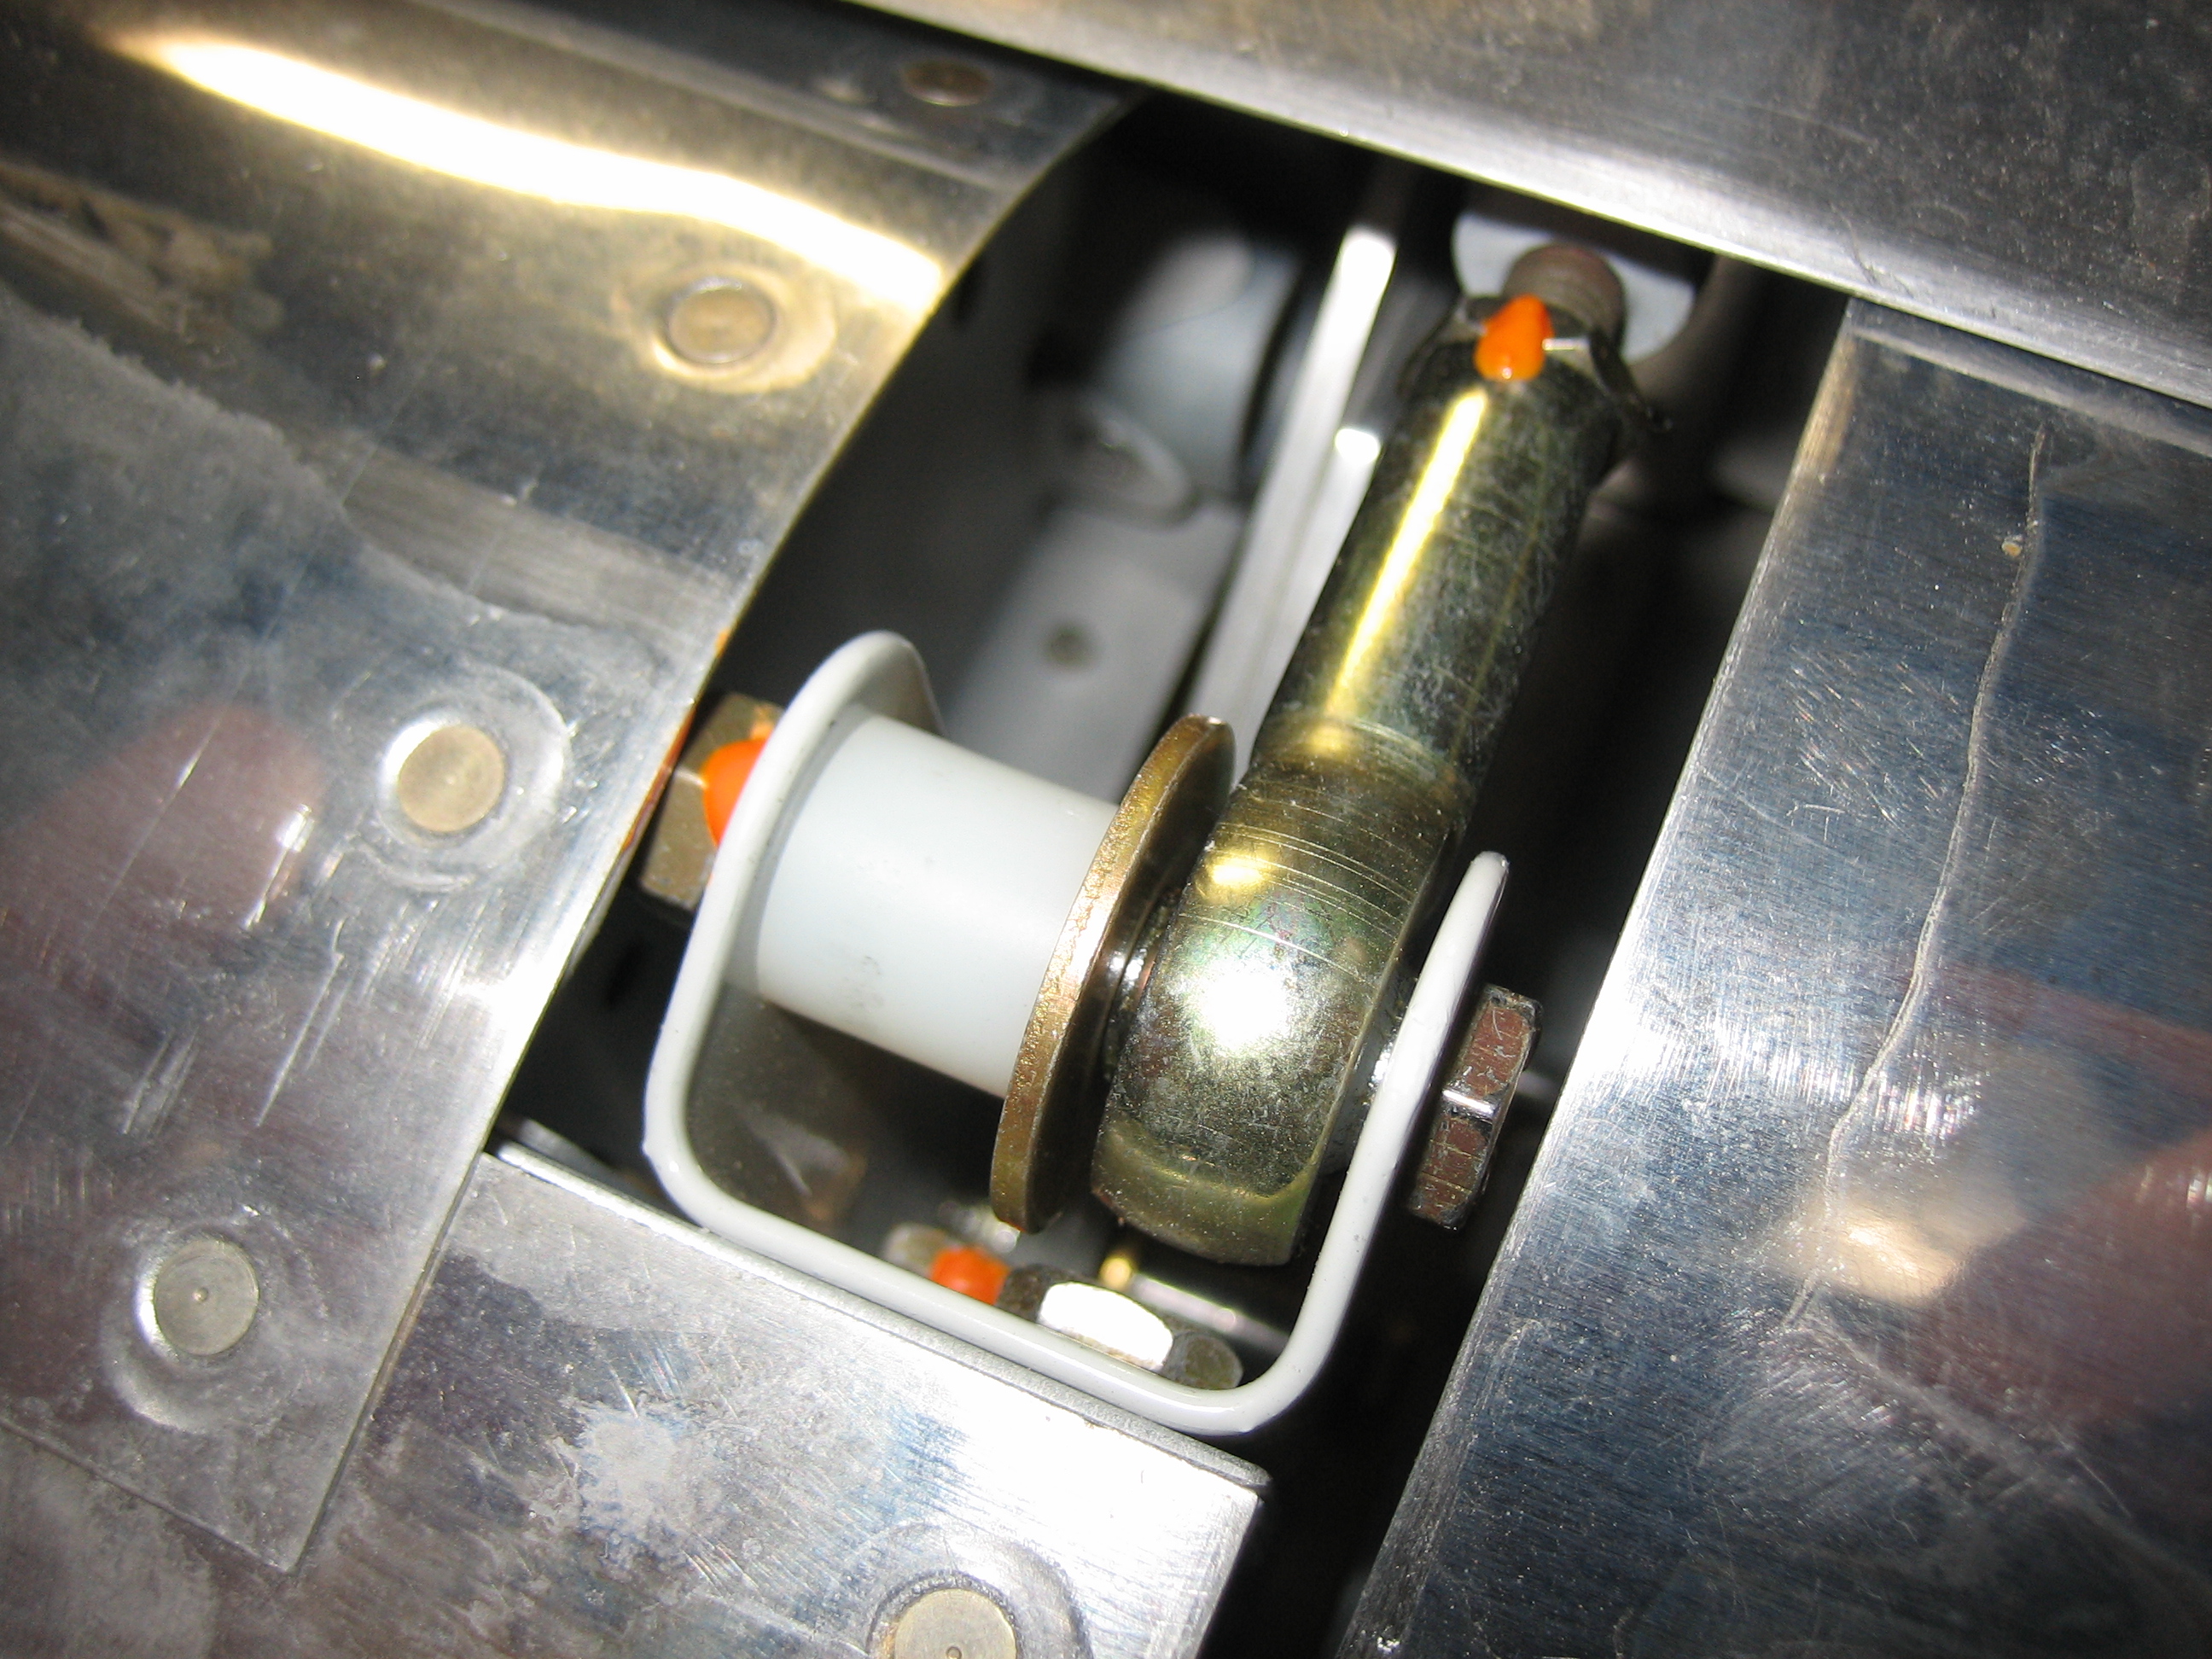
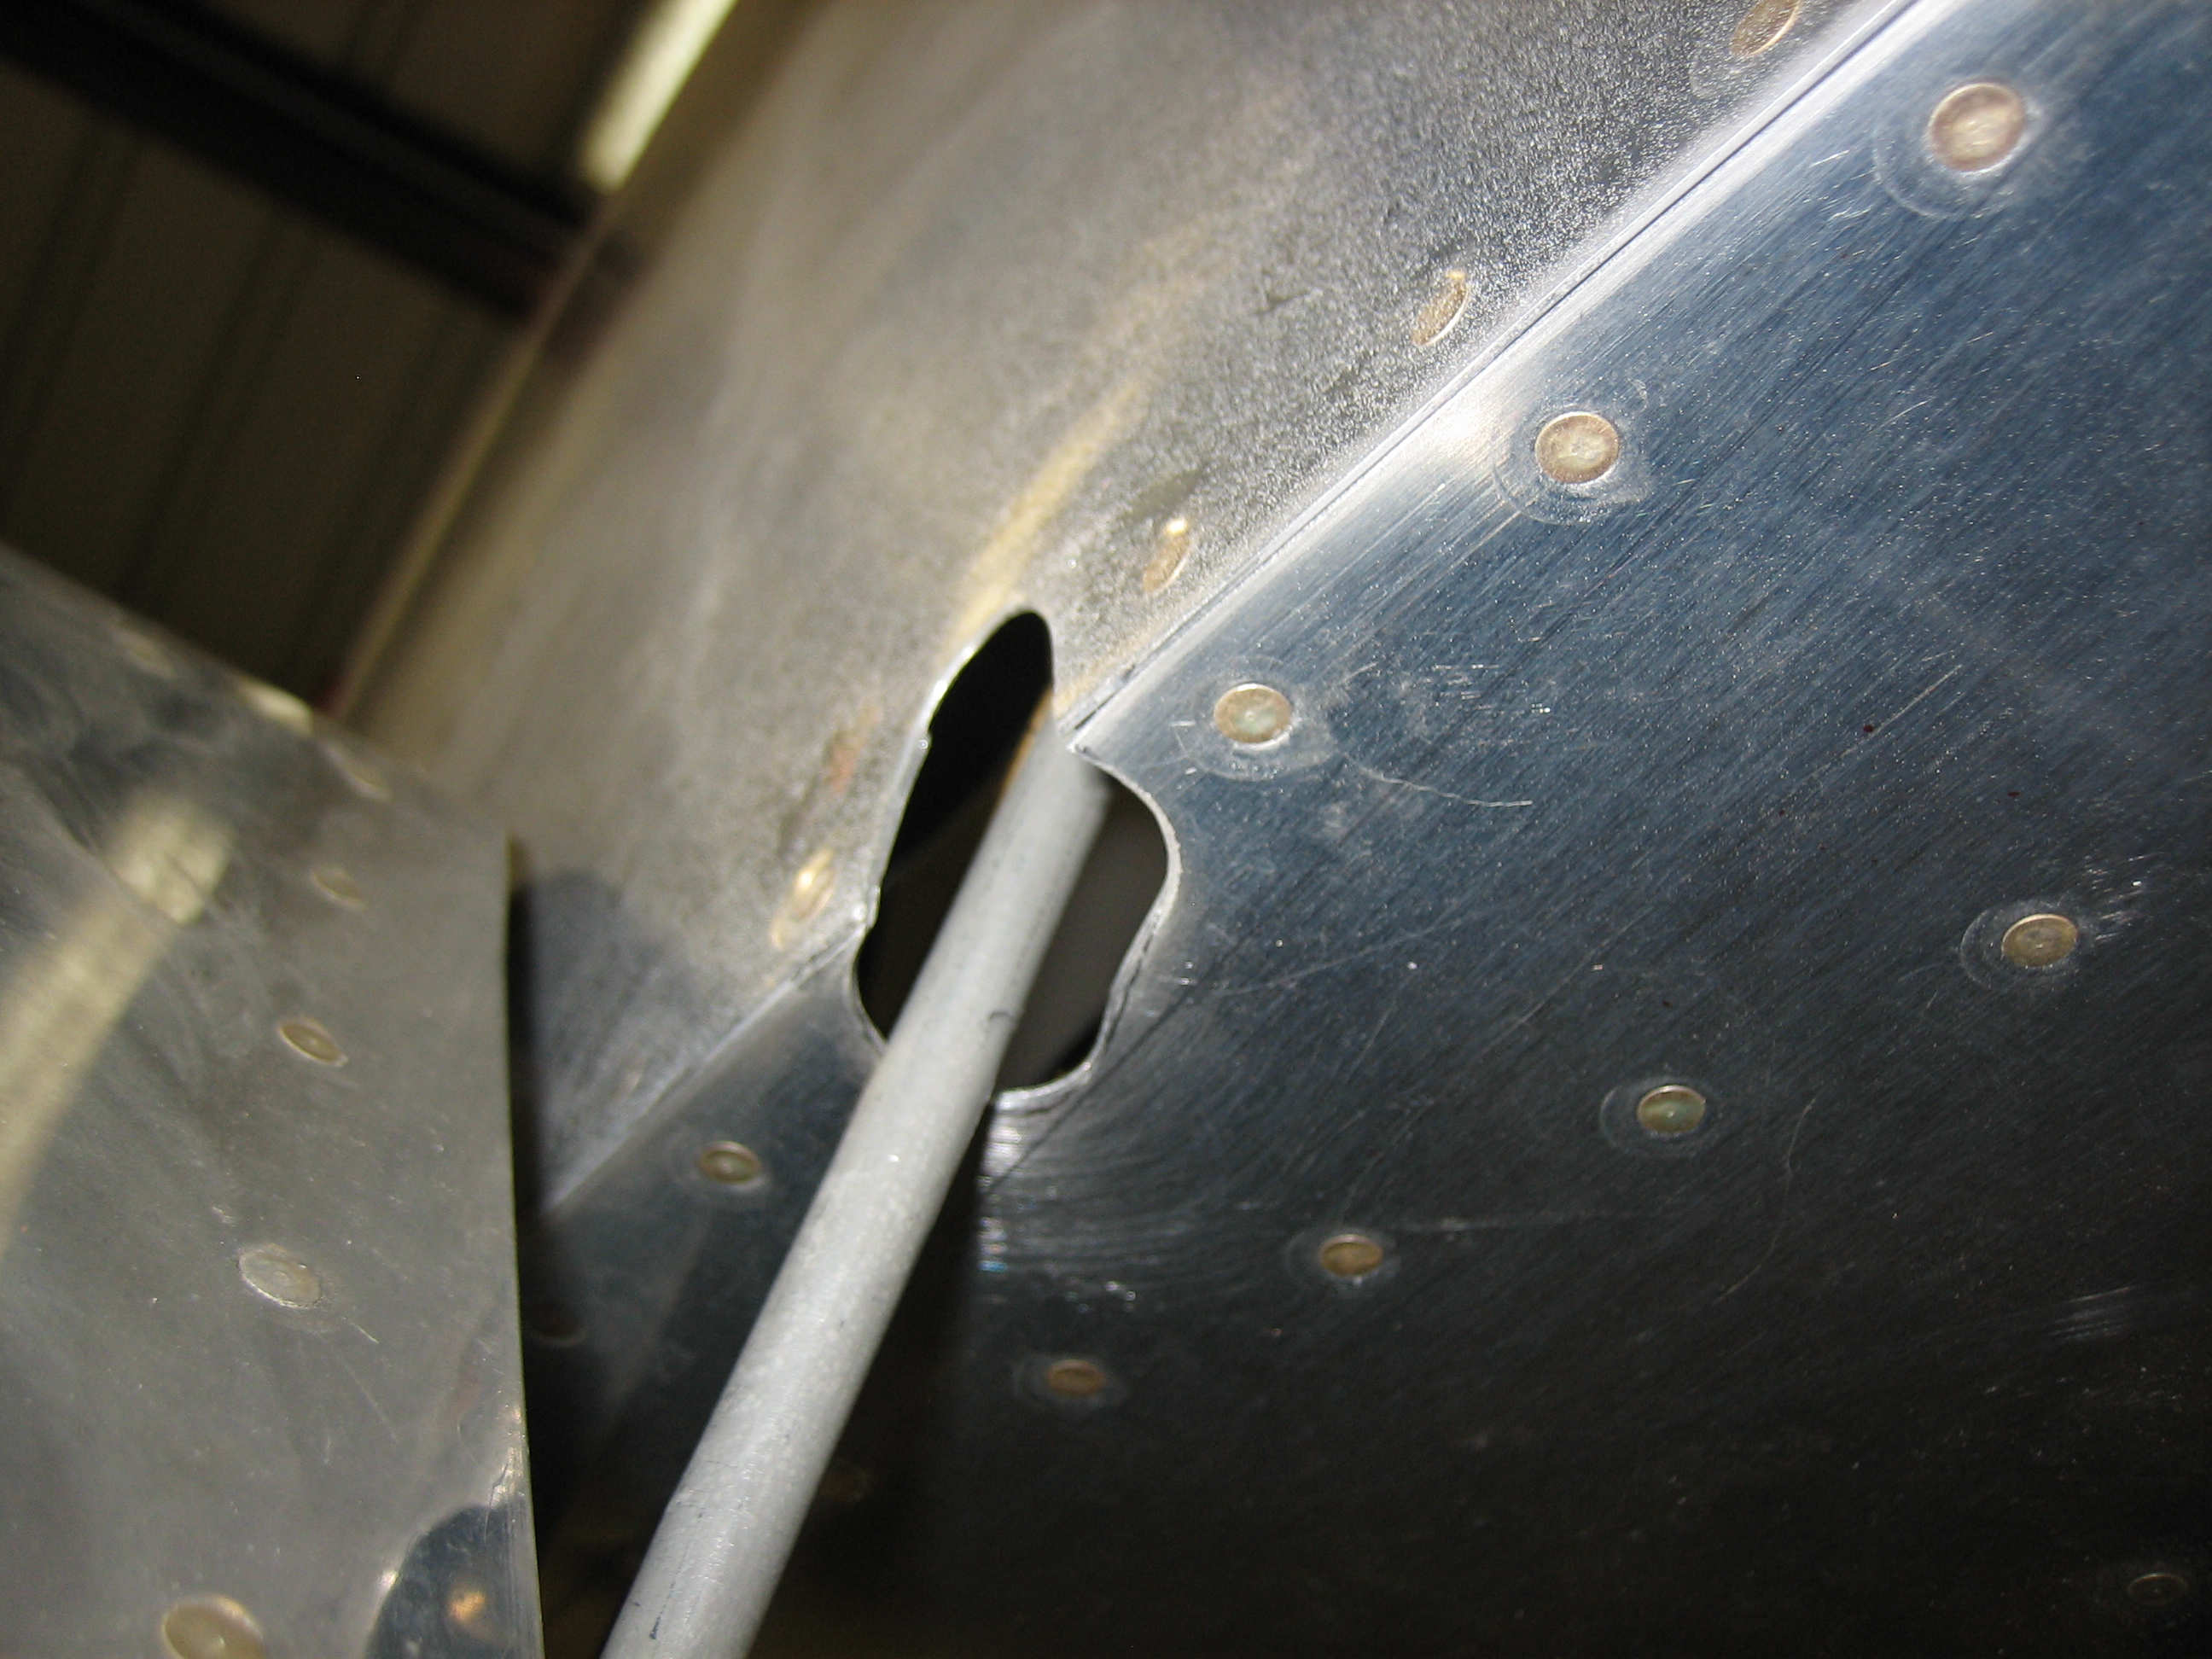
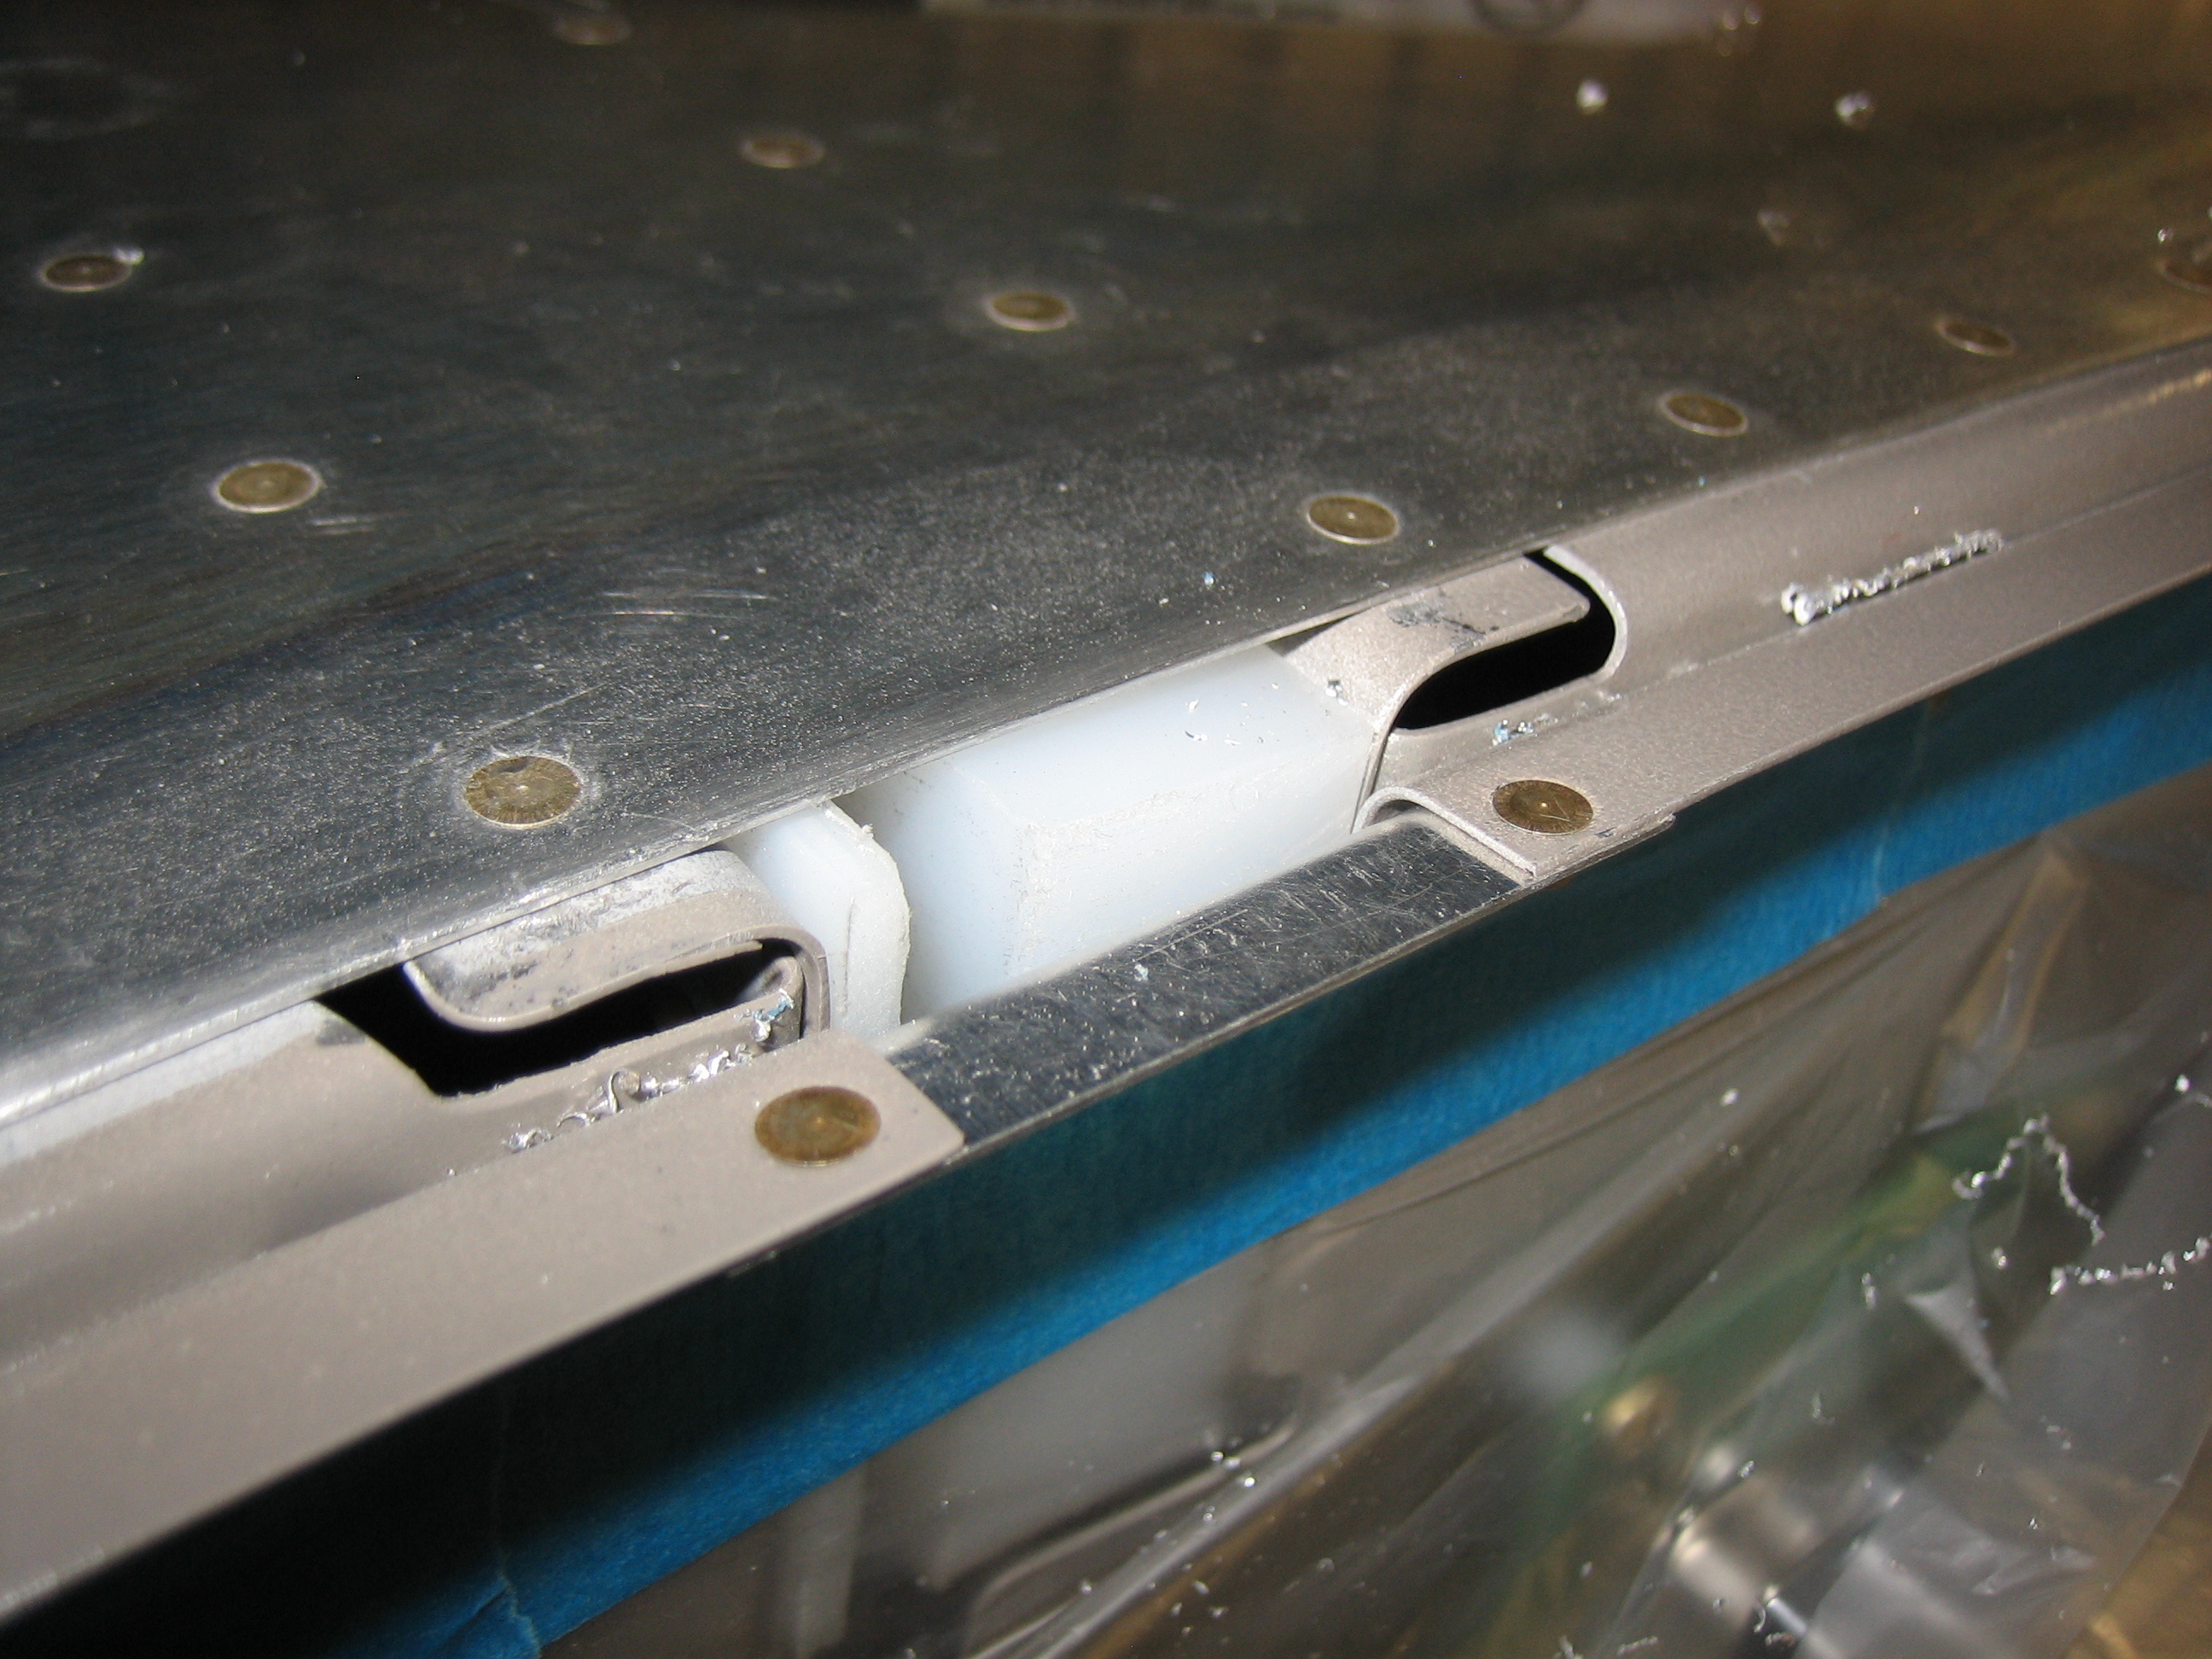
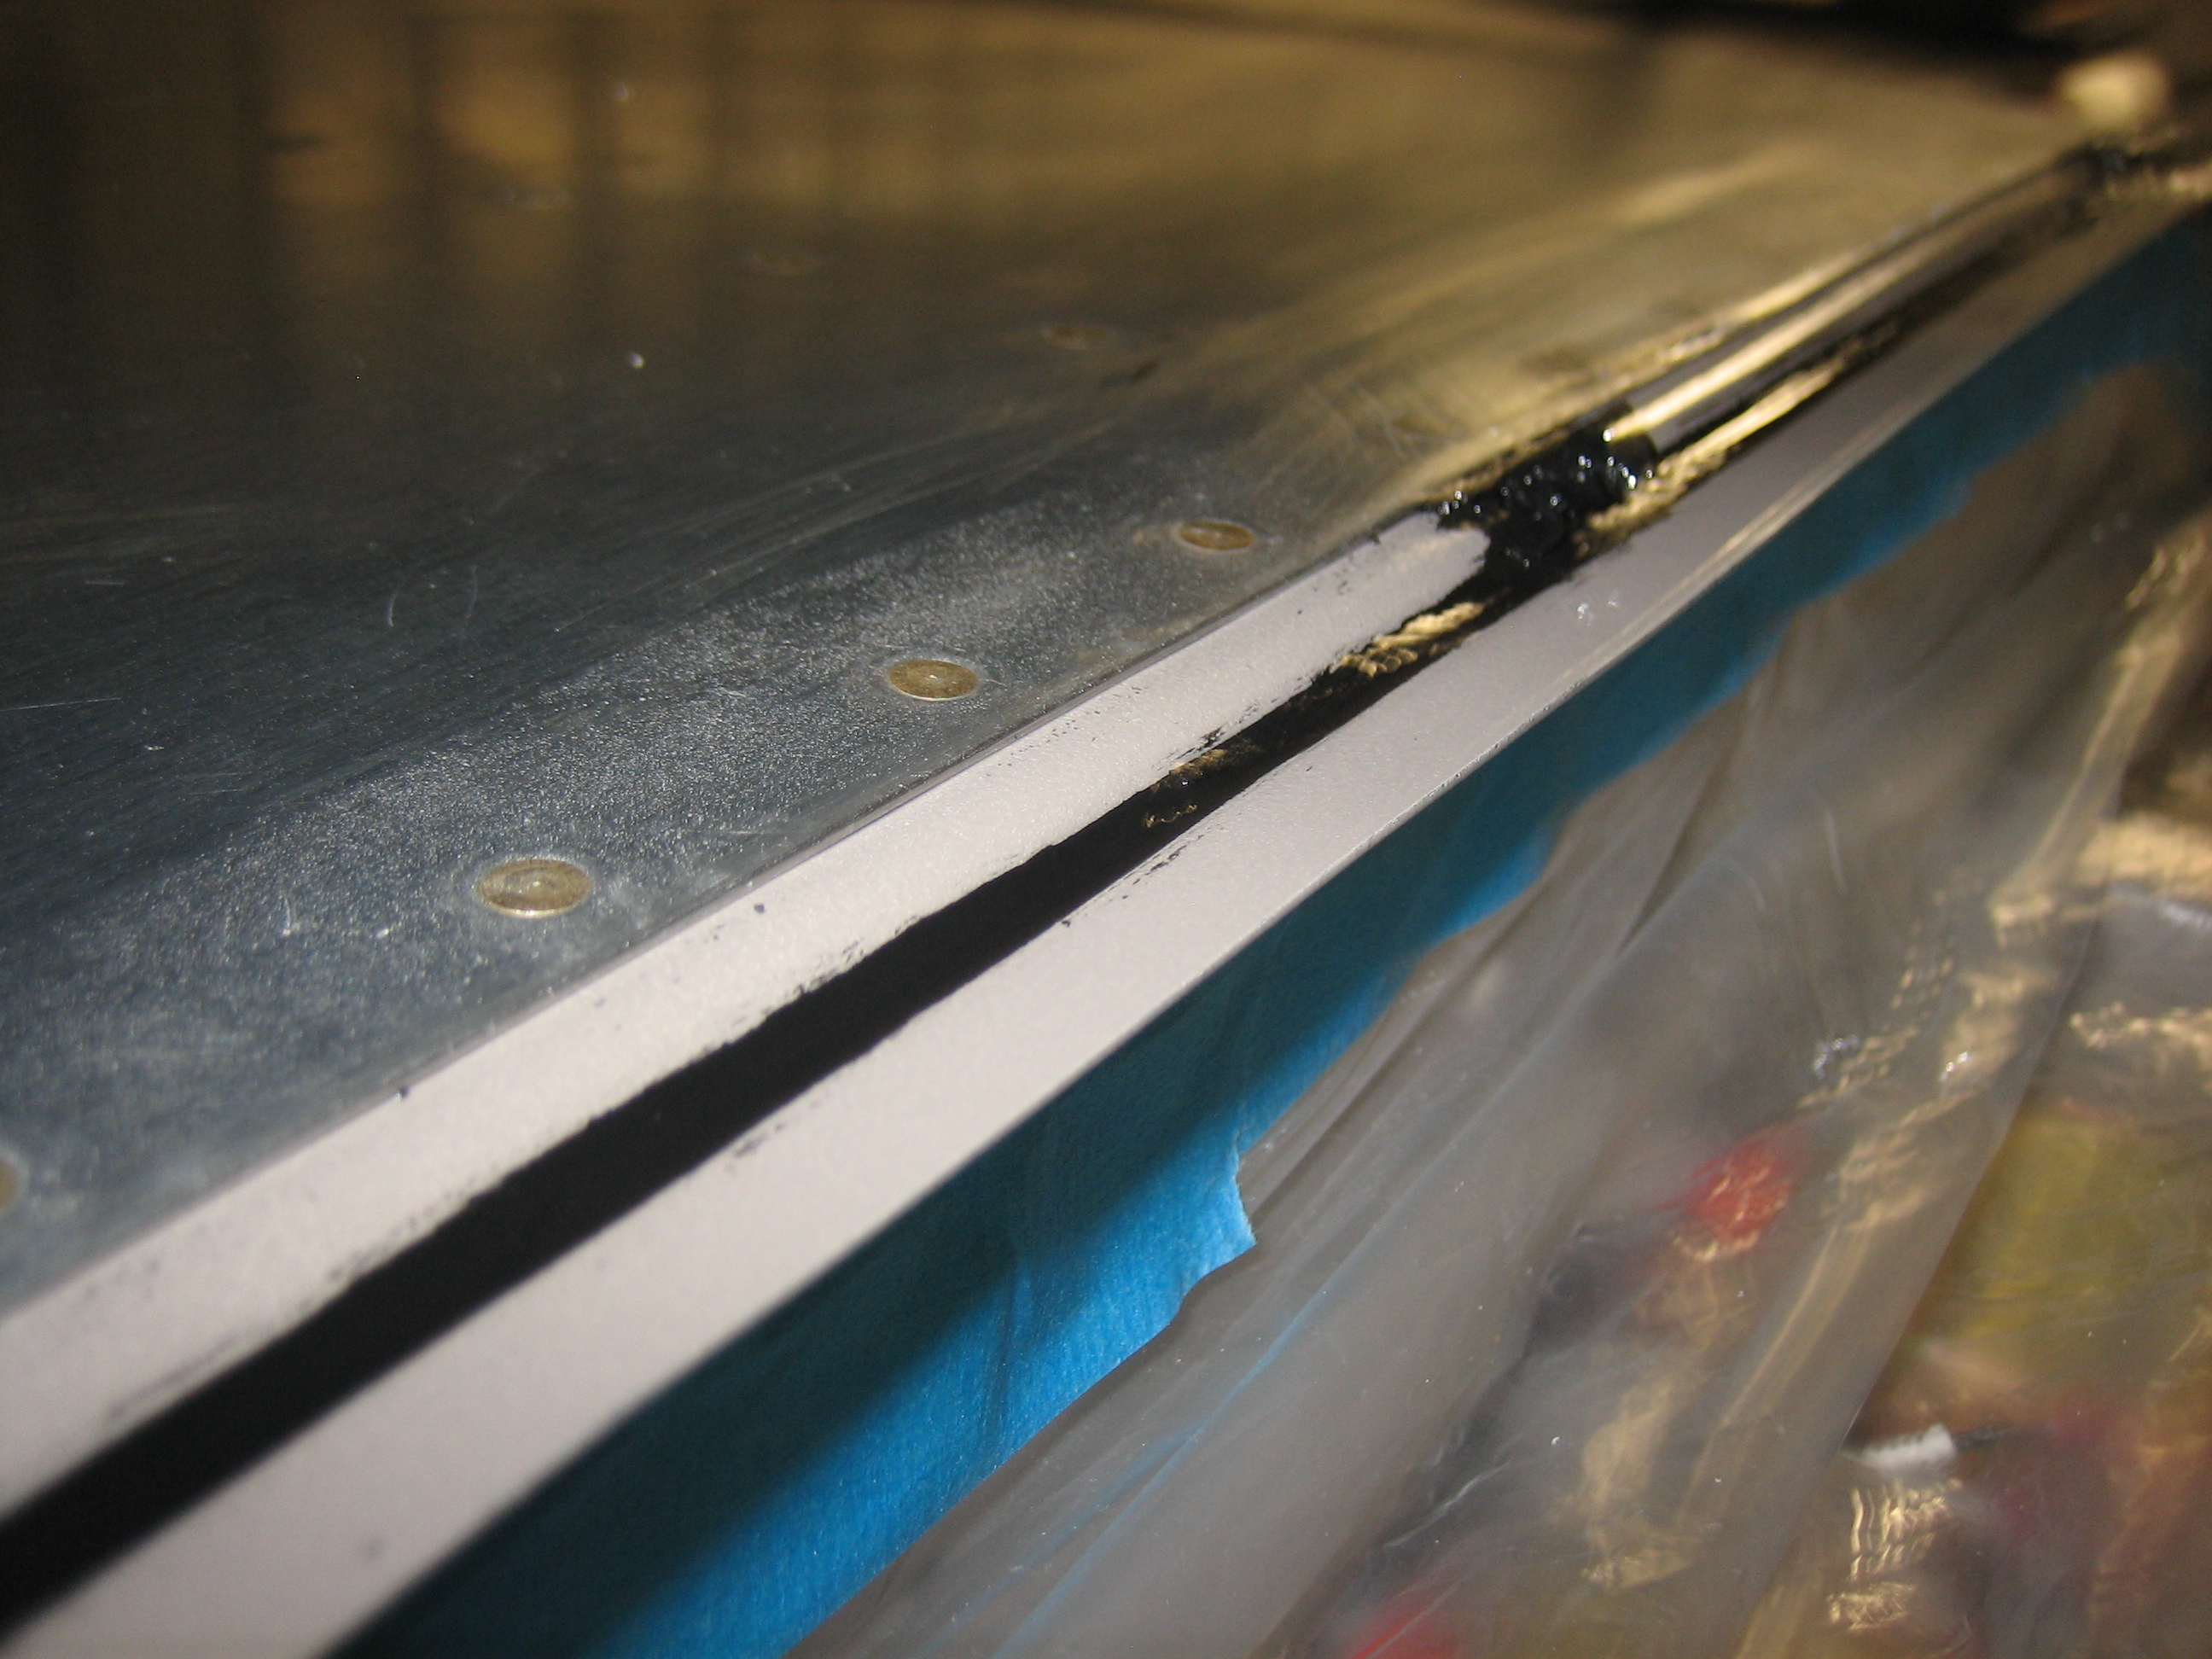
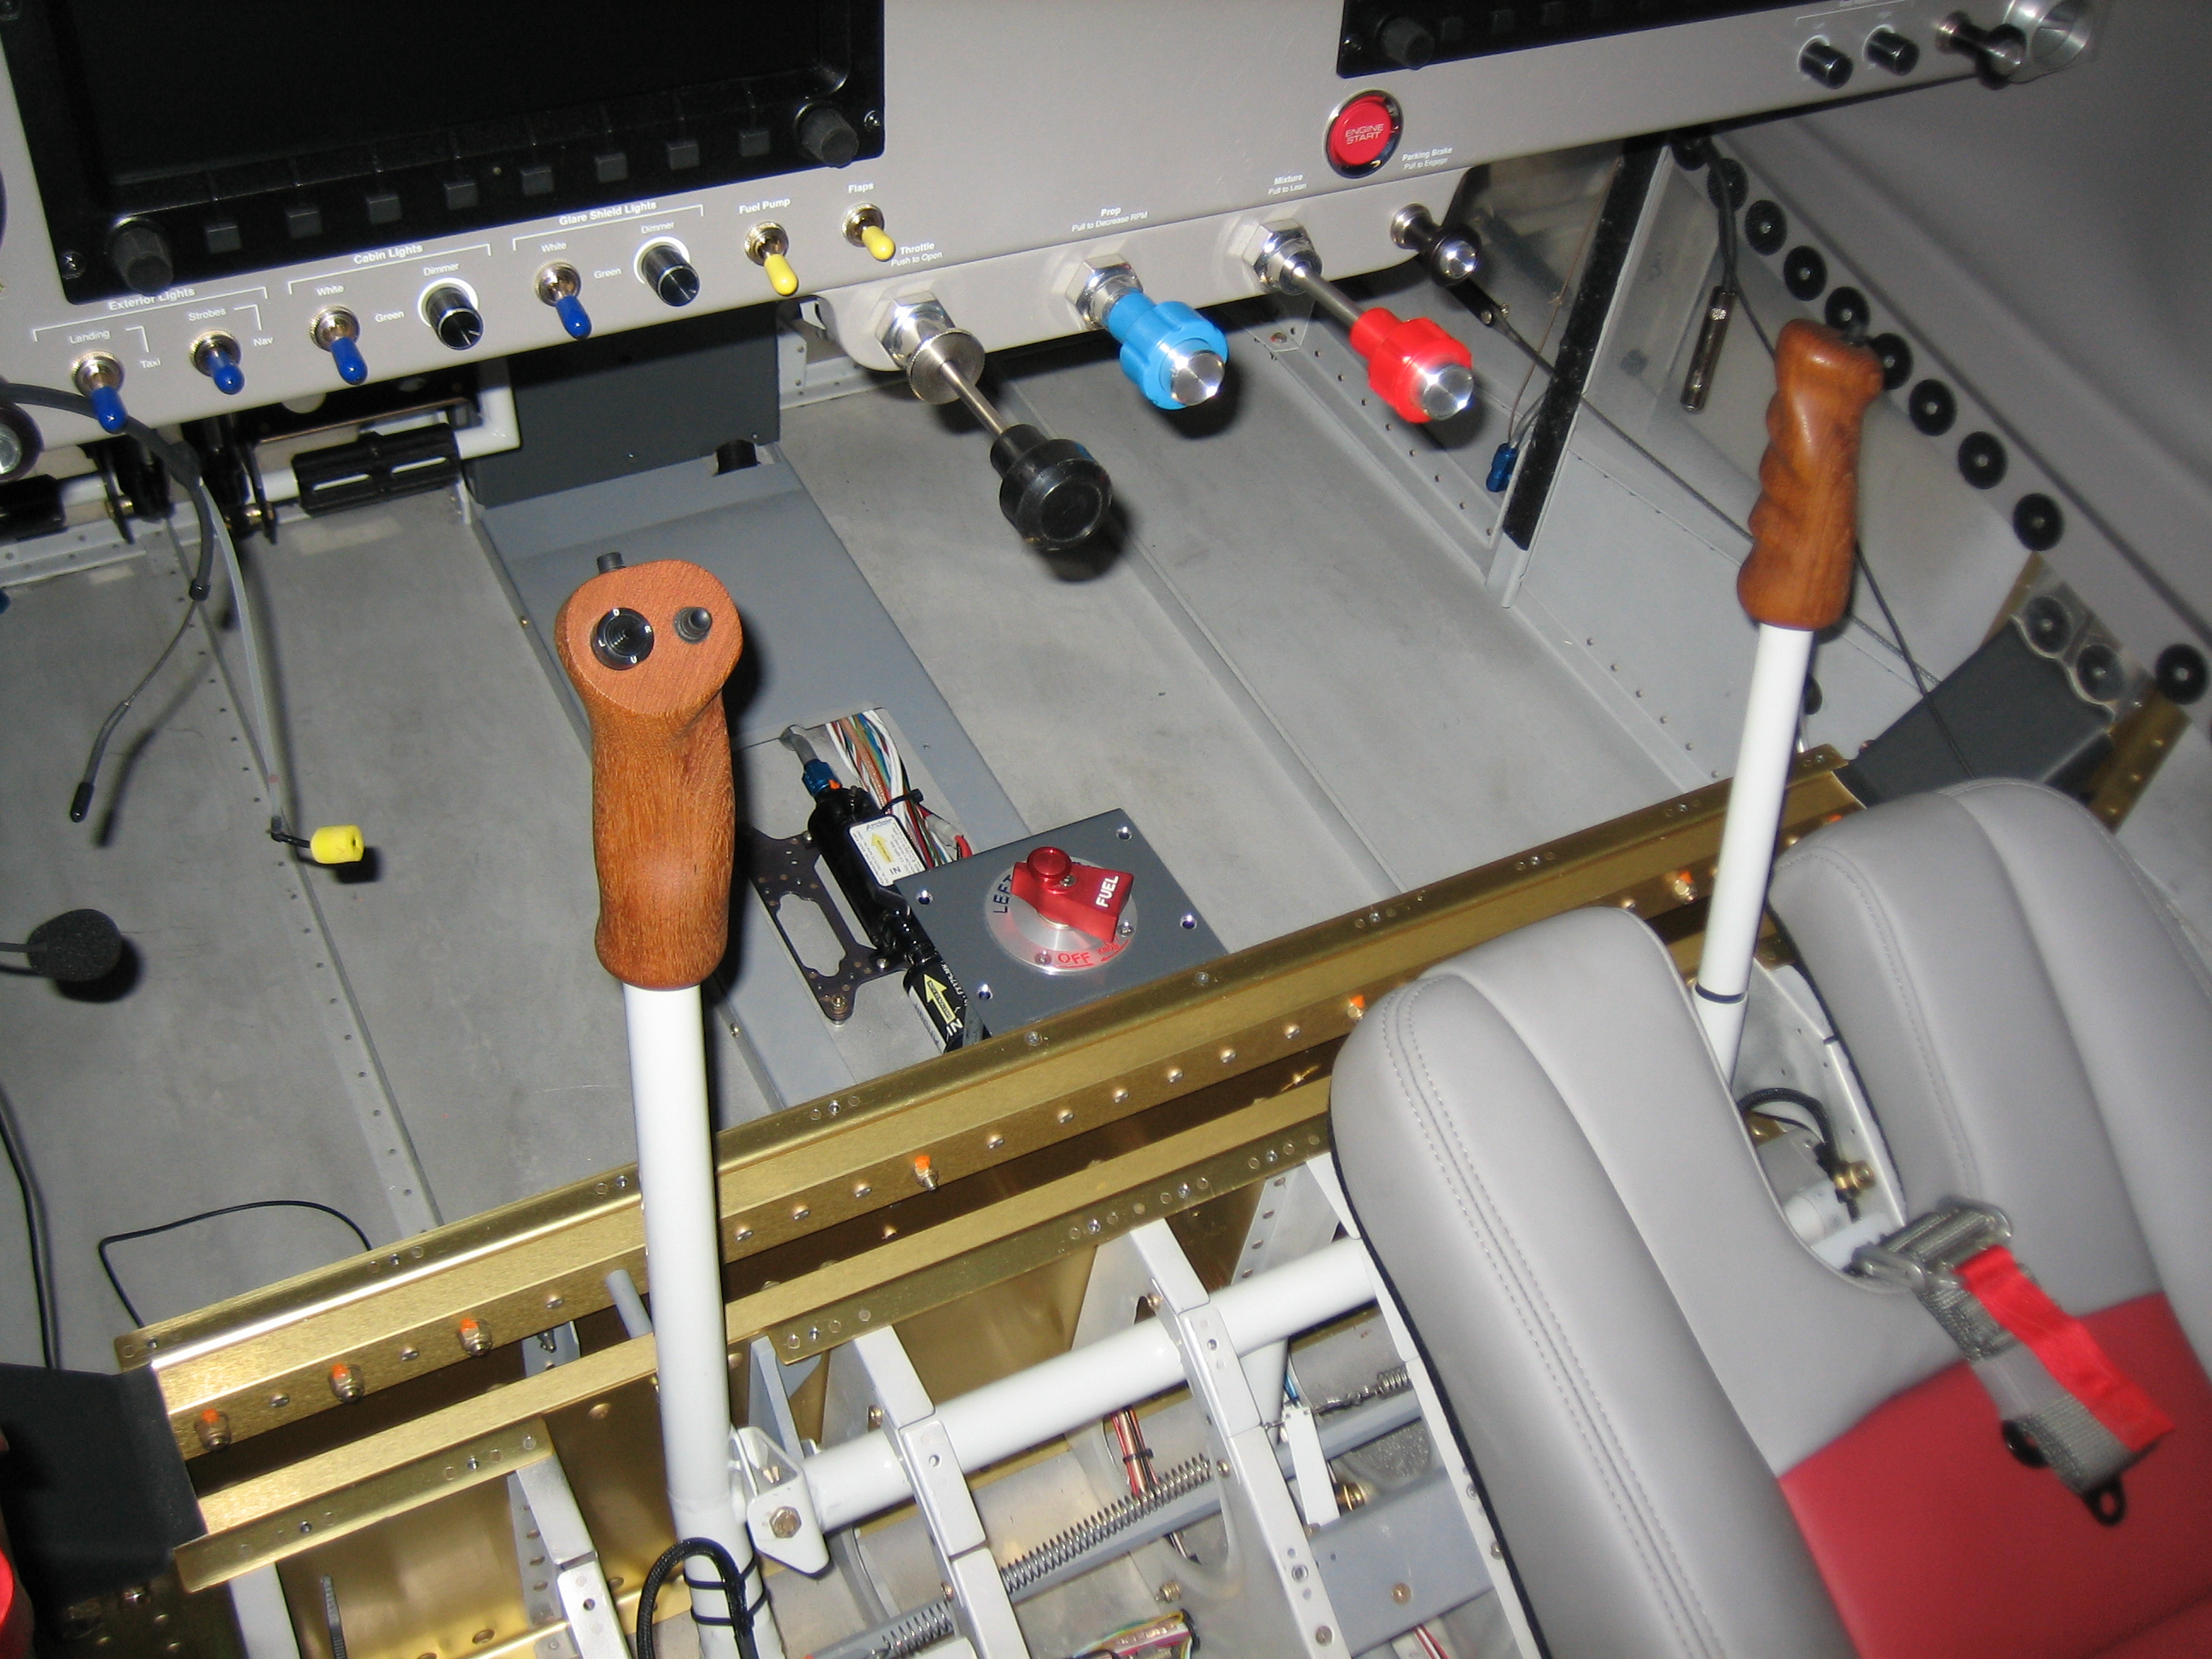
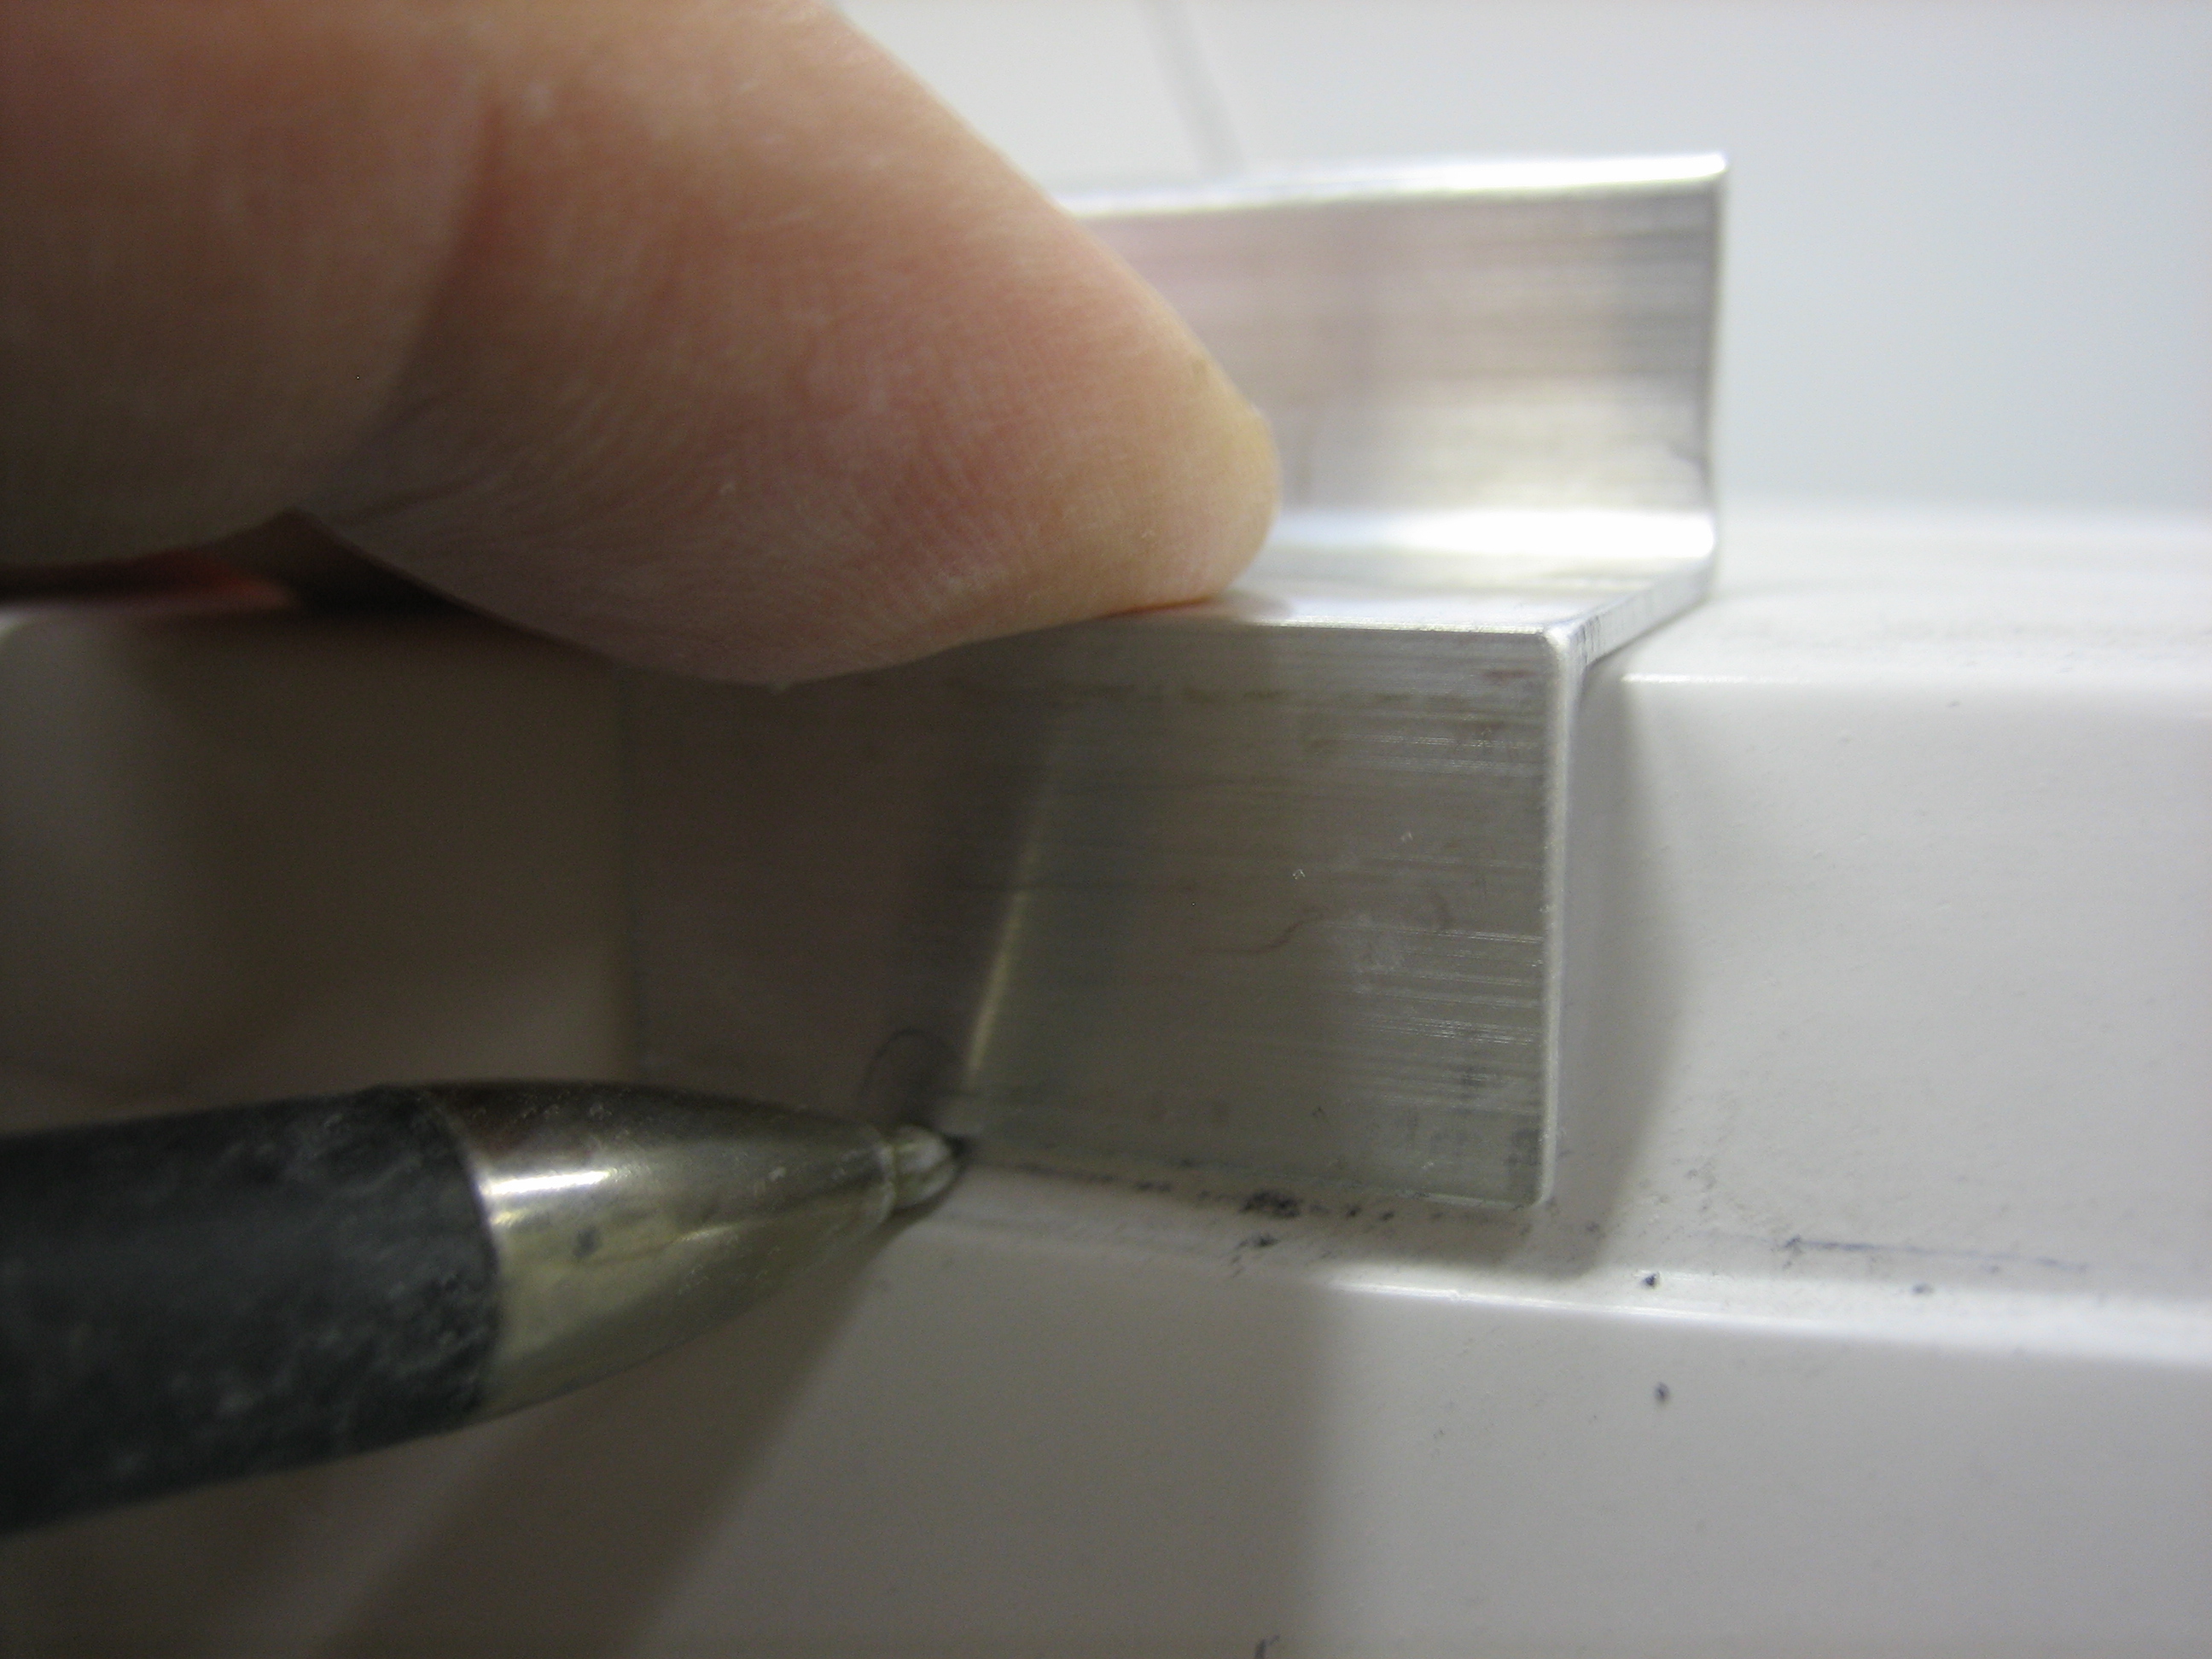
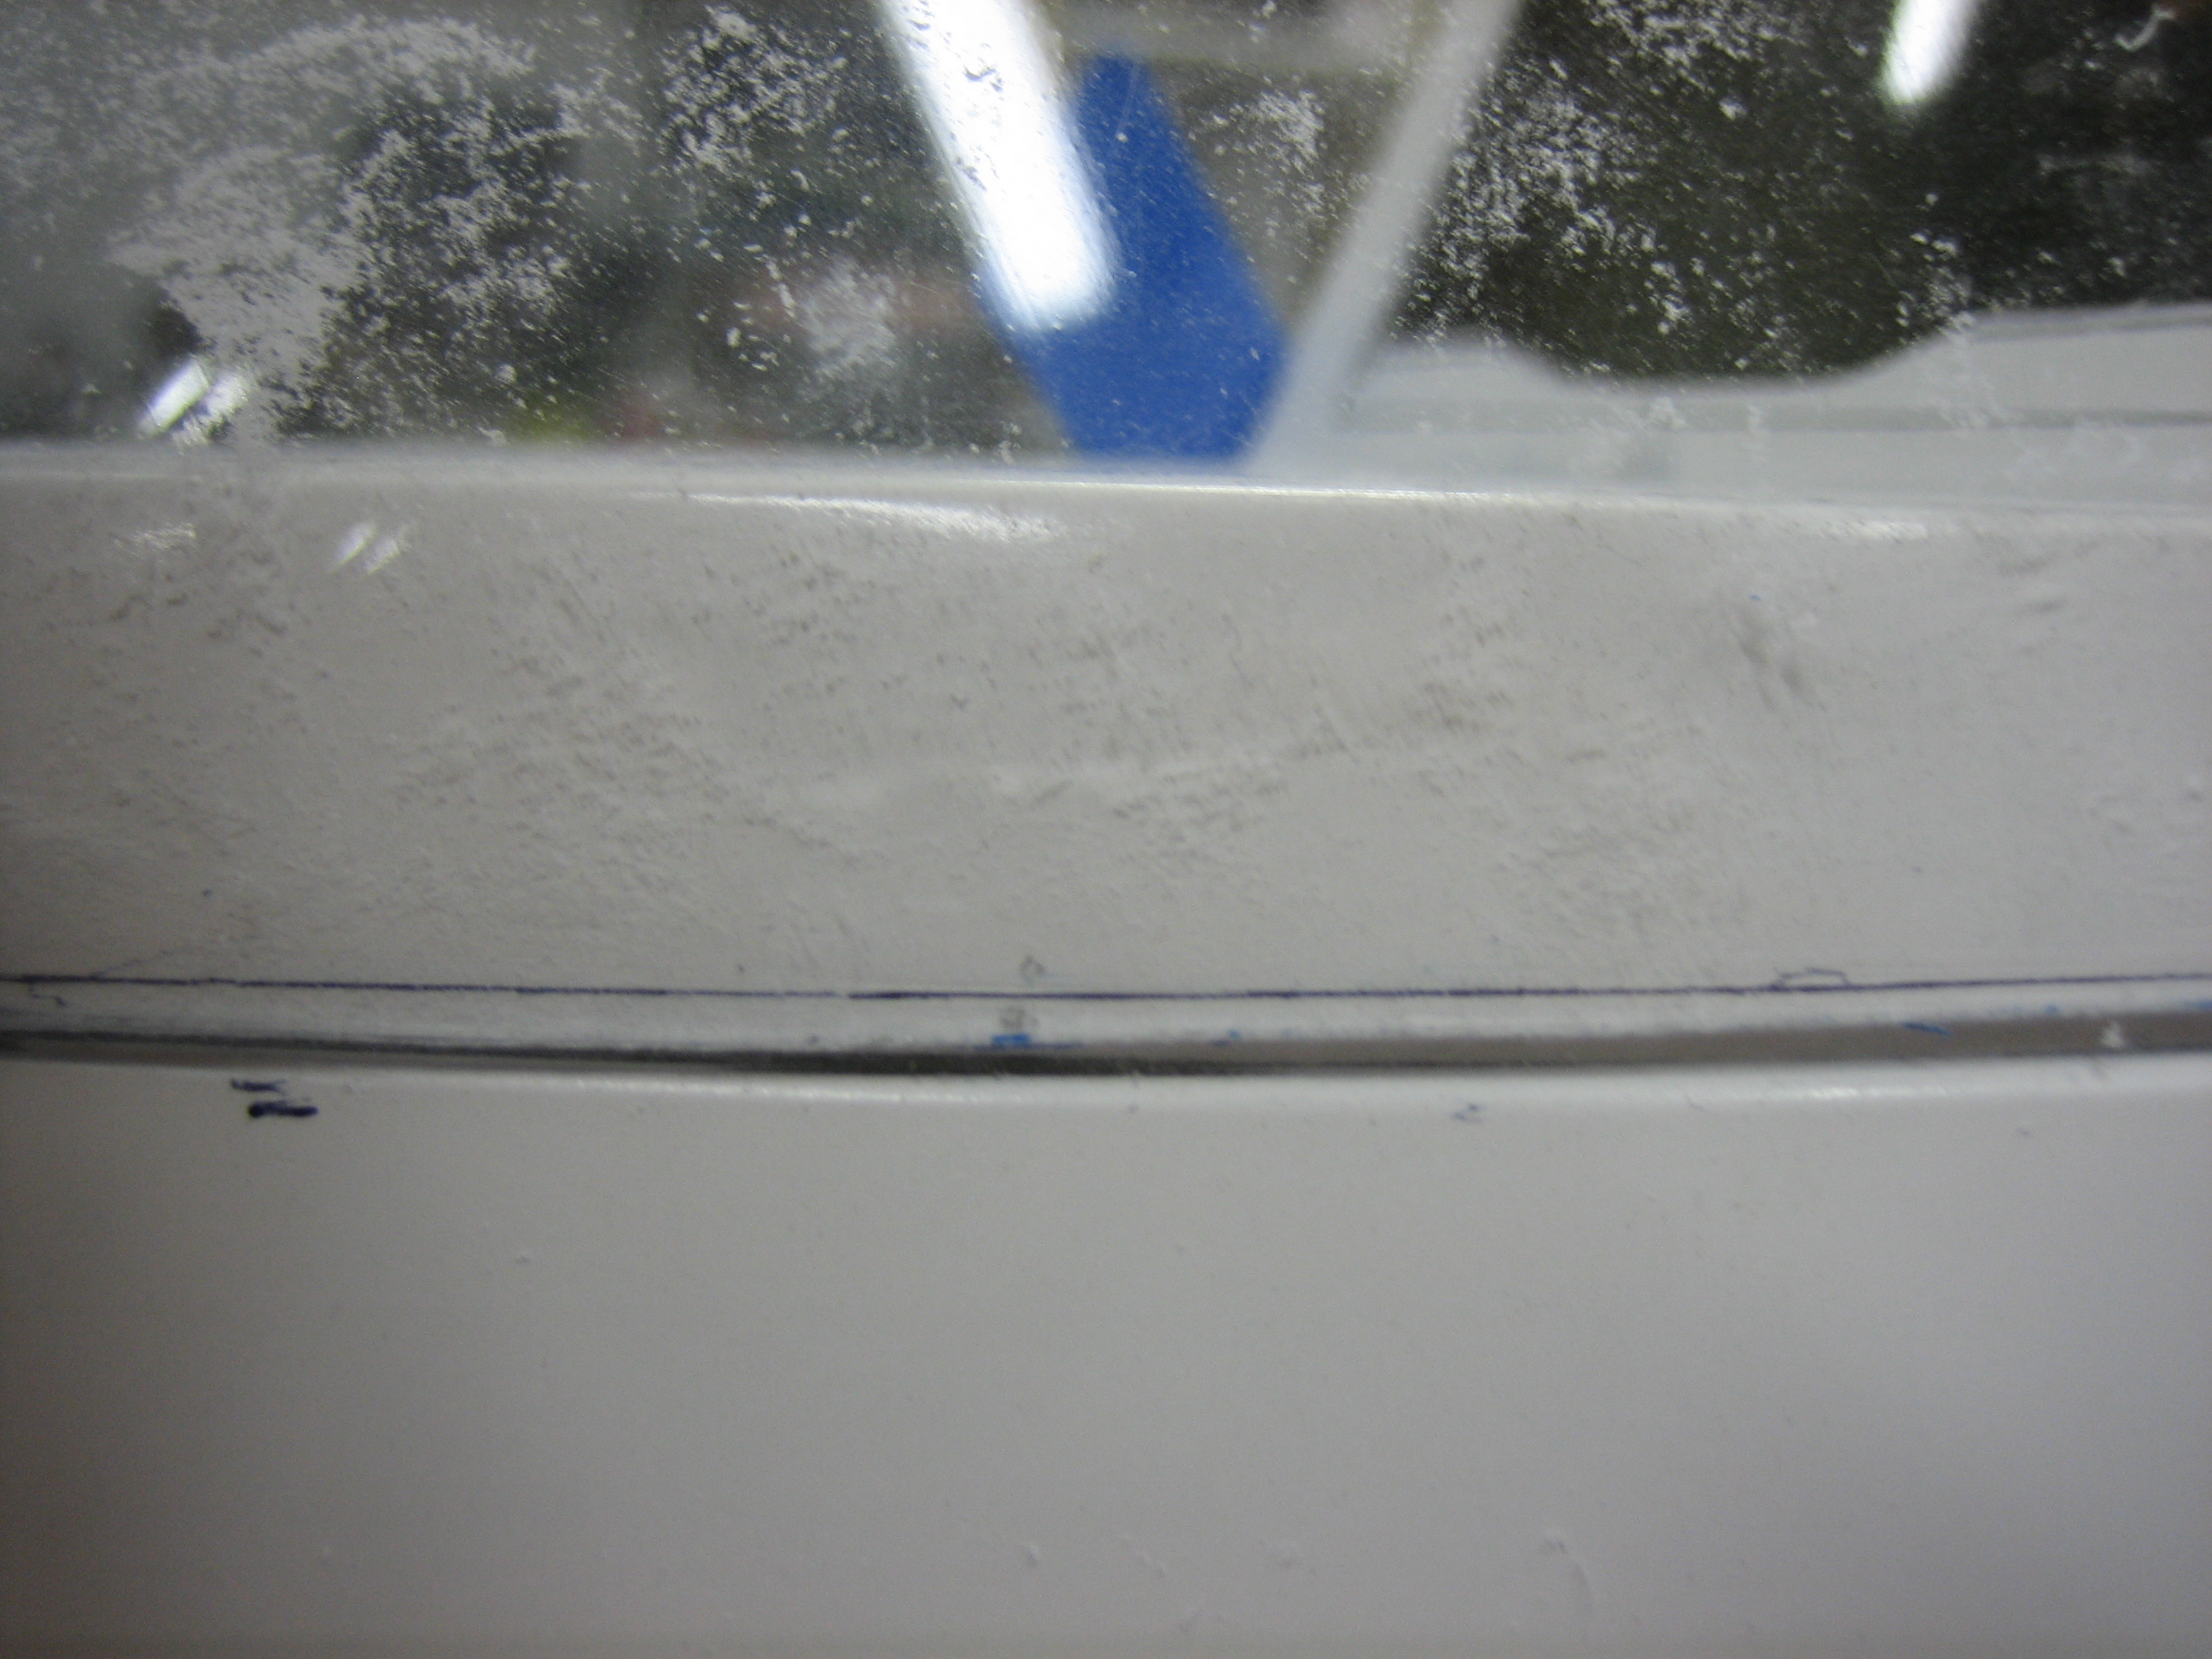
When I was doing the final adjustment of the control sticks, I noticed that the torque tube that connects the control stick was slightly rubbing on the seat ribs.  The builder that also spotted this said it is worse when people are sitting in the seats, so you really want some clearance here.  Fortunately, I made this section removable on all four of these ribs.  I’ll pull these off and remove some material to get a good 1/8″ or so between the ribs and the tube.

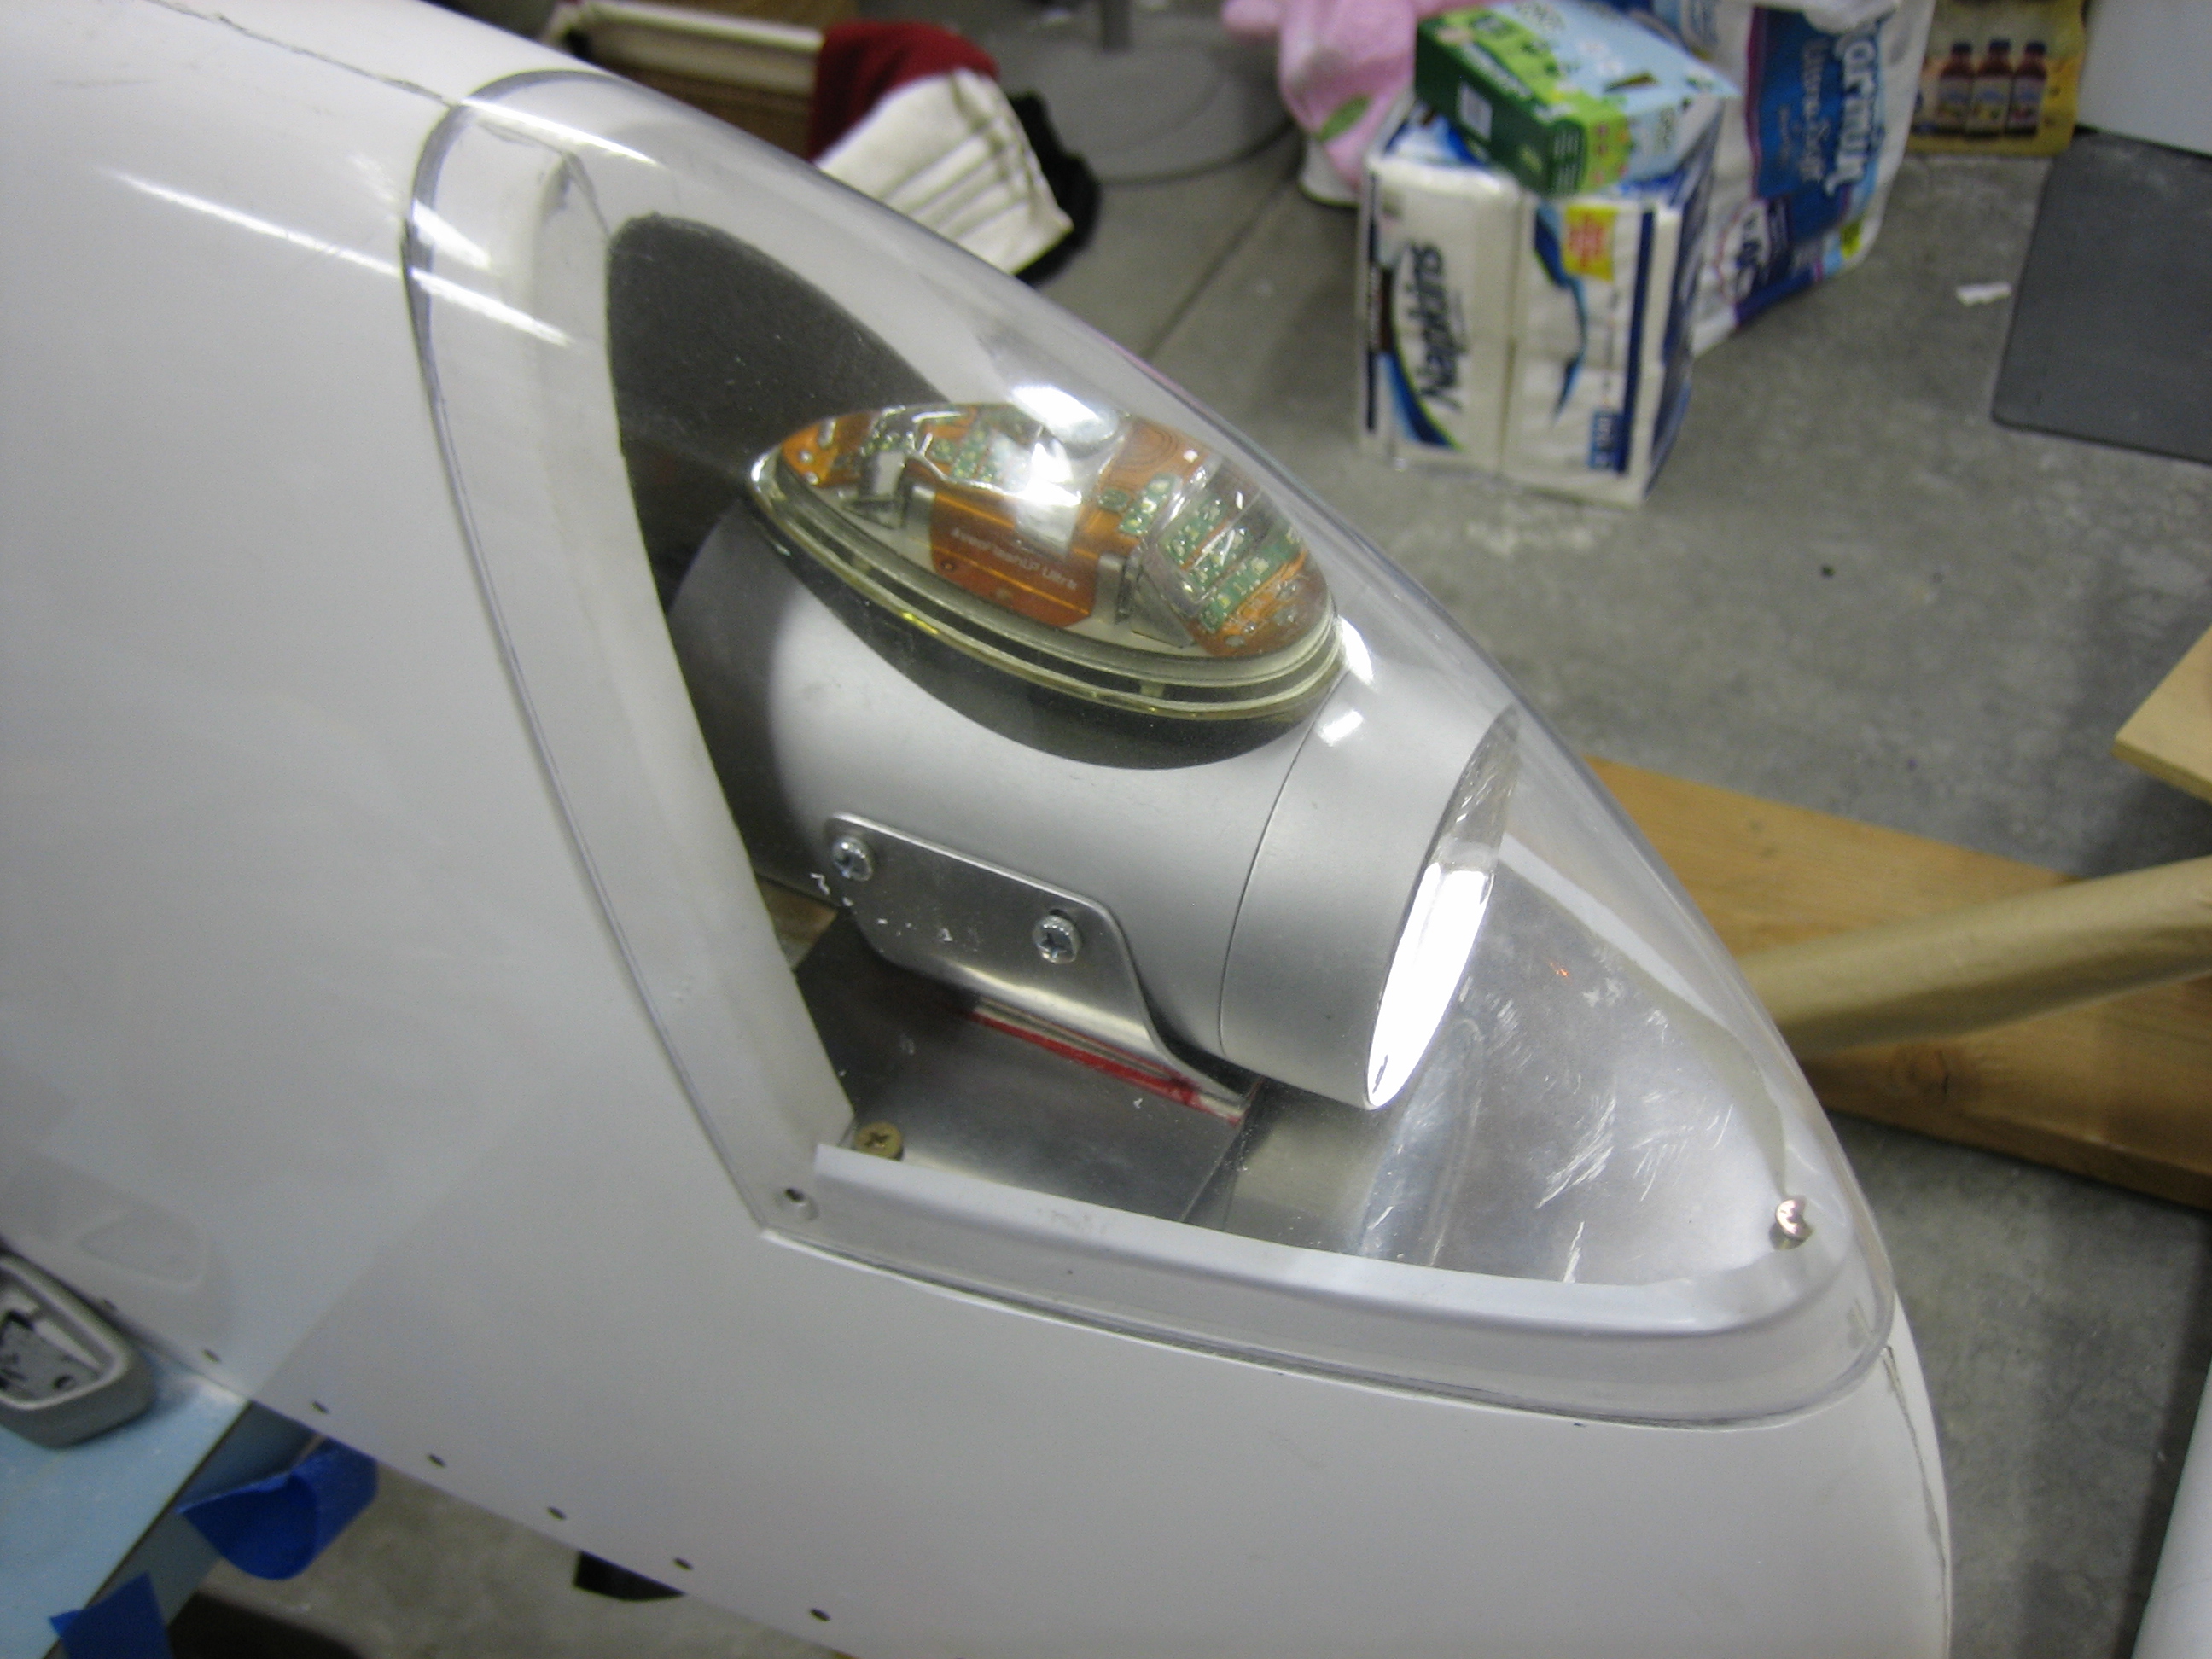
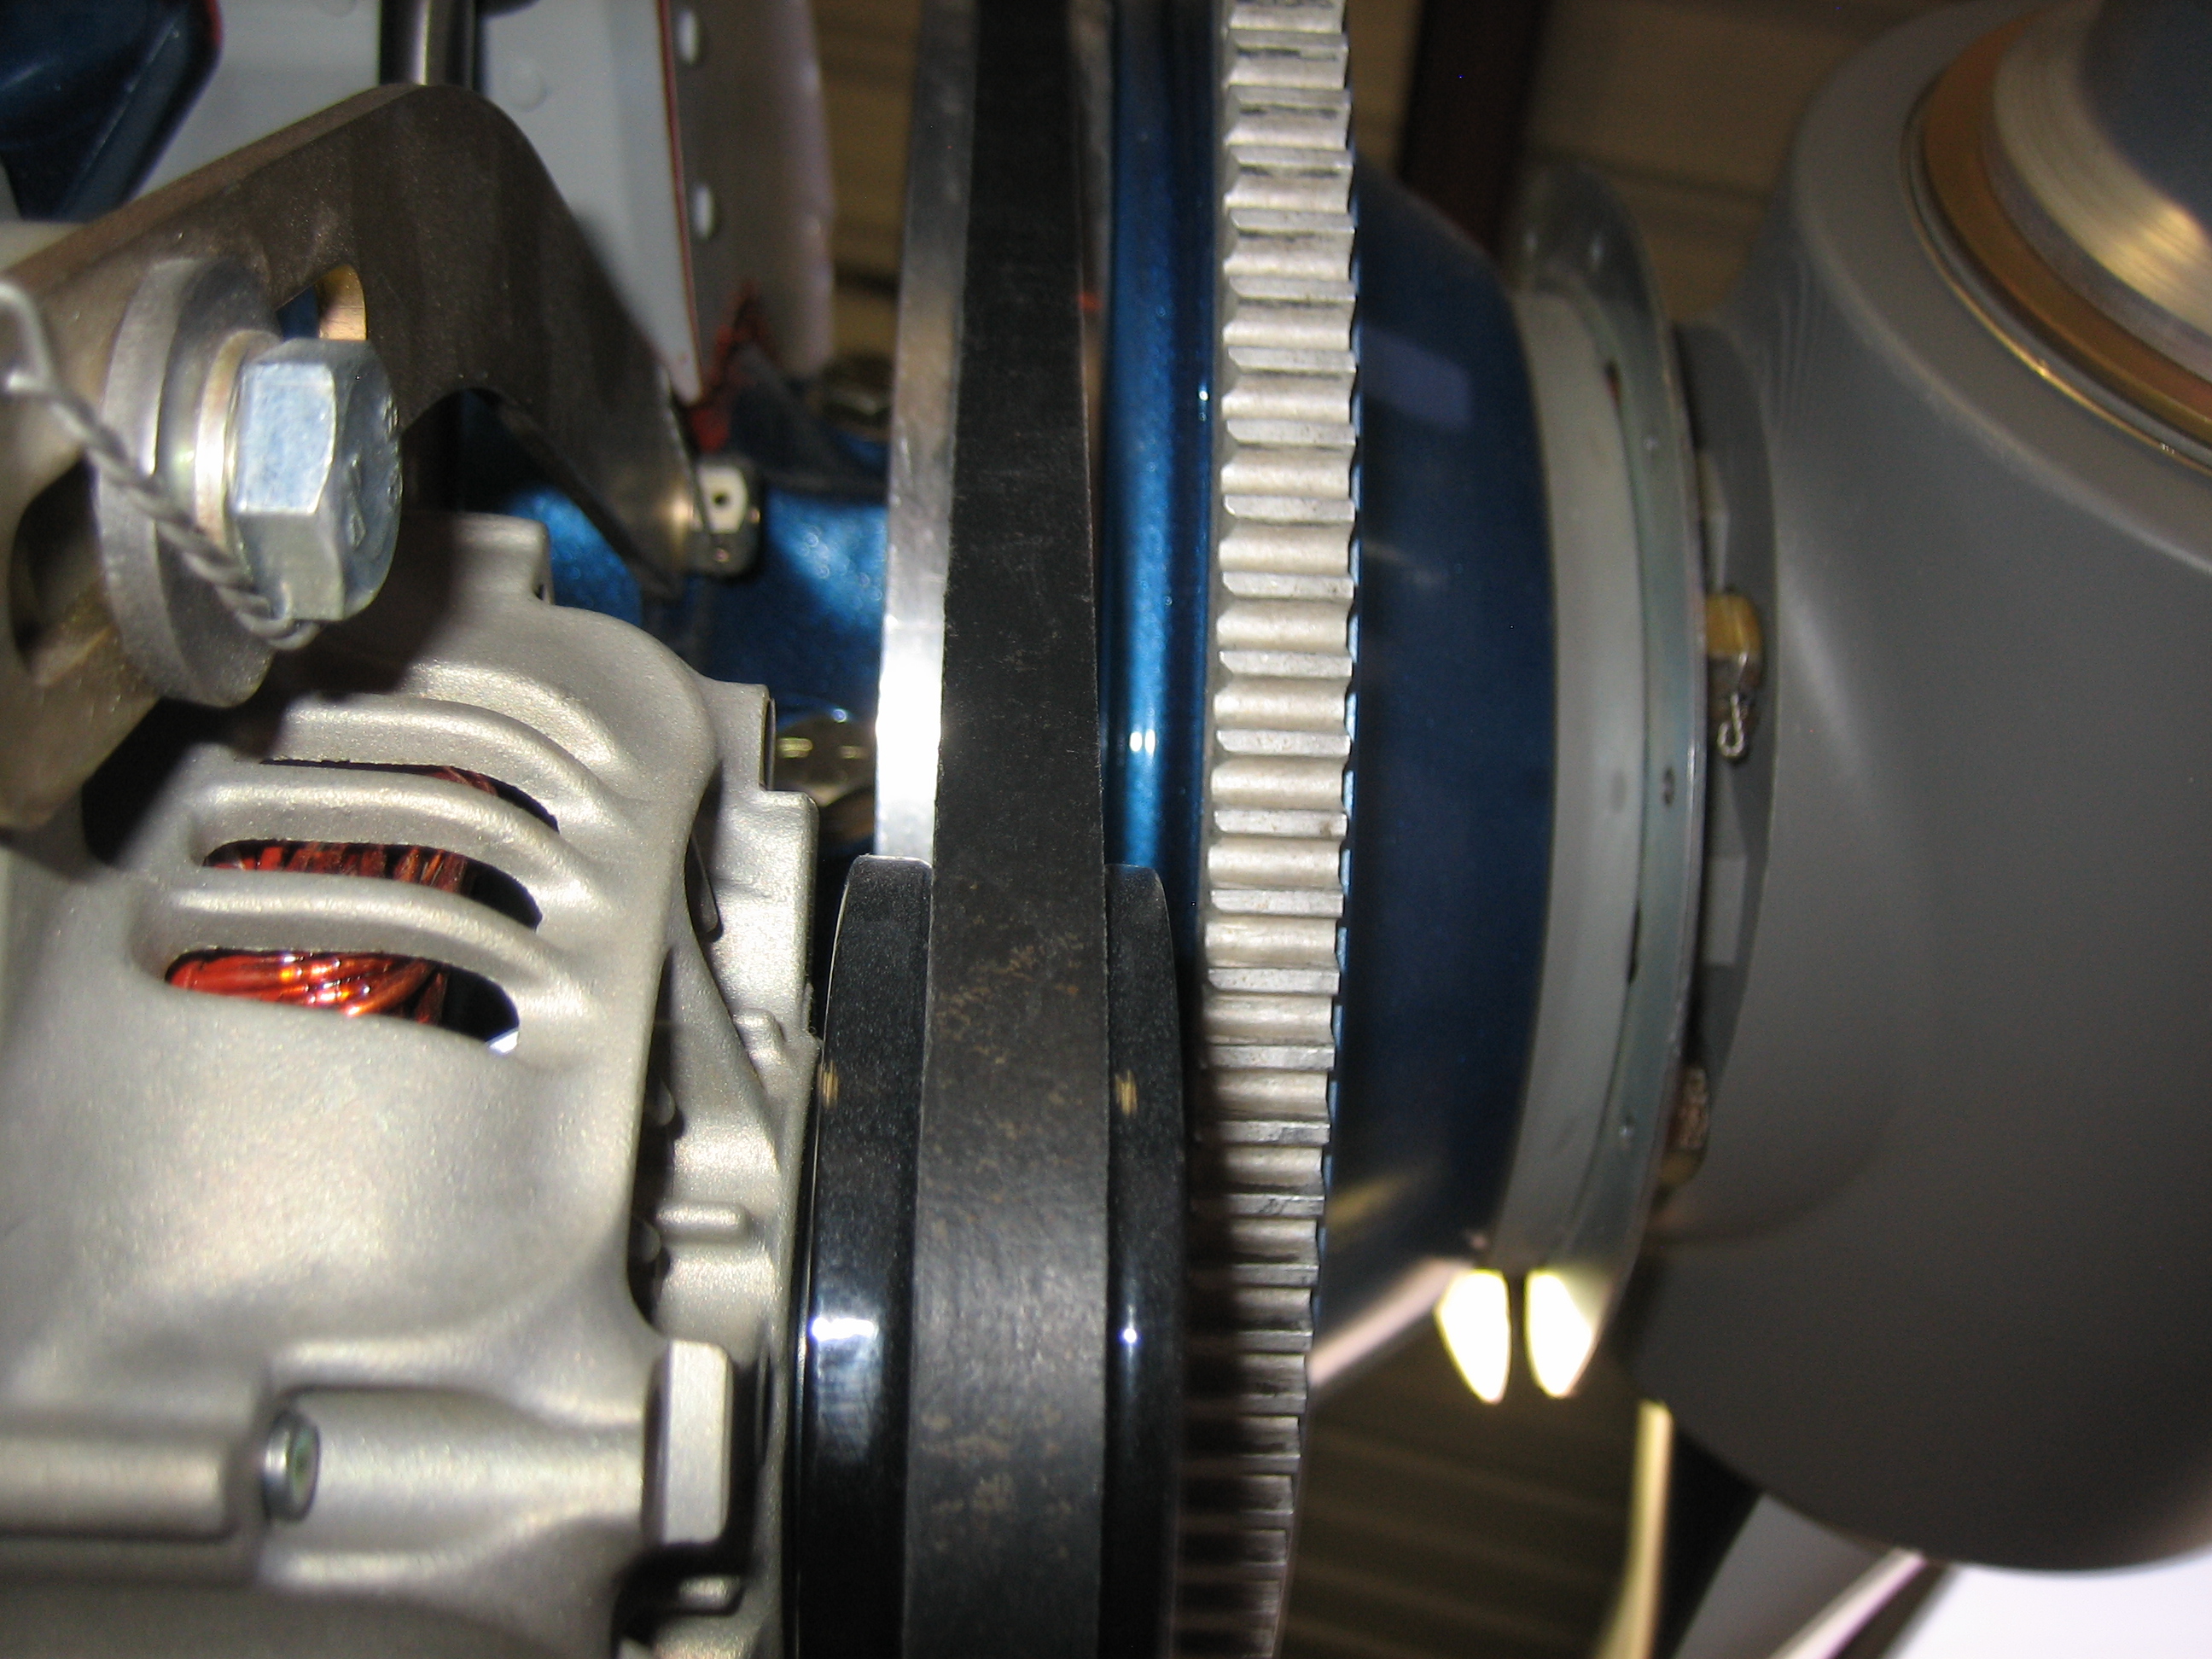
Finally, let’s move on to the things I hadn’t caught.  I couldn’t get a great picture of it, but a couple of people noticed that the alternator pulley wasn’t perfectly aligned with the flywheel.  This will not only make the belt wear faster, it also is apparently hard on the alternator bearings.

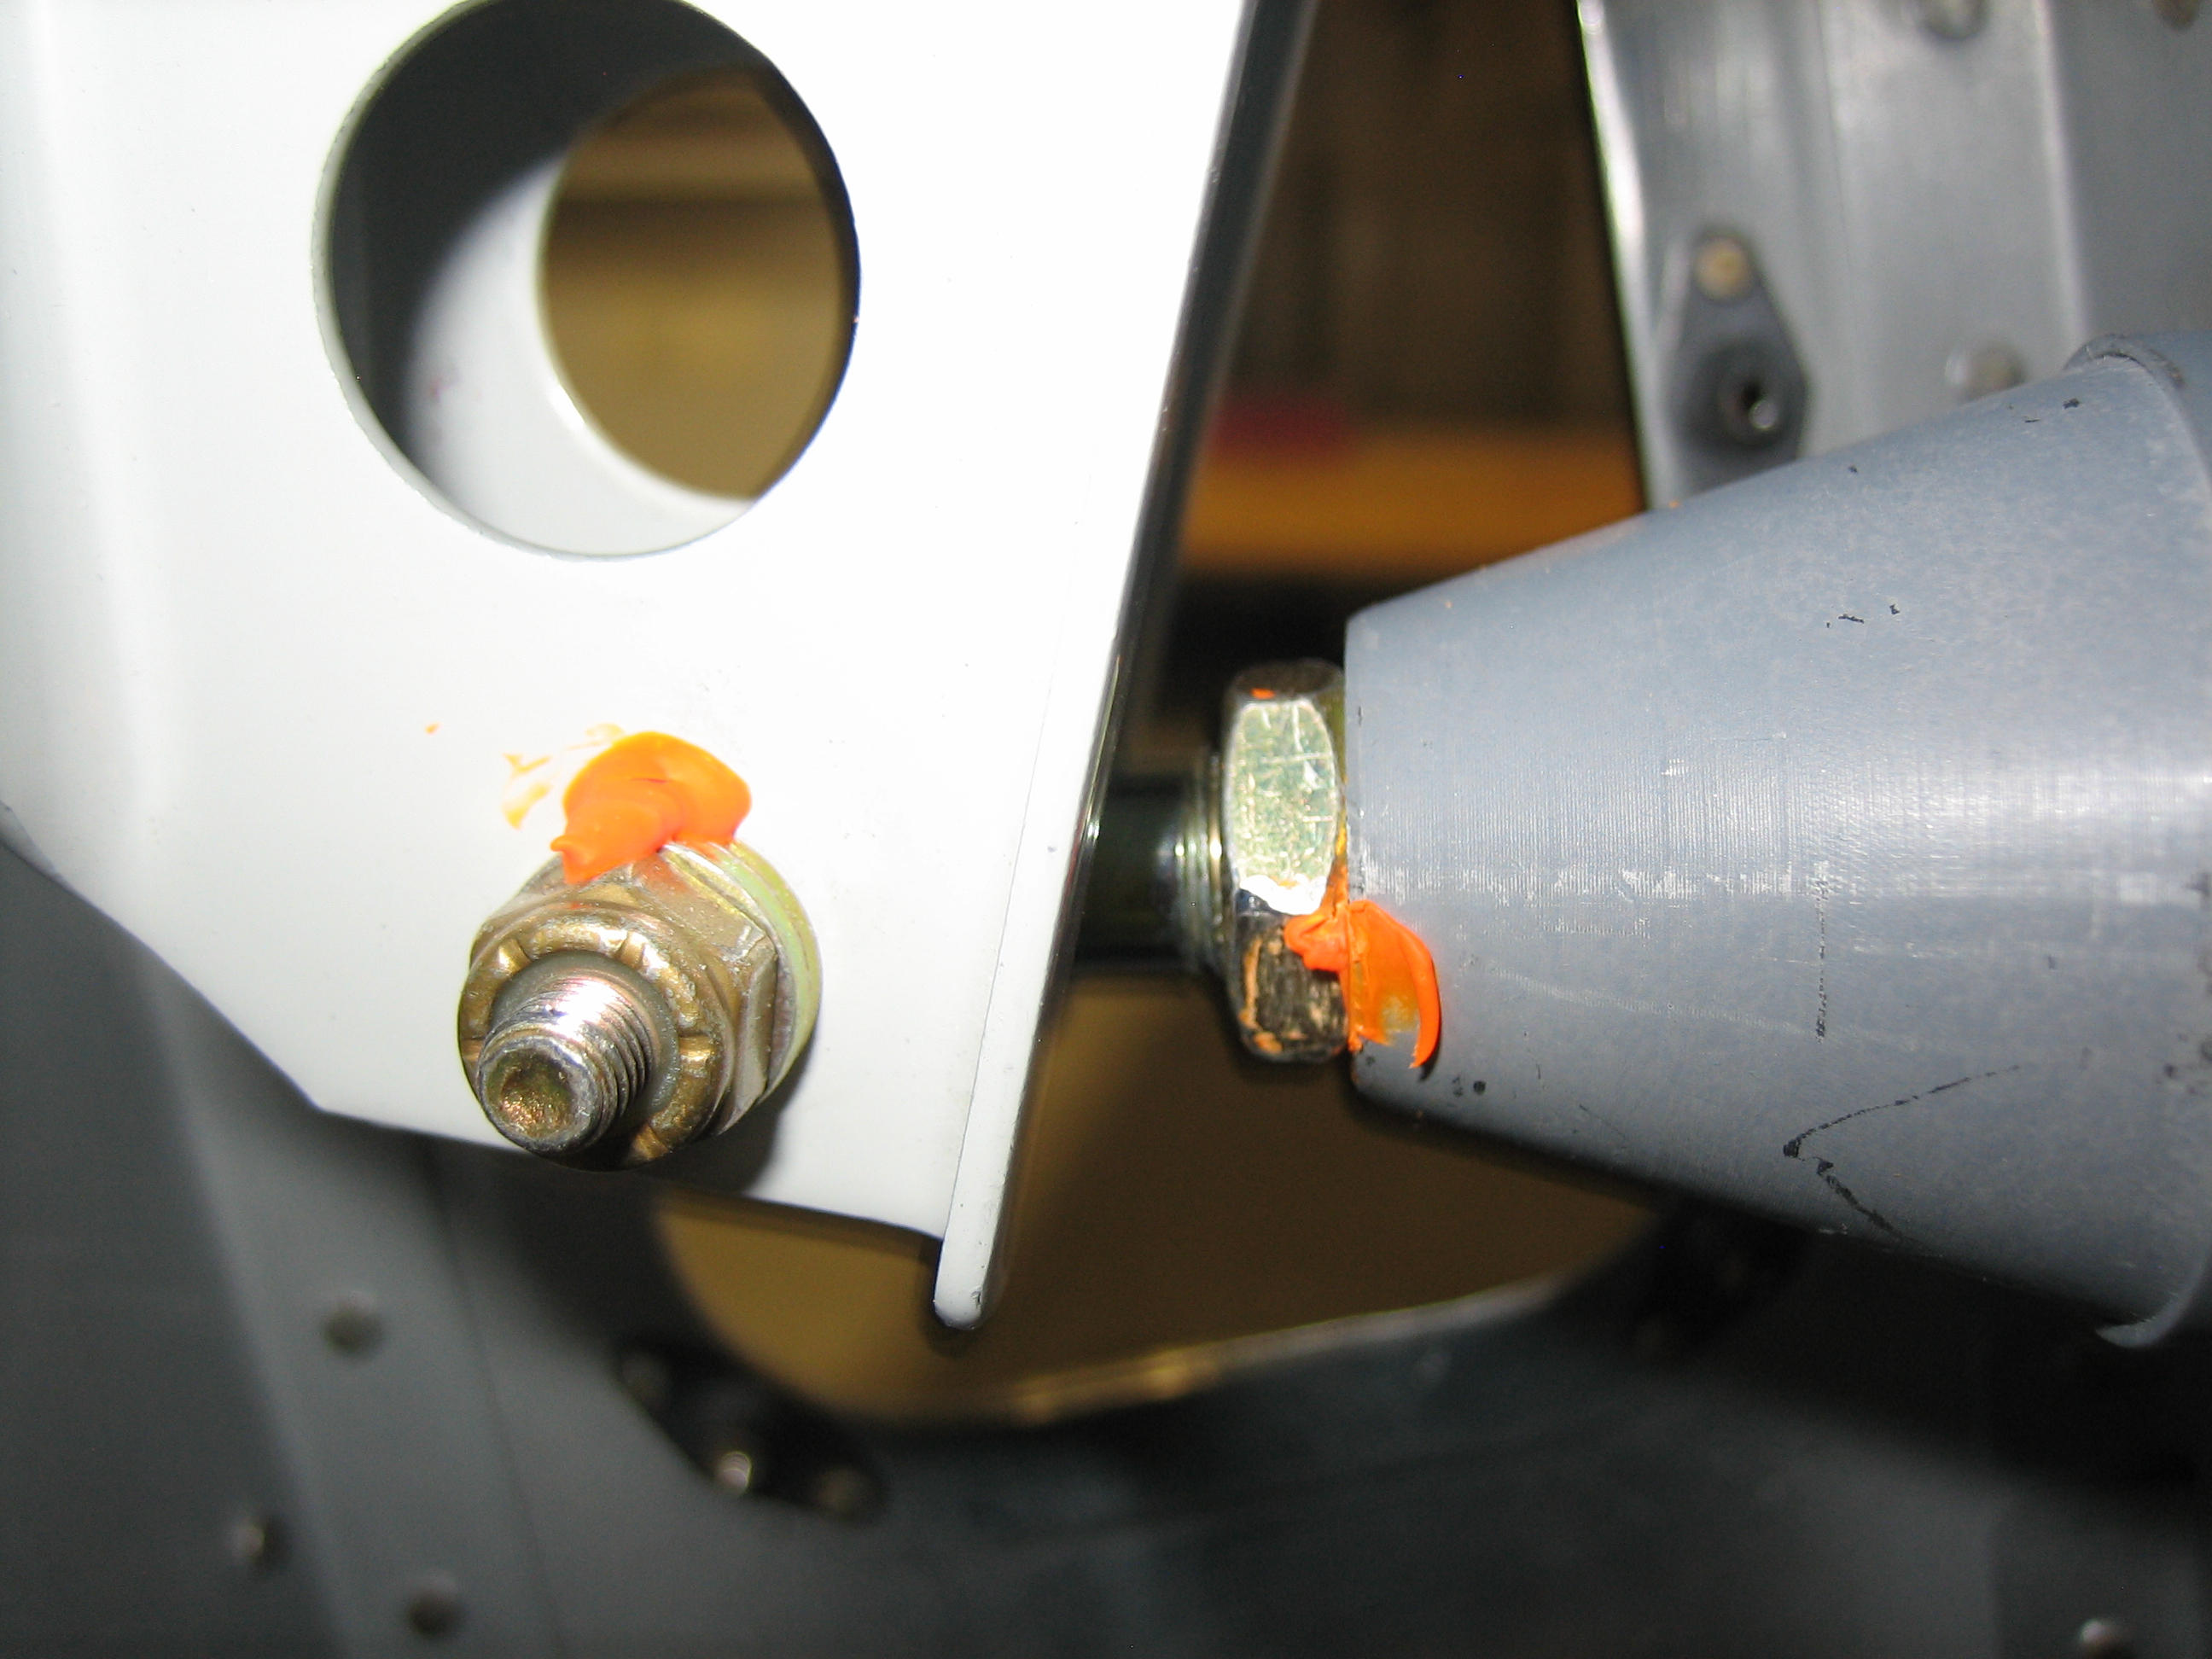
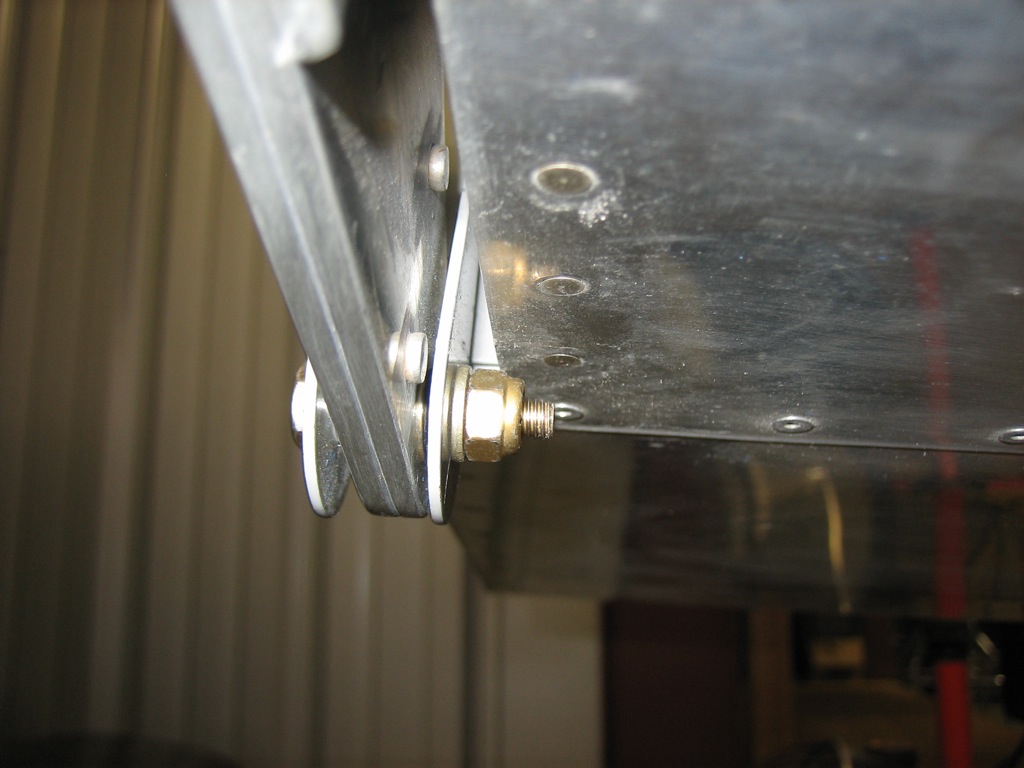
There are four thread showing on the outer aileron bolt.  I’ll probably have to add another washer here.

There are also four threads showing on the bolt attaching the pushrod to the elevators horns.

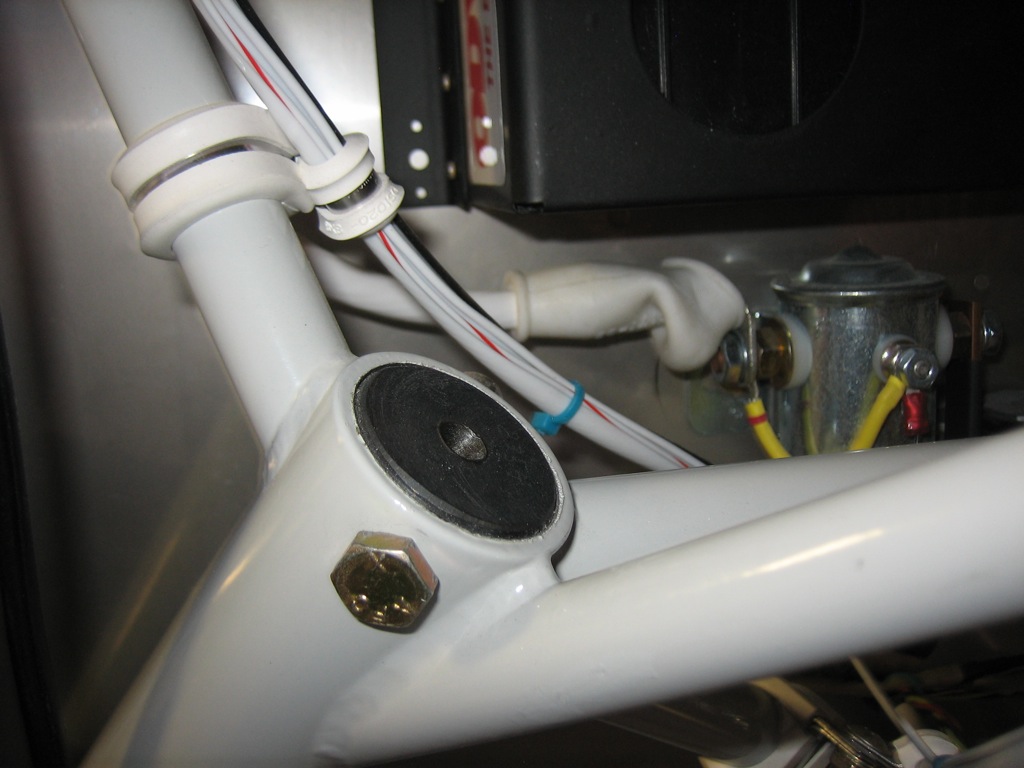
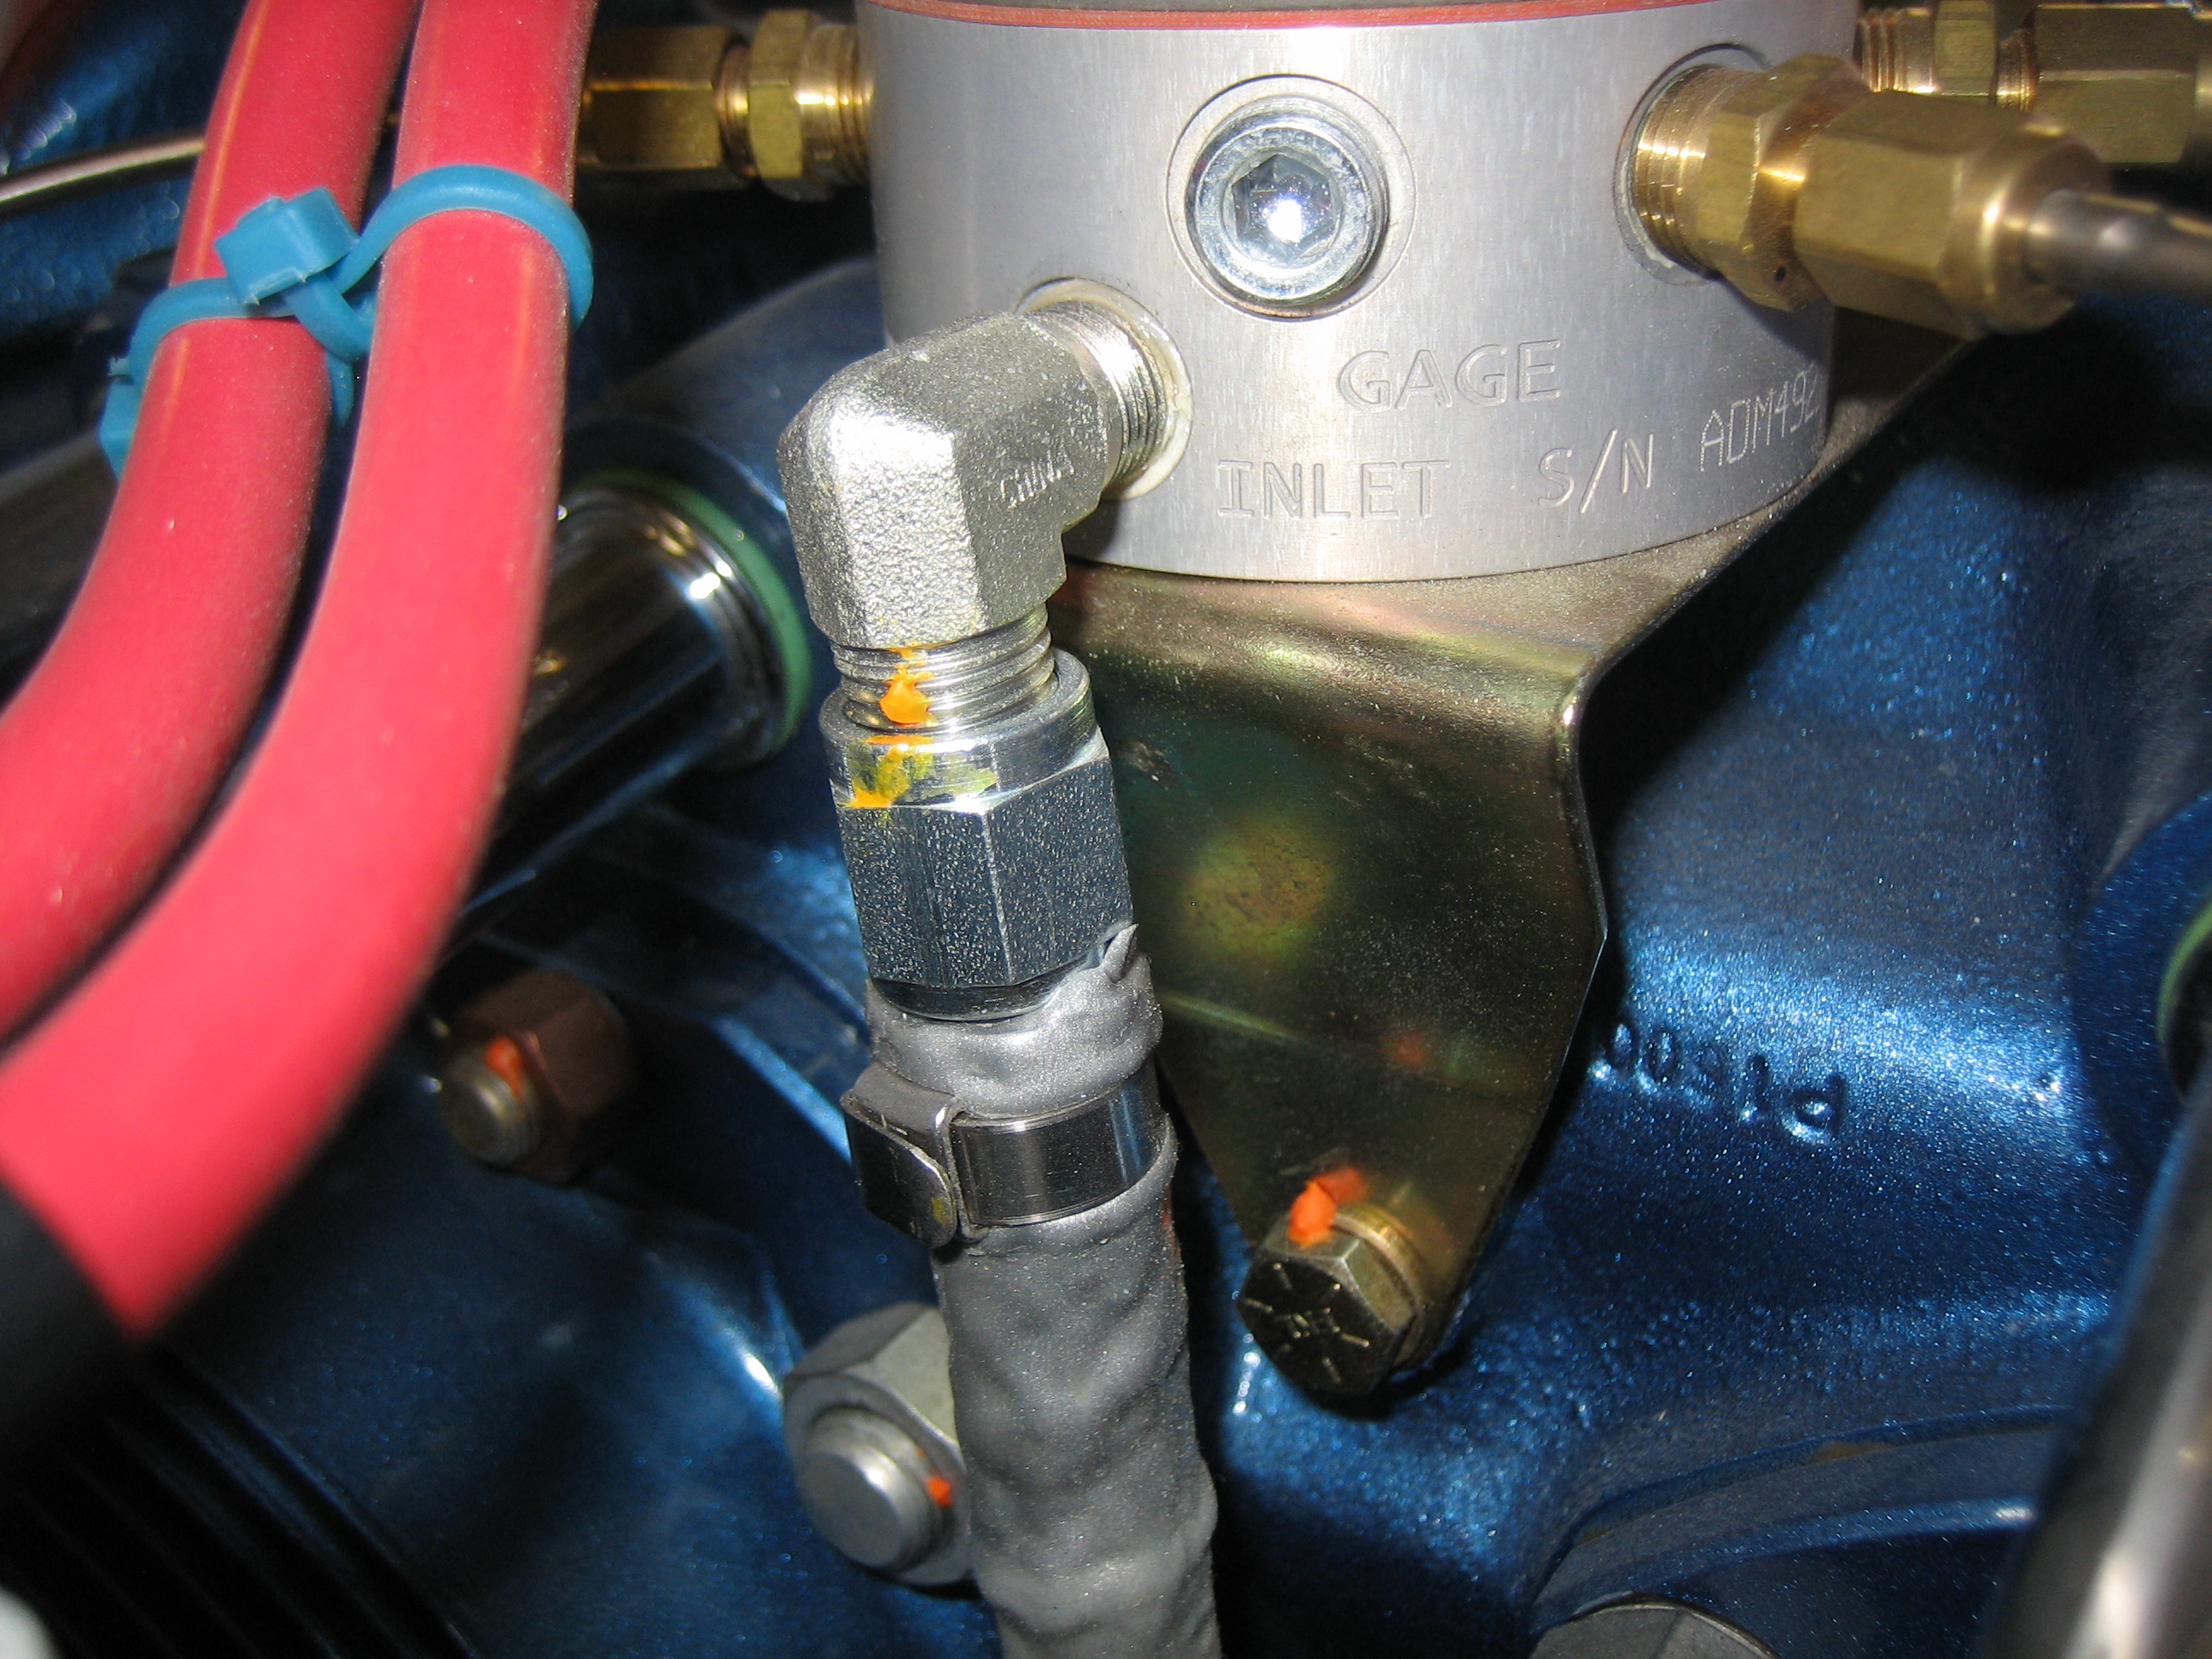
The torque seal was also broken on the manifold pressure hose.  I don’t recall why I removed this, but I’ll need to retorque and seal this.

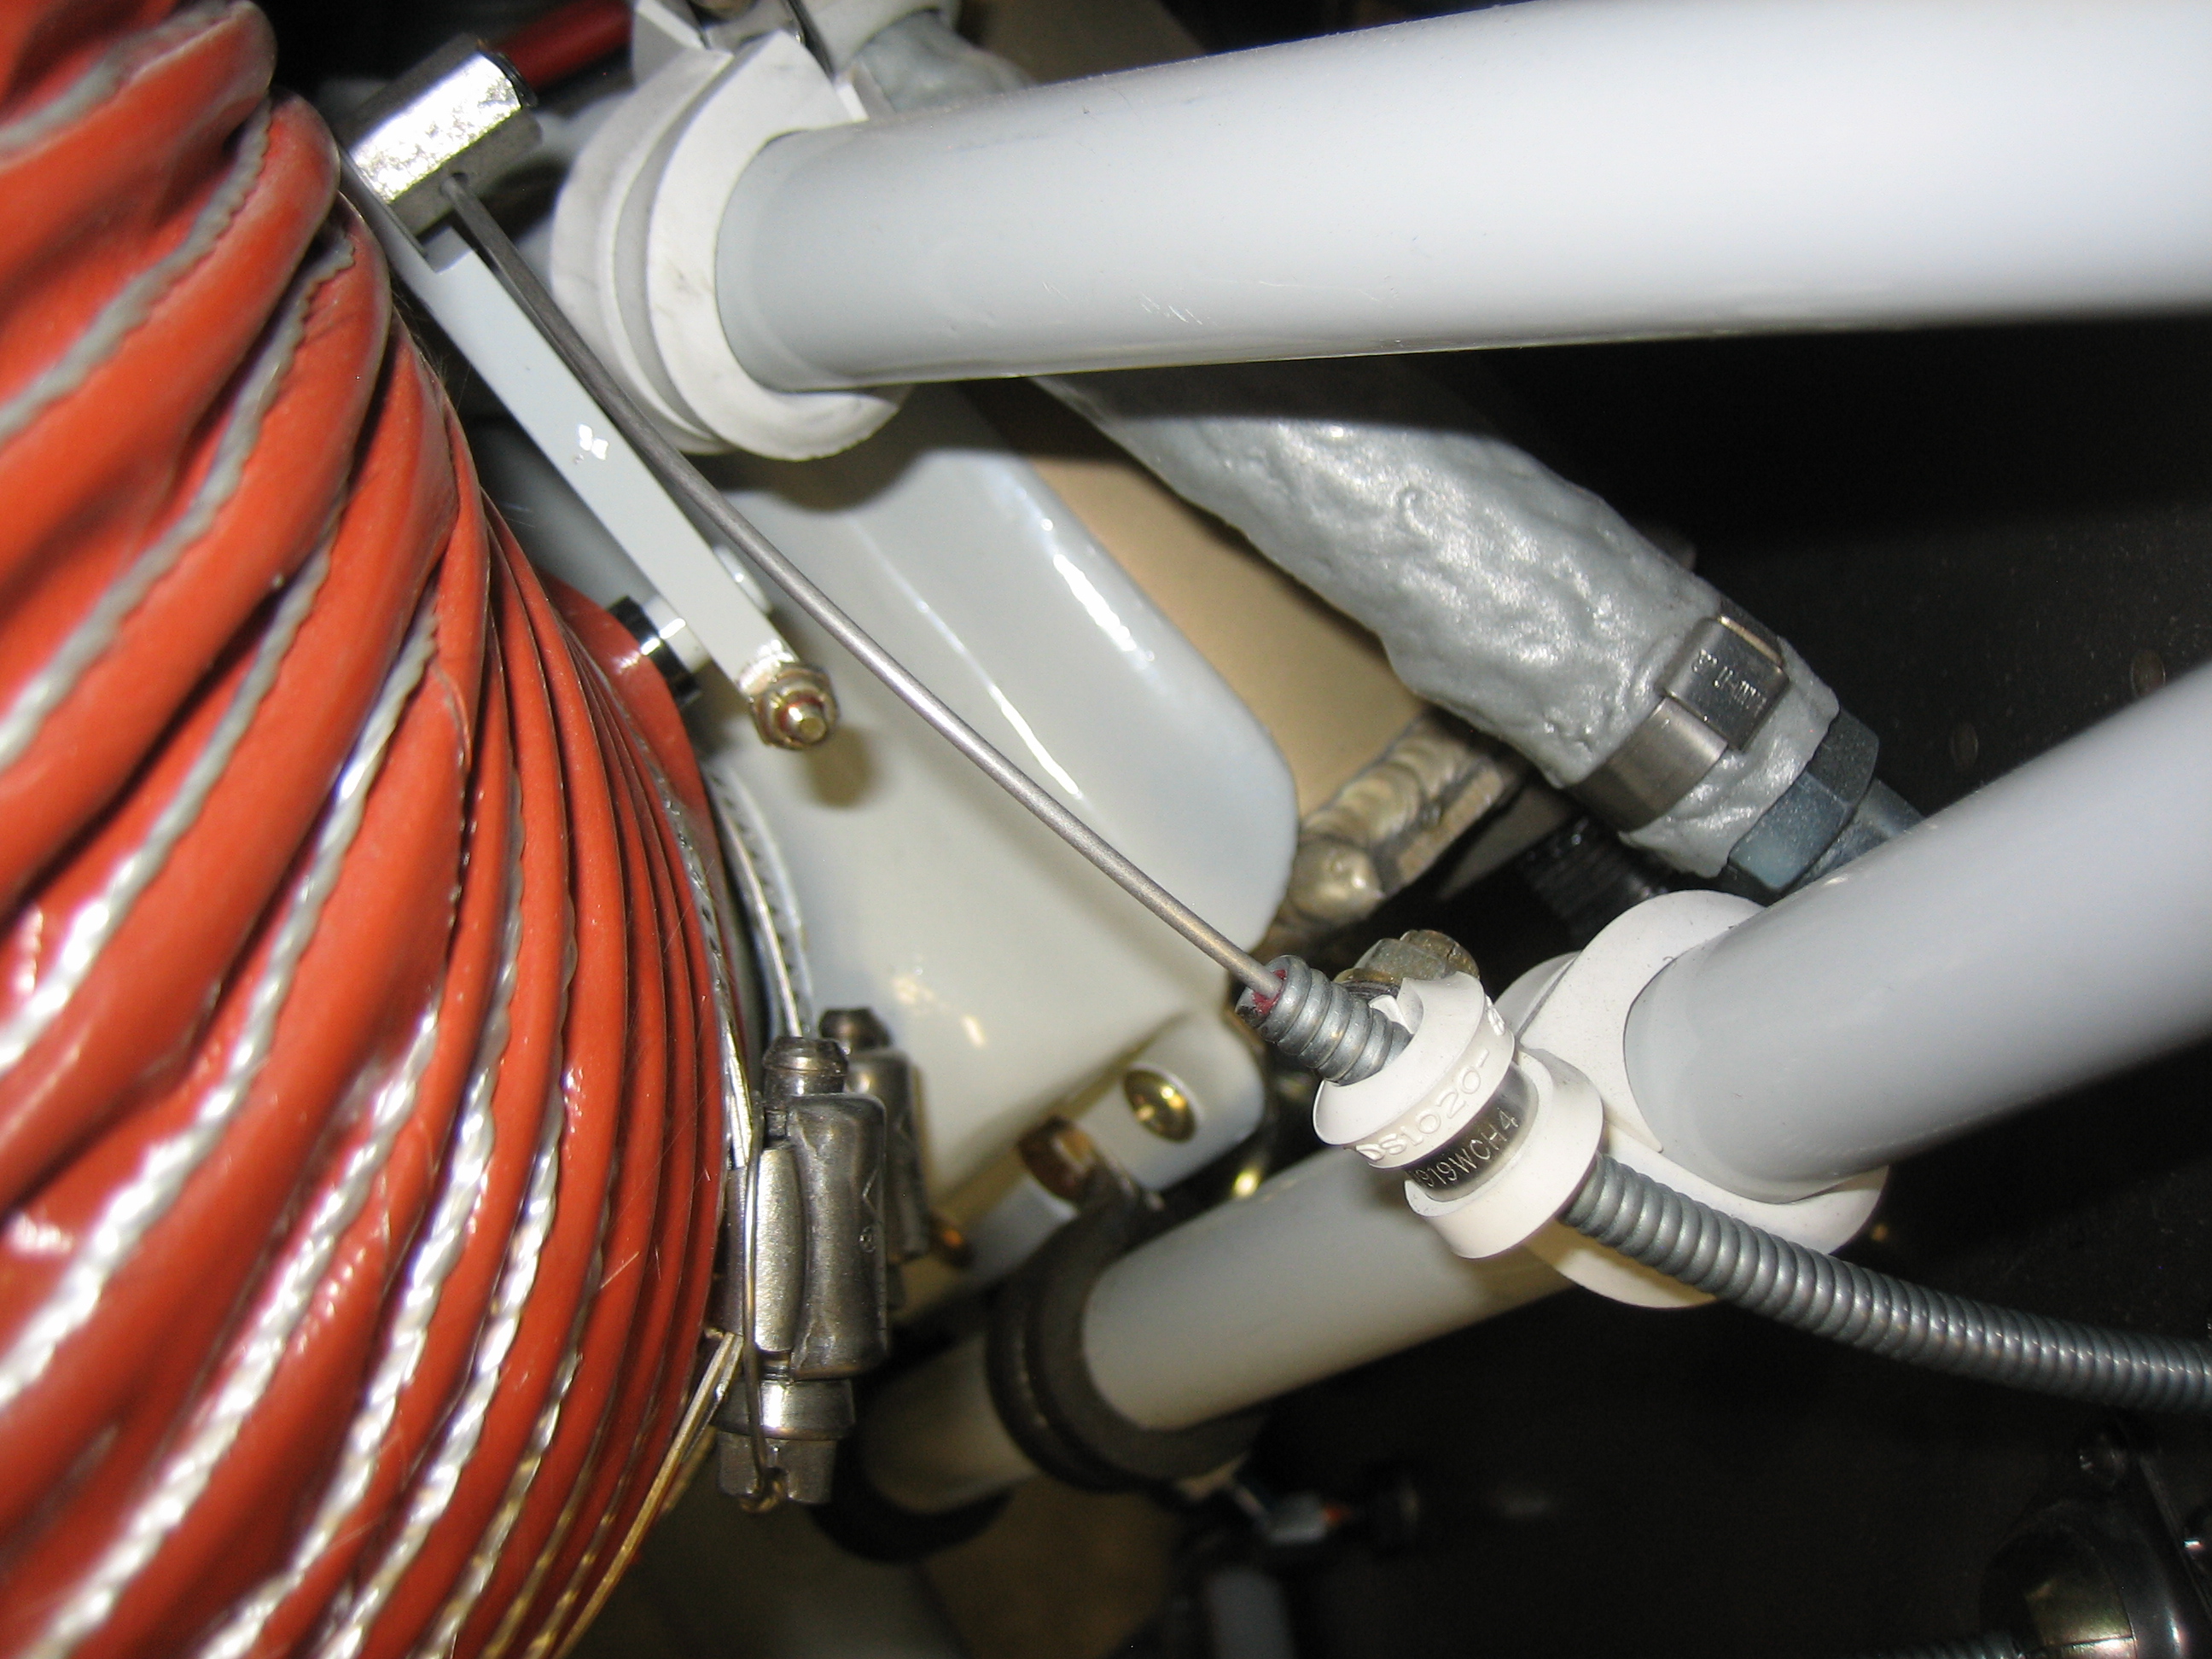
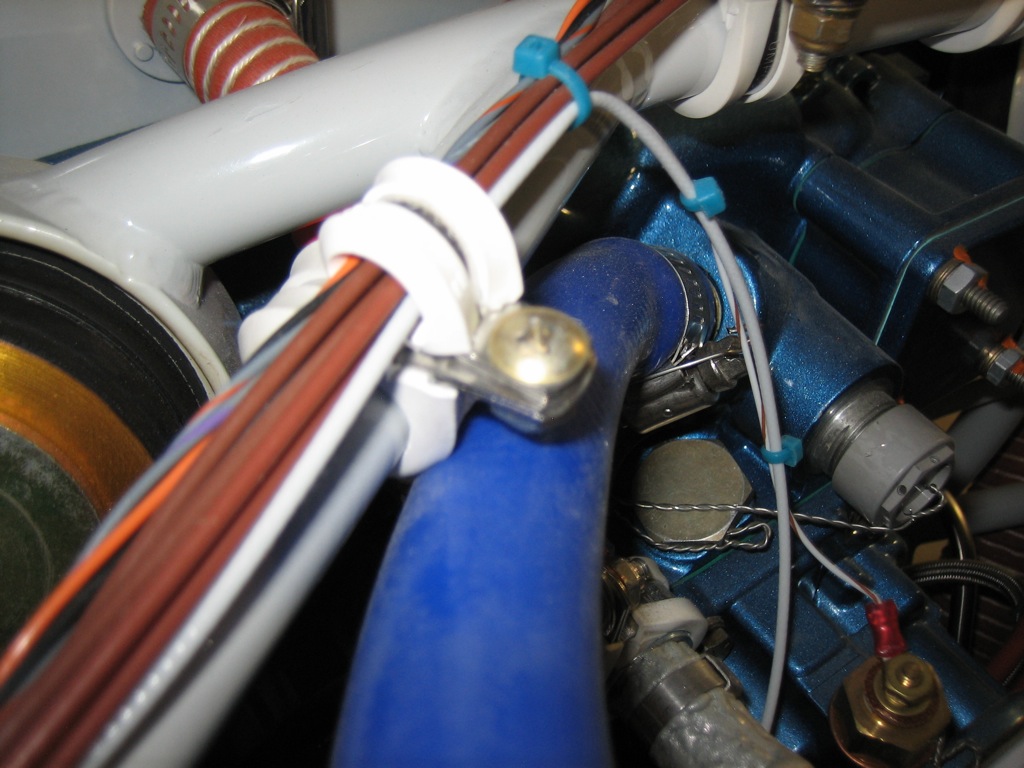
The cushion clamp anchoring the cable sheathing on the oil cooler butterfly valve wasn’t gripping the sheathing well enough and was allowing the cable to move.  I’ll need to swap out this for a non-cushion type clamp.  There was also not enough thread showing on the bolt holding these adel clamps together.

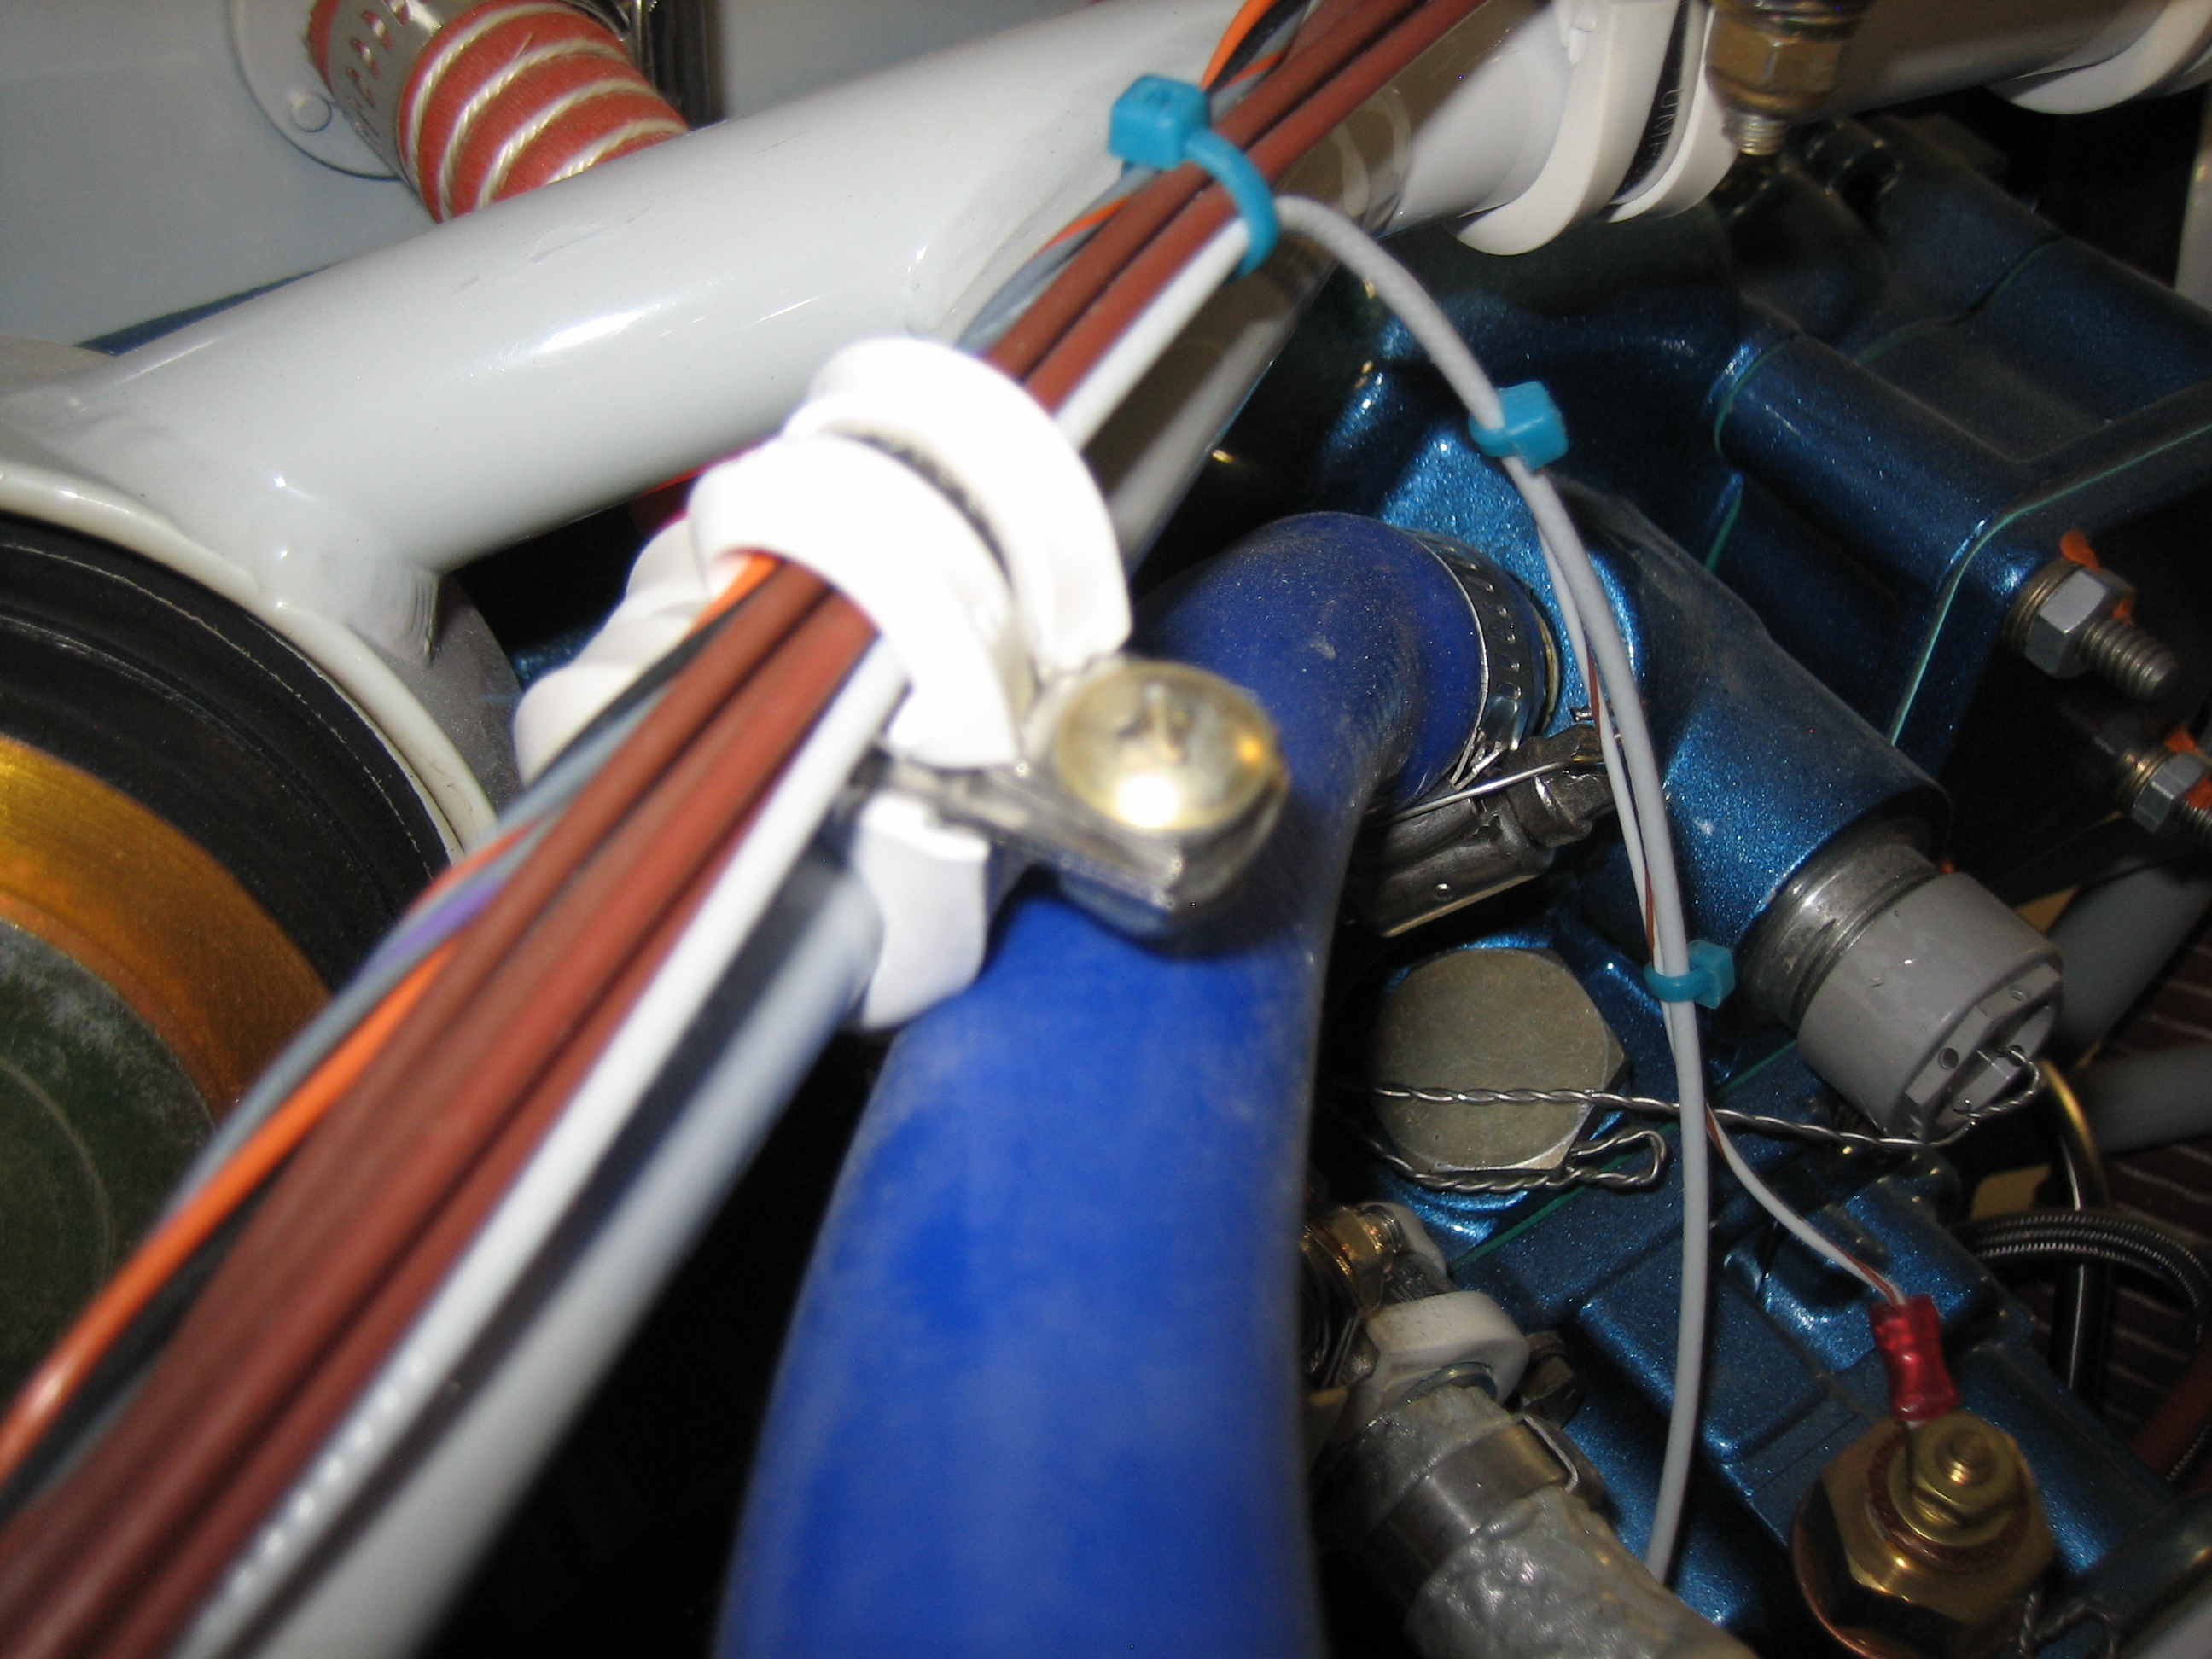
The crankcase breather hose was rubbing on the adel clamps securing wires to the upper engine mount tubing.  I’ll probably add another adel clamp to this group to keep this from chafing.

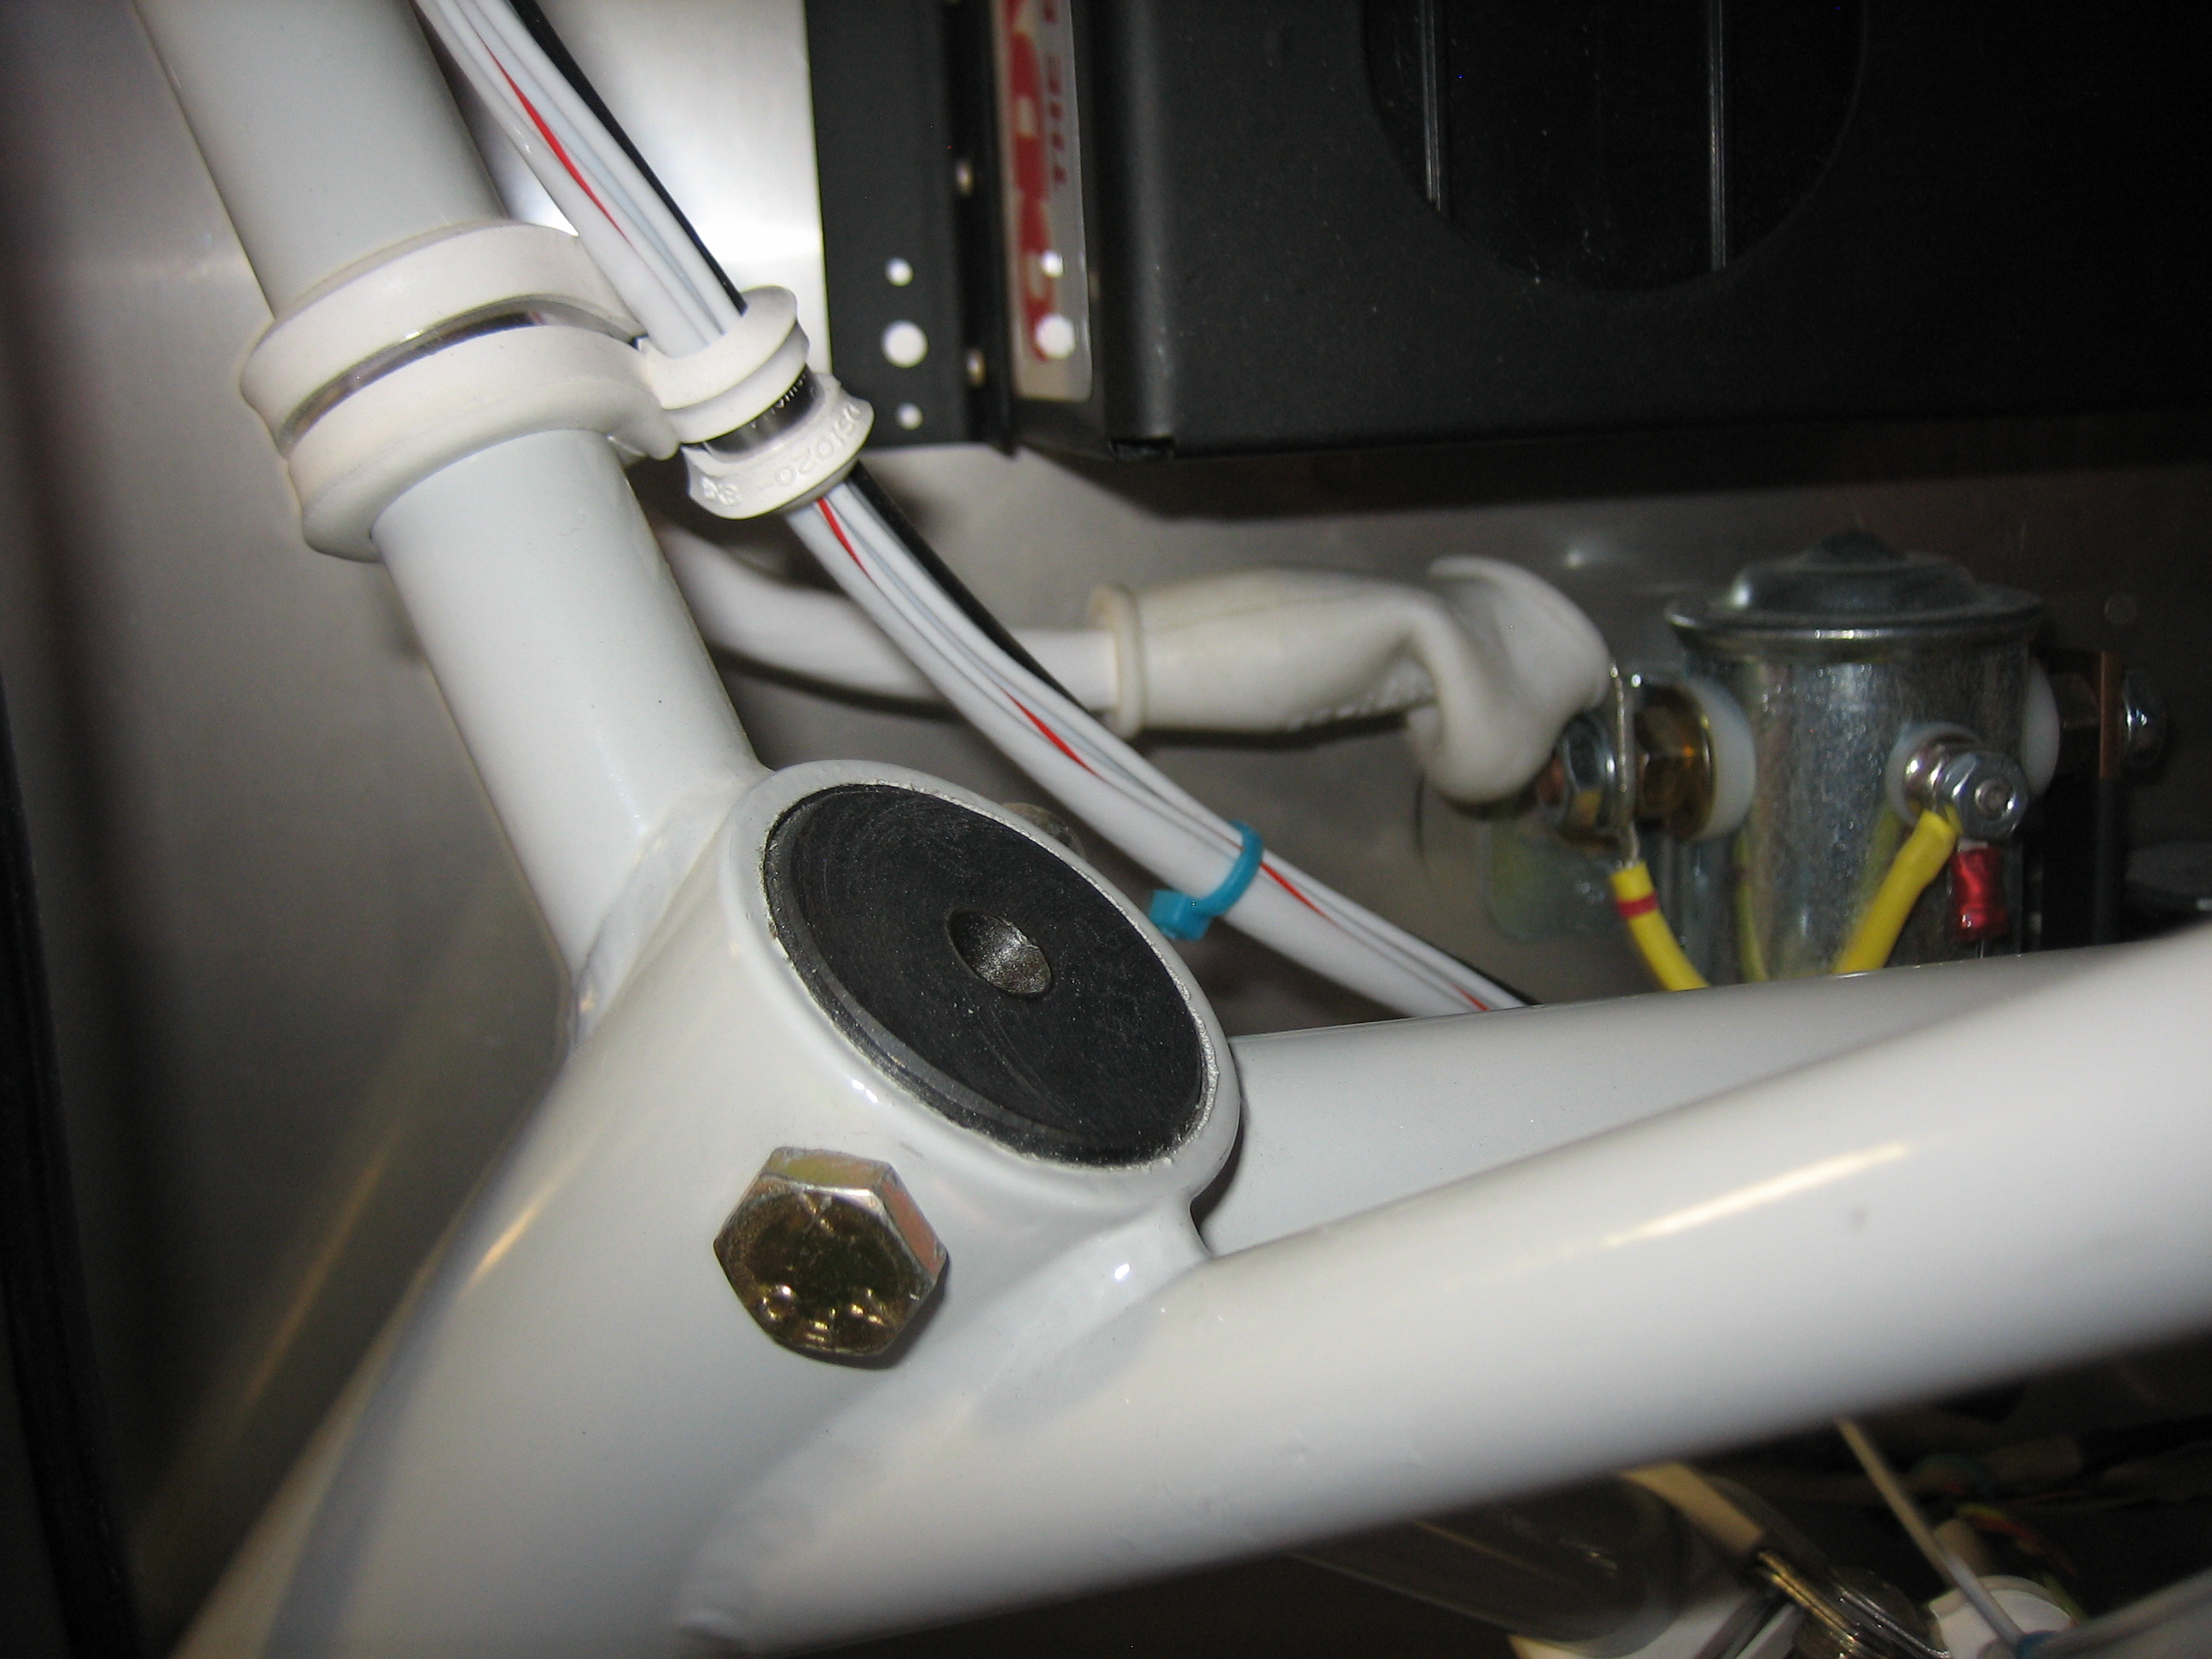
Apparently, the top of the gear leg will rust if left unfinished like this.  I’ll clean it and paint it with the touch-up paint that Van’s sells to match the powder coat on the engine mount.

Miscellaneous Tasks

No pictures tonight, but I spent a few hours at the hangar knocking various tasks off of the to-do list.  First, I trimmed the excess sealant around the leading edge of the canopy and put a little bit more where there were a couple of small holes  Next, I finished torquing the vent line fittings in the cabin and zip tied the fuel sender coax to it on the right side.

Finalized Aileron Deflection and Canopy Sealing

I tried the modified tool and it works pretty well.  I’m going to do a little more adjustment on it so that it doesn’t hit the steel bracket and clears the universal rivet heads.

I wasn’t quite getting the aileron throw I wanted, so I switched to the smaller bushing I had.

Adjusting the aileron bolt required dropping the flaps.  I could almost remove the rod end that screws into the flap, but the pushrod hit the edge of the hole just before the bolt could slip out.  I sanded the hole a little bit larger, but kept it inside the black line I drew that showed where the flap overlap sits.  This covers the hole when the flaps are up.

In preparation for installing the weatherstripping that will seal the forward edge of the canopy, I fabricated a couple of strips to span the gap in the flange.  This way I can have a continuous strip of the weatherstripping across the entire edge.

Afterward, I used some Sikaflex to seal up all of the gaps.

Sealing around the canopy hinge is the most tricky, but I think this will do a pretty good job.

Landing Lights and Tool Modification

I fabricated the light side of the wiring harness today.

I wrapped the power board with some foam to protect it from vibration and stuffed it inside the light.  I stopped by the hangar later in the day to remove the canopy and tried out the lights.  Unfortunately, the right landing light was intermittent.  I ended up tracing the problem to a poor solder connection on one of the LEDs, so I re-soldered it.

With the right lens almost trimmed to final size, I decided to drill it to the wingtip so that I could install it in the same place every time during final trimming.

Torquing the jam nuts on the rod ends used as hinges on the elevators and rudder require a special tool.  I picked up a set of these offset wrenches from Harbor Freight yesterday and modified it to fit around the rod end.  I cut a slot in the end and reduced the thickness quite a bit.  I’ll try this out tomorrow and see how well it works.

Installed Wingtip Lighting Connectors

I trimmed the wires coming out of the wings and installed the connectors.  These are waterproof and should keep me from getting any corrosion in the contacts.  I also installed the connectors onto the remaining wire bundle that I cut off and will hook these up to the lights tomorrow.

Elevator and Aileron Pushrods

I’ve spent a bunch of time adjusting the elevator pushrods over the last couple of nights to eliminate some interference between the aileron pushrod and the ring supporting the boot that keeps cold air from coming in around the aileron pushrod.  With that done, I was finally able to install the elevator servo stop.  This fits around the elevator servo arm and prevents the arm from going over center and jamming the elevator.

With the interference eliminated, I could finally finish installing the aileron pushrod boots.  Without this, huge amounts of cold air will leak into the area under the seats and come up into the cabin around the control sticks and other small gaps.

Control Stick Grips and Wing Skin Screws

With the epoxy cured in the grip, I reinstalled them and tightened the set screws down.  The grips are rock solid now and don’t move at all.

Next, I installed the screws that tie the fuselage center section to the lower wing skin.  I had waited to do this until some shorter screws showed up.  Van’s uses -8 screws all over the airplane when shorter screws are sufficiently long.  I’ve tried to use shorter ones where I can to save weight.

Figured Out Light Mounting

I trimmed the lens a little more until it fit down inside the flange.

Instead of trying to sand the flange perfectly and then sand the lens to fit, I marked a line 5/8″ back from the face of the recess.

I’ll sand the lens back to this line and then apply filler so that the fit is perfect.

I used some scrap paper to make a template for the mounting plate.  This protrudes back inside the wingtip because the mounting bracket for the light needs to be recessed behind the plane of the other face of the recess.

Here’s roughly where the light will be mounted.  I’m going to fabricate this plate out of 0.040″ plate and see if that works.  There’s a good chance I might have to move up to 0.063″ plate if there is too much flex.  I’m going to leave the large gap around the light for now until I can fly at night and get the light aimed properly.  After that, I’ll fabricate a cover plate that just clears the light to cover the hole.

I held up a piece of scrap paper where the plate will eventually cover the gap to ensure that I’m not blocking the rearmost LEDs.  This position is perfect.  All LEDs are visible and I have plenty of clearance from the lens for adjustability.