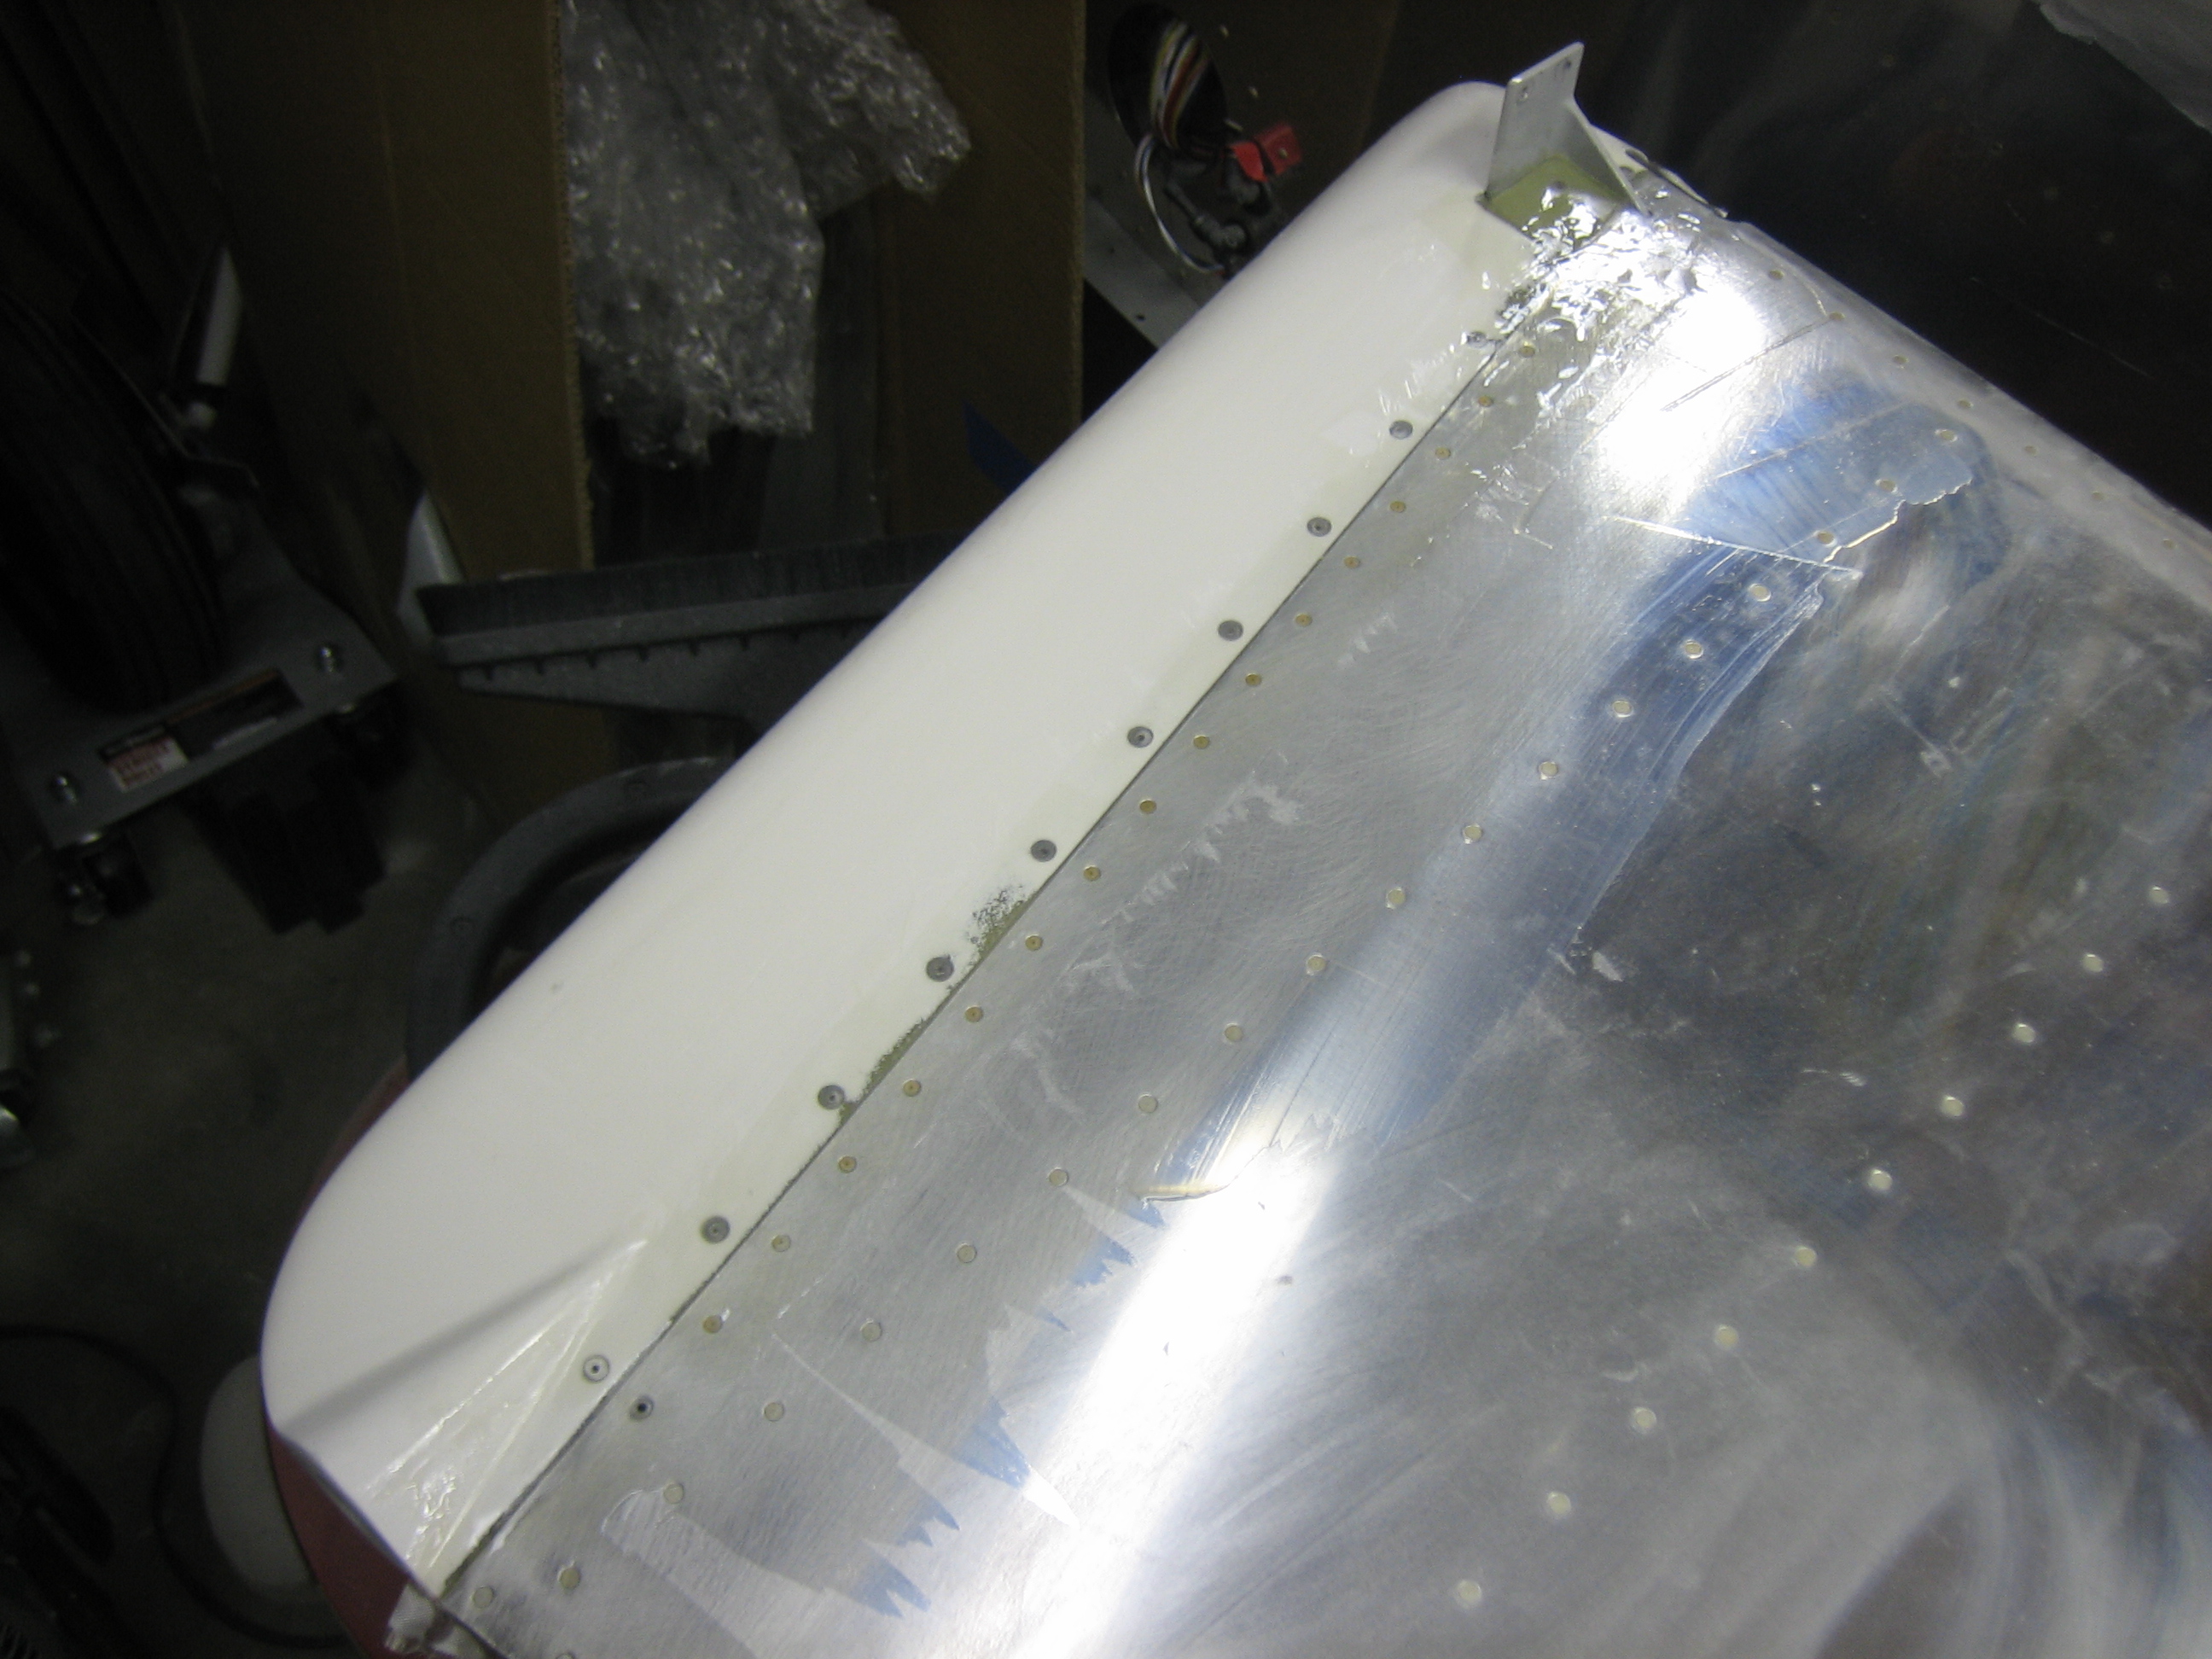
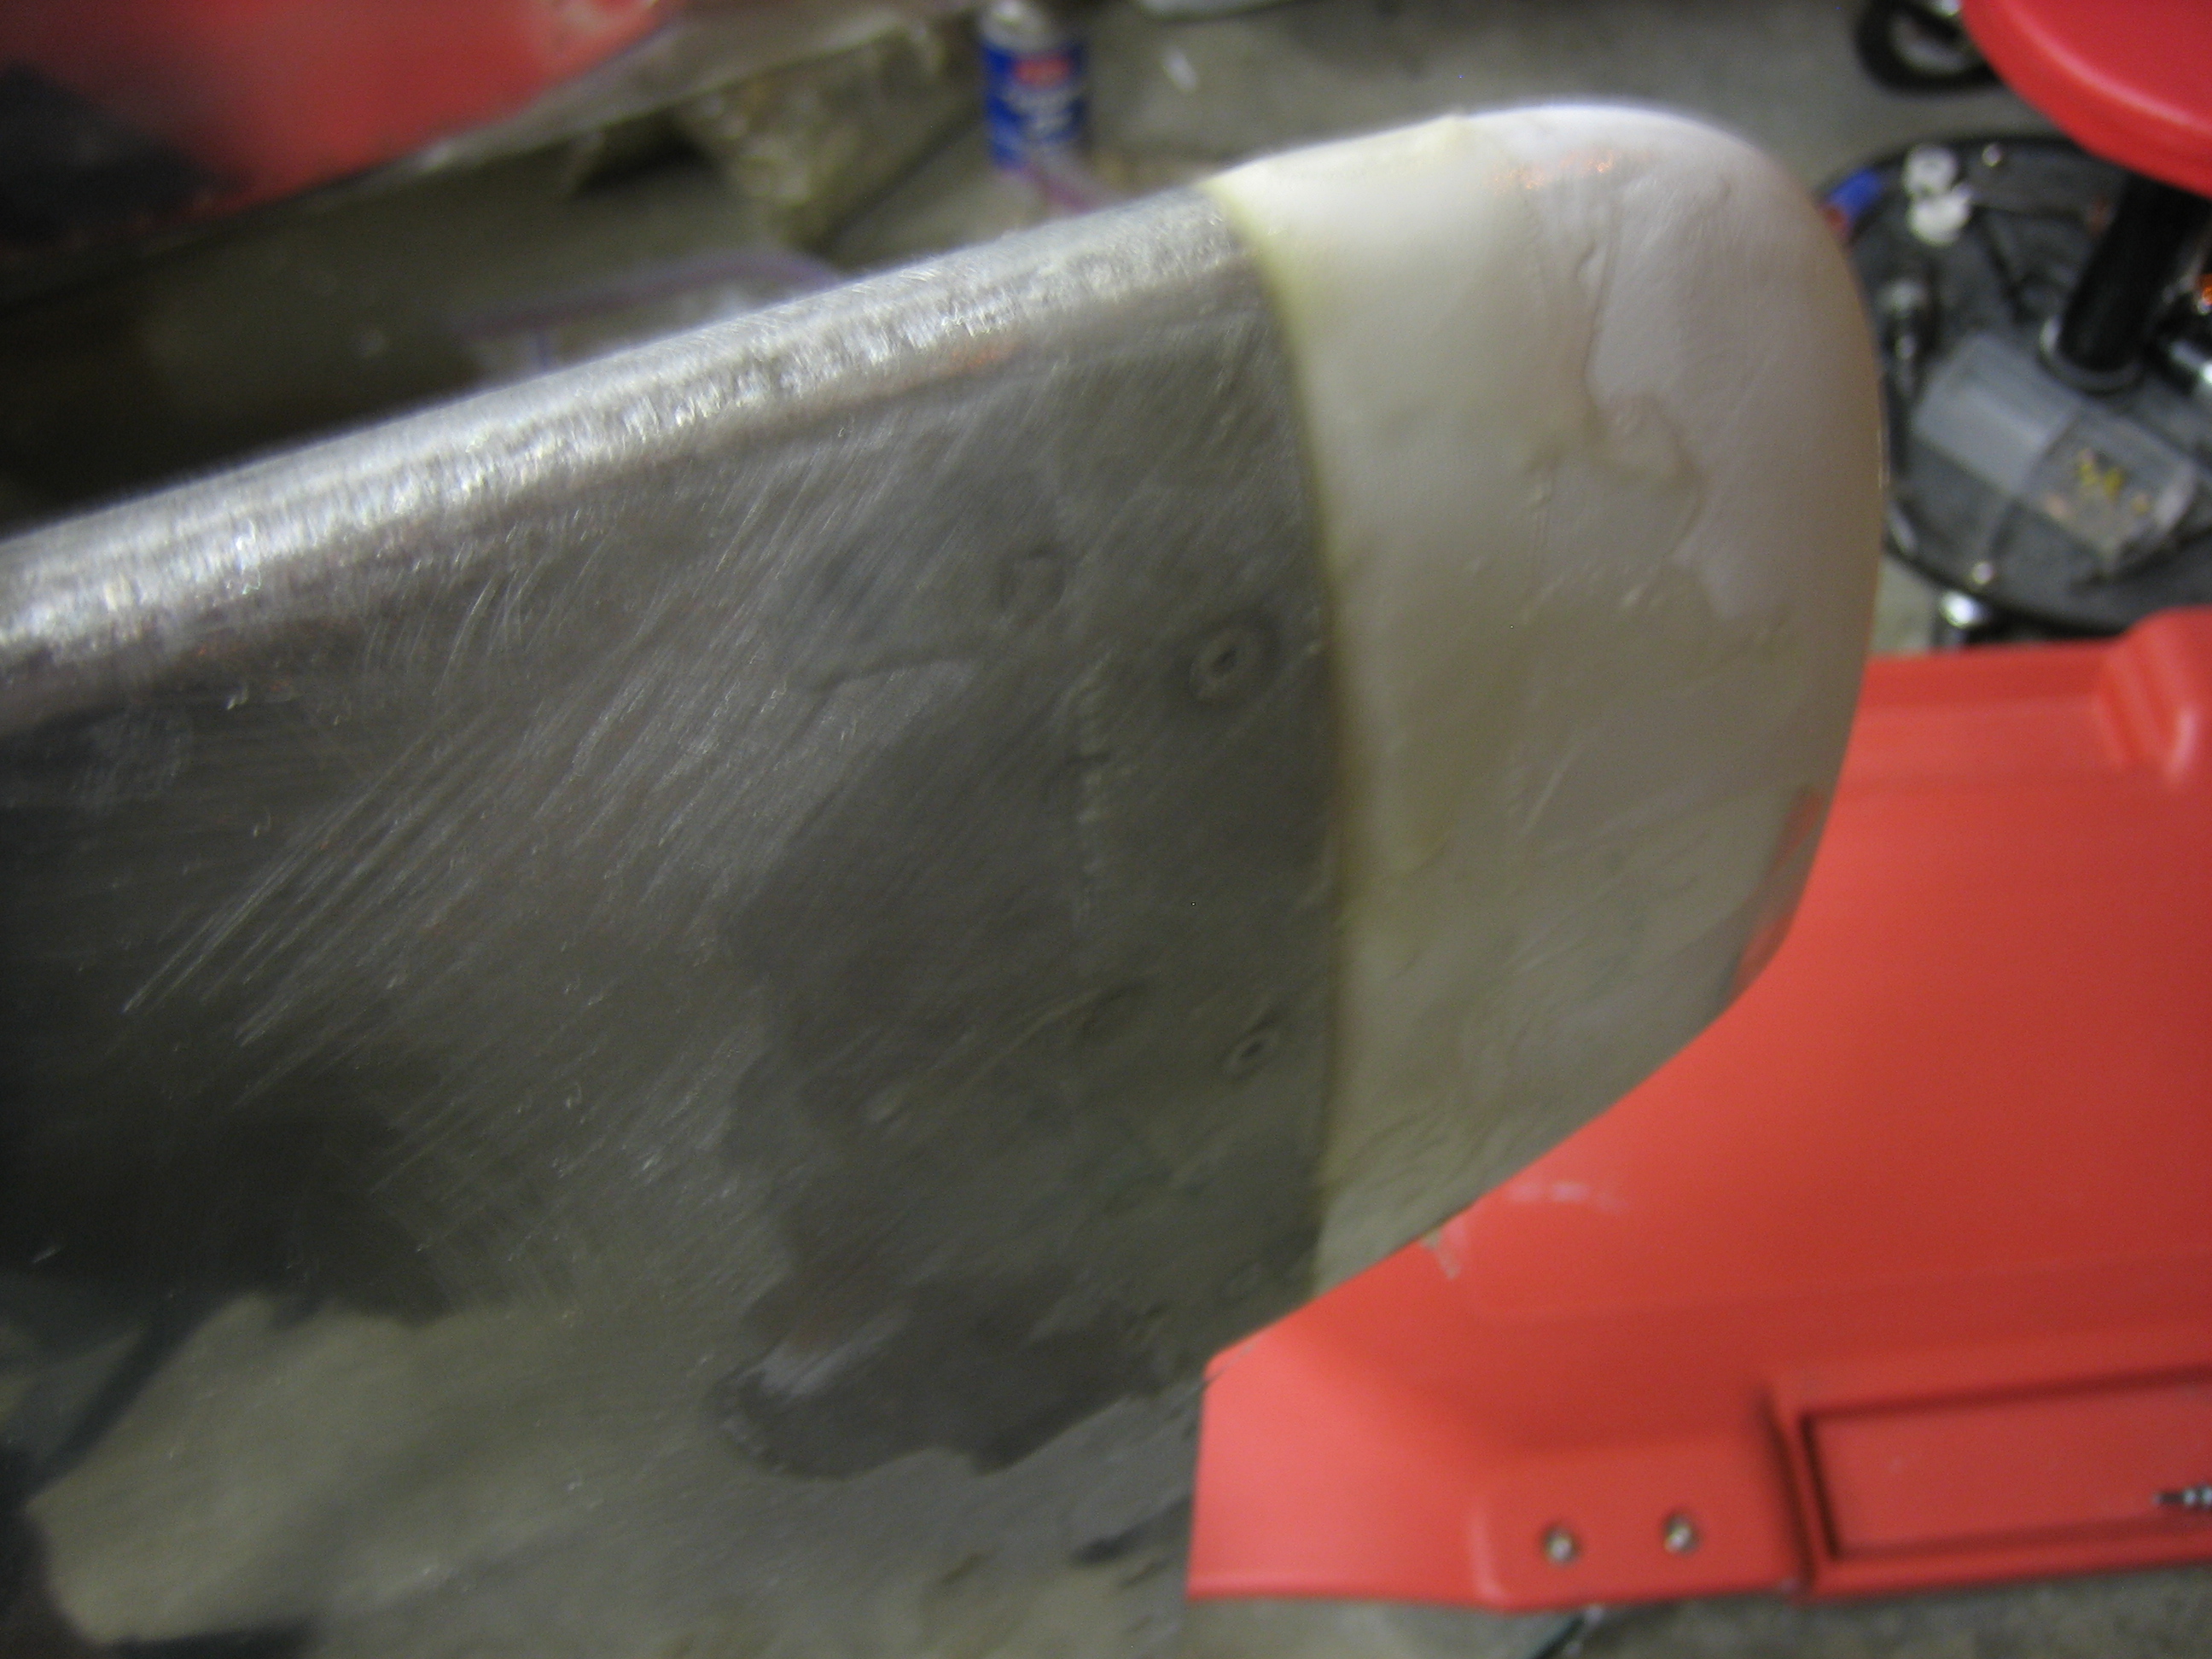
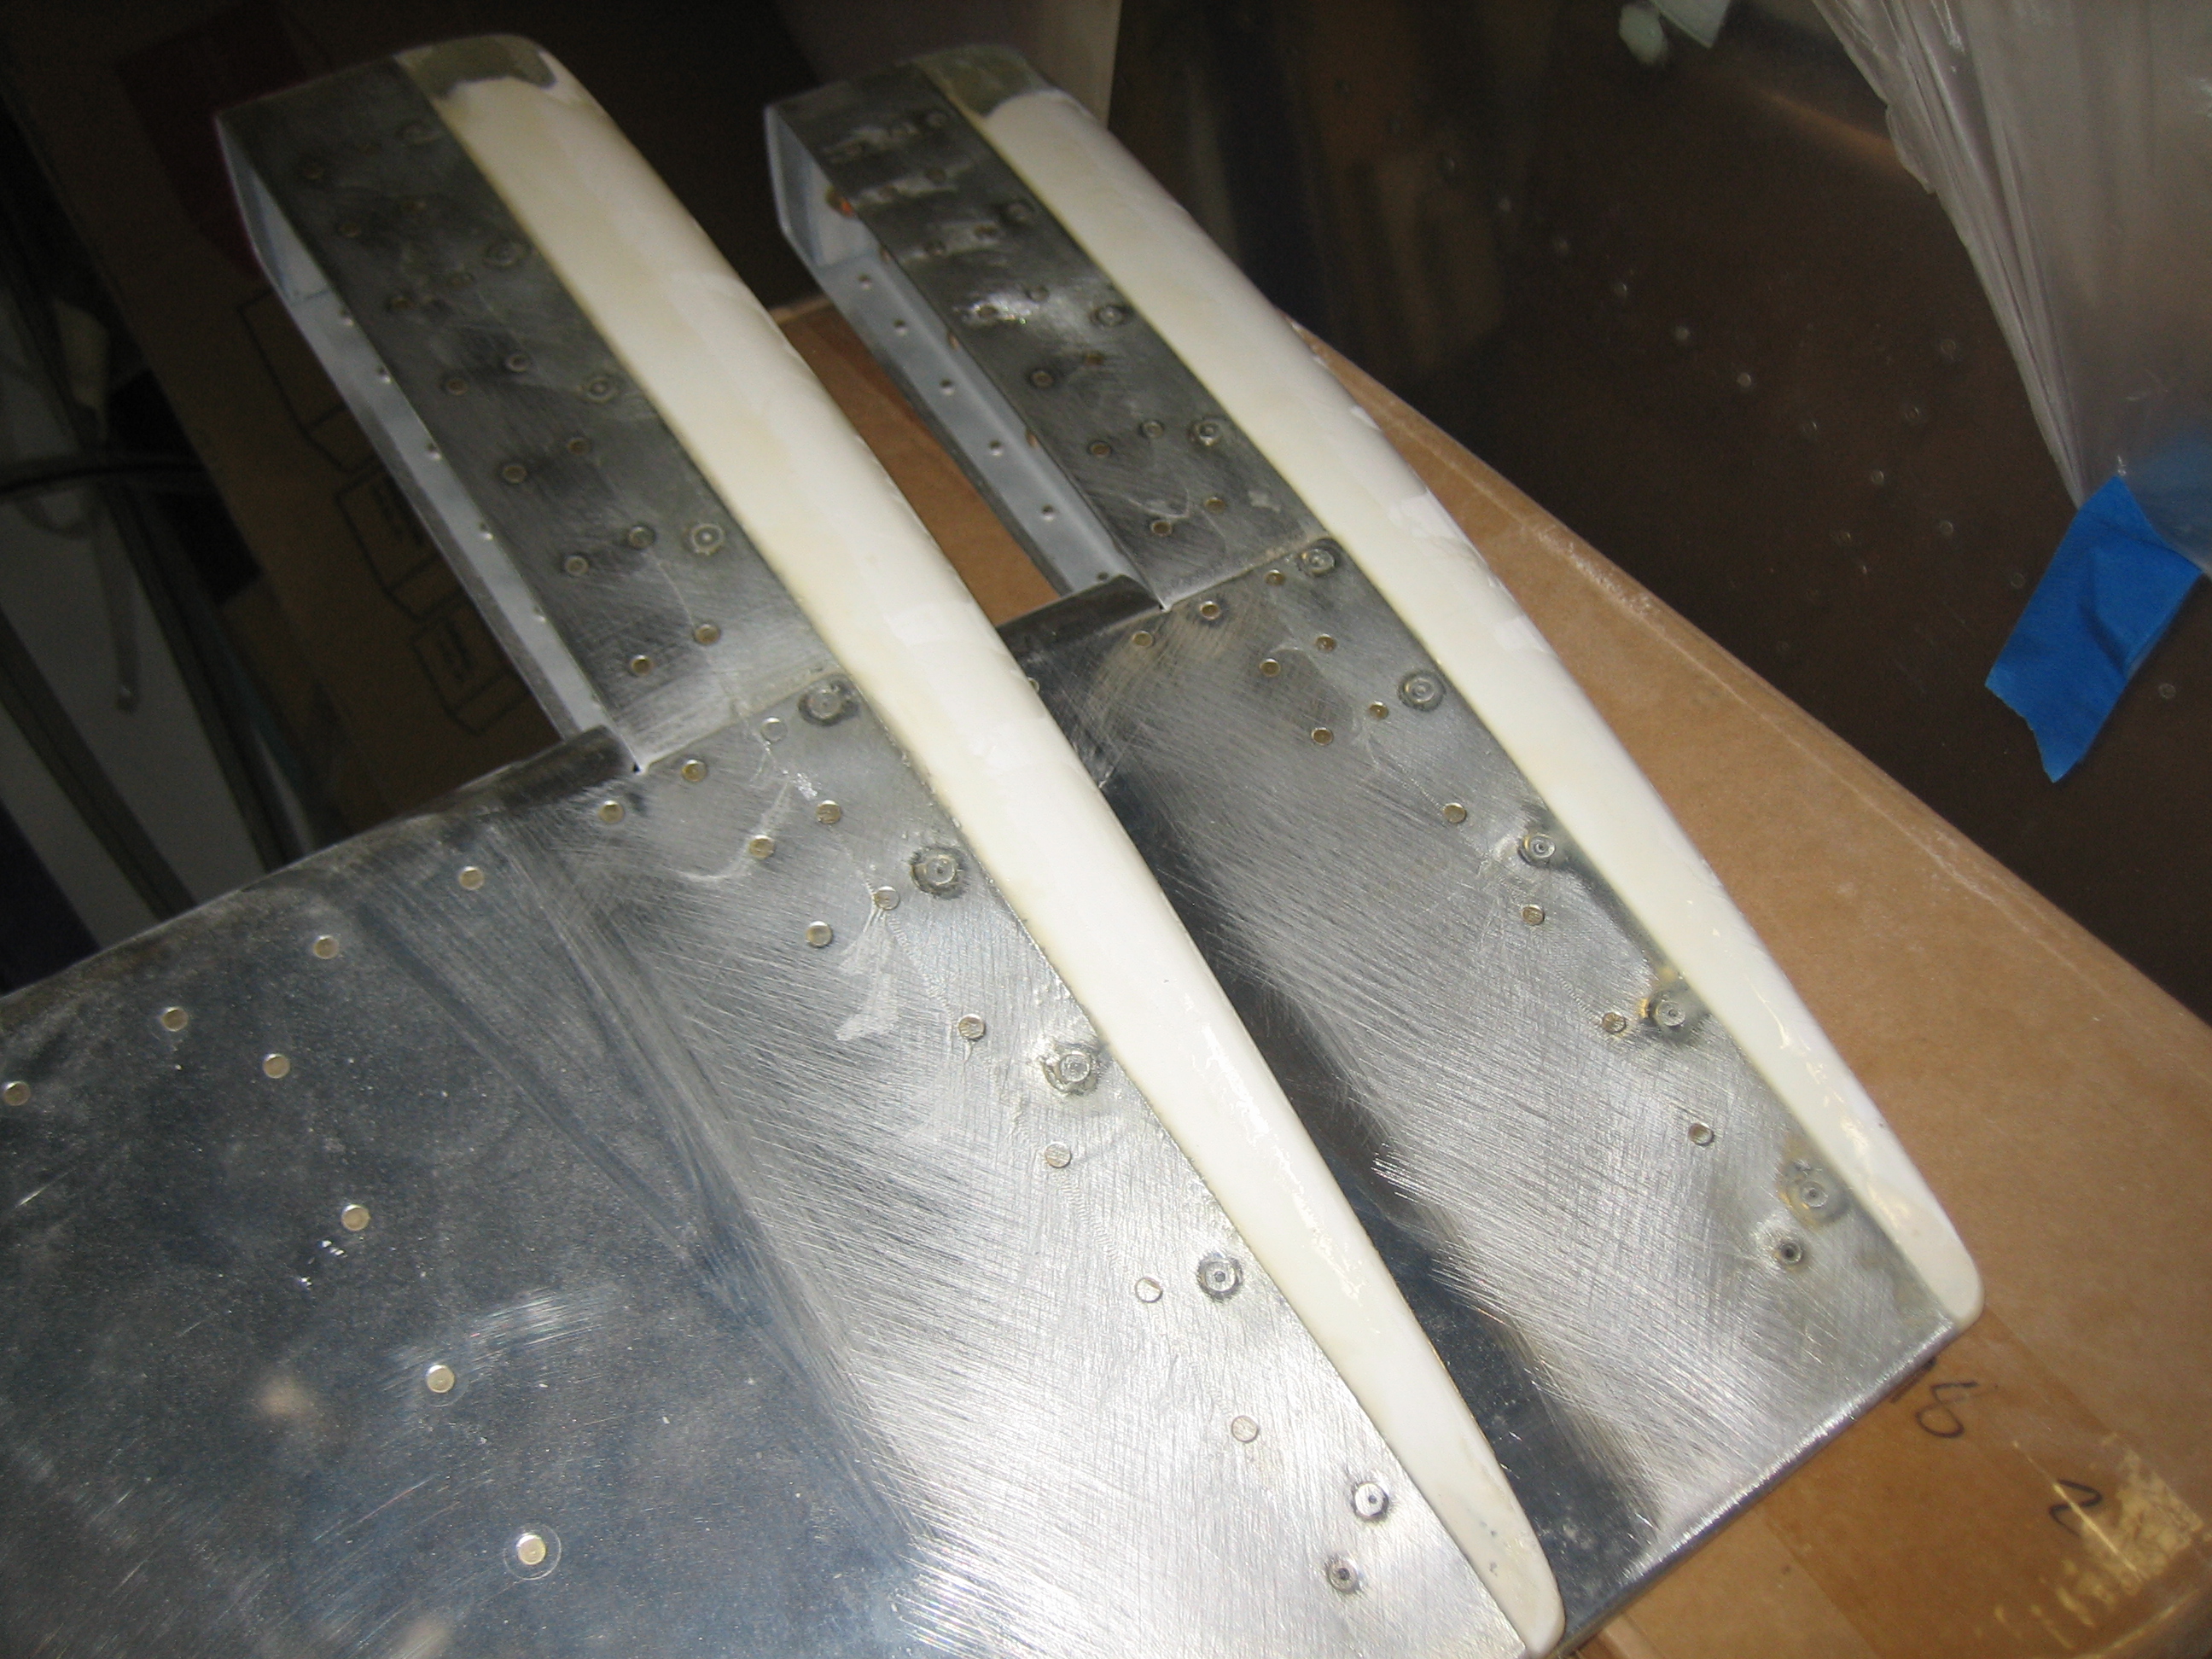
I added a coat of filler to each of the horizontal stabilizer tips.
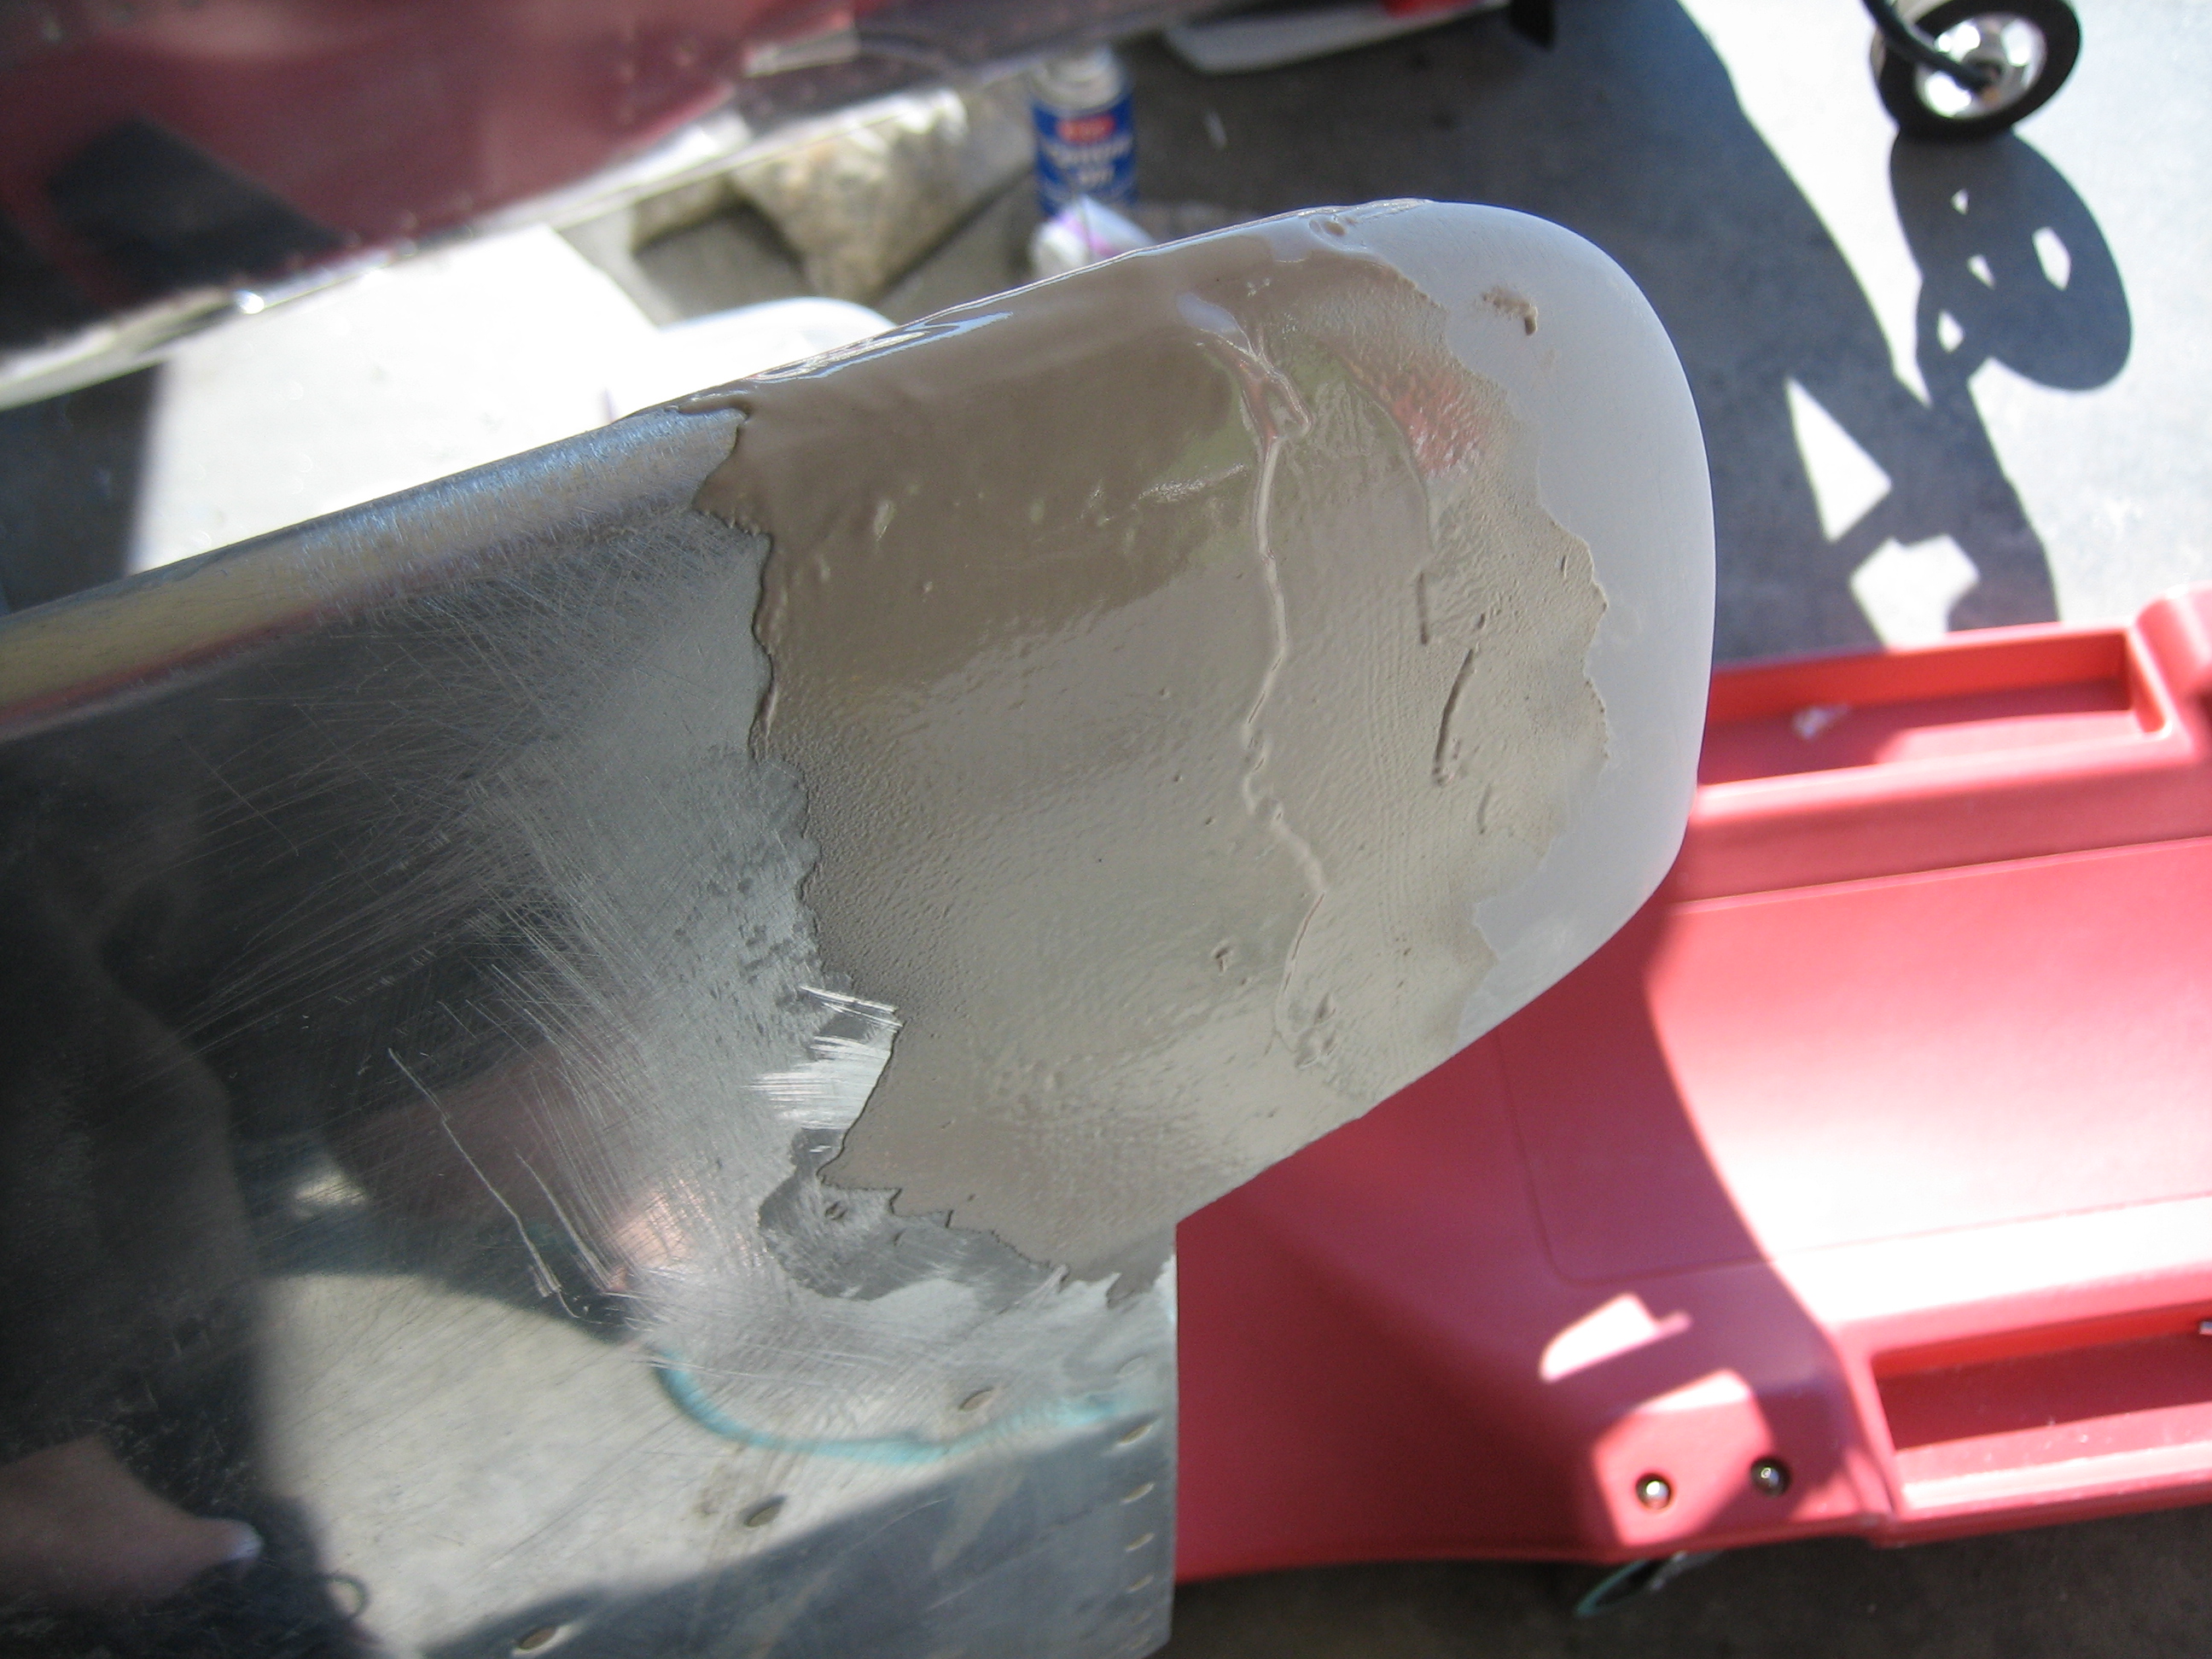
I also added a coat to each elevator tip as well.

I added a coat of filler to each of the horizontal stabilizer tips.
I also added a coat to each elevator tip as well.
I had hoped not to do this, but I removed the horizontal stabilizer to make glassing the tips easier.
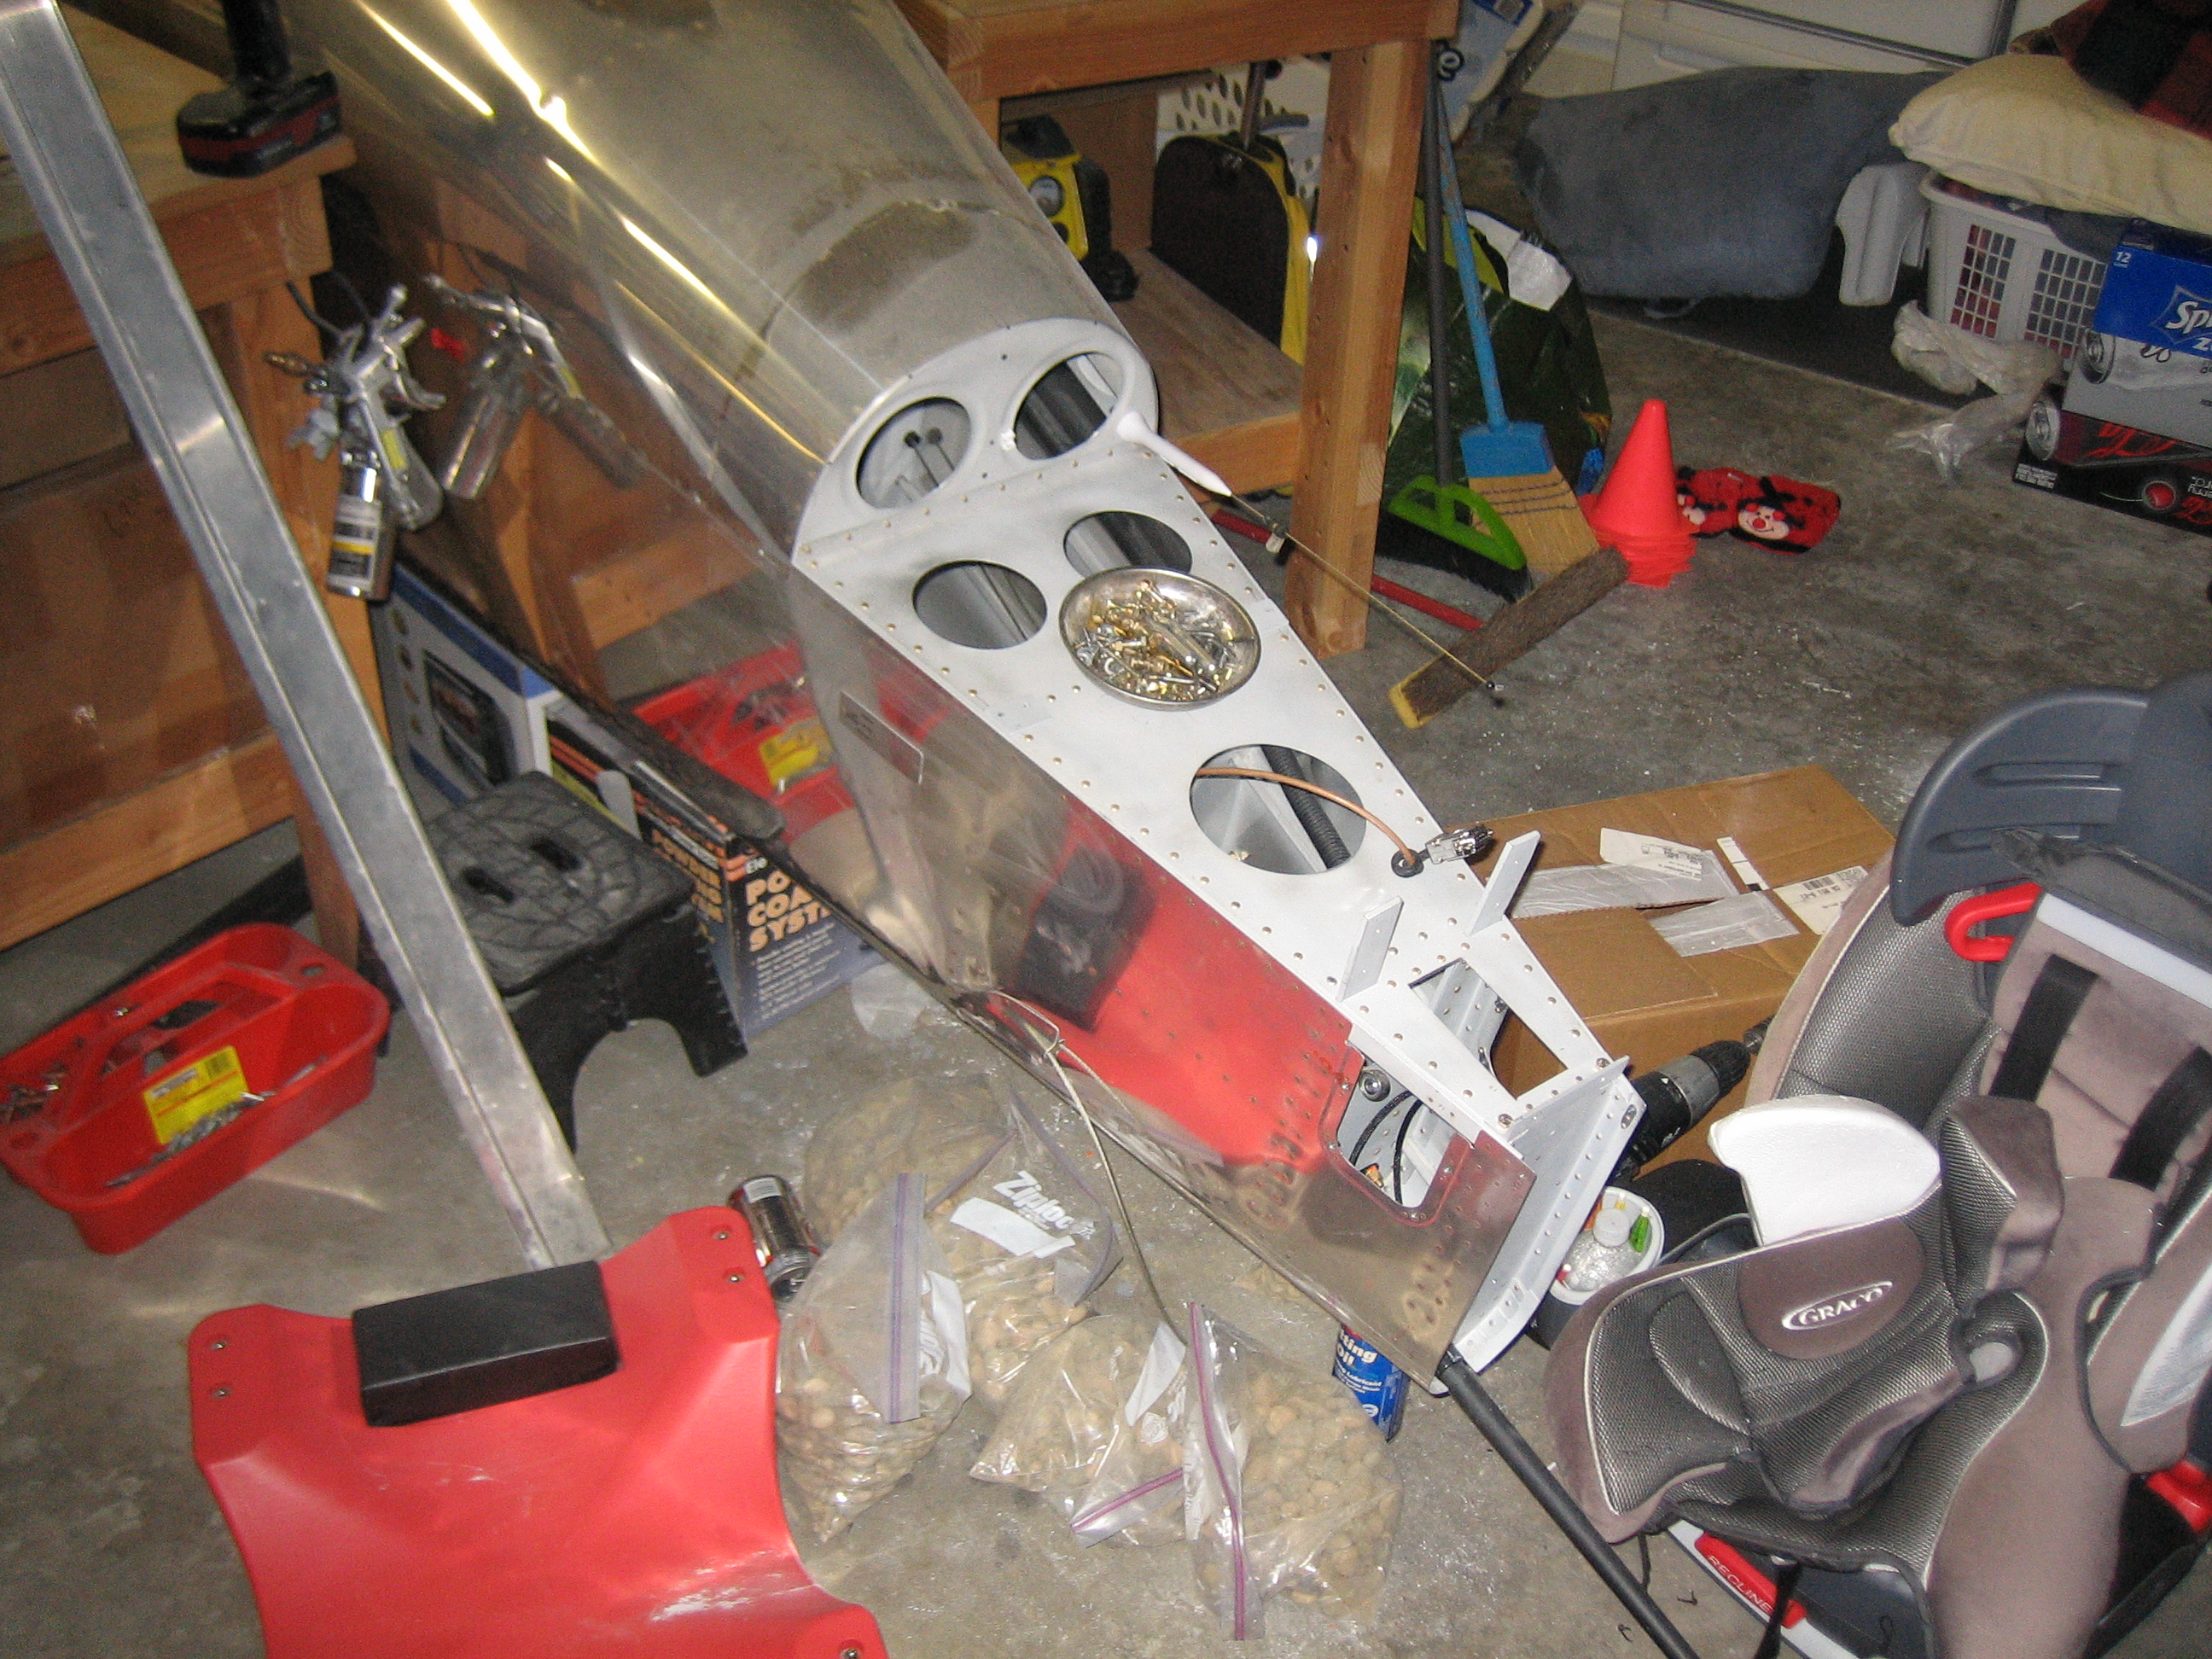
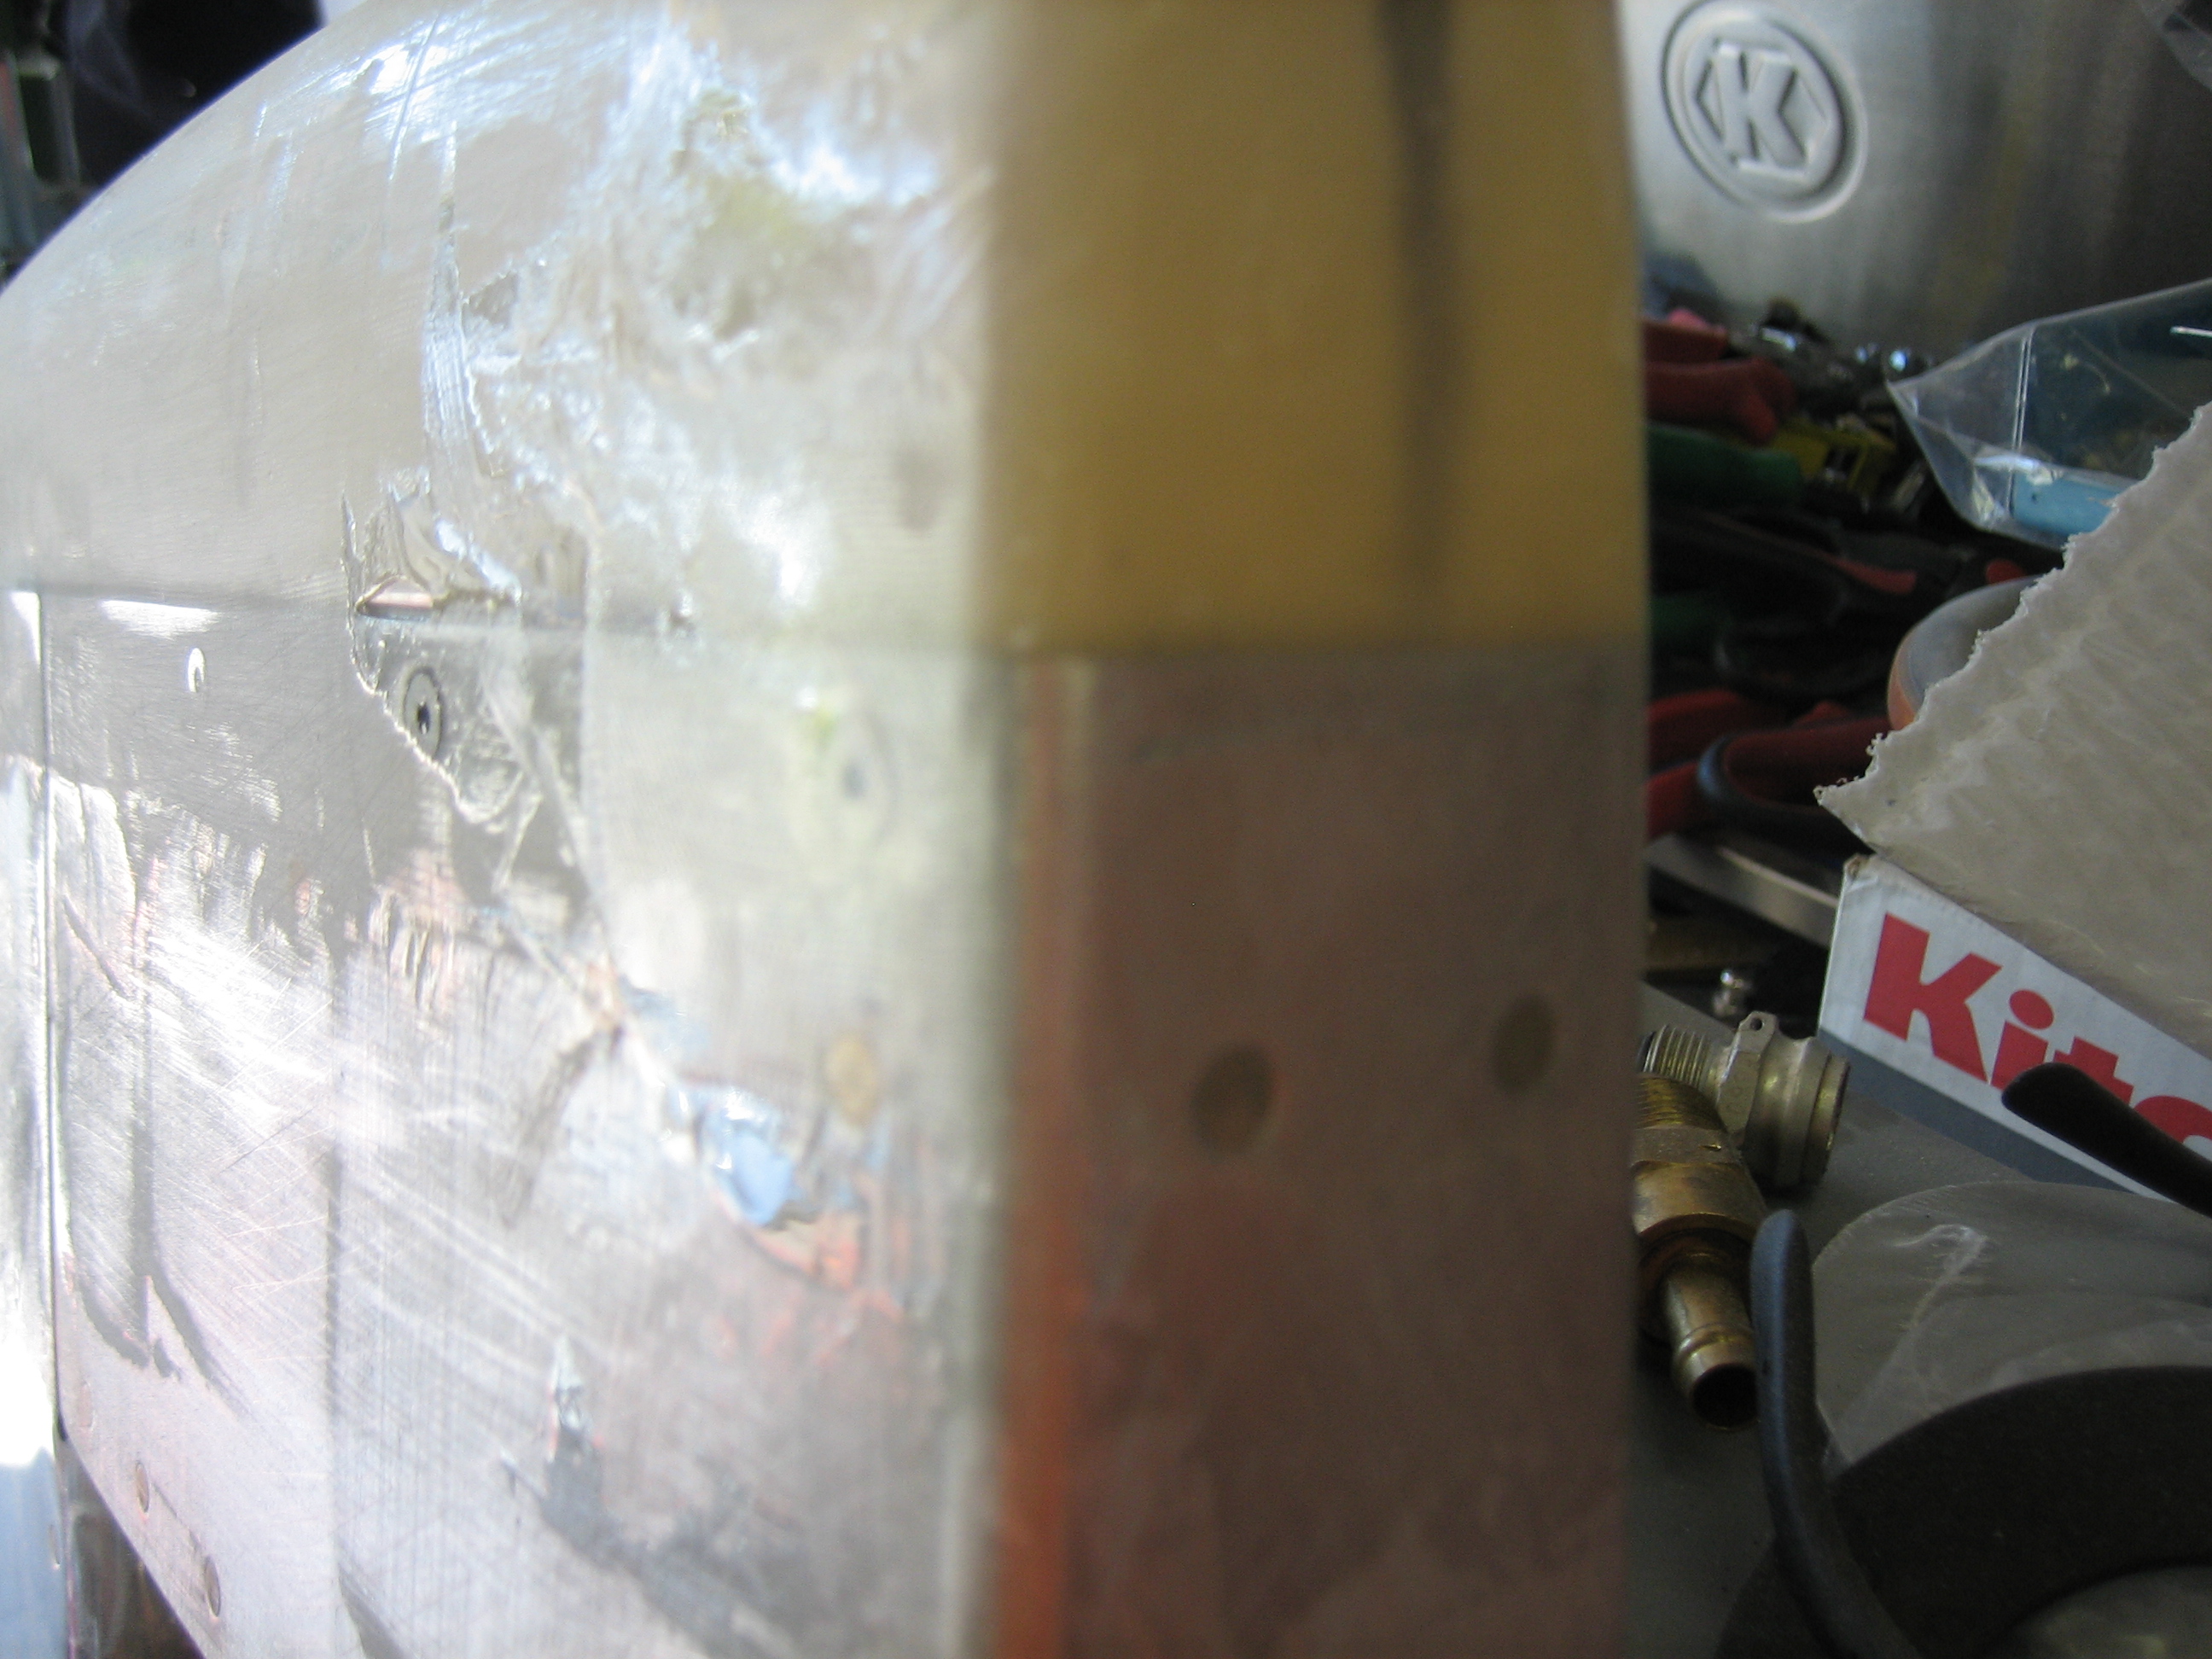
I had previously put a layer of glass over this joint way back when I first built the horizontal stabilizer, but I didn’t know that I needed to rough both surfaces up then, so I had to remove the old glass, rough up the surfaces with 80 grit sandpaper and re-glass them.
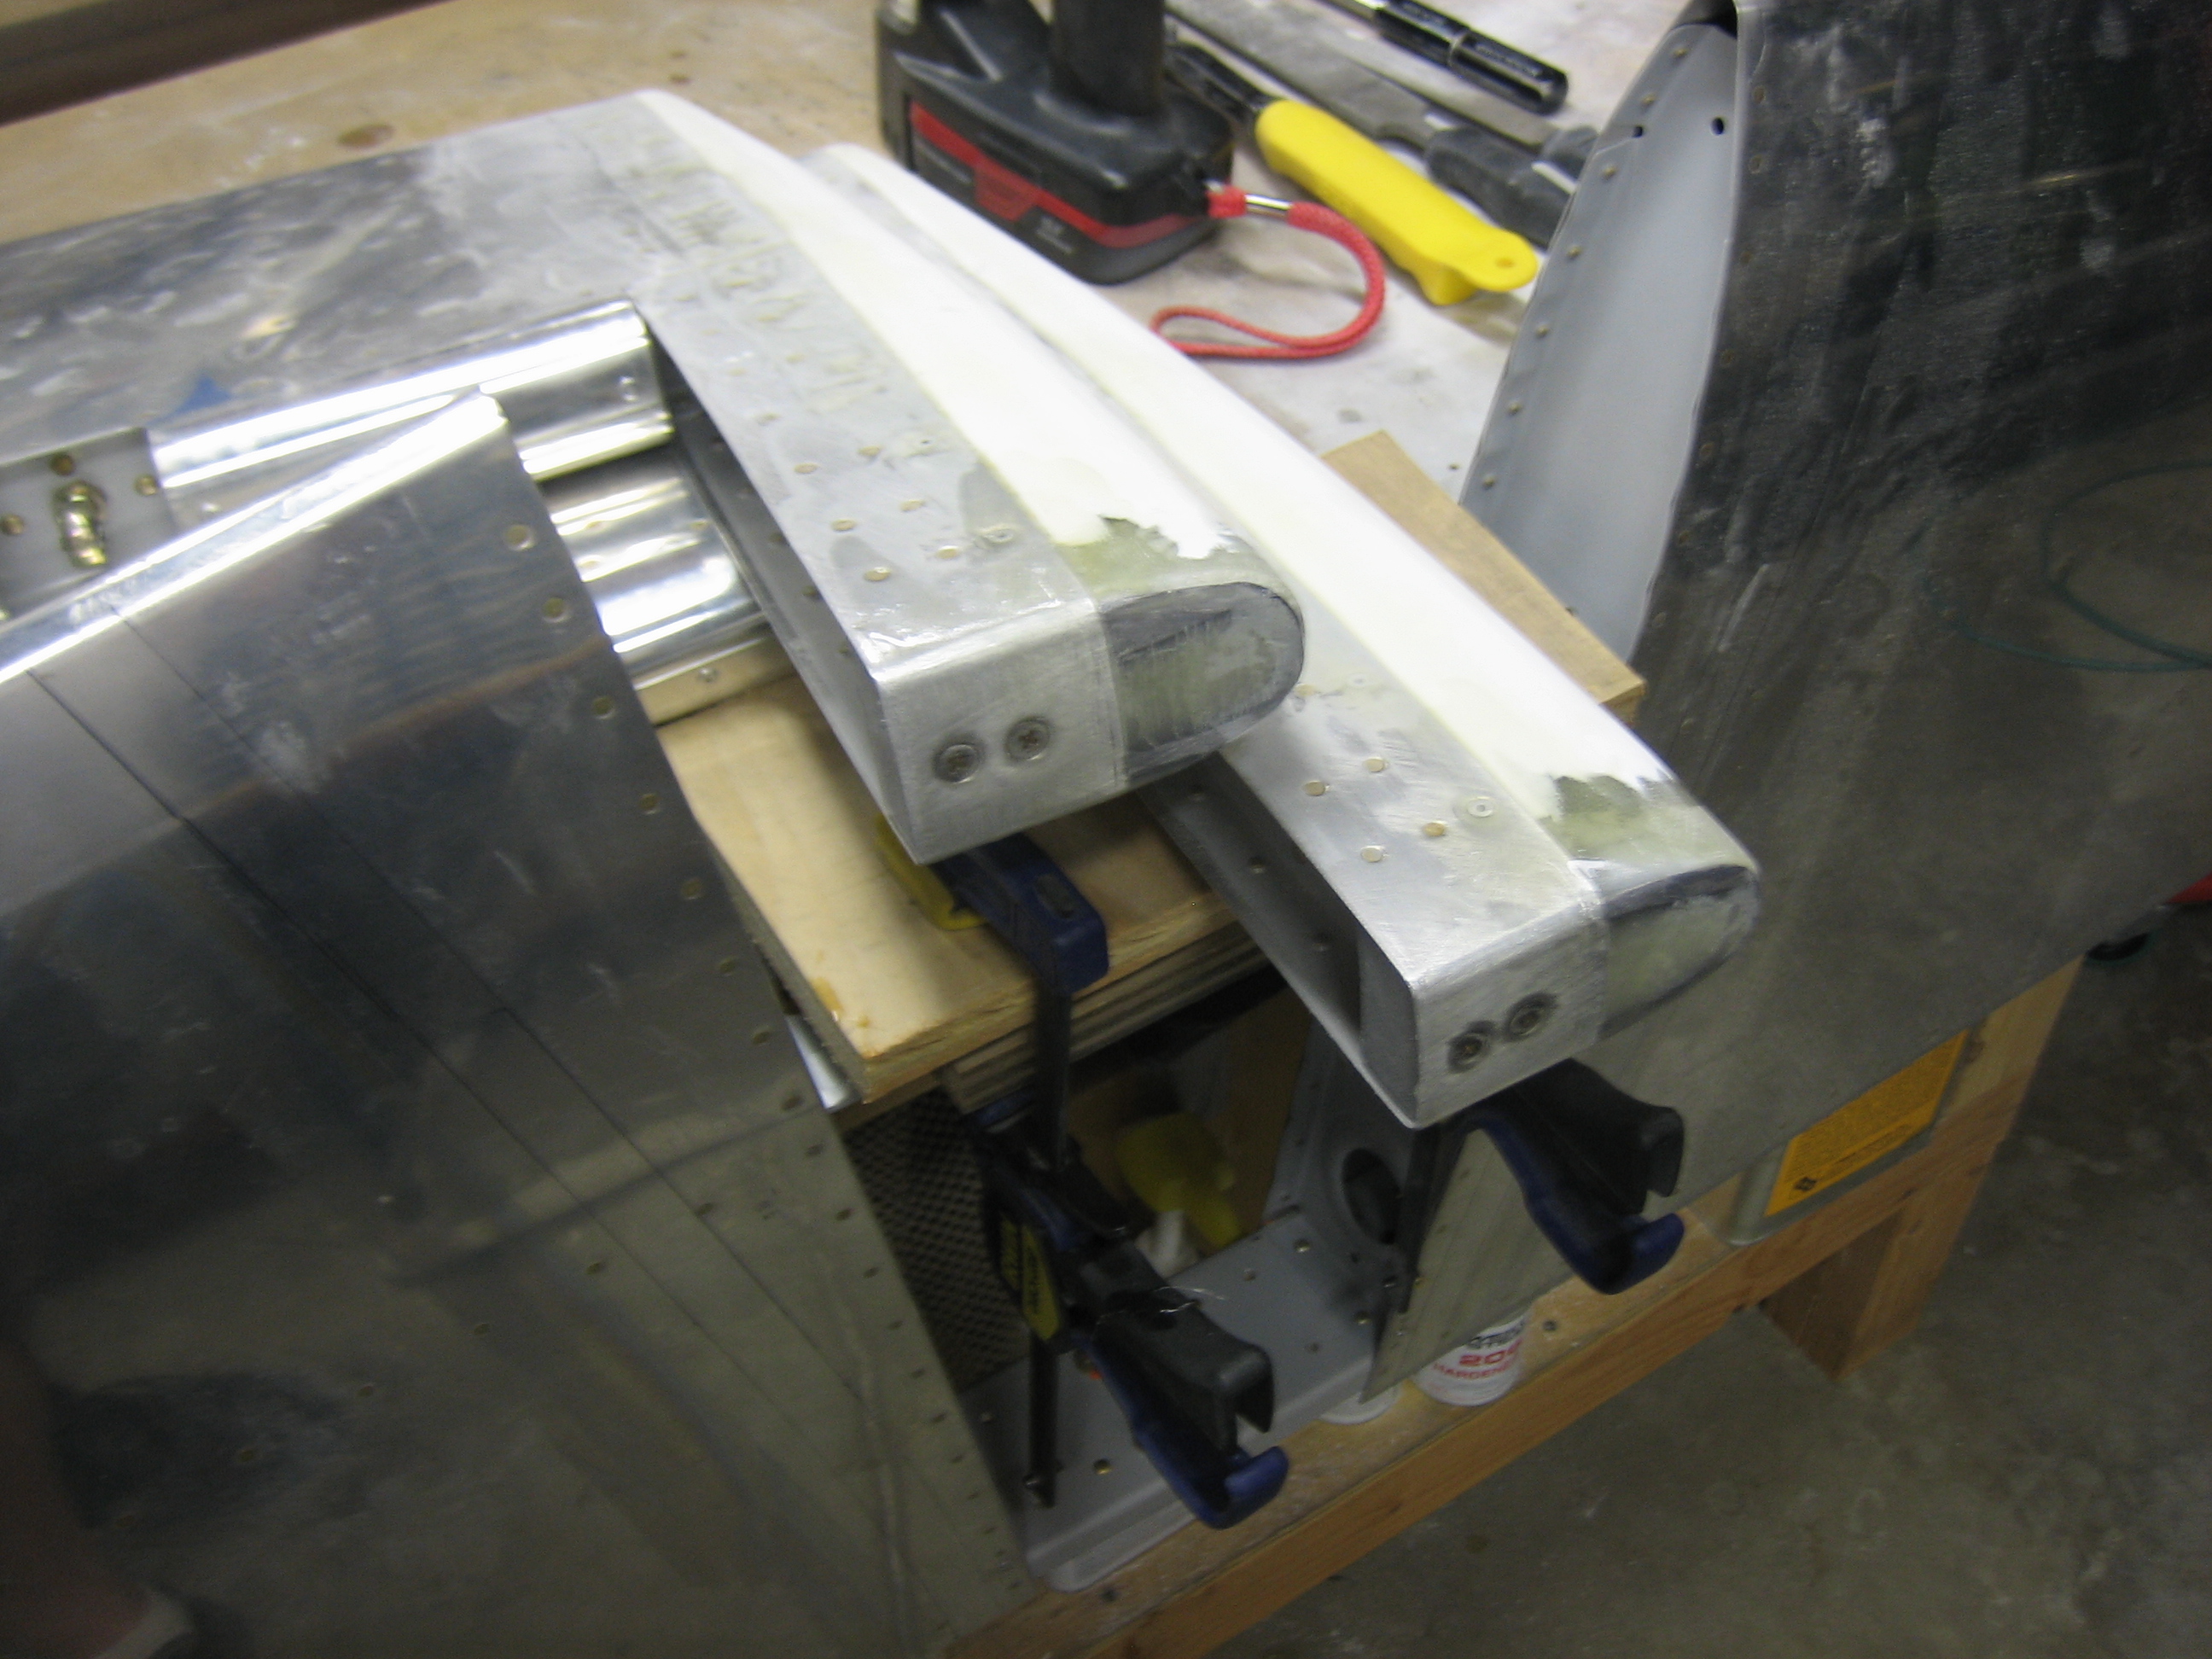
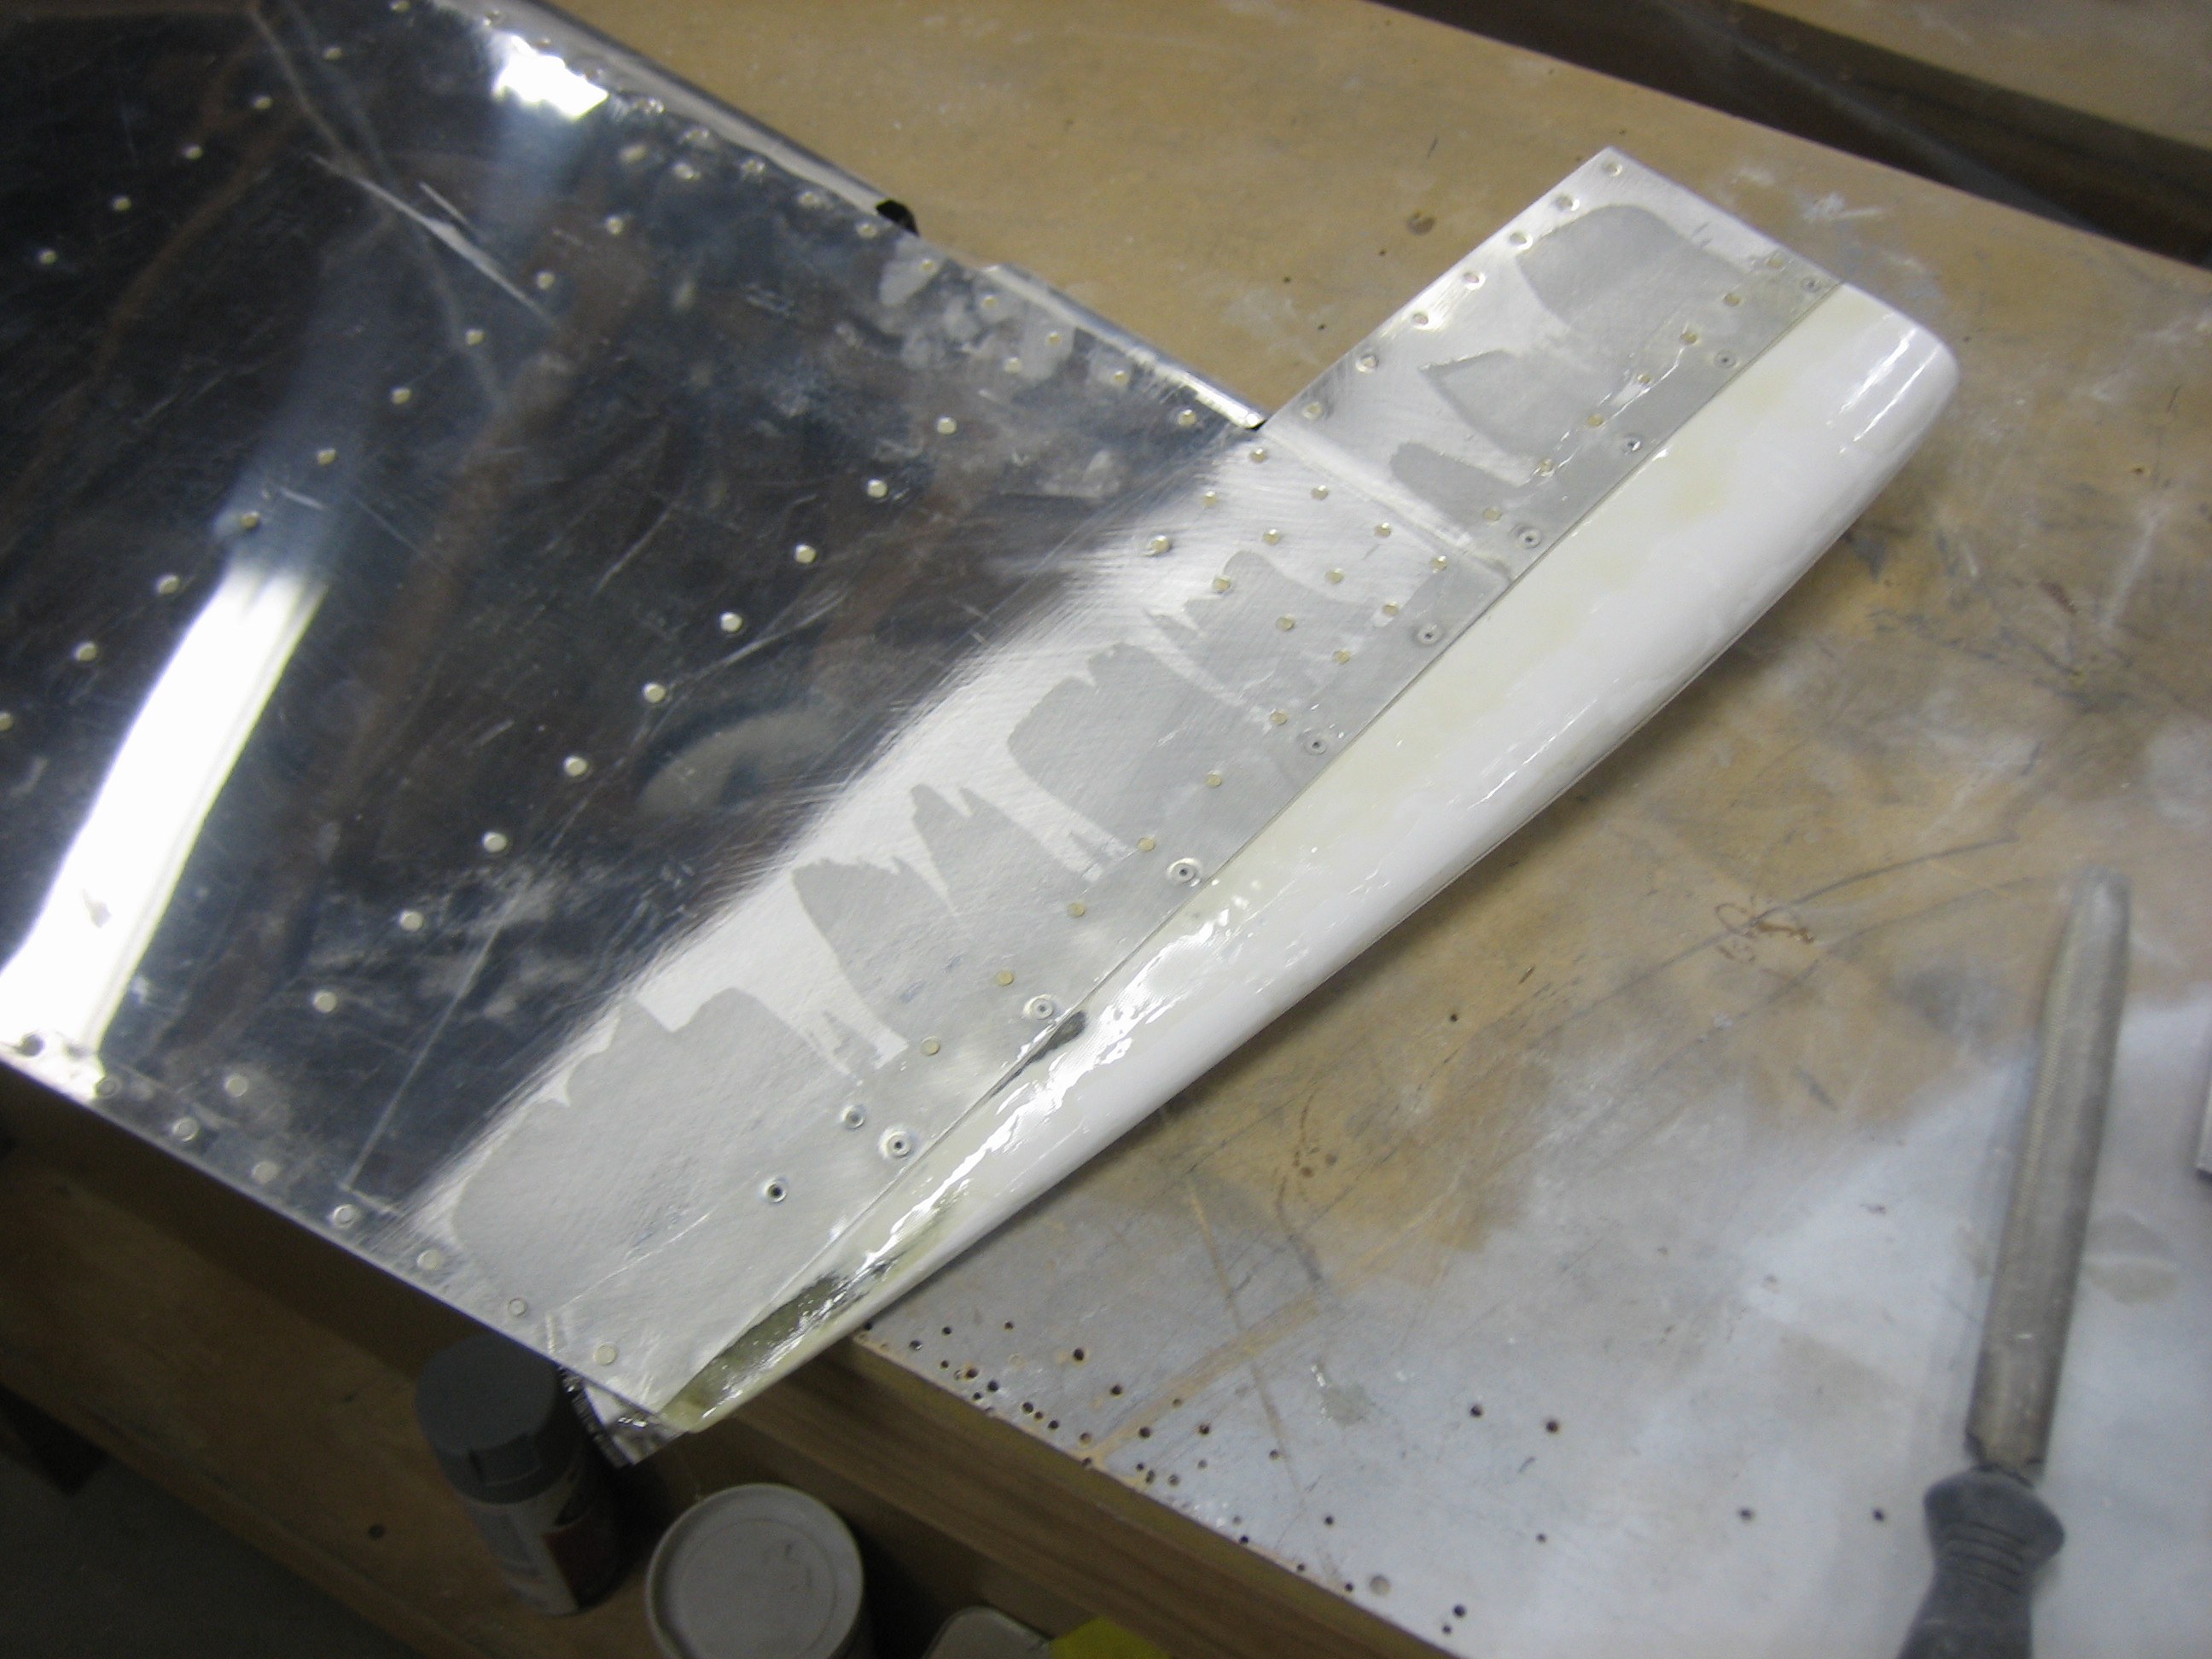
I also glassed over the leading edges of the elevator counterweight horns. You can also see here how I clamped my horizontal stabilizer to the bench. I screwed a small piece of plywood to the bench and then clamped the forward spar to it. I can hang the elevators from the horizontal stabilizer this way and fair the tips together so that they’re perfectly aligned.
I glassed the other side of the elevators tonight.
I also filed down the leading edge of the rudder and wrapped it in glass.
I sanded and applied a layer of glass to one side of each of the elevators. I also filed down the filler I applied yesterday, but I didn’t get a picture.
The rudder had the same issue, so I applied a little filler here.
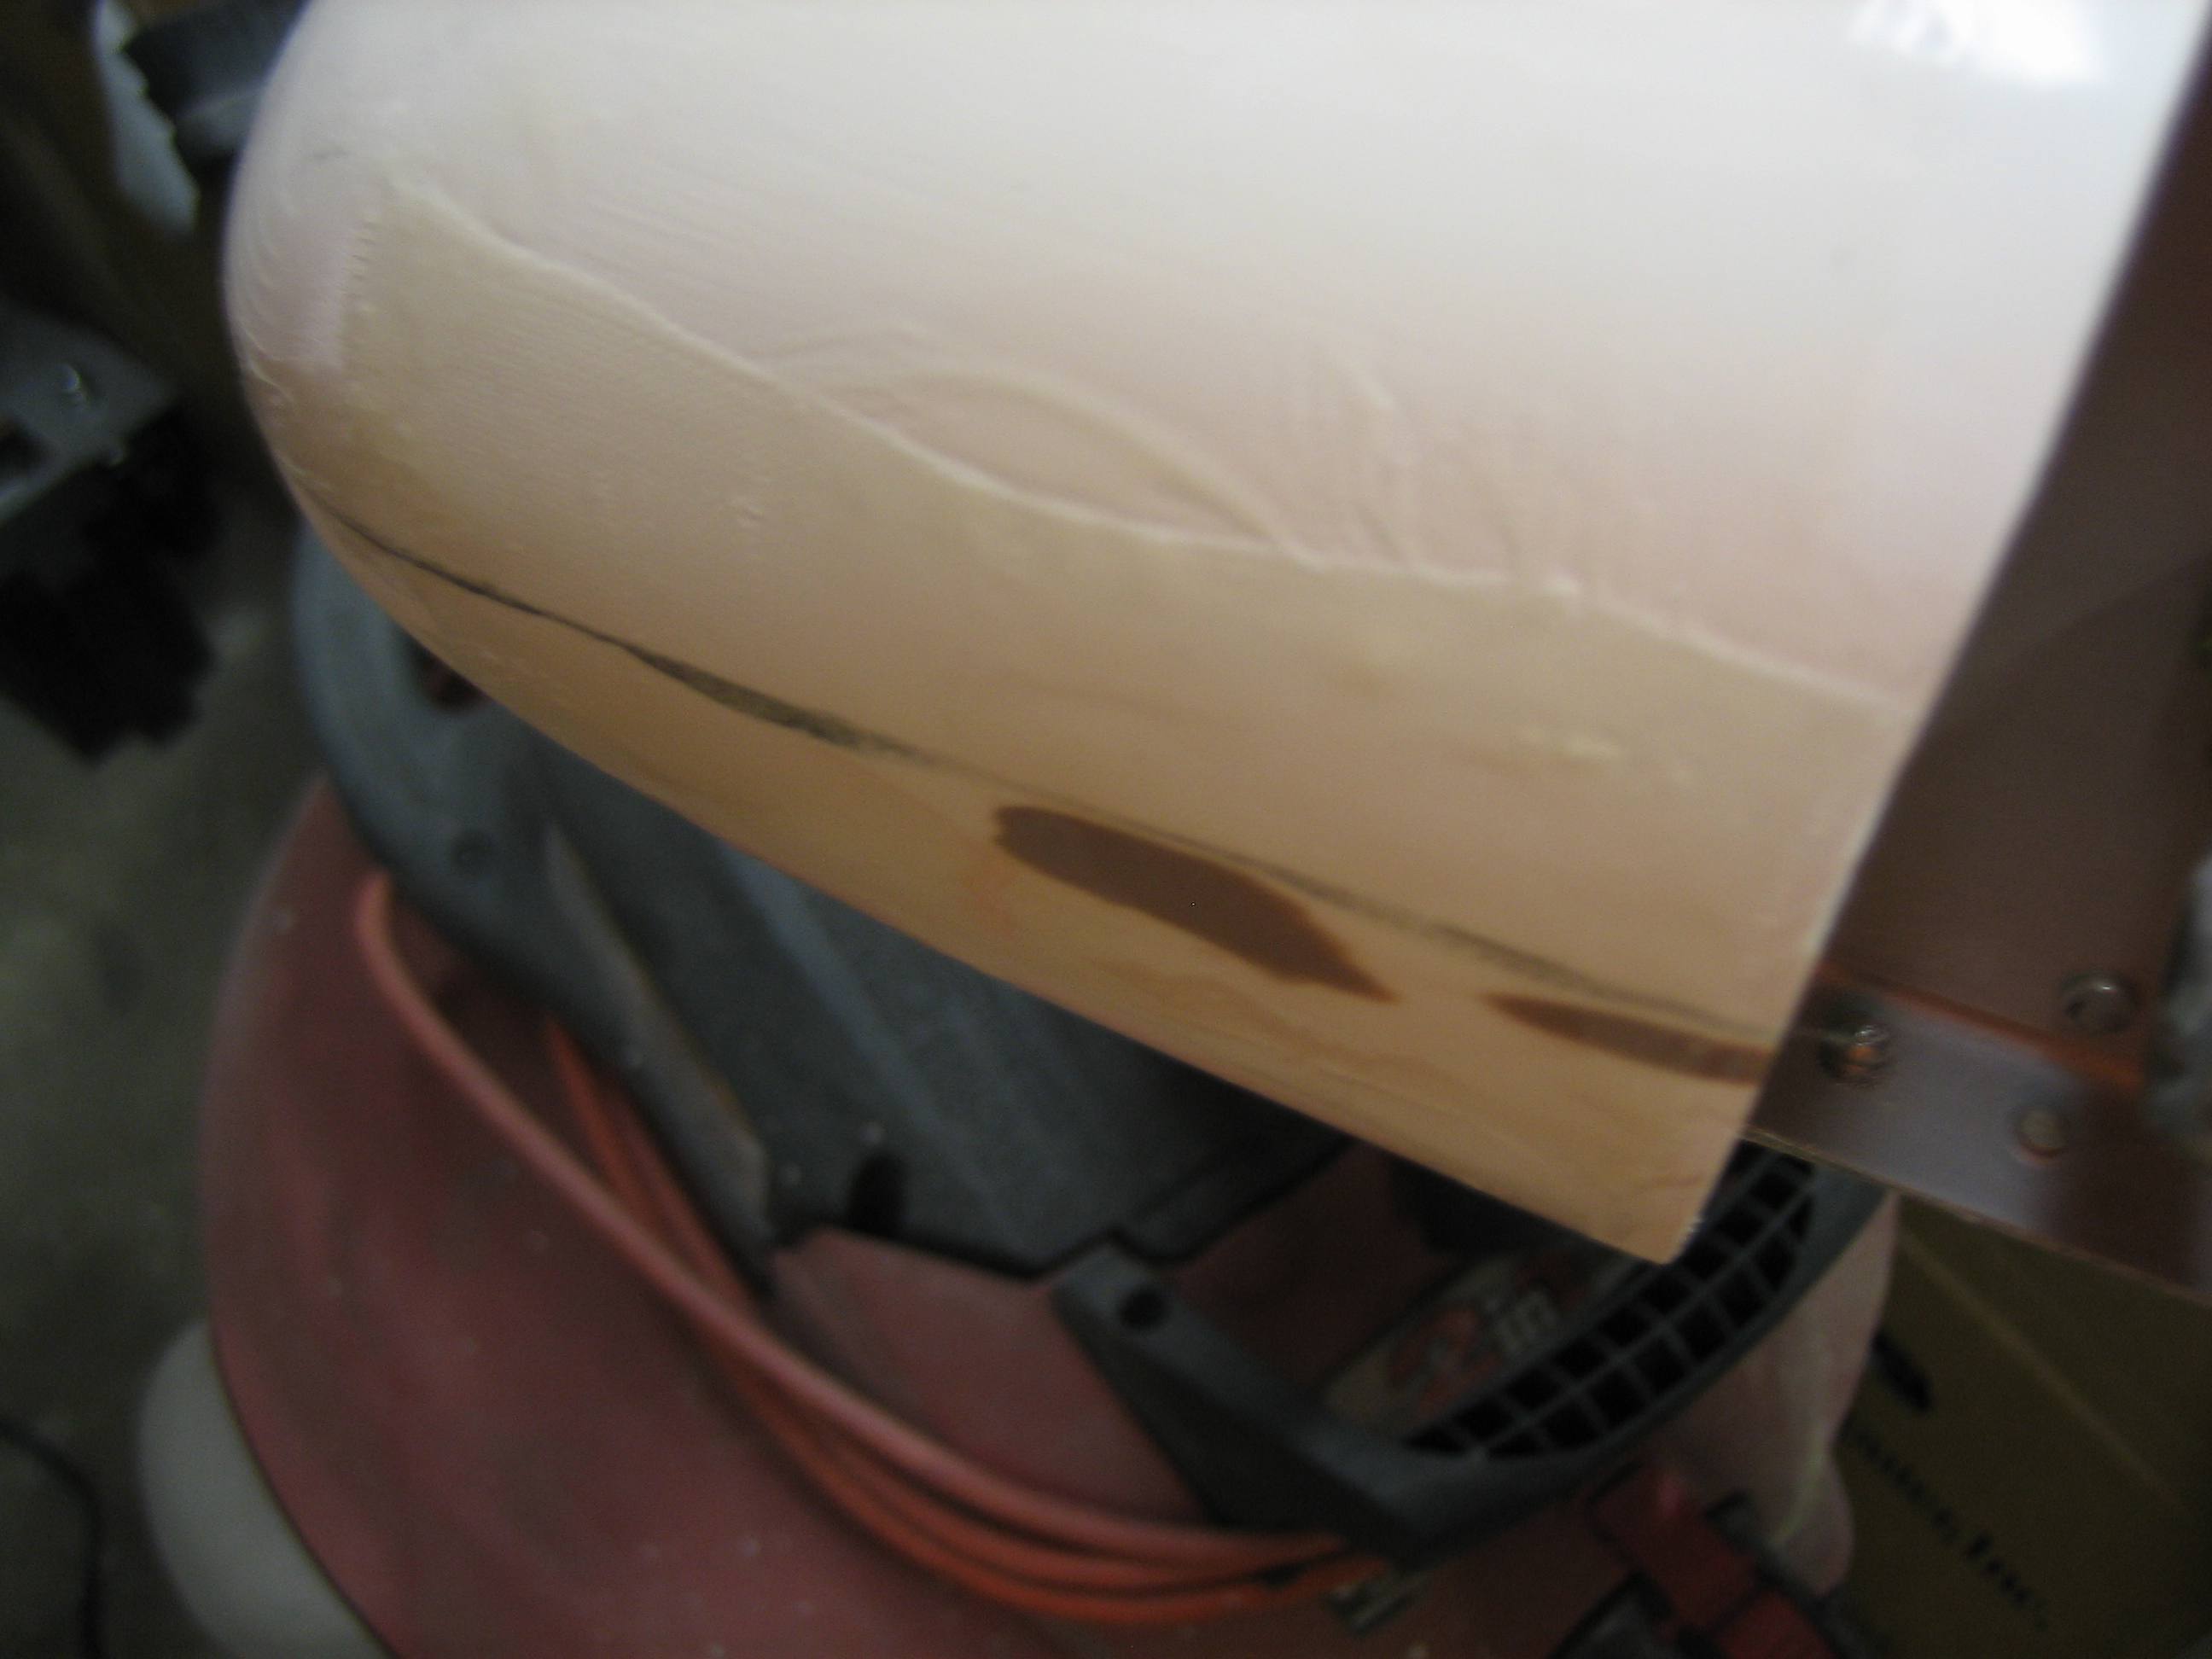
The leading edge of the lower rudder fairing had also cracked, but only the outer layer. I laid up a bit of glass over the crack to prevent it from growing.
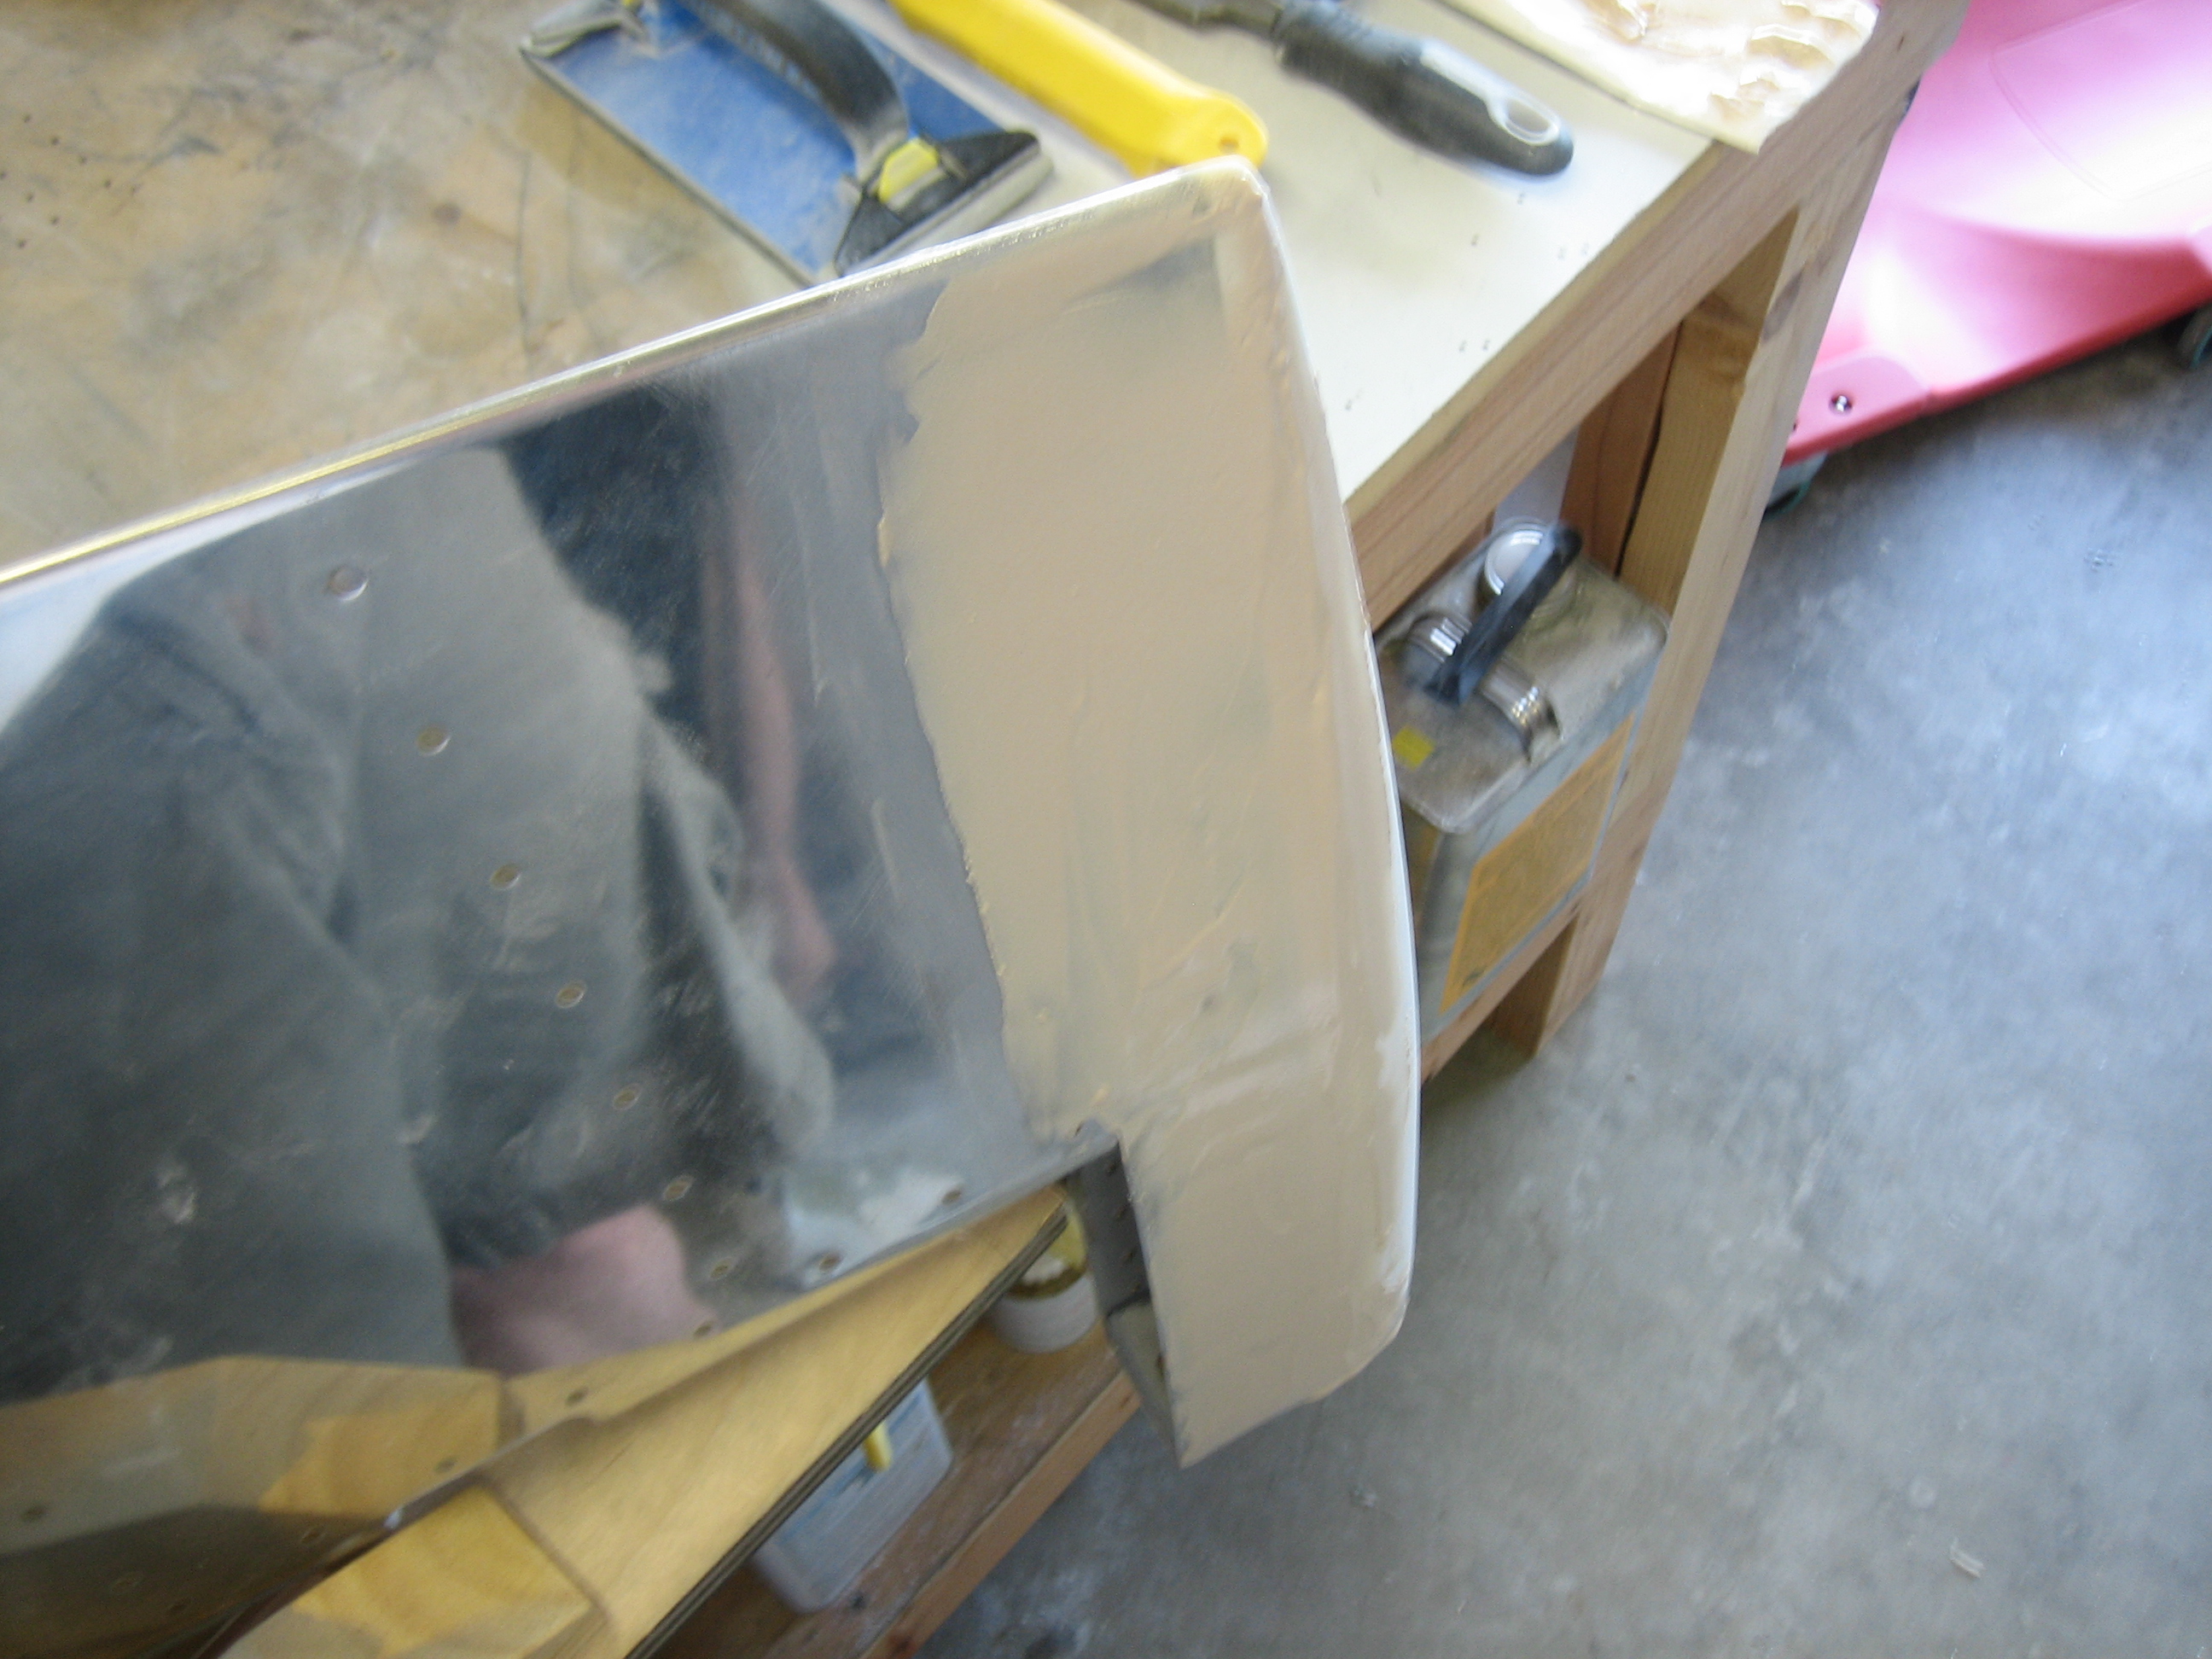
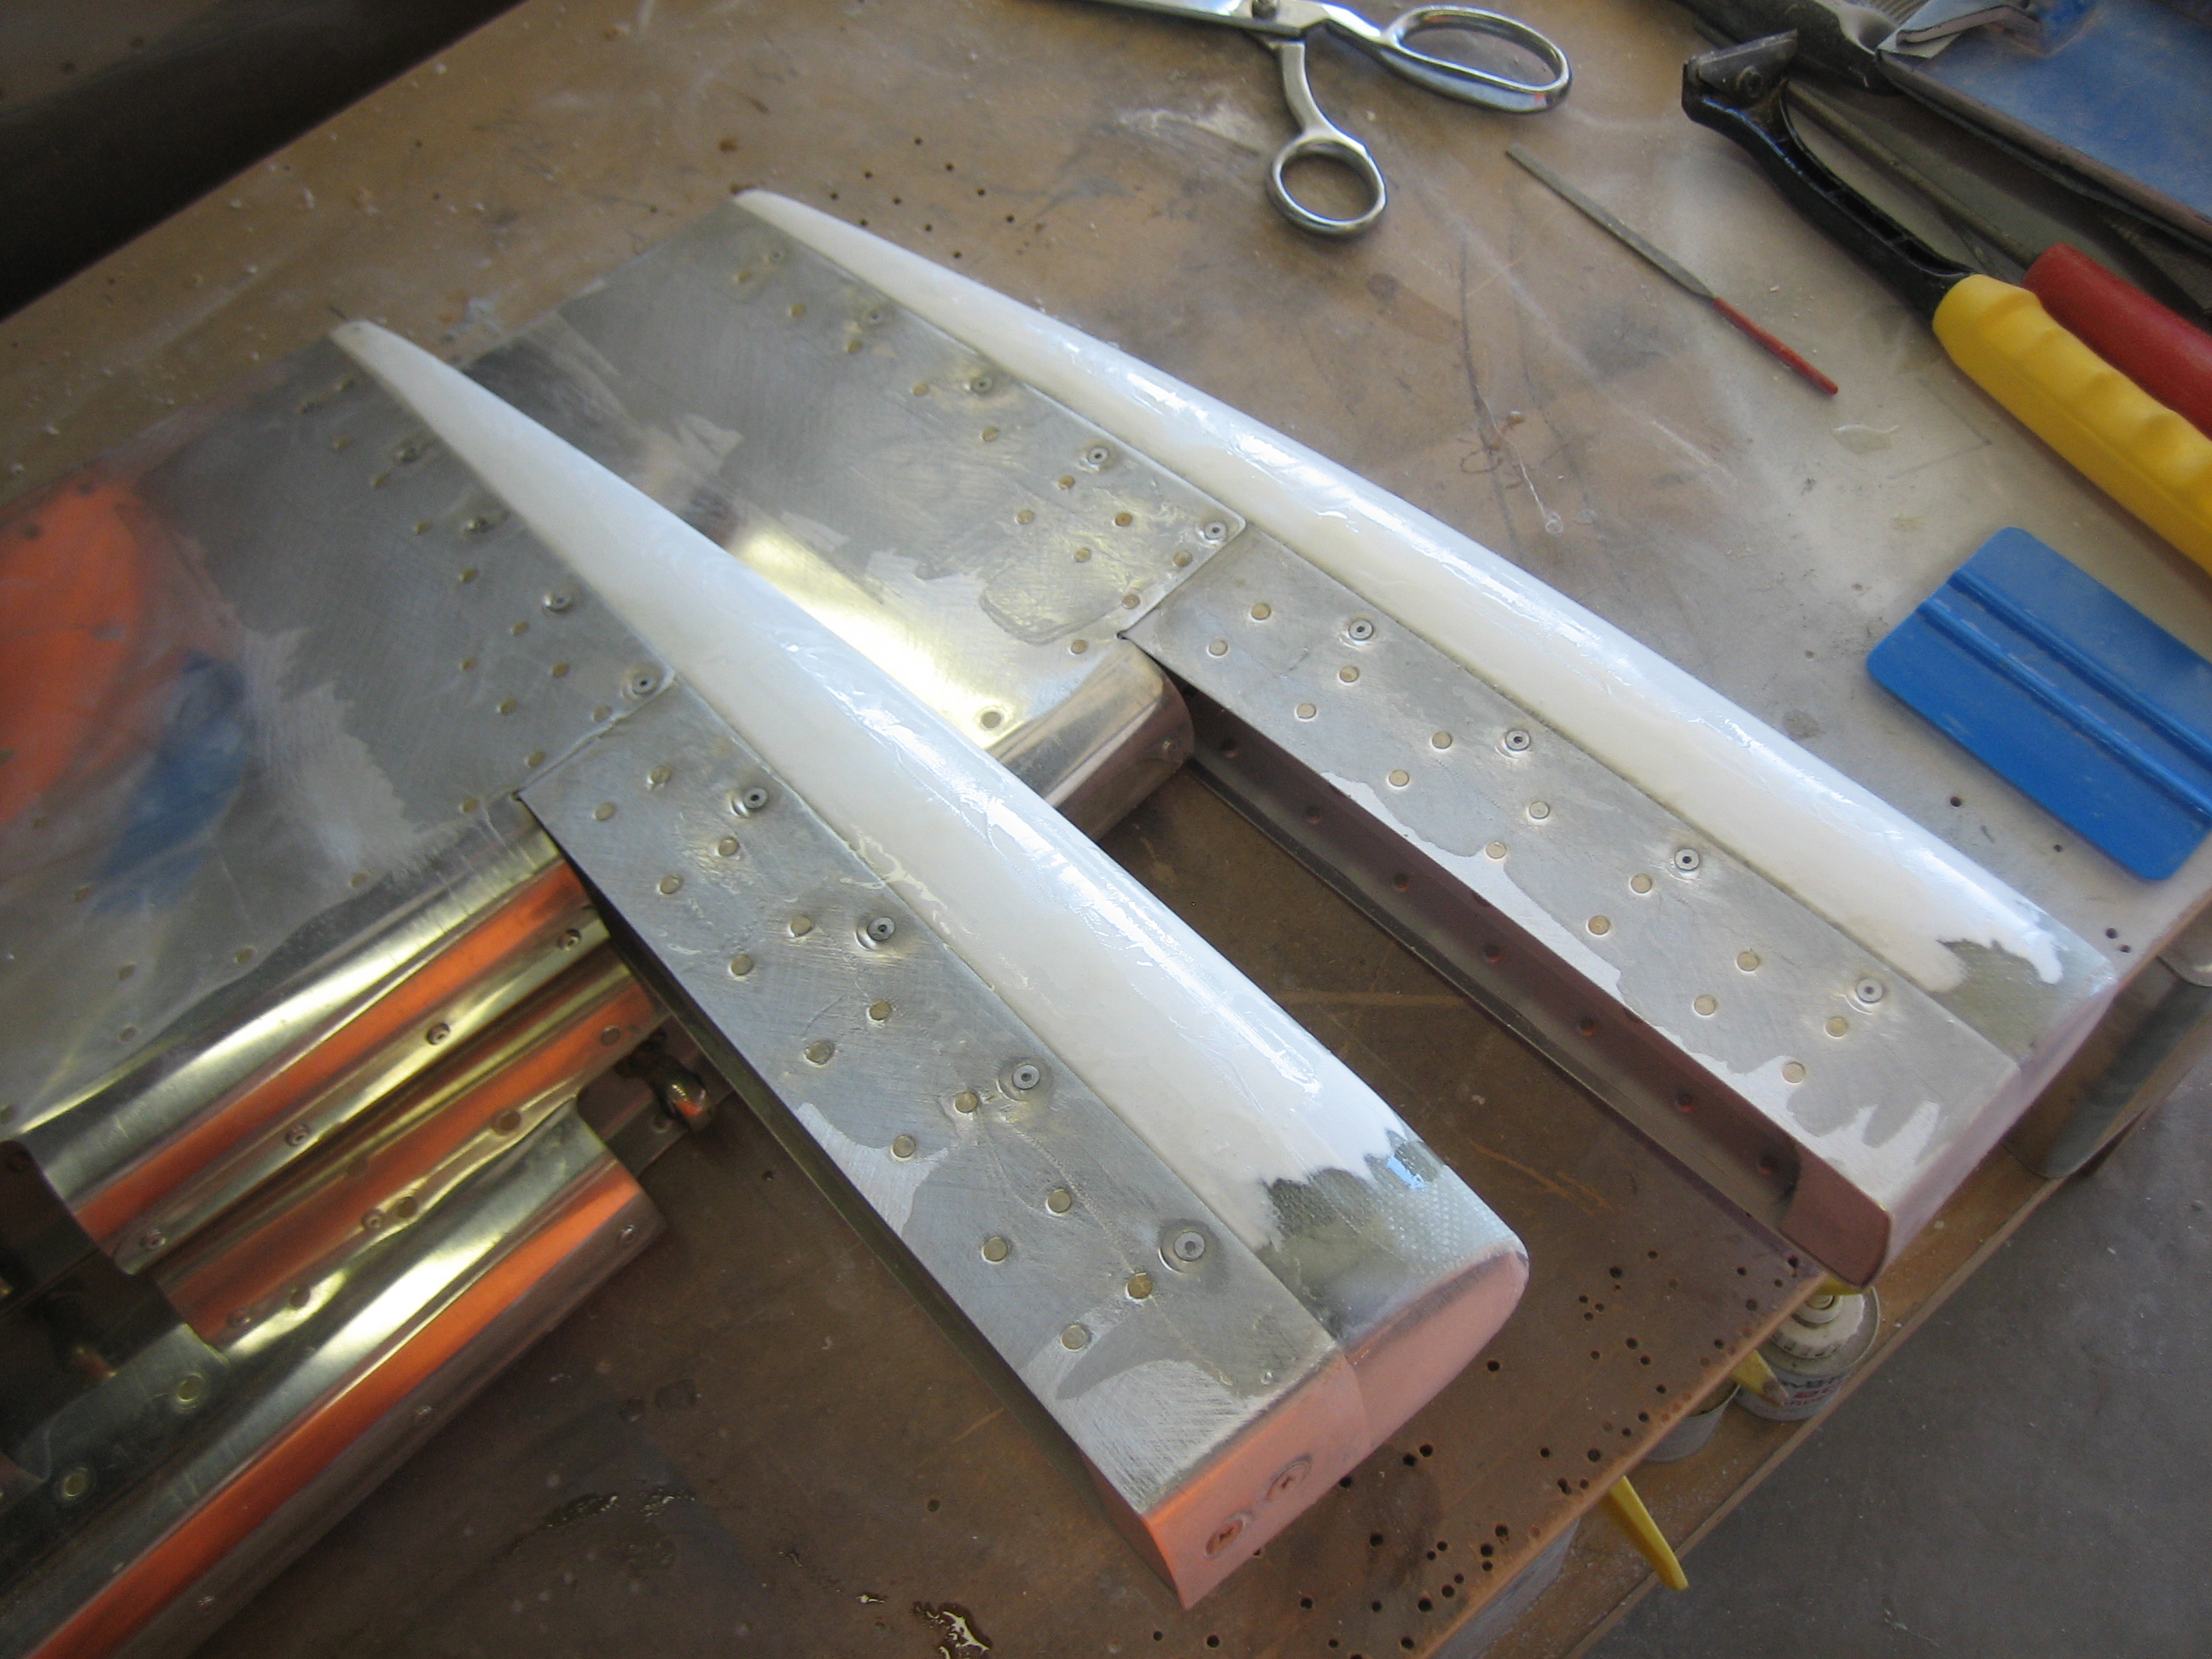
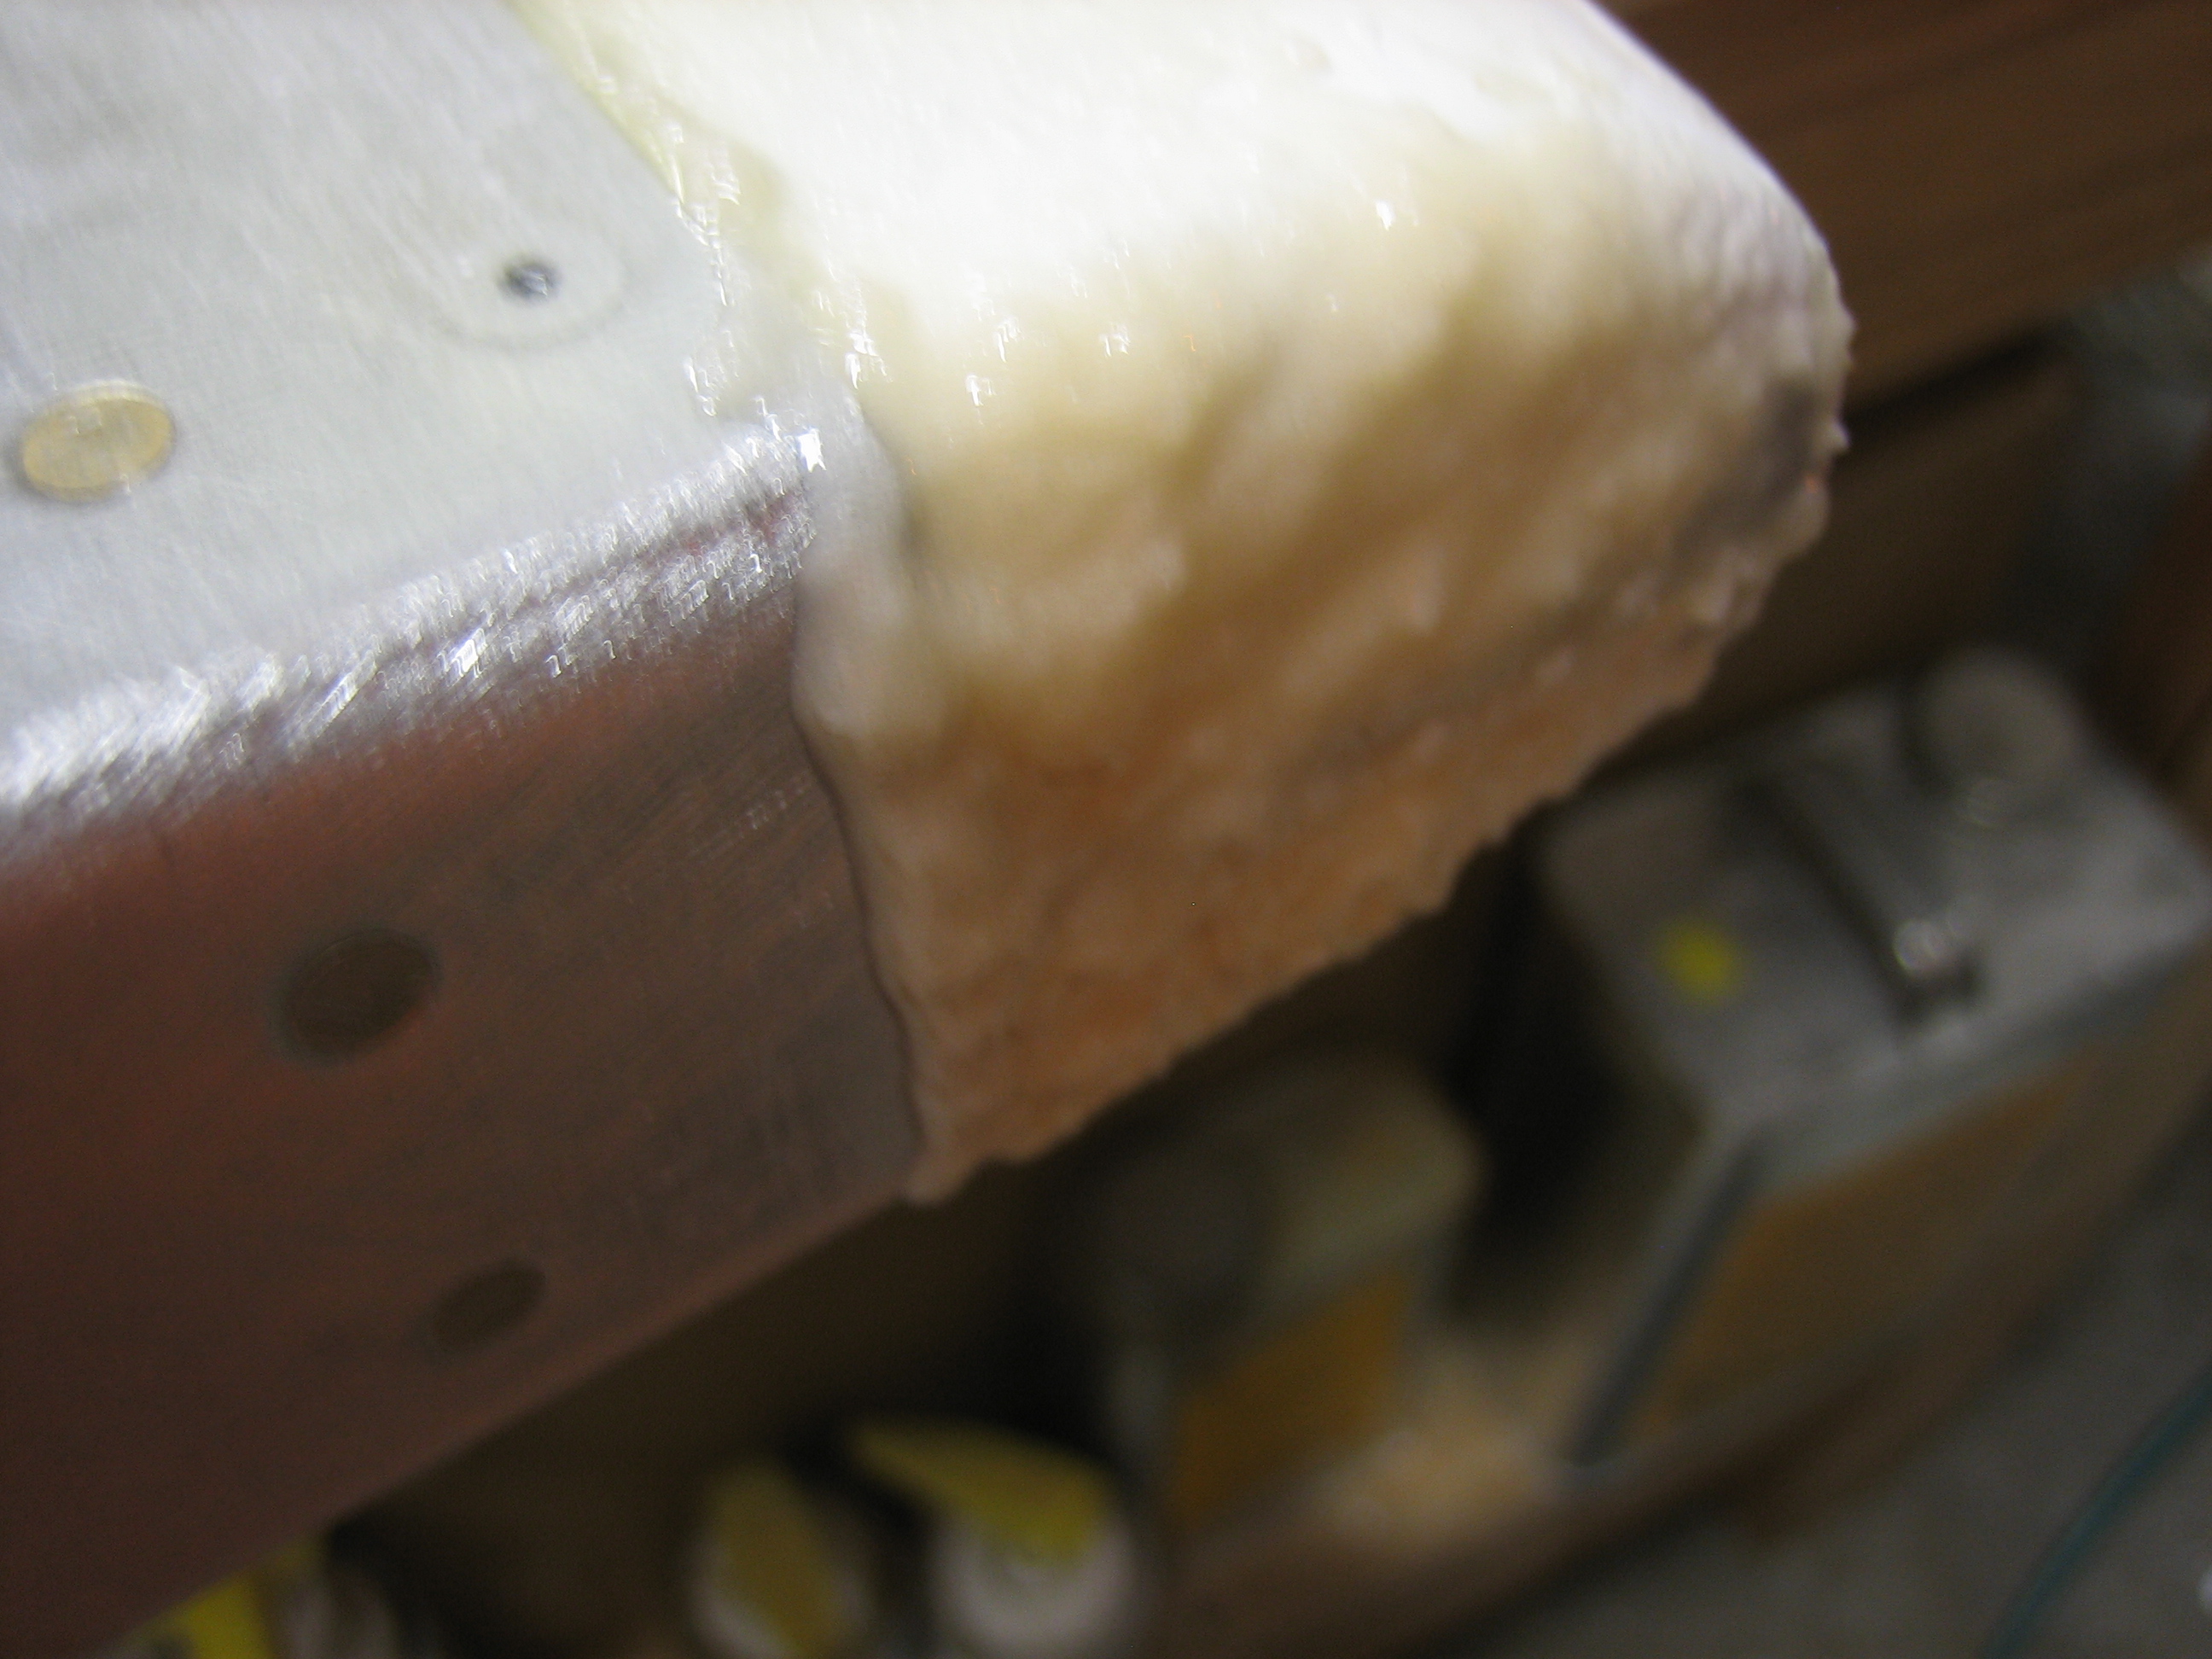
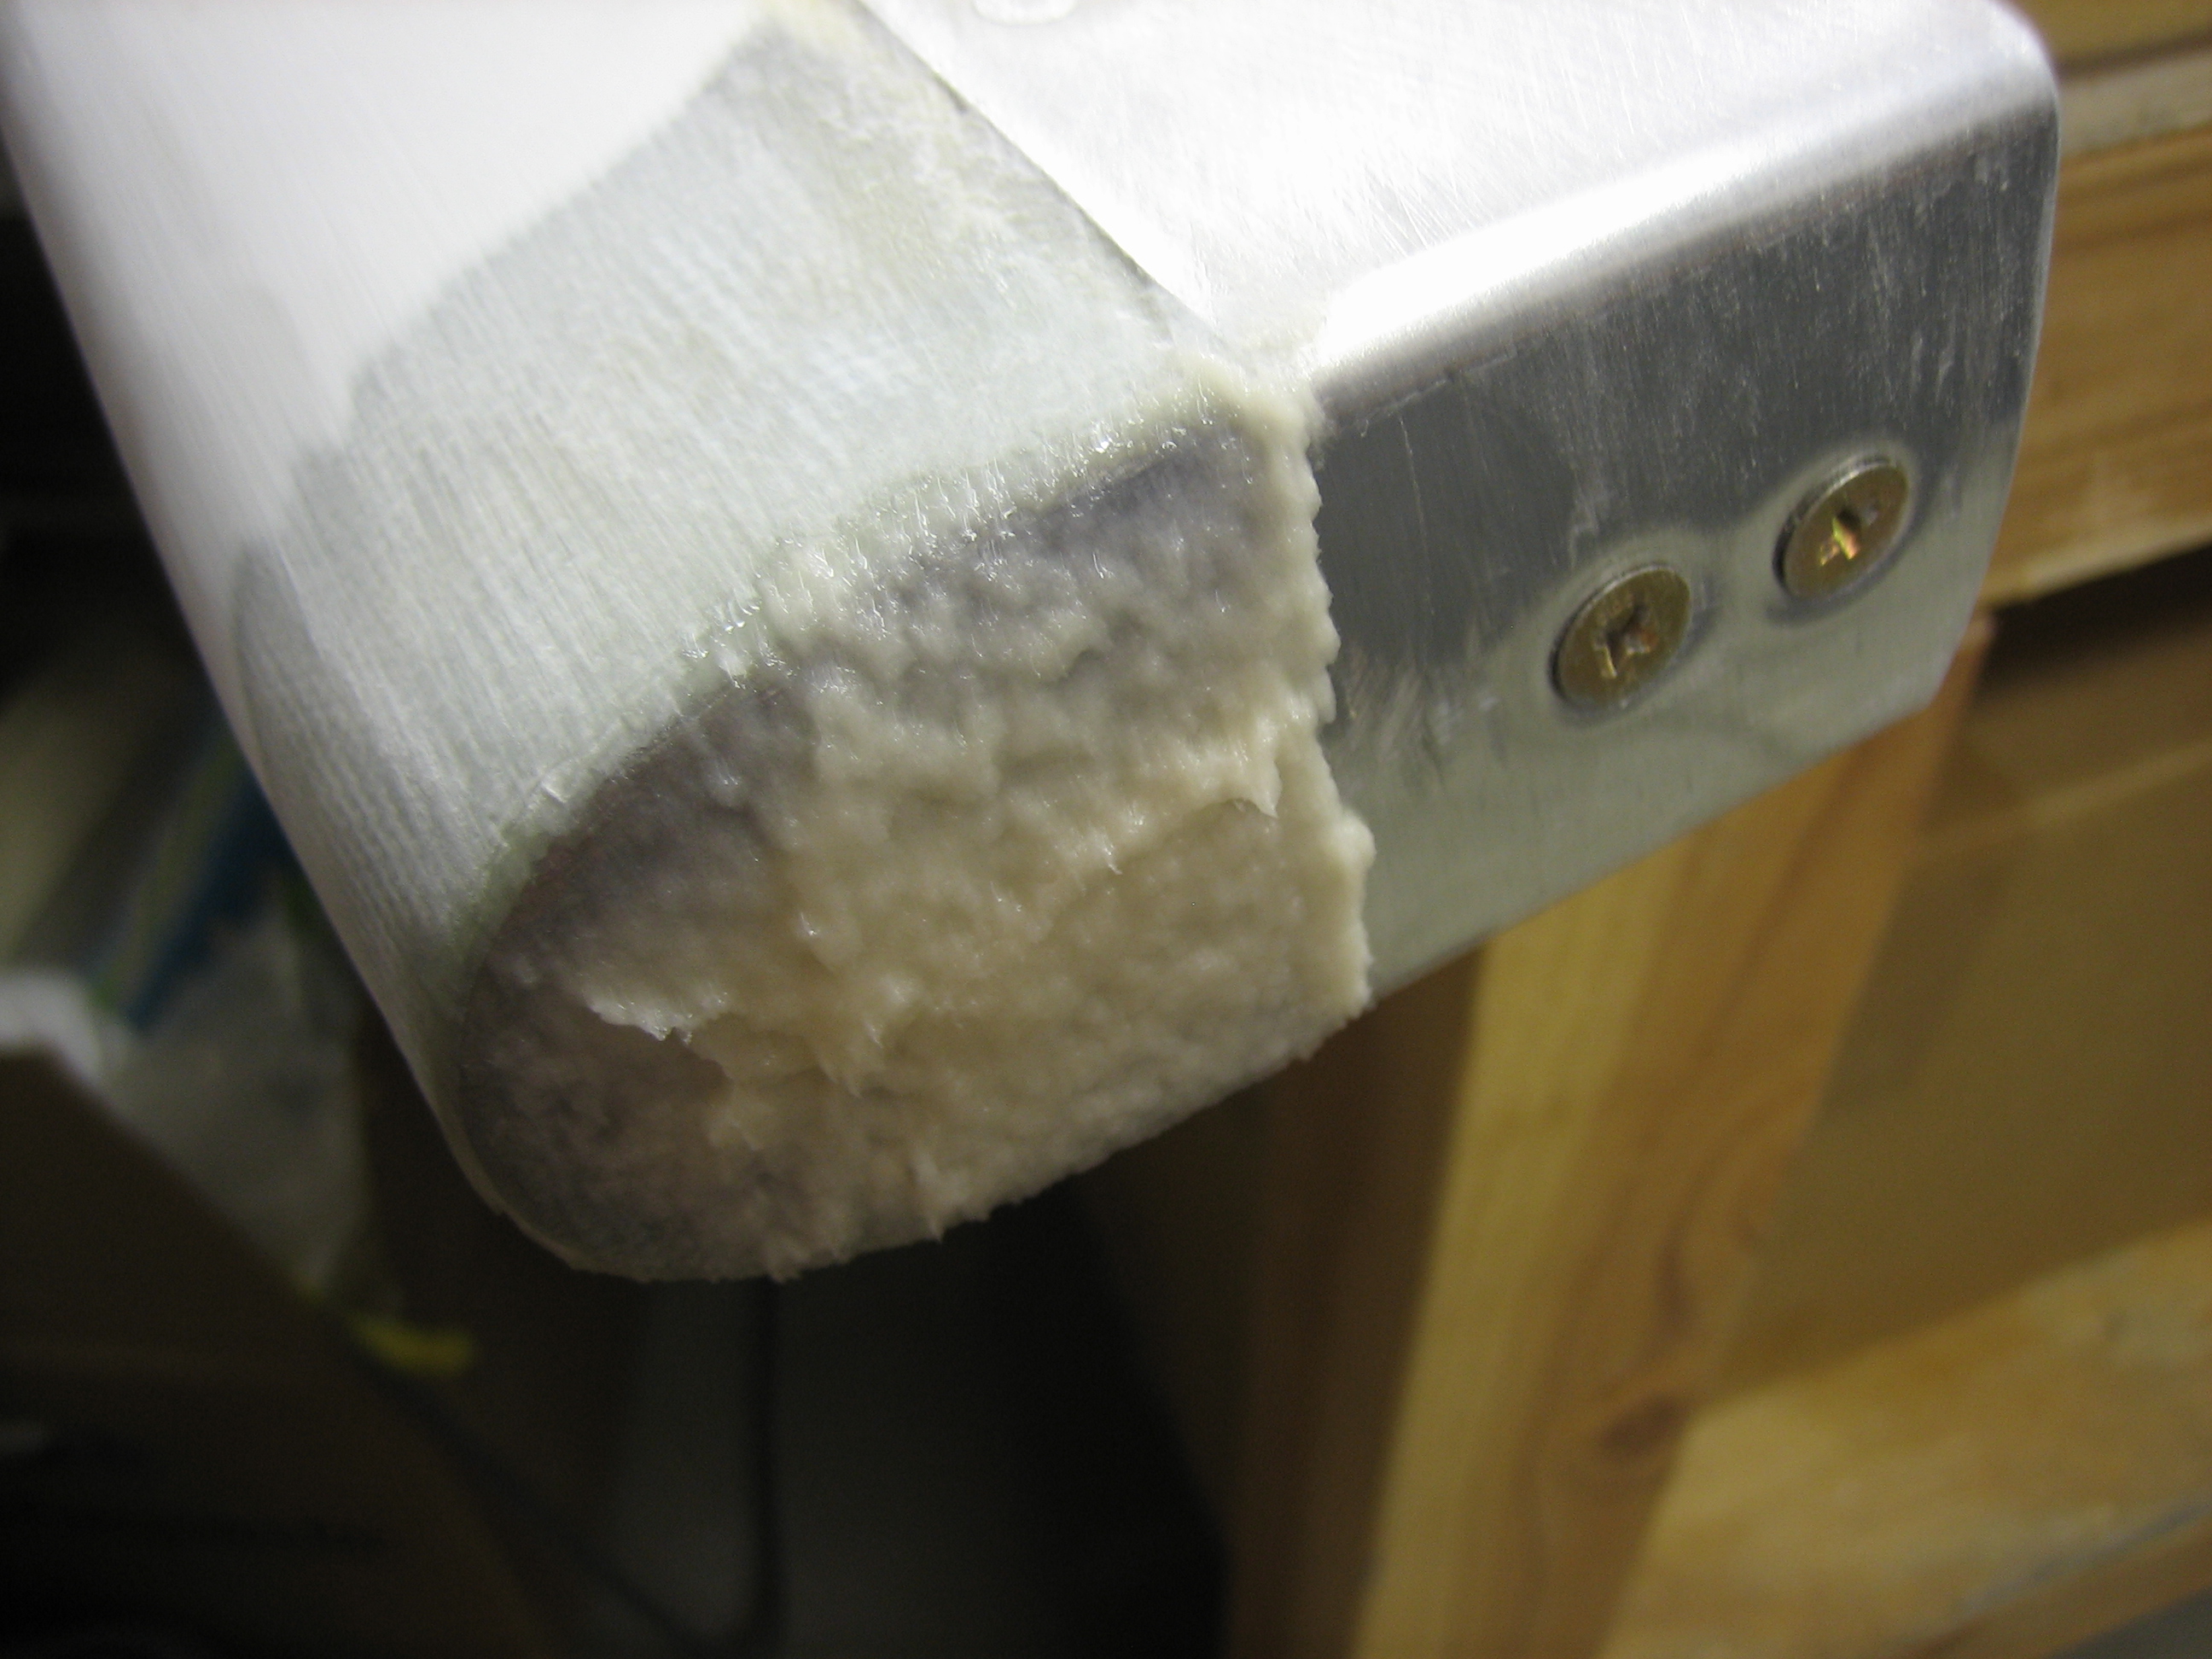
I only had a few minutes tonight, but I needed to take care of a bit of filler on the right elevator before laying up the glass over the joint. The trailing edge of the tip fairing didn’t go all the way back to the trailing edge of the elevator skin, so I mixed up some epoxy/flox and filled in the gap.
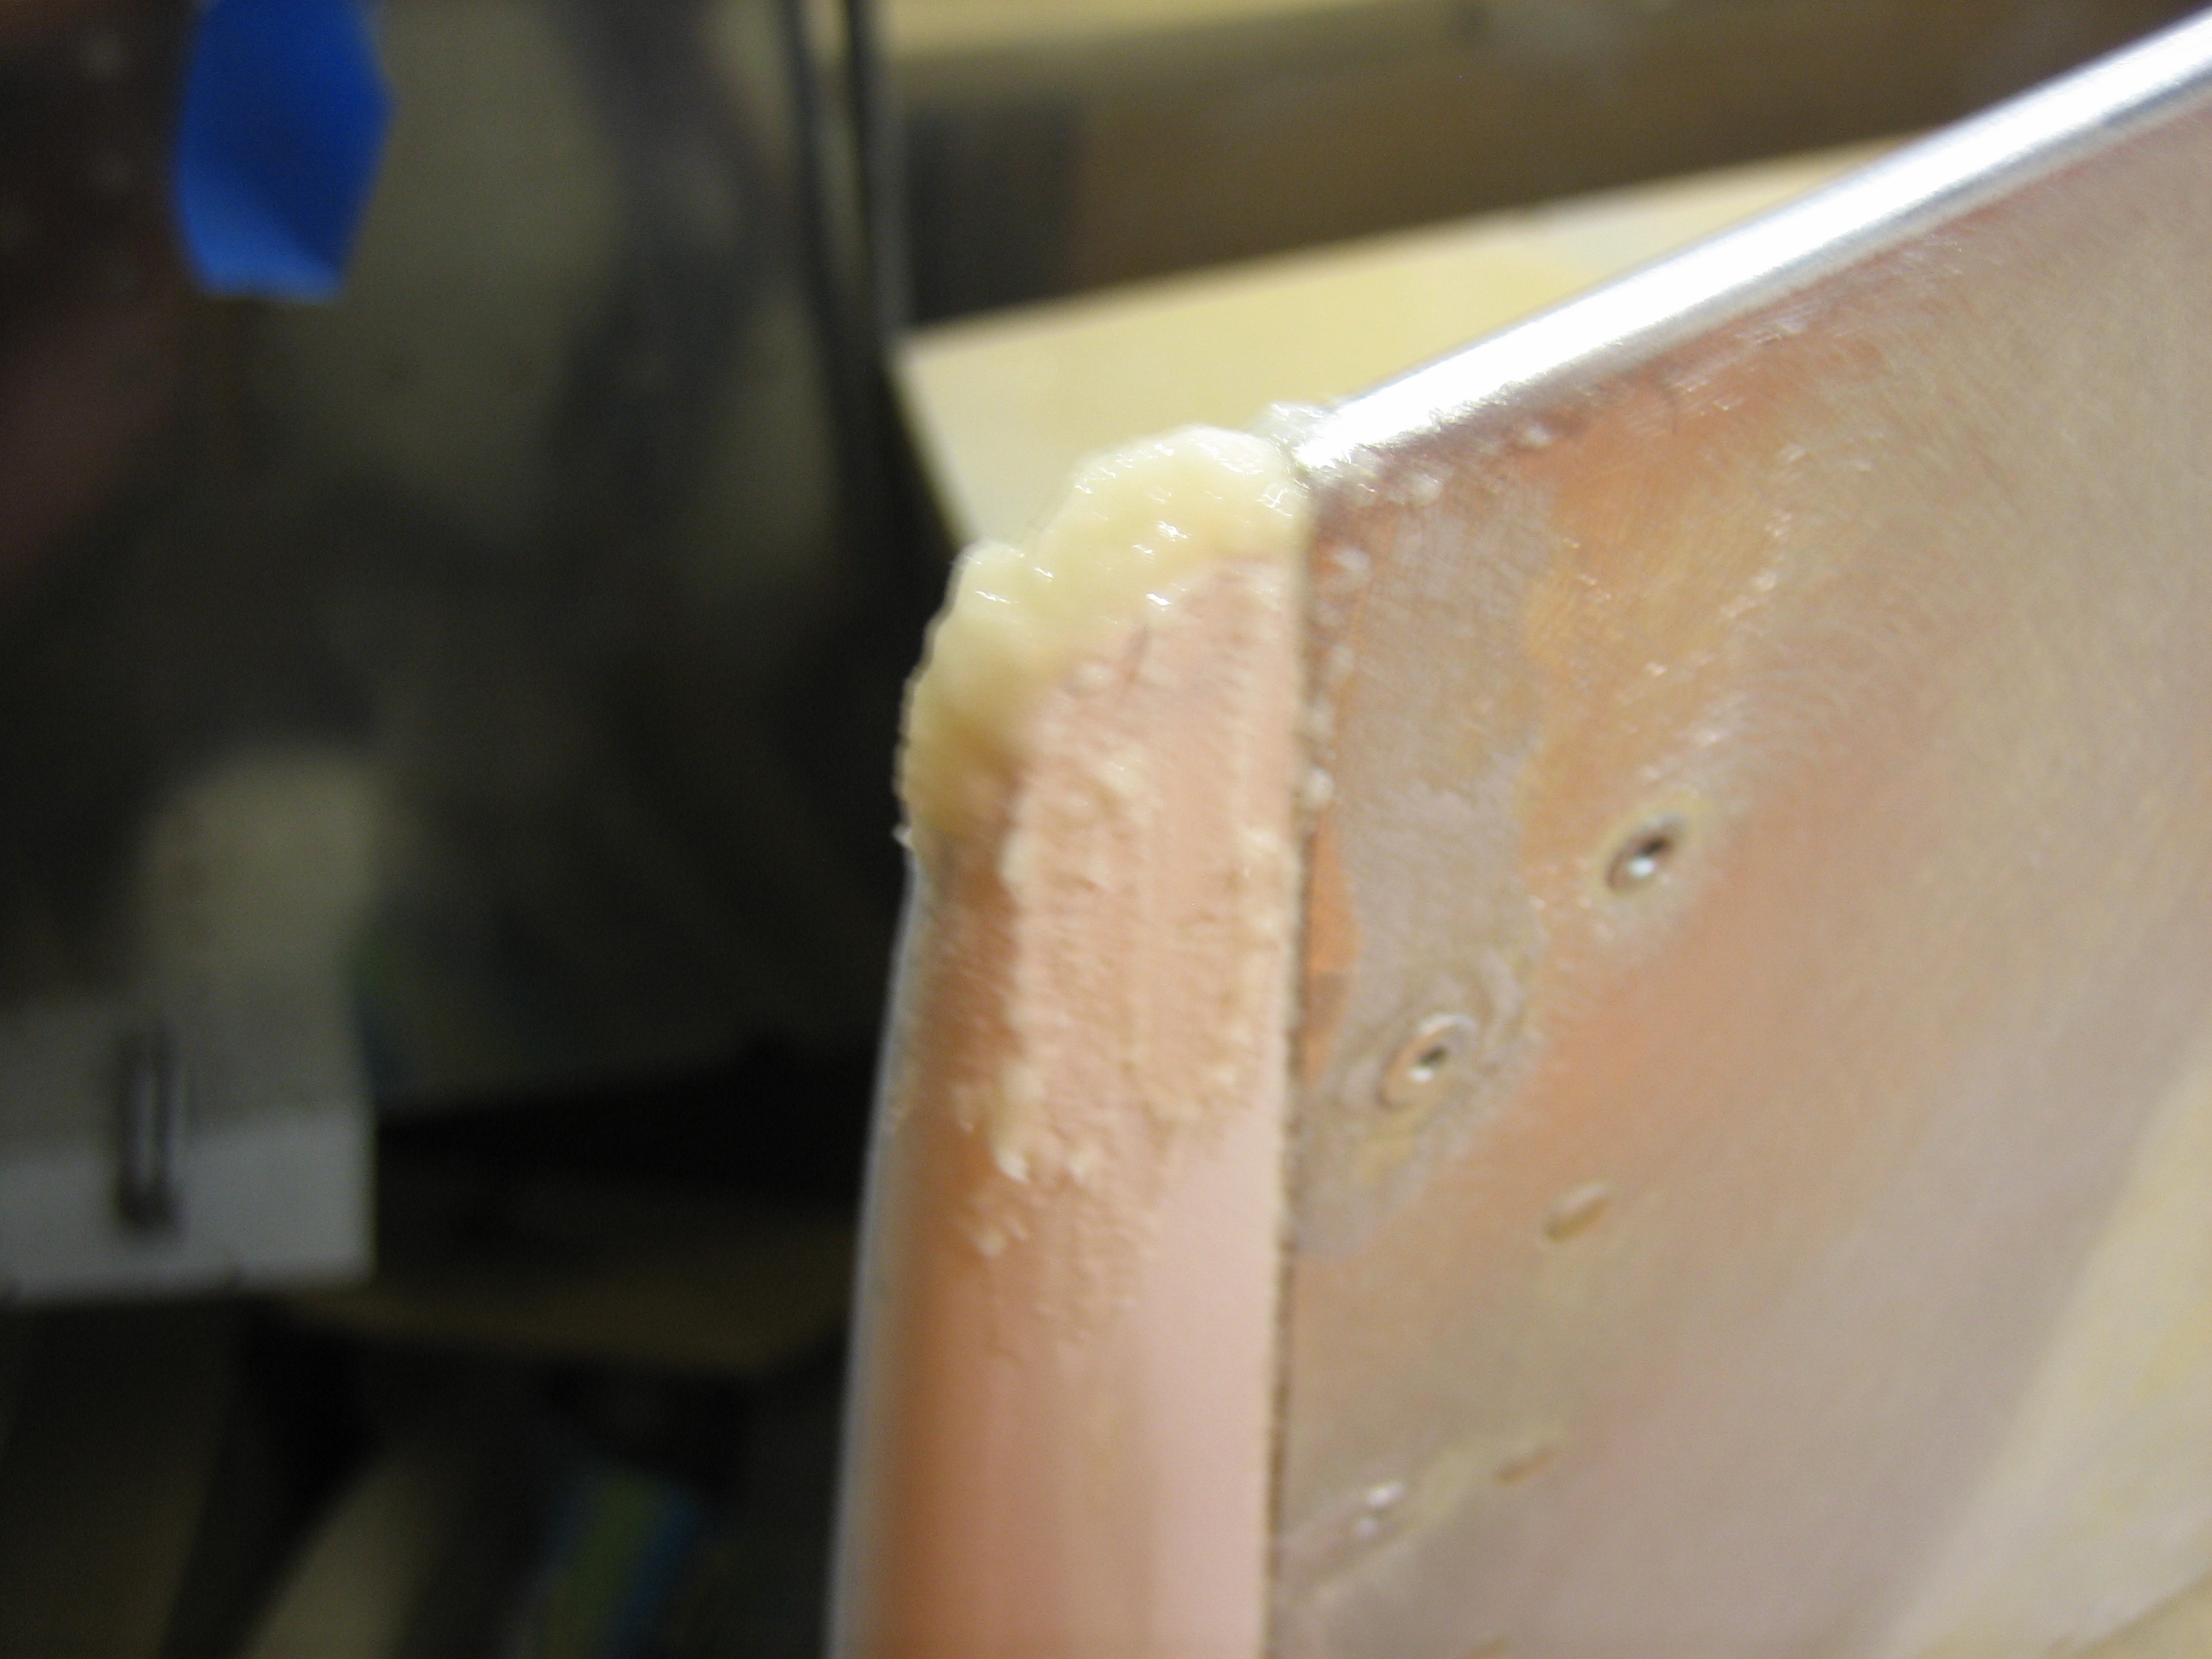
On the leading edge, the countersink weight didn’t align with the leading edge skin, so I applied some of the filler here to build it out. I’ll file this flush when it cures.
I glassed the other side of the rudder tonight. Here’s the top fairing.
And here’s the bottom. I also got the right elevator ready for glassing as well but didn’t have time to put the glass on.