Miscellaneous Work on Empennage

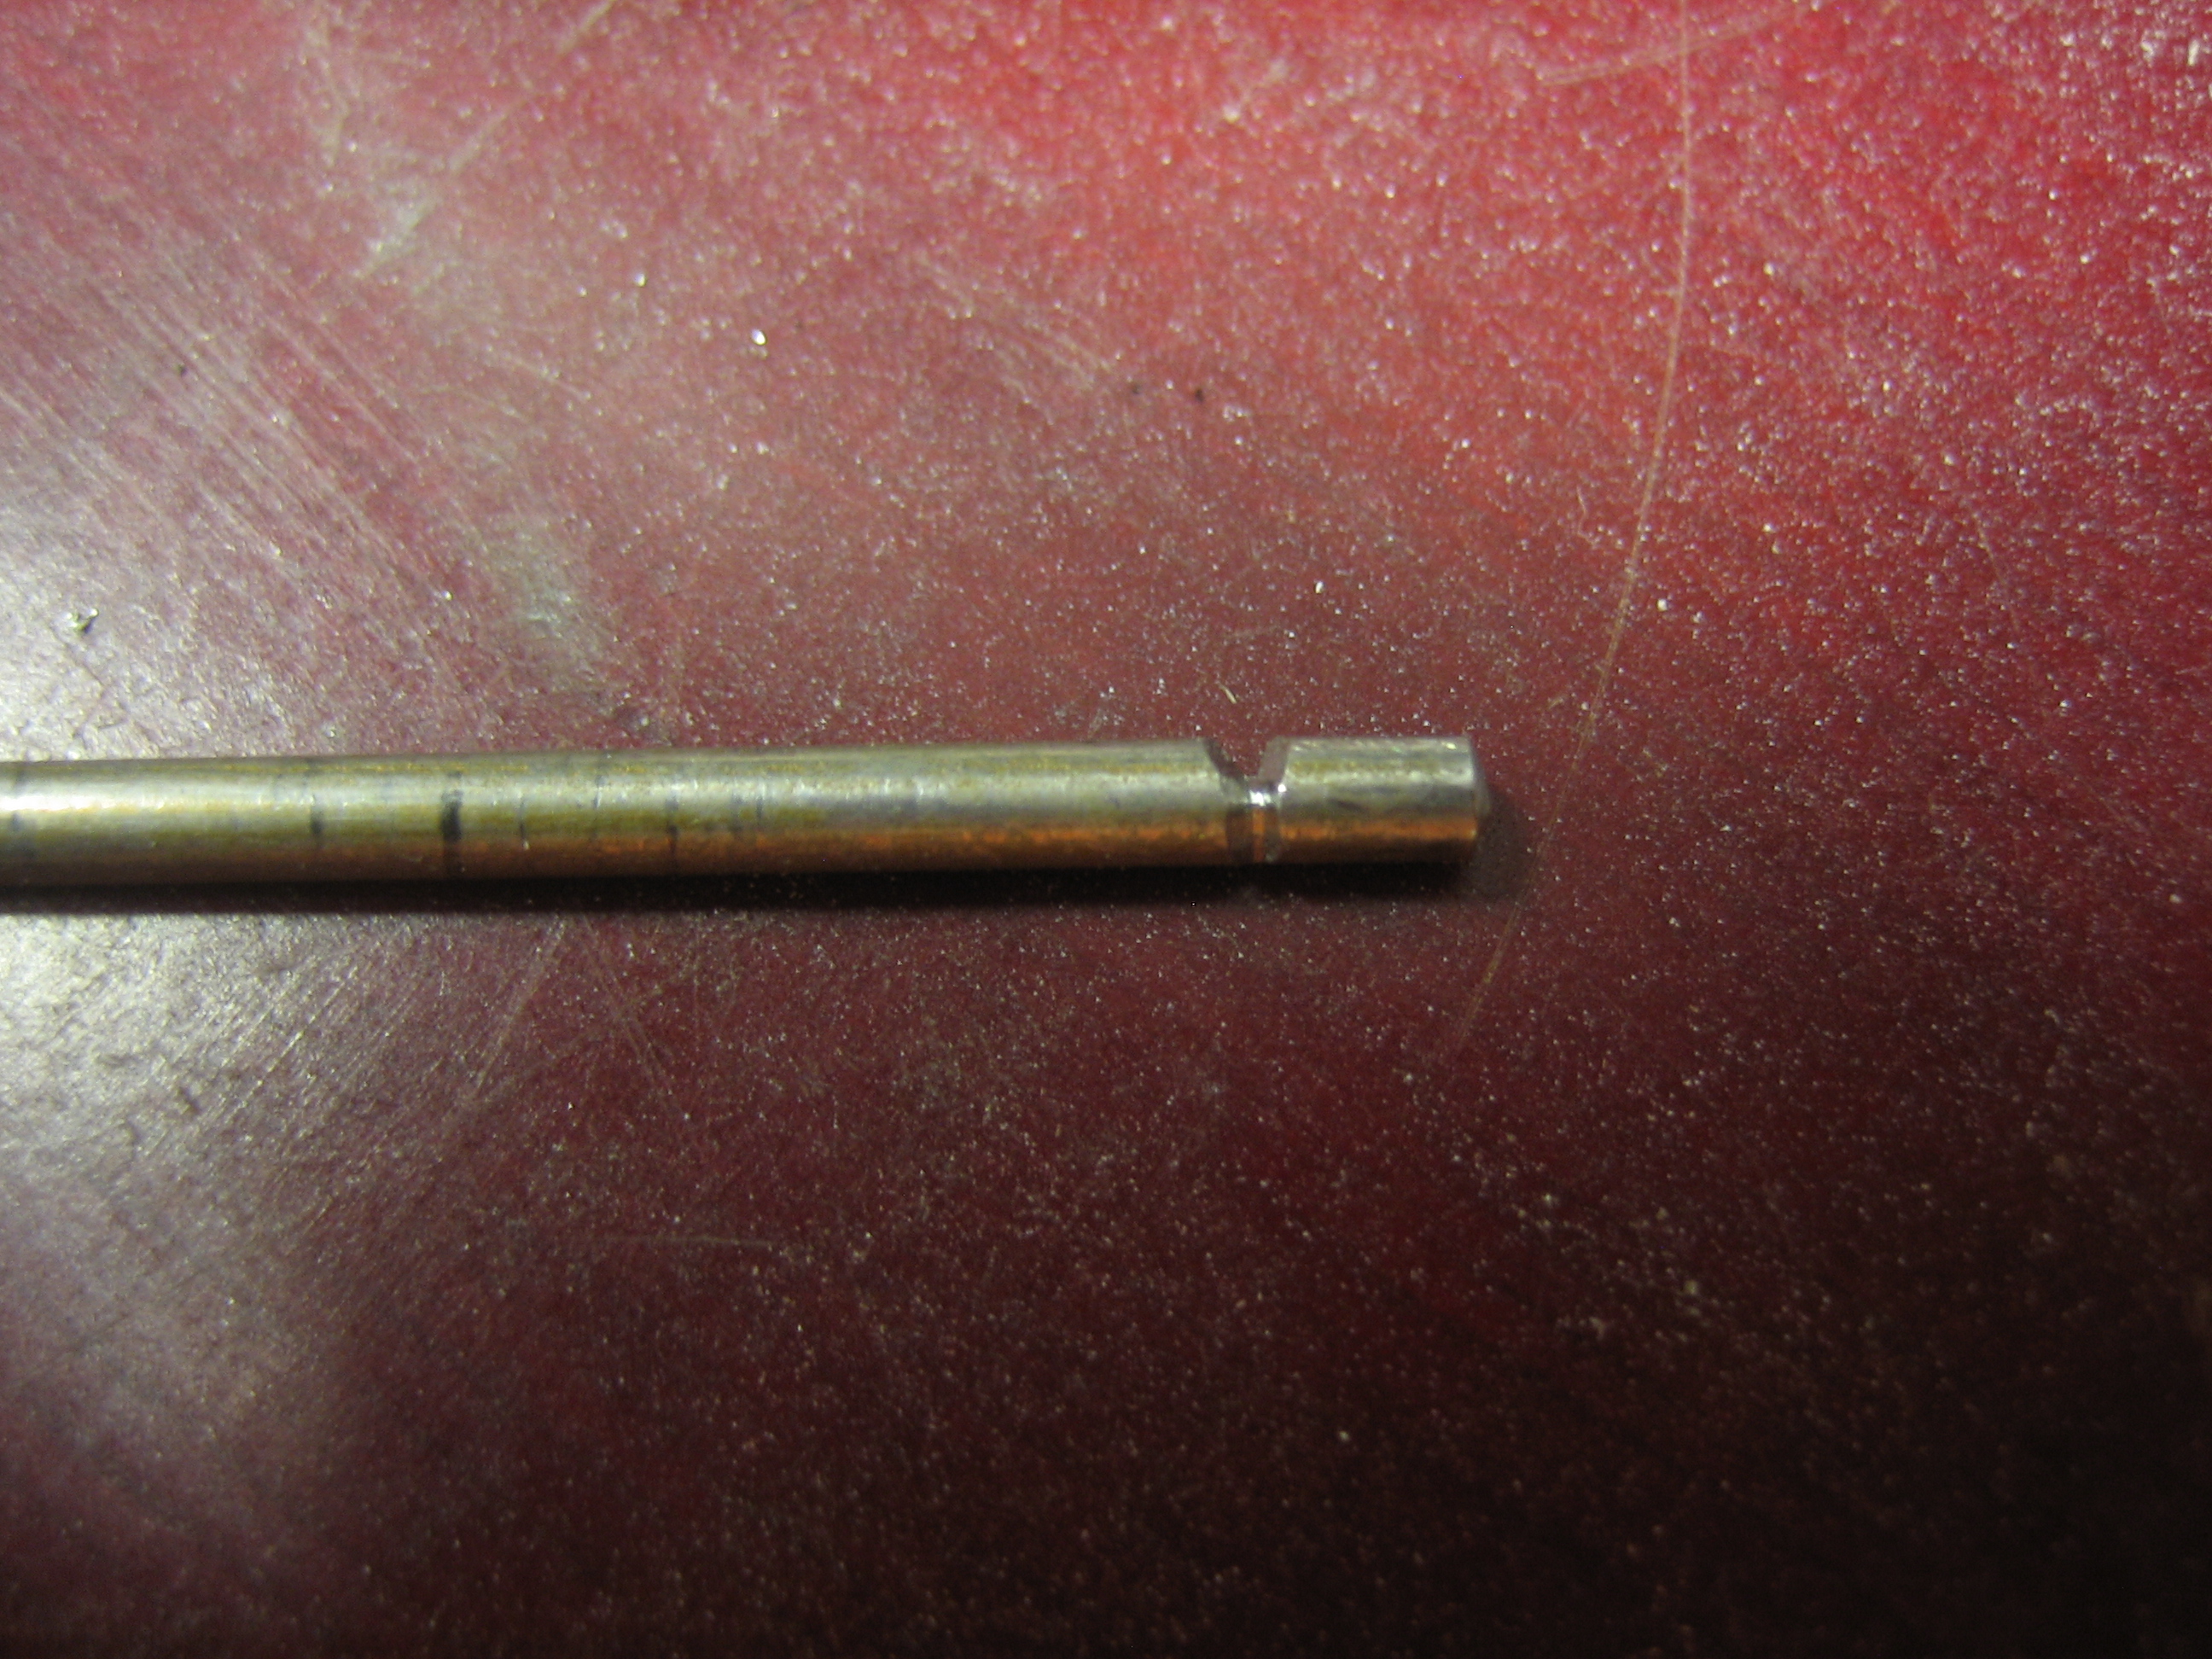
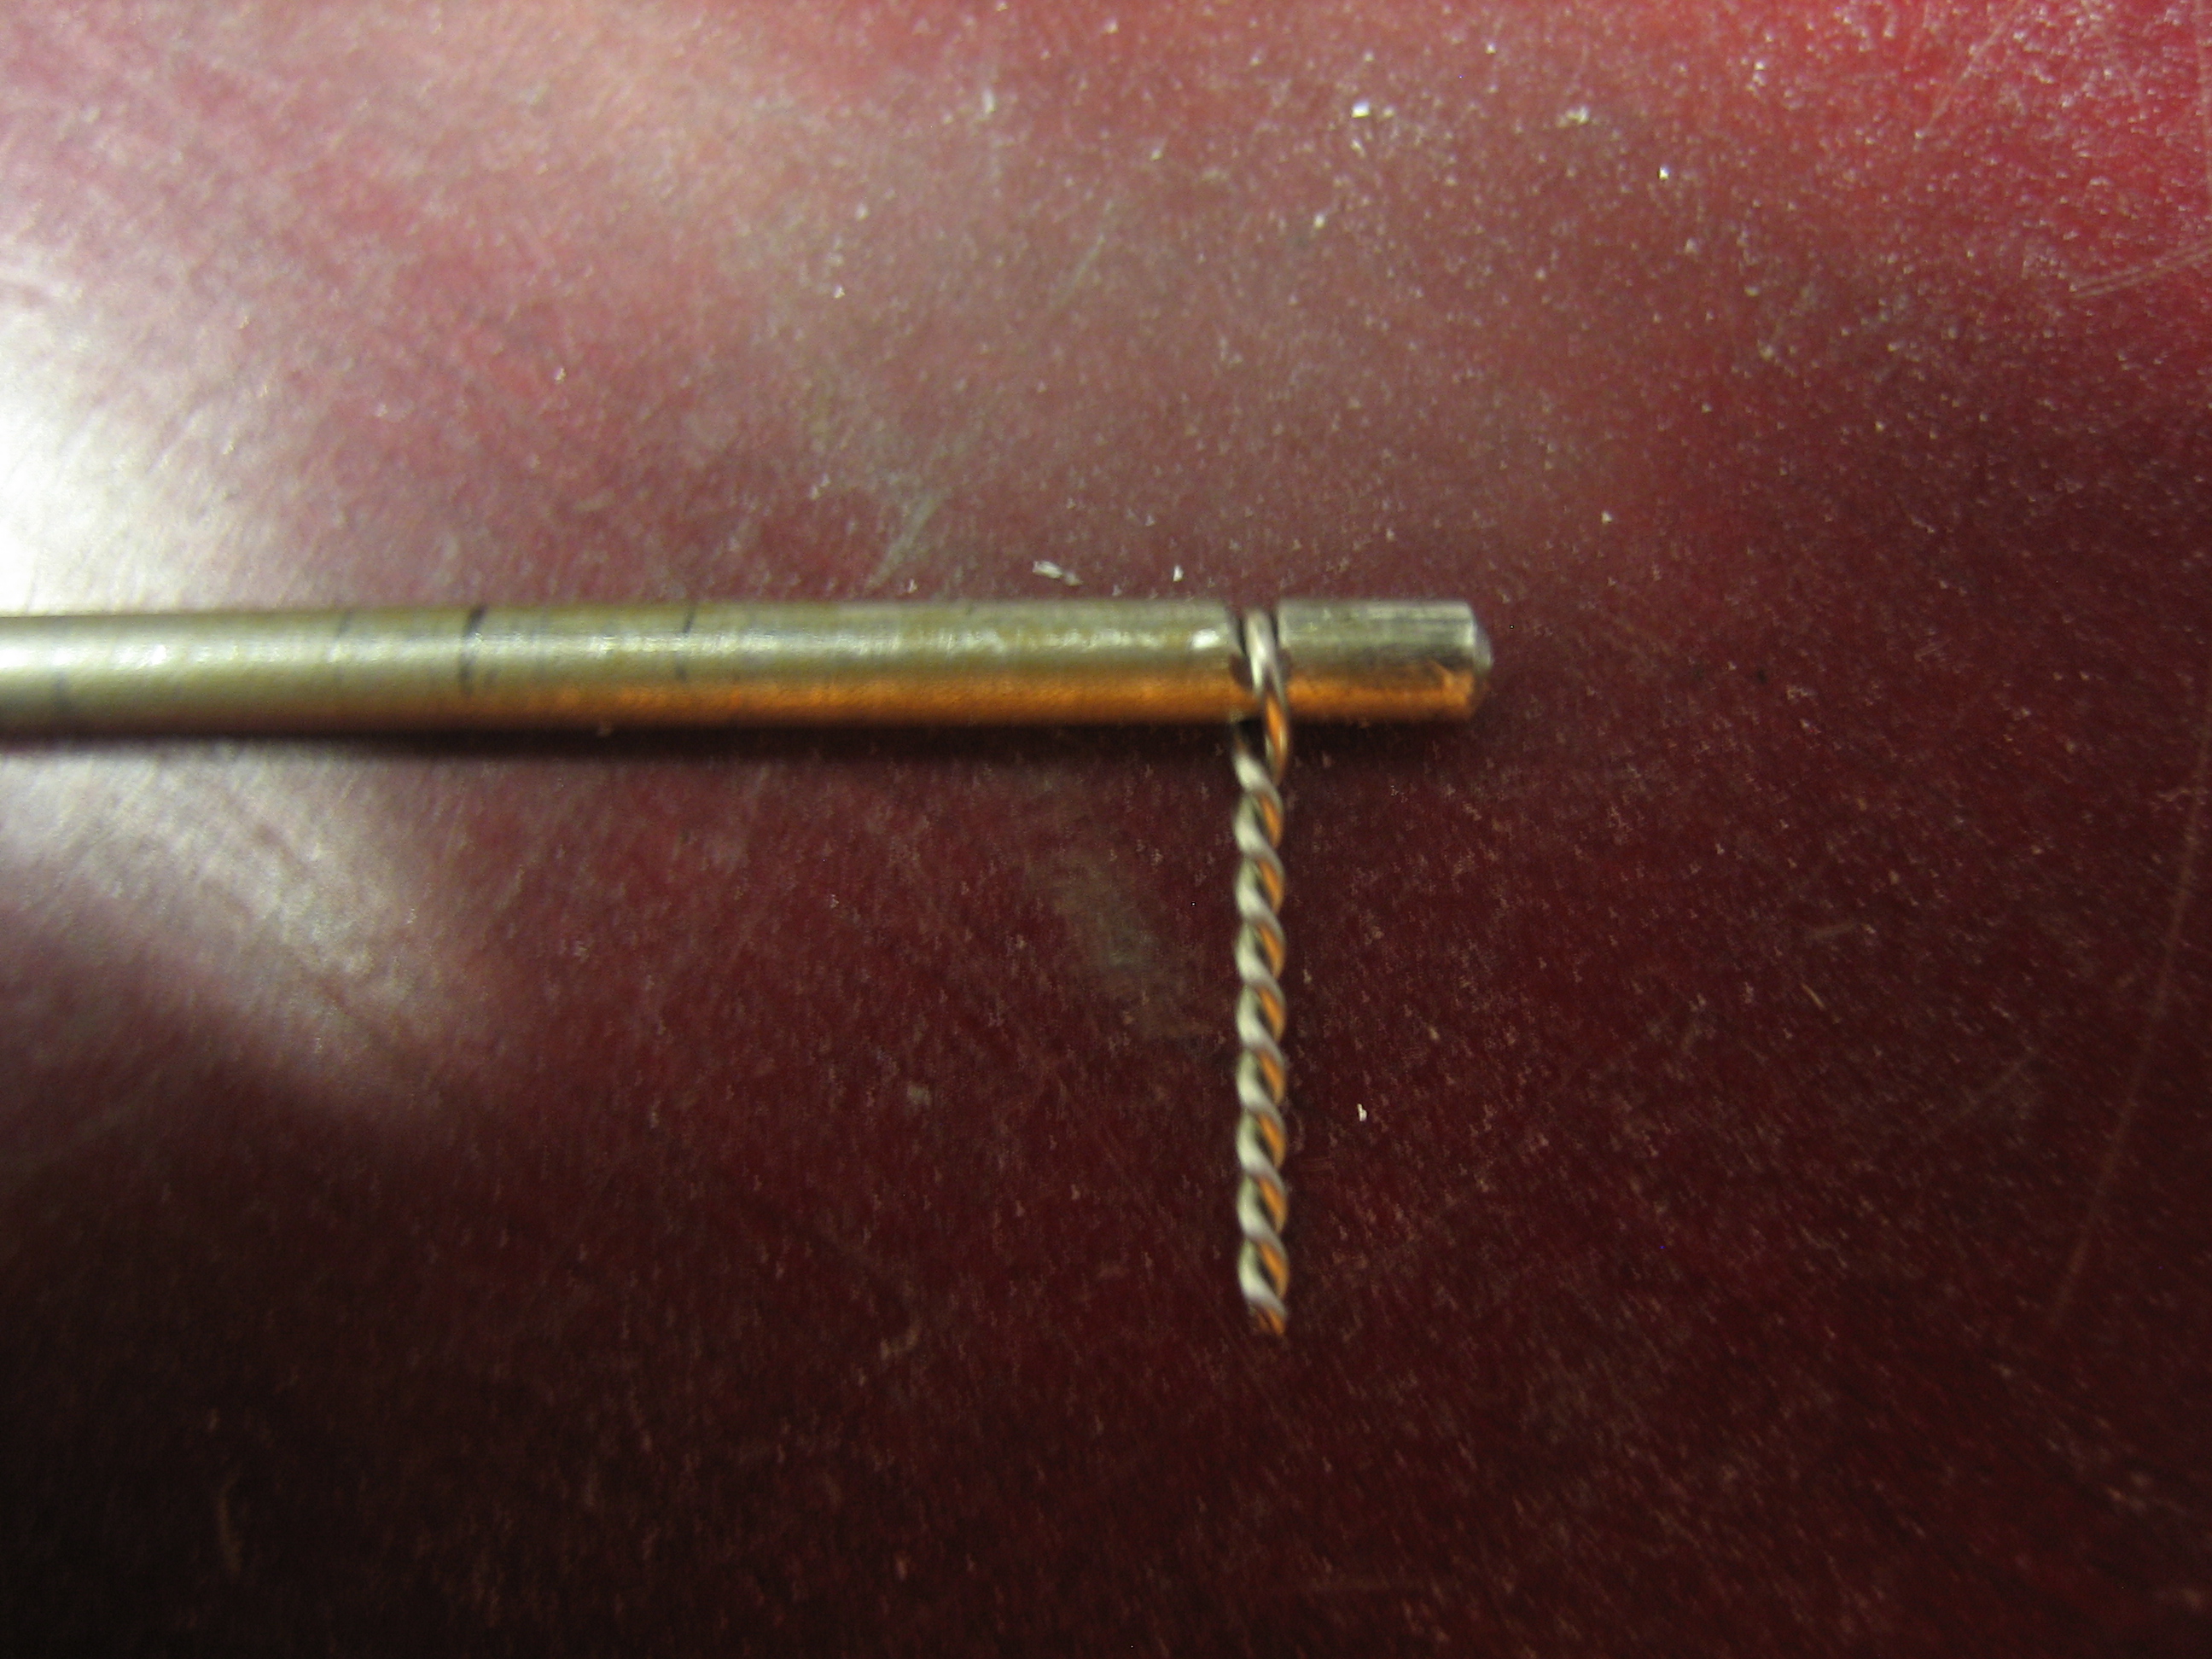
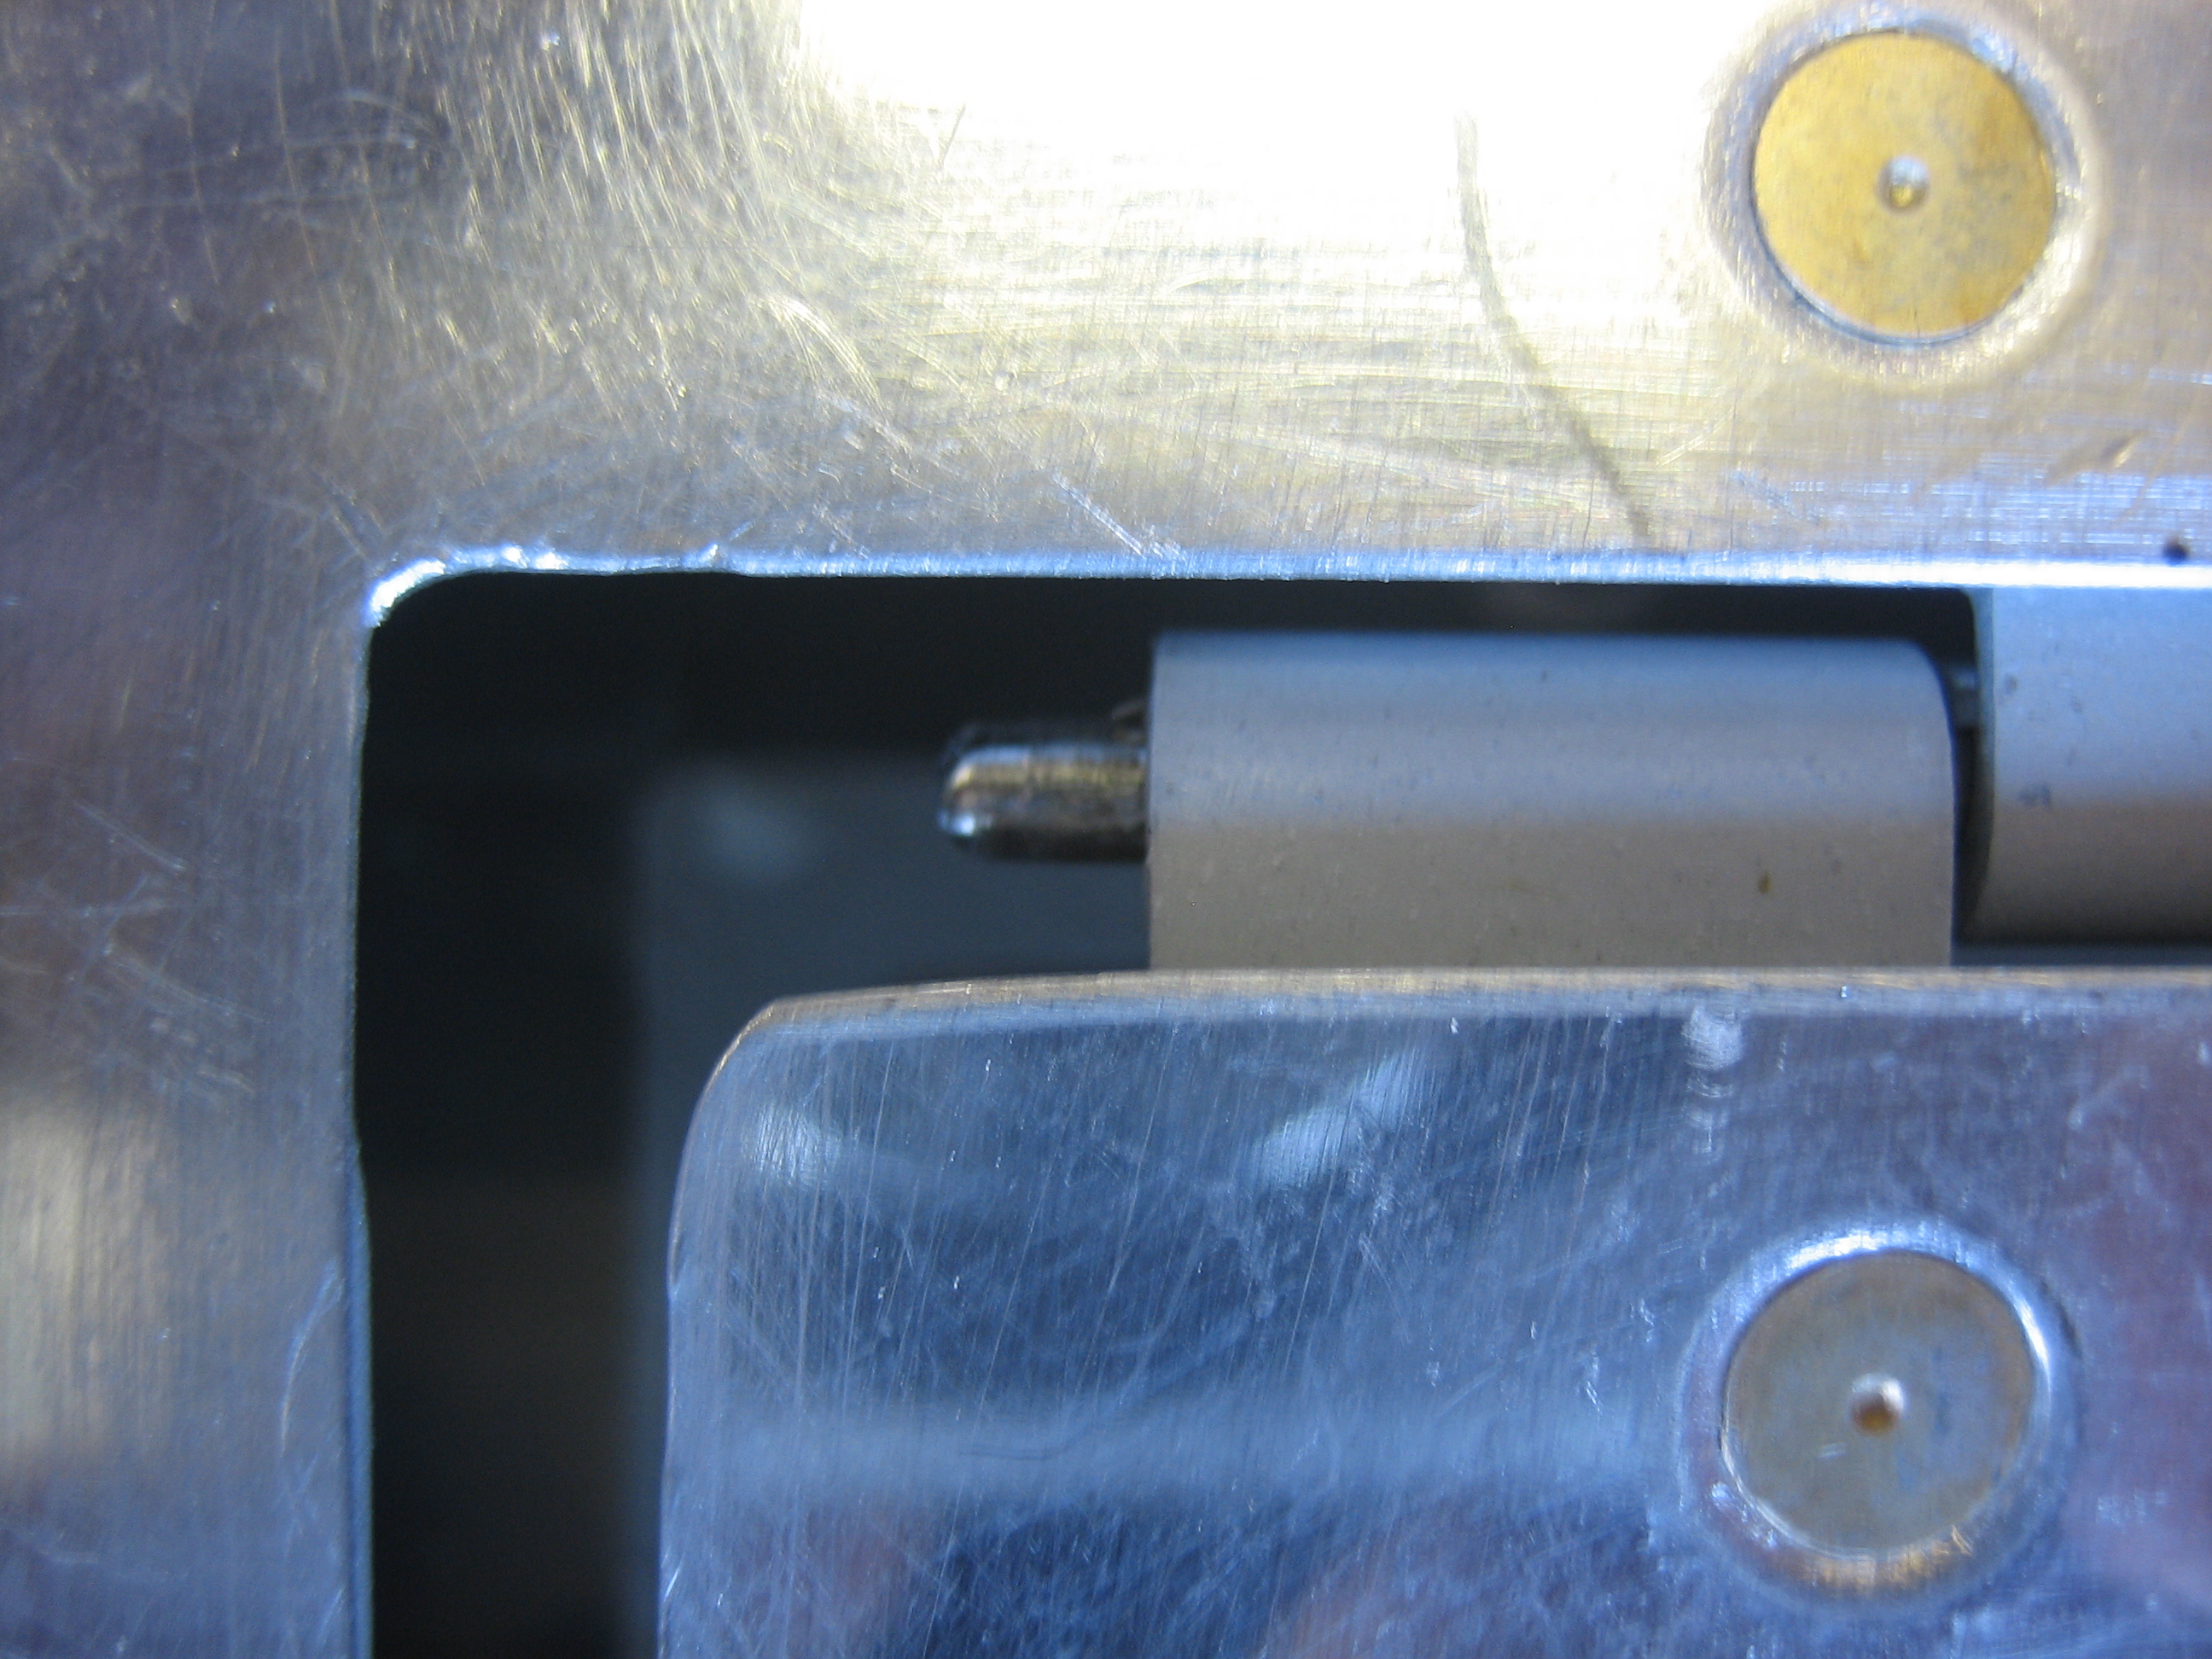
I drilled a hole in the aft spar of the left elevator so I could use a loop of safety wire to secure the trim tab hinge pin.

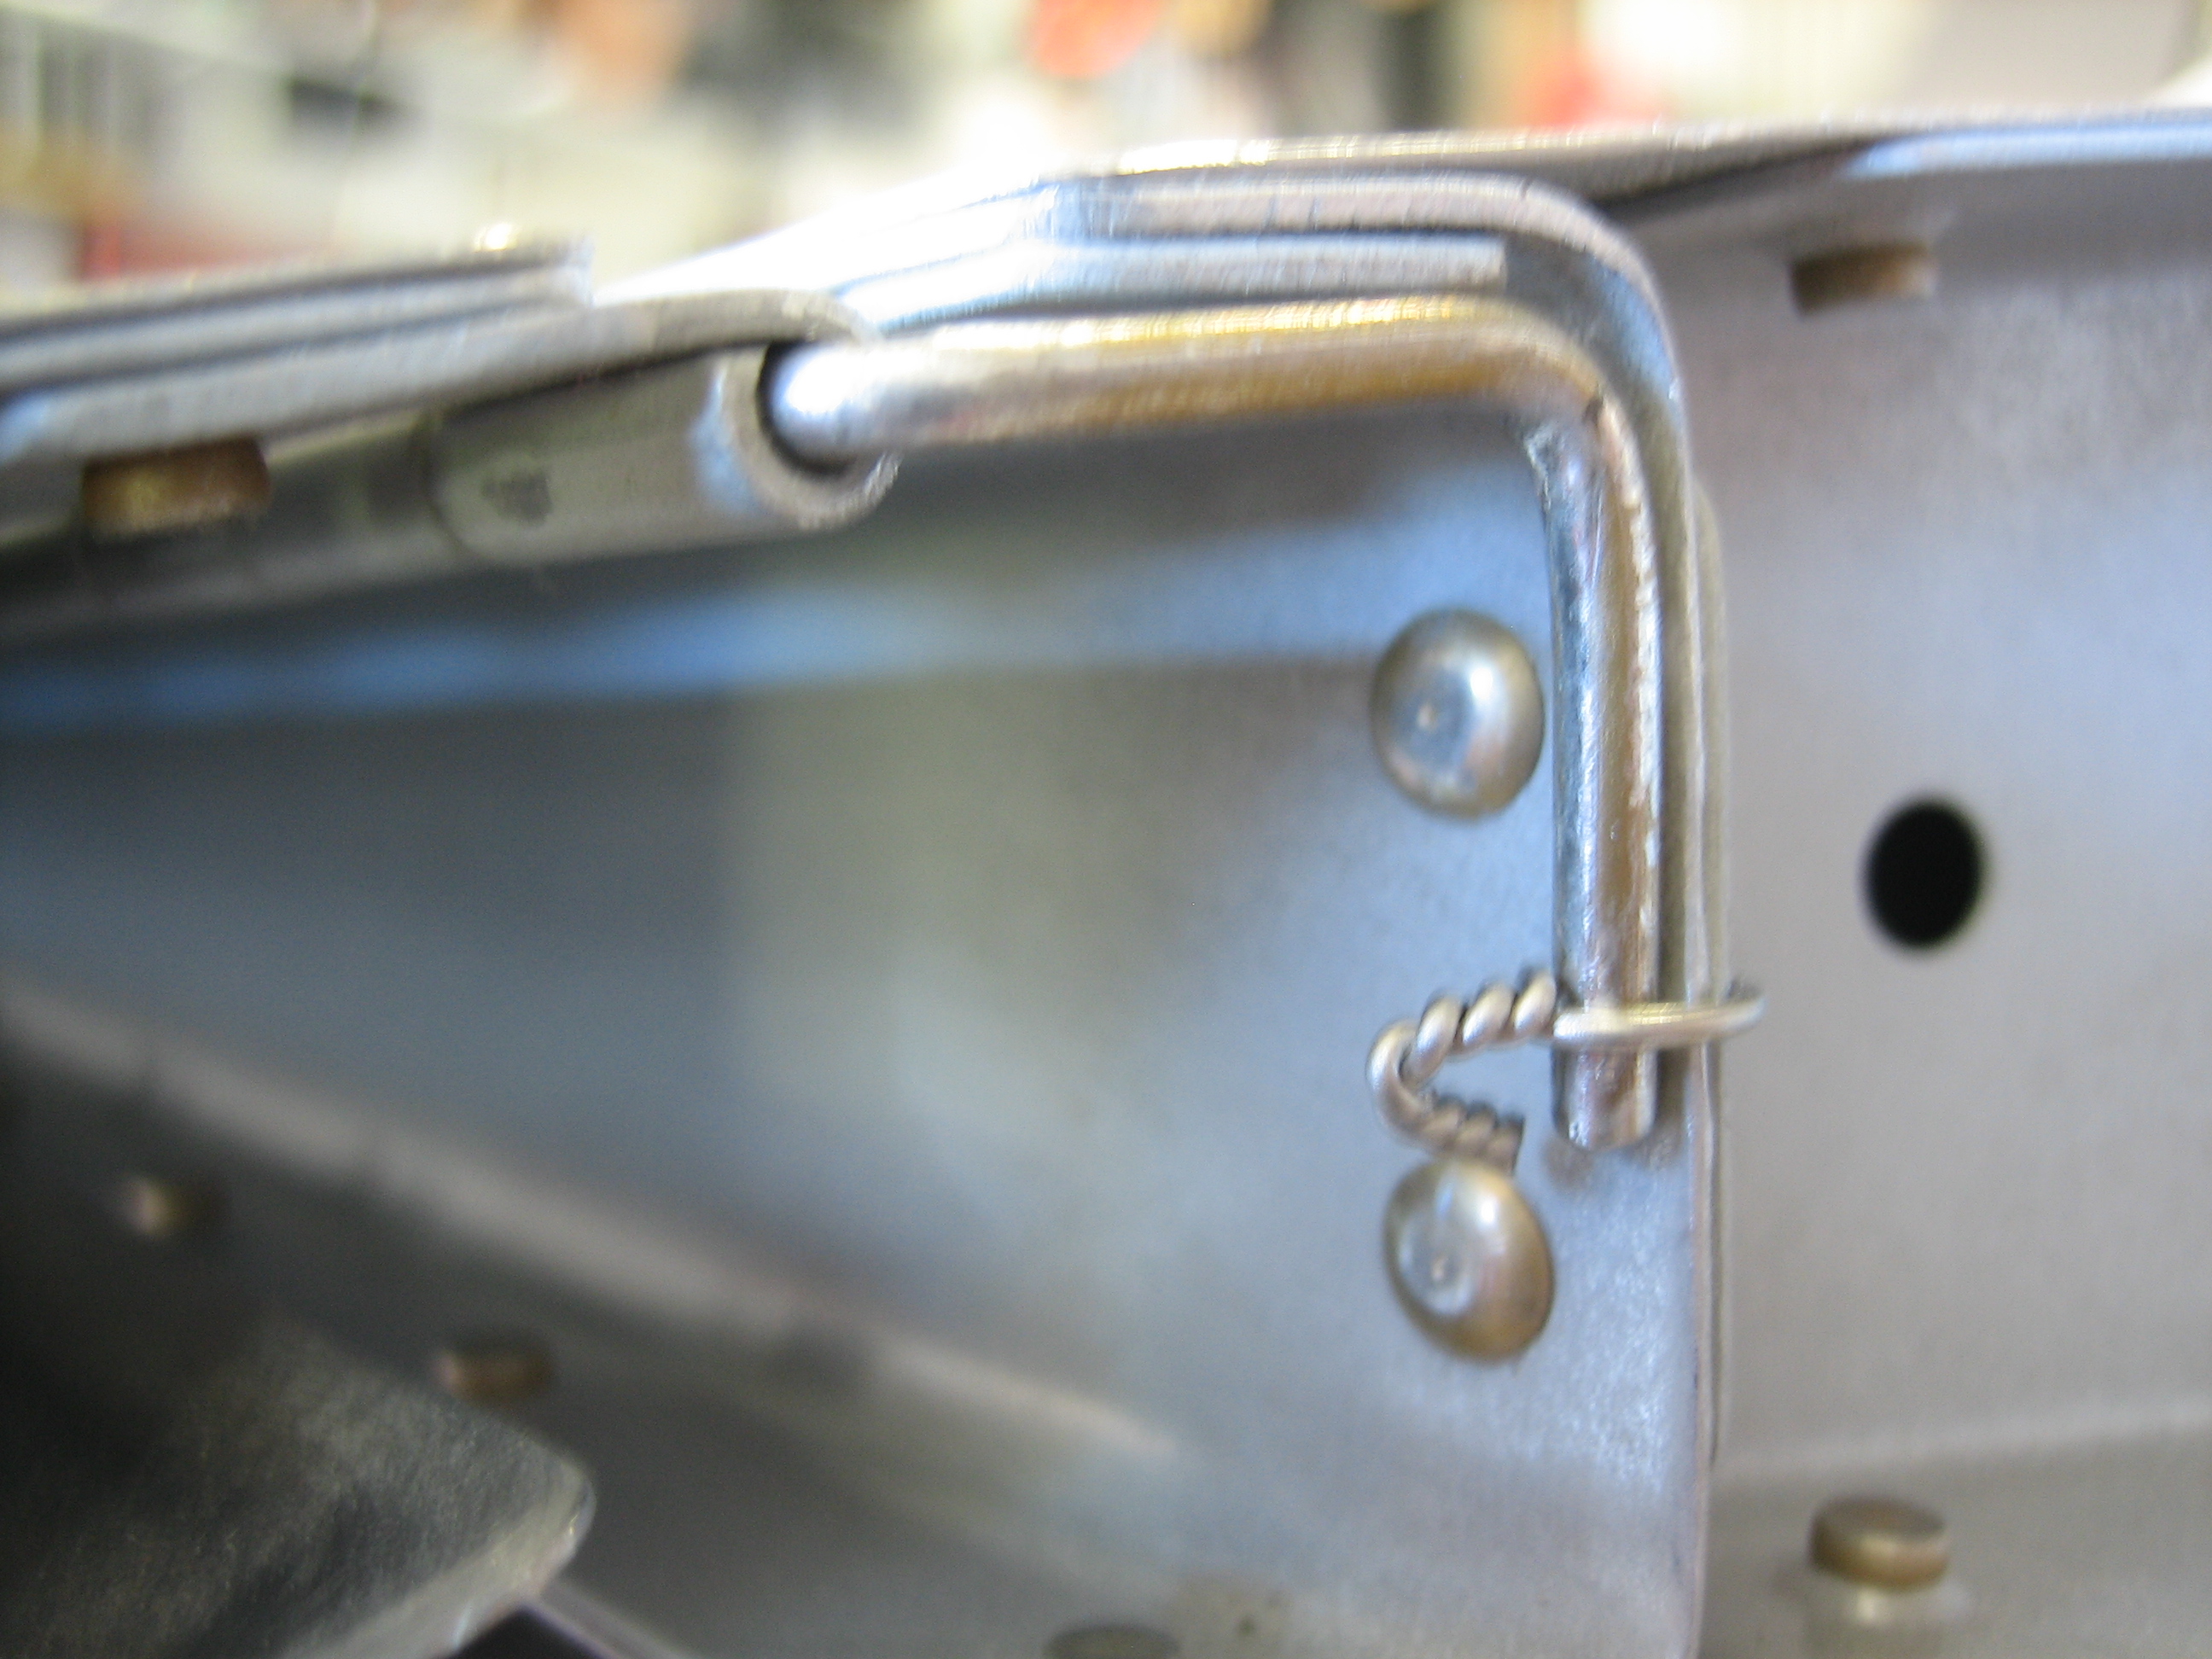
The hinge pin tucks under the spar flange to prevent it from lifting.

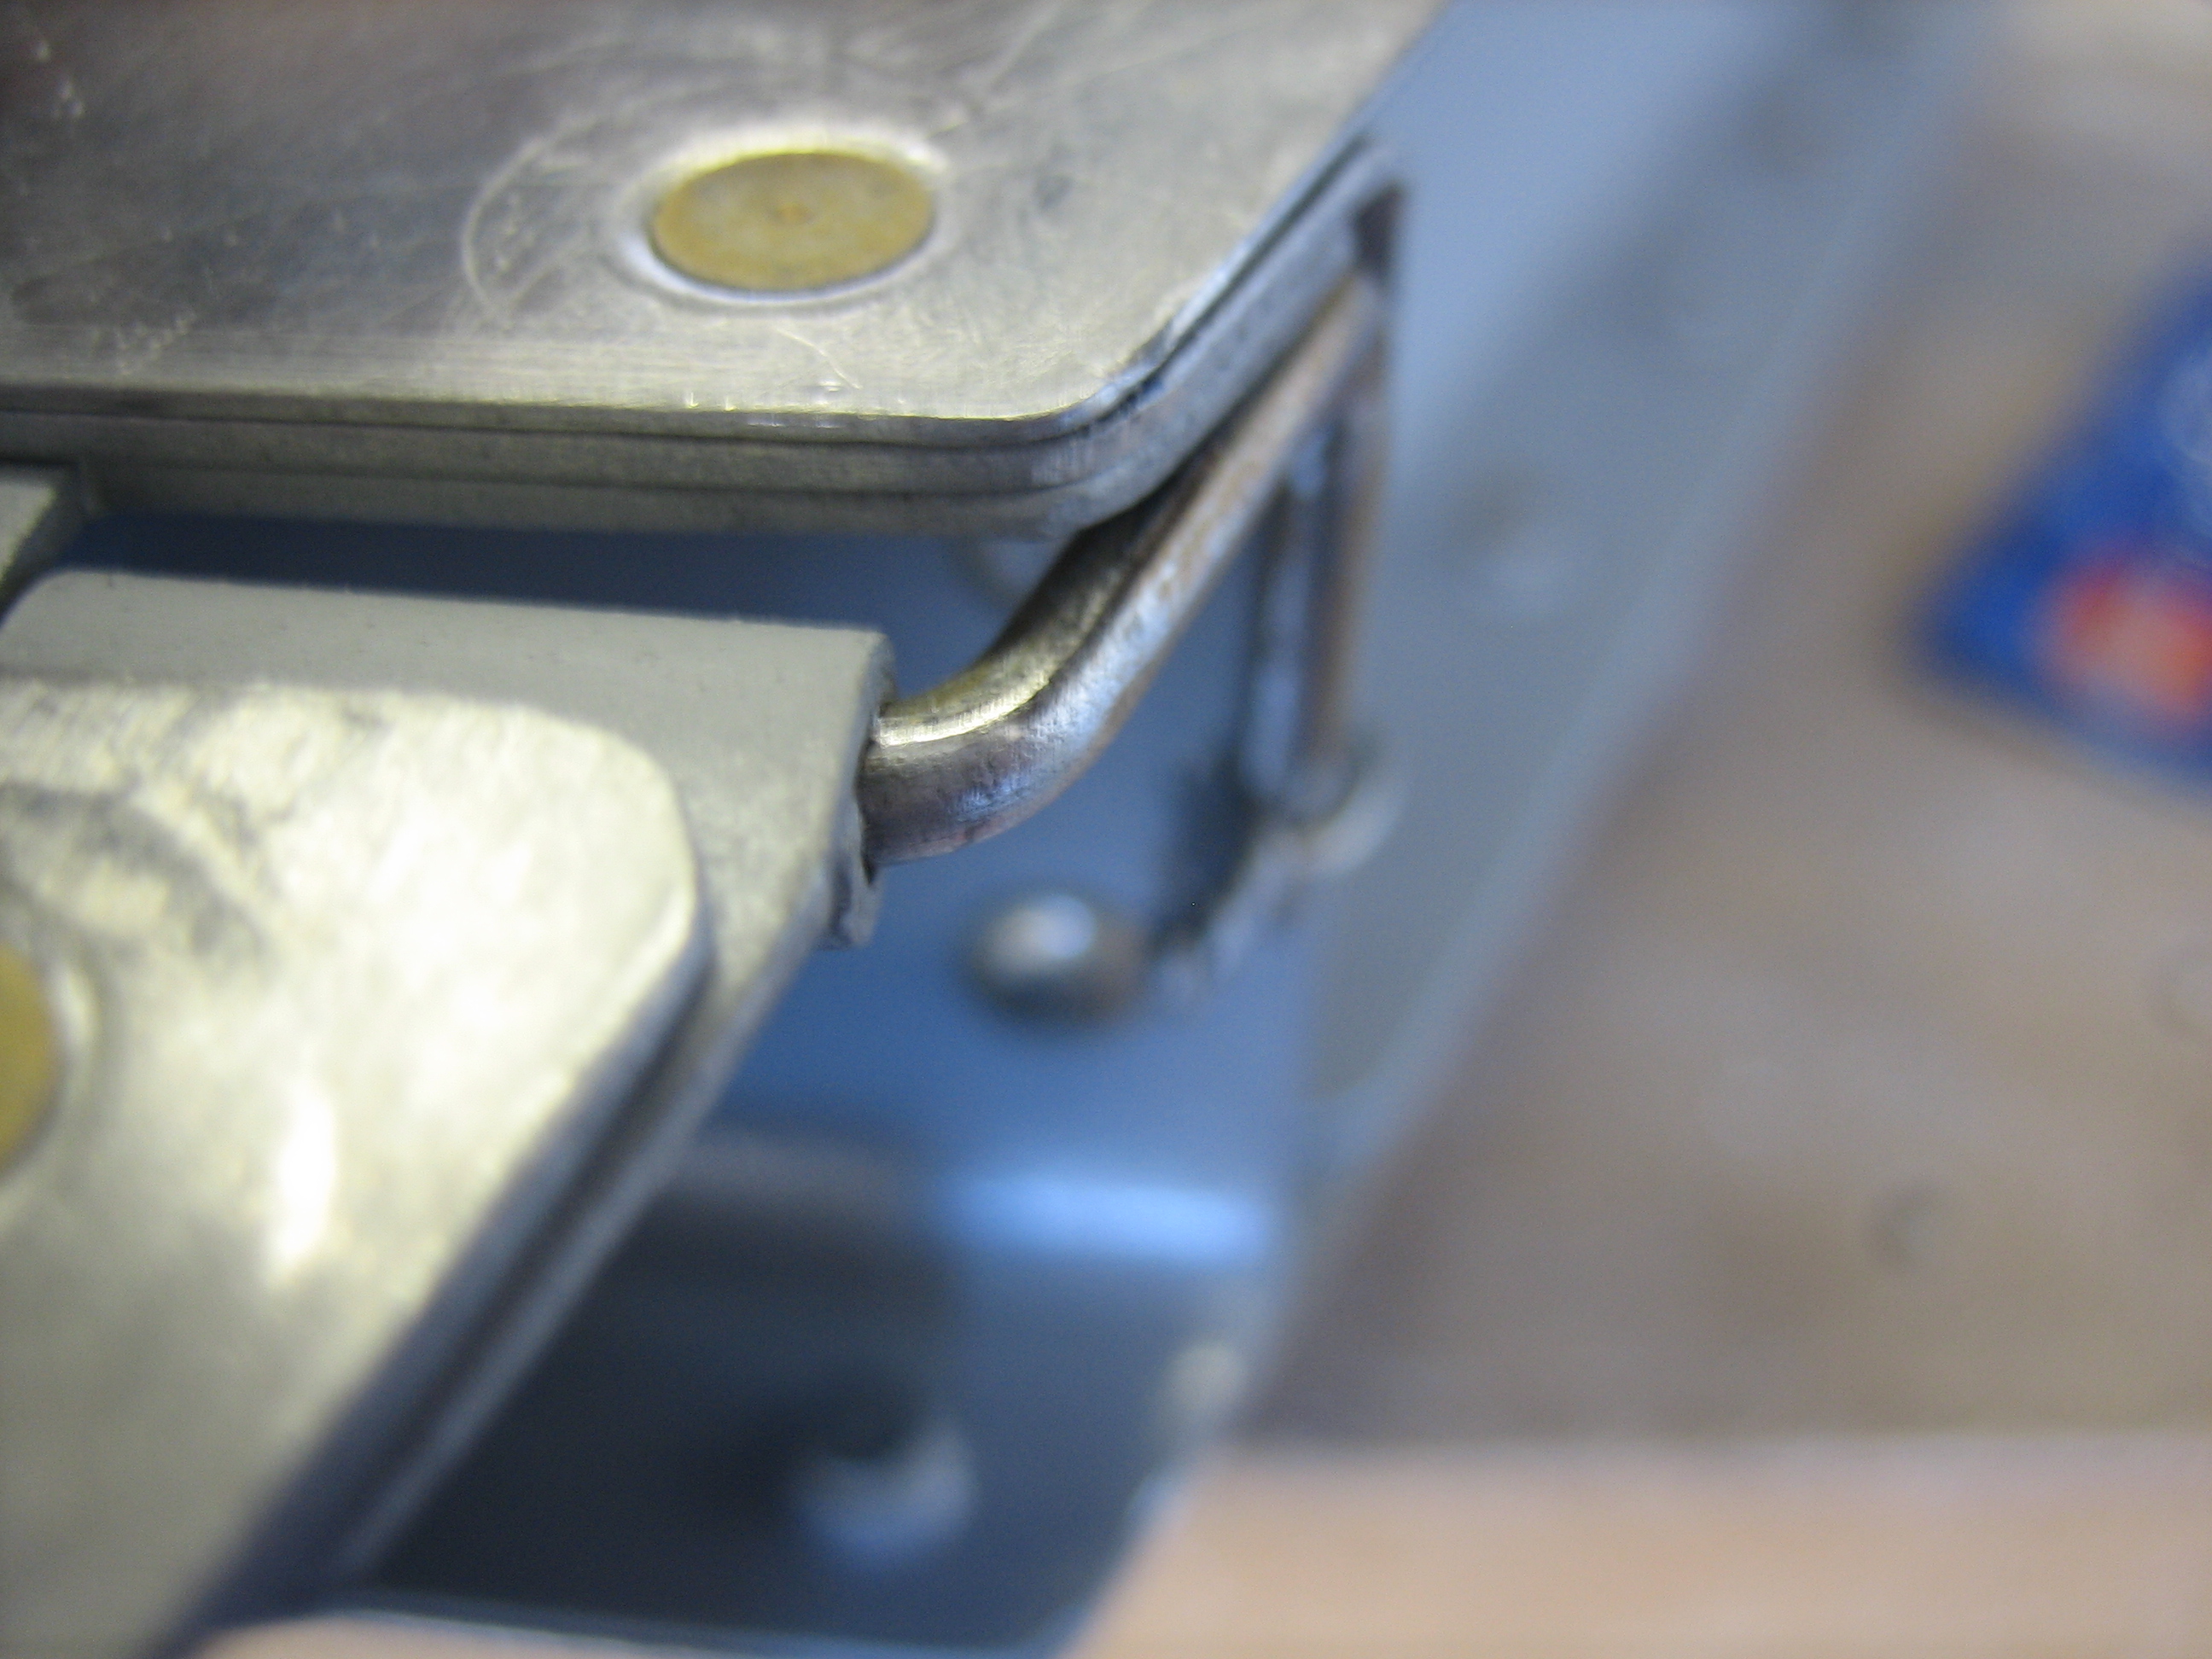
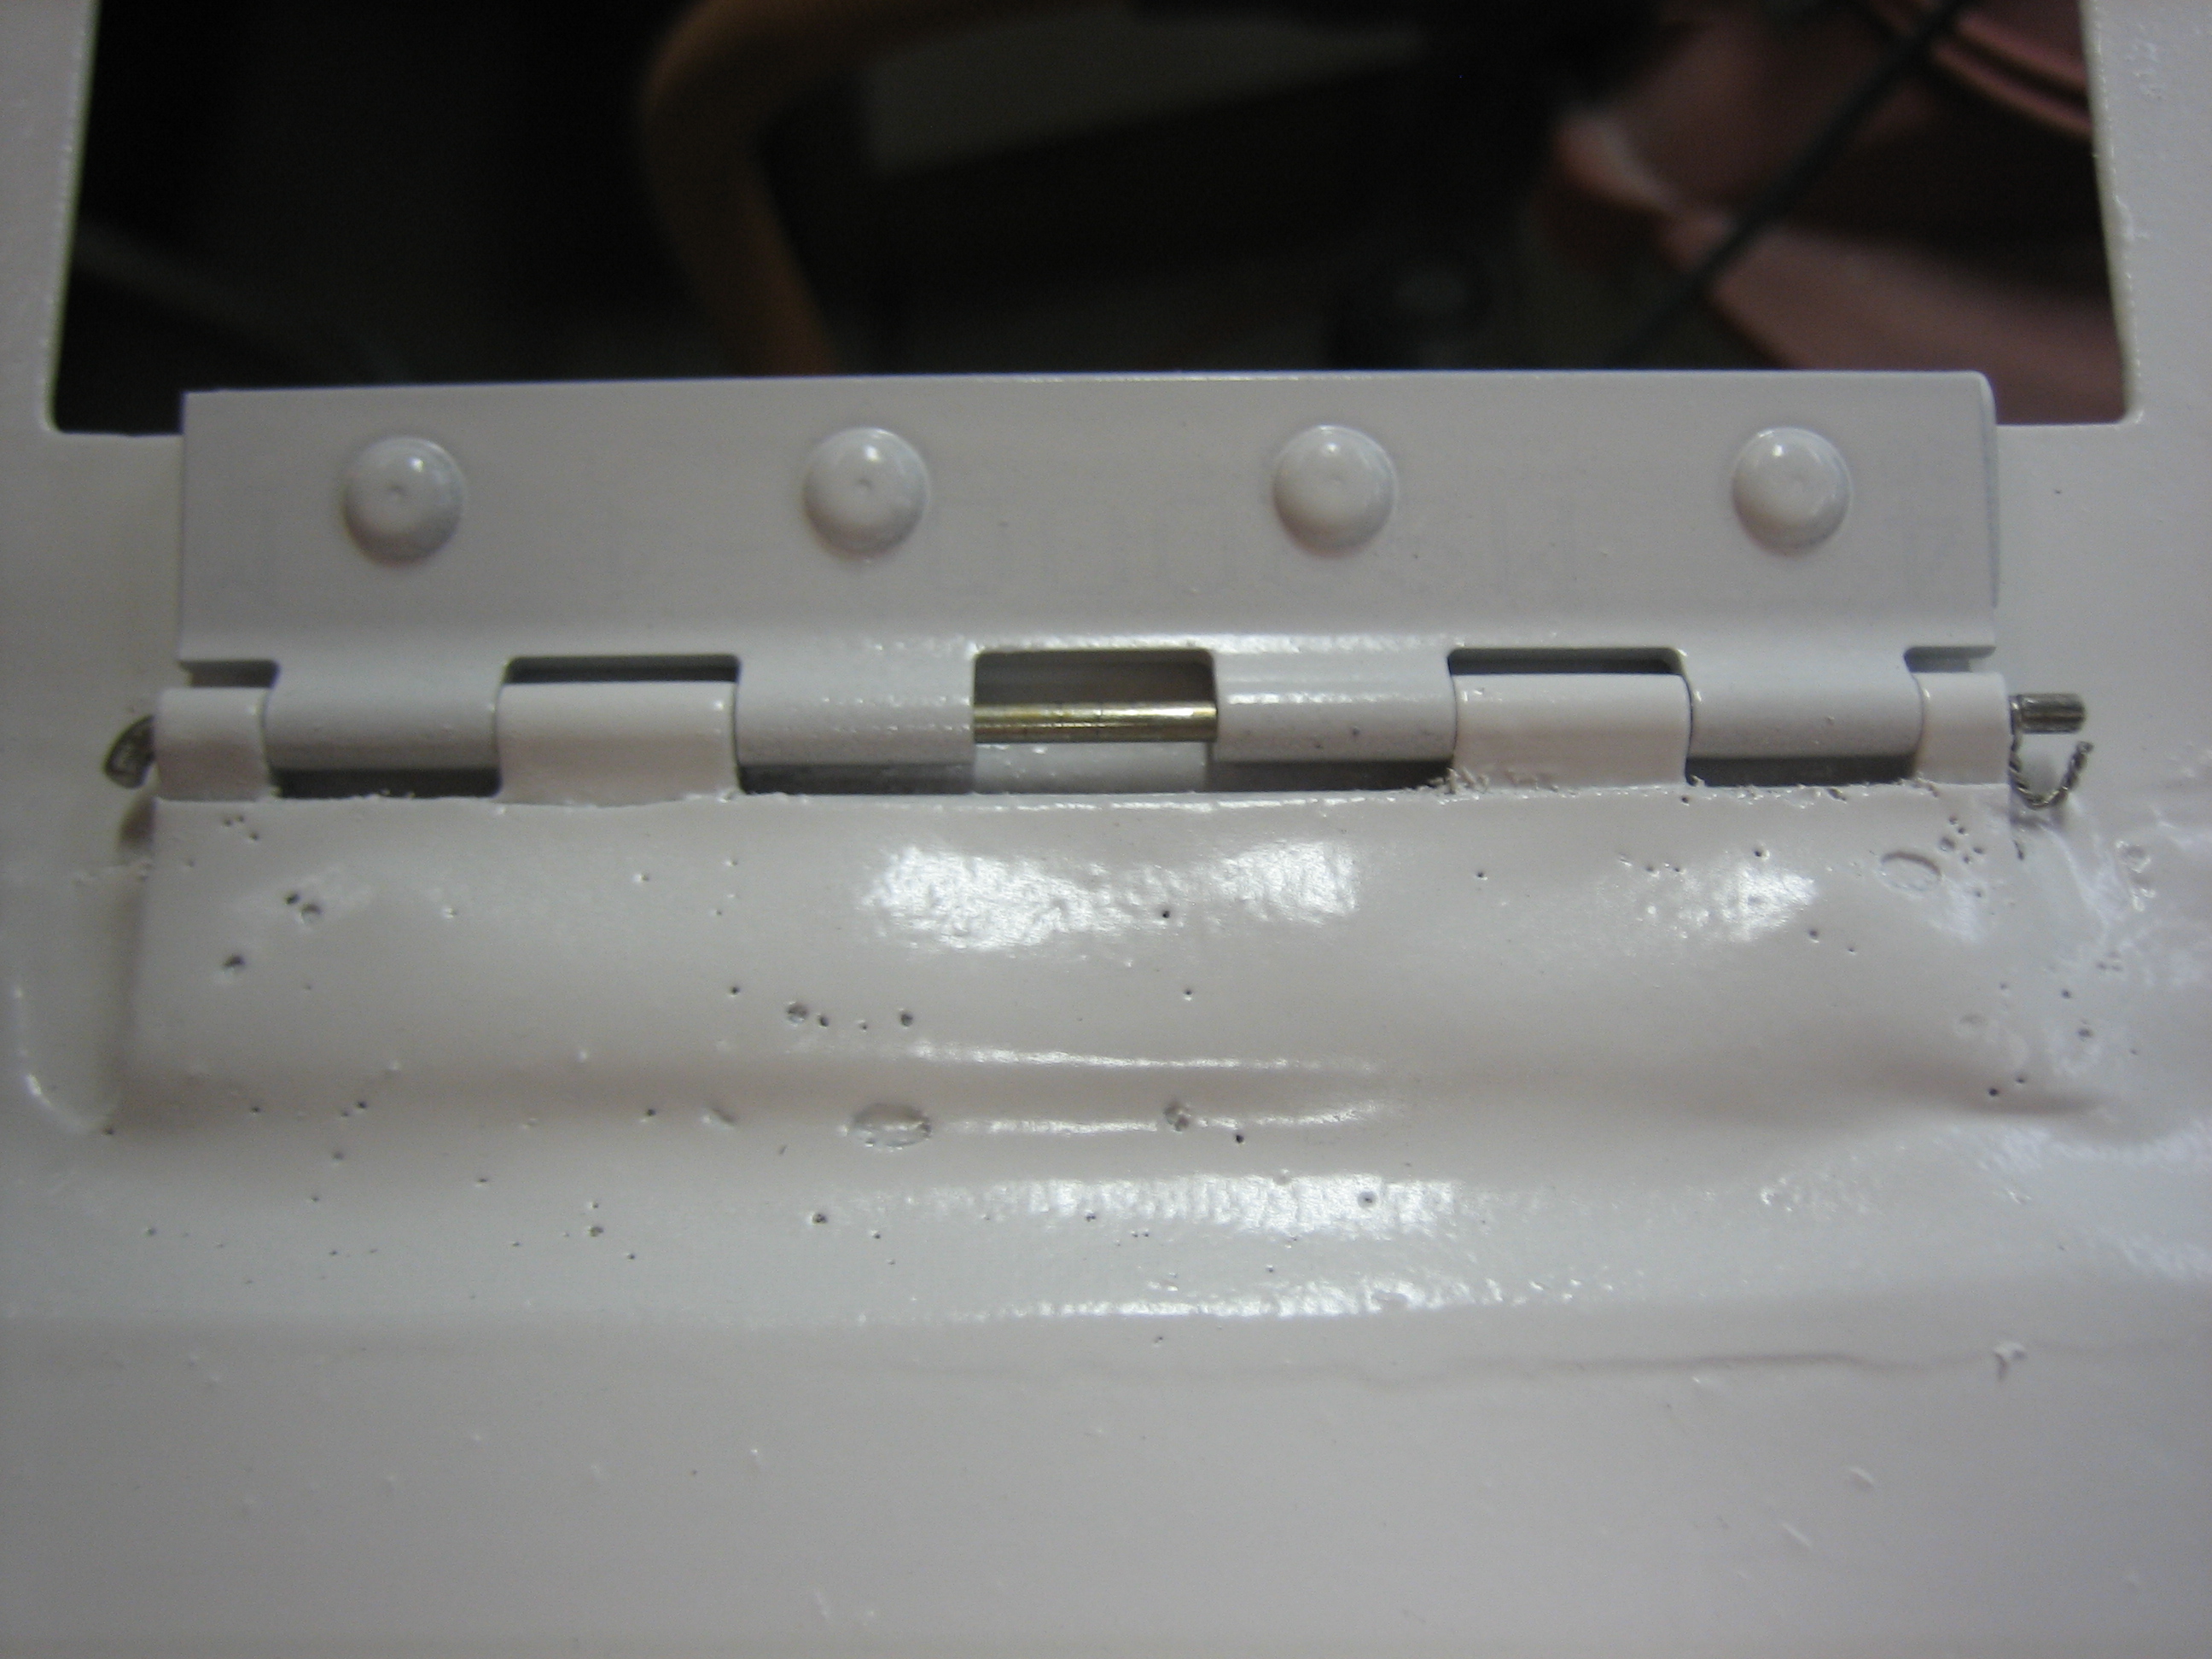
From the top, you can see how little of the hinge pin is visible.

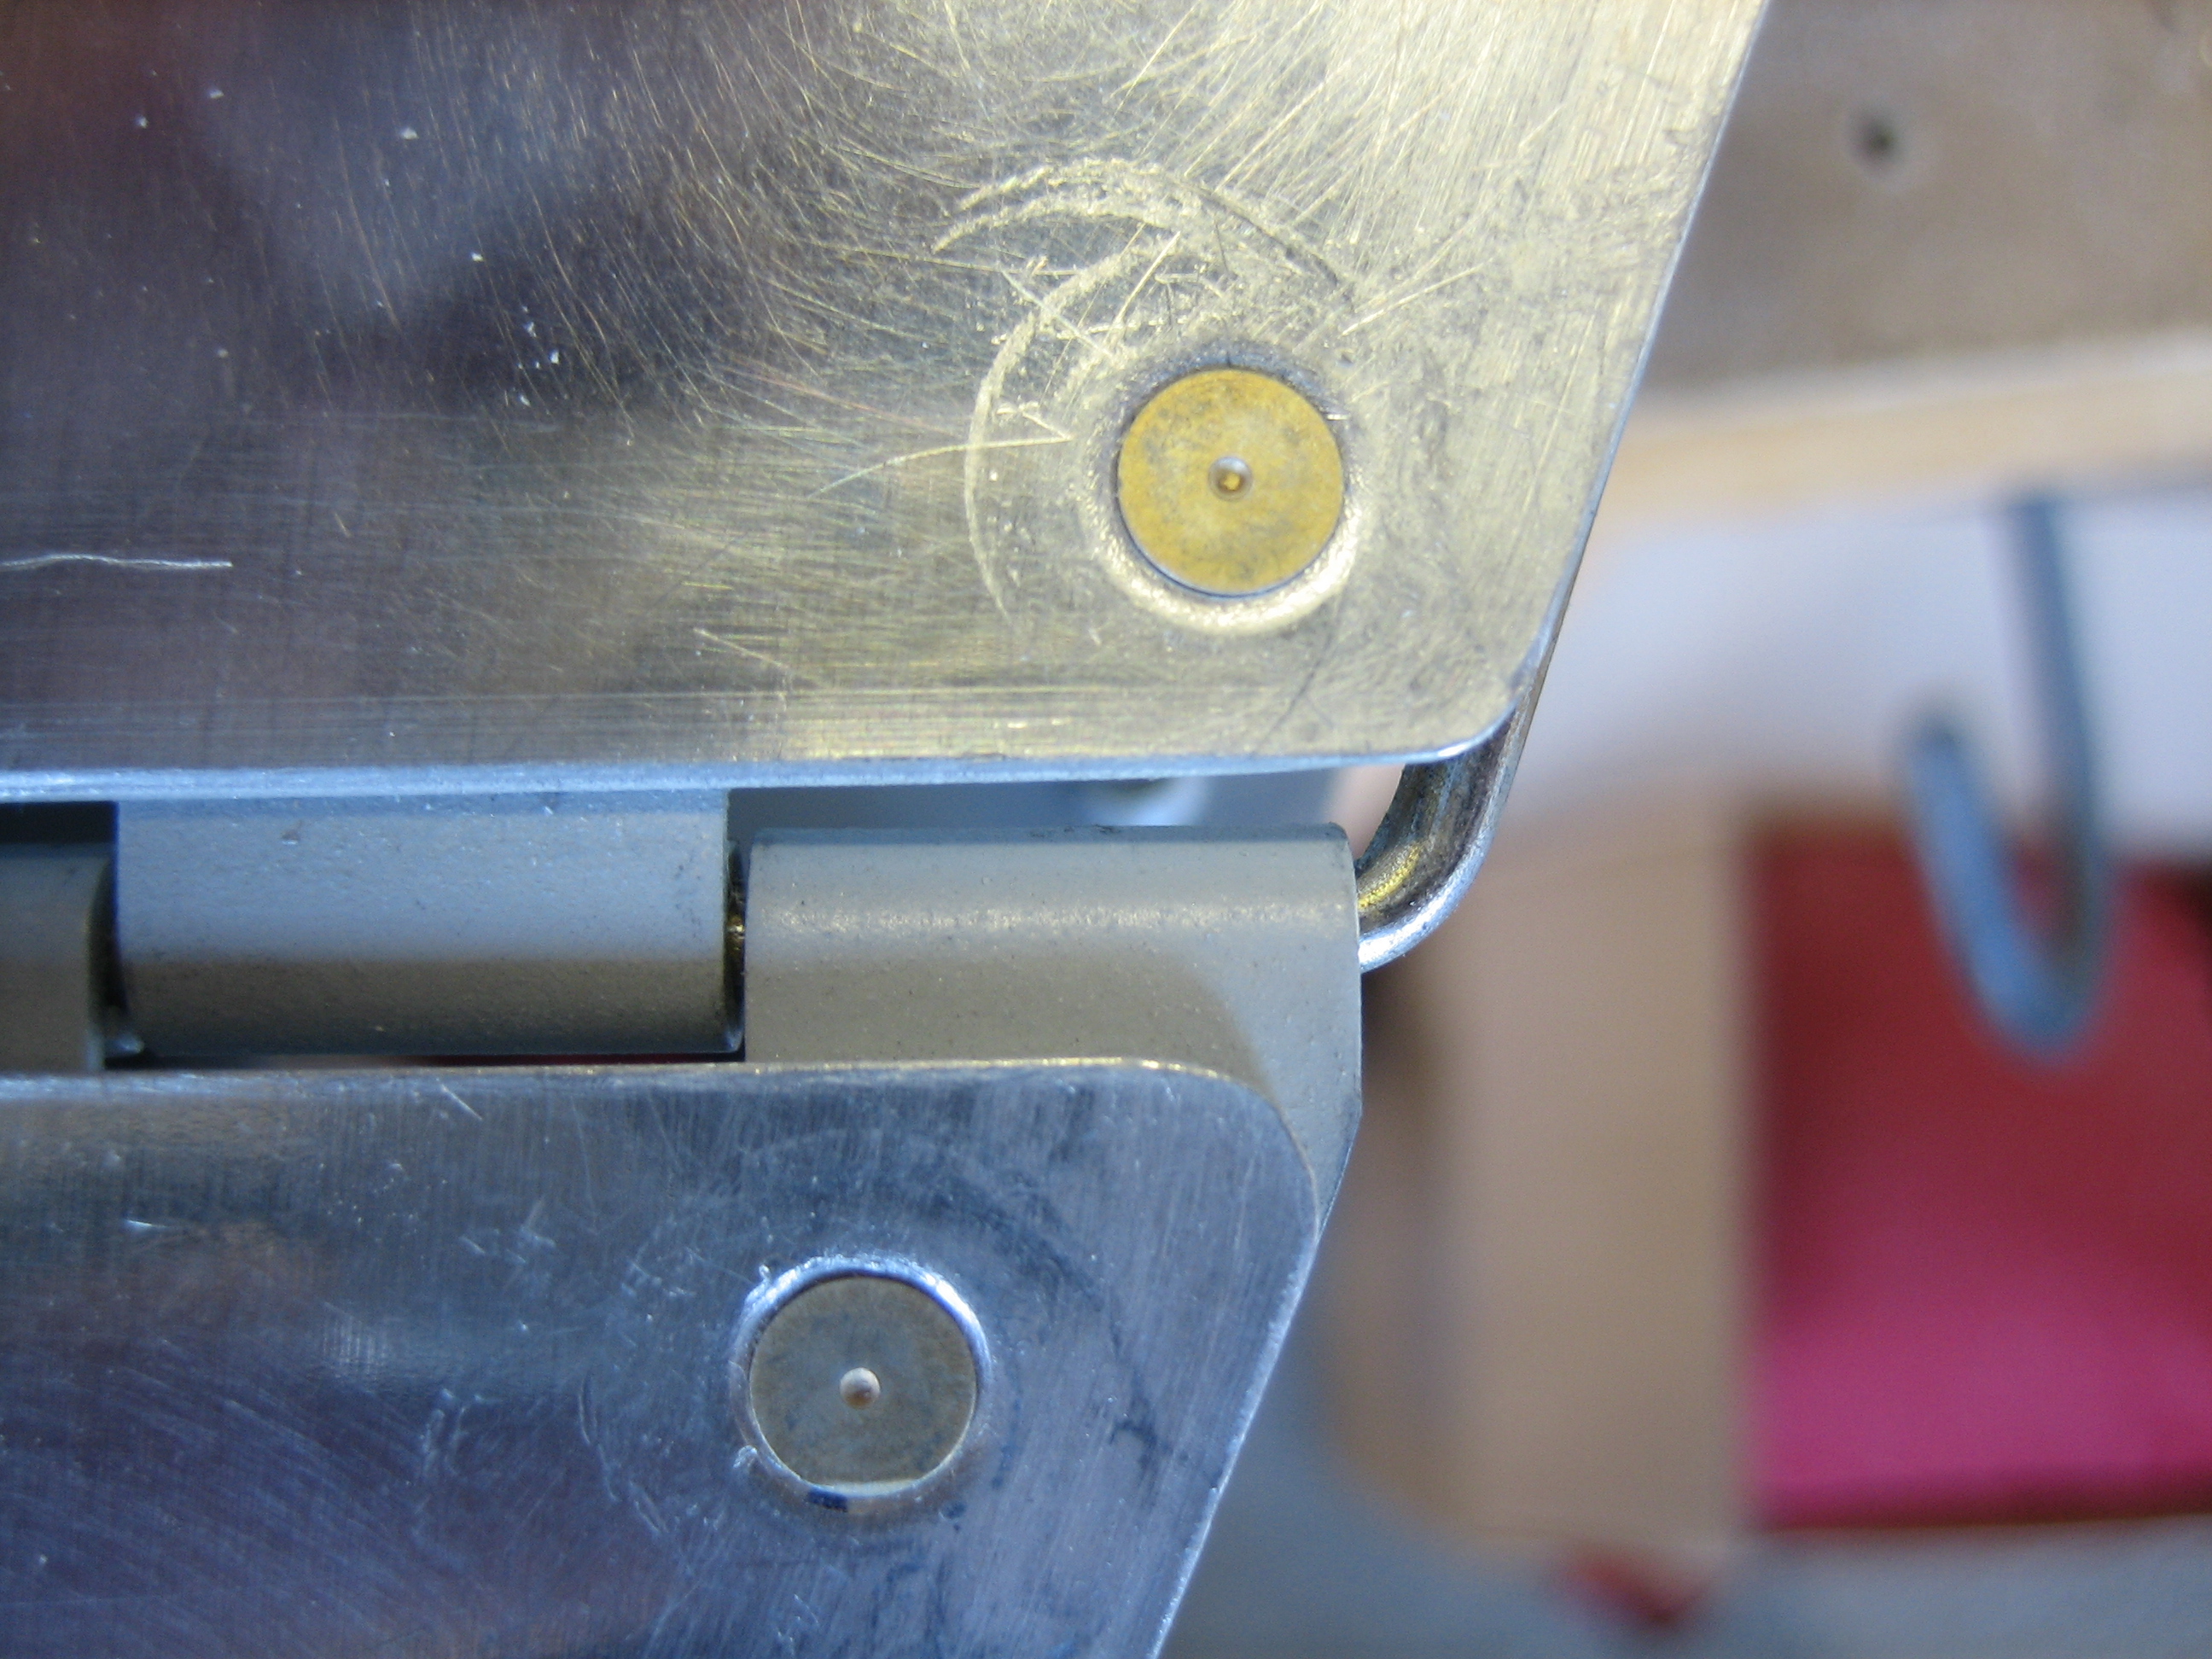
I left a small amount of the pin visible at the other end of the hinge so that it’s easy to confirm the hinge is fully inserted during pre-flight.

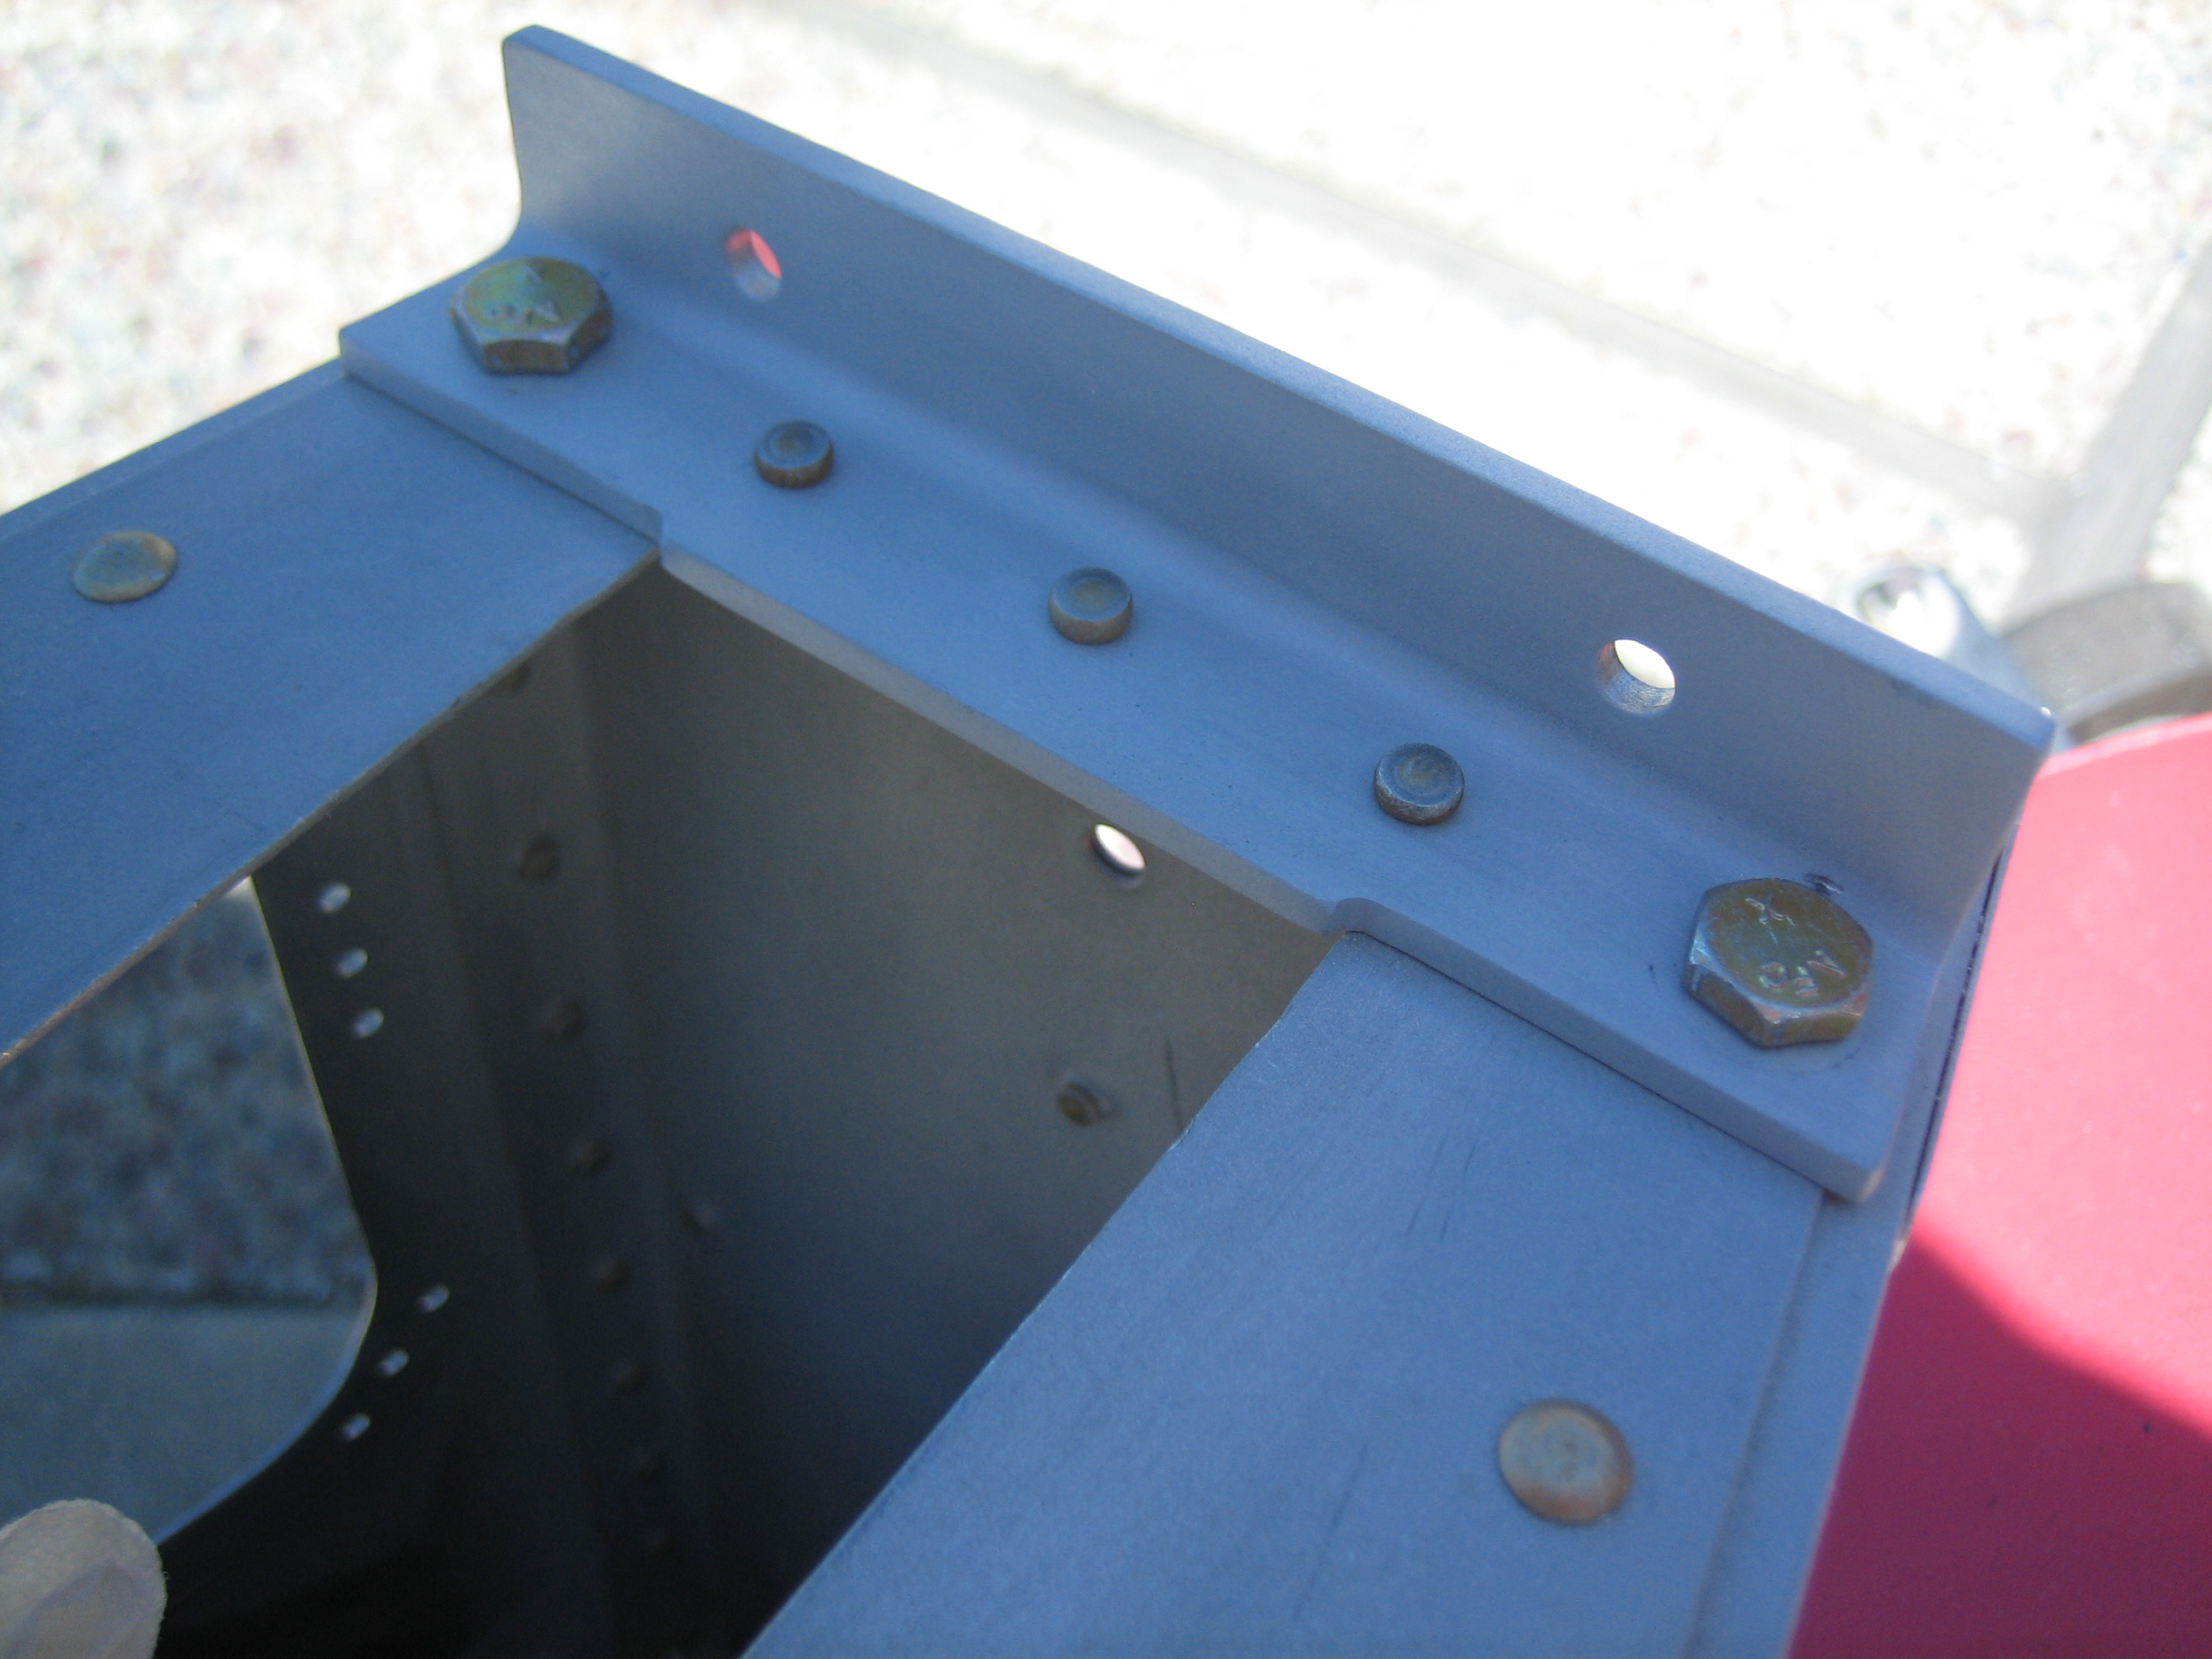
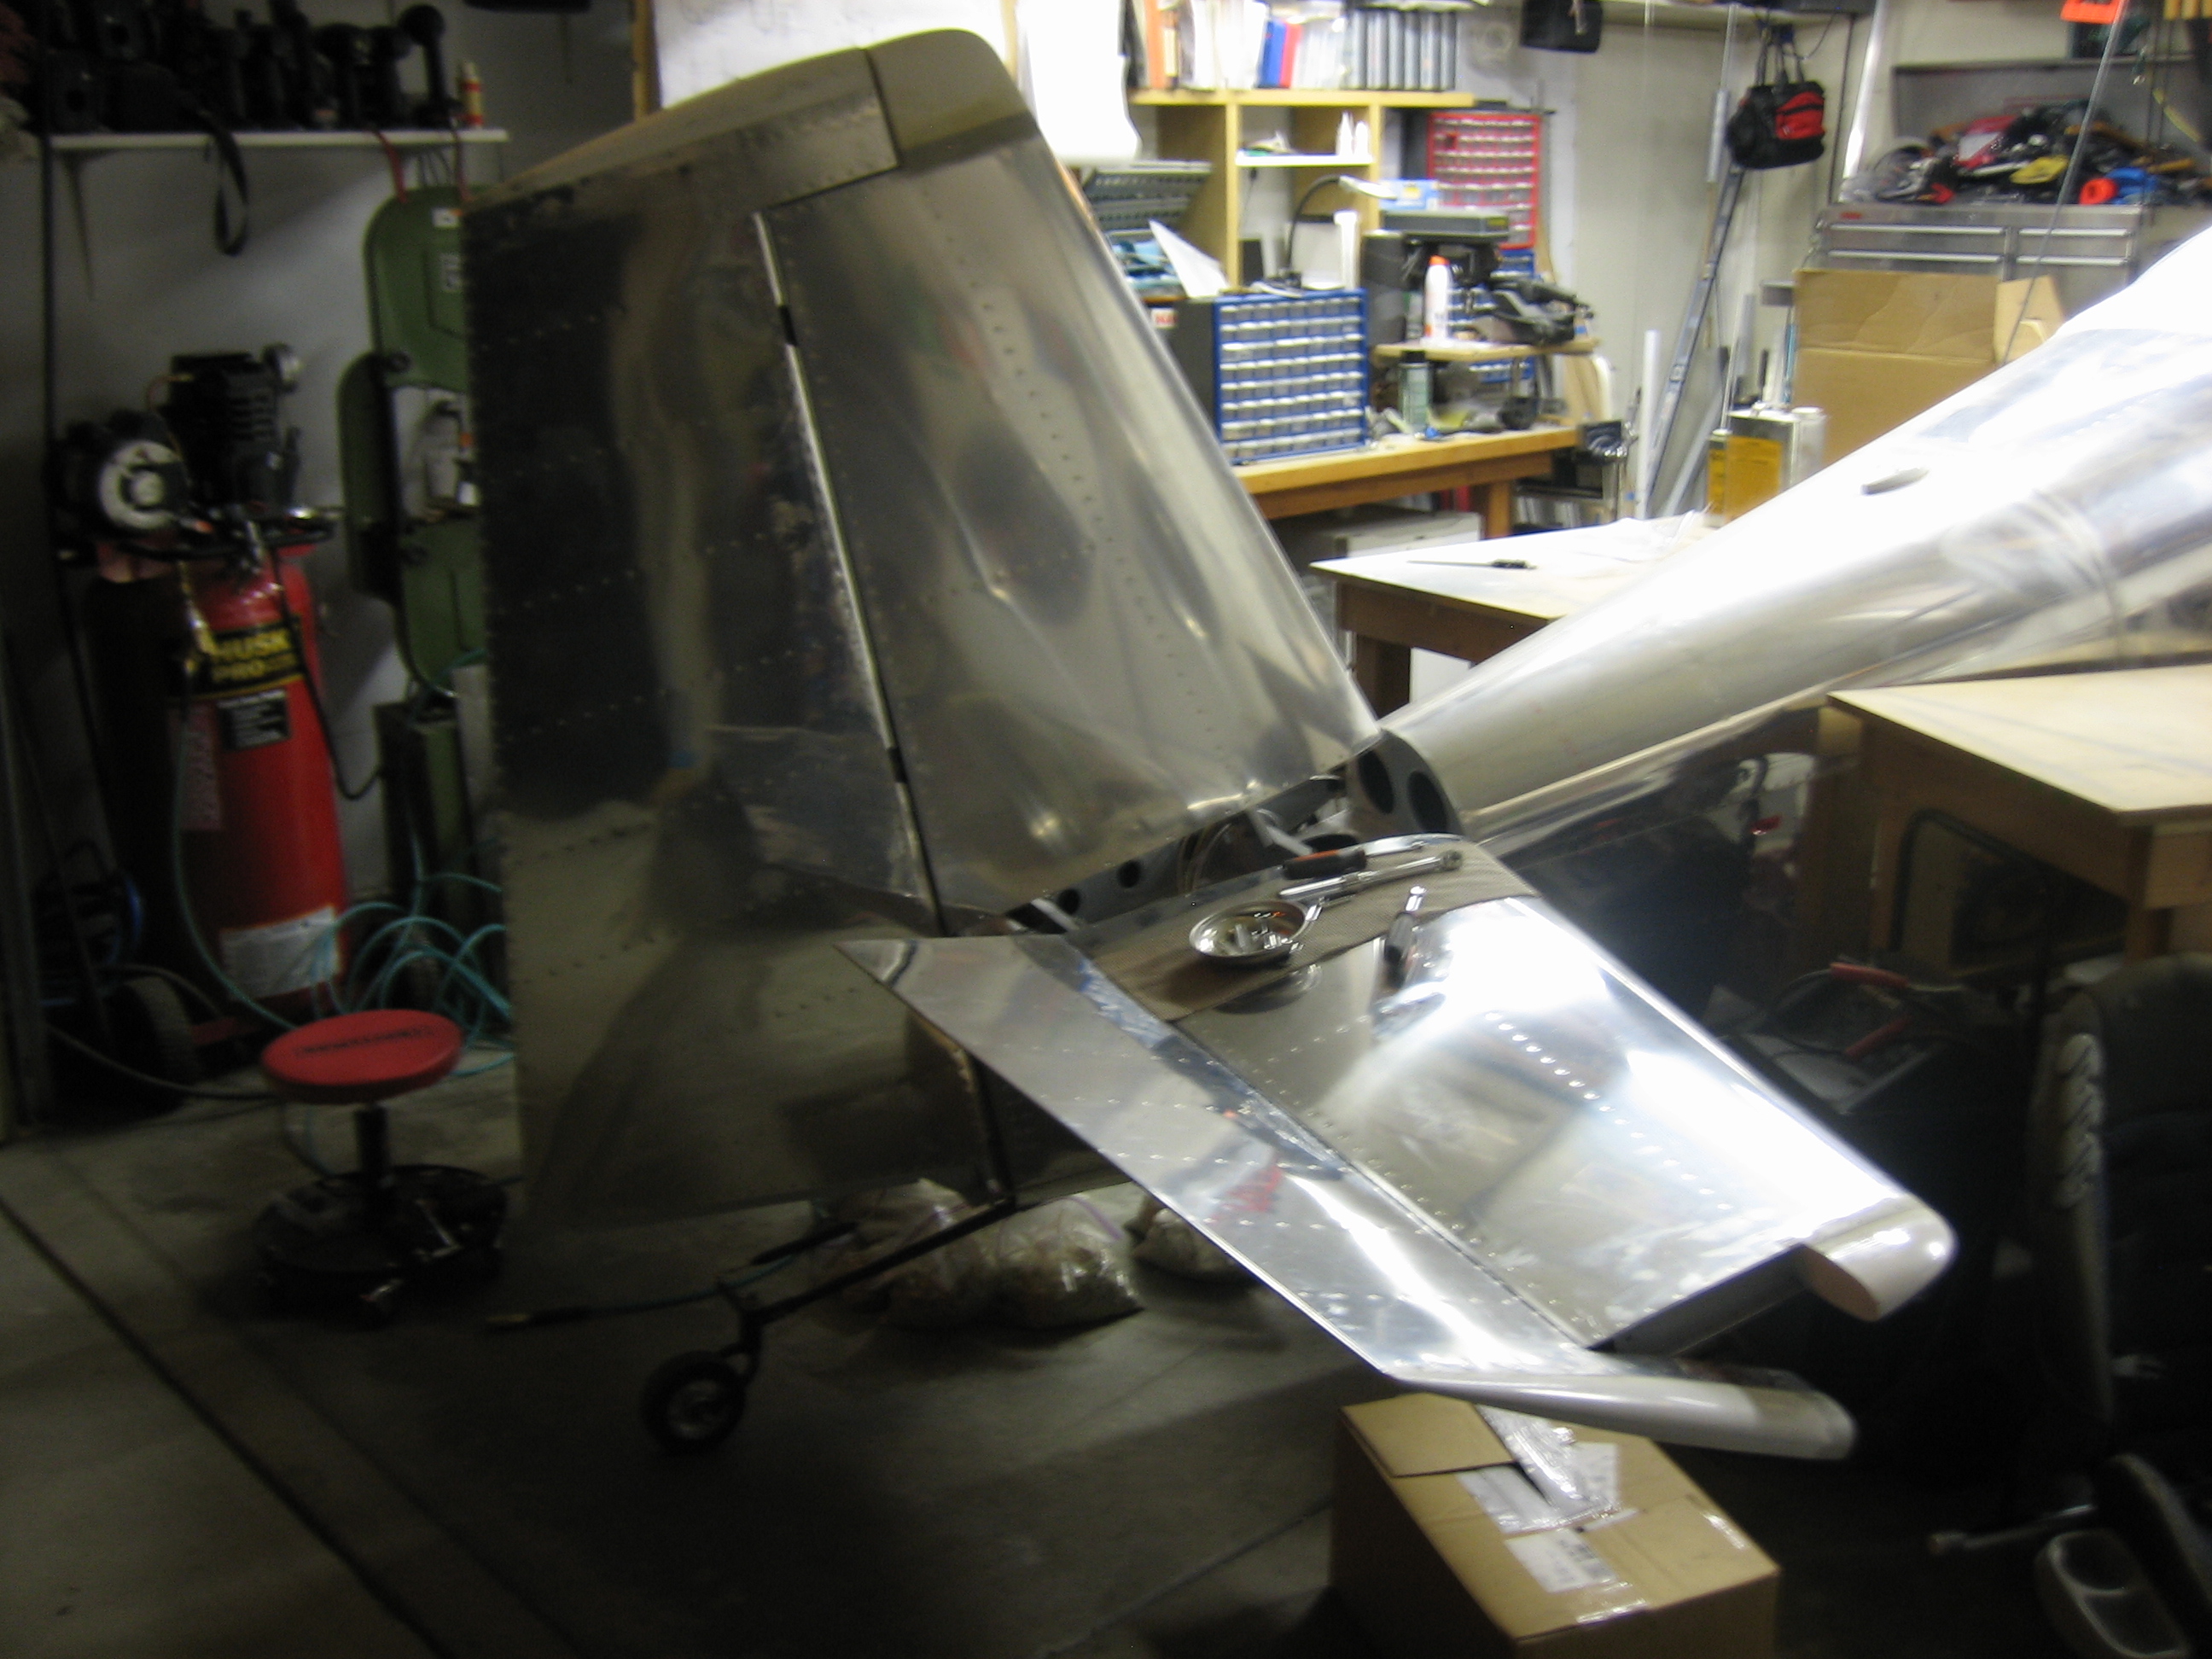
I pulled the plane out of the garage so that I could rearrange it to work on the empennage.  First up, I riveted and bolted on the up elevator stop.

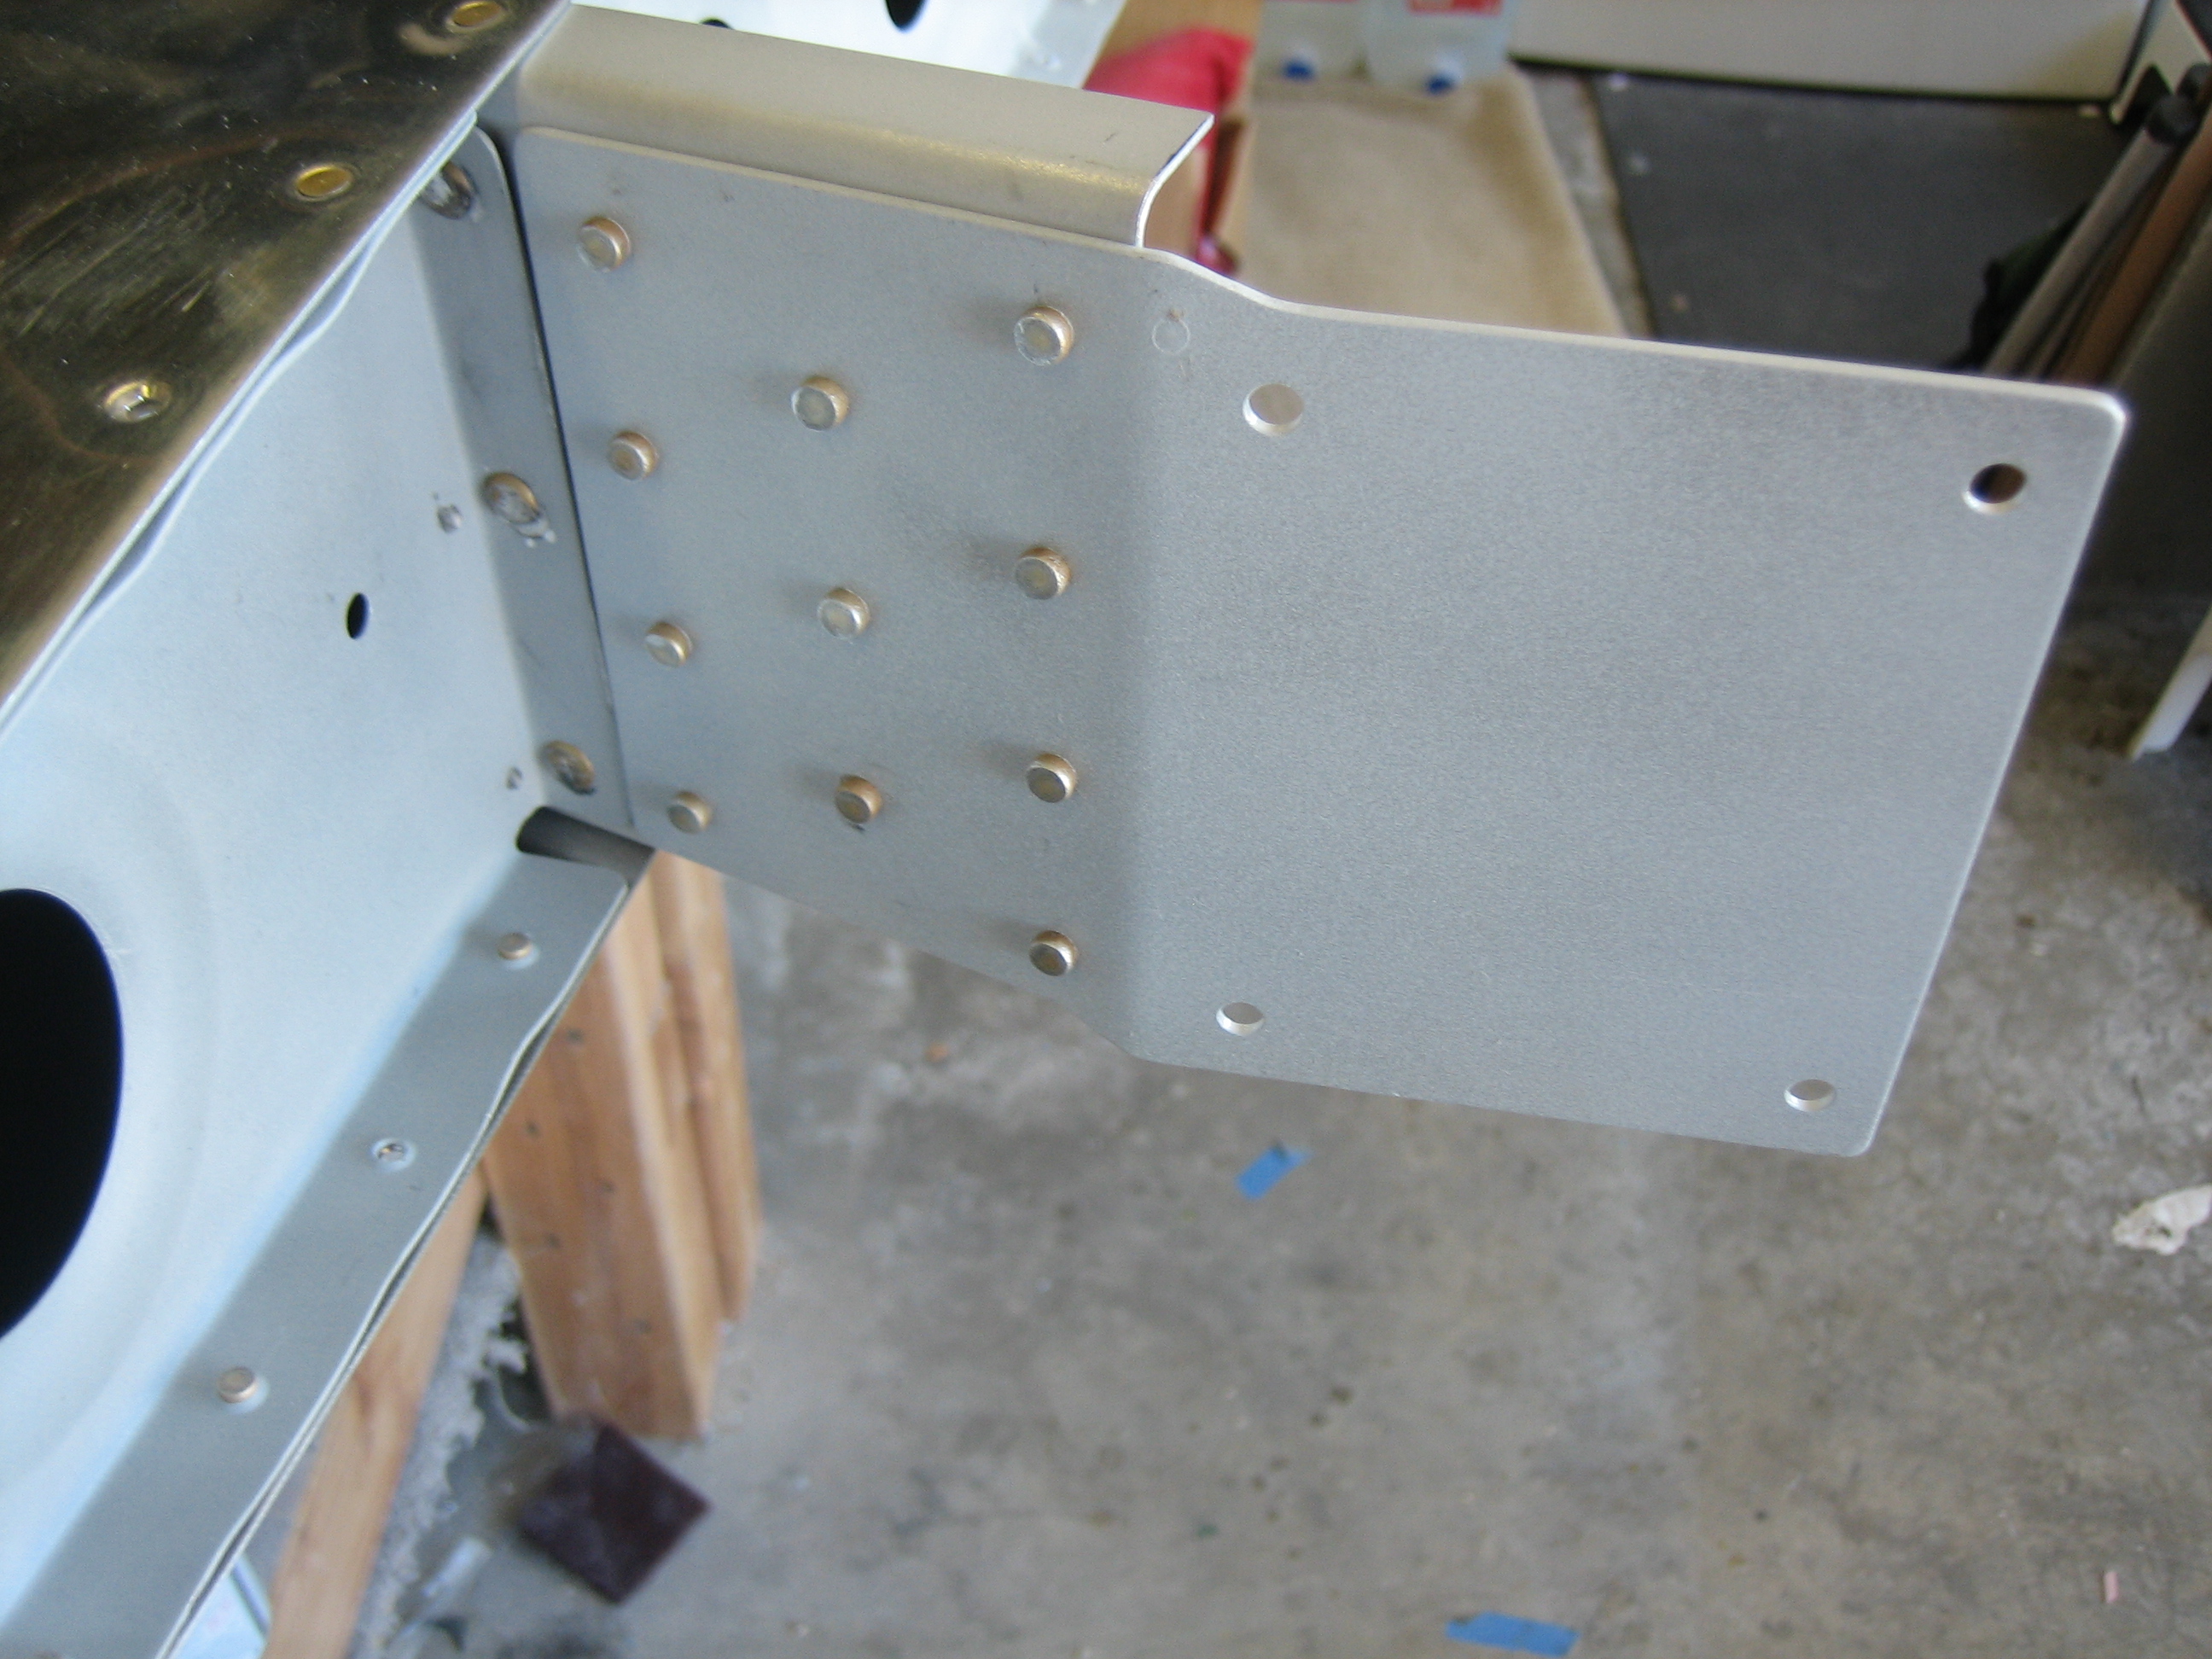
I then riveted on the plate that ties the vertical stabilizer’s forward spar to the horizontal stabilizer’s front spar.

After spending most of the day cleaning out the garage, the plane is safely tucked back in.

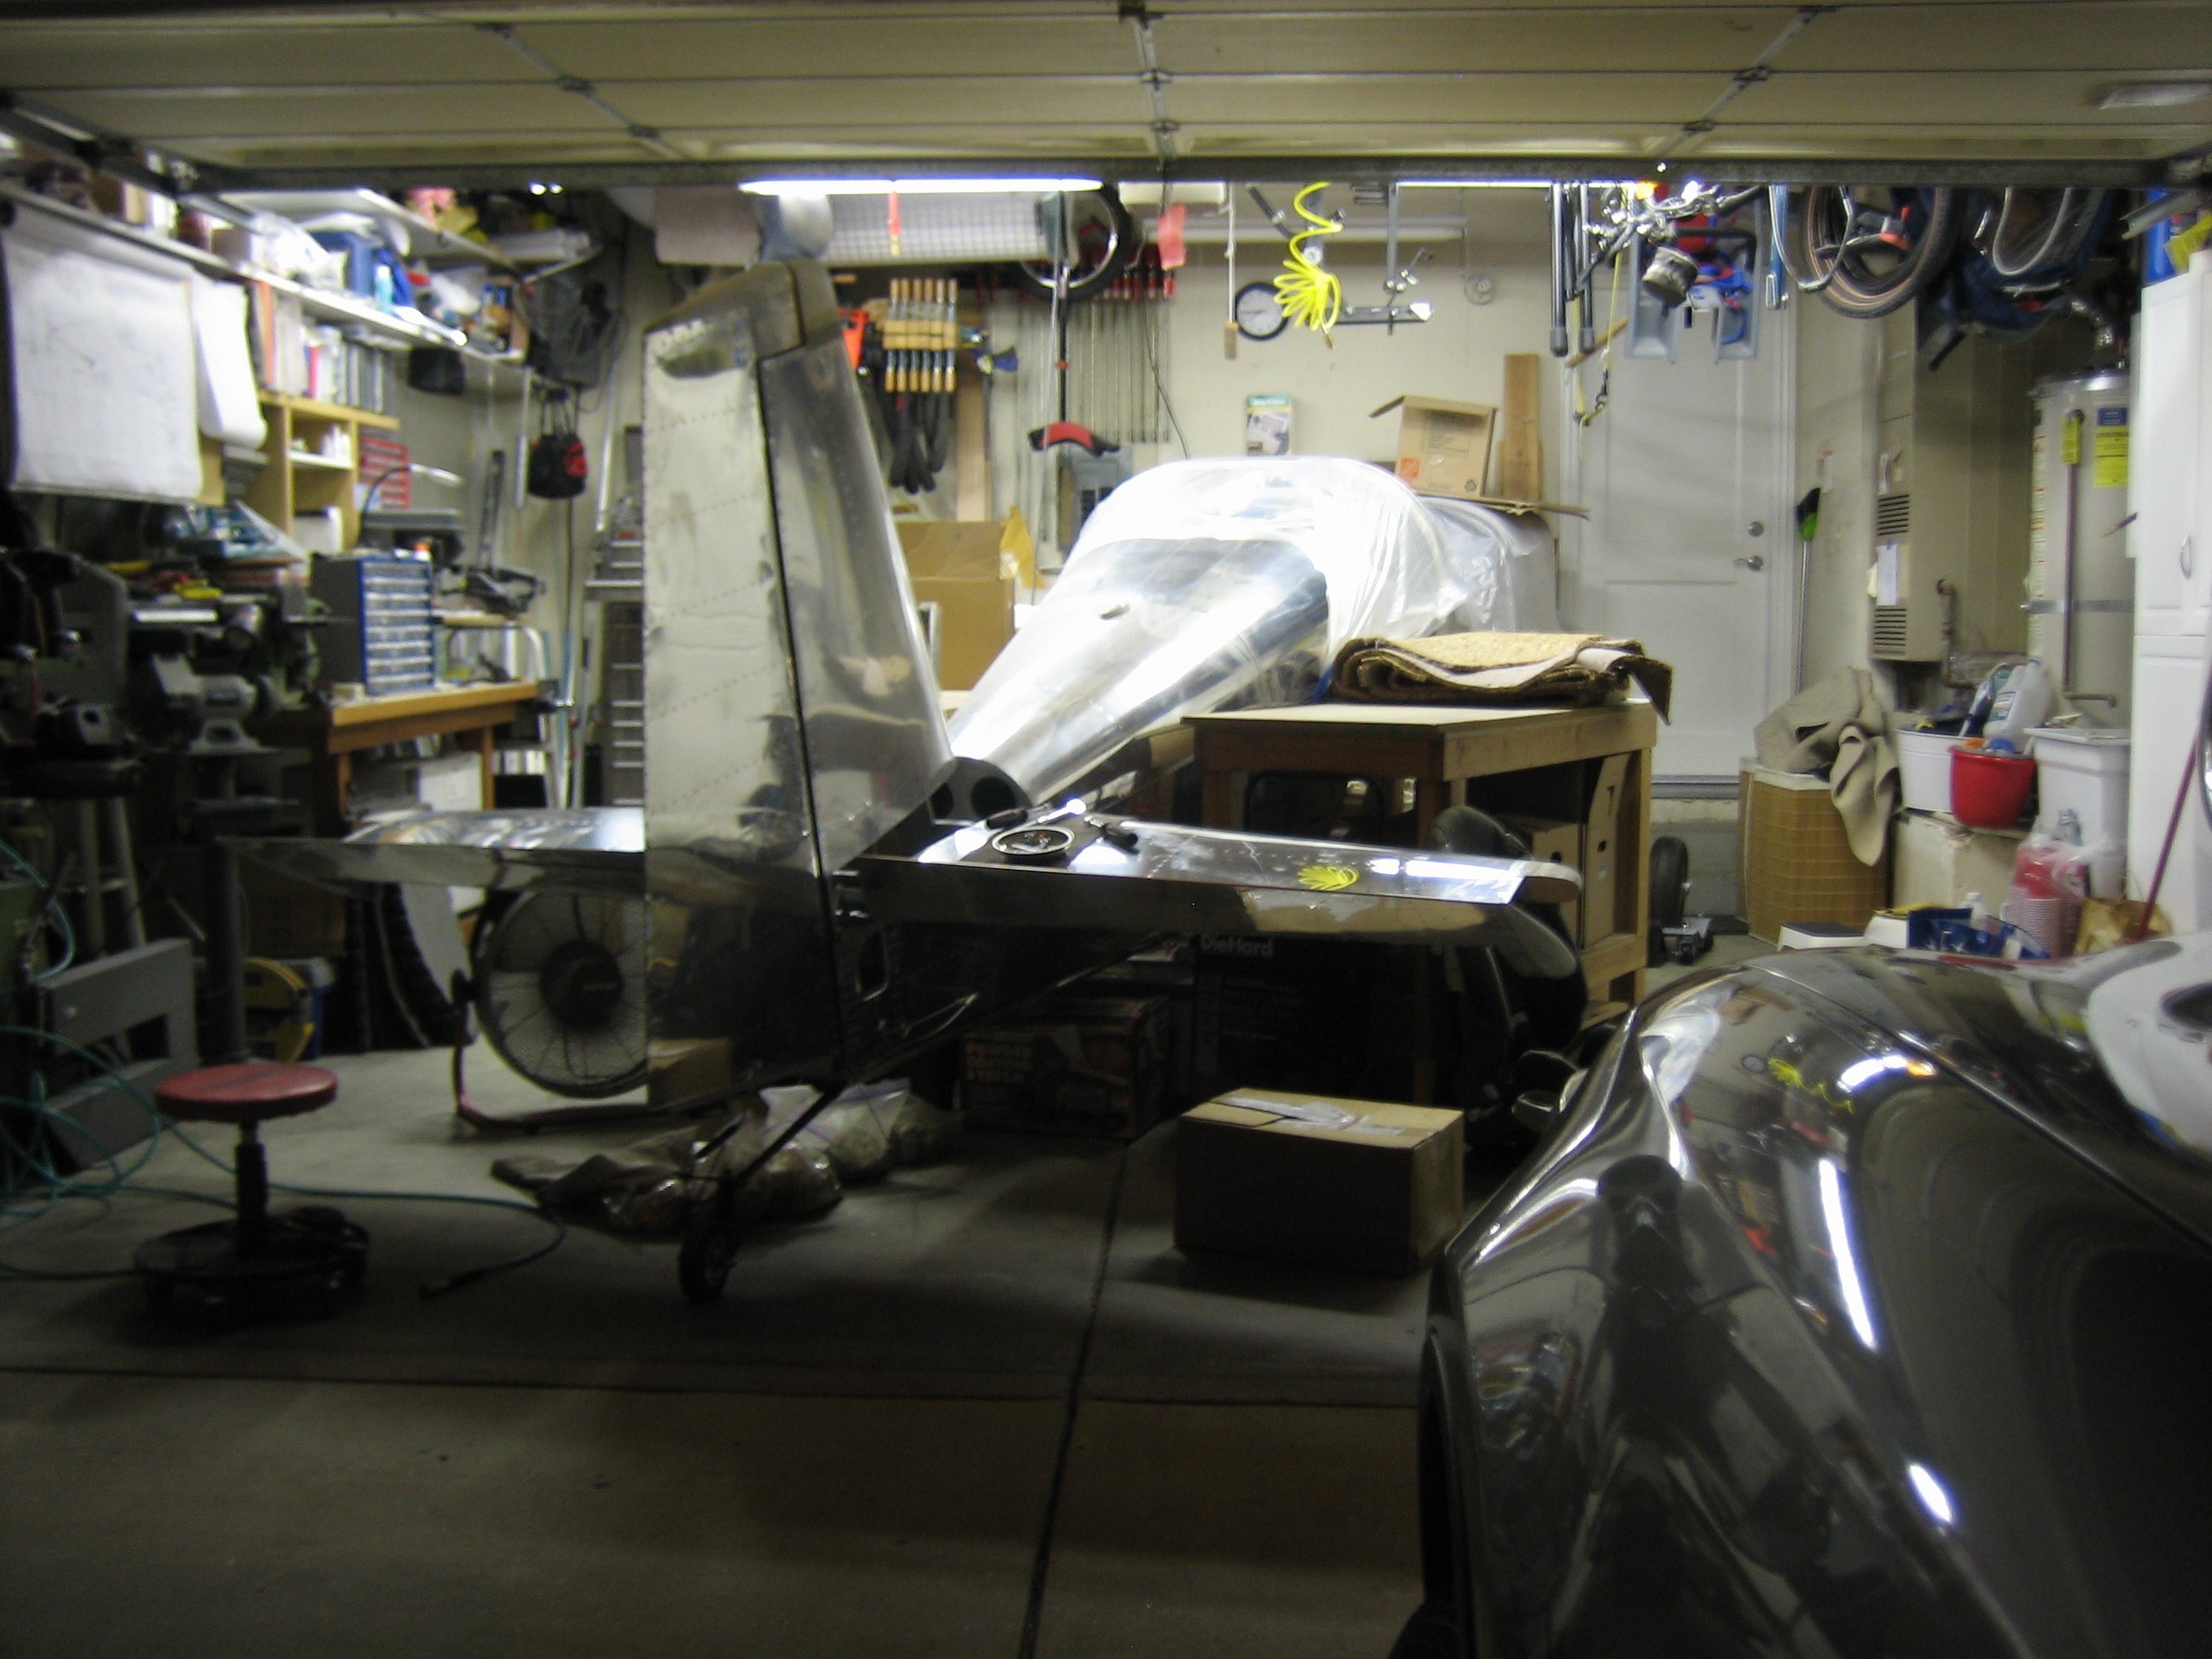
In this orientation, I can actually completely install the empennage and still get the garage door closed.  I can’t walk around the plane that way though, so I’ll likely leave off the rudder and right elevator most of the time though.

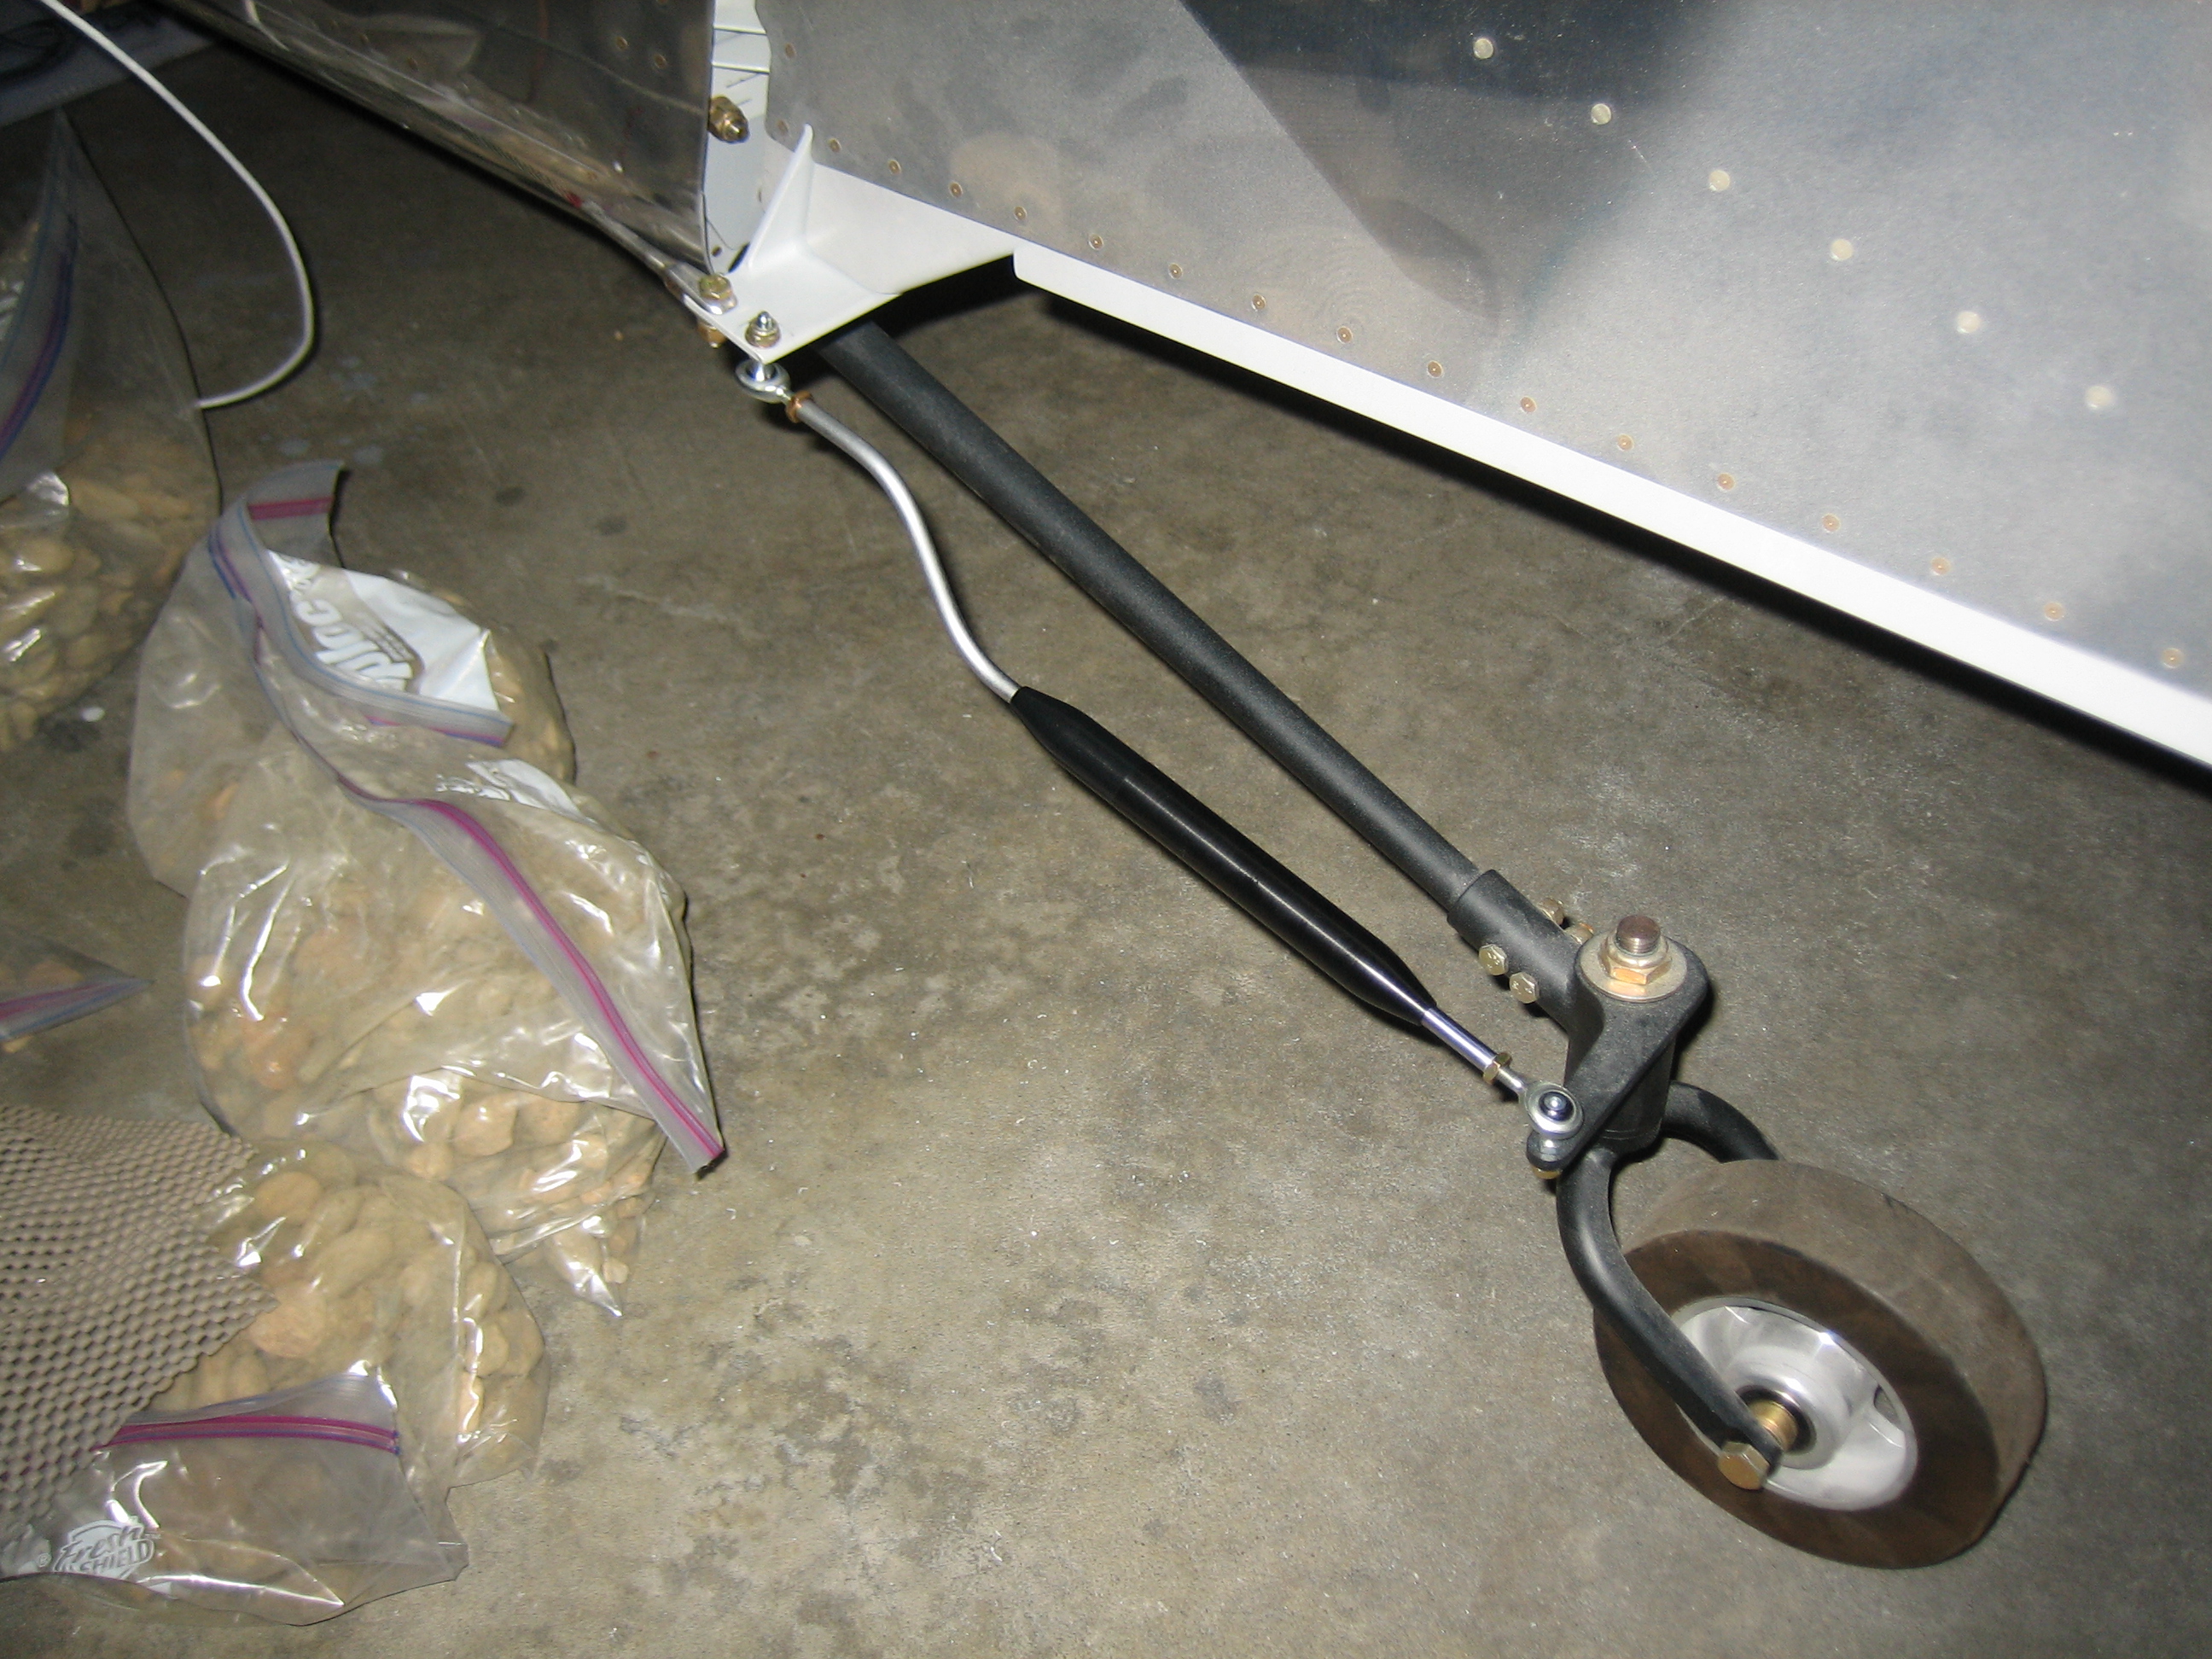
I installed the steering link so that I could adjust the length.

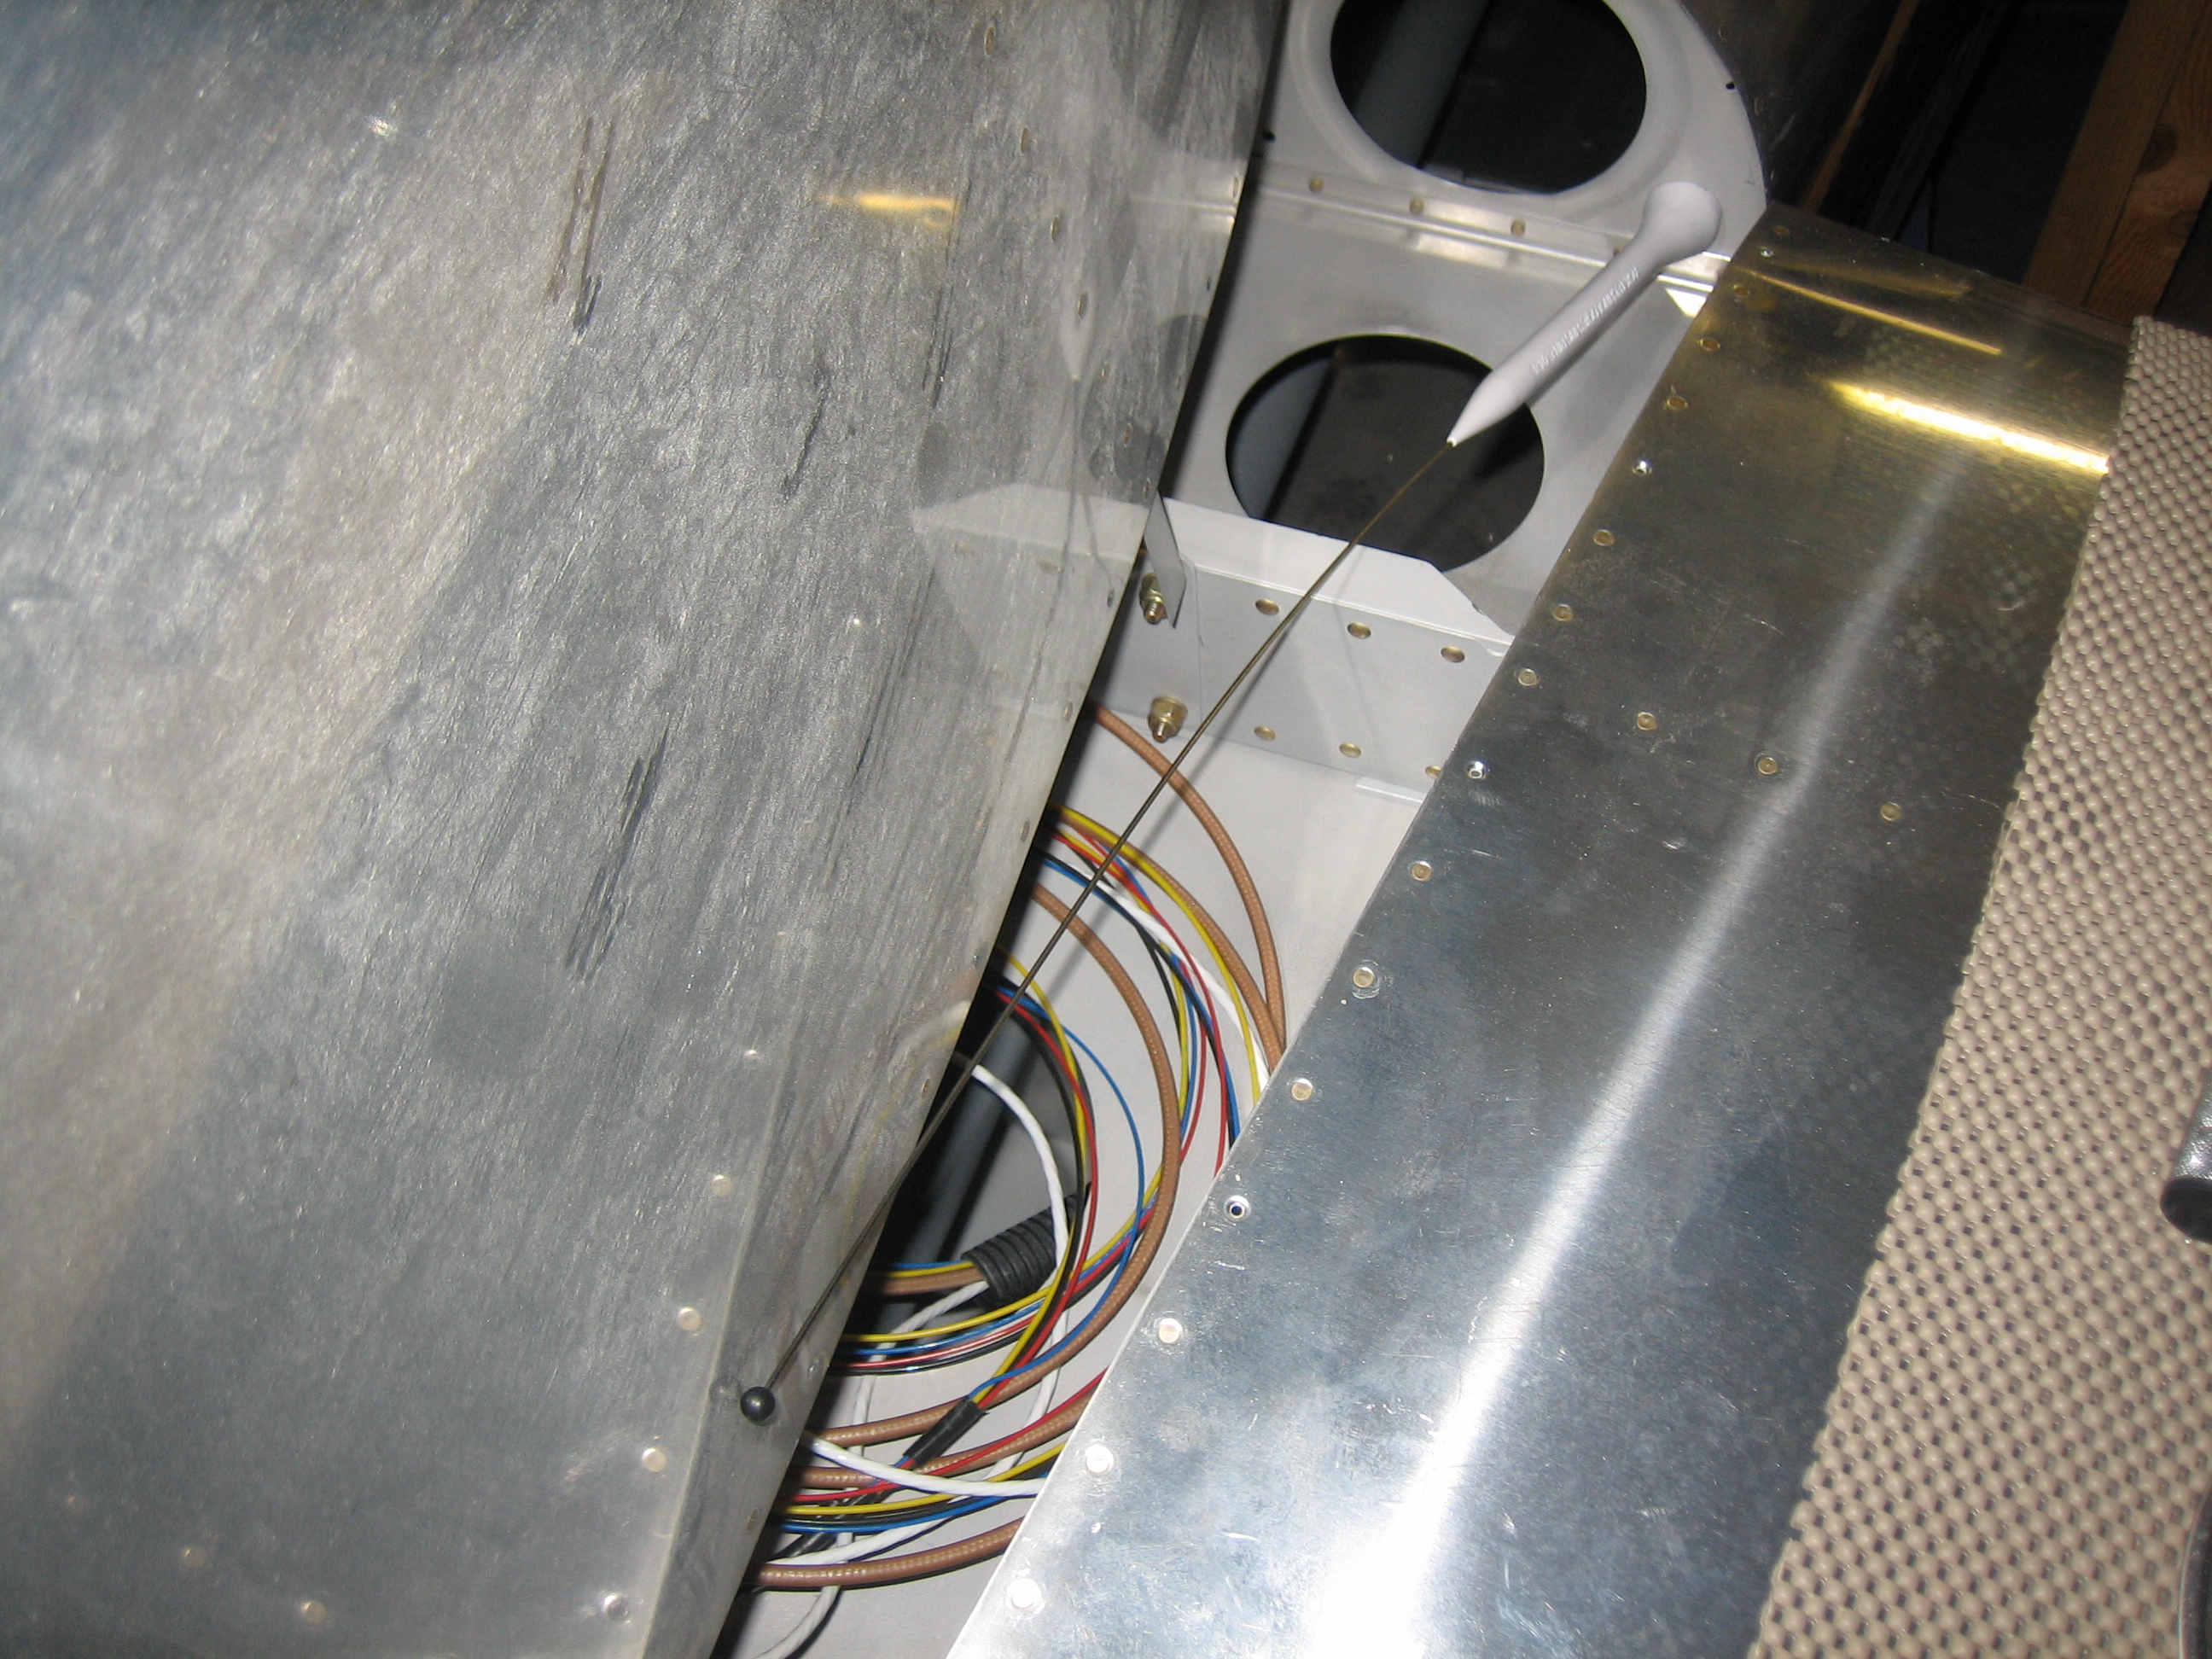
Finally, I decided how I was going to mount the ELT antenna, and drilled a hole in the bulkhead and installed the antenna.  I still need to figure out how I’m going to secure the other end of the antenna so that it doesn’t bounce around inside the tail.

Fabricated Oil Door Hinge Pin

I have been giving some thought to how to secure the hinge pin for the oil door.  Many builders just insert the pin and bend both ends, but then you can never remove the pin without destroying it.  I decided to bend only one end and use some safety wire to prevent the pin from sliding out.  I filed a groove in the end of the pin that goes about 3/4 of the way around the circumference.

This allows me to wrap a piece of safety wire around the pin to lock it in place.

Here’s what the pin looks like installed in the cowl.  The bend is on the left and the safety wire is on the right.

Painted Inside of Upper Cowl

I painted the inside of upper cowl with the same two-part epoxy paint I used on the lower cowl.  The finish isn’t perfect, but it’s fine for the inside of the cowl and should be sufficient to seal the surface and make it easy to clean.

I also painted the inside of the oil door.

I also painted the metal strips that hold the cowl inlet baffle seals.

Added Reflective Foil to Lower Cowl

With the paint cured, I added the reflective foil.  The foil sticks amazingly well to the painted surface, so I’m not going to do anything else to this.  If the edges start lifting, I may add a thin coat of epoxy to seal them, but I’m going to wait and see if it is necessary.

Insulated Lower Cowl

I added a layer of 1/16″ thick Fiberfrax insulation where the exhaust pipes come within a few inches of the cowl and glued it down with Carborundum glue.  Both are capable of withstanding 2300ºF.  I’ll cover this with a layer of adhesive-backed foil to seal it from oil and fluids as well as act as a heat reflector.  I used the blue tape to define keep glue from going beyond the edge of the Fiberfrax as well as to hold down the edges while the glue dries.  The rest of inside of the cowl will be painted white to make it easy to spot leaks and keep it clean.

Inspected Firewall Forward Area

I buttoned back up the magneto blast tube that I had previous clamped to the old breather tube. Since that was removed when I installed the oil separator, I had to find a new place to clamp it.  The return line from the oil cooler was right next to the old breather tube, so I clamped it there which worked out great.

After that, I spent a solid hour inspecting the entire firewall forward area to make sure it’s done.  Other than the cowl finish work, I think the firewall forward is complete.  I’ll have a builder inspection party before the DAR takes a look at it, but I don’t think I have anything to do in this area before then.