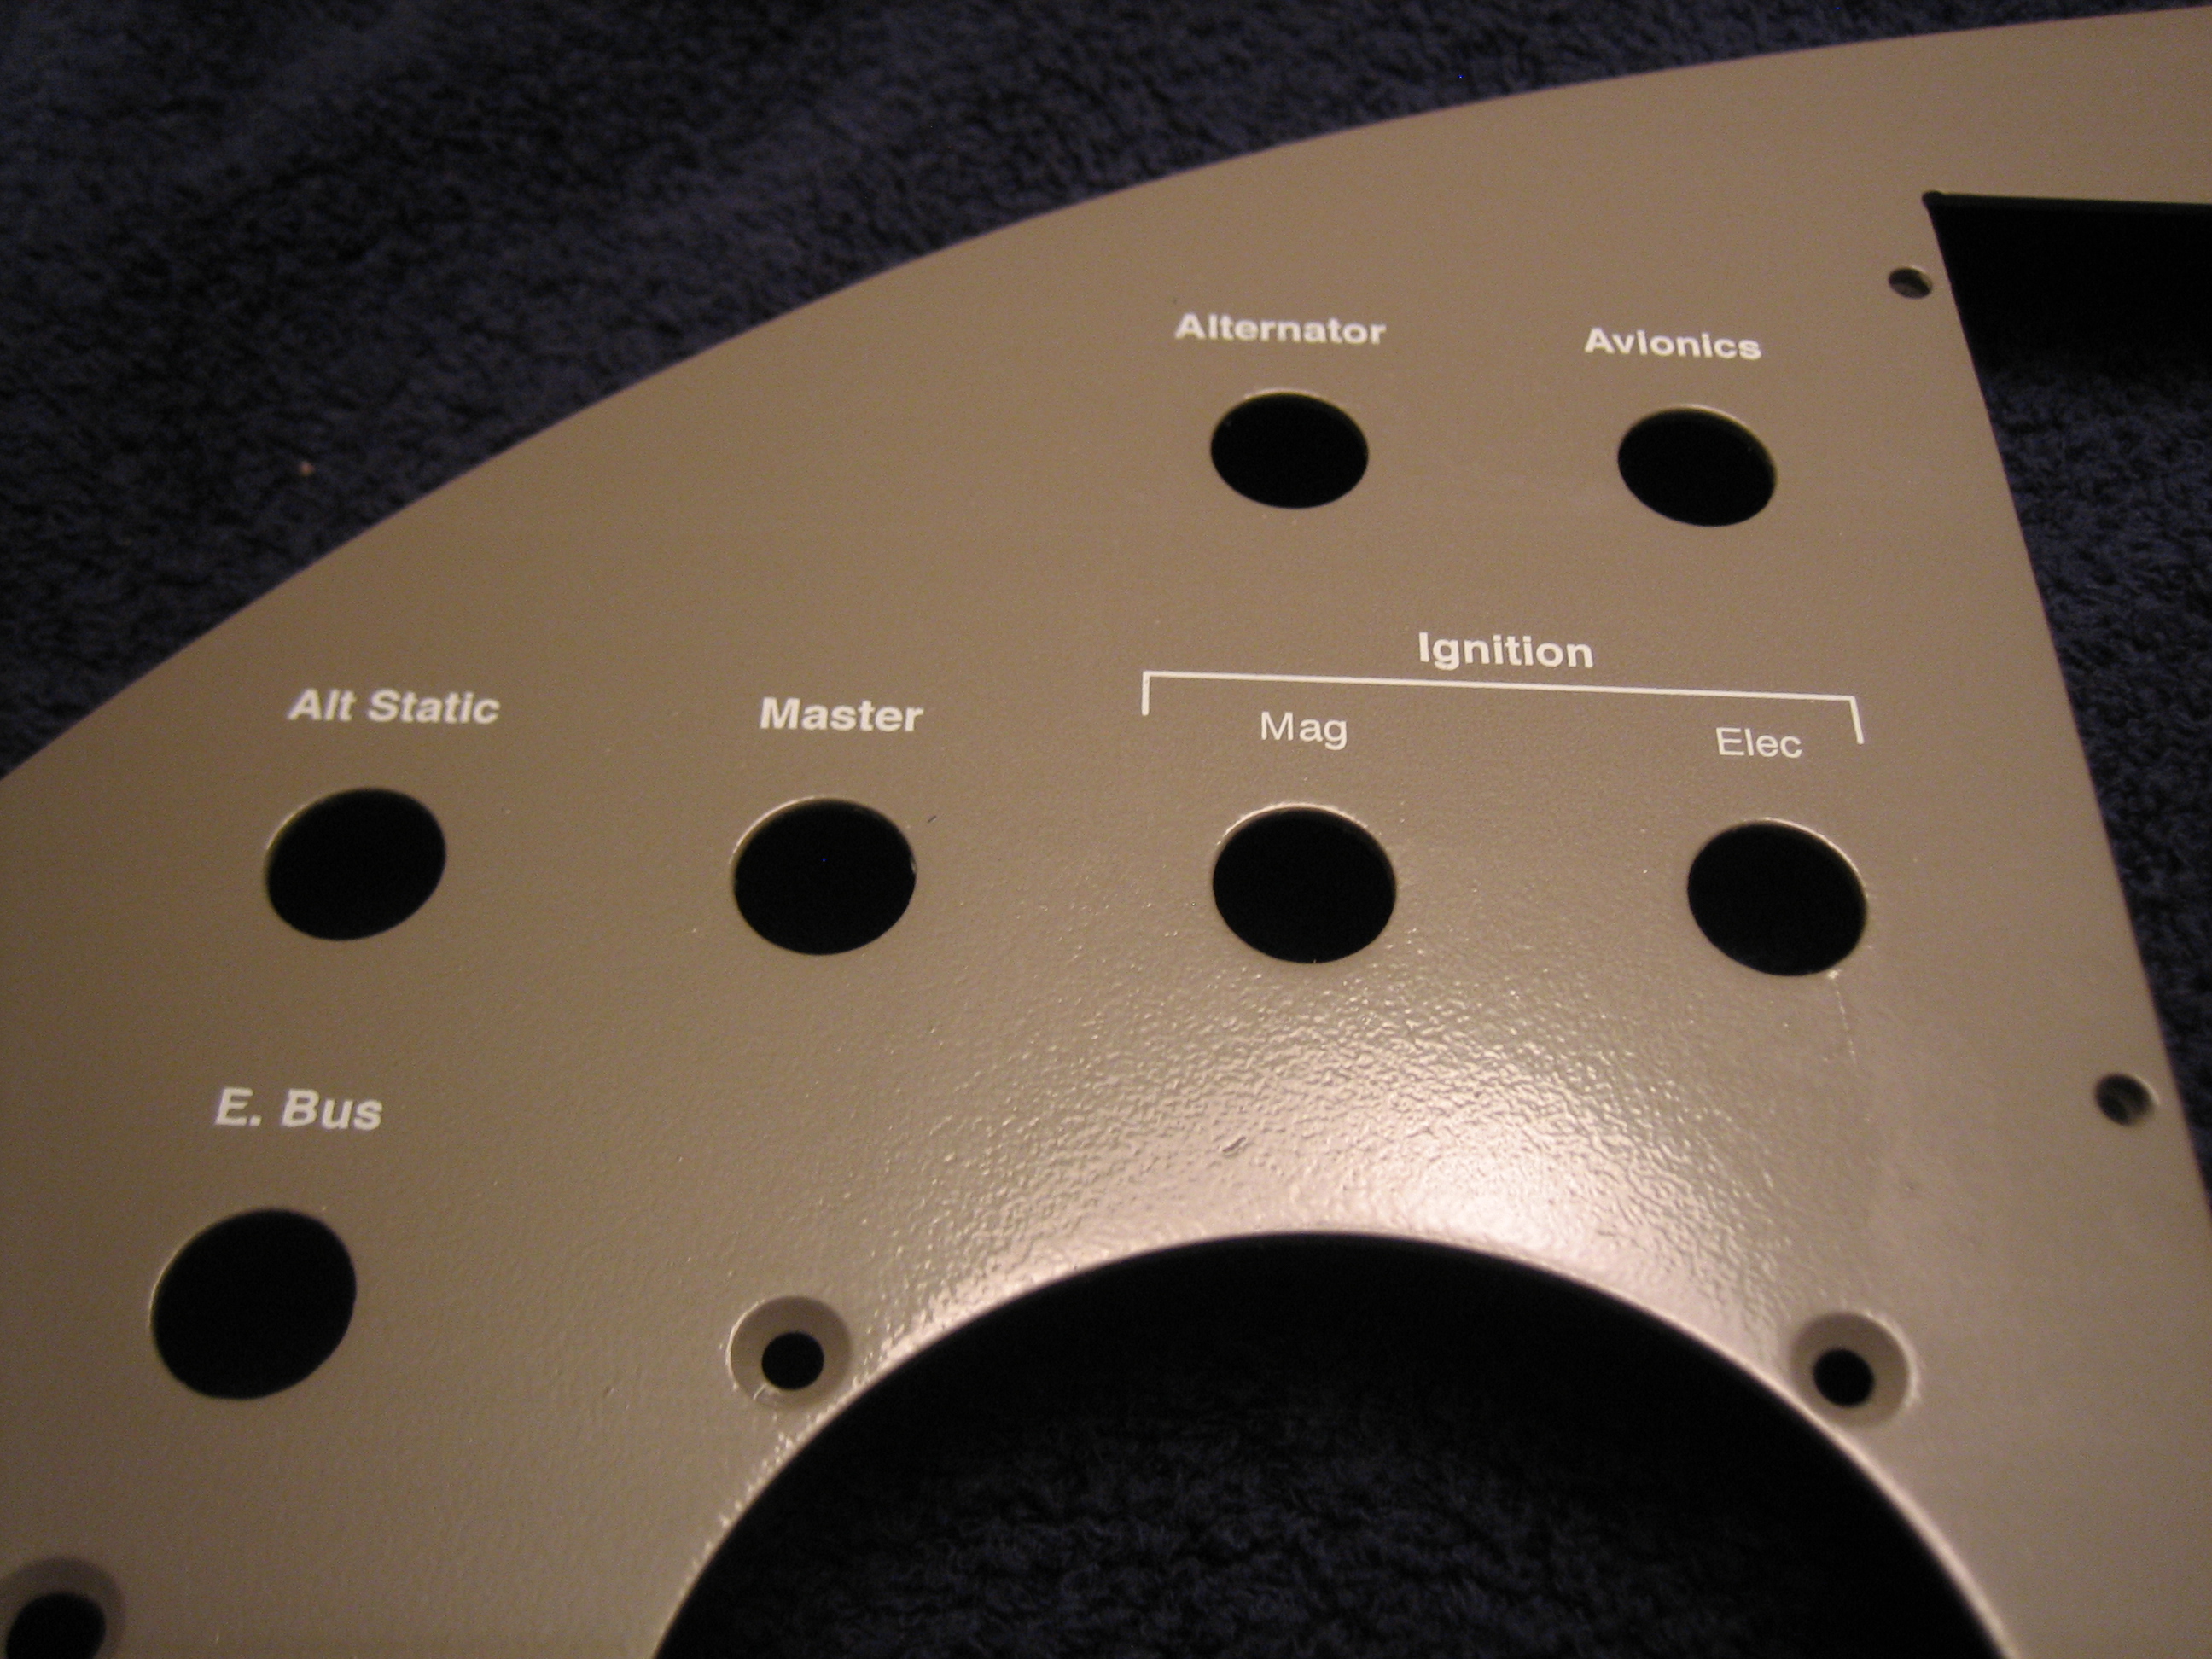
Work has been really busy lately, so I’ve had almost no time to work on the plane. We’re off tomorrow for the 4th of July, so I decided to take tonight and get started labeling the panel. I’ve been practicing with the DecalPro system for a little while, but I was really having a hard time getting the white labels to turn out nice. I called Frank at Pulsar and he gave me a couple of suggestions that solved my issues, and now almost every label turns out perfect on the first try. Basically, my process is:
- Make sure the toner density is set to 5 on my HP laser printer to ensure good foil adhesion and edge definition.
- Clean the label and the back side of the white foil with rubbing alcohol.
- Thoroughly dry the label with the heat gun on both sides.
- Wipe the label and the back side of the foil with the tack cloth.
- Laminate the foil to the label using two passes.
- Peel off the foil and remove excess using the low-tack masking tape.
- Clean the label and mylar transfer foil with rubbing alcohol (rubbing the mylar vigorously to build a static charge).
- Laminate the mylar to the label using two passes.
- Trim excess mylar.
- Run the label back through the laminator one last time without the carrier board.
- Put the label in the water until is separates from the water slide paper (be patient here, rushing will only cause the image to break up).
- Dry the label.
- Trim borders from the label.
- Apply adhesive.
- Apply to panel.
There are a lot of steps, but it goes pretty fast once you get the hang of it. I also tend to overlap the process somewhat by getting started on the next label while the previous one is in the water.
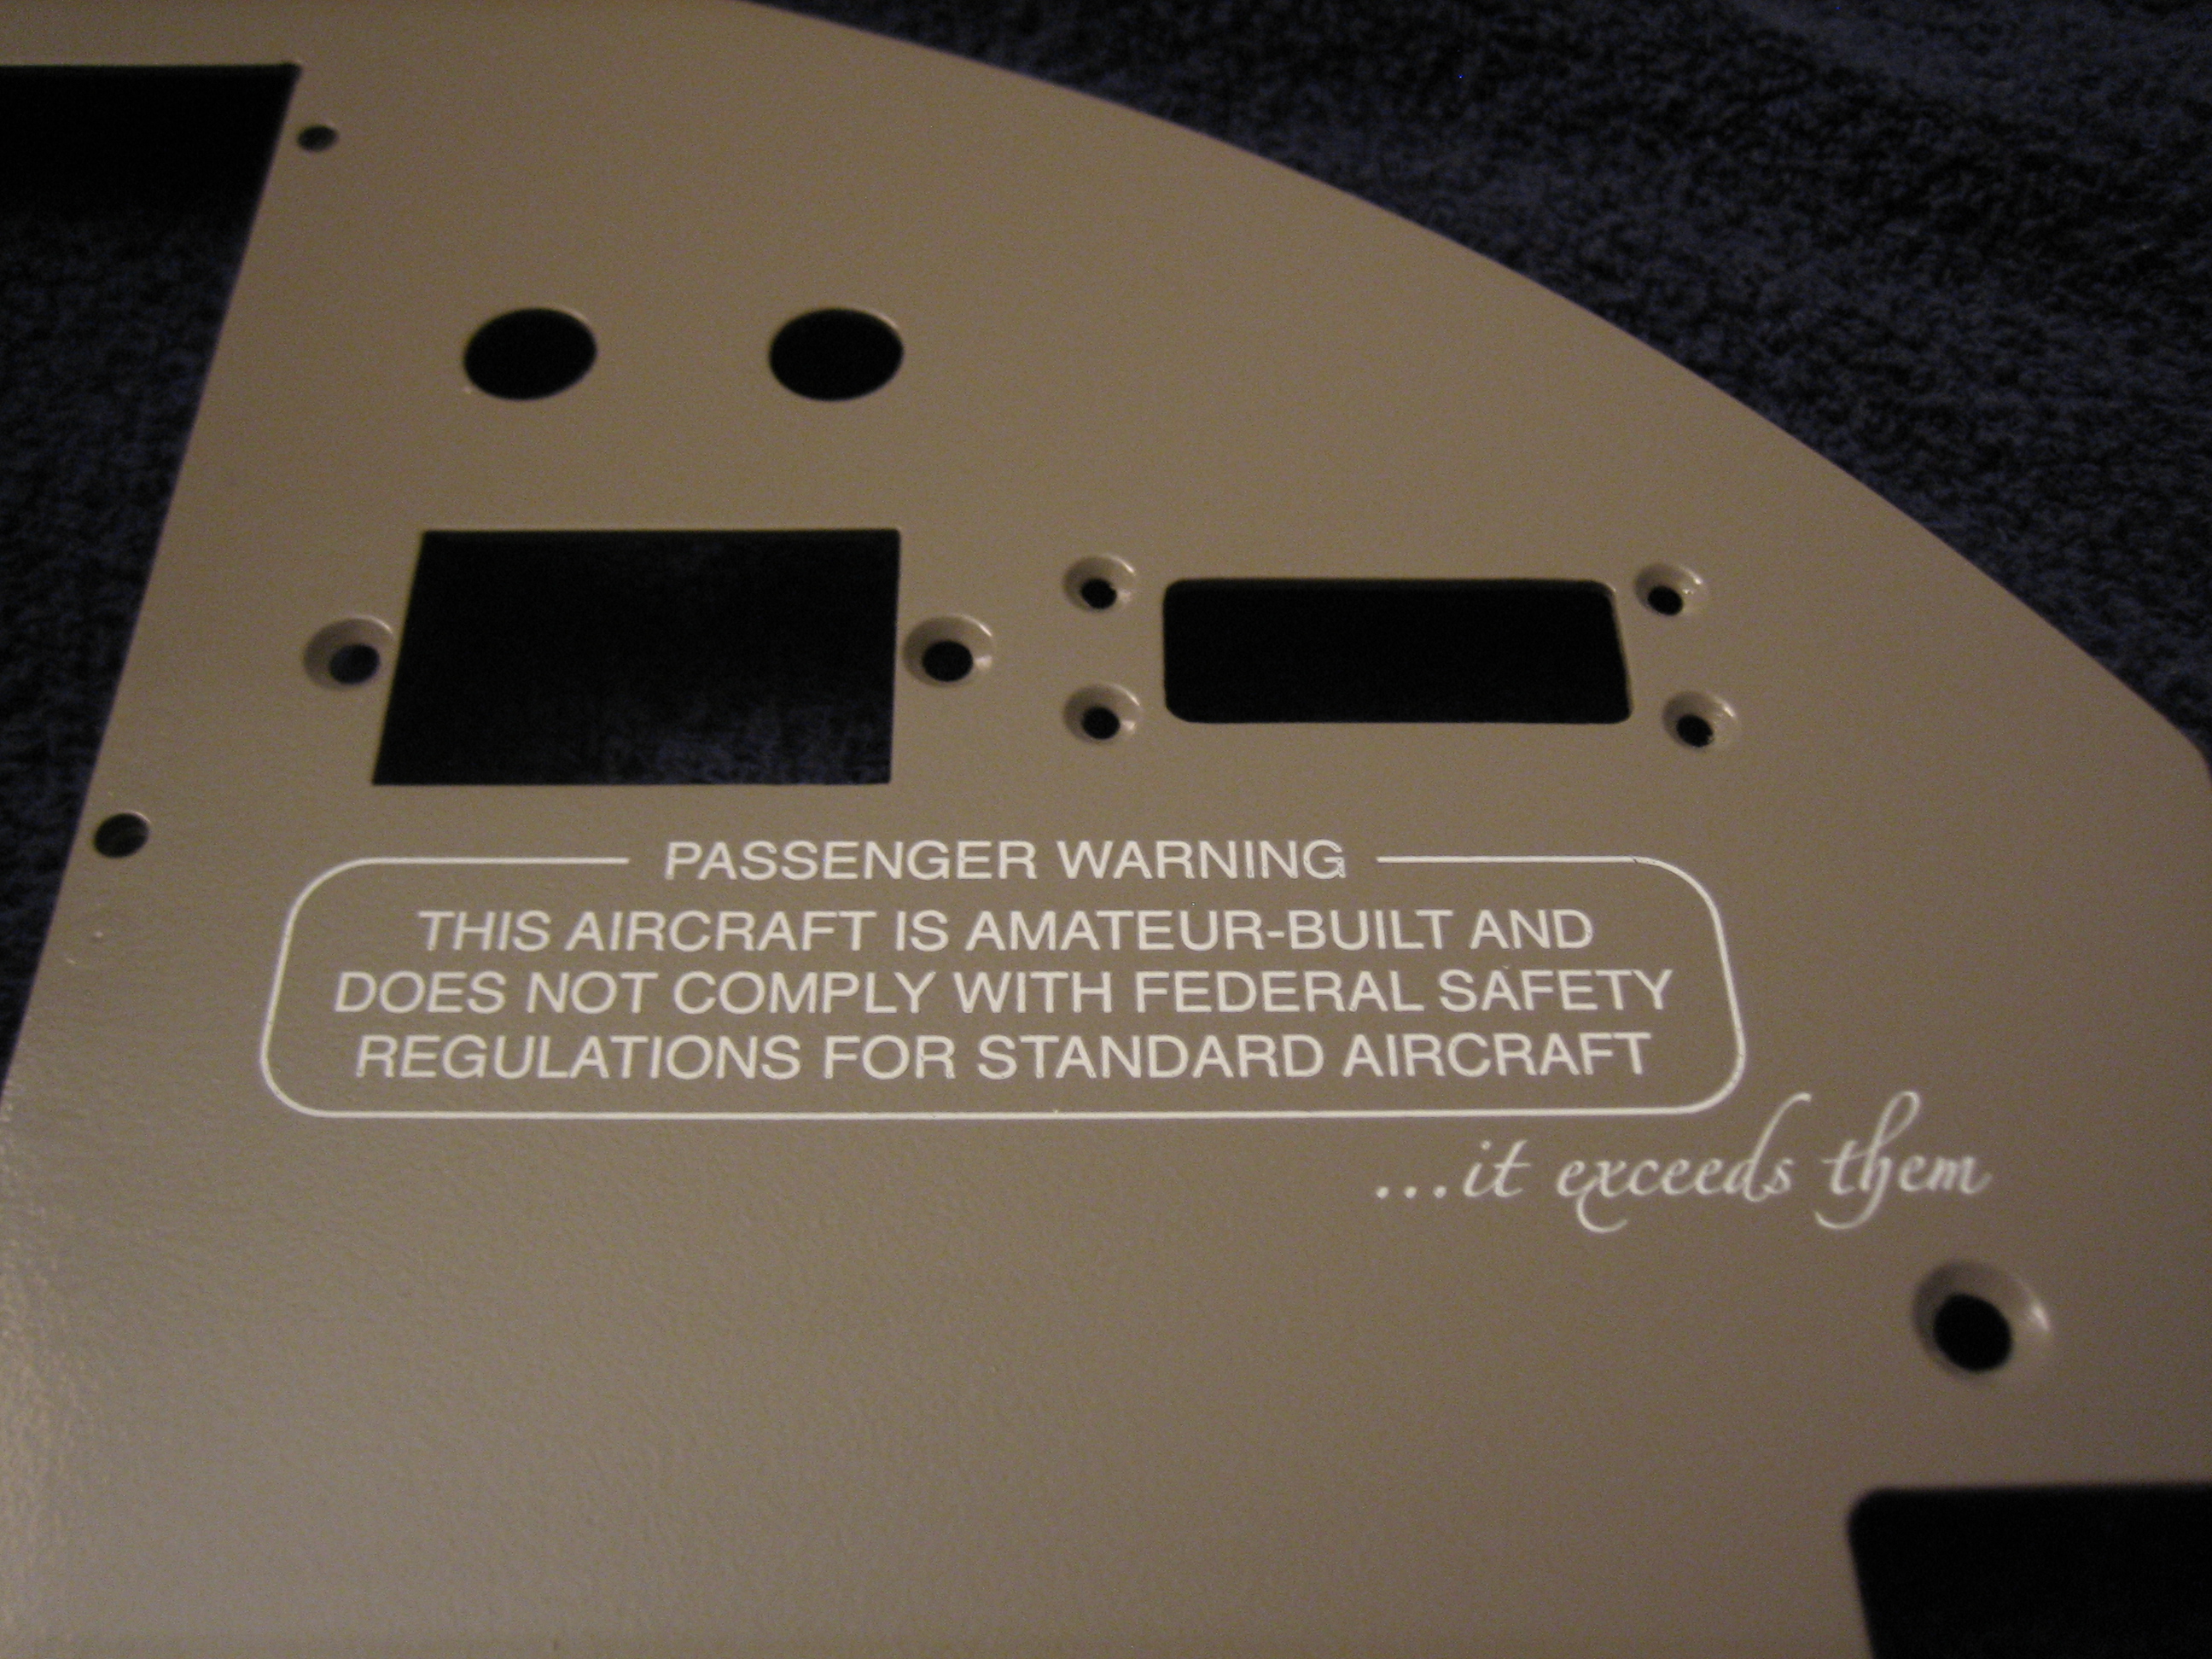
Anyway, I actually started with the largest and most complex label, and it came out essentially perfect.