Misc Flap Related Tasks

I replaced six of the rivets on the flap motor support with flush head ones.  The ones at the top were rubbing on the canopy latch torque tube and I did the ones below just for aesthetics.

I also drilled a hole in the flap motor bearing and safety wired it to the tube.  The bearing rocks back and forth as the motor goes up and down, and if this comes loose, it can come completely unscrewed.

Cabin/Panel Area Riveting

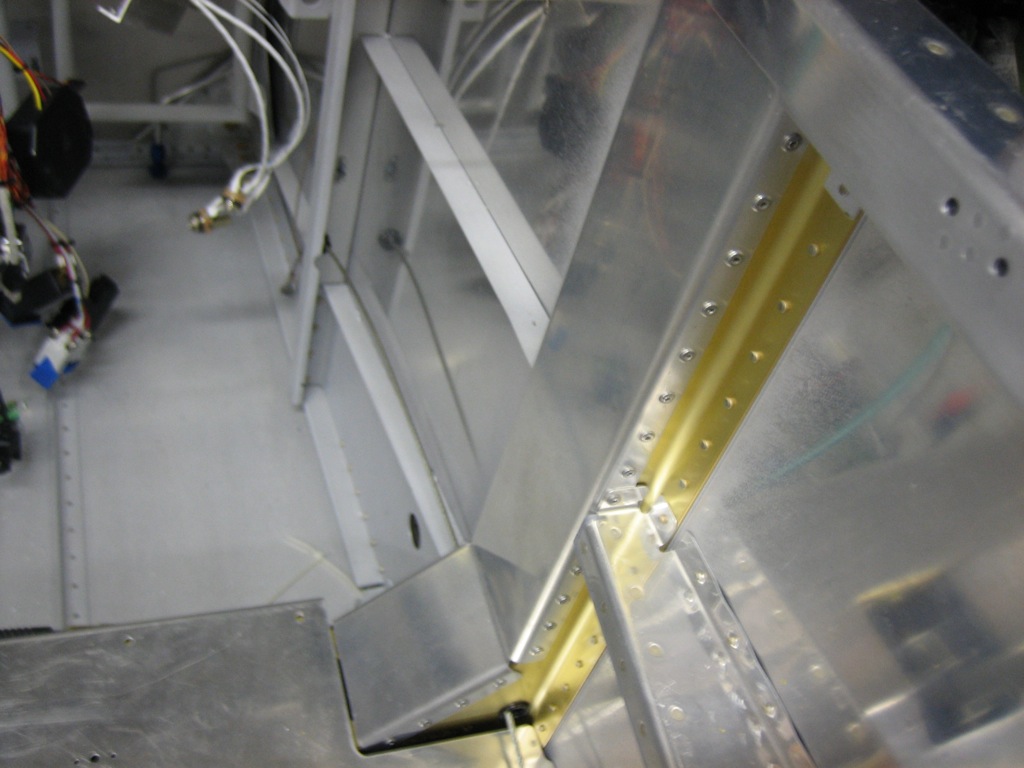
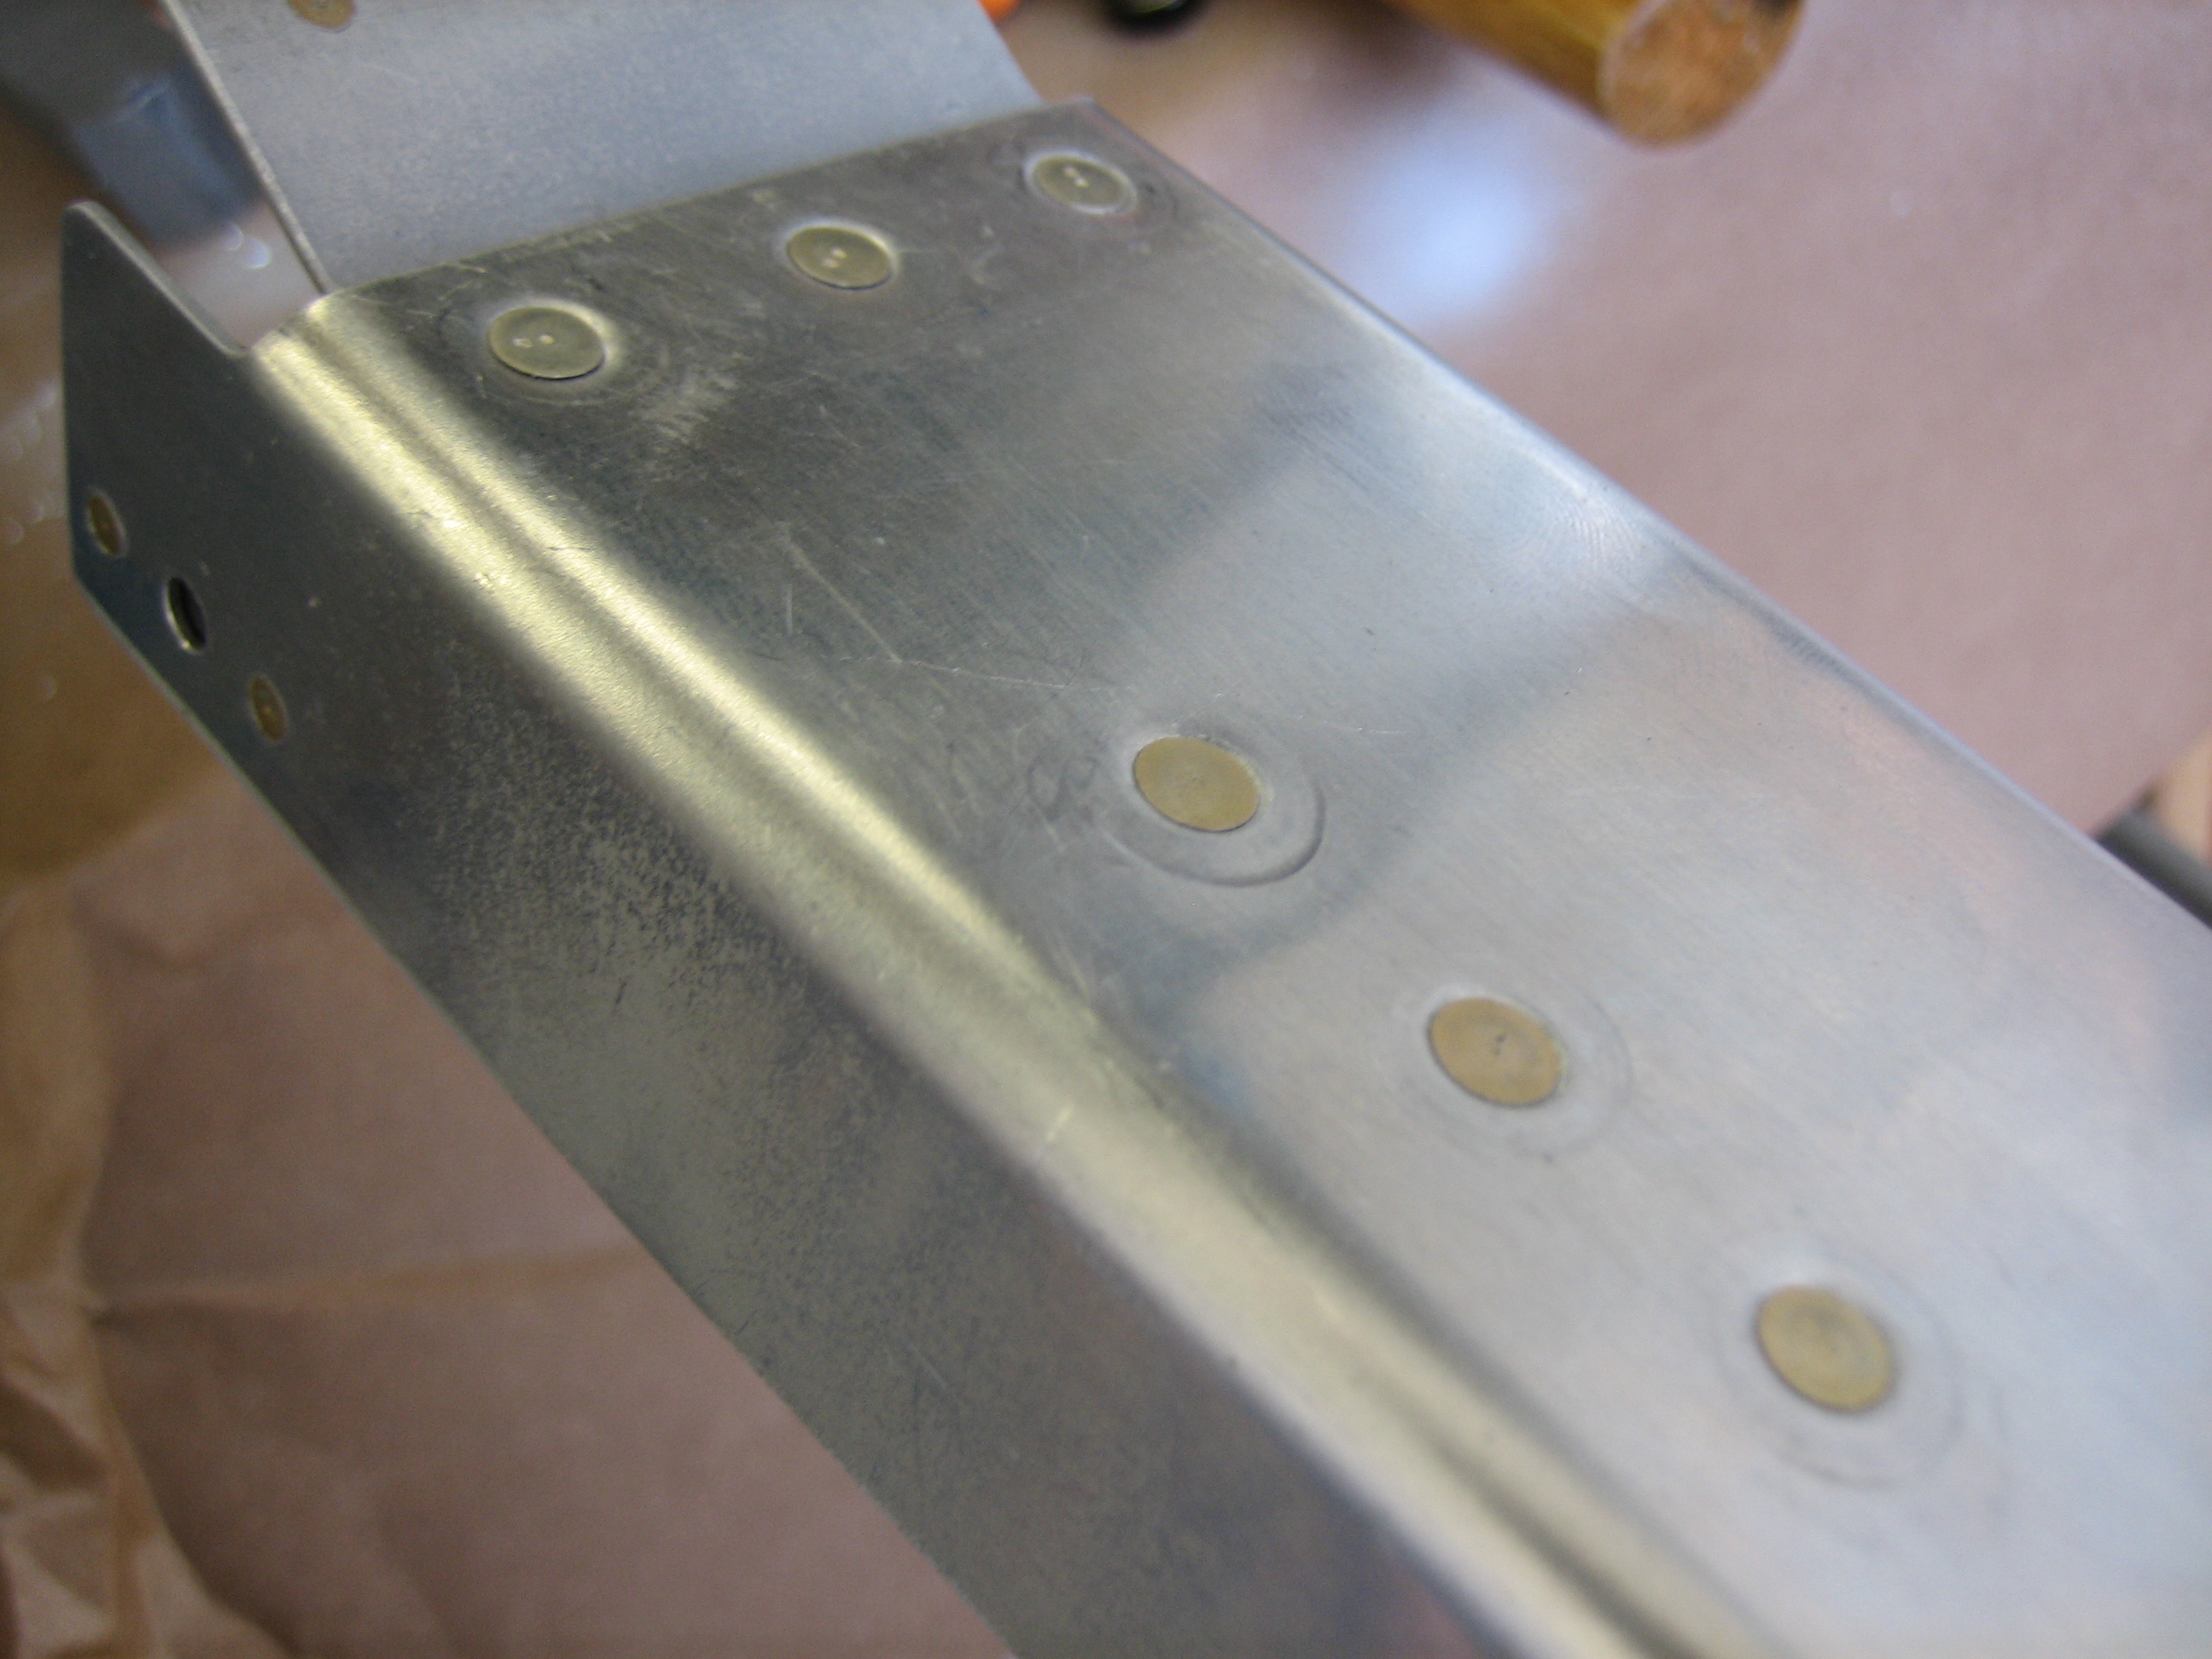
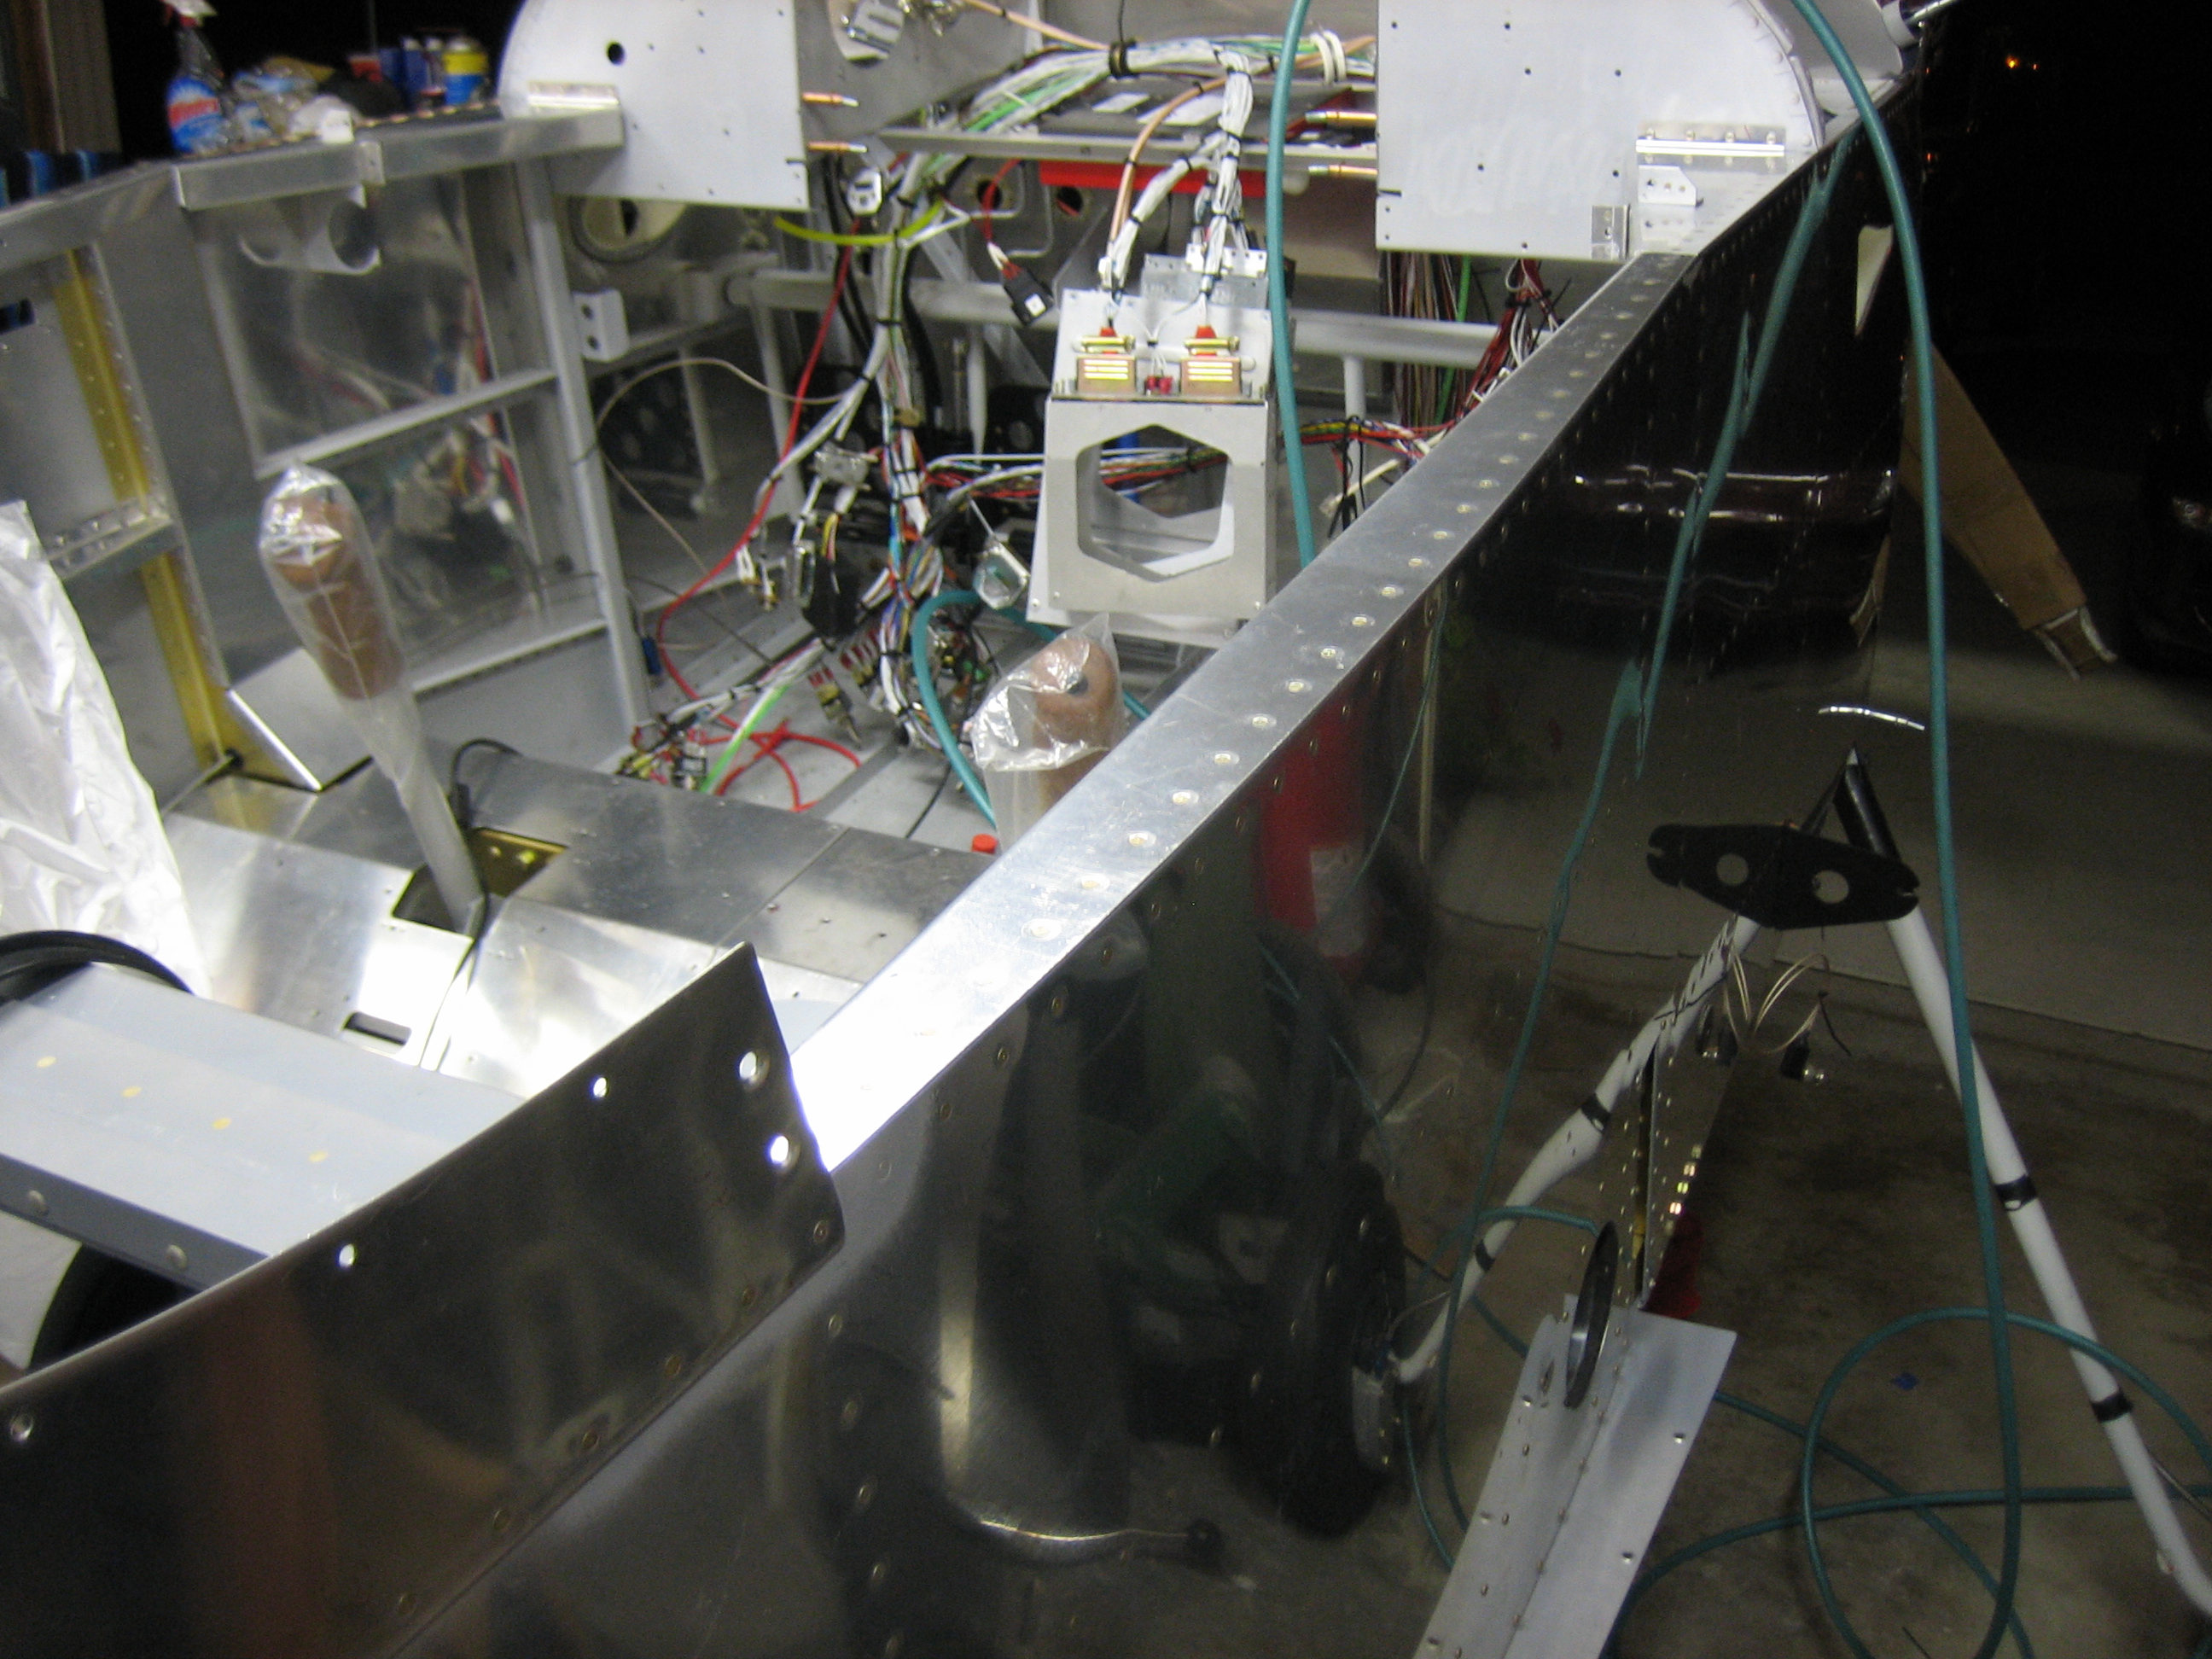
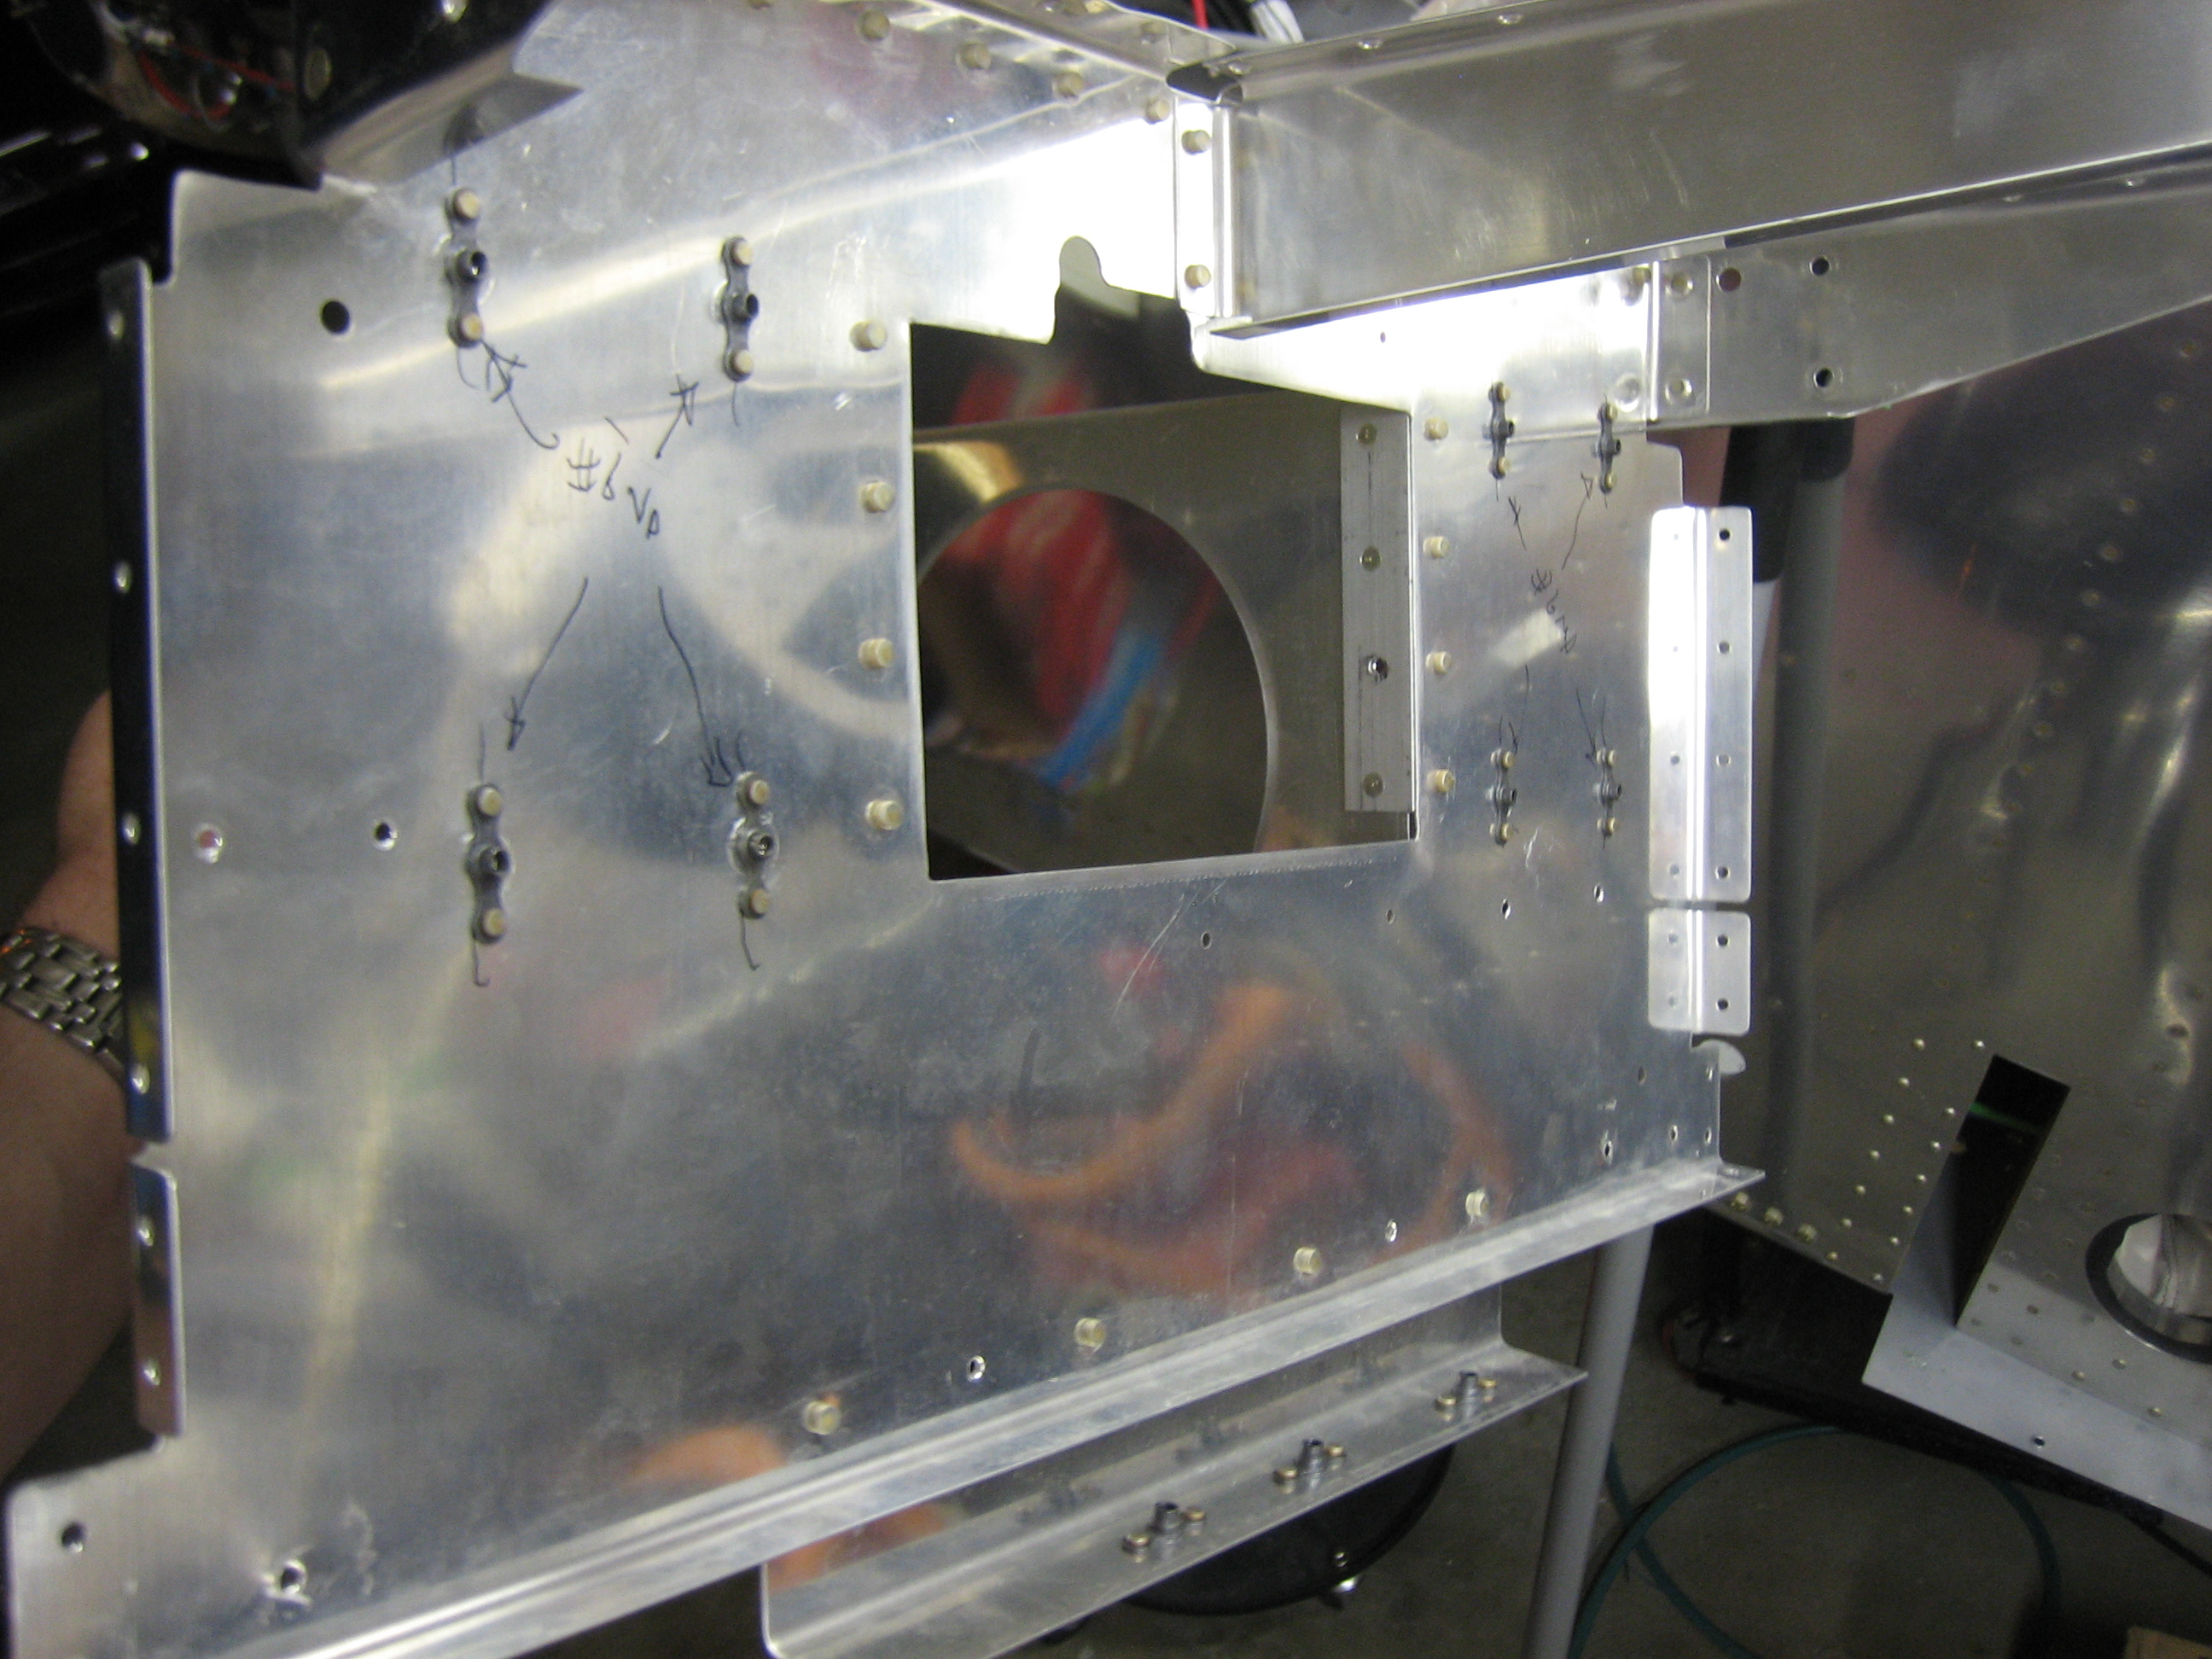
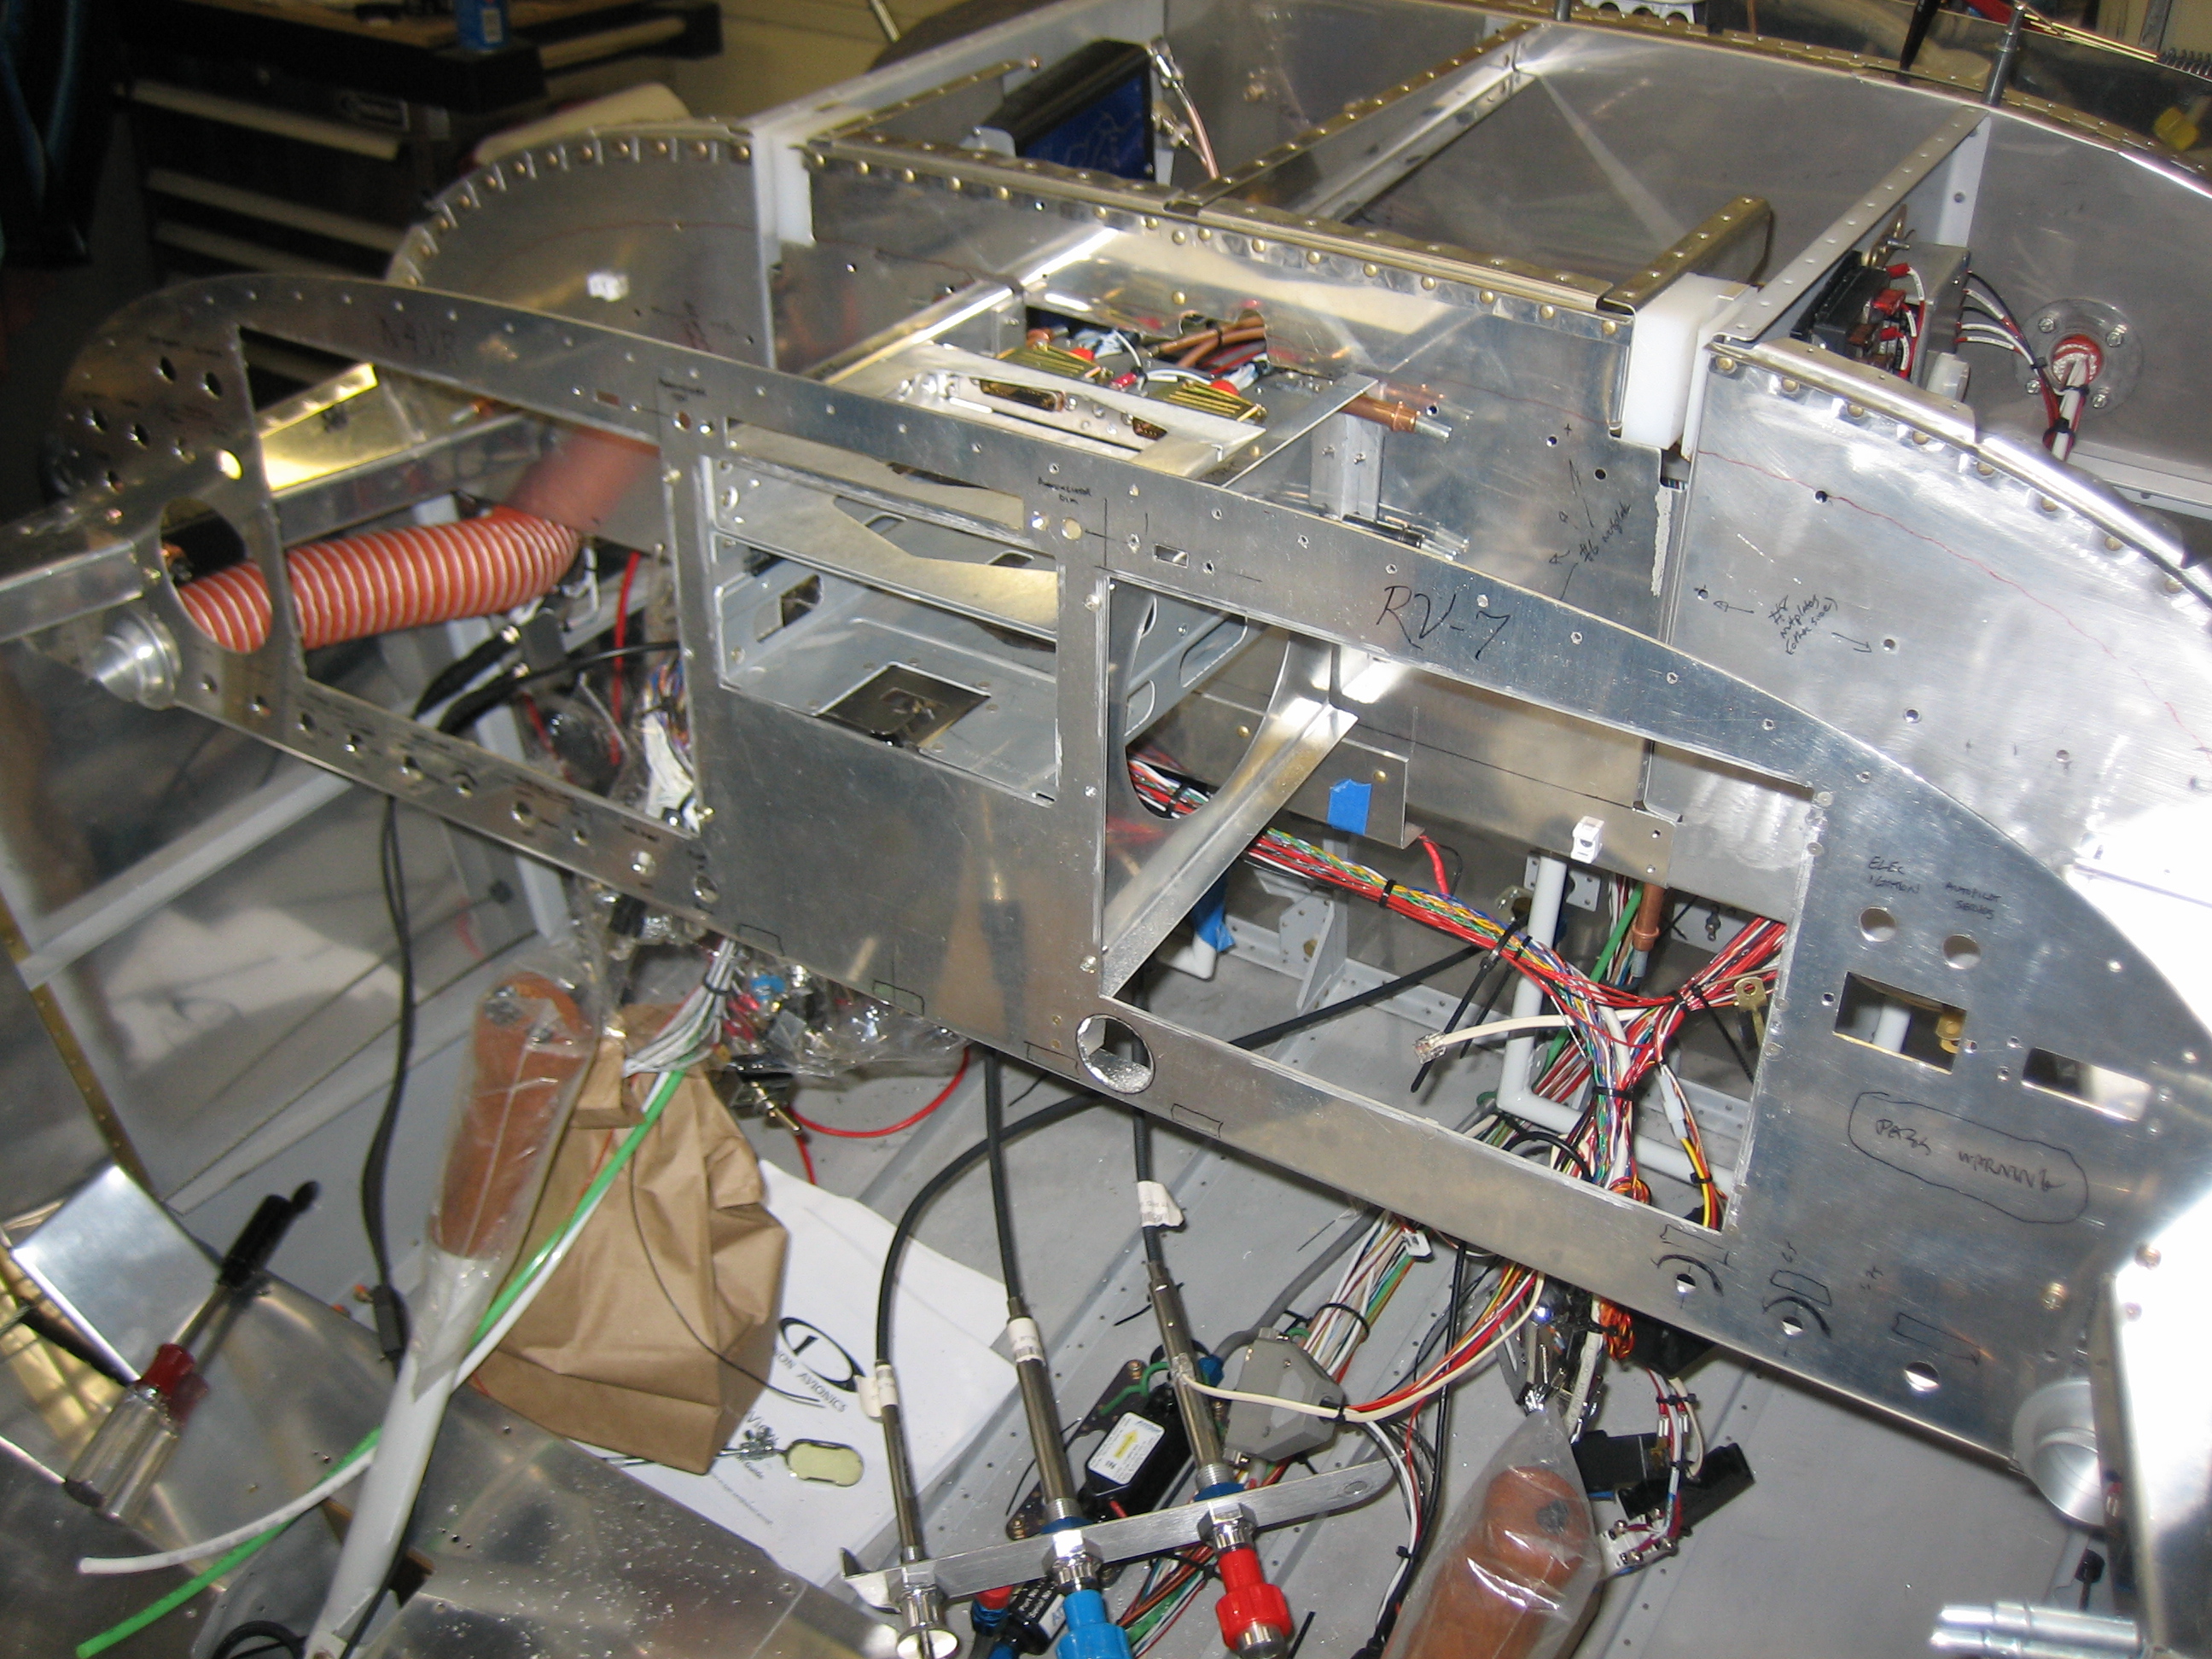
I came out before work this morning and riveted the outer subpanel sections to the side bulkheads and the ribs.

I was able to use the straight set to shoot solid rivets in all of the holes tying these to the bulkheads.

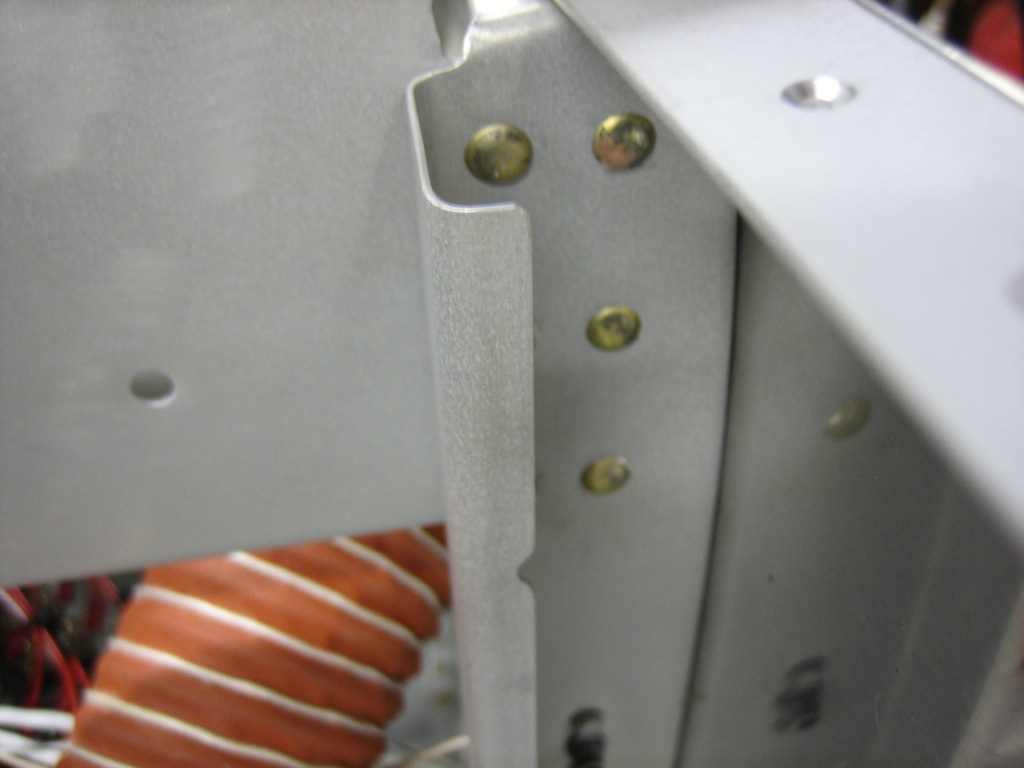
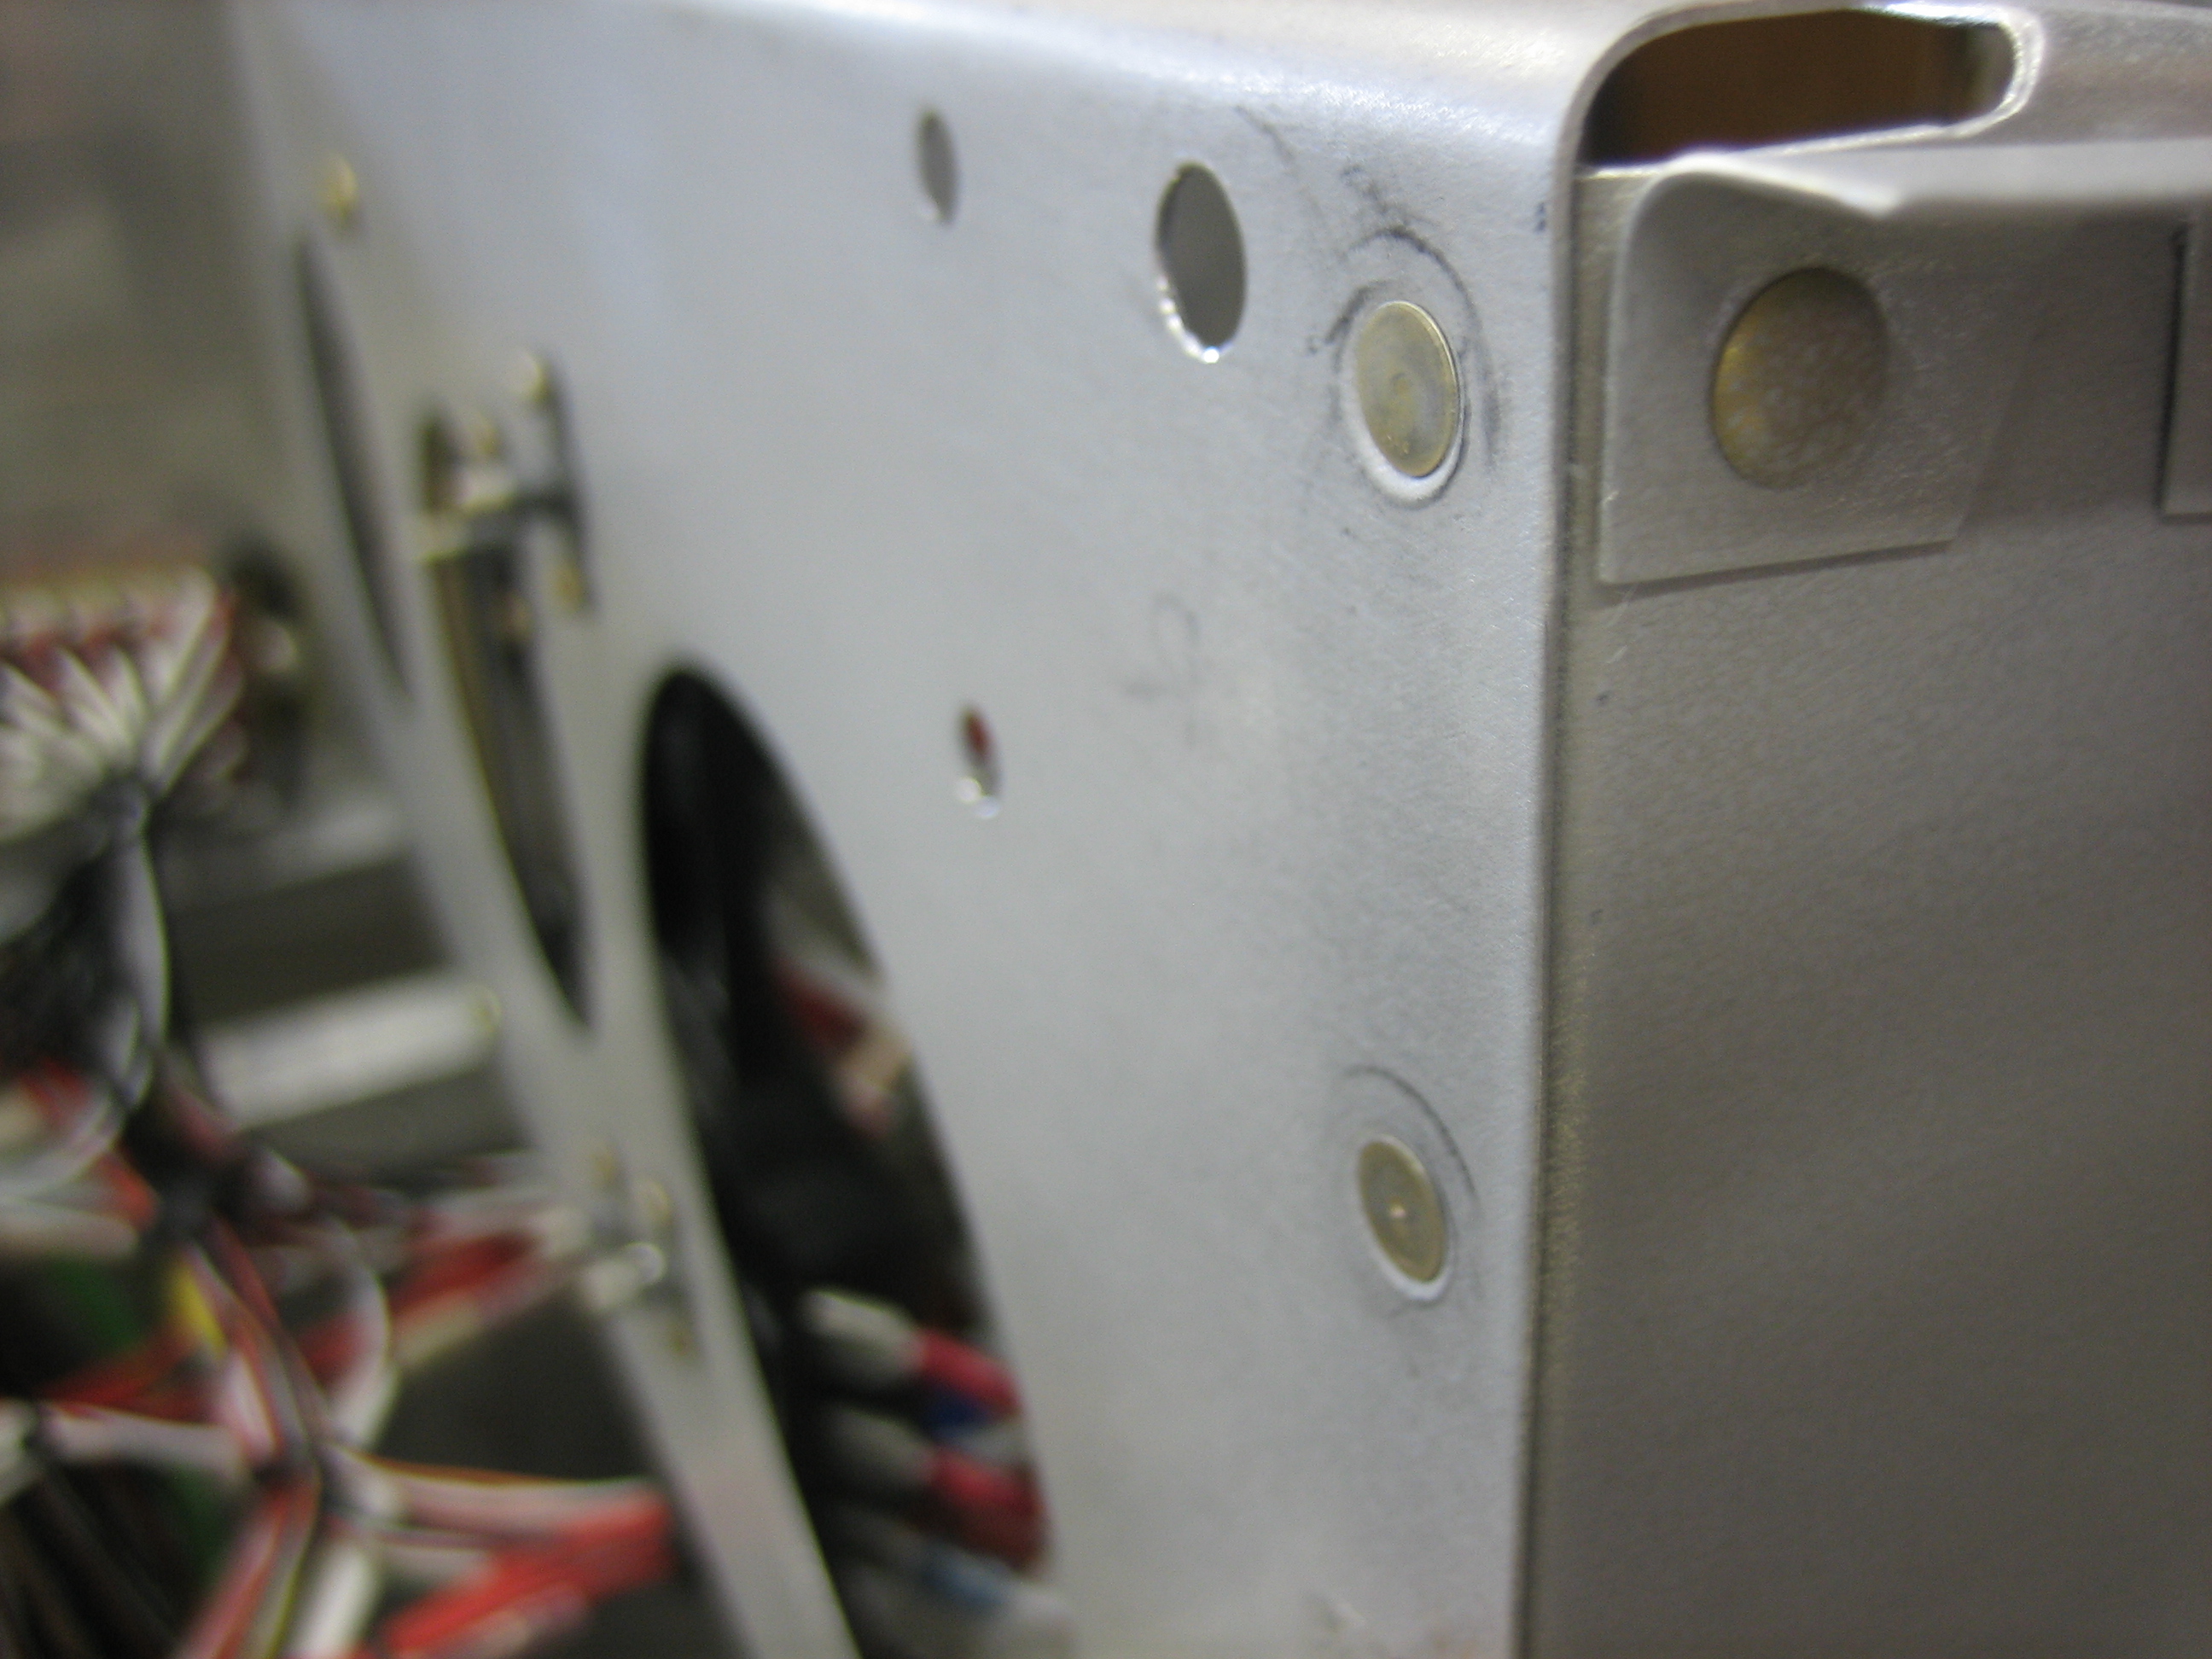
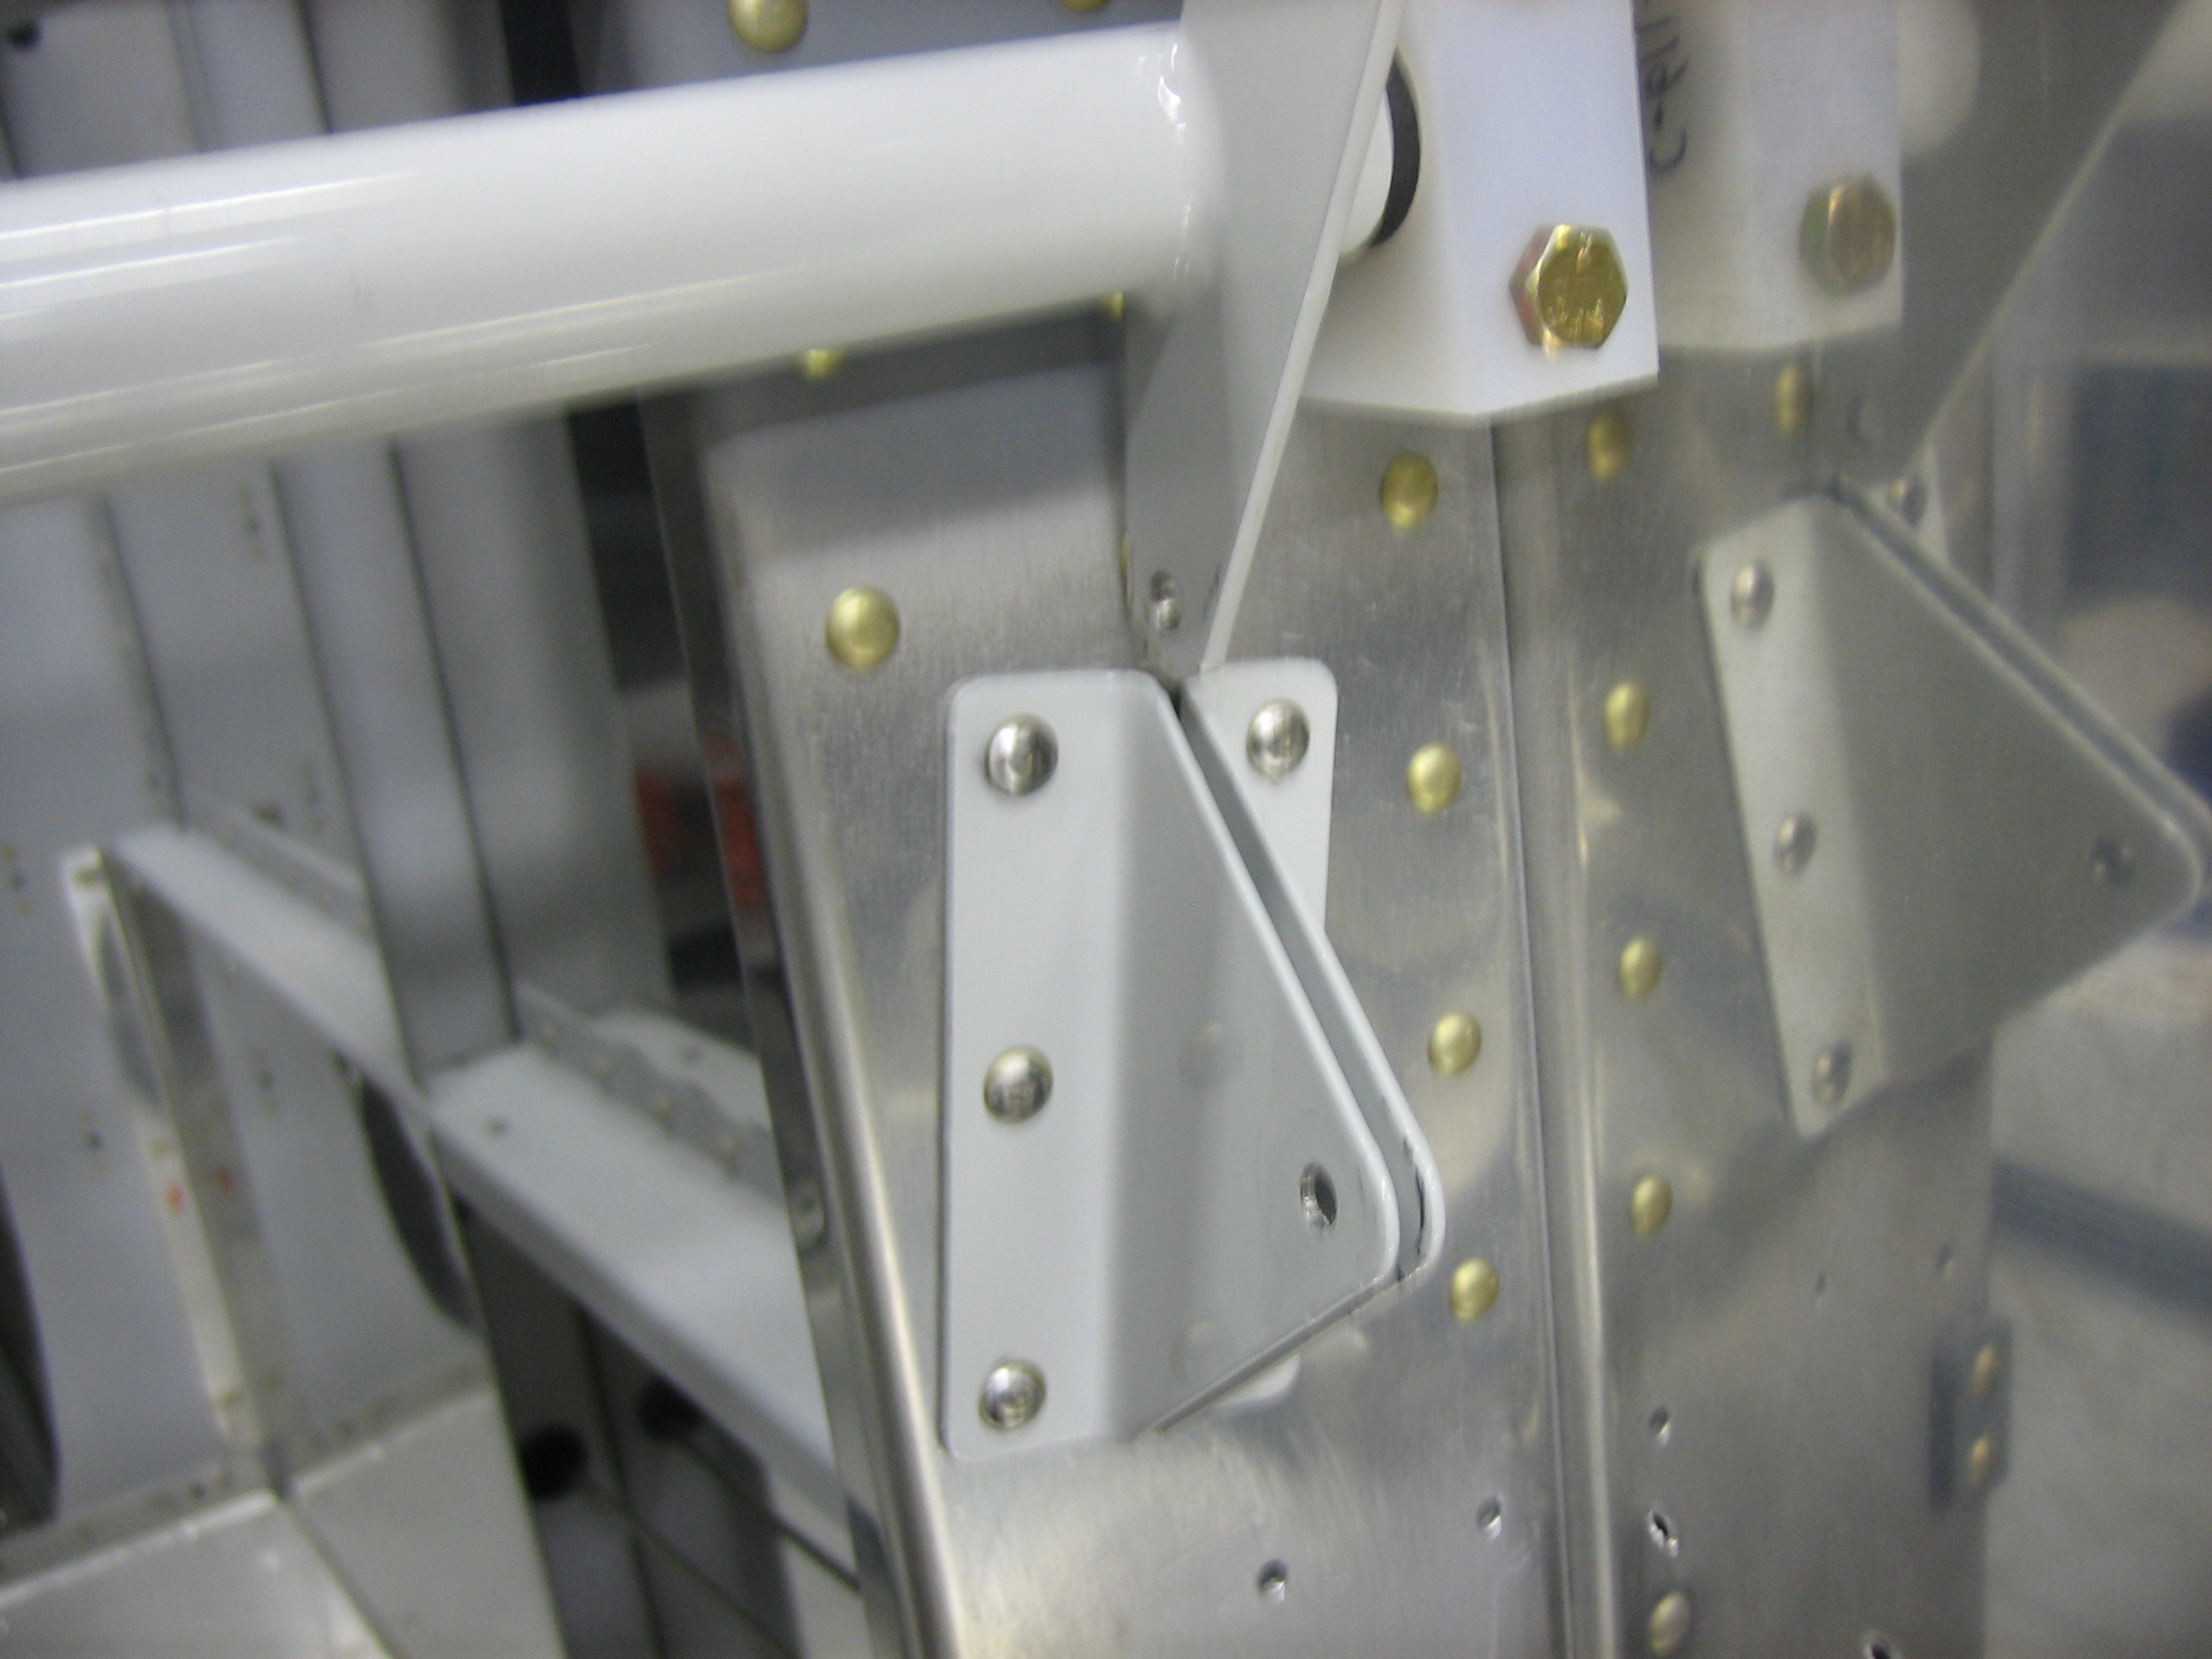
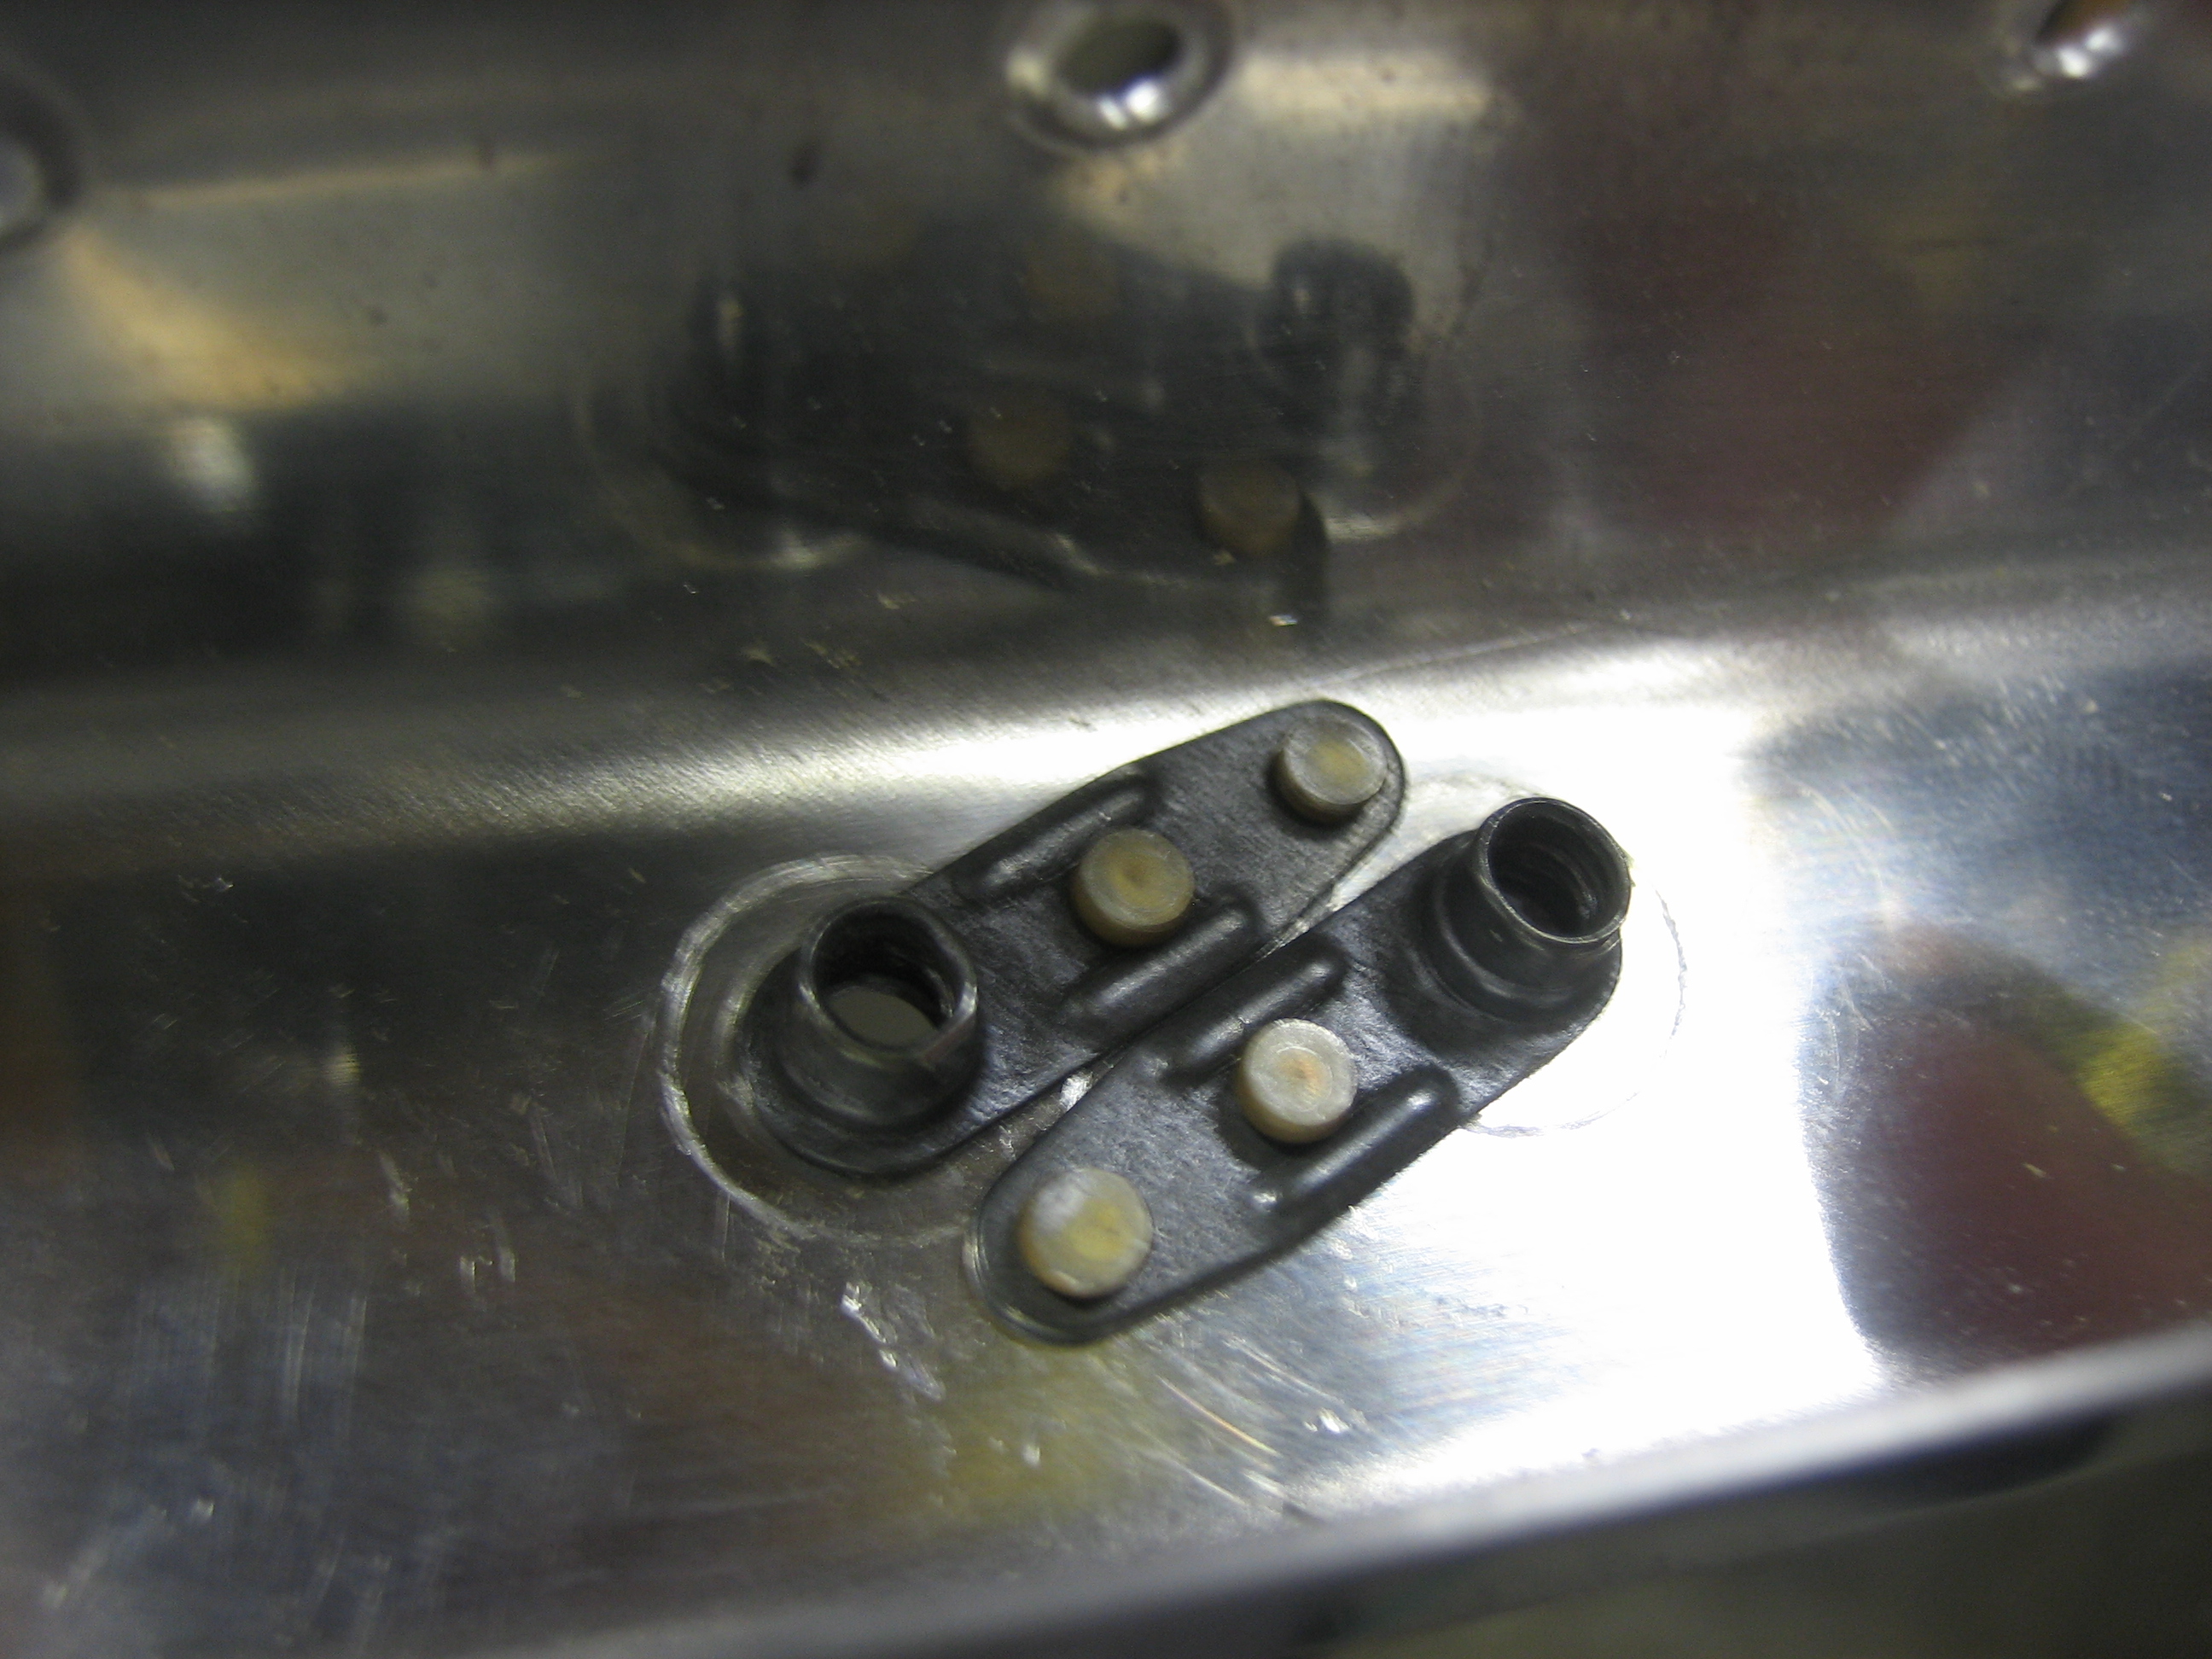
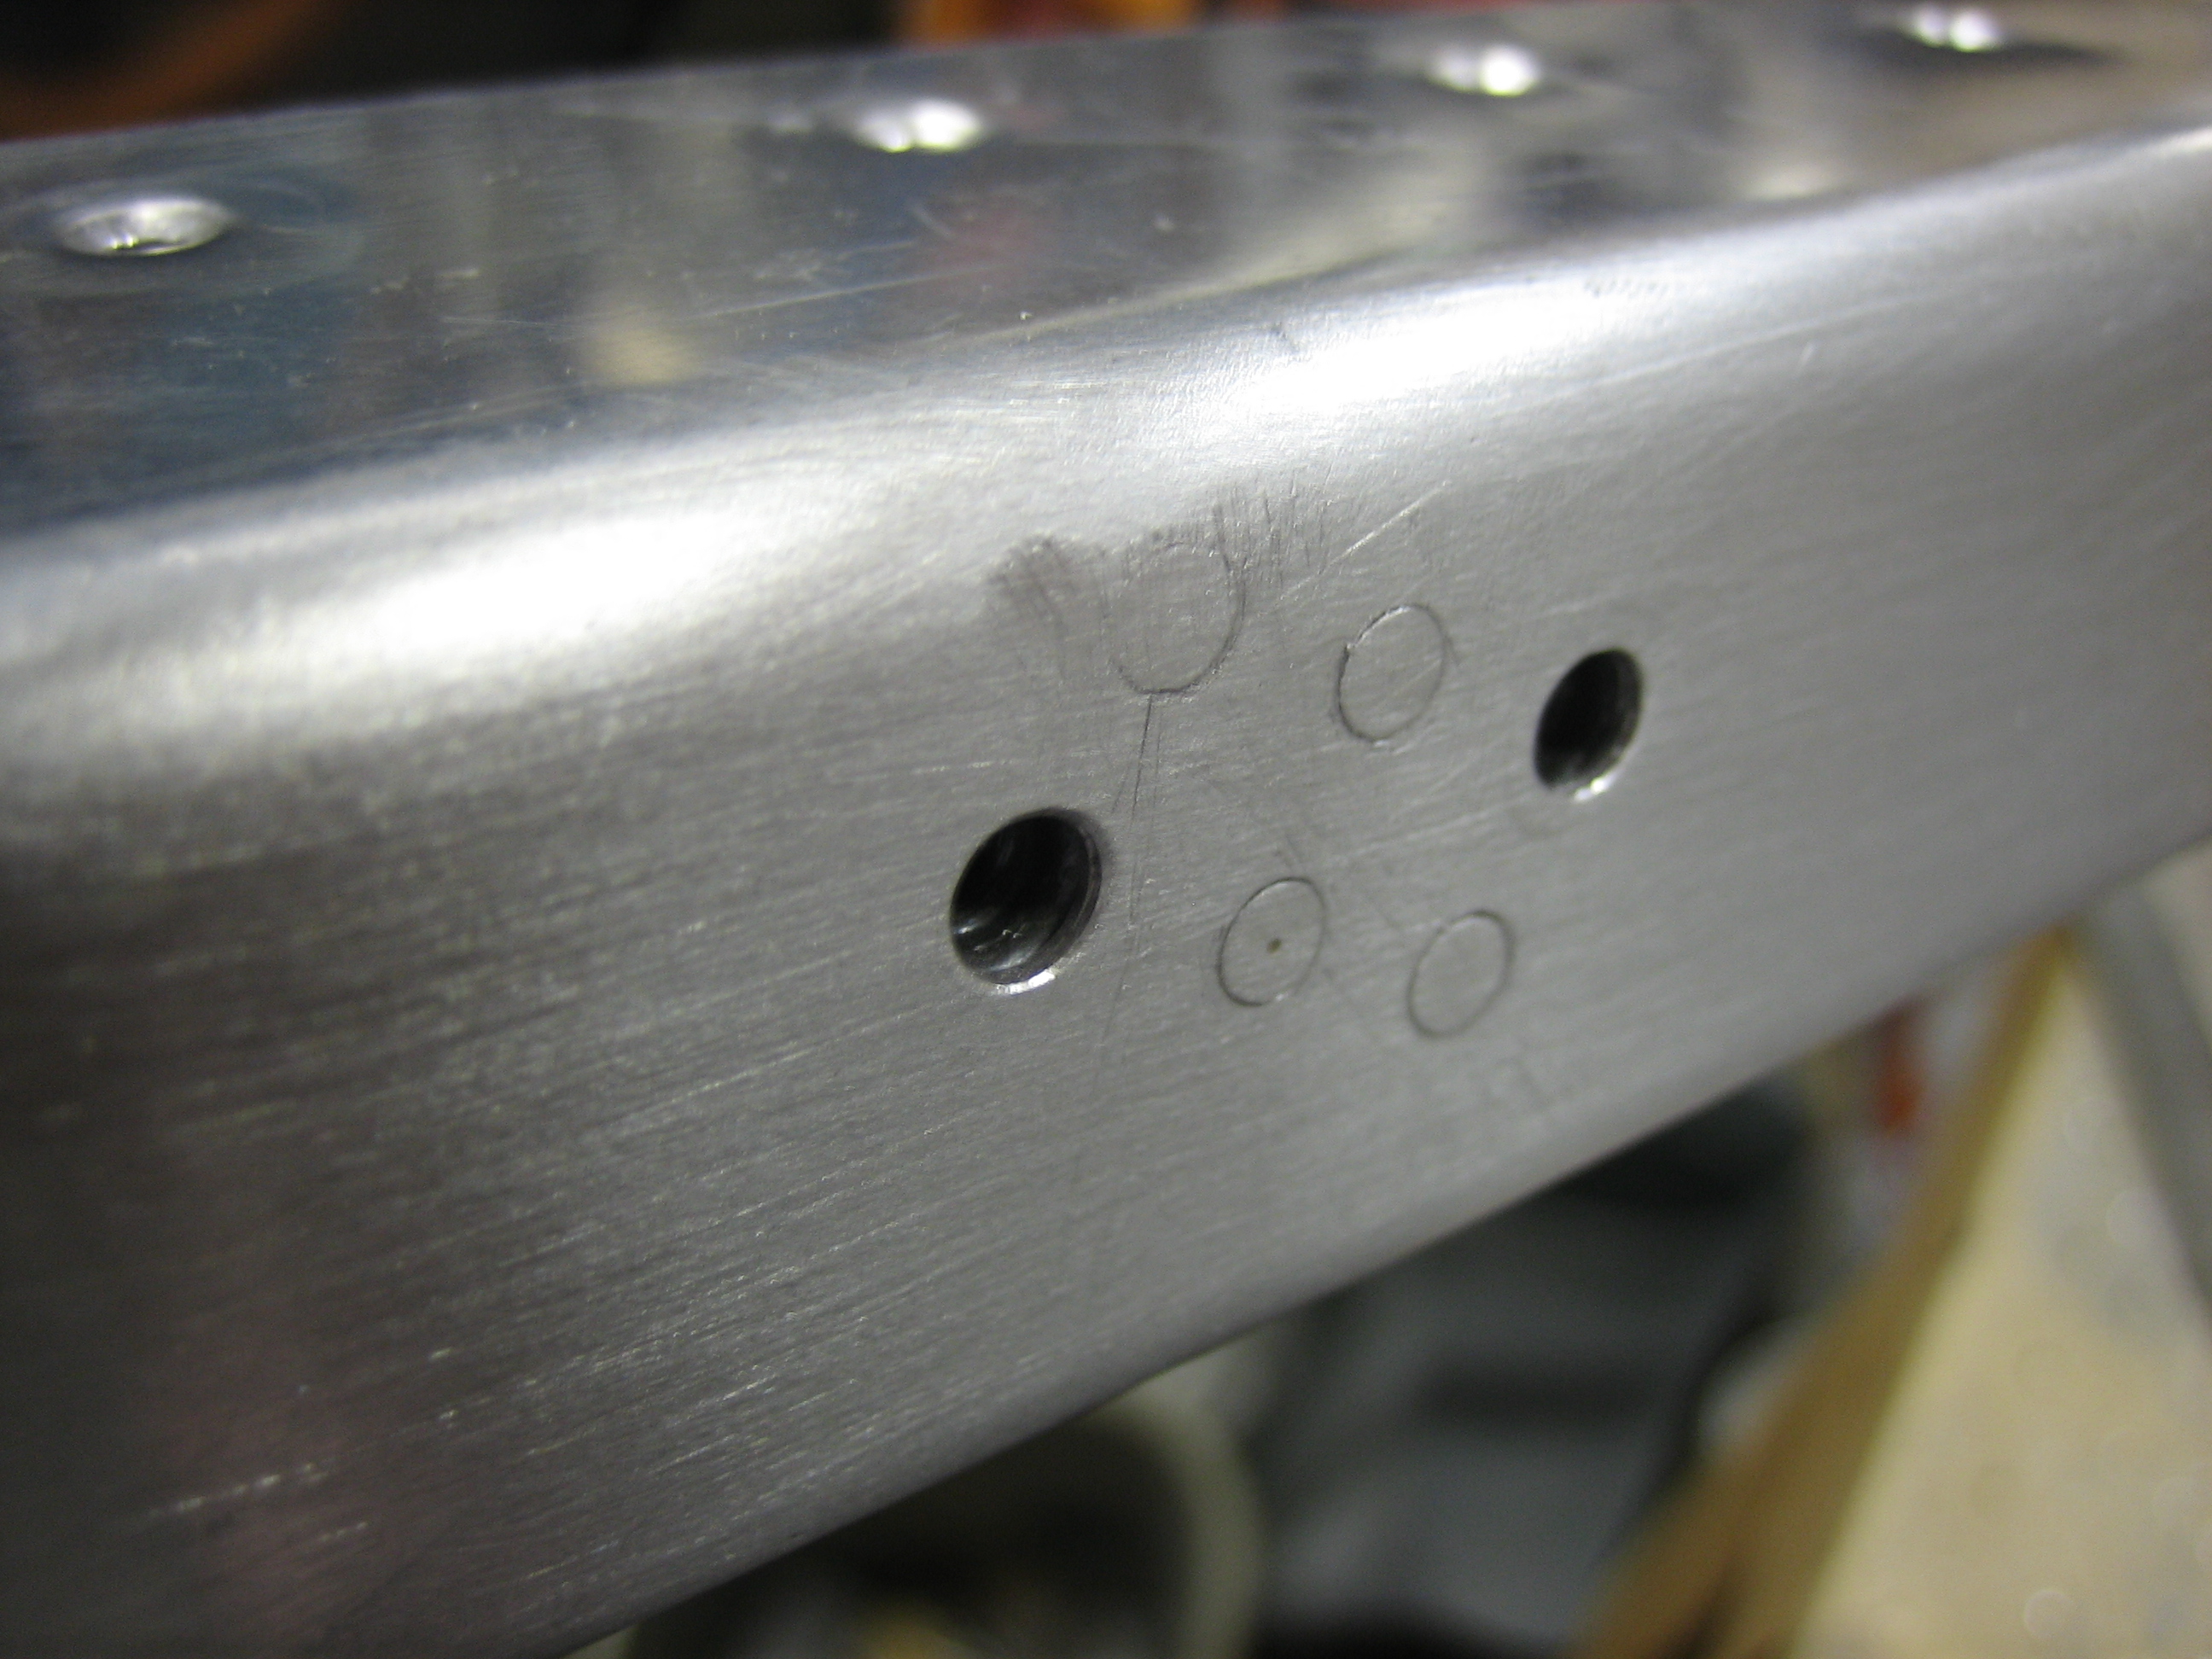
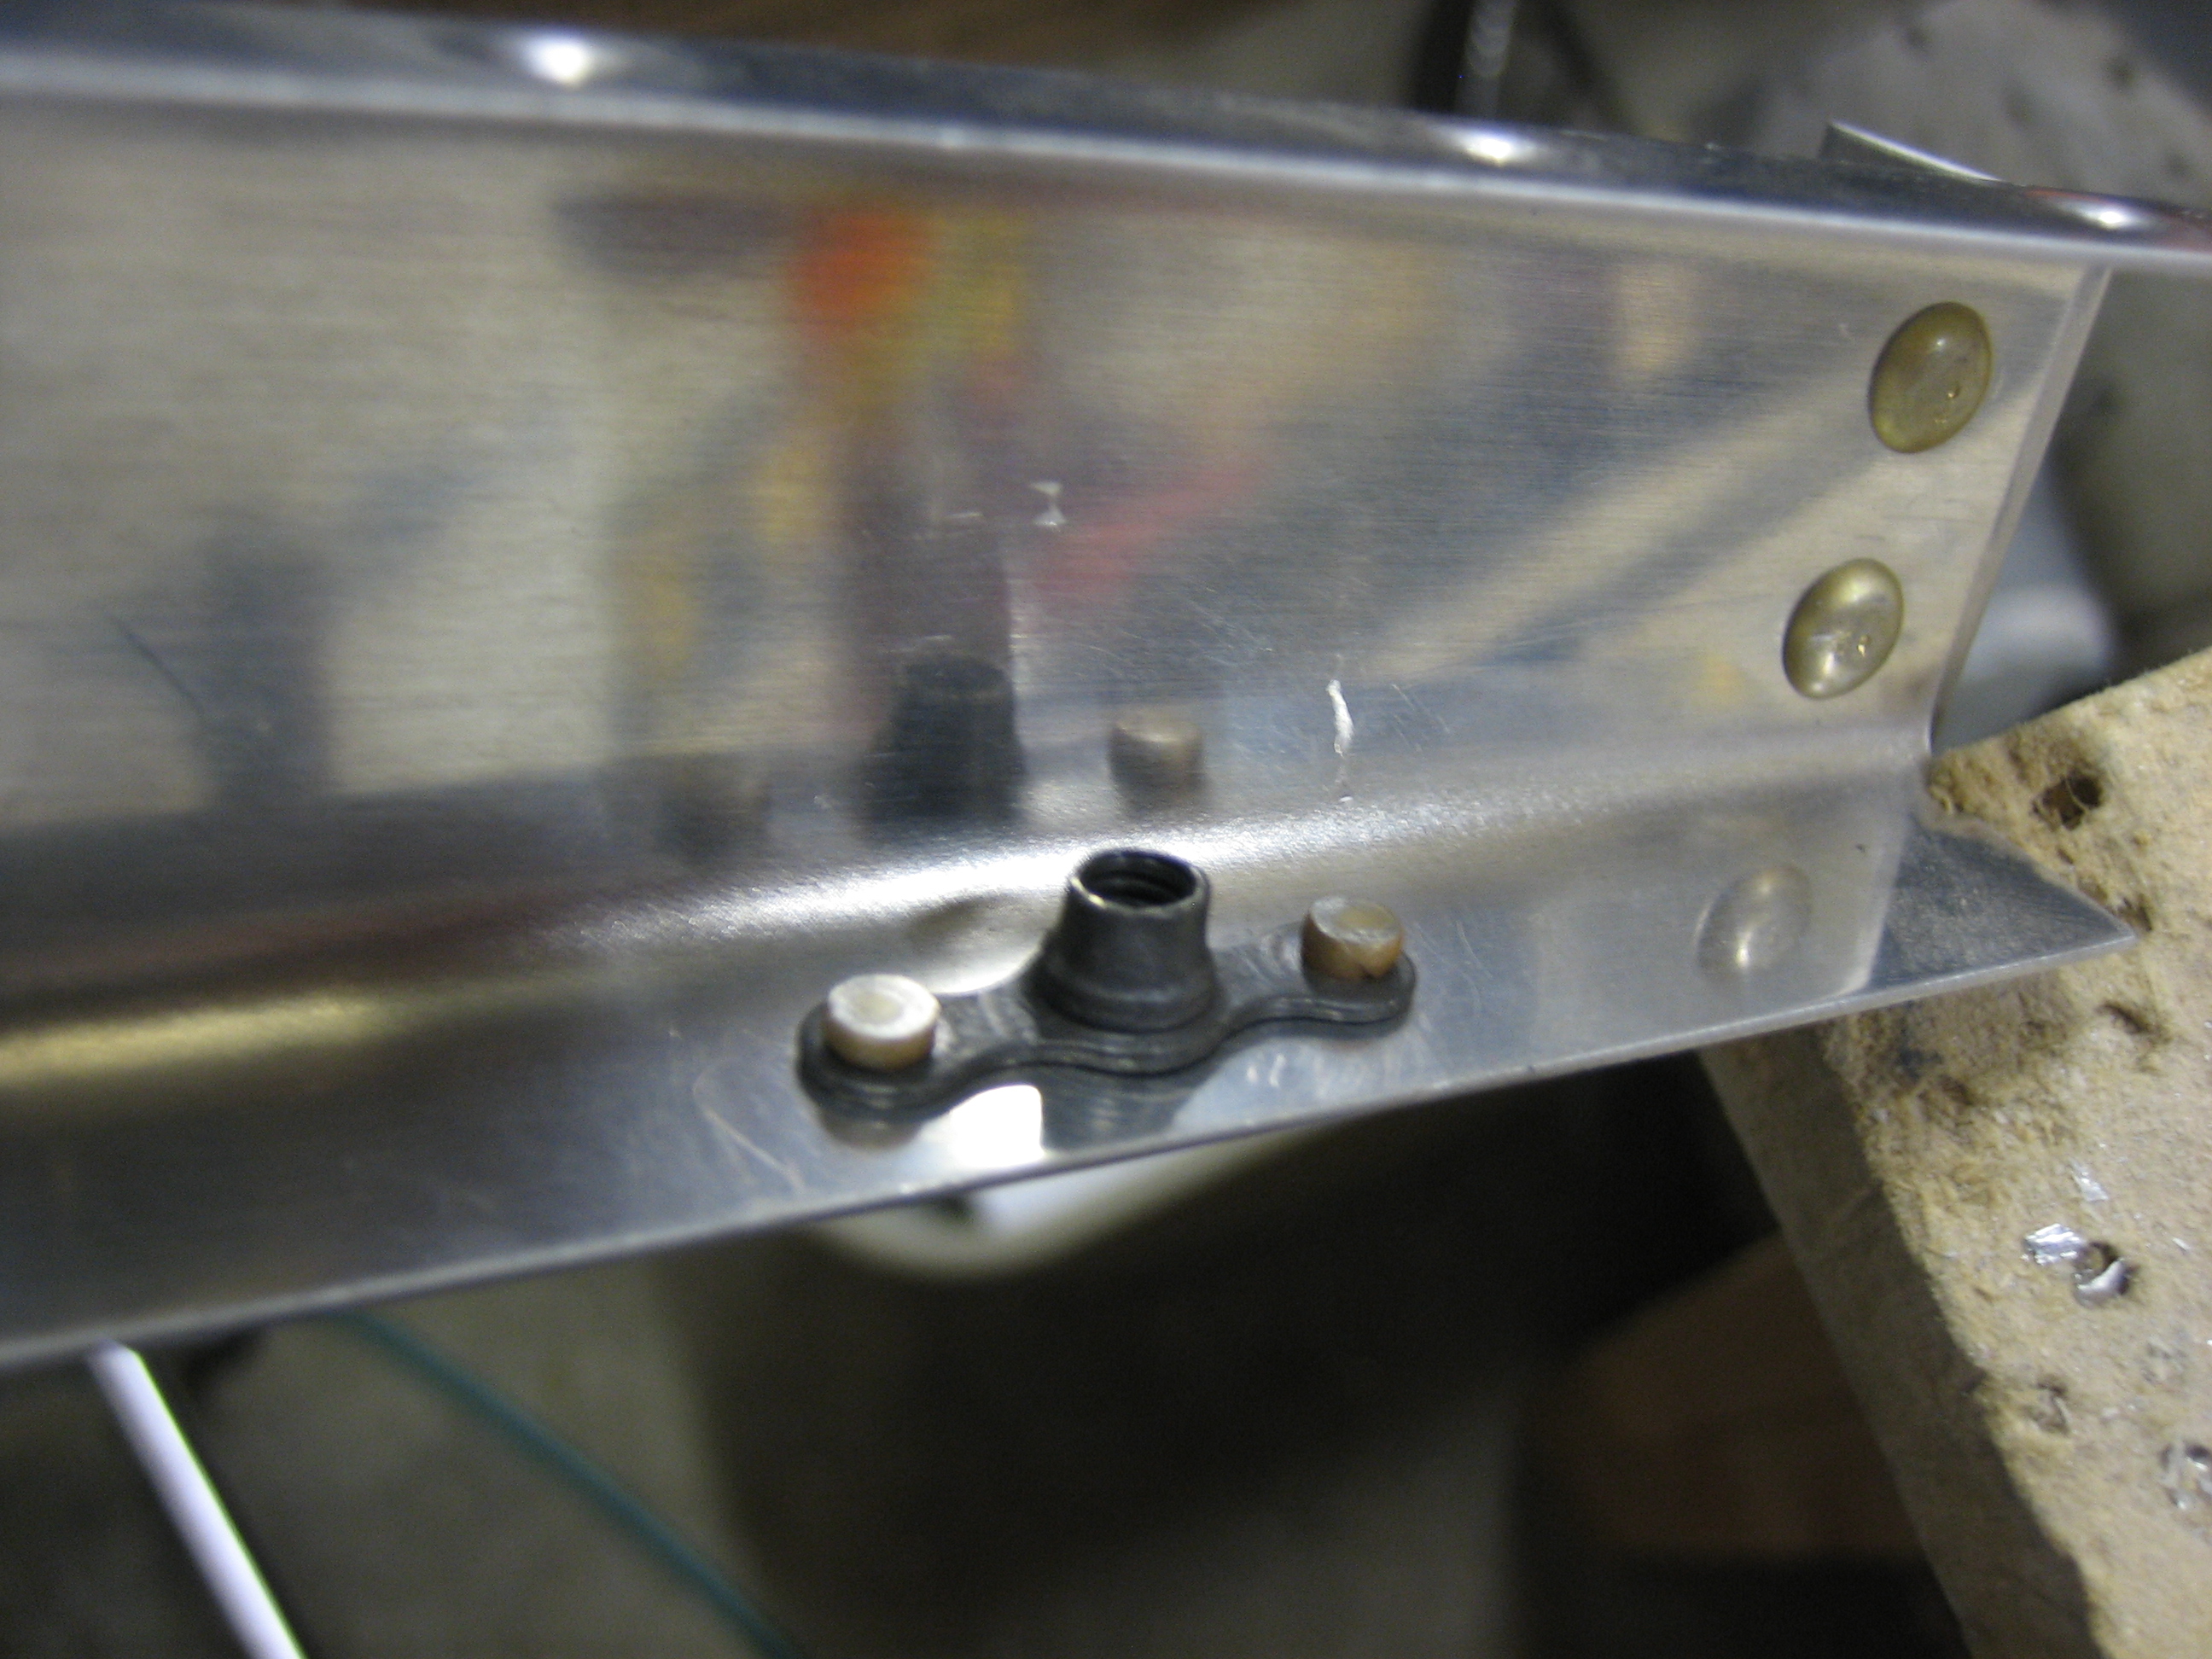
The side subpanel sections are riveted to the forward ribs using only two flush head rivets to provide a flat space for the hinge bushing block to be installed.

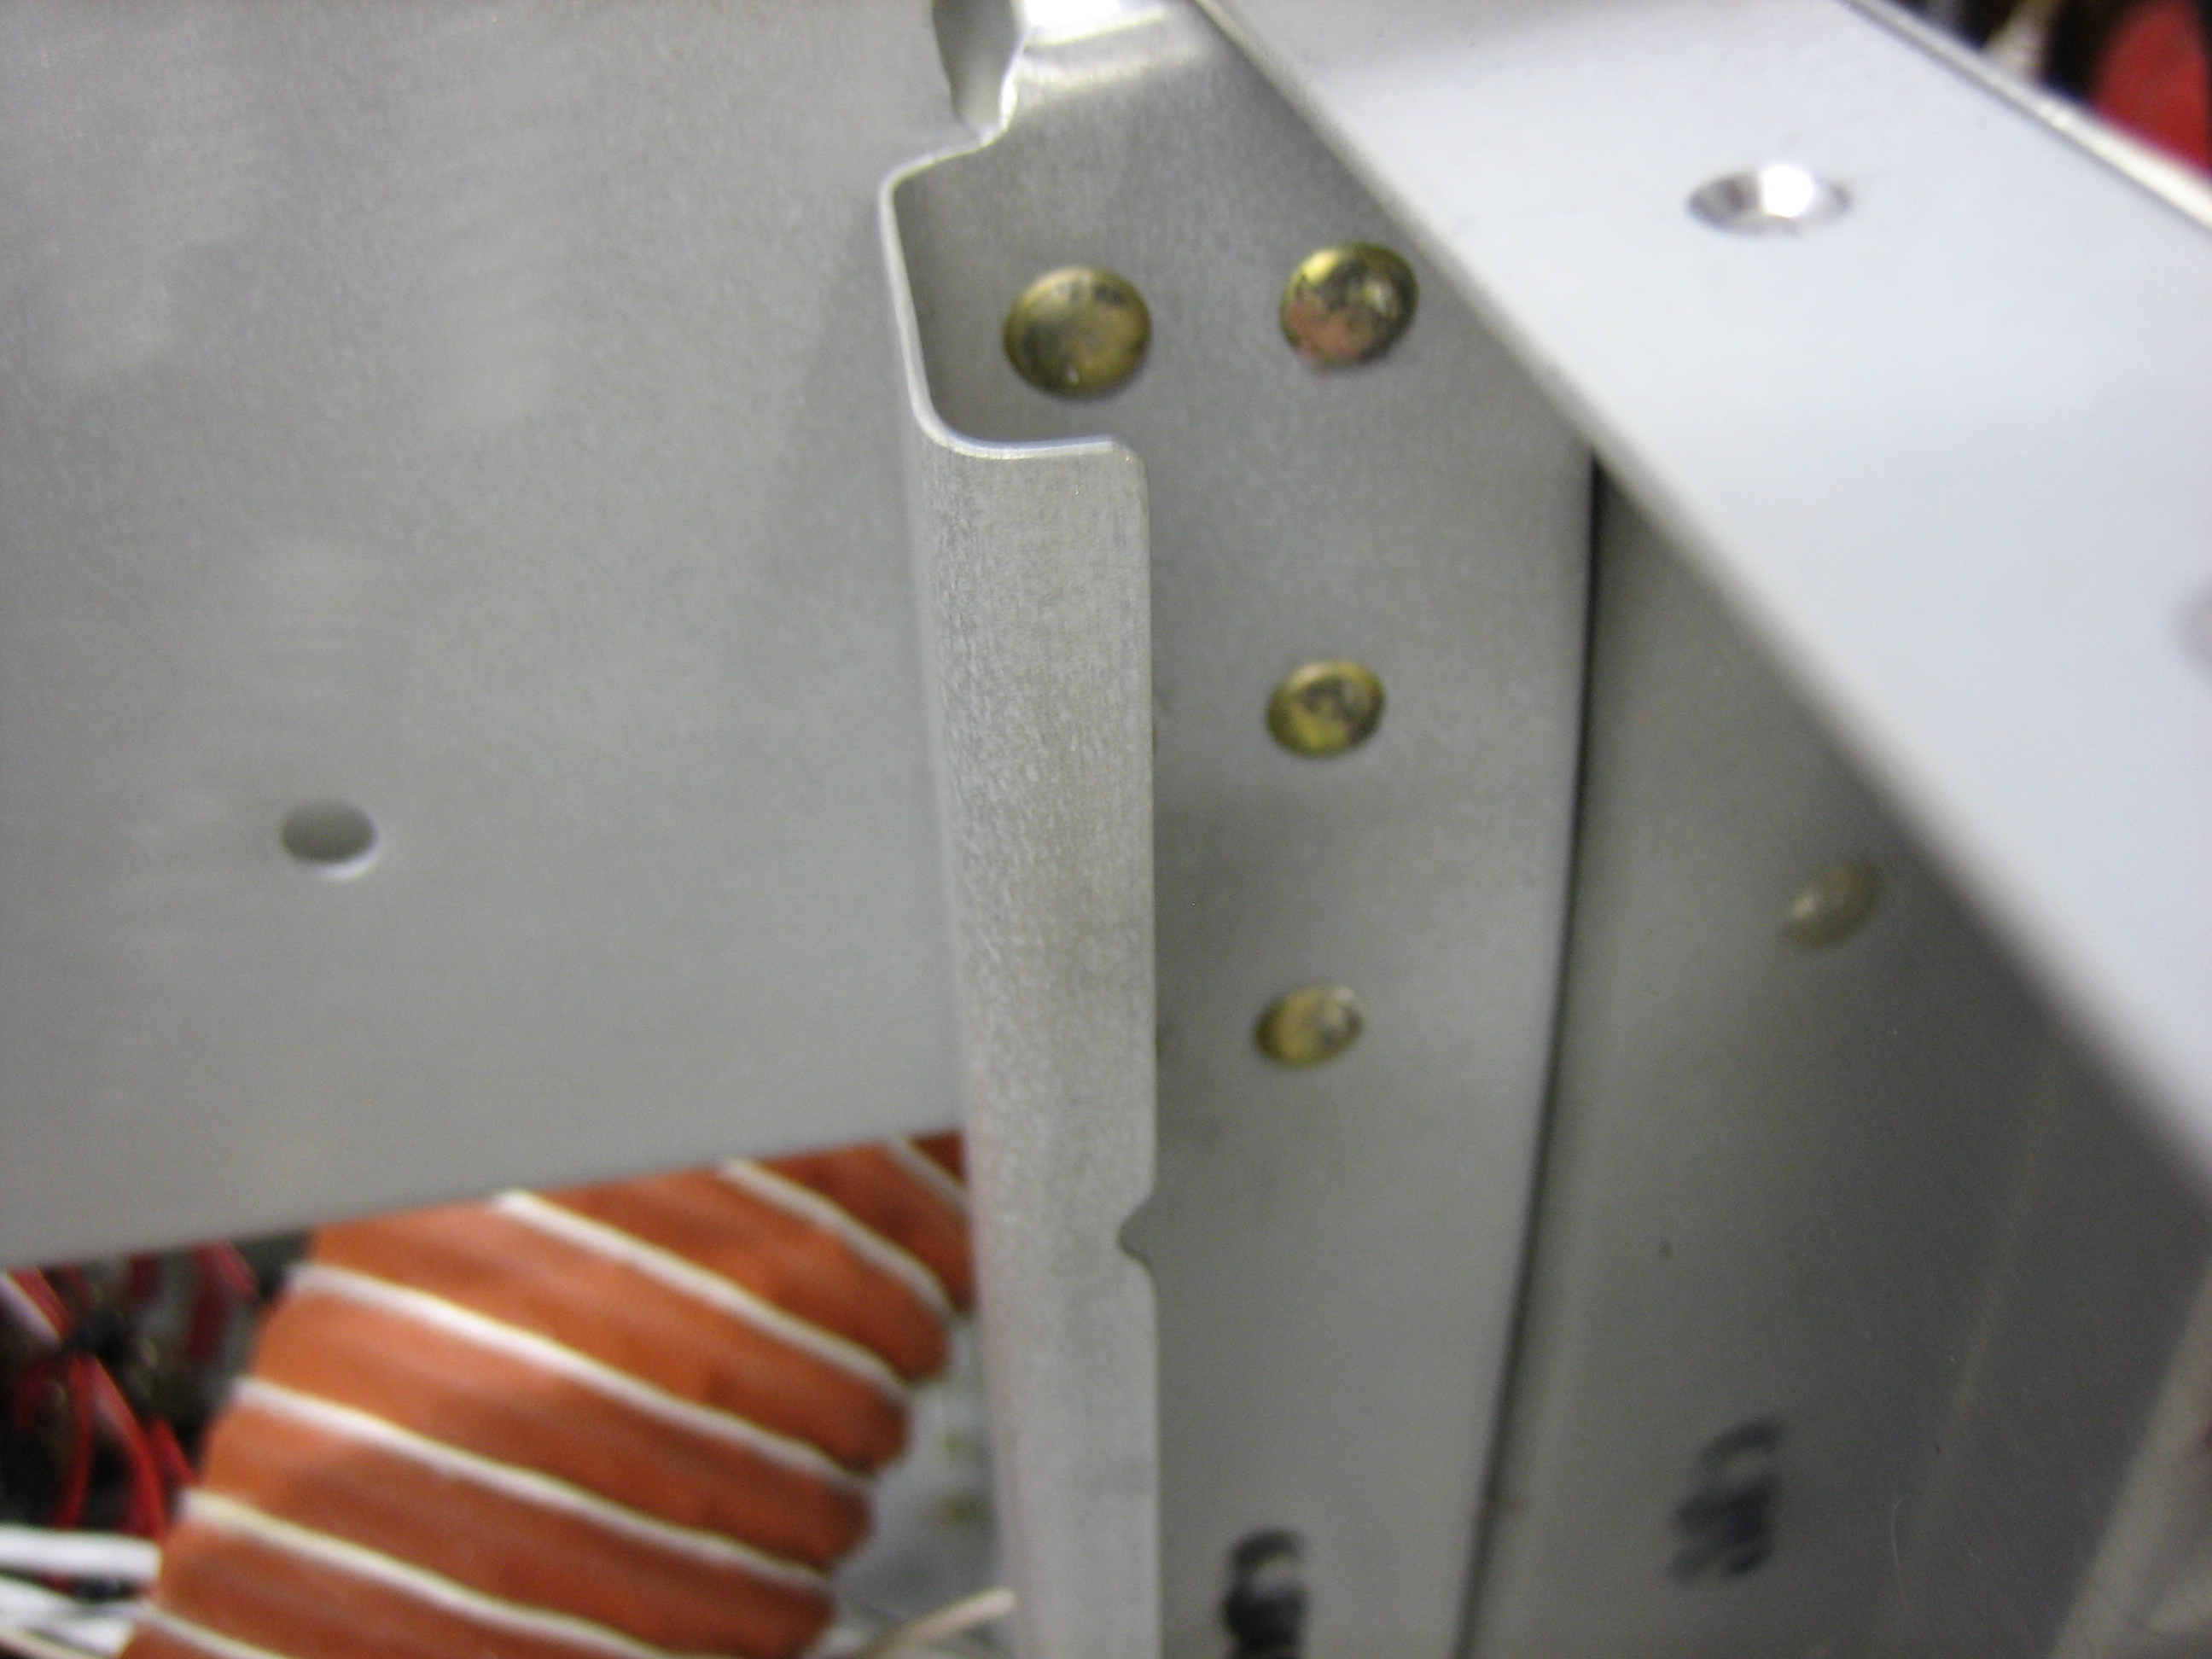
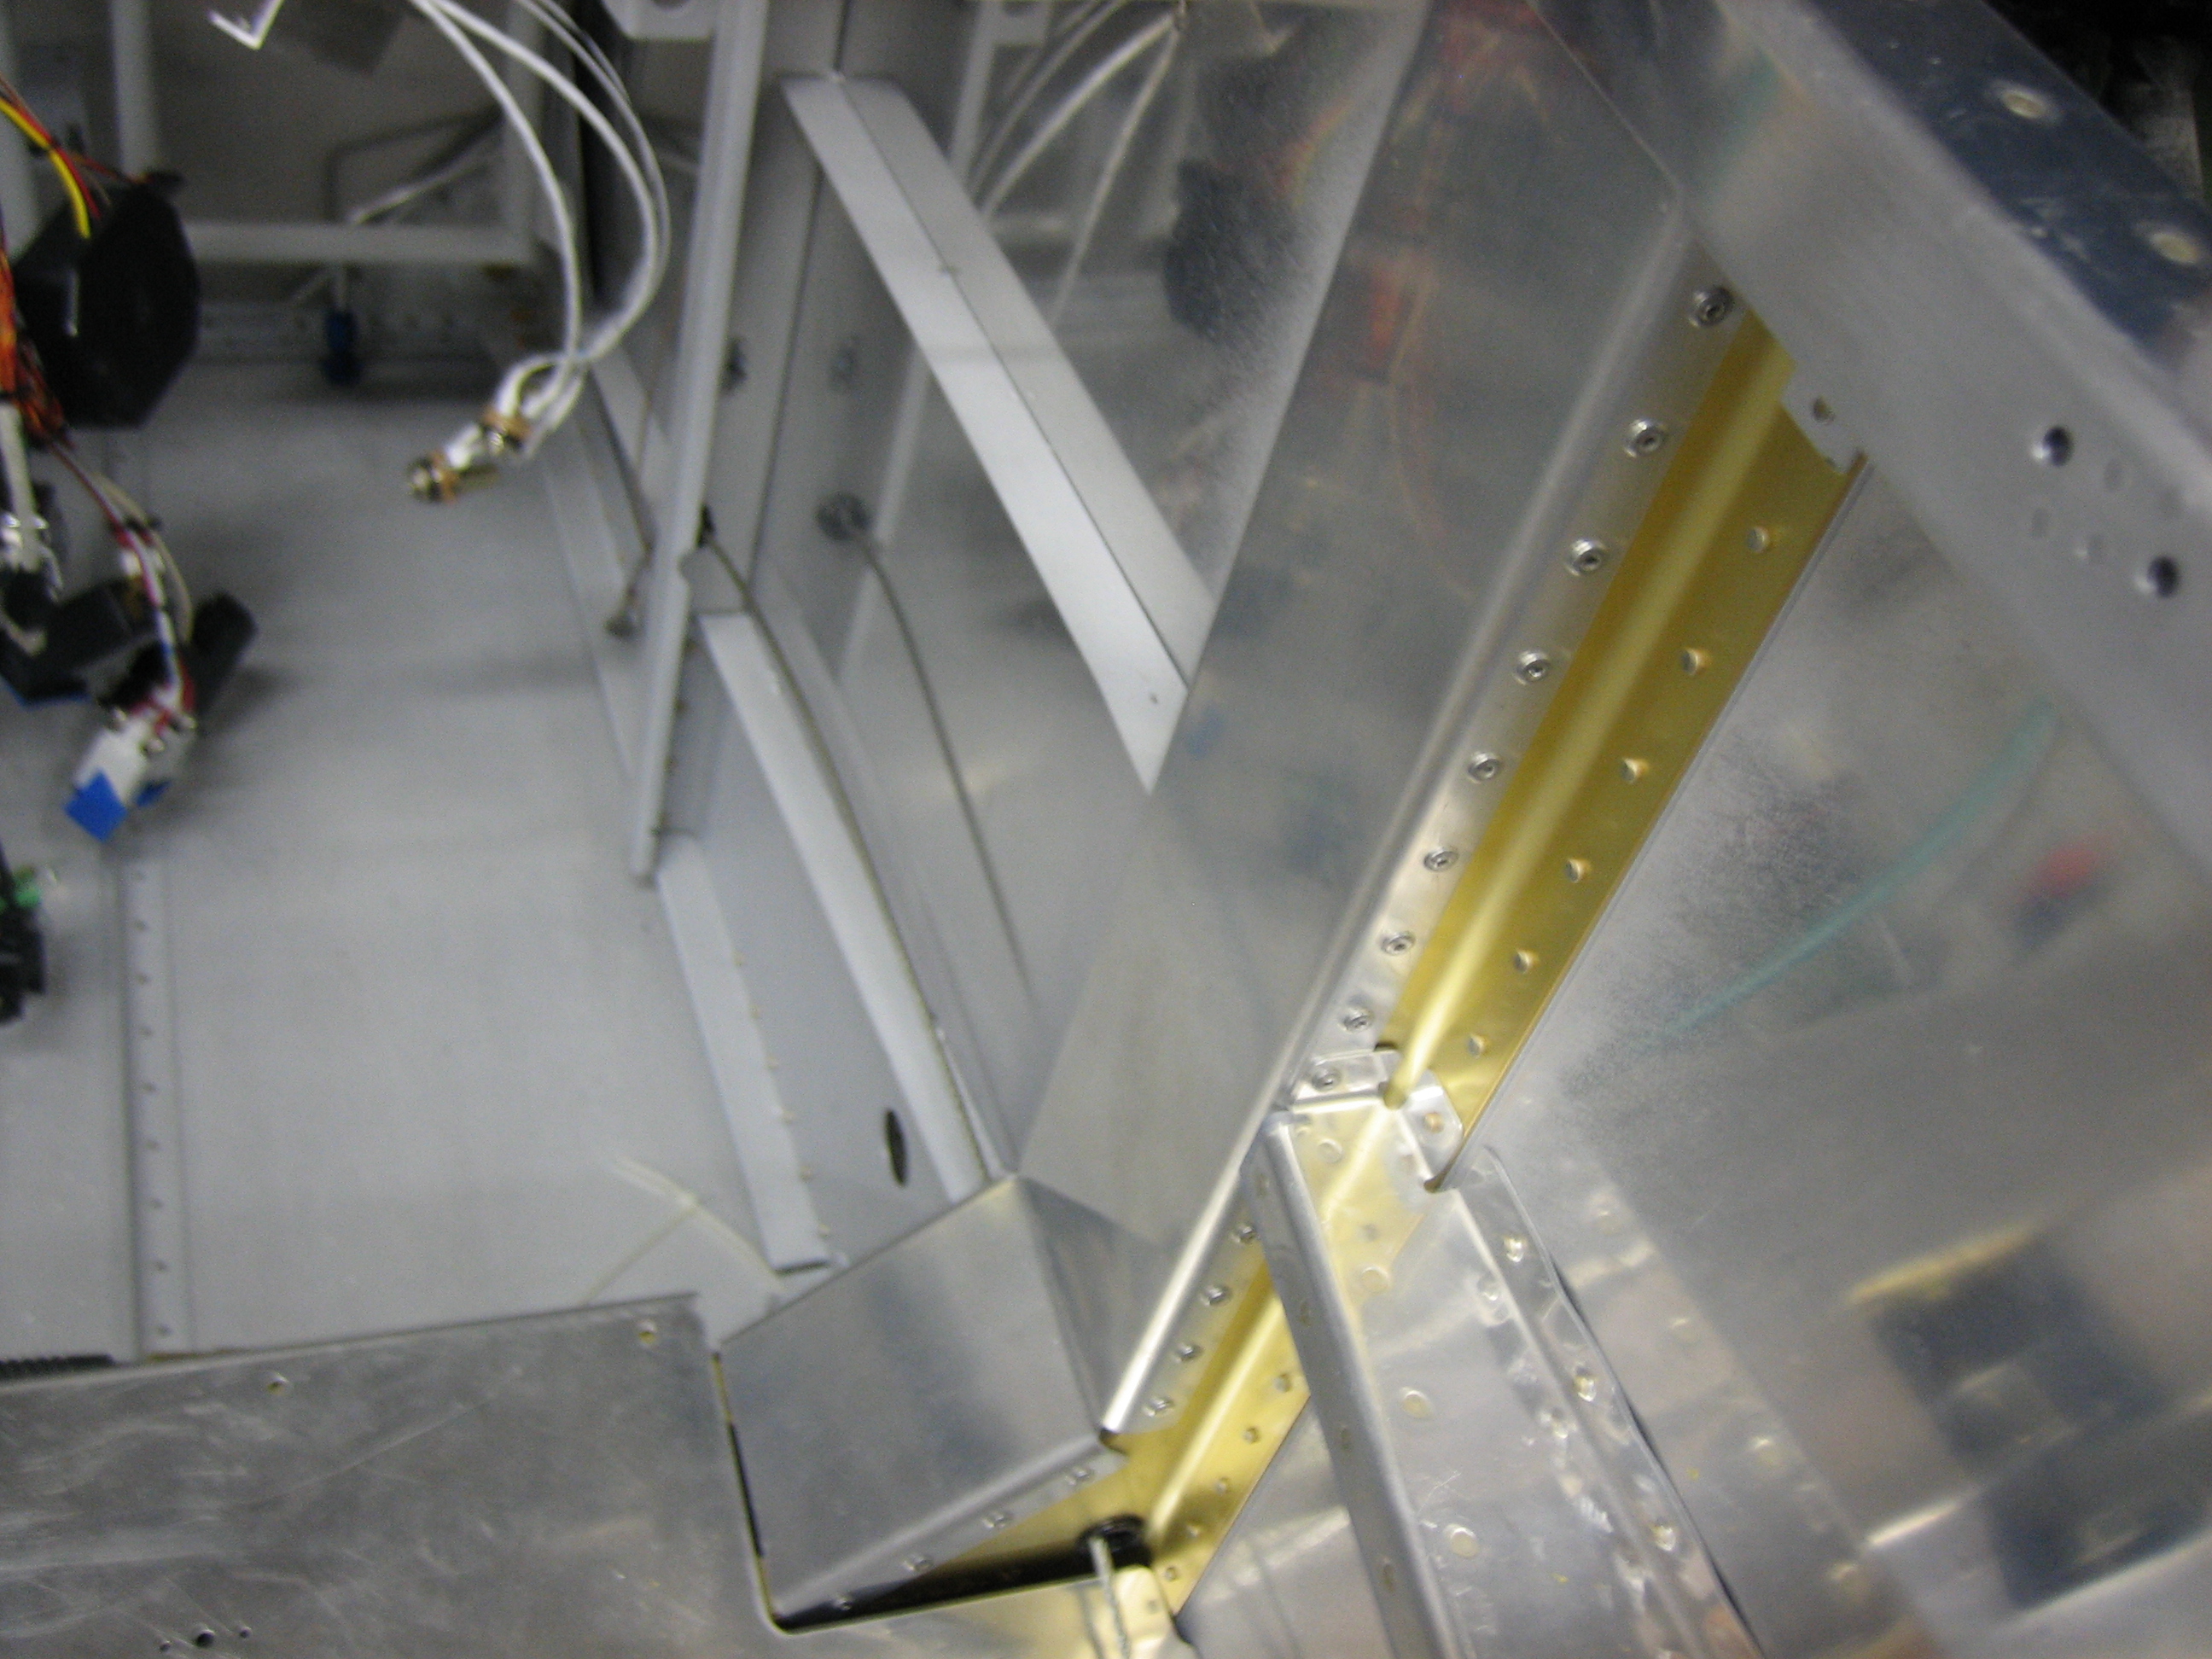
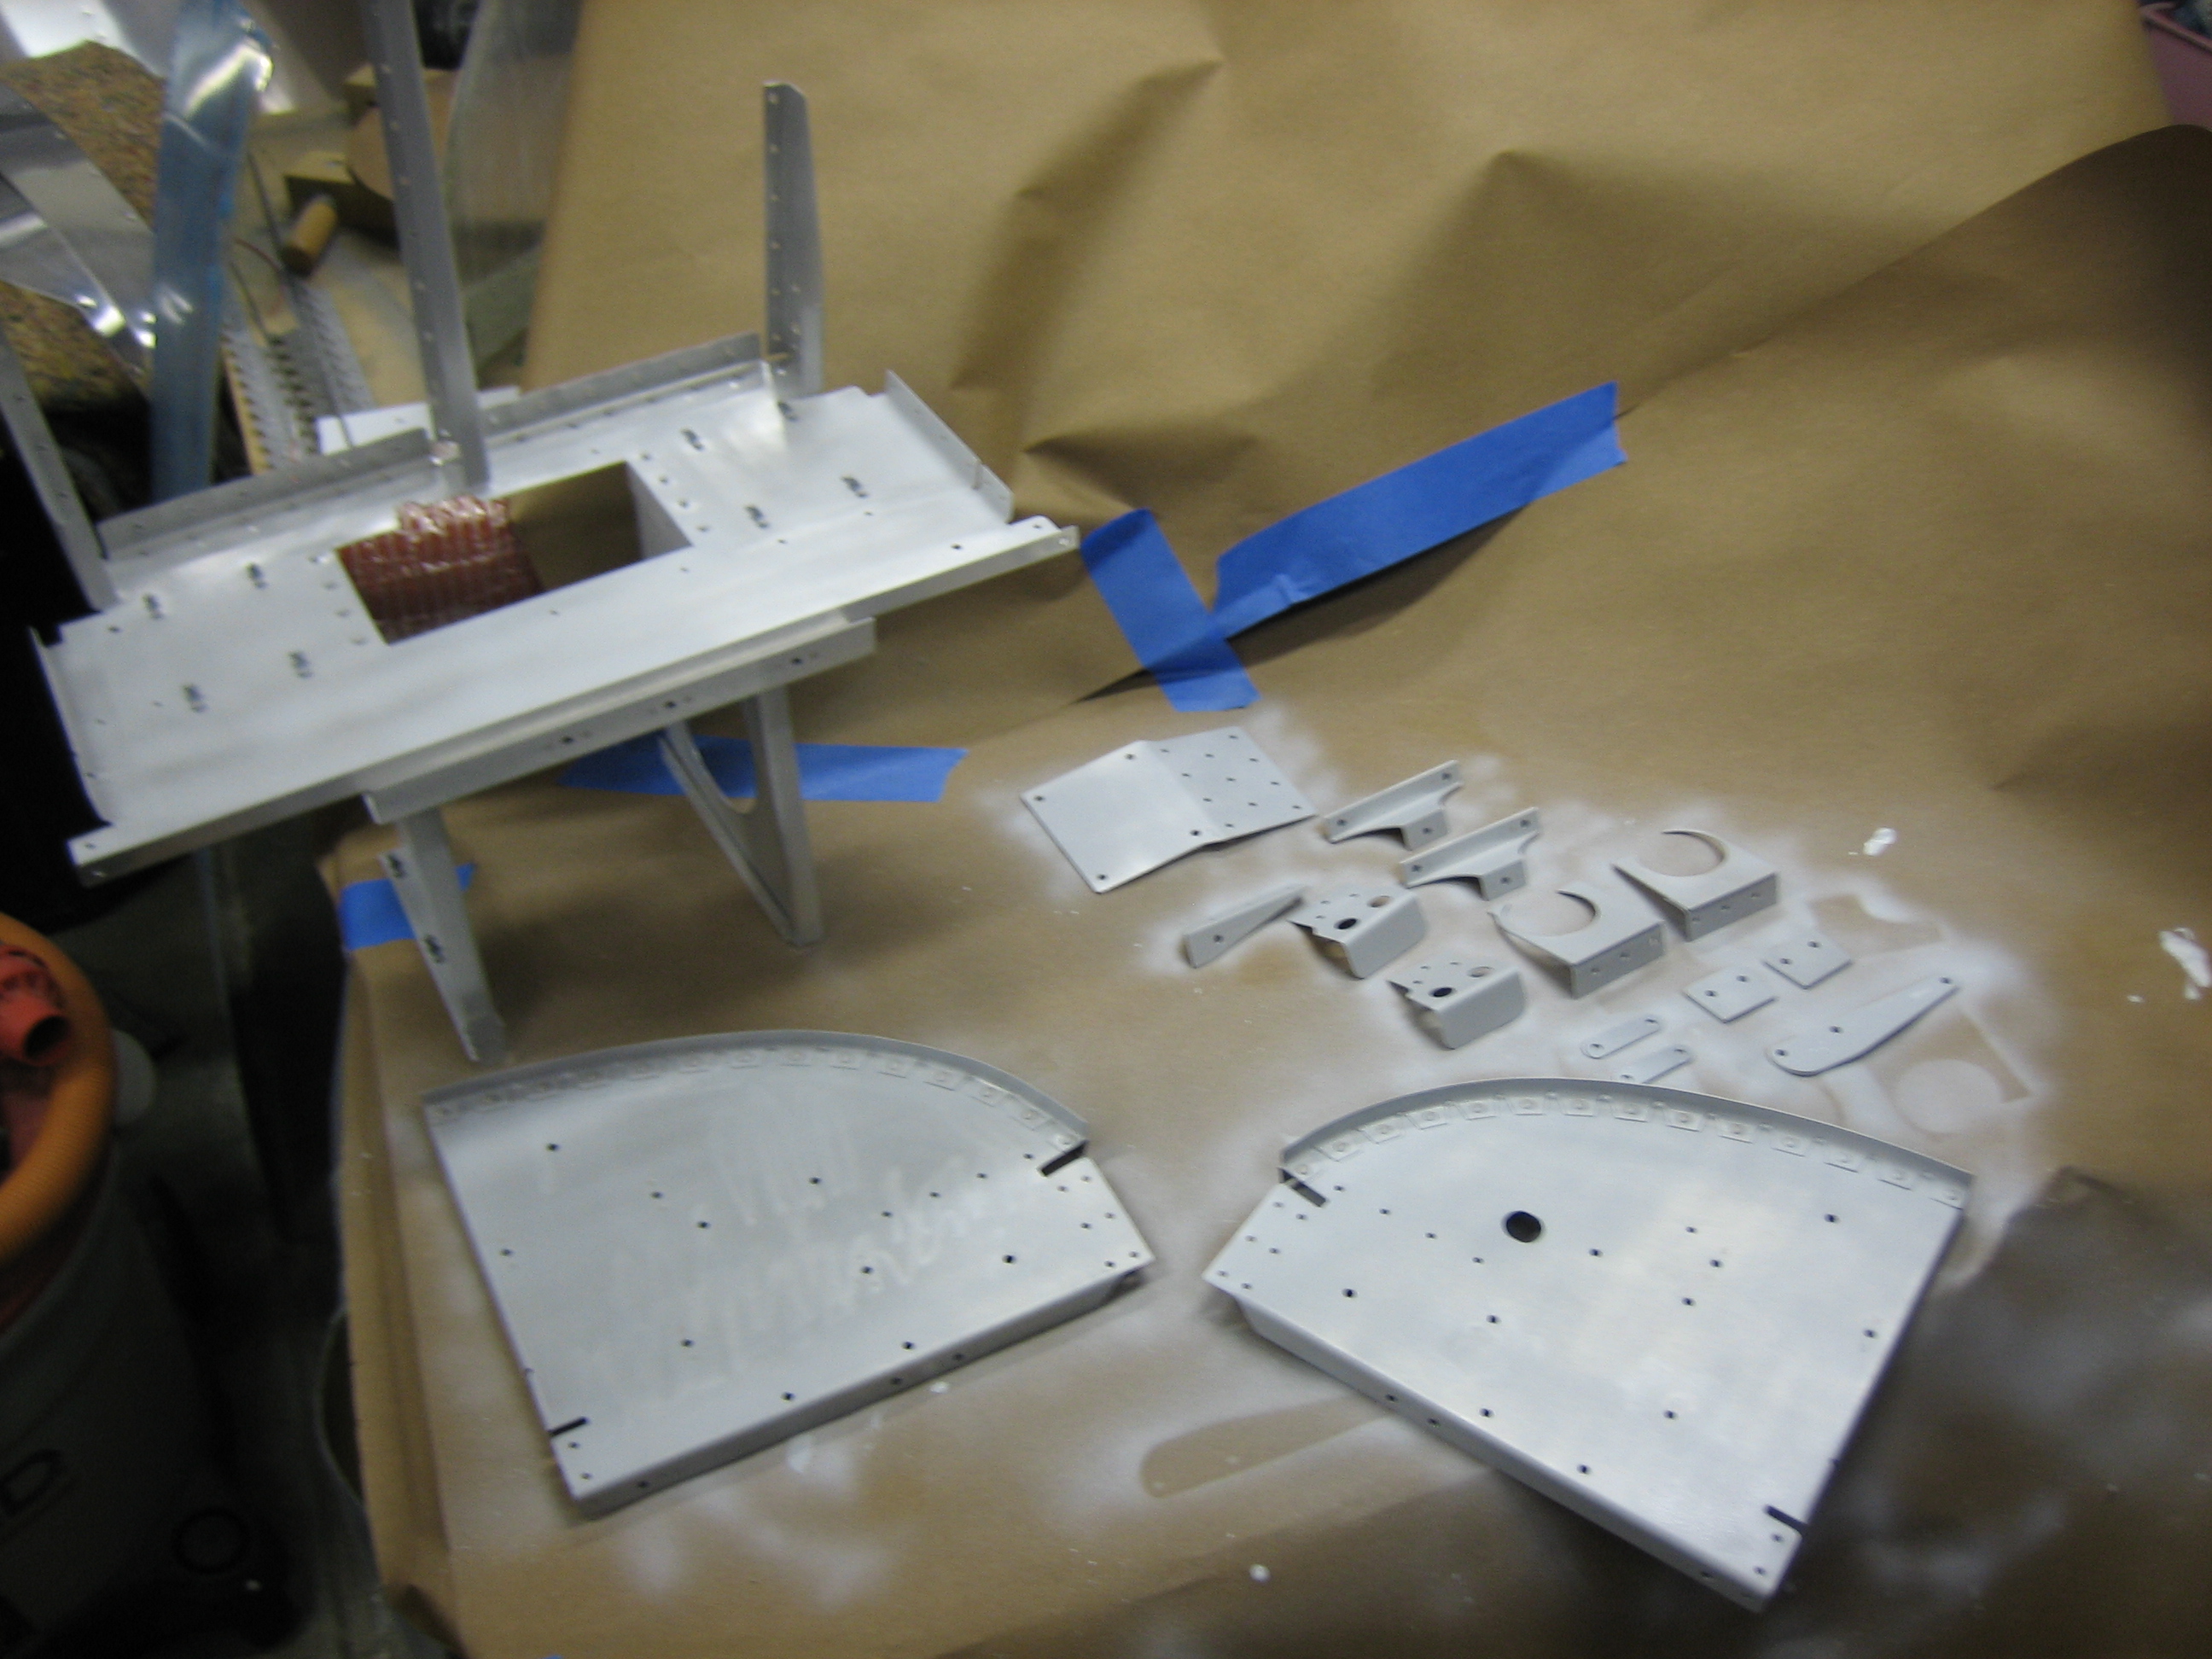
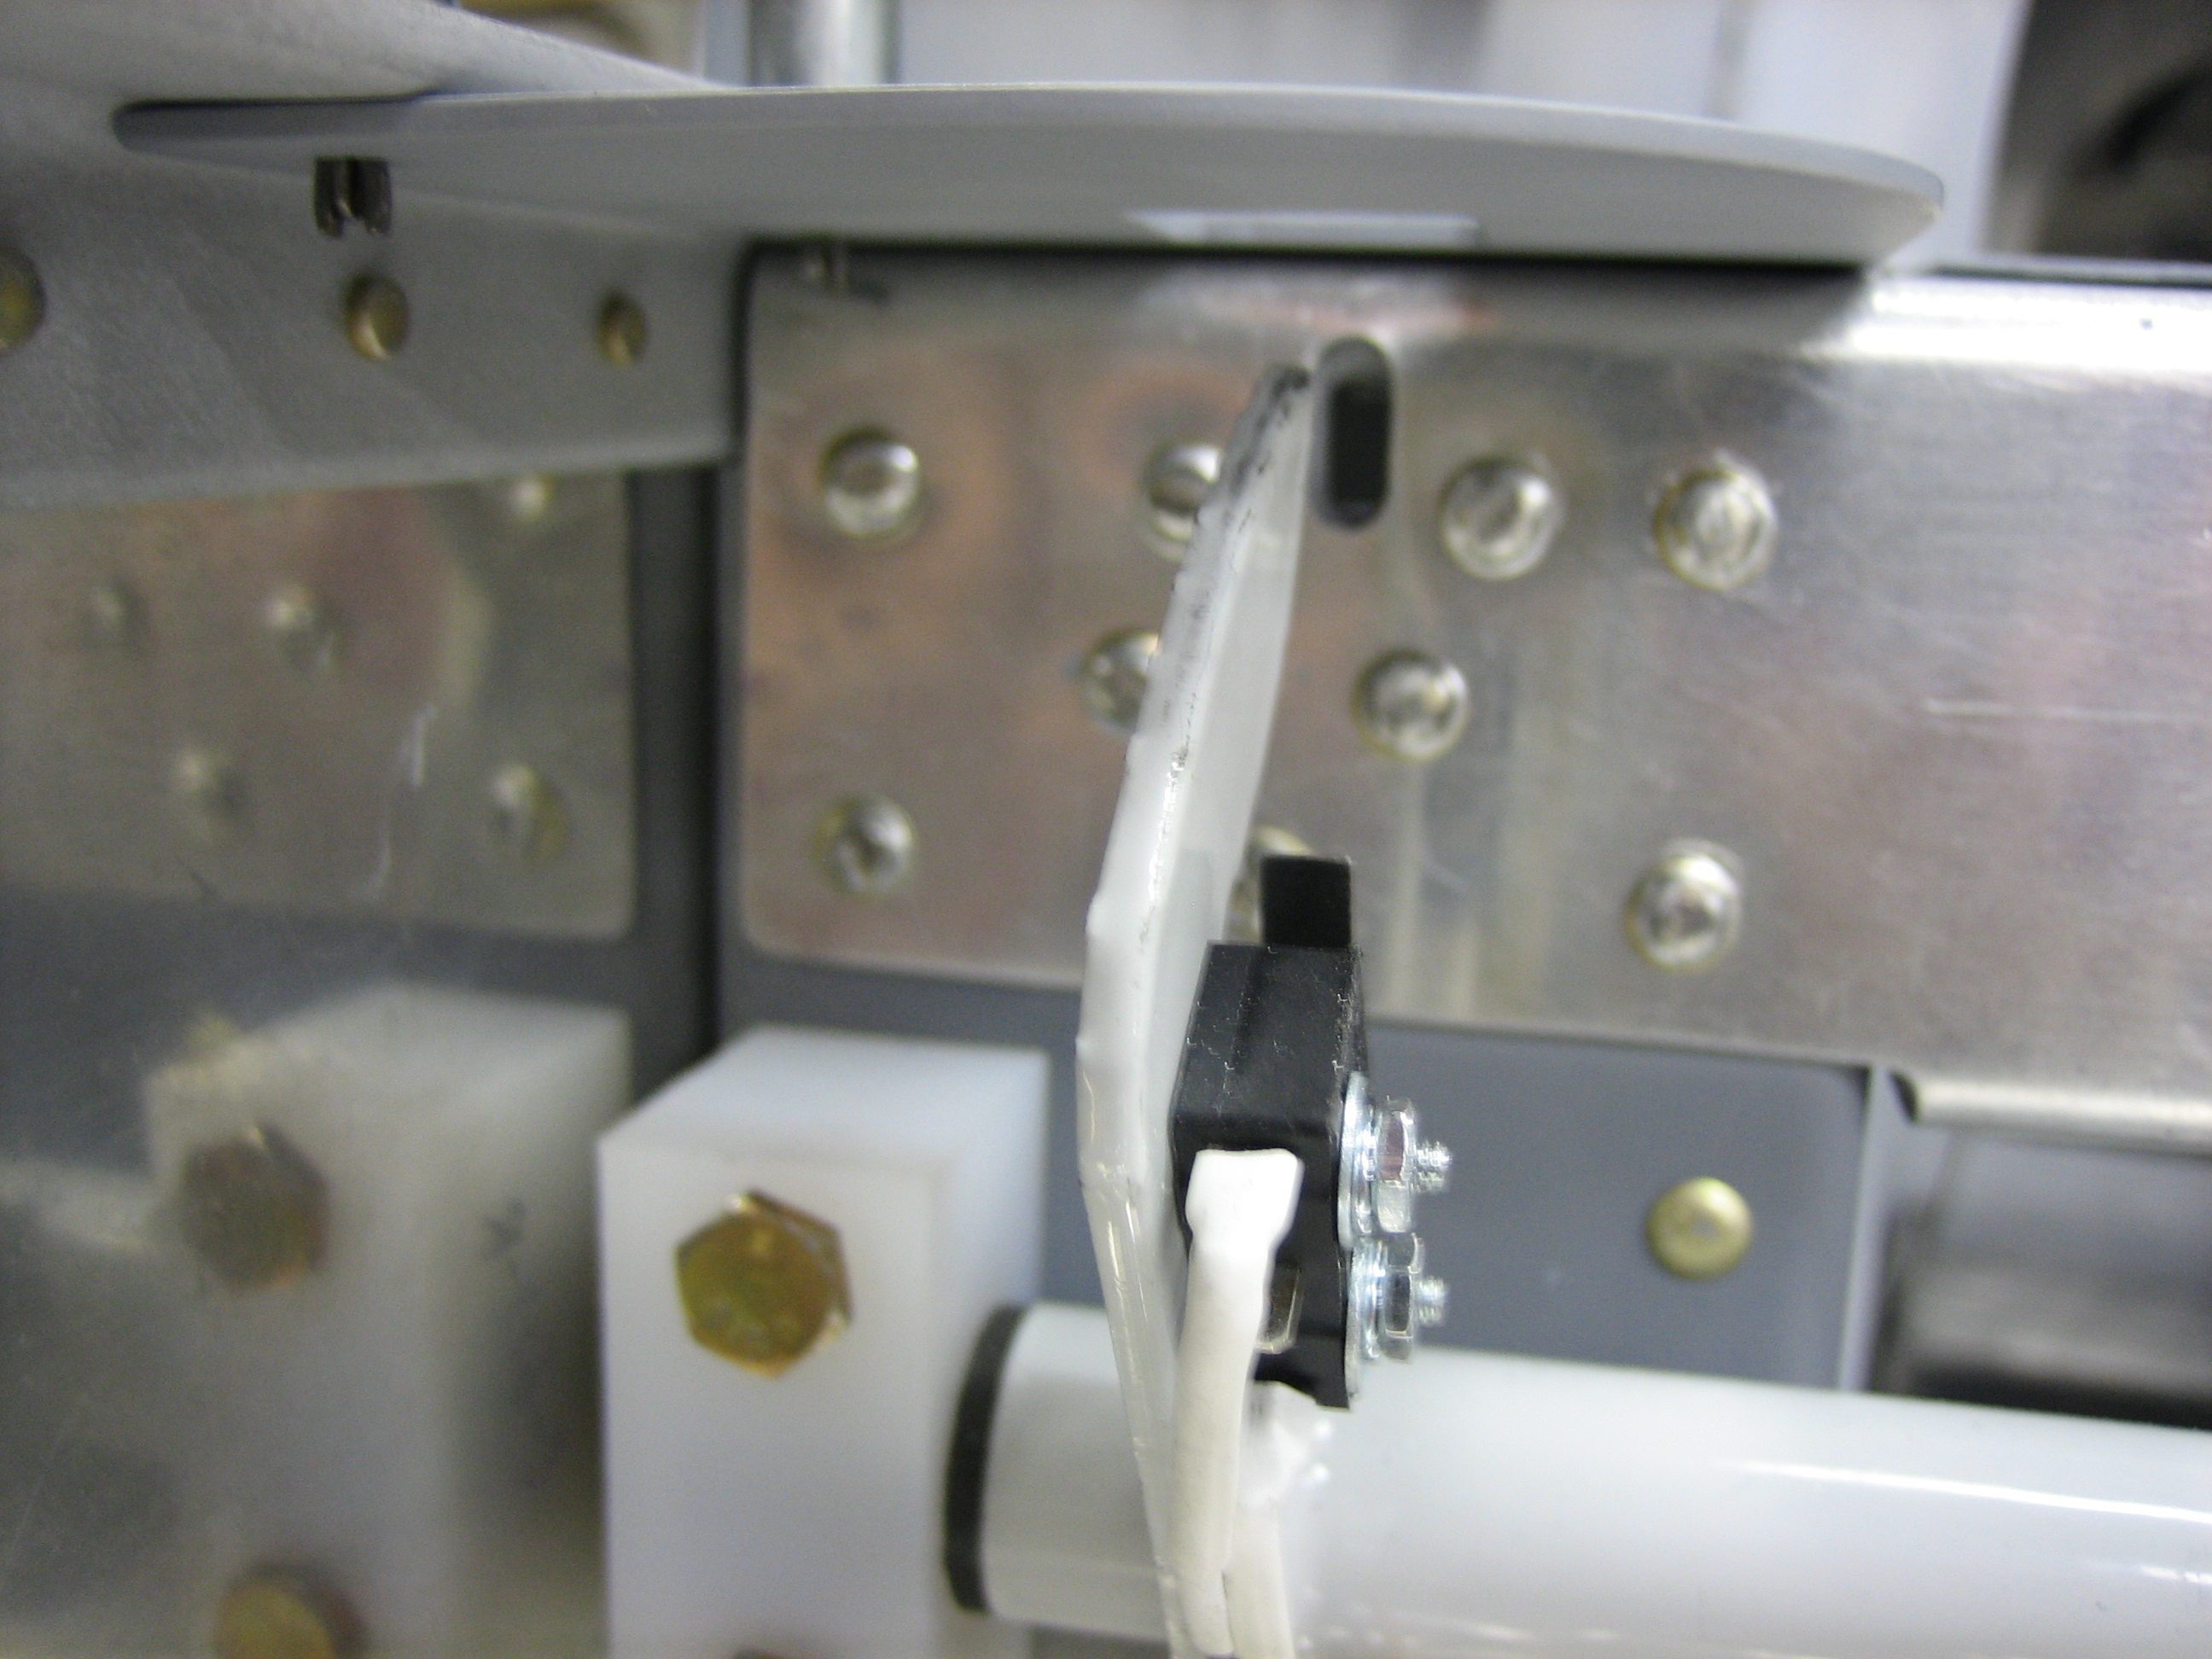
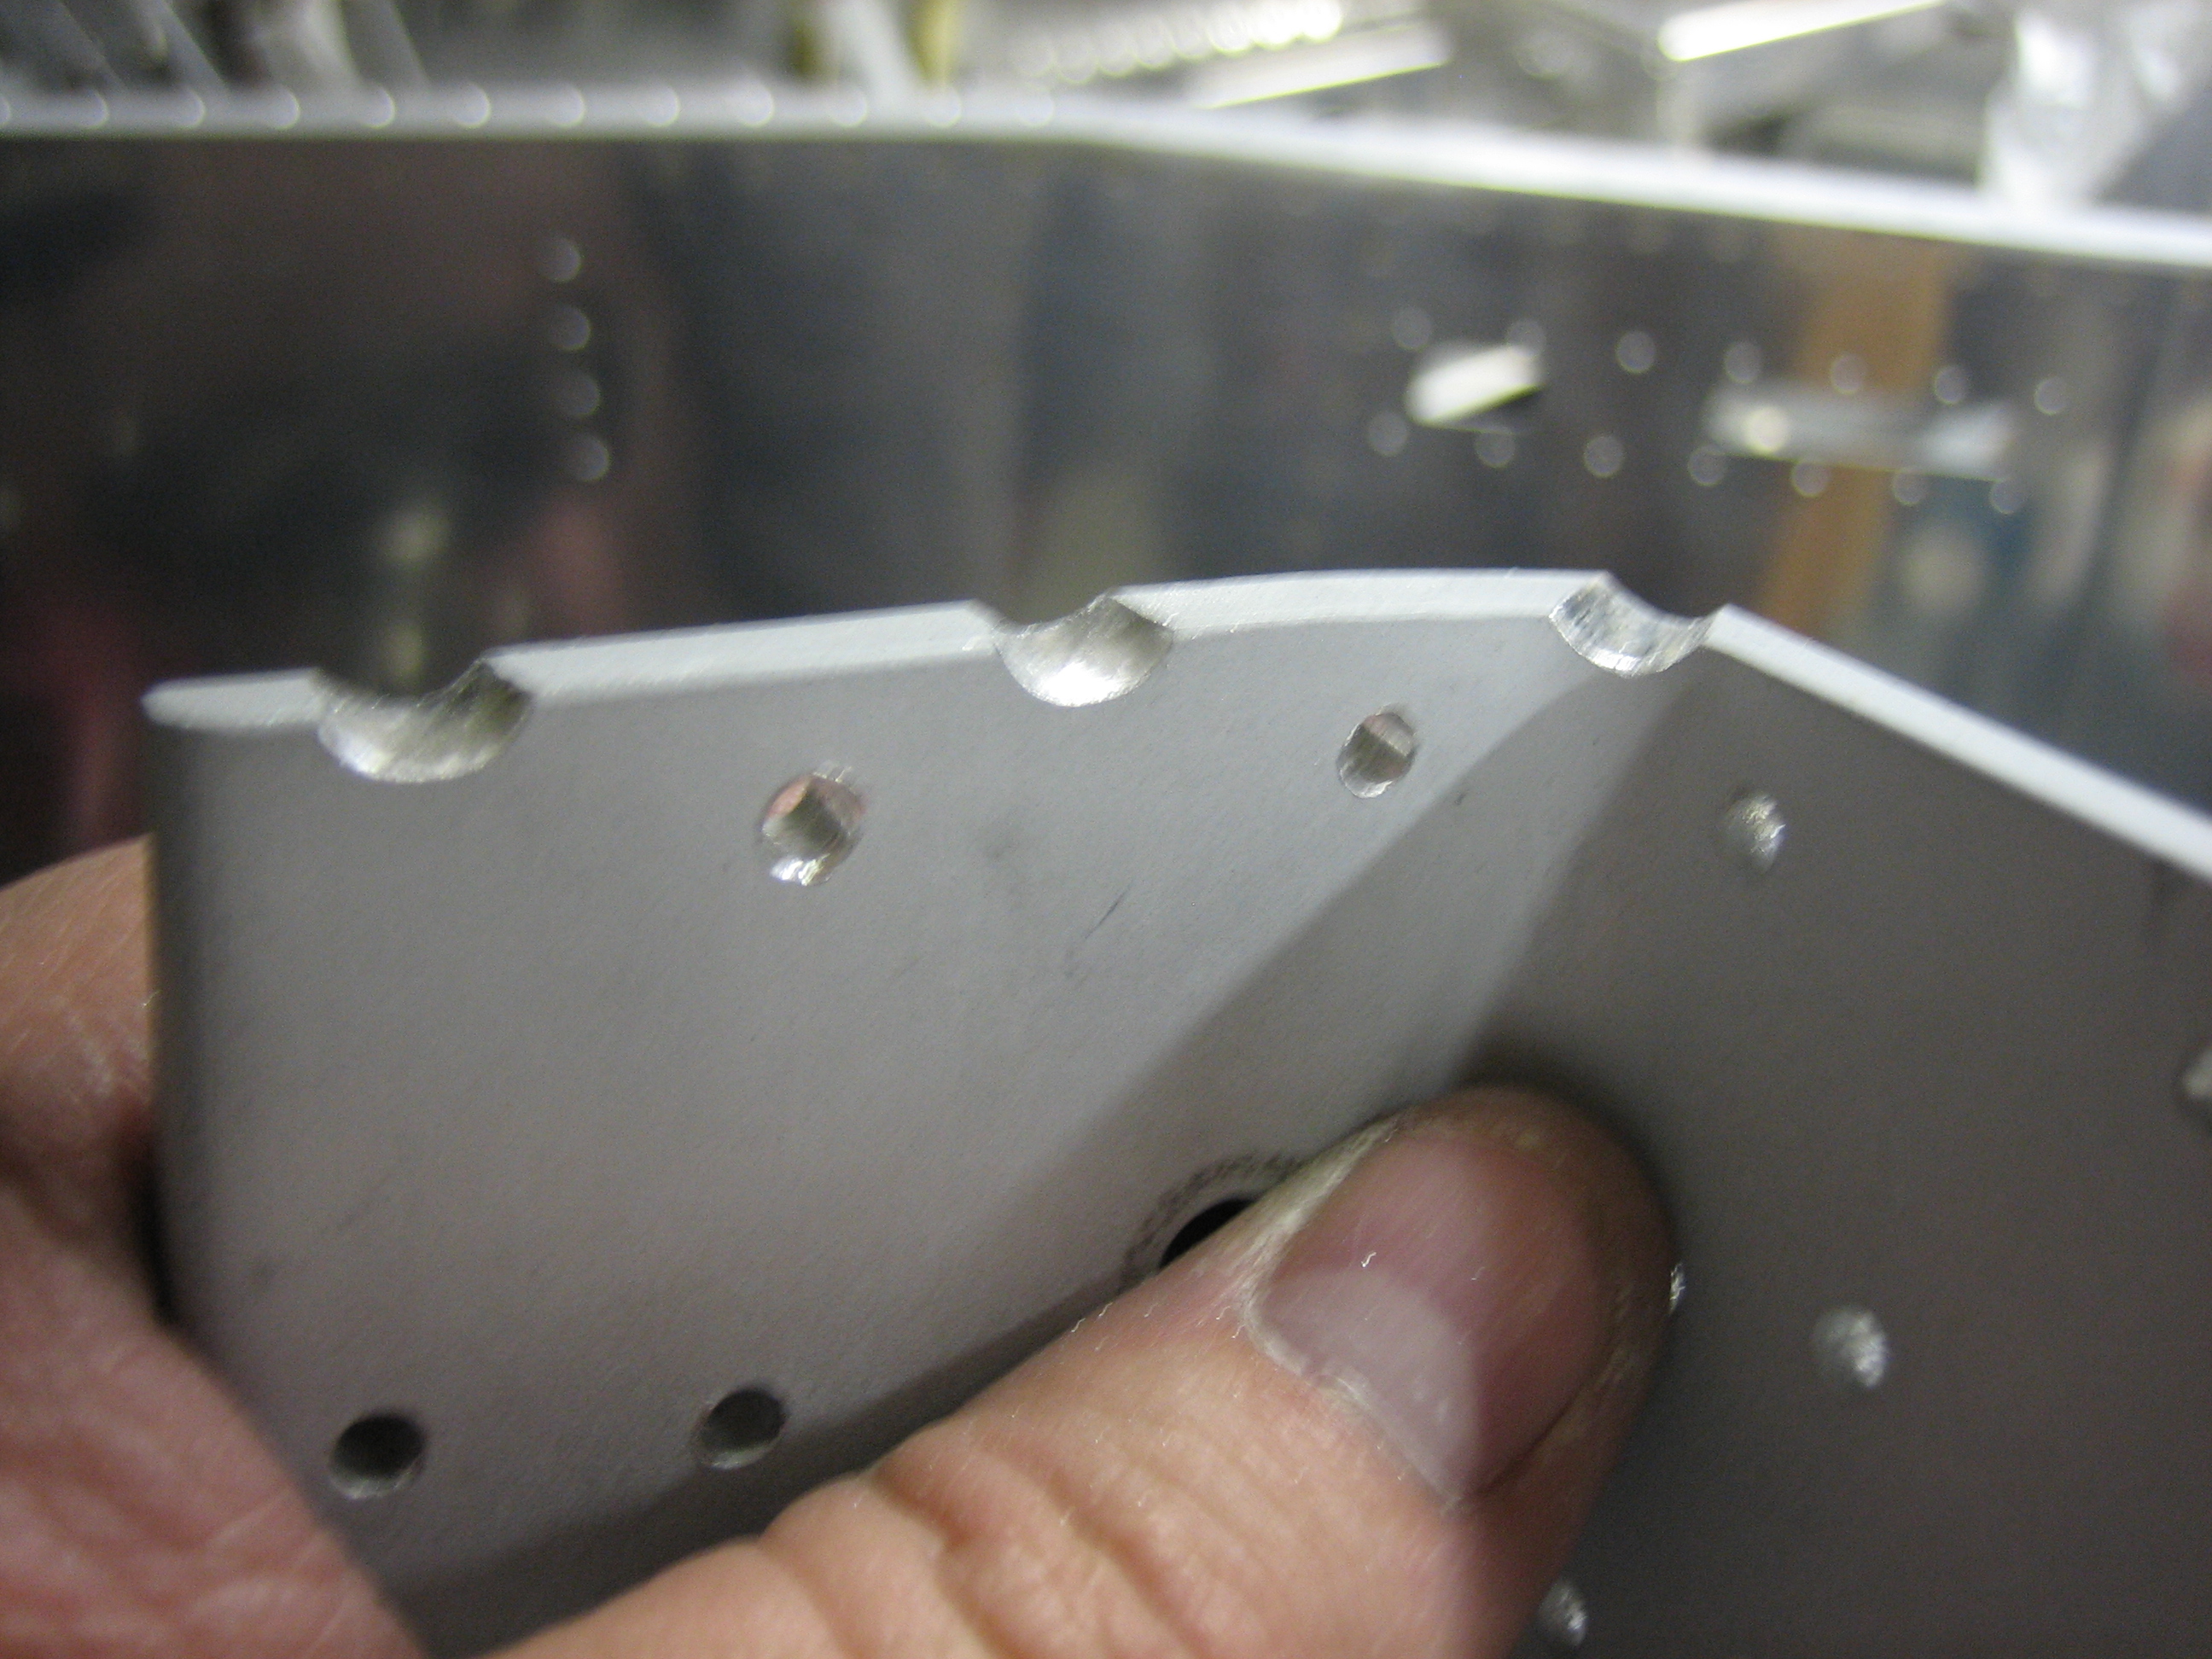
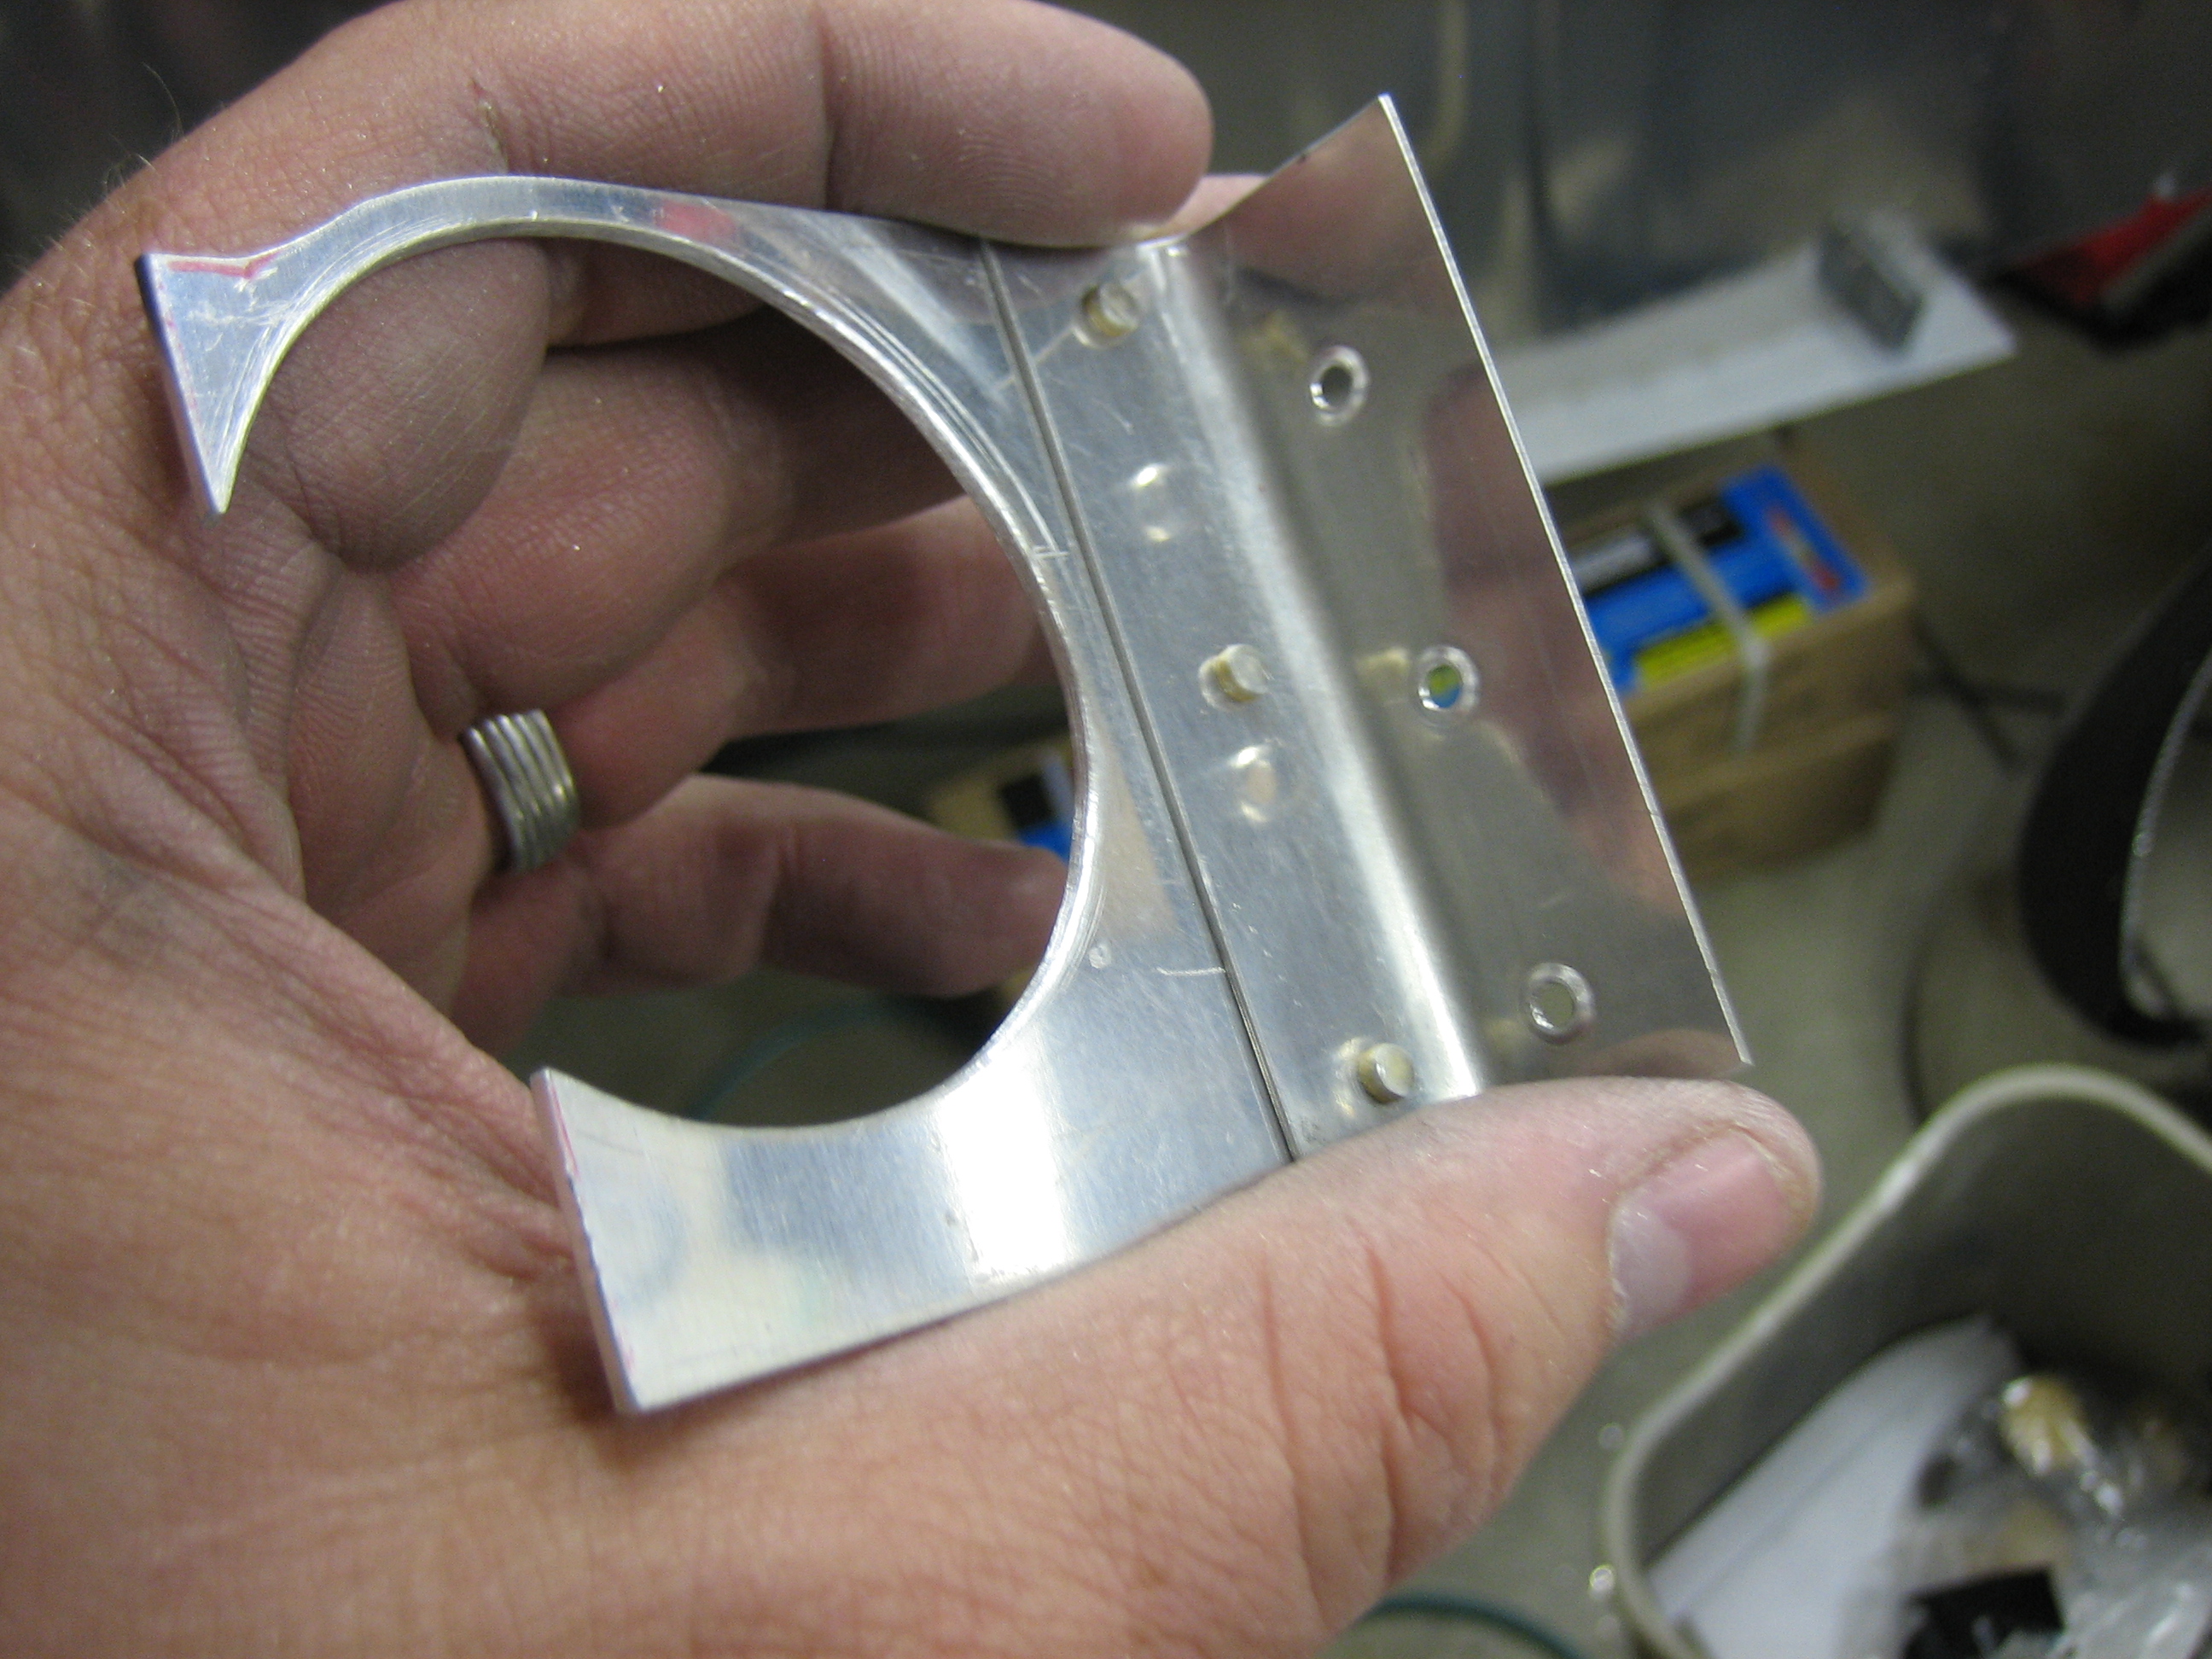
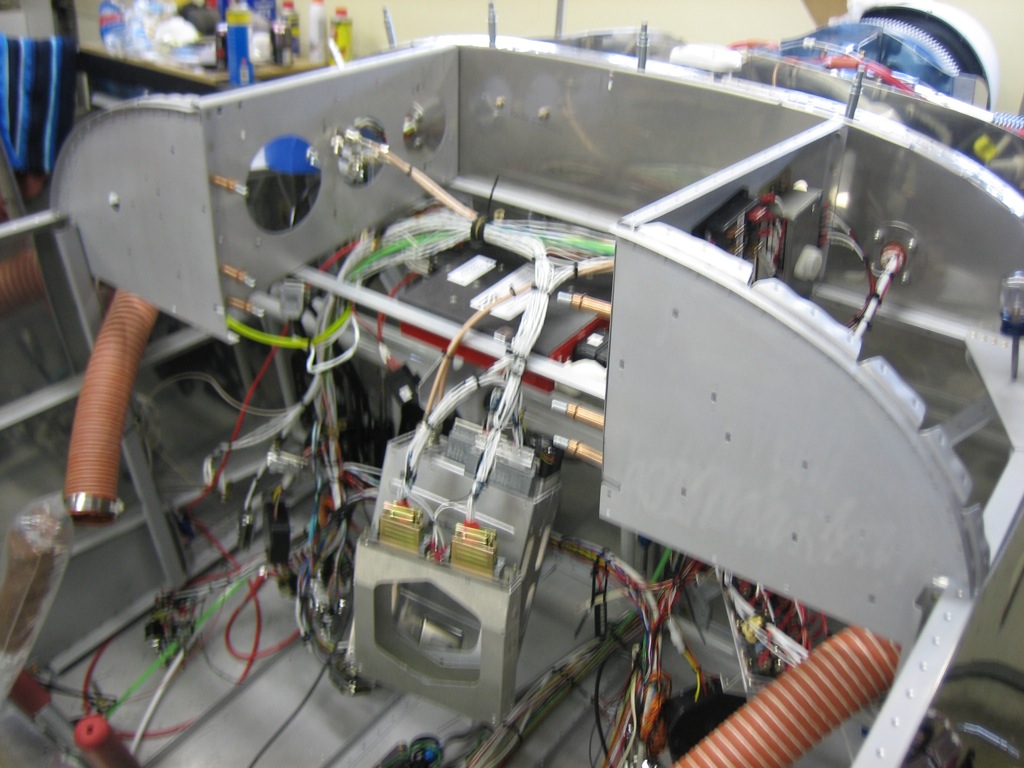
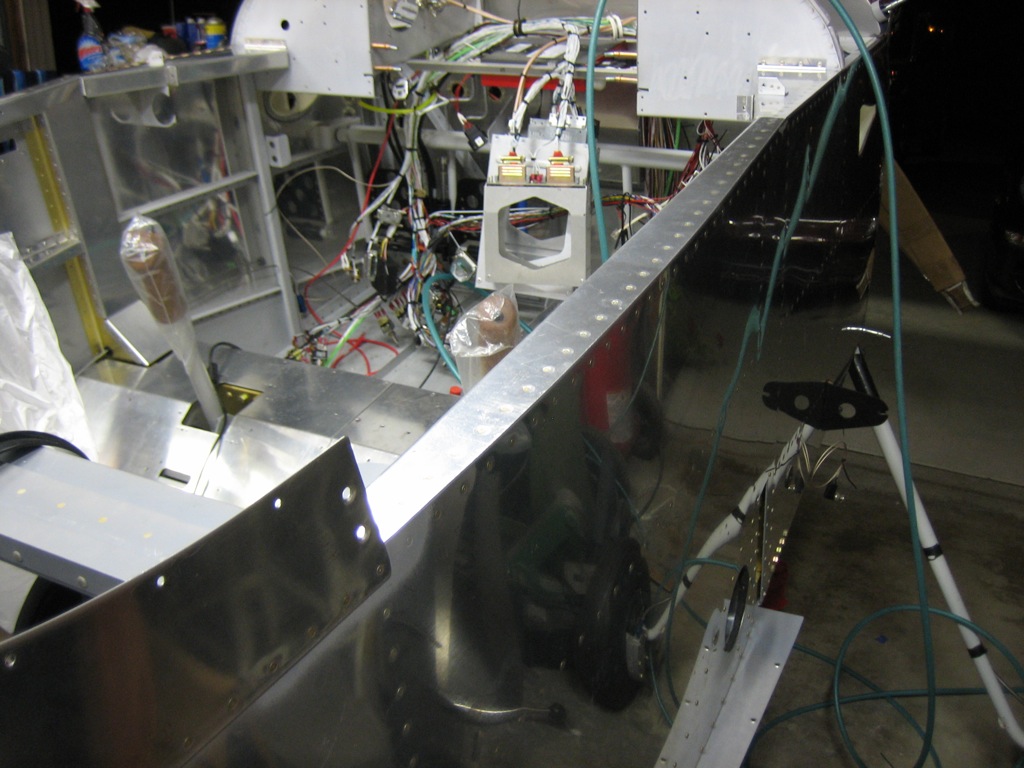
Andre dropped by in the evening and we knocked out the forward and aft canopy decks.  There were only a few challenging rivets where there isn’t much room to buck, but we managed to get solid rivets in every hole without too much pain.  You can see on the other side that we also riveted the fresh air vent brackets to the side of the fuselage.

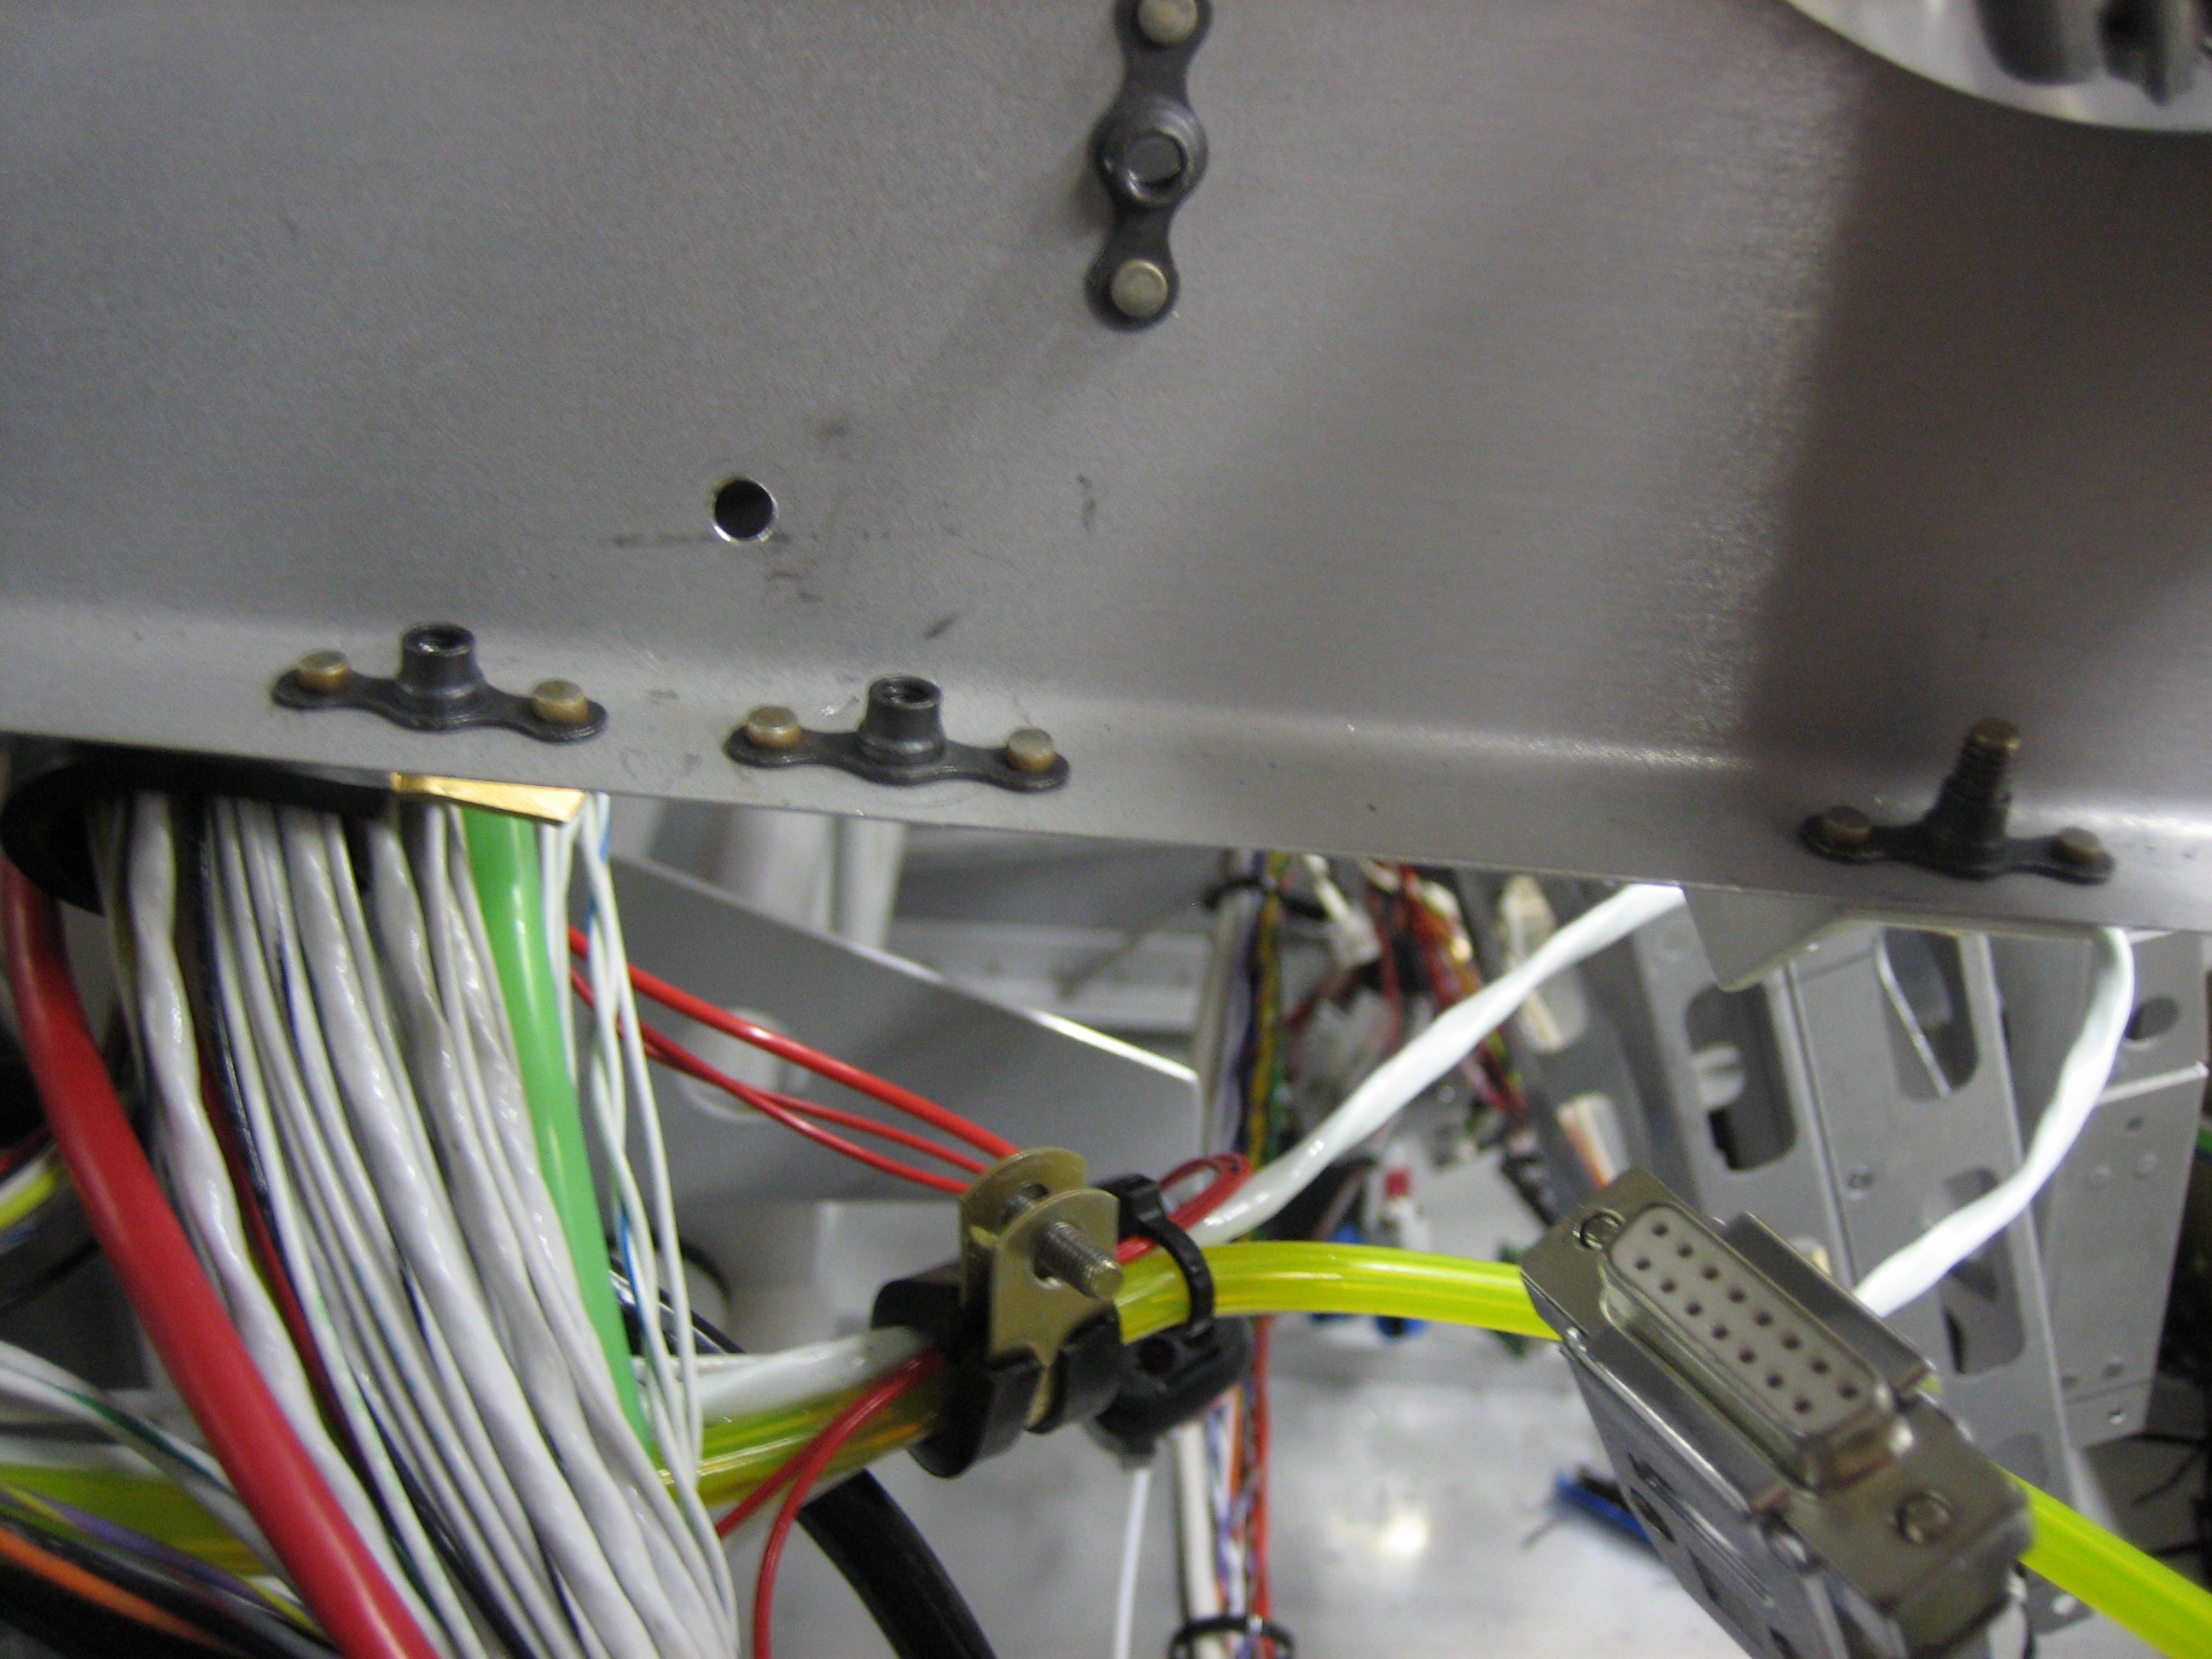
We also riveted the armrests.  There’s still some give to these, so I don’t want passengers to push down on them when getting out of the plane, but they’re way stronger than the stock Van’s design.

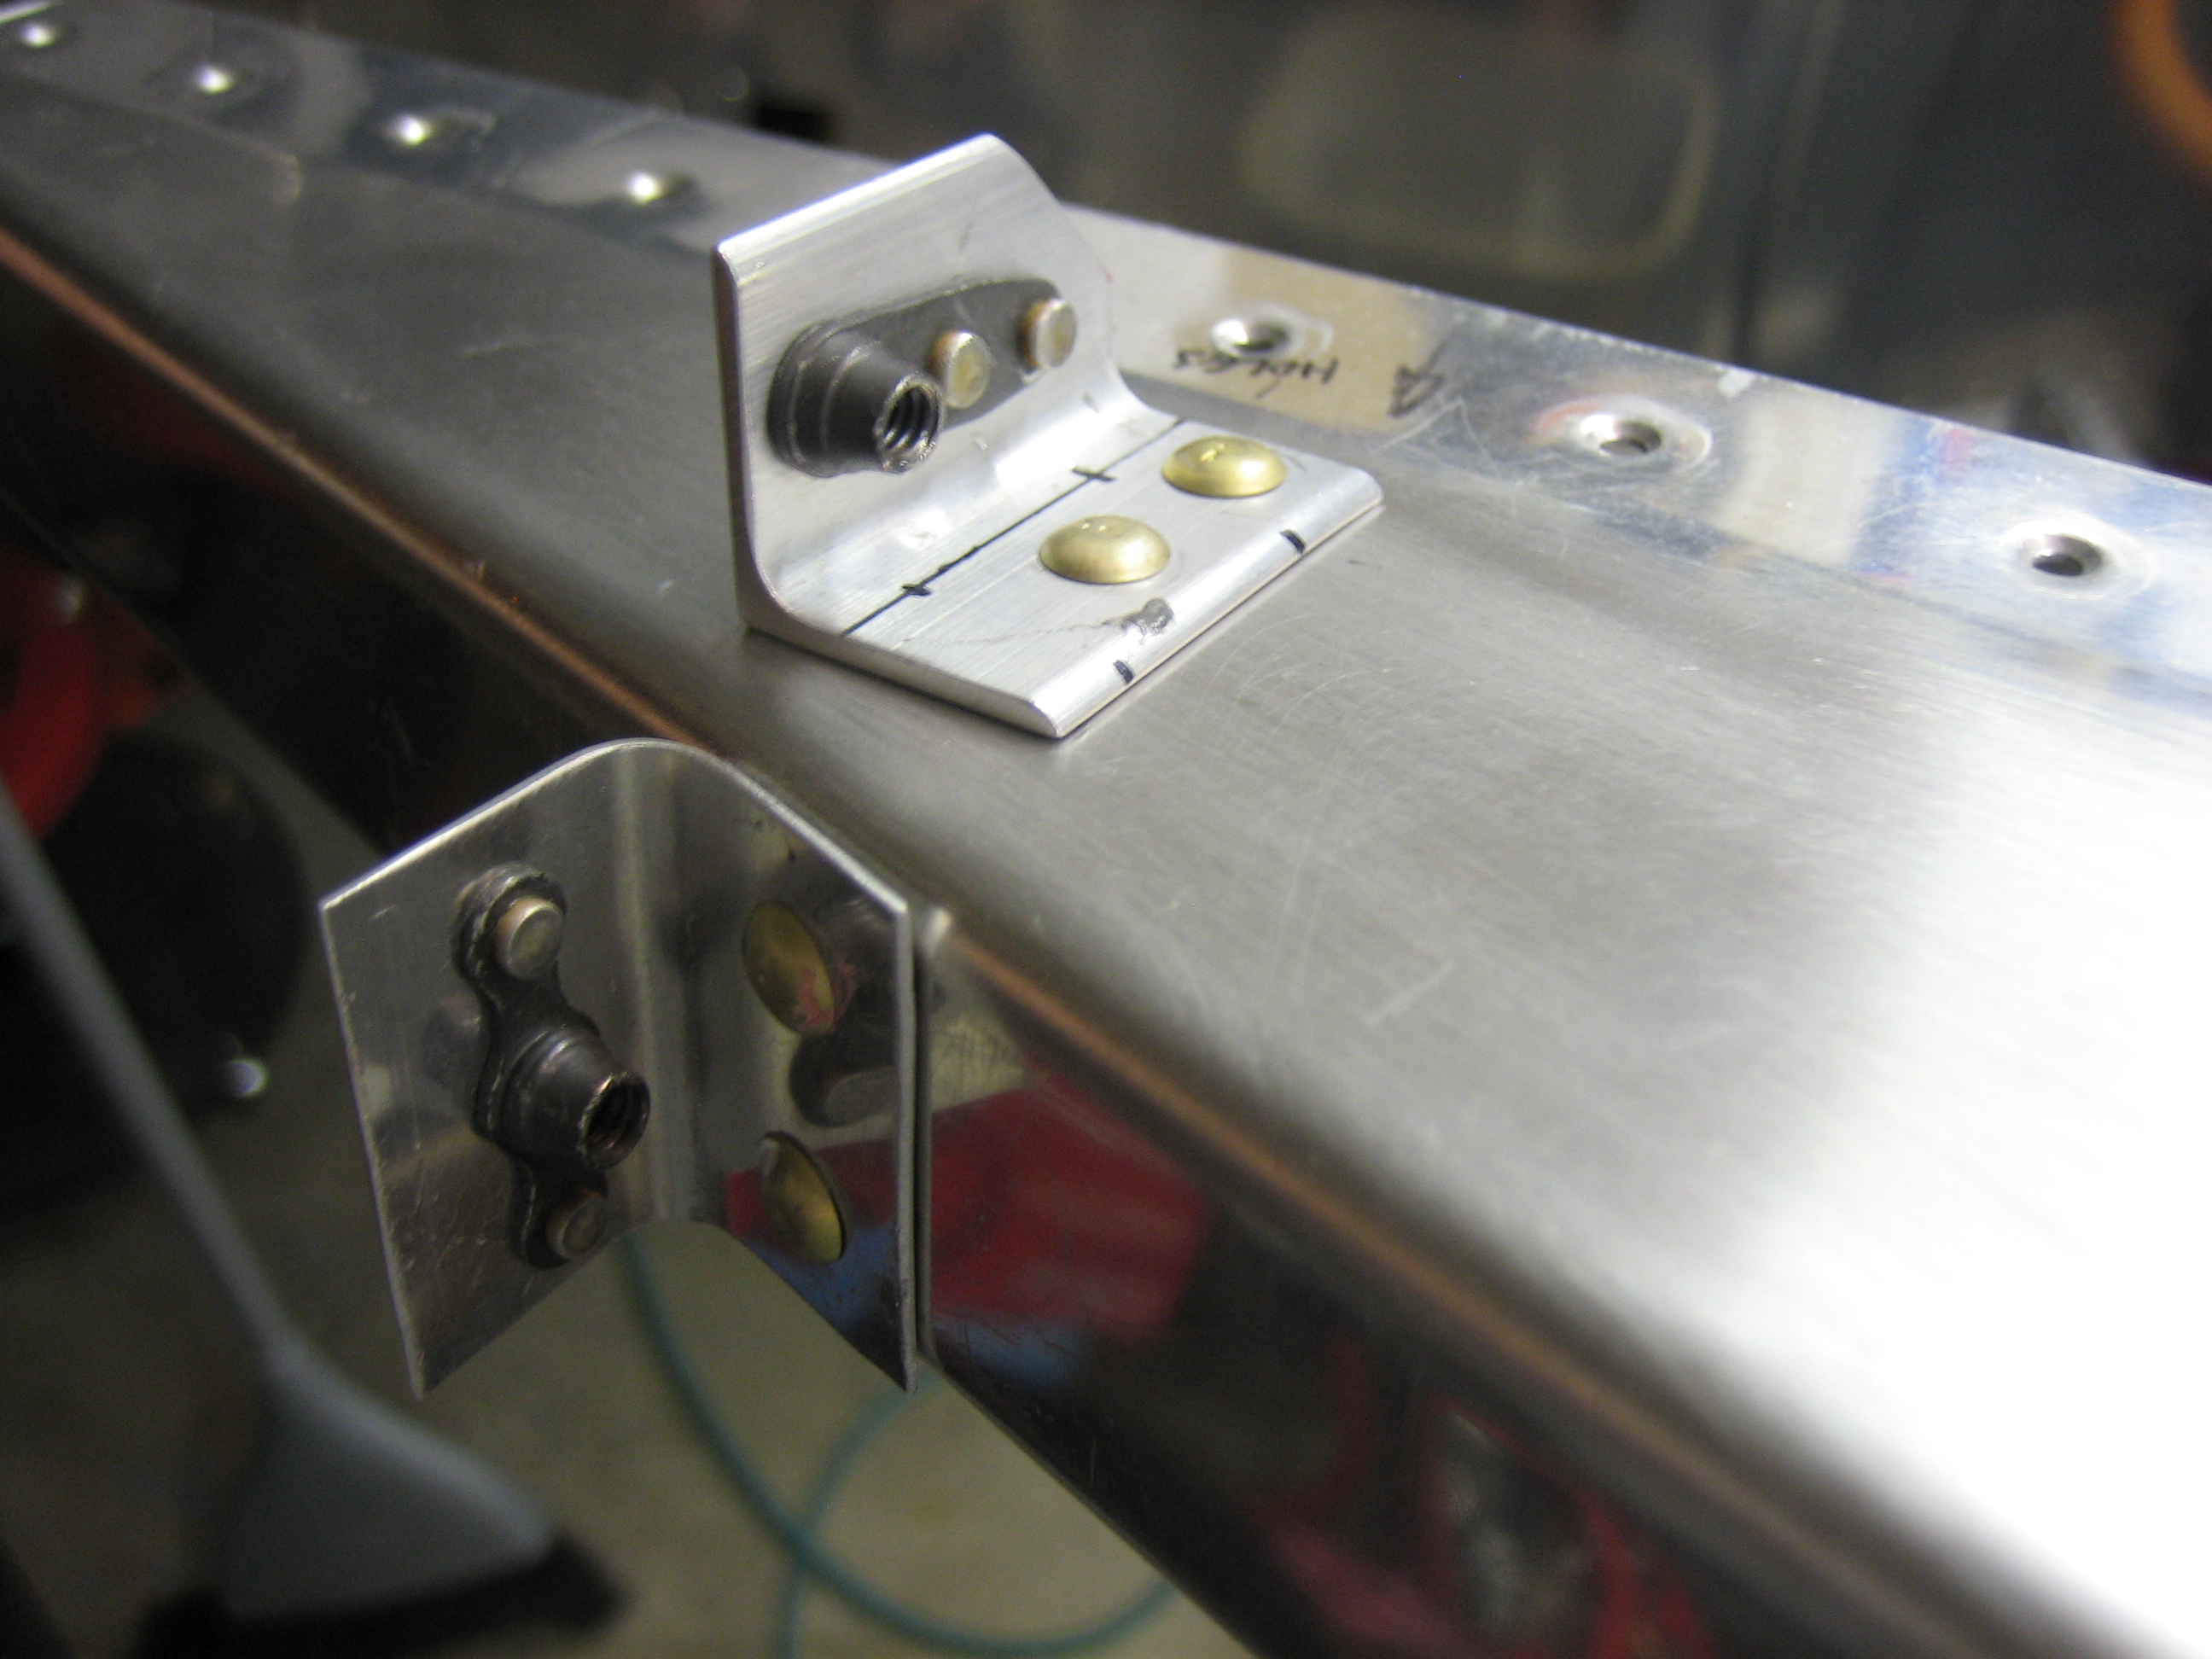
After Andre left, I finished pop-riveting the F-704 cap strips in place.

Primed Forward Fuselage Components

I primed the subpanel and a bunch of fuselage components using the EkoPoxy primer.

While I had everything undone from the subpanel and forward ribs, I installed nutplates everywhere I’m using screws to attach things to the subpanel.  The ones along the bottom here are to attach adel clamps that support the wiring harness.

I also installed a few on the right rib to support the battery and essential bus blocks.  If I ever have to remove these or any of the adel clamps, it will be much if I don’t have to simultaneously get a wrench on the nut.

Riveted Side Skin and Roll Bar Support

My buddy Andre stopped by and we riveted the forward ends of the skins that wrap around the rear window.

We then riveted these support plates to the longerons and seat support bulkhead.  The beefy angles I modified yesterday are installed under here to transfer any roll-over loads into the rest of the structure.

The angles are also riveted to the front face of the bulkhead.  We managed to rivet all of the these without removing the latch or the microswitch by using the double offset rivet set.

We also riveted these angles to the front side of the bulkhead to support the canopy latch bellcrank.

Prepped Canopy Rails for Riveting

There are a handful of small tasks that need to be taken care of before the canopy rails can be riveted to the longerons.  First up are the panel attach brackets.

The forward and aft canopy rails are then riveted together with a couple of AN3 rivets.

Once the canopy rails are riveted to the longerons, it’s really tough to get a wrench behind them to tighten down the canopy strut attach brackets.

By positioning the nutplates this way, most of the rivets will be hidden behind the bracket.

The beefy angles that sit under the roll bar need to be notched to clear the rivets that attach the forward end of the skin that wraps around the rear window.

The also riveted the fresh air vent brackets to the angles that will attach them to the side skins.

Prepped Center Subpanel

I finished installing all of the nutplates on the subpanel.  Here you can see a set of 4 K1000-06 nutplates on each side of the radio stack hole.  At the bottom, you can see some K1000-08 nutplates that support the control cables as they pass under the subpanel.

There’s an additional K1000-08 at the forward end of the center rib to support the parking brake cable as it arcs across the firewall.

Finally, I riveted the ribs and attach angles to the aft side of the center subpanel.  Other than priming, this is done.

Removed Subpanel

The subpanel is back out of the plane.  Almost everything on the subpanel has been attached with screws and nuts up until this point, but all of those nuts are being replaced with nutplates so that all of the components installed on the subpanel can be removed from the front with a screwdriver.  Otherwise, I’d be on my back under the panel trying to get a wrench on the nuts.

I’m really glad I chose to run all of the wiring through adel clamps suspended from the bottom of the subpanel and ribs instead of through them.  It’s made it relatively trivial to pull the subpanel out to trim it or install nutplates.

After pulling this out, I installed most of the nutplates before calling it a night.  I should be able to finish that up and have them primed and reinstalled by this weekend.

Cut Holes for SkyView USB Jacks

I cut the holes in the panel for the SkyView USB jacks.  These are cut just above the screens near the inboard edges, inline with the annunciator lights and controls.

In order to make the opening slightly oversized for paint and to ensure the socket was centered in the hole, I wrapped a couple of layers of electrical tape around the USB plug.


I then filed the hole until the USB jack fit snugly.

I then pushed the plug into the jack and drilled for the mounting screws.  The result was jacks that were perfectly centered in the holes.

Those are the final two holes in the panel.  Afterward, I removed everything from the panel in preparation for painting and labeling.  It won’t go back in too soon because I have a bunch of other things to take care of in the cabin first.  Oh, and you can just see the ribs that I installed between forward and aft radio stack support angles; they’ll help stabilize the panel.