Started Laying Up Plenum

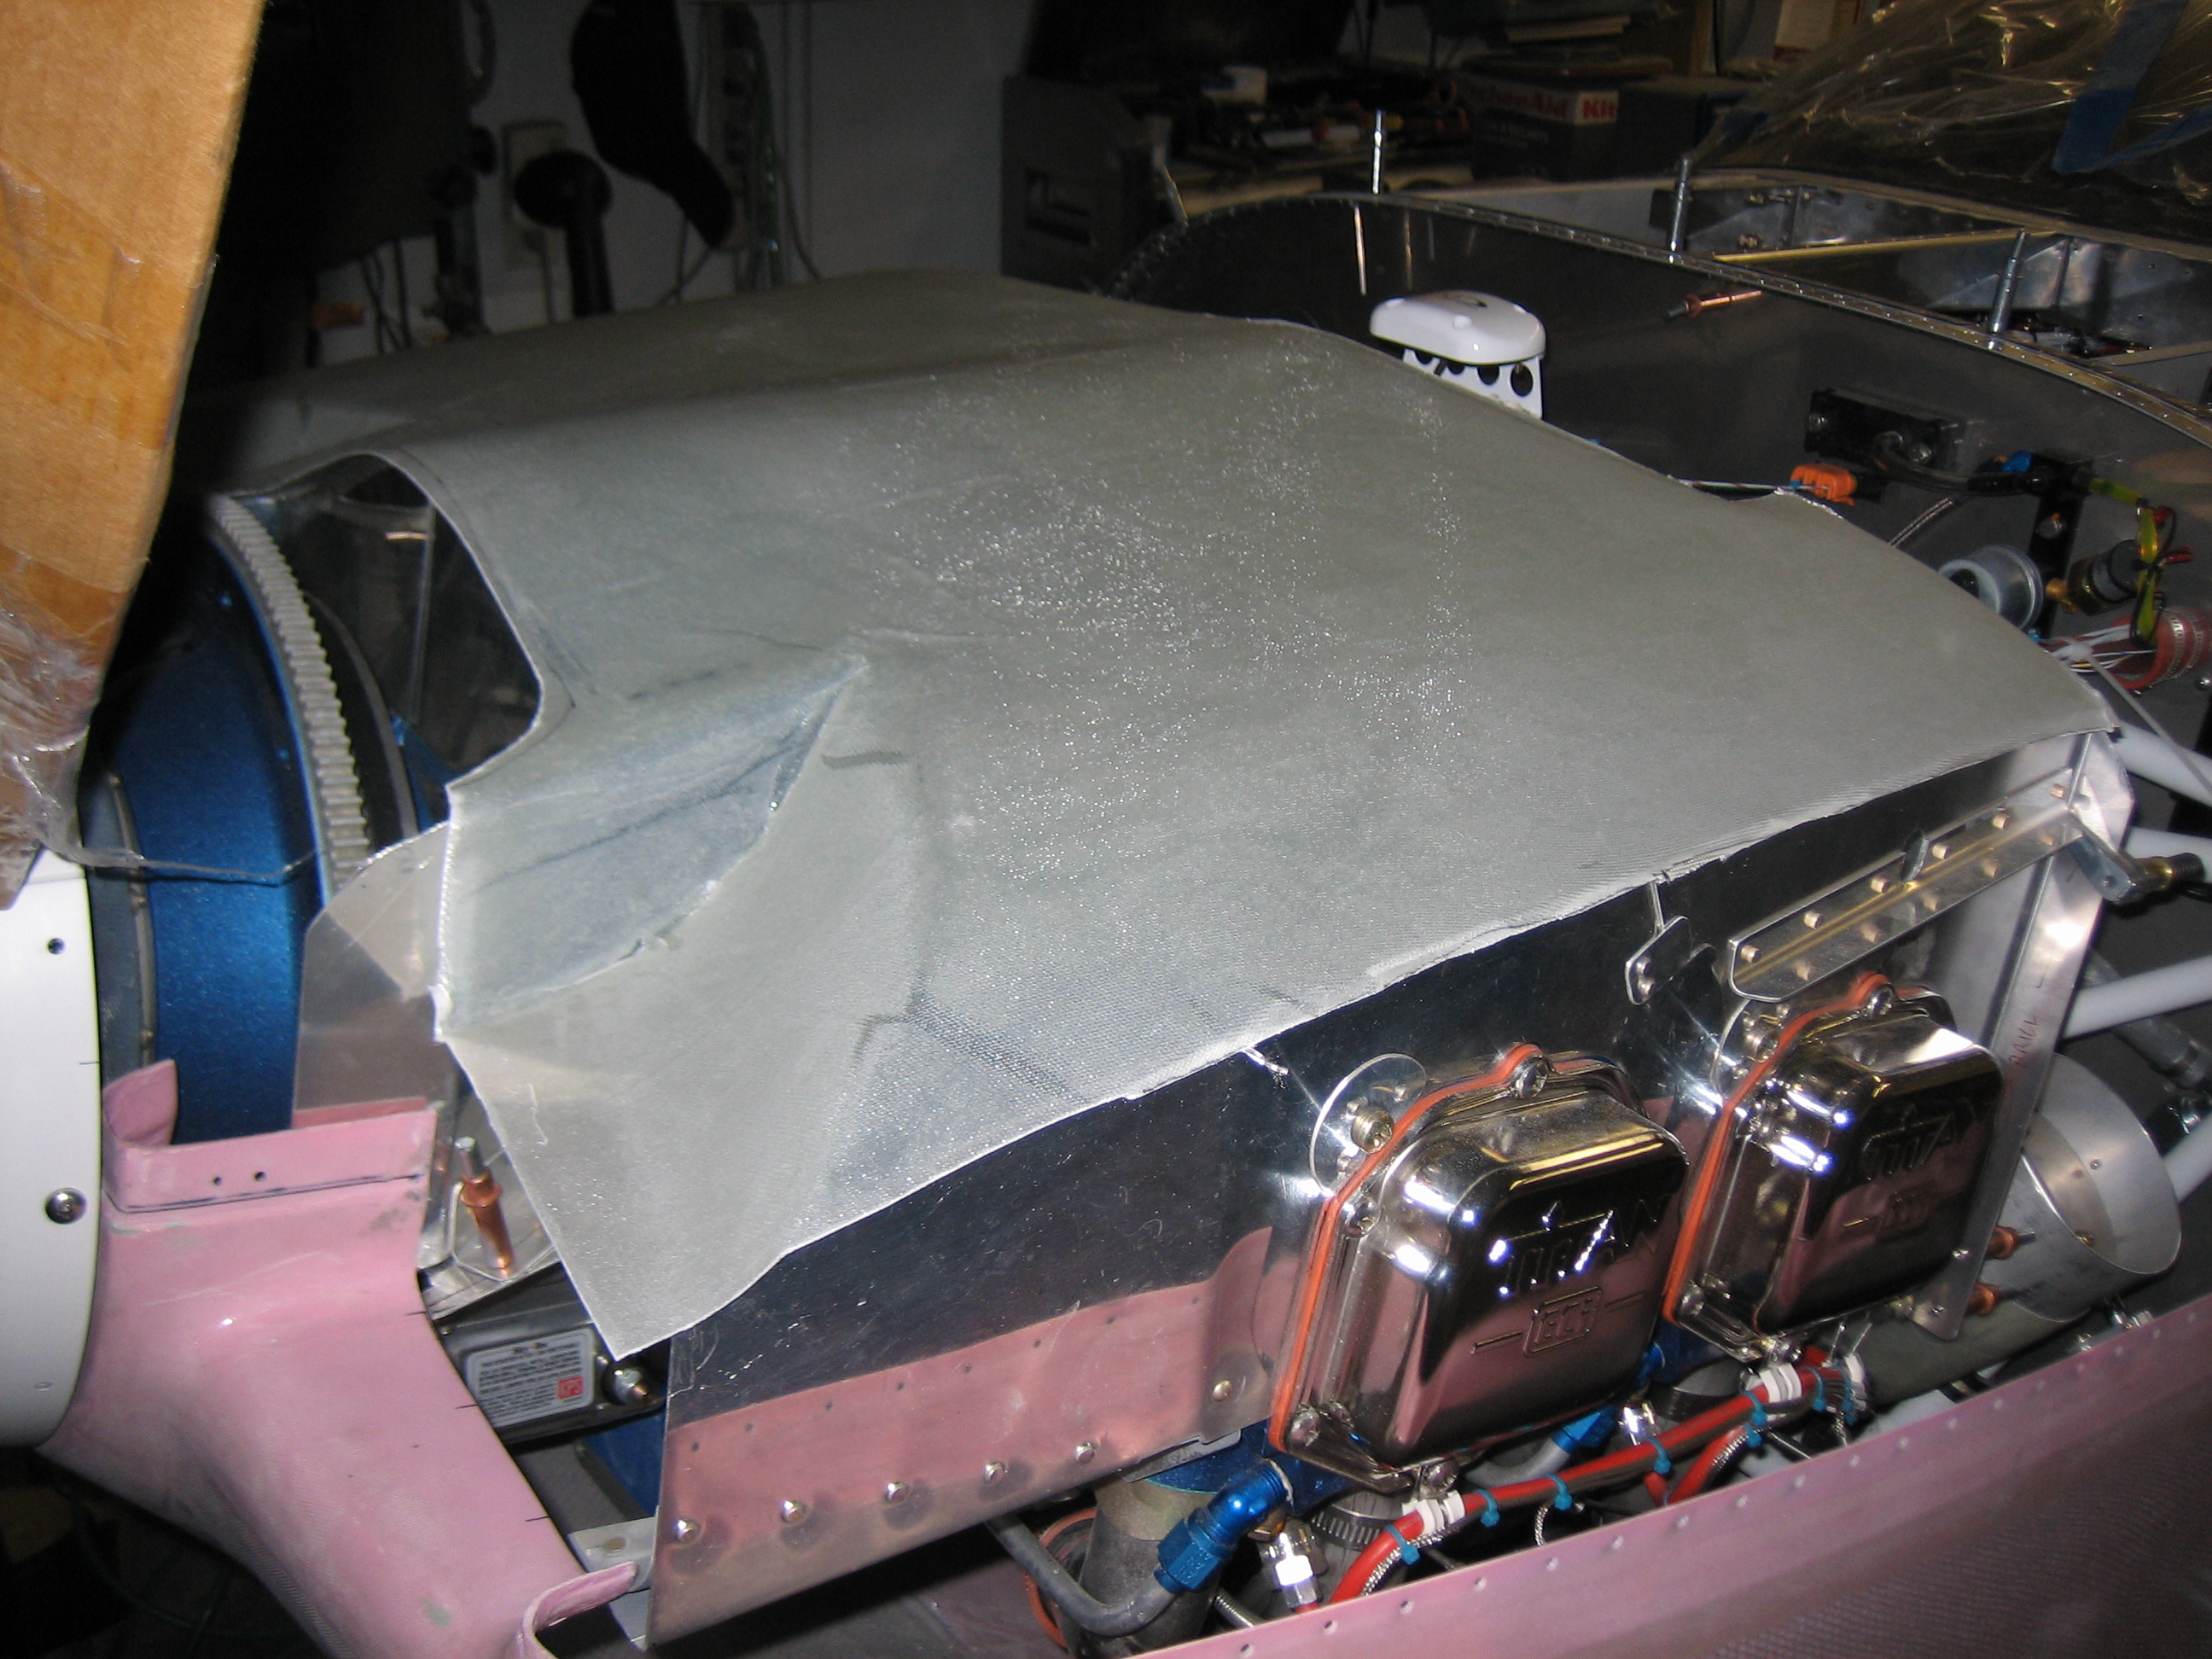
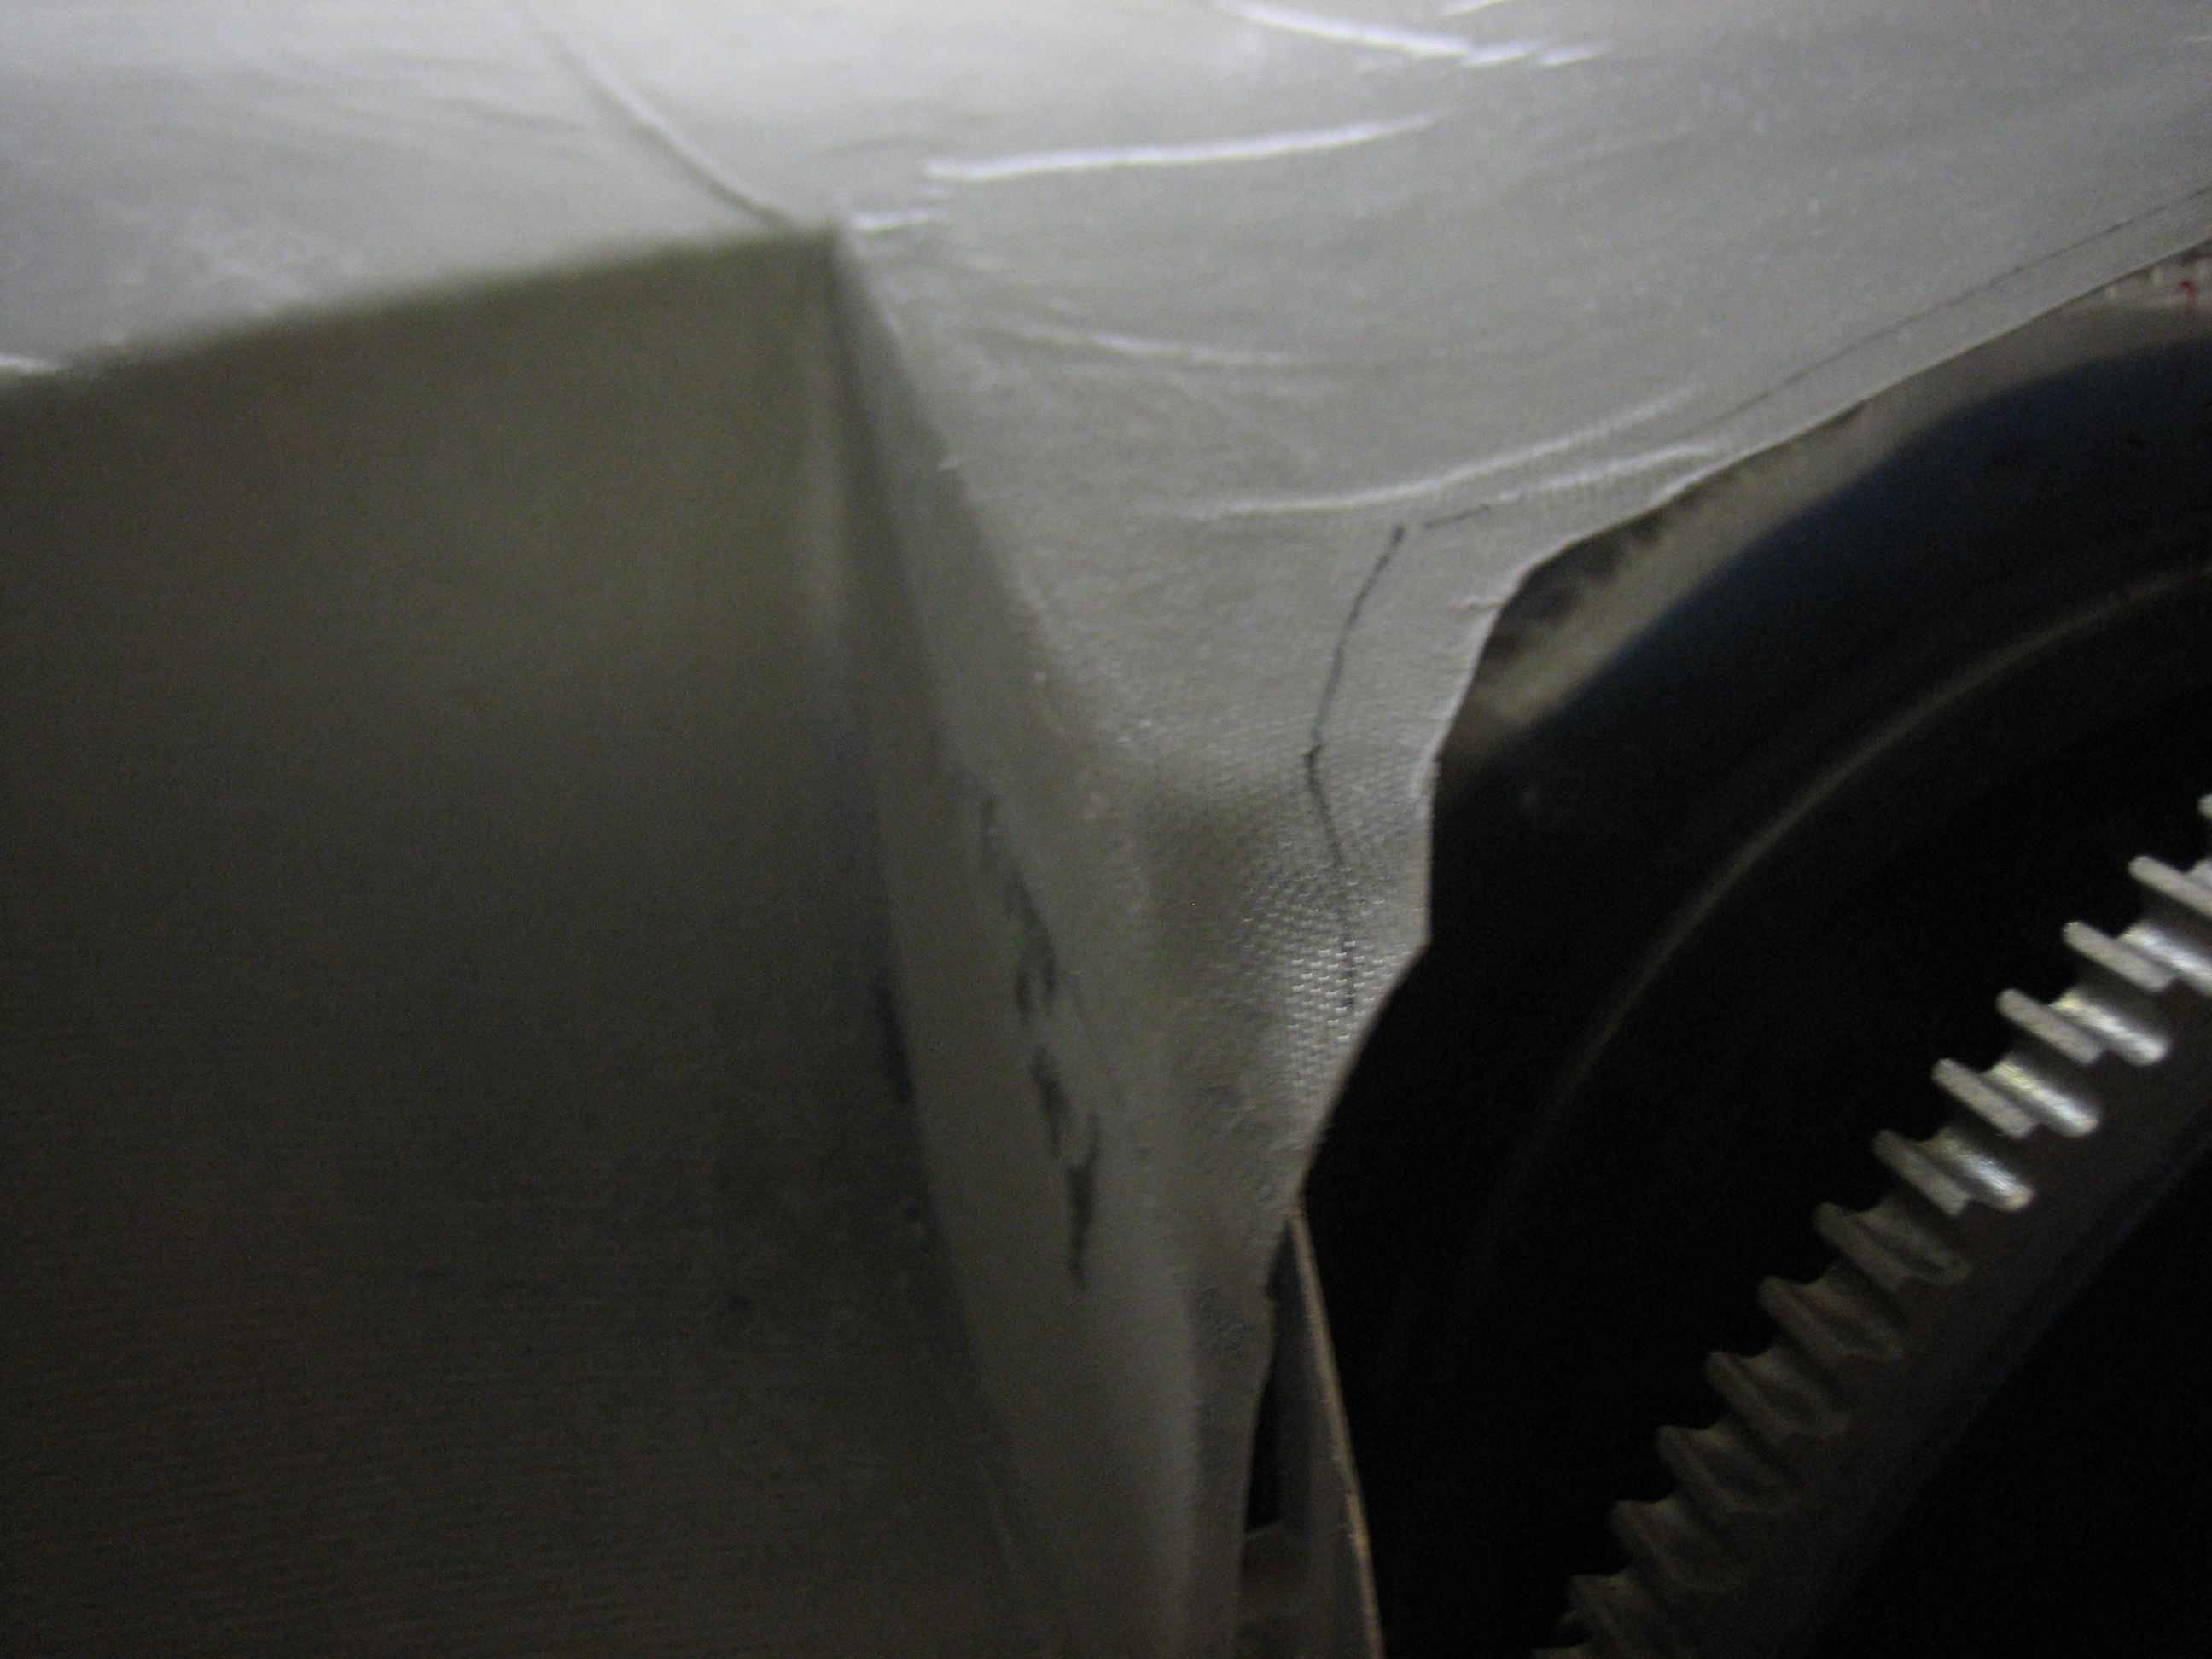
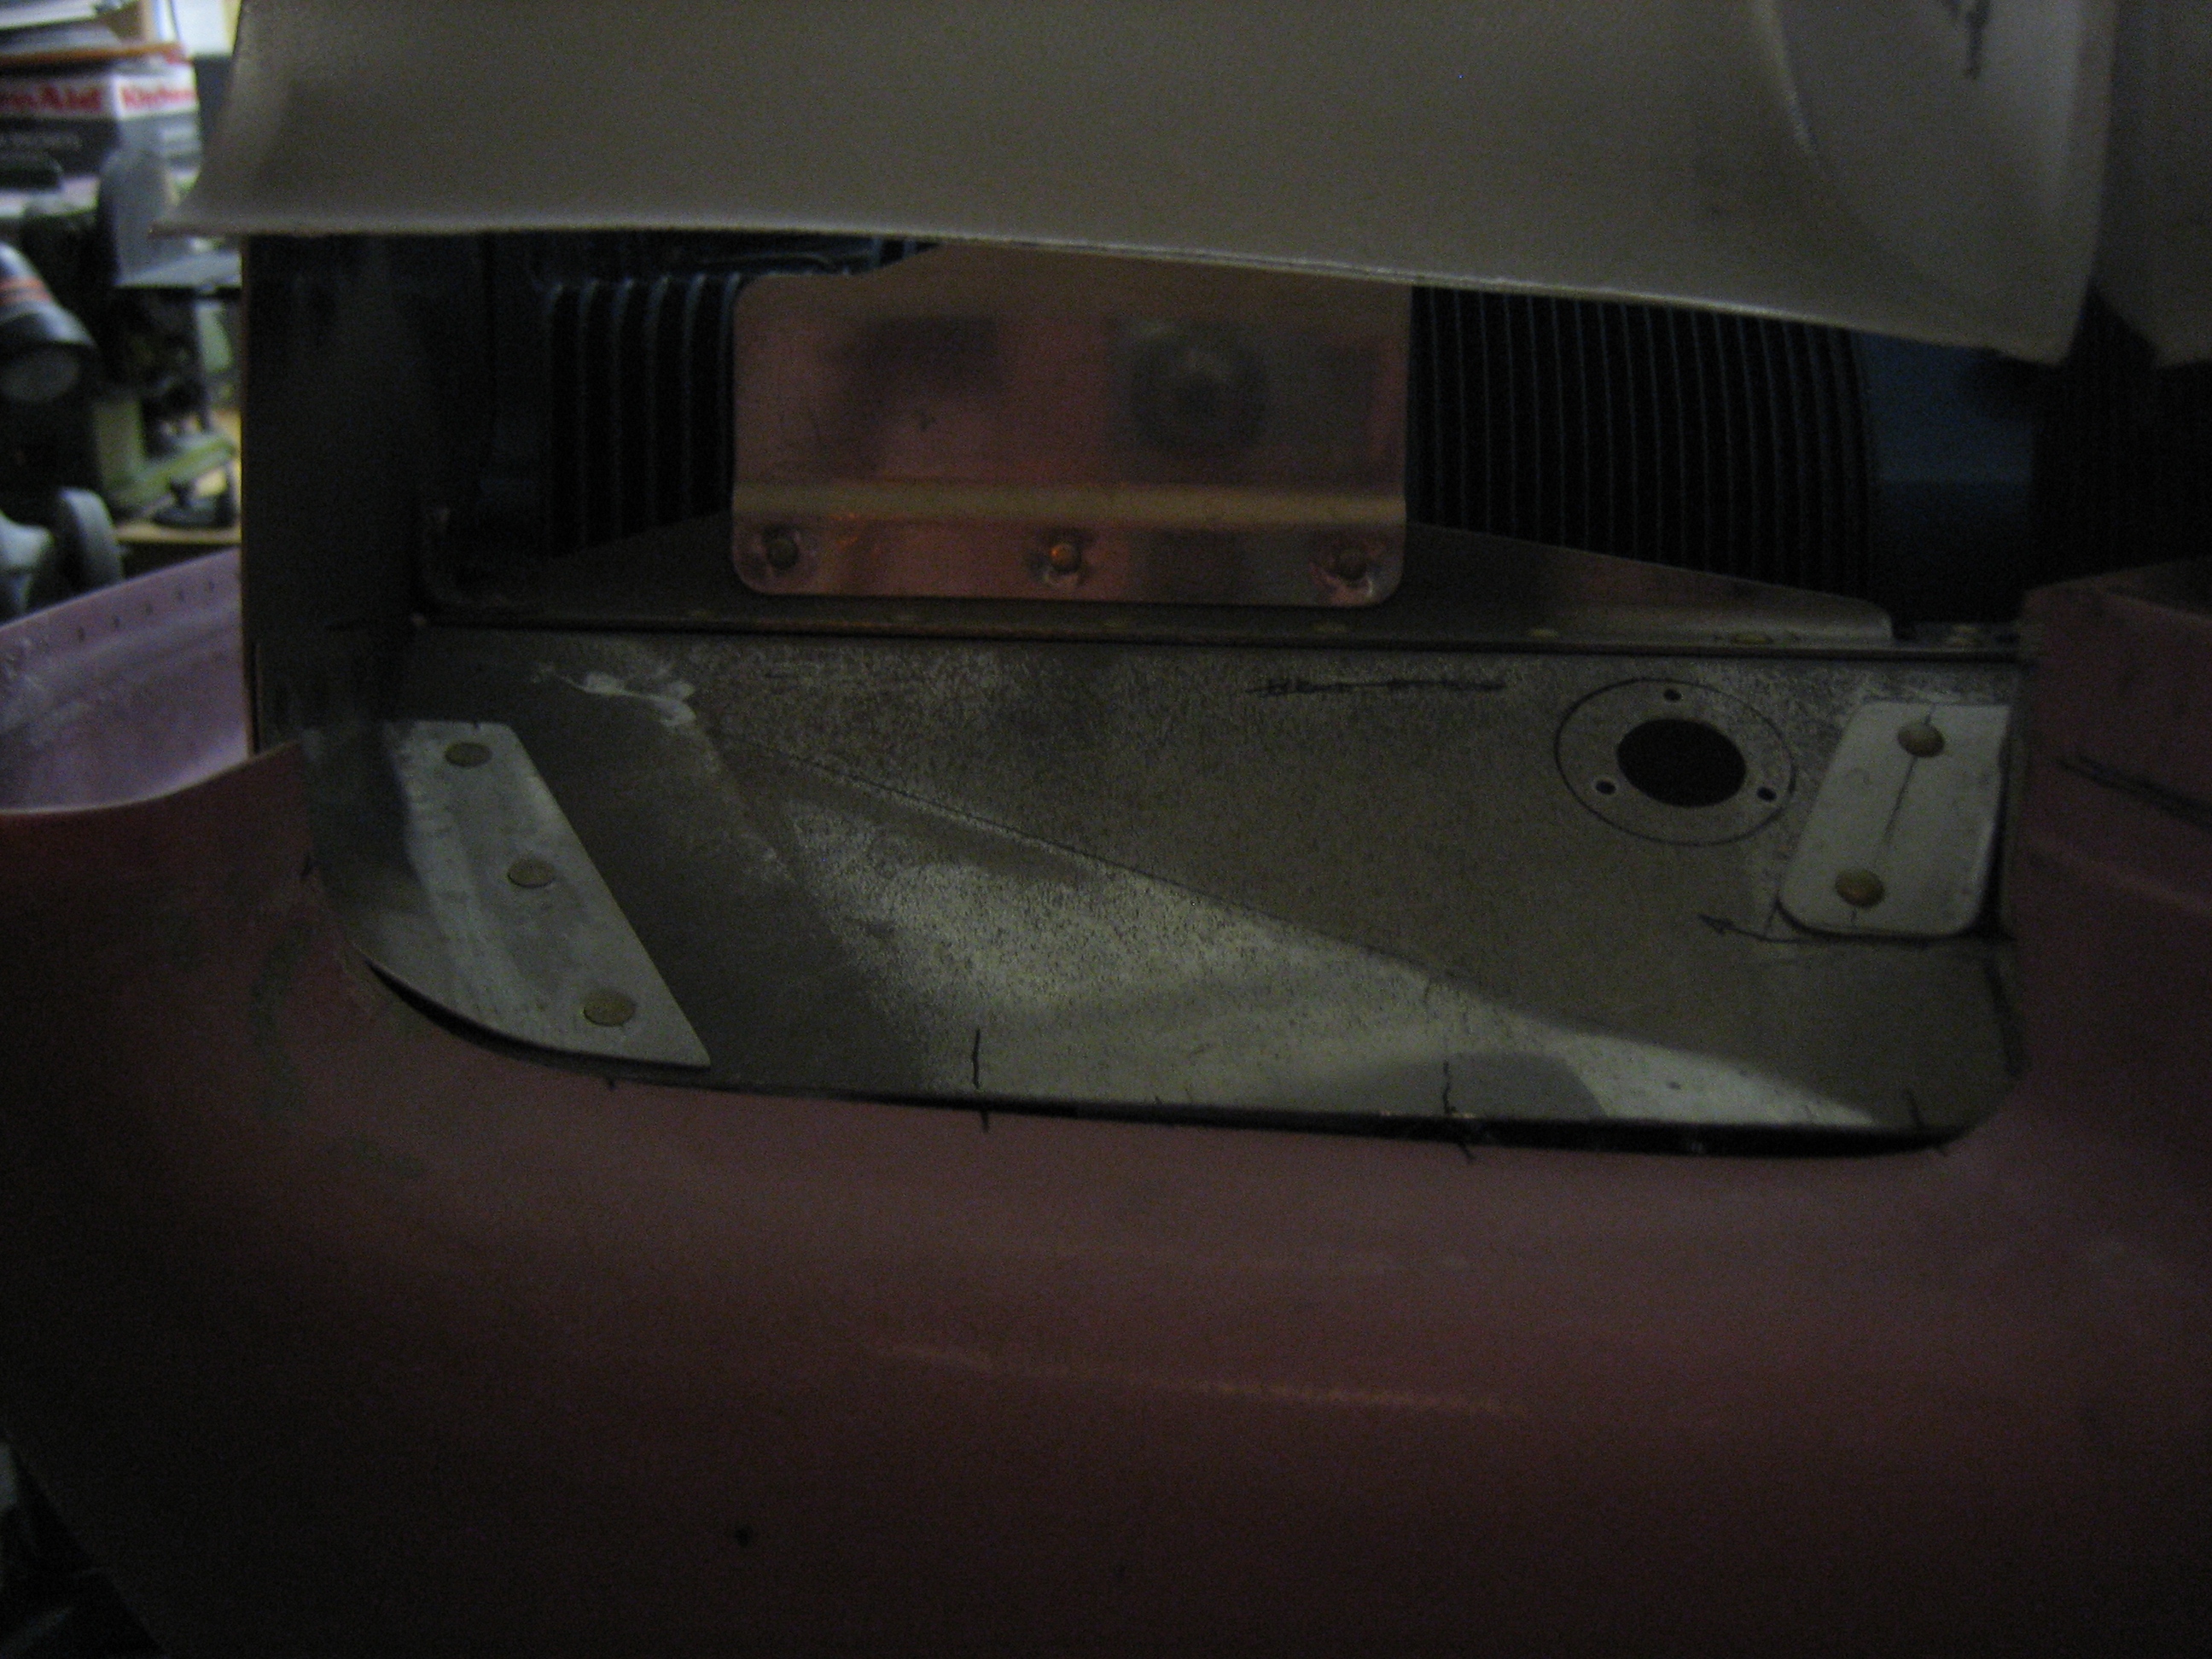
I started laying up the plenum tonight.  I’m starting with two layers of glass because I’m going to have to narrow the inlets a bit and create little “ears” out the outer ends to attach the plenum to the baffles.  I’ll layup a couple of additional layers once I’ve established the final shape.

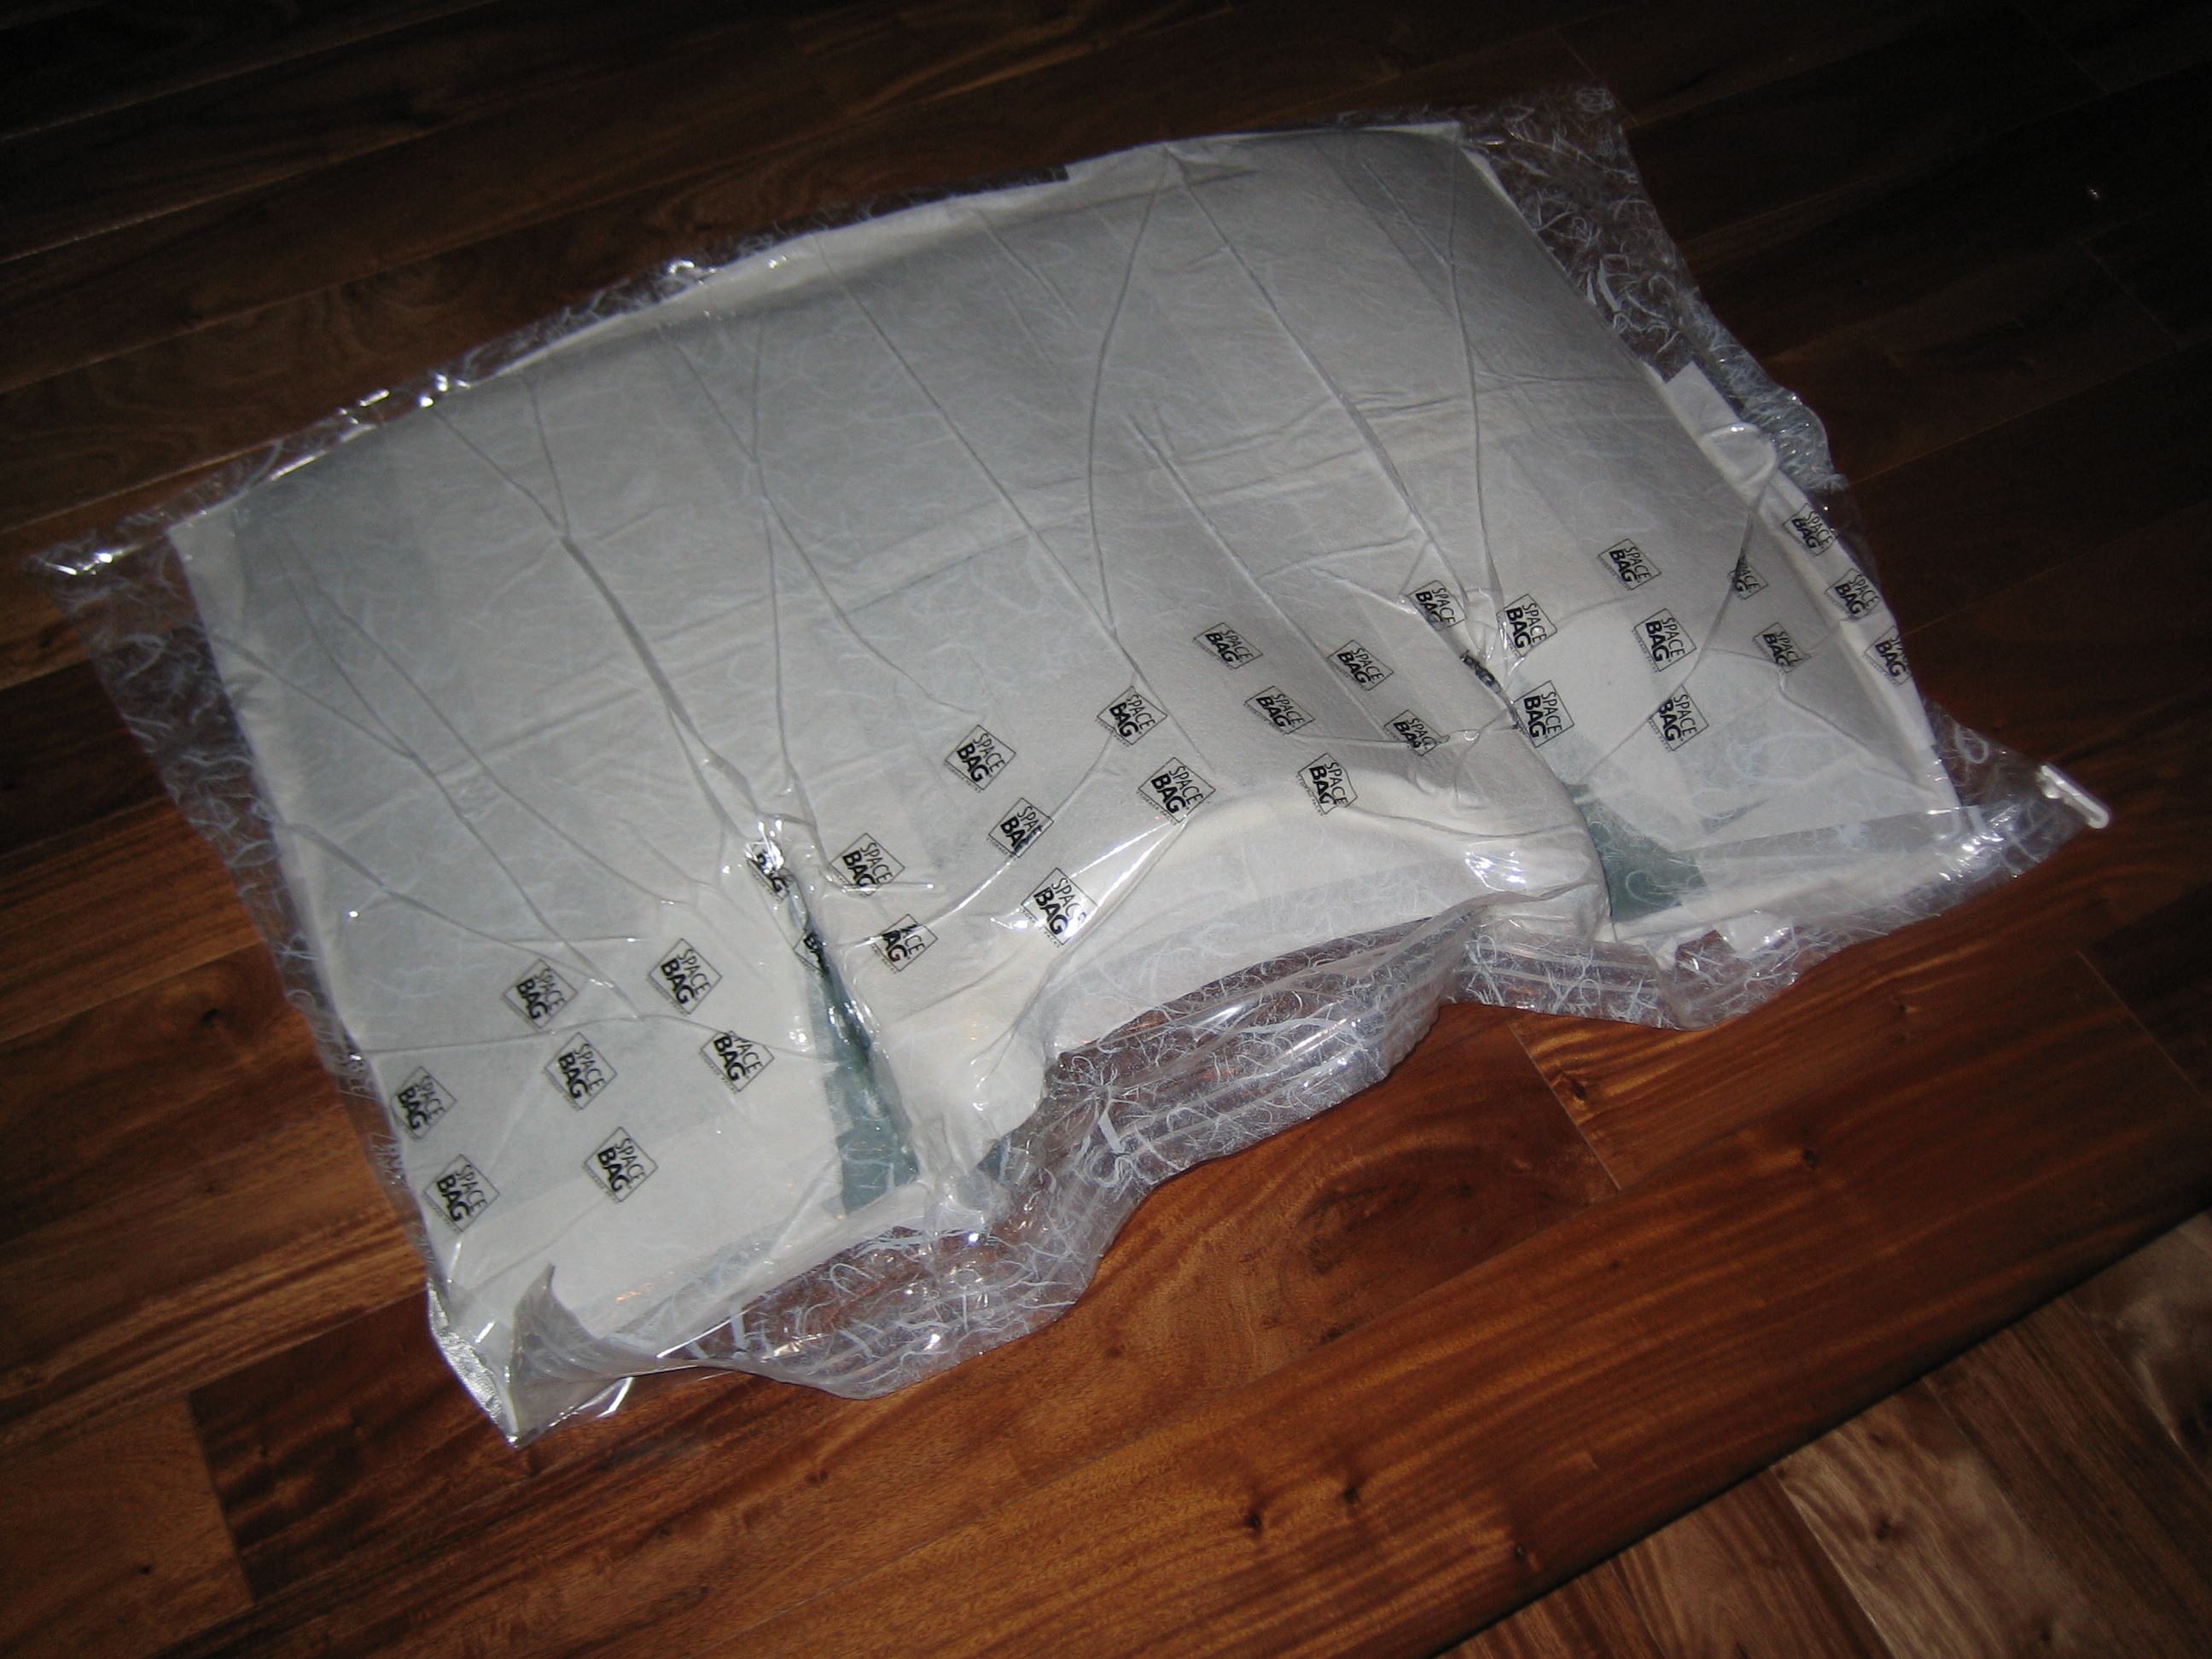
I had been considering buying the equipment to do vacuum bagging, but it’s fairly expensive and I don’t expect to do much of it.  After thinking about it a bit though, I stumbled on a really cheap alternative.  This is one of those Space Saver storage bags.  Most of the bags they sell are too small, but they sell some larger bags labeled as hanging bags, the “suit” sized bag was perfect for the plenum and cost around $10.  The material isn’t stretchy, so you’ll have to coerce it into corners, but there’s enough slack to do this.  Over the two layers of glass, I added a full layer of Dacron and a couple of layers of paper towels to absorb excess resin.  I then used our vacuum cleaner to suck out all of the air.  This worked surprisingly well, and the vacuum was still maintained the next morning.

Started Fitting Plenum

I popped the plenum out of the mold and roughly trimmed it to the baffles.  The fit is pretty good, but there will definitely have to be some tweaks.

These corners were touching the underside of the top cowl.  I’ll want a good 3/8″ of clearance between the top of the plenum and the button of the top cowl to allow for engine movement.  I trimmed the forward aluminum baffles in order to lower this part of the plenum almost 1/2″.  Unfortunately, this lowers the inboard edge of the ramps a little too much.  I’ll have to cut and reglass the side of the ramp to raise the forward edge slightly.  I’m really glad I only laid up two layers of glass so far as it makes it really easy to bend and cut.  I’ll probably end up laying up the additional layers right on the engine so that the plenum fit perfectly.

The outboard edges need to come down quite a bit.  The inlets are quite a bit shorter at their outer ends than their inner ends.  I’ll have to trim the side baffles to allow this to come down.

Verified Cowl to Plenum Clearance

I wanted to ensure that there is sufficient clearance between the cowl and the plenum across the entire plenum.  I came up with the idea of placing blobs of something on top of the plenum and then installing the top cowl.  I wanted something that would deform pretty easily so that it wouldn’t deflect the plenum, but stiff enough that it will stand up by itself without sagging.  My wife suggested a product called Moon Dough that my son had.  This worked perfectly.  It deforms with practically zero pressure, but won’t move on it’s on.  As you can see, the blobs flattened down nicely and perfectly reveal the clearance at each point.  I measured all of these, and they’re all very close to 1/2″.  I’m going to trim the baffles down another 1/8″, but the thickness of the plenum and the screw heads will eat up some of the clearance.  I should end up with at least 3/8″ all the way around.