
I got started tonight by cutting out the hole for the pitot mount that I laid out a couple of days ago. I used a unibit to drill out the bulk of the material, then used a nibbler and files to finish off the hole. Next, I laid out some holes to rivet the mount to the skin (in addition to the holes along the right edge where it will rivet to the spar).
I installed the skin on the wing and match drilled the mount to the spar.
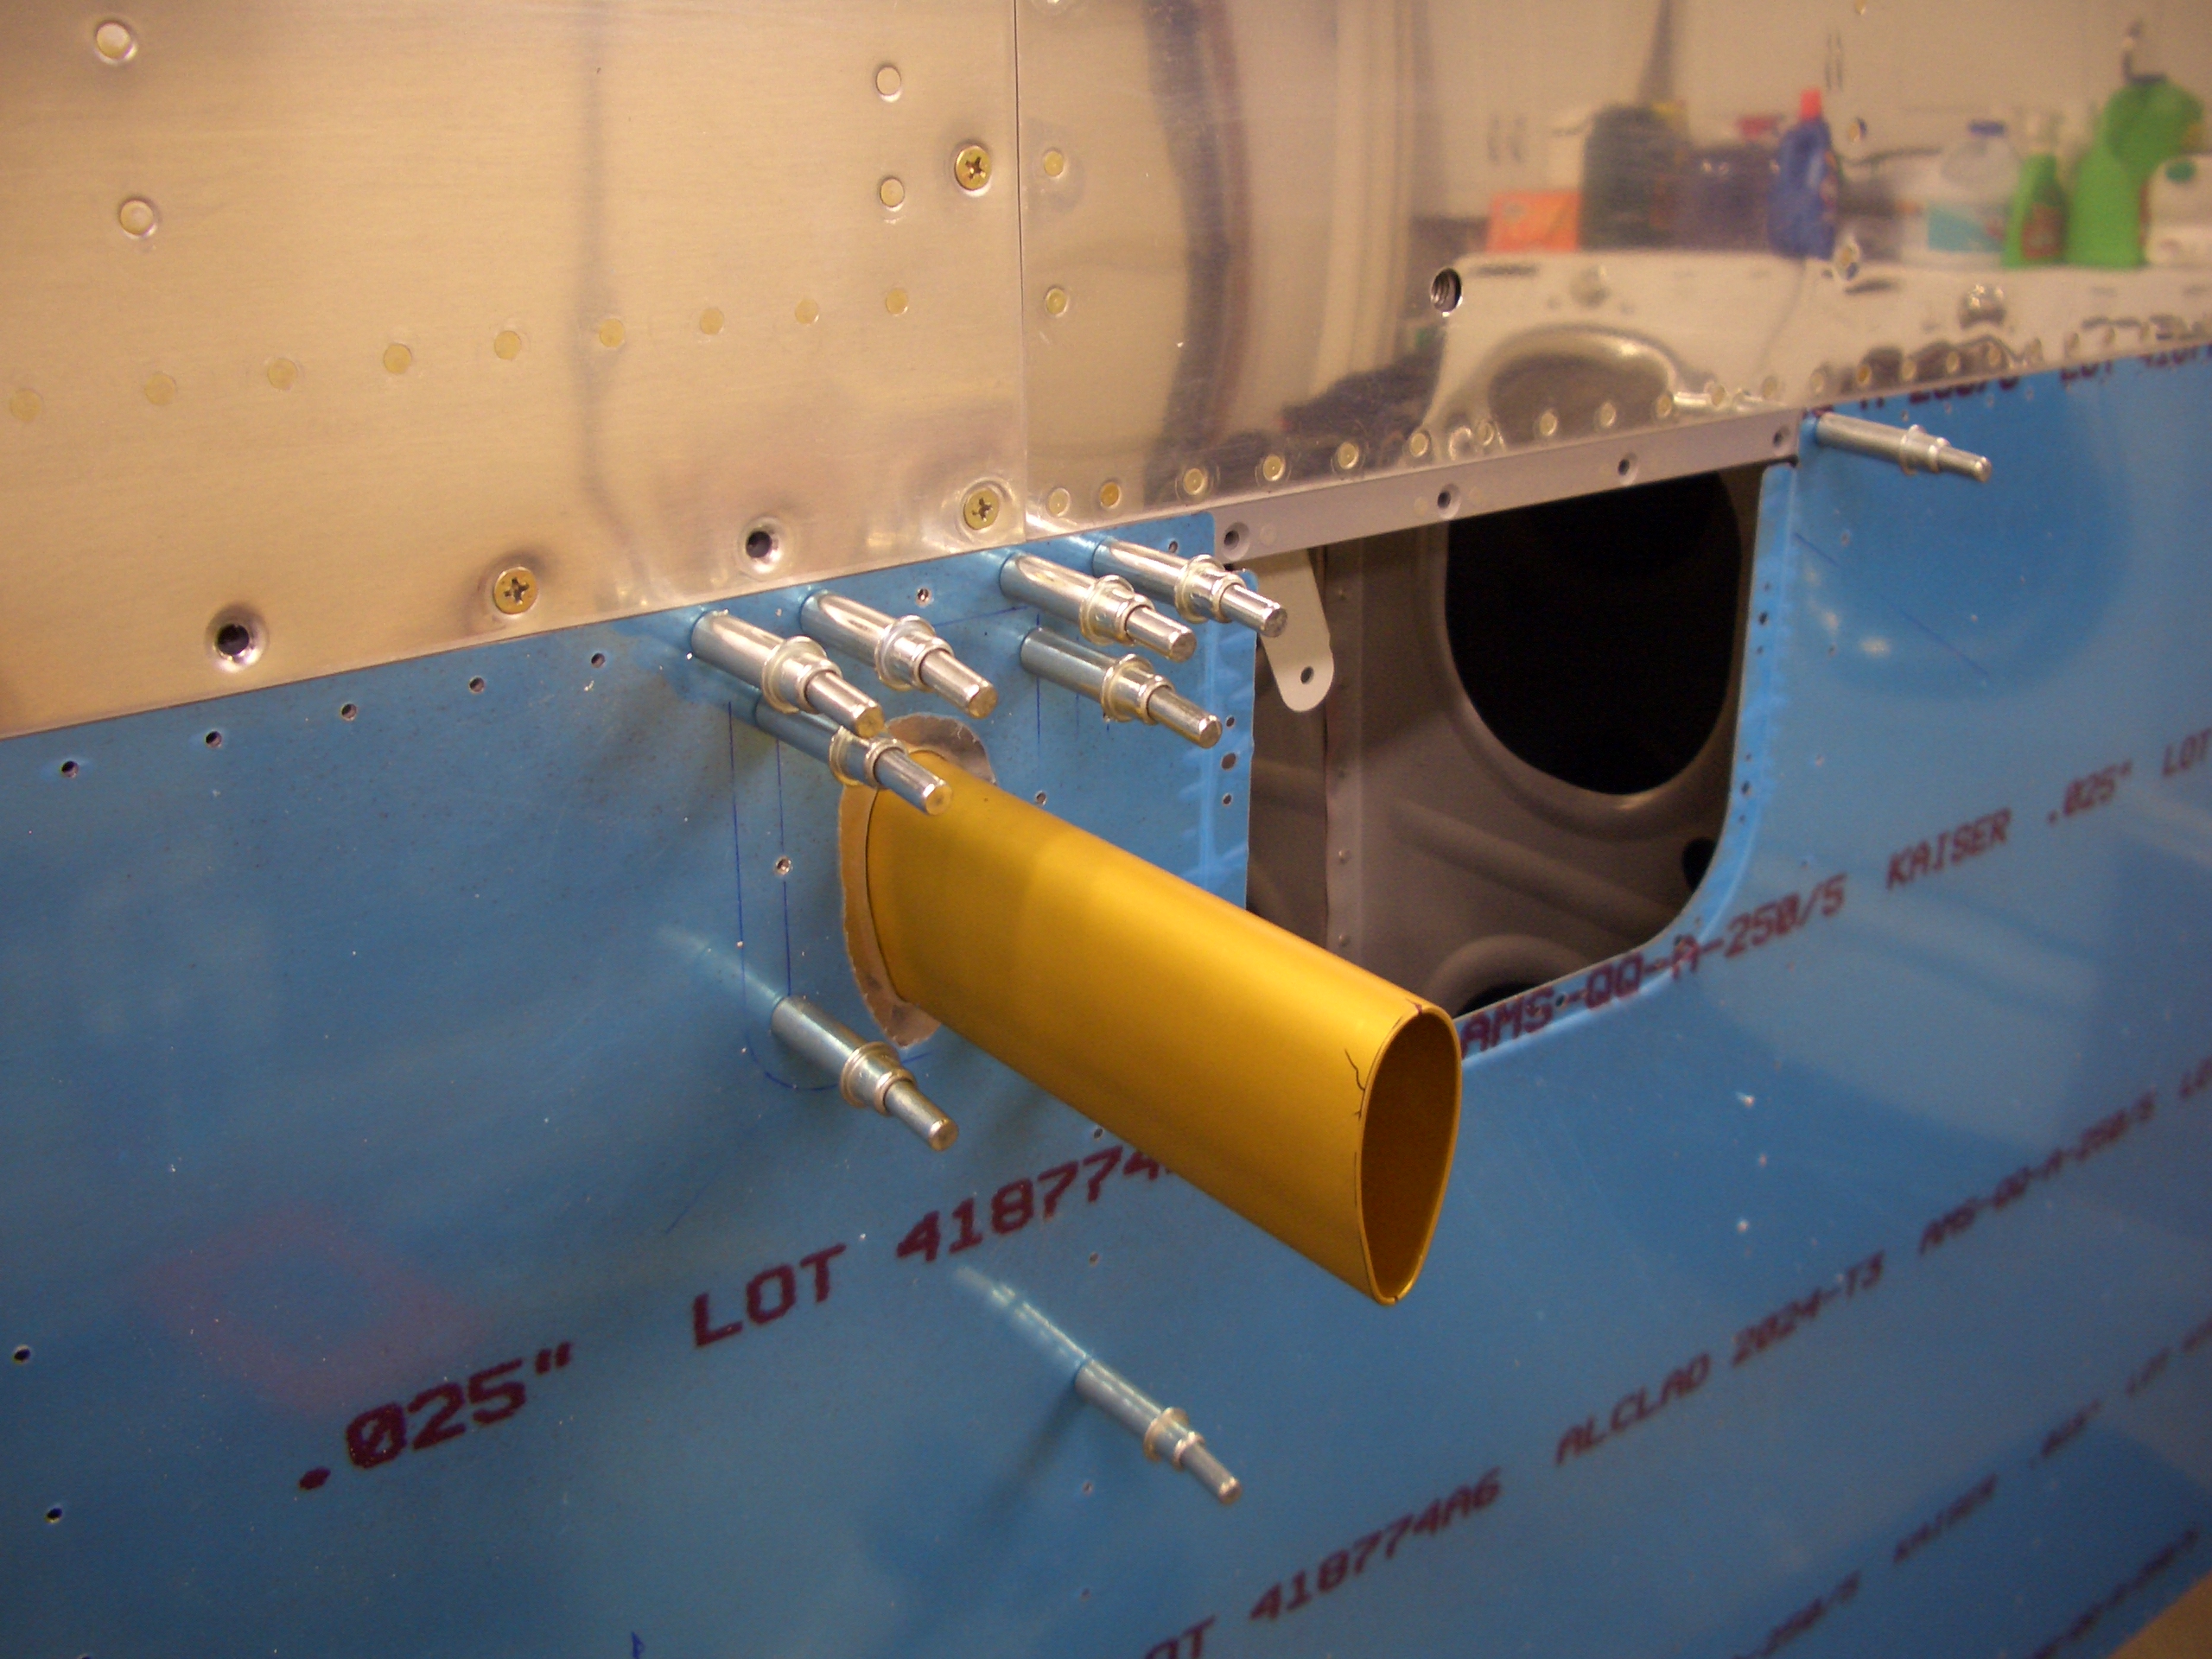
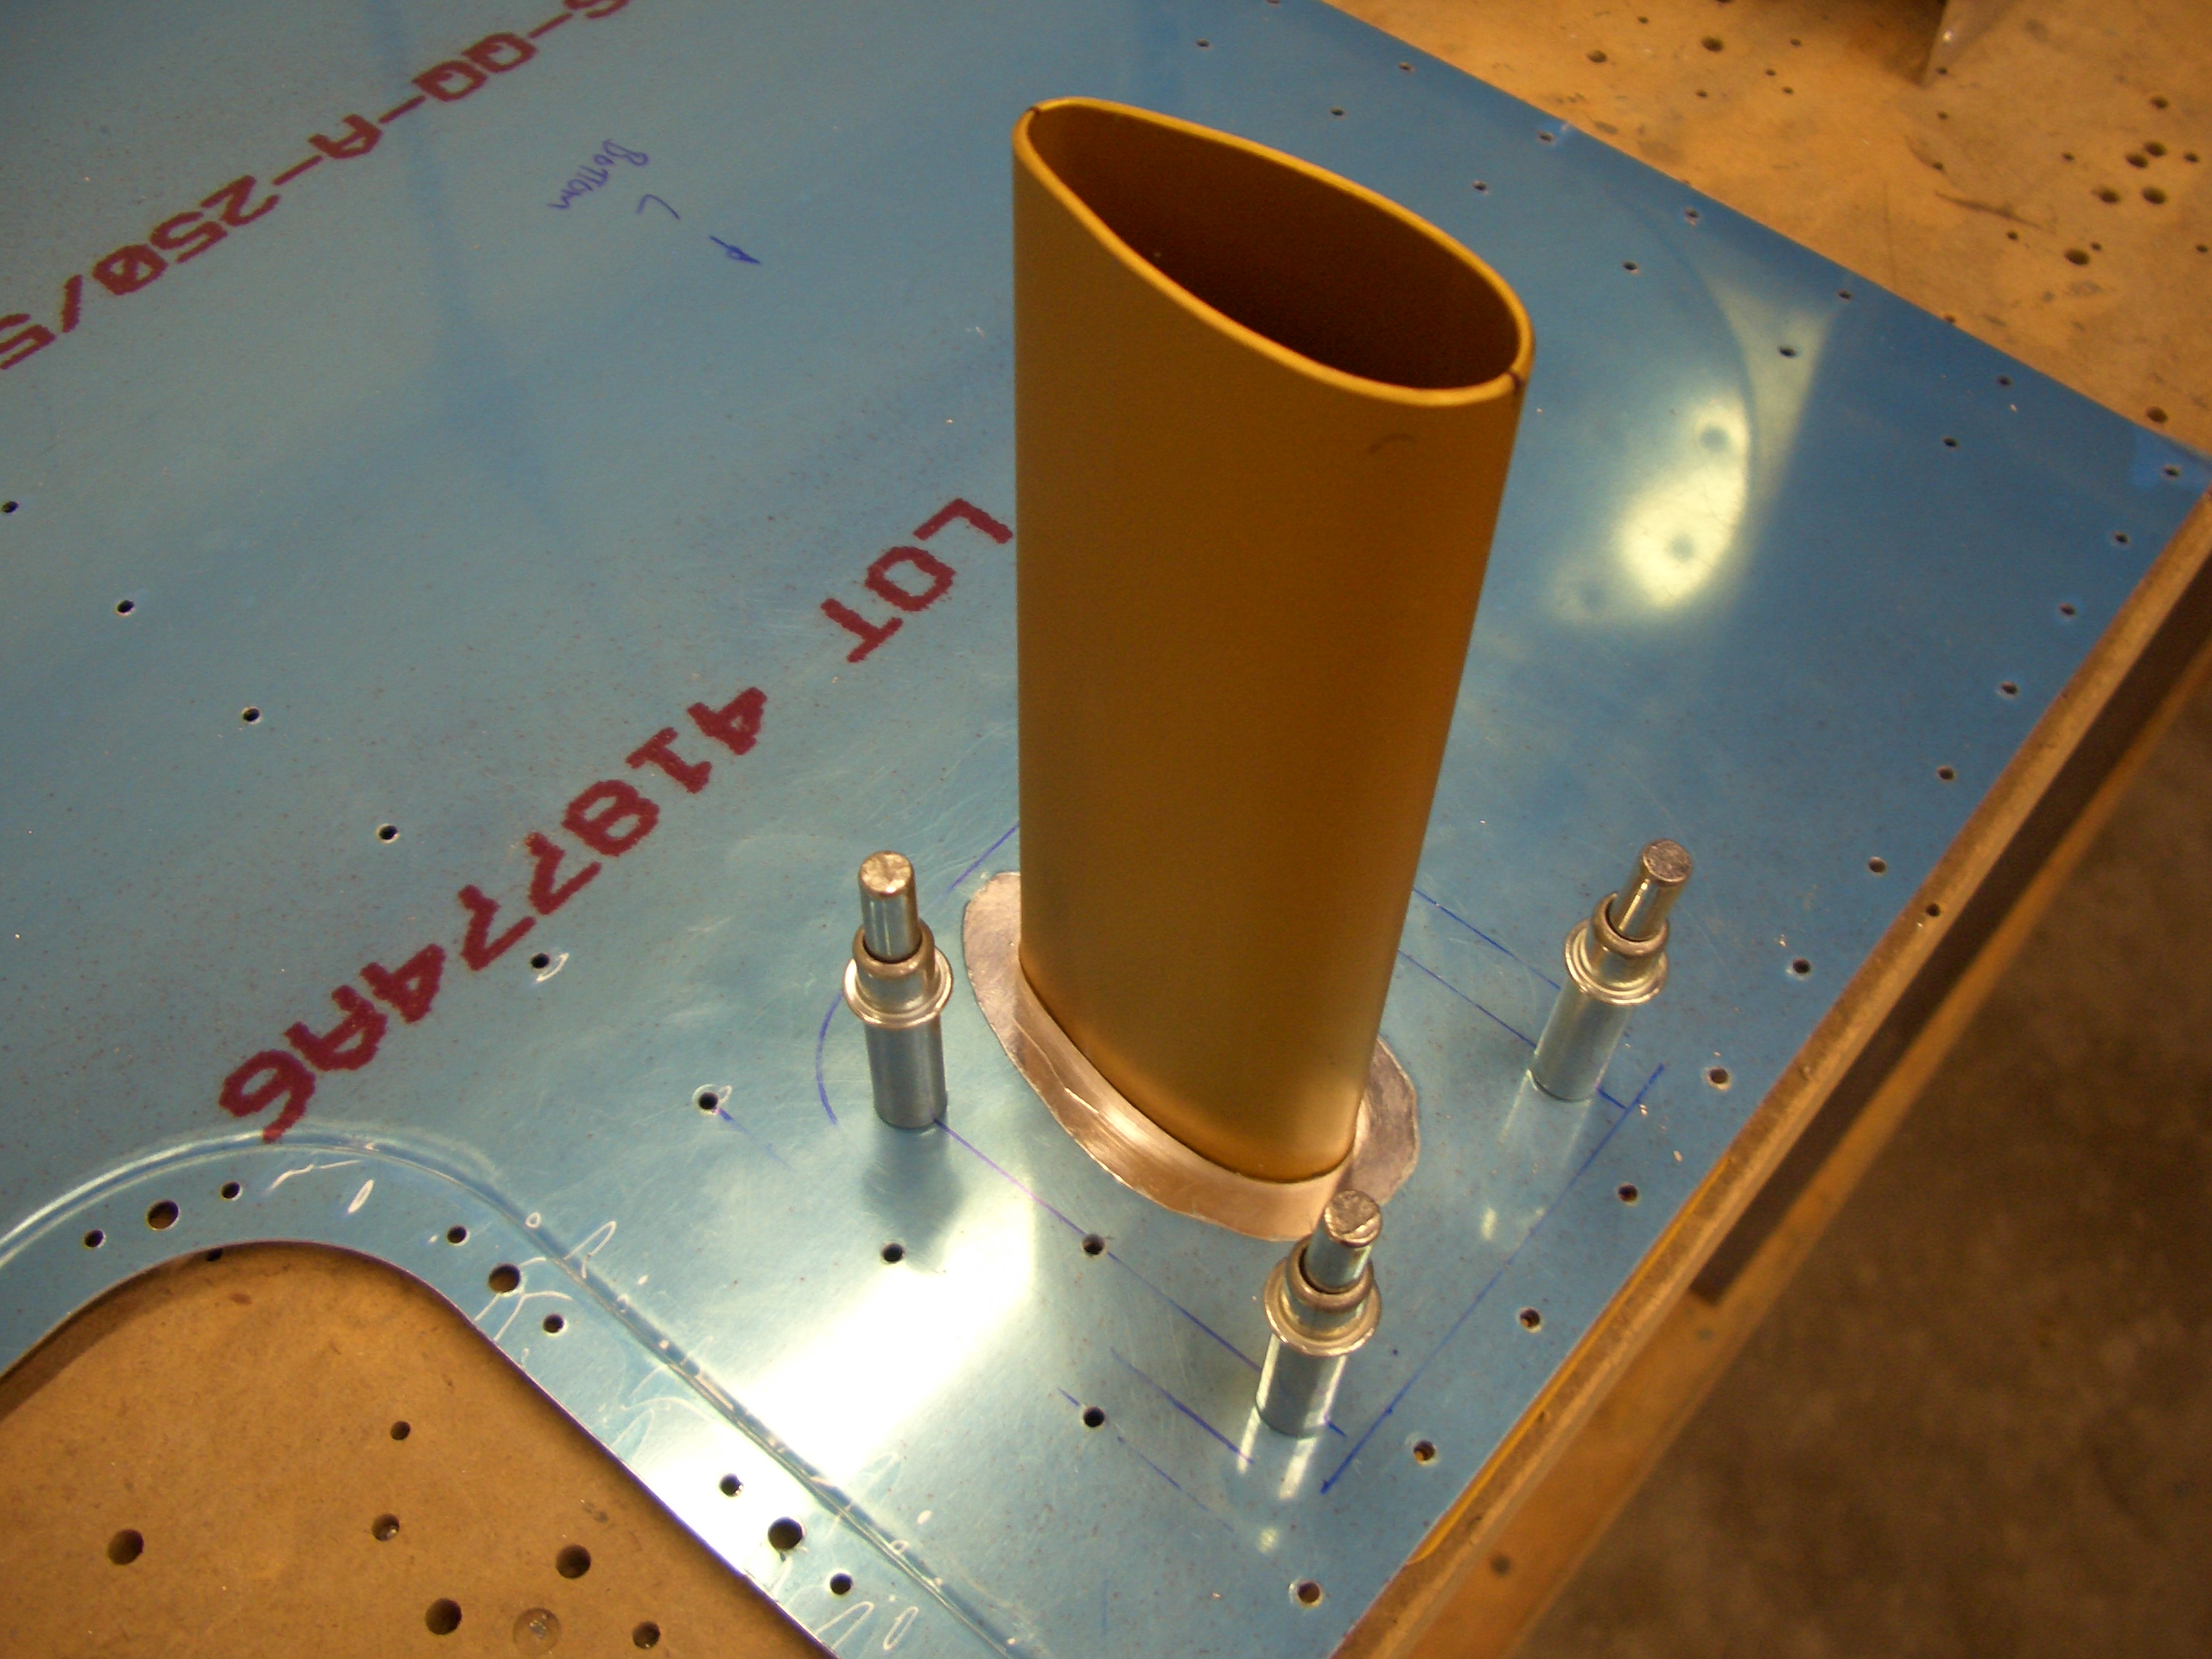
I test fit the pitot tube. The 3/16″ aluminum tubes coming out the other end needed to be trimmed somewhat to allow the pitot tube to fit fully into the mount.
I laid out holes to attach the tube to the mount and used some aluminum tape as a clamp to hold the tube in place.
After drilling through the mount and the wall of the pitot tube, I countersunk the mount for #6 screws. This was tricky since this is a curved surface. Instead of using my microstop countersink, I basically just did these freehand.

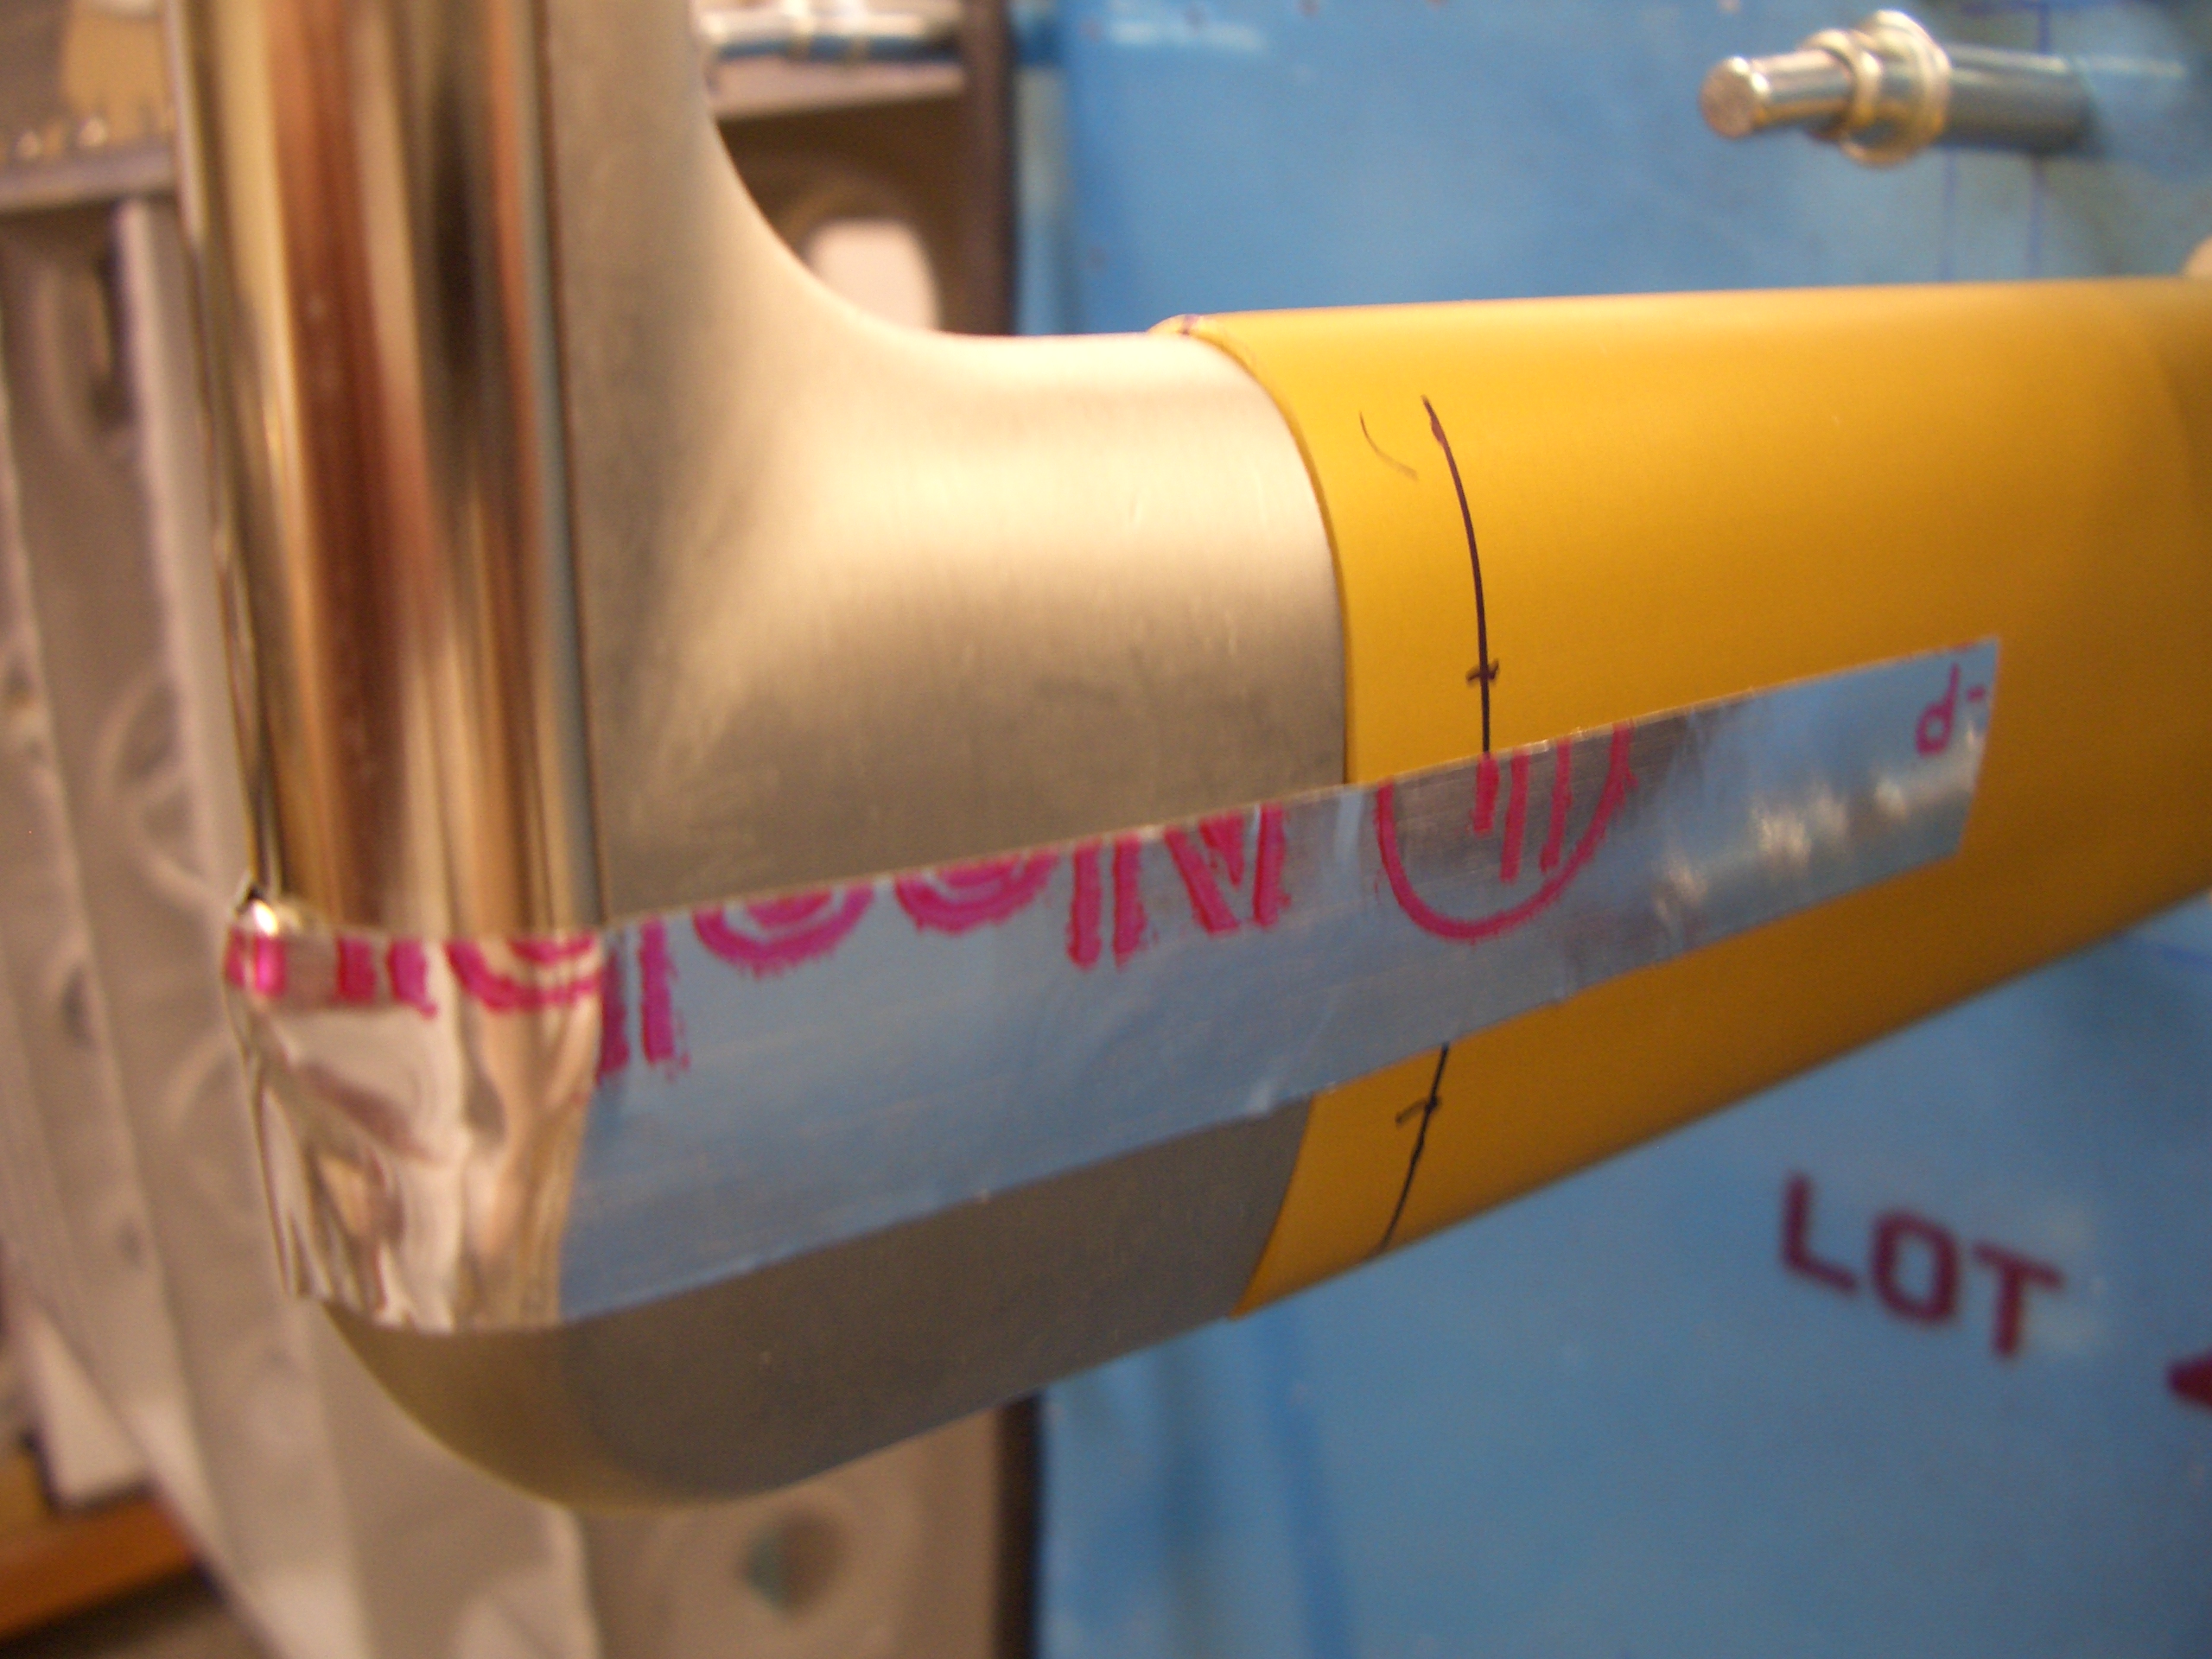
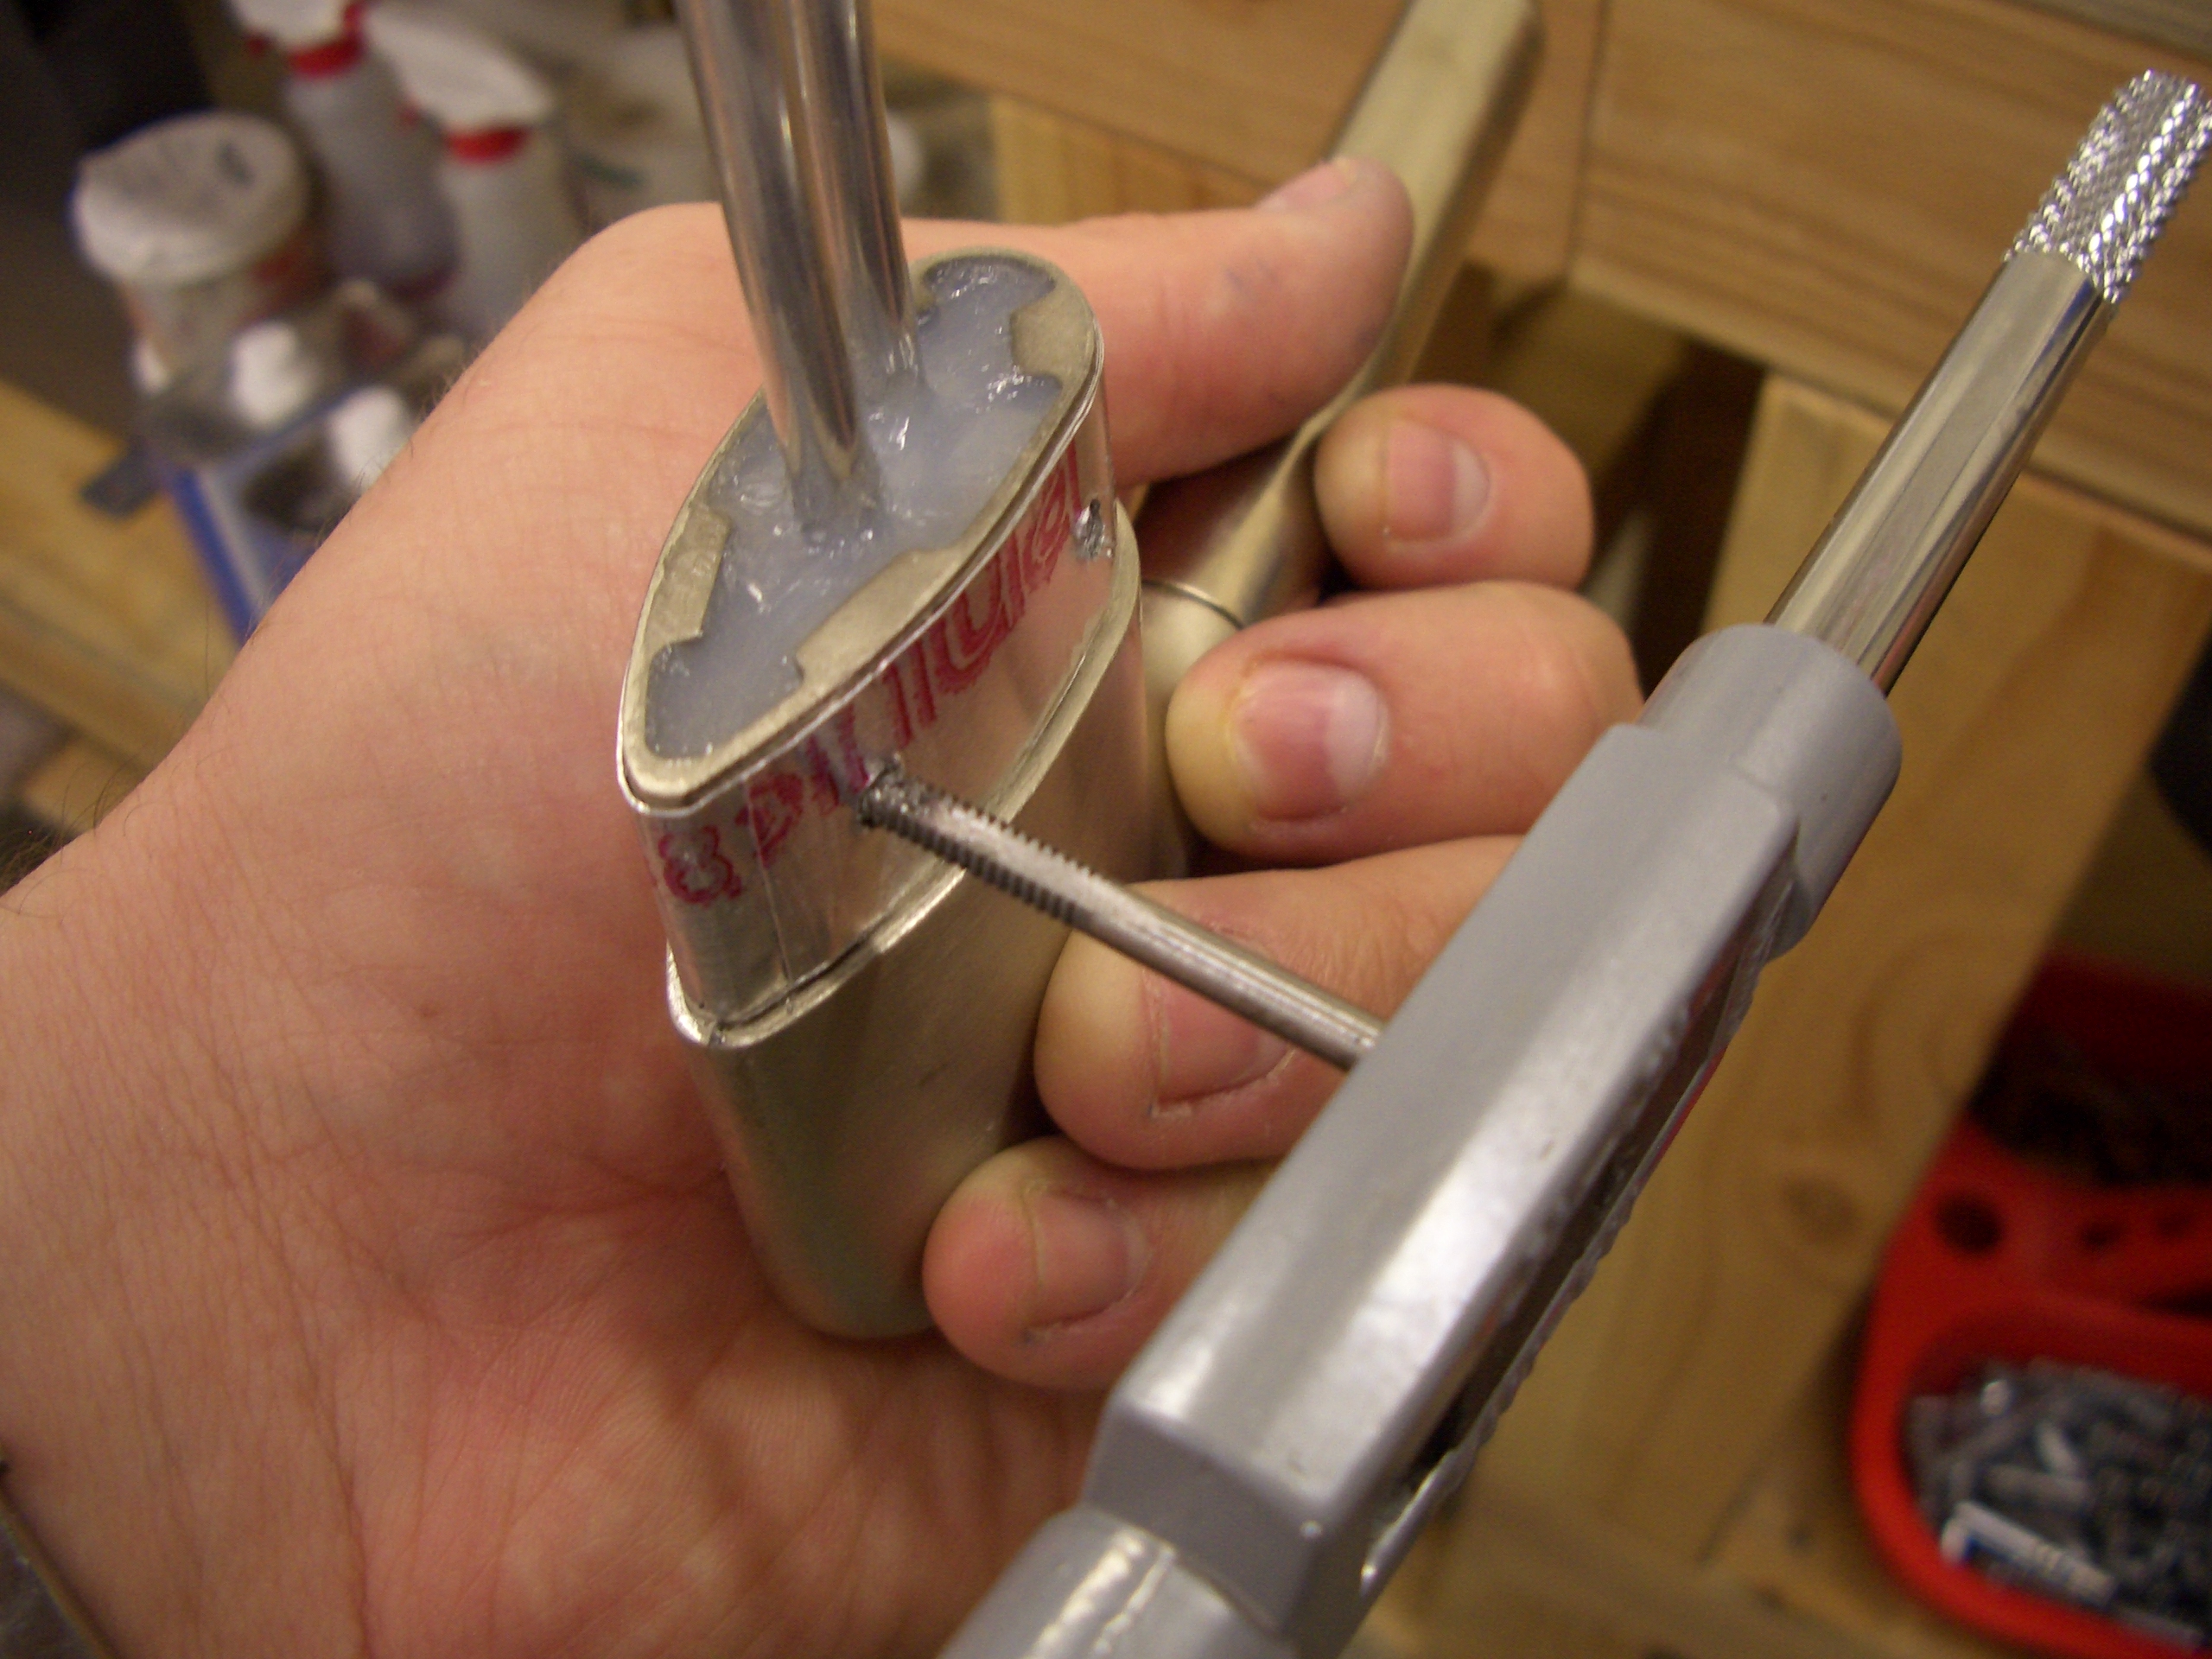
I also tapped the pitot tube for 6-32 threads. The stuff with the red lettering on it is aluminum tape. I wrapped this around the pitot tube because there was a little slop between it and the mount.
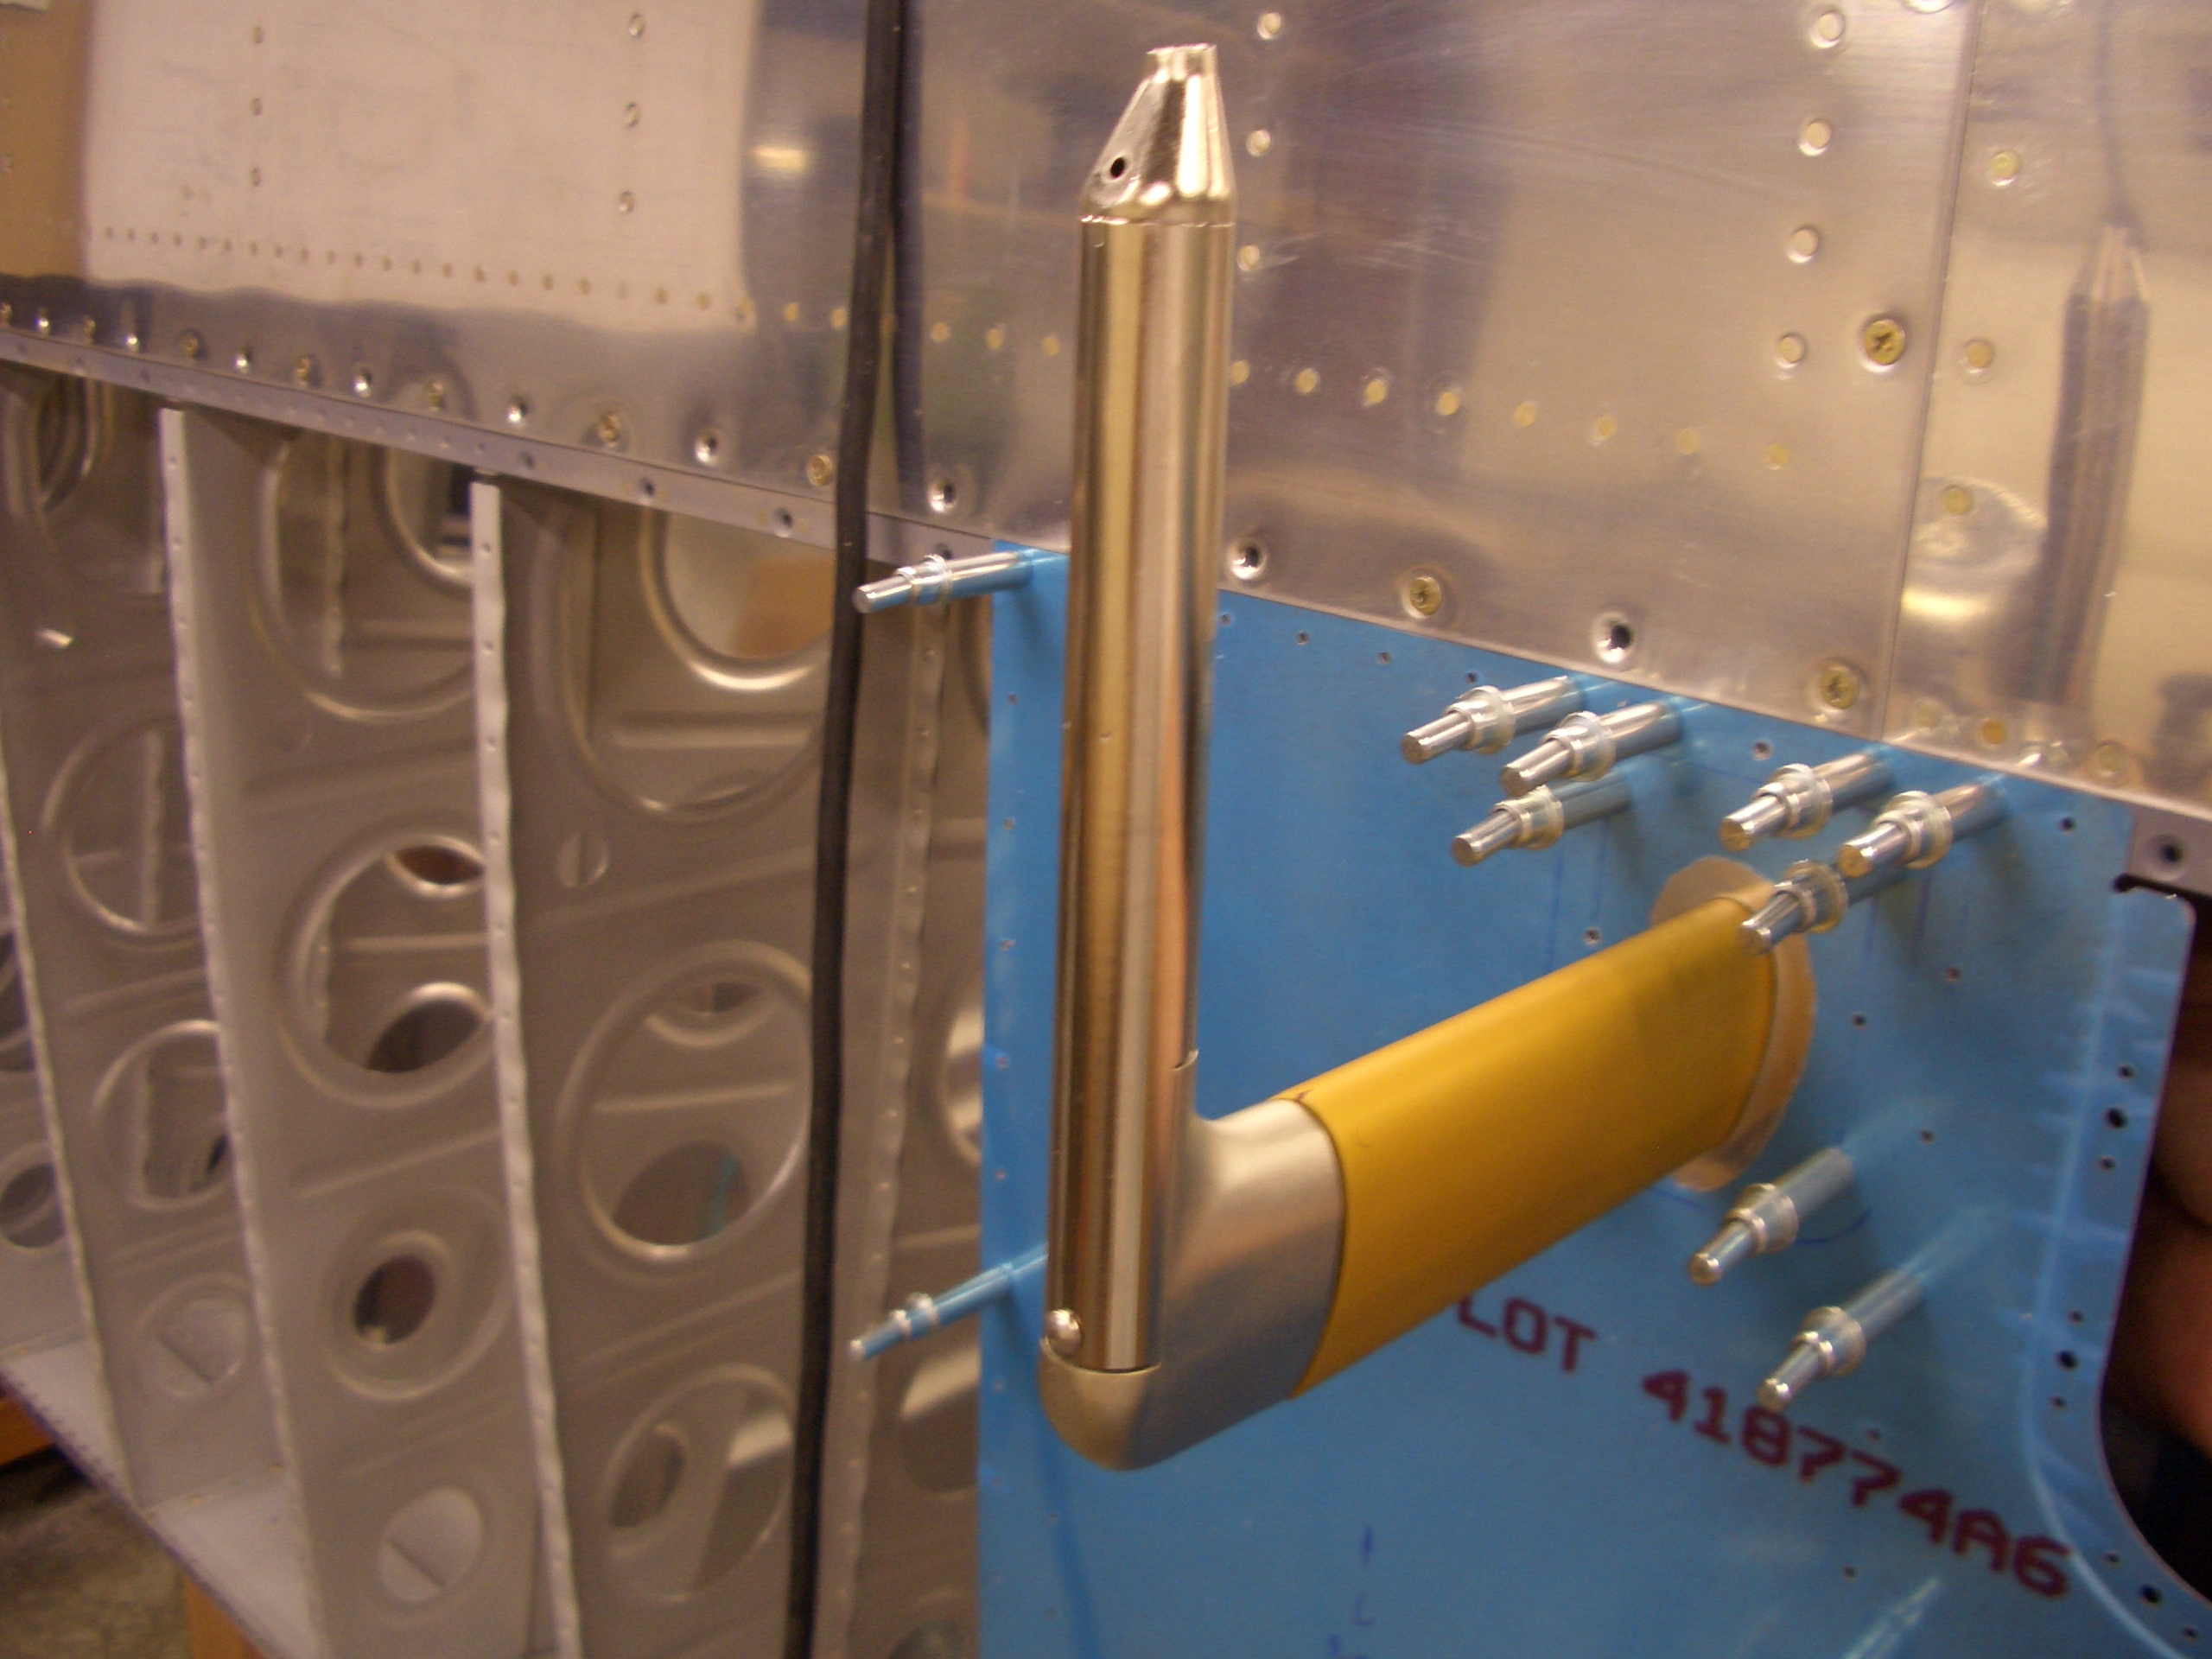
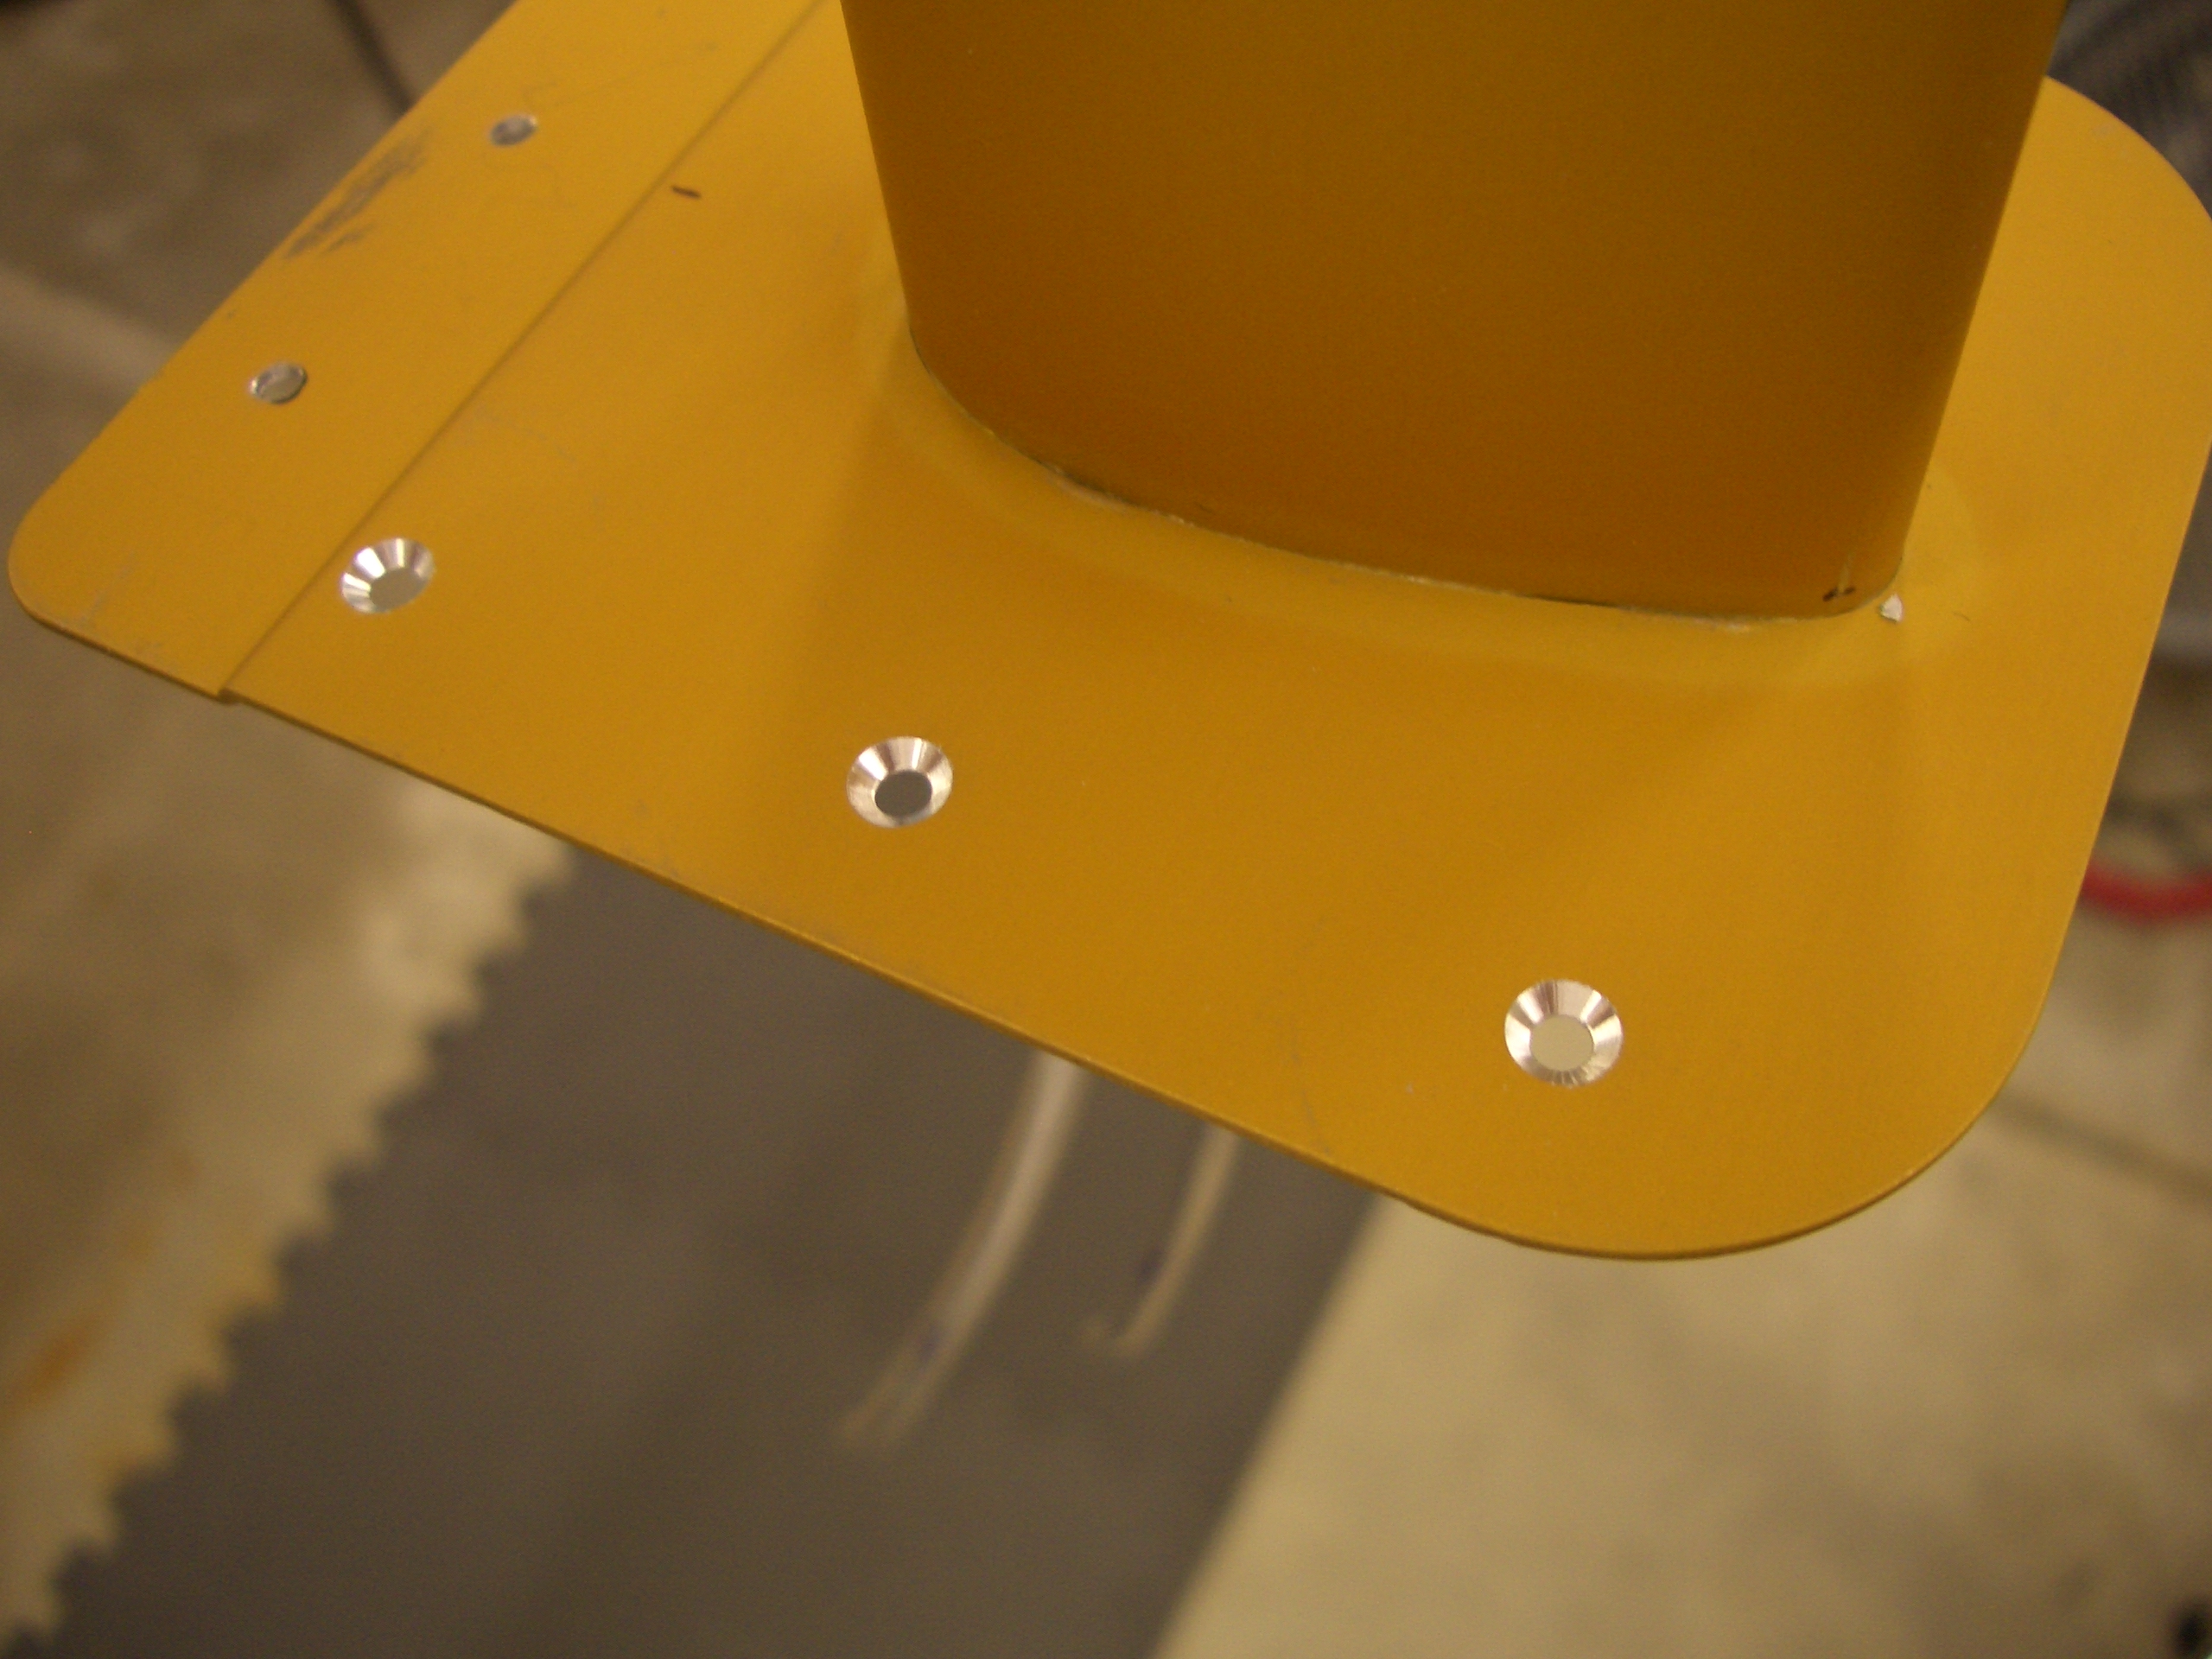
Here’s the finished pitot tube installed in the mount. This really turned out well, the pitot tube is tight in the mount and the screws are nice and flush.

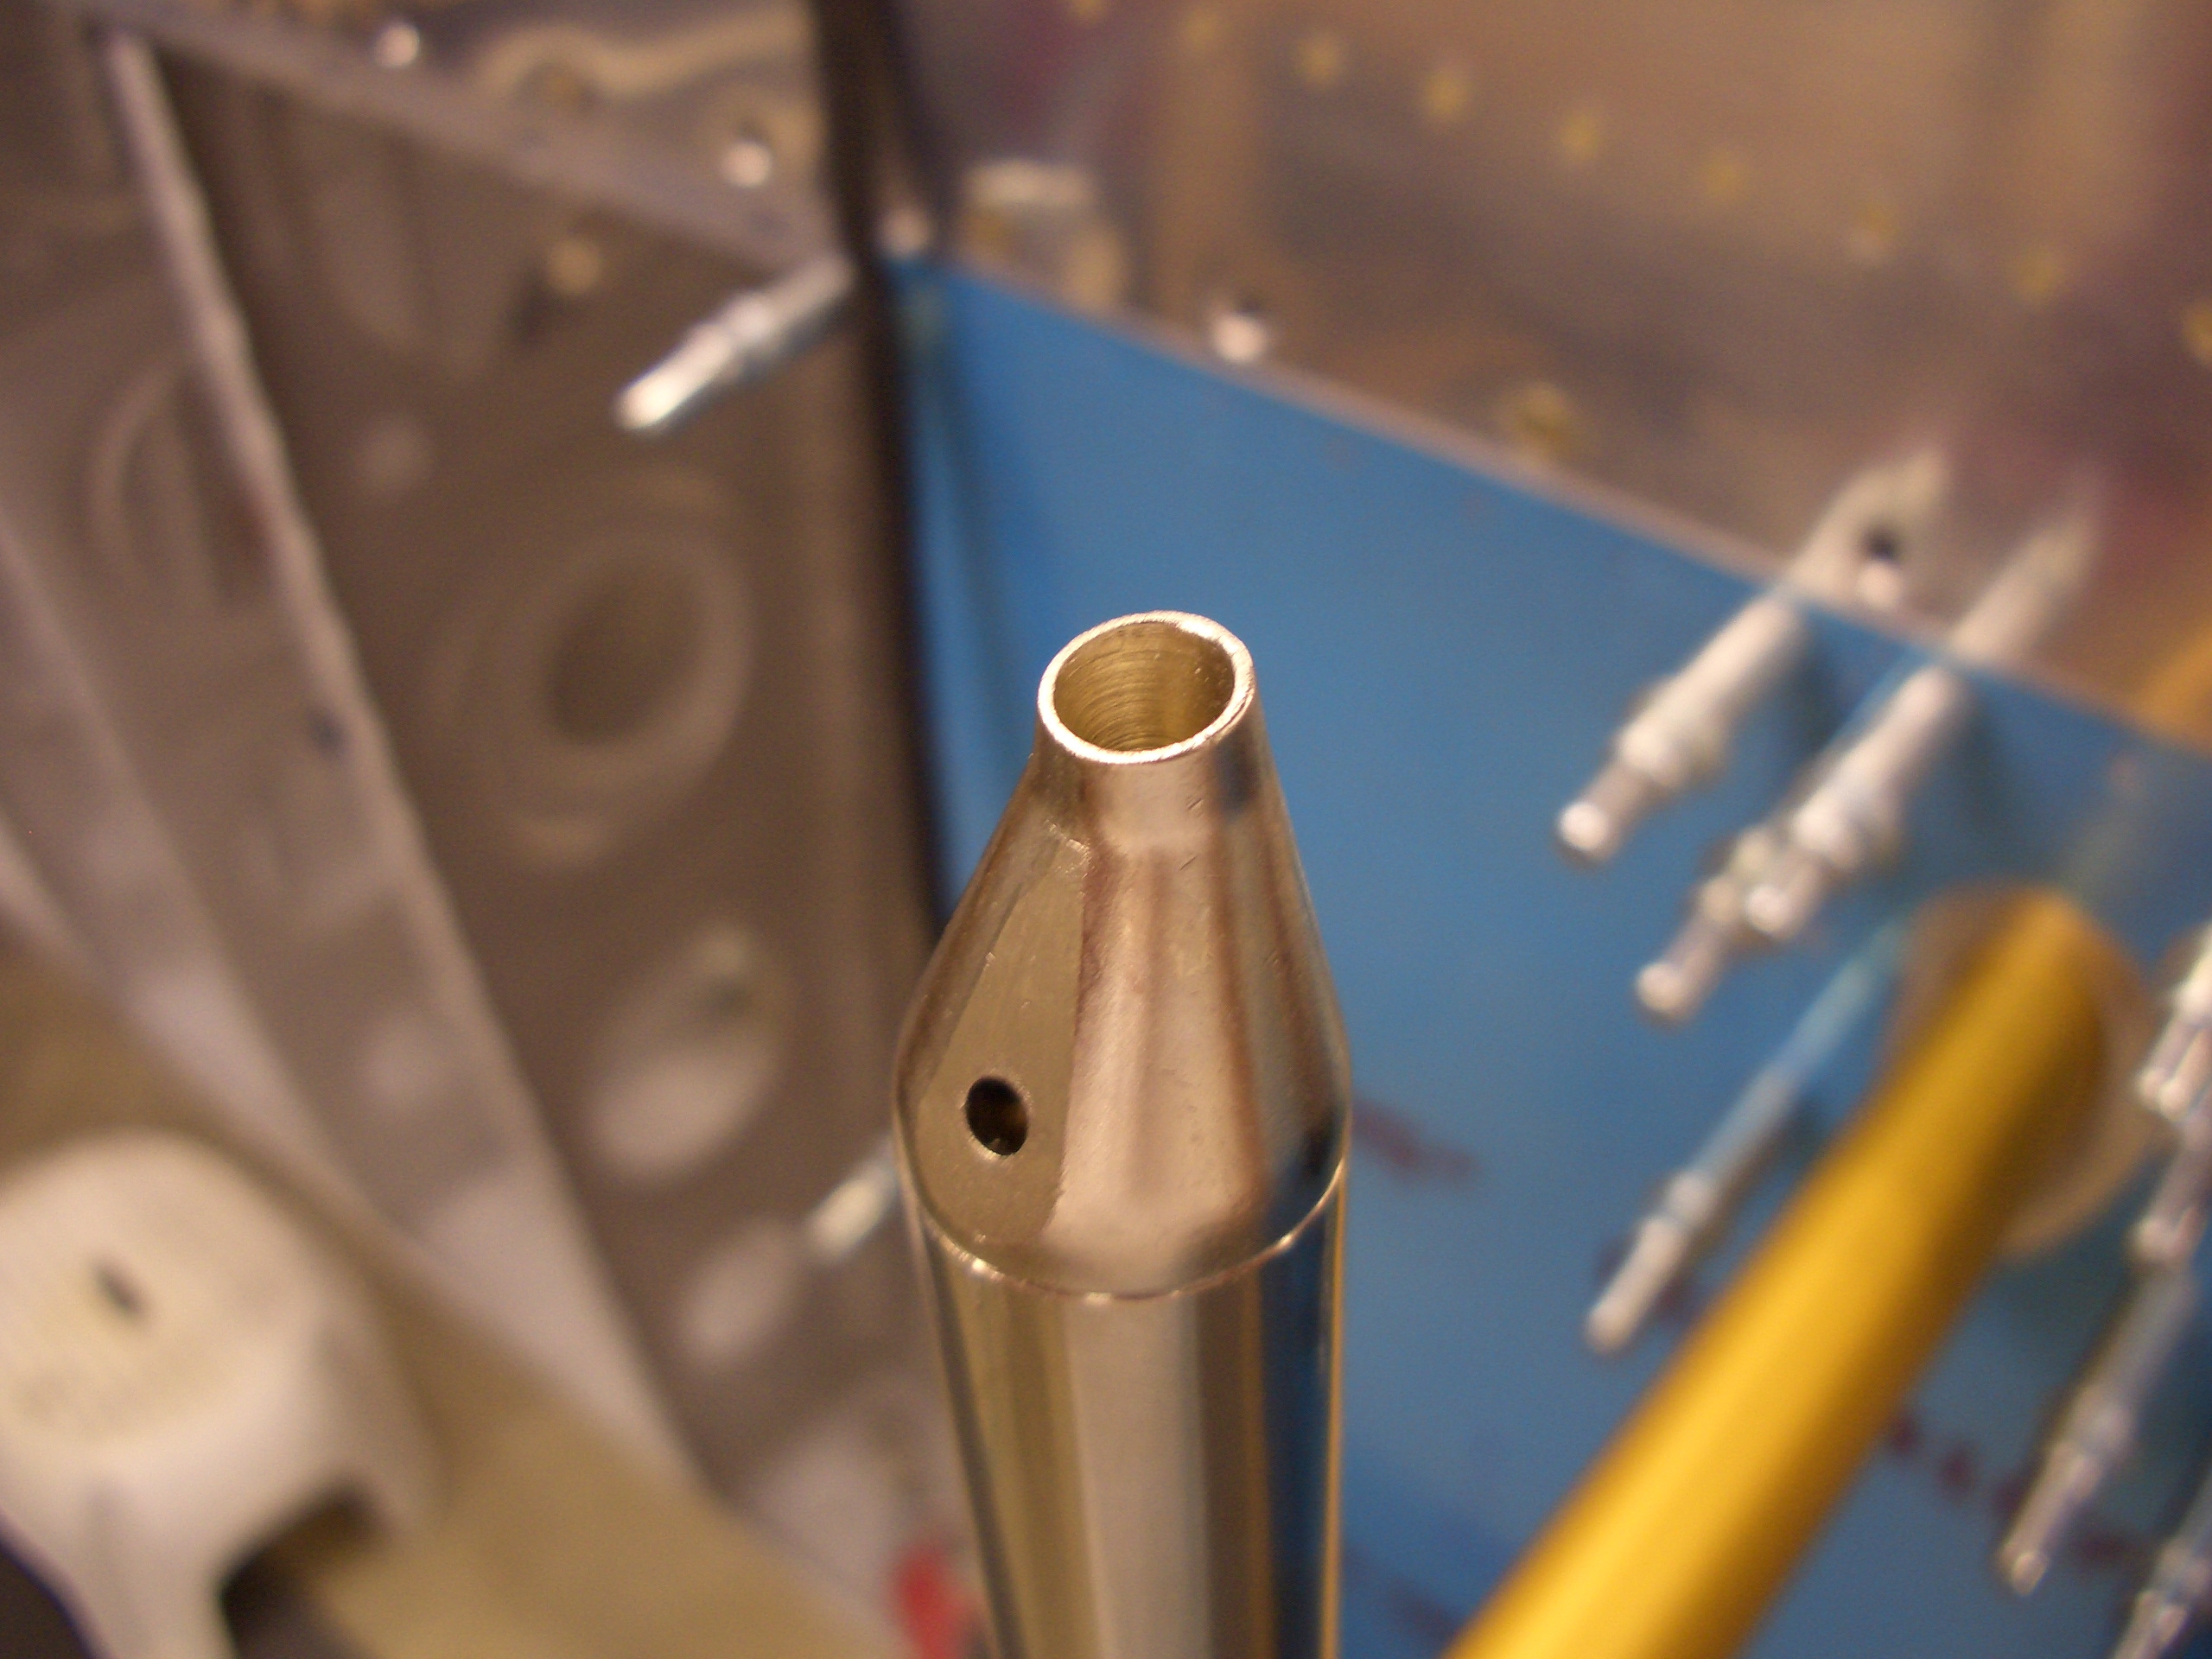
Here is the business end of the pitot tube. The hole at the top is for measuring pitot pressure and the hole at the bottom is for measuring angle of attach. Basically, as the wing’s angle of attach increases, this hole becomes more directly aligned into the wind. This increases the pressure of air inside this tube which the instrument indicates as an increase in angle of attach.
I disassembled everything and countersink the pitot mount for the dimples in the skin since this will be flush mounted.
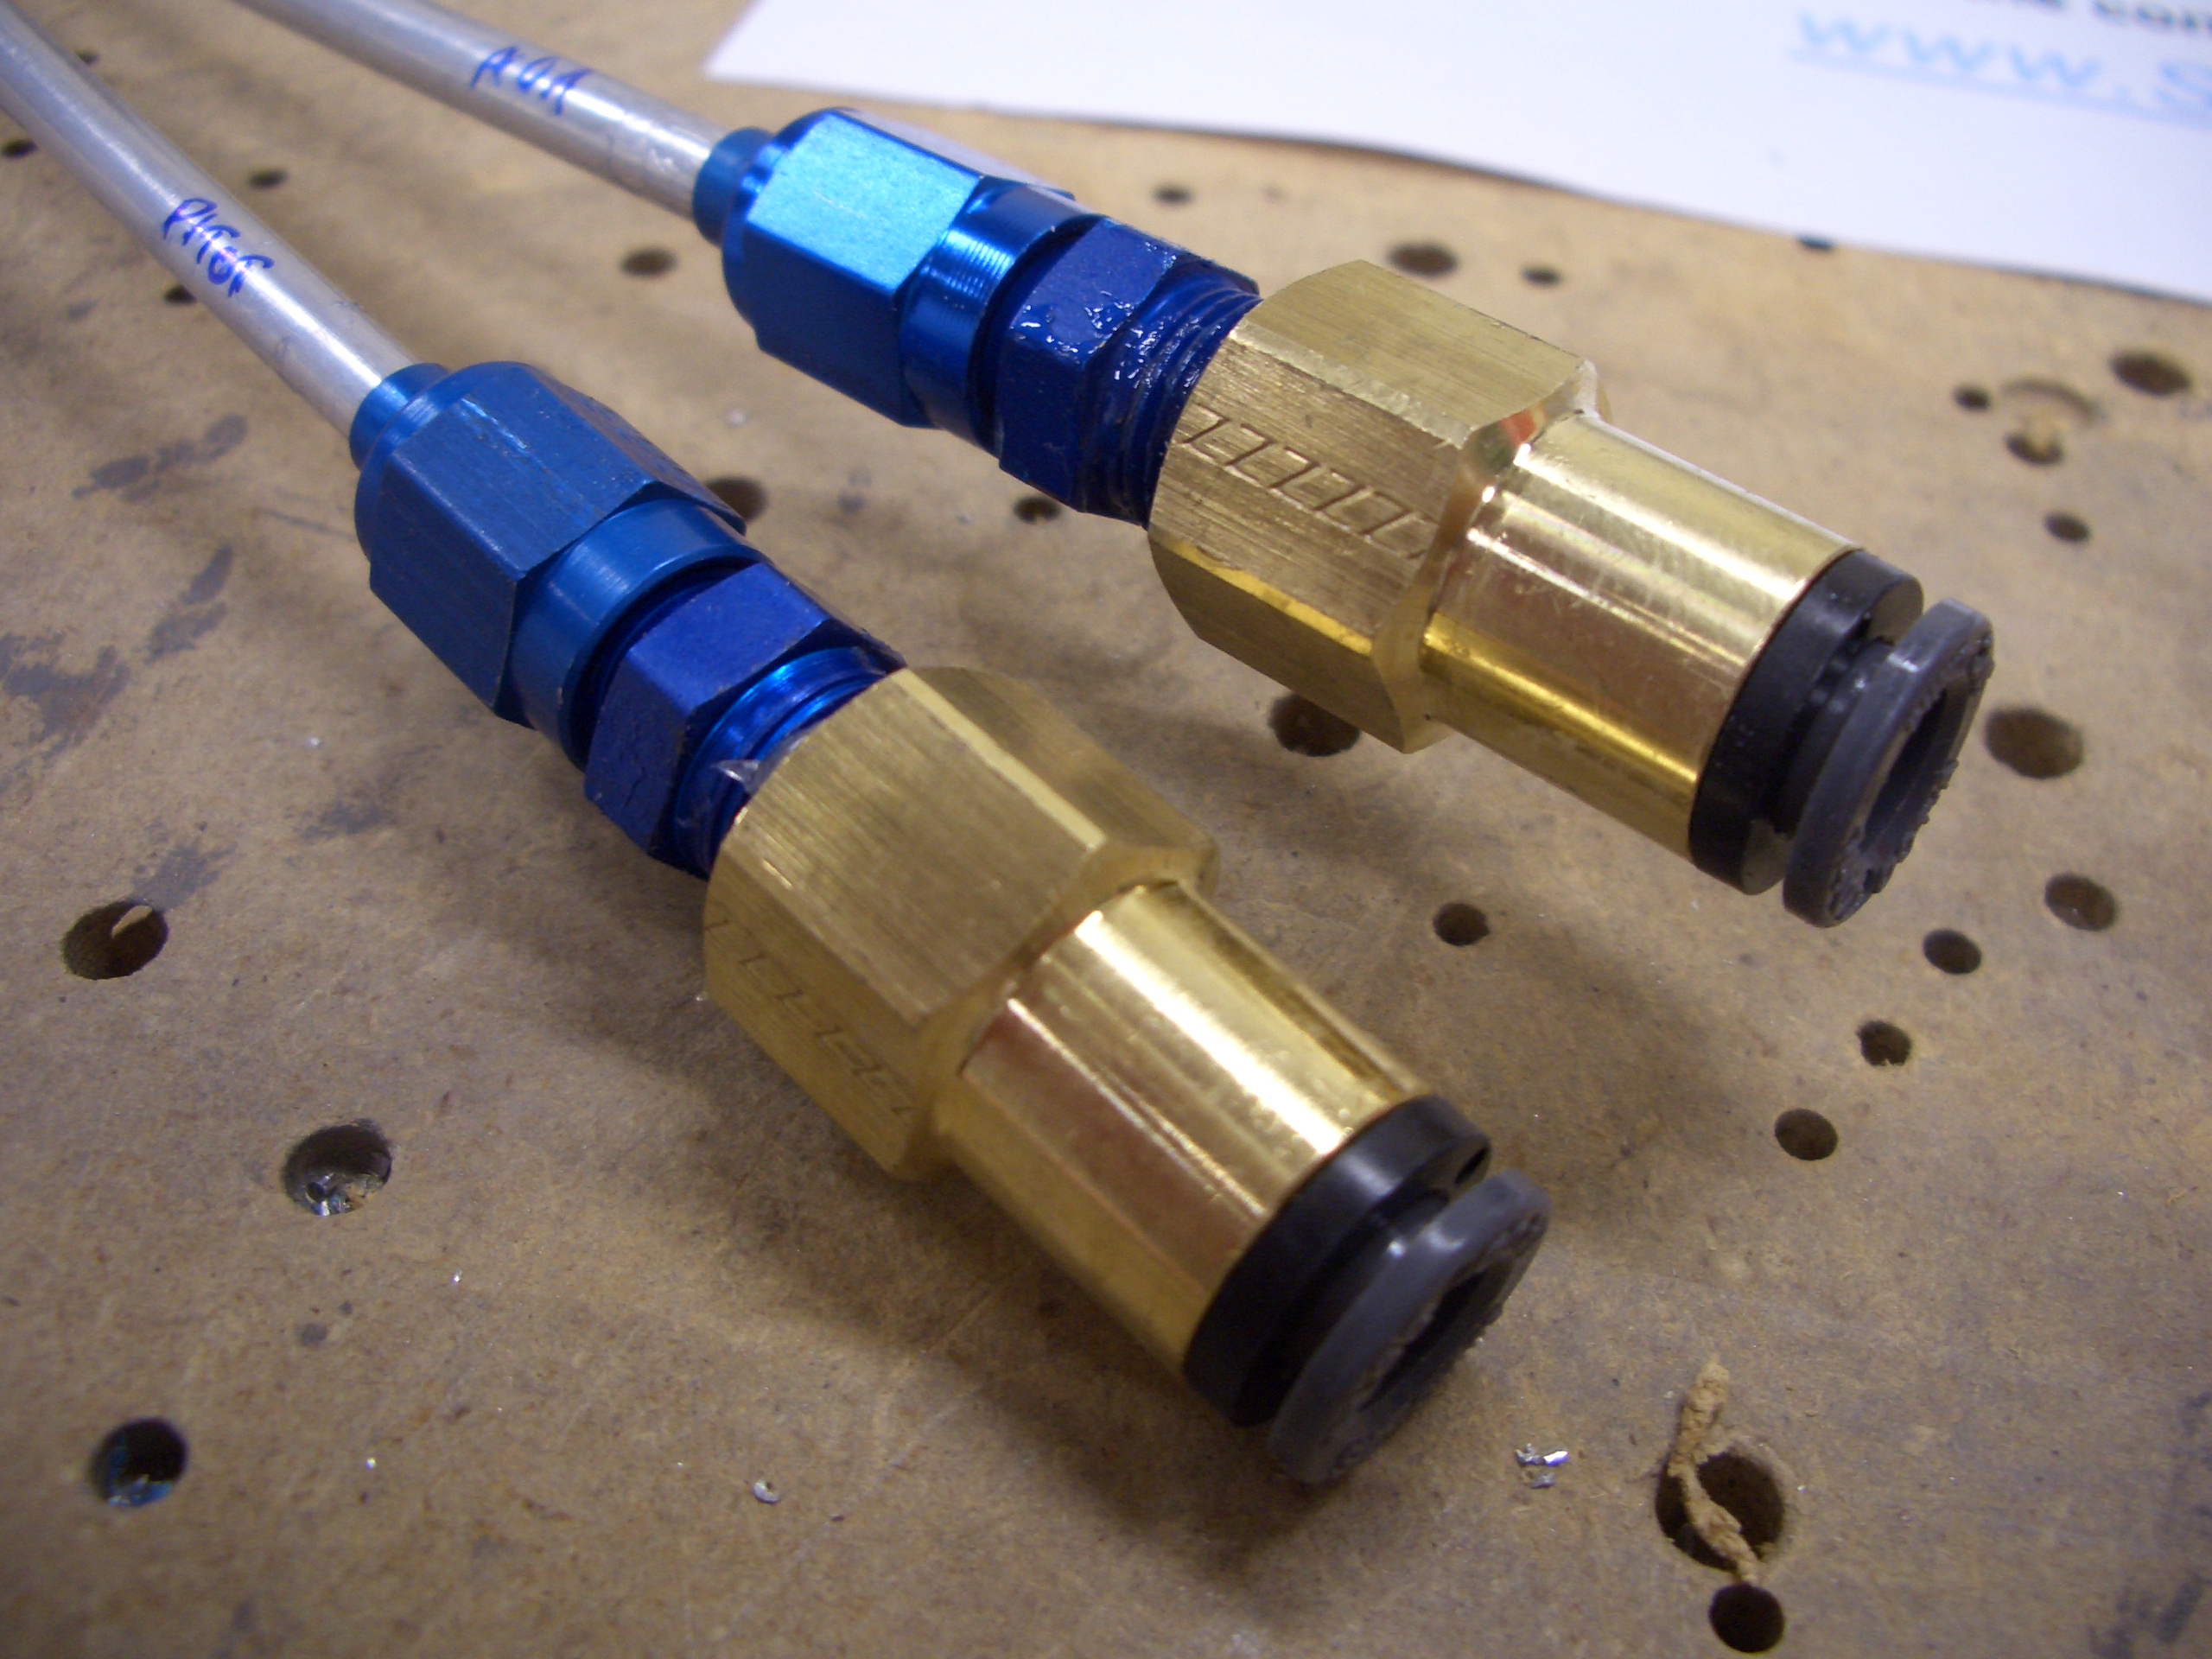
I cut the 3/16″ aluminum lines on the pitot tube shorter so that they just stick out of the mount in the wing, then installed fittings and flared the ends.
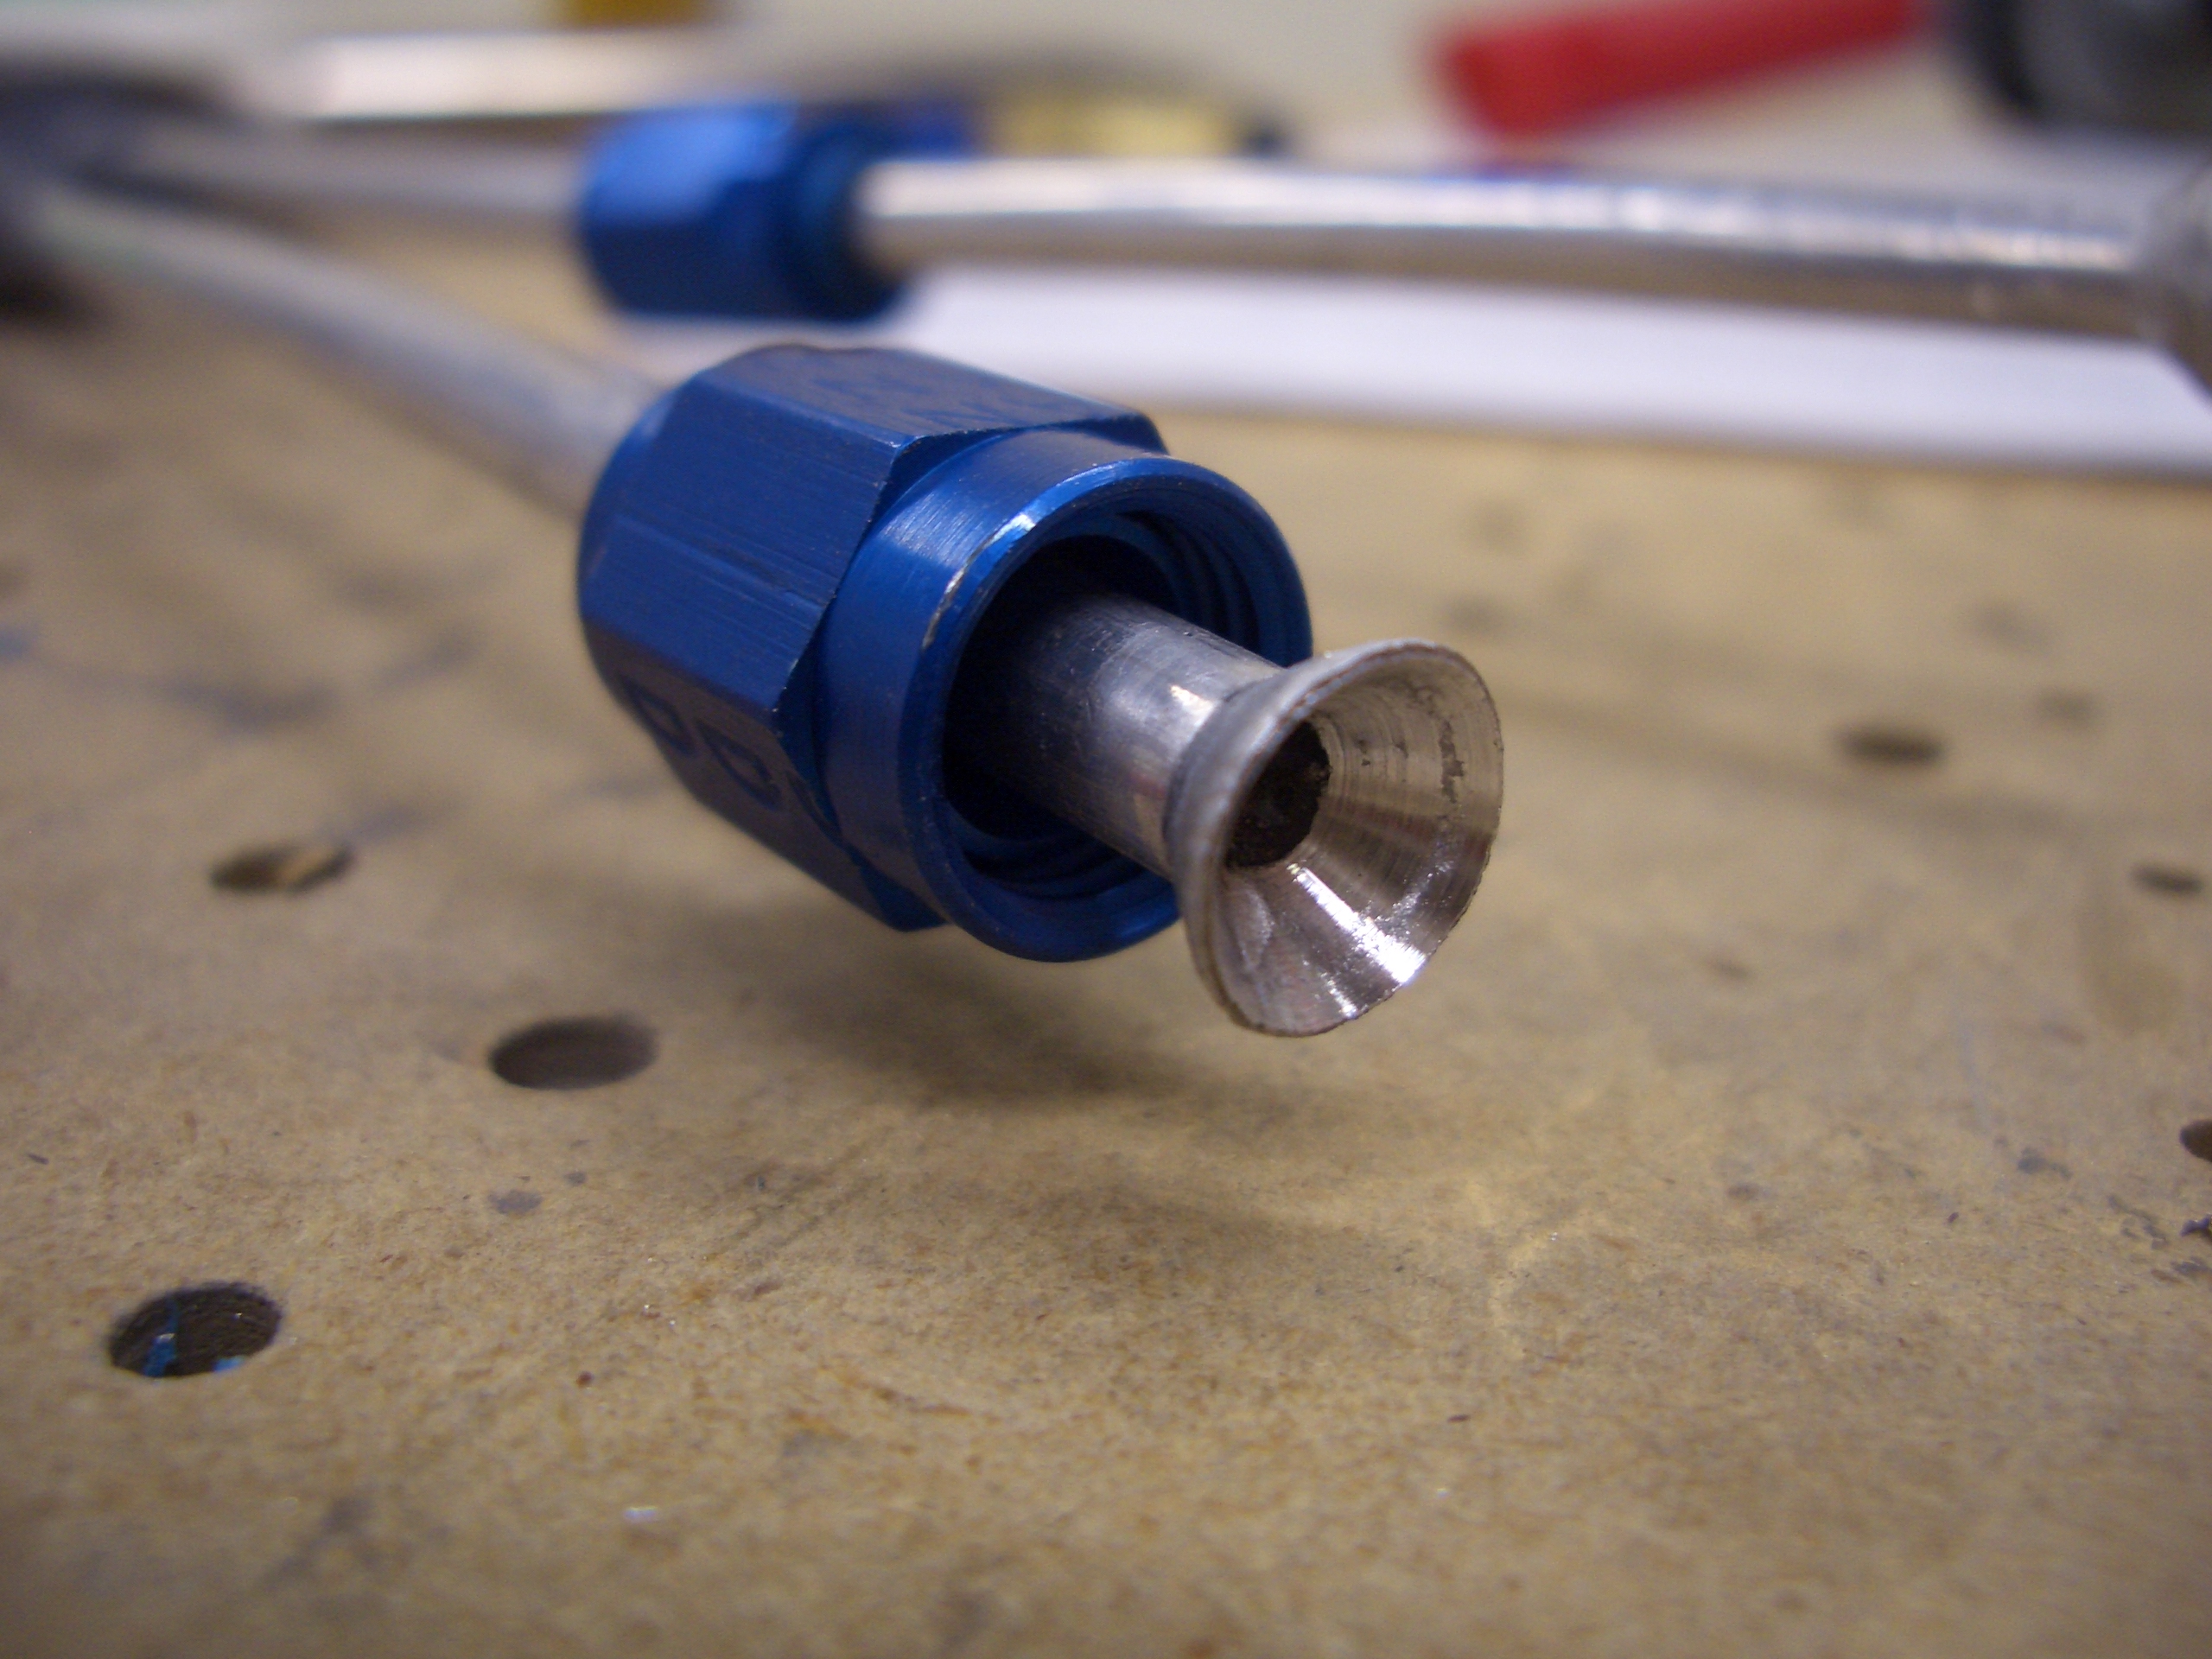
The male end of the fitting is installed and torqued.

Using some EZ-Turn, I then installed the quick disconnects on the ends. The tubing I’m using will just push into place on these fittings.
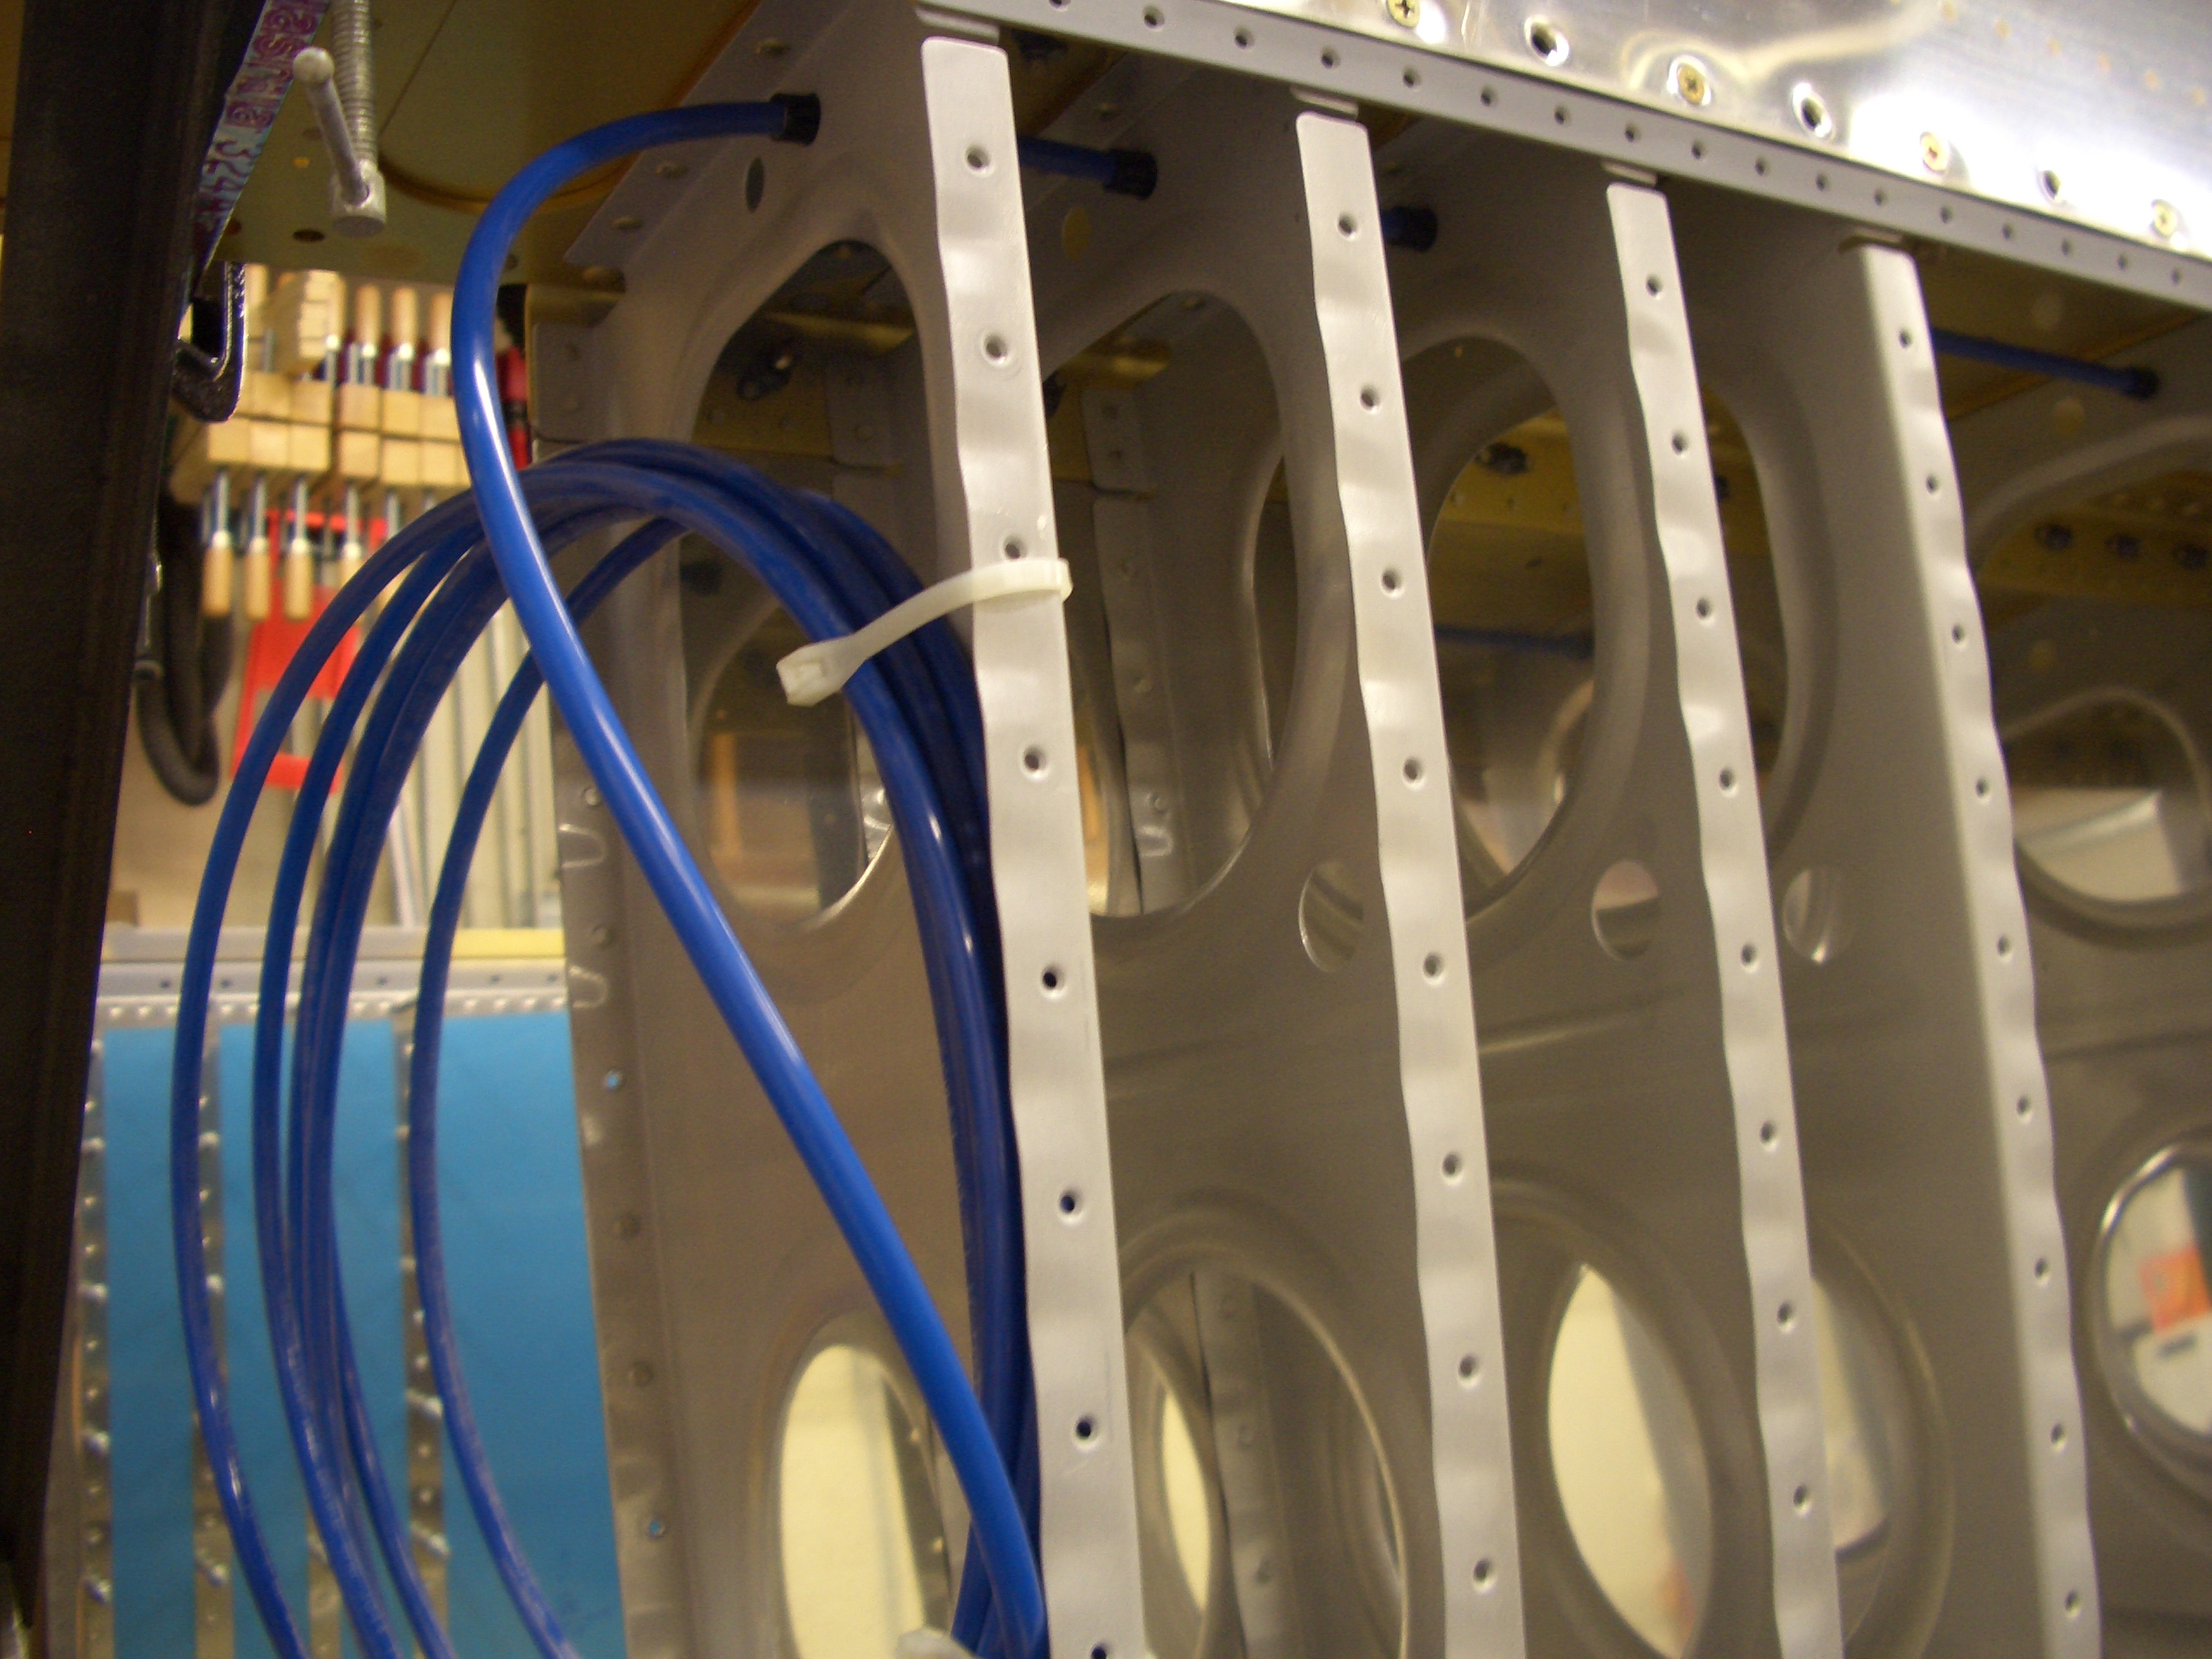
Finally, I installed the AOA tubing in the wing. I didn’t have enough 437-4 snap bushings to install the pitot tubing, so that will wait until I order some.
2 thoughts on “Pitot Tube and Mount”