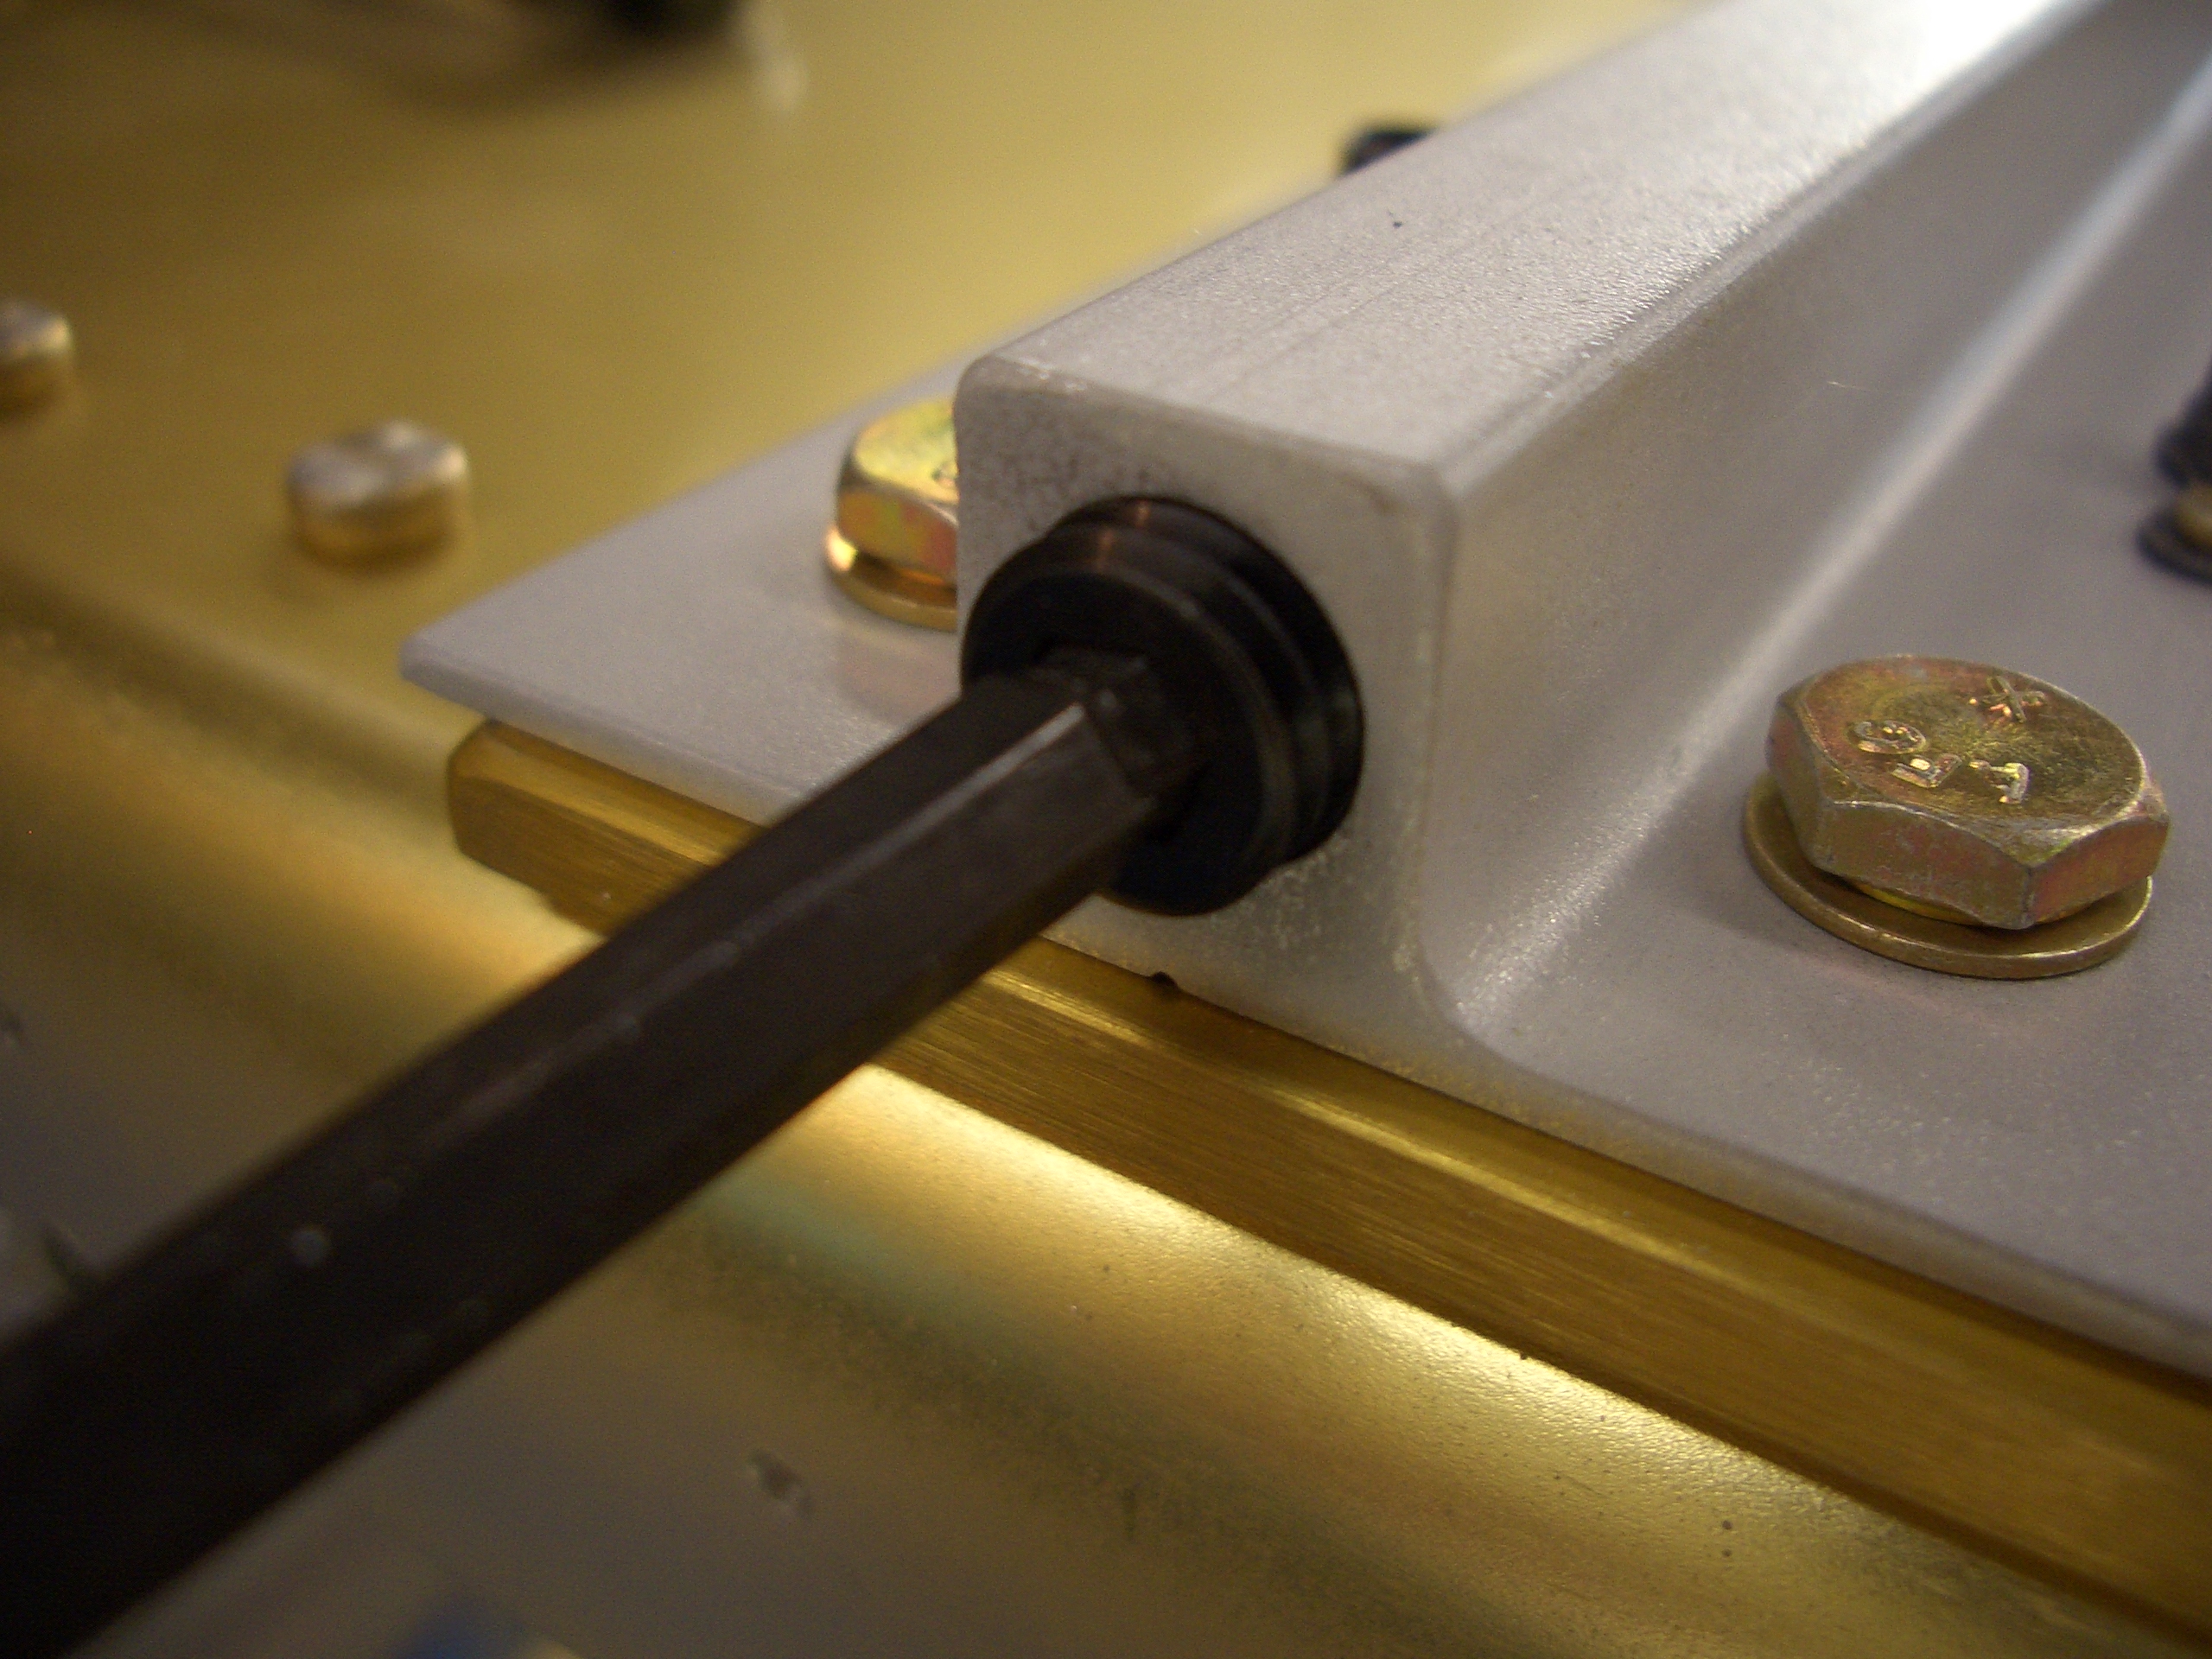
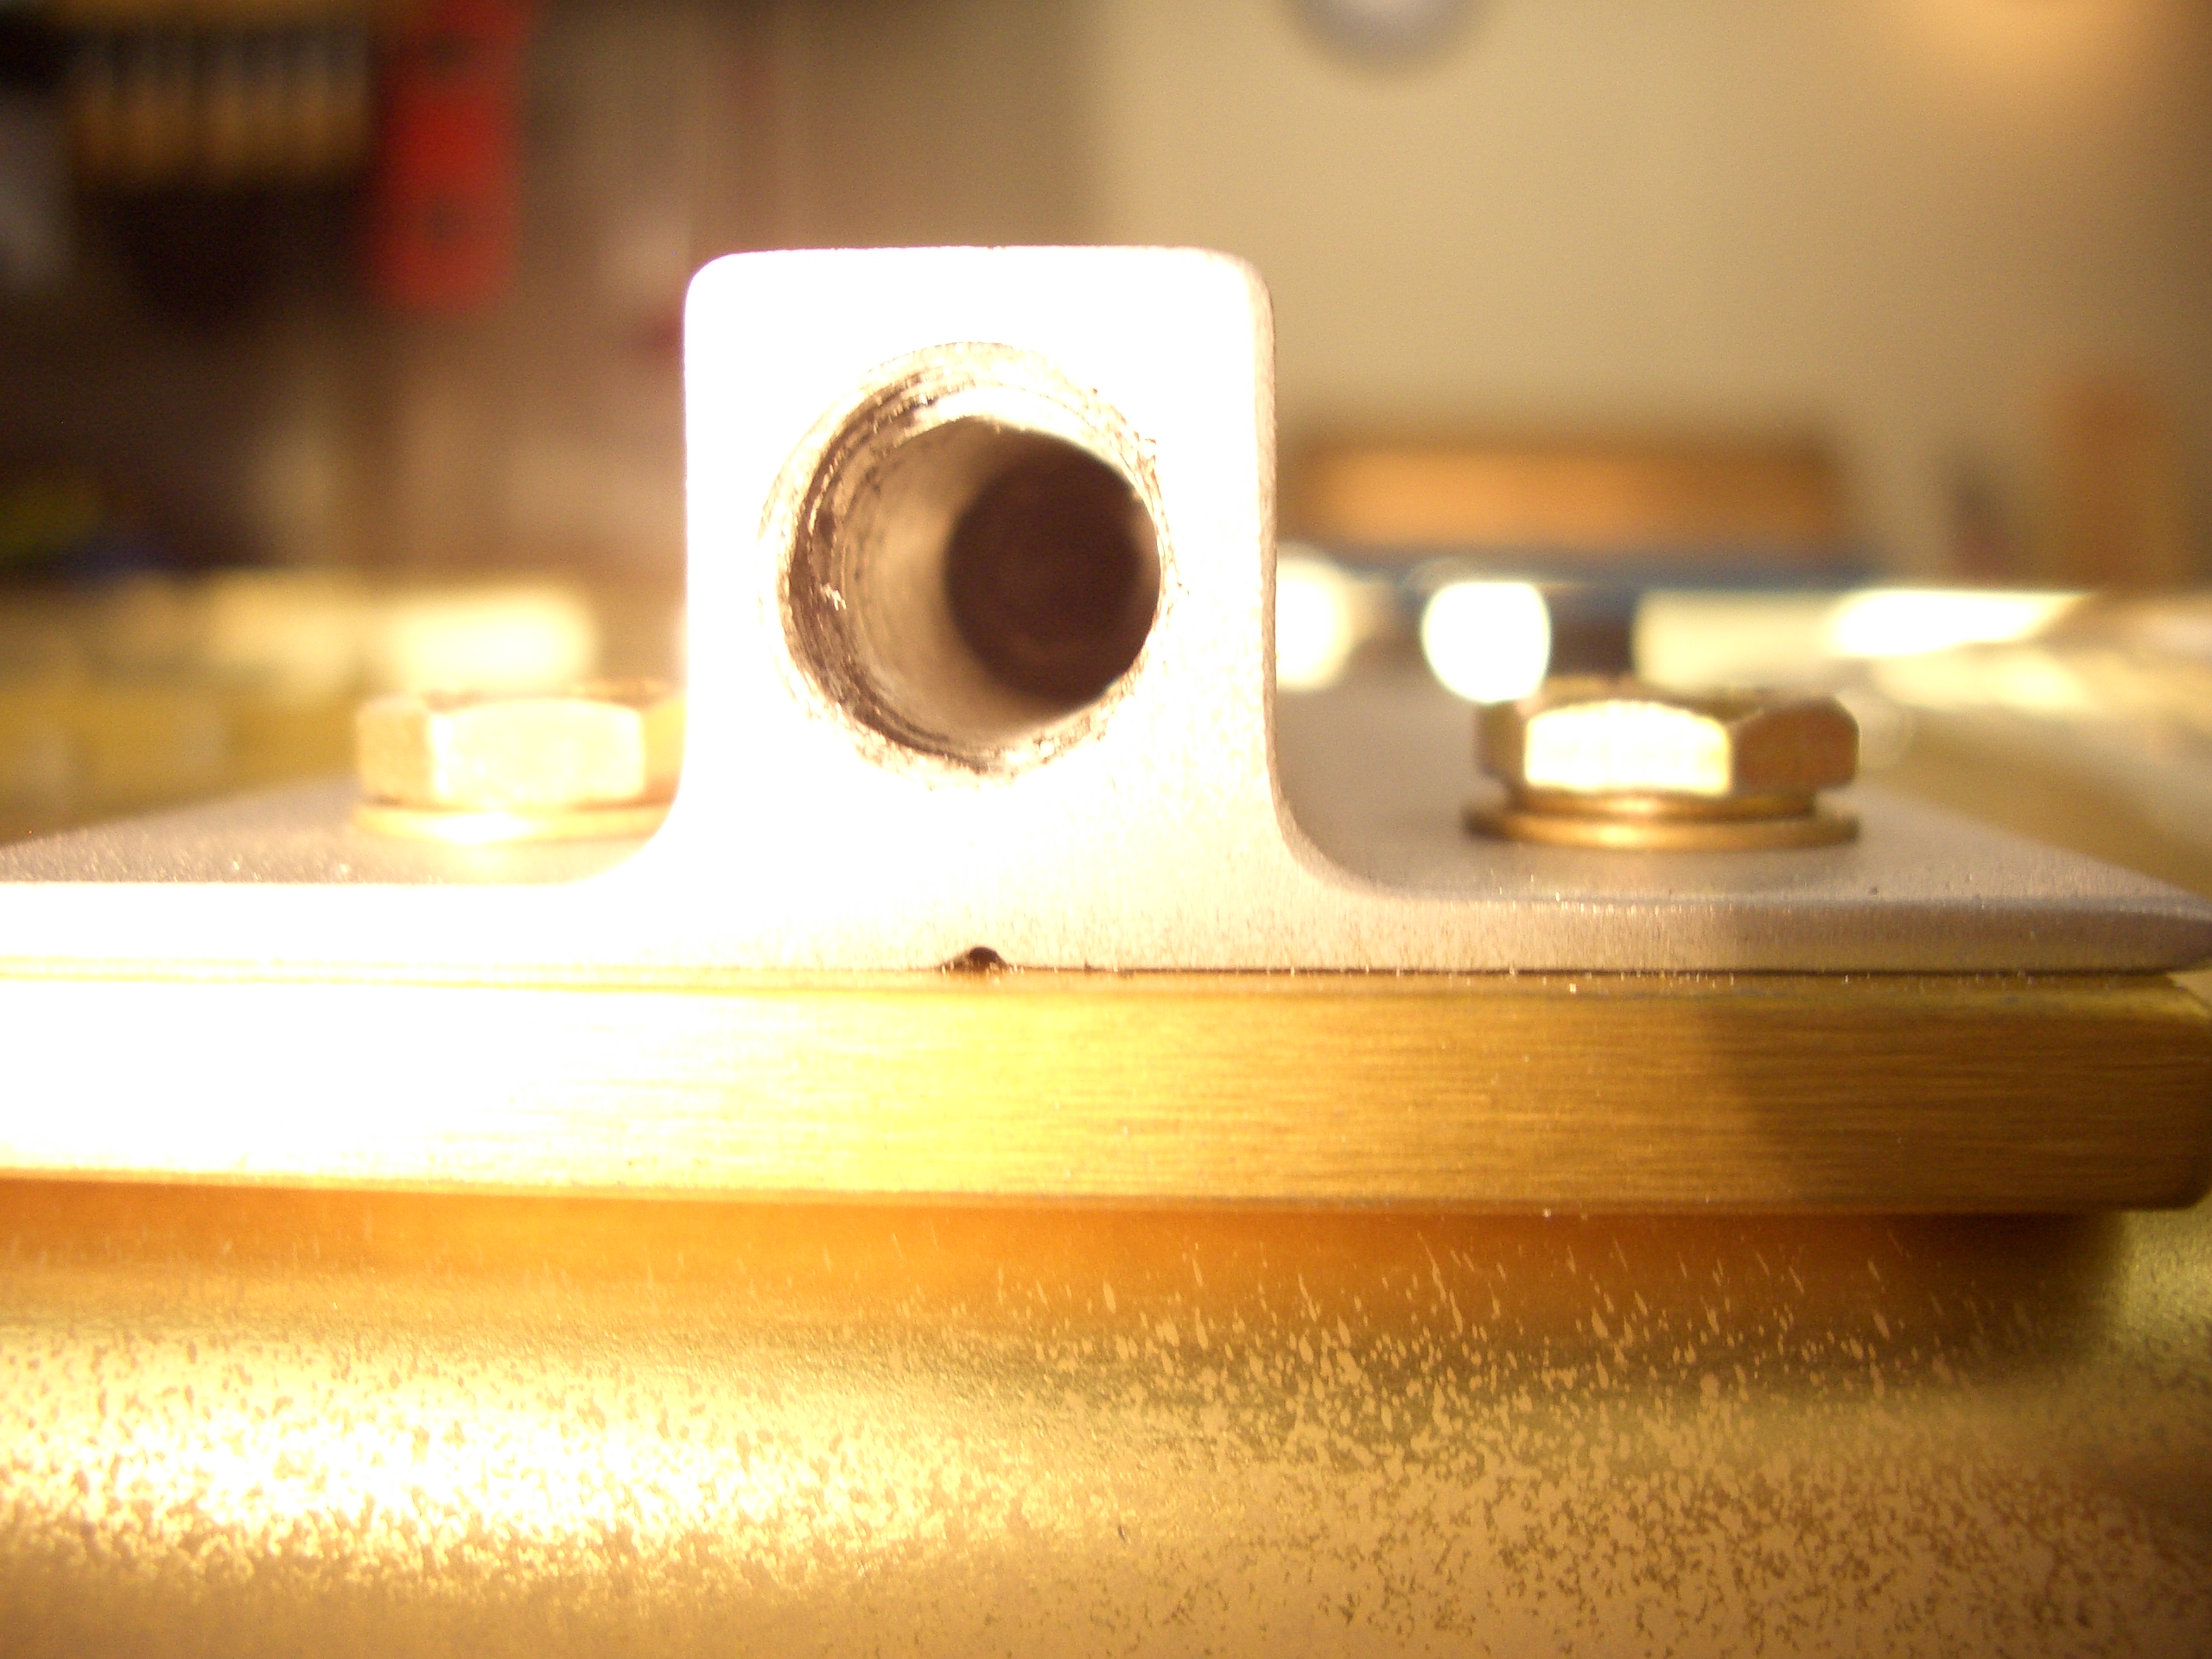
It’s been a week and a half or so since I finished sealing the last tank, so I thought now would be a good time to leak test the tanks. I put some packing tape over the filler hole, put some caps over the return line and fuel pick up lines, and made a little elbow out of some 1/4″ soft aluminum tubing and attached it to the vent port along with some 1/4″ ID vinyl tubing to make a simple water manometer.
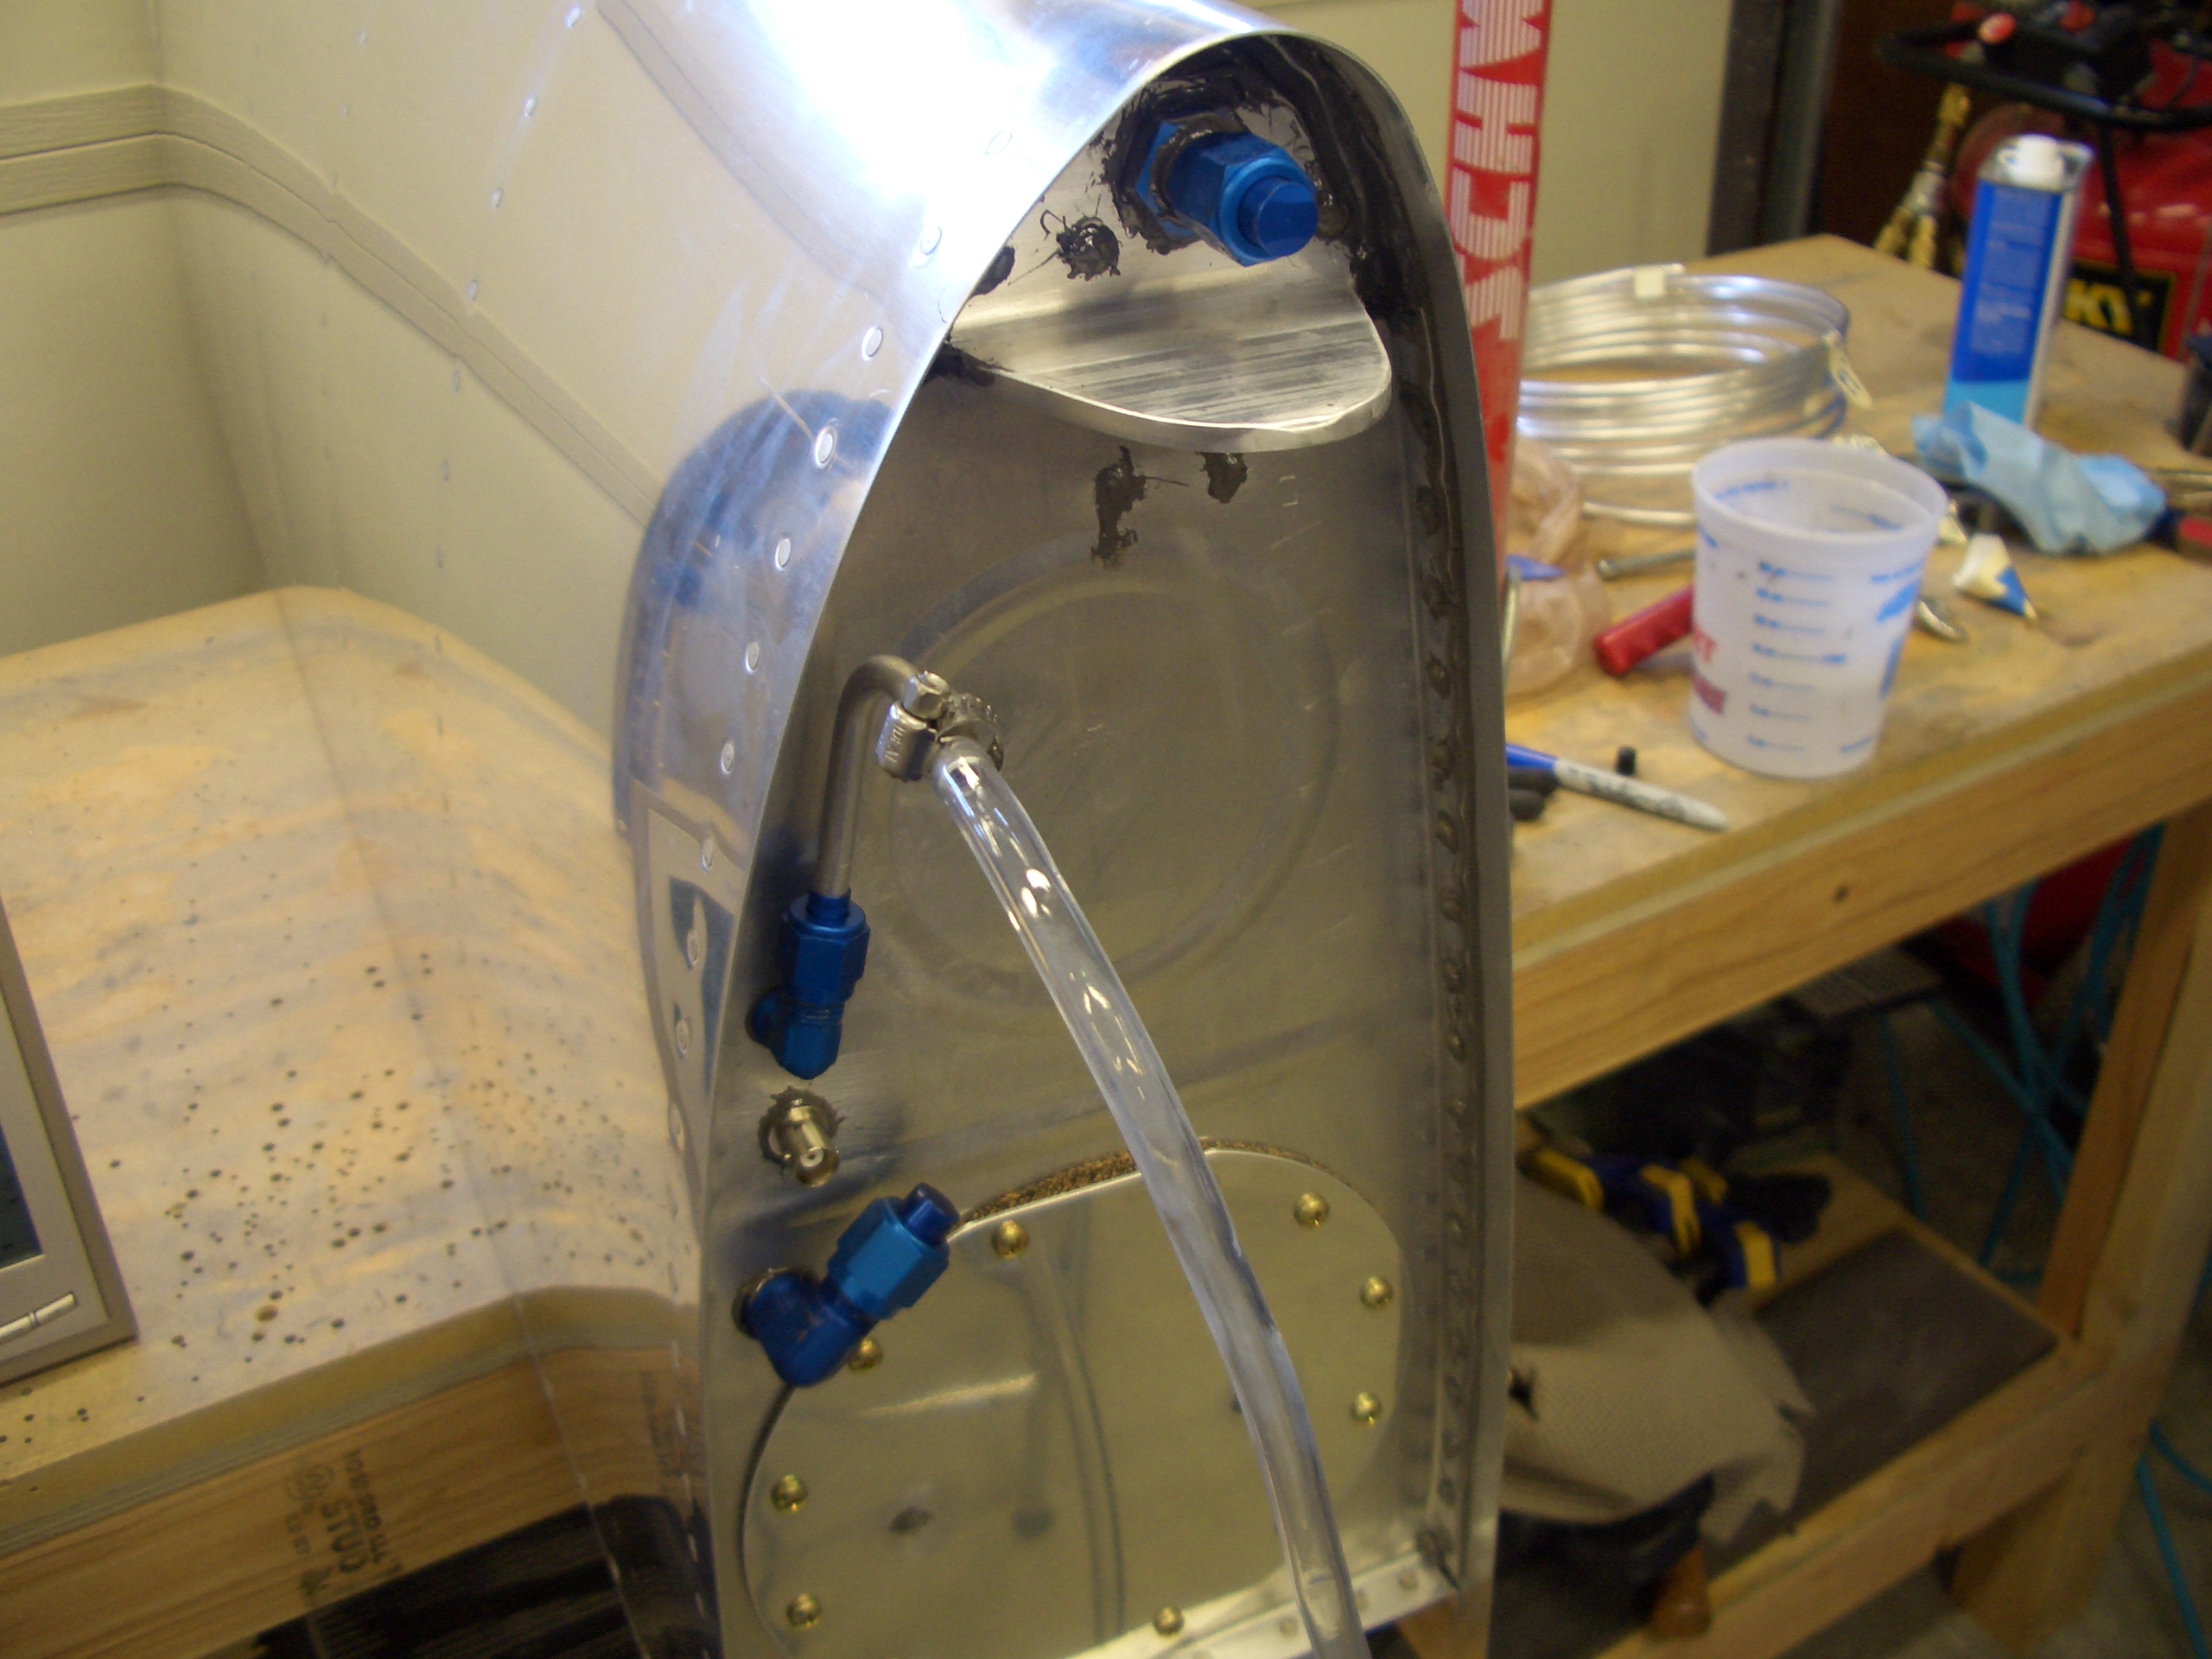
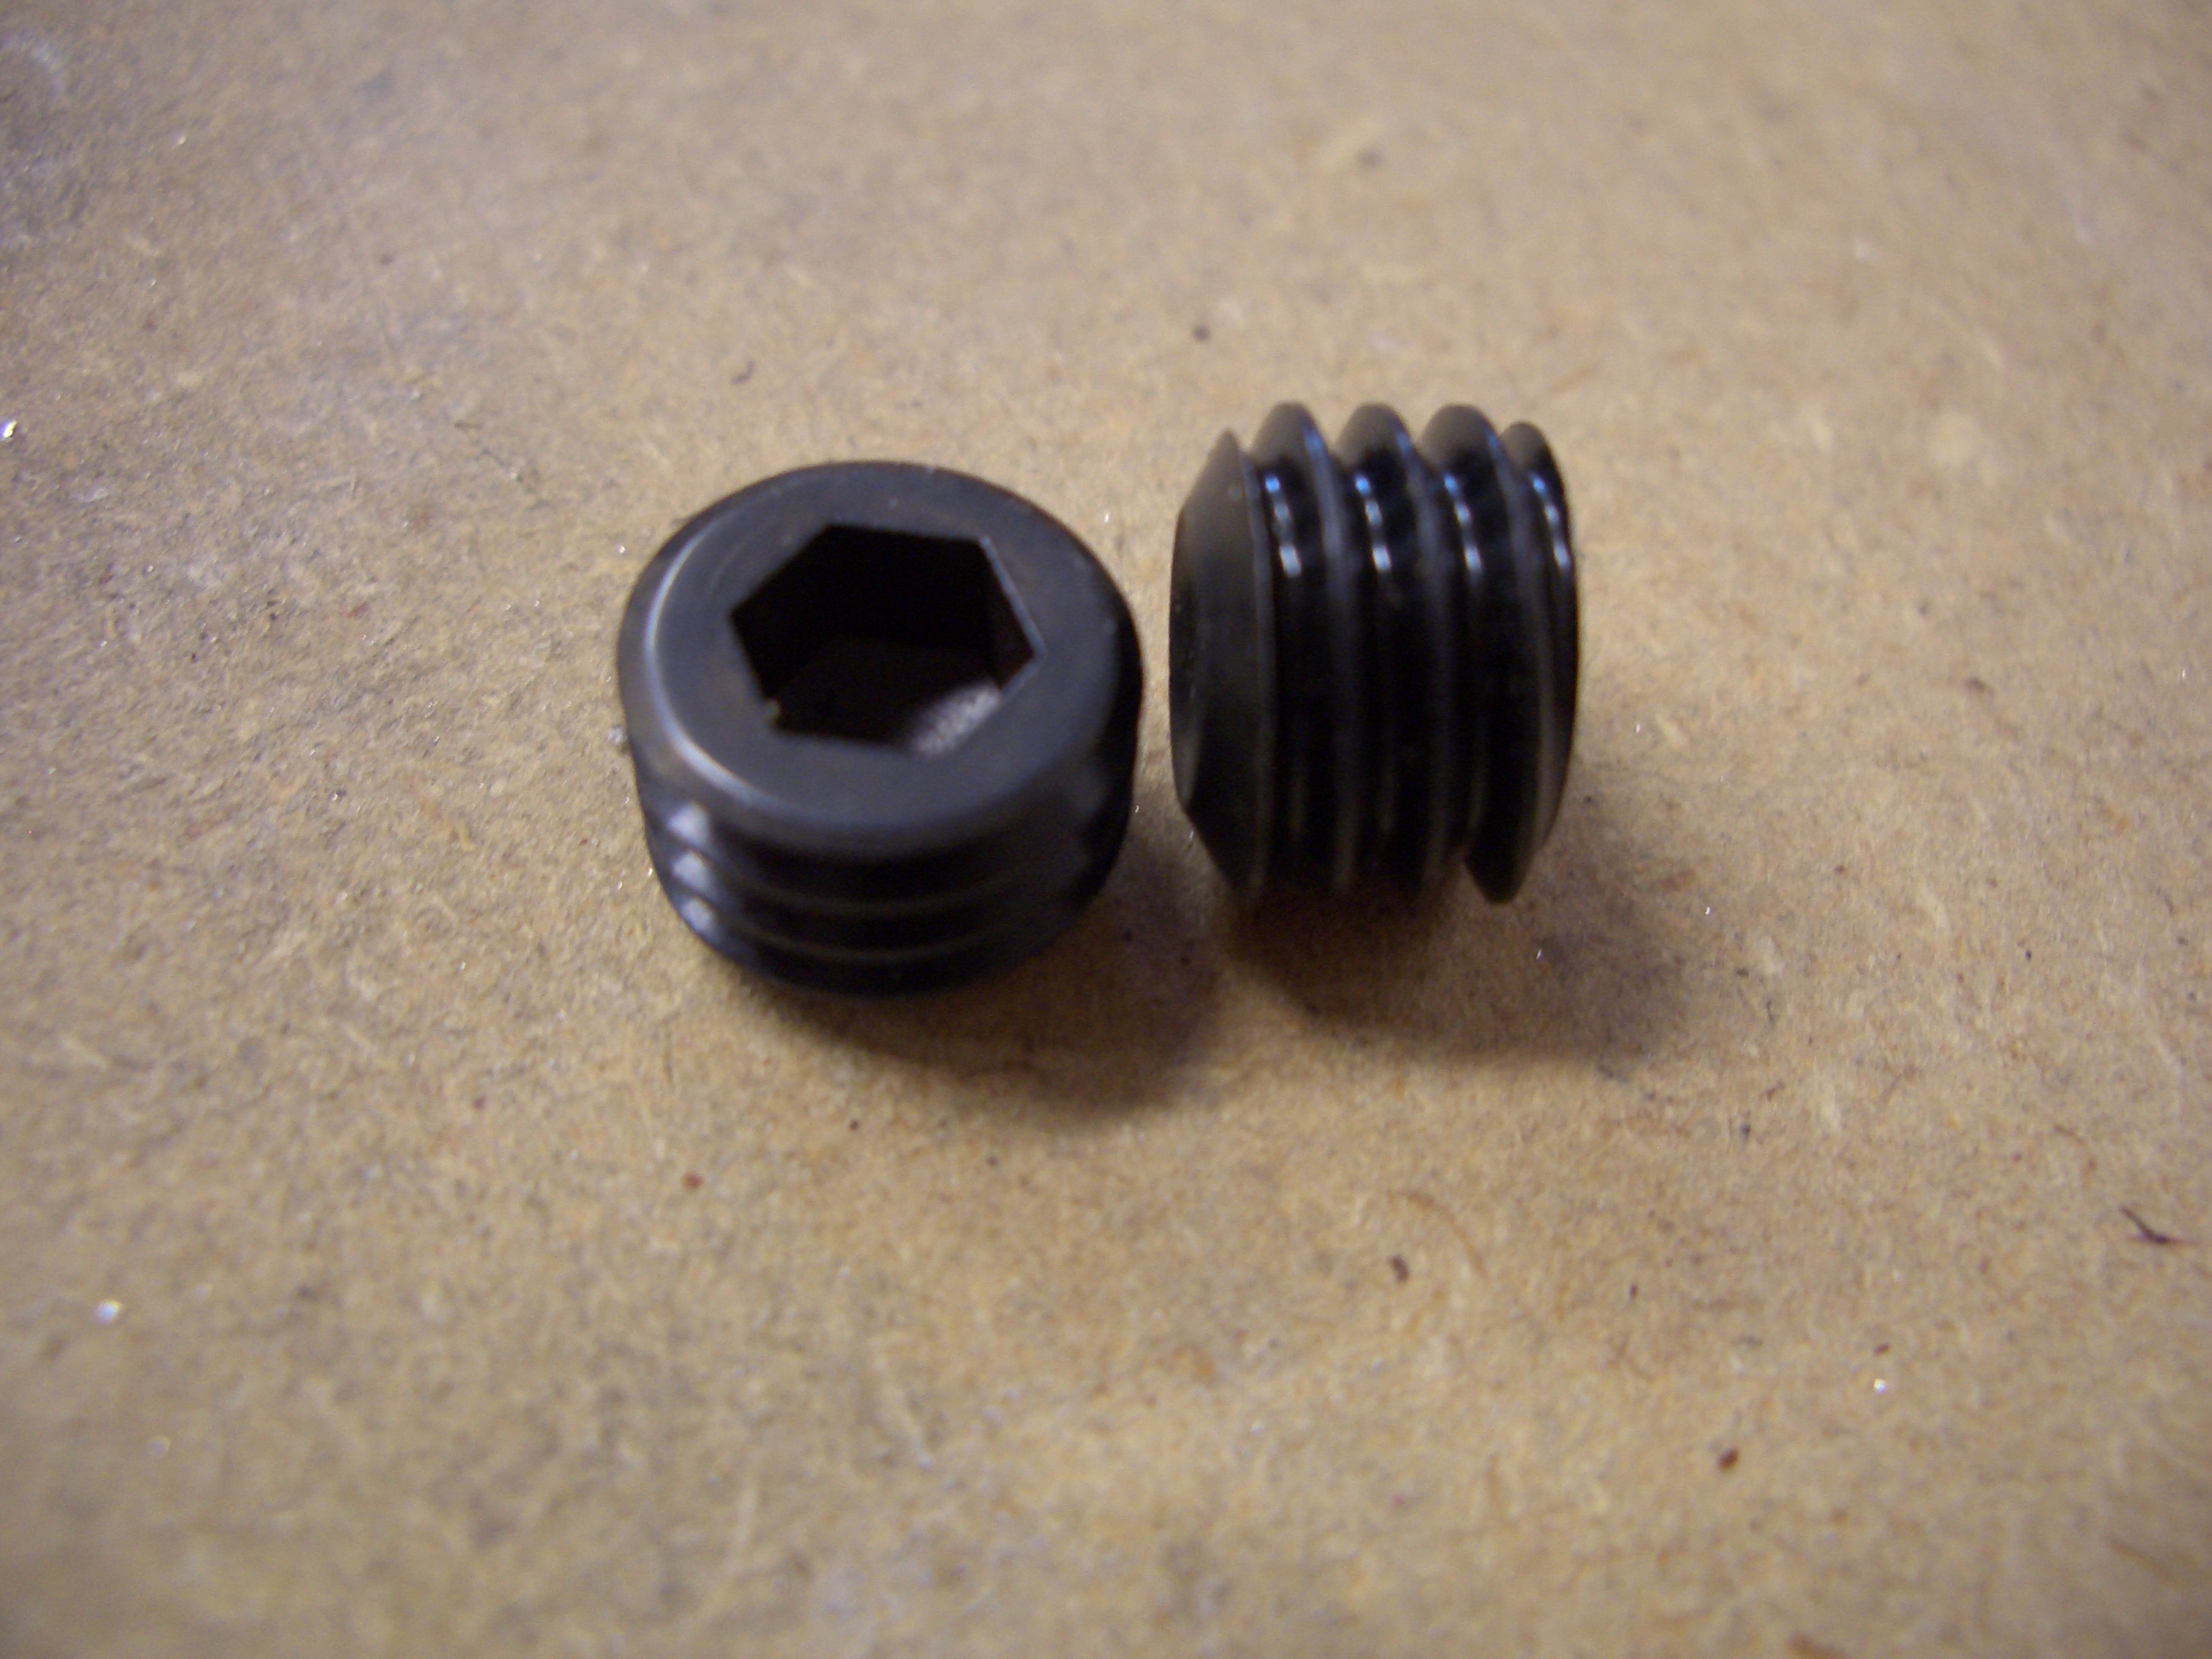
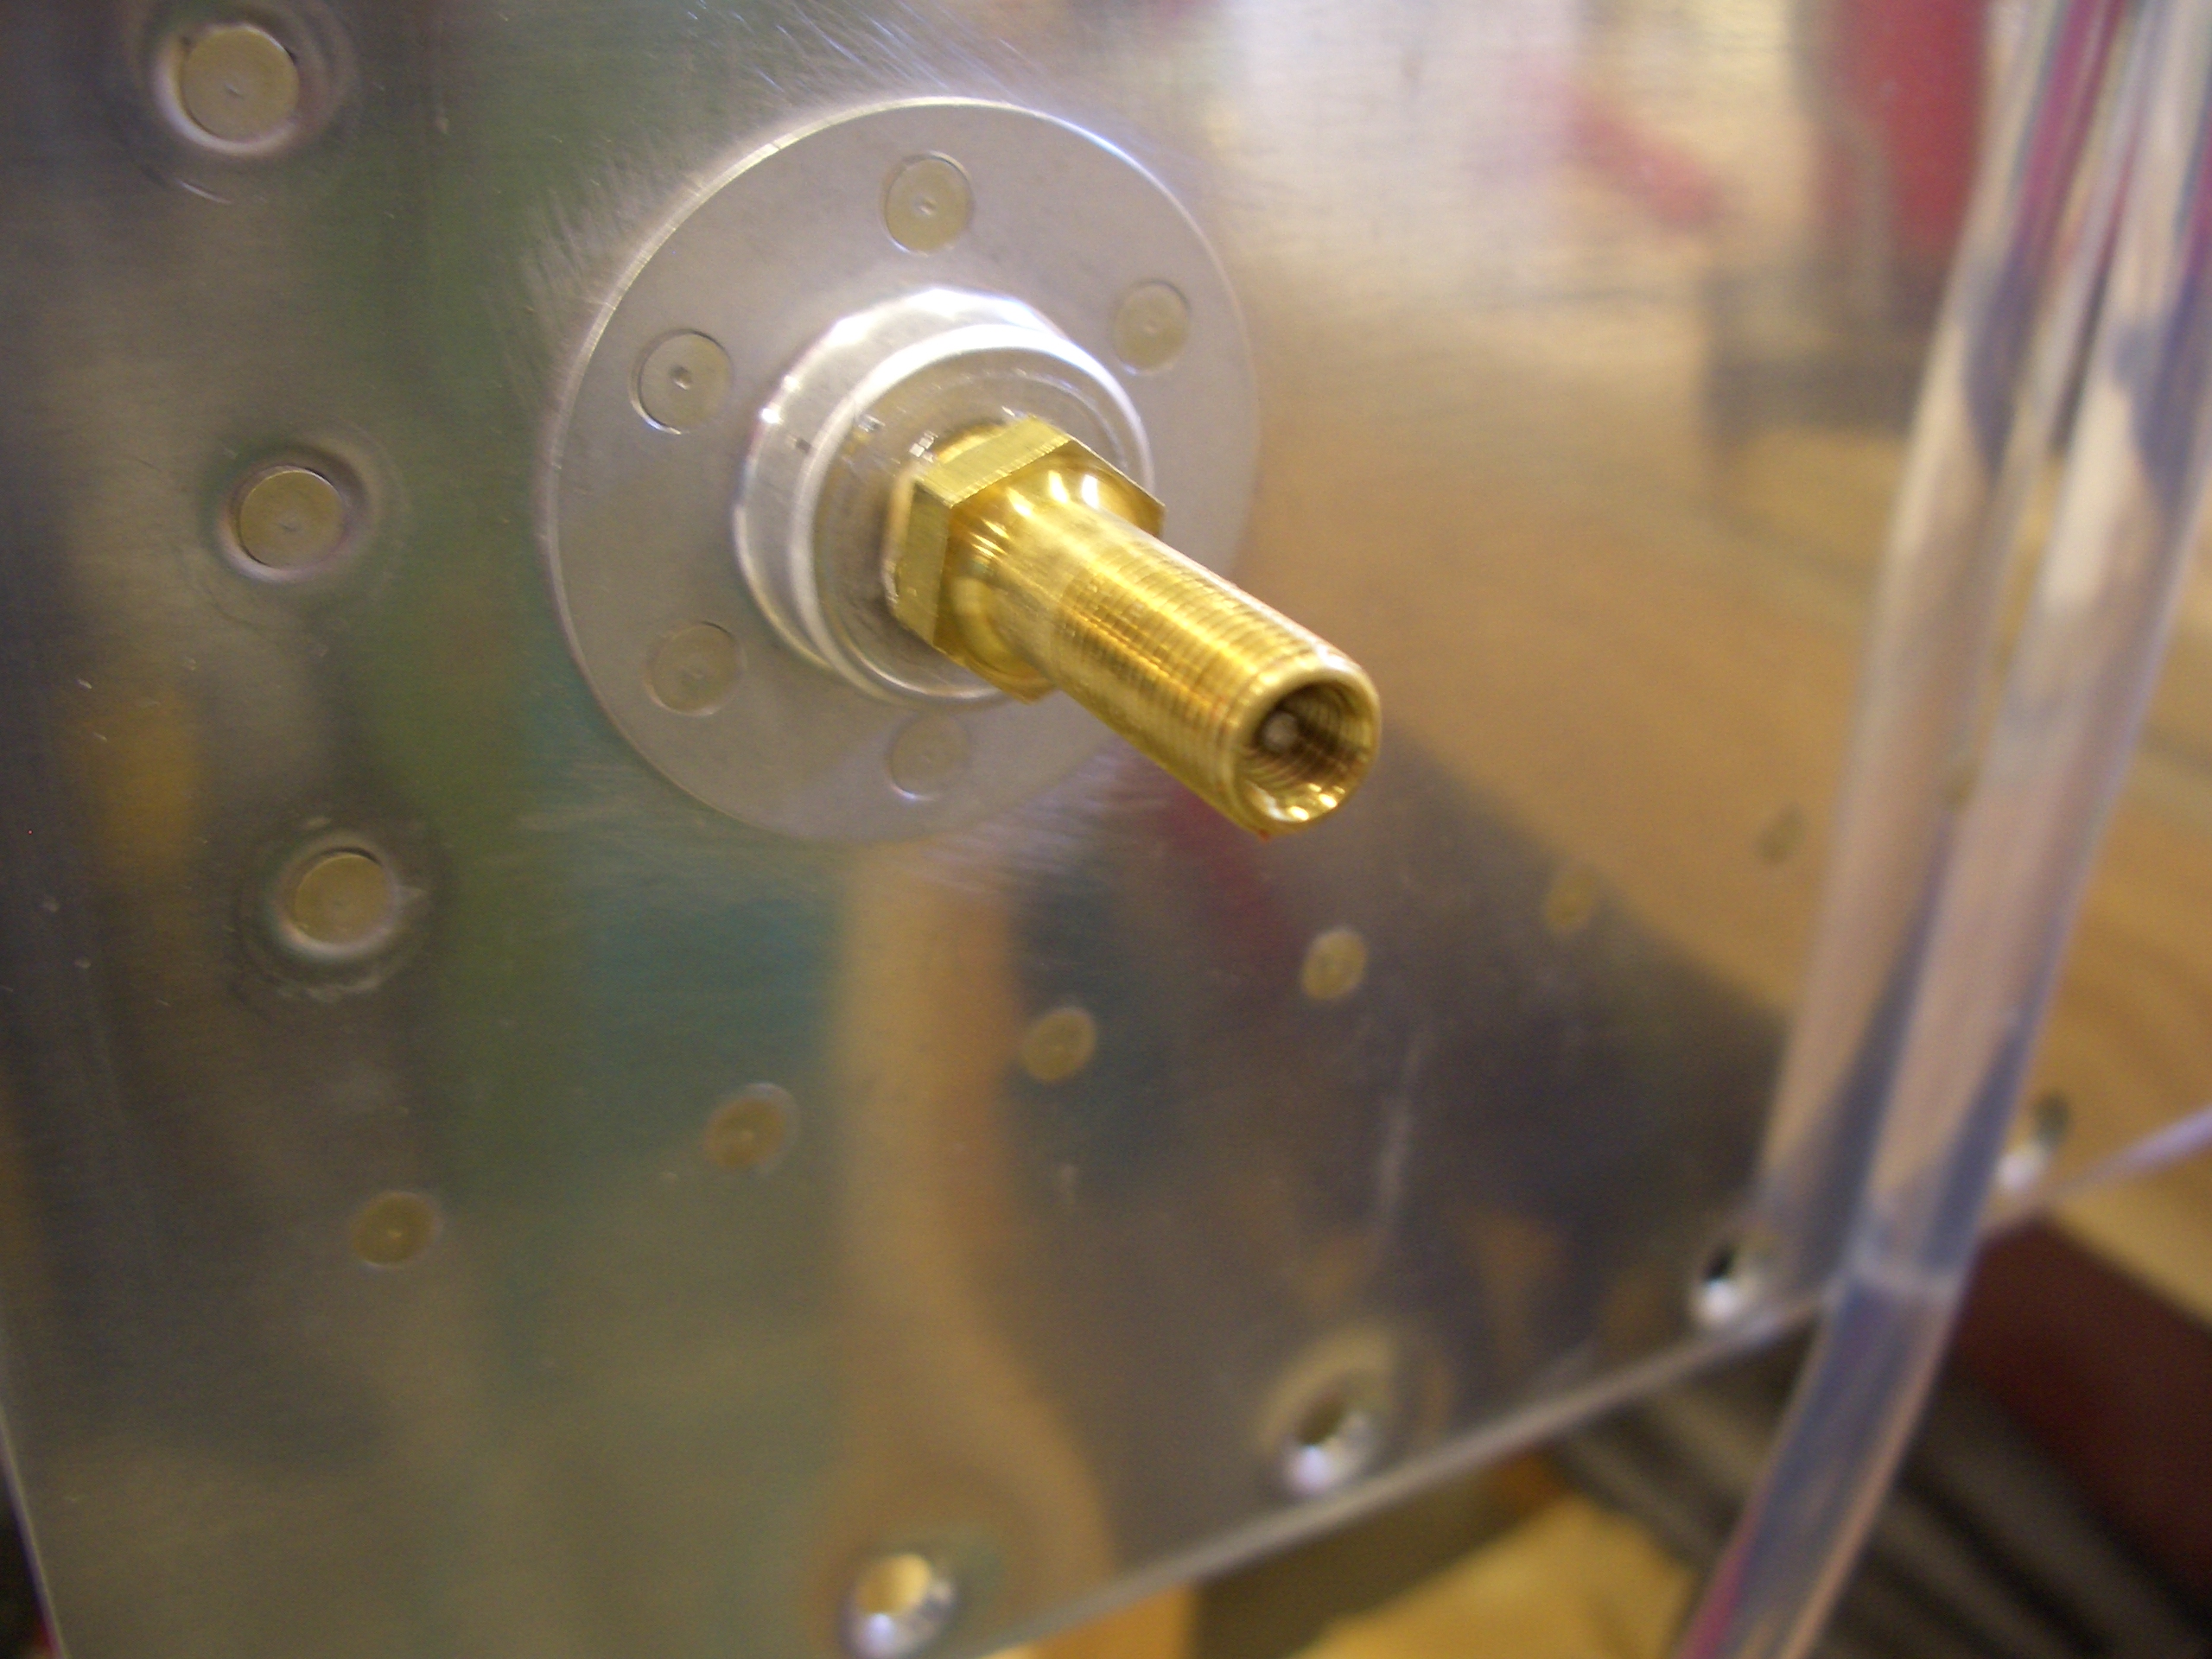
The fuel drain gets a special plug with a Schrader valve so that air can be pumped in with a bike pump.
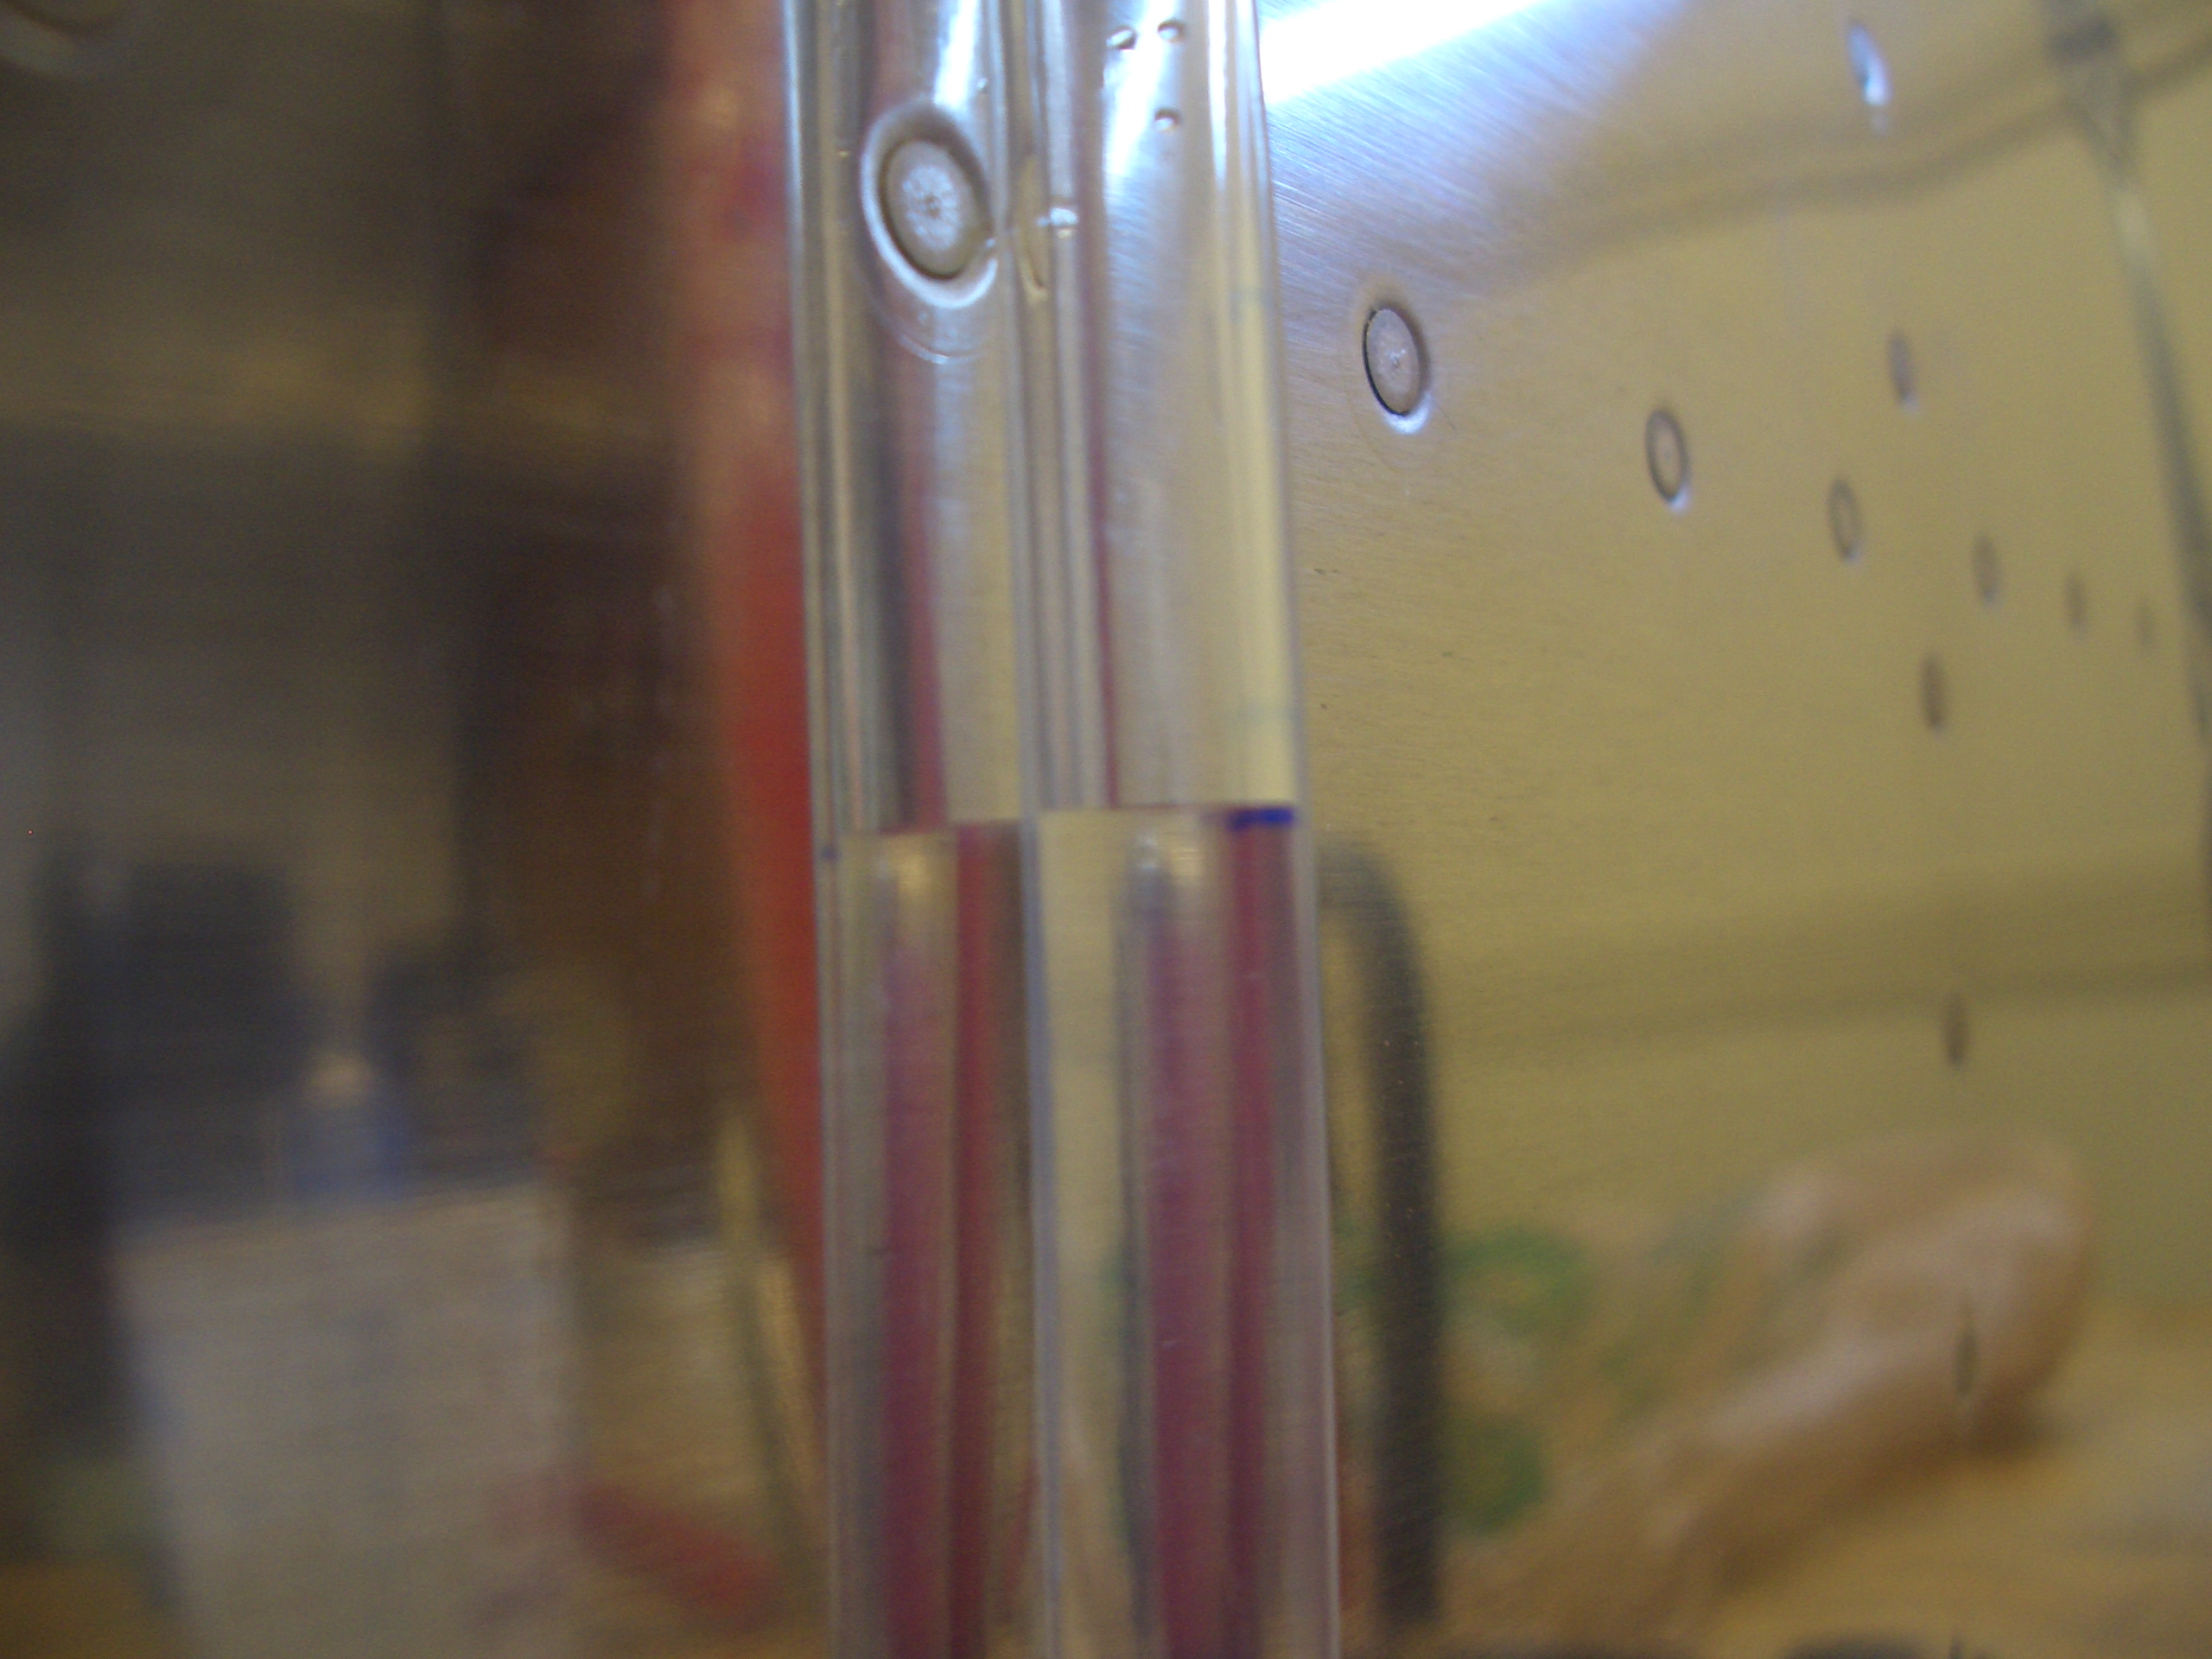
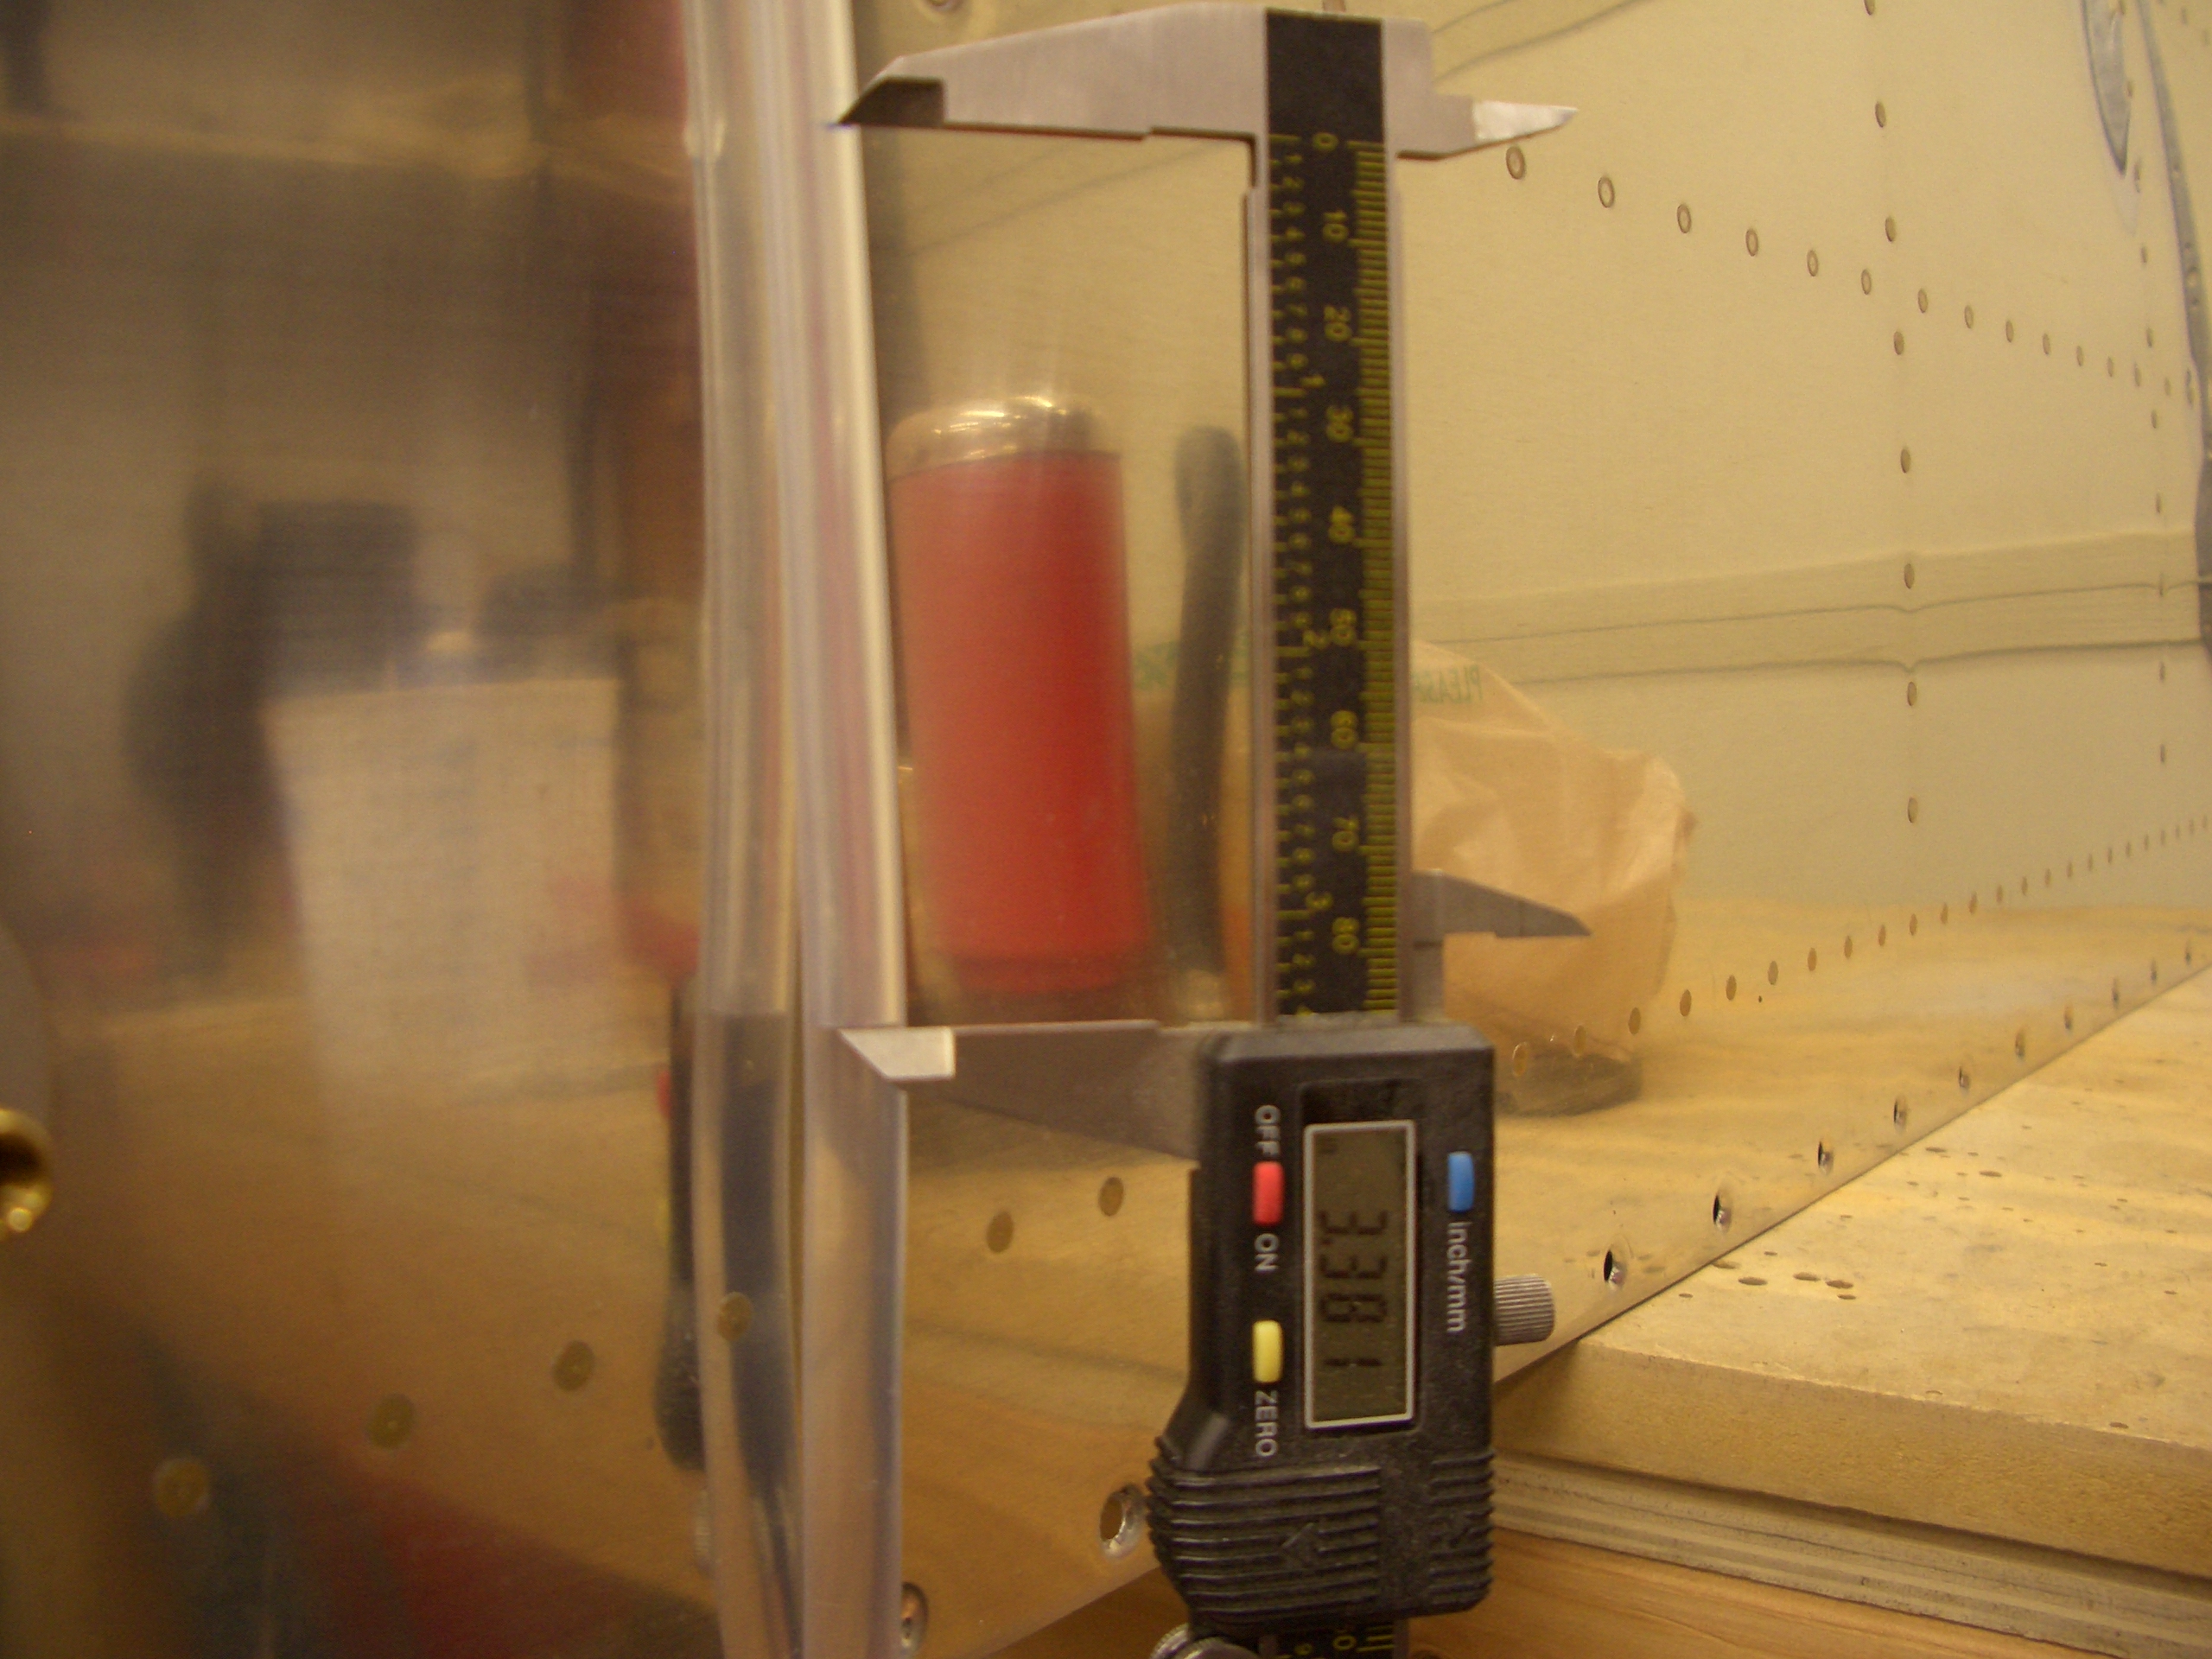
After making sure everything was torqued down and sealed properly, I put in some water in the tube and pumped the tank up to just under 1 psi. 1 psi is about 27″ of water, so I pumped it up to about 24″. Of course, as you pump air in such that the water rises in one part of the tube, it falls in the other part, so you only need to get a rise of about 12″ to create a 24″ water column. Here you can see that I’ve made a mark on the tube right at the level of the water.
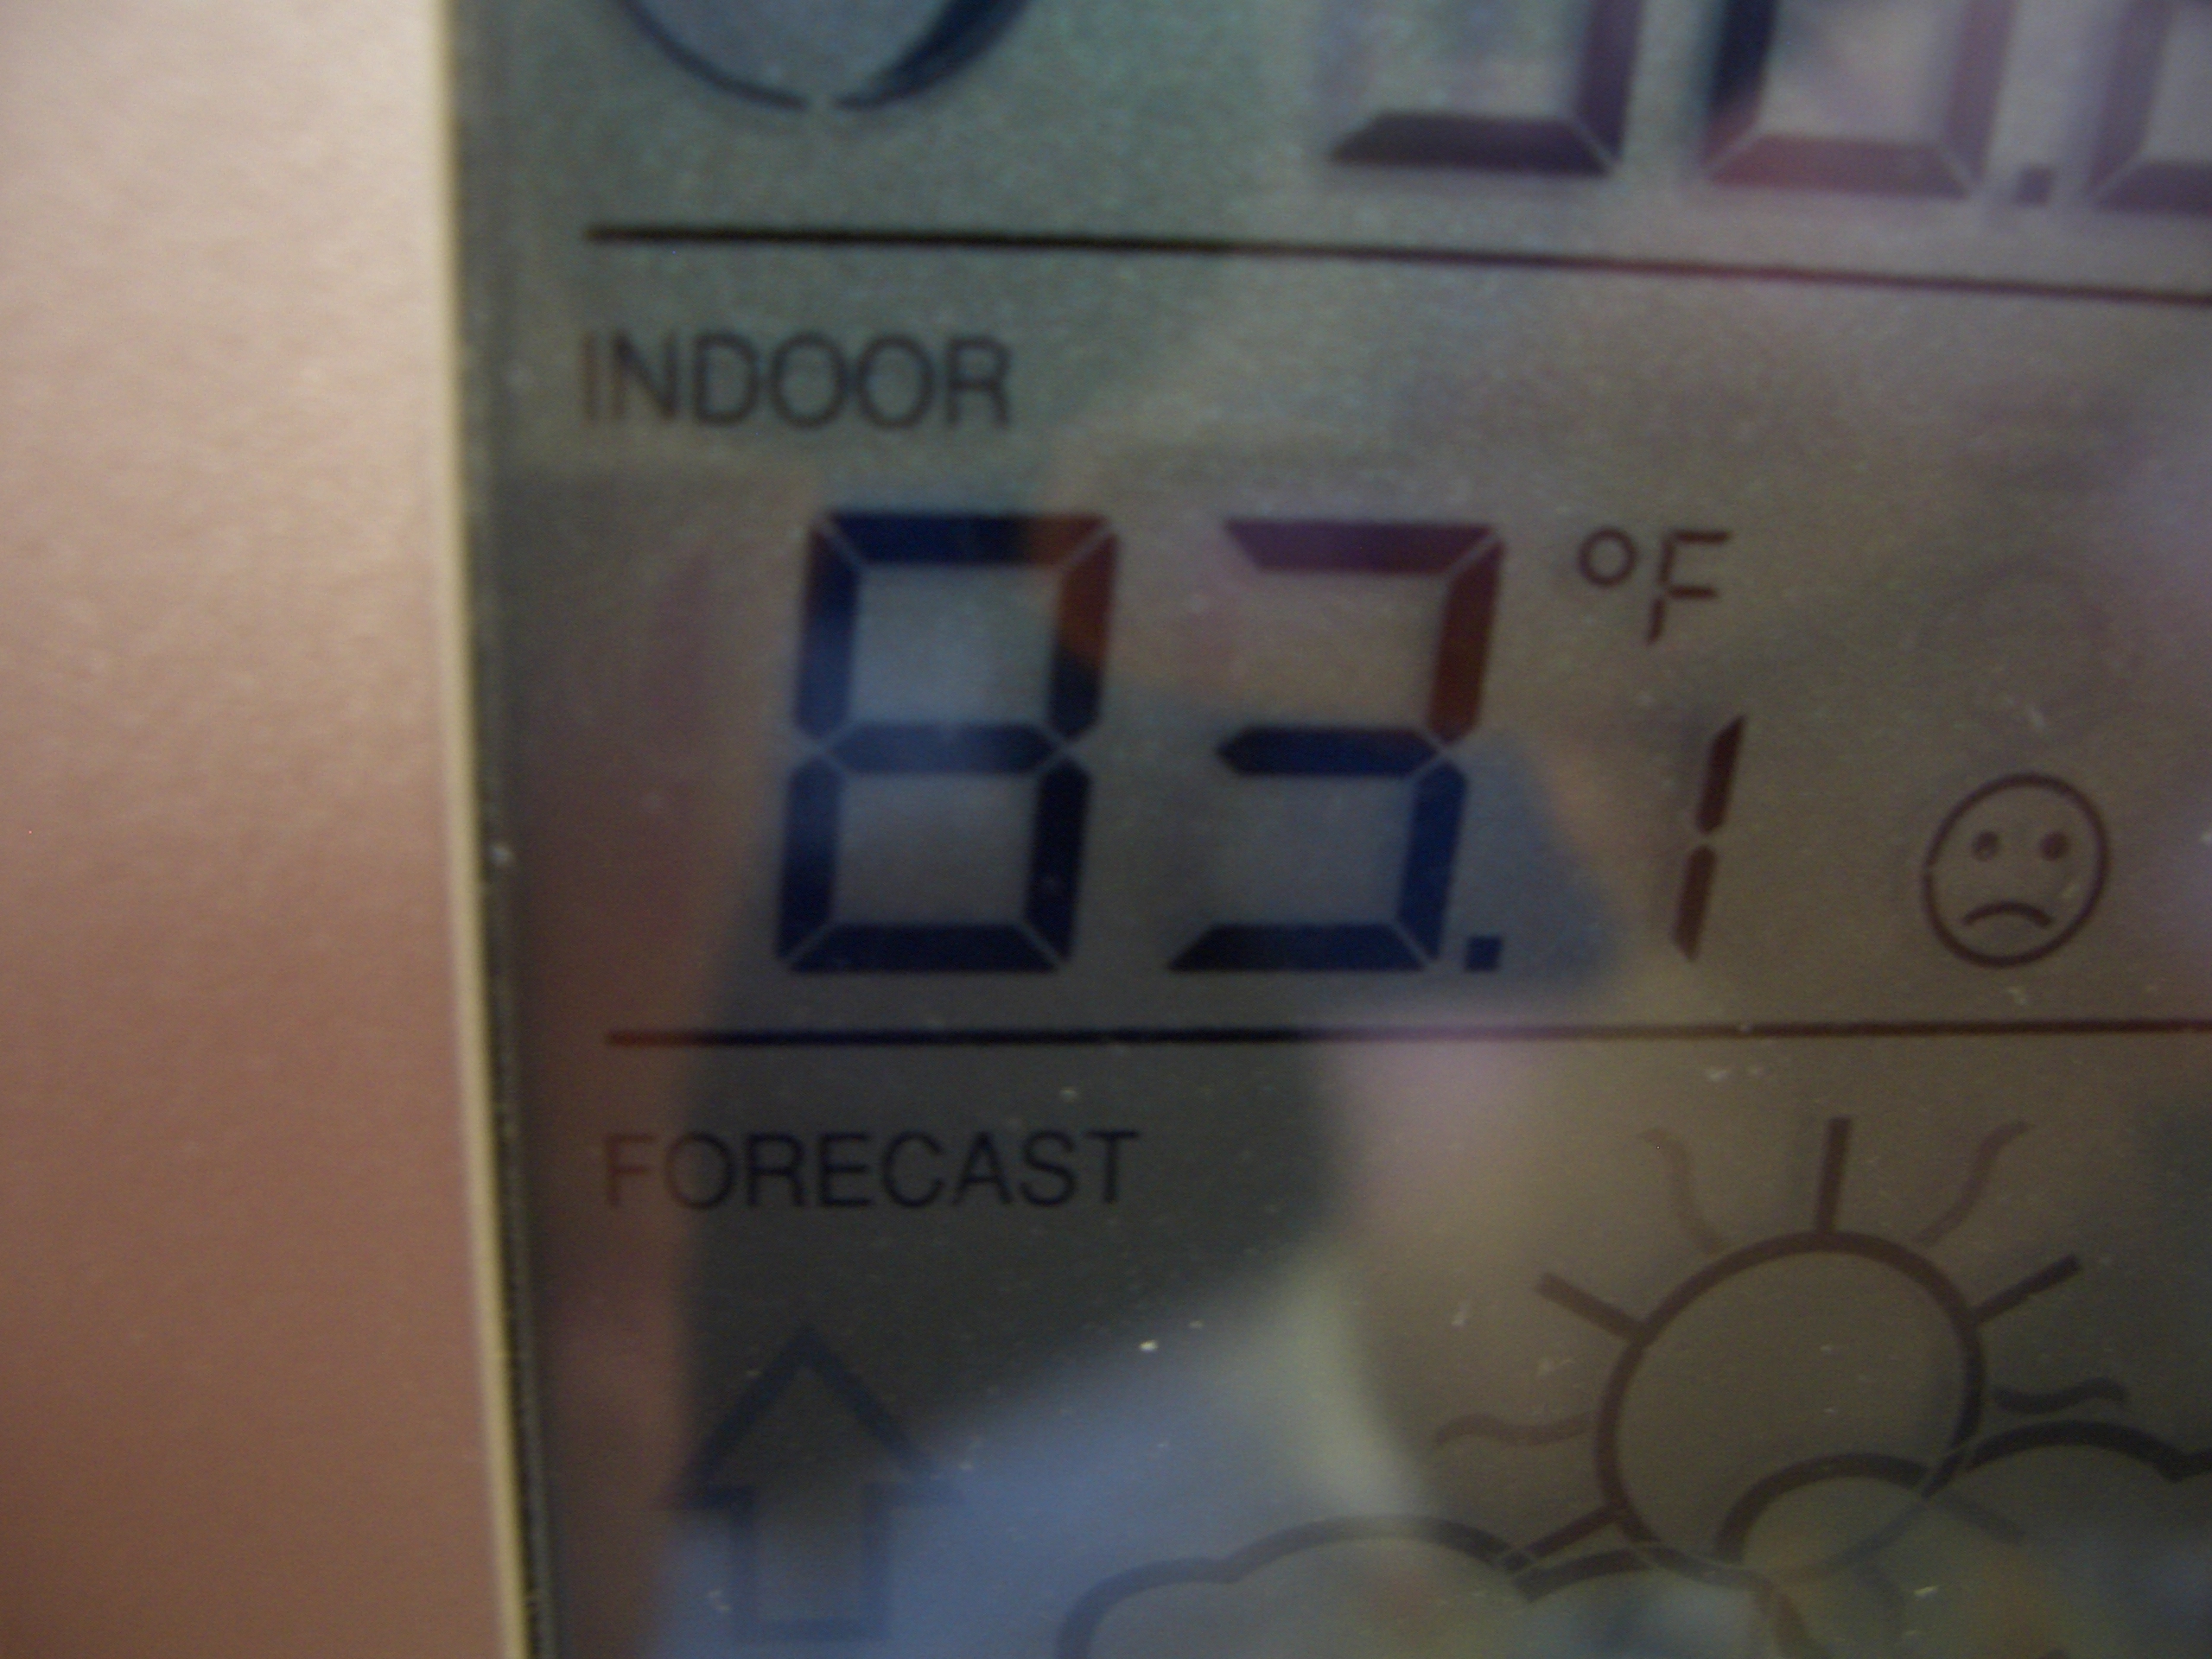
I’ve also grabbed our digital thermometer to get an accurate temperature reading in the garage since the pressure in the tank will vary with temperature. The temperature at the start of the test was actually 82.9º, but I didn’t grab the camera until a few minutes later.
As the garage started to warm up in the afternoon, the water started to rise which is a good sign that the tank is not leaking.
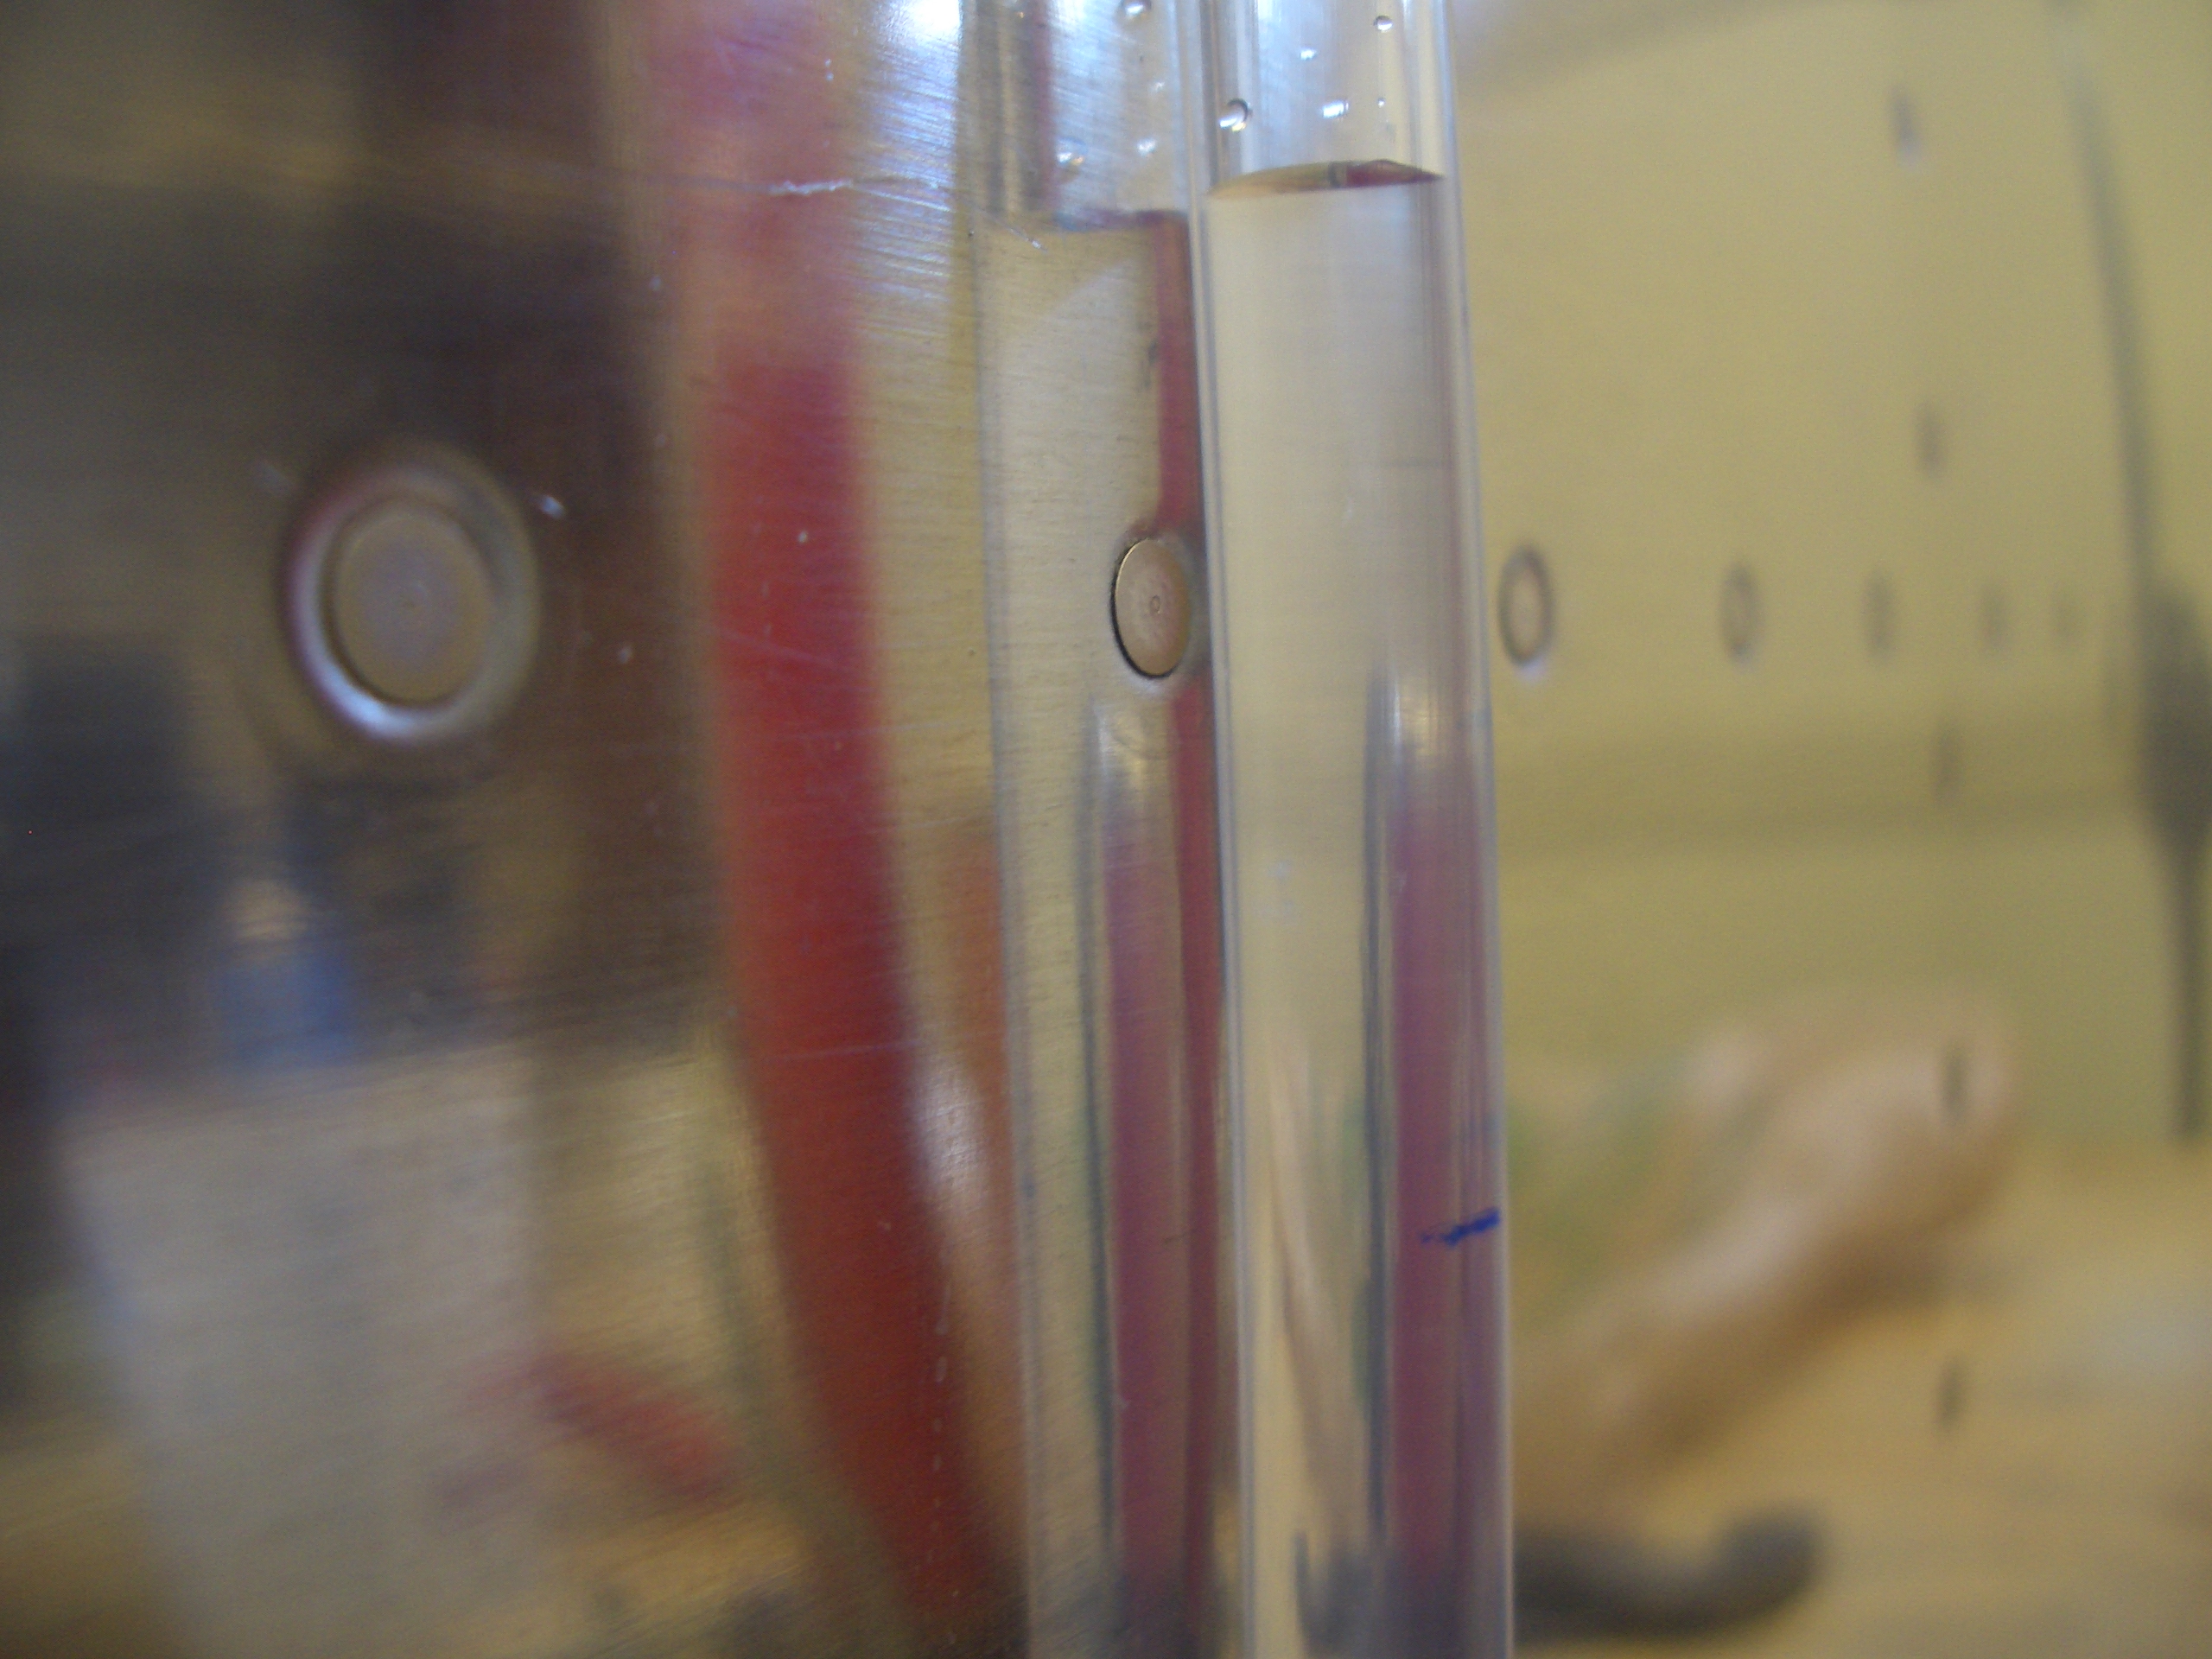
Later this evening, I came out to the garage to see how the tank was holding up. The water level is down about 3.38″ (6.76″ lower water column). Running a quick pV=nRT calculation shows that this would be the correct water level for an 8.24º temperature drop.
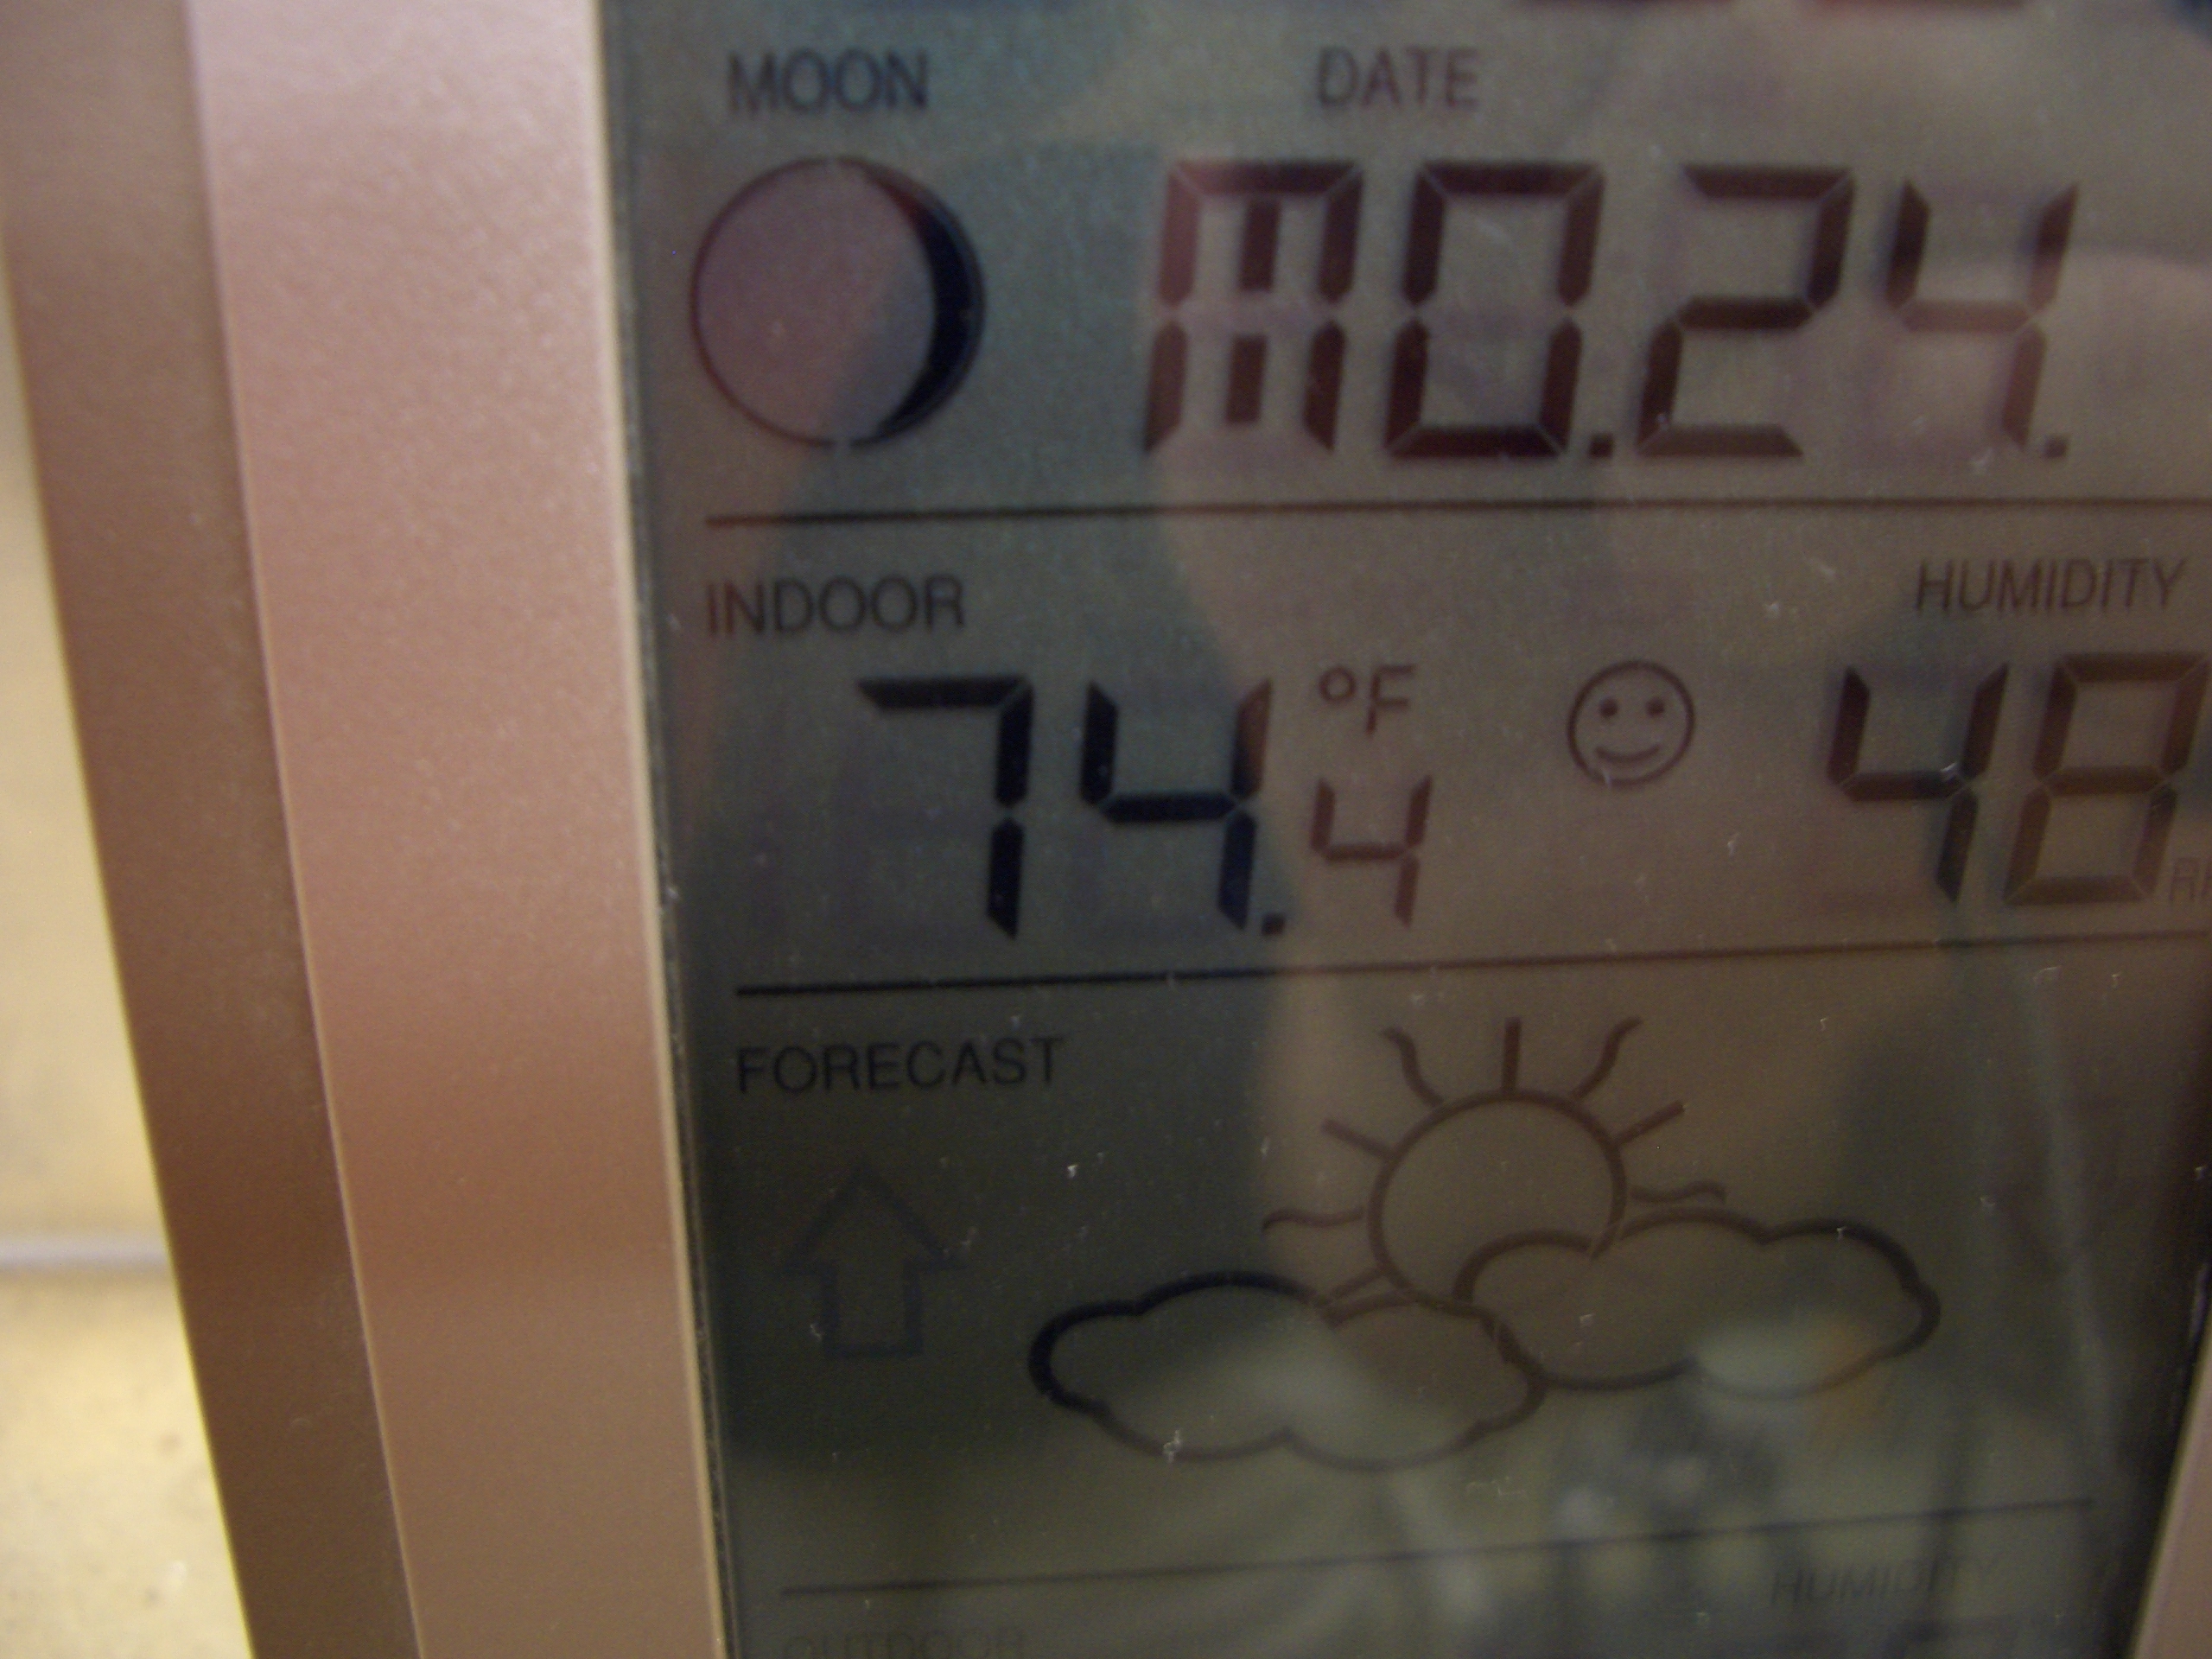
An 8.24º temperature drop from the starting temperature of 82.9º would be 74.66º. Given that a final temperature of 74.4º (shown below) would actually have made the water fall even further, I think we can safely conclude that the tank is leak free! I didn’t actually expect it to even be this close since the temperature inside the tank wouldn’t precisely track the temperature outside the tank if it were changing very rapidly.
The test is running on the right tank now and it’s looking good so far, but it’s only been about 45 minutes so I’m not ready to claim it’s leak free. I’ll check tomorrow morning and see how it held up overnight.